Underground Blossom | Cube Achievements
Hello everyone and welcome to the first part of our achievement walkthrough for the ” Underground Blossom ” a puzzle-solving game developed by Rusty Lake – one of the most famous game developers in puzzle puzzle-solving genre. Once you complete the game, you can play again to get the achievements and extras. In this walkthrough, we will gather all the cubes, and we will also get a few other achievements along the way.
Once you finish the main story and start the new game, you will notice that the suitcase is now open. So, let’s tap on the suitcase to take a closer look at it.
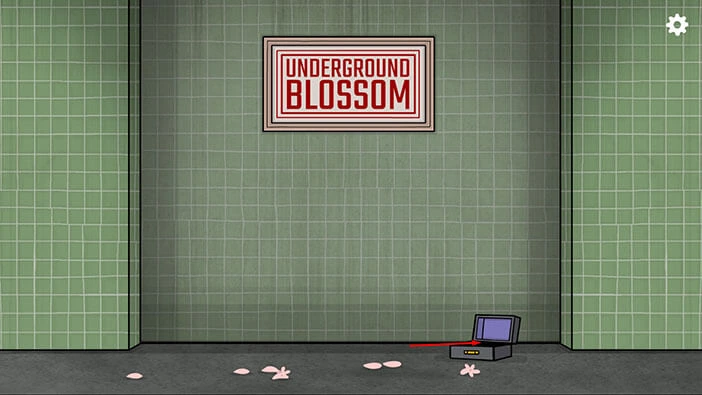
On the left, you will notice a “Map”. Tap on it to pick it up. Once you have the underground map, you will be informed that you can use the button in the top right corner of the screen to travel between the train stations.
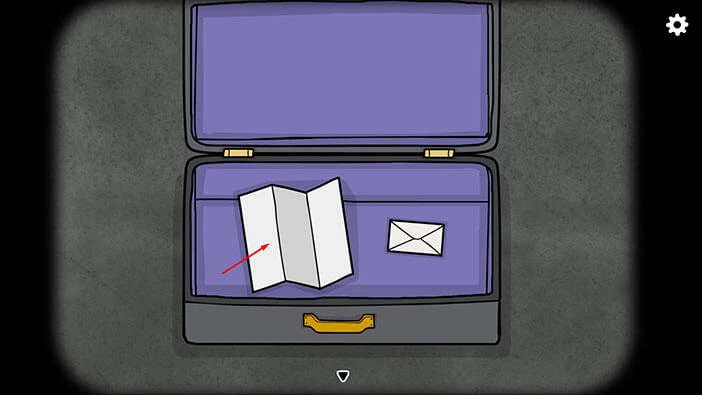
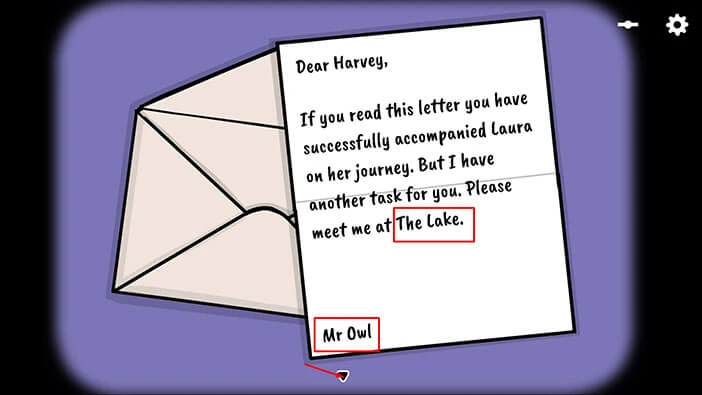
Next, tap on the envelope on the right to take a closer look at it, and tap again to open it. We have successfully followed Laura on her journey, but now we have another task ahead of us. To begin this quest, we should go to The Lake (the last station). The letter was signed by “Mr. Owl” and we saw his statue during the first playthrough.
Tap on the arrow at the bottom of the screen to go back.
If you take a look at the top right corner of the screen, you will notice a new button next to the settings button. As already mentioned, we can use this button to travel to any underground station. So, tap on this button to bring up the map.
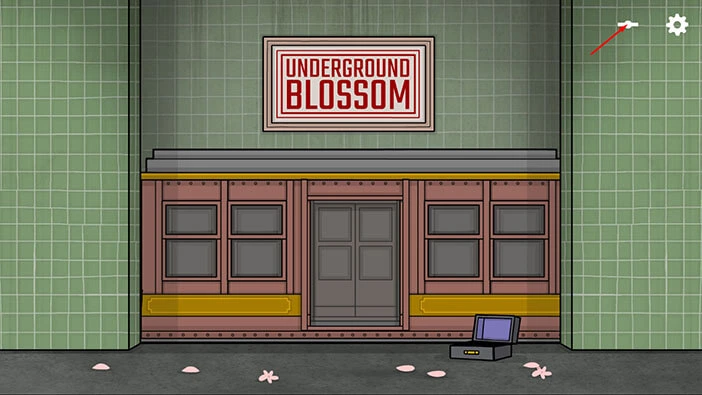
The instructions in the letter were to go to “The Lake” to begin this task. So, tap on “The Lake” (the last station) to go there. Our character will get on a train and will reach the last station a few moments later.
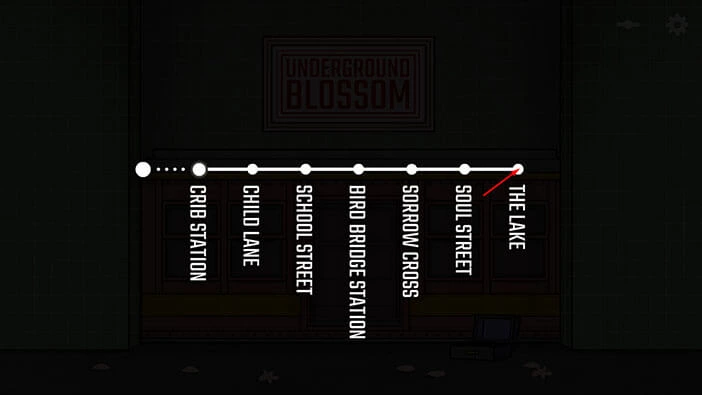
Once the train stops, tap on the door to open them, and tap again to proceed outside.
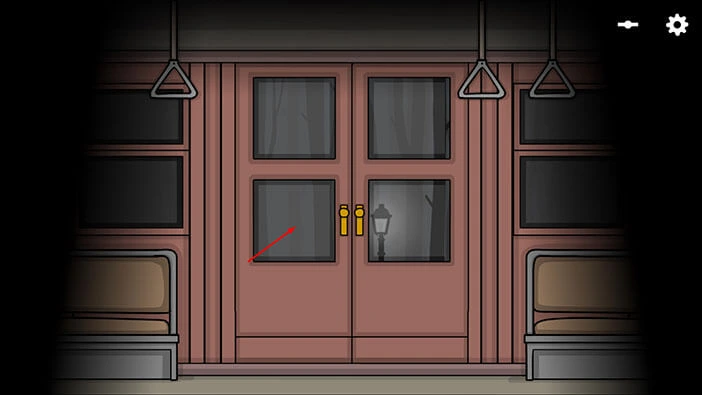
You will notice a man sitting on a bench in front of you. Tap on him to take a closer look, and tap again to start the interaction.
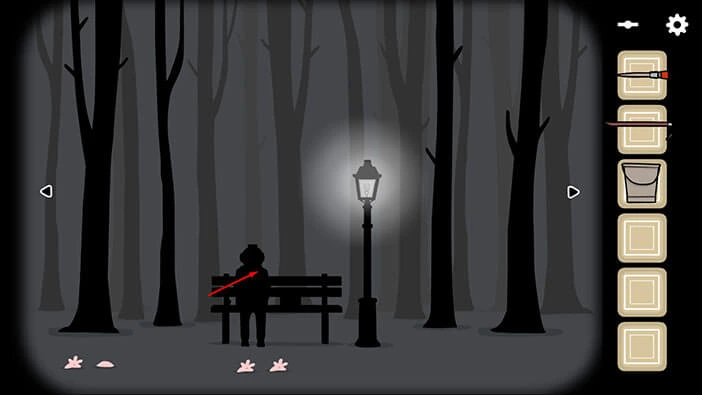
The mysterious man will tell us that our next task is to collect all the cubes and that there is one cube at each train station. Lastly, he will say that you should use your items wisely, and he will offer you a coin. So, tap on the “Coin” to pick it up.
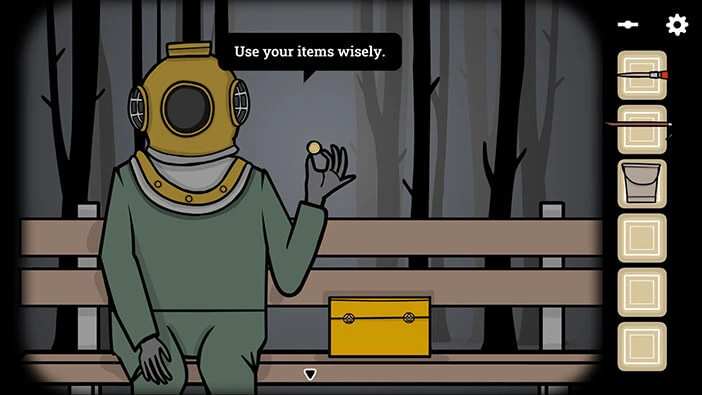
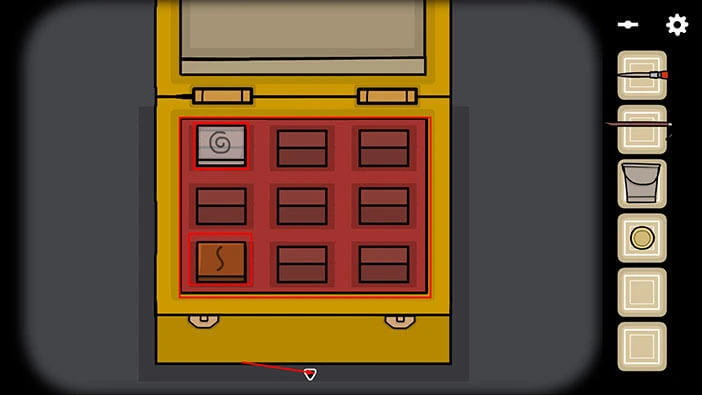
Next, tap on the yellow box on the right to take a closer look at it. After that tap on the locks on the box to open it.

You will notice 9 slots in the box, but there are only two cubes in the slots. So, our task is to find the other seven cubes, one in each station as was mentioned previously.
Tap on the arrow at the bottom of the screen to go back.
We got the “Coin” so let’s find a way to use it. Tap on the button in the top right corner of the screen to bring up the map, then tap on the fifth station, The Sorrow Cross, to travel there.
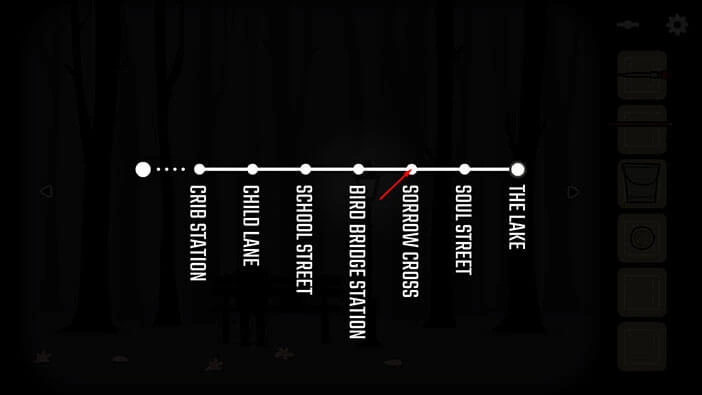
Once you reach the station, tap on the door to exit the train. Let’s take another look at the open locker on the right.
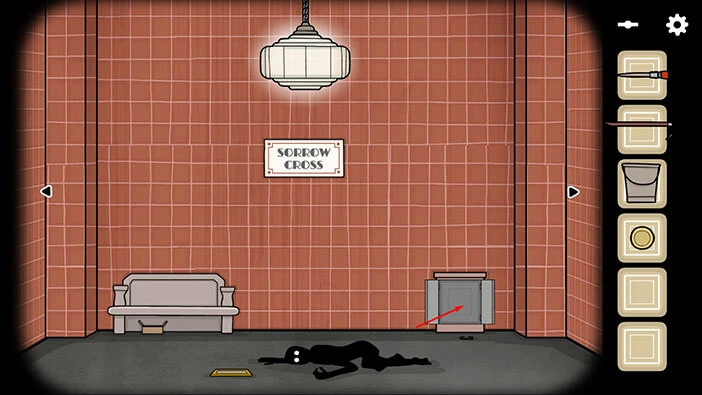
You will notice that there is some kind of secret compartment behind the back wall of the cabinet. So, let’s select the “Crowbar” from the inventory and use it to remove the panel at the back wall (tap several times).
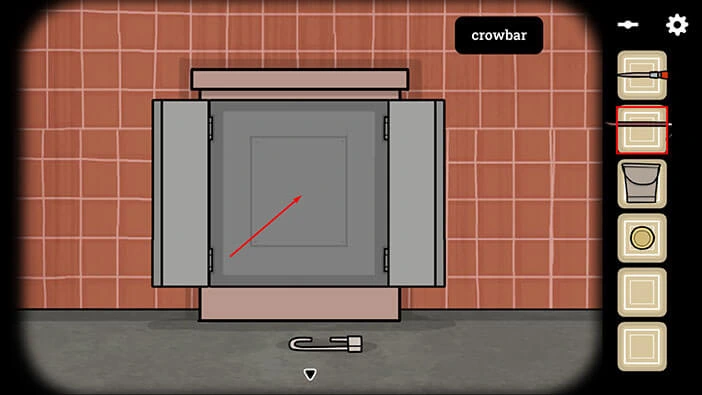
Here, you will discover a 3×3 grid, and you will notice that there are four marked squares on the grid. Let’s memorize/write down the positions of these squares because we will need this information later. So, the marked squares are,
All three squares in the first row.
The third square in the third row.
Once you’re done, tap on the arrow at the bottom of the screen to go back.
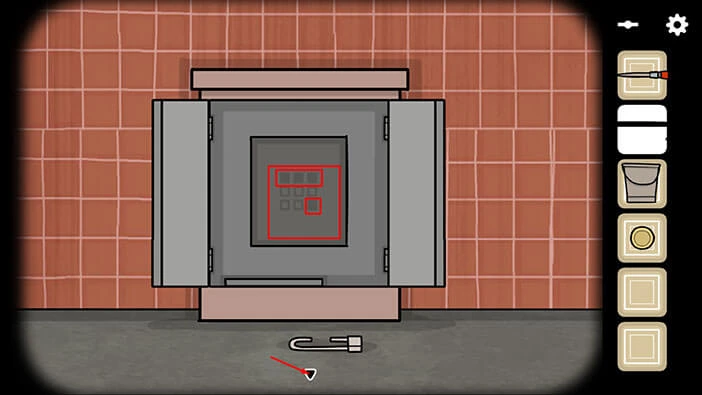
Next, tap on the arrow on the right to proceed to the next room.
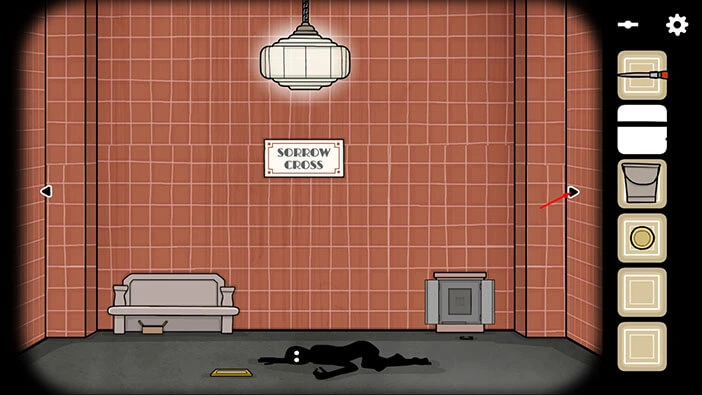
We are now in the room with the vending machine, so let’s tap on it to take a closer look.
Select the coin from the inventory and insert it into the slot on the right.
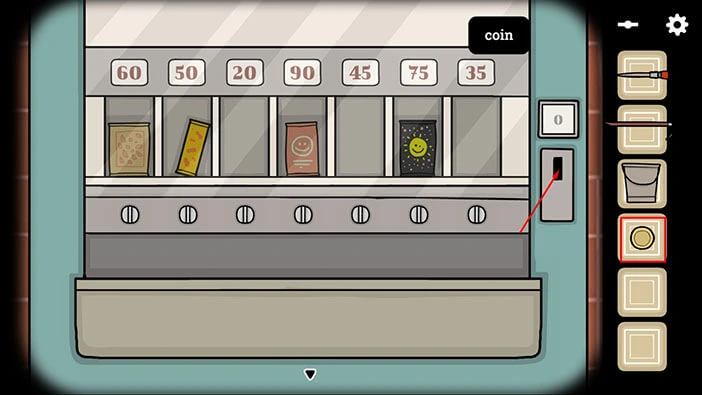
You will notice that we have 50 credits on the display. So, let’s tap on the button below the items that cost 50.
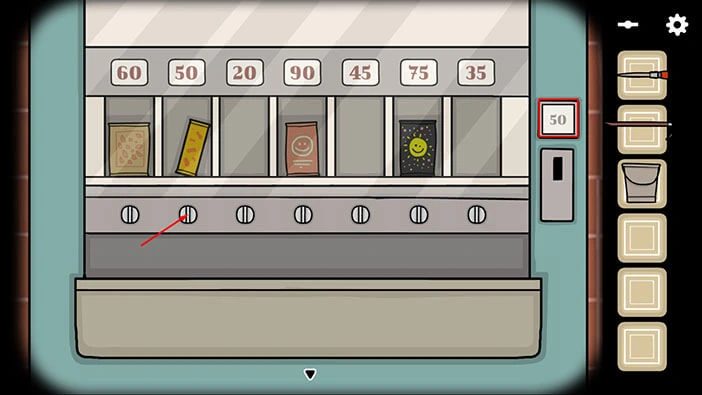
Tap on the lower part of the machine to look inside, and you will find a “Nut bar”. Tap on it to pick it up.
After that, tap on the arrow at the bottom of the screen to go back.
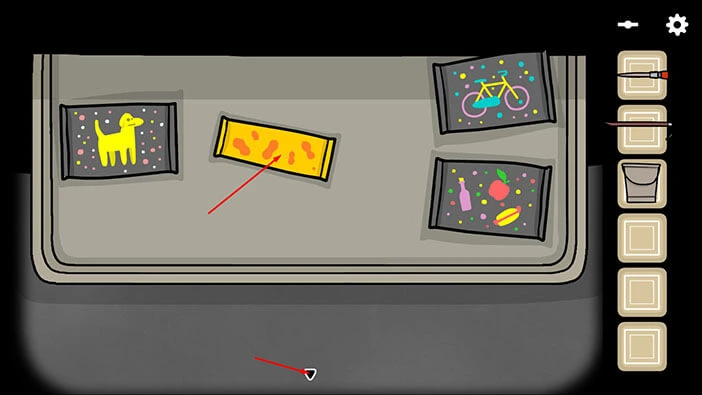
In the previous walkthrough, we discovered that Jimmy (a tall, blonde boy) has a peanut allergy. Well, there is some peanut butter in the nut bar, so let’s go back to this boy again. He is located in the “School Street” station.
So, tap on the button in the top right corner to bring up the map, then tap on the “School Street” station.
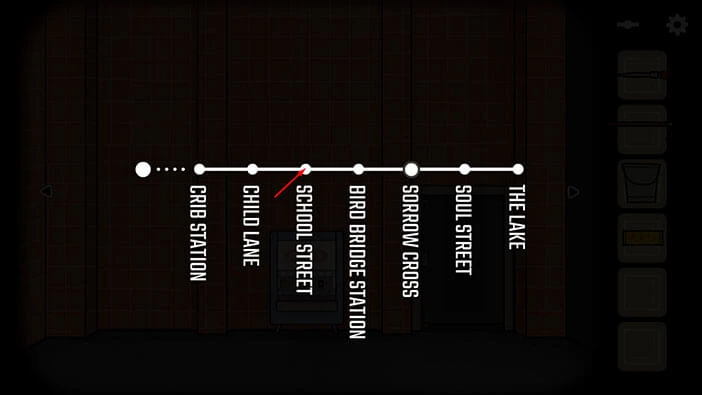
Get off the train and go to the first room on the right.
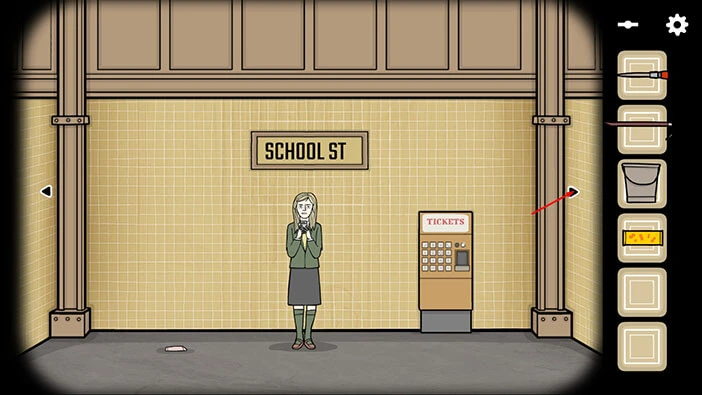
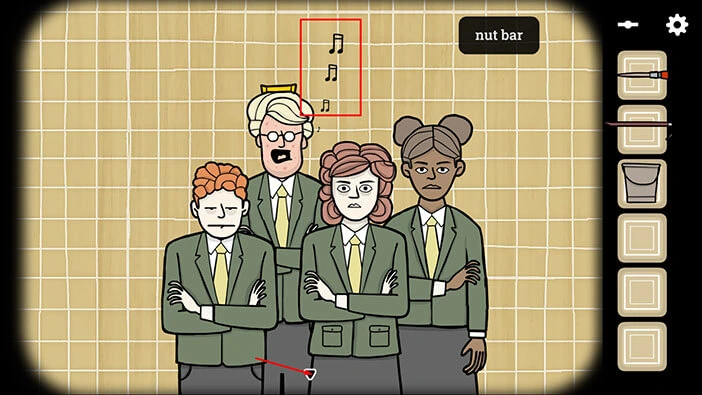
Tap on the blonde boy to take a closer look at him. Select the “Nut bar” from the inventory and put it on his head.
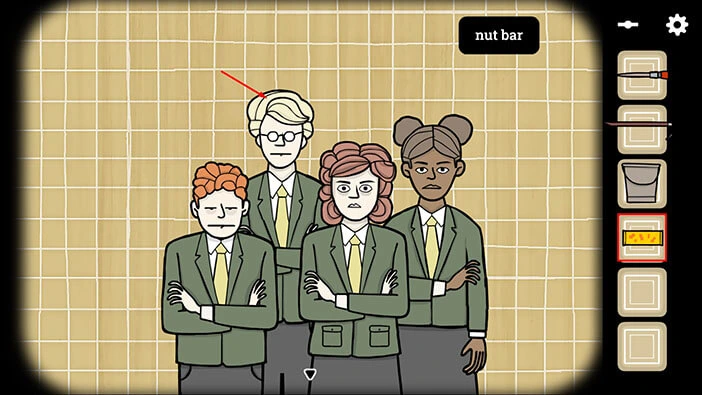
The boy will get an allergic reaction, and he will scream several times, spawning a note each time he screams. Let’s memorize/write down these notes because we will need them later.
So, we have,
Double note, Double note, Double note, Single note, Double note, Triple note (2, 2, 2, 1, 2, 3).
Once you’re done, tap on the arrow at the bottom of the screen to go back.
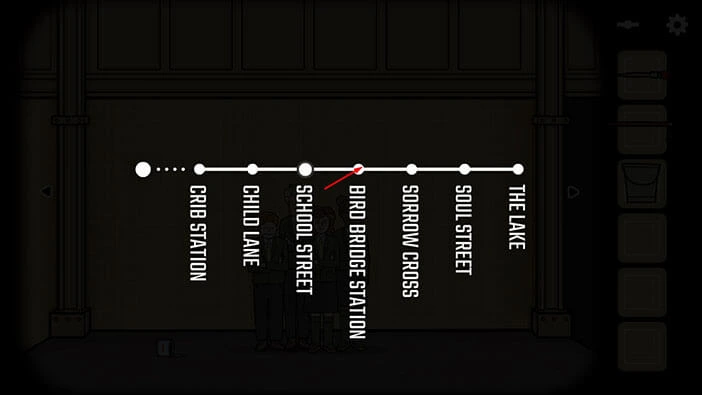
Now, we should go back to the musician and use these notes. So, tap on the button in the top right corner of the screen to bring up the map, and tap on the “Bird Bridge” station.
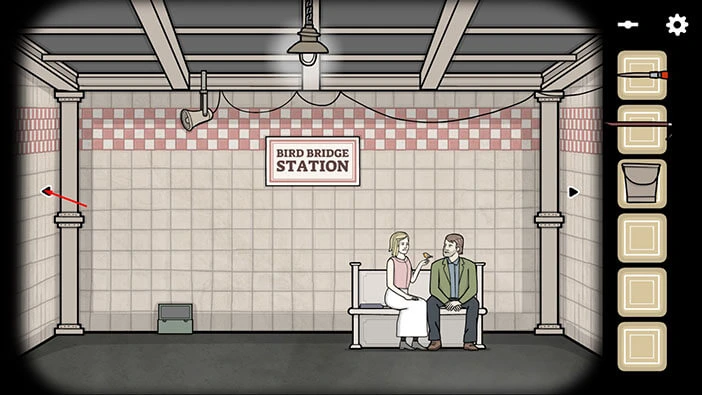
Exit the train, then tap on the arrow on the left to proceed to the room with the musician.
Tap on the musician to take a closer look at him, then tap on the saxophone to start the interaction.
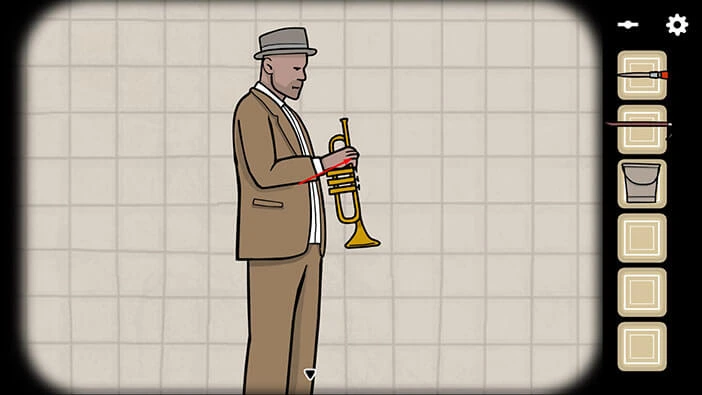
Let’s play the notes that we saw when the boy with the peanut allergy screamed. So, tap on the second finger / second finger / second finger / first finger / second finger / third finger (2, 2, 2, 1, 2, 3).
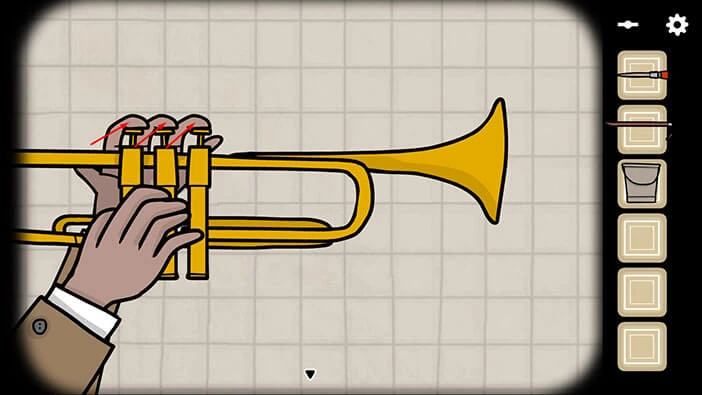
Once the musician is done playing, tap on the saxophone a few times and you will get the stone cube.
Once you’re done, tap on the arrow at the bottom of the screen to go back.
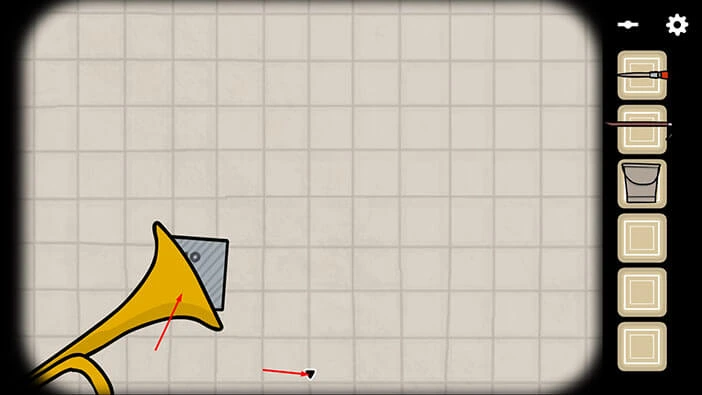
If you take a look at the tile, located next to the piece of paper on the left, you will notice that this tile is loose. Tap on it to take a closer look.
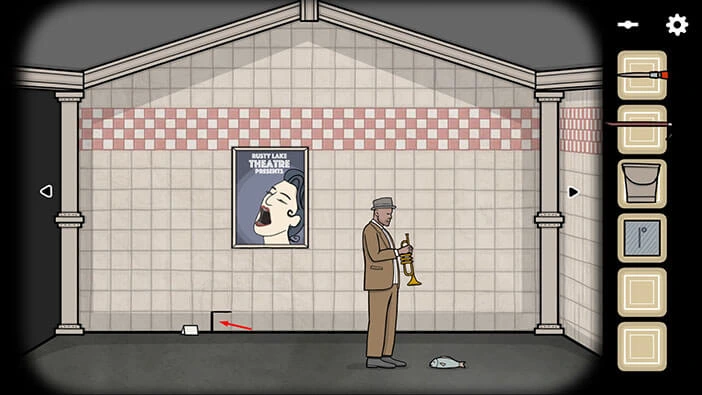
Select the “Crowbar” from the inventory and use it to remove the tile.
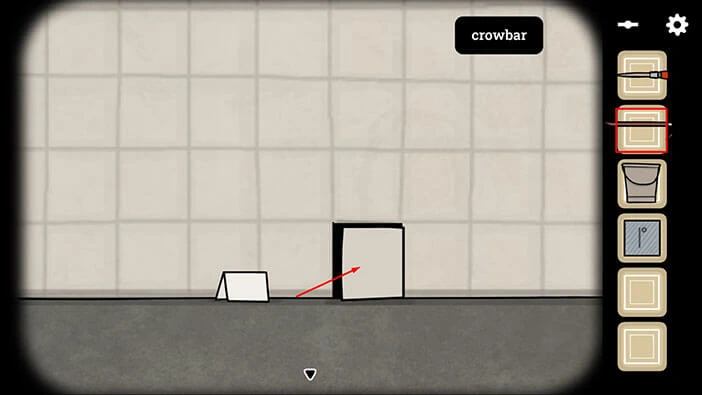
We removed the tile, and now we can see a hole in the wall. Inside, you will notice a “Bill” so tap on it to pick it up.
After that, tap on the arrow at the bottom of the screen to go back.
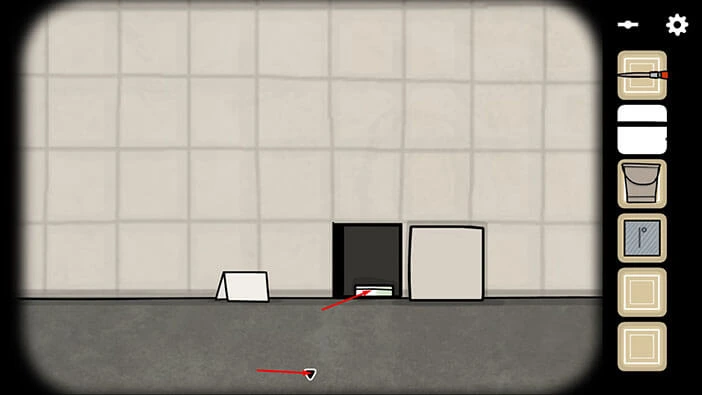
We can use a bill to buy a donut, so let’s do that. Tap twice on the arrow on the right.
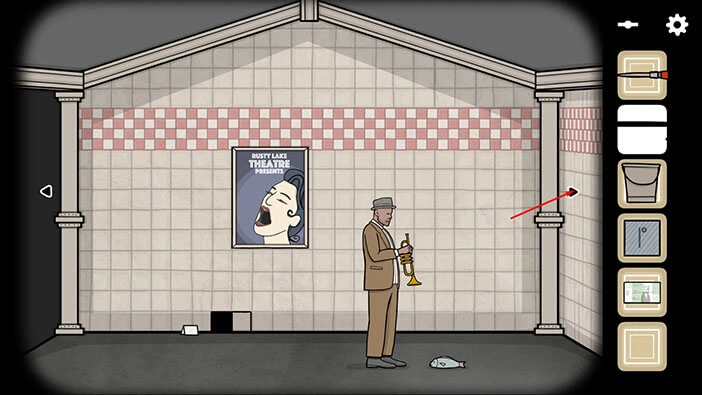
Tap on the “Food and Drinks” stand to take a closer look at it. Select the “Bill” from the inventory and give it to the man in front of you.
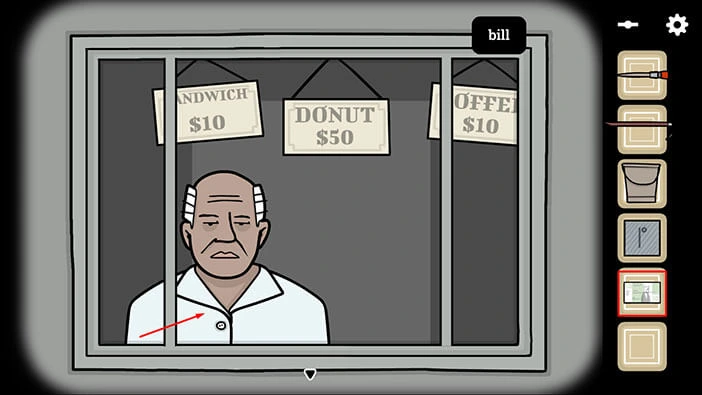
After that, tap on “Donut” to select it and the man will offer you a “Donut”. Tap on a “Donut” to pick it up.
Once you’re done, tap on the arrow at the bottom of the screen to go back.
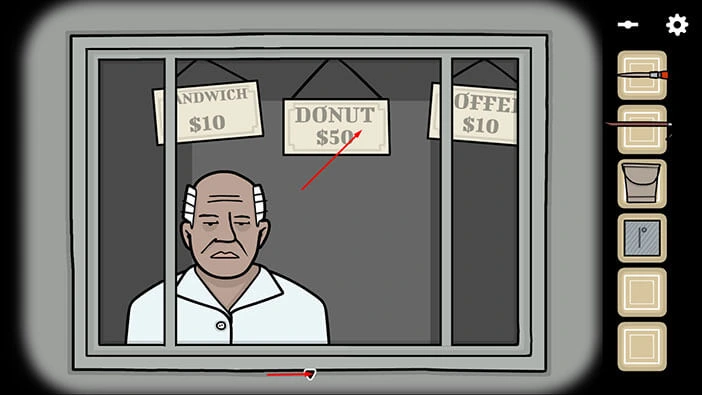
In the previous game, “The White Door”, we discovered that Bob likes donuts. So, let’s go to Bob and give him a donut.
Tap on the arrow on the left.
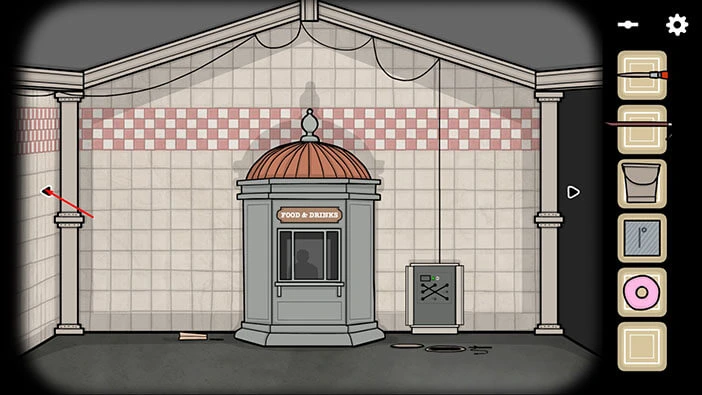
Tap on Bob to take a closer look at him. Select the “Donut” from the inventory and give it to Bob.
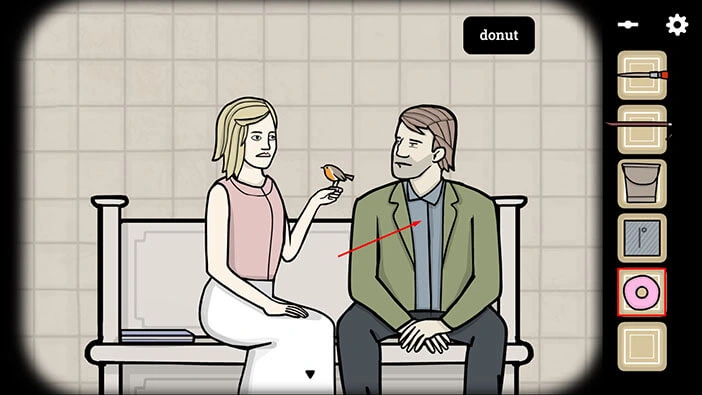
Tap on Bob to talk to him. He will thank you for bringing him a donut. You will also find out that the mysterious person visits the red tiled station at noon. Memorize/write down this information because we will need it later.

Before we proceed, tap on the notebook on the left to examine it.
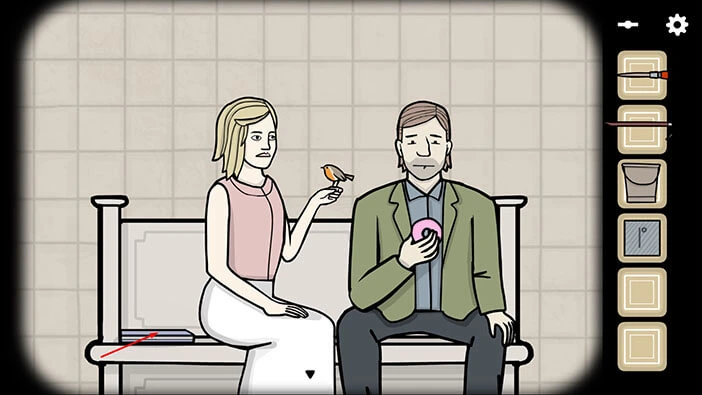
Drag on the page on the right to take a look at the next page. Here, we can see Mr. Owl and he has red eyes. Memorize/write down this information because we will need it later.
Once you’re done, turn the page two more times and you will see a picture of a tree.
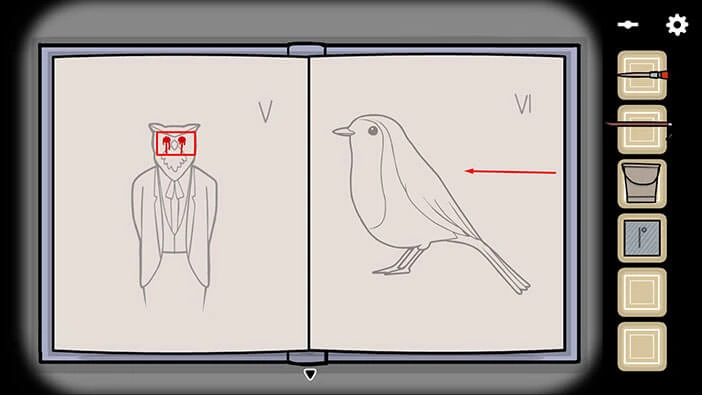
You will notice a hole to the left of the tree. Memorize/write down the location of the hole, because we will need it later.
Once you’re done, tap on the arrow at the bottom of the screen to go back.
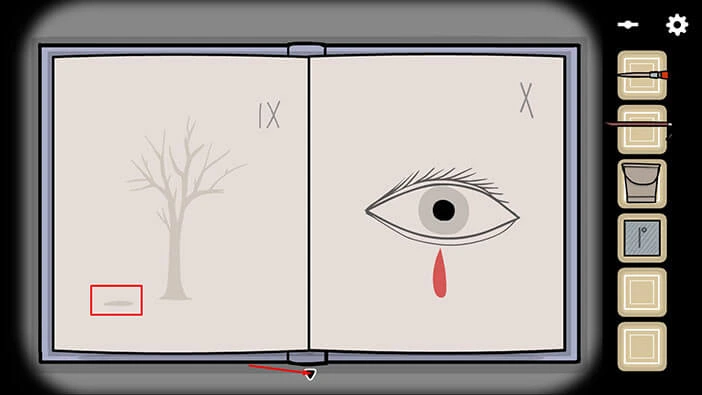
First, we will visit the statue of Mr. Owl. Tap on the button in the top right corner of the screen to bring up the map, then tap on the “Child Lane” station.
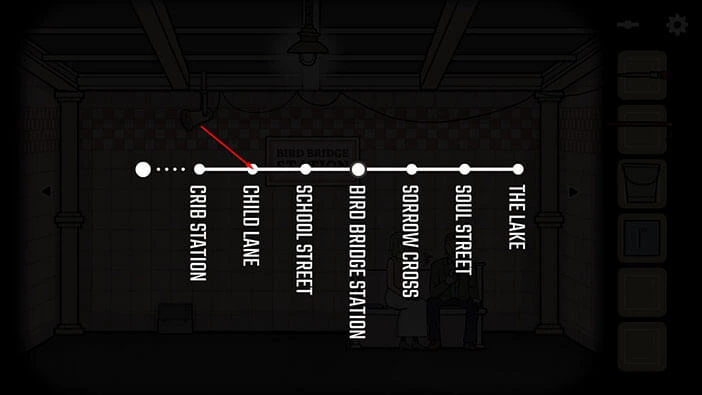
Exit the train, then tap on the arrow on the left to proceed to the room with the Mr. Owl statue.
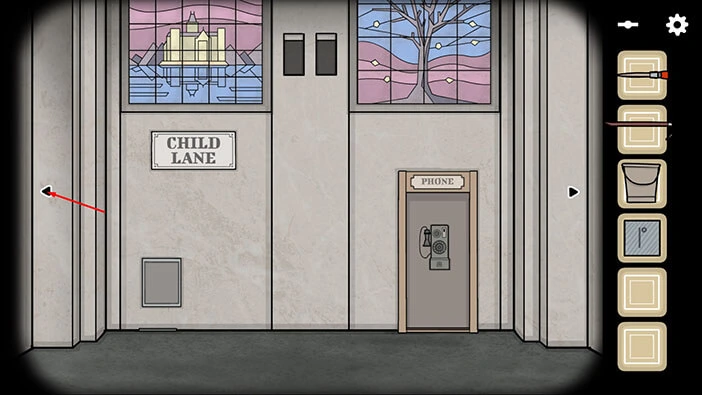
Tap on the Mr. Owl’s head to take a closer look at it. Select the “Brush with paint” from the inventory and use it to paint Mr. Owl’s eyes.
Once you’re done, tap on the arrow at the bottom of the screen to go back.
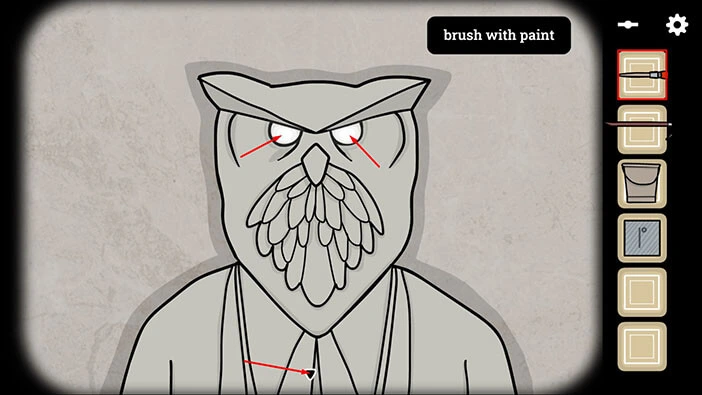
As soon as you paint Mr. Owl’s eyes, the screen will shake, indicating that we triggered some kind of reaction.
Tap on the lower part of Mr. Owl’s statue to take a closer look at it. You will notice that the secret compartment is now open, and inside you will see a “Locker Key”. Tap on it to pick it up.
After that, tap on the arrow at the bottom of the screen to go back.
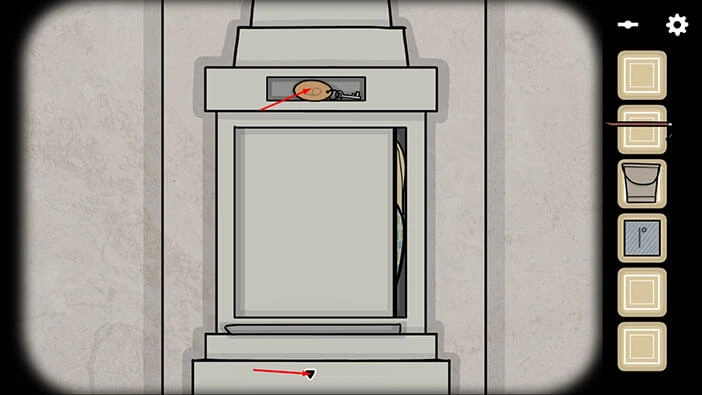
Before we proceed, tap on the ticket machine on the right to take a closer look at it. Here, we can see a 3×3 grid. Previously, we discovered the grid with the same dimensions when we removed the panel with the crowbar. On that grid, all the buttons in the first row were active, and the button in the bottom right corner (the third button in the third row) was also active.
So, let’s activate the same buttons on this grid.
Tap on the second button in the first row to activate it.
Tap on the second button in the second row to deactivate it.
Lastly, tap on the first button in the third row to deactivate it.
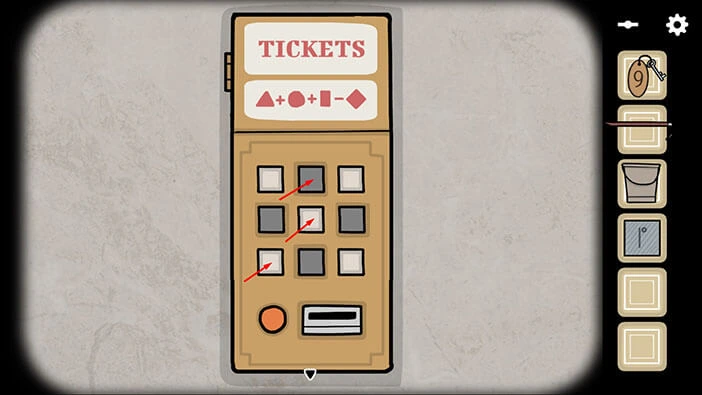
Once you’re done, tap on the red button to activate the machine.
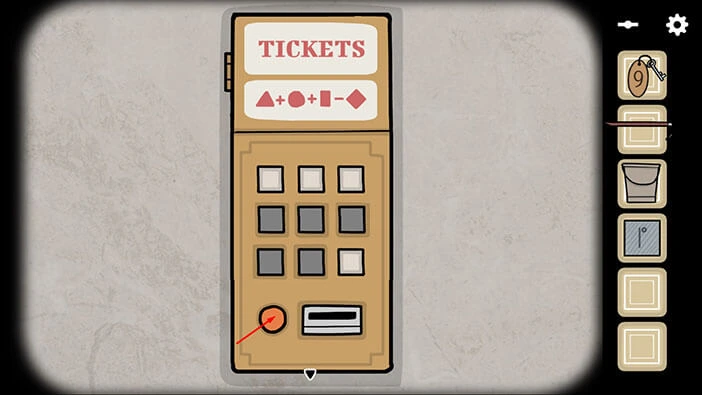
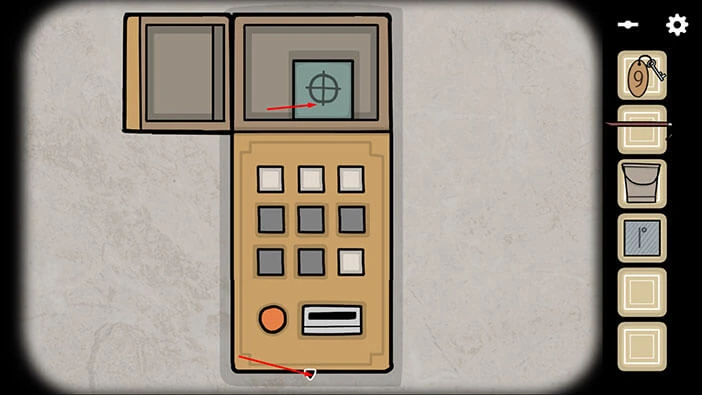
The top compartment will open, and inside you will find a “Marble Cube”. Tap on it to pick it up.
After that, tap on the arrow at the bottom of the screen to go back.
Next, we should use the locker key, and previously we saw several lockers in the “Soul Street” station. Tap on the button in the top right corner to bring up the map, then tap on the “Soul Street” station.
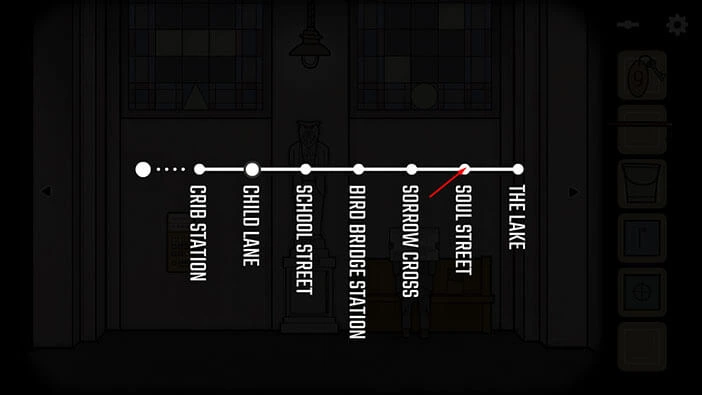
Exit the train, then tap on the arrow on the left to go to the room with lockers.
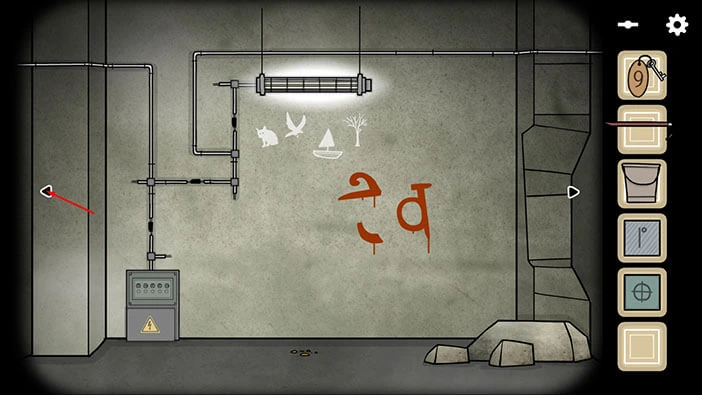
Tap on the lockers on the left to take a closer look at them. Select the “Locker key” from the inventory and use it to open locker number 9.
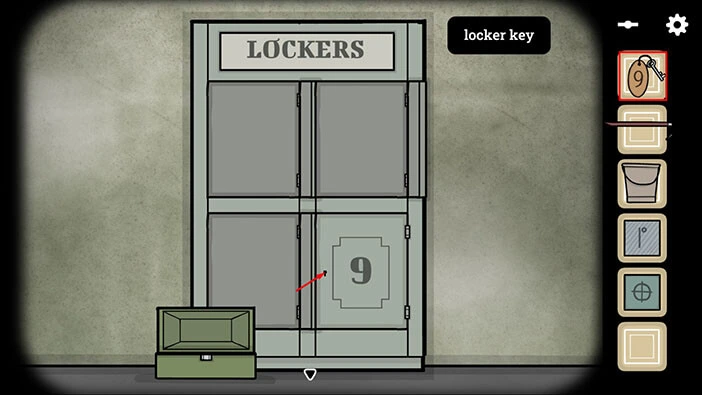
In the locker, you will find a “Copper Cube”. Tap on it to pick it up. After that, tap on the arrow at the bottom of the screen to go back.
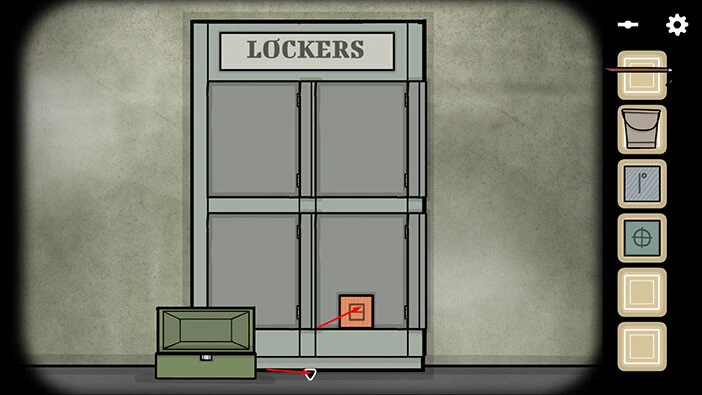
There is one more task that we can accomplish while we’re here, at the “Soul Street” station. Tap twice on the arrow on the left to go to the next room.
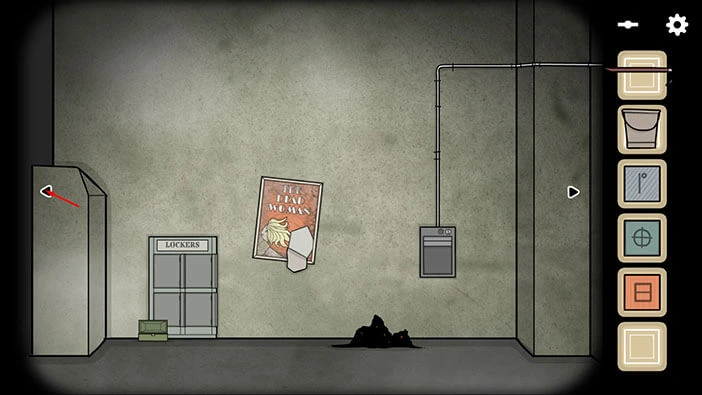
Tap on the pool of water to take a closer look at it. Select the “Bucket” from the inventory and fill it with water. “Bucket with water” will be added to your inventory.
After that, tap on the arrow at the bottom of the screen to go back.

Next, we should go to the “Bird Bridge” station and use the bucket with water to get one more item. Tap on the button in the top right corner of the screen to bring up the map, then tap on the “Bird Bridge” station.
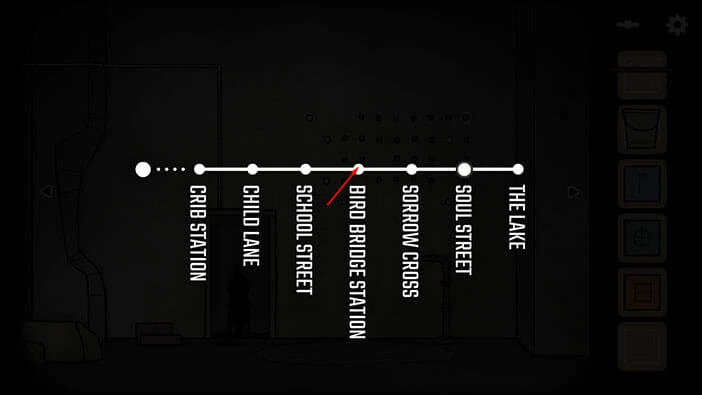
Exit the train, then tap on the arrow on the right to proceed to the next room.
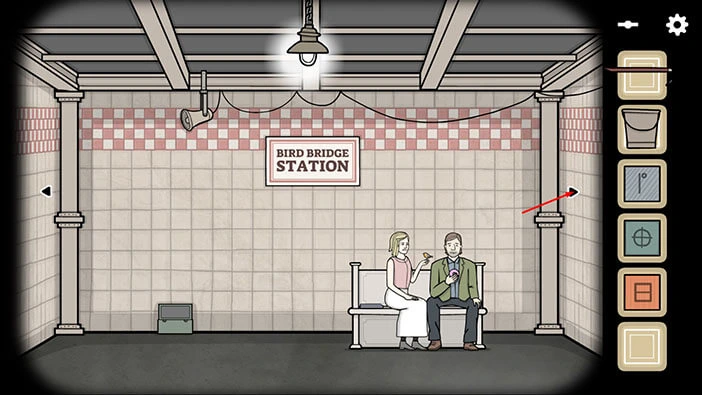
Tap on the hole to take a closer look at it. Select the “Bucket with water” from the inventory and fill the hole with water.
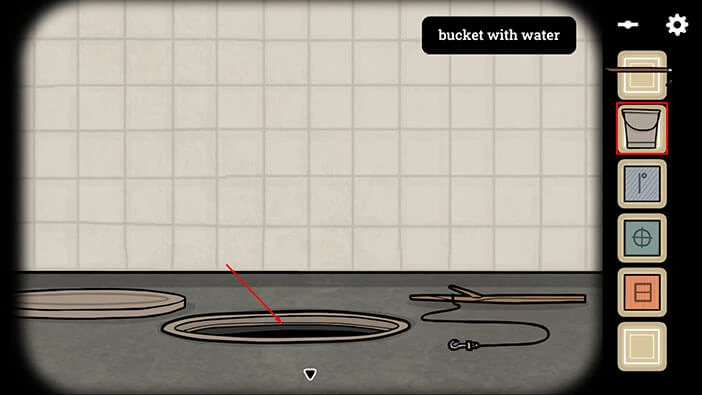
Once you fill the hole with water, a wooden stick will float up to the surface. Tap on the stick to pick it up, and “Fishing Net” will be added to your inventory.
Once you’re done, tap on the arrow at the bottom of the screen to go back.
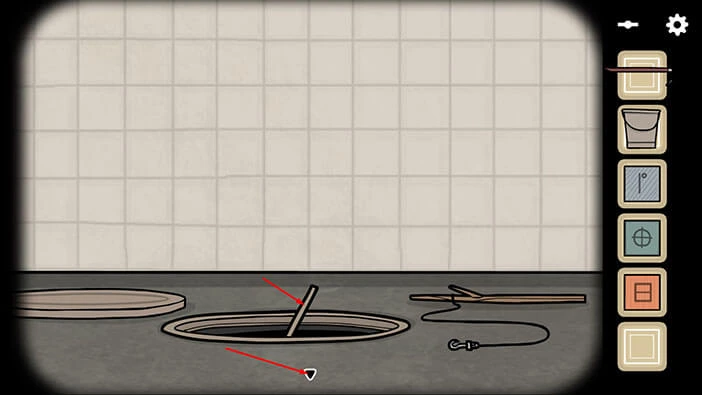
Next, we should look for the mysterious woman. This woman visits the red tiled station, and previously we saw the red tiles at the “Sorrow Cross” station.
So, tap on the arrow in the top right corner of the screen to bring up the map, then tap on the “Sorrow Cross” station.
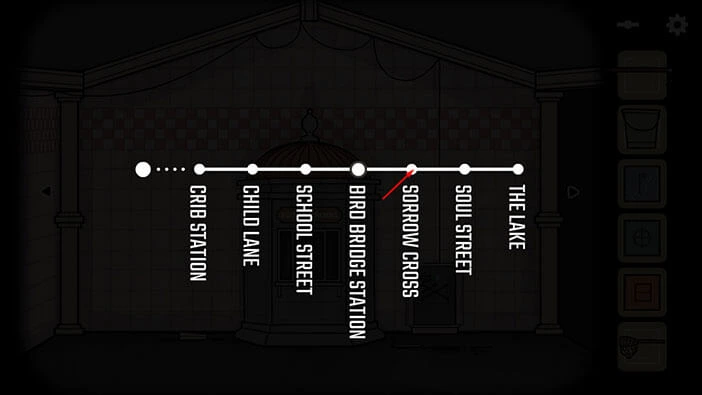
Exit the station, then tap twice on the arrow on the right to go to the room with the clock. You will notice the red tiles on the walls of this station.
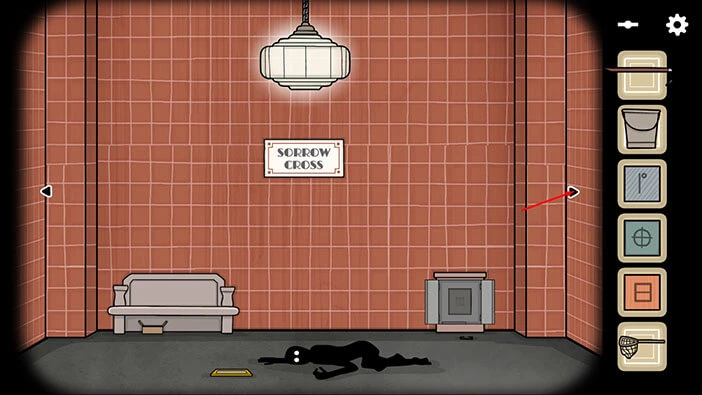
Tap on the clock to start the interaction. The mysterious person visits the station at 12 o’clock, so rotate the minute hand and set the time to 12 o’clock.
Once you’re done, tap on the arrow at the bottom of the screen to go back.
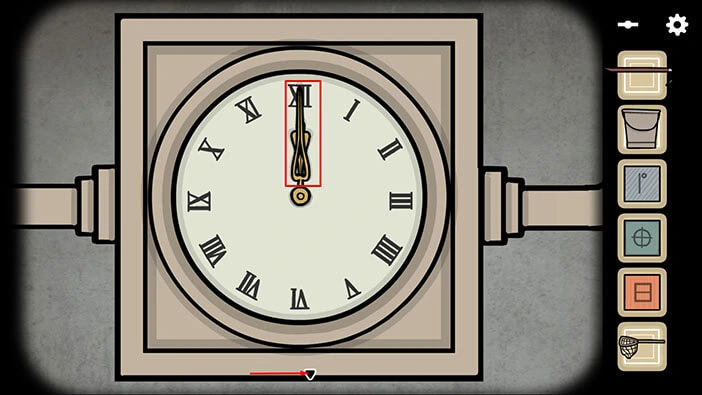
Let’s look for the mysterious person. Tap on the arrow on the left.
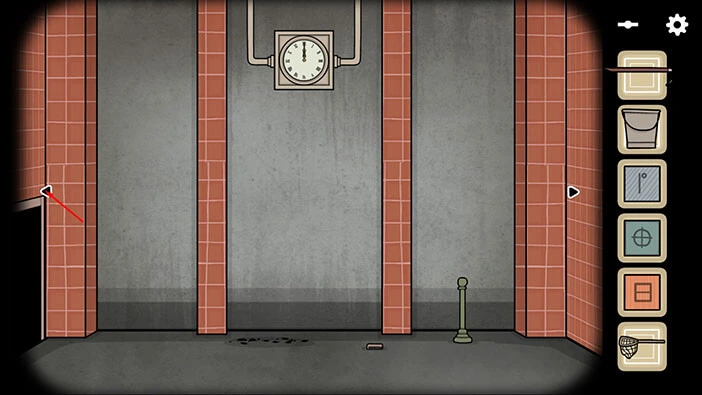
In the small room, where we previously found the shady character, we can now see the mysterious person. Tap on it to take a closer look, then tap again to start the interaction.
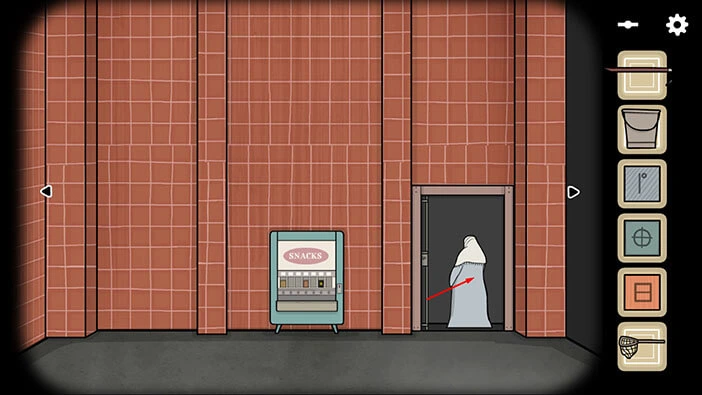
The mysterious person will offer you a cube. Tap on it to take a closer look, then tap again to take it. “Bone Cube” will be added to your inventory.
Once you’re done, tap on the arrow at the bottom of the screen to go back.

Let’s go back to “Soul Street” and do some fishing, since we now have a “Fishing net”. Tap on the button in the top right corner of the screen to bring up the map. After that, tap on the “Soul Street” station.
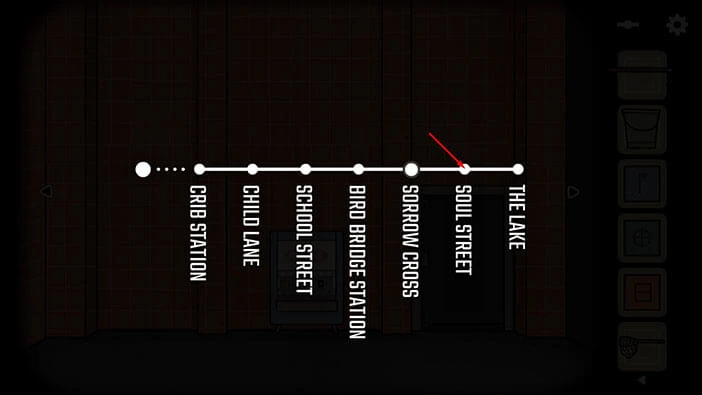
Exit the train, then tap on the arrow on the right to go to the room with the small water pool.
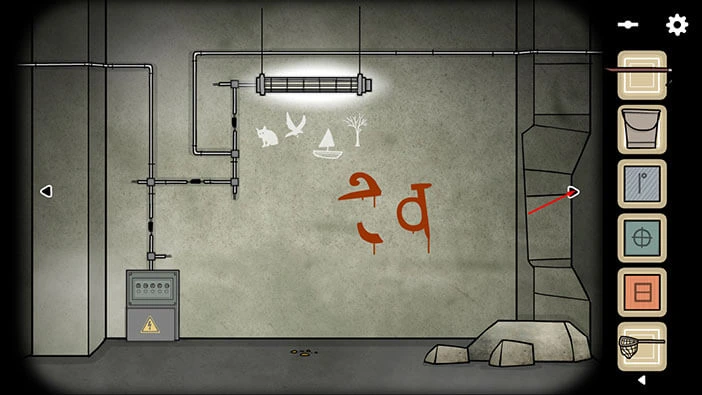
Tap on the pool of water to take a closer look at it. First, select the “Bucket” from the inventory then tap on the water to fill up the bucket. “Bucket with water” will be added to your inventory, and we will need it later in the walkthrough.
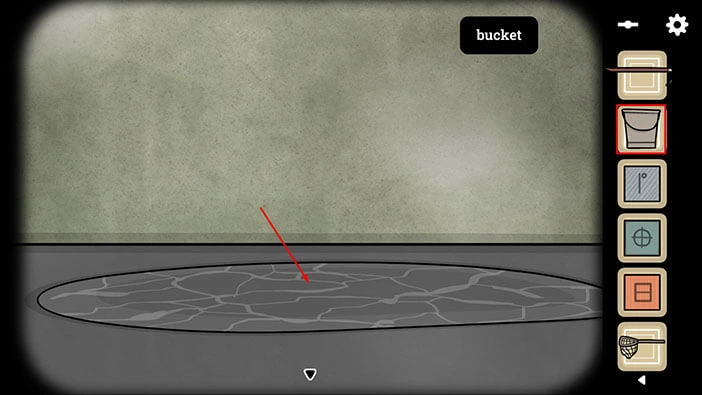
If you observe the water for several moments, you will notice a fish. So, select the “Fishing Net” from the inventory and wait for the fish to appear. Once it appears, tap on it to catch in the net.
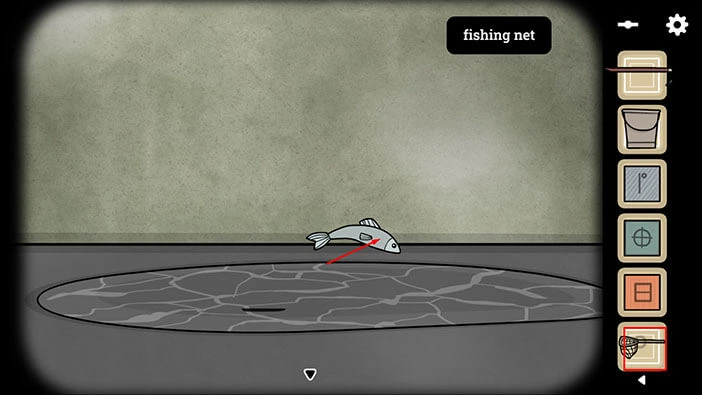
Your character will place the fish on the ground in front of you. Next, select the “Crowbar” from the inventory and use it to smash the fish.
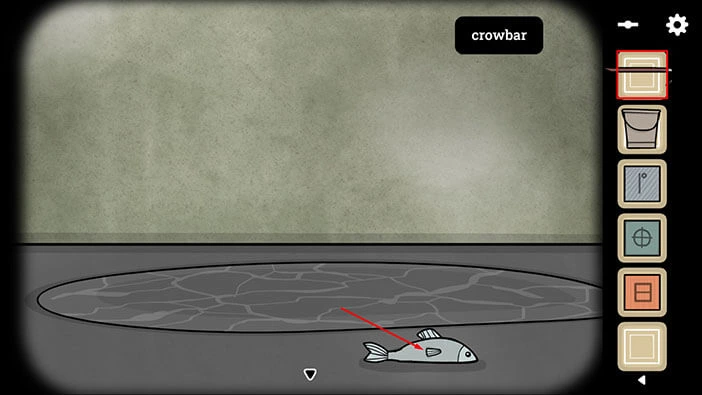
In the remains, you will discover a “Key”. Tap on it to pick it up. After that, tap on the arrow at the bottom of the screen to go back.

Next, we should go to the “Crib” station, and use the key to unlock the ticket booth. So, tap on the button in the top right corner of the screen to bring up the map then tap on the “Crib” station.
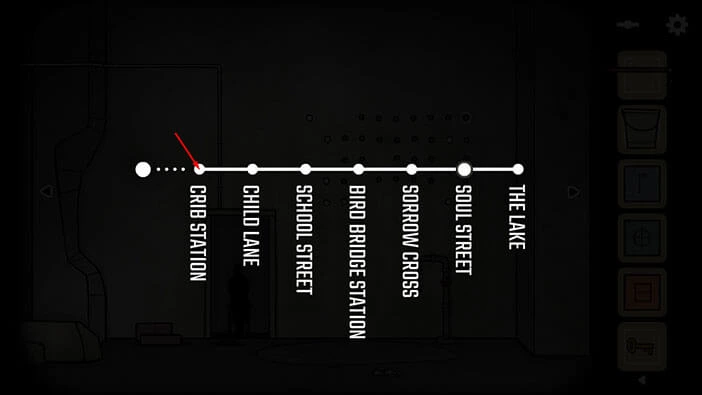
Tap on the arrow on the left to go to the room with the ticket booth.
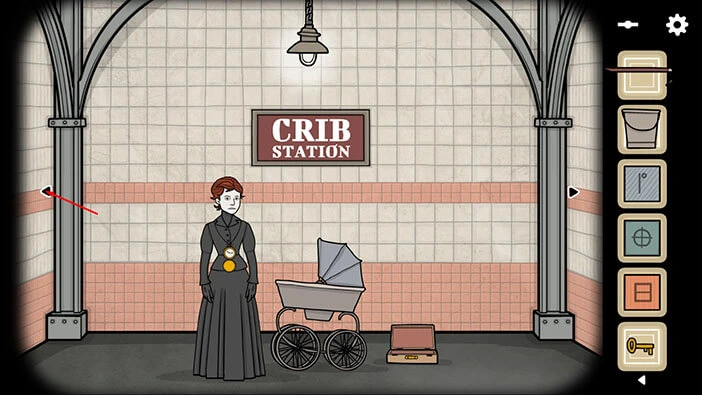
Tap on the ticket booth on the right to take a closer look at it. Select the “Key” from the inventory and insert it into the keyhole. After that, tap on the key to unlock the ticket booth.
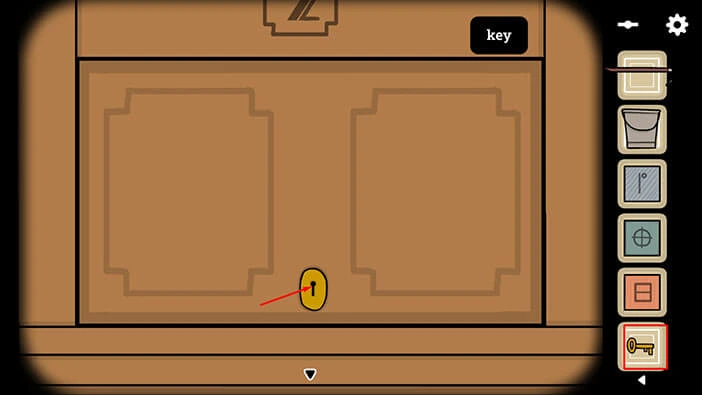
Lastly, drag up to take a look inside the ticket booth.
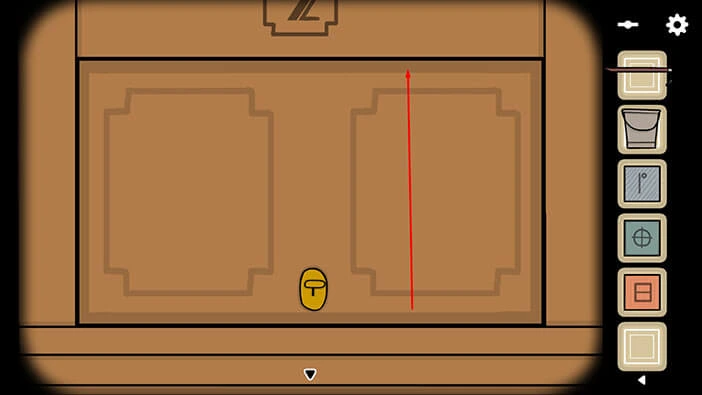
On the right, you will notice another cube. Tap on it to pick it up and “Bronze Cube” will be added to your inventory.
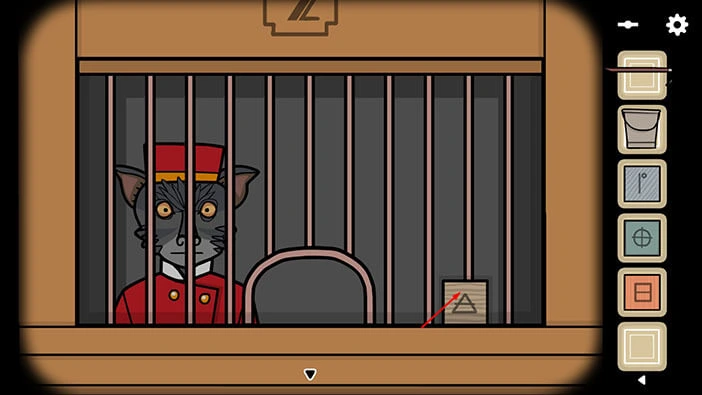
Next, tap on the cat to talk to it. The cat will tell you that the ticket costs “One shrimp”. We will come back to it.
For now, tap on the arrow at the bottom of the screen to go back.
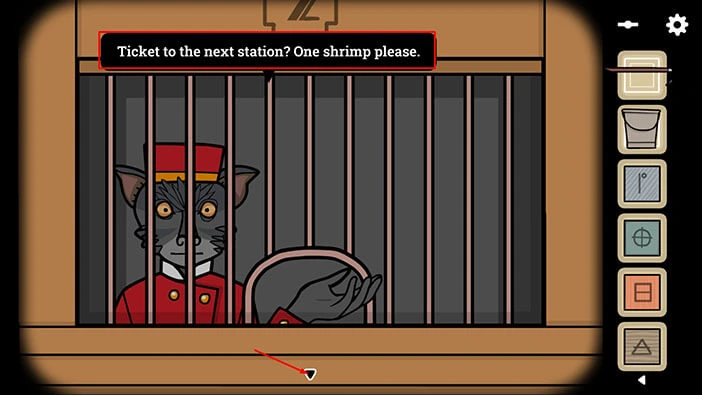
Next, we can use the “Bucket with water”. So, tap twice on the arrow on the right to go to the next room.
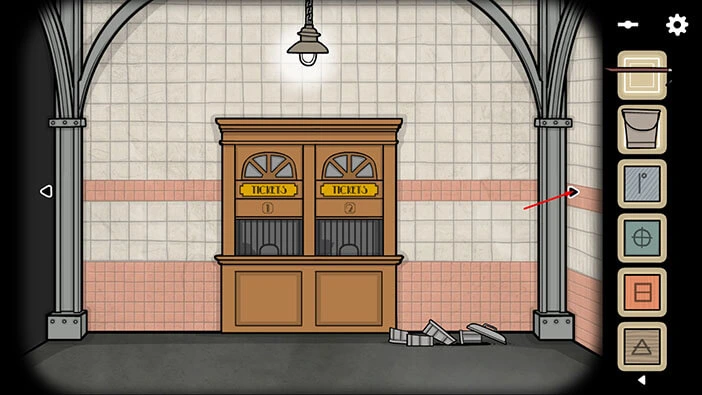
Tap on the metal bar on the floor to take a closer look at it. Select the “Bucket with water” from the inventory and fill up the hole with water.
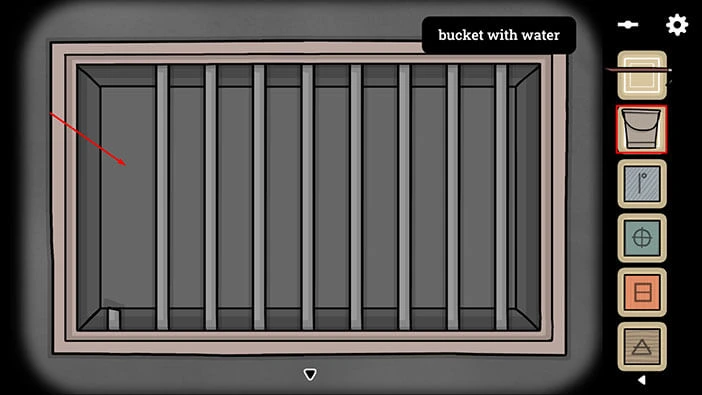
Tap on the water in the hole to release it.
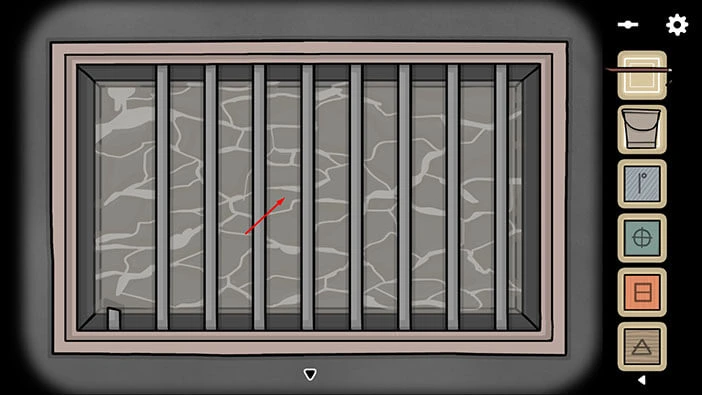
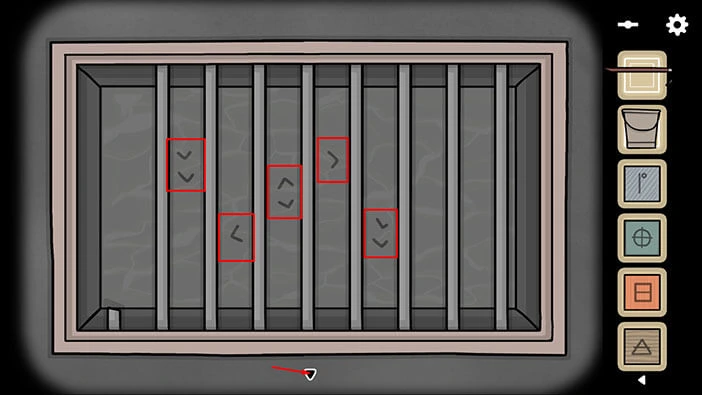
We can now see five arrows at the bottom. Let’s memorize/write down these arrows because we will need them for the next puzzle. So, looking from left to right we have,
First: Two arrows pointing down
Second: One arrow pointing to the left
Third: One arrow pointing up and one arrow pointing down
Fourth: One arrow pointing to the right
Fifth: Two arrows pointing down
Once you’re done, tap on the arrow at the bottom of the screen to go back.
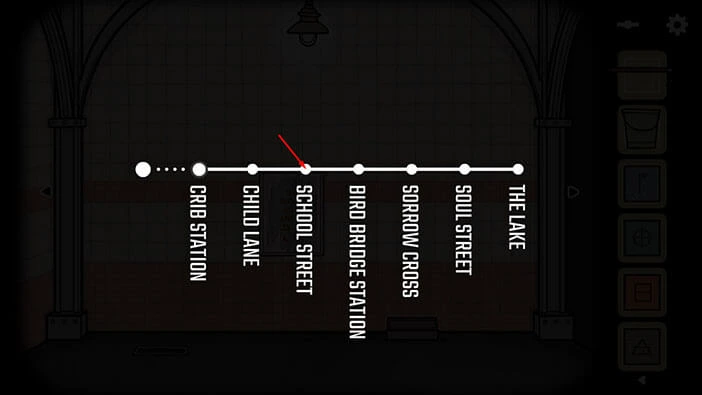
Let’s go back to the “School Street” station and use the information that we discovered. Tap on the button in the top right corner of the screen to bring up the map, then tap on the “School Street” station.
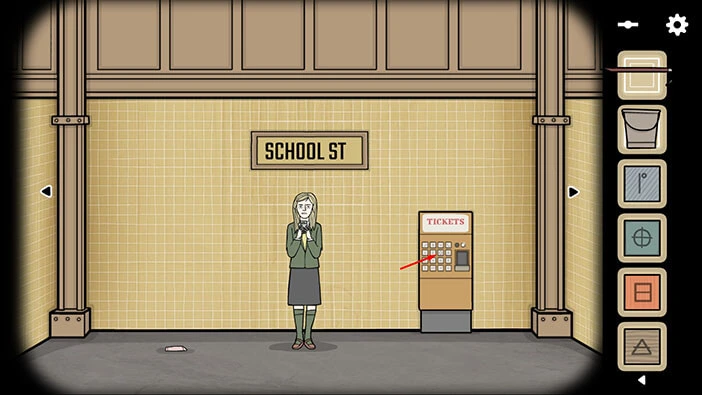
Exit the train, then tap on the ticket machine on the right to take a closer look at it.
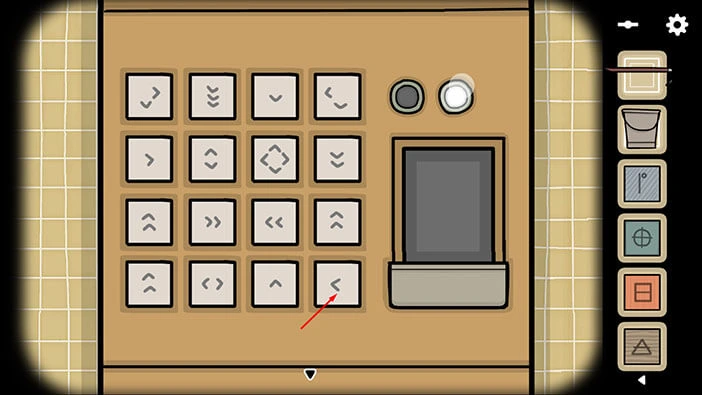
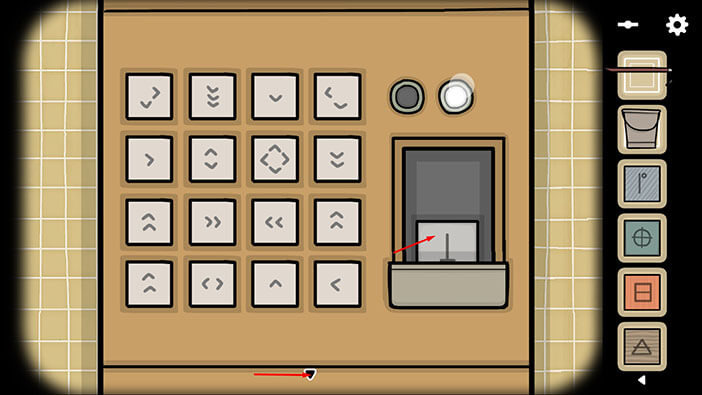
We already solved this puzzle during the first walkthrough of the game. However, this time we don’t have to look for a correct path, we just need to press the buttons with the arrows that we saw previously (the order of the arrows is also important). We will do this in several steps. Let’s begin.
Step 1
Tap on the fourth button in the second row (two arrows pointing down).

Step 2
Tap on the fourth button in the fourth row (one arrow pointing to the left)
Step 3
Tap on the second button in the second row (one arrow pointing up and one arrow pointing down)

Step 4
Tap on the first button in the second row (one arrow pointing to the right)

Step 5
Lastly, tap again on the fourth button in the second row (two arrows pointing down).

As soon as you tap on the correct buttons, the cube will fall out of the ticket machine. Tap on it to pick it up, and the “Ice Cube” will be added to your inventory.
After that, tap on the arrow at the bottom of the screen to go back.
Ok, we now have six out of seven cubes, so we just have to find one more cube. If you recall, when we examined the notebook, we saw a hole next to the tree. We can find this tree in “The Lake” station, so let’s go there.
Tap on the button in the top right corner to bring up the map, then tap on “The Lake” station.
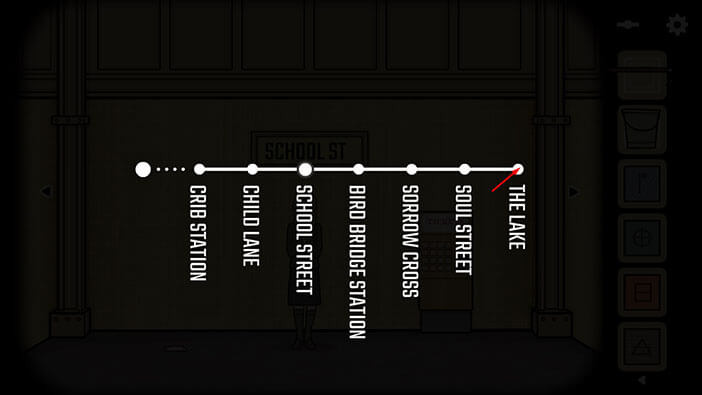
Exit the train, then tap on the arrow on the right to proceed to the next area.
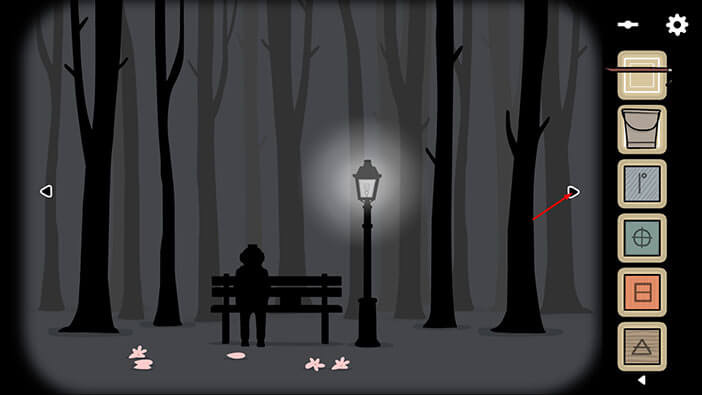
Tap several times on the tree in the distance to take a closer look at it.

Previously, when we examined the notebook, we saw a hole in the ground just to the left of the tree. So, let’s tap on this position.

The hole will appear on the ground, so tap on it to dig a bit more, and tap again to examine the hole.
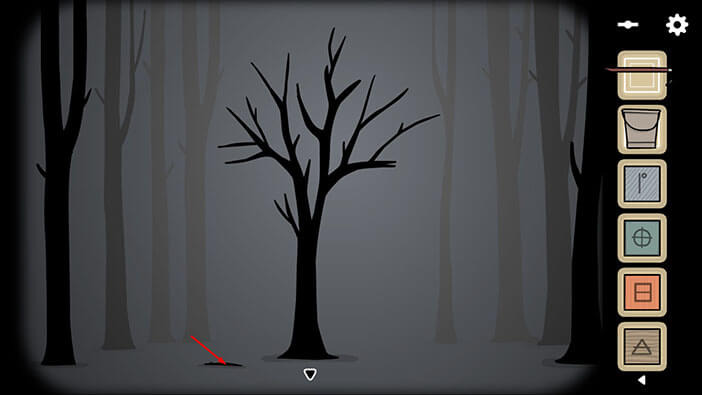
Tap on the dirt again and you will discover a cube. Tap on it to pick it up and “Wooden Cube” will be added to your inventory.
Once you’re done, tap on the arrow at the bottom of the screen to go back.
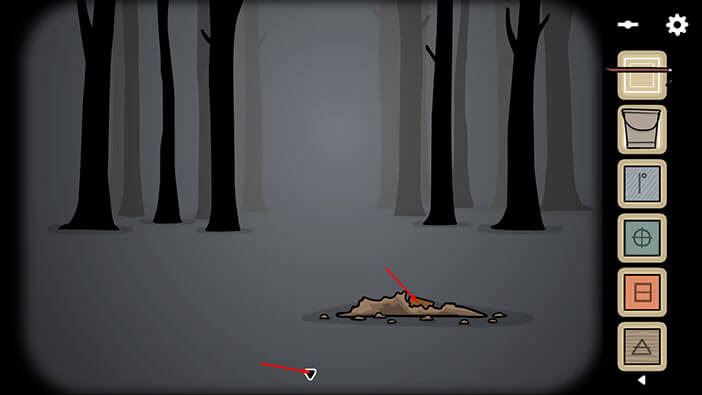
Let’s go back to the first area. Tap on the arrow on the left to go back.
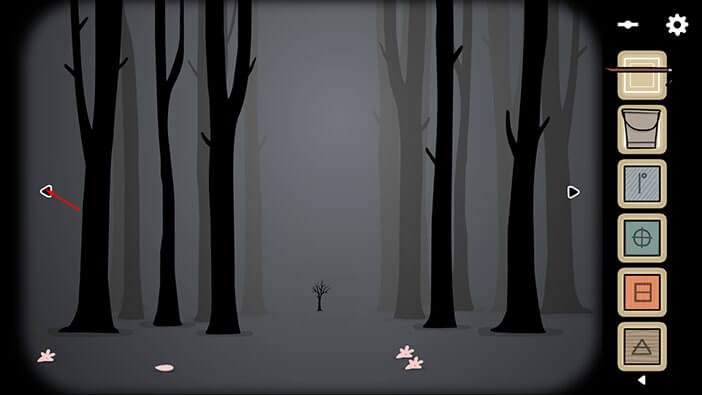
Tap on the person on the bench to take a closer look, then tap on the suitcase to start the interaction.

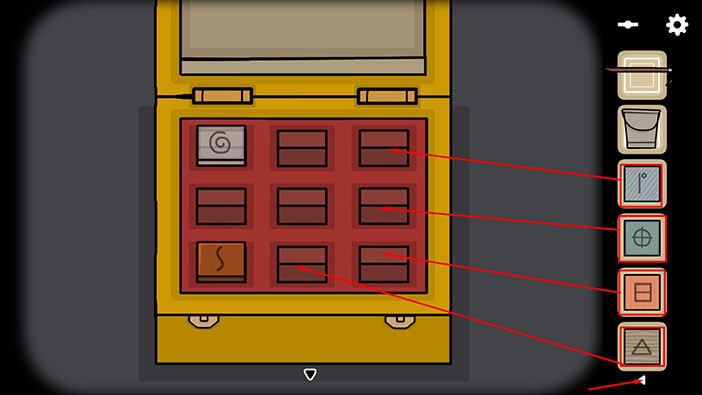
We found all seven cubes, so let’s put them in the suitcase. Select all cubes from the inventory and put them in the suitcase.
Tap on the arrow in the bottom right corner of the screen to see the rest of the inventory.
Once you’re done, tap on the arrow at the bottom of the screen to go back.
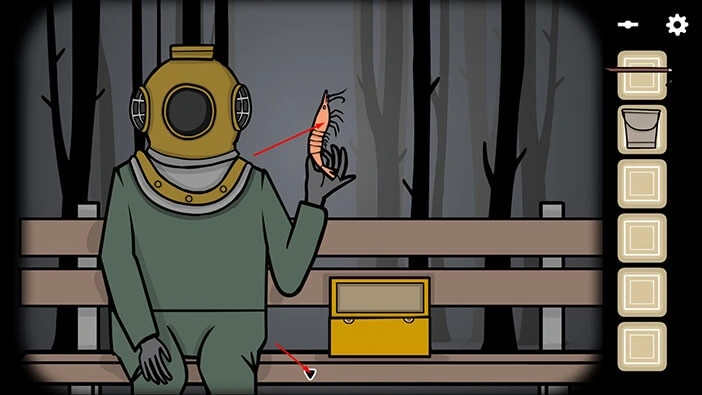
You will be offered a “Shrimp” so tap on it to pick it up. You will complete the “One shrimp please” achievement.
Once you’re done tap on the arrow at the bottom of the screen to go back.
Previously, the cat said that we had to find one shrimp in order to buy the ticket. So, let’s go back to the cat.
Tap on the button in the top right corner of the screen to bring up the map, then tap on the “Crib” station.
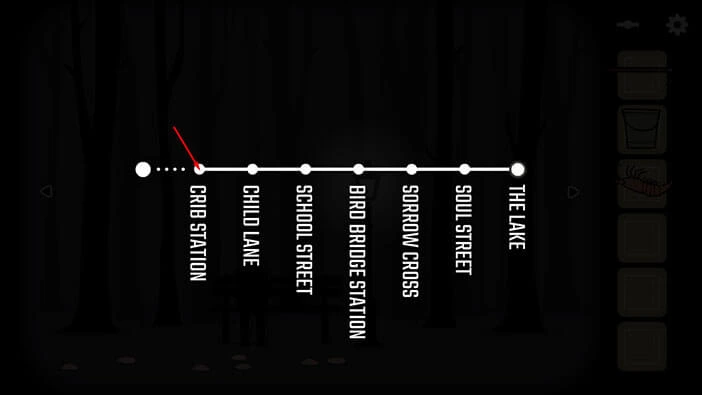
Tap on the arrow on the left to go to the room with the ticket booth.
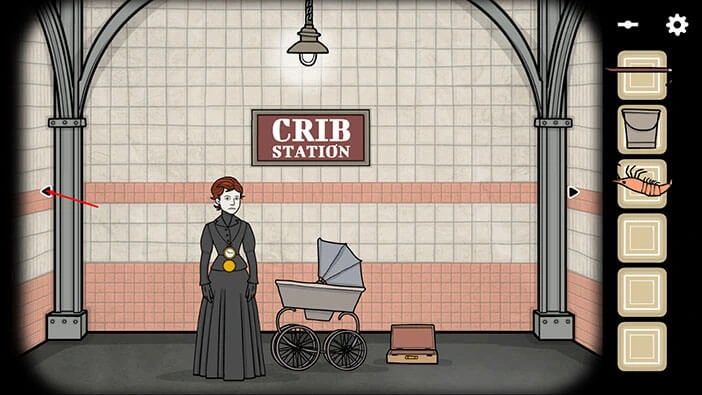
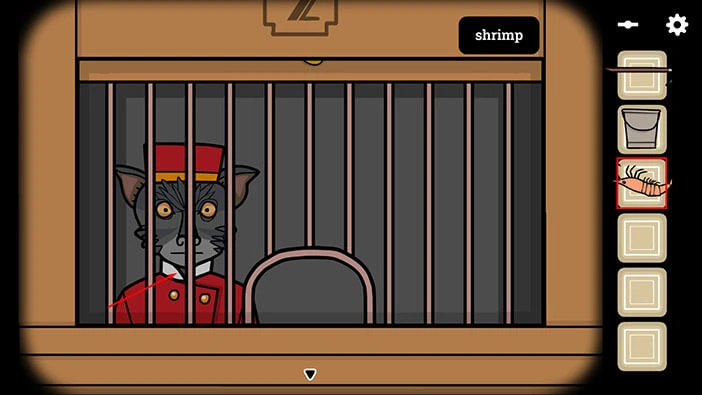
Tap on the ticket booth to take a closer look at it. Select “Shrimp” from the inventory and give it to the cat.
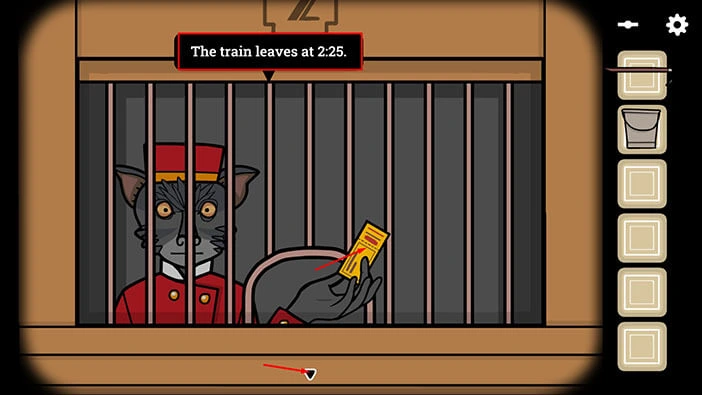
The cat will offer you a ticket, and it will say that the train leaves at 02:25. Memorize/write down the correct time. After that, tap on the ticket to pick it up, and “Golden Ticket” will be added to your inventory.
Tap on the arrow on the left to go to the room with the clock.
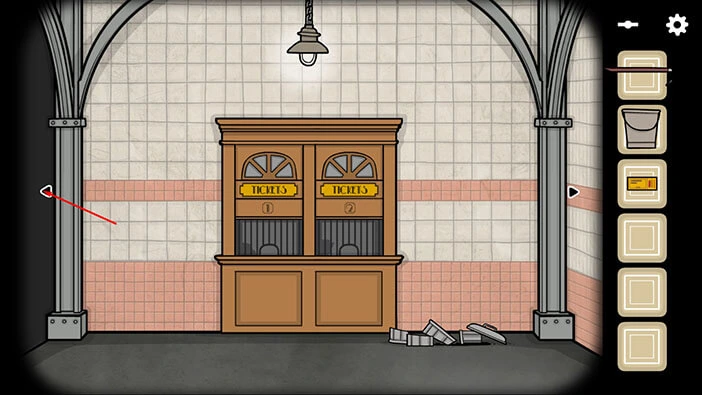
Tap on the clock to take a closer look at it. Rotate the minute hand and set the time on the clock to 02:25.
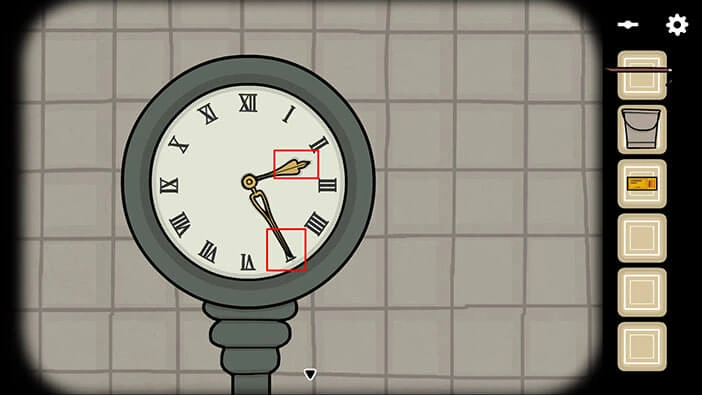
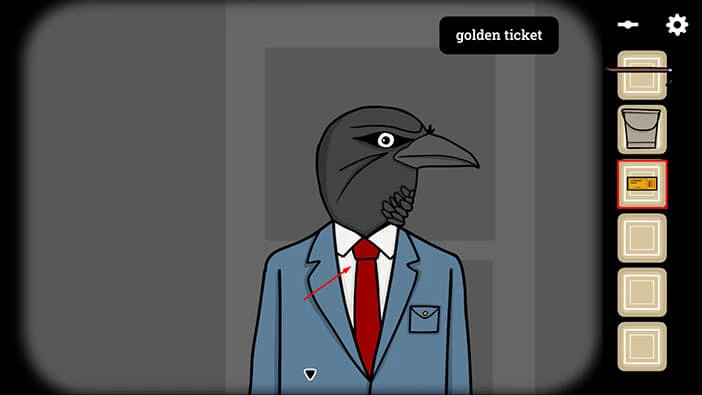
A few moments later a train will arrive. Tap on the train door to open then tap on the ticket collector (with raven head) to start the interaction.

Select the “Golden Ticket” from the inventory and give it to the ticket collector.
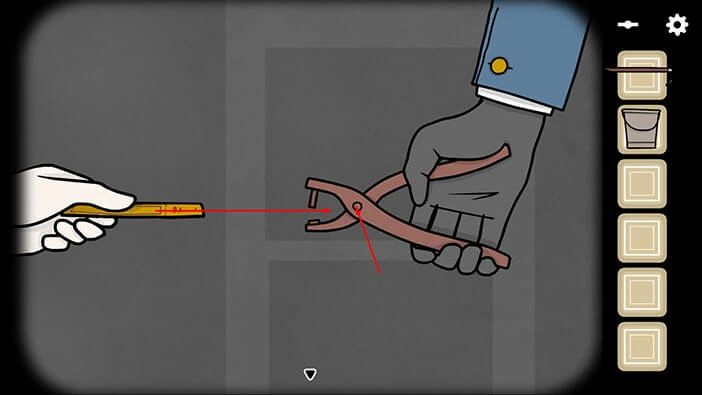
Tap on the ticket punch to open it, then drag the ticket to the right. Lastly, tap on the ticket punch to complete the interaction.
Tap on the golden train to proceed to the next station.
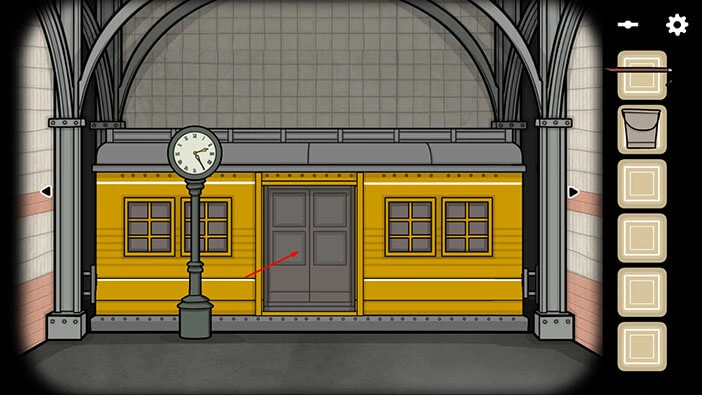
A few moments later, you will reach the “Rusty Lake Hotel”. Let’s get off the train and look around.
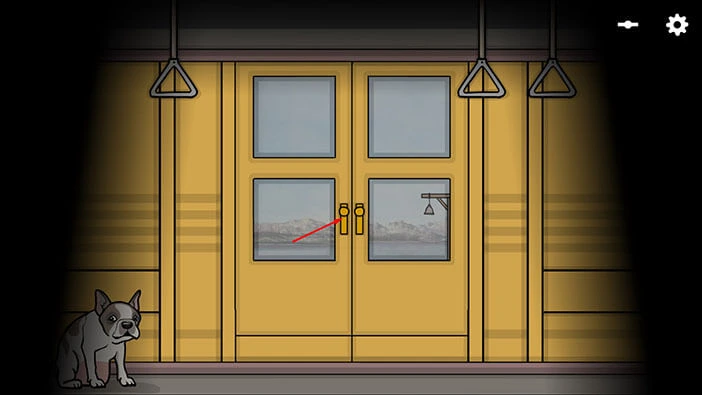
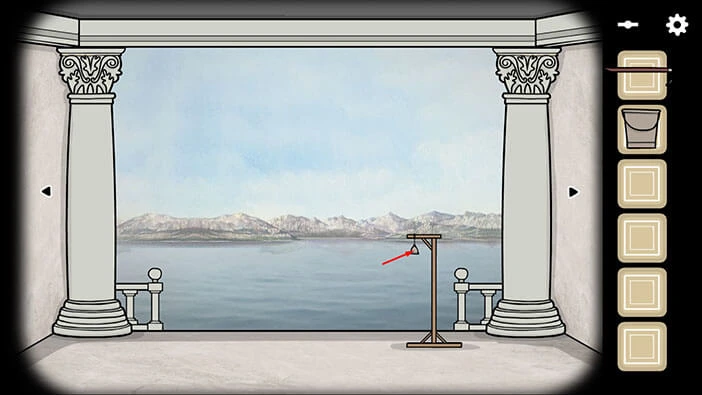
Ring the bell in front of you, and you will summon a boat.
Tap on the boat to get in.
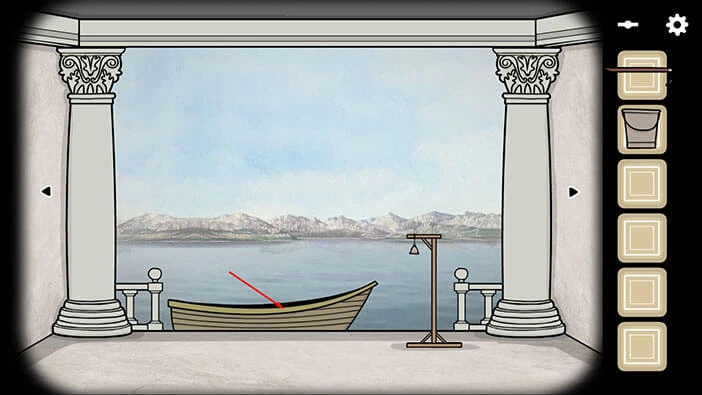
You will see the “Rusty Lake Hotel” in the distance, so let’s tap on it several times. Each time you tap on the hotel you will get a bit closer to the hotel.
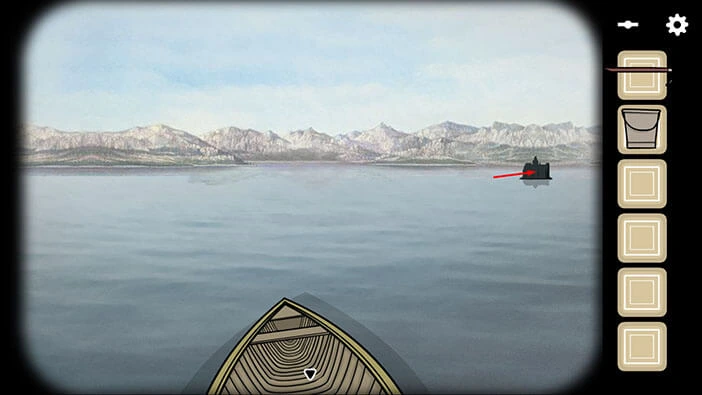
When you finally reach the hotel, tap on the front door to open it.
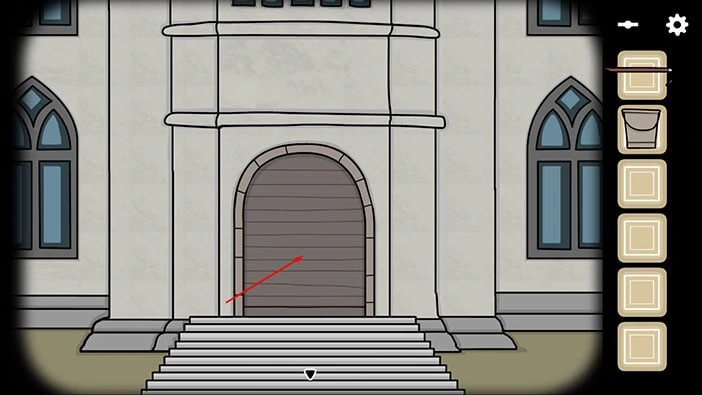
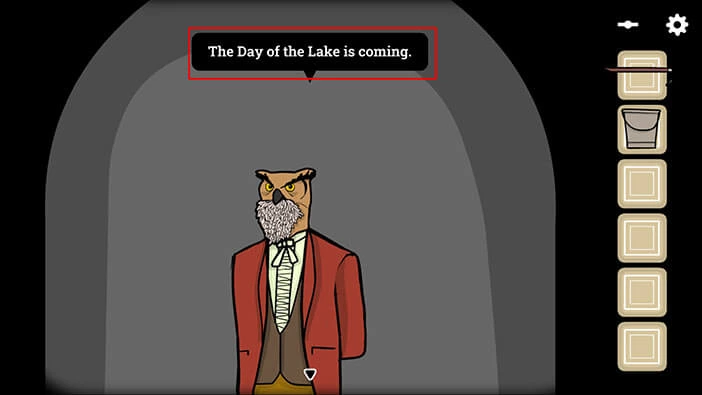
Tap on the figure on the other side of the door to take a closer look at it, and you will see Mr. Owl.
Tap on Mr. Owl to talk to him. He will greet you and he will also say that it is good to see you again (so, our character was at the Rusty Lake Hotel before). However, he will quickly change the topic, and he will tell you that you two have some serious work ahead of you because the Day of The Lake is drawing near.
Well, it seems that we have reached the end. However, there are still a few more mysteries that we can explore, so let’s tap on the “Continue” button.
Once you complete the game, you can continue playing and discover some additional secrets. You can check out the walkthrough for the second part of the “bonus chapter”, “The Remaining Achievements”, by tapping on the “Next Part” button.
Thank you for reading.