Underground Blossom – Chapter 5 | Sorrow Cross
Intro
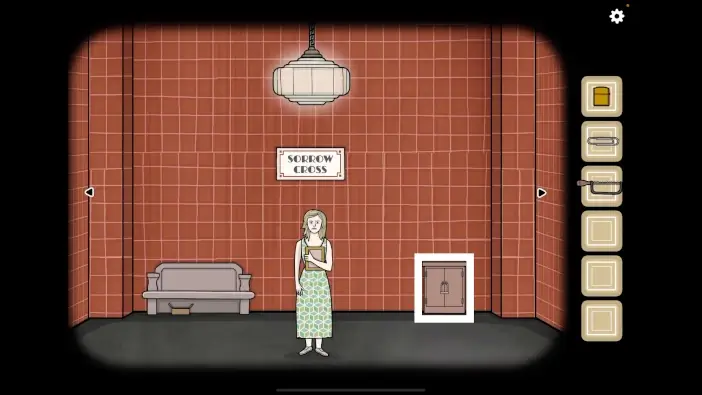
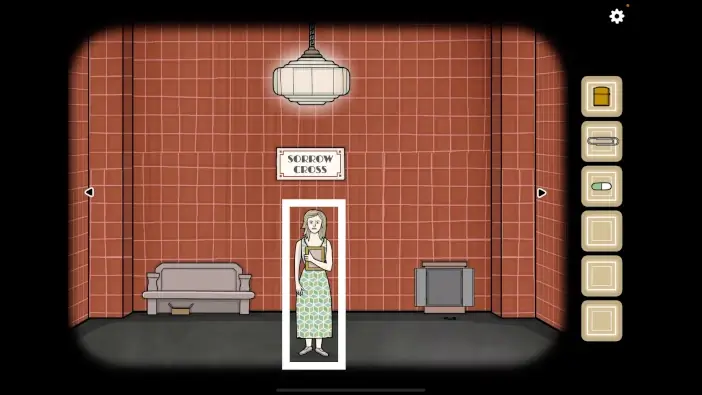
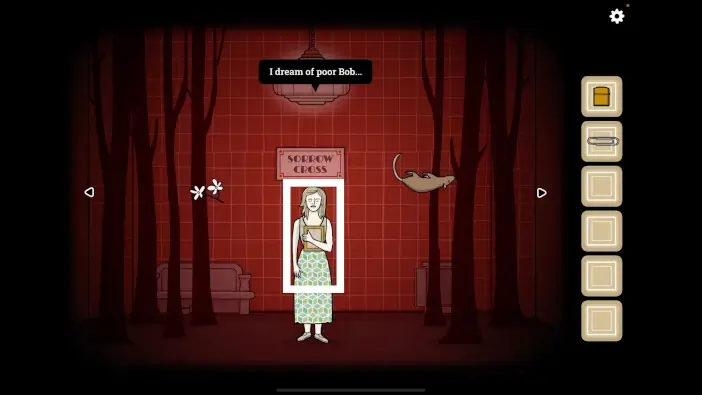
Welcome to our walkthrough for Chapter 5 of the Underground Blossom from Rusty Lake. In this chapter, you will visit Sorrow Cross, Laura’s memory of her difficult times.
Walkthrough
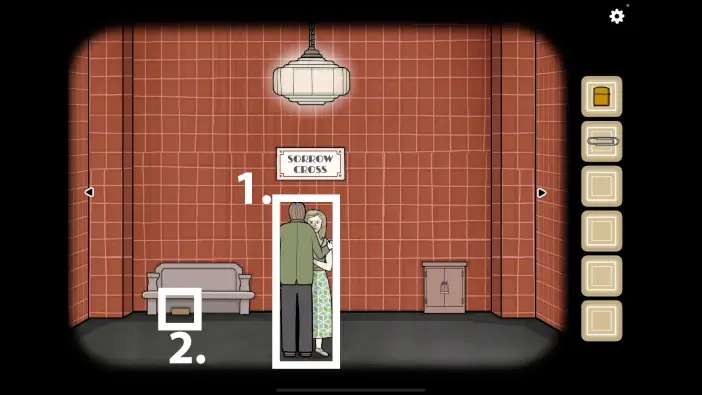
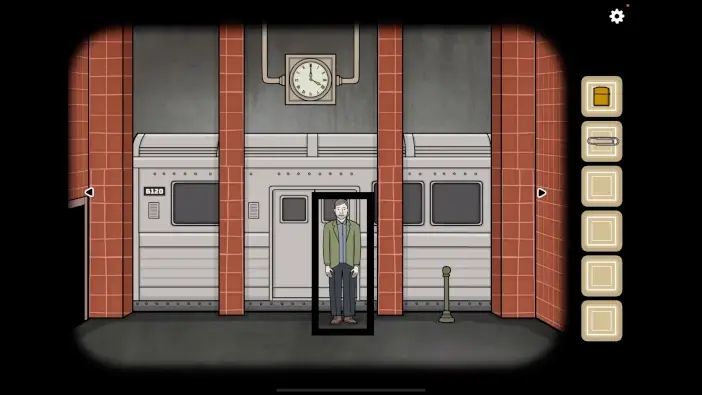
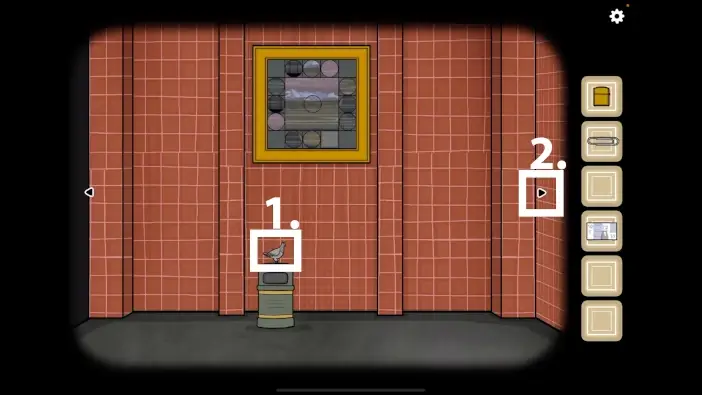
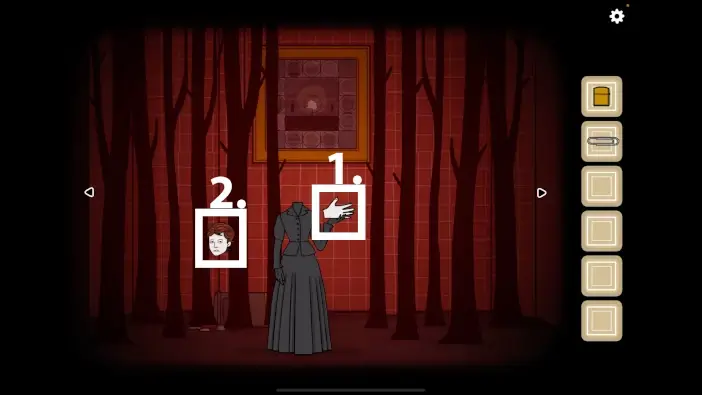
- When you arrive at the Sorrow Cross, approach Bob and Laura. Click on Laura several times to see all the dialogue. She will mention to Bob that his train leaves at four o’clock.
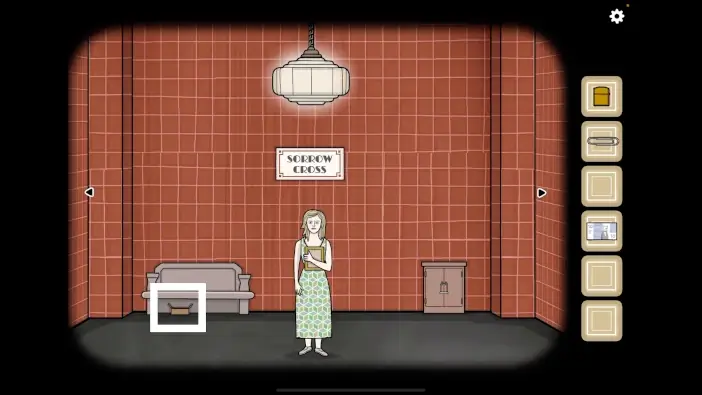
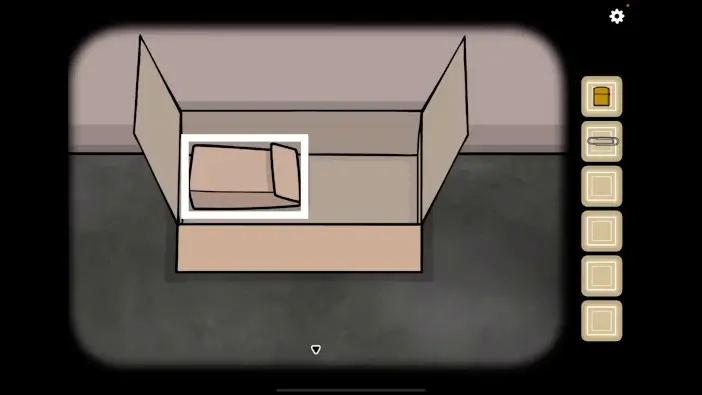
- Open the box on the floor beneath the bench.
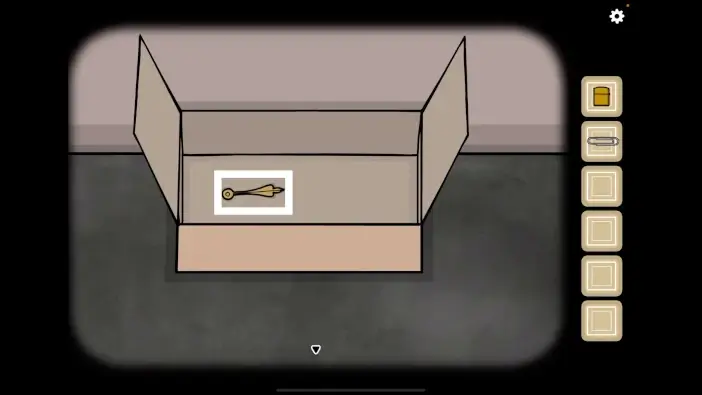
Take the clock hand.
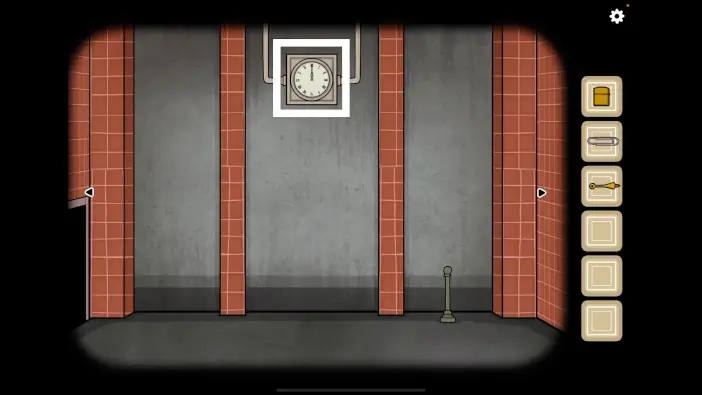
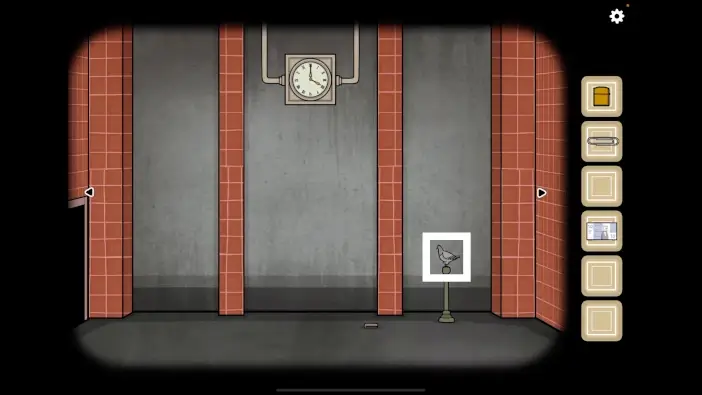
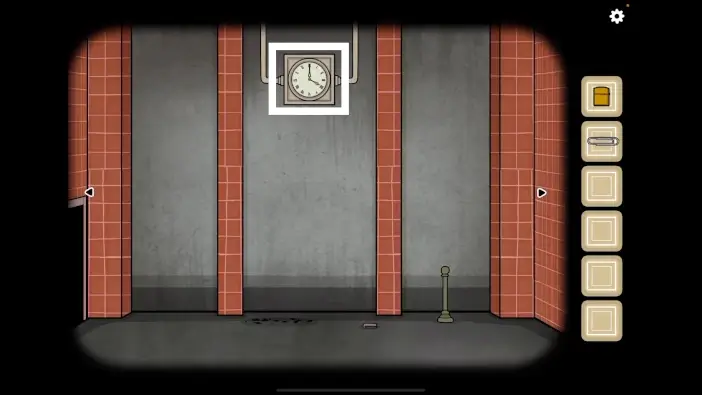
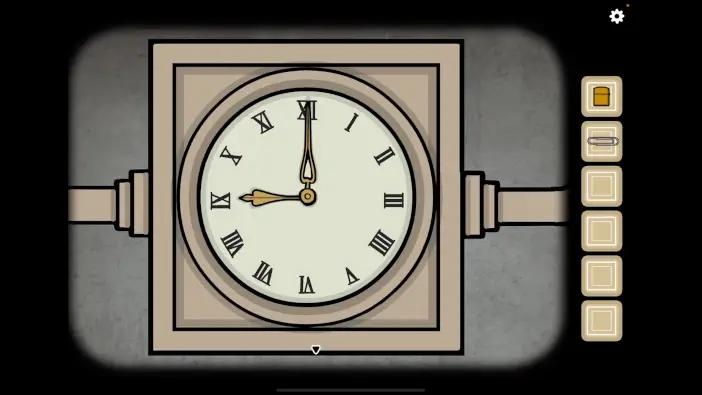
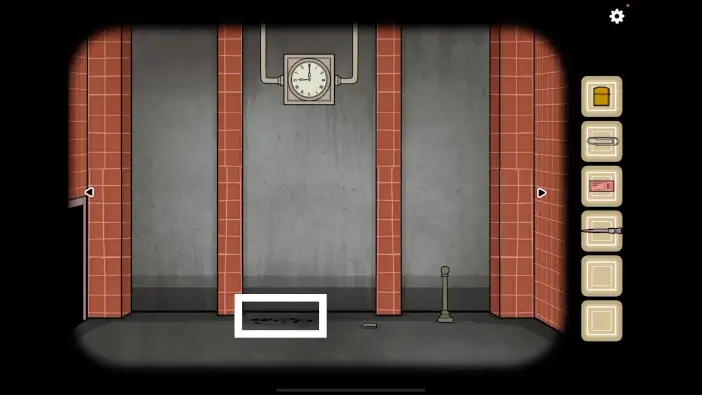
Go to the railway platform and approach the clock.
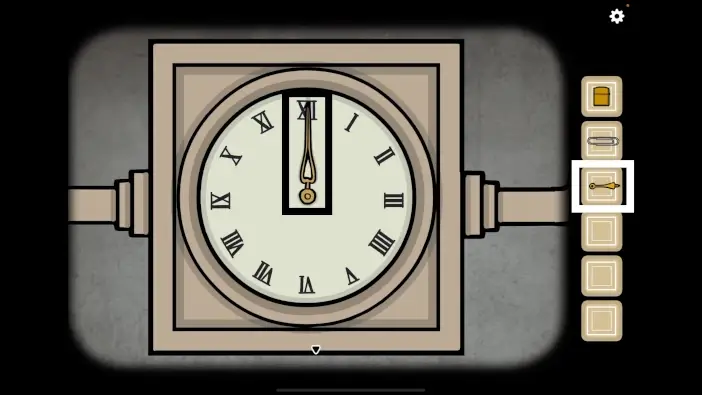
Attach the hour hand to the clock.

Change the time to 16h. The train for Bob will arrive.
Speak with Bob. Afterwards, he will leave.
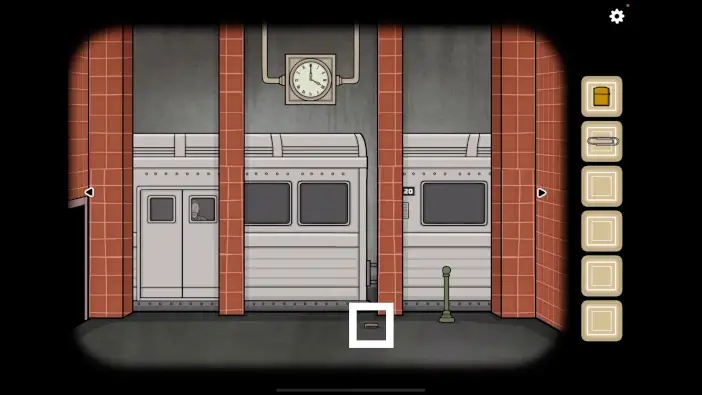
Open Bob’s wallet on the ground.
Open the right compartment and take the coin. You’ll use it for the vending machine.
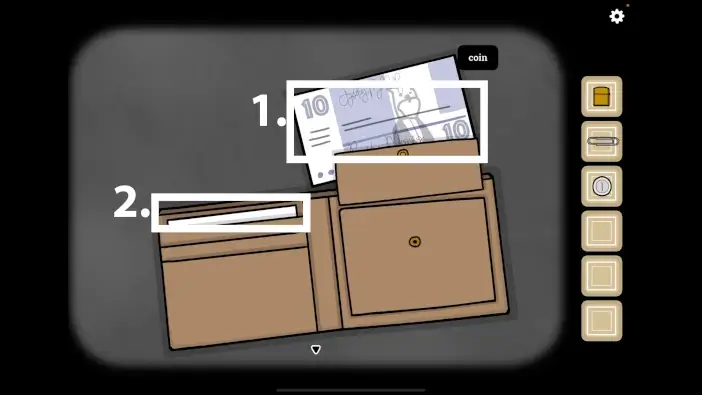
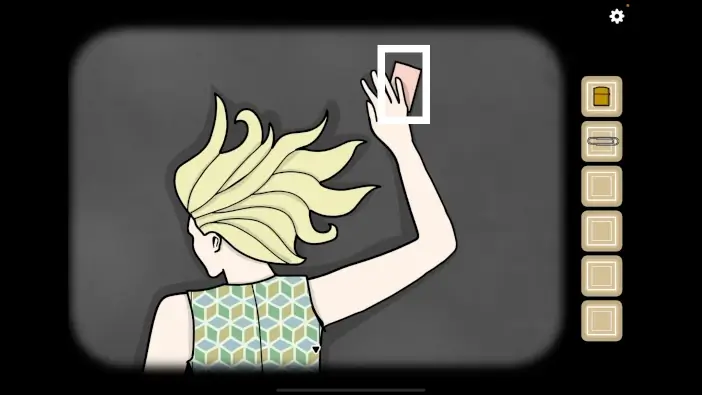
- Take the paper money from the wallet. You’ll need it to pay the thief to return some of your items.
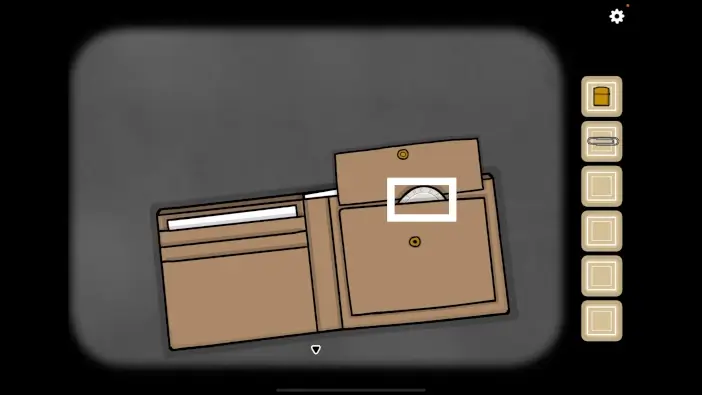
- Optionally, see the business card. It’s a reference to the Rusty Lake game, The White Door.
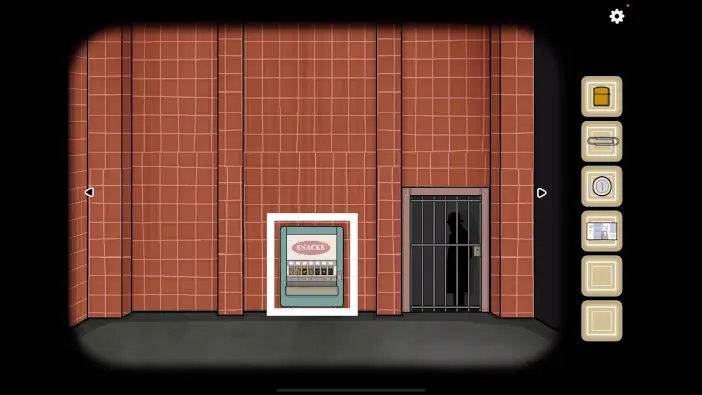
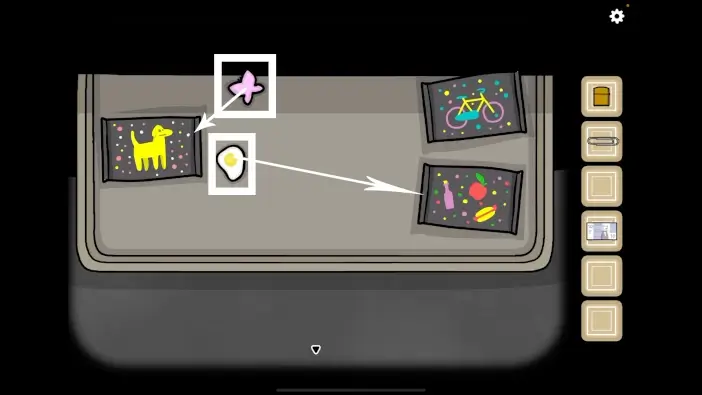
Find the vending machine and approach it.
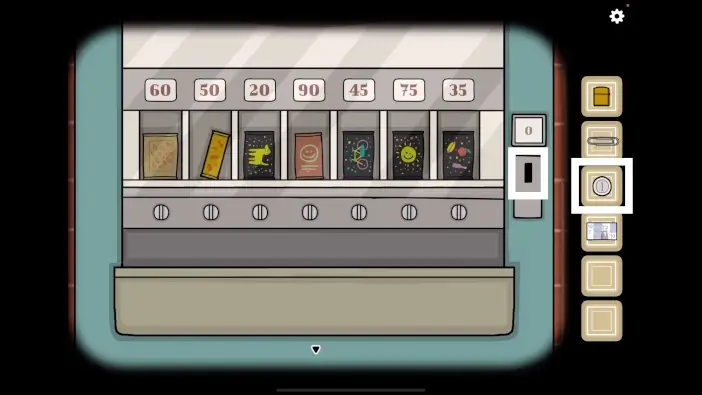
Insert the coin. You will have 100 credits to spend.
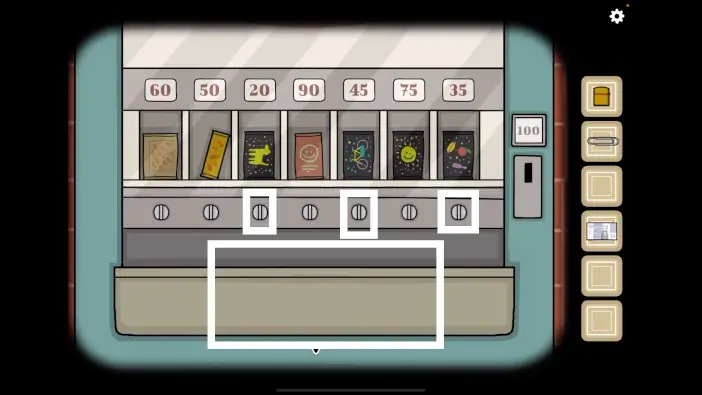
Use the switches below the products to select them. Choose the package that has a dog on its cover (costs 20), choose the package that has a bicycle on its cover (costs 45), and choose the package that has fruits on its cover (costs 35). 20 + 45 + 35 = 100. Approach the lower part of the vending machine to inspect the packages.
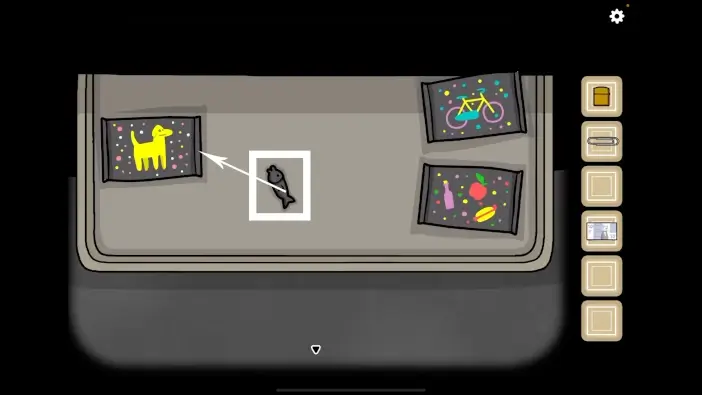
In this puzzle challenge, several candies of various shapes will appear, and you’ll need to sort them into the correct category. Each category has its own package. Candy that has the shape of some animal will go to the package on the left, candy that looks like a vehicle will go to the top-right package, and the candy that looks like food will go to the bottom-right package. This puzzle will have 7 phases.
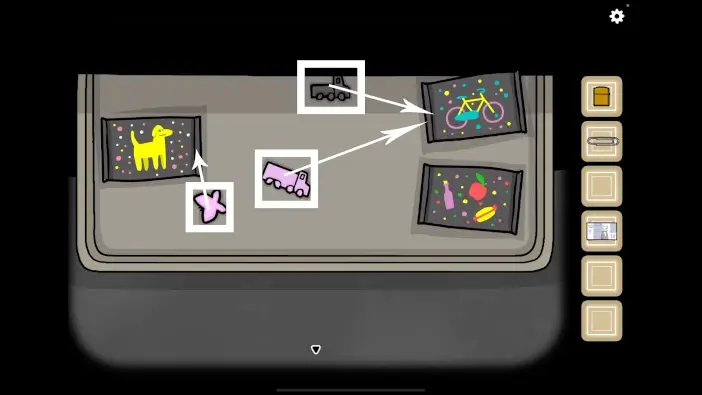
After you sort all the candy, a corn cookie will appear. Take the cookie. After the puzzle, you will also get the “Sweet Tooth” achievement.
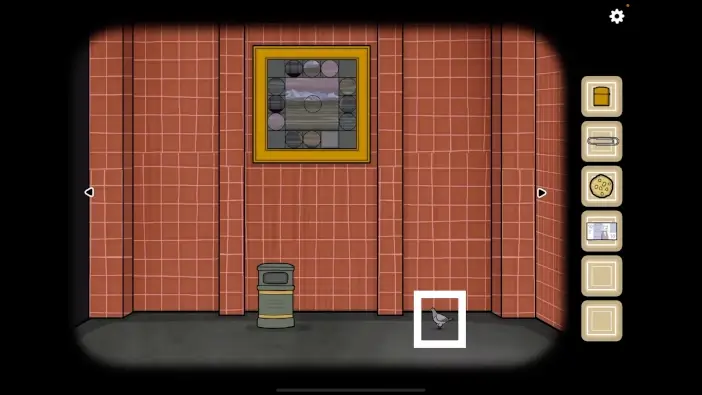
Go to the trash can area and approach the pigeon.

Give a corn cookie to the pigeon, and a new puzzle challenge will start.
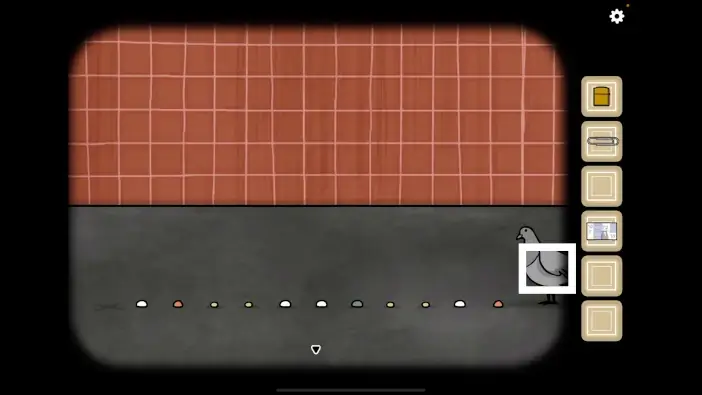
In this puzzle, you’ll need to rearrange the cookie pieces. On each step of the pigeon is predetermined what the pigeon will do. It will either eat the cookie or jump. You’ll need to place the white pieces on places where the pigeon will jump, and all other pieces where the pigeon will eat. The pigeon must reach the “x” sign on the far left. Once you’ve done rearranging the cookie pieces, click on the pigeon. If you are successful, the pigeon will fly away after reaching the “x” sign.
- Click on the pigeon on the trash can, and he will fly to another area.
- Go right.

In the bench area, click on the pigeon on the chandelier. He will fly away again.
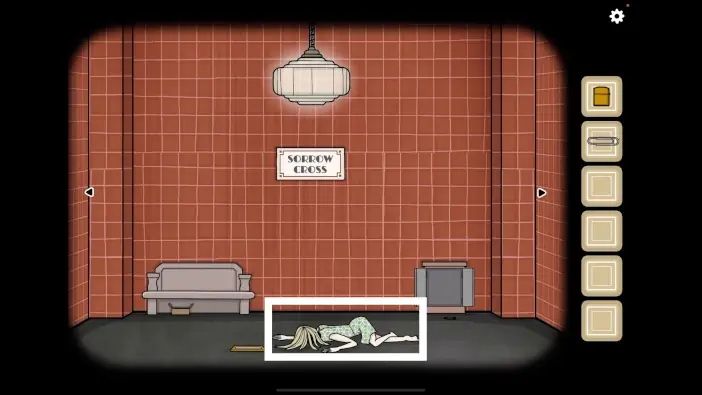
Go to the railway platform and click on the pigeon again. He will start flying, but the train will hit him.
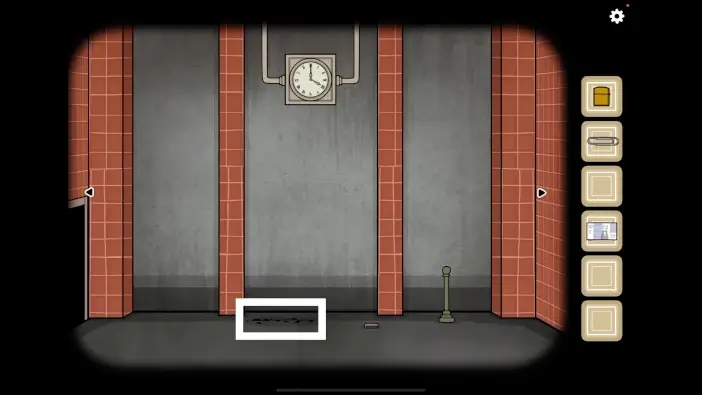
Approach the remains of the pigeon on the floor.
Take the key to the prison cell.
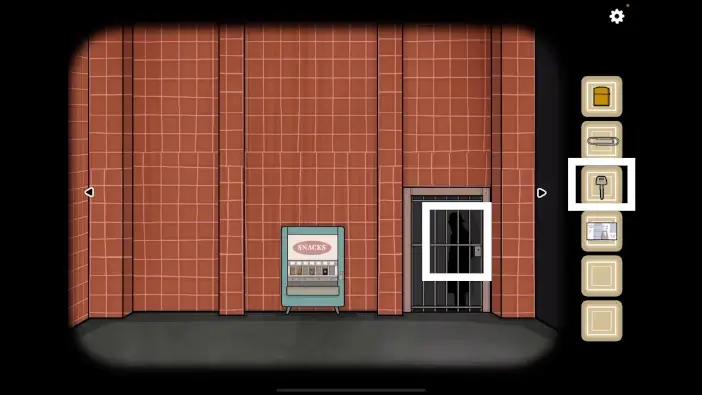
Go to the vending machine area and unlock the cell door using the key you just found.
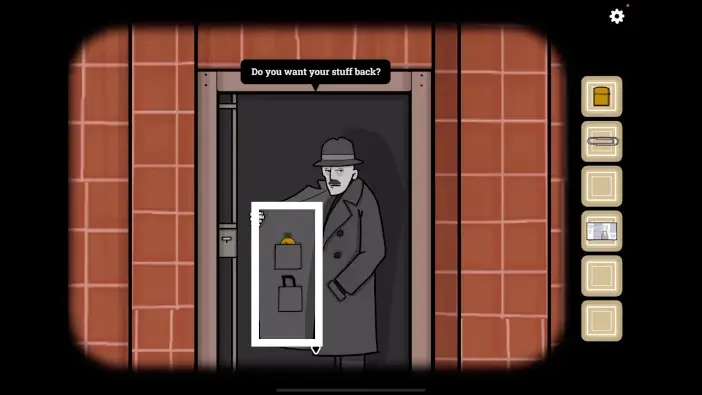
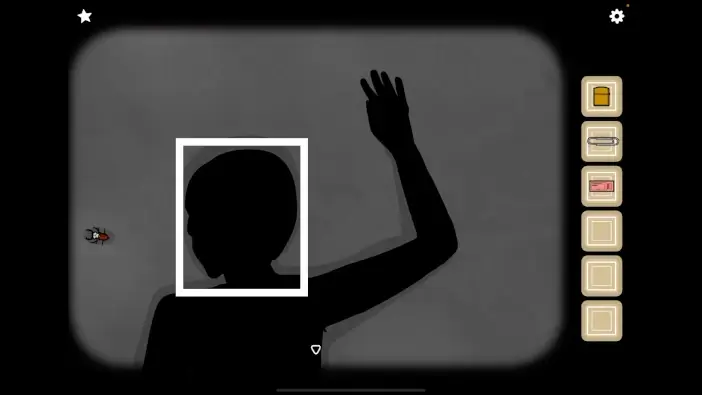
You’ll meet the thief from earlier. Click on him several times to see all the dialogue. He will ask you to leave some money under the bench if you want your items back. He will also mention that after leaving the money, you should come back at 9.
Go to the bench area and approach the empty box beneath the bench.
Leave the money in the box.
Go to the railway platform and approach the clock.
Change time to 09:00.
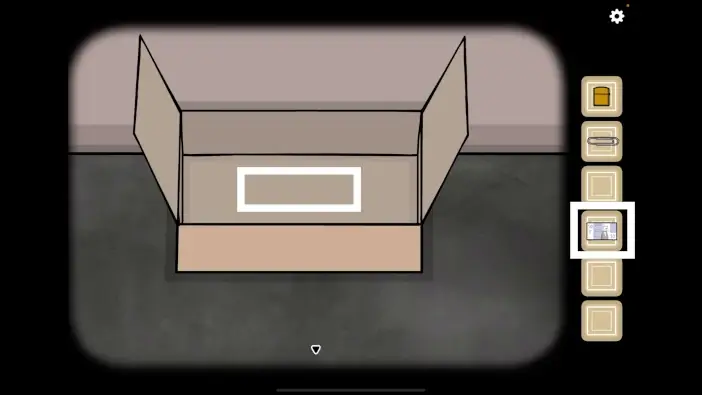
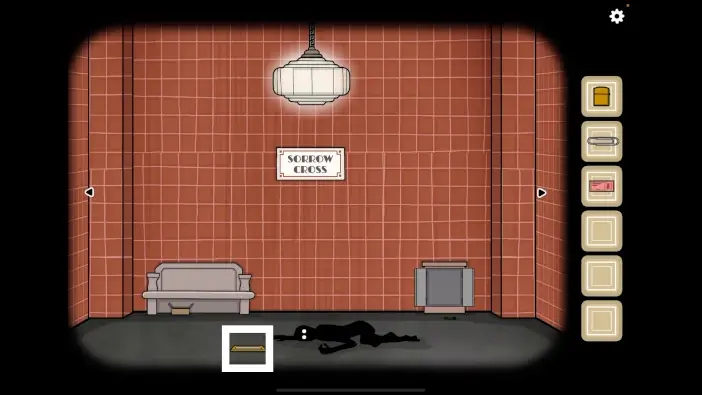
Return to the box beneath the bench and open the small bag.
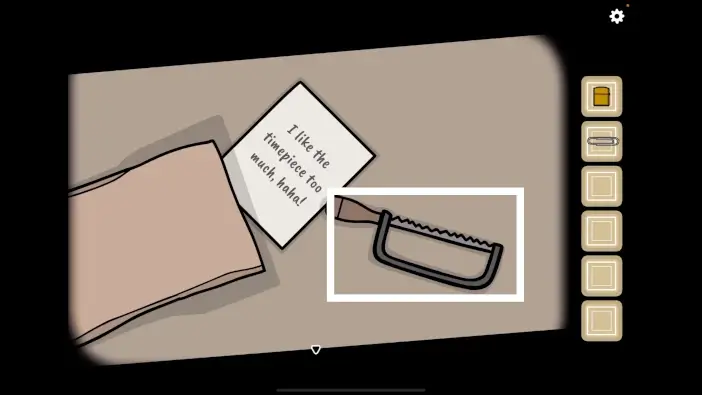
The thief will only return the iron saw, not the golden timepiece. Take the iron saw.
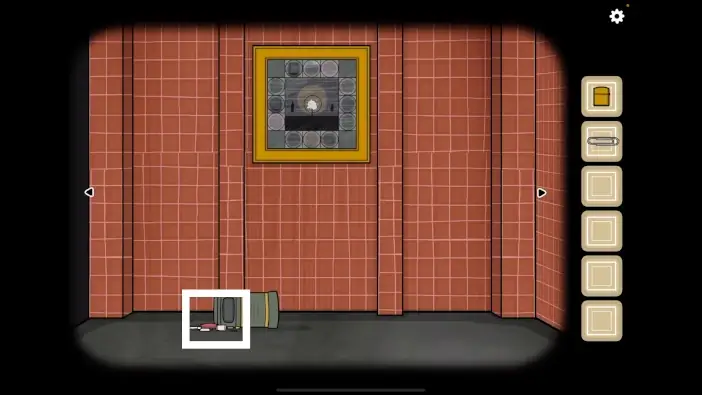
In the same area, approach the cabinet on the right.
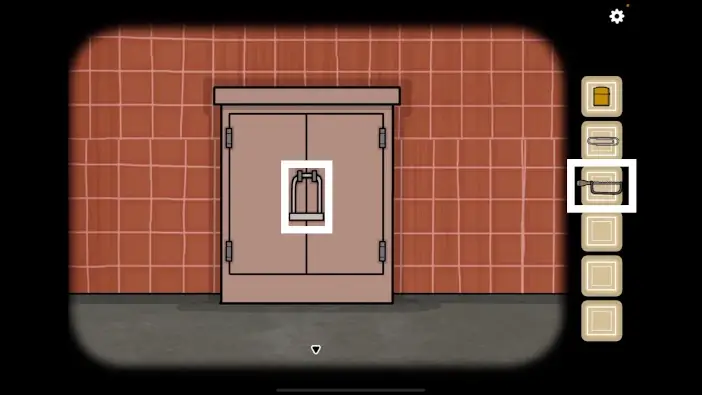
Use the iron saw to cut the padlock and open the cabinet.
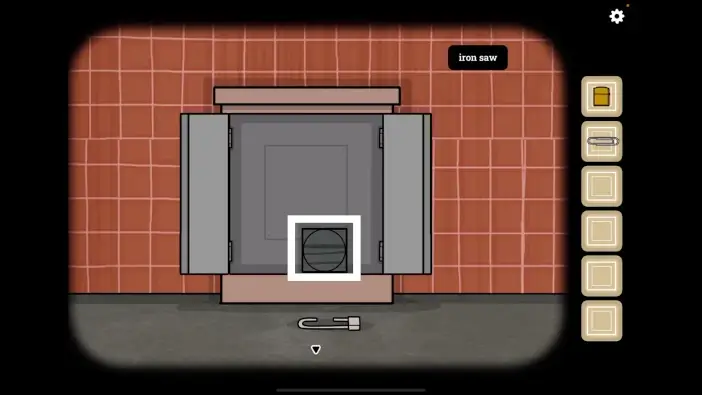
Take the painting panel from the cabinet.
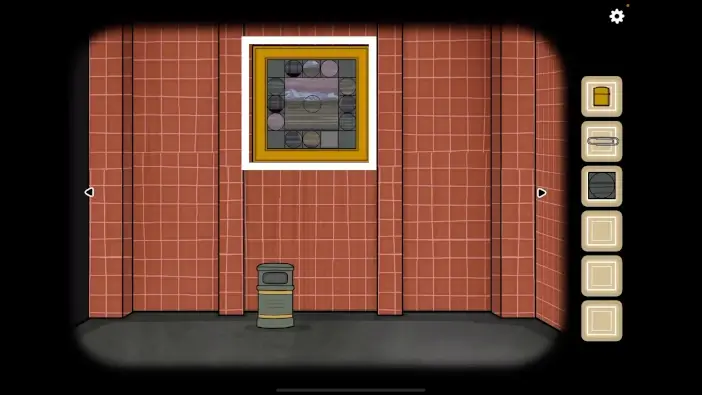
Go to the trash can area and approach the painting.
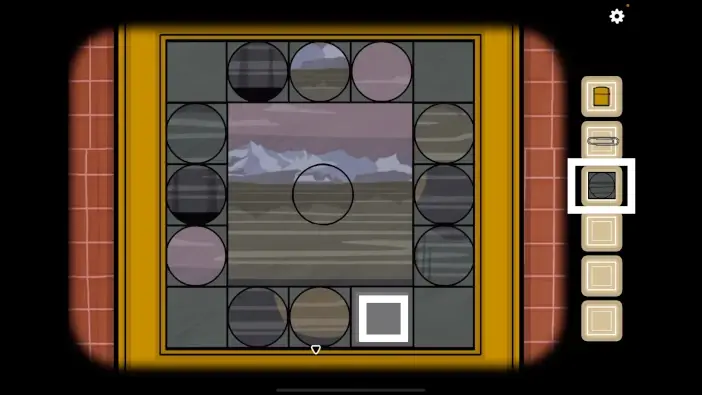
Place the painting panel in its place, marked in the picture above.
Each panel on the edges shows a circle that contains a specific part of the painting (part of the sky, part of the ground, etc). The circle in the middle of the painting represents the focus. You’ll need to bring the focus circle to show the same part of the painting as one of the circles in the panels. Once you do that, a certain object or character will appear. Find all parts of the painting from the panels to finish this puzzle challenge.
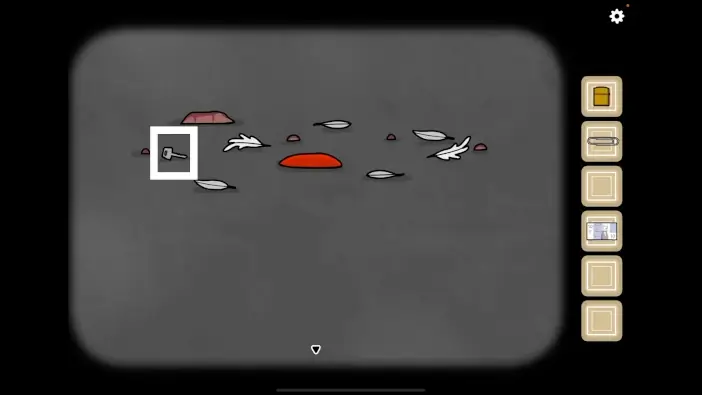
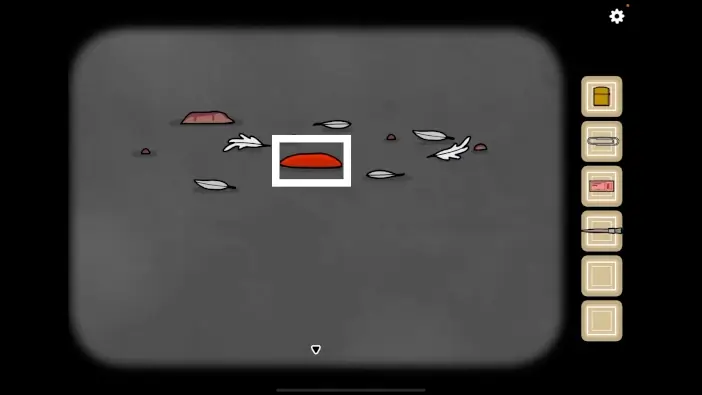
When you complete the previous challenge, a trash can will fall. Approach the items on the floor.
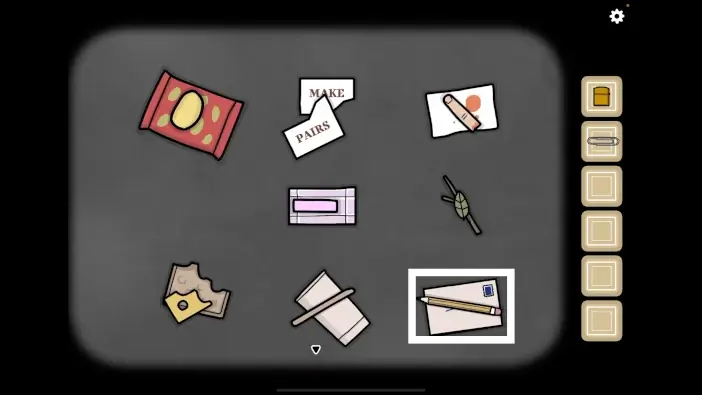
Group the items that are associated with one another. You can see the solution in the picture above. Once you rearrange all the items, take a closer look at the envelope on the bottom-right. Open the envelope, read the letter, and pick up the pill.
Find Laura and approach her.
Give Laura a pill. Click on her several times to see all the dialogue. Afterwards, Laura’s dream sequence will begin.
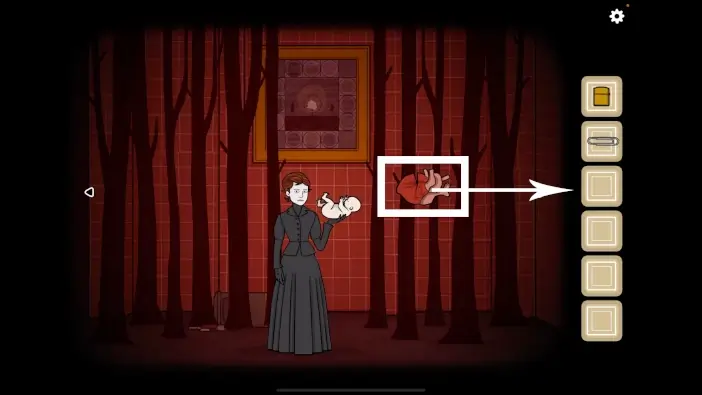
- Click on Laura twice, and she will mention that she dreams of her mother and her mother is holding her, as a baby.
- Go left.
Place the baby in Rose’s hand.
Speak with Laura again, and she will mention Bob and his broken heart, which is the next clue.
Return to where the Rose is and move the heart across multiple areas until you reach Bob. These items in the dream can only be dragged from area to area. They can’t be added to your inventory.
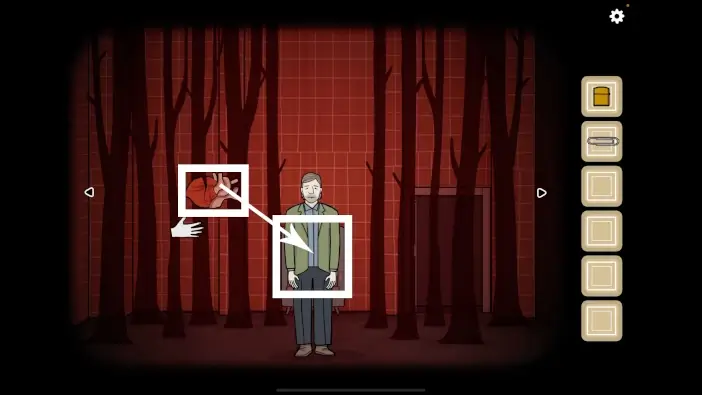
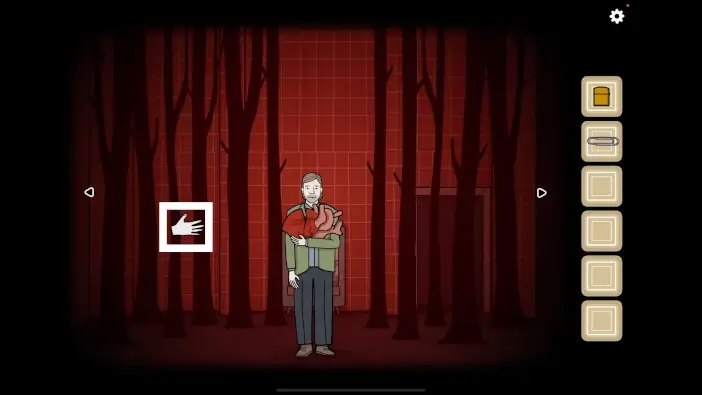
Give heart to Bob.

Speak with Laura again. She will mention how she dreams of the time when she was little, her mother held her hand while she was holding her mother’s face.
Go to where Bob is and drag the hand towards the area where Rose is.
- Remove the head from Rose’s hand, then place Laura’s hand into Rose’s hand.
- Drag Rose’s head towards the child version of Laura.
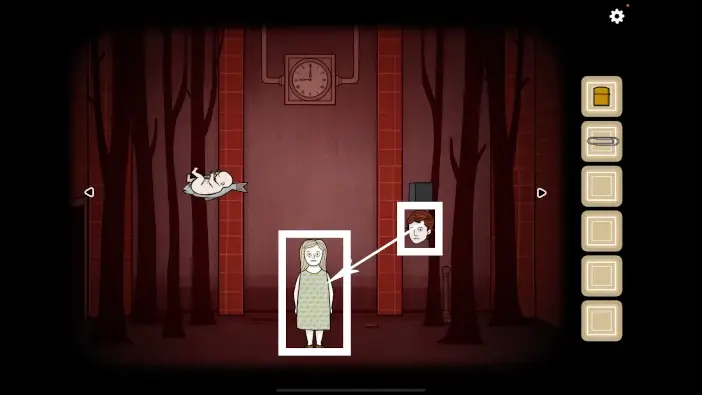
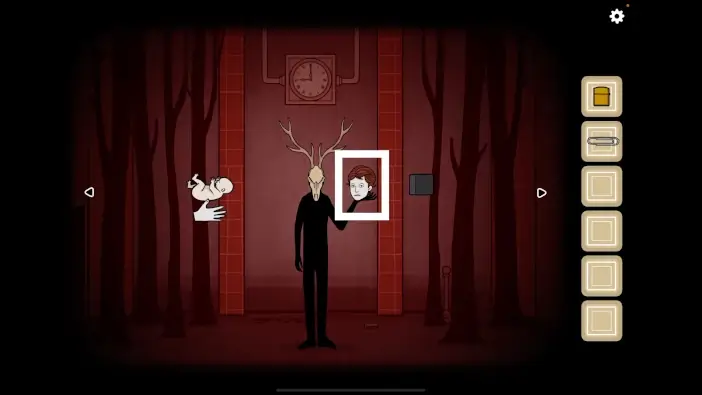
Find the child version of Laura and give her Rose’s head.
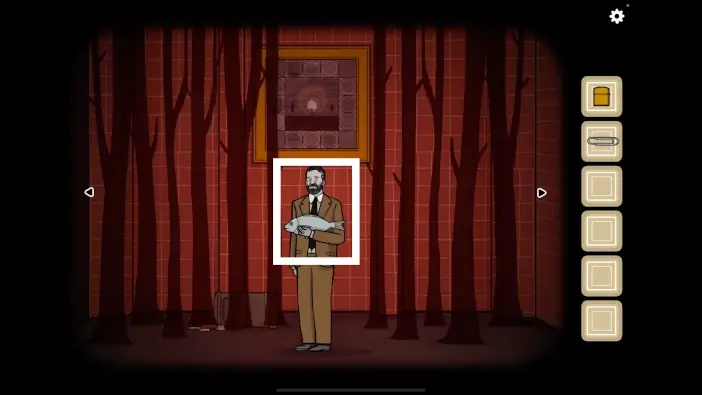
For each step, repeat the process of speaking with adult Laura, listening to her clues, finding the required item, and dragging that item to the correct person. In the next step, bring the fish to the detective.
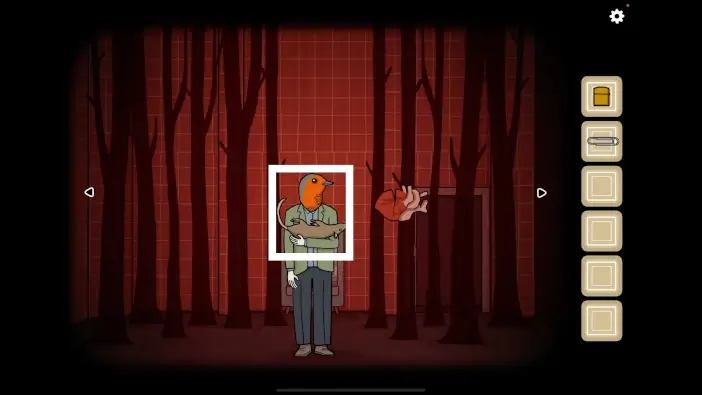
In the next step, give the rat to Bob (who now has the bird’s head).
Next, after speaking with Laura, give Rose’s head to the corrupted soul.
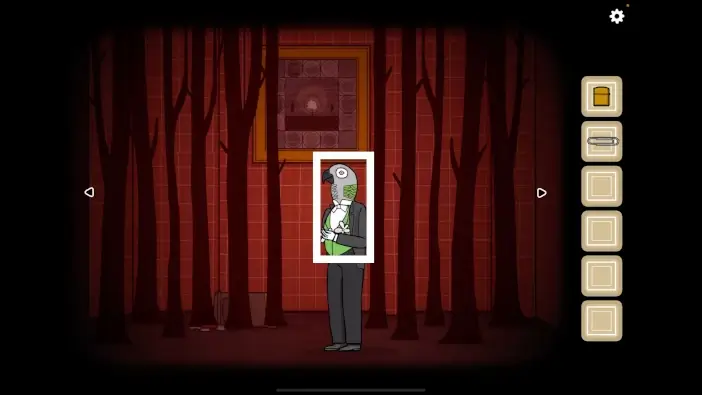
Speak with Laura and then give a flower to Harvey.
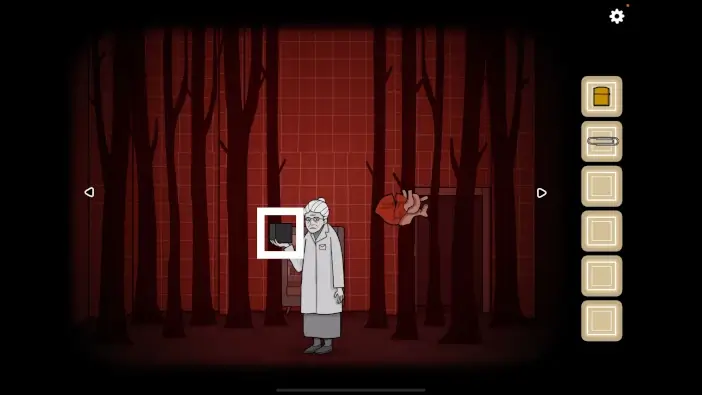
Lastly, after speaking with Laura again, give the black cube to the old version of Rose.
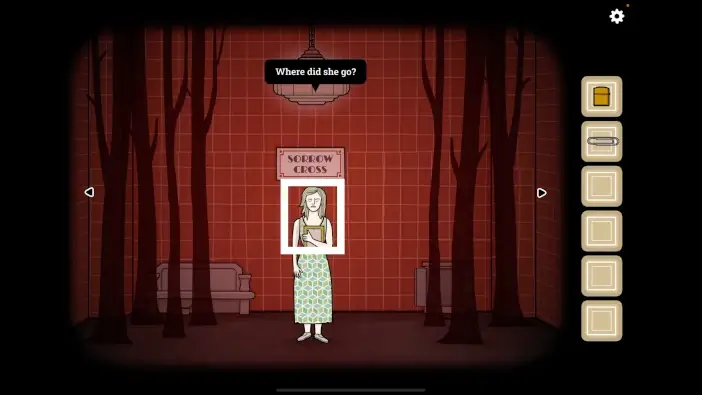
Speak with Laura again, and she will fall unconscious.
Approach the unconscious Laura.
Take the ticket from Laura, and she will turn into a corrupted soul.
Click on corrupted Laura several times until the bug appears. You will get the “Creepy vermin” achievement.
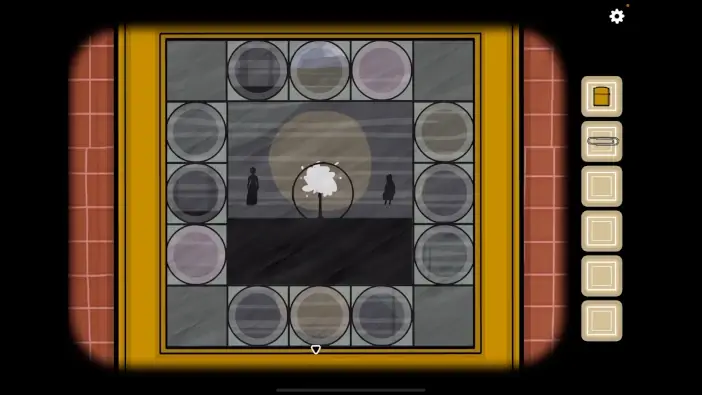
Approach the painting near corrupted Laura.
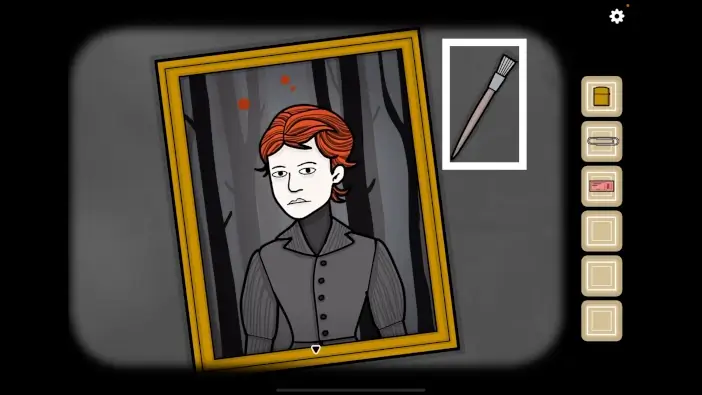
Take the paintbrush.
Approach the railway platform and approach the remains of the pigeon.
Dip the paintbrush into the pigeon’s blood.
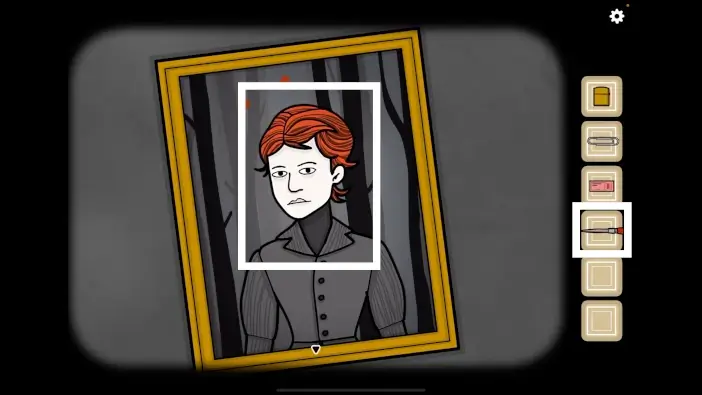
Return to the painting near corrupted Laura and use the paintbrush to paint over Rose’s portrait.
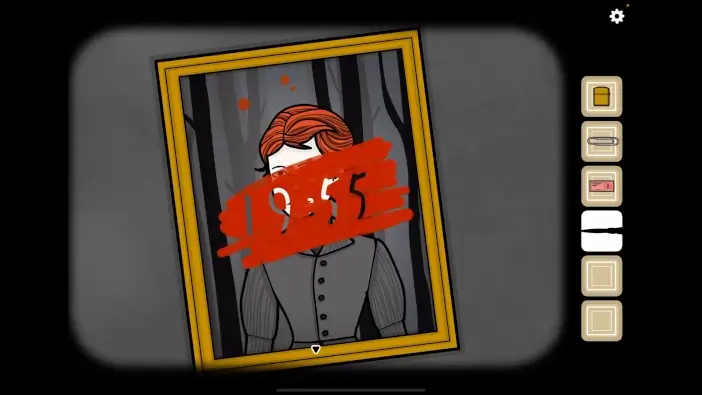
You will see the 19:55 time on the painting.
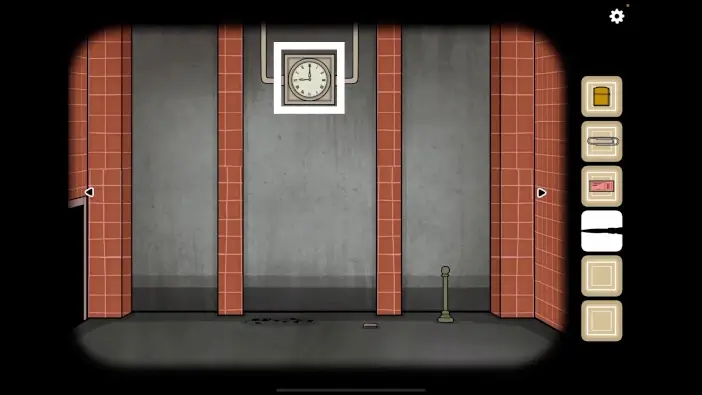
Return to the railway platform and approach the clock.
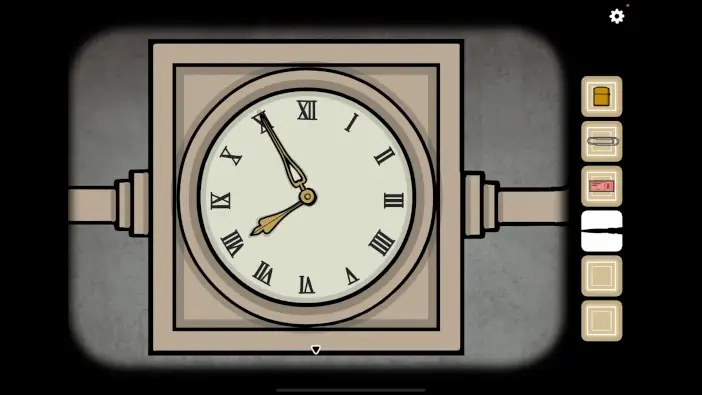
Change the time to 19:55, and the train to the next station will arrive.
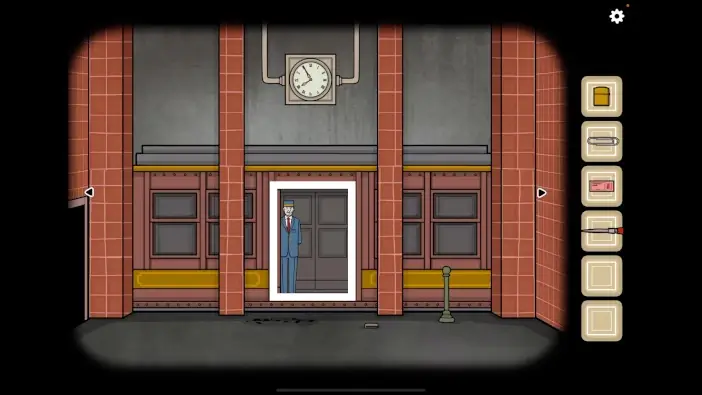
Speak with the train conductor.
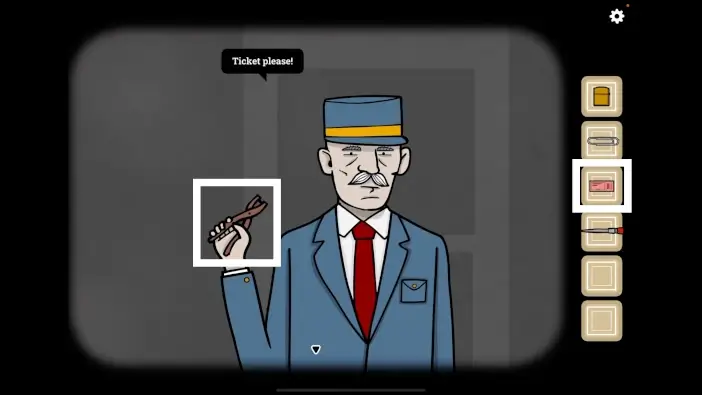
Give the ticket to the train conductor.
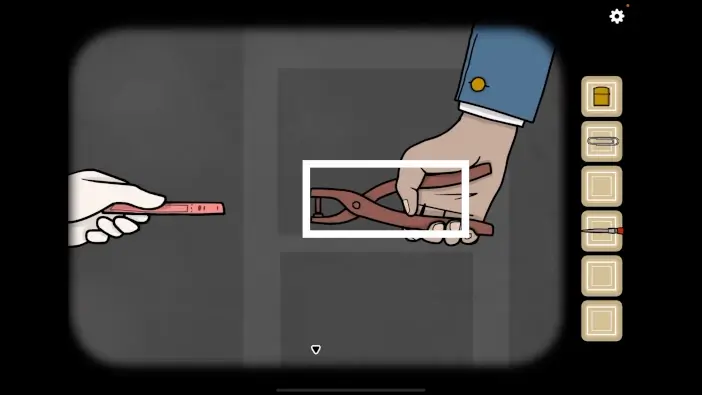
Click on the ticket punch several times to make a hole in the ticket. Enter the train and go to the next station. You will get the “Departing Sorrow Cross” achievement.
This will mark the end of our guide for Chapter 5 of the Underground Blossom.
Thank you for reading!