Underground Blossom Chapter 4 | Bird Bridge Station
Hello everyone and welcome to the fourth chapter of our walkthrough for the “Underground Blossom” a puzzle-solving game developed by Rusty Lake – one of the most famous game developers in puzzle puzzle-solving genre. In this game, we follow Laura’s life, and the story in this part continues at “Bird Bridge” station. At this point in time, Laura was a young woman.
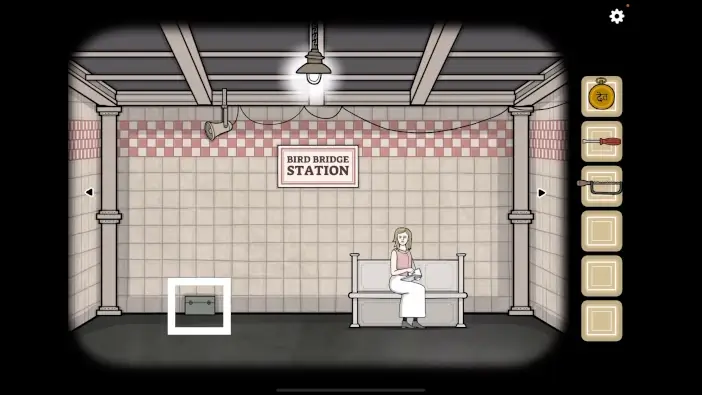
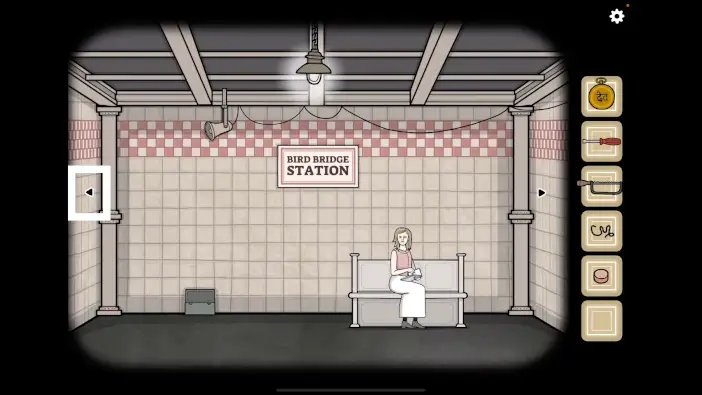
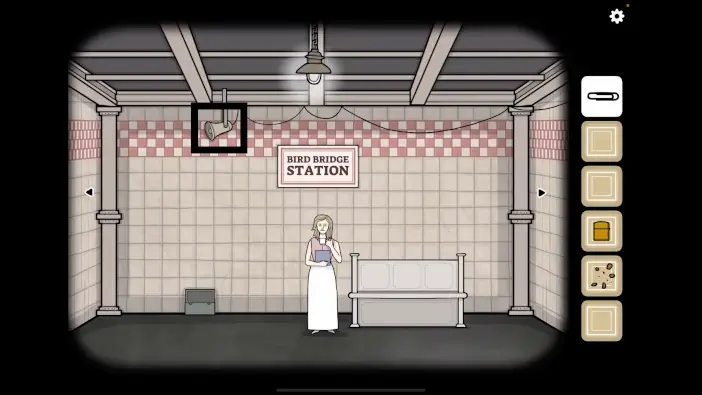
We arrived at the “Bird Bridge” station and we can see Laura, who is now a young woman, waiting for us outside. Let’s go out and talk to her.
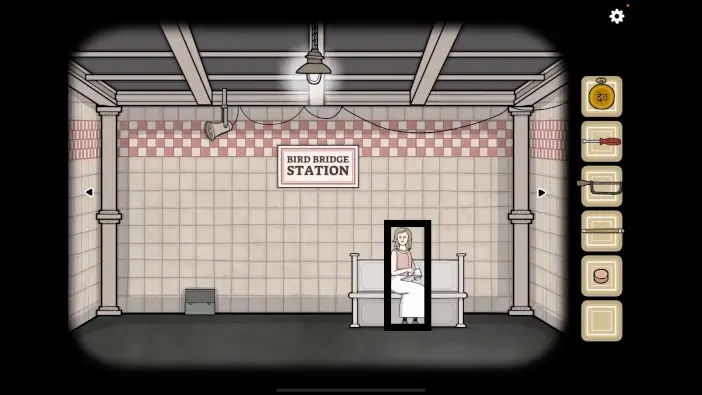
She will inform you that she has to finish her sketch.
Tap on the arrow at the bottom of the screen to go back.
Next to the wall on the left, you will notice a green box. Tap on it to take a closer look. After that, tap on the locks on the left and right to open the box.
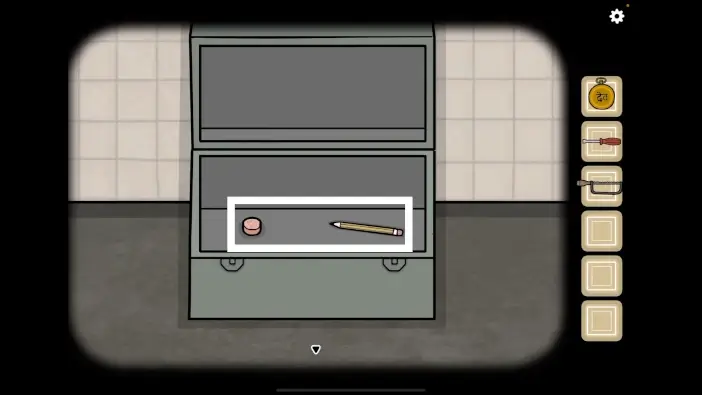
In the box, you will find two items, a “Piece of sausage” and a “Pencil”. Tap on these two items to pick them up.
After that, tap on the arrow at the bottom of the screen to go back.
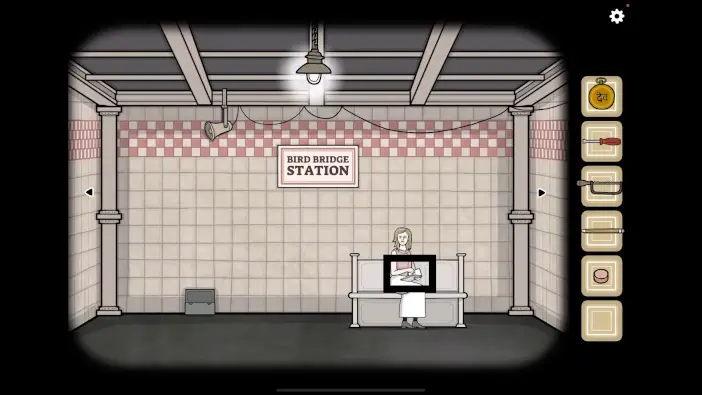
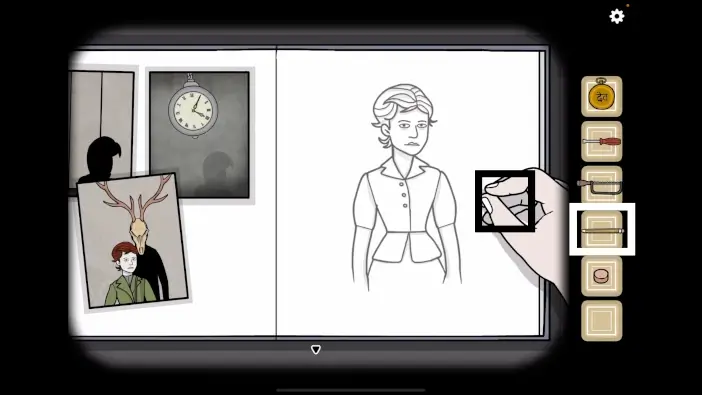
Next, let’s tap on Laura’s sketch to take a closer look at it.
Select the “Pencil” from the inventory and put it into Laura’s hand.
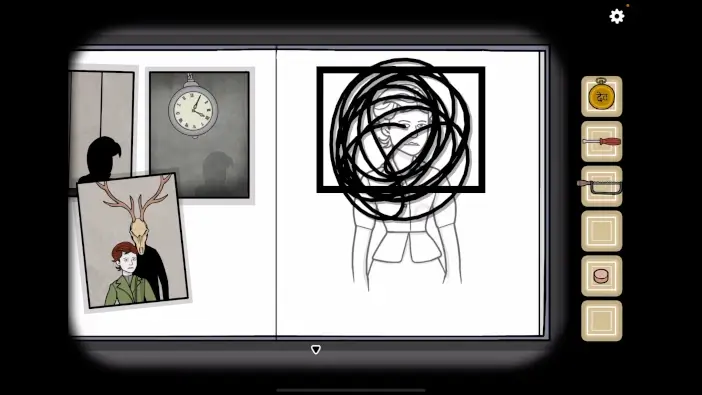
Draw the outline of the girl in the picture, then draw some lines randomly at the body of a woman. Once you’re done, let go of the pencil, and you will complete this task.
As soon as you complete the sketch, a “Line” will be added to your inventory. Tap on the arrow at the bottom of the screen to go back.
Tap on the arrow on the right to proceed to the next room.
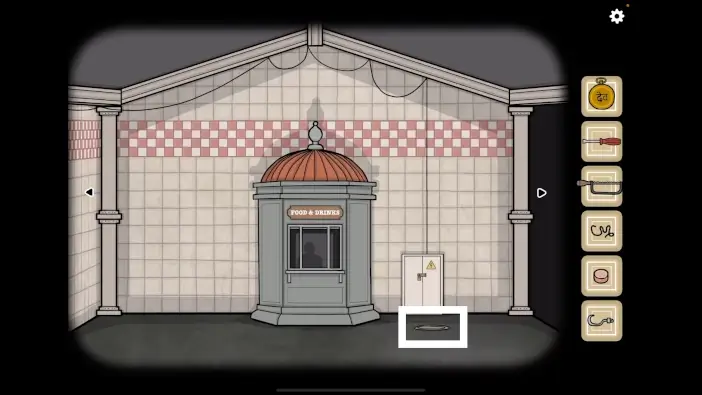
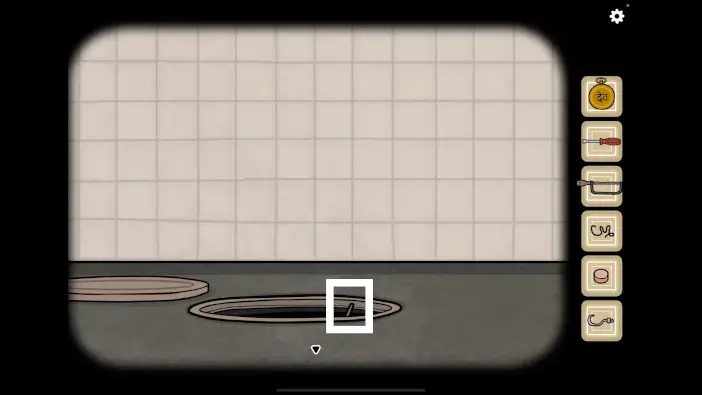
Tap on the hatch on the right to take a closer look at it, and tap again to open it.
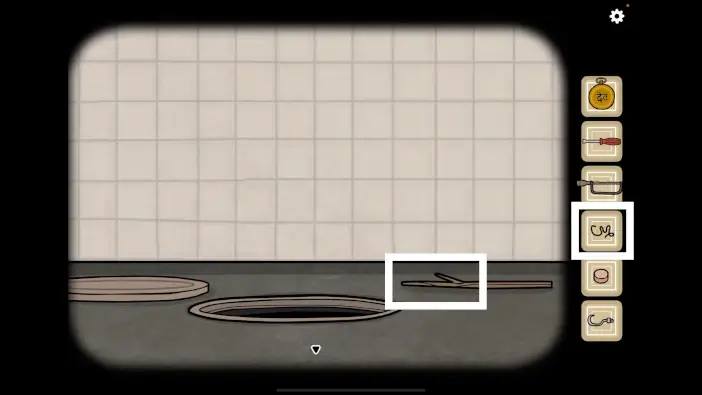
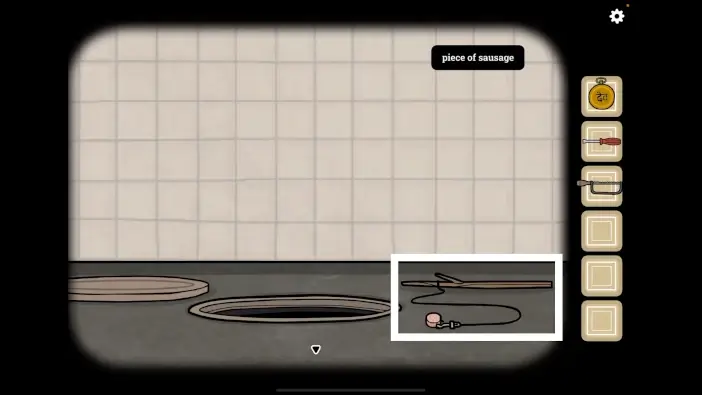
Next, you will see something sticking out of the hole. Tap on this item and you will pull out a stick.
Next, select the “Line” from the inventory and attach it to the top of the stick.
After that, tap on the arrow at the bottom of the screen to go back.
Ok, we have a stick and a line, but we still need a hook in order to make an improvised fishing rod. So, let’s find a hook.
Tap twice on the arrow on the right to proceed to the next room.
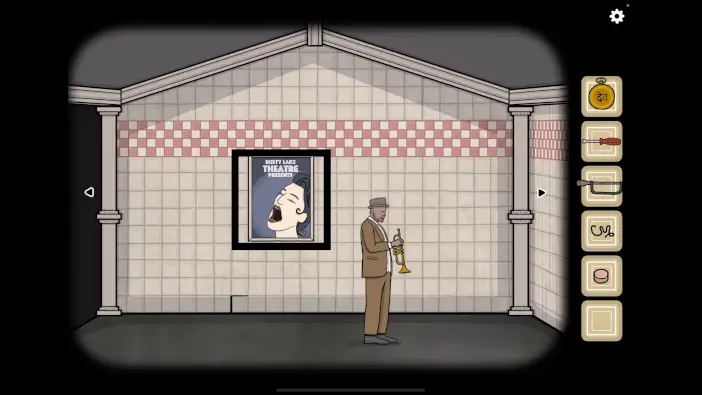
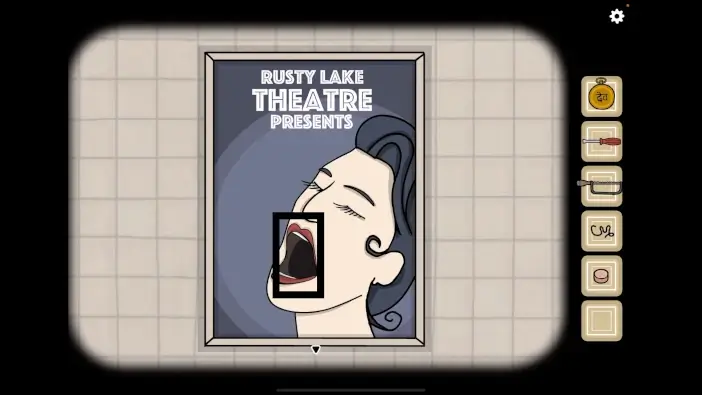
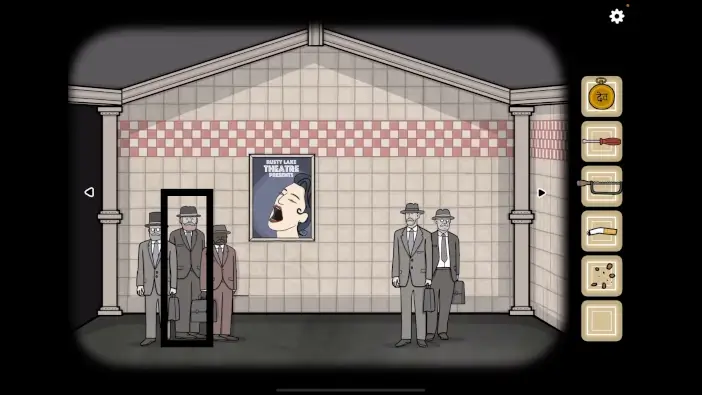
Next, tap on the poster on the wall to take a closer look at it.
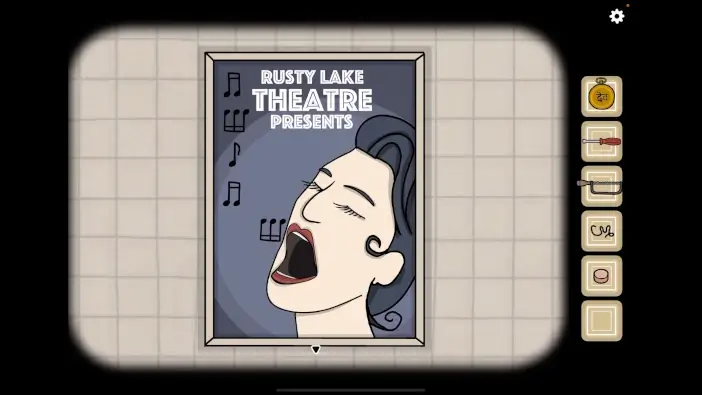
Drag on the woman in the poster to start the interaction, and she will begin to sing. As she sings, the notes will come out of her mouth. Let’s memorize/write down the notes.
Single note, Double note, Triple note, Single note, Double note, Triple note (1, 2, 3, 1, 2, 3).
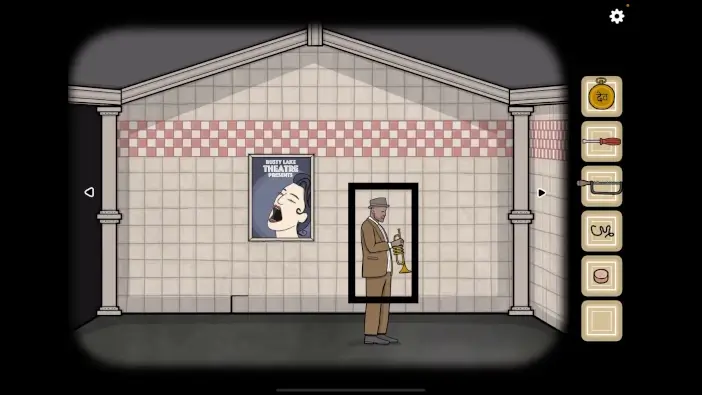
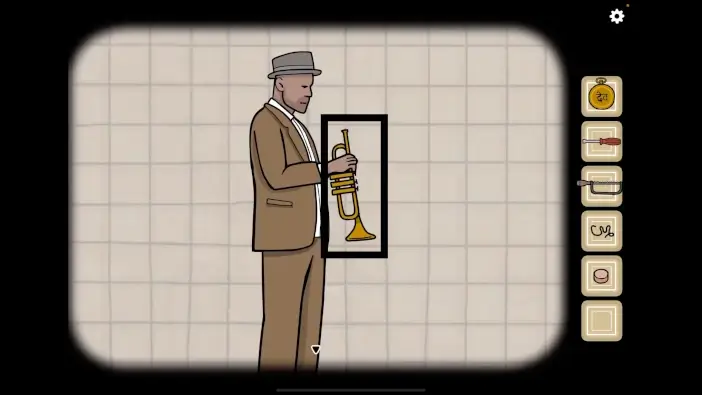
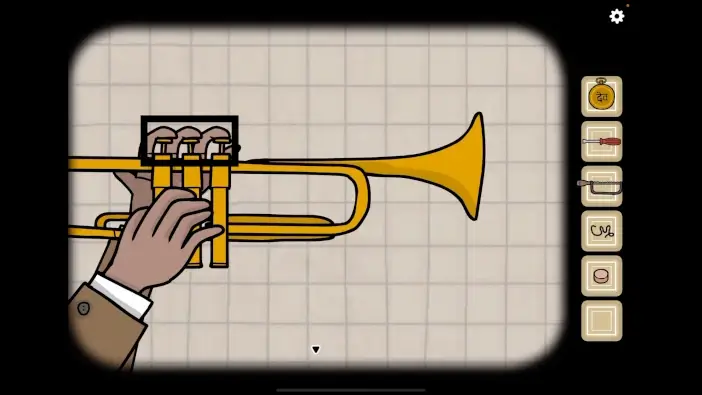
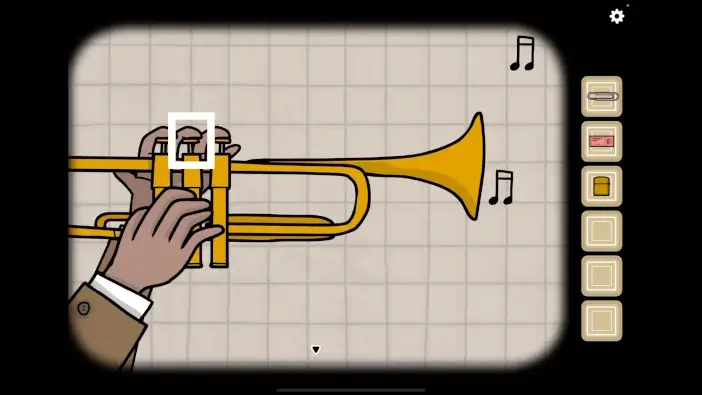
Next, let’s tap on the musician on the right to take a closer look at it, then tap on the saxophone to start the interaction.
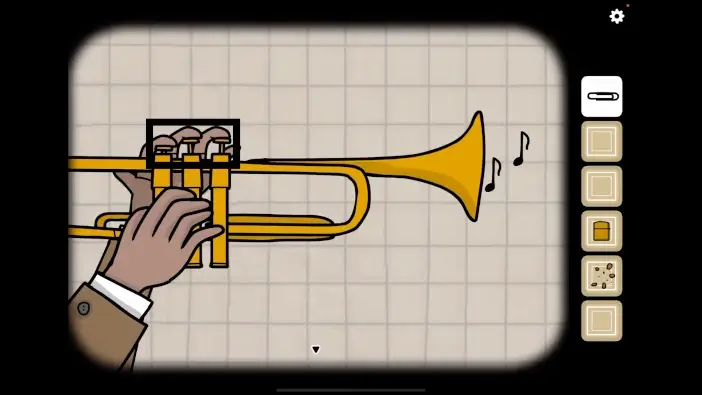
We should now play the notes that we saw in the poster. Looking from left to right, the first finger will play a single note, the second finger will play a double note, and the third finger will play a triple note.
So, tap on the first finger/ second finger/ third finger/ first finger/ second finger/ third finger, and you will play the correct melody.
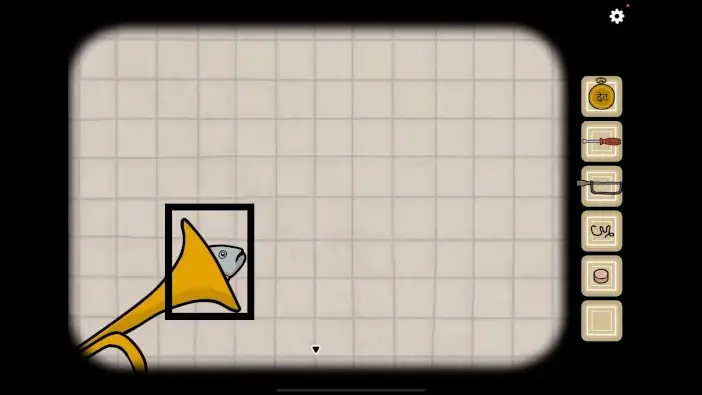
The musician will begin to play the saxophone as soon as you create the correct notes. A few moments later, something will block the saxophone. So, let’s tap on the saxophone to take a closer look at it, then tap on it again to pull out the item that is blocking the sound.
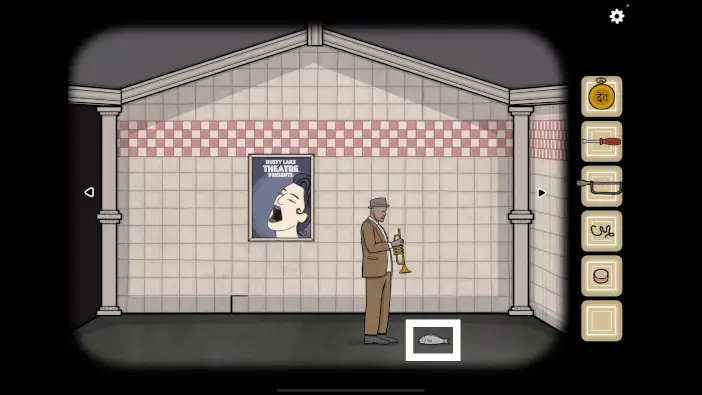
A fish will drop out of the saxophone. Tap on the arrow at the bottom of the screen to go back.
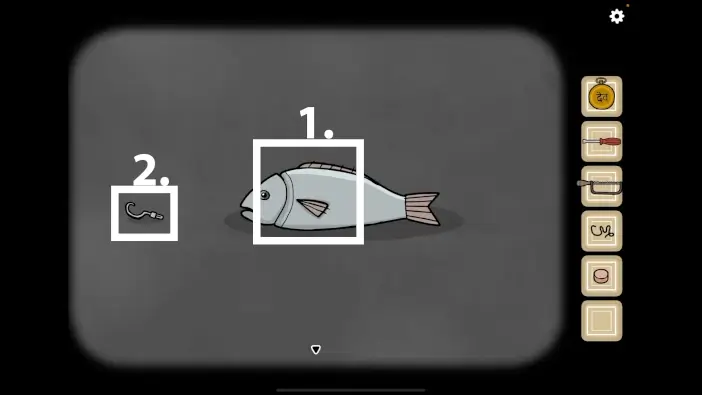
You will see a fish on the floor. Tap on it to take a closer look, and tap again to start the interaction. A hook will drop out of the fish.
Tap on the “Hook” to pick it up. After that, tap on the arrow at the bottom of the screen to go back.
Ok, let’s go back to the previous room and assemble the fishing rod. Tap twice on the arrow on the left.
Tap on the stick, located next to the hole, to take a closer look at it.
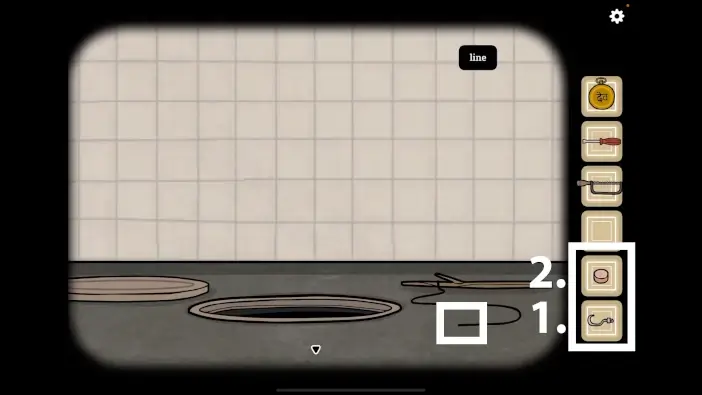
Select the “Hook” from the inventory and attach it to the end of the line.
Next, select the “Piece of Sausage” and put it on the hook. So, we will use the “Piece of Sausage” as bait.
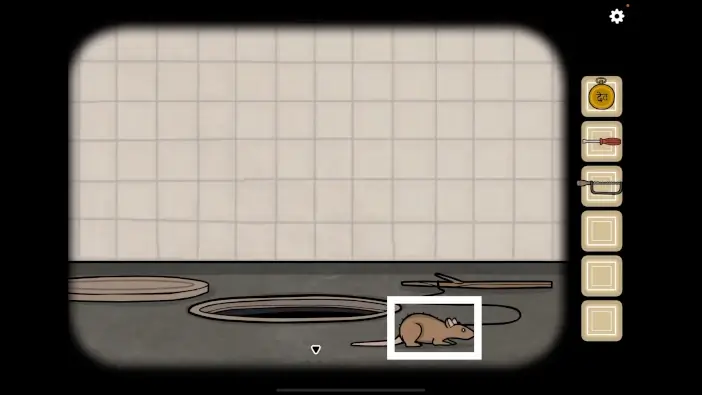
We’re set, so tap on the stick to start fishing. Lower the stick all the way down and wait a few seconds. After that, pull up the stick, and you will catch a rat.
Tap on the rat to get it off the hook. Tap on the rat again and it will run to the right and will move out of the screen.
Tap on the arrow at the bottom of the screen to go back. We will have to chase after the rat.
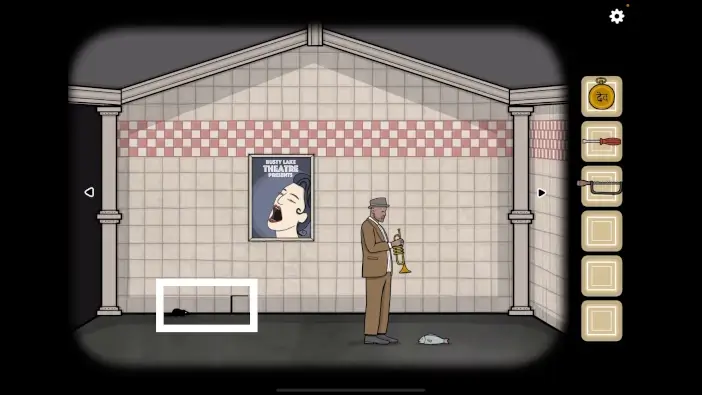
Let’s find the rat. Tap twice on the arrow on the left to go back to the room with the musician.
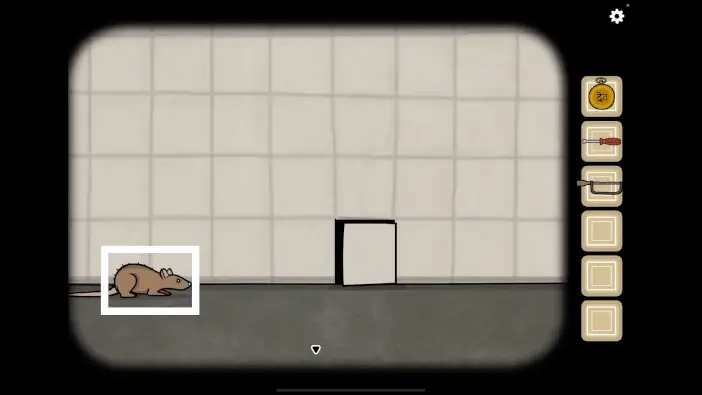
You will notice a rat on the right side of the room. Tap on the rat to take a closer look at it, and tap again to start the interaction.
The rat will run into the hole in the wall.
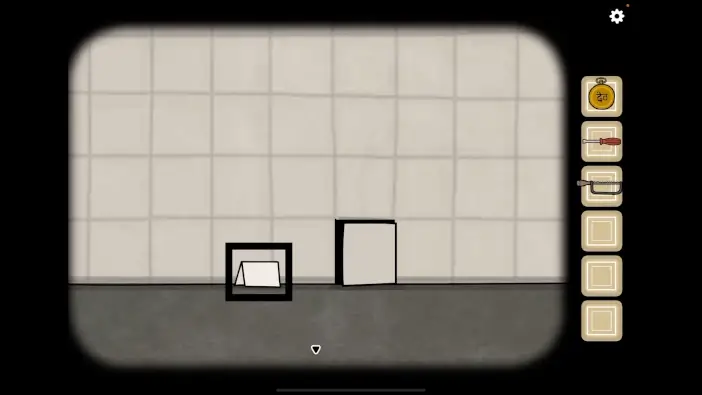
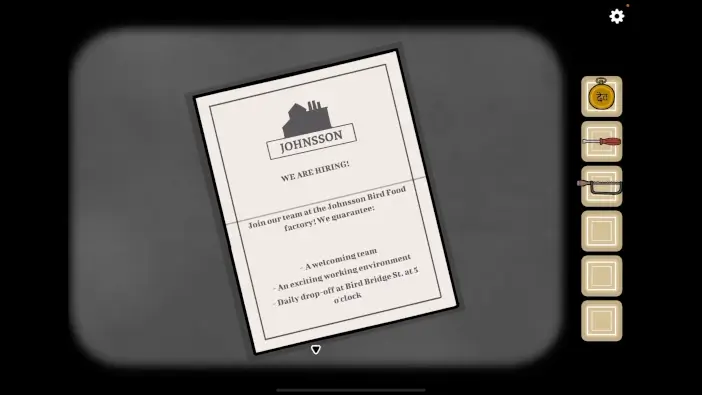
Tap on the hole in the wall, and the small note will drop out. Let’s examine this note.
Here, we can see some information about Johnsson Bird Food Factory. Fun fact, if you played the previous game, “The White Door”, you will probably remember that our character used to work at this factory.
However, we are only interested in the last sentence. “Daily drop-off at Bird Bridge St. at 5 o’clock”. We are at Bird Bridge station, so let’s memorize/write the time (5 o’clock).
Once you’re done, tap on the arrow at the bottom of the screen to go back.
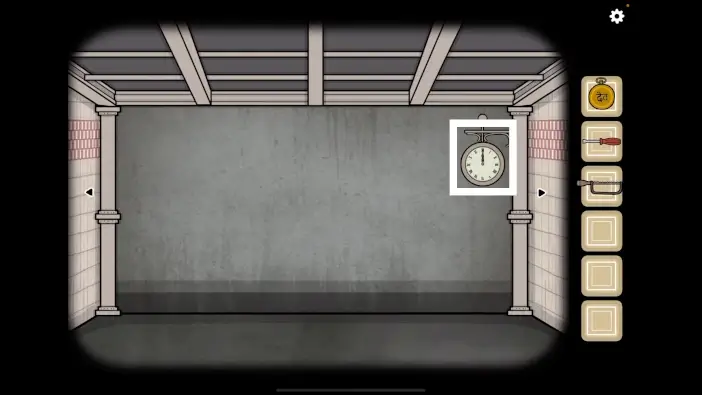
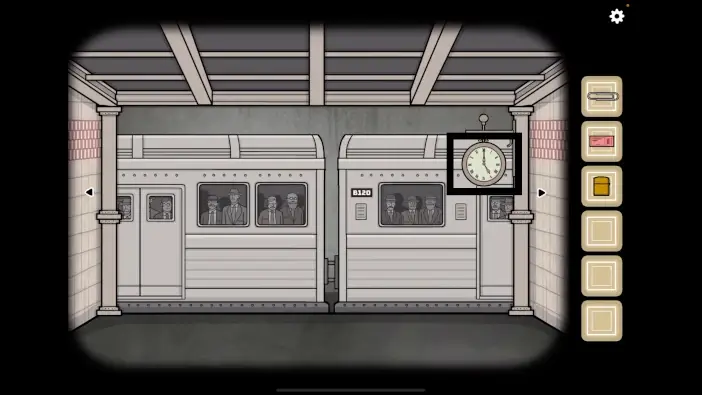
OK, let’s set the time on the clock to 5 o’clock. Tap on the arrow on the left.
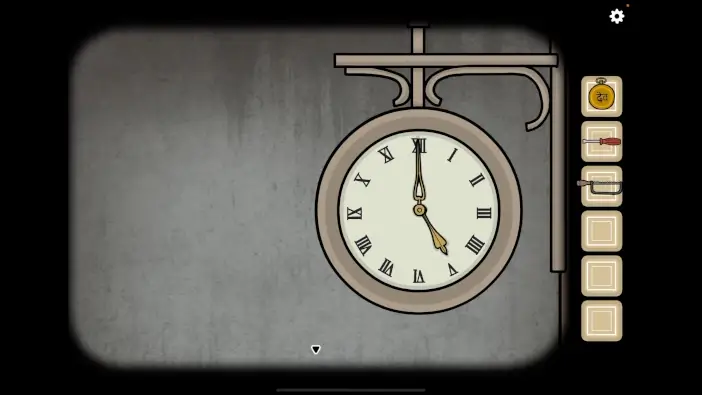
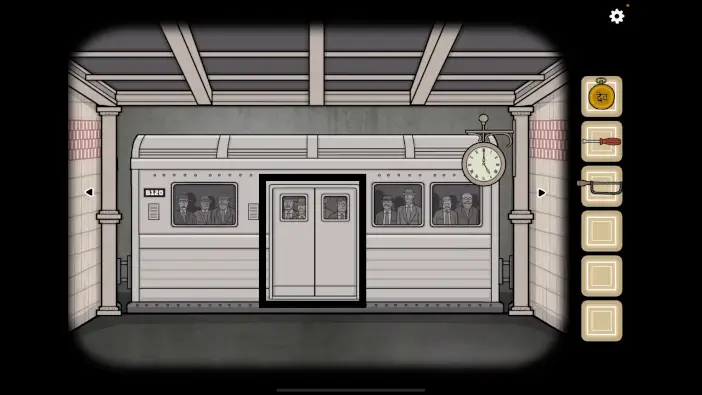
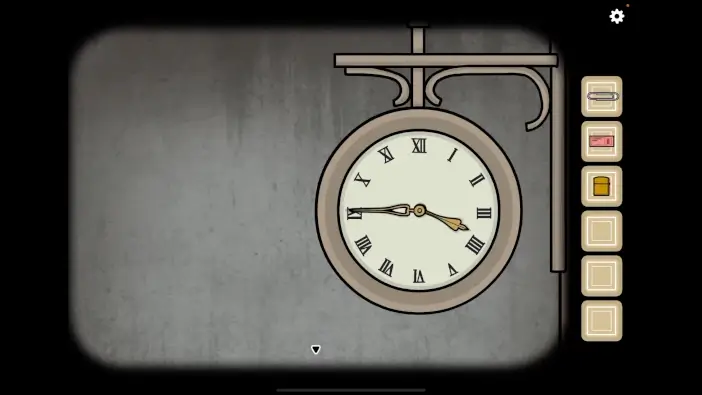
Tap on the clock to take a closer look at it. Rotate the minute hand and set the time to 5 o’clock.
A train will arrive at the station. Tap on the train door to open it and tap again to start the interaction.
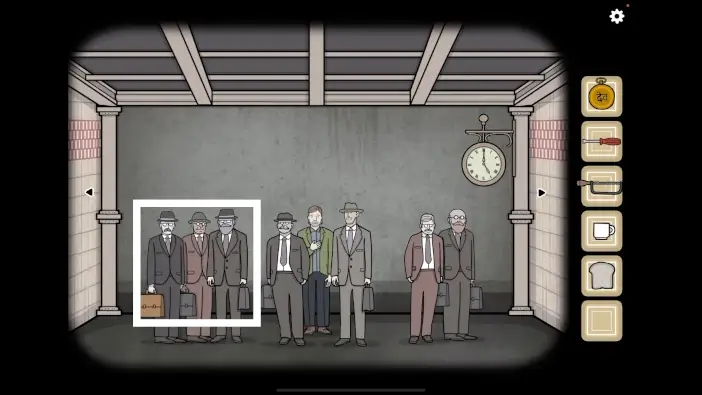
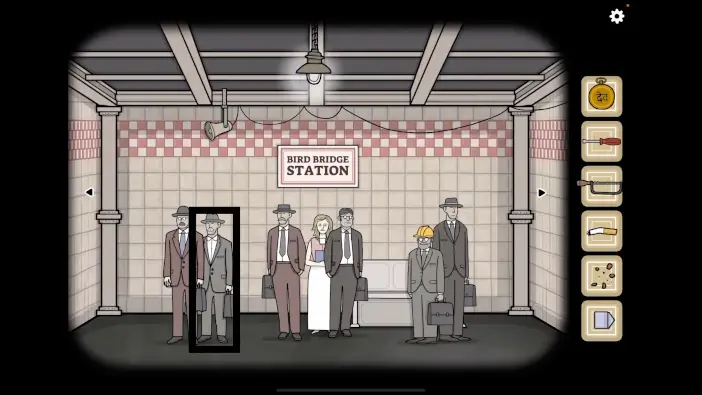
The passengers will get off the train, and our next task is to talk to them and solve a series of mini-puzzles. Let’s begin. Tap on the group of three men on the left to take a closer look at them.
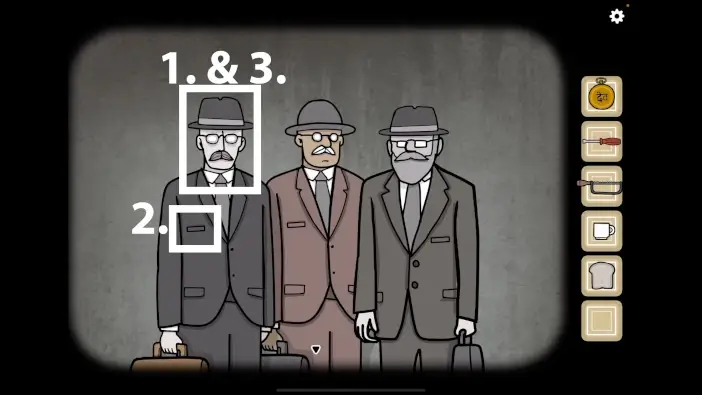
Tap on the man with the brown suitcase to talk to him. He will tell you to look for the man with the red hat.
So, let’s look for this man. Tap on the arrow at the bottom of the screen to go back.
Tap on the arrow on the left to go to the next room.
On the left, you will notice a man with a red hat. Tap him to take a closer look, and tap again to start the interaction.
He will instruct you to talk to his colleague with the brown suitcase. We already talked to this man, so let’s go back to him.
Tap on the arrow at the bottom of the screen to go back.
Tap on the arrow on the right to go back to the man with the brown suitcase.
Tap on the man with the brown suitcase to talk to him, and tap again to start the interaction. He will tell you to look into his pocket.
Tap on his top left pocket, and you will find the “Glasses”.
Tap on the man again to talk to him, and he will inform you that “the man with the hard hat wants his glasses”.
Tap on the arrow at the bottom of the screen to go back.
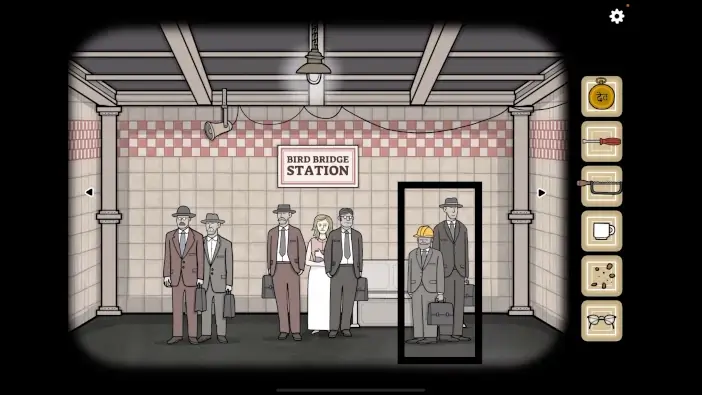
Let’s look for the man with the hard hat. Tap twice on the arrow on the right.
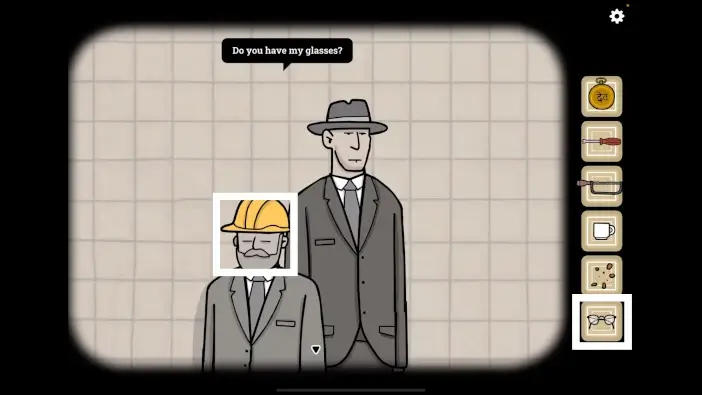
On the right, you will notice a man with a hard hat (yellow). Tap on him to take a closer look.
Select the “Glasses” from the inventory and tap on his eyes.
Tap on the man with a hard hat again to start the interaction, and he will instruct you to talk with the smiling man.
Tap on the arrow at the bottom of the screen to go back.
Let’s go back to the room with the clock. It’s the second room on the right.
Standing just to the right of Robert (the main character in the “White Door” game) you will notice a smiling man. Tap on him to take a closer look.
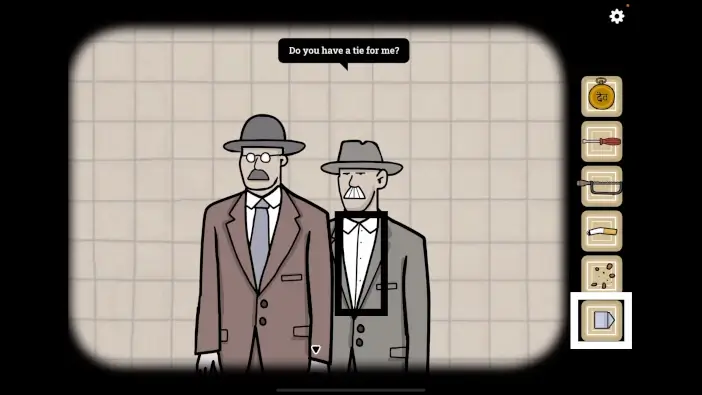
Tap on the smiling man to start the interaction, and he will tell you to look into his pocket. Tap on his top right pocket and you will find a “Tie”.
Tap on the smiling man again to talk to him and he will tell you “Who needs a tie?”.
Tap on the arrow at the bottom of the screen to go back.
So, now we should look for a man without a tie. Tap twice on the arrow on the left.
On the left, you will notice a man without a tie. Tap on him to take a closer look.
Select the “Tie” from the inventory and put it on the man without a tie.
Tap on the man again to start the interaction, and he will instruct you to talk to the man with the green tie.
Tap on the arrow at the bottom of the screen to go back.
Well, let’s look for a man with a green tie. Tap on the arrow on the right.
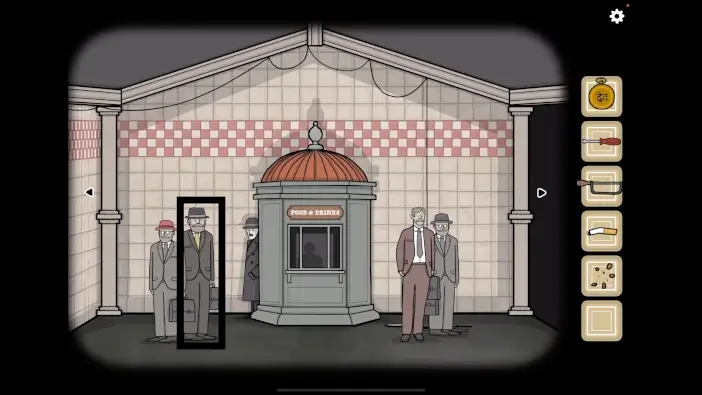
Next, to the man with the red hat on the left, you will notice a man with a green tie. Tap on him to take a closer look, then tap again to start the interaction. He will tell you that you are confusing him with his twin brother.
Tap on the arrow at the bottom of the screen to go back.
Let’s look for his twin brother. Tap twice on the arrow on the right.
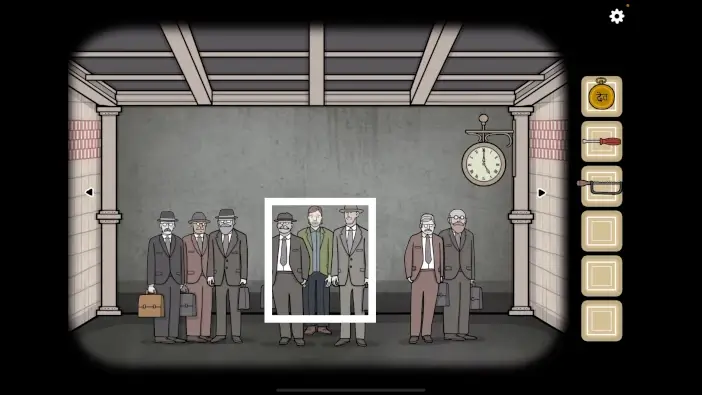
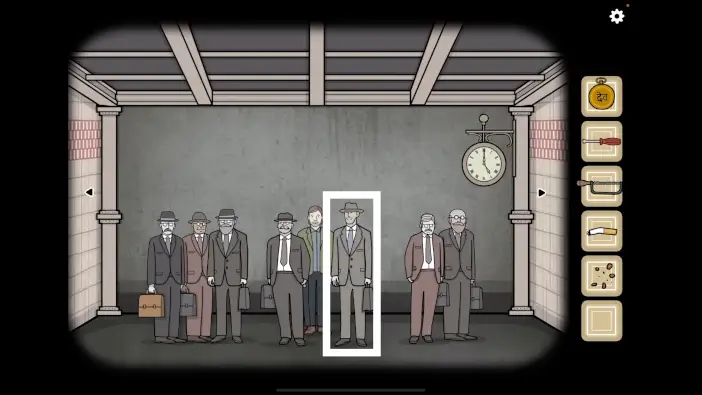
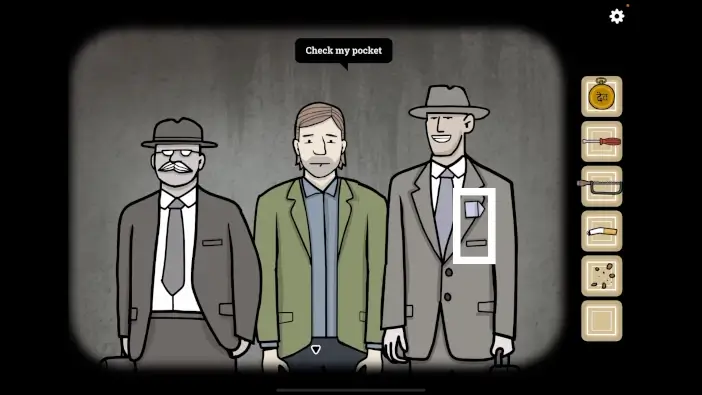
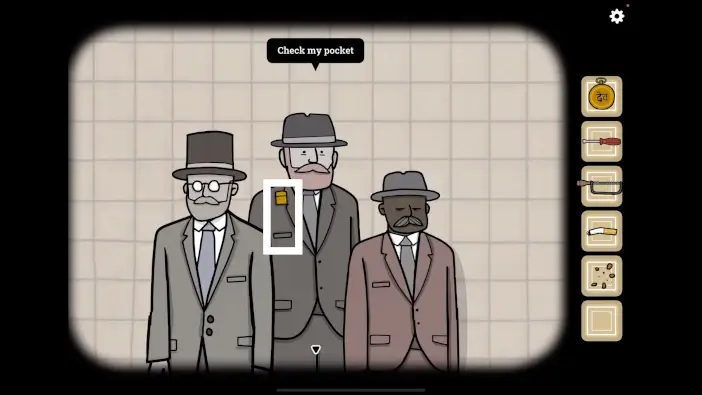
On the left, you will notice a group of three men, and the man in the middle looks like the twin brother that we’re looking for. Tap on him to take a closer look.
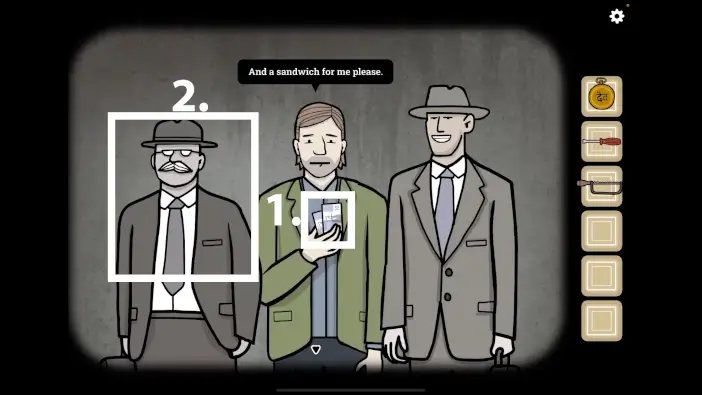
Tap on the man again to start the interaction, and he will instruct you to look into his pocket.
Tap on his top left pocket, and you will find a “Lighter”. After that, tap on the arrow at the bottom of the screen to go back.
All passengers will leave as soon as you pick up a “Lighter”. Let’s continue. Tap on the arrow on the left to go to the room with the clock.
Well, as I already mentioned, all the passengers left, and we can now see Robert standing alone in this room. Tap on him to take a closer look, and tap again to start the interaction.
Robert will tell you that he thinks that he saw Laura before. He will then ask you to buy her a coffee and to buy him a sandwich. He will offer you some money, so tap on it to pick it up.
After that, tap on the arrow at the bottom of the screen to go back.
Tap on the arrow on the left to go to the next room.
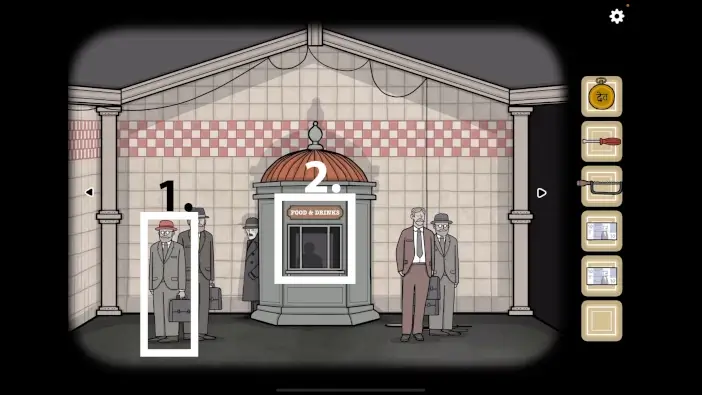
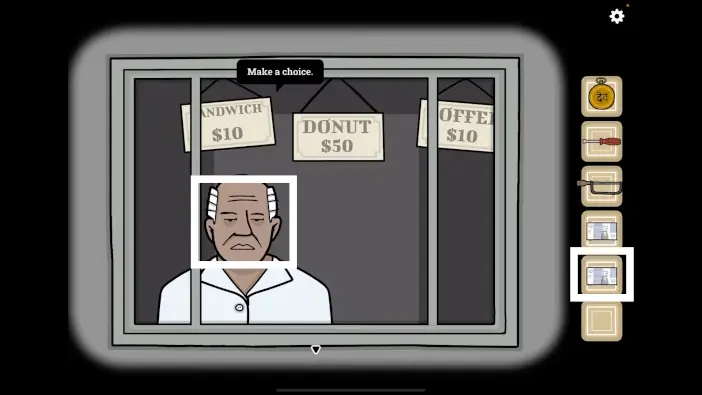
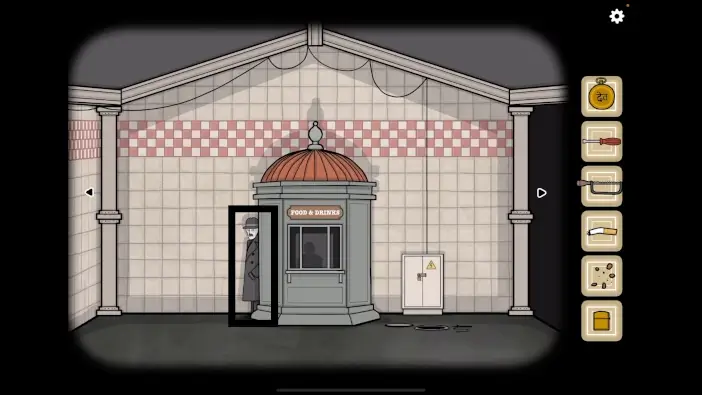
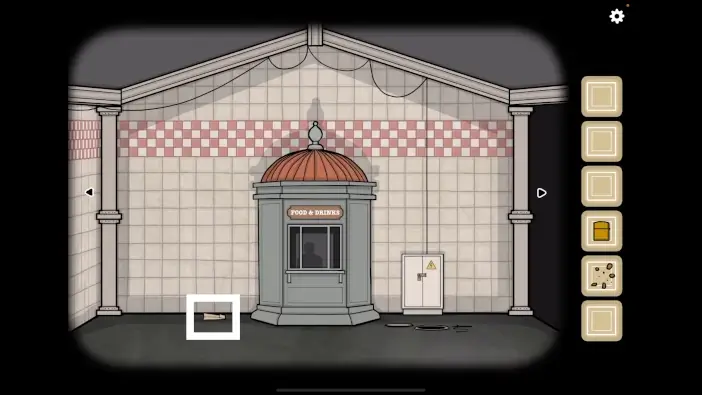
Here, you will see a “Food and drinks sign”. Tap on this building to take a closer look.
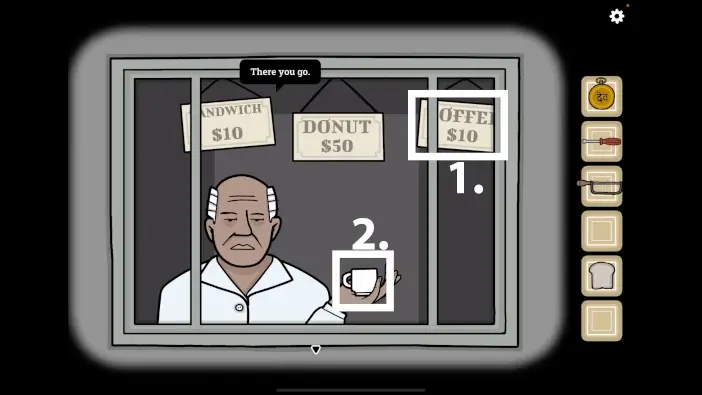
We can see that the sandwich and coffee cost ten dollars each. So, select the “Money” from the inventory and give it to the man. After that, tap on the “Coffee” sign to buy a coffee.
The man will offer you a “Coffee”, so tap on it to pick it up.
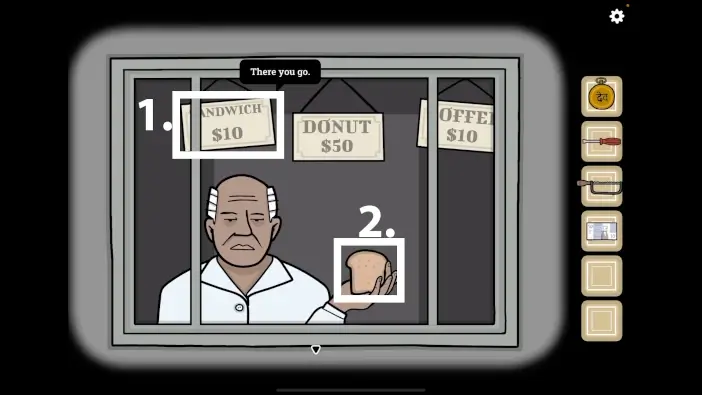
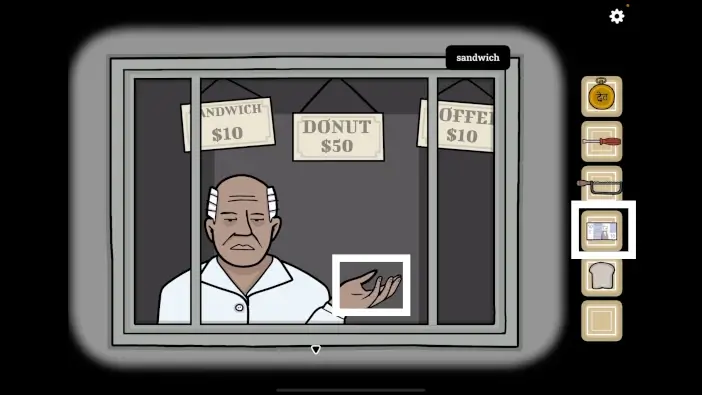
Next, select the “Money” from the inventory and give it to the man. After that, tap on the “Sandwich” sign to buy a sandwich.
The man will offer you a “Sandwich”, so tap on it to pick it up. After that, tap on the arrow at the bottom of the screen to go back.
Let’s go back to Robert and give him a sandwich. Tap on the arrow on the right to go to the room with the clock.
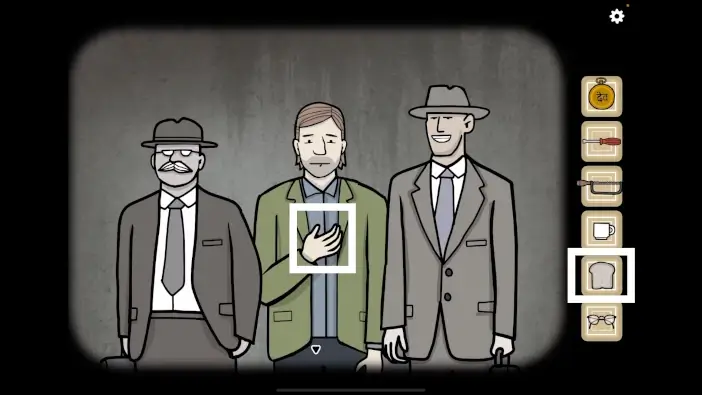
Tap on Robert to take a closer look at him. Select the “Sandwich” from the inventory and give it to Robert.
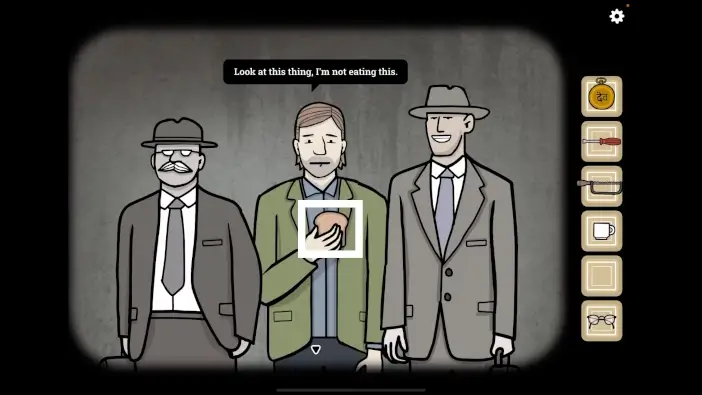
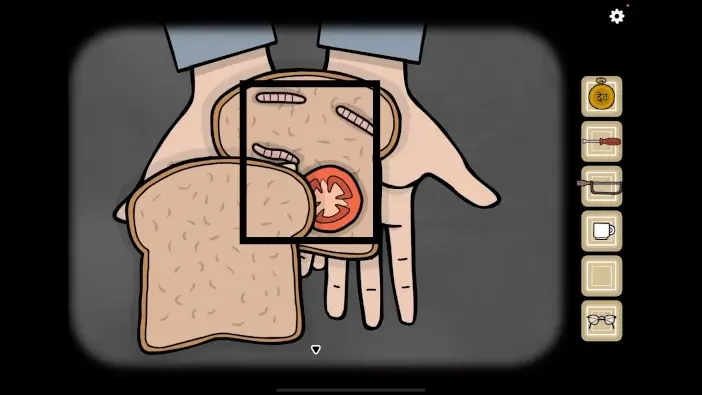
If you tap on Robert, he will tell you that he won’t eat the sandwich. Let’s tap on the sandwich to see what’s wrong with it.
Move all ingredients to the left and you will see two worms. Drag the worms to the right to remove them.
Next, drag all ingredients to the right, and you will see three more worms. Drag the worms to the left to remove them.
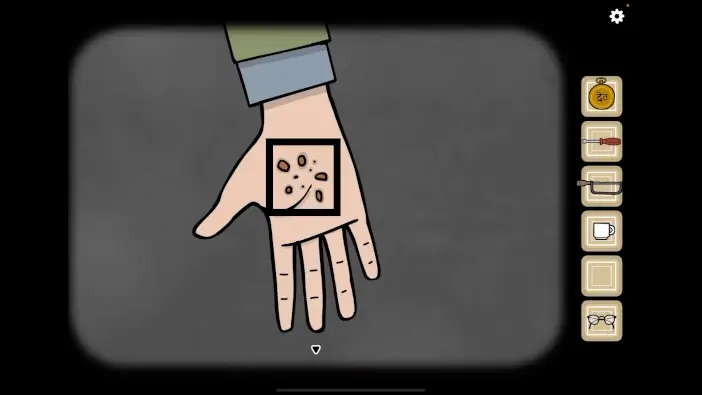
Robert will eat the sandwich as soon as you remove all five worms. Tap on Robert to talk to him, and he will offer you some crumbs.
Tap on the “Breadcrumbs” to pick them up. After that, tap on the arrow at the bottom of the screen to go back.
Let’s get back to Laura and give her a coffee. Tap twice on the arrow on the right.
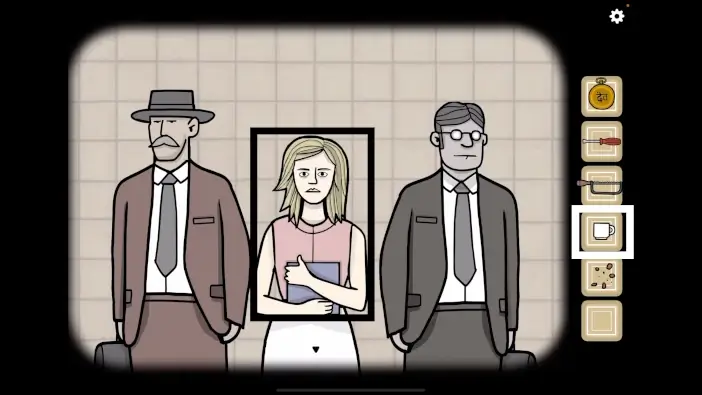
Tap on Laura to start the interaction. Select the “Coffee” from the inventory and give it to her.
Laura will thank you for bringing her coffee. Drag the coffee cup to Laura’s mouth and she will drink the coffee.
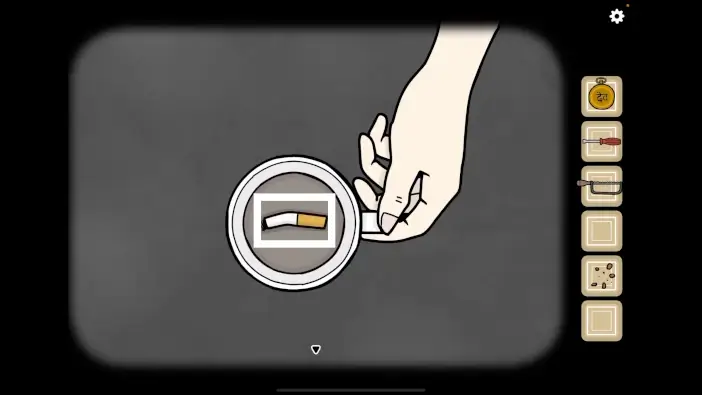
Tap on the cup of coffee to take a closer look at it. Tap on the cup again to drink it.
At the bottom of the cup, you will find a “Cigarette”. Tap on it to pick it up. After that, tap on the arrow at the bottom of the screen to go back.
Tap on the arrow on the right to proceed to the next room.
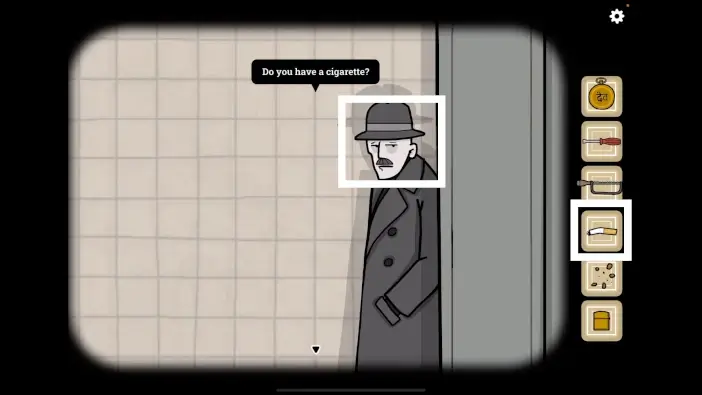
Tap on the shady character to approach him, and tap again to start the interaction. He will ask if you have a cigarette.
So, select the “Cigarette” from the inventory and give it to the man.
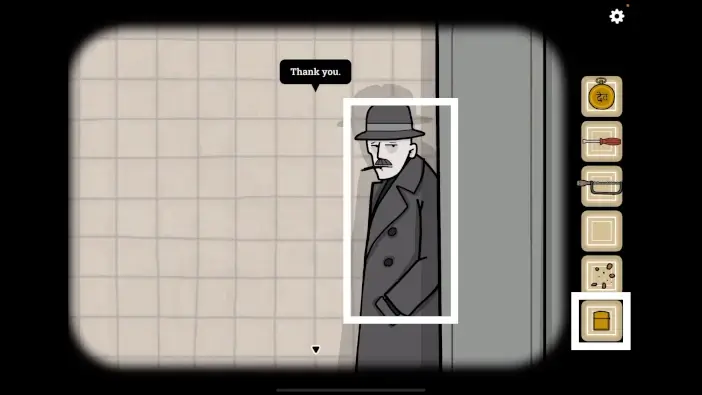
Tap on the man again, and he will ask for a lighter. So, select the “Lighter” from the inventory and give it to the man.
Tap twice on the lighter and the man will light the cigarette. Once you’re done, tap on the lighter again to close it.
Tap on the lighter again, to take it back and the man will say that he has one last question.
Tap on the man again and he will ask you “Do you have the time?”.
The light will blink several times, and the man will disappear. Tap on the arrow at the bottom of the screen to go back.
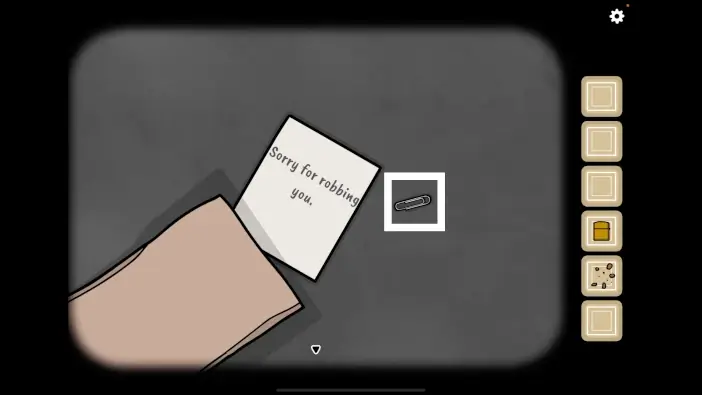
We can see a paper bag on the left, and this item wasn’t here before. Tap on the paper bag to take a closer look at it, and tap again to start the interaction. A note will fall out of the paper bag.
The note says “Sorry for robbing you.”. So, the shady guy robbed us.
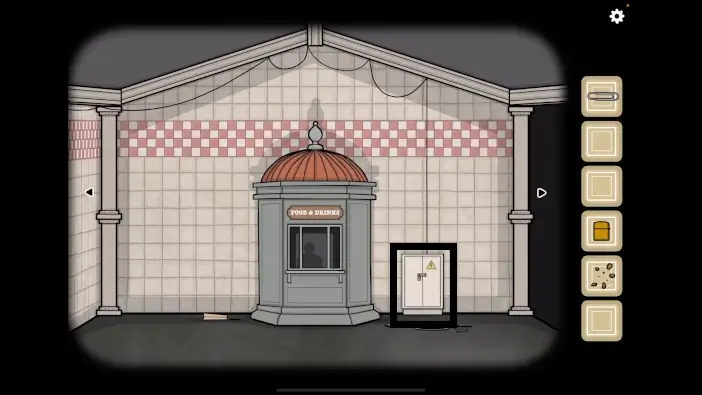
Just to the right you will notice a “Paperclip”. Tap on it to pick it up. After that, tap on the arrow at the bottom of the screen to go back.
On the right, you will notice a locked cabinet. Tap on it to take a closer look.
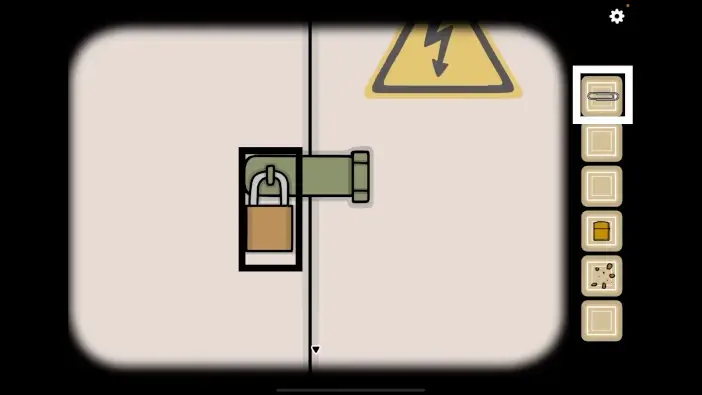
Next, select the “Paperclip” from the inventory and use it to unlock the padlock. After that, tap on the padlock to start the interaction.
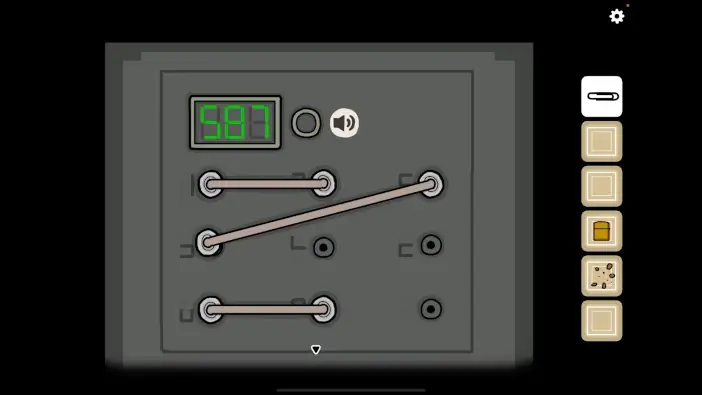
At the top left of the screen, you will notice the number “587”. Below the display screen, you will notice nine slots, arranged in a 3×3 grid, and next to each slot you will see a symbol. Besides that, you will also see three cables.
Our task is to shuffle the end of the cables and assemble these three numbers, by inserting the ends of the cables into the correct slots. We will do this in several steps. Let’s begin.
Step 1
Take the end of the cable located in the third slot in the third row, and insert it into the first slot in the second row. The two symbols connected by this cable will form the number 5.
Step 2
The cable in the first slot in the third row, and the second slot in the third row already form the number 8. So, let’s move on to the next number, 7.
Take the end of the cable located in the second slot in the second row, and insert it into the second slot in the first row. The two symbols connected by this cable will form the number 7.
With that done, we will have the number “587”.
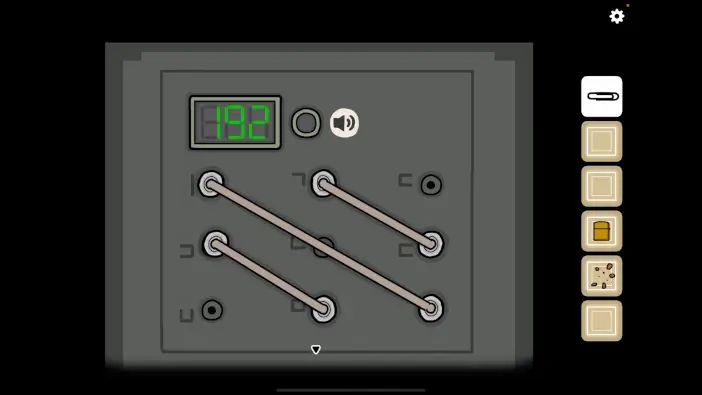
Well, the new number, “192”, will appear on the display screen, and now we have to repeat the process. Let’s begin.
Step 1
Take the end of the cable located in the second slot in the first row, and insert it into the third slot in the third row. The two symbols connected by this cable will form the number 1.
Step 2
Take the end of the cable located in the first slot in the second row, and insert it into the second slot in the first row (we will need the symbol in the first slot in the second row to form the number 9).
Step 3
Take the end of the cable located in the first slot in the third row, and insert it into the first slot in the second row. The two symbols connected by this cable will form the number 9.
Step 4
Take the end of the cable located in the third slot in the first row, and insert it into the third slot in the second row. The two symbols connected by this cable will form the number 2.
With that done, we will have the number “192”.
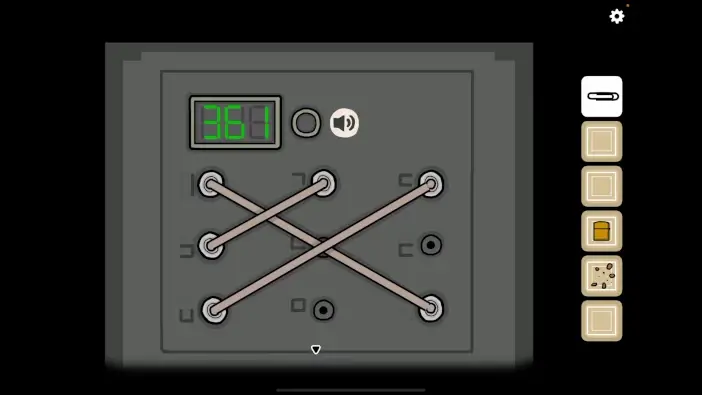
Well, the new number, “361”, will appear on the display screen, and now we have to repeat the process. Let’s begin.
Step 1
Take the end of the cable located in the second slot in the first row, and insert it into the third slot in the third row. The two symbols connected by this cable will form the number 1.
If you take a look at the cable inserted in the first slot in the first row, and the third slot in the third row, we already have the number “1”.
So, let’s take the end of the cable located in the second slot in the first row, and insert it into the third slot in the first row.
Step 2
Take the end of the cable located in the third slot in the second row, and insert it into the first slot in the third row. You will form the number 6.
Step 3
Lastly, take the end of the cable located in the second slot in the third row, and insert it into the second slot in the first row. You will form the number 3, and we will have the number “361”.
As soon as you assemble the number “361” the green light next to the display will be turned on. Tap on the arrow at the bottom of the screen to go back.
Next, let’s follow the cable from the machine. You will notice that it goes up to the ceiling and then turns left, into the next room.
Let’s follow the cable. Tap on the arrow on the left.
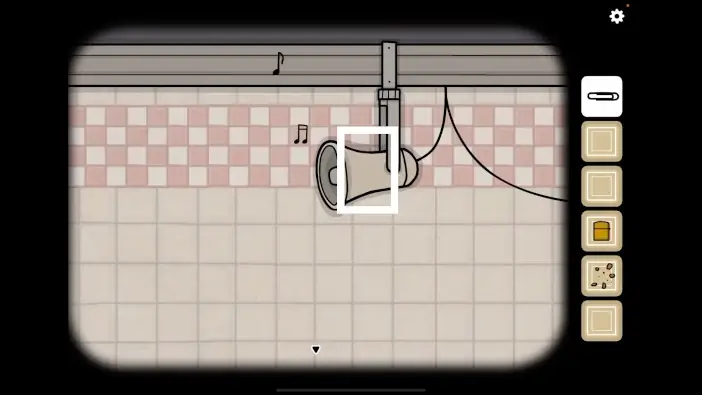
We can see that the cable is connected to the loudspeaker on the ceiling. Tap on the loudspeaker to take a closer look at it.
Tap on the loudspeaker to activate it, and several notes will come out. Let’s memorize/write down these notes because we will need them for the next puzzle.
Single note, Single note, Double note, Double note, Triple note, Triple note (1, 1, 2, 2, 3, 3).
Once you’re done, tap on the arrow at the bottom of the screen to go back.
Let’s go back to the musician, and play these notes. Tap on the arrow on the left.
Tap on the musician to take a closer look at him, then tap on the saxophone to start the interaction.
We should now play the notes that we saw when we activated the loudspeaker. Looking from left to right, the first finger will play a single note, the second finger will play a double note, and the third finger will play a triple note.
So, tap on the first finger/ first finger/ second finger/ second finger/ third finger/ third finger, and you will play the correct melody.
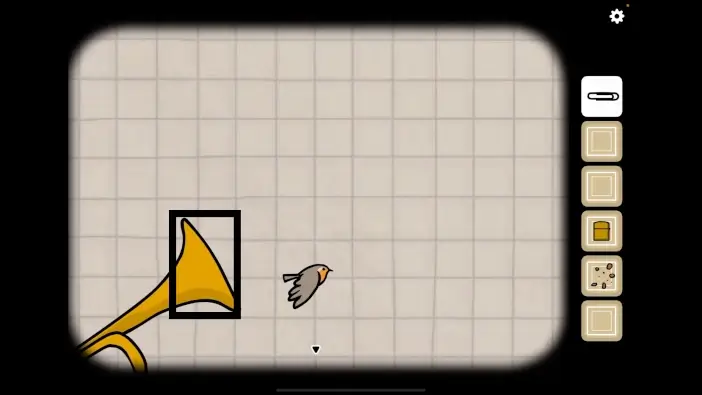
The musician will begin to play the saxophone as soon as you create the correct notes. A few moments later, something will block the saxophone. So, let’s tap on the saxophone to take a closer look at it, then tap on it again to pull out the item that is blocking the sound.
A small bird will fly out of the saxophone. Tap on the arrow at the bottom of the screen to go back.
Let’s look for the bird. Tap on the arrow on the right.
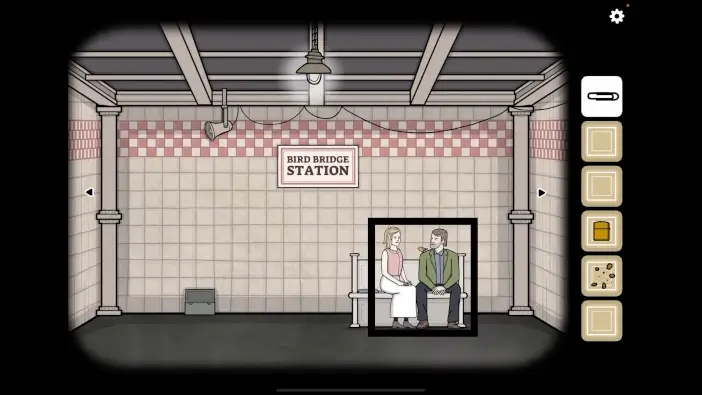
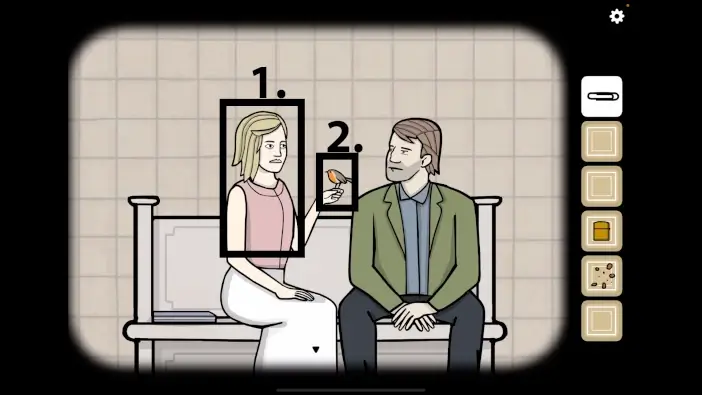
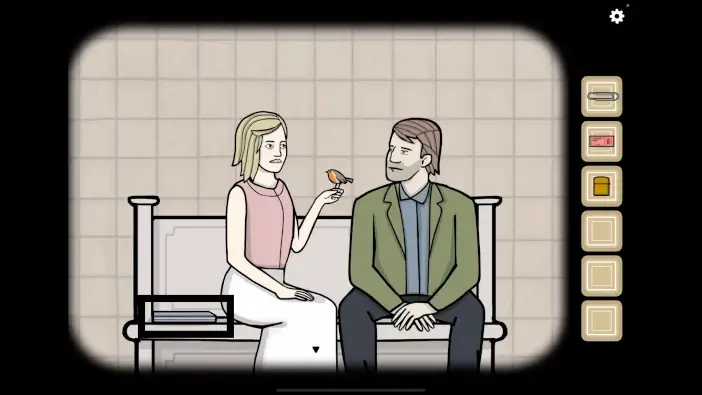
In this room, we can see Robert and Laura sitting on the bench. Let’s tap on them to take a closer look.
Tap on Laura to start the interaction. She will say “Come here. I remember you.” She will also reach toward the small bird that is sitting on Robert’s shoulder.
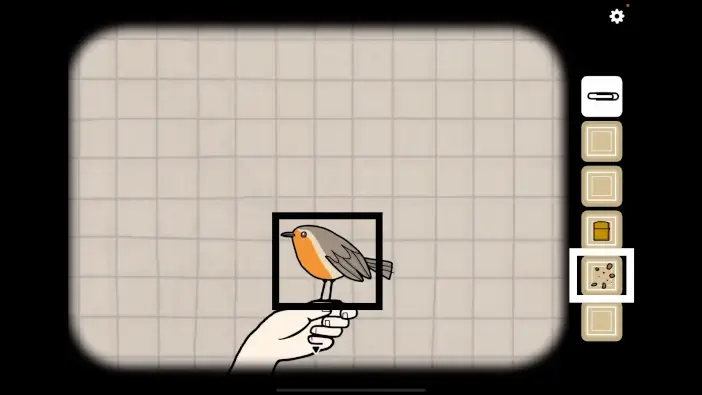
Tap on the bird to start the interaction. The small bird will make a small flight, and it will land on Laura’s finger. Tap on the bird again to take a closer look at it.
Select the “Breadcrumbs” from the inventory and feed the little bird.
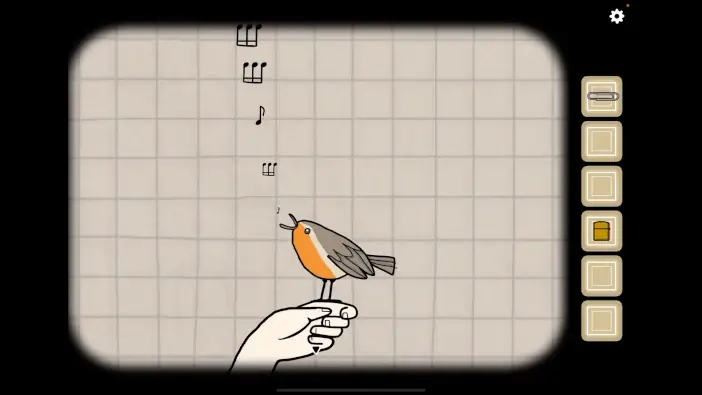
Tap and hold on the bird. It will begin to sing, and our next task is to memorize/write down the notes. So, we have
Triple note, Triple note, Single note, Triple note, Single note, Single note (3, 3, 1, 3, 1, 1).
Once you’re done, tap on the arrow at the bottom of the screen to go back.
Let’s go back to the musician and play these notes. Tap on the arrow on the left.
Tap on the musician to take a closer look at him, then tap on the saxophone to start the interaction.
We should now play the notes that we saw when the bird started to sing. Looking from left to right, the first finger will play a single note, the second finger will play a double note, and the third finger will play a triple note.
So, tap on the third finger/ third finger/ first finger/ third finger/ first finger/ first finger, and you will play the correct melody.
The musician will begin to play the saxophone as soon as you create the correct notes. A few moments later, something will block the saxophone. So, let’s tap on the saxophone to take a closer look at it, then tap on it again to pull out the item that is blocking the sound.
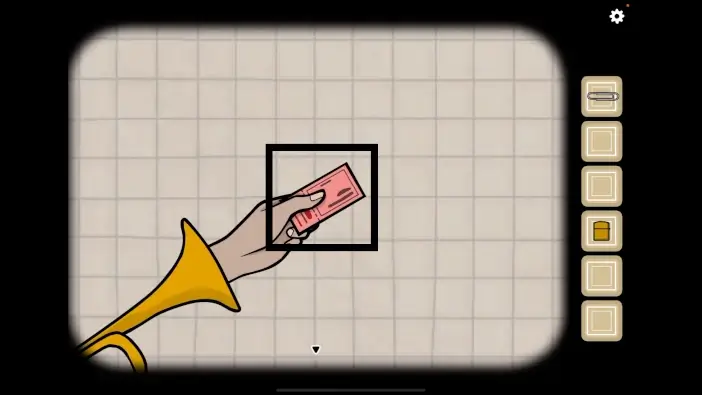
A hand, holding a metro ticket, will come out of the saxophone. Tap on the “Metro ticket” to pick it up.
After that, tap on the arrow at the bottom of the screen to go back.
Let’s go back to Laura and Robert. Tap on the arrow on the right.
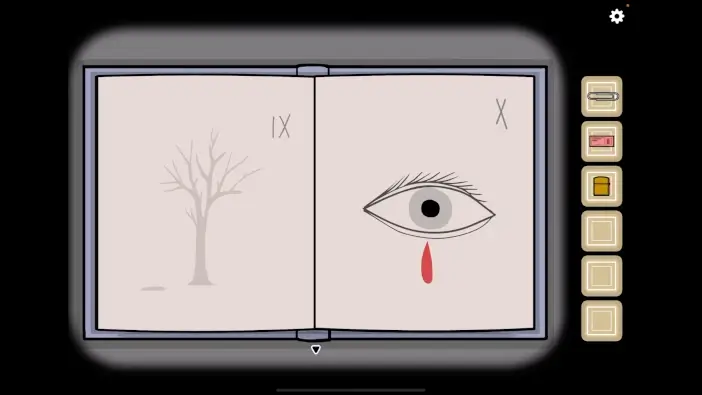
Tap on Laura and Robert to take a closer look at them. You will notice a book on the bench, just to the left of Laura. Let’s tap on the book to start the interaction.
Drag from right to left on the page on the right, several times, to look at the last page of the book.
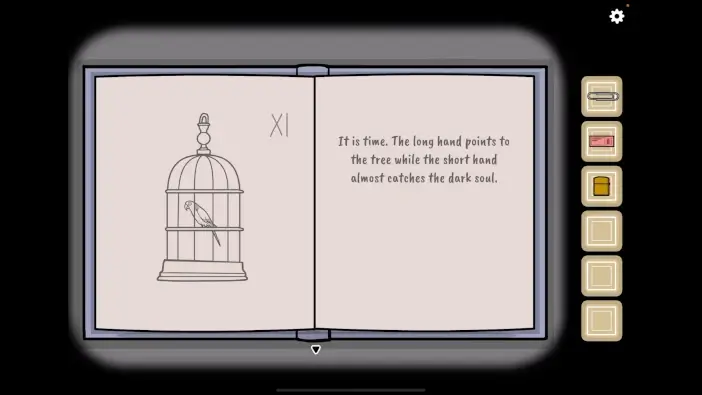
On the last page of the book, you will see a short text.
“It is time. The long hand points to the tree while the short hand almost catches the dark soul”.
Memorize/write down this text because it represents the hint for the next puzzle. The long hand refers to the minute hand on the clock, and the short hand is the hour hand.
Once you’re done, drag from left to right on the left page to take a look at the previous page of the book.
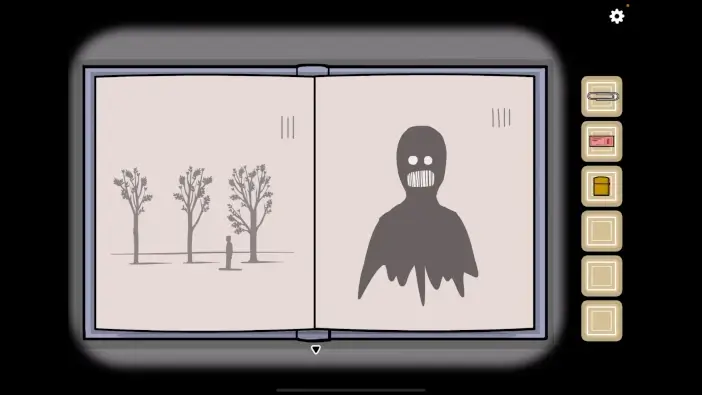
On the page on the left, we can see a drawing of the tree. In the top right corner of this page, we can see a number 9. Memorize/write down this number because it represents the position of the minute hand.
Once you’re done, drag from left to right on the left page to take a look at the previous page of the book. We are looking for a page with the drawing of a “Dark soul”.
On the page on the right, we can see a drawing of the “Dark Soul”. In the top right corner of this page, we can see a number 4. Memorize/write down this number because it represents the position of the hour hand.
“It is time. The long hand points to the tree while the short hand almost catches the dark soul”. So, the hour hand should be very close to number 4, while the minute hand should point at number 9. With that said, we can conclude that the time on the clock should be 03:45. Memorize/write down this information.
Once you’re done, tap on the arrow at the bottom of the screen to go back.
Let’s go back to the room with the clock and set the time to 03:45. Tap twice on the arrow on the right.
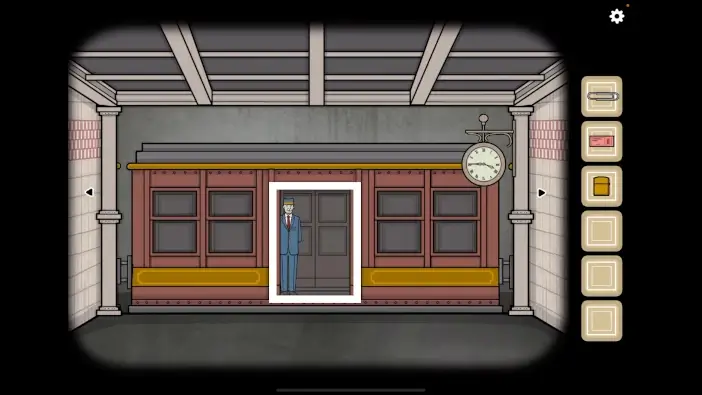
Tap on the clock to start the interaction. Rotate the minute hand and set the time to 03:45.
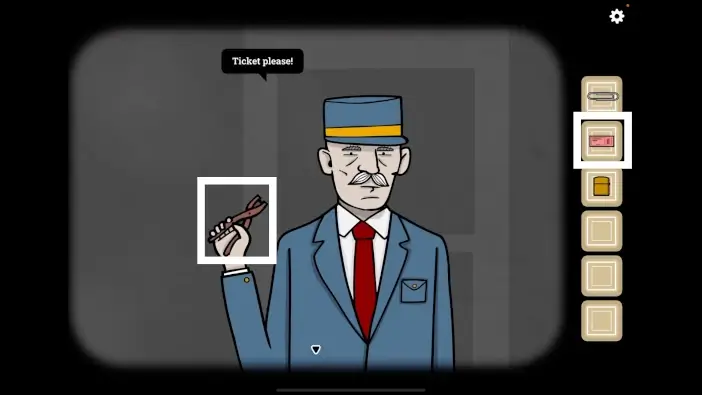
Tap on the train door to open it, then tap on the ticket collector to start the interaction.
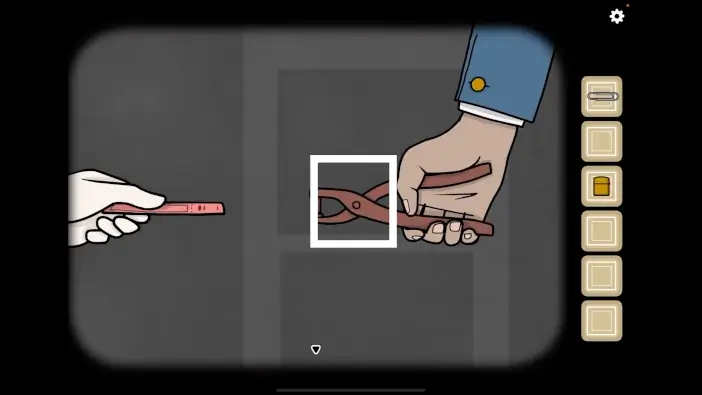
Select the “Metro ticket” from the inventory and give it to the ticket collector.
Tap on the ticket punch to open it, then drag the ticket below it.
Tap on the ticket collector to complete the conversation, then tap on the train door to board the train.
We reached the end of the fourth chapter of the walkthrough. You can check out the walkthrough for the fifth chapter, the “Sorrow Cross” station, by tapping on the “Next Part” button.
Thank you for reading.