Underground Blossom Chapter 3 | School Street
Hello everyone and welcome to the third chapter of our walkthrough for the “Underground Blossom” a puzzle-solving game developed by Rusty Lake – one of the most famous game developers in puzzle puzzle-solving genre. In this game, we follow Laura’s life, and the story in this part continues at “School Street” station. At this point in time, Laura was a teenager.
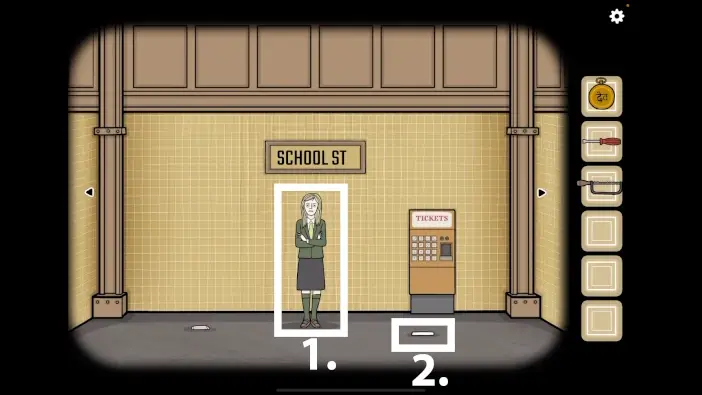
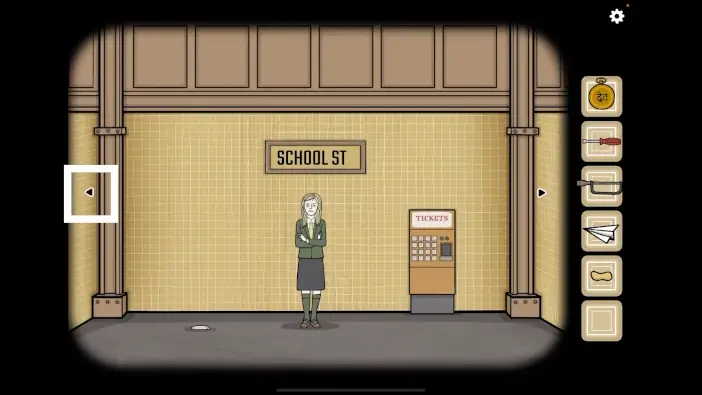
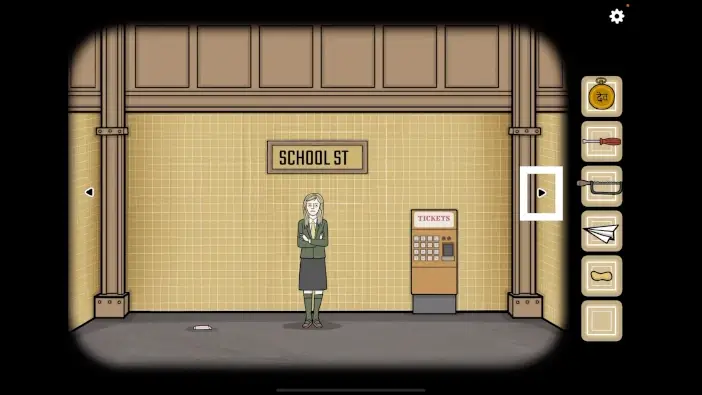
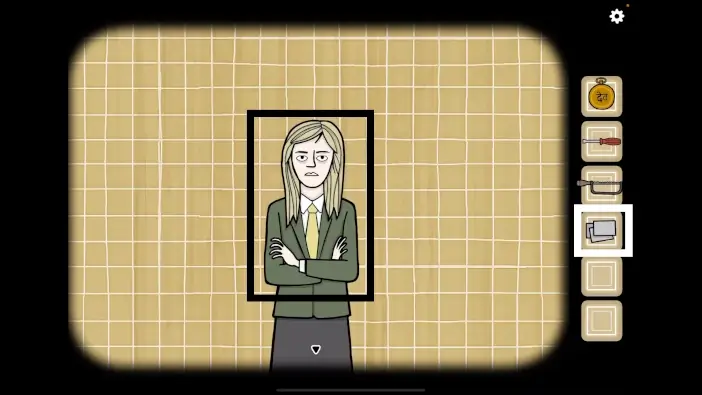
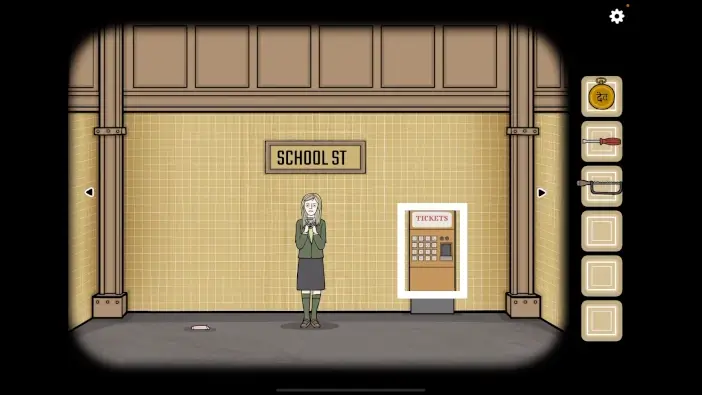
We arrived at the “School Street” station and we could see Laura, who is now a teenager, waiting for us outside. Let’s go out and talk to her.
She will tell you that someone stole her photos. So, let’s go find them. This will be our main task in this chapter.
Tap on the arrow at the bottom of the screen to go back.
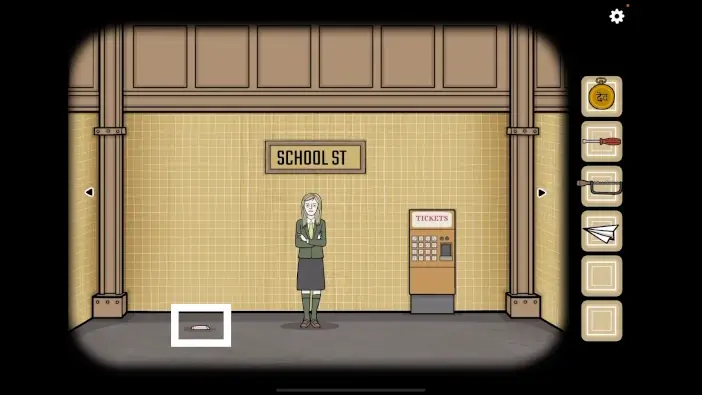
You will see something on the ground on the left. Tap on it to take a closer look.
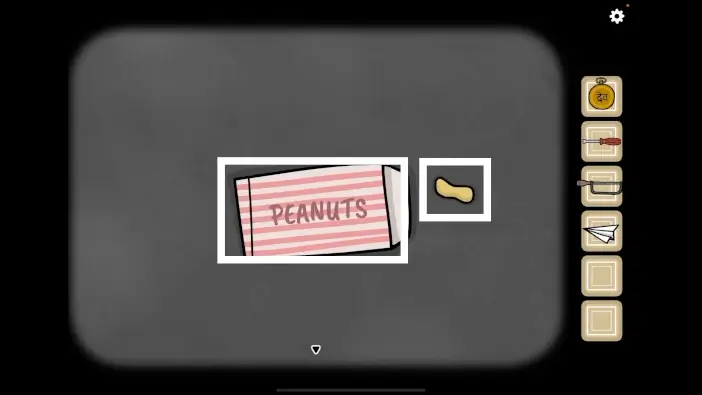
Tap on the bag of peanuts to open it and you will find a “Peanut”. Tap on it to pick it up.
After that, tap on the arrow at the bottom of the screen to go back.
Next, tap on the arrow on the left to go to the next room.
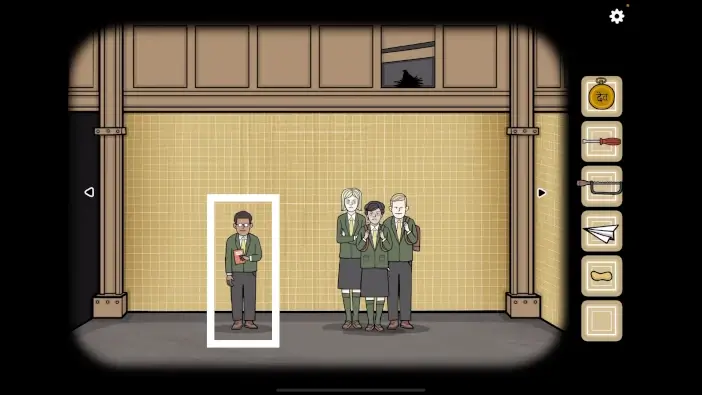
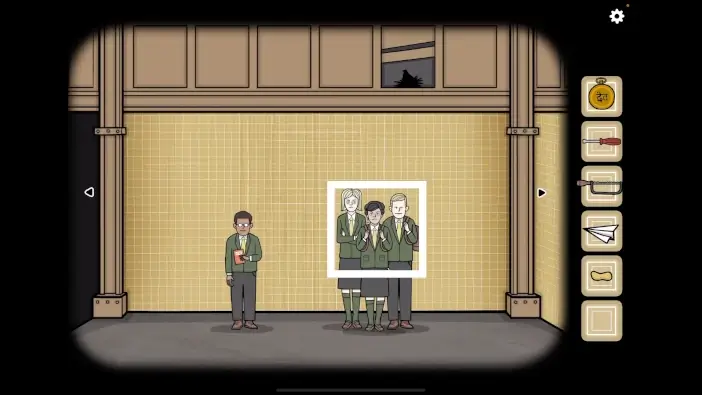
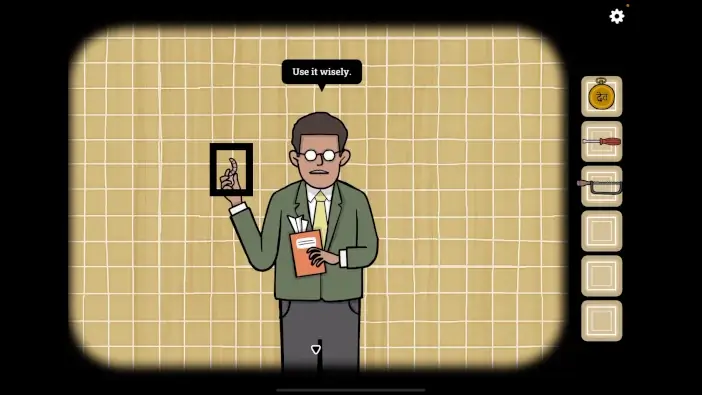
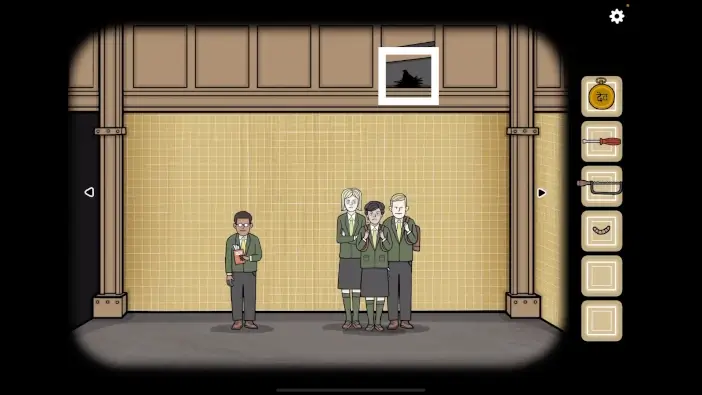
Here, you will see three teenagers on the right and one teenager with glasses on the left. Tap on the boy on the left to talk to him.
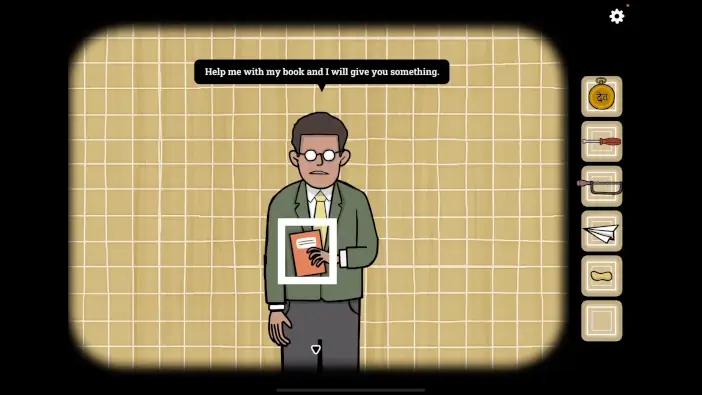
He will tell you that he will give you something valuable if you help him with his book.
You will notice that the boy is holding a book in his hand. So, let’s examine the book.
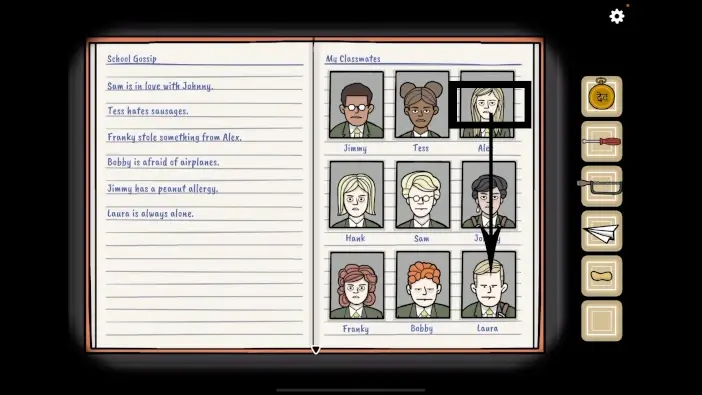
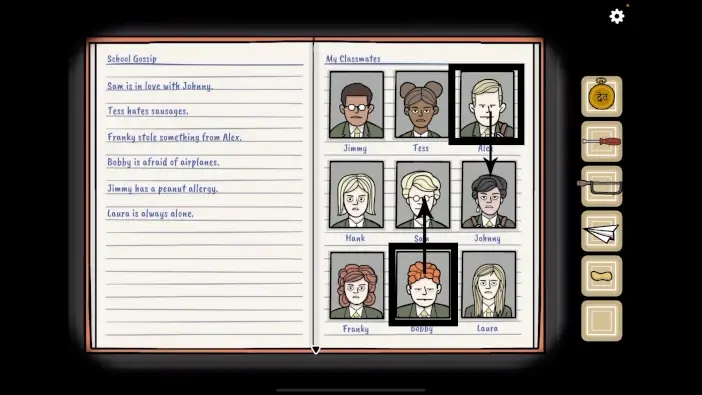
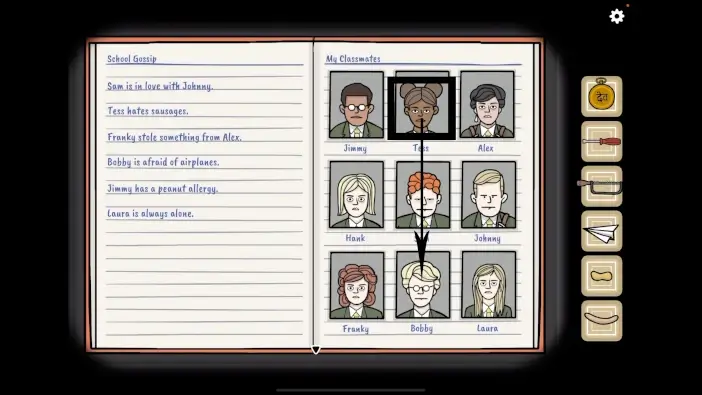
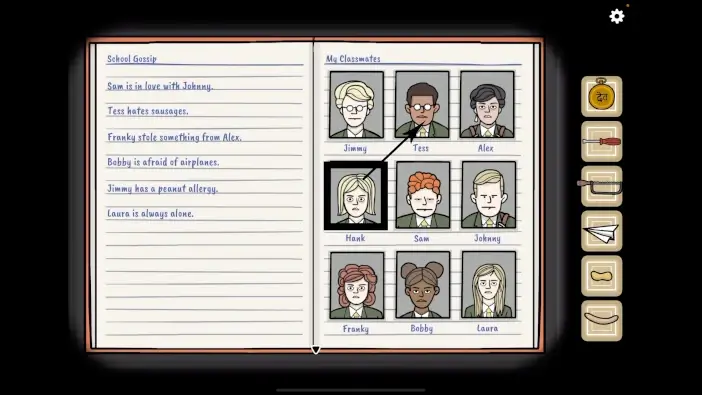
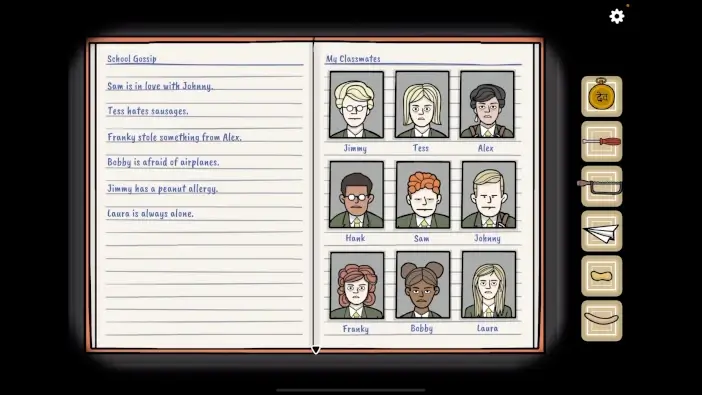
On the right, we can see photos of nine students. On the left, we can see a school gossip. The photos of the students and their names are mismatched. So, our task is to follow the hints provided by the gossip and match the photos of the students with their names. Let’s take a look at the gossip.
Sam is in love with Johnny.
Tess hates sausages.
Franky stole something from Alex.
Bobby is afraid of airplanes.
Jimmy has a peanut allergy.
Laura is always alone.
Write down this information because we will need it to solve this problem.
We know Laura, and she is standing alone, so let’s match her photo with her name. Select the third photo in the first row, and drag it into the third slot in the third row.
Once you’re done, tap on the arrow at the bottom of the screen to go back.
Let’s go back to the first room on the right (Laura’s room).
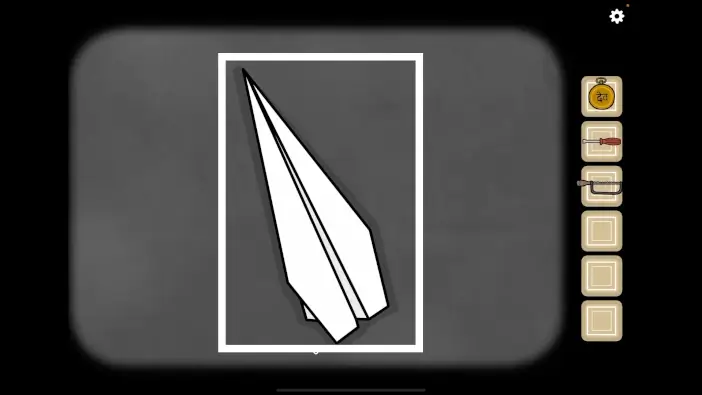
Tap on the piece of paper on the floor on the right to take a closer look at it.
Bobby is afraid of airplanes, so let’s fold this drawing into a paper airplane. Tap on the top right corner of the paper.
Tap on the top right corner of the paper again.
Again, tap on the top right corner of the paper.
Next, tap twice on the top left corner of the paper.
Next, tap on the right side of the paper.
Next, tap twice on the left side of the paper.
Lastly, tap on the right side of the paper, and you will create a “Paper airplane”. Tap on it to pick it up.
Once you’re done, tap on the arrow at the bottom of the screen to go back.
Let’s go to the next room on the right.
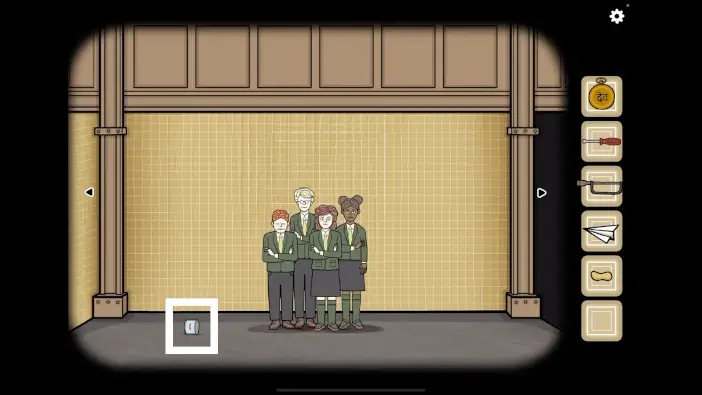
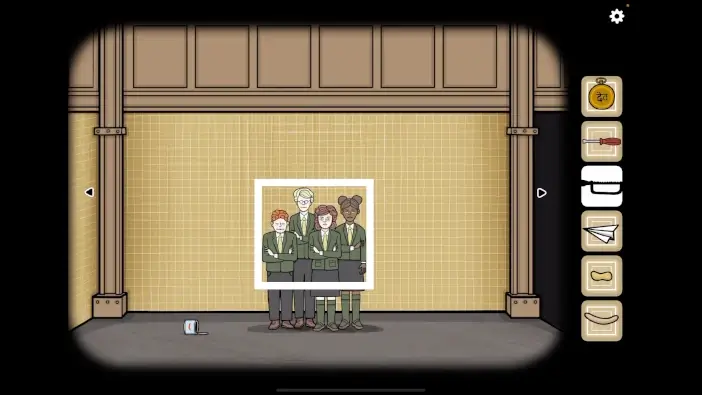
Here, we can see a group of four students. We can also see a can on the left side of the floor. Tap on the can to take a closer look at it.
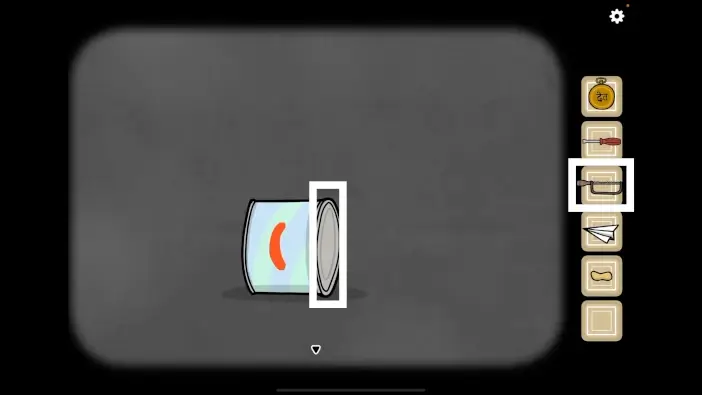
Let’s open the can. Select the “Nut driver” from the inventory and use it to open the can.
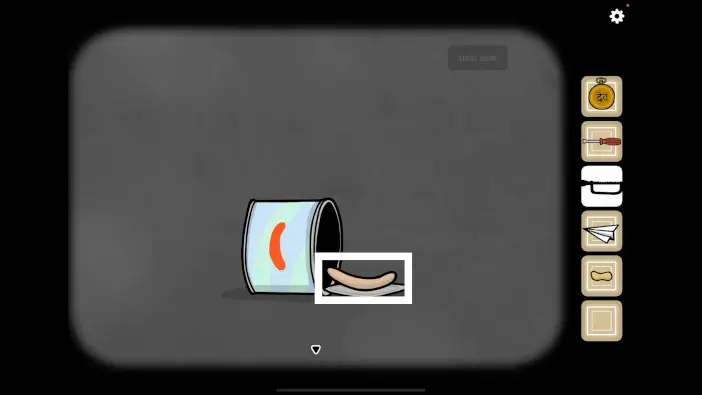
Once you open the can, a “Sausage” will fall out. Tap on it to pick it up. Previously, we saw a gossip “Tess hates sausages” so we could use the sausage to discover the identity of the student called Tess.
Once you’re done, tap on the arrow at the bottom of the screen to go back.
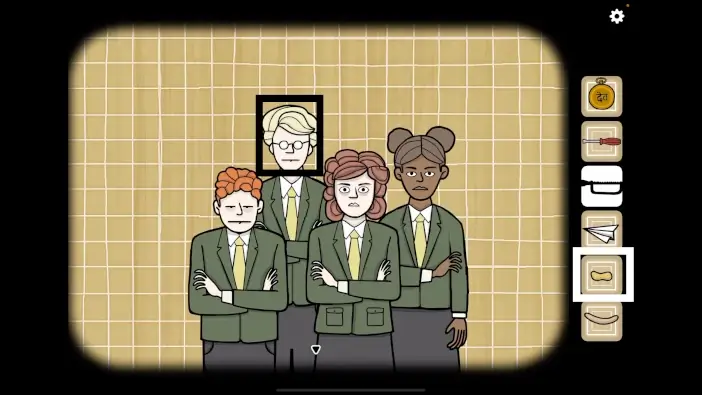
We should now try to discover the identity of some of the students. Tap on the group of students to take a closer look at them.
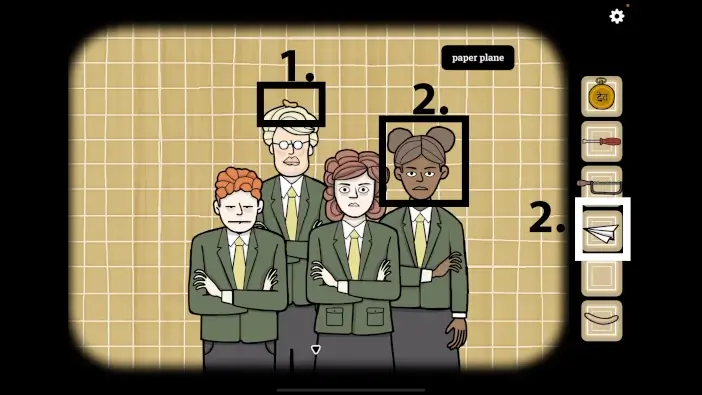
“Jimmy has a peanut allergy.” So, select the “Peanut” from the inventory and drop it onto the head of the tall, blonde boy with glasses. If he gets an allergic reaction, then he is Jimmy.
Yup, he immediately got an allergic reaction. So, Jimmy is the tall, blonde boy with glasses.
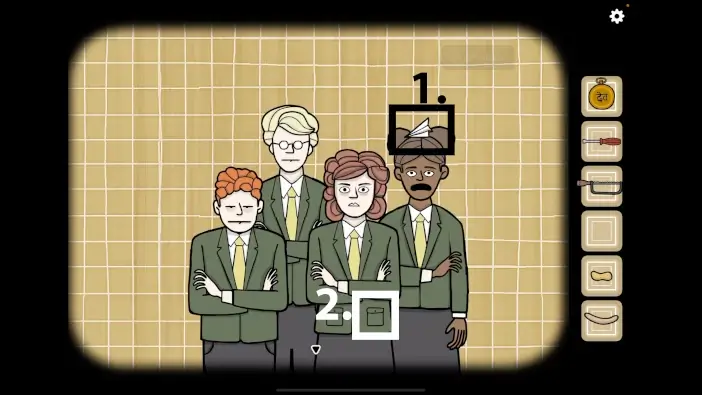
“Bobby is afraid of airplanes.” So, select the “Paper airplane” from the inventory and drop it onto the head of the black girl on the right. If the airplane scares her, then she is Bobby.
Yup, the girl on the right is definitely scared of airplanes, so she is Bobby.
Next, let’s take a closer look at the red-haired girl in the middle. More specifically let’s look at her right pocket. Tap on it to take a closer look.
Tap on the pocket to open to see what’s inside and you will pull out a diamond earring.
“Franky stole something from Alex.” So, if we conclude that this diamond earring was stolen, then we will also discover that the red-haired girl is Franky. Tap on the earring again to put it back into the pocket.
Once you’re done, tap on the arrow at the bottom of the screen to go back.
Let’s go to the other room with the students. It’s the second one on the right.
Before we proceed, let’s match Jimmy’s photo, and Bobby’s photo with their names, because we have discovered the identity of these two students.
Tap on the boy on the left to take a closer look at him, then tap on the book to start the interaction.
Jimmy is a tall, blonde boy with glasses (and a peanut allergy). So, drag his photo (the second photo in the second row) and drag it into the first slot in the first row.
Next, we also discovered Bobby’s identity. Bobby is a black girl who is scared of airplanes. So, drag her photo (the second photo in the first row) and drag it into the second slot in the third row.
Once you’re done, tap on the arrow at the bottom of the screen to go back.
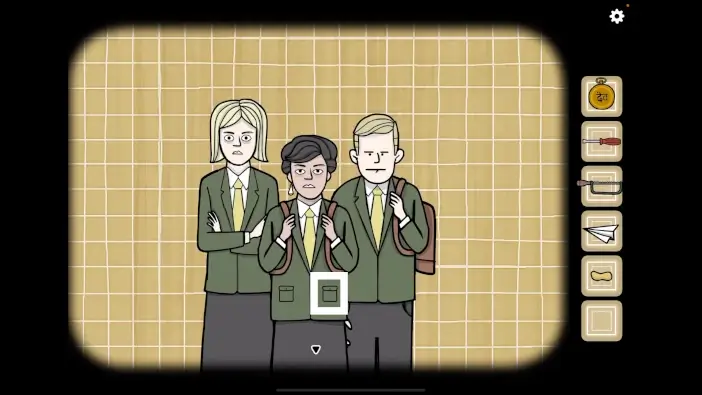
Ok, we should now take a closer look at the group of three students on the right.
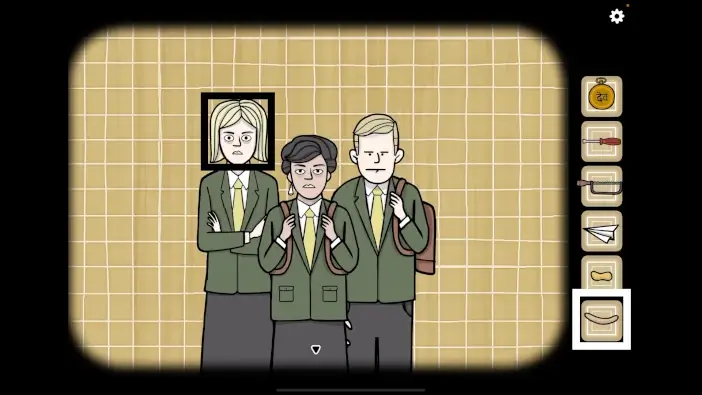
You will probably notice that the girl with the black hair is missing a diamond earring. Previously, we discovered the gossip “Franky stole something from Alex”.
In the pocket of the red-haired girl, we found a diamond earring, so that girl is Franky. The black-haired girl in front of us is missing an earring, so she is Alex.
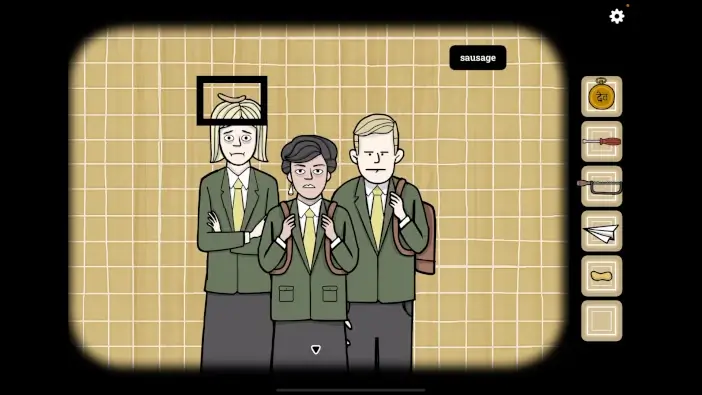
Next, select the sausage from the inventory and put it on the head of the blonde girl on the left.
The girl’s expression will change, and she obviously hates sausages. Previously, we saw the gossip “Tess hates sausages”. So, the blonde girl is Tess.
We still have to discover the identity of two more students, so let’s do that. Tap on Alex’s right pocket (the girl in the middle) to take a closer look at it.
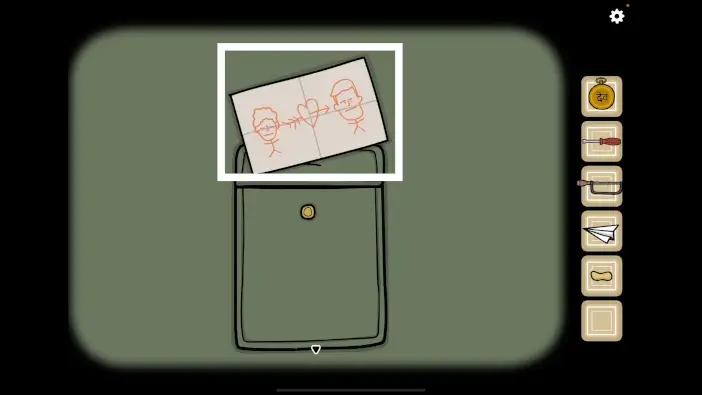
Tap on the pocket again and you will find a note. Tap on the note to examine it.
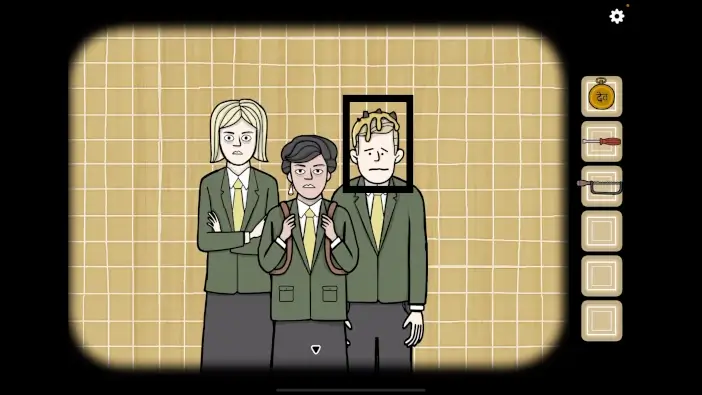
In this picture, we can see that the boy on the left is in love with the boy on the right. Previously, we saw the gossip “Sam is in love with Johnny”. The boy on the left has curly hair, and he looks like the red-haired boy with curly hair that we saw in the previous room. So, the red-haired boy with the curly hair is Sam.
The blonde boy located in this group on the right looks like the boy in this group located on the right. So, this boy is Johnny.
We have now discovered the identity of all students, so let’s go back and connect the photos with the names of the students in the book. Tap on the arrow at the bottom of the screen.
Tap on the boy on the left to take a closer look at him, then tap on the book to start the interaction.
Alex is the black-haired girl with only one earring, so let’s drag her photo from the third slot in the second row into the third slot in the first row.
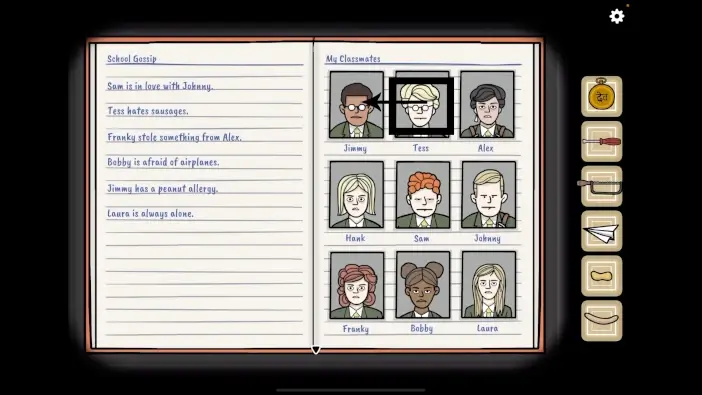
The blonde girl is Tess, so let’s drag her photo from the first slot in the second row into the second slot in the first row.
The red-haired boy with curly hair is Sam, so let’s drag his photo from the first slot in the second row into the second slot in the second row.
With the last step completed, you will connect the names of the students with their photos, and the book will close.
Tap on the arrow at the bottom of the screen to go back.
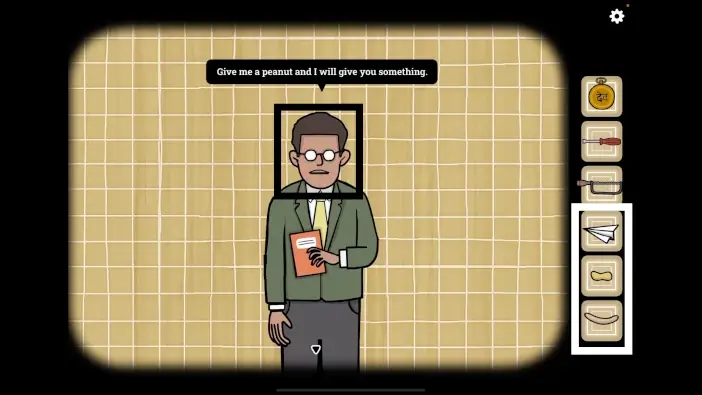
If you tap on Hank (the boy with the glasses) he will inform you that he will give you something if you give him a peanut. He will have a few more requests, so let’s gather all the items before we go back to him.
Tap on the arrow at the bottom of the screen to go back.
Tap on the blonde girl on the left to take a closer look at her, then tap on the “Sausage” on her head to pick it up.
After that, tap on the arrow at the bottom of the screen to go back.
Let’s go back to the other four students. Tap twice on the arrow on the right.
Tap on the students to take a closer look at them, then tap on the “Peanut” and “Paper plane” to pick them up.
After that, tap on the arrow at the bottom of the screen to go back.
Let’s get back to Hank (the boy with the glasses). Tap twice on the arrow on the left.
Tap on Hank to take a closer look at him. Select the “Peanut” from the inventory and give it to Hank.
If you tap on Hank again, he will ask you to bring him a paper plane. So, select the “Paper plane” from the inventory and give it to him.
If you tap on Hank again, he will ask you to bring him a sausage. So, select the “Sausage” from the inventory and give it to him.
Tap on Hank a few more times and he will pull out something from his pocket, and he will say that he will give you this item as a reward.
Tap on the item in Hank’s hand and “Worm” will be added to your inventory. After that, tap on the arrow at the bottom of the screen to go back.
Next, let’s tap on the nest, located in the top right corner of this room, to take a closer look at it.
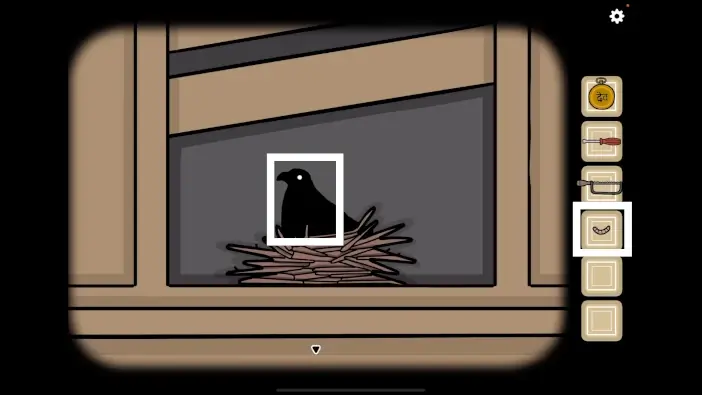
Here, we can see a bird in the nest. Select the “Worm” from the inventory and use it to feed the bird.
After that, tap on the bird again and it will fly away.
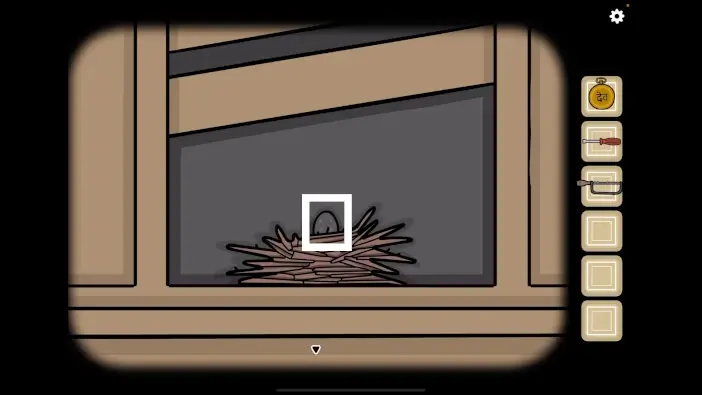
Once the bird flies away, you will see an egg. Tap on the egg to start the interaction, and it will drop down.
After that, tap on the arrow at the bottom of the screen.
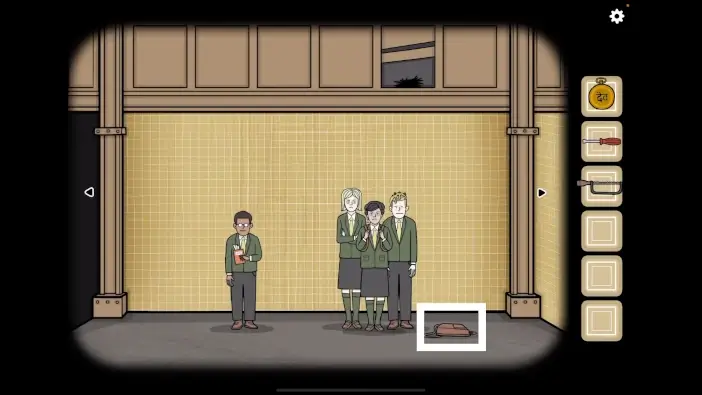
The egg fell on the head of the boy on the right, and he dropped his bag. Tap on the bag to take a closer look at it. Then tap on the bag again and several items will drop to the floor.
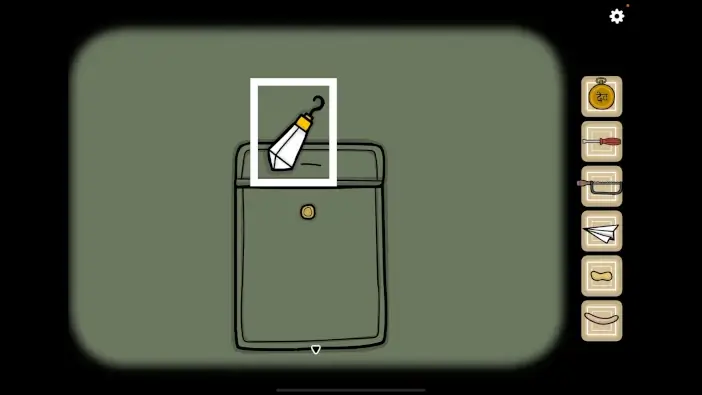
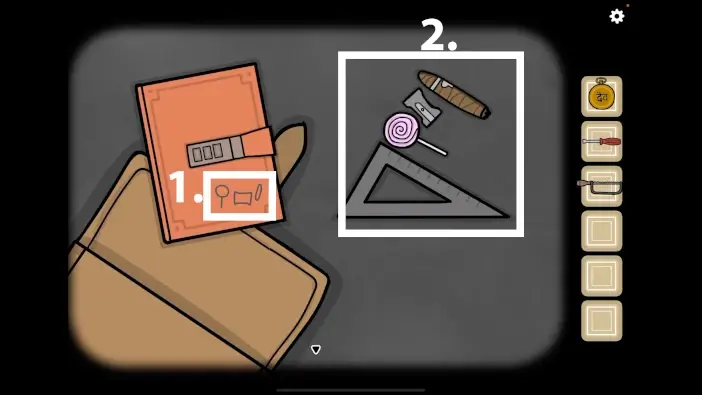
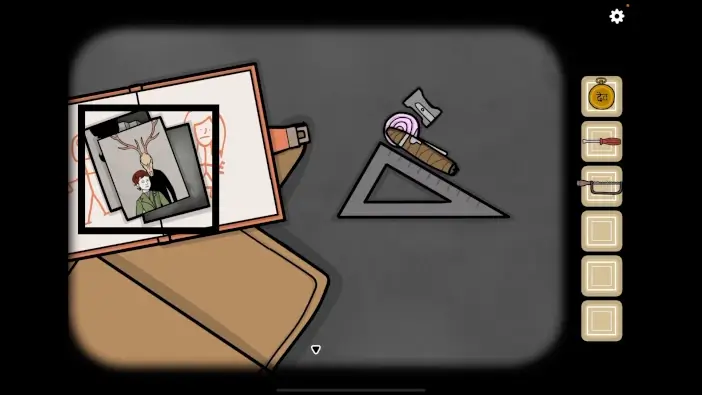
Ok, we can see five items. The notebook on the left, a ruler, a cigar, a pencil sharpener, and a lollipop.
The notebook is locked, and we will need to solve the next puzzle in order to unlock it. So, if you take a look at the lower right corner of the notebook you will see a drawing of a lollipop, a pencil sharpener, and a cigar.
So, our next task is to use the ruler to determine the length of each of the three items. Let’s begin.
If we look at the drawings on the notebook from left to right, the first item is the lollipop. So, let’s drag the lollipop next to the ruler and measure it.
Lollipop = 6. Memorize/write down this information.
Next, let’s move aside the lollipop, and drag the pencil sharpener next to the ruler to measure it.
Pencil sharpener = 3 Memorize/write down this information.
Next, let’s move aside the pencil sharpener, and drag the cigar next to the ruler to measure it.
Cigar = 7 Memorize/write down this information.
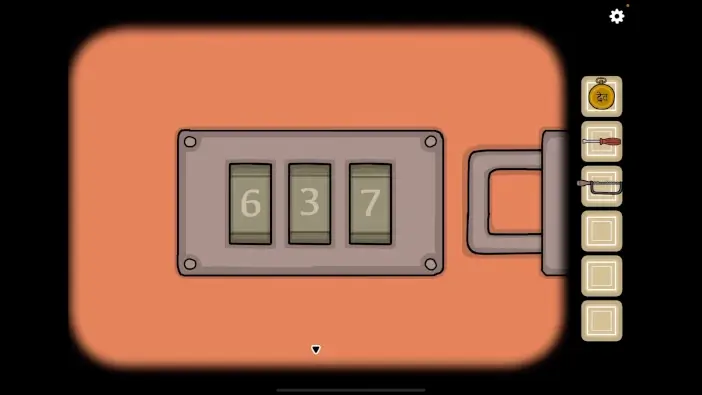
So, when we put it all together, we will get the number “637”. Tap on the lock on the notebook to start the interaction.
Enter the code “637” and you will unlock the notebook.
Once you’re done, tap on the arrow at the bottom of the screen to go back.
Tap on the notebook to open it, and inside you will find “Photos”. Tap on them to pick them up.
After that, tap on the arrow at the bottom of the screen to go back.
At the beginning of the chapter, Laura asked us to bring her the photos. So, let’s go back to Laura.
Tap on the arrow on the right.
Tap on Laura to start the interaction. Select the “Photos” from the inventory and give them to Laura.
Laura will thank you for bringing her the photos. Let’s see what else she has to say. Tap on her a few more times.
Photos are the only thing that Laura has to remind her of her mother. She will inform you that you can now leave and that your train will arrive at 14:45. Memorize/write down this information.
Tap on the arrow at the bottom of the screen to go back.
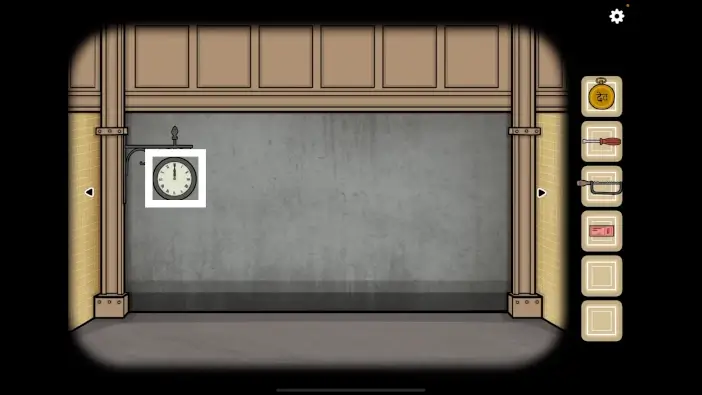
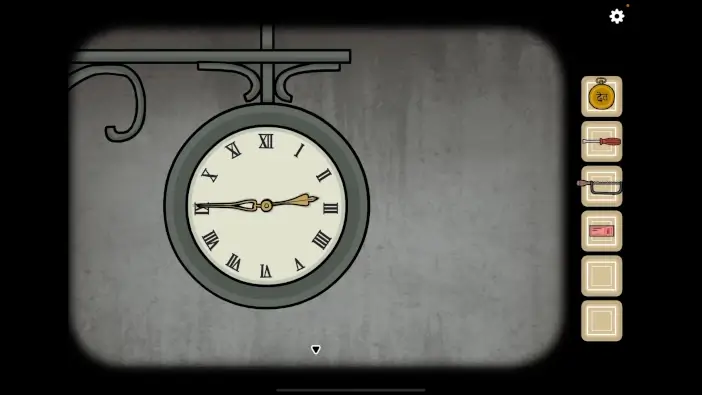
Our next task is to set the time to 14:45 and wait for the train. So, tap twice on the arrow on the right to proceed to the room with the clock.
Tap on the clock to start the interaction. Let’s set the time to 14:45.
The train will arrive once you set the correct time. However, we still do not have the train ticket. So, let’s go back to the ticket machine, located in the same room as Laura, and acquire the ticket.
Tap twice on the arrow on the left.
Tap on the tickets machine on the right to take a closer look at it.
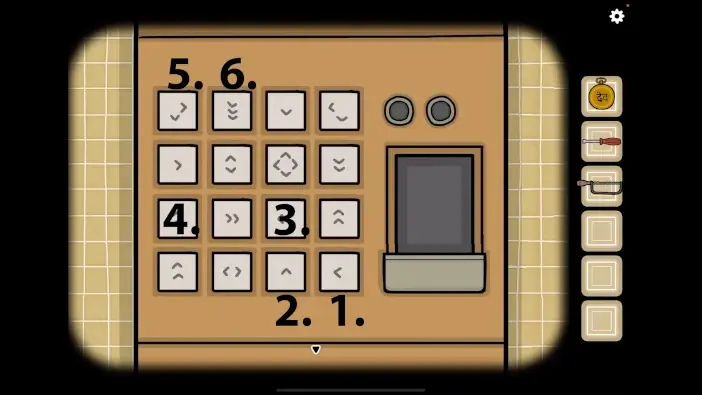
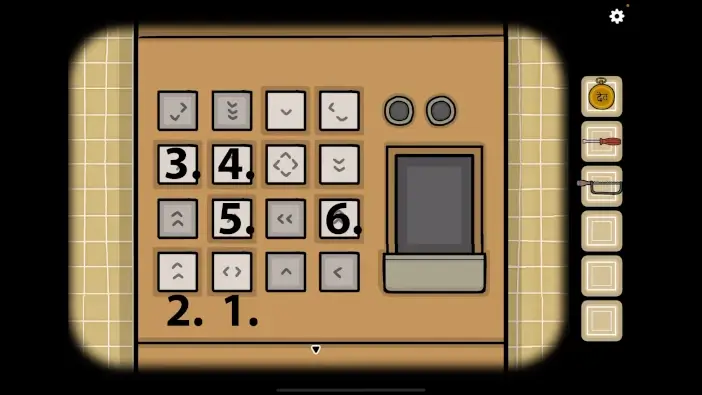
Here, we can see 16 buttons arranged in four by four grid. We can also see arrows on each button. If you look at the fourth button in the fourth row (bottom right corner) you will see an arrow pointing to the left. Our goal is to tap on all buttons.
We will do this puzzle in several steps. Let’s begin.
Step 1
This is our starting point, so tap on the fourth button in the fourth row to begin solving this puzzle.
Step 2
The previous button had one arrow pointing to the left so we should tap on the next button on the left.
Tap on the third button in the fourth row.
Step 3
The previous button had one arrow pointing up so we should tap on the button above the previous one.
Tap on the third button in the third row.
Step 4
The previous button had two arrows pointing to the left so we should tap on the second button on the left.
Tap on the first button in the third row.
Step 5
The previous button had two arrows pointing up so we should tap on the button that is two clicks above the previous one.
Tap on the first button in the first row.
Step 6
The previous button had two arrows, one pointing down, and one pointing to the right. So, now we have a choice, we can either tap on the button below or the button on the right. Let’s go right.
Tap on the second button in the first row.
Step 7
The previous button had three arrows pointing down so we should tap on the button that is three clicks below the previous one.
Tap on the second button in the fourth row.
Step 8
The previous button had two arrows, one pointing left, and one pointing to the right. So, now we have a choice, we can either tap on the button on the left or the button on the right. Let’s go left.
Tap on the first button in the fourth row.
Step 9
The previous button had two arrows pointing up so we should tap on the button that is two clicks above the previous one.
Tap on the first button in the second row.
Step 10
The previous button had one arrow pointing to the right. So, we should tap on the next button on the right.
Tap on the second button in the second row.
Step 11
The previous button had two arrows, one pointing up, and one pointing down. We already pressed the button above, so we should tap on the button below.
Tap on the second button in the third row.
Step 12
The previous button had two arrows pointing to the right. So, we should tap on the second button on the right.
Tap on the fourth button in the third row.
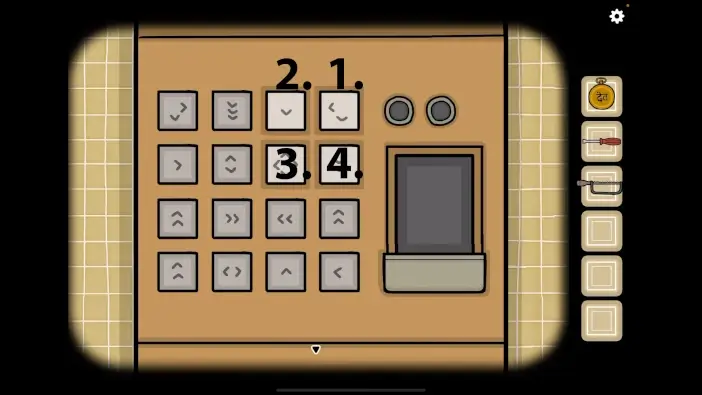
Step 13
The previous button had two arrows pointing up so we should tap on the button that is two clicks above the previous one.
Tap on the fourth button in the first row.
Step 14
The previous button had two arrows, one pointing left, and one pointing down. So, now we have a choice, we can either tap on the button on the left or the button below. Let’s go left.
Tap on the third button in the first row.
Step 15
The previous button had one arrow pointing down, so, we should tap on the button below the previous one.
Tap on the third button in the second row.
Step 16
The previous button is unique, and from it, you can go in any direction. The last button is located on the right, so let’s tap on it.
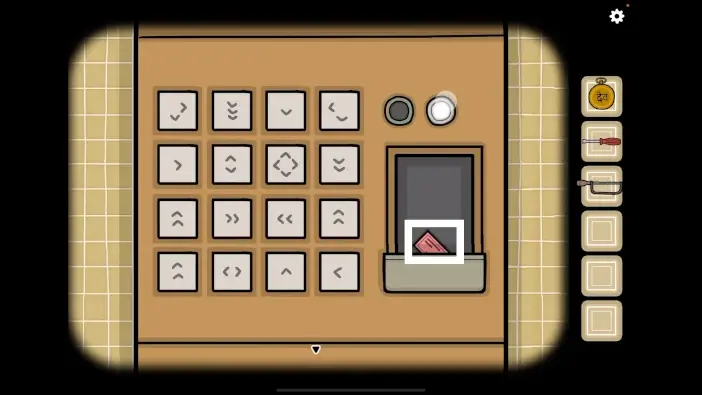
Tap on the fourth button in the second row. With this last step, you will solve the puzzle.
The ticket will fall out of the machine as soon as you solve the puzzle. Tap on the “Metro ticket” to pick it up.
After that, tap on the arrow at the bottom of the screen to go back.
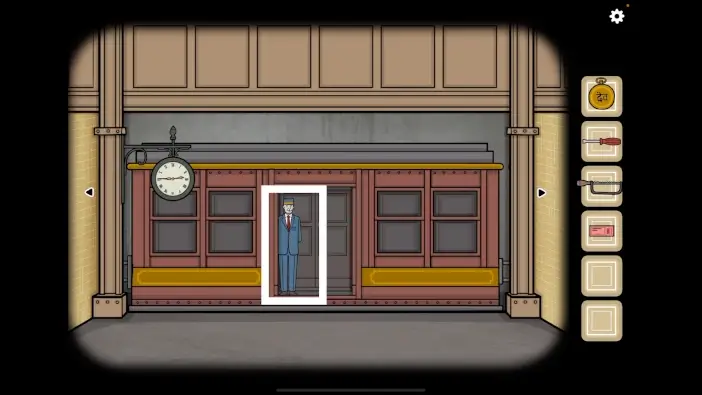
OK, we can now board the train. Tap twice on the arrow on the right.
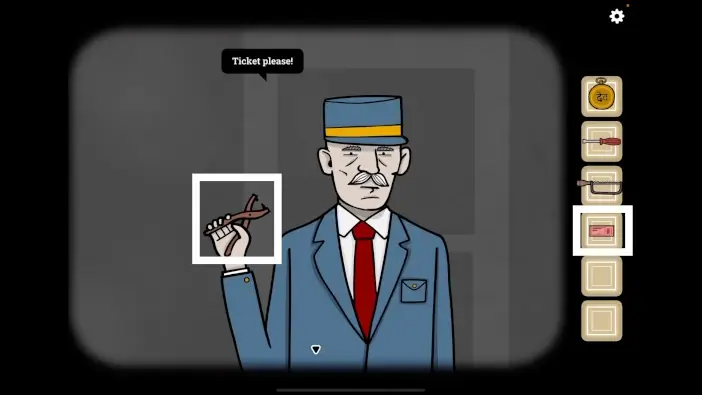
Tap on the train door to open it, then tap on the ticket collector to start the interaction.
Select the “Metro ticket” from the inventory and give it to the ticket collector.
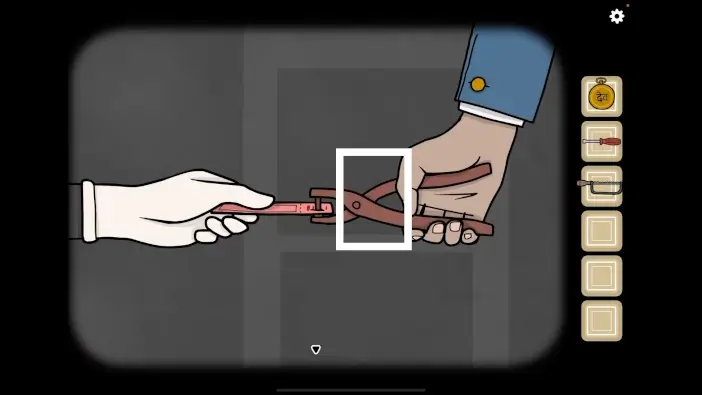
Tap on the ticket punch to open it, then drag the ticket below it.
Tap on the ticket collector to complete the conversation, then tap on the train door to board the train.
We reached the end of the third chapter of the walkthrough. You can check out the walkthrough for the fourth chapter, the “Bird Bridge” station, by tapping on the “Next Part” button.
Thank you for reading.