The White Door Day 4-5
Hello everyone and welcome to the second part of our walkthrough for the “White Door” a puzzle-solving game developed by Rusty Lake – one of the most famous game developers in puzzle solving genre. In this game, our character has amnesia and wakes up in a psychiatric institution. Our task is to slowly restore his memory by solving a series of puzzles and performing prescribed daily rituals. Let’s begin.
NOTE: The second part of the walkthrough covers days 4 and 5.
DAY 4
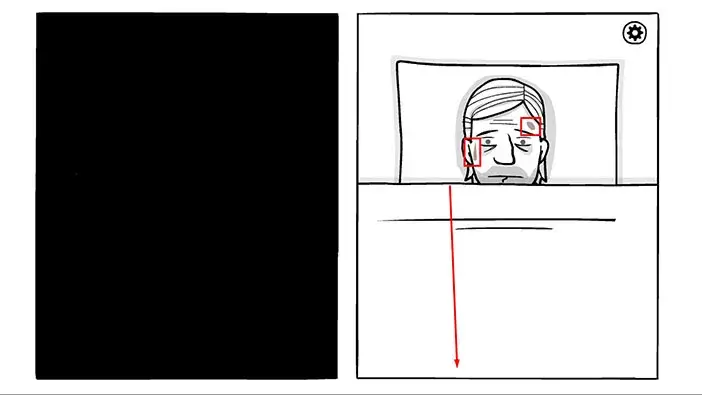
We can see that the medical experiment from the previous night left a few marks on Robert’s face. Let’s wake him up by pulling down the blanket.
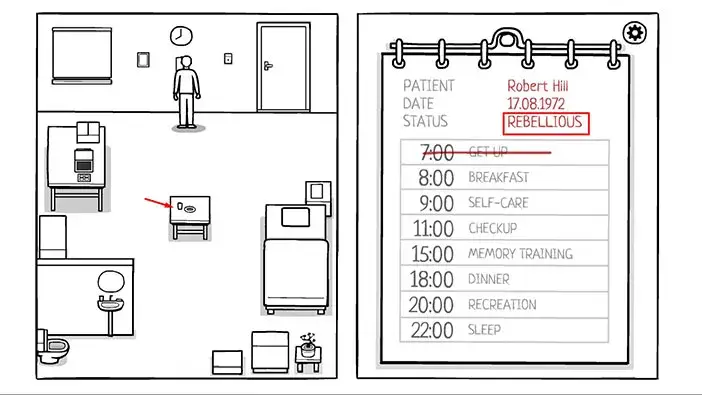
Next, let’s check our daily routine. Robert’s status has been updated to “Rebellious” which doesn’t sound encouraging. Oh, well, let’s proceed with our first task, breakfast. Tap on the table in the middle of the room to approach it.
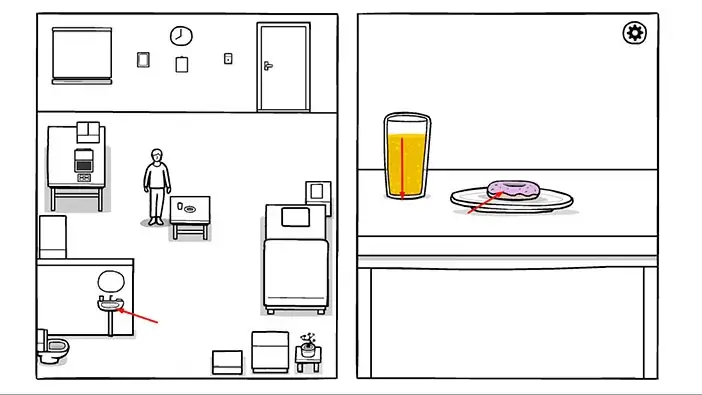
Drag down on the glass to drink the juice, then tap on the donut several times to eat it. Our character isn’t thrilled about donuts for breakfast every morning, but there’s nothing he can do about it.
Once you’re done, we can proceed to the next task, self-care. Tap on the sink and the mirror in the lower left corner of the room.
Just like before, tap on the toothbrush to pick it up. After that, swipe left and right to brush your teeth.
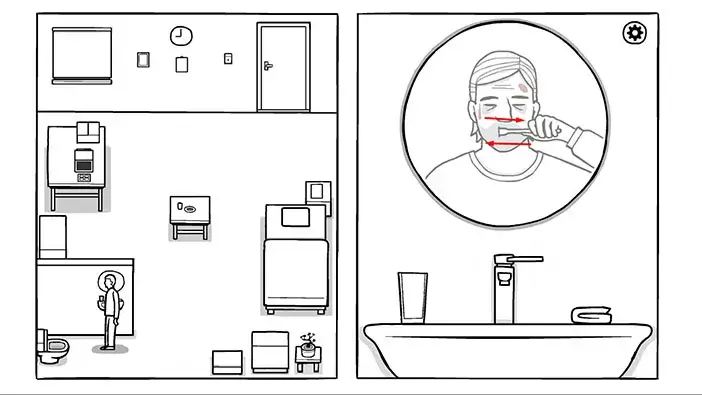
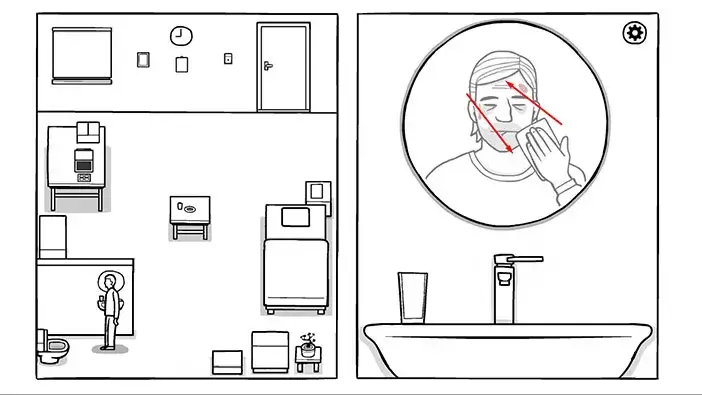
Next, tap on the towel on the right to pick it up. After that, drag the towel across Robert’s face to clean it. Removing the two marks from the medical experiment will require quite a bit of swiping, so keep going until they are removed.
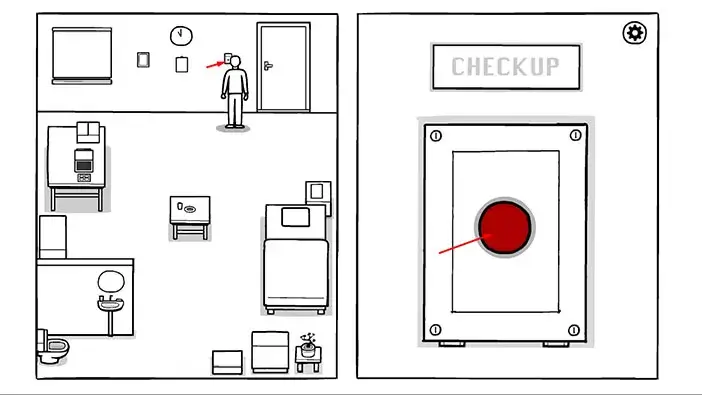
Next, let’s do a check-up. Tap on the panel next to the door to approach it, then tap on the red button to open the door.
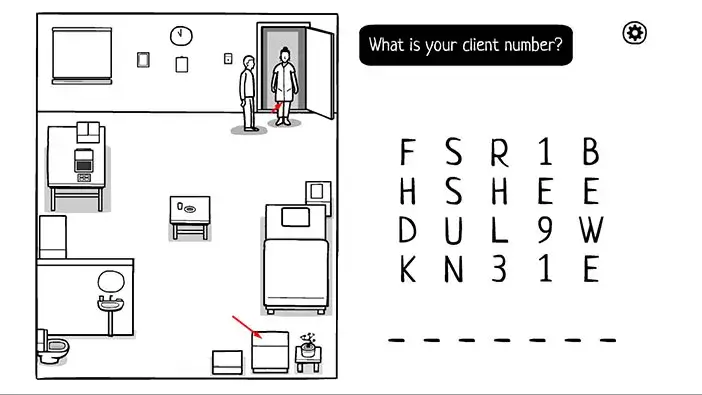
Tap on the nurse to start the interaction. She will greet you, as before, and then she will ask you the first question. “What is your client number?”
Well, we will have to go through Robert’s items in order to discover this information. Tap on the cabinet in the lower right corner of the room to approach it.
Drag the top drawer to open it, and inside you will find Robert’s file. Tap on it to take a closer look.
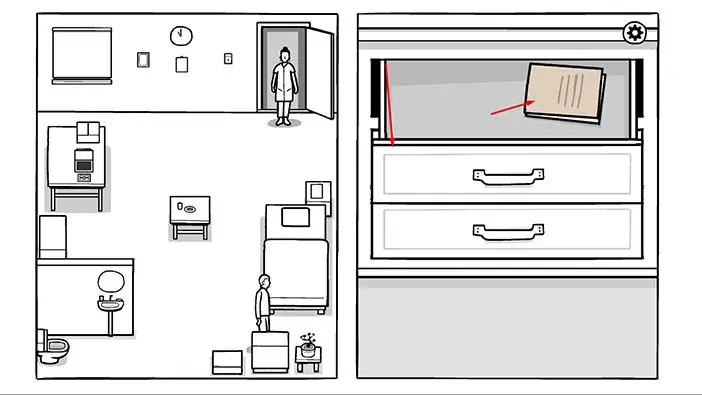
Drag the first document and you will see Robert’s client number. It’s “H1931RL” – memorize/write down this information. You can also see Robert’s client number on the cover.
Let’s go back to the nurse and answer her question.
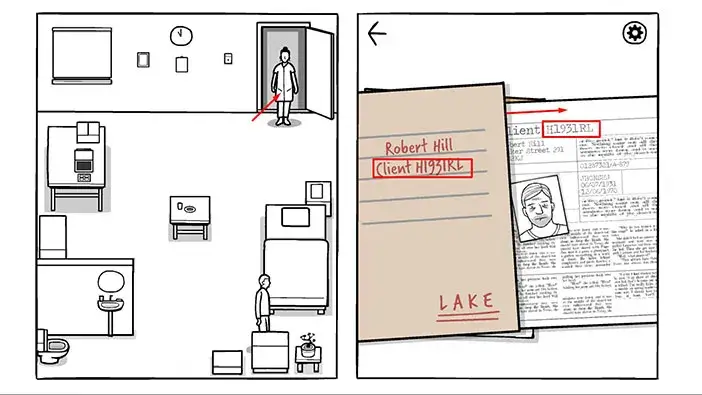
Enter Robert’s client number. It’s “H1931RL”.
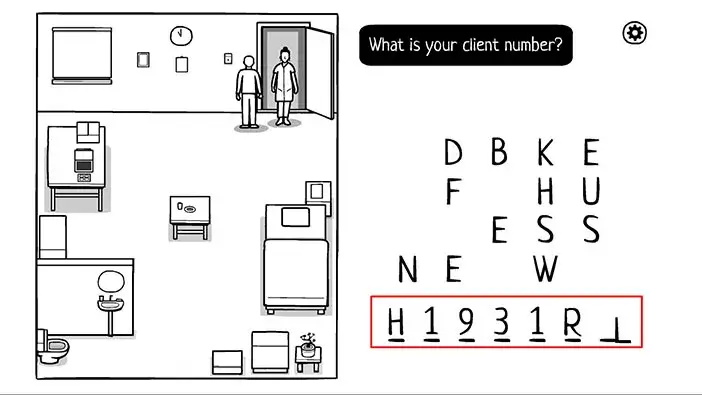
Next question. “What day did Laura die?”
Ok, we will have to go through Robert’s file again in order to discover this. So, let’s go back. Tap on the cabinet in the lower right corner of the room.
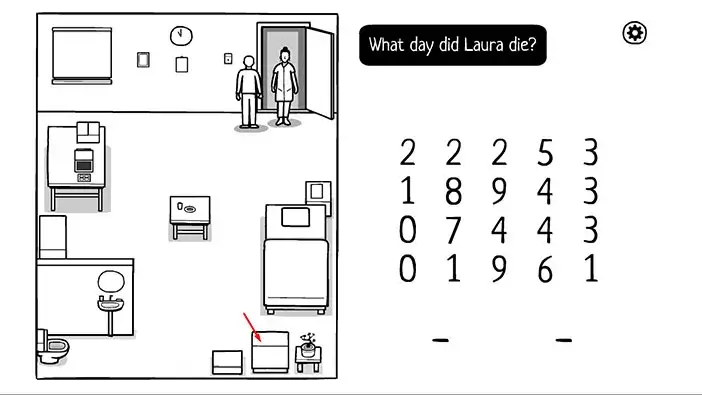
Again, tap on Robert’s file to take a closer look at it. After that, drag out the yellow document from the bottom of the pile.
We can see that Laura died on the 12th of October 1971. Just memorize 12. Also, now it is the 17th of August 1972. (in-game time). So, Robert was coping with the loss of his loved one for almost one year.
Ok, let’s go back to the nurse and answer her question.
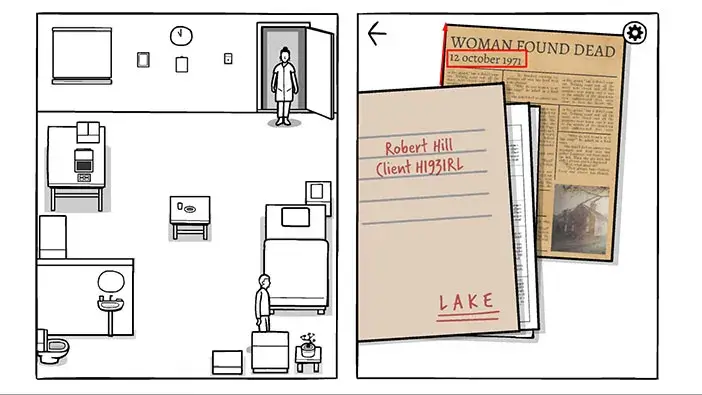
Enter the number 12.
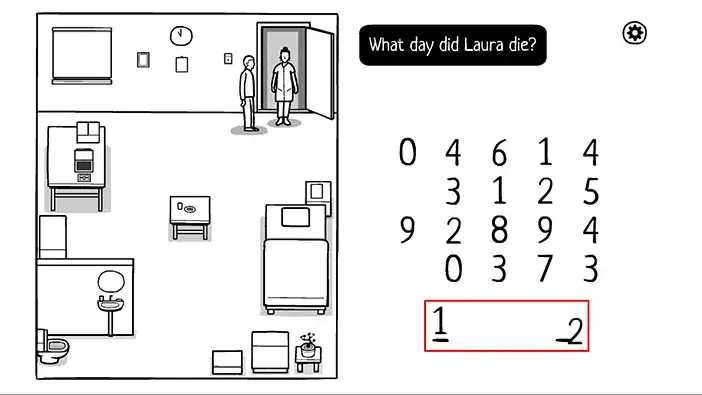
Last question. “Do you want to stay here?”
Let’s choose the first option “Yes” because Robert clearly needs professional help.
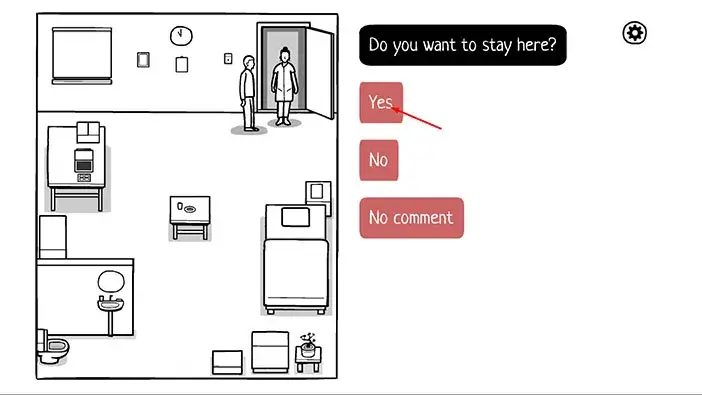
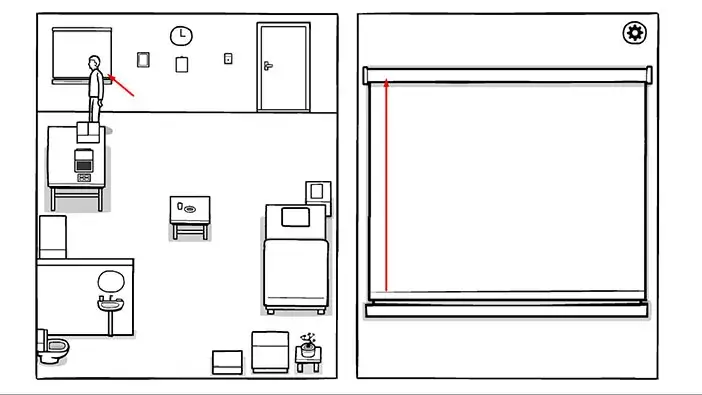
After the check-up, the nurse reminded Robert that she is there to help him and then she left. Before we continue to the next task, let’s go to the window in the top-left corner of the room. Once you get there, drag to roll up the blinds.
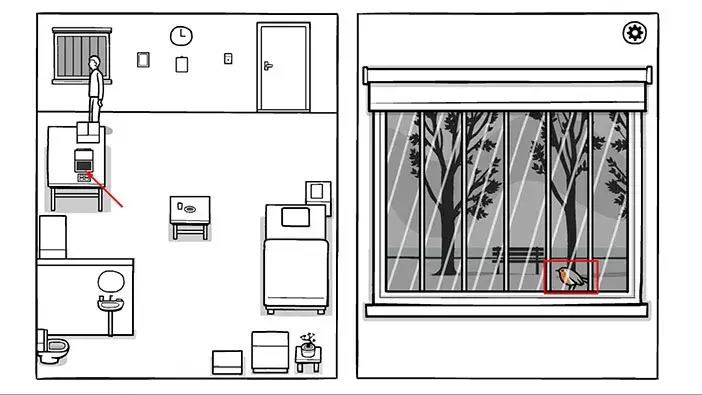
We can see that it’s raining outside. We can also see a small bird on the window, and, interestingly, the bird isn’t black and white like the rest of the world.
Ok, let’s proceed to our next task, memory training. Tap on the computer to approach it, then tap on “Enter” to start the application.
Move the pointer next to the “Yes” option and tap on “Enter” to start the test.
The puzzle has changed again. This time, we also have a map of the room on the screen on the right. On the map, we can see one blinking square. To the right of the map is a question mark.
So, what’s our task? Well, we should look at the position of the blinking square and find the item in the room on the left that is in the same position. Then, we can cycle through several objects with the arrow keys until we find the same object on the screen on the right. When we find an object that matches the object in the room, we should press “Enter” to confirm.
Let’s begin the first task. The blinking square is at the position of the dinner table. We can see a plate and a glass on the table. So, tap once on the right arrow, and you will see a plate instead of a question mark. Tap on enter to confirm.

Next puzzle. We can see a blinking square on the right side of the computer desk, and the box with Robert’s personal items is in this position. So, tap twice on the right arrow, and the box will appear on the screen on the right. After that, tap on “Enter” to confirm.

Next puzzle. We can see a blinking square in the bottom right corner of the room, and in the room on the left, the vase is in this position. So, tap three times on the right arrow, and the vase will appear on the screen on the right. After that, tap on “Enter” to confirm.
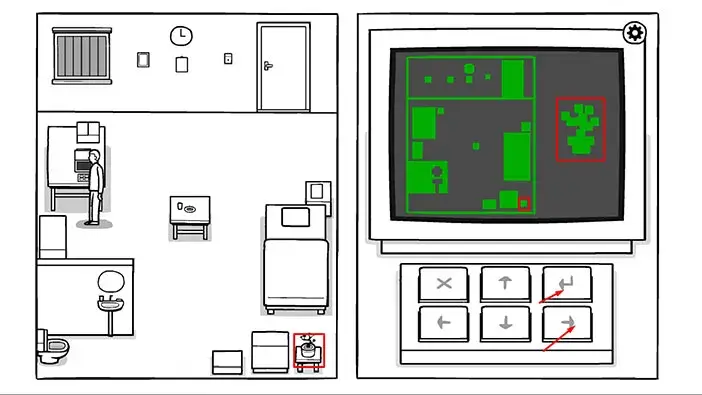
Next puzzle. We can see a blinking square between the clock and the window, and the square is in this position. So, tap four times on the right arrow, and the square will appear on the screen on the right. After that, tap on “Enter” to confirm.
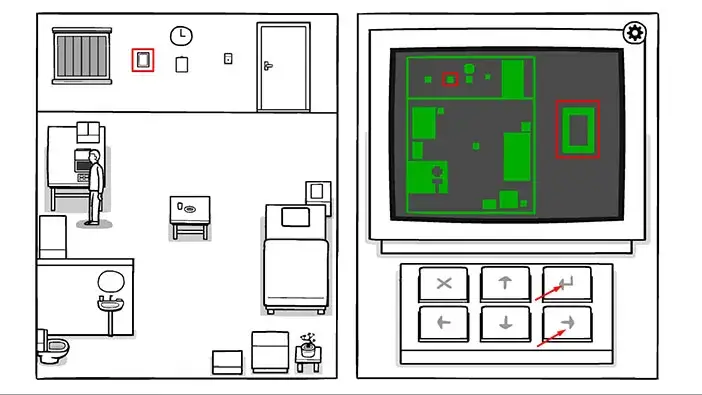
Next puzzle. We can see a blinking square on the top left side of the room, and the window is in this position in the room on the left. Previously, we opened the window and saw a bird. So, tap five times on the right arrow, and the bird will appear on the screen on the right. After that, tap on “Enter” to confirm.

After we completed the memory training, the service cart has been delivered to our room. So, let’s proceed to the next task, dinner. Tap on the service cart to approach it.
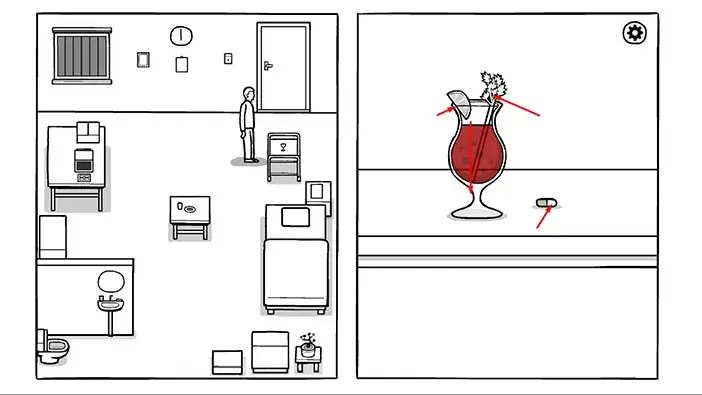
Instead of dinner, we got a “Bloody Mary” and a pill. Well, at least Robert will have a nice drink. However, I don’t think that patients in a mental hospital are allowed to drink. Oh, well.
Tap on the pill, and after that drag down on the glass to drink the “Bloody Mary”. Lastly, tap on the slice of lemon and celery stick to consume them.
Let’s proceed to the next task, recreation. Tap on the recreation box to approach it, and tap again to open it. In the box, you will find two maps with instructions, instead of the regular recreation items. Let’s take a closer look at the maps.
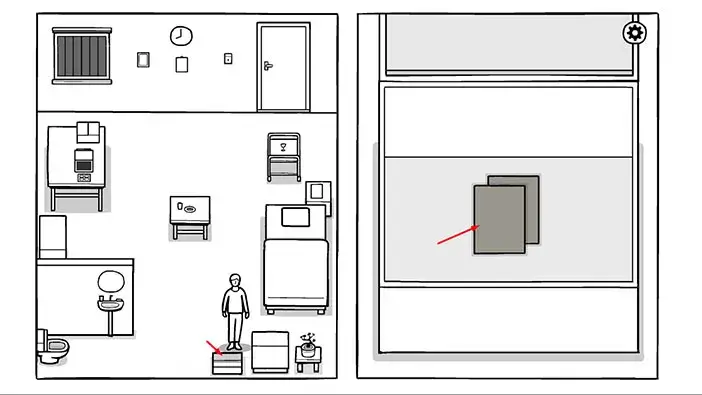
On the first map, we can see three marked positions.
The first position is next to the toilet
The second position is next to the button which opens the front door
The third position is next to the computer
Let’s memorize/write down these three positions.
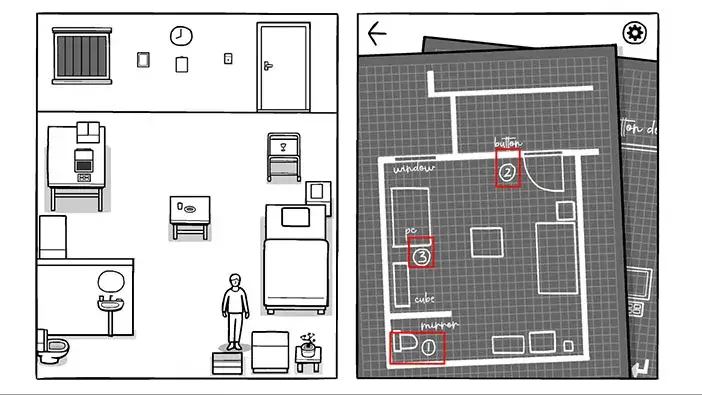
Next, drag to the left the first map to see the other one hidden below it.
Here we can see the instructions for the task that we should perform at each spot. So, at the first spot, we should flash the toilet four times. After that, we should open the water closet and pull the lever on the right side. Let’s follow the instructions. Tap on the toilet to approach it.
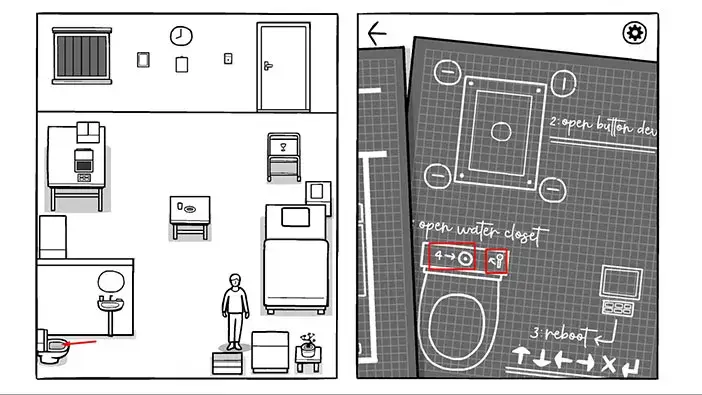
Flash the toilet four times.
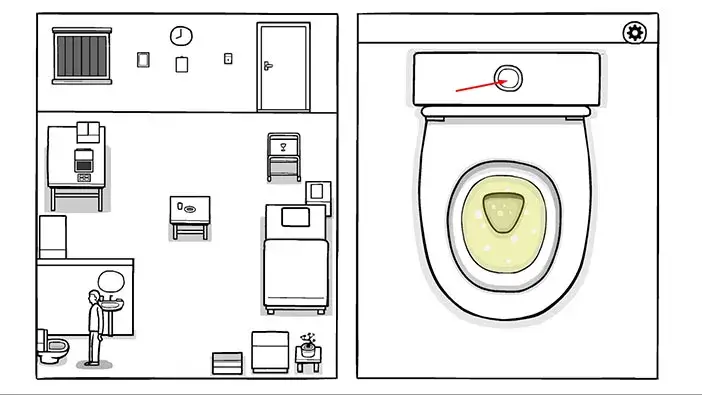
Tap on the lid to remove it and you will gain access to the small lever. Tap on the lever several times and the toilet will overflow. As a side note, the lever is orange, unlike the rest of the world, so this is a second exception (the bird was the first one).
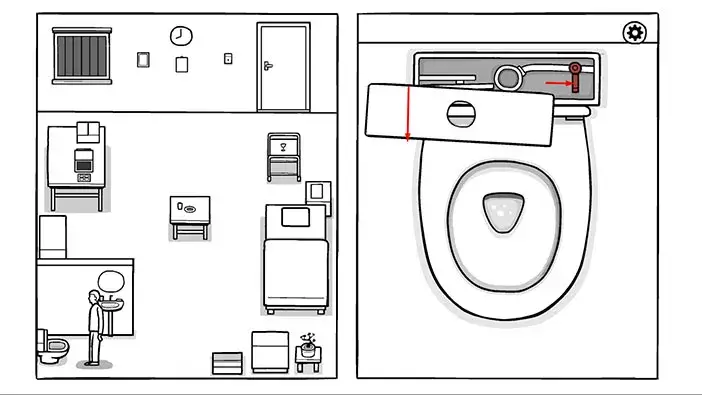
As soon as you complete the task, the emergency alarm will activate. Tap to move slightly from your current position, and the doctor will come in through the front door. Tap on him to start the interaction.
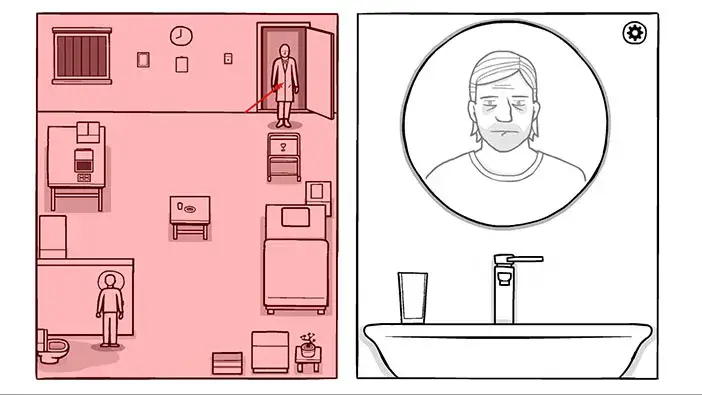
The doctor will give you a warning, saying that you should stick to the routine. After that, he will leave, and the emergency alarm will be turned off. Let’s take a look at our next task. Tap on the map in the recreation box to take a look at the next task.
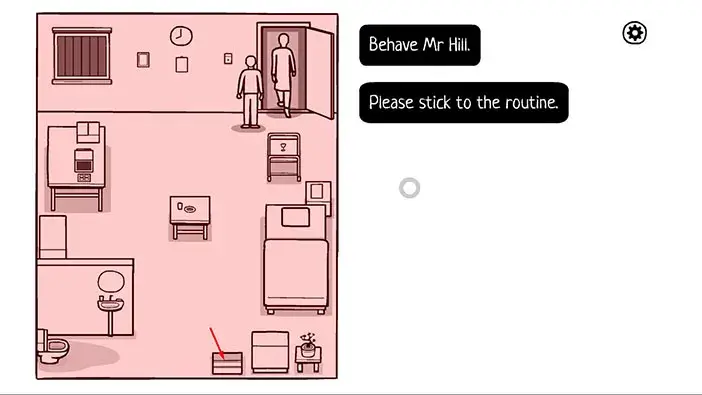
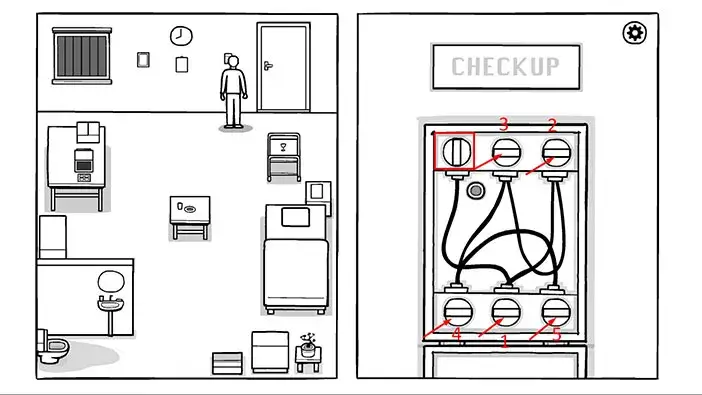
Our next task is to open the “button device”. If you examine the instructions, you will notice the position of the screws on the device. Only the screw in the top right corner is facing horizontally, the other three are in vertical position. Memorize/write down this information, then tap on the button to approach it.
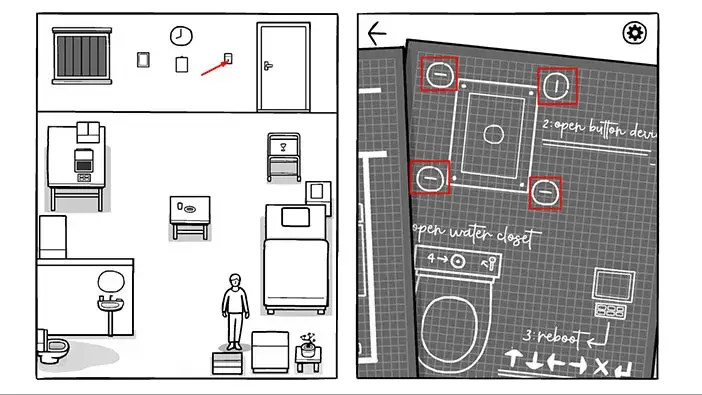
Ok, here, all screws are aligned vertically. So, tap on all screws except the one in the top right corner, to turn them horizontally. As soon as you complete this step, you will open the lid.
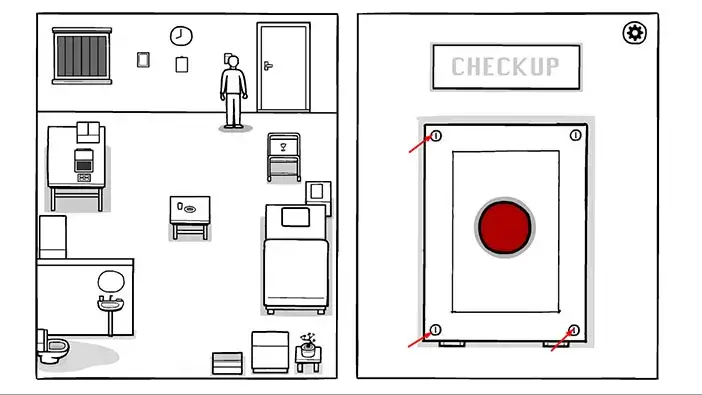
Next, we can see that the first switch in the top row is facing vertically. So, tap on the other five switches to turn them into the vertical position. You will have to follow the order in which the switches are connected and press them in the same order. So,
First, tap on the second switch in the bottom row (because it is connected to the first switch)
Next, tap on the third switch in the top row
Next, tap on the second switch in the top row
Next, tap on the first switch in the bottom row
Lastly, tap on the third switch in the bottom row
You will activate the emergency alarm again. Go to the middle of the room, and the doctor will walk in through the front door. Once he gets in, tap on him to start the interaction.
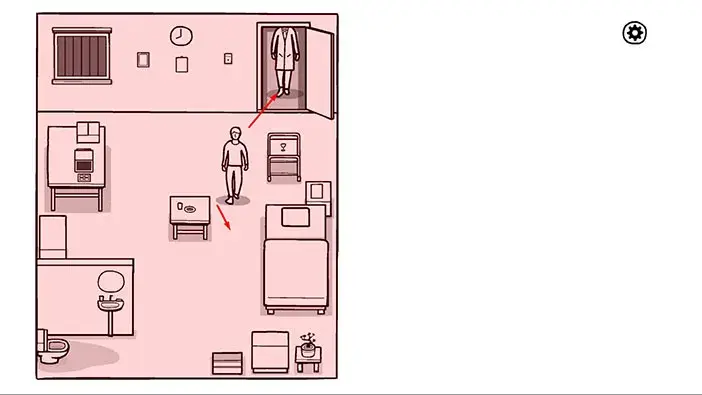
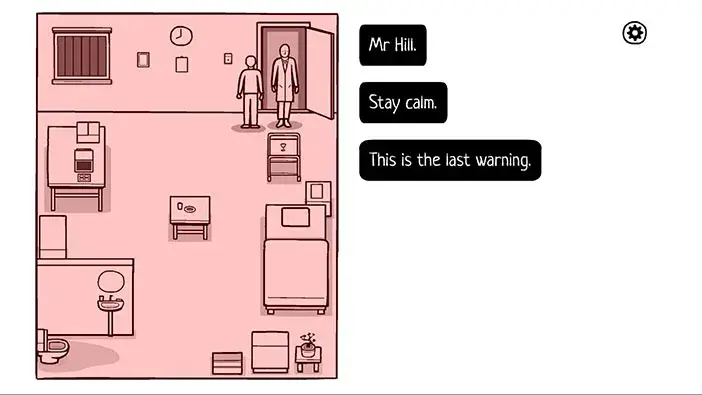
The doctor will warn you, saying that you should calm down, and stop causing problems. He will also add that this is your final warning.
Ok, let’s go back to the recreation box, and take a look at the third task. This one probably involves messing around with the computer.
Yup, the third task is to reboot the computer. We can also see the instructions for initiating the reboot. So, we should tap on the
Up arrow/Down arrow/Left arrow/Right Arrow/”X”/Enter. Memorize/write down this order, then tap on the computer to start the interaction.
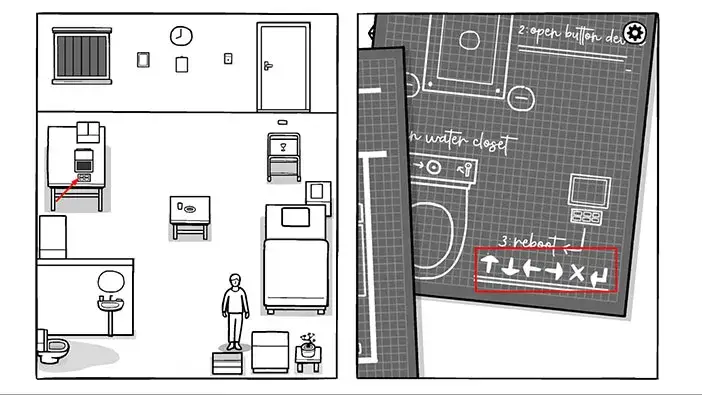
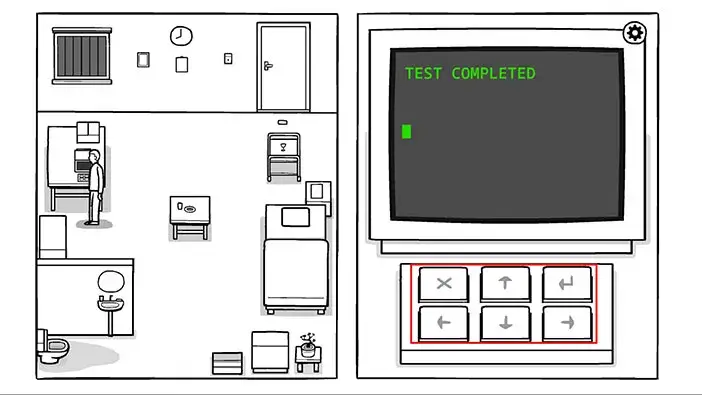
So, let’s reboot the computer. Tap on the buttons in the following order Up arrow/Down arrow/Left arrow/Right Arrow/”X”/Enter and you will activate the emergency reboot.
After that, tap on “Enter” to confirm.
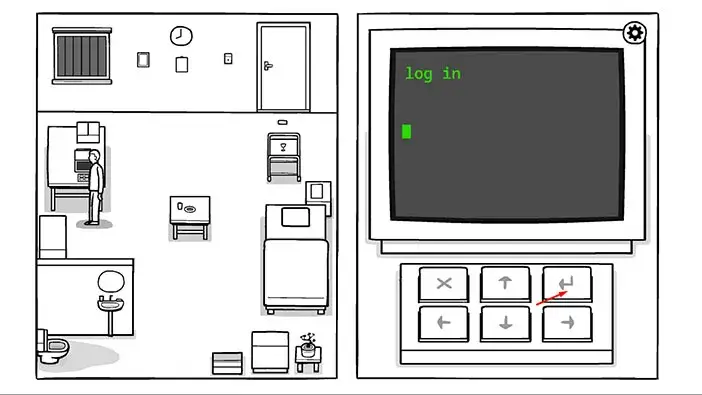
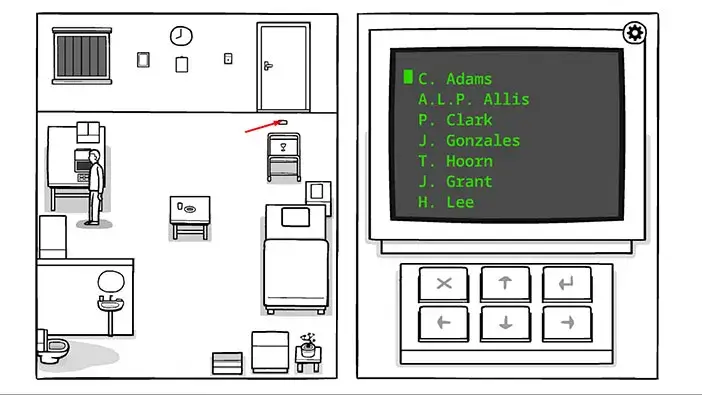
Next, is the “Log in” screen, tap on “Enter” to confirm, and the “Select your credentials” screen will appear, so tap on “Enter” again to confirm.
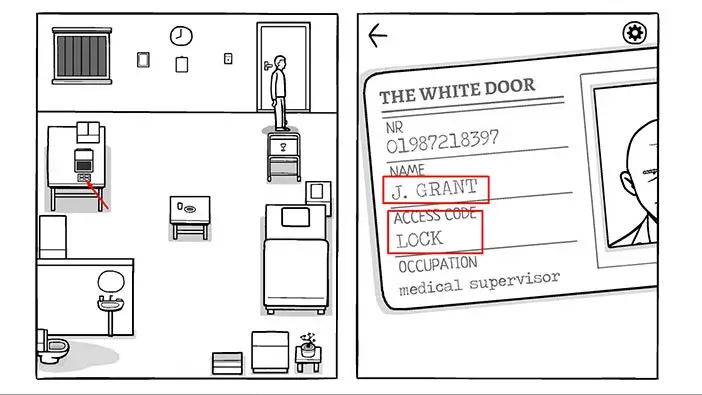
Ok, if you look carefully, you will notice that the doctor dropped his employee ID card. So, let’s take a closer look at it.
The name on the card is “J. Grant” and his occupation and code is “Lock”. Memorize/write down this information and let’s go back to the computer to log in.
Tap on the down arrow and move the pointer next to the J. Grant. After that, tap on “Enter” to confirm.

Use the Up/Down arrows to enter the password “Lock” (which we saw on Grant’s employee ID). Once you’re done, tap on “Enter” to confirm.
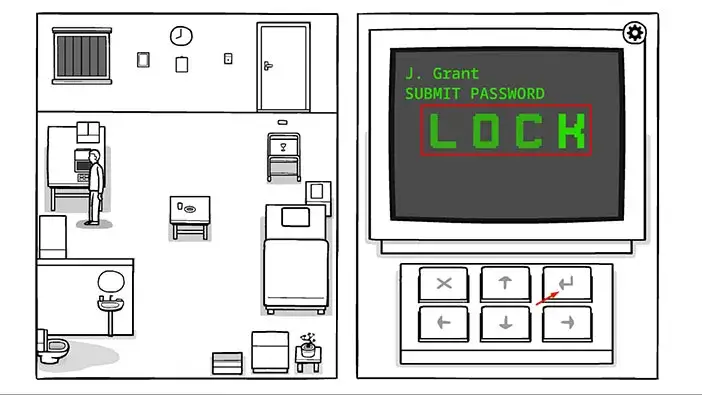
Ok, we’re in. Move the pointer to the third message “password change” and tap on “Enter” to confirm.
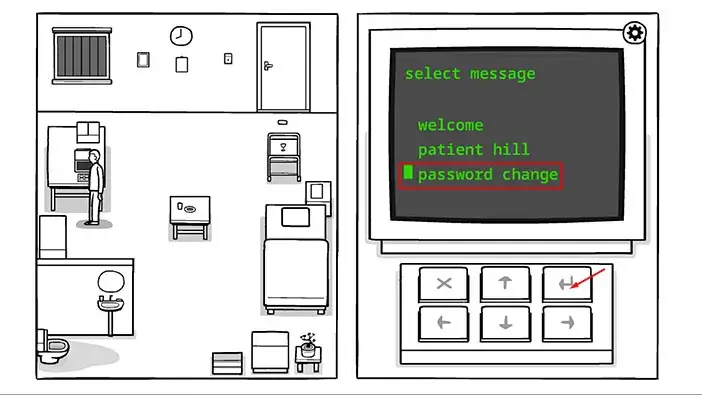
Use the down arrow to read the entire message. So, it seems that Dr. Adams changed his password to “HOPE”. Let’s memorize/write down this information.
Once you’re done, tap twice on the “X” to go back.

Tap on the up arrow to scroll to the names, and you will see that C. Adams is at the top of the list. Tap on enter to continue.

Use the arrow keys to enter the password “Hope” then tap on “Enter” to confirm.
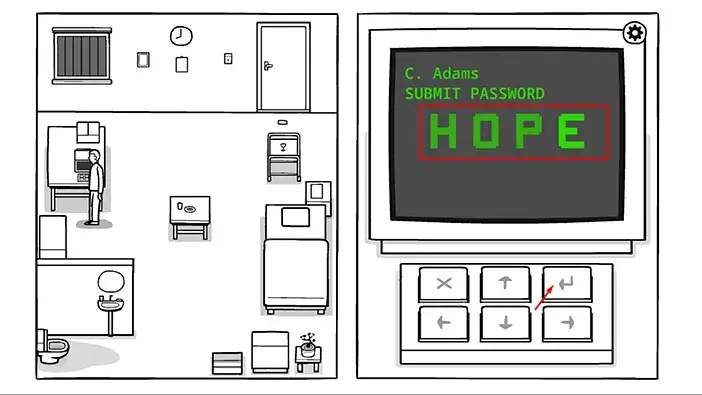
There is only one message here, “sorry”, so tap on “Enter” to open this message.

Use the down arrow to read the entire message. Looks like someone named Harry has lost his password and he had it written down on the Hill dossier. So, first, let’s memorize/ write down the name of this person, Harry. After that, we should take a look at our file (the full name of our character is Robert Hill) and look for the password.
Once you’re done, tap on the cabinet in the lower right corner of the room to take a closer look at it.
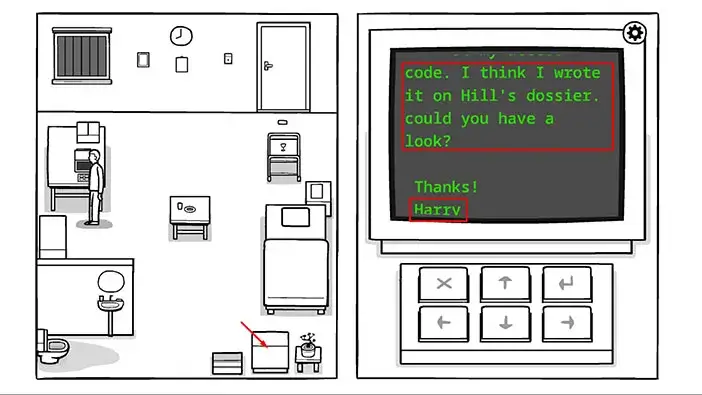
Tap on the file (in the first drawer) to take a closer look at it. You should immediately notice the word “LAKE” written in the bottom right corner. Memorize/write down this word, and let’s go back to the computer.
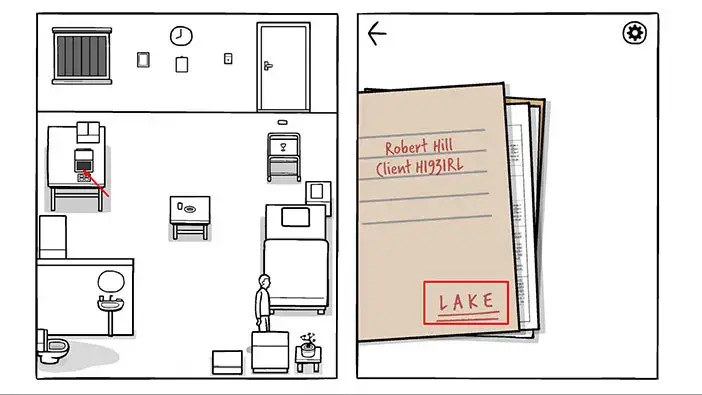
Tap twice on the “X” button to go back to the list of names.
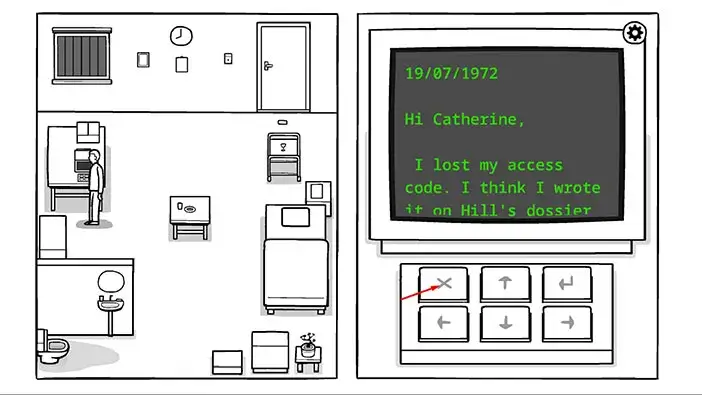
Use the “Down arrow” to scroll down the list. We are looking for a person whose first name starts with “H” (Harry), and H. Lee is the only person that matches this description. So, move the pointer next to the H. Lee and tap on “Enter” to confirm.
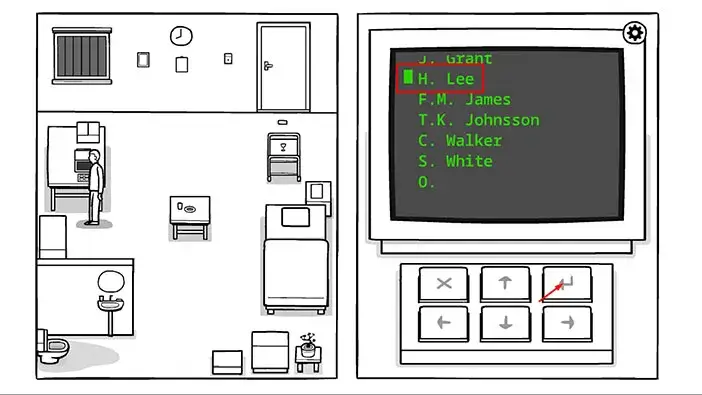
Use the arrow keys to enter the password “LAKE” (it was written on Robert’s file) and tap on “Enter” to confirm.
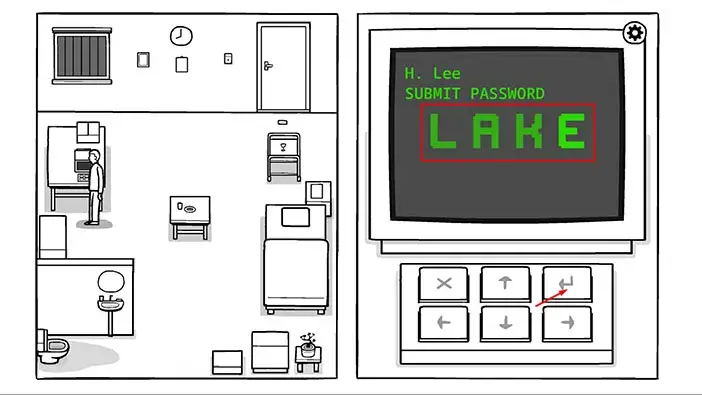
Ok, we’re in. Let’s take a look at the first message “Operation Hill”.

Use the down arrow to read the entire message. In short, Robert’s mind was connected to some kind of machine that monitors dreams. However, the managers specifically said that the subject (Robert) shouldn’t wake up during the procedure. As we already saw, Robert did wake up, so this might have had some undesirable effect on his mind.
Tap once on the “X” button to go back to the messages.
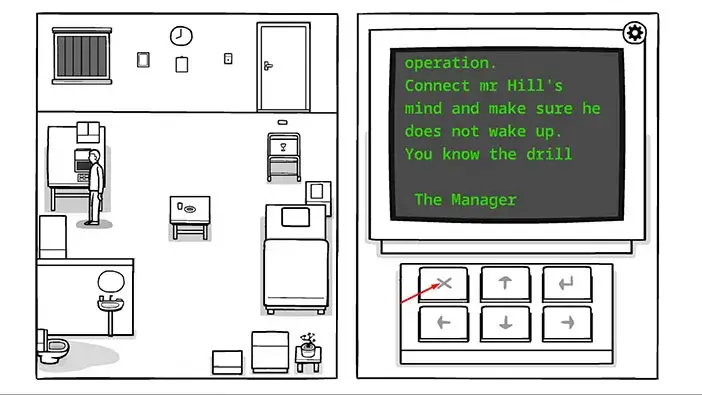
Let’s take a look at the second message “incident”. Tap on the down arrow to move the pointer then tap on the “Enter” to confirm.
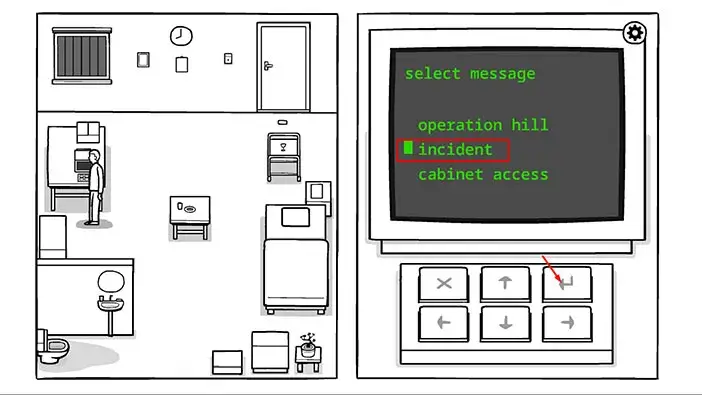
Use the down arrow to read the entire message. Well, looks like Robert’s mind and memories weren’t damaged during the procedure, which is quite fortunate. It seems that the doctors are trying to access and restore his memories by accessing his dreams.
Tap once on the “X” button to go back to the messages.
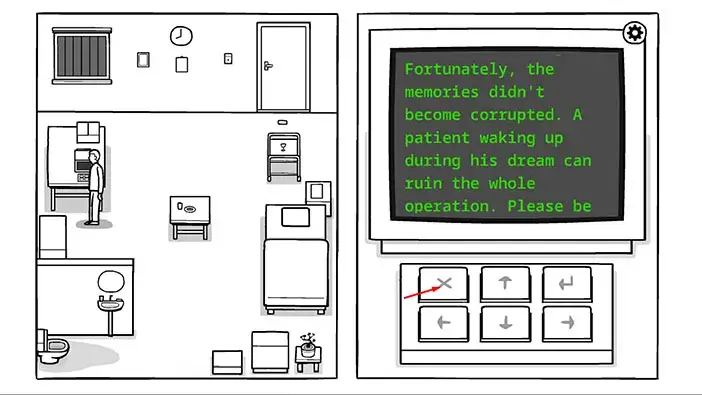
Let’s take a look at the last message, “cabinet access”.
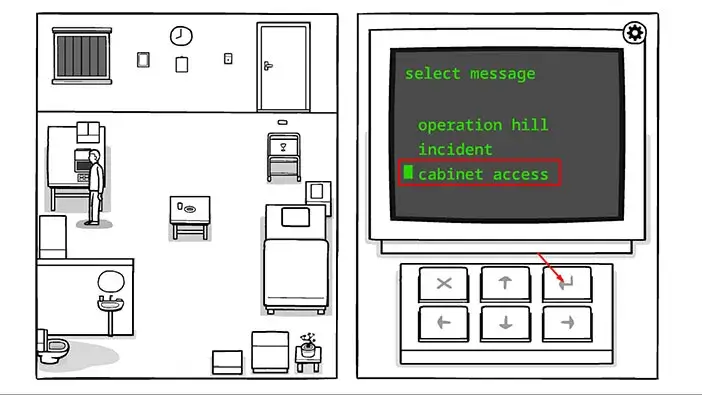
Here we can see four symbols, and they represent a code that can be used to unlock the cabinet. Memorize/write down these symbols.
Once you’re done, tap on the cabinet, located below the pc desk, to start the interaction.
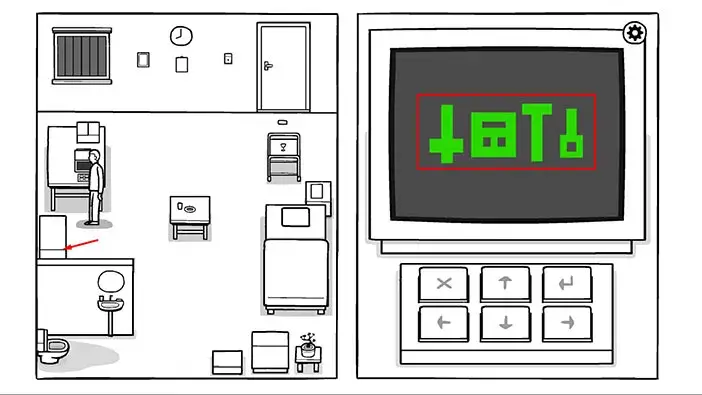
Tap on the lock to start the interaction and enter the four symbols that we saw previously to unlock it.
Drag both doors to open them.
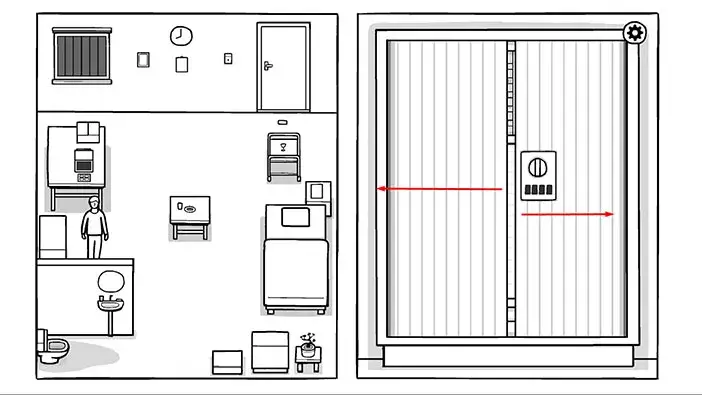
Next, tap on the cables in the upper left corner to start the interaction.
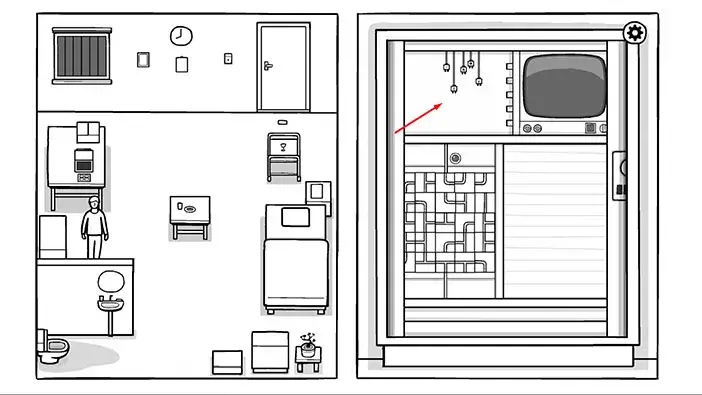
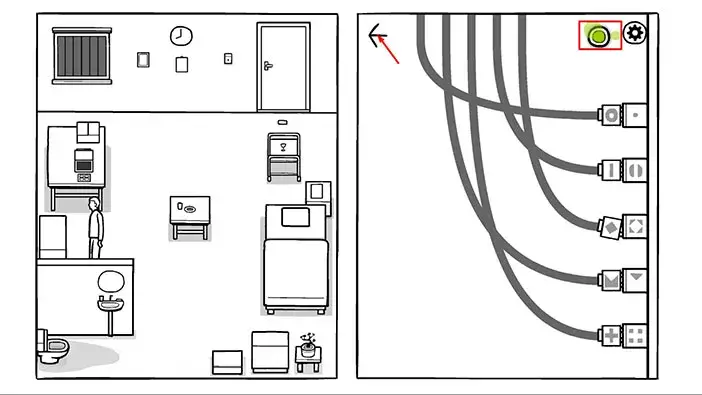
Here, we can see five cables on the left, and each cable is marked with a different symbol. On the right, we can see five slots and they are also marked with the five symbols. Our task is to match the symbols on the cables with the symbols on the slots. When combined, the symbols should make the whole shape. Let’s begin.
Drag the first cable (left to right) and insert it into the first slot (top to bottom).
Next, drag the second cable and insert it into the fourth slot.
Next, drag the third cable and insert it into the fifth slot.
Next, drag the fourth cable and insert it into the second slot.
Lastly, drag the fifth cable and insert it into the third slot.
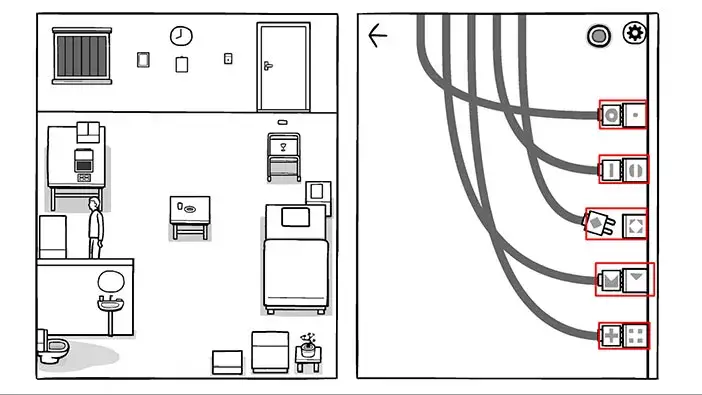
When you correctly connect the cables, the green light in the upper right corner will be turned on. Tap on the arrow in the upper left corner to go back.
Next, tap on the grid on the left to take a closer look at it.
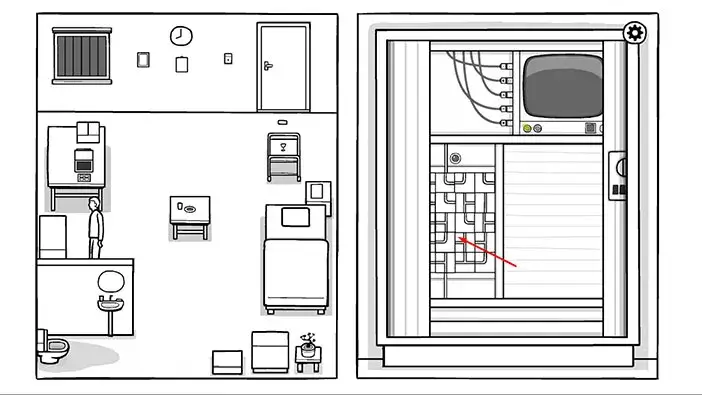
Another puzzle. Ok, here we have a 5×5 grid, and inside each tile, we can see a piece of pipe. We can rotate these pipes by tapping on them. The goal is to rotate the pipes and connect the pipe entrance at the top of the grid with the pipe exit at the bottom of the grid. You can see the solution in the image below.
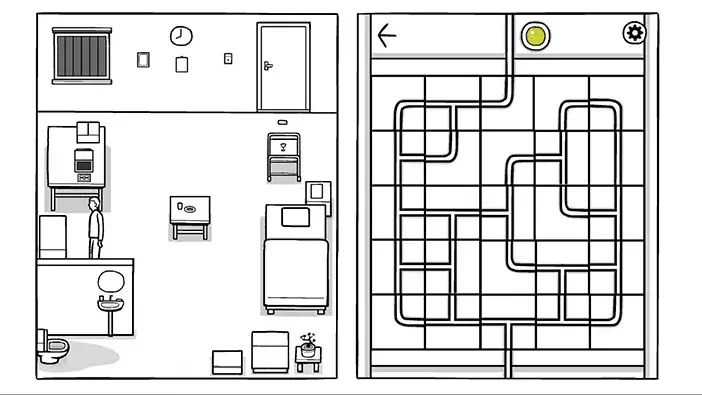
When you complete the puzzle, the yellow light will be turned on. Tap on the arrow in the top left corner to go back.
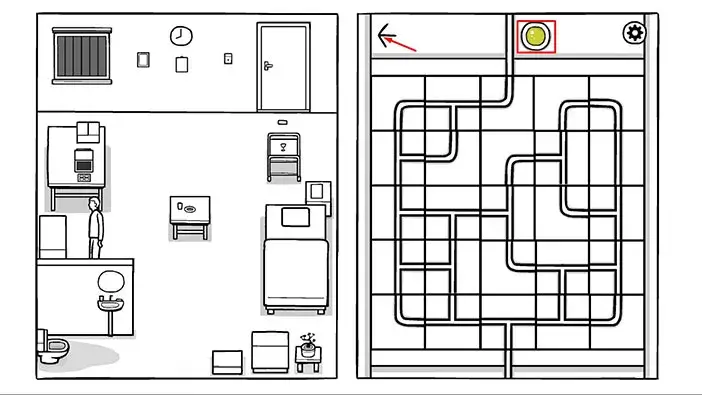
We can now see two green lights on the TV, meaning that we can now turn it on. Let’s do that. Tap on the TV.
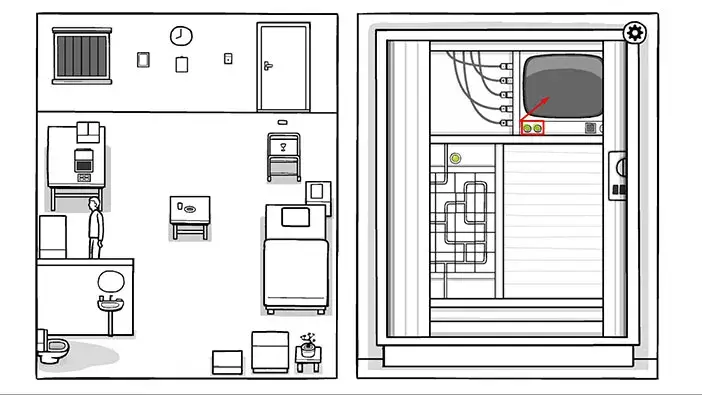
Tap on the button in the lower right corner to switch the channel.
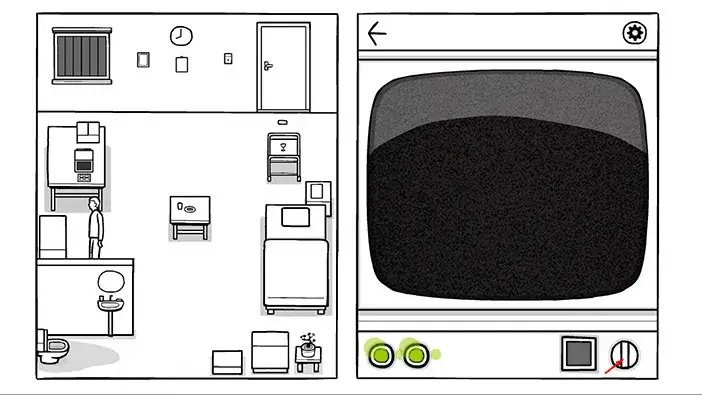
On the TV we can see Robert’s memories. On the first channel, we can see a blurred, mixed image of Robert and Laura. Let’s continue. Tap on the button in the lower right corner to switch the channel.
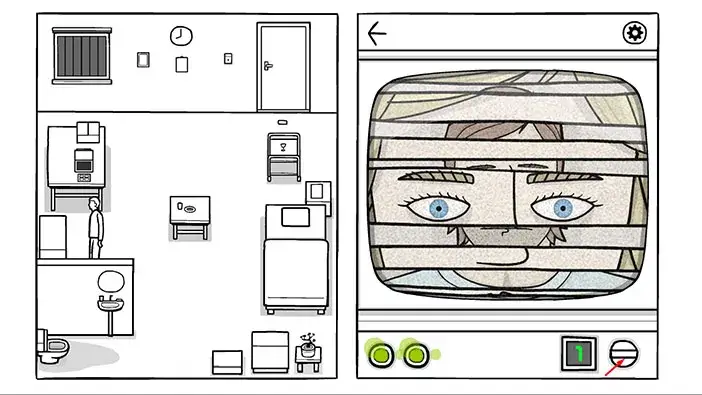
On the second channel, we can see a bald man with glasses. Tap on the button in the lower right corner to switch the channel.
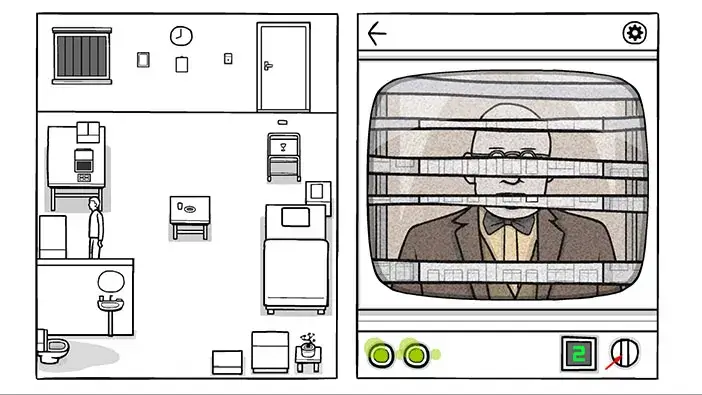
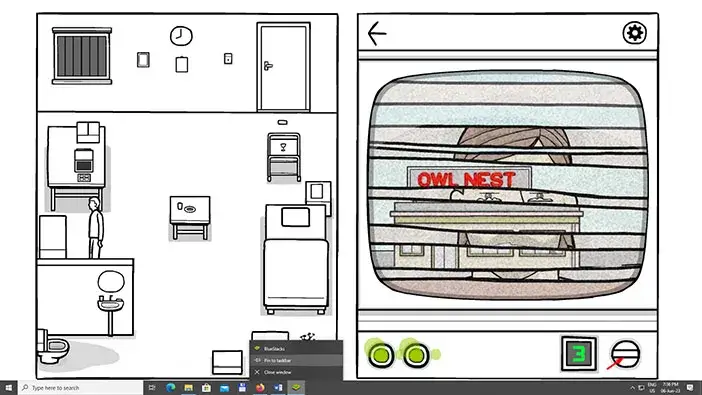
On the third channel, we can see Robert’s memory of his favorite café, “Owl Nest”. Let’s continue. Tap on the button in the lower right corner to switch the channel.
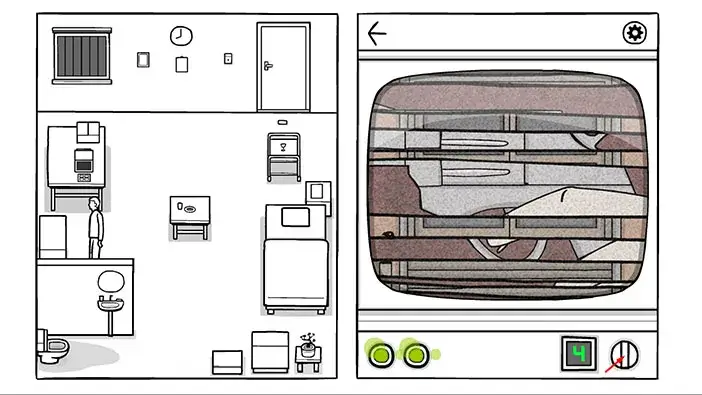
On the fourth channel, we can see a hand with a revolver. Well, this is worrying since this is also one of Robert’s memories. Let’s continue. Tap on the button in the lower right corner to switch the channel.
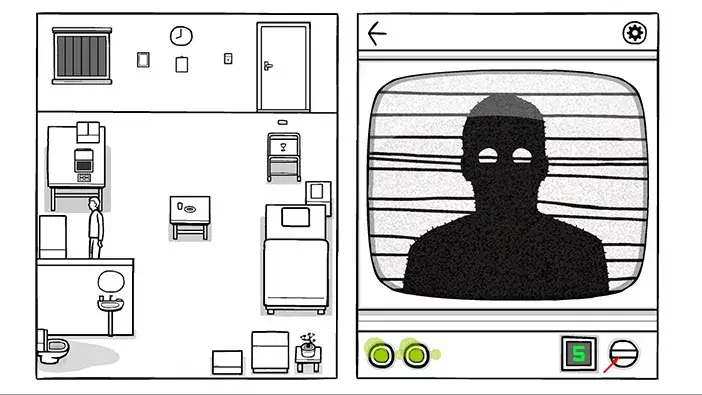
On the fifth channel, we can see a dark figure with empty eye sockets. Again, worrying. Let’s continue. Tap on the button in the lower right corner to switch the channel.
As soon as you tried to switch to the sixth channel, the emergency alarm was turned on. Move toward the table in the middle of the room, and the doctor will walk in through the front door. Tap on the doctor to start the interaction.
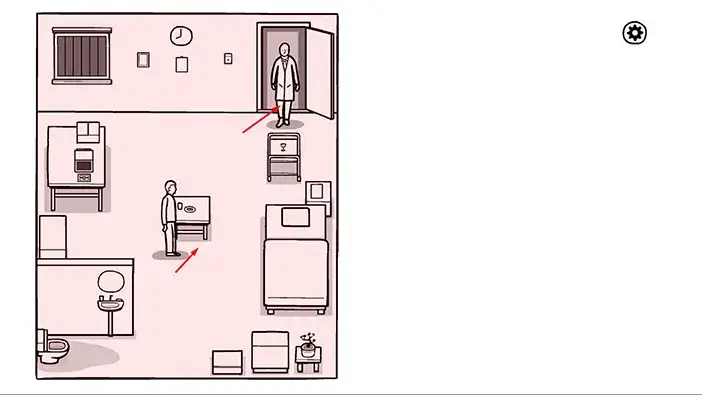
Well, the doctor can no longer let us go with a warning because we set off the emergency alarm for the third time. He has to sedate Robert to calm him down.
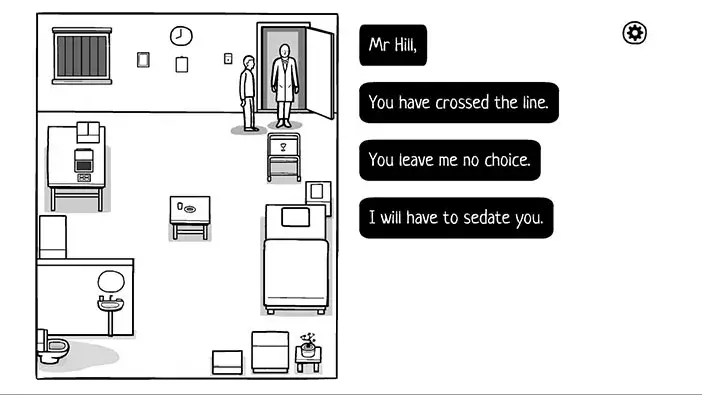
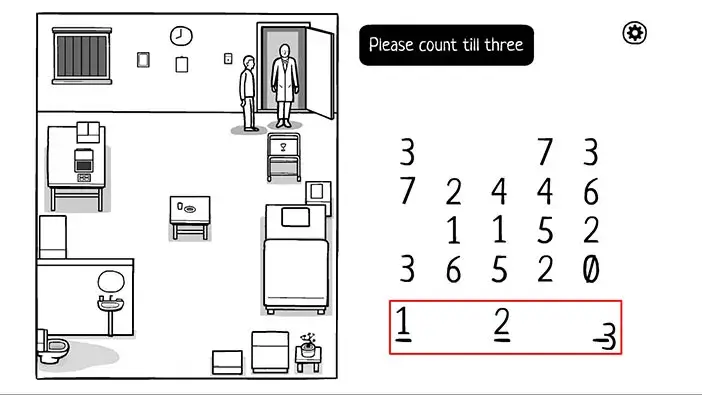
Let’s count to three. Enter the number “123”.
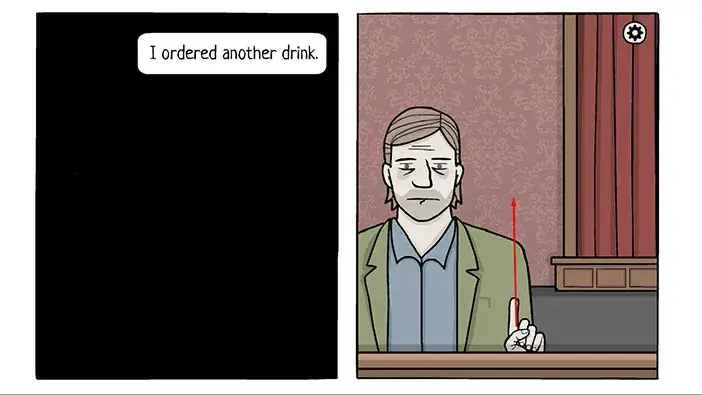
Robert will have another dream. This one is called “The Lady of the Lake”. Drag to the left and you will find Robert sitting on a bar chair. He is depressed after losing Laura, so he decided to have a few drinks. Drag to move up Robert’s hand.
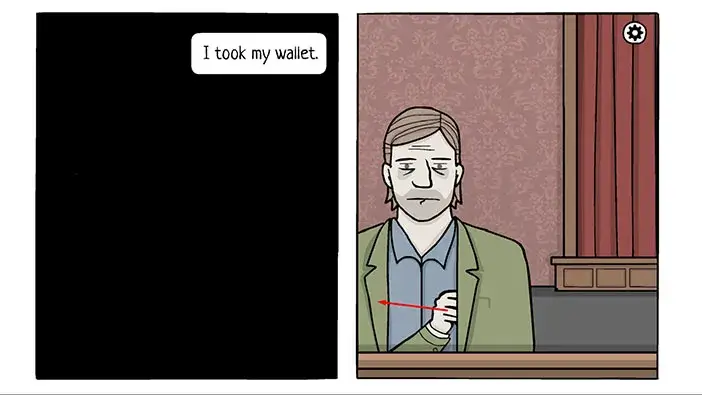
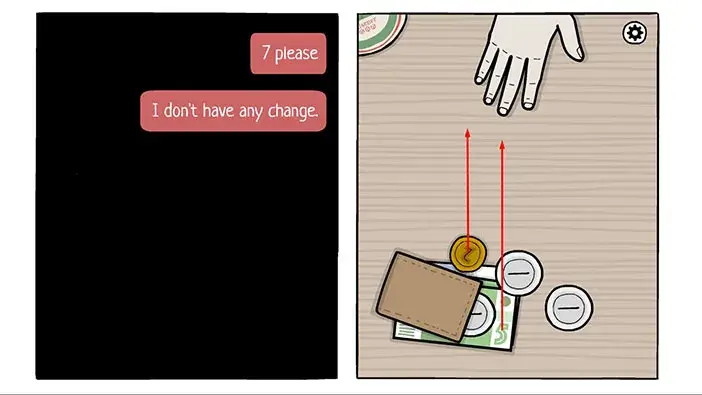
Tap on the barman to start the interaction and he will ask you to pay for the drink. Drag Robert’s hand to pull out a wallet.
The barman will ask for 7, and he will also say that he doesn’t have any change. So, drag the 2 coin and the 5 bill to pay for your drink.
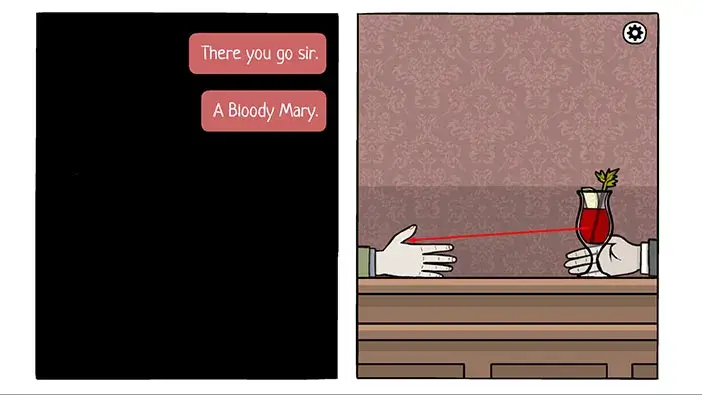
Barman will hand you the drink. Drag the glass to Robert’s hand.
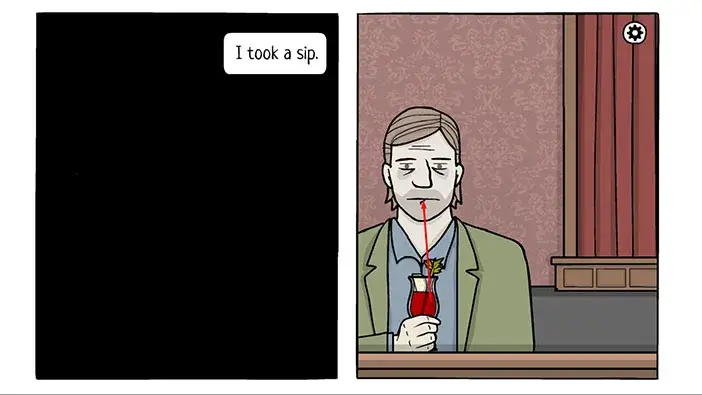
Drag the glass, and Robert will take a sip.
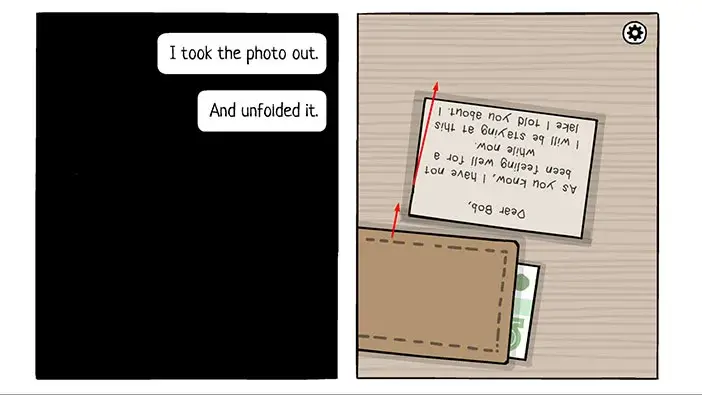
Next, the barman will notice that Robert is lost in his thoughts, and will ask him what’s on his mind. Drag the paper to take it out of the wallet, then drag it again to show him the photo of Laura.
After he looked at the photo, the barman said the famous words “Women, can’t live with them, can’t live without them”. Robert decided to put down the glass (so drag it down). Next, the barman will say that he has the solution for Robert’s problem, but it will cost him 18. So, let’s give him 18.
So, drag the 10, 5, 2, and 1 and give it to the barman.
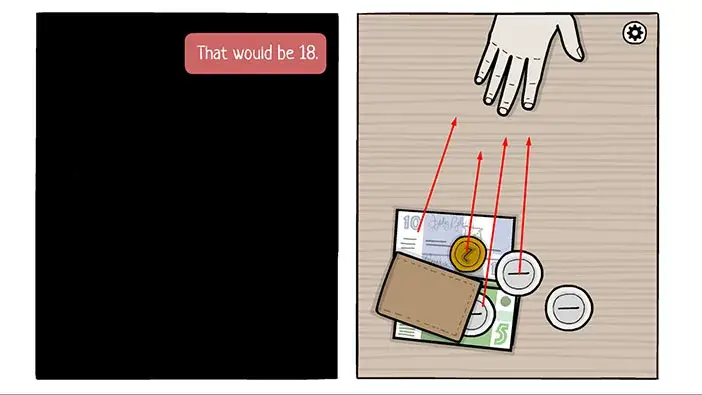
Well, this is one very strange barman. He will pull out a small revolver and give it to Robert. Well, I guess that’s why we saw a hand holding a revolver on one of the TV channels. The barman will also say that Robert should know what to do with it. Drag the revolver to pick it up.
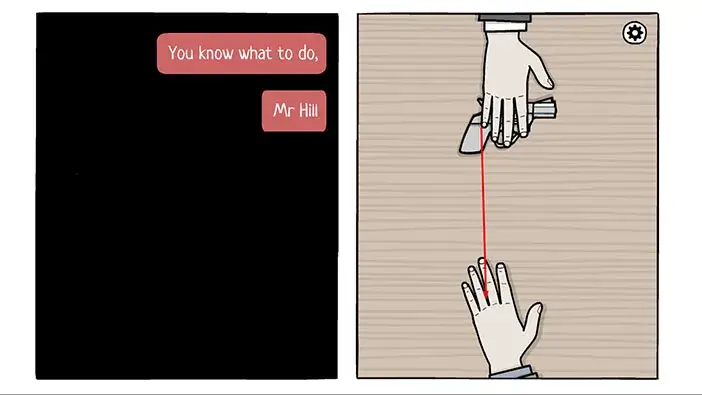
Robert hesitated, but he was thinking about killing himself. On a side note, the barman isn’t really the sharpest tool in the shed, because he sold Robert a revolver in a full restaurant, with his fingerprints on it. I don’t know how he expects to avoid prosecution for illegal firearms trade. And all that for just 18 bucks… Damn, that’s very cheap for a revolver in working condition.
Robert remembered that the curtains on the stage opened, so drag the curtains to open them.
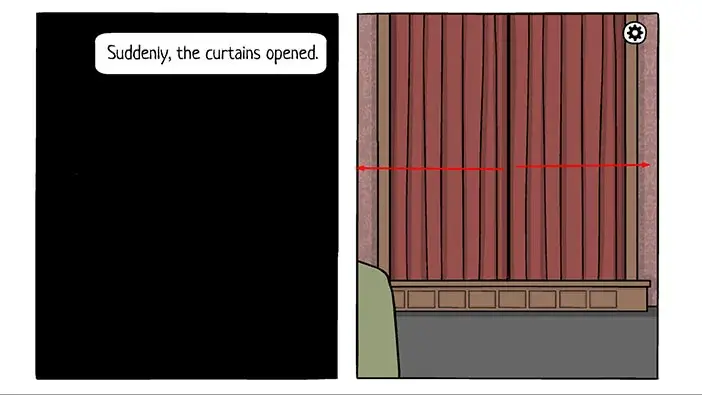
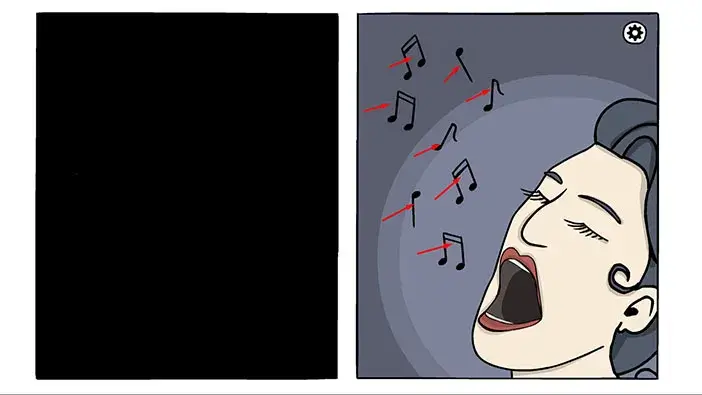
A woman started singing as loud as she could. Tap on the woman’s head and drag up. Both the head and the microphone will rise, and you will have to align the microphone with her mouth.
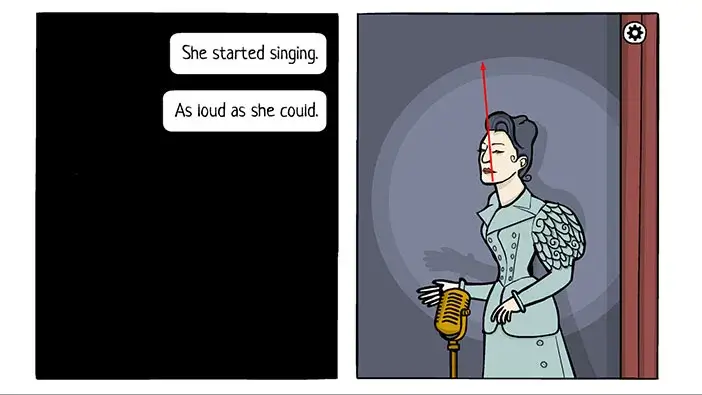
The notes will appear. Tap on them from lowest to highest.
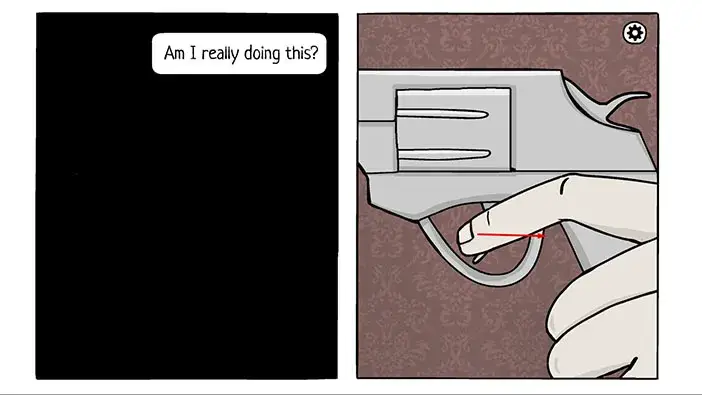
Next, Robert will wonder if he is really ready to pull the trigger and his life. Drag the finger to pull the trigger… Well, I am very surprised that the developers didn’t issue a warning about the game containing suicidal scenes and thoughts. But, it is what it is.
DAY 5
Drag the blanket to wake up Robert.
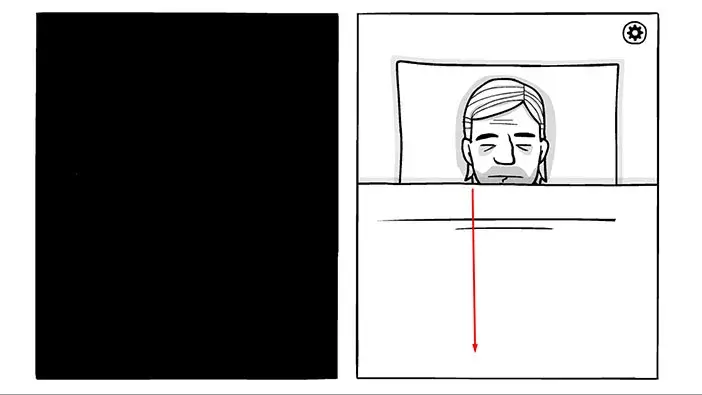
He is now in a very small room. He was probably transferred here because he caused so much trouble the day before that they had to sedate him.
Let’s explore this room. Tap on the front door to take a closer look at it.
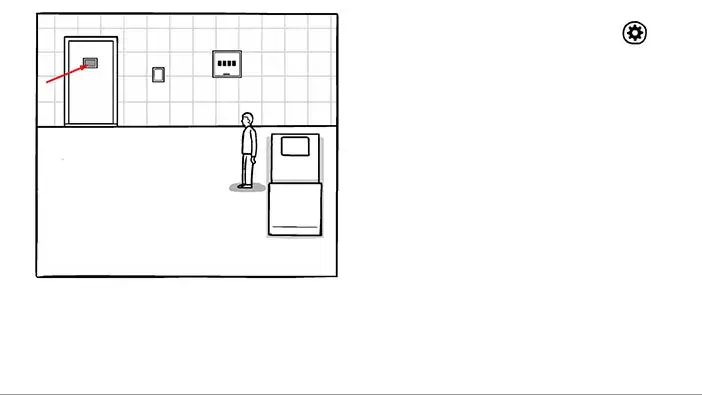
You will see the word “YOUR”. Memorize it, because it represents a password for the next puzzle. Now, let’s take a look at the board on the right.
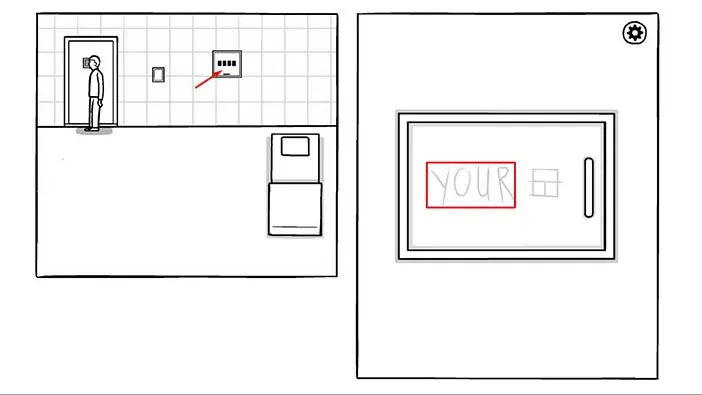
Here, we can see a four-letter password. So, let’s enter the password “YOUR”.
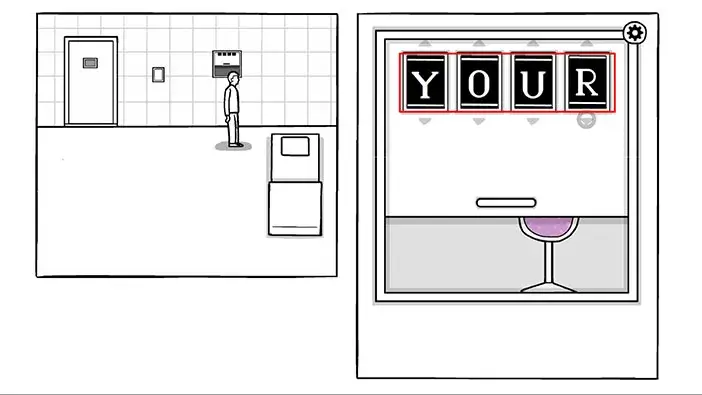
Well, that was easy. The password for this cabinet was literally written on the front door. Tap on the glass several times to turn it over and spill the liquid.
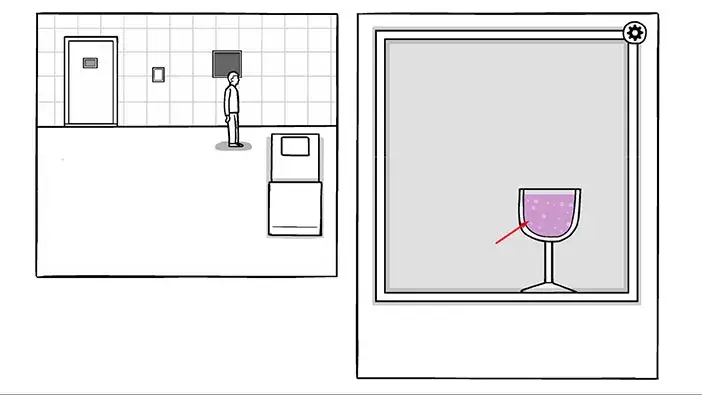
Tap on the liquid to examine it and you will see several bubbles. The liquid is purple, and the bubbles are arranged on a white line that starts at the top side of the liquid and ends at the bottom. So, let’s follow the line and tap on the bubbles.
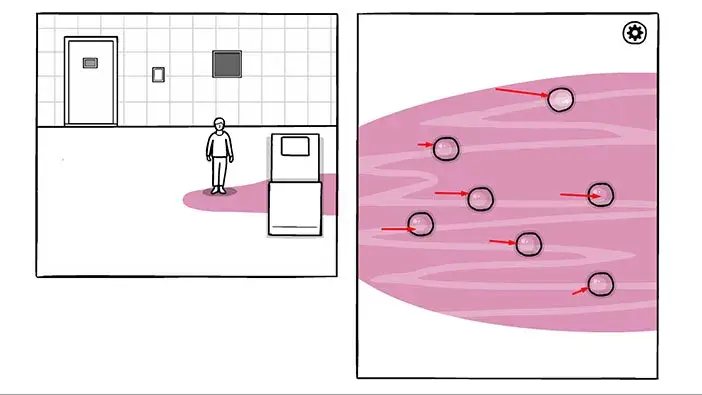
Once you burst all the bubbles, the word “DARK” will appear. Let’s go back to the board and enter this new password.
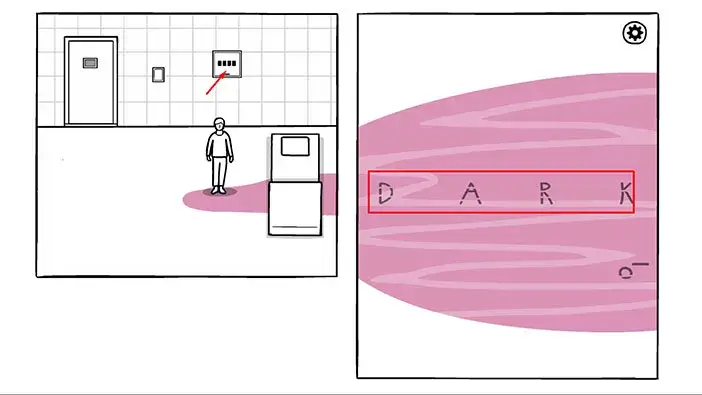
Enter the password “DARK”.
When you enter the word “DARK” the blinds will roll up and you will see three speakers. If you tap on the first speaker, you will notice a note flying out of it. Tap on the speaker again to stop the musical note. You can see the proper arrangement of the notes in the square located in the top right corner of the screen. So, the note from the top speaker should be last in line.
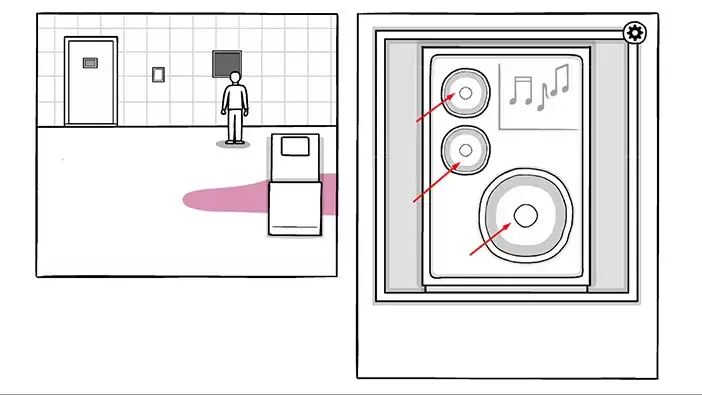
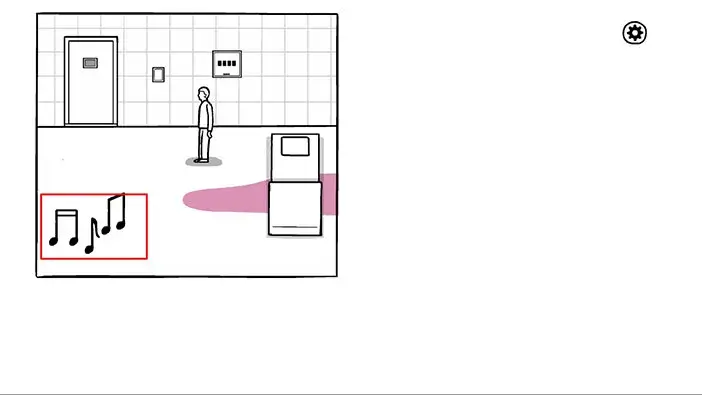
Next, let’s tap on the notes to take a closer look at them. Drag the notes up until you see that a letter is starting to appear. When you correctly arrange the notes you will discover another password “FACE”. Let’s go back to the board.
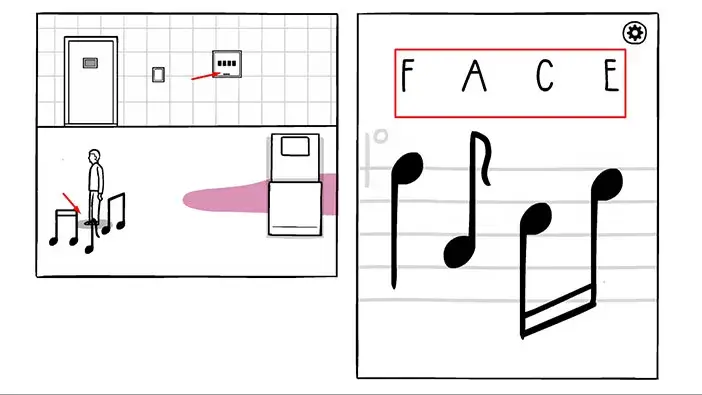
Enter the password “FACE”.
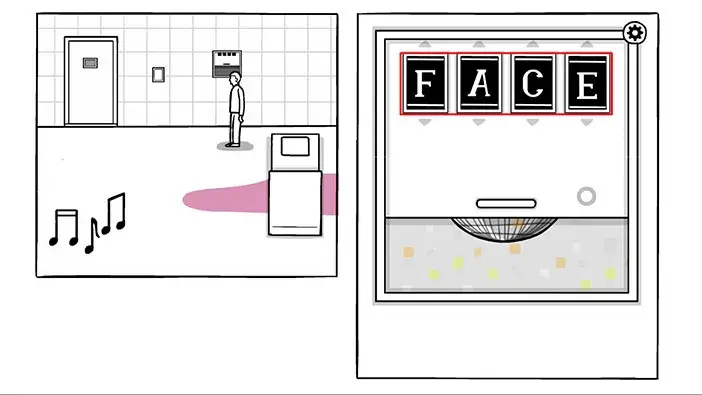
The blinds will roll up and you will see a disco ball. Drag the disco ball up and you will see squares of several colors will appear in the room. Keep dragging the disco ball until you align an orange square with the board.
As soon as you align it, the small panel next to the door will start blinking (pink light). Tap on it to take a closer look. On a side note, it seems that these squares and the light are also an exception since the whole game is black and white.
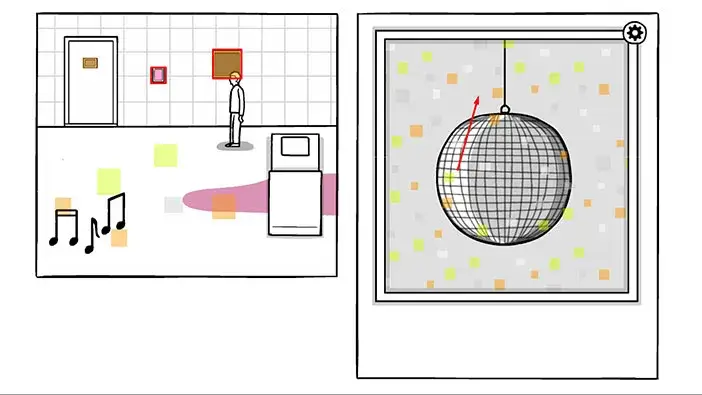
Here, we have another puzzle to solve. This one is rather simple, so we won’t go through the step-by-step instructions. You can see the solution in the image below.
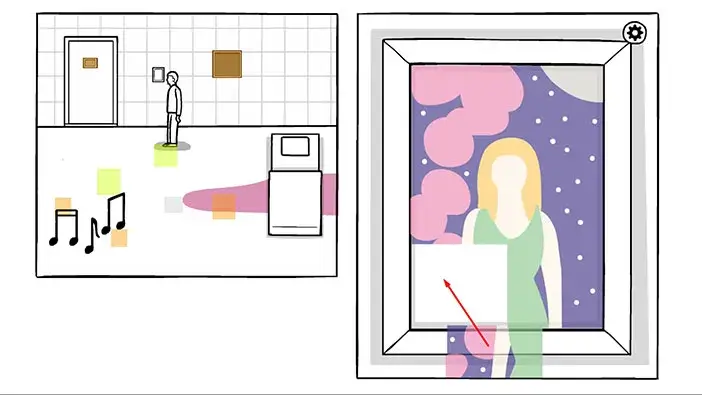
As soon as you solve the puzzle, you will see a picture of Laura. In the picture, we can also see another password “SOUL”. Let’s go back to the board and use this password.
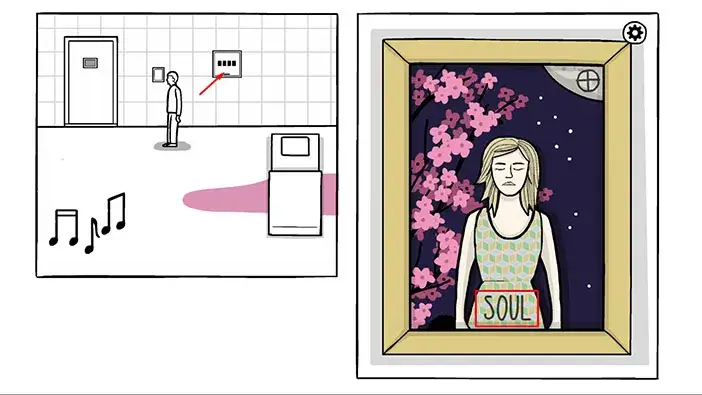
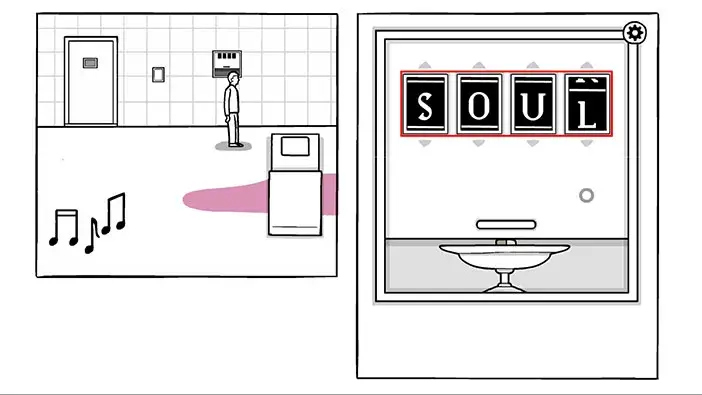
As soon as you enter the password “SOUL” the blinds will roll up and you will see a pill. Tap on the pill to take a closer look at it.
Let’s open the pill by dragging both halves of the pill. In the pill you, will find a small, dark man. Tap on it several times and it will get up, and walk to the left.
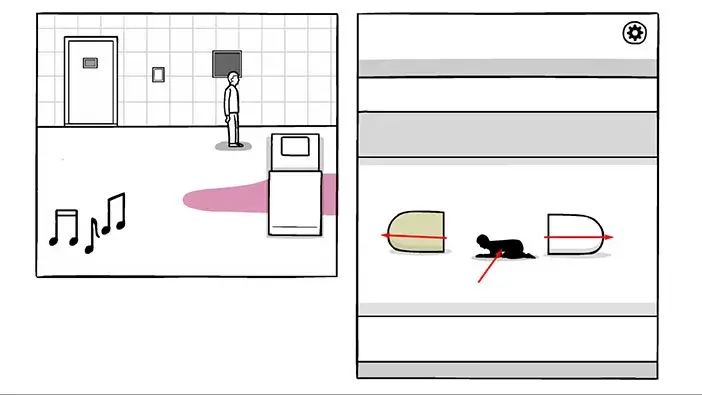
The dark figure is now man-sized and it walked into our room. Tap on it to approach it and tap again to start the interaction. You will notice the word “FACE” in the top left corner. You will also notice four symbols above the shoulders of this figure. If you recall, “FACE” was one of the passwords that we used previously. More specifically, we discovered this password when we solved the puzzle with musical notes. So, let’s tap on the musical notes on the left to take another look at them.Ok, here we can see the password “FACE” and we can also see a symbol associated with this word. The symbol is a vertical line and a circle. We saw the same symbol above the shoulders of the dark figure. So, let’s memorize/write down this information.
“FACE” = Vertical line and a circle.
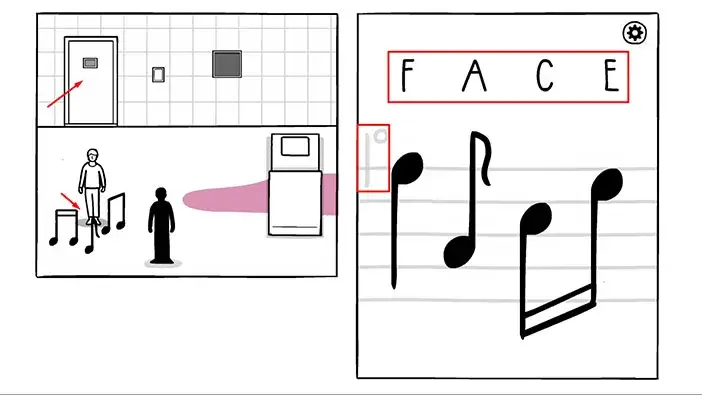
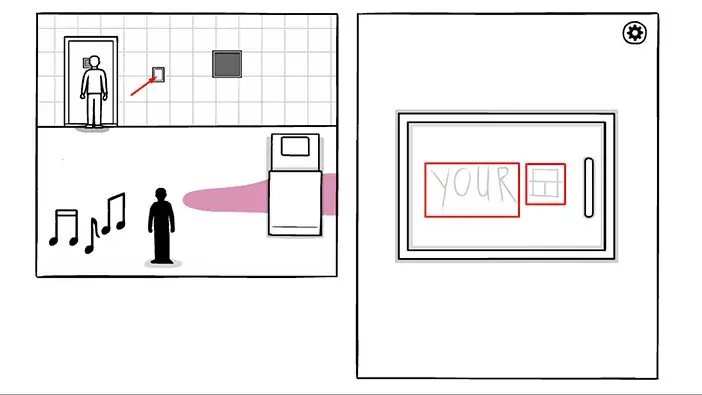
Every password that we used so far also has a symbol. So, let’s take another look at the passwords and write down their symbols. We will start with the front door.
Here we can see the password “YOUR” and a symbol associated with this word is a square, divided into two smaller squares and a rectangle. Let’s memorize/write down this information.
“YOUR” = Square divided into two smaller squares and a rectangle
Next, let’s take a look at the photo next to the door.
Here we can see the password “SOUL” and a symbol associated with this word is a circle with a cross inside. Let’s memorize/write down this information.
“SOUL” = Circle with a cross inside
Next, let’s take a look at the pink liquid on the floor.
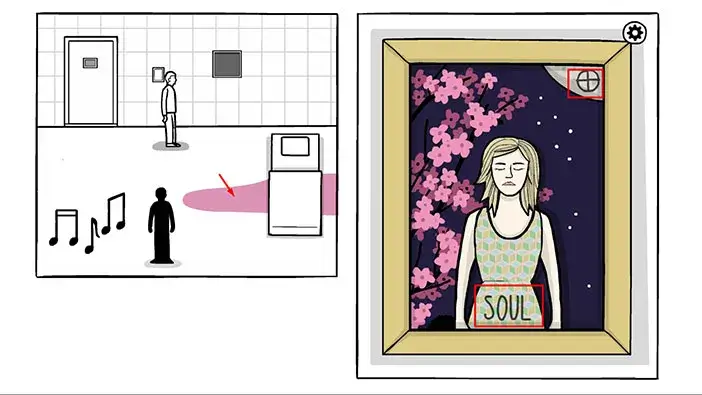
Here we can see the password “DARK” and a symbol associated with this word is a small circle and a horizontal line. Let’s memorize/write down this information.
“DARK” = Small circle and a horizontal line
Ok, let’s go back to the dark figure.
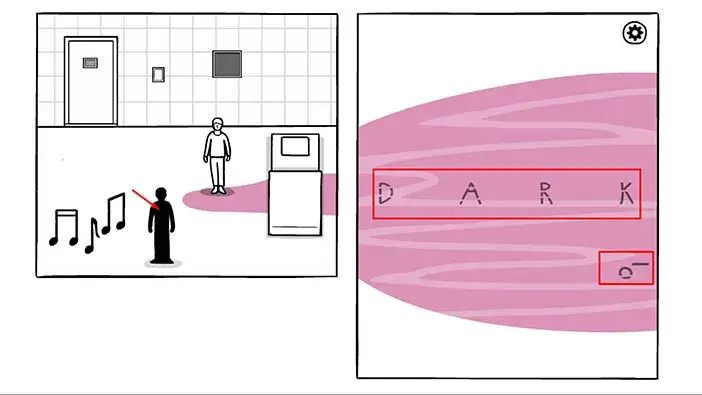
Tap on the dark figure to start the interaction and four symbols and a password “FACE” will appear.
The symbol associated with the password “FACE” was a vertical line and a circle, so let’s tap on this symbol.

Tap on the dark figure to start the interaction and four symbols and a password “FACE” will appear.
The symbol associated with the password “FACE” was a vertical line and a circle, so let’s tap on this symbol.
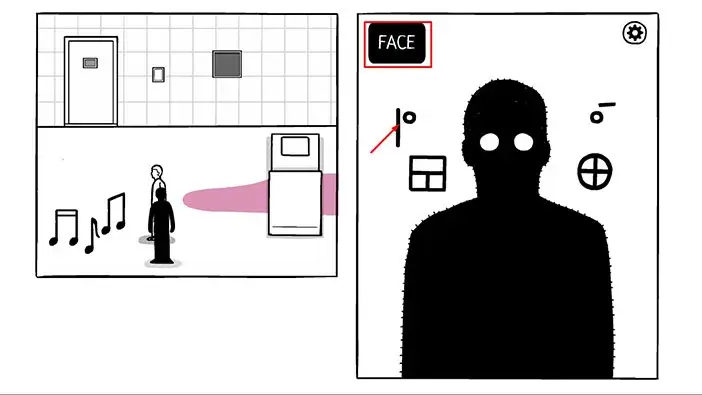
Password “YOUR” will appear. The symbol associated with the password “YOUR” was a Square divided into two smaller squares and a rectangle, so let’s tap on this symbol.
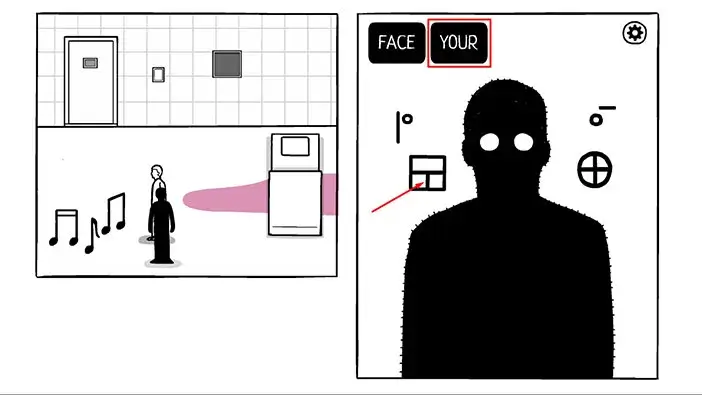
Password “DARK” will appear. The symbol associated with the password “DARK” was a small circle and a horizontal line, so let’s tap on this symbol.
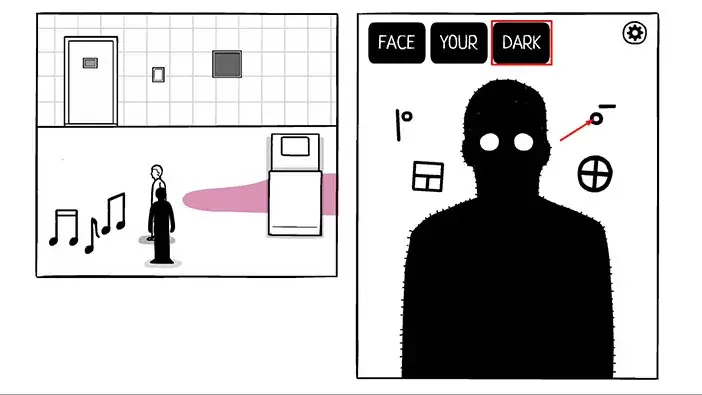
Password “SOUL” will appear. The symbol associated with the password “SOUL” was a circle with a cross inside, so let’s tap on this symbol.
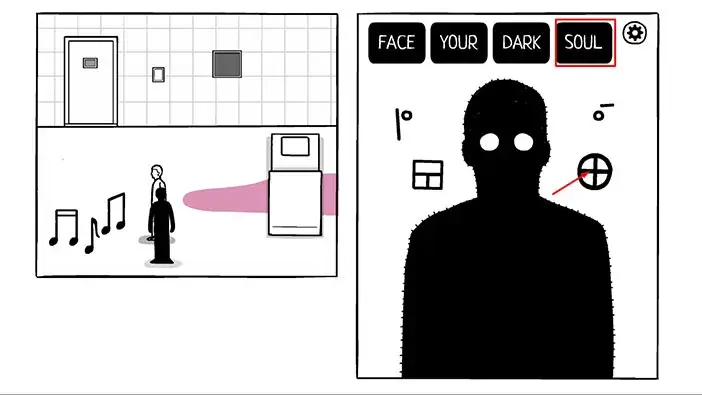
The dark figure will raise its arm. Tap on it to start the interaction. We can now see Robert’s hand and a dark hand. Our goal is to align them. So, the dark figure represents Robert’s dark soul. Interesting.
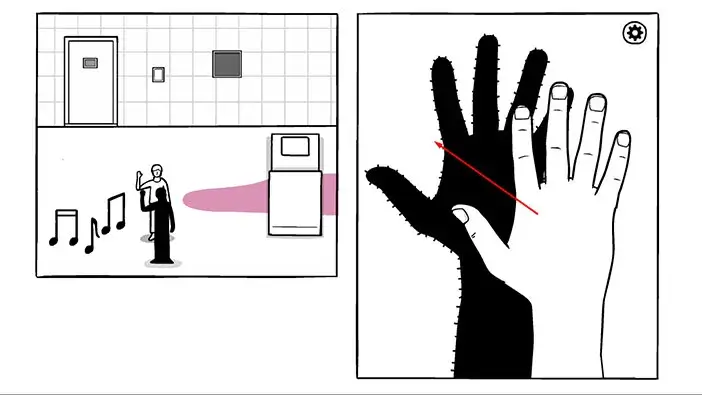
Next, drag Robert’s fingers and align them with the fingers of his dark soul.
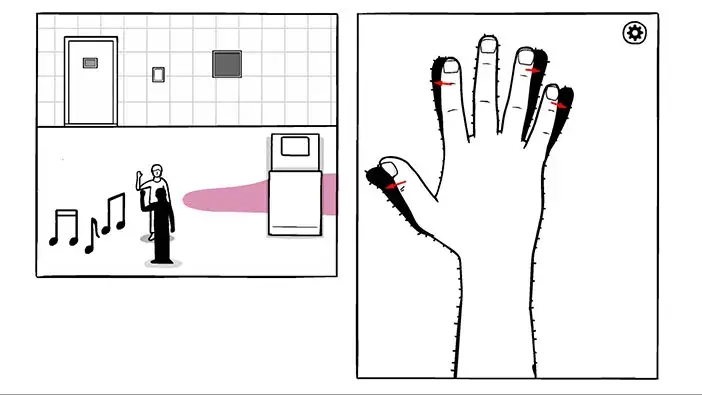
As soon as you align the fingers Robert will fall down, probably unconscious, and we will now take on the role of his dark soul. Tap on the bed to approach it.
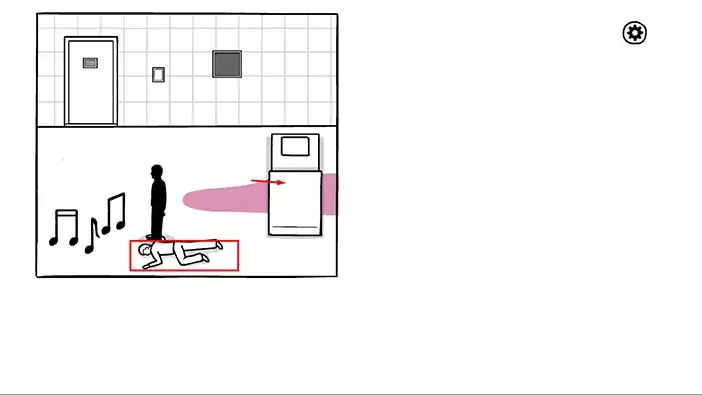
Drag the blanket to cover the dark soul.
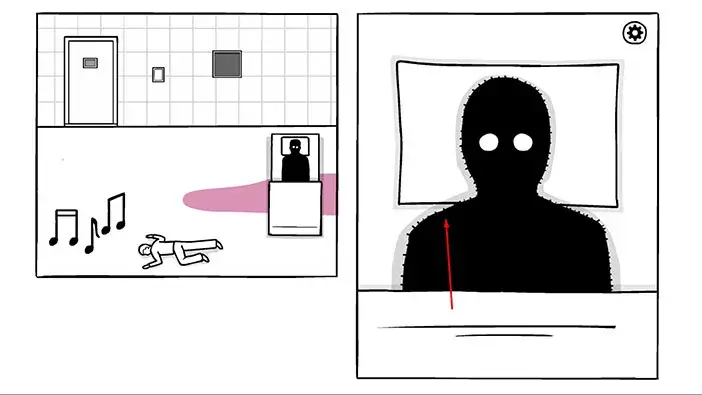
Well, the dark part of Robert will also dream, the name of this dream is “The Lost Soul”.
This dream is the continuation of the previous dream. The dark soul dreams about pulling the trigger, and the bullet going through Robert’s brain. Of course, Robert didn’t commit suicide, that’s just a manifestation of his darkest thoughts.
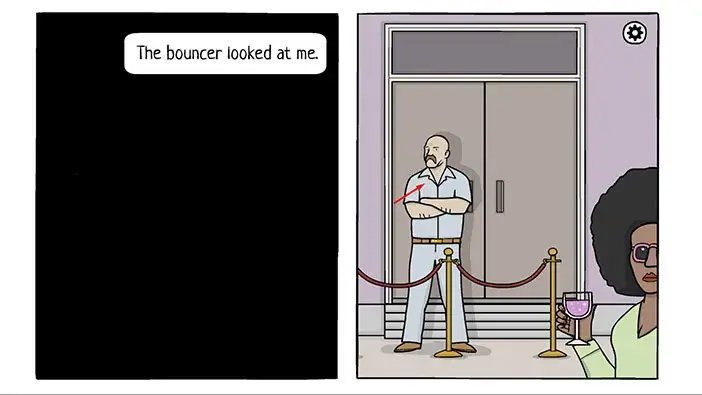
However, as the bullet went through his head, Robert saw all of his important memories. The bullet transformed into a car, and suddenly, Robert was in this car, driving down the street. He stopped in front of the “Lost Soul” club and decided to go in. The bouncer looked at him – tap on the bouncer.
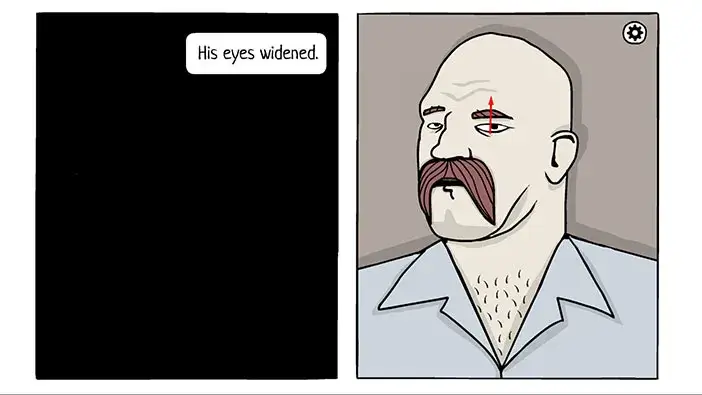
“His eyes widened”. Drag the bouncer’s eyes.
The bouncer will ask Robert who he is, but our character couldn’t remember. The bouncer was satisfied with this answer and told him that he can enter.
Drag the doors to open them, and Robert will go into the club.
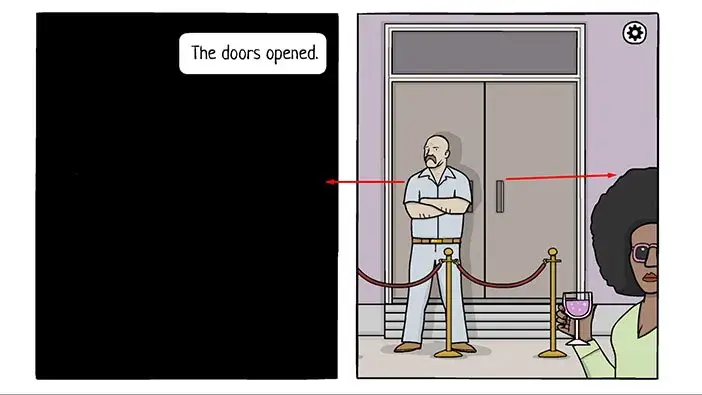
“It was hard to find familiar faces” – Drag to the left and Robert will move through the club. This party reminds me of a party that we saw on TV.
After some time, Robert will look at the DJ. So, tap on DJ.
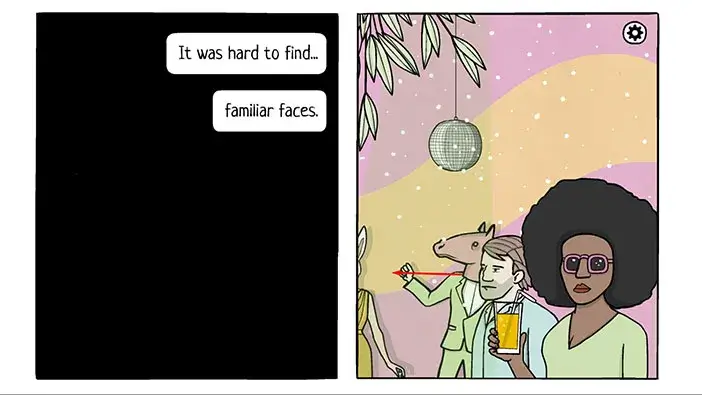
Drag the record and put it into the slot. After that, drag the need and place it on the record. Lastly, hold down on the needle to play the record.
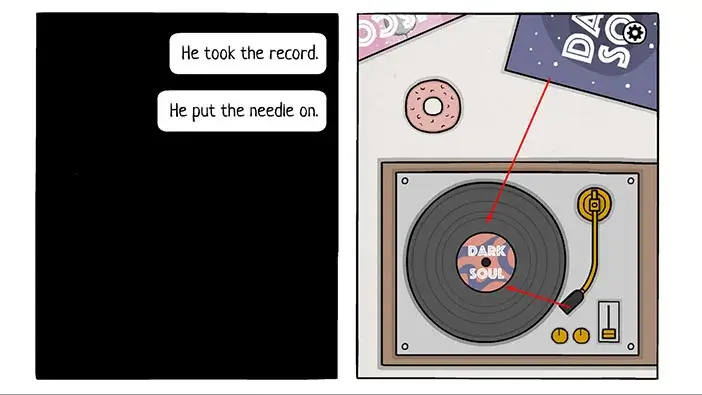
A very strange fellow, with a deer head, will approach you and he will say something even weirder. He will say that he can almost see through your face.
Robert was confused and decided to touch his face. Drag Robert’s finger to the bullet hole in his head.
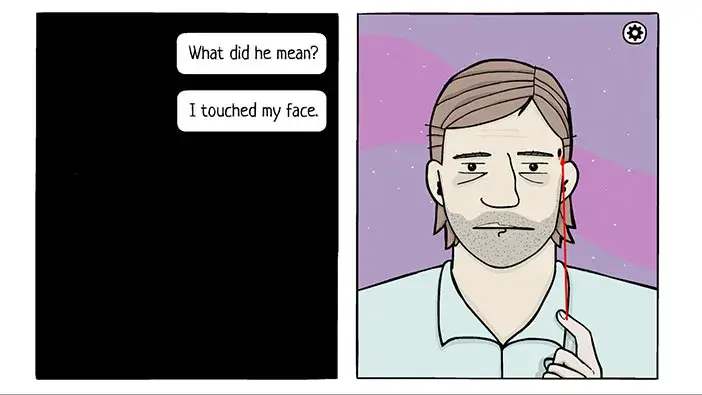
Drag Roberts’s finger to the bullet hole in his head three more times.
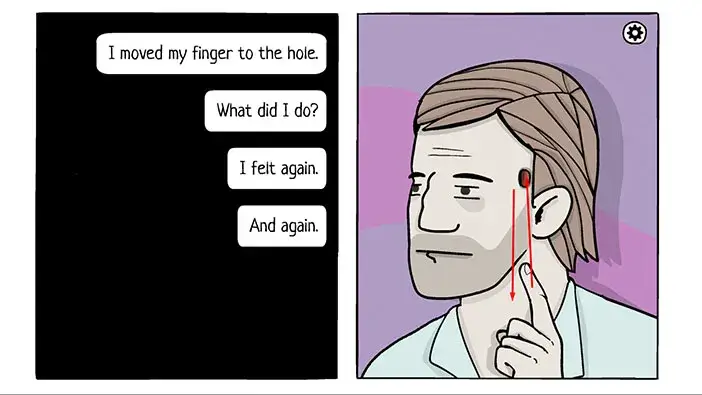
At this moment Robert realized that he is losing his mind and that his soul is changing. In the next scene, we can see that the dark soul has replaced Robert. Drag to the left and take a walk around the club.
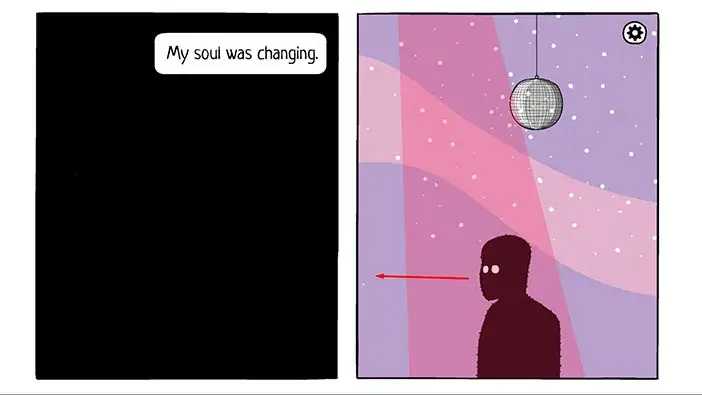
After walking for some time, Robert will spot Laura dancing in the corner. He remembers that she was beautiful and danced with her eyes closed. When he approached she opened her eyes – drag on Laura’s eyes to open them.
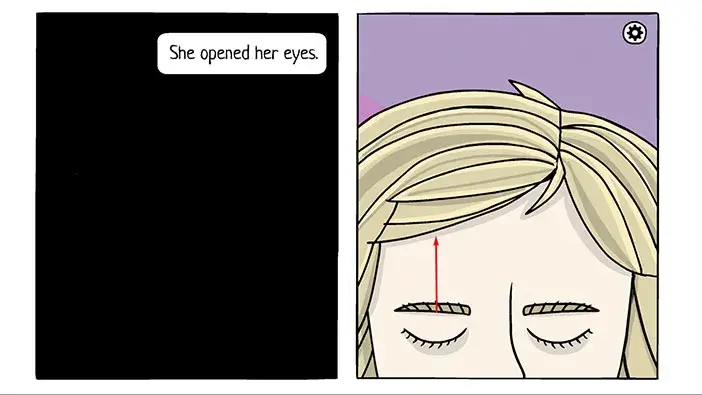
Next, drag on Laura’s head and turn it upside down.
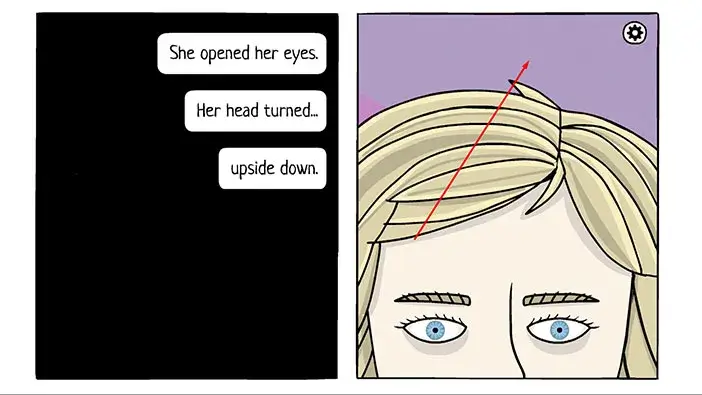
Everything was changing – tap on the black moths on the left.
The moths flew into her eyes – drag the moths into Laura’s eyes.
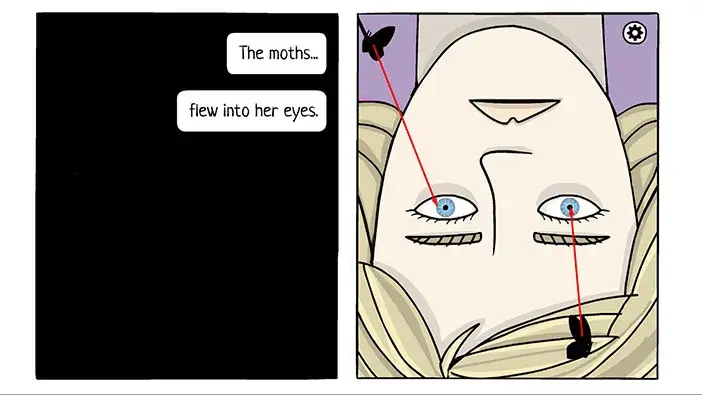
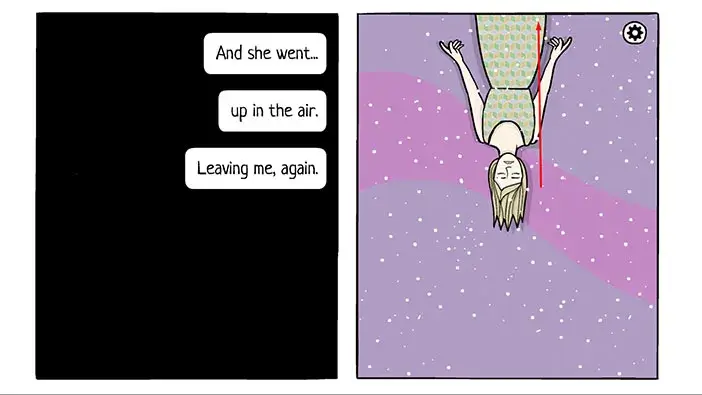
“I wish we could go back to where it all started” was the last thing she said, and then she flew up, beyond Robert’s sight.
Drag Laura up, above the top edge of the screen.
We will end the second part of the walkthrough here. You can check out the third part of the walkthrough by tapping on the “Next Part” button.
Thank you for reading.