The Echo Bay Murders – Chapter VII
Hello everyone, and welcome to our walkthrough for Chapter 7 of “The Echo Bay Murders” another game in the series of AE mysteries, developed and published by Haiku Games.
In the previous chapter, Kate, Darius and Nick went to investigate “Lepat Fishing Company”. Here, they met Benjamin Lee, but he wasn’t the man that they were looking for. Benjamin Lee is co-owner of the company, and the man that Kate is looking for is his business partner, Luca Patel. After the initial confusion, Kate got back to the investigation and made some groundbreaking discoveries. First, by using the radar on one of the ships, she discovered a hidden underwater container. Next, she found an entrance to Luca’s office, and in there she discovered his journal. After reading Luca’s journal, Kate learned some very interesting and disturbing facts. It seems that Luca went through some very traumatic experience, possibly while he was still a child, and that changed him forever. Ever since that day, he occasionally feels the urge to kill women that look like someone from his past – most likely the person that caused his trauma in the first place.
Besides that, we also found out that Luca is married, but he is in the process of being divorced. Also, Kate later used the crane to pull out the hidden underwater container, and inside she found an identified female body. Right after that, she acquired the contact information of Luca’s wife. Nick already set up the meeting, so Kate and Darius were preparing to pay Chelsey Patel (Luca’s wife) a visit, hoping to gain some more information about him, and more specifically his whereabouts.
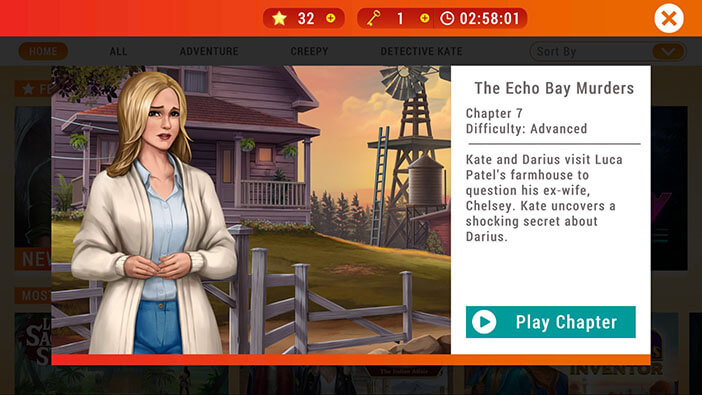
Our story continues with Kate and Darius arriving in front of Chelsey’s house and meeting with her.

Kate would like to know more about Chelsey’s ex-husband, more specifically, she wants to know why he and Chelsey separated. His ex-wife replied that Luca changed over the years. She thinks that he changed either because of some traumatic experience during his service in the army or because of the accident that he had when he was very young. Chelsey said that as time passed by, her husband became more and more detached from reality.
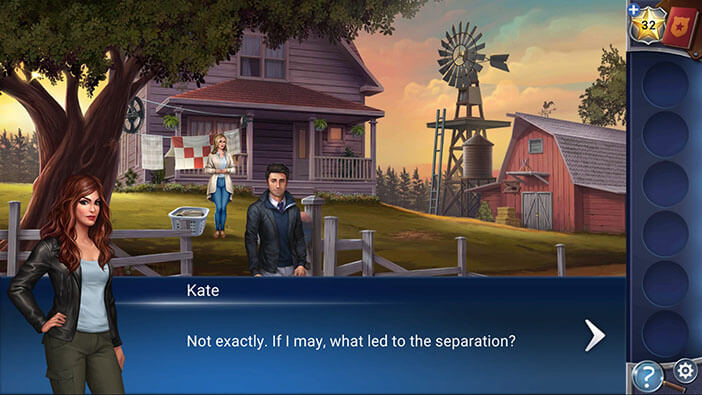

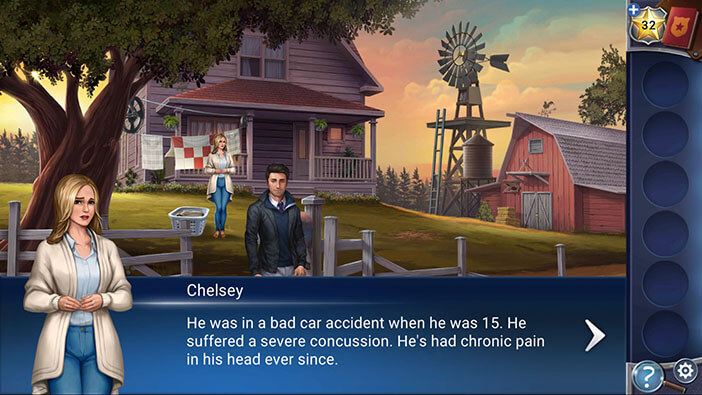
Well, this is the first time Kate heard about the accident, so she wants to hear more about it. To be fair, we already presumed after reading his journal, that he and his dad were involved in some kind of accident when he was younger. So, this isn’t a huge surprise. Chelsey informs them that Luca had an accident (probably a traffic accident) when he was 15, during which he suffered a terrible head injury. Ever since that day he had terrible, chronic headaches.
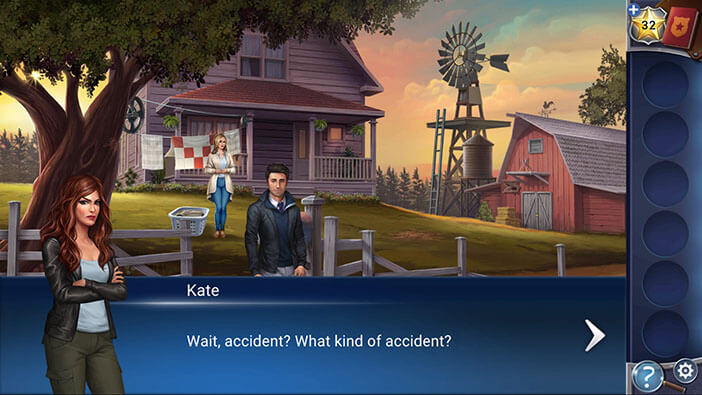
Well, after answering some of their questions, Chelsey would know like to know why are they looking for her husband. She was visibly shocked when they informed her that Luca is a suspect in an ongoing murder investigation.
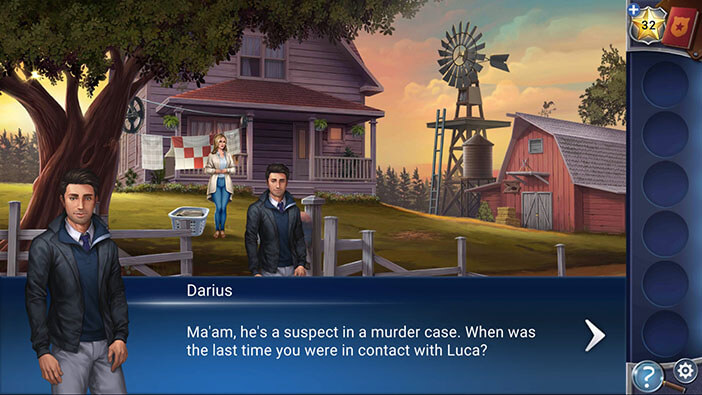
Kate decided to give Chelsey a few moments to collect her thoughts and process the information. In the meantime, she and Darius will check the perimeter, and make sure that she’s safe.
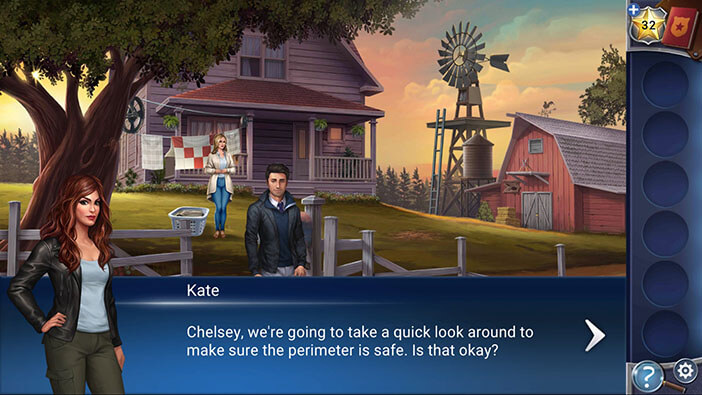
First, let’s start by looking around the barn (the red building on the right).
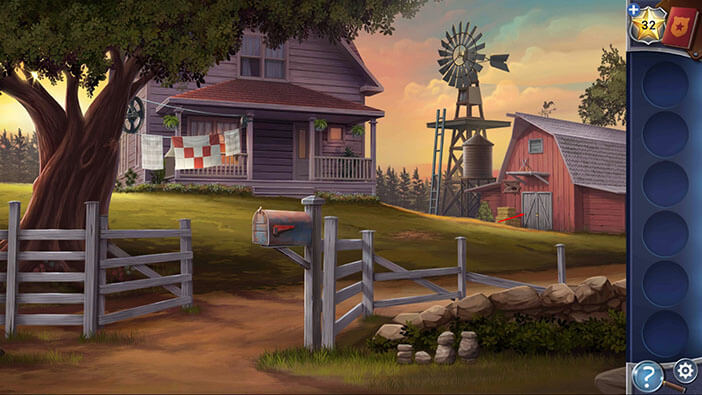
Tap on the “Ladder Step” located on the grass in front of you to pick it up.

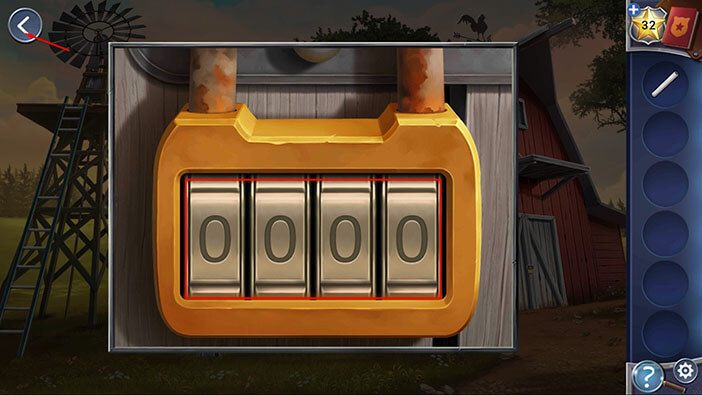
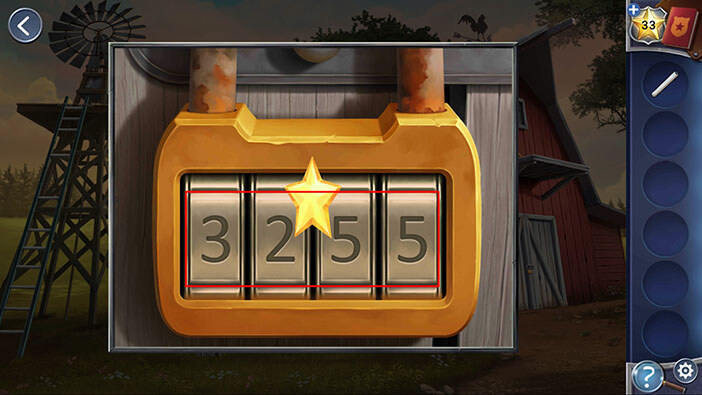
Next, tap on the padlock on the barn door to take a closer look at it.

Well, we can see that the padlock is locked by a four-digit code. Tap on the arrow in the upper left corner to go back.
Tap on the trail to go back to the front yard entrance.
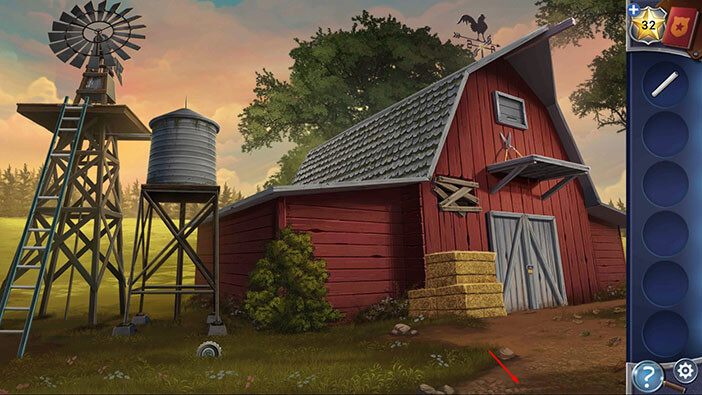
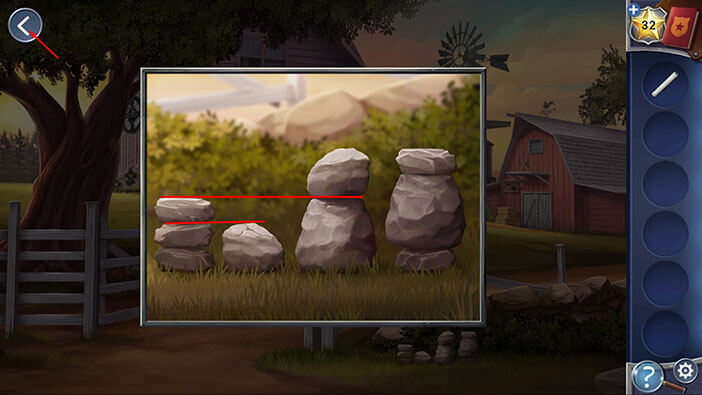
Below the stone wall on the right, you will notice four stone columns. Tap on them to take a closer look.

Ok, here we can see four stone columns, and they are made of stones of three different sizes, small, medium, and large.
There are three small stones in the first column.
In the second column, we have only one medium stone.
If we compare these columns, we will notice that the two small stones in the first column have the same height as the medium stone in the second column.
In the third column, we have one large and one medium stone.
If we compare the three first and third columns, we will notice that the three small stones in the first column have the same height as the large stone in the third column.
There are four stone columns, and earlier we saw that padlock is locked by a four-digit code. So, let’s presume that one stone column represents one number.
With that said, it would be logical to assume that the smallest rocks represent the number 1.
Since the medium stone has the same height as the 2 small stones, the medium stone should represent the number 2.
Following this logic, the large stone should represent the number 3, since it has the same height as 3 small stones.
With this information, it will be easy to determine the numerical value of each column. Let’s begin.
First column = 3 small stones = 3 (1 + 1 + 1)
Second column = 1 medium stone + 1 small stone = 3 (2 + 1)
Third column = 1 large + 1 medium stone = 5 (3 + 2)
Fourth column = 2 small + 1 large stone = 5 (1 + 1 + 3)
When we put these numbers together we will get the code “3255”. Memorize or write down this code, then tap on the arrow in the upper left corner to go back.
Ok, let’s get back to the barn.

Tap on the padlock to start the interaction.

Enter the code “3255” and you will unlock the padlock.
Let’s check out the barn.
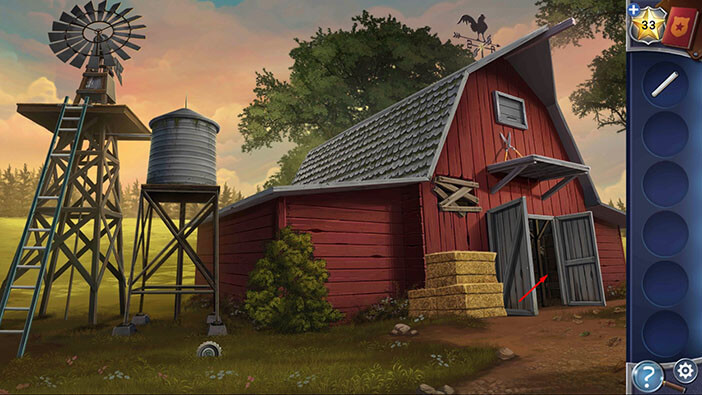
Well, a lot of Luca’s stuff is still in the barn, so Kate thinks that he might have left some valuable evidence in here. Let’s take a look around.
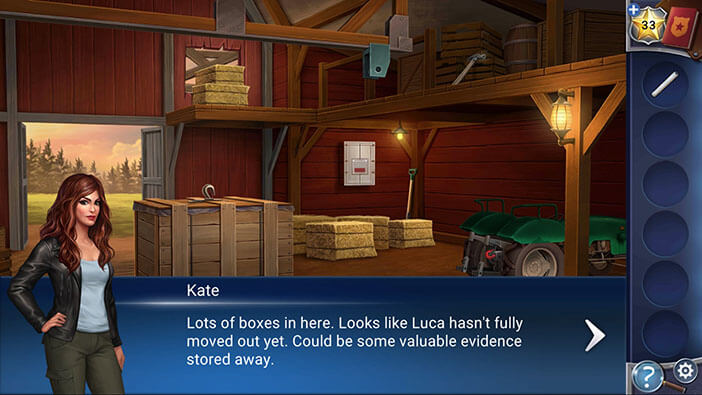
Tap on the small box in the lower right corner of the screen to open it, then tap again to pick up the “Lubricant Spray”.


Next, tap on the shovel, located in the upper right corner of the barn, to pick it up.

Next, tap on the hay bale closest to you to move it aside. Hidden behind the hay bale you will find another “Ladder Step” tap on it to pick it up.
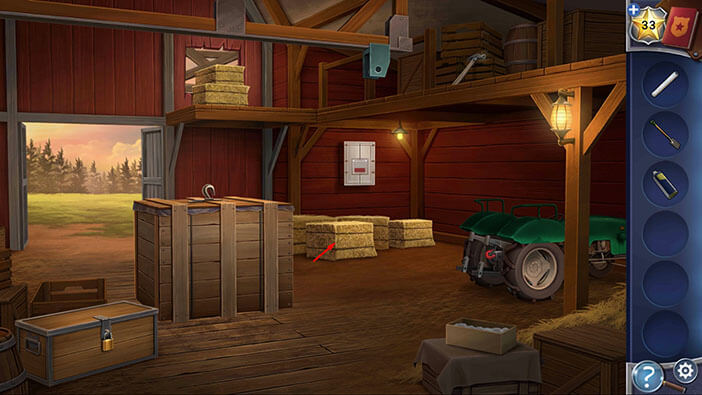
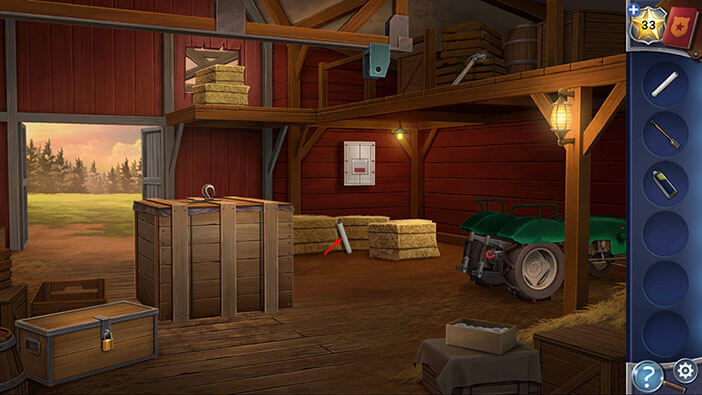
Ok, that’s we’re finished with the barn, for now. Let’s go back outside.
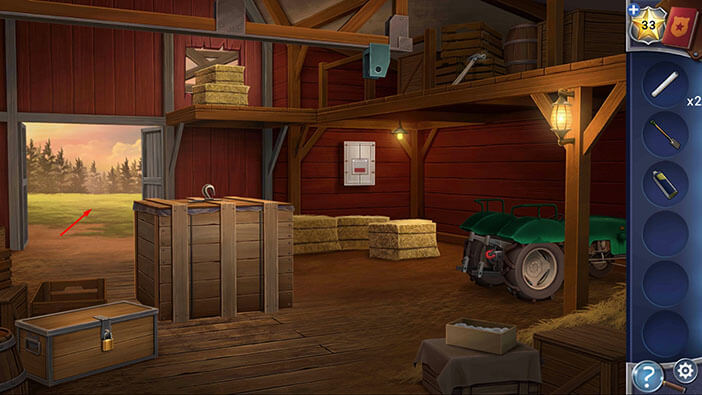
Below the water tower, you will see a partially buried gear. Select the “Shovel” from the inventory and use it to dig up the “Gear”. After that, tap on the “Gear” to pick it up.
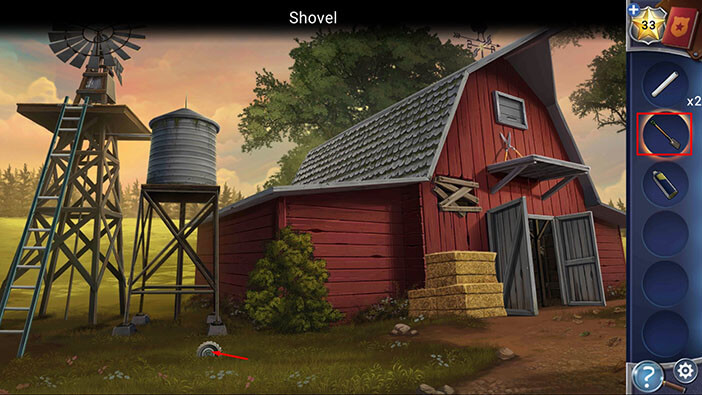
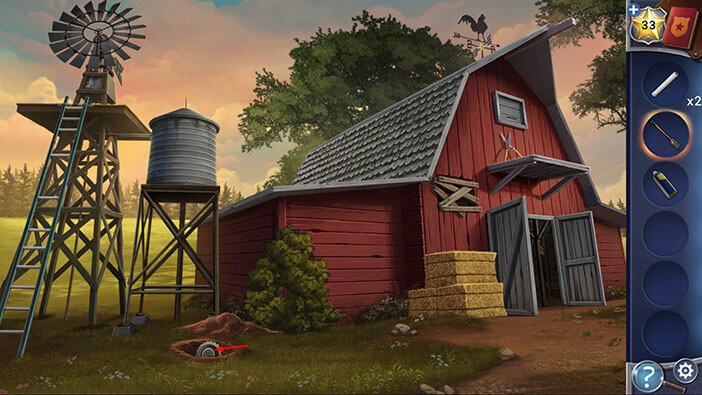
Ok, with that done, we should go back to the front yard entrance.
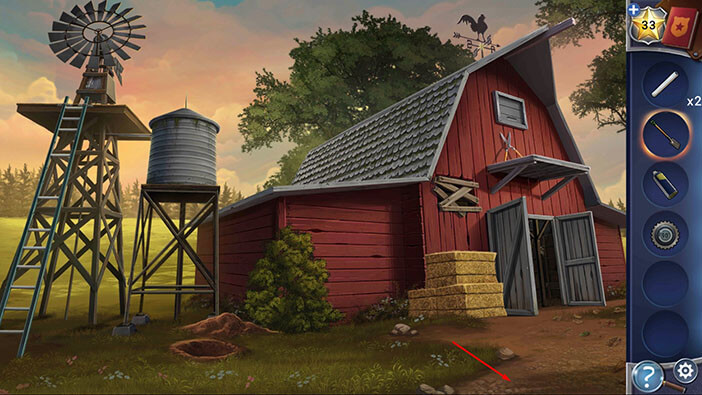
Tap on Darius to initiate the conversation.
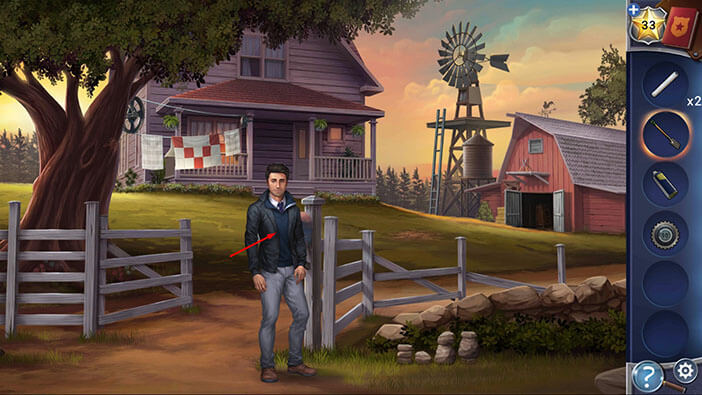
Unfortunately, Darius didn’t find anything in the backyard, but he thinks that Luca’s hunting cabin might be close. At this point, Chelsey will join the conversation, saying that the cabin belonged to Luca’s late father. But, unfortunately, Chelsey doesn’t know the exact location of the cabin, because Luca never took her there. Apparently, Luca used to go to the cabin to have some privacy, and even though his wife wanted to come with him on several occasions, he refused to take her along every time. Well, I guess this is a good thing since he would probably kill her if she came to the cabin with him.
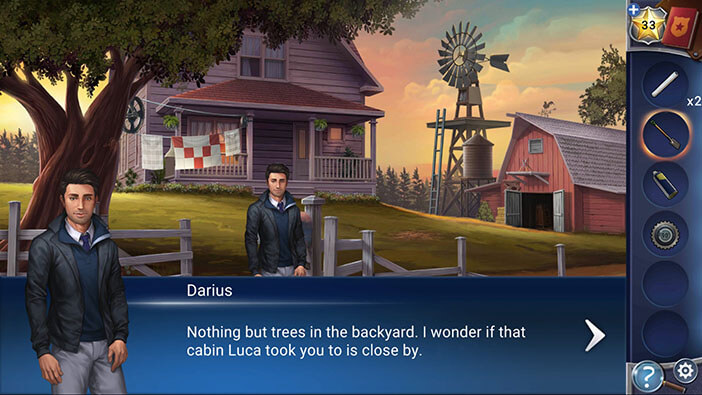
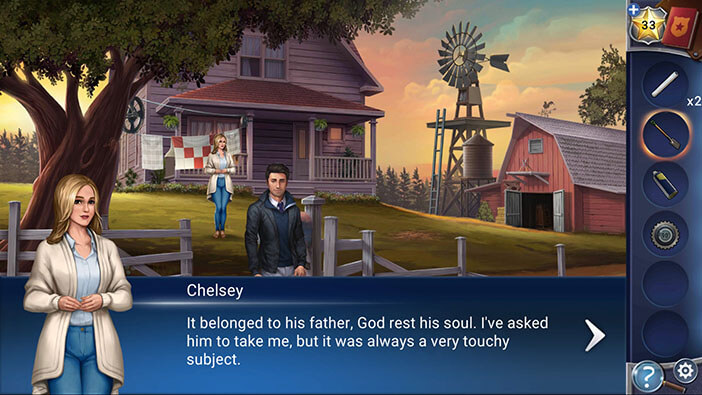
Well, Kate would like to know when Luca’s father passed away. Chelsey replied that Luca and his father were together in the car at the time of the accident. Her husband managed to survive, although he suffered a very serious head injury. Unfortunately, his father didn’t make it.
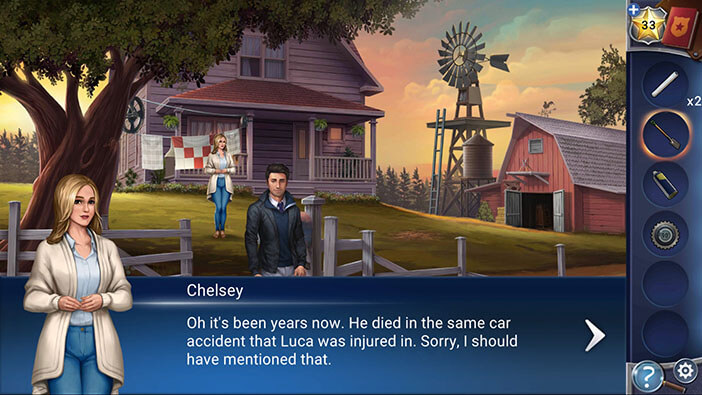
Next, Kate would like to know more about Luca’s mother. However, Chelsey can’t tell them much about her, because she suddenly left Luca when he was just a teenager. So, she never met her mother-in-law, and Luca rarely mentioned her.

At this moment, Darius will get a phone call, so he will excuse himself. Chelsey will also leave because she remembered that she left some food in the oven. So, it’s time to get back to the investigation.
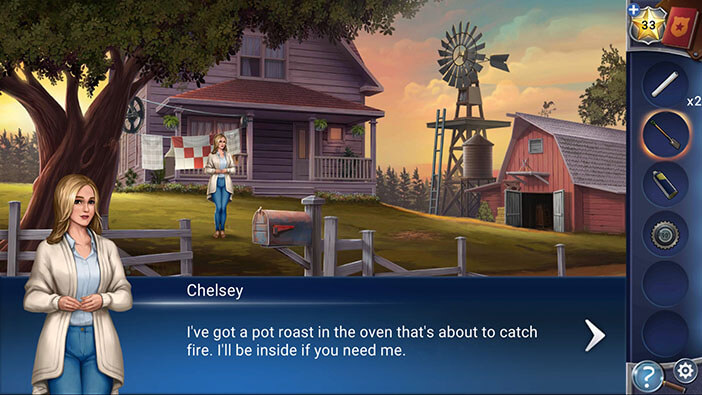
Select the “Lubricant Spray” from the inventory and use it to grease up the rusty mailbox. As soon as you do that, the mailbox door will open, and you will find a “Key”. Tap on it to pick it up.

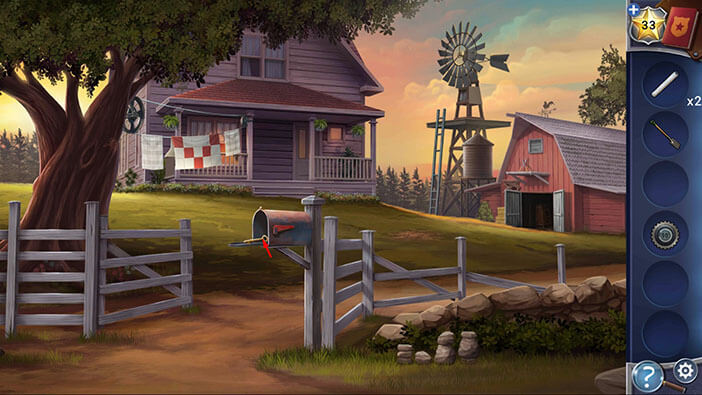
If you take a closer look at the center of the front yard, you will notice some freshly dug earth. Let’s select the “Shovel” from the inventory and see what we can dig up at this spot.
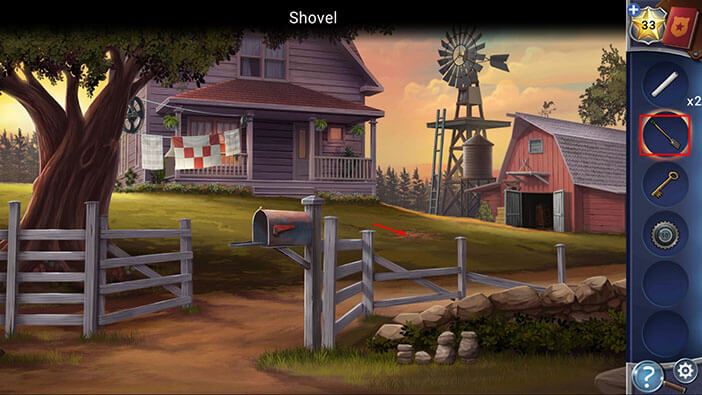
Inside the hole, you find another “Ladder Step”. Tap on it to pick it up.

Ok, let’s get back to the barn.
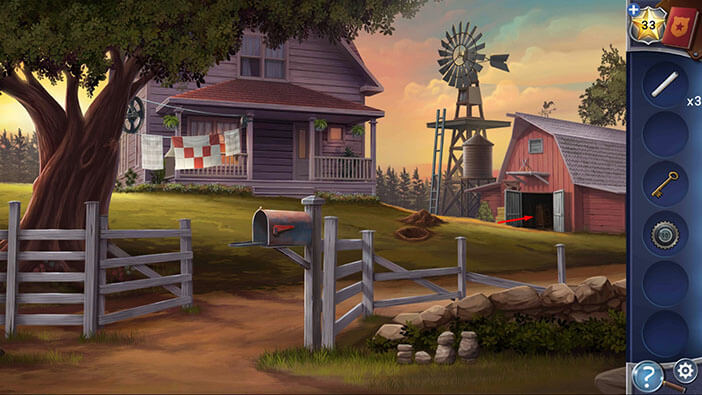
Tap on the barn door to proceed inside.

Select the “Key” from the inventory and use it to unlock the chest on the left. Inside the chest, you will find another “Ladder Step”. Tap on it to pick it up.
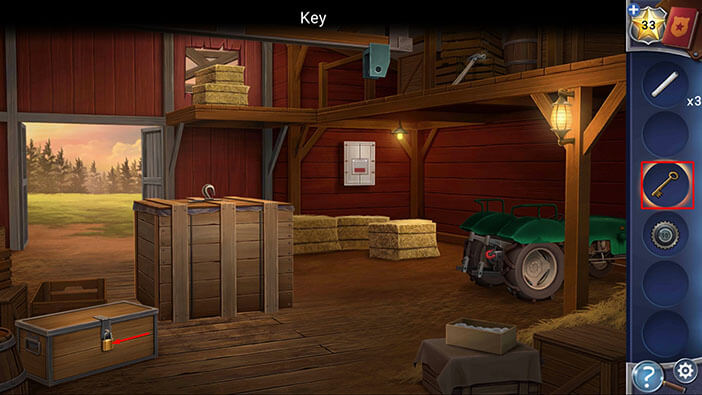
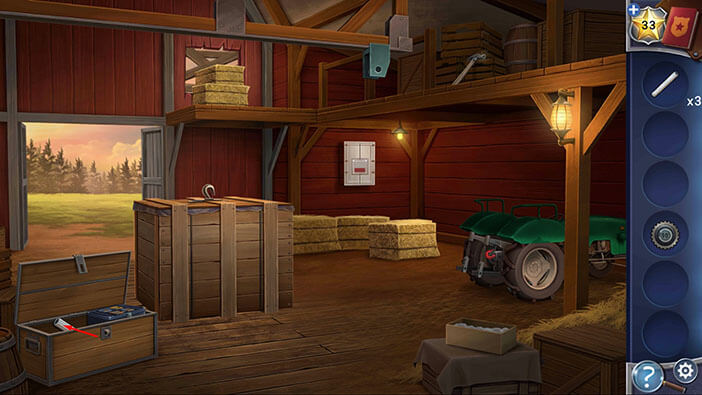
Next, tap on the box in the chest to start the interaction.

Here, we have another minigame. Our task is to rearrange the position of the coins and place them on the background of the matching color.
So,
Coins with eagle should be placed on the four tiles in the upper right corner.
Coins with skulls should be placed on the four tiles in the lower right corner.
Coins with crossed revolvers should be placed on the four tiles in the lower-left corner.
Coins with a badge (or shield) should be placed on the four tiles in the upper left corner.
Unfortunately, it would take too long to go through this puzzle step by step. It isn’t too difficult, just time-consuming, so I’m sure you won’t need a detailed guide to solve it.
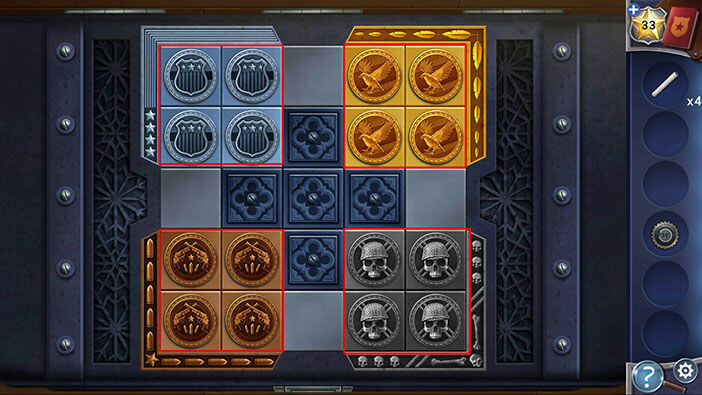
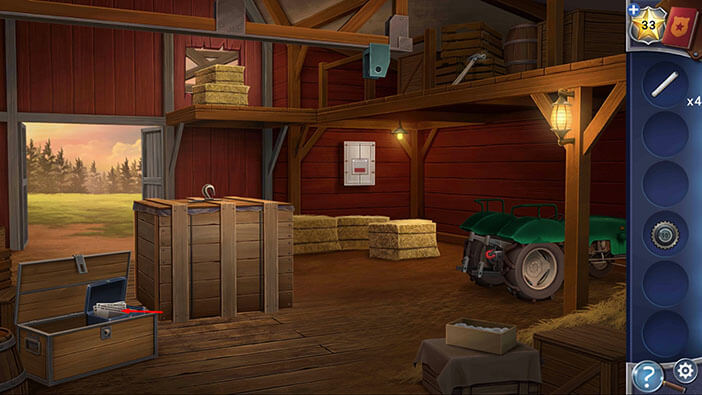
By solving the coin puzzle, you will open the box. Tap on the newspaper to pick it up.
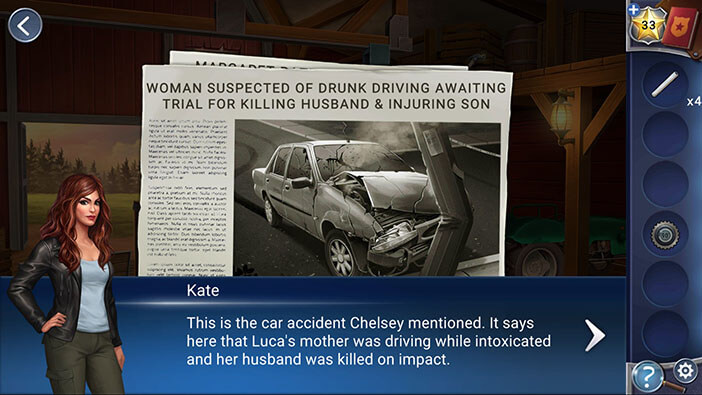
From the news article, we have found out that Luca’s mother was driving the car when they had the accident. She was drunk, lost control of the vehicle, and crashed into a tree. As we already know, Luca suffered a severe head injury, and his father died in the accident. So, he’s probably blaming his mother for the death of his father. Well, it seems that Luca’s mother was awaiting trial after this accident. That’s another fact of which we weren’t aware before.
Tap on the newspaper to take a look at the next article.
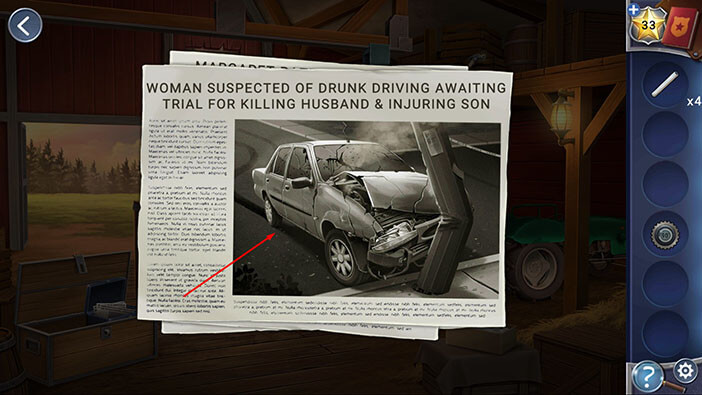
Well, it looks like Luca’s mother fled from the country shortly before the trial, and left her son behind. However, Kate thinks that there’s something fishy about this. She also noticed that all of Luca’s victims look like his mother. So, now we definitely know the motive for the murders.
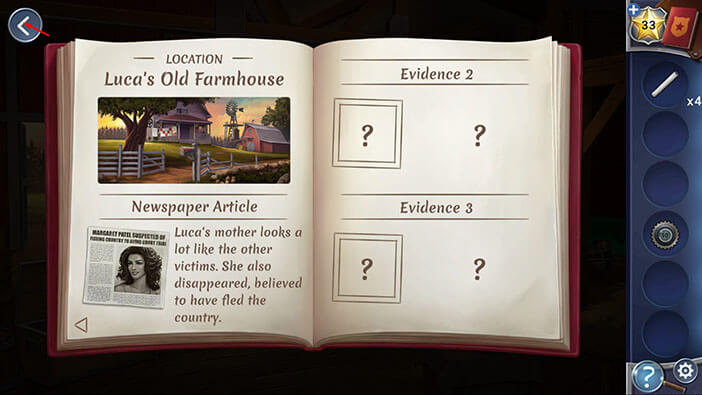
The detective will write down this information in her evidence book.
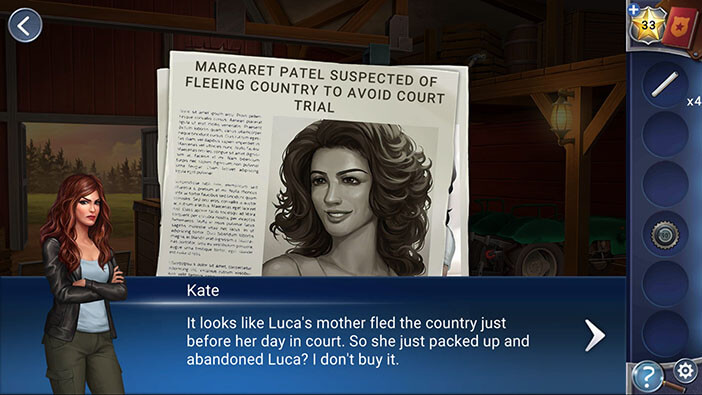
Tap on the newspaper to take a look at the next article.
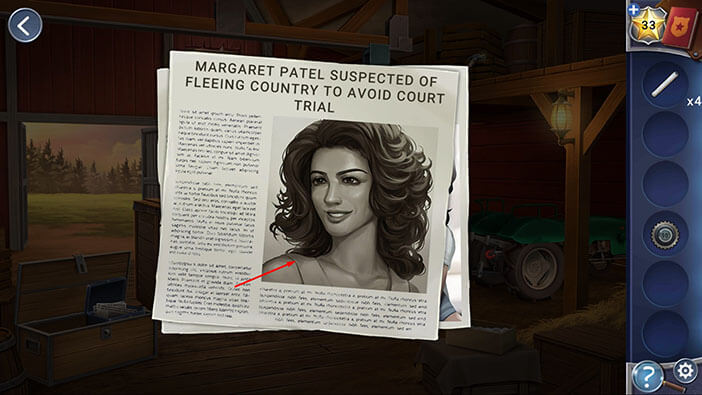
Tap on the “Medal” to pick it up.
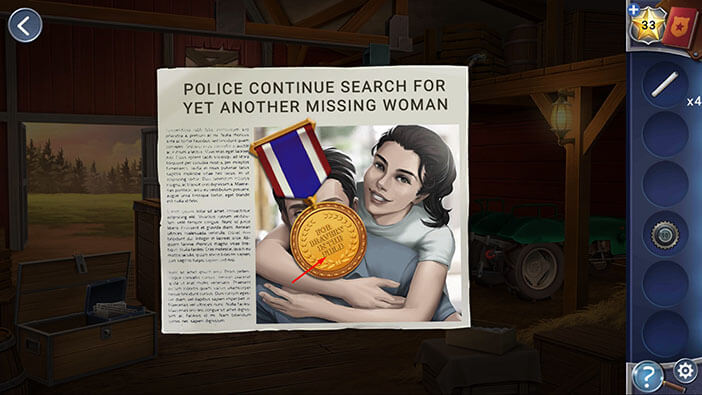
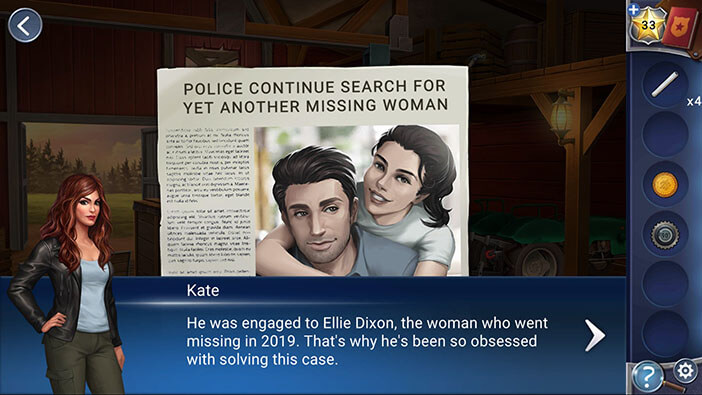
As soon as you pick up the medal which is hiding the face of the man in the newspaper article, Kate will recognize him as Darius. Looks like Darius was engaged to Ellie, the woman with the ponytail that went missing on the highway in 2019. So, that’s why he was so motivated to solve this case, and asked for Kate’s help. Let’s not forget that he also lied to Kate, by saying that he already made all arrangements with the local police force. Well, he needed help, so I guess his actions were justified.
Let’s go back.
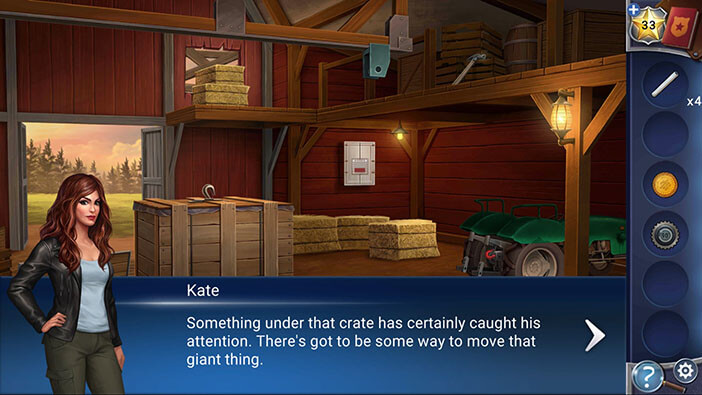
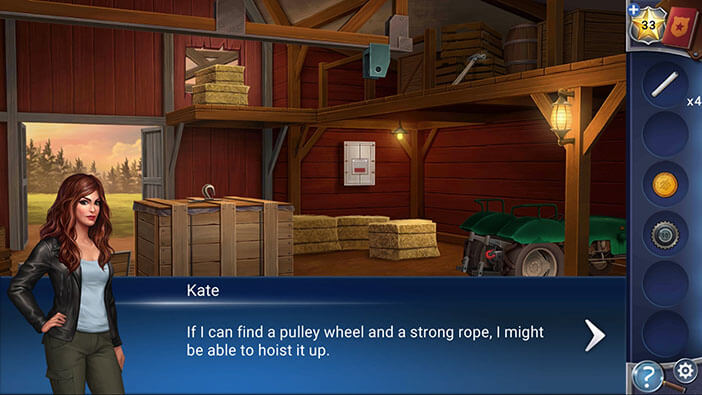
At this moment, Kate will notice a rat sniffing around the crate, and after some time, it will crawl into the hole under it. The detective thinks that the rat was drawn to something under the crate, and now she wants to find a way to move the huge crate. Well, she saw a hook on the crate, and pulley wheel installation on the beam above the crate. So, she concluded that she should be able to lift the crate if she could find a pulley wheel and some rope.
Let’s go outside.
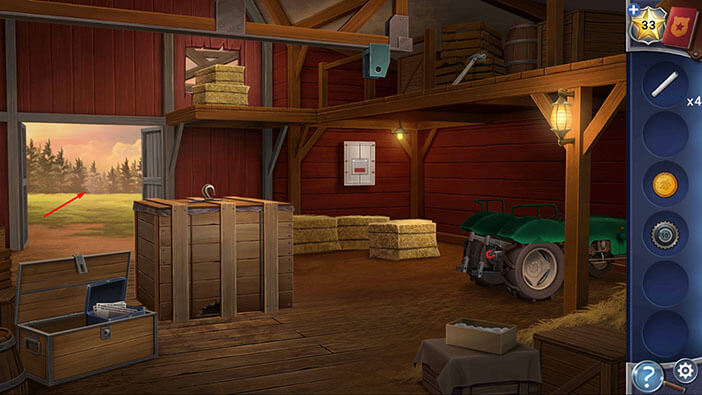
Select the four “Ladder Steps” from the inventory and attach them to the ladder below the water tower.
With that done, we now have access to the windmill, but the barn roof is too far away. So, we will have to find another way to reach the barn roof. Also, the ladder is bolted to the windmill’s construction, so it can’t be moved.
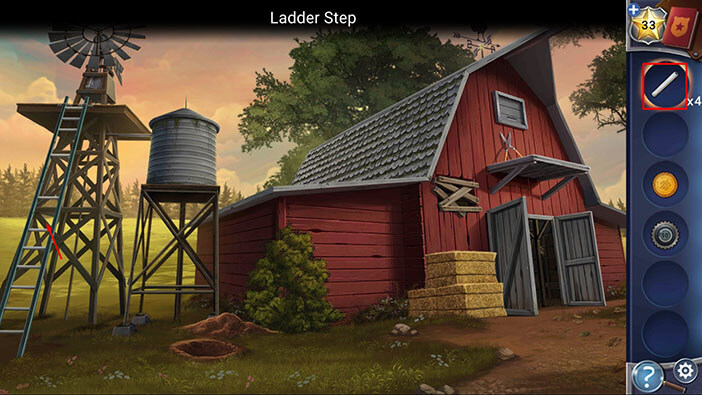
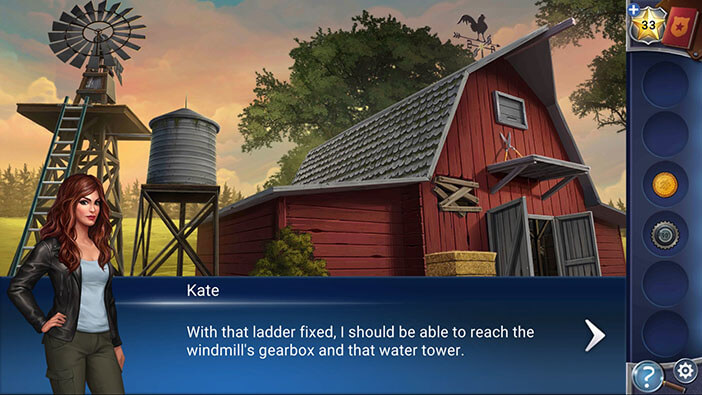
We will check out the windmill a bit later. For now, let’s go back to the front yard.
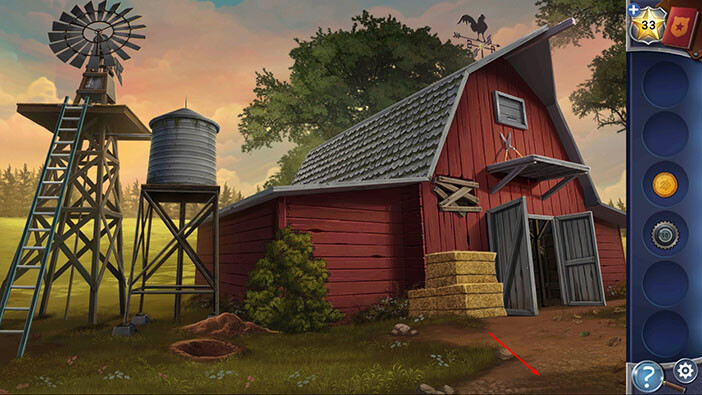
Tap on pulley wheel on the tree on the left to take a closer look at it.
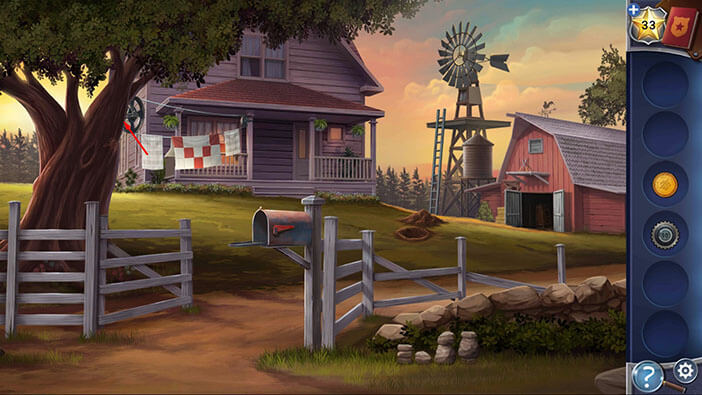
Select the “Medal” from the inventory and use it to remove the screw. “Pulley Wheel” will be automatically added to your inventory.
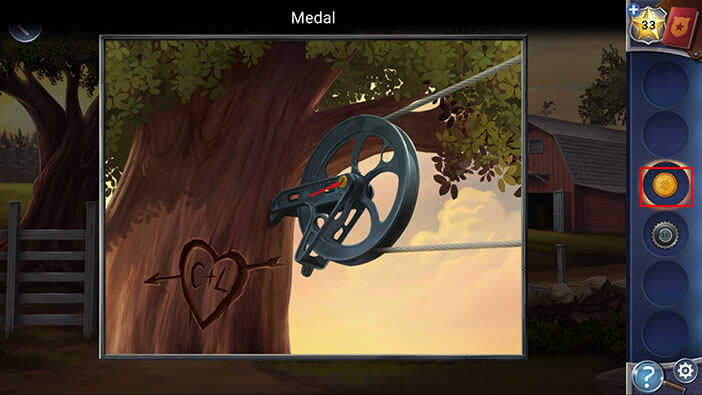
As soon as you pick up the pulley wheel, Darius will come back. Kate found out that Darius was in romantic relationship with Ellie, after she saw their picture in the news article. So, she decided to say to him that she knows that he’s been together with Ellie, and she’s sorry for his loss. But, Darius doesn’t wish to talk about this. It looks like he’s still suffering because of loss of the loved one.
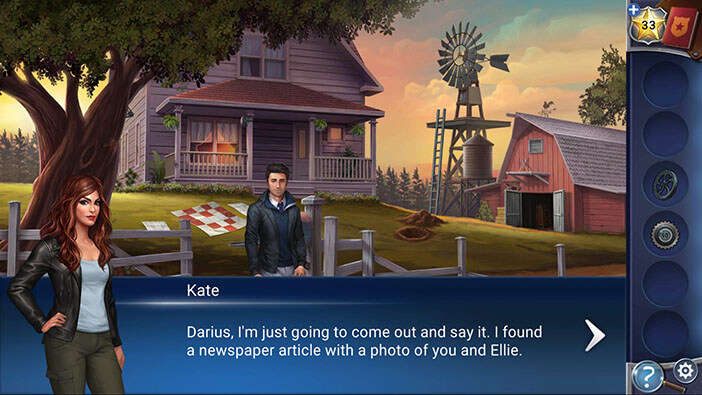
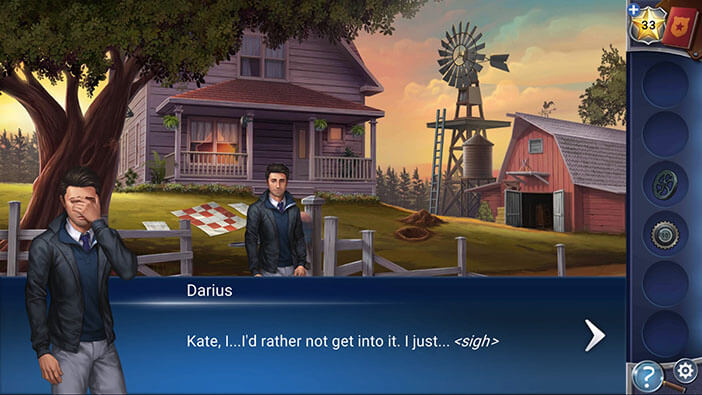
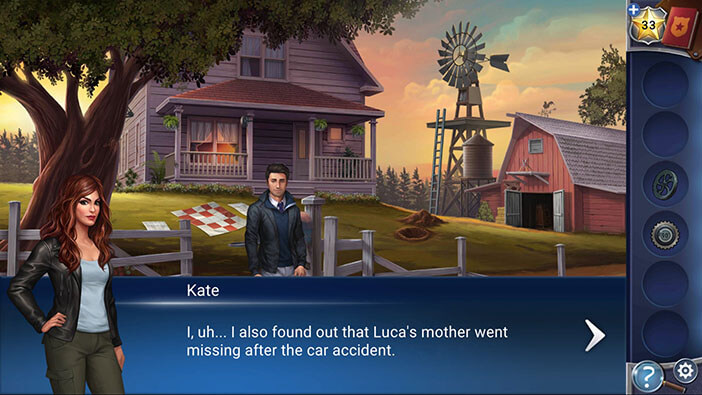
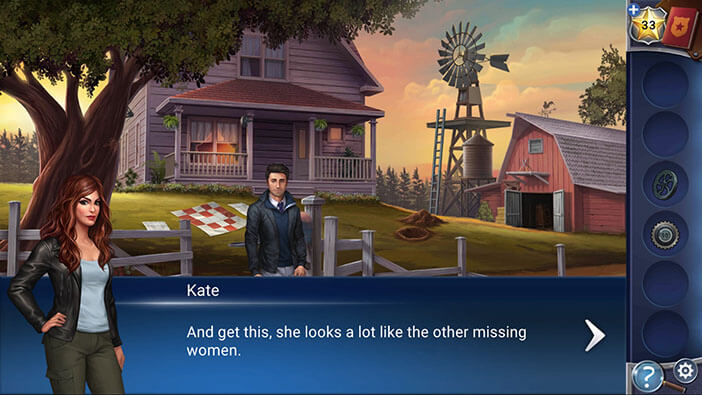
Well, Kate decided to change the subject, and talks about her other discoveries. She informs Darius that she also found out that Luca’s mother went missing right after the car accident. The detective also noticed that all Luca’s victims look like his mother. So, Kate suspects that Luca’s mother never left the country. Instead, she thinks that Luca killed her, and wants to snoop around a house a bit more to see if there’s any evidence that could back up her suspicion. In the meantime, Darius will have a chat with Chelsey.
Let’s continue. When we took off the pulley wheel, the blankets and towels fell to the ground. If you take a closer look, you will notice that the red squares on the blanket form some kind of pattern. Try to memorize or write down this pattern, because we will need this information in order to solve the next puzzle.
Once you’re done, tap on the barn to go to the next area.
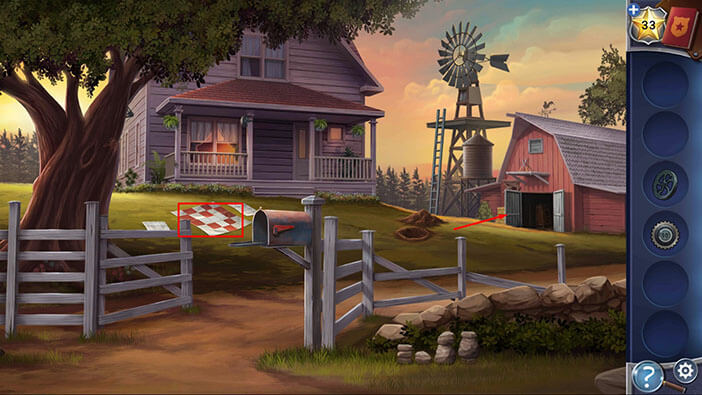
Tap on the barn door to go inside.

Next, tap on the panel on the right to take a closer look at it.

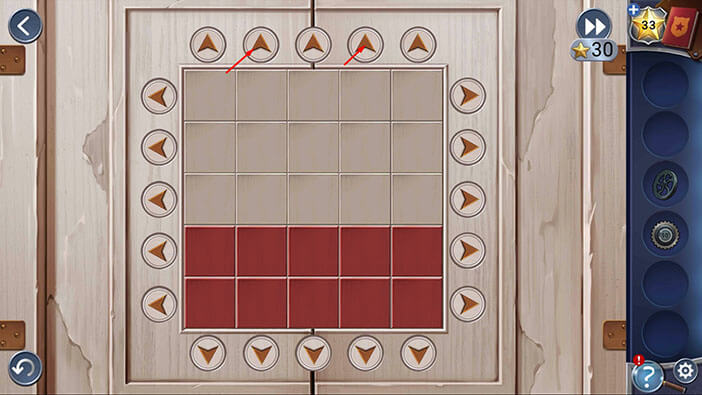
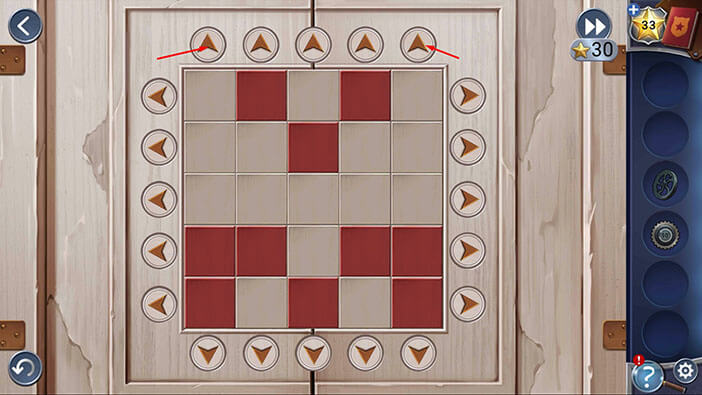
Ok, here we can see ten red squares, on a 5×5 grid. Our goal is to arrange the red squares in the same pattern as the one that we saw on the blanket earlier. We can use the arrows on the left and right side of the grid to shift the squares in each row. Also, we can use the arrows on top and below the grid to shift the squares in each column.
We will do this puzzle in several steps. Let’s begin.
Step 1
Tap three times on the second arrow (left to right) on the top.
After that, tap three times on the fourth arrow on the top.
Step 2
Tap once on the first (top to bottom) arrow on the right.
After that, tap twice on the fourth arrow below the grid.
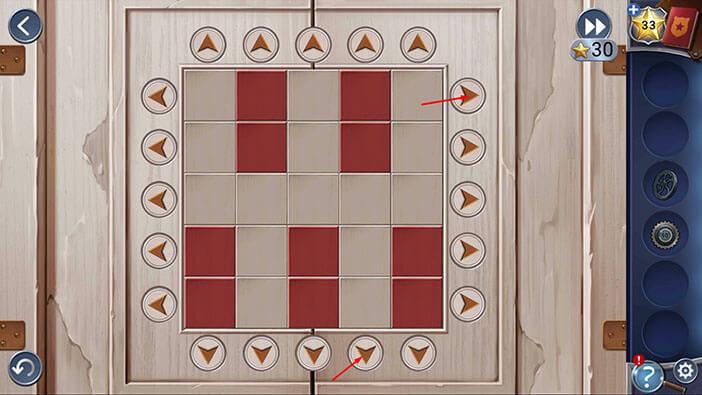
Step 3
Tap twice on the second arrow below the grid.
After that, tap once on the first arrow on the left.
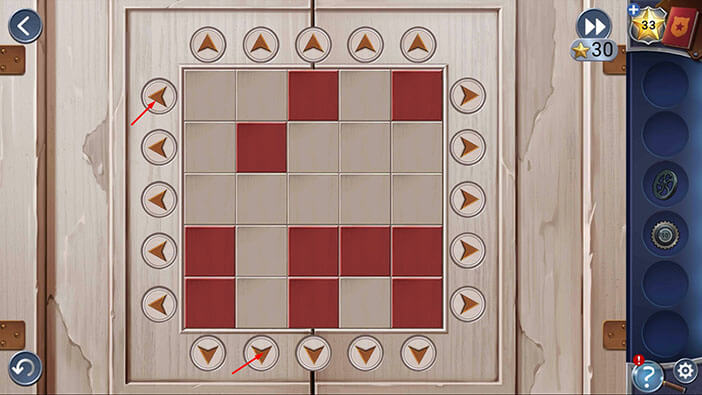
Step 4
Tap twice on the third arrow above the grid.
After that, tap once on the second arrow on the right.
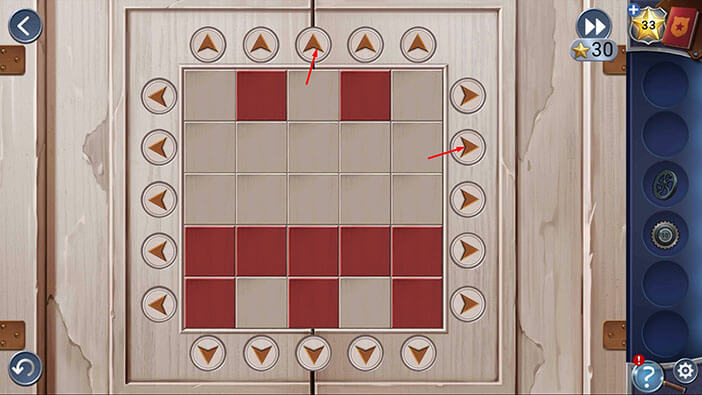
Step 5
Tap twice on the third arrow below the grid.
After that, tap once on the second arrow on the left.
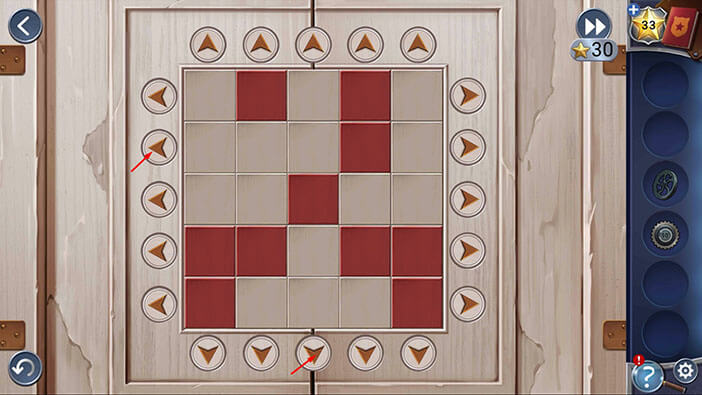
Step 6
Tap twice on the first arrow above the grid.
After that, tap twice on the fifth arrow above the grid.
With this last step, you will form the pattern that matches the one on the blanket.
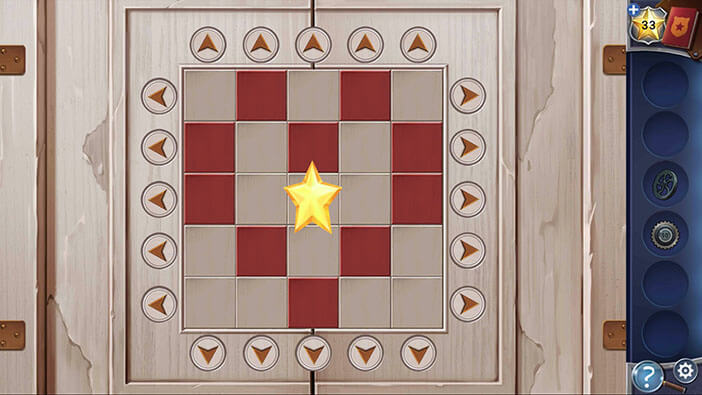
Ok, by solving the previous puzzle, we managed to open the cabinet. Tap on the “Blowtorch” to pick it up.

Let’s go outside.
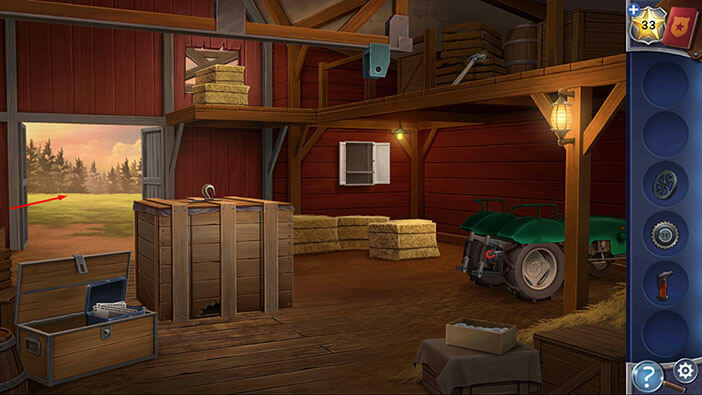
When we repaired the ladder, we also gained access to the water tower. Let’s take a closer look at it.

Select the “Blowtorch” from the inventory and use it to open the hatch.
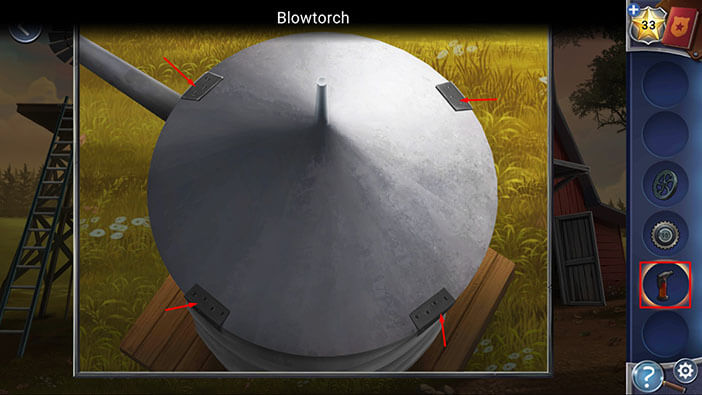
Inside the container, you will find another “Gear”. Tap on it to pick it up.
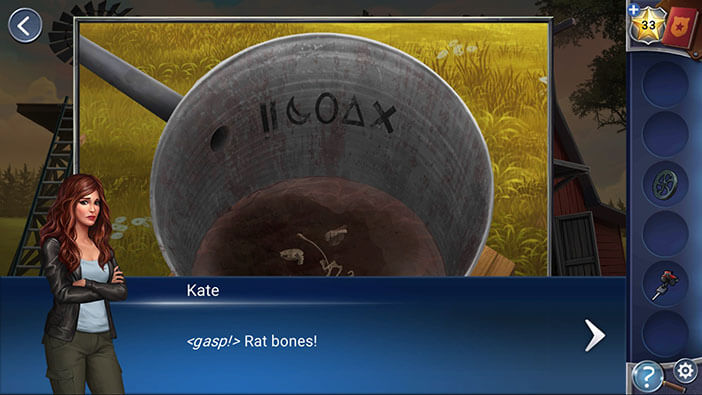
Also, you will notice some symbols, painted on the wall of the container. For now, just take note of these symbols. They represent a hint for one of the following puzzles.
Once you’re done, tap on the arrow in the upper left corner to go back.
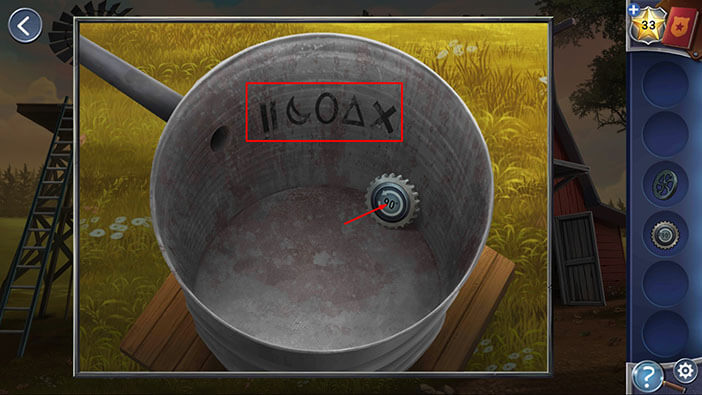
Next, tap on the windmill to take a closer look at it.

Above the switches, we can see two empty slots. So, select the “Gears” from the inventory and insert them into the empty slots.
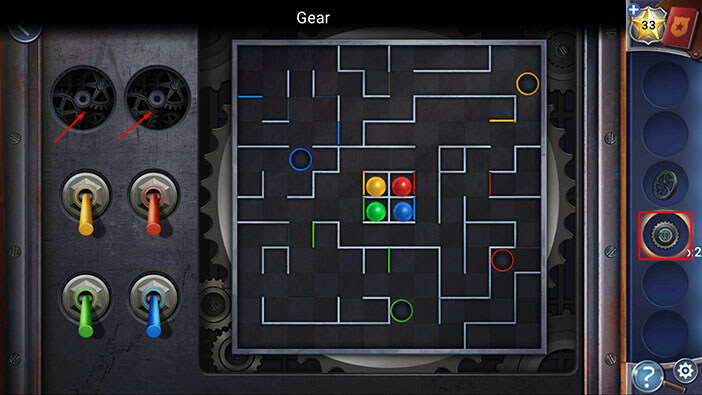
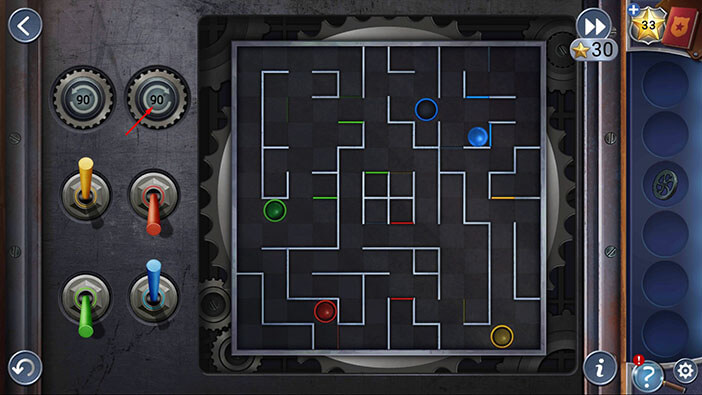
After inserting the gears, we can now play another minigame. The goal of this minigame is to get the balls from the center of the maze into the circular slot of the matching color.
To achieve that, we can rotate the maze 90 degrees left or right, by tapping on the gears. By tapping on the yellow, red, green, and blue switches we can raise or lower the bars (obstacles) of the matching color. There are two sets of bars for each color, so lowering one set will raise the other one.
We will do this puzzle in multiple steps. Let’s start with the yellow ball.
Yellow Ball – Step 1
Tap on the “Yellow switch” to lower the bar.
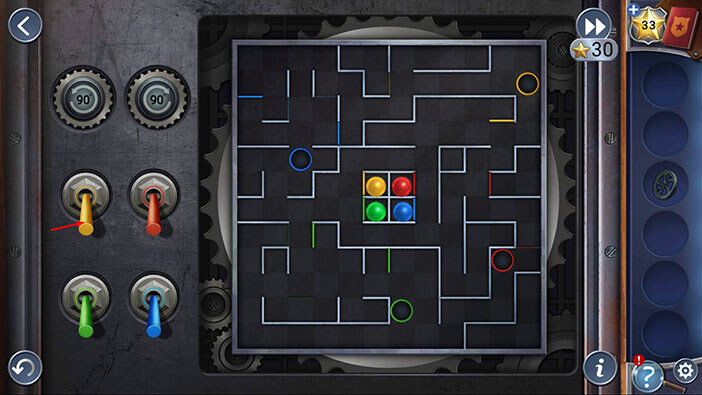
Yellow Ball – Step 2
Tap once on the left gear to rotate the maze to the left.
After that, tap on the yellow switch to raise the yellow bar and close the starting point for the yellow ball.
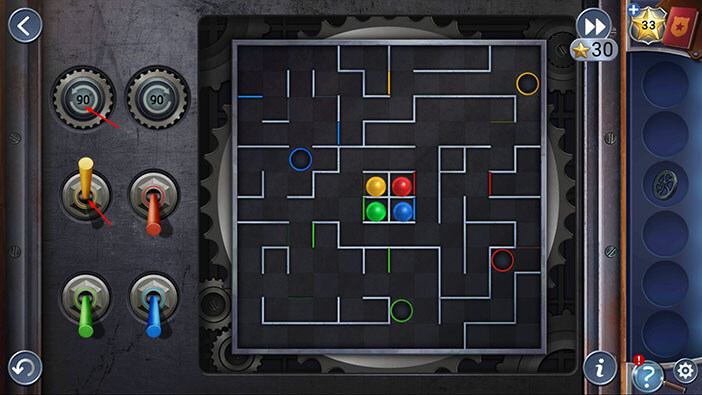
Yellow Ball – Step 3
Tap twice on the left gear to rotate the maze to the left.
After that, tap once on the right gear to rotate the maze to the right.
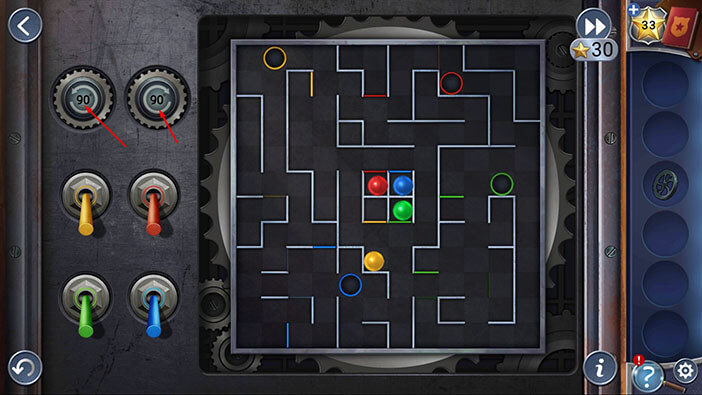
Yellow Ball – Step 4
Tap once on the left gear to rotate the maze to the left.
After that, tap once on the right gear to rotate the maze to the right.
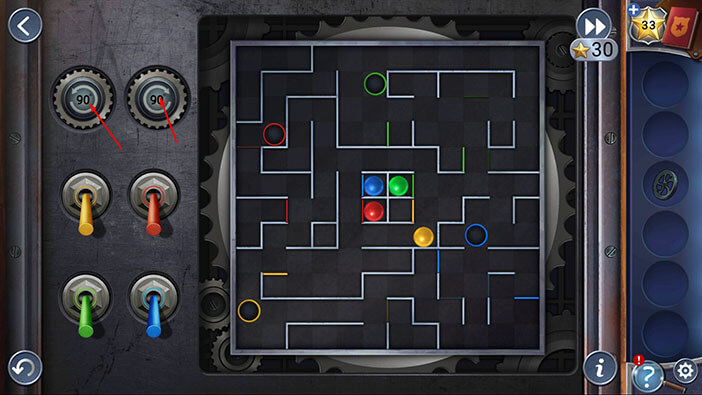
Yellow Ball – Step 5
Tap on the yellow switch to lower the bar.
After that, tap twice on the left gear to rotate the maze to the left.
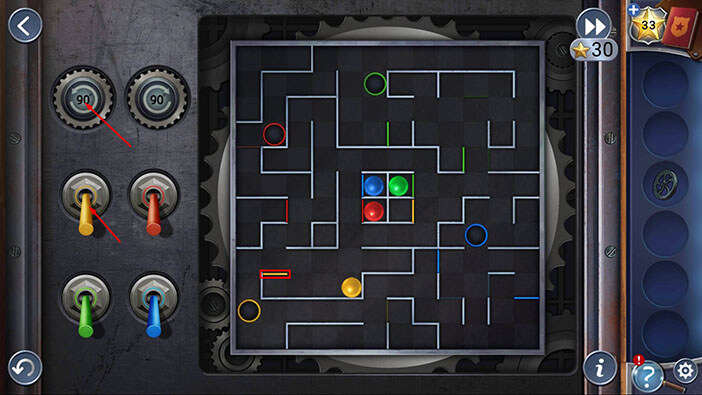
Yellow Ball – Step 6
Tap on the yellow switch to raise the bar.
After that, tap twice on the right gear to rotate the maze to the right.
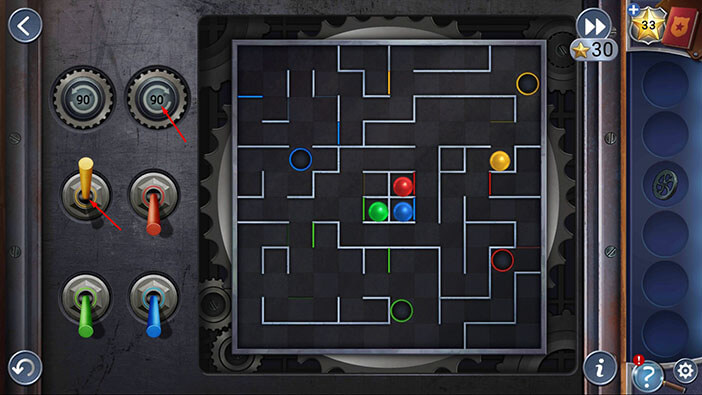
Yellow Ball – Step 7
Tap once on the left gear to rotate the maze to the left.
After that, tap once on the right gear to rotate the maze to the right.
With this last step, you will drop the yellow ball into the yellow hole. One down, three to go.
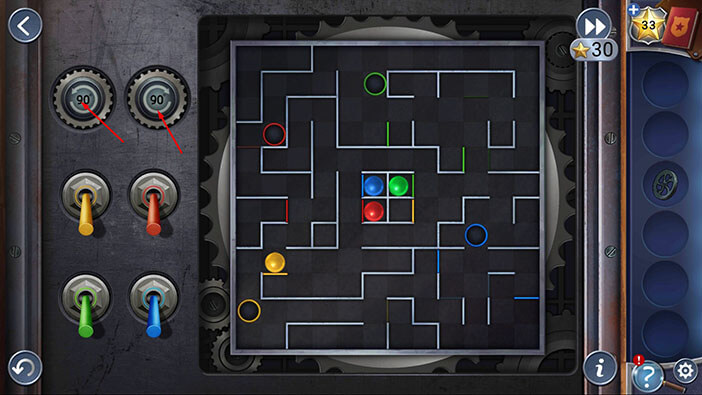
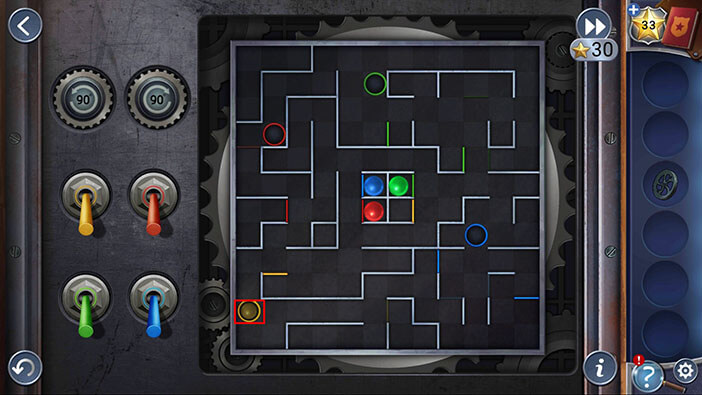
Red Ball – Step 1
Tap on the “Red switch” to lower the bar.

Red Ball – Step 2
Tap once on the left gear to rotate the maze to the left.
After that, tap on the red switch to raise the red bar and close the starting point for the red ball.
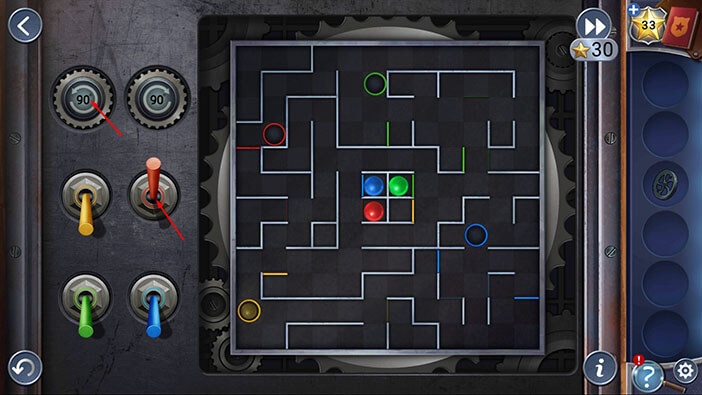
Red Ball – Step 3
Tap once on the left gear to rotate the maze to the left.
After that, tap twice on the right gear to rotate the maze to the right.

Red Ball – Step 4
Tap twice on the left gear to rotate the maze to the left.
After that, tap once on the right gear to rotate the maze to the right.

Red Ball – Step 5
Tap twice on the left gear to rotate the maze to the left.
With this last step, you will drop the red ball into the red hole. Two down, two to go.
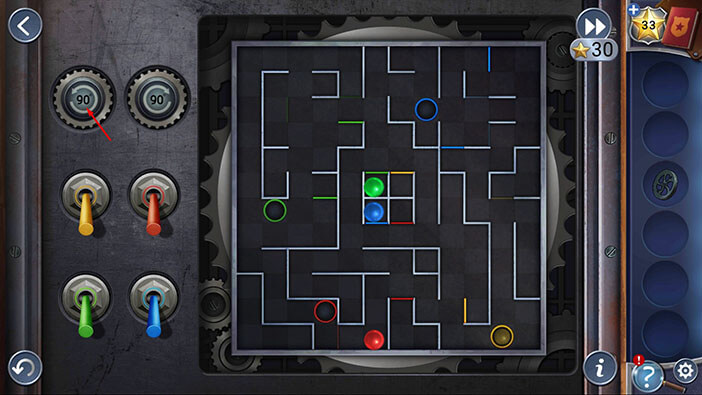

Green Ball – Step 1
Tap on the “Green switch” to lower the bar and the ball will fall down.
After that, tap on the green switch again to raise the green bar and close the starting point for the green ball.
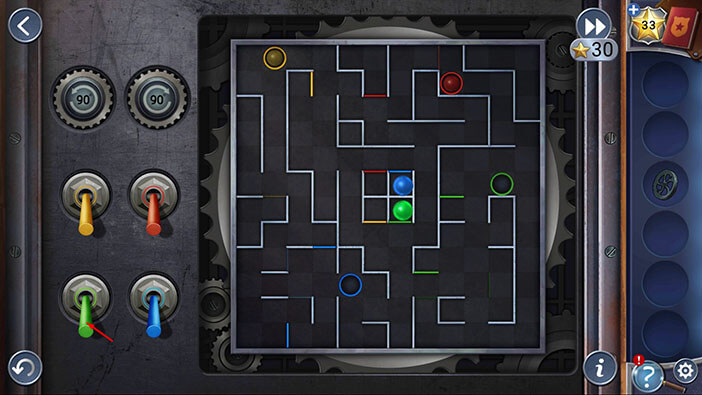
Green Ball – Step 2
Tap twice on the right gear to rotate the maze to the right.
After that, tap once on the left gear to rotate the maze to the left.
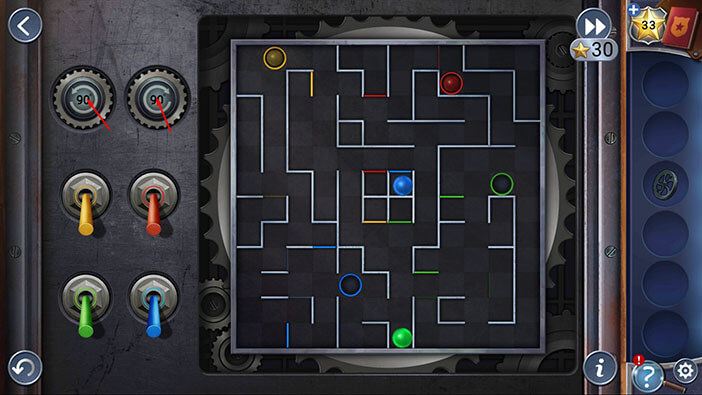
Green Ball – Step 3
Tap twice on the right gear to rotate the maze to the right.
After that, tap twice on the left gear to rotate the maze to the left.
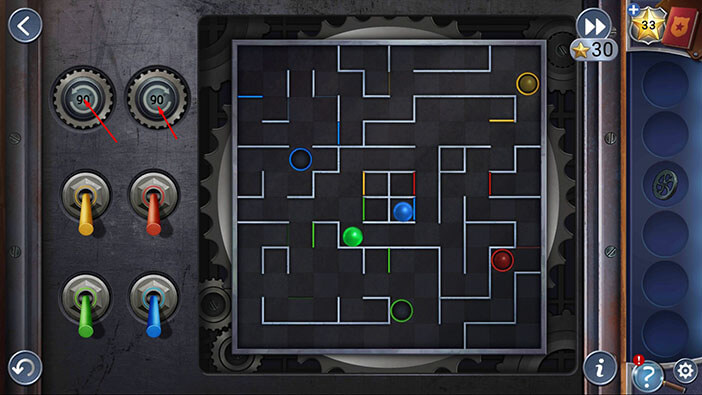
Green Ball – Step 4
Tap once on the right gear to rotate the maze to the right.
After that, tap twice on the left gear to rotate the maze to the left.
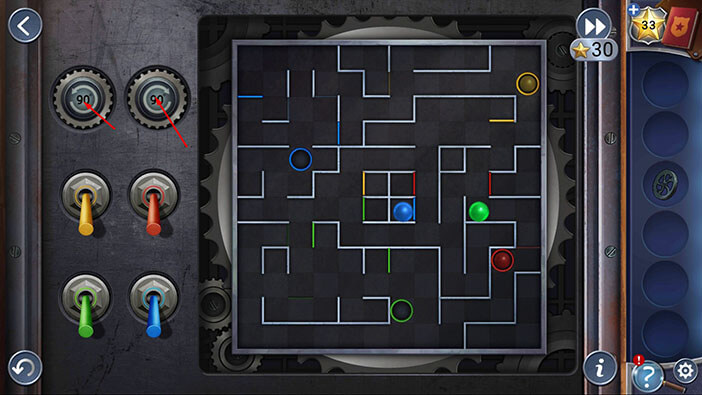
Green Ball – Step 5
Tap once on the right gear to rotate the maze to the right.
After that, tap once on the left gear to rotate the maze to the left.
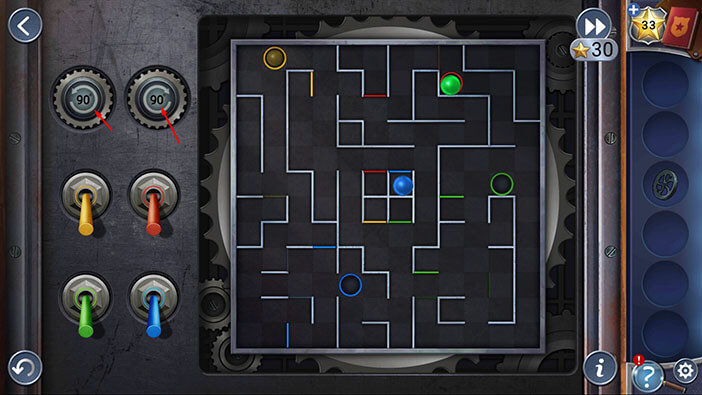
Green Ball – Step 6
Tap once on the right gear to rotate the maze to the right.
After that, tap three times on the left gear to rotate the maze to the left.

Green Ball – Step 7
Tap on the “Green switch” to lower the bar and the ball will fall down.
After that, tap four times on the right gear to rotate the maze to the right.
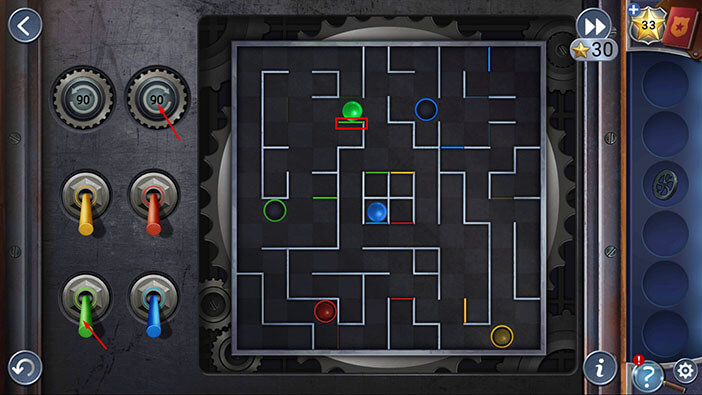
Green Ball – Step 8
Tap on the “Green switch” to raise the bar.
After that, tap three times on the right gear to rotate the maze to the right.
With this last step, you will drop the green ball into the green hole. Three down, one to go.
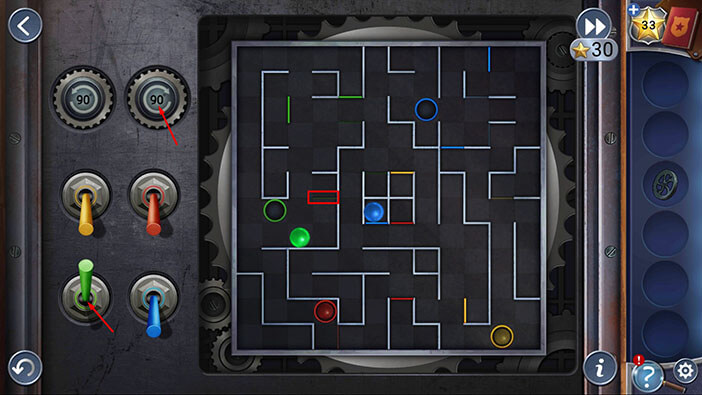
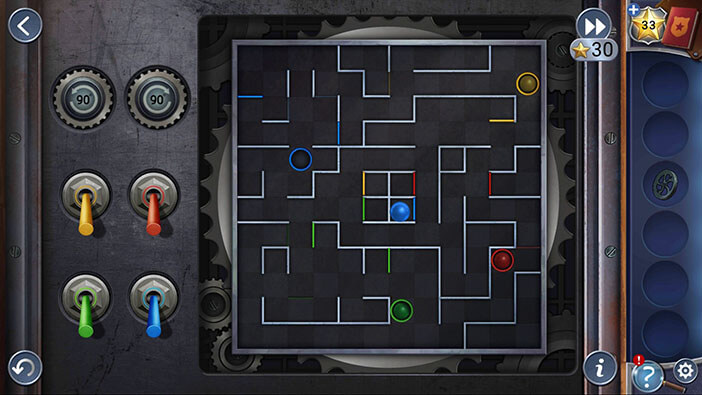
Blue Ball – Step 1
Tap on the “Blue switch” to lower the bar.

Blue Ball – Step 2
Tap once on the right gear to rotate the maze to the right, and the ball will fall down.
After that, tap on the blue switch to raise the blue bar and close the starting point for the blue ball.

Blue Ball – Step 3
Tap once on the right gear to rotate the maze to the right.
After that, tap once on the left gear to rotate the maze to the left.

Blue Ball – Step 4
Tap on the yellow switch to lower the bar.
After that, tap once on the left gear to rotate the maze to the left.
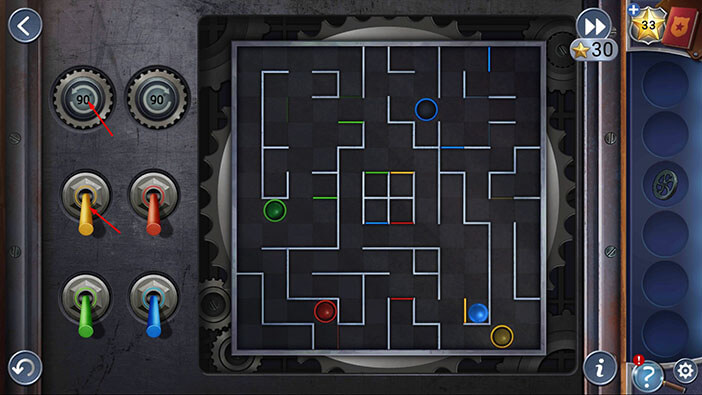
Blue Ball – Step 5
Tap on the yellow switch to raise the bar.
After that, tap twice on the right gear to rotate the maze to the right.

Blue Ball – Step 6
Tap once on the left gear to rotate the maze to the left.
After that, tap three times on the right gear to rotate the maze to the right.
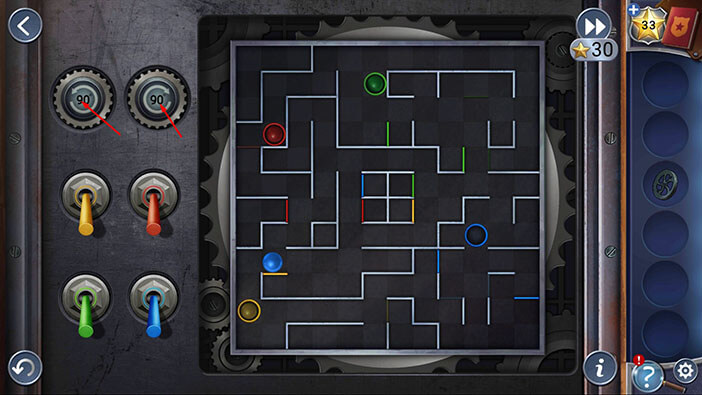
Blue Ball – Step 7
Tap on the yellow switch to raise the bar.
After that, tap once on the left gear to rotate the maze to the left.
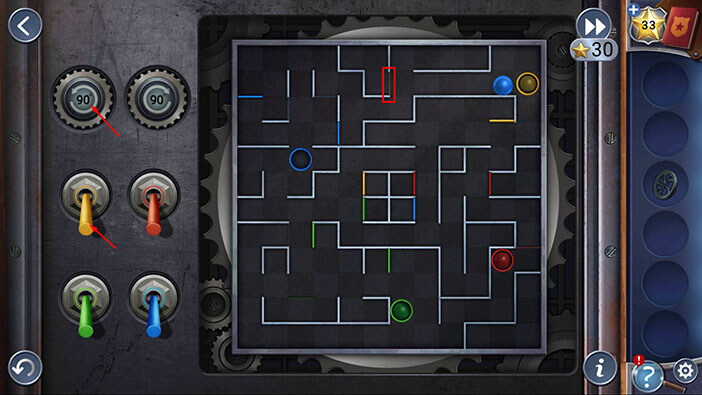
Blue Ball – Step 8
Tap once on the right gear to rotate the maze to the right.
After that, once on the left gear to rotate the maze to the left.
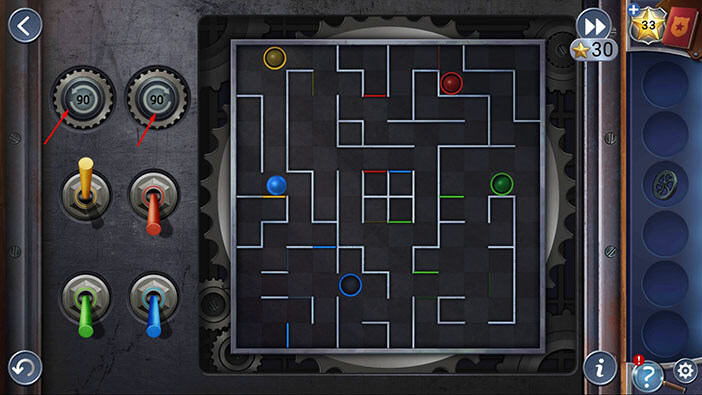
Blue Ball – Step 9
Tap once on the left gear to rotate the maze to the left.
After that, twice on the right gear to rotate the maze to the right.

Blue Ball – Step 10
Tap three times on the left gear to rotate the maze to the left.
After that, tap on the blue switch to raise the bar.
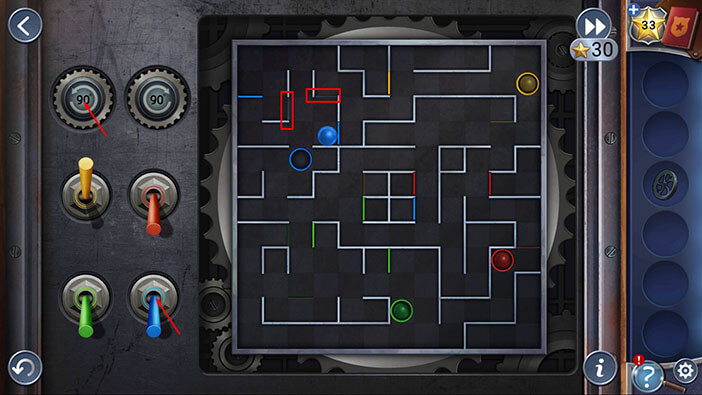
Blue Ball – Step 11
Tap three times on the right gear, and you will drop the blue ball into the blue slot.
Solving this puzzle will start the windmill.
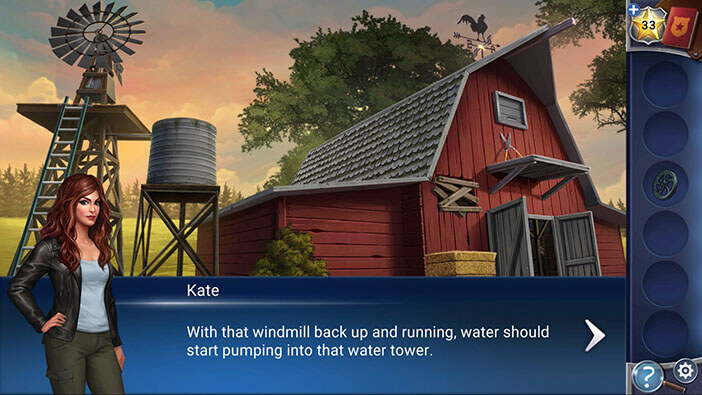
Ok, let’s check out the water tower.

The “Tractor Key” will fall into the water, so let’s tap on it to pick it up.
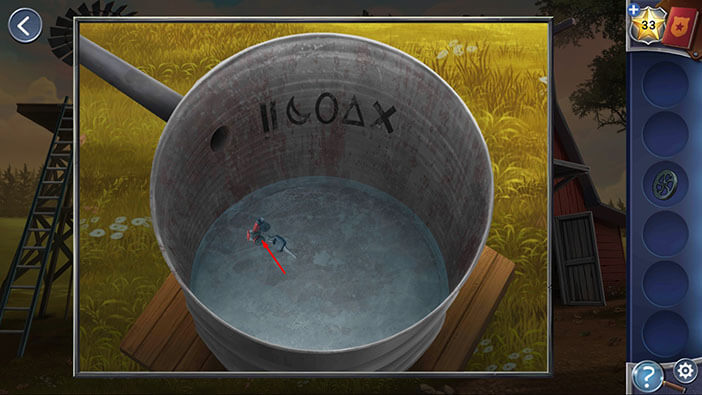
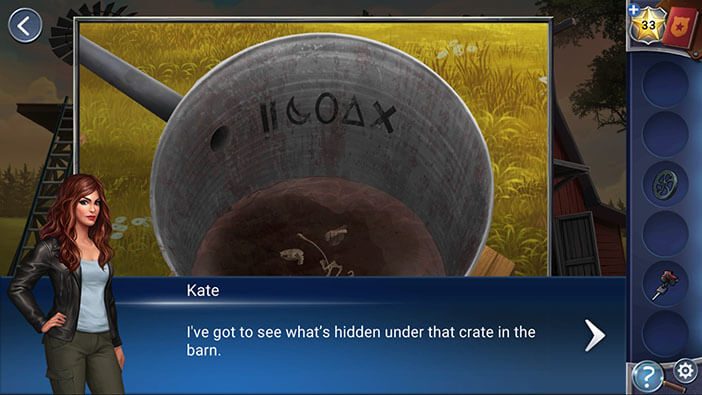
As soon as you pick up the “Tractor Key” the dark, dirty water will start pouring into the water tower. Kate thinks that the water is bloody, and soon, the flow of water will bring in some rat bones. The water is being pumped from the underground well, and the detective thinks that something in the water probably attracted the rats. Kate also thinks that she will uncover this mystery by moving the crate in the barn, because than she could see where the hole below the crate leads to. (Previously, we saw a rat crawl into the hole below the crate).
Let’s go back to the barn.
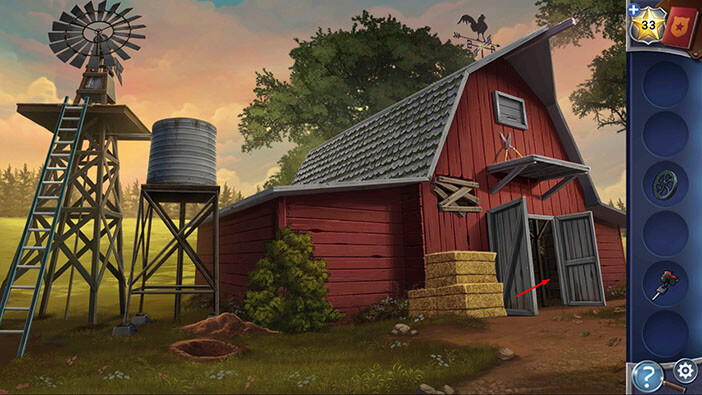
Select the “Tractor Key” from the inventory and use it to start the tractor.
Kate will automatically drive the tractor close to the crate. Also, we can now climb up on the tractor and reach the second floor.
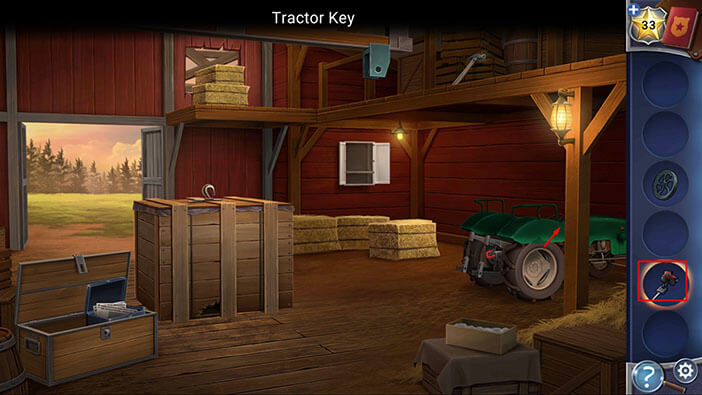
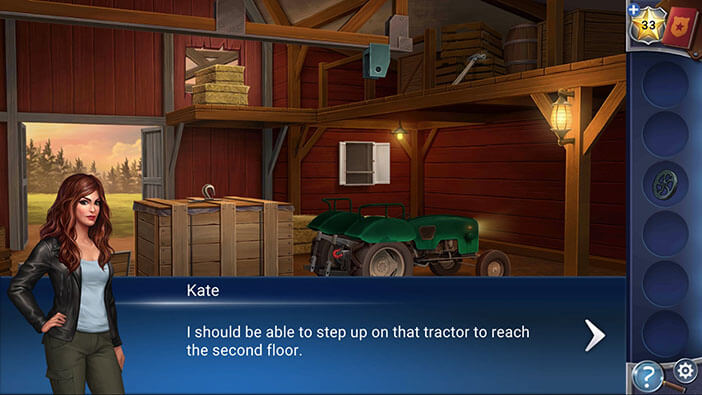
Ok, now we can pick up two items.
First, tap on the “Metal Ring” to pick it up (this item was previously hidden below the tractor).
After that, tap on the “Hammer” located next to the barrel on the second floor, to pick it up.
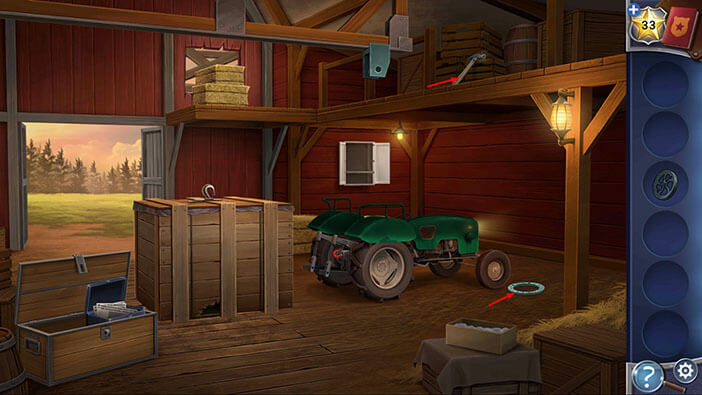
Let’s go back, outside.
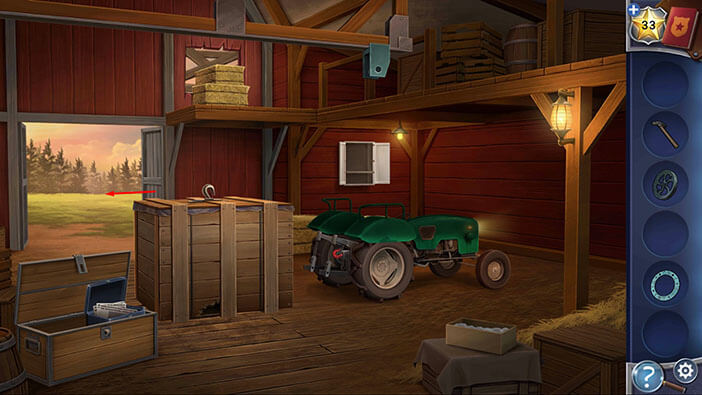
Select the “Hammer” from the inventory and use it to remove the wooden boards on the barn window.

Let’s go back into the barn.
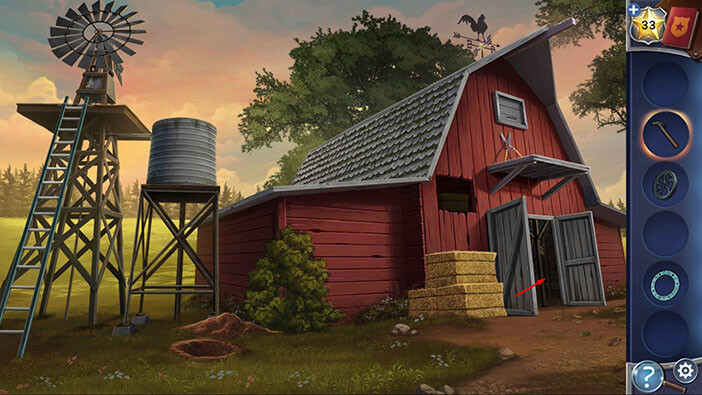
Tap on the hay bale, on the second floor, to push it out.
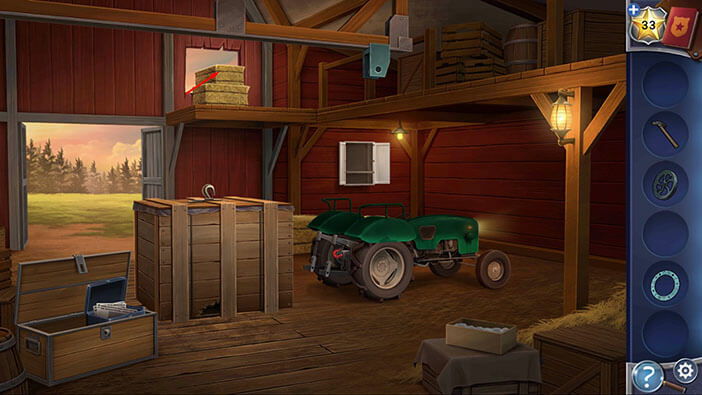
Let’s go back, again.
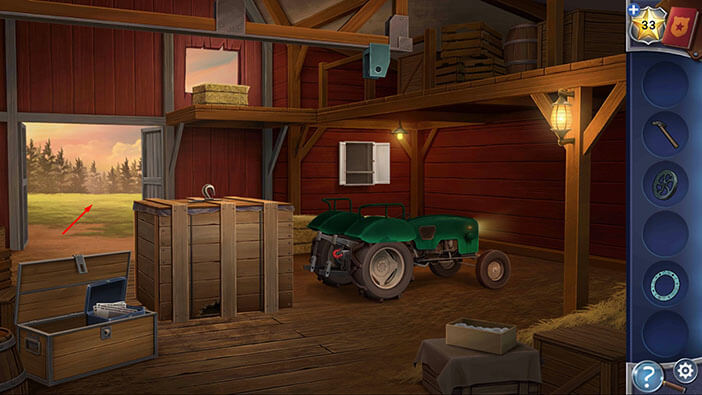
After pushing the hail bale through the window, we can now reach the ramp, above the barn door. Tap on the “Garden Shears” to pick them up.

Next, select the “Garden Shears” from the inventory and use them to cut down the bush on the left.
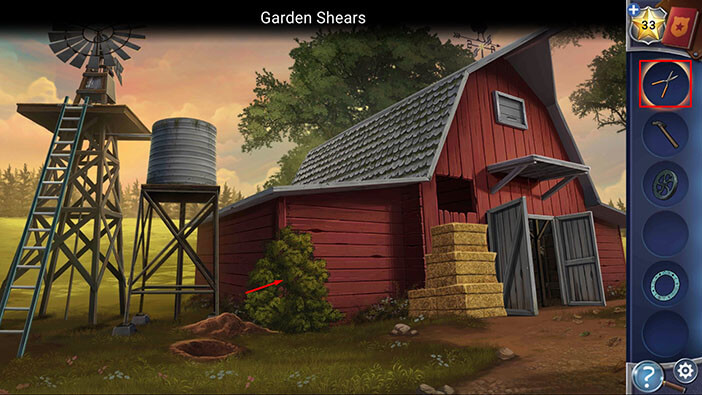
You will notice that the bottom plank is damaged (this plank was previously hidden behind the bush). So, select the “Hammer” from the inventory and use it to smash the damaged plank.
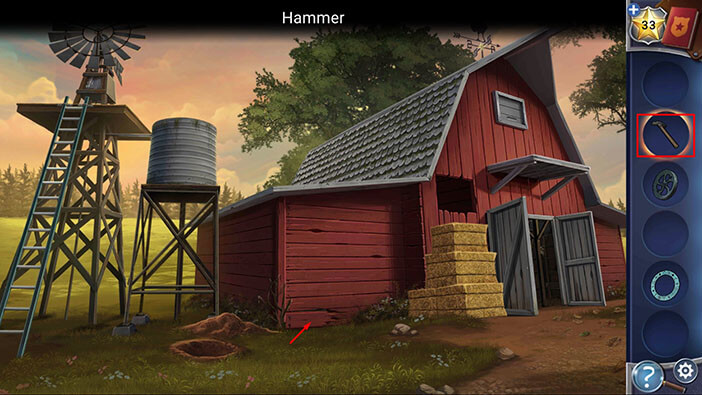
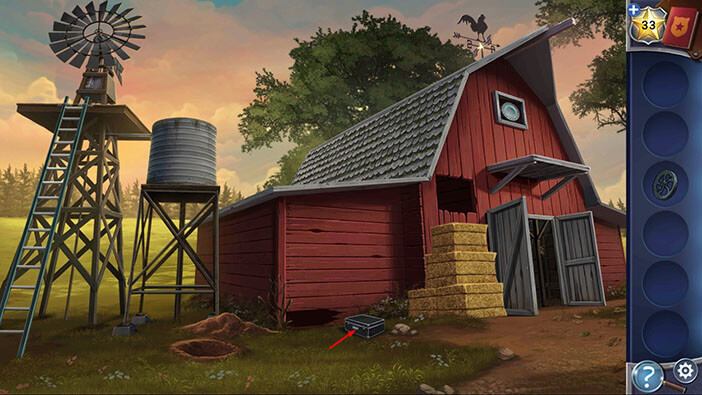
You will find a suitcase, hidden in the hole behind the damaged plank. So, let’s tap on the suitcase to pull it out.
After that, tap on the suitcase again to take a closer look at it.

The suitcase lock requires a combination of five symbols. You can browse through the symbols by tapping on one of the five fields. Take a look at these symbols (you don’t have to memorize all of them).
After you’re done, tap on the arrow in the upper left corner to go back.
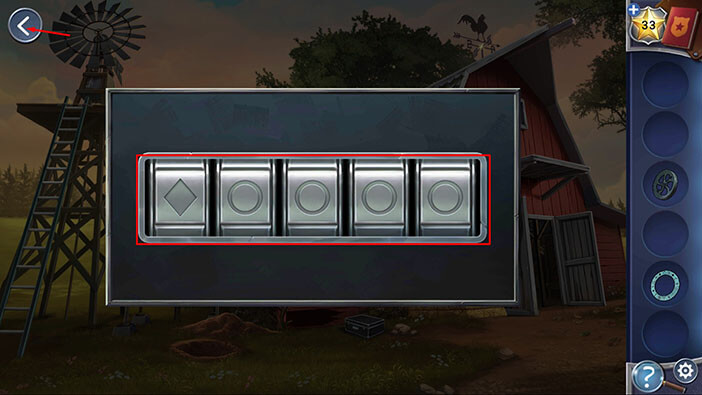
Ok, let’s go back to the front yard.
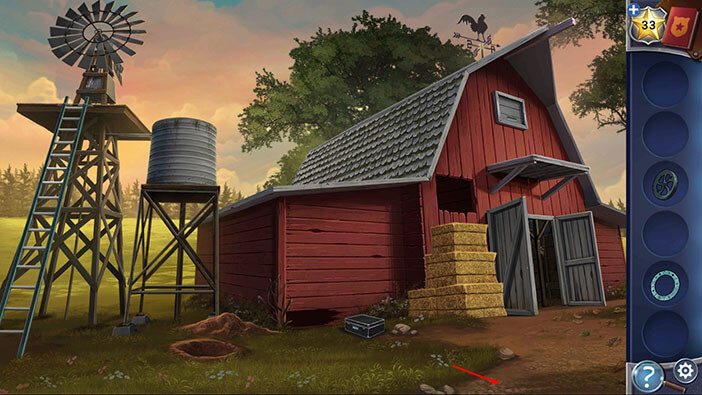
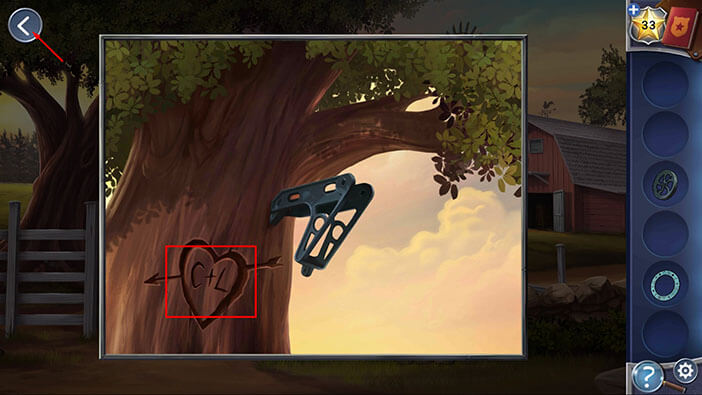
Tap on the tree on the left to take a closer look at it.

We can see “C+L” carved into the tree. Memorize / write this down, because it represents a hint for the next puzzle.
Once you’re done, tap on the arrow in the upper left corner to go back.
Ok, let’s get back to the barn.
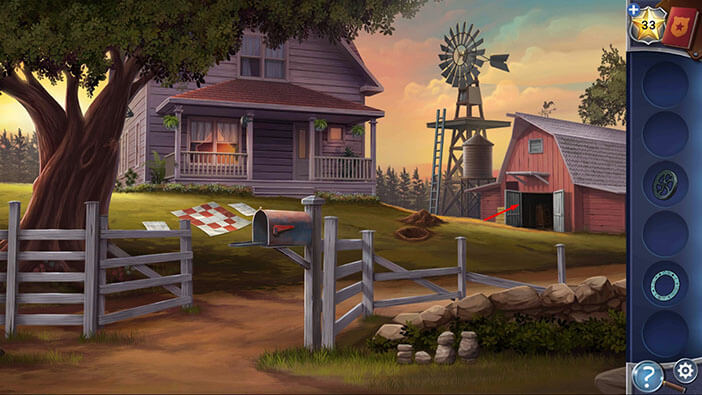
Since we now have the access to the ramp, (above the barn door) let’s tap on the wooden compartment, above the ramp, to open it.

Tap on the object inside the compartment to take a closer look at it.
After that, select the “Metal Ring” from the inventory and insert it into the empty slot.

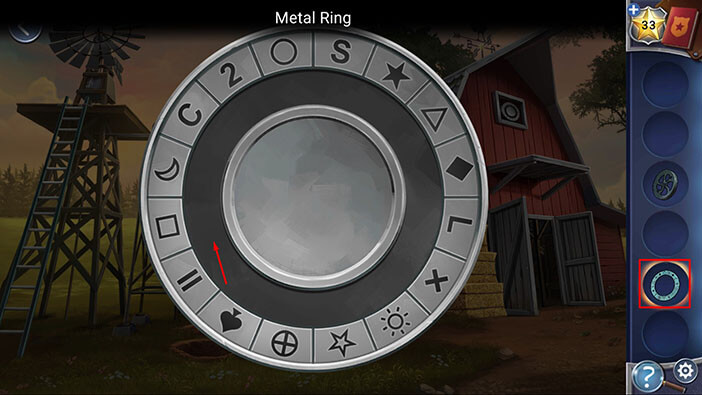
The inner ring can be rotated, and we can see “C” and “L” letters on both rings. Earlier, we saw “C+L” carved into the tree. So, let’s rotate the inner ring and align letters “C” and “L”.
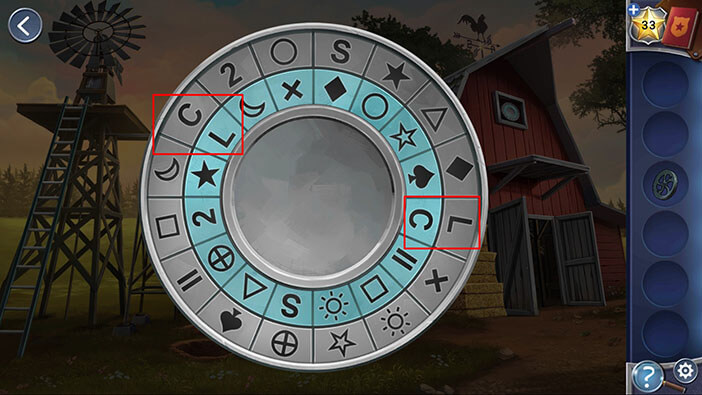
We are making progress. Previously, we also saw some symbols in the water tower. So, let’s take another look at them.

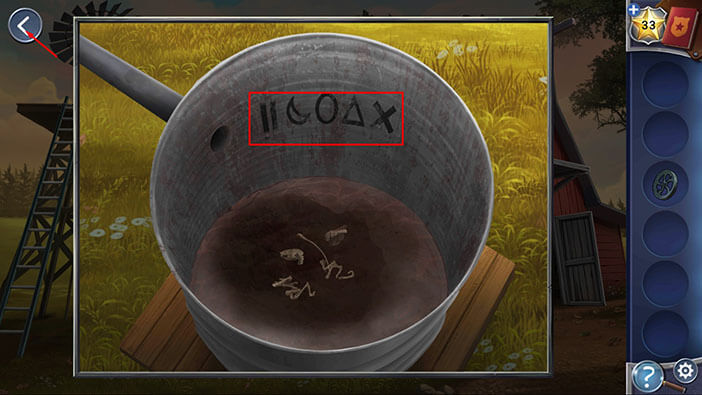
Ok, let’s memorize / write down these symbols, starting from left to right. We have,
First = two vertical lines
Second = Crescent moon
Third = Circle
Fourth = Triangle
Fifth = Letter “X”
So, we have need five symbols to open the suitcase, and we just saw five symbols in the water tower. However, five symbols in the water tower do not represent the combination for the suitcase, but these symbols are a hint for discovering the correct combination.
Once you’re done, tap on the arrow in the upper left corner to go back.
Let’s take another look at the metal disks.

Ok, we used the “C+L” hint to align the inner and the outer disks. Now, we should find the symbols from the water tower on the outer disk. Their “pairs” on the inner disk form the combination for the lock on the suitcase. All right, let’s begin.
First, we had two vertical lines. Their pair on the inner disk is circle with cross inside it. So,
First Symbol = Circle with cross inside (crosshair)
Second, we had Crescent Moon. Its pair on the inner disk is black star. So,
Second Symbol = Black Star
Third, we had a Circle. Its pair on the inner disk is letter “X”. So,
Third Symbol = X
Fourth, we had a Triangle. Its pair on the inner disk is letter white star. So,
Fourth Symbol = White Star
Fifth, we had a letter “X”. Its pair on the inner disk is “II”. So,
Fifth Symbol = II (two vertical lines, pause sign)
Memorize / write down the five symbols on the inner circle. Once you’re done, tap on the arrow in the upper left corner to go back.

Tap on the suitcase to start the interaction.
Enter the combination of symbols that we discovered by pairing up the symbols on the outer ring with the symbols on the inner ring. So,
First Symbol = Circle with cross inside (crosshair)
Second Symbol = Black Star
Third Symbol = X
Fourth Symbol = White Star
Fifth Symbol = II (two vertical lines, pause sign)
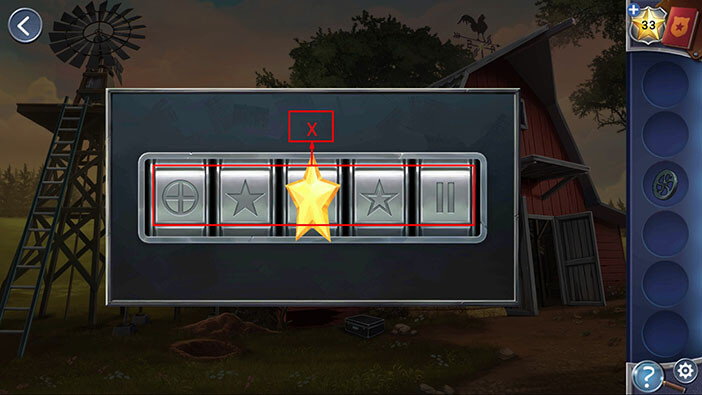
Tap on the “Passport” to pick it up.

The “Passport” belonged to Luca’s mother, and Kate believes that it’s highly unlikely that Luca’s mother managed to leave the country without the passport. With that said, she concludes that Luca probably killed his own mother.
Detective Kate will add the new entry, ”Passport” to her evidence book.
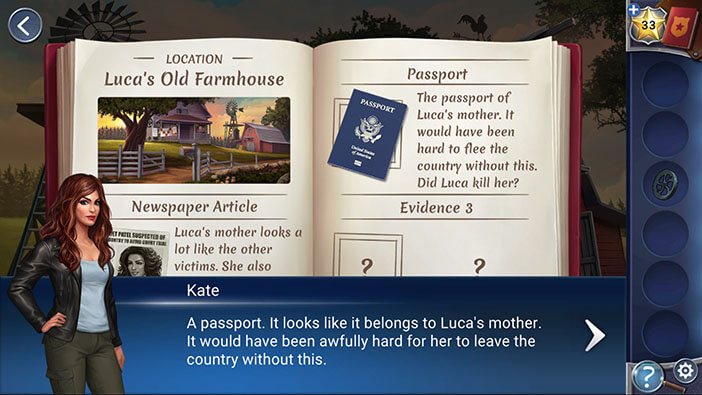
In the suitcase you will also notice a ”Rope”. Tap on it to pick it up.

Ok, we now have all the items that are required to move the crate so, let’s go back to the barn.
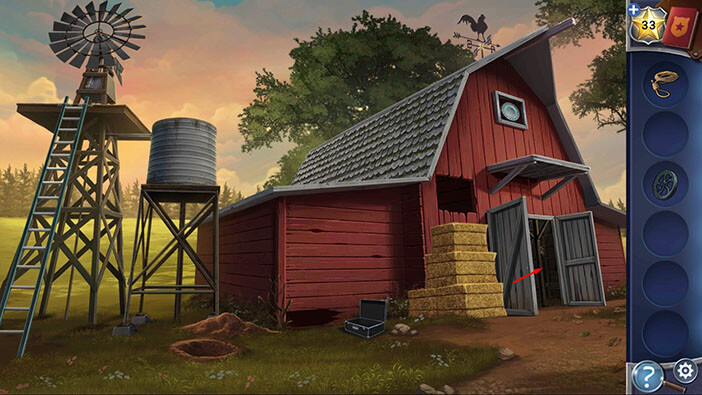
Select the “Pulley Wheel” from the inventory and attach it to the installation on the wooden beam (above the tractor).

After that, select the “Rope” from the inventory and attach it to the pulley wheel.
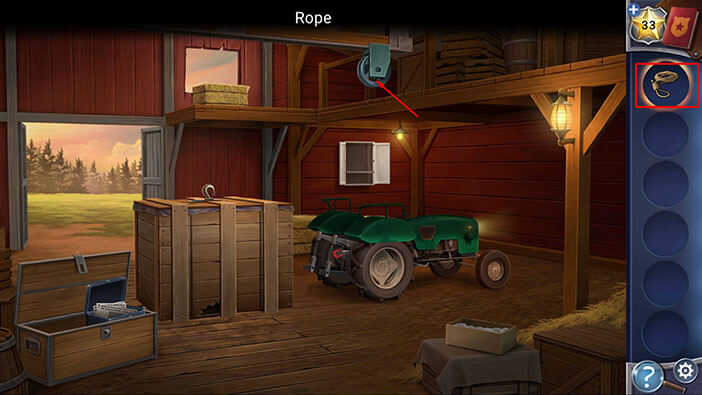
Lastly we need to tie the rope to the hook on the crate (Kate will do this automatically).
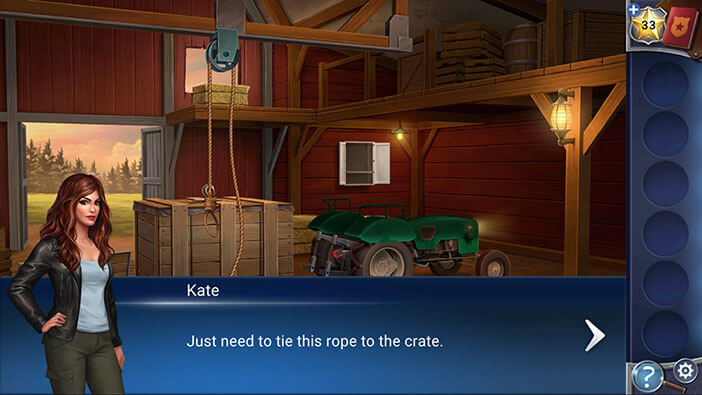
Tap on the other end of the rope to pull it, and Kate will say that the crate is too heavy. So, we will have to find another way to move it.
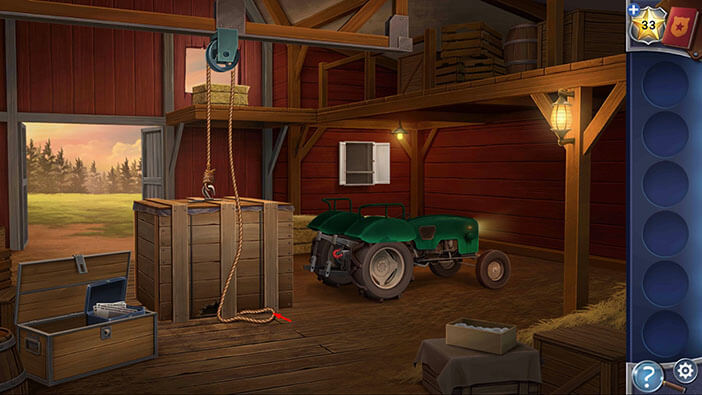
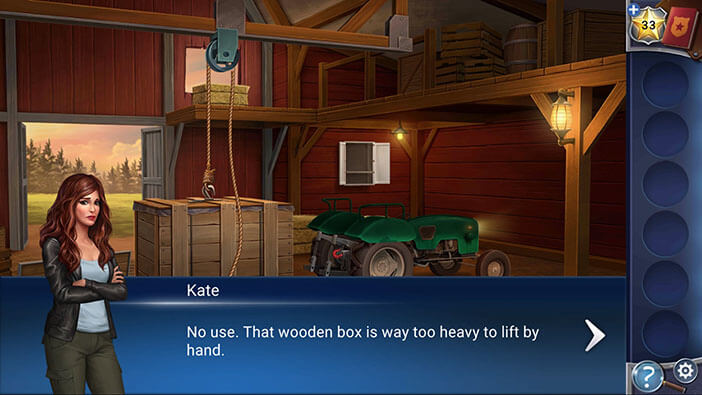
Tap on the hook on the back of the tractor to attach the rope. Kate thinks that this idea will work. She will tie the rope, and will automatically drive the tractor forward, lifting the crate.

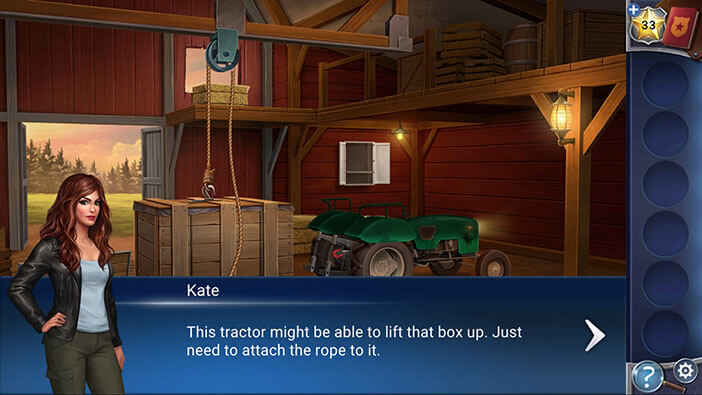
As soon as you lift the crate, you will notice a swarm of rats, gathered around a hole in the floor. Tap on the rats, and Kate will notice that they are feeding on something inside the hole.

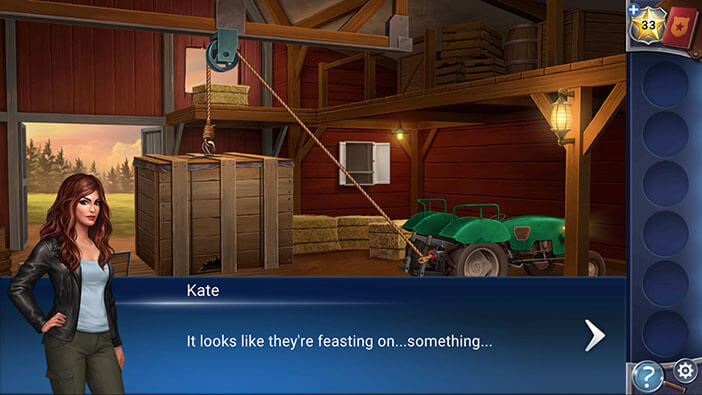
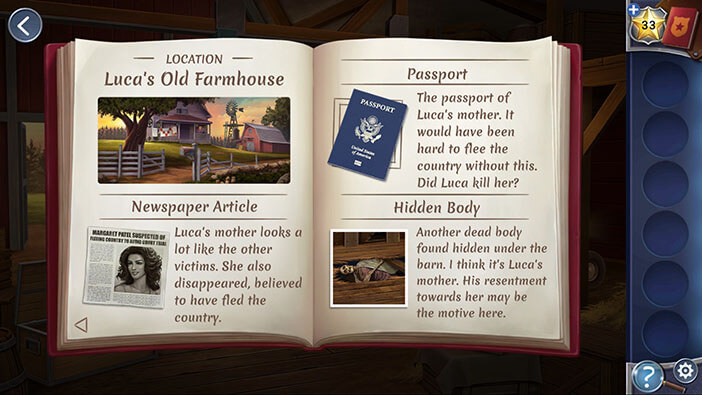
As Kate approached to take a closer look, the rats scattered, revealing a corpse… The detective thinks that the body in the hole is probably Luca’s mother. So, we now know a motive behind Luca’s murderous behavior. A new entry “Hidden Body” will be added to the evidence book.
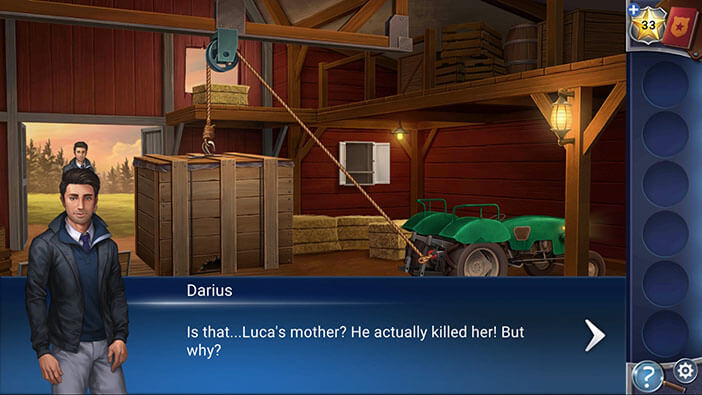
At this moment, Darius will walk into the barn. At first, he is shocked after seeing another body. But, he quickly realized that the body in front of him is actually Luca’s mother, and he is wondering why Luca committed such a hideous crime as matricide. Kate explains that Luca probably blamed the mother for the car accident, that had very serious consequences. Because of mother’s drunk driving, Luca’s father lost his life, and Luca suffered a very serious head injury, from which he never fully recovered.

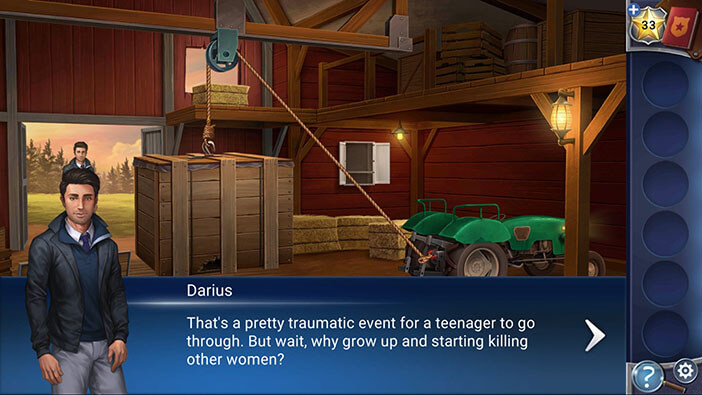
Well, Darius seems satisfied with the explanation, but he still doesn’t understand why Luca killed all other woman. Kate explains that Luca was also mentally damaged in the accident, and his condition only became worse after he killed his mother. The detective thinks that the rage in Luca boils and accumulates over time, and once he sees a woman that looks like his mother, his murderous intentions get reignited.
With that cleared up, Kate and Darius decide to call in the forensic team to gather the evidence, but first they will inform Chelsey that the barn will be off limits, for some time.
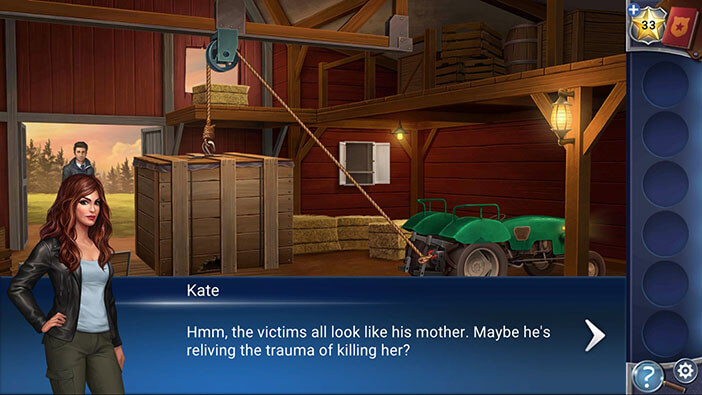
Let’s go back to Chelsey. Tap on the barn door to go outside.
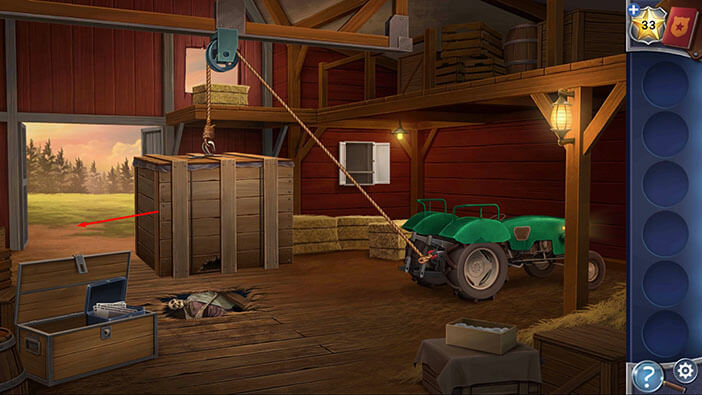
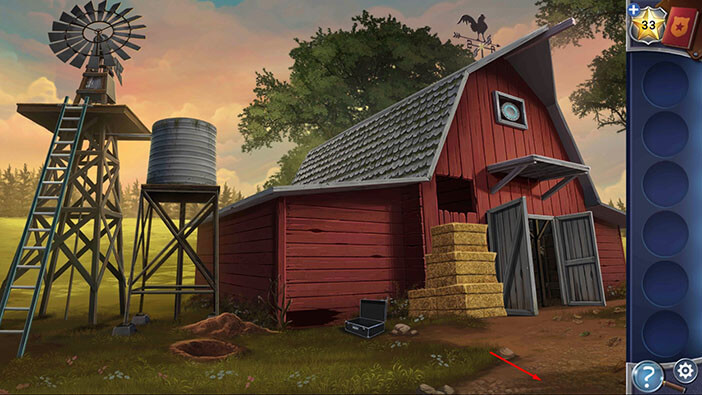
Next, tap on the trail to go to the front yard.
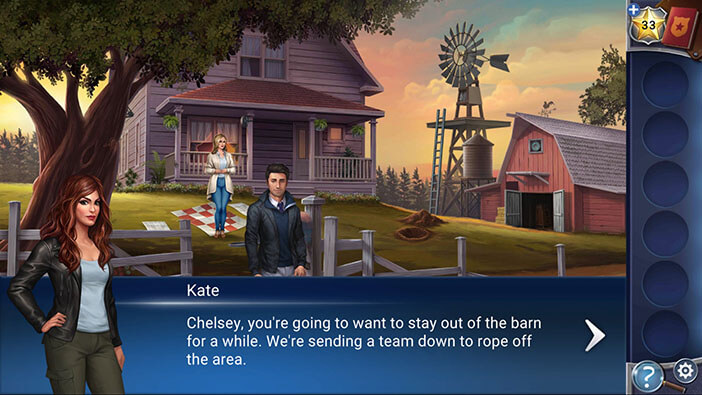
Here, you will meet with Chelsey and Darius. Kate will inform Chelsey to stay out of the barn, because it is now a crime scene. Chelsey is a bit curious, and wants to know what they discovered, but Darius told her to stay out, because they made some terrifying discoveries.
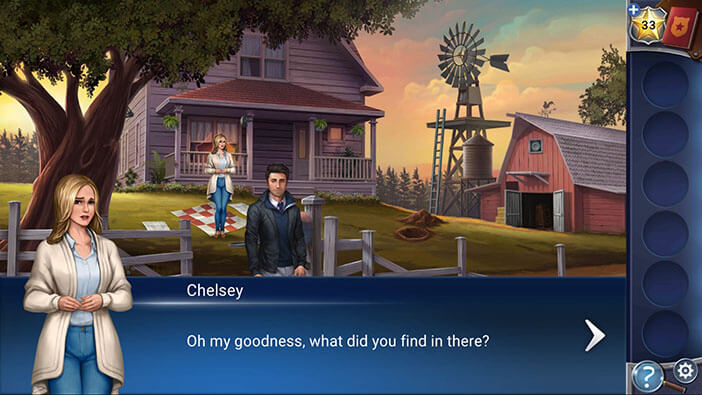
At this moment, Darius will get a call from Nick, and he will put him on the speakerphone, so that Kate can also participate in the conversation. Nick explains that Phil was able to lead them back to the cave where he found Kate, and after quick search of the area, they found Luca’s hunting cabin. With said, Nick sent them the location of the cabin.
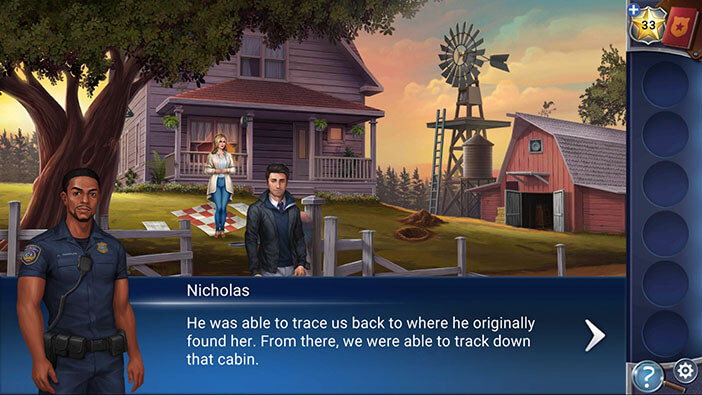
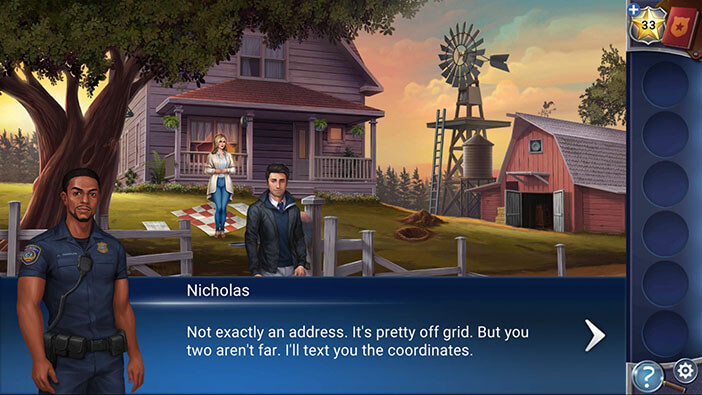
Kate informs Nick that they will need another team at the farmhouse, because she and Darius also discovered something very disturbing. Unfortunately, Nick replies that all of the officers are already searching the perimeter around the cabin, so he is unable to send a team right away. However, he promises to send some officers as soon as area around cabin is secured. With that said, he invites Kate and Darius to investigate the hunting cabin, and see what they can find out.
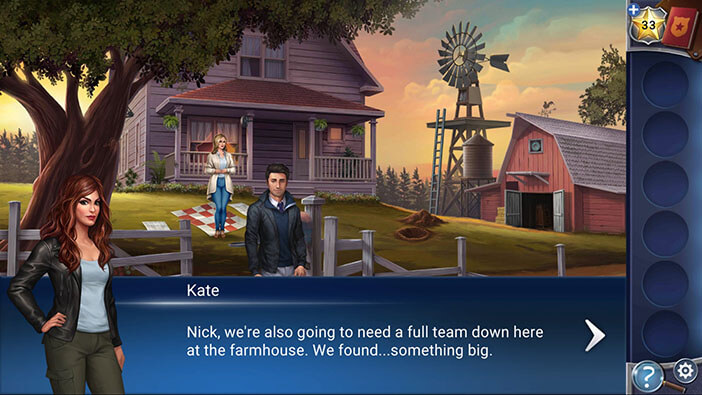

Well, that’s the end of the seventh chapter. In this chapter, we found the body of Luca’s mother hidden below the floor of the barn, and confirmed our suspicion concerning his motivation behind the murders. Also, I was wrong, because I thought that body in at Lepat Fishing Company was Luca’s first victim, his mother. In the next chapter, we will come to the conclusion of this thrilling story. So, we will probably have one final showdown with Luca, which will probably end up in him being arrested or killed. We shall see…
You can check out the eighth chapter by tapping on the “Chapter VIII” button.
Thank you for reading.