The Echo Bay Murders – Chapter V
Hello everyone, and welcome to our walkthrough for Chapter 5 of “The Echo Bay Murders” another game in the series of AE mysteries, developed and published by Haiku Games.
In the previous chapter, Kate met Phil when she got out of the cave. Phil was suspicious at first, but after a short conversation, he believed in Kate’s story, and they decided to work together. Their first tasks were to change the flat tire on Phil’s truck and to try to get the cellphone signal in order to call the police. Well, Phil couldn’t get the signal, but Kate managed to repair the truck, and they drove away towards the city. After some time, they were intercepted on the road by the murderer, who chased them down with his truck. After a quick chase, their vehicle crashed. Kate managed to get out, but Phil was trapped inside.
Shortly after that, the murderer returned and got into a firefight with Kate (Phil tossed her his rifle). Kate managed to hit the murderer in the shoulder and he dropped his gun. Kate ordered him to surrender, but rather than surrendering, the murderer decided to jump off the bridge, in a desperate attempt to escape. After that, Kate continued to work on finding a way to free the trapped Phil. As soon as she managed to free him, the police officers arrived and ordered her to throw the rifle on the ground. After disarming her, the officers arrested Kate, because she didn’t have a badge nor any documents that could confirm her identity.
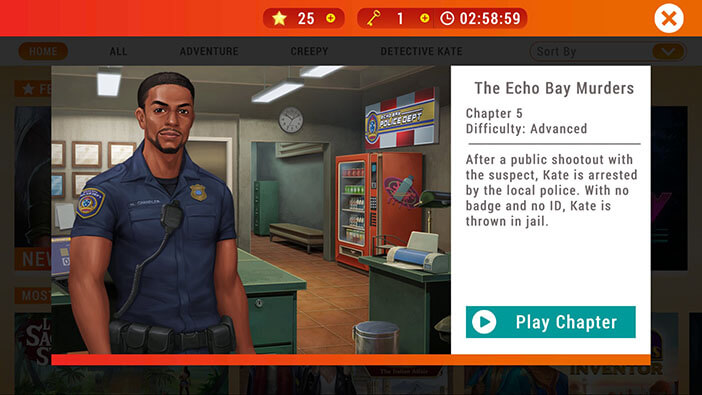
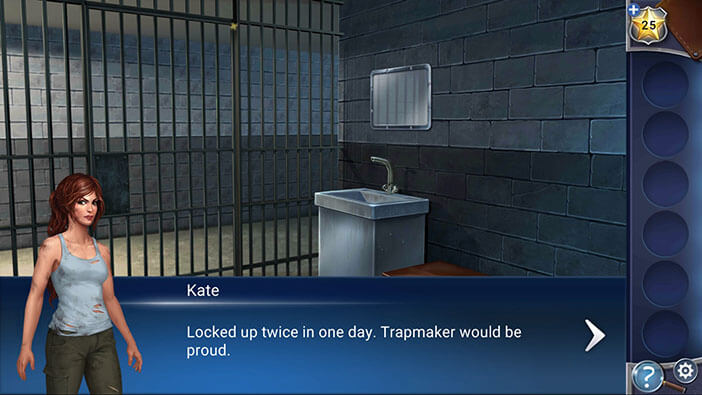
Unfortunately, Kate has been locked up twice in one day, and she isn’t happy about it.
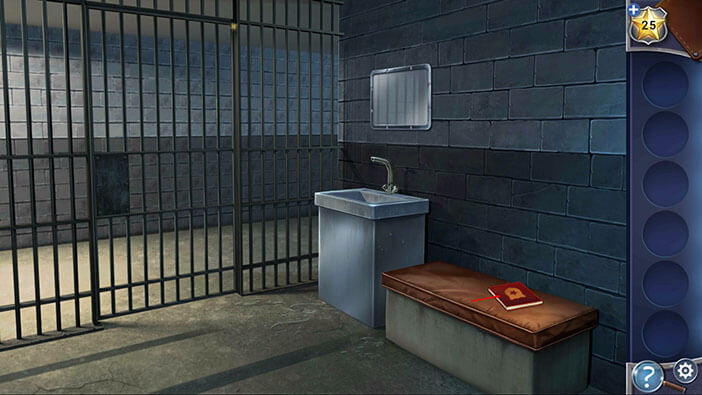
Tap on Kate’s notebook, located on the bench on the right, to pick it up.
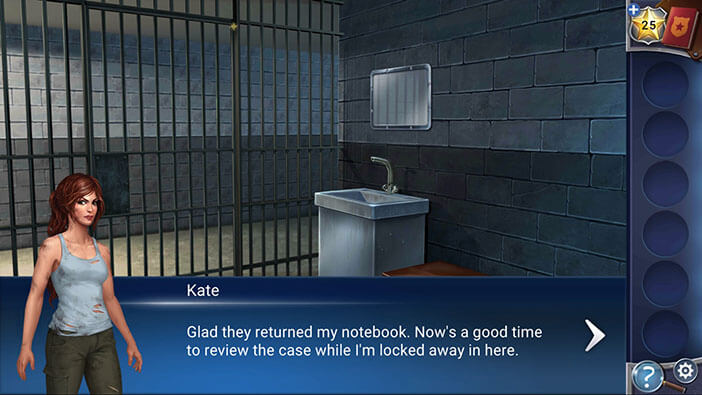
Well, since she’s locked up, Kate can now finally take some time to review the case in piece and quiet.
The investigation started at the gas station. Here, they found the victim’s belongings, and after a short investigation, they discovered the name of the potential victim. Ava McWilliams. However, as they investigated the crime scene, Kate had a feeling that somebody is observing them from nearby woods, and at one point she thought that she saw a camera flash. Almost as if someone was taking their pictures while they were investigating.
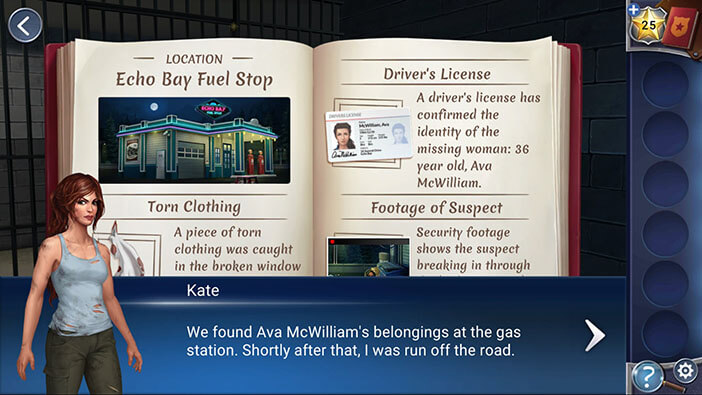
After she left the gas station, she was ambushed and captured by an armed man, who took her hostage and locked her up in his cabin. The cabin is located deep in the wilderness of the mountains, far away from any civilization. After she freed herself, Kate searched the cabin and discovered that the suspect is an expert hunter and fisherman (she found multiple fishing trophies and a large collection of hunting rifles).
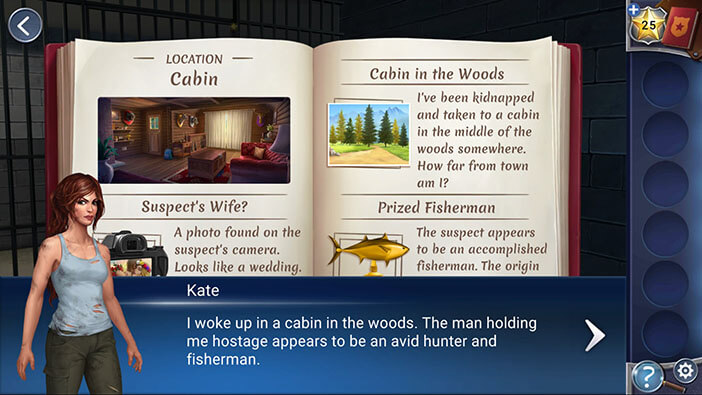
Kate managed to escape from the cabin via an improvised zip line, and she reached the forest. In this area, she discovered Ava McWilliam’s grave. She also found a hidden cave that the suspect was using as his stash. In the cave, she found his dog tags and concluded that the suspect probably served in the military, at some point. As a reminder, the letters on the dog tags were scratched, but the serial number remained, so Kate hoped to identify the suspect by going through the military records.
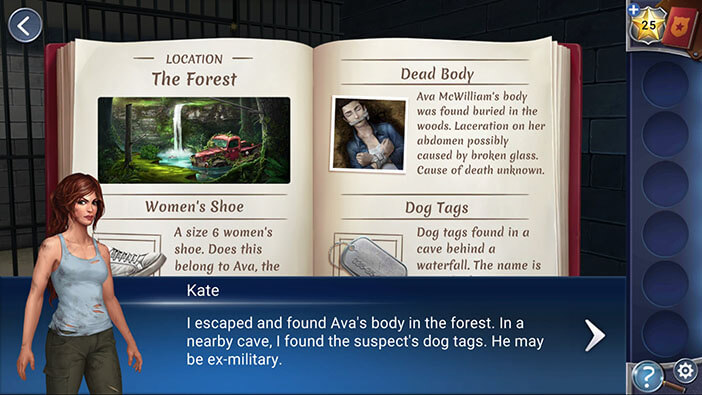
When she got out of the cave, she met Phil, who was passing through the area. On their way back to town, she and Phil were intercepted by the suspect, and their car crashed. After a short firefight, Kate managed to wound the suspect in the shoulder, disarming him. However, rather than surrendering, he chose to jump off the bridge, hoping that he will survive the fall. But, he left the registration inside his vehicle, so Kate was finally able to identify him.
Unfortunately, Kate was armed and had no ID, so when the police officers arrived on the scene, they arrested her, and brought her in…
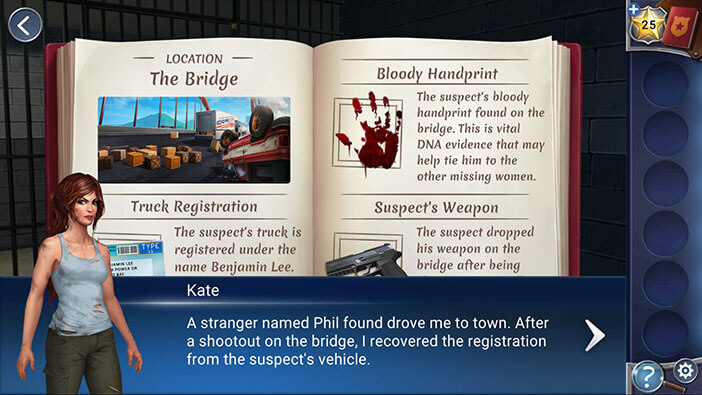
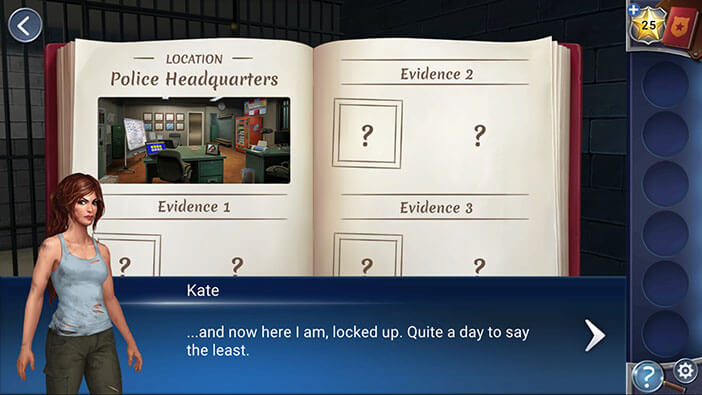
Just as Kate was finishing her review of the case, the police officer arrived and asked her to explain why she was firing an unregistered firearm on the bridge (So, Phil’s rifle wasn’t registered? Well, that means that Phil could get in serious trouble).
Kate tried to explain, once more, that she is a detective, but the police officer informed her that he can’t let her out until he confirms her identity.
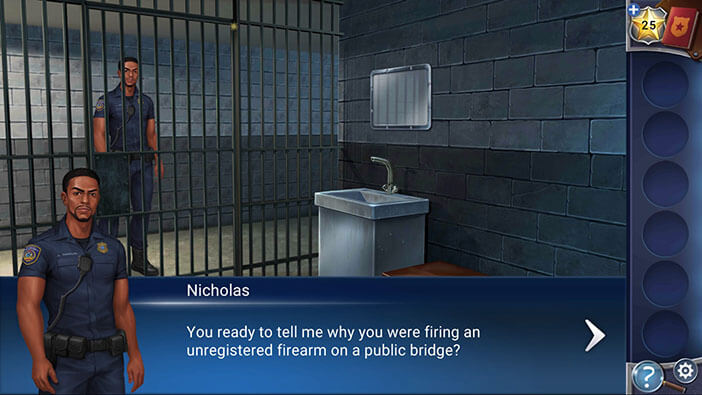
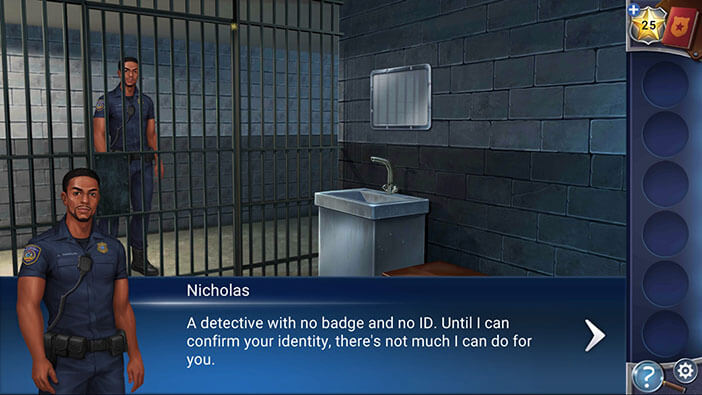
At this moment, Darius will appear. He’s surprised to see Kate locked up, and, after confirming Kate’s story, he orders Nicholas (the police officer) to release her from the cell.
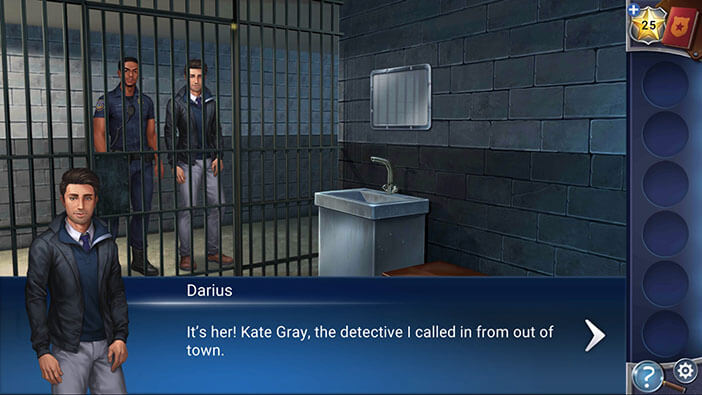
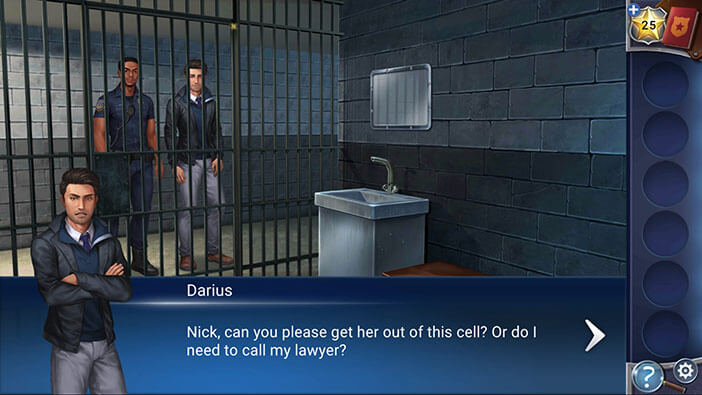
Nicholas explains that he can’t release Kate without informing his superiors, and goes away to make the phone call. With that done, Darius wants to know what happened to Kate, because, as far as he’s aware, she was on her way to the motel, and then suddenly disappeared. Kate quickly briefs him about the events that took place after she left the gas station.
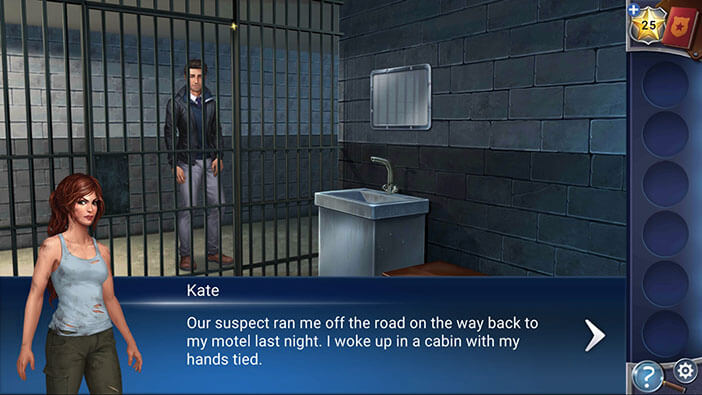
Darius is shocked, but Kate informs him that she will give tell him a more detailed version of the story, as soon as he gets her out of the jail cell.
Their conversation is interrupted by Nicholas, who informs Kate that her car was found on the side of the road, together with her ID, badge, and other belongings. With that, he opens the jail cell, tells Kate to clean up, and leaves a towel and a soap. After that, he would like to have a word with Kate about the events that took place on the bridge. Darius decides to leave and give Kate some privacy while she cleans up.

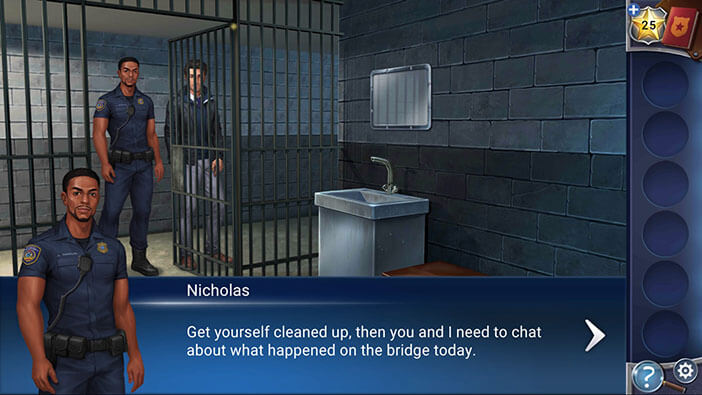
Tap on the “Towel” and the “Soap” on the bench on the right to pick them up.
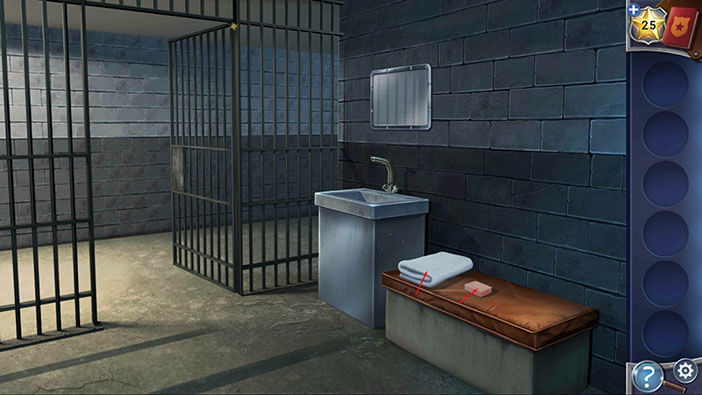
Next, select the “Towel” from the inventory and put it into the sink. After that, do the same with the “Soap”. After placing the soap in the sink, Kate will automatically turn on the water.
After a few moments, Kate will automatically pick up the “Soapy Towel”.
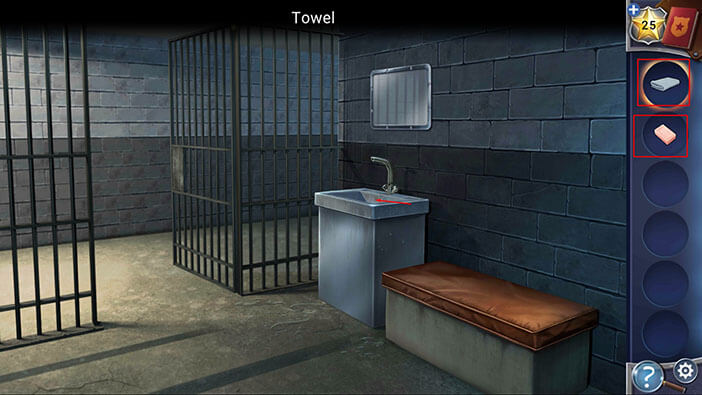
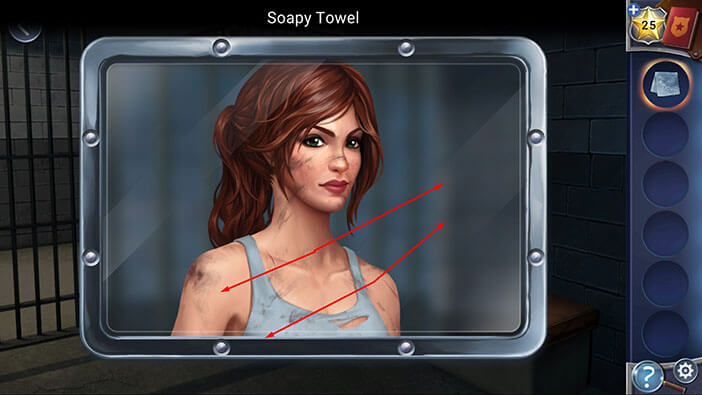
Tap on the mirror above the sink to take a look at Kate.
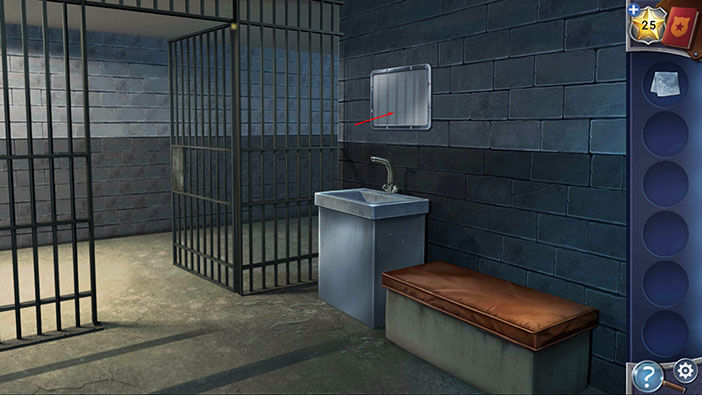
Tap on the “Soapy Towel” from the inventory to select it, then drag it to clean up our character.
Well, Kate would also like to change, and Nicholas will soon arrive with her spare clothes. He will also bring her badge and phone.
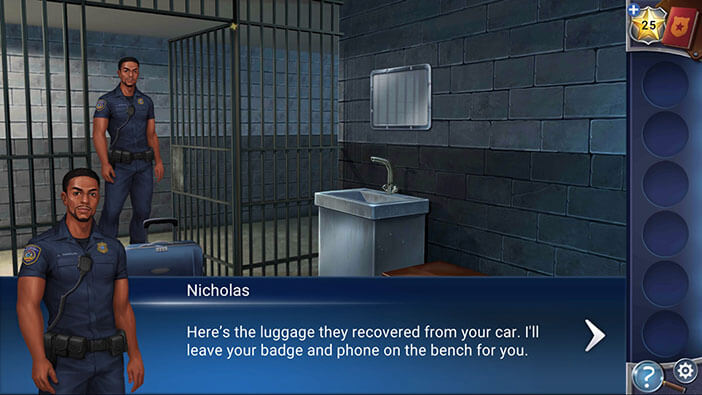
As soon as he leaves, your phone will start ringing, so tap on it to answer the call.
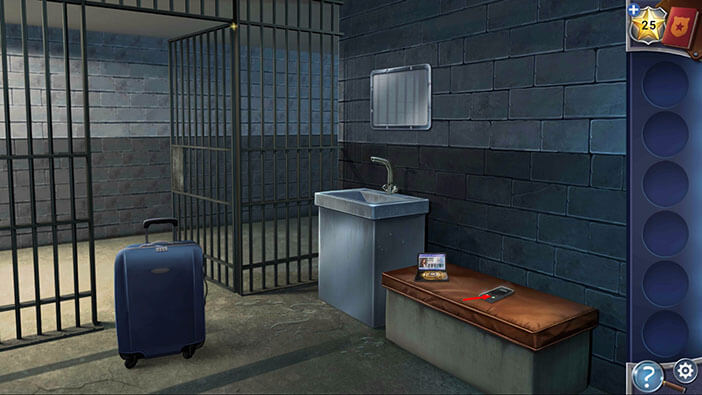
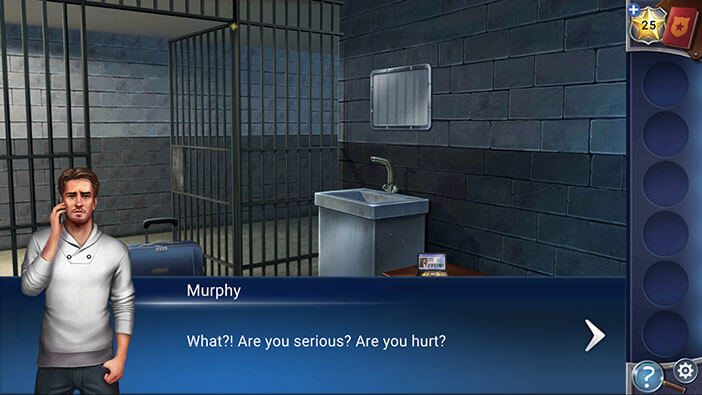
Murphy says that he was very worried because he texted Kate last night, but she didn’t respond. Our character explains that she was a bit busy, giving him a short summary of the previous events. She casually says that she was kidnapped, and once she got away, she was arrested by the local police force.
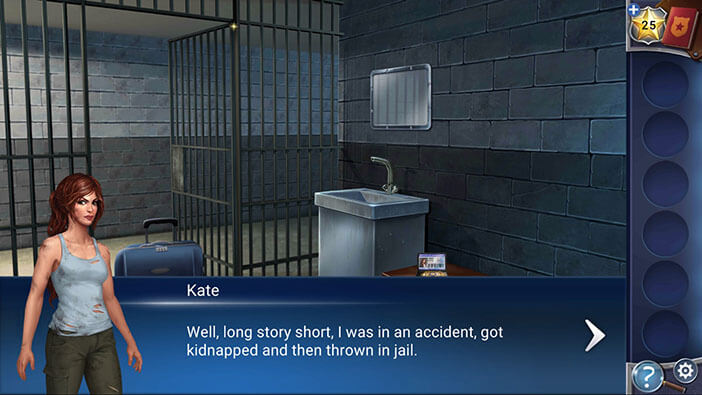
Naturally, Murphy is shocked after hearing this, but Kate quickly explains that she’s fine now. She cleared up the misunderstanding with the local police, and now, they are working together on the case. She also mentions that she has several promising leads on this case, and hopes that she will be able to resolve it soon.
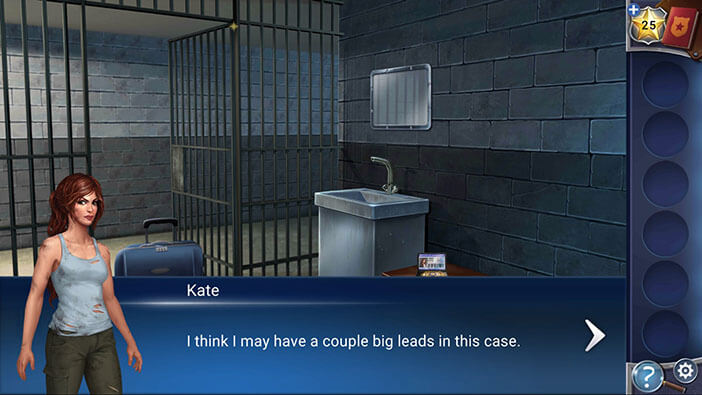
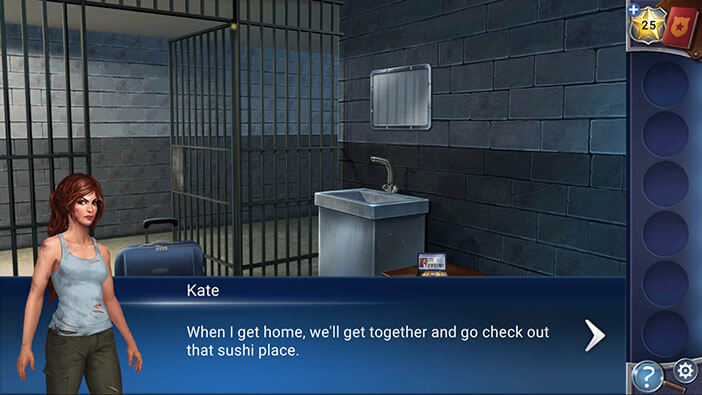
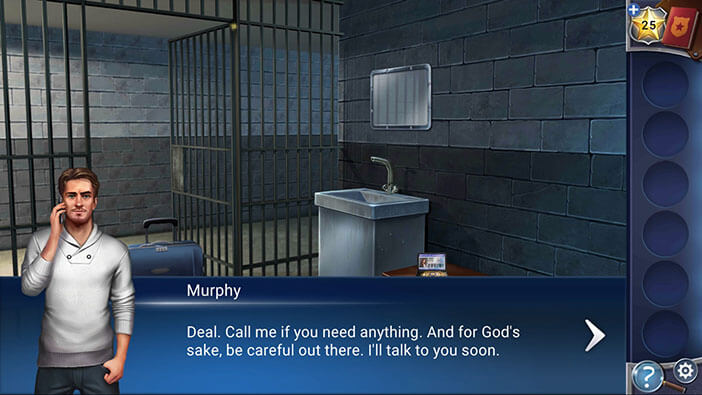
Murphy thinks that Kate works too hard and suggests that she should take a break. But, Kate is determined to chase down and arrest the suspect as soon as possible. There will be plenty of time to rest once the murderer is locked behind the bars. She also promised that she will go out to dinner with Murphy, once she gets back.
Tap on the luggage to take a closer look at it.
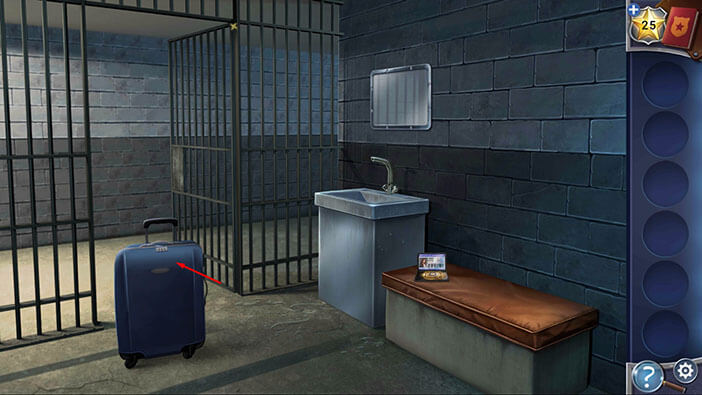
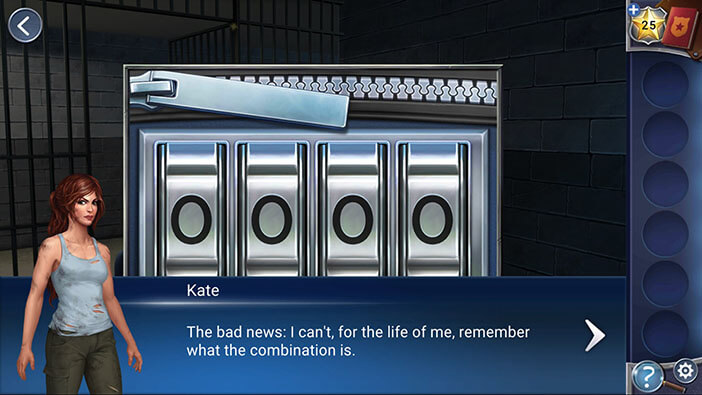
Kate’s things are still safe, locked inside the bag. However, she can’t remember the four-digit code to open the lock. Tap on the arrow in the upper left corner to go back.
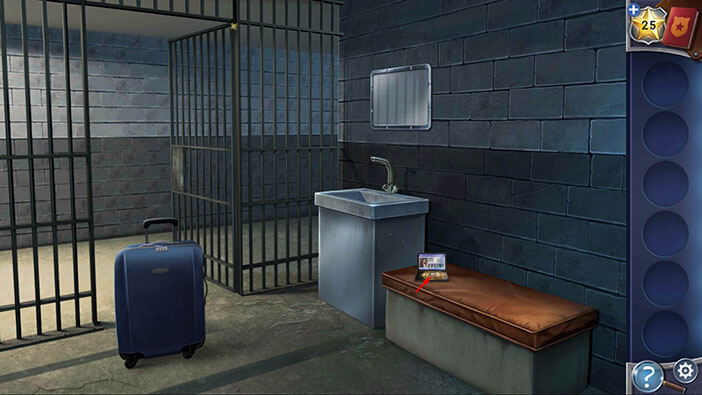
Ok, now, let’s take a closer look at Kate’s badge.
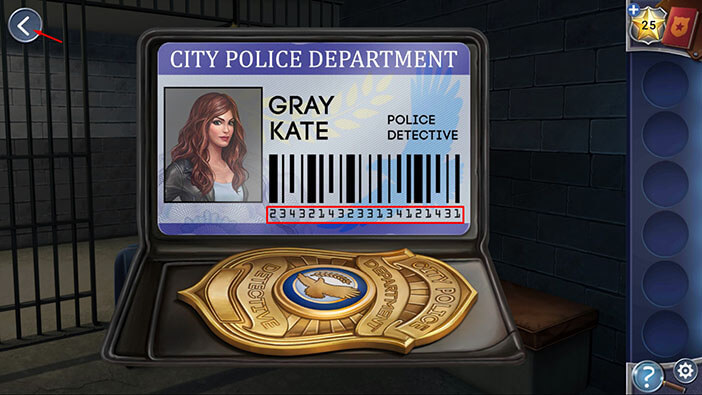
Below Kate’s name, you will notice the barcode and string of numbers 1, 2, 3, or 4. Below each line of the barcode is one of these four numbers. By counting the numbers we can determine the code for the luggage. So, we can determine the first number of the code by counting the amount of number 1 digits below the barcode. The second number can be determined by counting the amount of number 2 digits on the barcode, etc. Let’s start.
Number 1 = 5. So, the first number of the code is 5.
Number 2 = 4. The second number is 4.
Number 3 = 7. The third number is 7.
Number 4 = 4. The fourth number is 4.
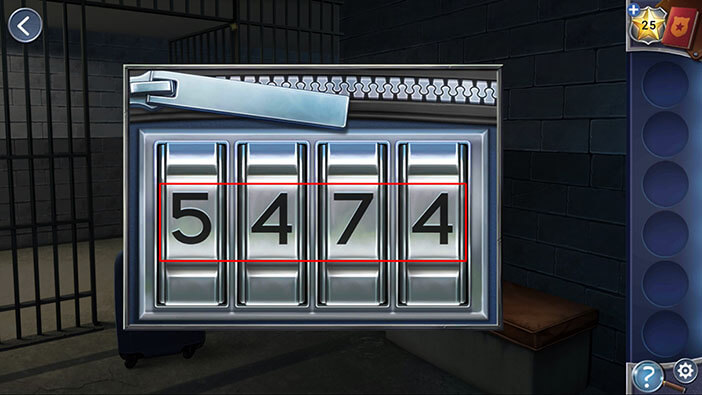
When we put it all together, we will get the code “5474”. Memorize or write down the code then tap on the arrow in the upper left corner to go back.
Tap on the luggage bag to start the interaction.
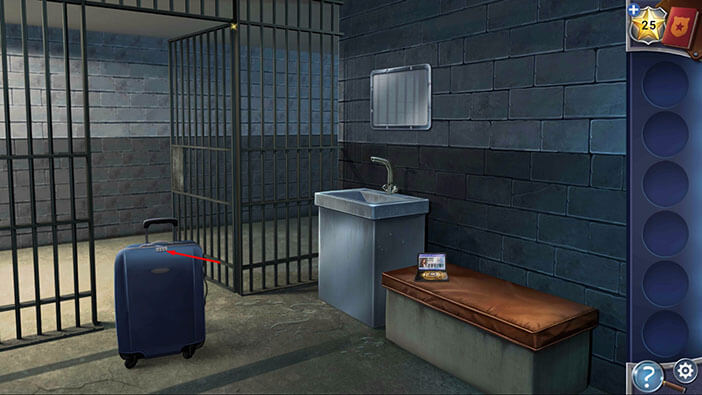
Enter the code “5474” and you will open the bag.
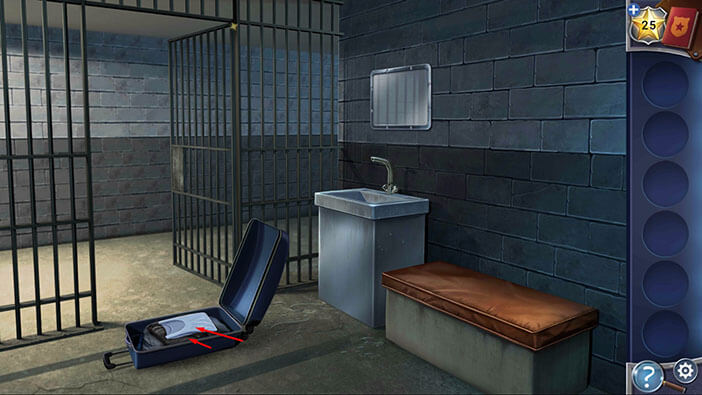
Ok, let’s pick up some clean clothes. Tap on the clothes and Kate will take out “Tank Top” and “Leather Jacket” from the luggage bag.
Tap on the mirror, again, to look at Kate.
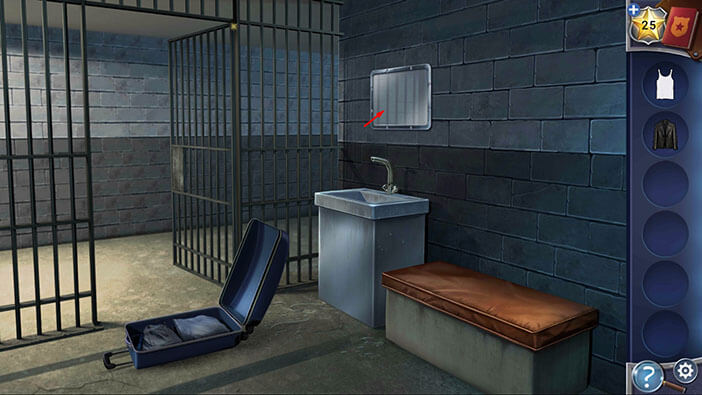
Next, select the “Tank Top” and the “Leather Jacket” from the inventory, then tap on Kate’s reflection to put them on. Kate will also change her hairstyle. Once you’re done, tap on the arrow in the upper left corner to go back.
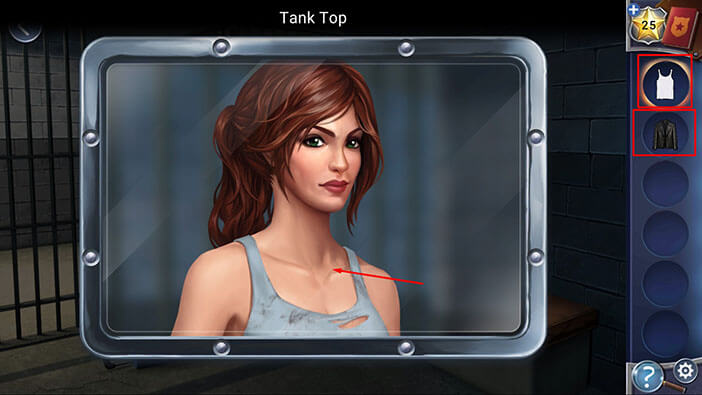
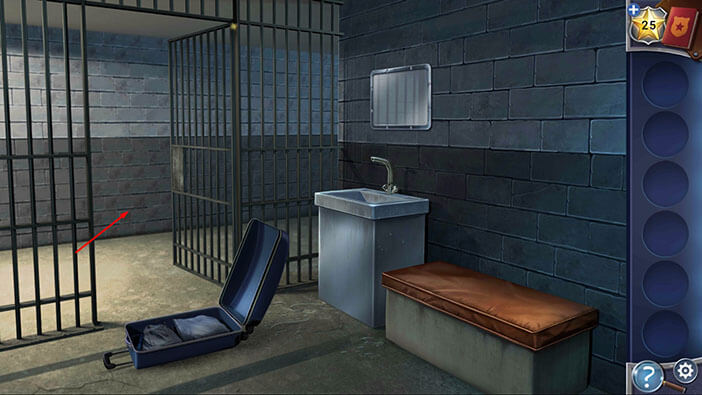
Well, Kate after cleaning up and changing her clothes, Kate is now ready to talk to Nick. Tap on the cell door to proceed into the next room.
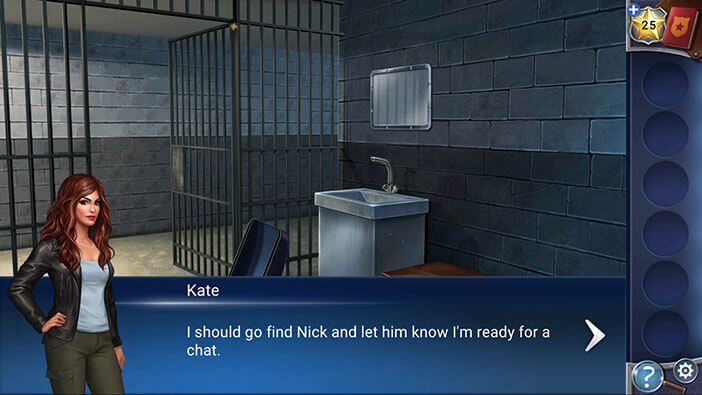
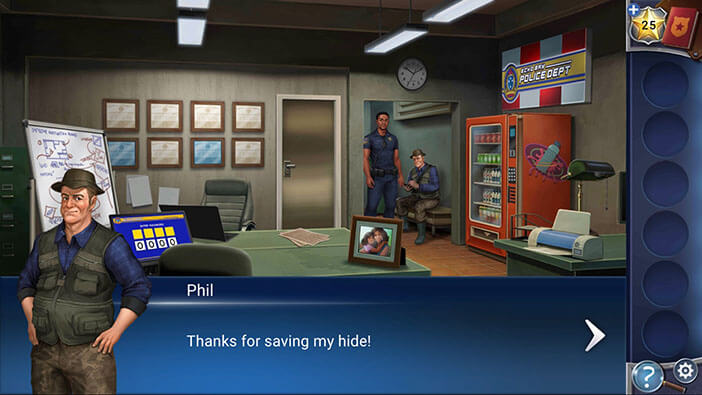
When you step into the office, you will meet with Phil, and he will thank you for saving his life by dragging him out of a burning truck. Kate is concerned about Phil’s health and apologizes for dragging him into this mess. But, Phil says that he is feeling fine, so there’s nothing to worry about. Also, Phil is working together with Nick on discovering the location of the murderer’s cabin. Since Phil knows the exact location of the cave, and the cabin wasn’t too far away from it, so they should be able to pinpoint the approximate location of the cabin.
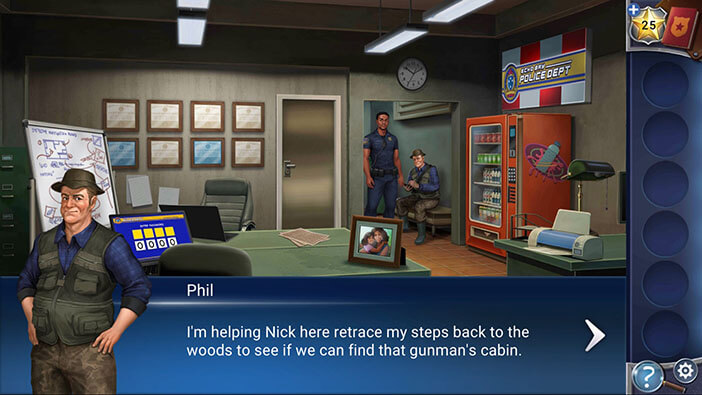
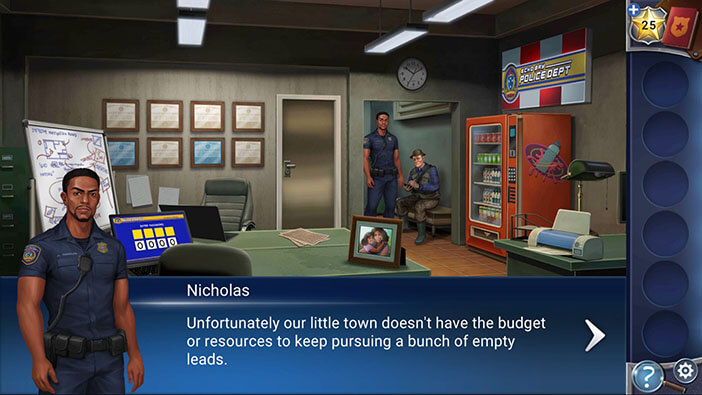
At this moment Nick will interfere in their conversation. He wants to know why Kate decided to investigate the old missing person cases, in their hometown. Our character explains that she decided to open the investigation because her friend, Darius, found some evidence that these cases might be connected. Nick says that he would also like to continue the investigation and find out what happened to the missing women, but the town just doesn’t have the resources to finance the long-term investigation.
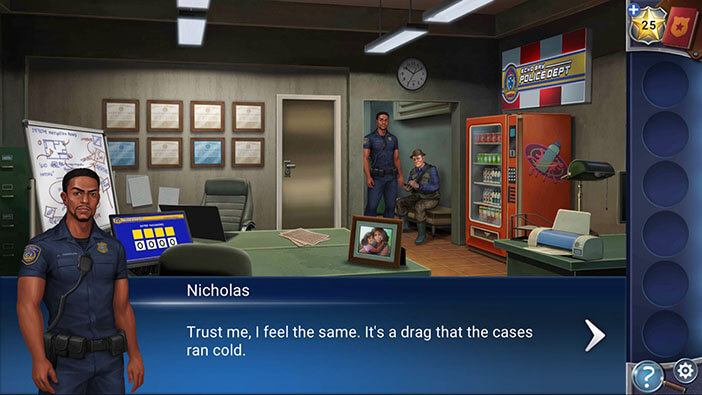
Well, Kate explains that she will be more than happy to assist the police force with the investigation. She worked on complex cases before, and that experience enabled her to quickly collect enough evidence to convict the suspect of at least one murder, that of Ava McWilliams. Besides that, Kate managed to achieve this in only 12 hours, so, with a bit more time, she believes that she might find the evidence that all murders in past 10 years are connected. On top of that, the suspect also kidnapped and attempted to murder Kate, and there’s plenty of evidence to support these charges (plus Kate’s testimony).
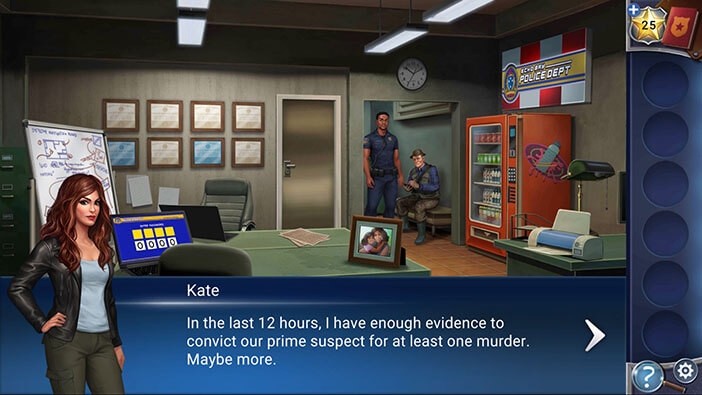
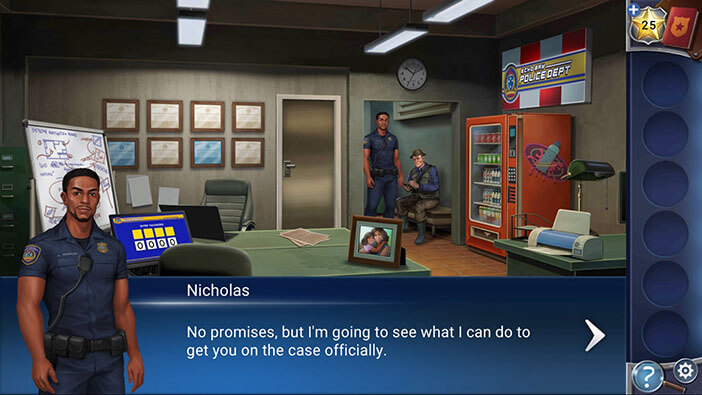
There is one, small problem with this. Apparently, Darius lied to us, because no one in the local police department knew that Kate was coming into their town and that she will be helping them with the investigation. (As a reminder, Darius told Kate that the local police force was informed that she is coming to town to help them with the case.) However, after hearing Phil’s testimony about events that transpired on the bridge (how Kate bravely saved his life and disarmed the dangerous murderer), Nick promised that he will do everything in his power to officially get Kate on the case. Besides that, he is probably impressed with her skills, because she collected a large amount of evidence in just 12 hours.
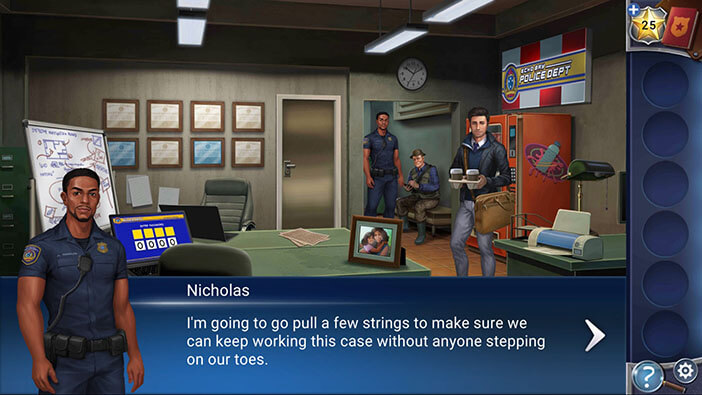
At this moment, Darius will come back with several cups of coffee, and our character will gladly take one. Darius and Kate will continue the investigation, and in the meantime, Nick will call his superiors and try to get them to officially approve Kate’s assignment to the case.
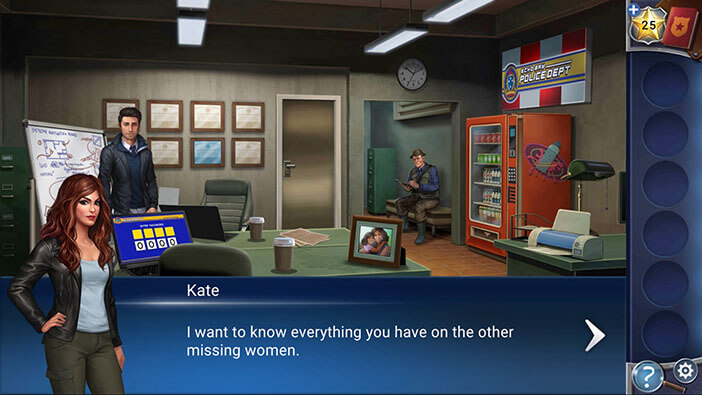
Well, it’s now time to get back to the case. First of all, Kate wants to know everything that Darius discovered so far concerning the missing women. Before he starts the presentation, Darius wants to clear the board, but he can’t find the eraser. It must be somewhere in the room, so let’s look around.
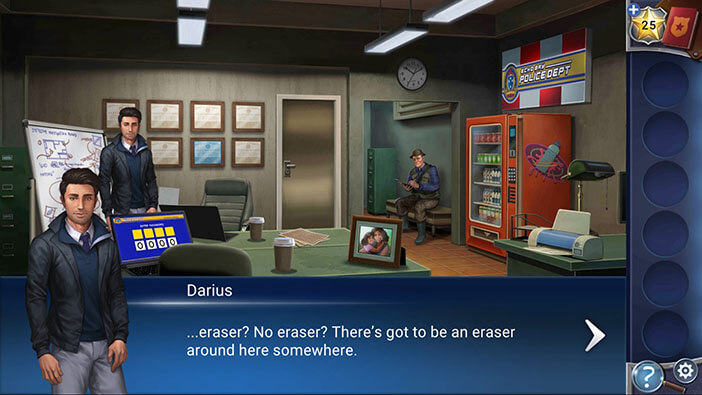
On the desk, between the two coffee cups, you will see some documents. Tap on the documents to move them aside.
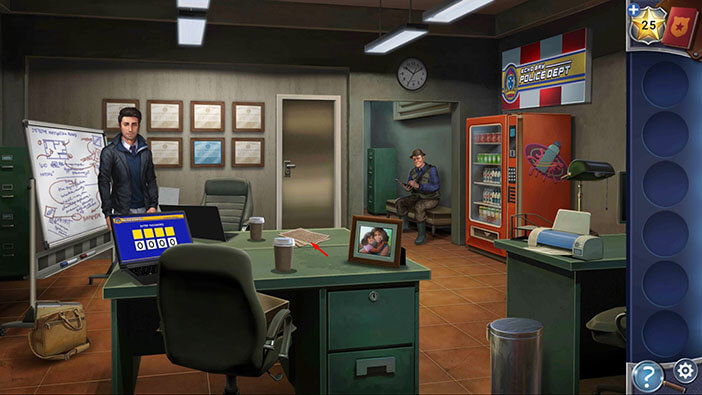
Below the documents, you will find some “Coins”. Tap on them to pick them up.
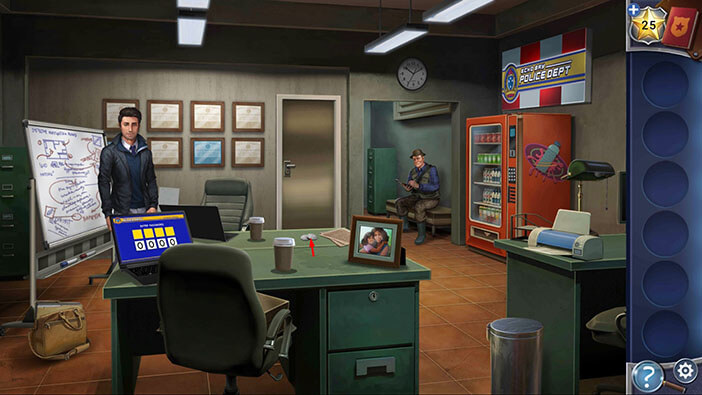
Next, tap on the chair to turn it around and you will see a box.
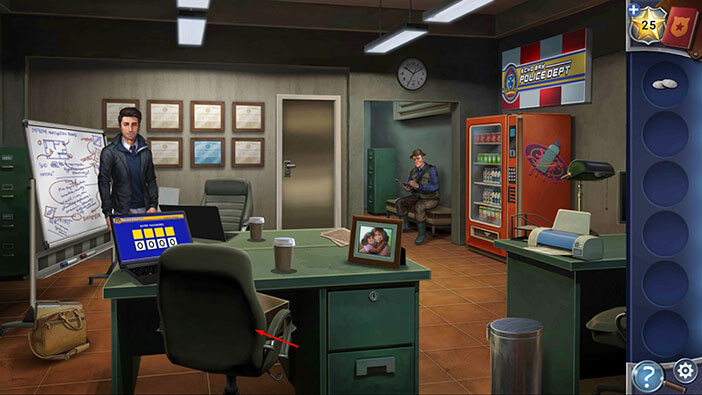
Tap on the box to open it and inside you will find a “Letter Opener”. Tap on it to pick it up.
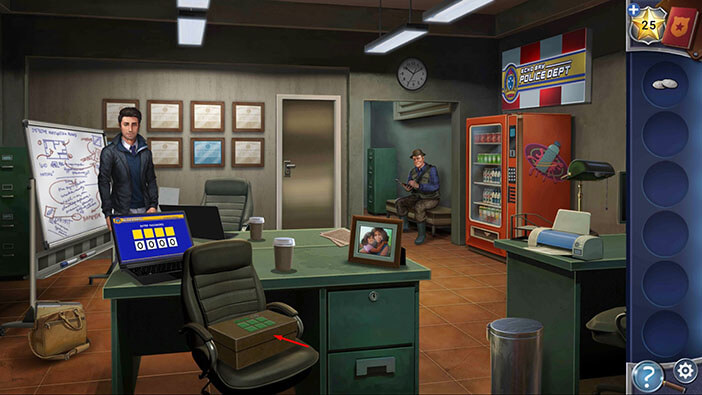
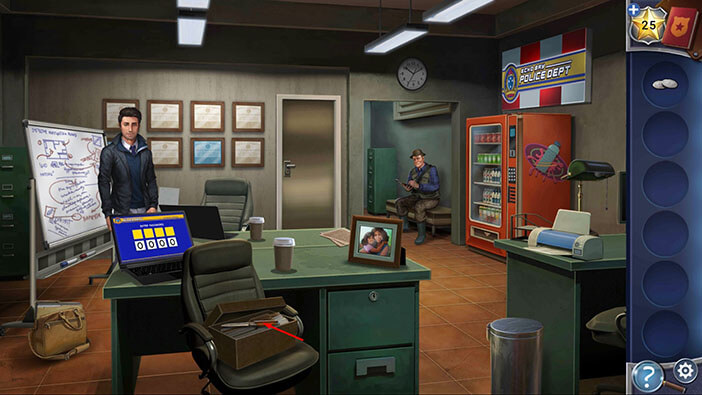
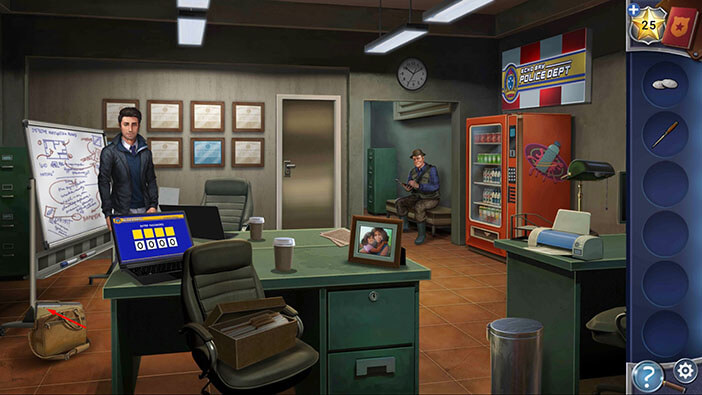
On the left, just below the whiteboard, you will notice an open bag, with some documents sticking out of it. Tap on the bag and Kate will pick up “Darius’s Notes”.
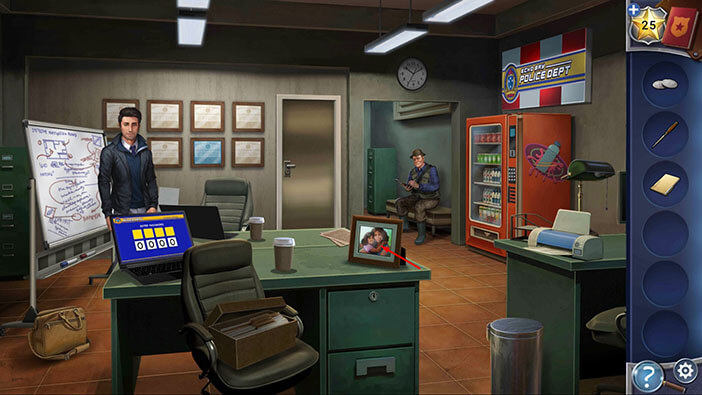
Next, tap on the photo on the right side of the desk to turn it around.
Select the “Letter Opener” from the inventory and use it to cut open the backside of the picture frame.
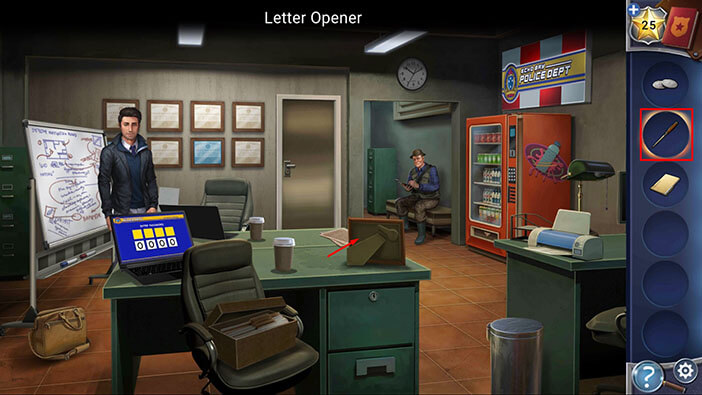
Inside the frame, you will find a hidden key. Tap on it to pick it up and “Desk Key” will be added to your inventory.
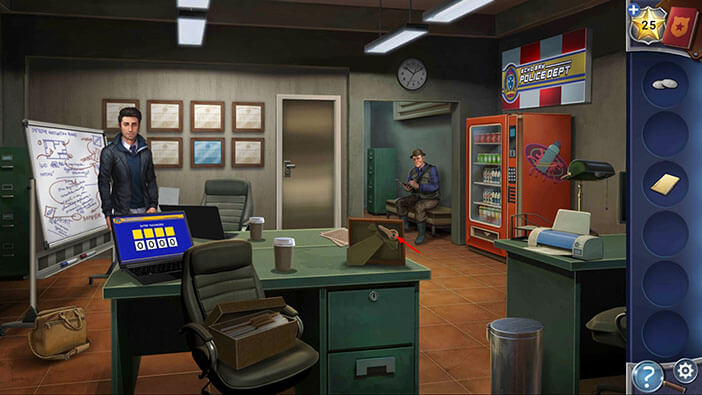
Next, select the “Desk Key” from the inventory and use it to unlock the drawer.
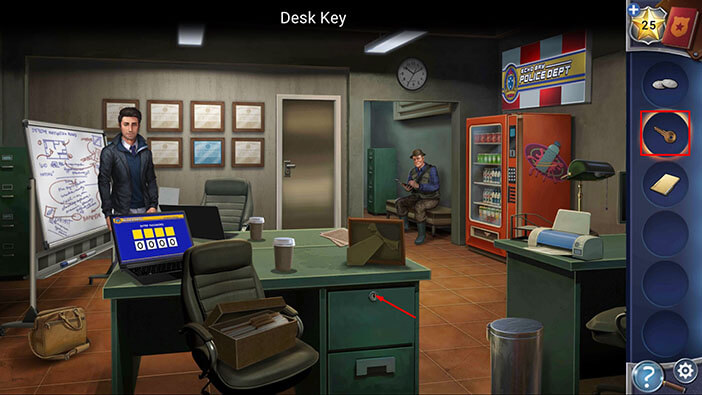
In the drawer, you will find an “Eraser”. Tap on it to pick it up.
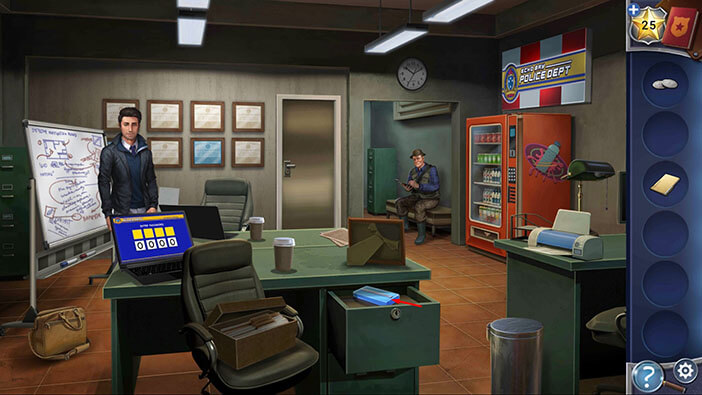
Select the “Eraser” from the inventory and use it to clean the whiteboard.
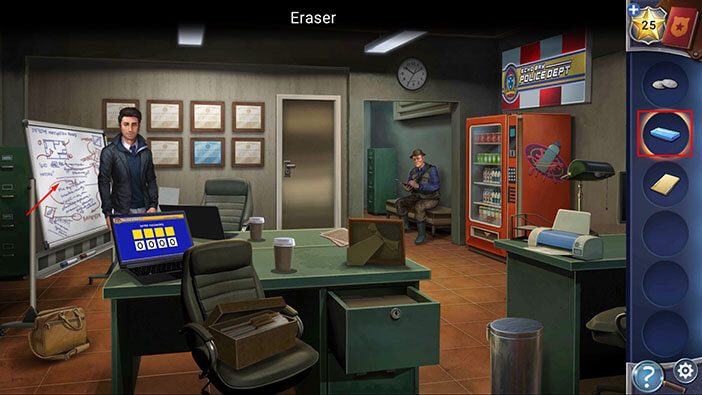
Well, after we cleaned up the whiteboard, Darius is ready to continue with the presentation. First, he wants to place all the evidence that he gathered so far, in chronological order.
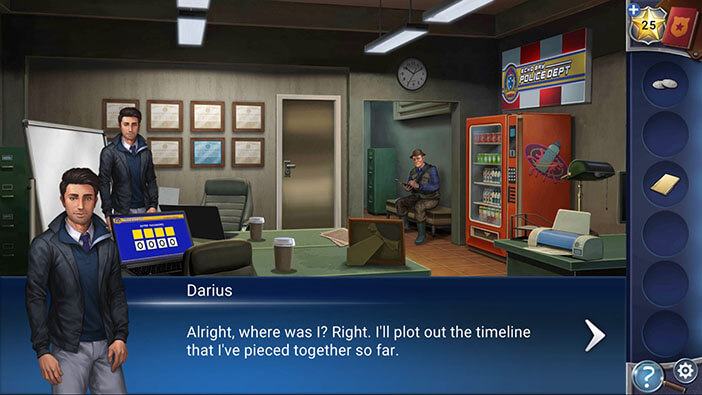
However, before he could begin to place the evidence on the whiteboard, his cellphone will ring.
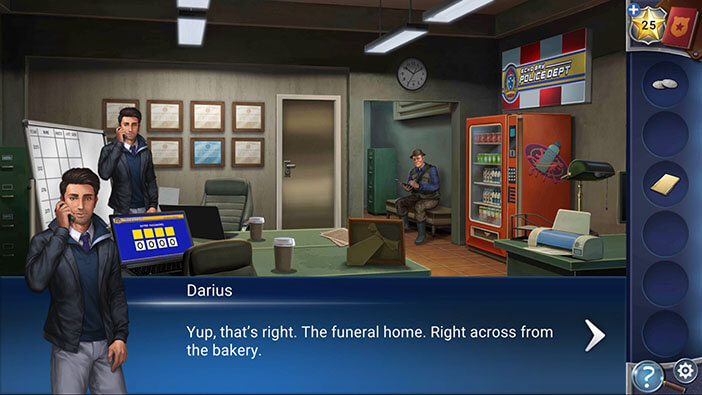
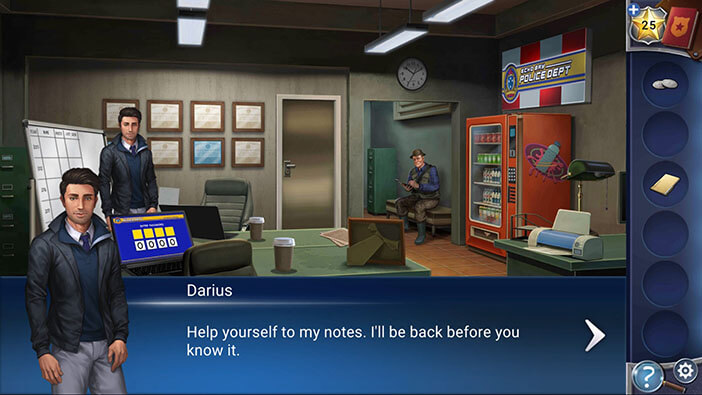
It looks like Darius has to urgently meet with someone at the funeral home, which is located just across from the bakery (this information might be useful later). Well, since Darius has to go, it is now up to Kate to sort out his notes.
Tap on the whiteboard to take a closer look at it.
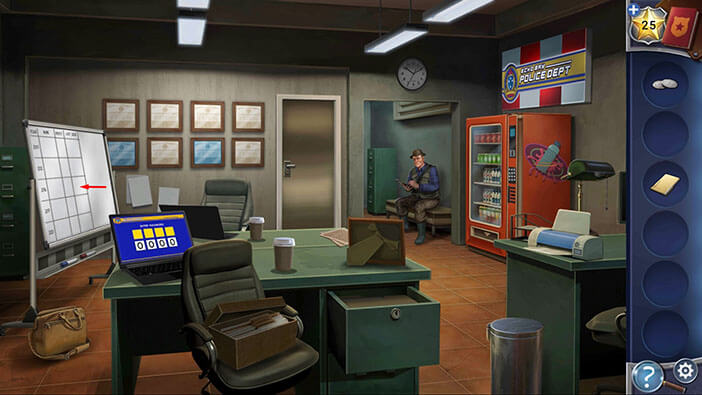
Select the “Darius’s Notes” from the inventory and tap on the right side of the board to place them.
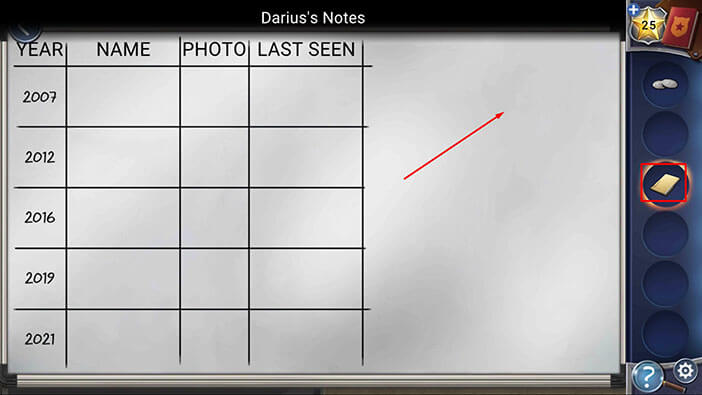
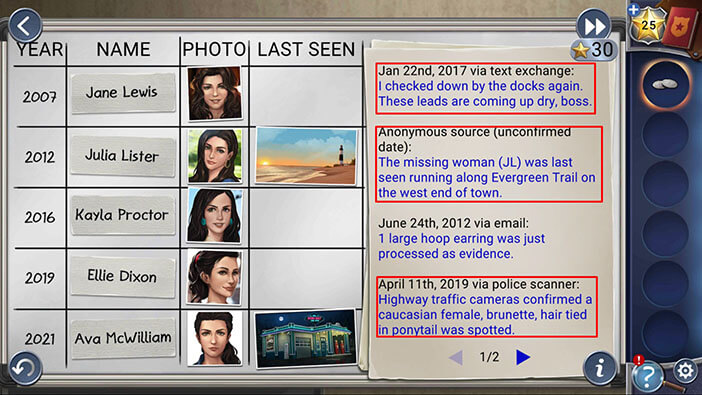
Ok, our next task is to arrange the clues and place them on the table according to the timeline. There are three columns for each victim, and these are name, photo, and last seen. Every row represents a specific date. Also, by tapping on the right, we can read Darius’s notes.
Well, we know that Ava McWilliams was the last victim, so let’s place her photo name in the middle column in the last row.
We know what she looks like, so place her photo in the middle column in the last row.
Also, we know that she was last seen at the gas station, so drag the photo of the gas station into the third column in the last row.
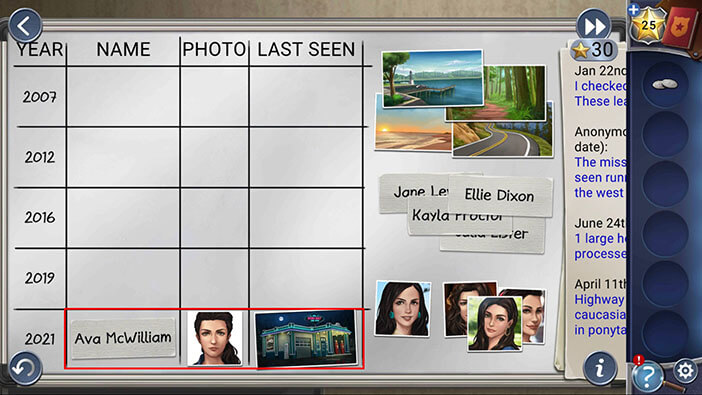
Ok, now let’s take a look at the notes on the right.
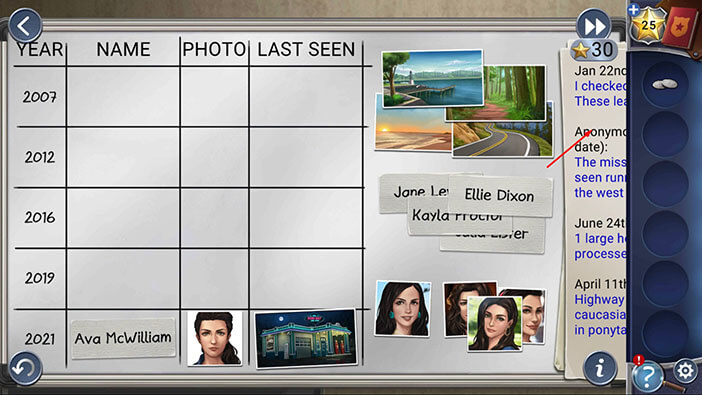
Let’s start by placing the clues that can be easily connected with the dates. Look at the third message (top to bottom) from June 24th, 2012. “One large hoop earring was just processed as evidence”.
After that, tap on the notes again to move them away, so that we can take a look at the clues.
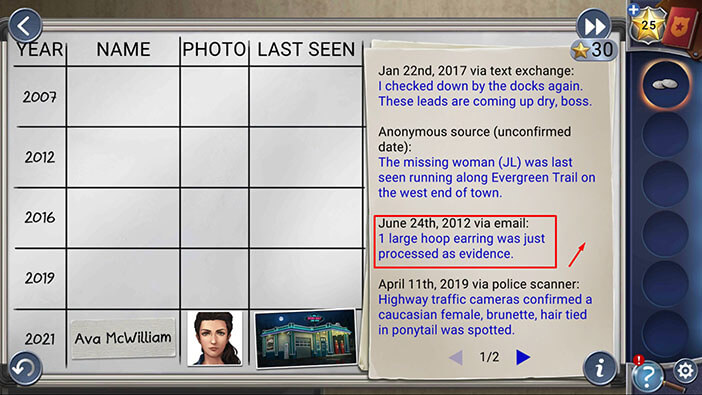
If you take a look at the photos of the victims, you will notice that only one woman is wearing a hoop earring. So, select this photo and place it in the middle column of 2012. row.
After that, tap on the notes again to bring them up.
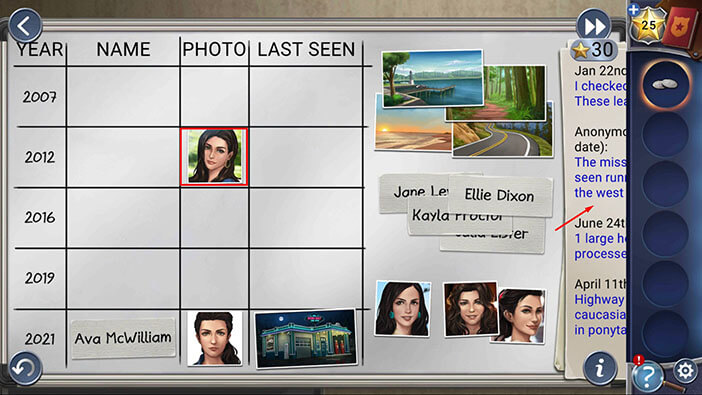
Tap on the right arrow to take a look at the second page.
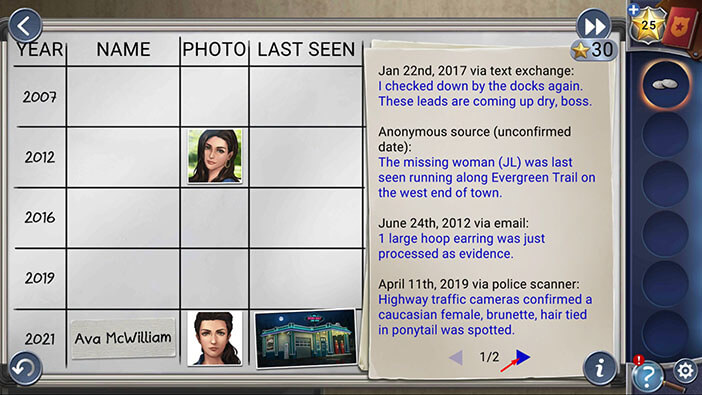
Ok, let’s pay attention to the first message. “I think you’re mixing the names up. Jane was reported missing 5 years ago. Her hair was more wavy”.
If you now look at the whiteboard, you will notice that there are only two pairs of dates with 5 years difference. The first pair is 2012. and 2007. The second pair is 2021. And 2016.
We also have two other important facts. Somebody is mixing Jane’s name with one of the other victims. Ava and Jane don’t sound similar, so we could probably rule out Ava. Besides that, Ava was kidnapped last night, so I doubt that somebody would mix up the names that quickly. With all that said, we can presume that the text isn’t referring to 2021. – 2016. pair. So, if Jane was reported missing 5 years ago, she was probably kidnapped in 2007.
Also, the last part of the text says that Jane’s hair was wavier, so she also looks similar to the woman that was kidnapped in 2012. And we already identified the photo of the woman that was kidnapped in 2012.
So, we should now put down the notes and take another look at the clues.
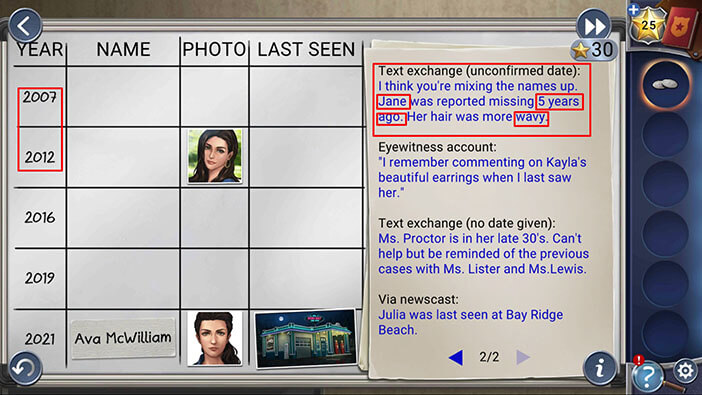
Ok, we already determined that Jane was kidnapped in 2007. So, drag the name “Jane Lewis” into the first column in 2007. row.
Next, if we take a look at the other 3 photos, we will see that only one woman has wavy hair. Also, she does look similar to the woman that was kidnapped in 2012. So, drag the photo of a woman with wavy hair and place it into the second slot in 2007. row.
Once you’re done, tap on the notes, again.
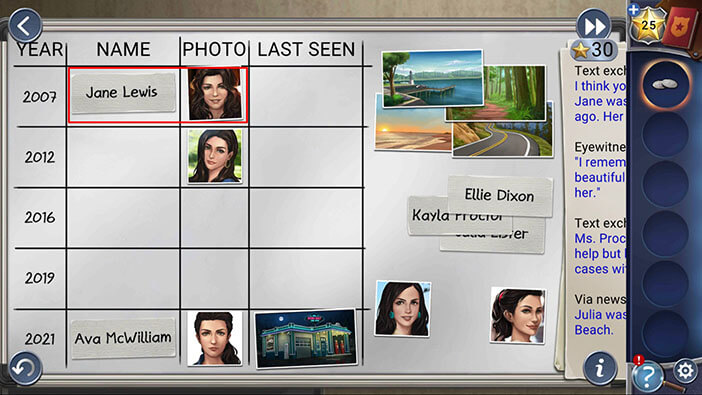
Now, we will take a look at the fourth note on the second page. “Ms. Proctor is in her late 30’s. Can’t help but be reminded of the previous cases with Ms. Lister and Ms. Lewis”.
Well, this message might seem unimportant at first, but we already discovered (presumed) that Ms. Lewis (one of the women kidnapped before Ms. Proctor) was kidnapped in 2007.
We know the date of the first kidnapping, which means that Ms. Lister was captured in 2012. (after Jane Lewis, but before Ms. Proctor). So, we can add the name next to the photo of 2012. victim.
Lastly, we can conclude that Ms. Proctor was kidnapped in 2016. right after Ms. Lister.
Let’s look at the clues again, and place the ones that we discovered on the whiteboard (tap on the notes to move them away).
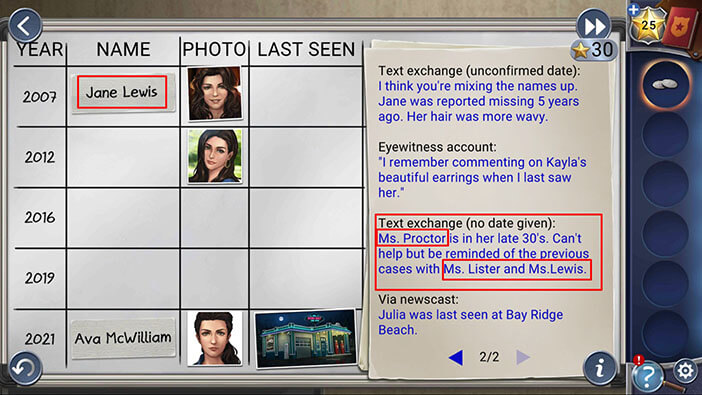
Ok, now let’s place the names on the board.
Julia Lister goes into 2012. row.
Kayla Proctor goes into 2016. row.
We only have one name left, which means that Ellie Dixon should go into 2019. row.
With that, we assigned all names to the correct dates.
Next, we should take a look at the second page of the notes, again.
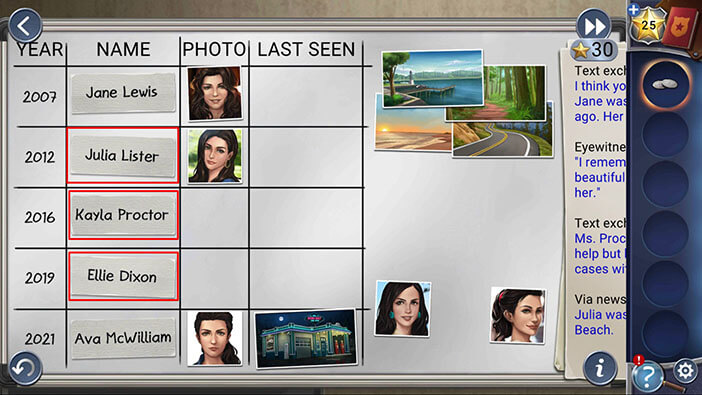
Now, we should look at two messages.
The second message. “I remember commenting on Kayla’s beautiful earrings when I last saw her”.
Well, we are left with two photos, and only one of these two women wears earrings, so that must be Kayla.
Next, let’s look at the fourth message. “Julia was last seen at the Bay Ridge Beach”. So, we can assign a location, beach, next to Julia.
Let’s go back to the clues.
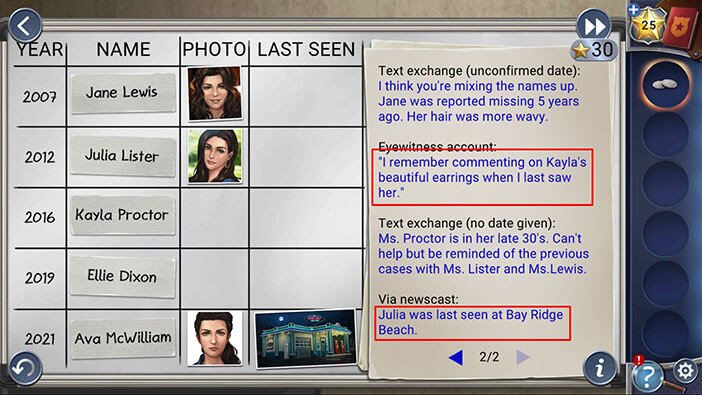
We discovered that the woman with the earrings is Kayla Proctor. So, place the photo of the woman with the earrings into 2016. row.
Well, there is only one photo left, and that is the woman with the ponytail, meaning that this is the photo of Ellie Dixon. So, place this photo into 2019. row.
Next, we discovered that Julia was last seen at the beach. So, drag the photo of the beach into 2012. row.
Once you’re done, go back to the notes and take a look at the first page.
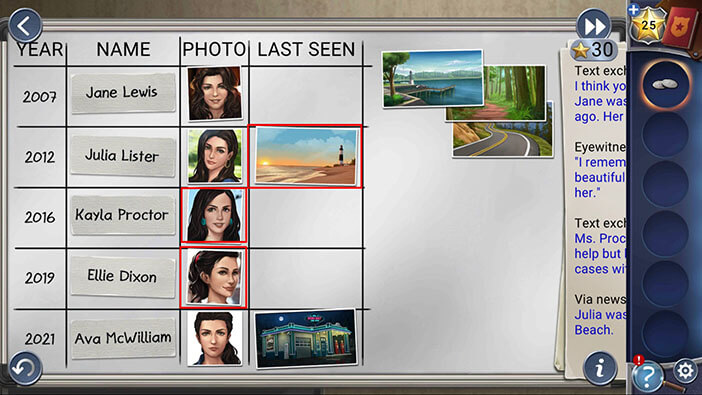
Now, we just have to determine the three locations. To do that, we will take a look at the three messages on the first page.
Second message. “The missing woman (JL) was last seen running along Evergreen Trail on the west end of town”.
JL are initials for Jane Lewis. So, next to her name should be a jogging trail/path.
Third message. “Highway traffic cameras confirmed Caucasian female, brunette, hair tied in a ponytail was spotted”.
Well, the photo of Ellie Dixon perfectly matches this description (the only one with the ponytail). So, the location next to her name should be the highway.
With these two locations assigned, we know that the last location must be next to Kayla’s name. But, let’s look at one more message.
First message. “I checked down by the docks again. These leads are coming up dry, boss.”
The date of this message is January 22nd, 2017. So, we could presume that the investigator is looking for leads about the last kidnapping after some time has passed (because all leads are dead ends). The year is 2017. so the most recent kidnapping happened in 2016. That’s the time when Kayla Proctor was kidnapped, so this message proves that we correctly assigned docks as the place where Kayla was last seen.
Ok, we have now figured out everything, so let’s assign the places to the correct rows on the whiteboard.
So,
The trail photo goes into 2007. row, next to Jane Lewis.
The highway photo goes into 2019. row, next to Ellie Dixon.
The docks photo goes into 2016. row, next to Kayla Proctor.
With this last step, we will arrange all clues and place them on the table according to the timeline. Well, I have to admit, this was one of the most difficult puzzles, but also one of the most interesting puzzles. At least for me.
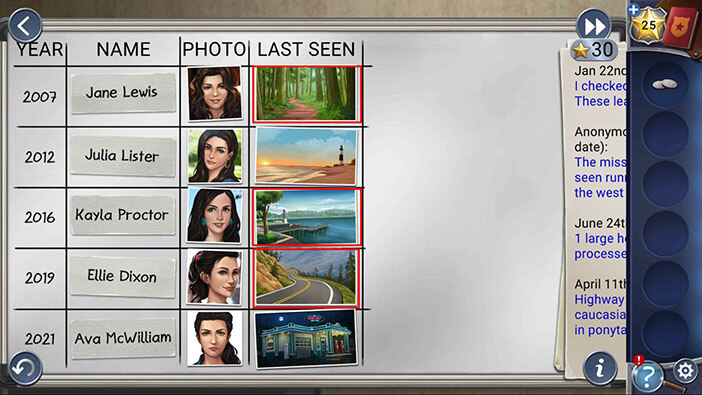
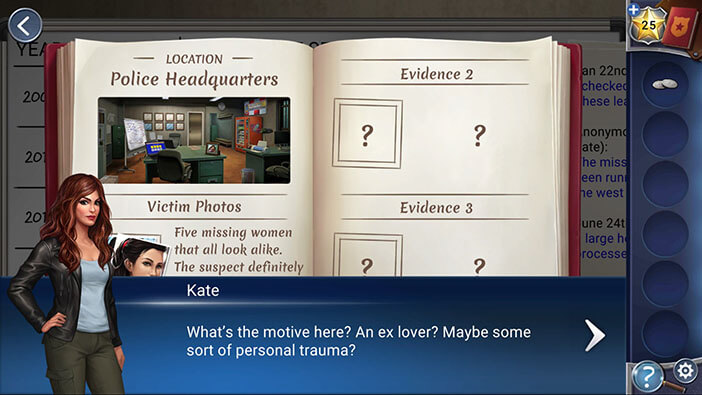
As soon as you correctly arrange the clues, Kate will add them to her “Evidence Notebook”.
She noticed that all women look alike, so the suspect definitely has the type. However, Kate still doesn’t know the motive behind the crimes.
When you put down the notebook, she will also conclude that the kidnappings are becoming more frequent, and she seems determined to stop this guy.
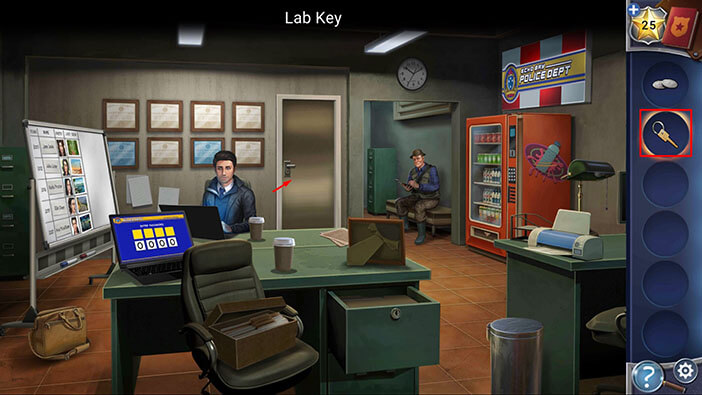
At this moment, Darius will come back. He is impressed with Kate’s detective skills because she was able to properly arrange his notes in such a short time. Darius also brought us the “Lab Key”.
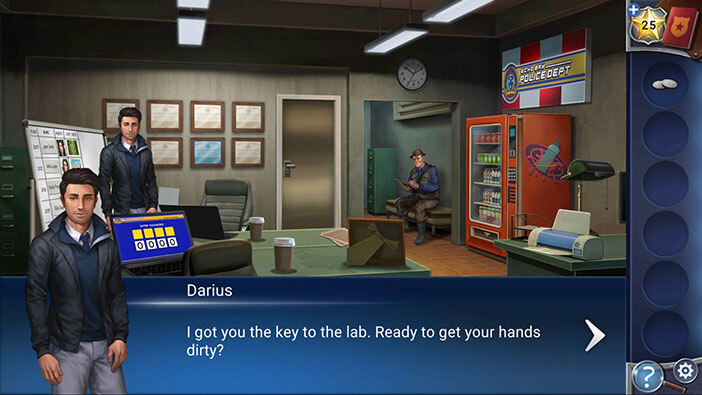
Select the “Lab Key” from the inventory and use it to unlock the door. After that, tap on the door to proceed into the lab.
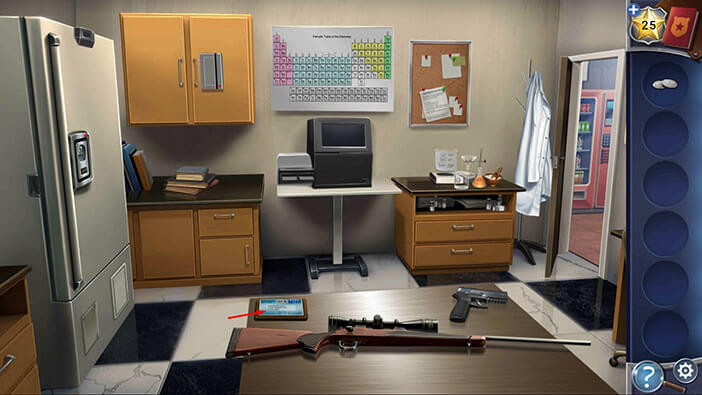
Ok, let’s take another look at the registration certificate.
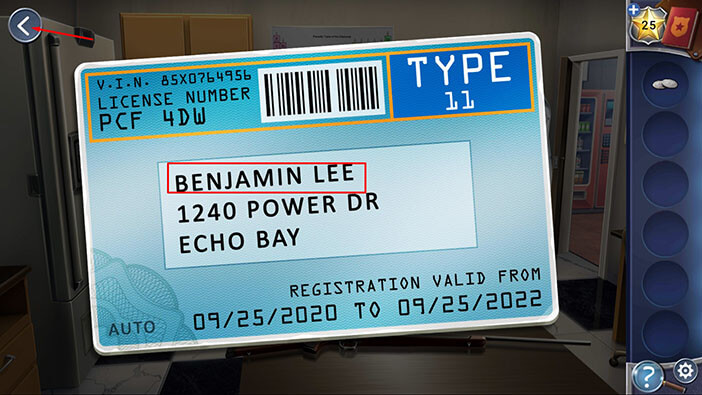
The truck was registered to Benjamin Lee (we already looked at this document on the bridge), so now we know the name of the suspect. Let’s memorize it.
Tap on the bottom drawer on the right to open it.
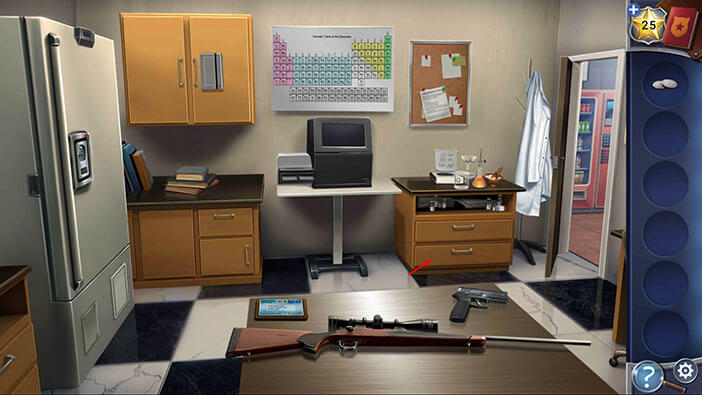
Tap on the “Ink Cartridge” to pick it up.
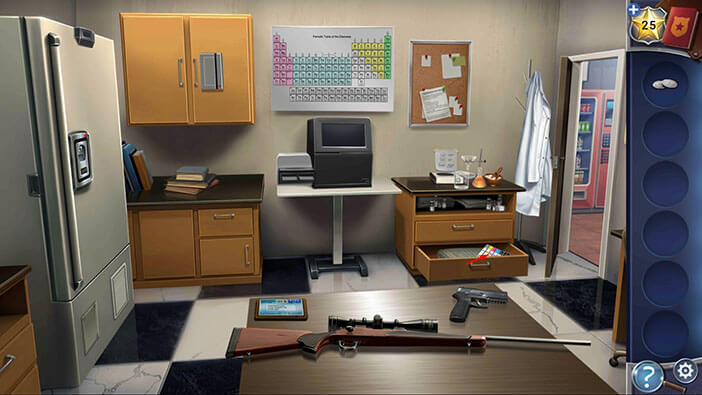
Next, open the cabinet door on the left and inside you will find some “Coins”. Tap on them to pick them up.
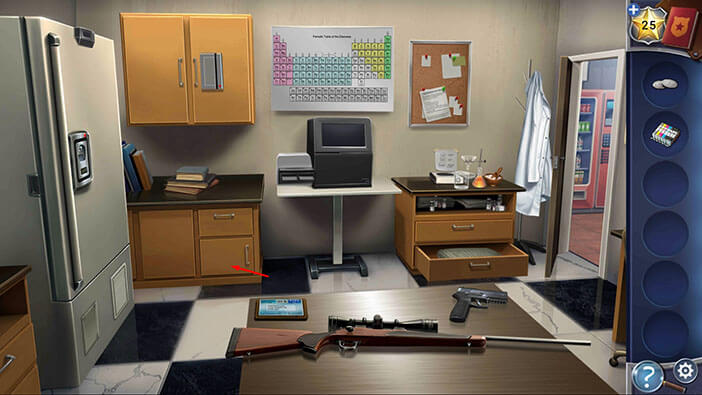
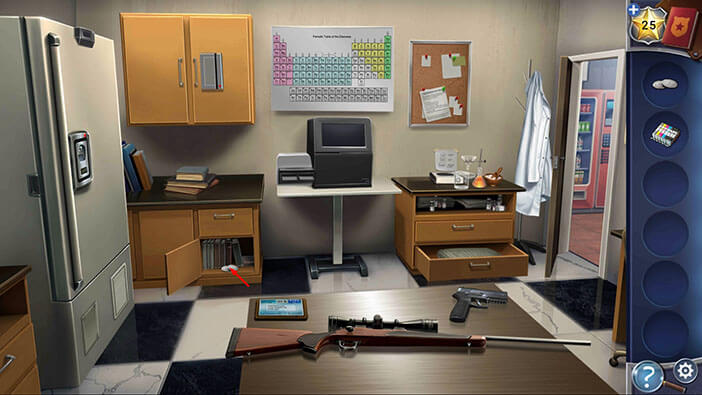
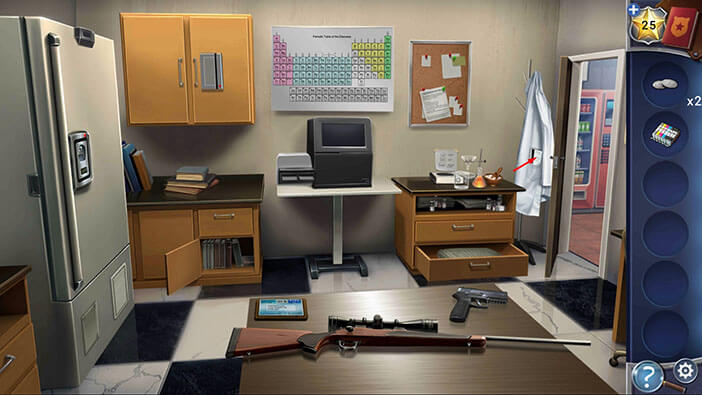
Next, tap on the coat in the right corner of the room, and Kate will move the sleeve to the side.
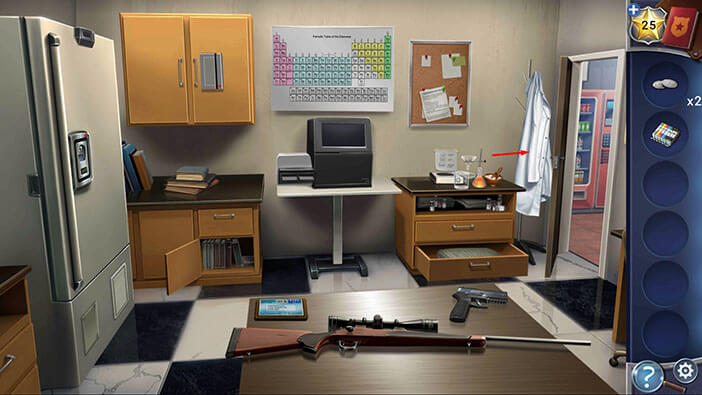
In the pocket, you will find a “Keycard”. Tap on it to pick it up.
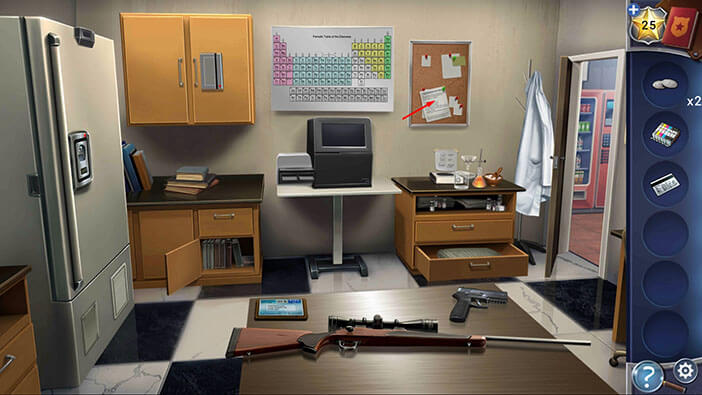
Next, tap on the document on the board to pick it up, and “Lab Memo” will be added to your inventory.
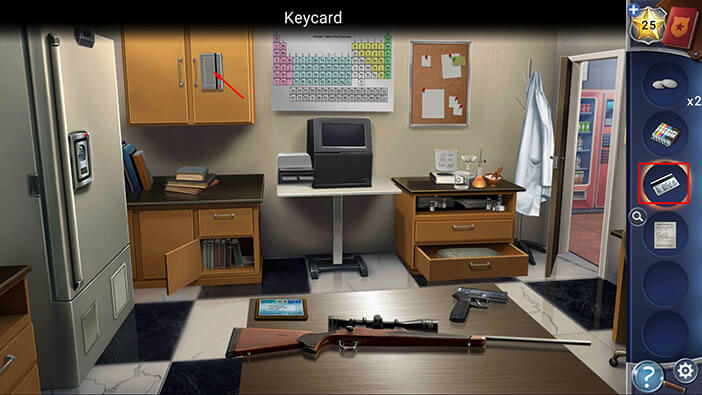
Select the “Keycard” from the inventory and use it to unlock the cupboard on the left.
Inside that cupboard, you will find some “Paper”. Tap on it to pick it up.
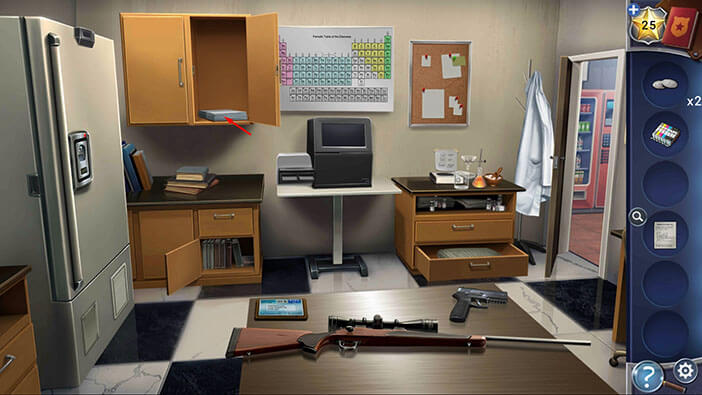
Tap on the left side of the cupboard to open it and inside you will find a “Centrifuge” and a few more “Coins”. Tap on these items to pick them up.
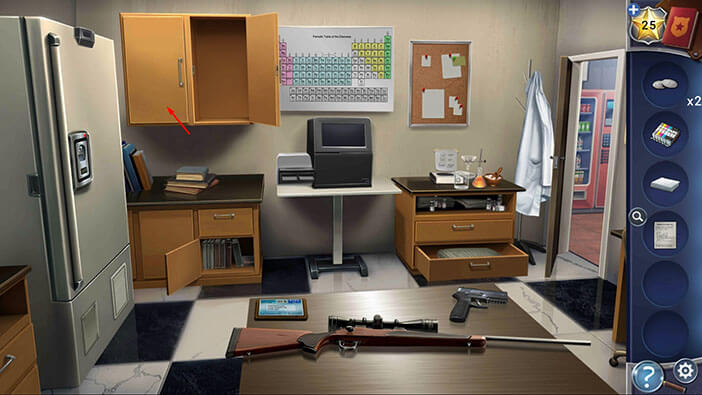
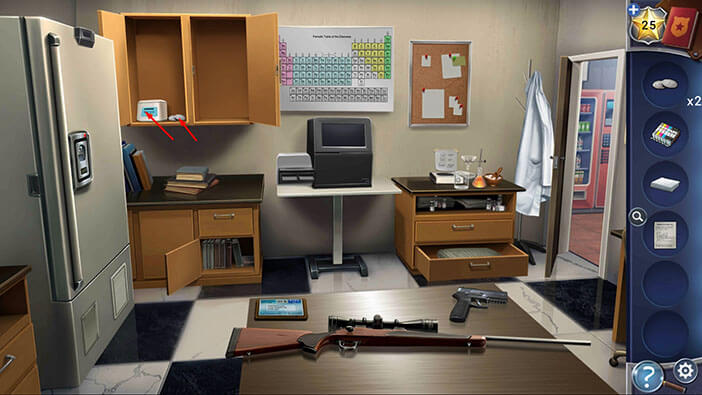
Ok, let’s go back to the previous room.
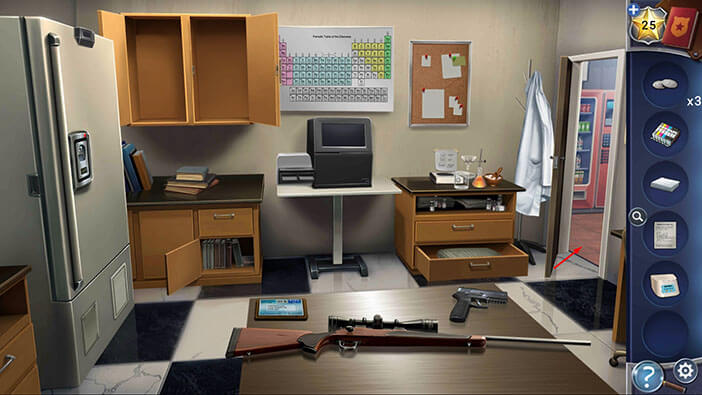
Tap on the laptop to take a closer look at it.
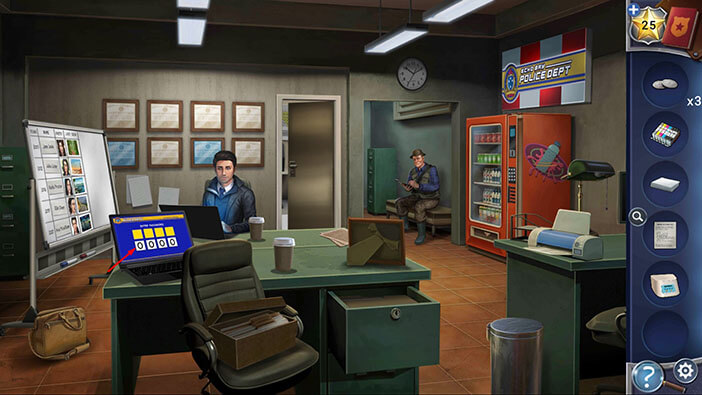
In order to access the laptop, we will need a four-digit code. Above each field, we can see one yellow square. If you tap on the squares, they will change color. If you pay attention to these colors, you will notice that each square has four colors in total, but three colors are present in every square, yellow, pink, and orange. So, each square has one unique color. Let’s set all squares to their unique color because this hint will enable us to figure out the laptop code. So, starting from left to right, we have,
First field = Light blue
Second field = Green
Third field = Black
Fourth field = Red
Memorize or write down the order of the colors, then tap on the button in the upper left corner of the screen to go back.
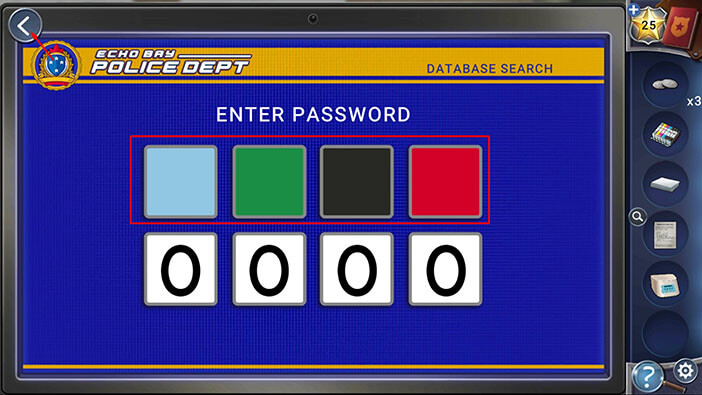
Our next task is to look around the office for squares in the four colors that match the colors of the squares on the laptop.
First, we should look for the light blue squares.
If you take a look at the certificates on the wall behind Darius, you will notice that two of them are light blue (in a square shape, of course).
So, our first number is 2.
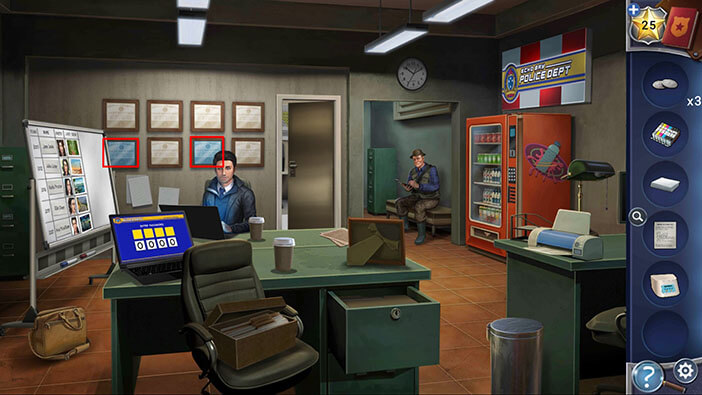
Next, we should look for green squares. Tap on the box on the chair to close it.
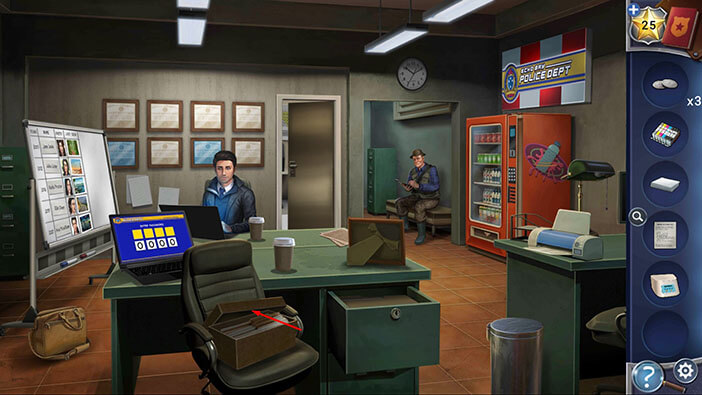
After closing the box, we can see six green squares.
So, our second number is 6.
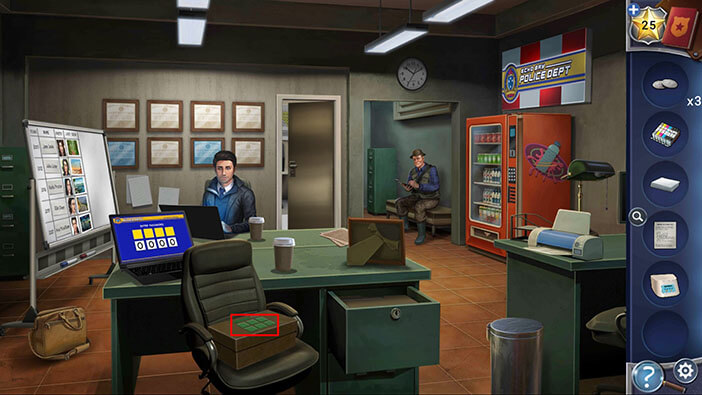
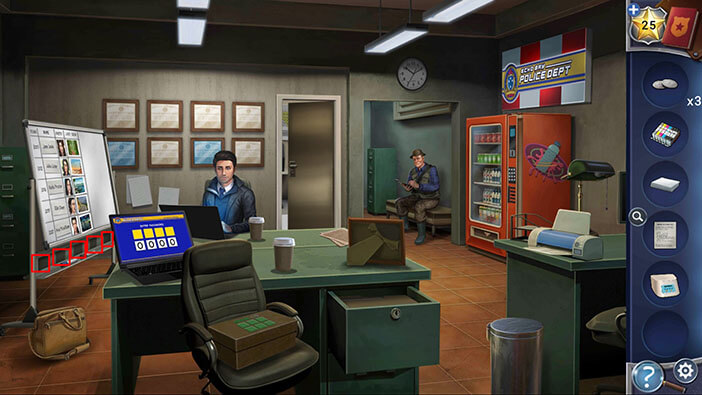
Next, we should look for black squares. If you look just below the whiteboard you will notice five black squares.
So, our third number is 5.
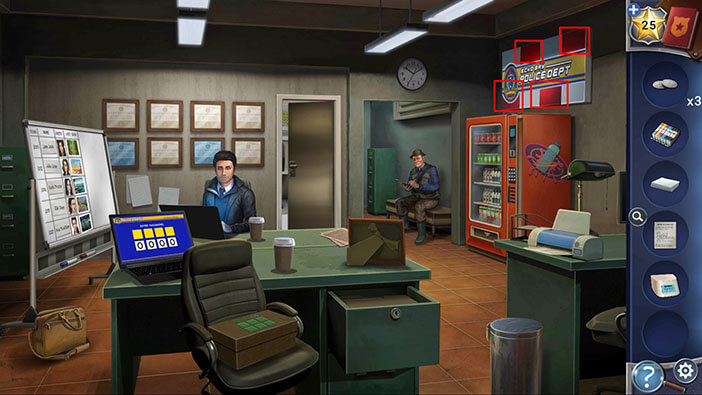
Lastly, we should look for the red squares. If you look at the sign on the right wall you will notice four red squares.
So, our fourth number is 4.
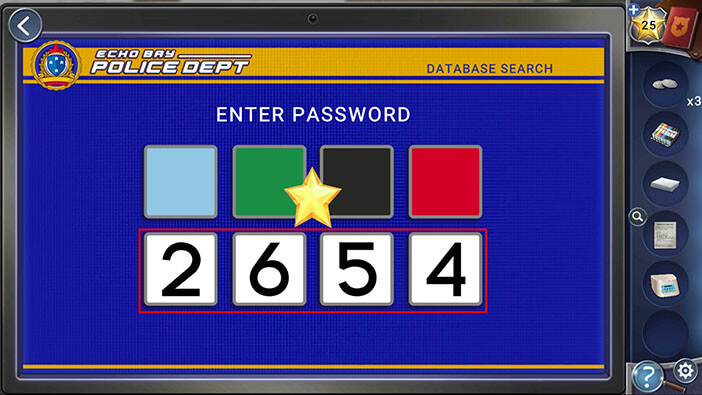
When we add it all together, we will get the password “2654”.
Ok, let’s go back to the laptop.
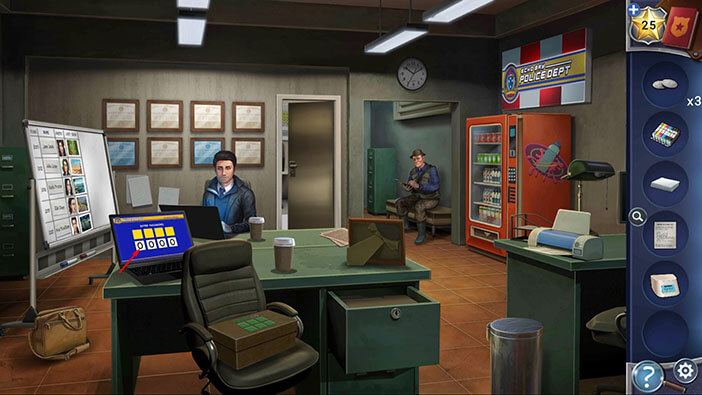
Enter the code “2654” and you will unlock the laptop.
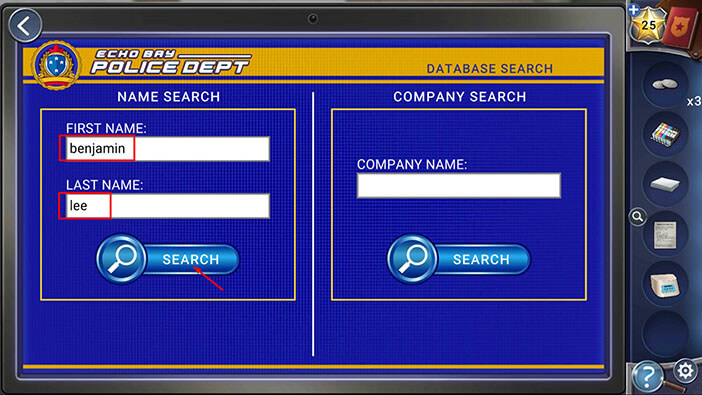
Ok, let’s see what we can find out about our suspect. Enter the name “Benjamin Lee” then tap on the “Search” button.
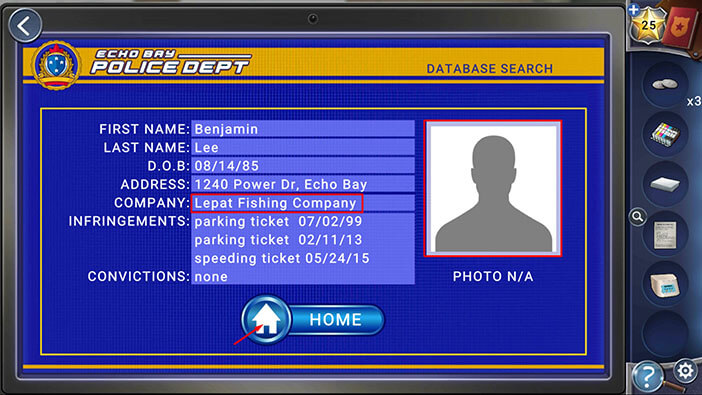
Well, his record is clean, apart from a few minor traffic violations. Also, there’s no photo of this man in the police records.
Apart from that, we also found out that he’s working at the “Lepat Fishing Company”. Memorize or write down the name of the company, then tap on the “Home” button to go back.
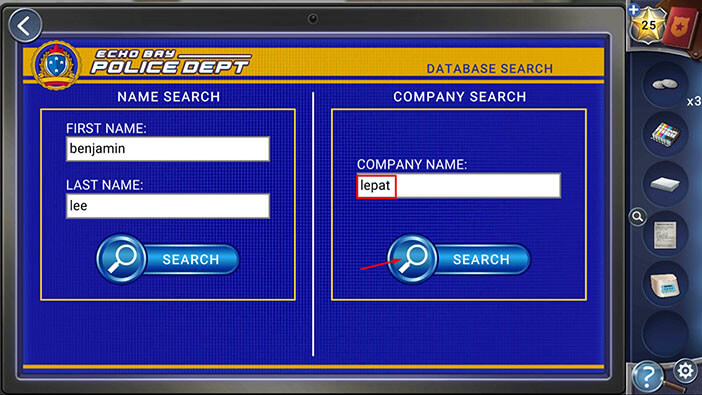
Let’s see what we can find out about this company. Enter the “Lepat” into the field on the right, then tap on the “Search” button.
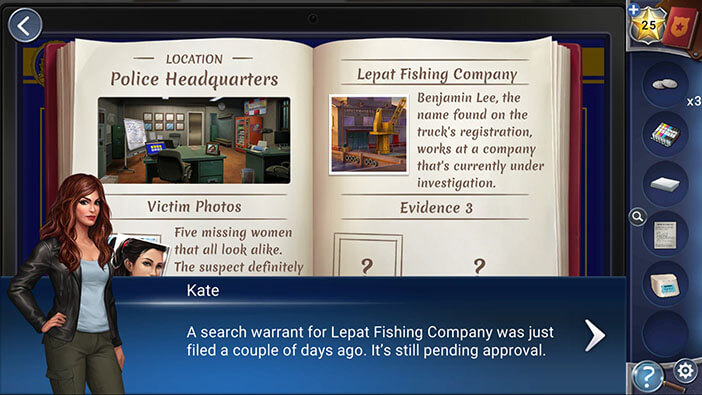
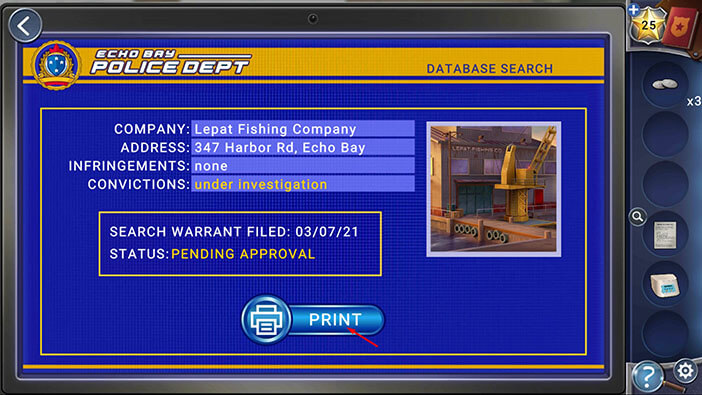
Well, we discovered that Benjamin’s company is under investigation, and the search warrant has been filled, but it is not approved, yet. Interesting. Maybe we could speed up the approval of this warrant, with some help from Nick and Darius, of course. That way, we could almost immediately go and look for our suspect at his workplace. I mean, it would be faster.
Also, Kate will add these files to her notebook.
Ok, next, we should print out the information about Benjamin Lee and his company. Let’s go back.
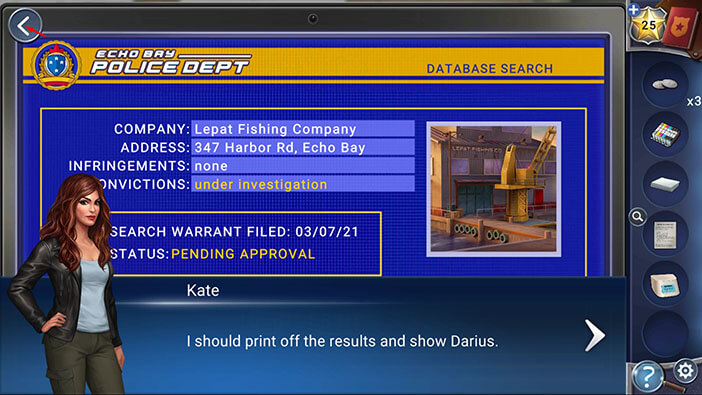
Well, it seems that Darius went somewhere. Doesn’t matter, we first have to print these files, anyway.
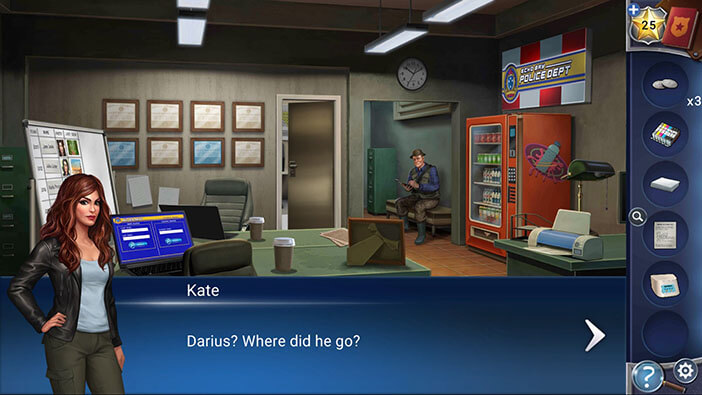
Tap on the printer on the right to open it.
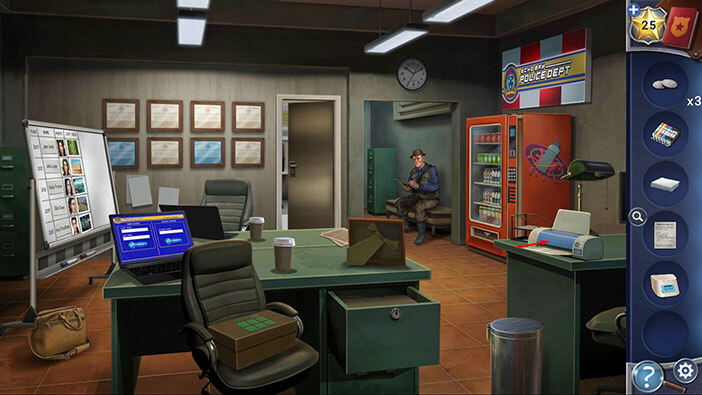
Select the “Ink Cartridge” from the inventory and insert it into the printer.
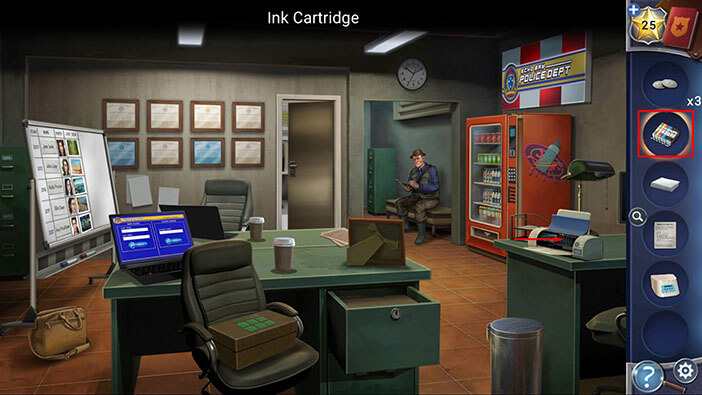
After that, select the “Paper” from the inventory and insert it into the printer.
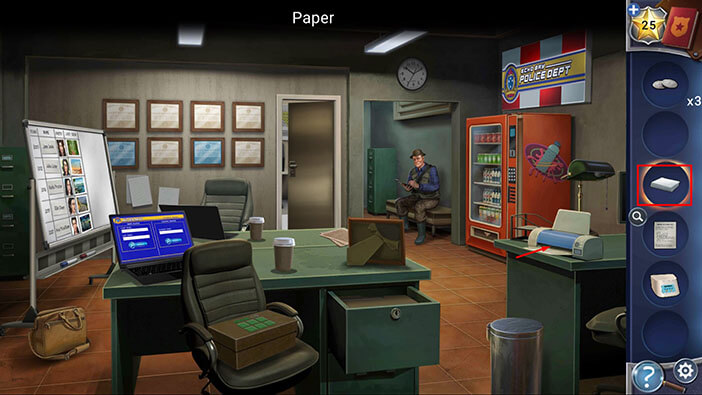
Ok, we have the printer set up, so let’s go back to the laptop.
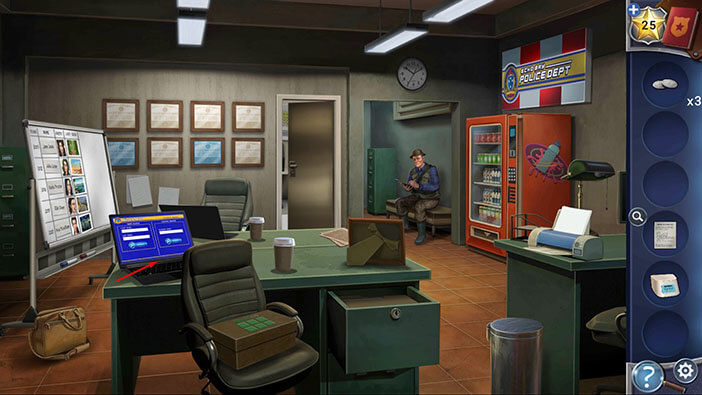
Tap on the “Print” button.
Tap on the file to pick it up and “Lepat Fishing Info” will be added to your inventory.
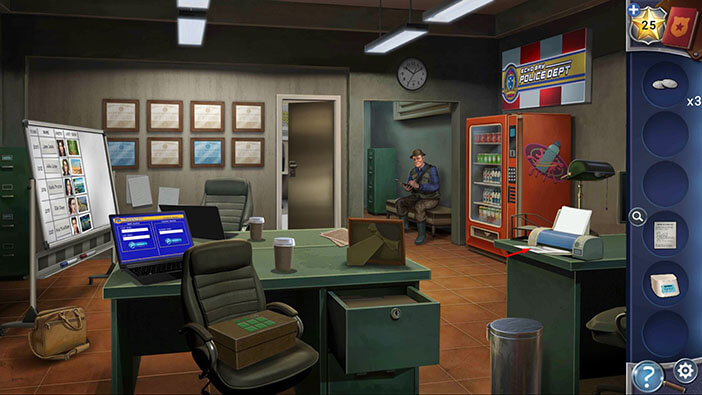
As soon as you pick up the file, Darius will come back. Kate is a bit angry because he left without telling her. But, Darius explains that he had to go to the bathroom, and sarcastically replies that he will ask for her permission before leaving, next time. Well, when you got to go, you got to go.
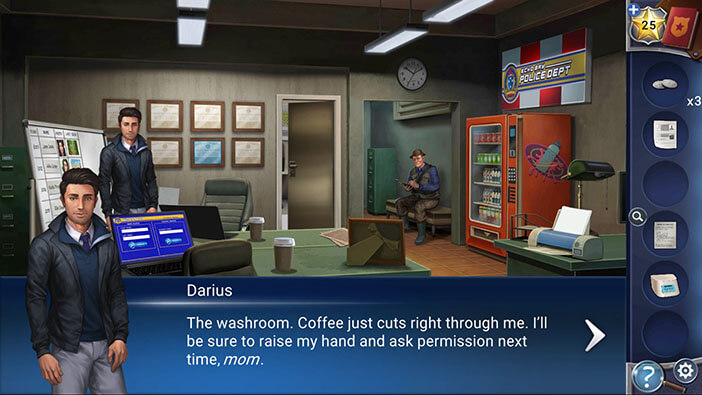
Ok, select the “Lepat Fishing Info” from the inventory and give it to Darius.
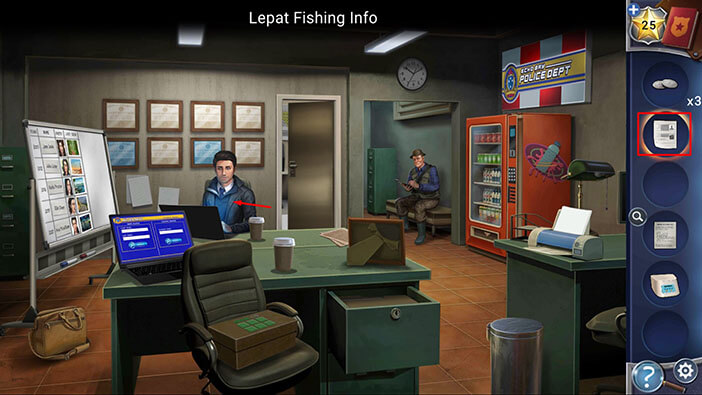
Kate explains that their suspect, Benjamin Lee, is running a fishing company that is currently under investigation. Darius knows about this case because he reported the company and started this investigation. Apparently, human remains were found along the Lepat Fishing’s delivery route. However, there’s also some bad news. To get the search warrant approved they will need probably cause.
At this moment, Nick will come back to the office. He explains that the search warrant won’t be approved for at least one more day. However, Nick thinks that he might be able to speed up the approval of the warrant. With that said, he will give you a “DNA sample”
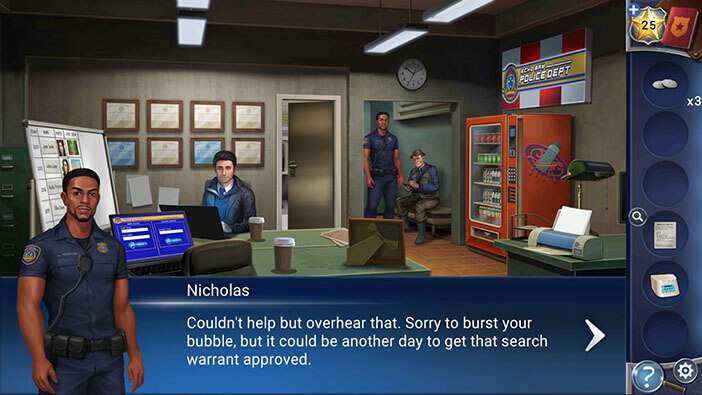
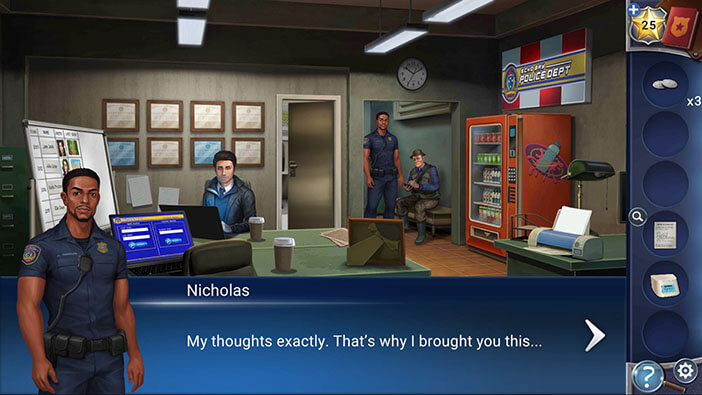
Nick explains that the hair was found in Ellie’s car (the woman with the ponytail that went missing in 2019.). This hair doesn’t match the DNA of her friends, so the officer thinks that they will probably get a match if they compare it to the suspect’s DNA. If the DNA is a match, they will automatically prove that the suspect is connected to both Ellie’s and Ava’s murders (plus kidnapping and attempting to murder Kate). Well, with a potential serial killer on the loose, they should get the search warrant approval almost instantly.
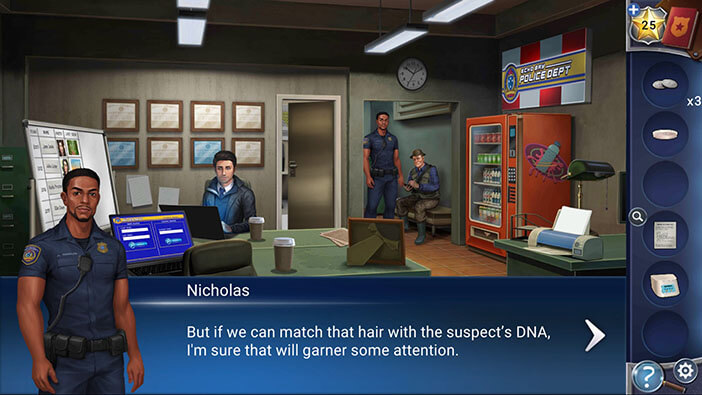
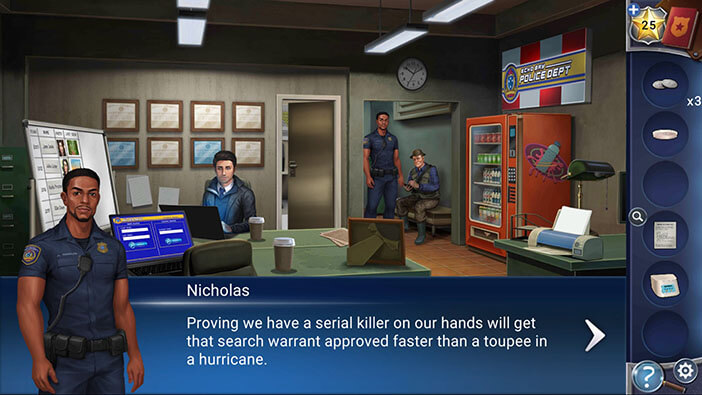
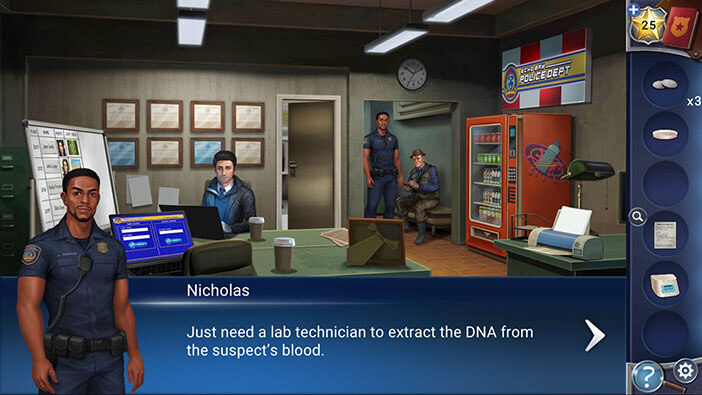
However, in order to proceed with the plan, they will have to find a lab technician who can extract the DNA sample from the suspect’s blood. As a reminder, we have the suspect’s blood because Kate shot him during the firefight on the bridge.
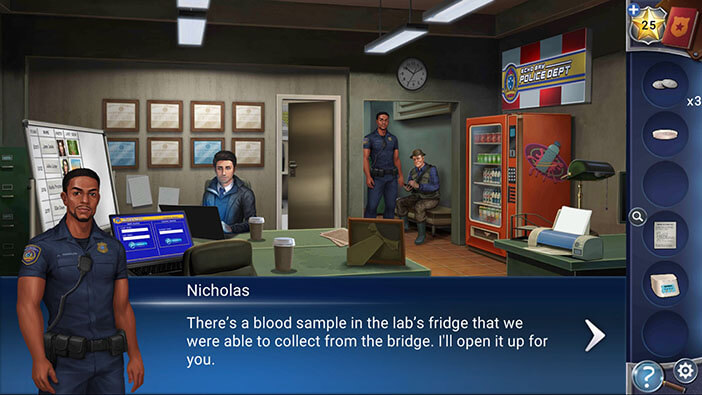
Well, Kate knows how to do this task, so everything looks great. Nick is impressed with her and informs her that the suspect’s blood sample is in the lab fridge. He will go with her and open the fridge as soon as she’s ready.
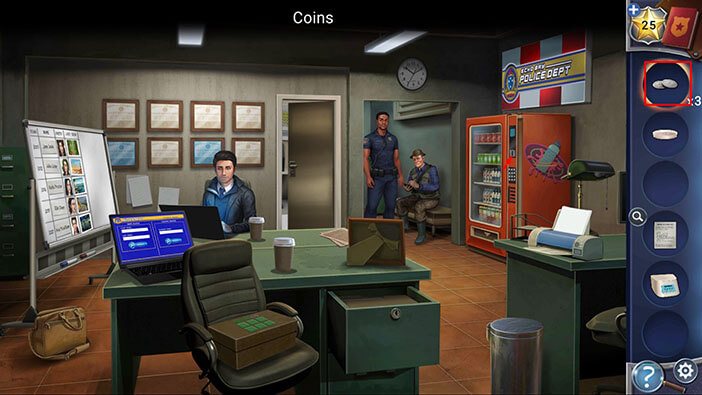
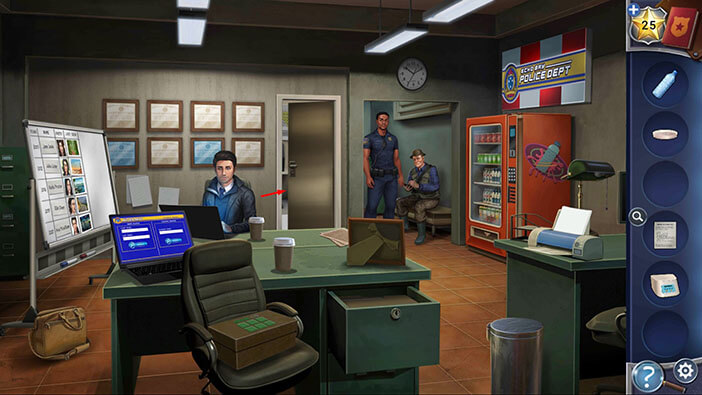
There’s one more thing that we should do before we go to the lab. Select the three “Coins” from the inventory and insert them into the vending machine on the right.
After inserting the coins, “Bottle of Water” will be automatically added to your inventory.
Ok, let’s go into the lab.
Tap on the fridge to start the interaction, and Nick will use his fingerprint to open it.
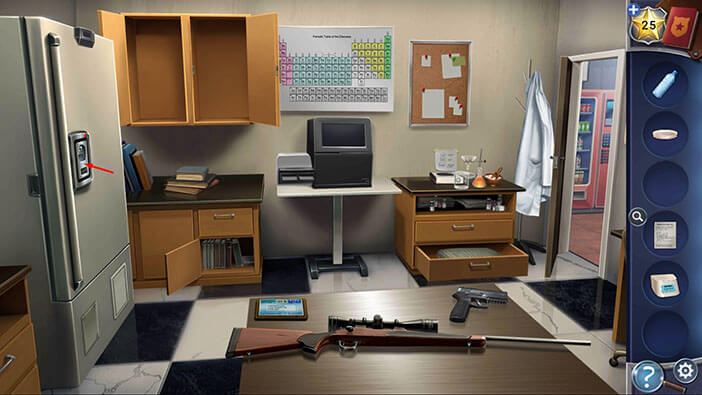
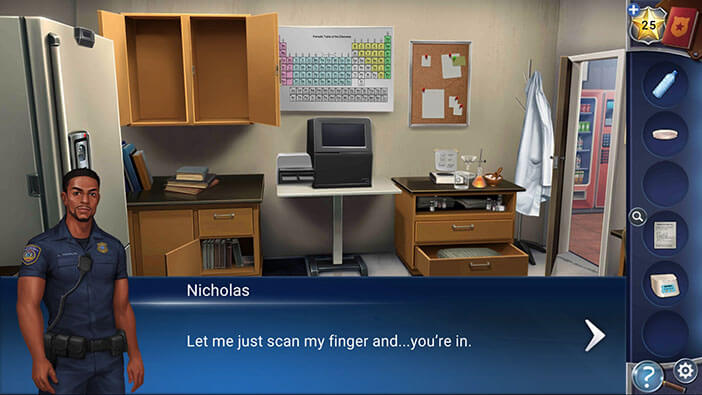
Tap on the “Suspect’s Blood” and “Propyl Alcohol” to pick them up.
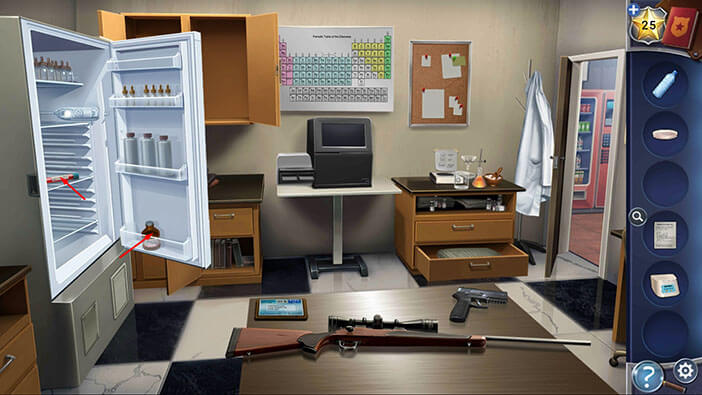
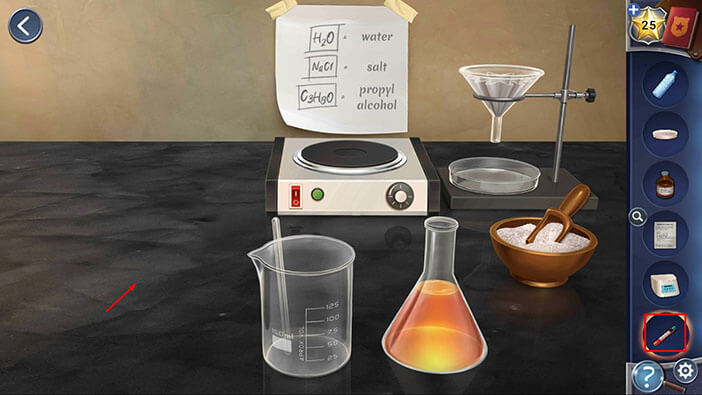
Next, tap on the chemical apparatus on the right to start the interaction.
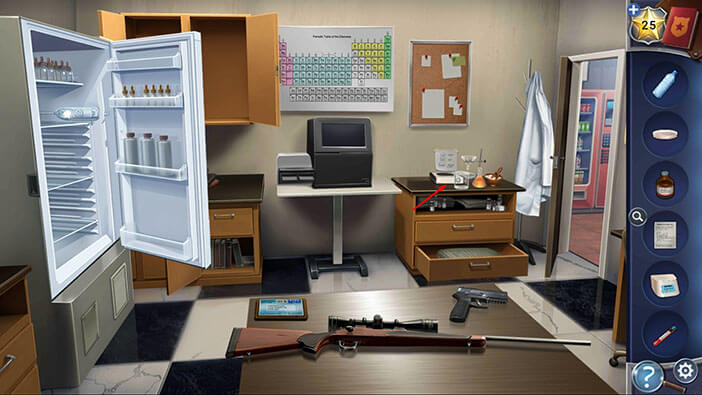
Next, select the “Suspect’s Blood” from the inventory and tap on the table. As soon as you do that, Kate will say that she will need four items in order to extract the DNA sample. These items are a centrifuge, propyl alcohol, some water, and a blood sample.
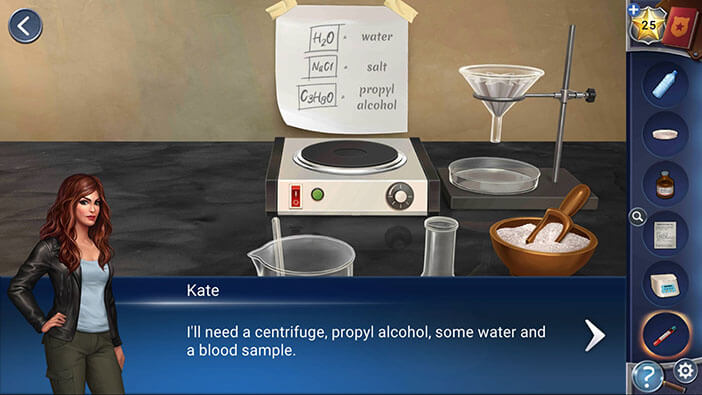
Luckily we already have all of the necessary items, so select the one by one and place them on the table.
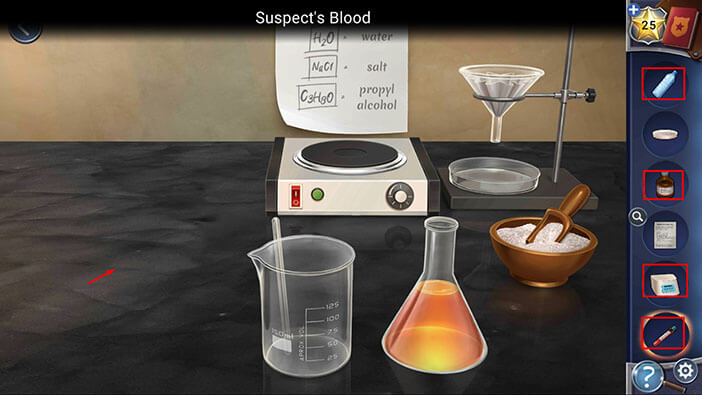
Ok, our next task is to extract the DNA sample and to do that, we will first have to check the lab notes. Kate thinks that she might need several attempts before she succeeds because the process is very complicated.
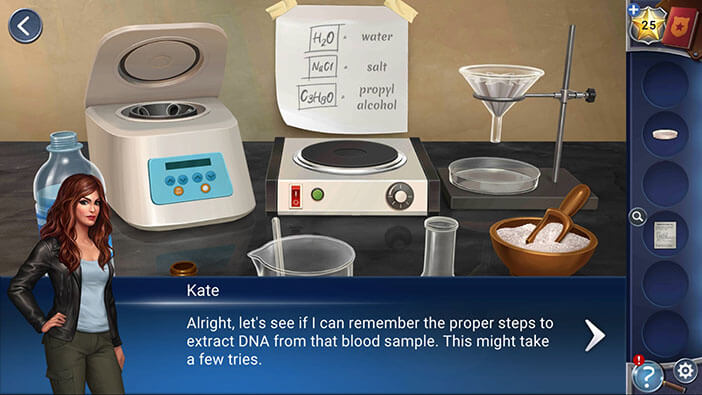
Tap on the magnifying glass next to the “Lab notes” to read them.
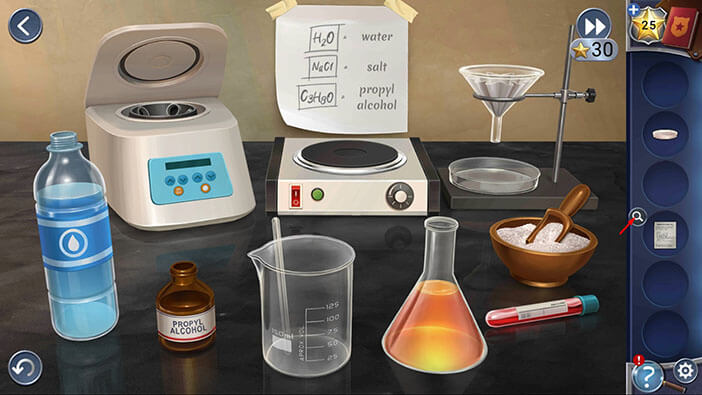
Here, we can see seven steps for extracting the DNA sample. You can write down these steps, or you could take another look at the lab notes, after each step. The steps are
Heat H2O
Add NaCl to heated H2O
Then add Wash Solution
Spin the blood in a centrifuge
Then add blood to NaCl / Wash mixture
Filter blood mixture through the funnel and onto the petri dish
Add C3H8O to the filtered blood mixture
Once you read (or write down) the steps, tap on the arrow in the upper left corner to go back.
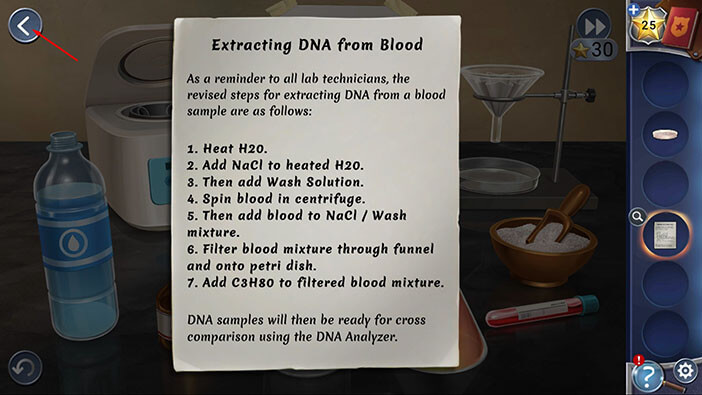
Before we begin, take a look at the note above the lab heater, and you will see that,
H2O = Water (most likely, everyone already knows this)
NaCl = Salt
C3H8O = Propyl Alcohol
Step 1: Heat H2O
Drag the bottle of water from the left, and use it to pour some water into the beaker.
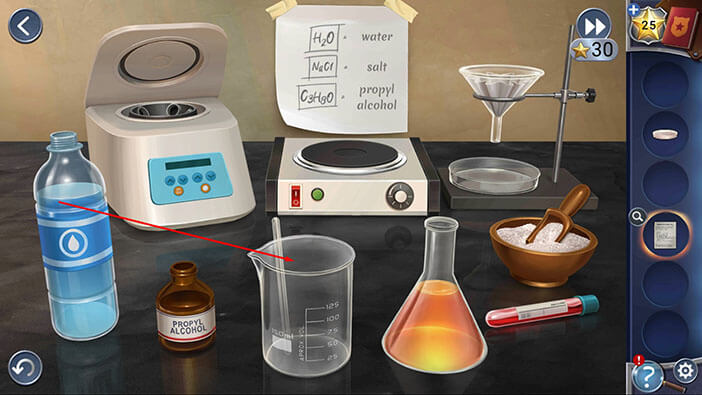
Next, drag the beaker and put it onto the lab heater. Kate will automatically remove the beaker once the water starts to boil.
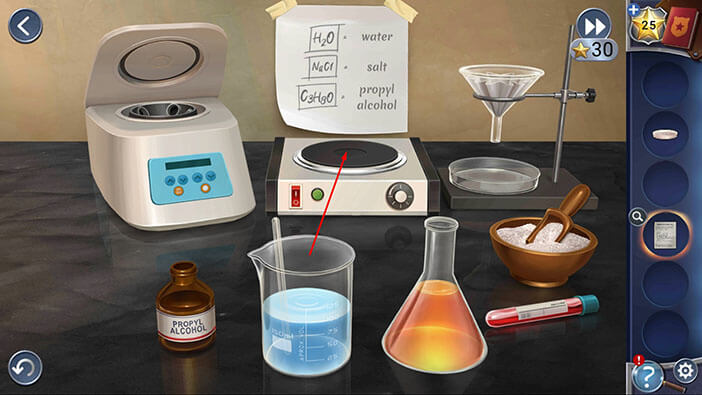
Step 2: Add NaCl to heated H2O
Drag the spoon of salt from the right and pour it into the beaker.
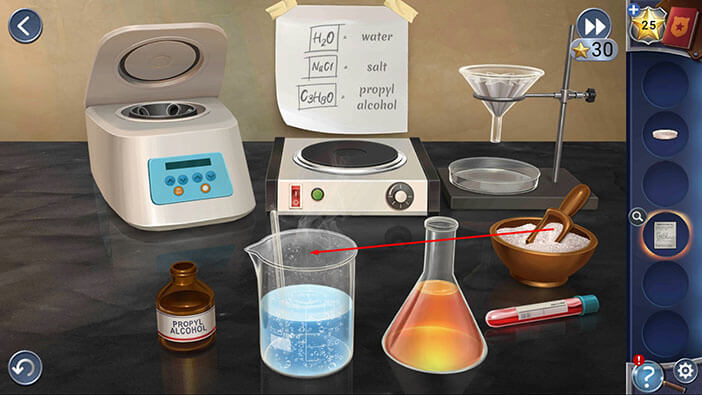
Step 3: Add Wash Solution
Drag the bottle with orange liquid and pour some of it into the beaker.
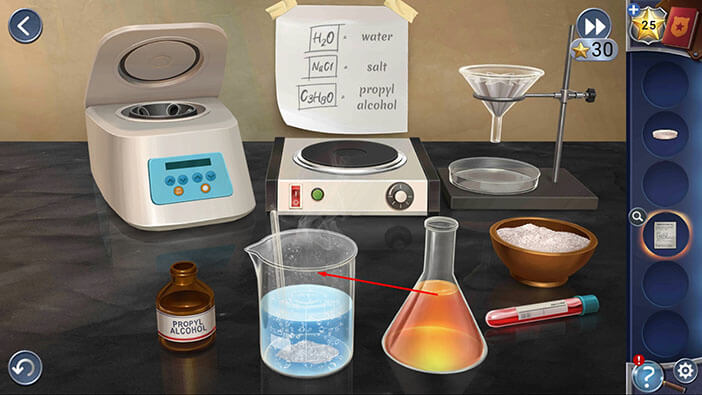
Step 4: Spin the blood in a centrifuge
Drag the vial of blood from the right and put it into the centrifuge. It will automatically start working.
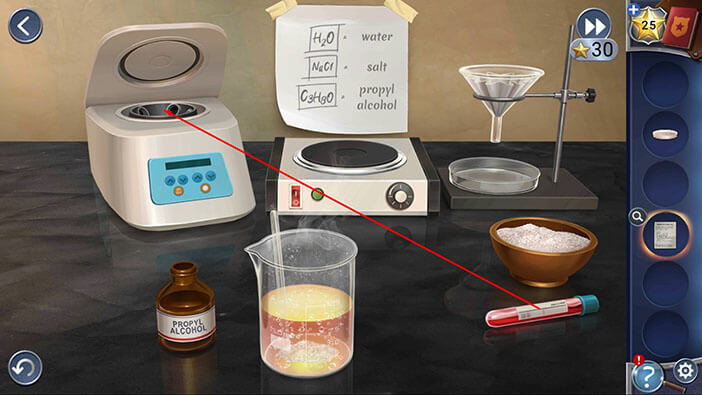
Step 5: Add blood to NaCl / Wash mixture
Take out the vial from the centrifuge and pour the blood into the beaker.
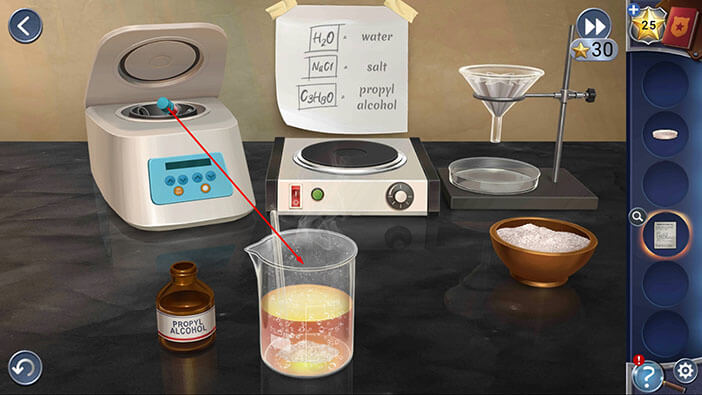
Step 6: Filter the blood mixture through the funnel and onto the petri dish
Drag the beaker and pour its content into the filter on the right.
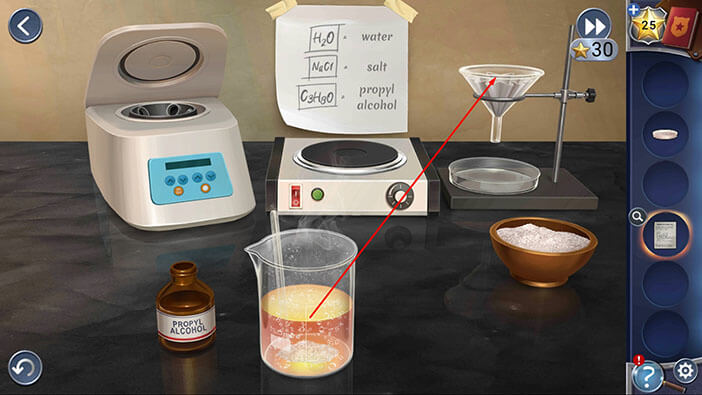
Step 7: Add C3H8O to filtered blood mixture
Finally, drag the bottle of propyl alcohol from the left, and pour some of it into the mixture.
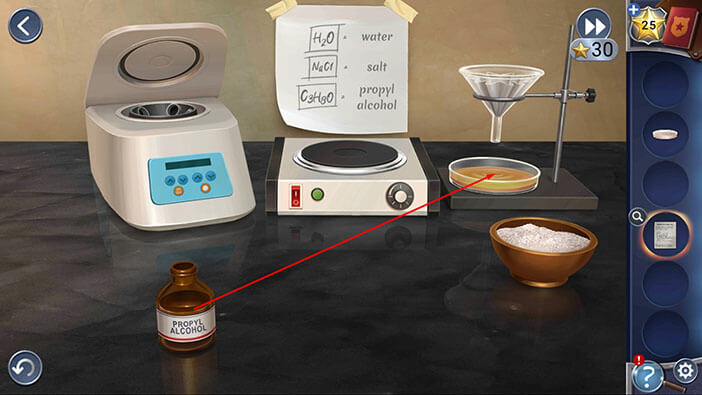
After completing the seventh step, we have successfully extracted the “DNA Sample” and it will be automatically added to your inventory.
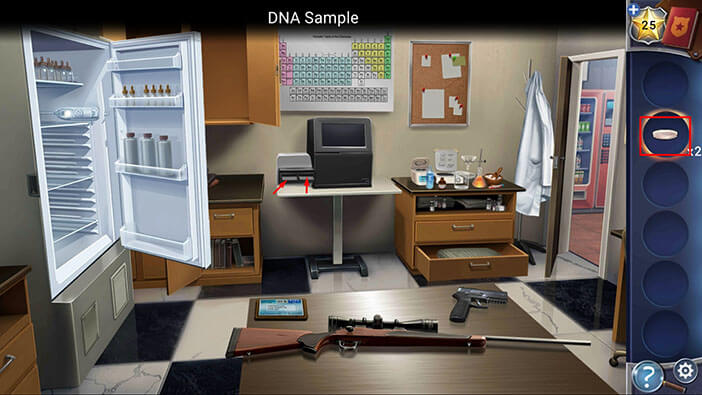
Ok, it’s time to compare these two DNA samples. Select the “DNA Samples” from the inventory and insert them into the DNA Analyzer (the machine below the periodic table)
Here, we have another minigame. Our task is to match the DNA strands from the right with the ones on the left. We will do this by aligning the blue bars, which will glow green, once we align them.
Let’s begin.
Step 1
The first (looking from left to right) DNA strand from the right side should be placed next to the DNA strand in the first row.
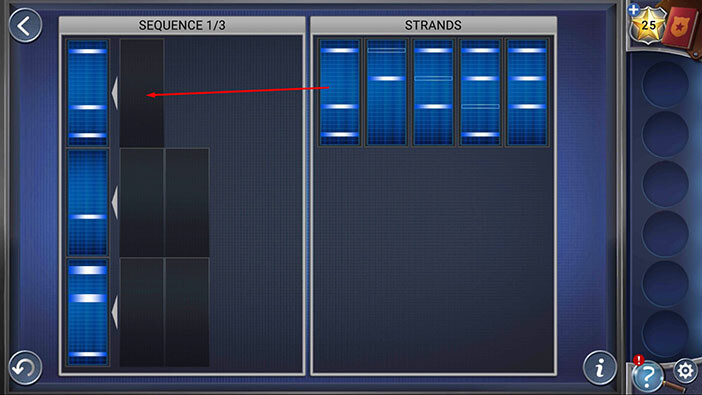
Step 2
Drag the third DNA strand from the right side and place it into the first slot in the second row.
Next, drag the second DNA strand from the right side and place it into the second slot in the second row.
NOTE: The empty bars will cancel the blue bars if you align them
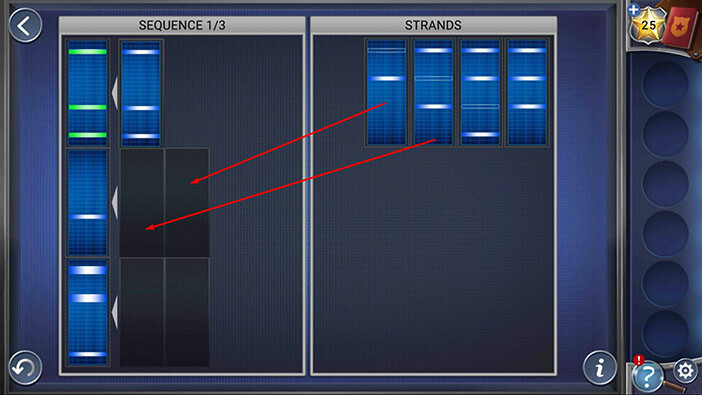
Step 3
If you pay attention to the DNA strand in the third row, you will notice that its two top bars are significantly thicker than the regular bar. Thick (double bars) can be formed by aligning two blue lines (of regular thickness).
So, drag the fourth DNA strand from the right side and place it into the first slot in the third row
Next, drag the fifth DNA strand from the right side and place it into the second slot in the third row.
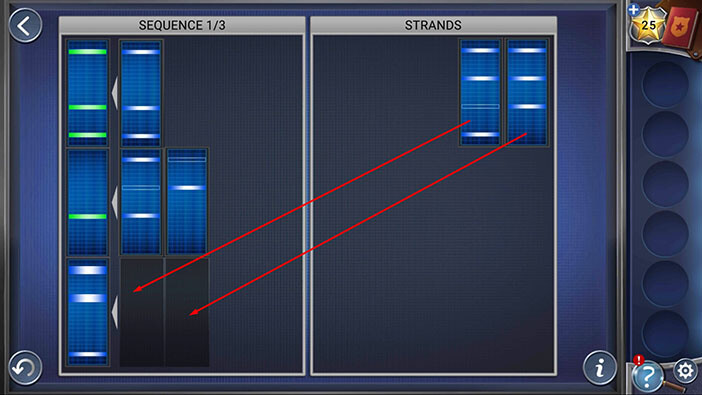
Ok, with that we have completed the first sequence of matching of the DNA strands (and we got a match). There are 3 sequences in total, as you can see in the upper left part of the screen. The sequences have progressive difficulty, so the third one will be quite a challenge.
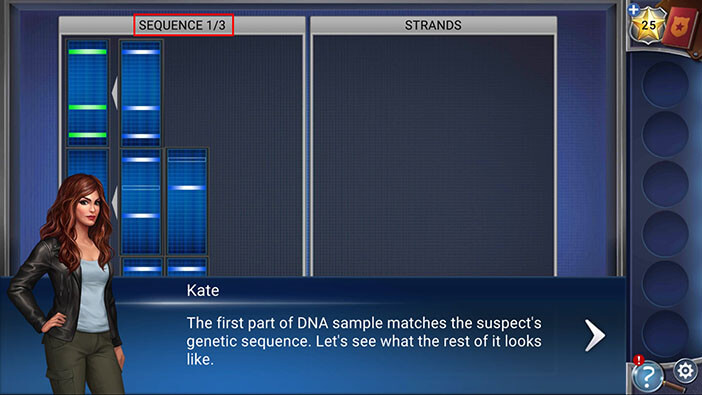
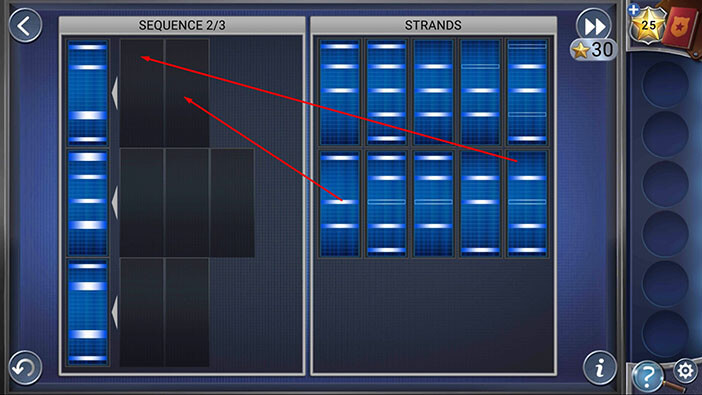
Sequence 2, Step 1
Drag the fifth DNA strand from the second row on the right side and place it into the first slot in the first row.
Next, drag the first DNA strand from the second row on the right side and place it into the second slot in the first row.
Sequence 2, Step 2
Drag the fourth DNA strand from the first row on the right side and place it into the first slot in the second row.
Next, drag the third DNA strand from the second row on the right side and place it into the second slot in the second row.
Lastly, drag the first DNA strand from the first row on the right side and place it into the third slot in the second row.
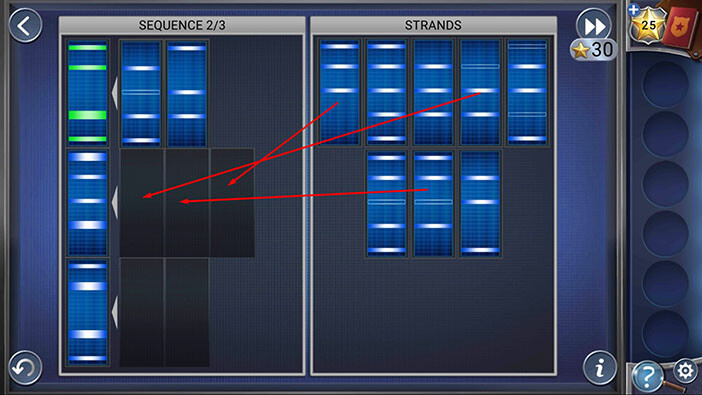
Sequence 2, Step 3
Drag the second DNA strand from the second row on the right side and place it into the first slot in the third row.
Next, drag the third DNA strand from the first row on the right side and place it into the second slot in the third row.
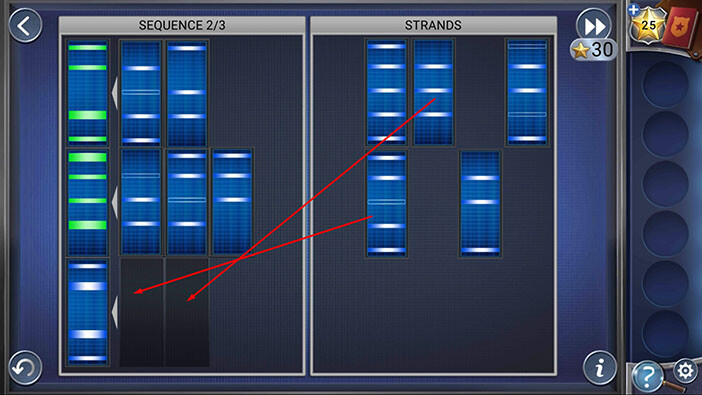
We got another match. Well, two down, one to go.
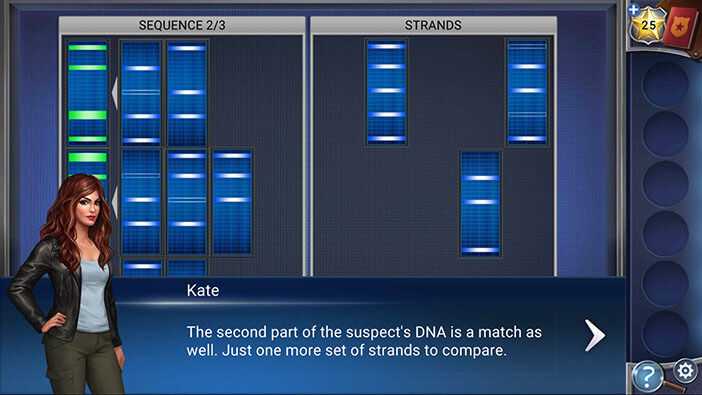
Sequence 3, Step 1
Drag the third DNA strand from the first row on the right side and place it into the first slot in the first row.
Next, drag the third DNA strand from the second row on the right side and place it into the second slot in the first row.
Lastly, drag the fifth DNA strand from the first row on the right side and place it into the third slot in the first row.
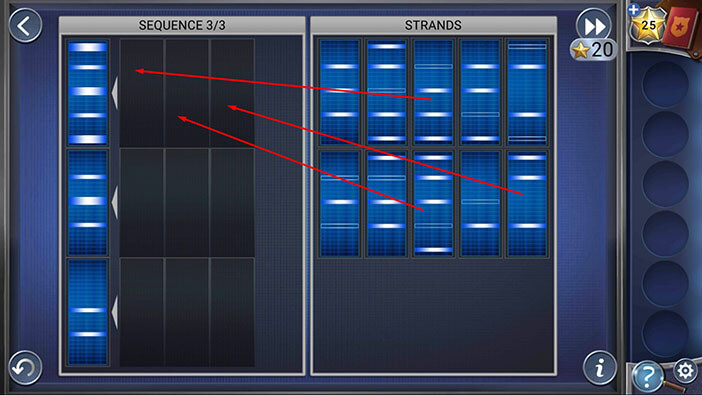
Sequence 3, Step 2
Drag the fourth DNA strand from the first row on the right side and place it into the first slot in the second row.
Next, drag the fifth DNA strand from the first row on the right side and place it into the second slot in the second row.
Lastly, drag the second DNA strand from the second row on the right side and place it into the third slot in the second row.
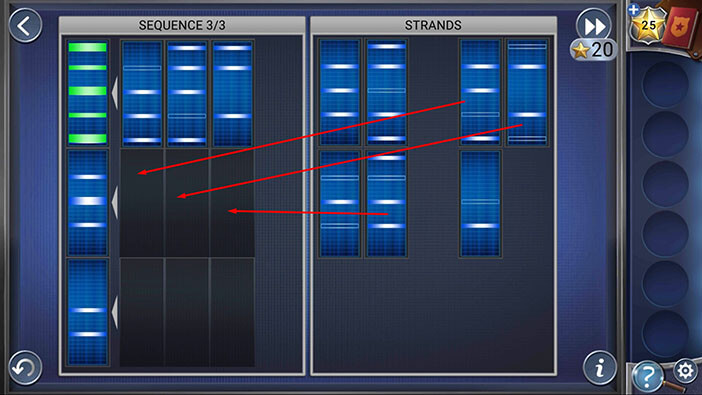
Sequence 3, Step 3
Drag the first DNA strand from the first row on the right side and place it into the first slot in the third row.
Next, drag the first DNA strand from the second row on the right side and place it into the second slot in the third row.
Finally, drag the fourth DNA strand from the second row on the right side and place it into the third slot in the third row.
With this last step, we will solve the puzzle.
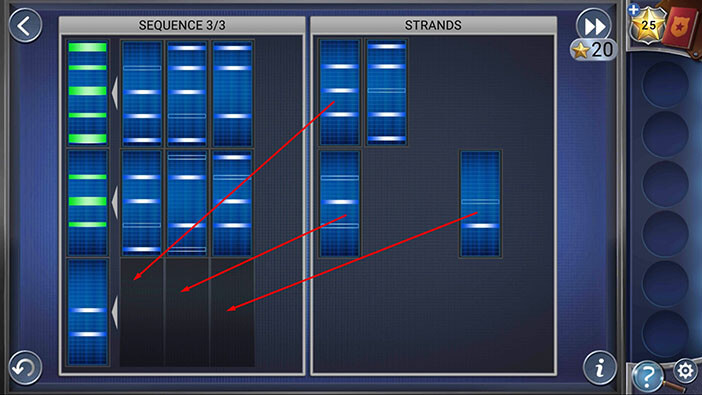
Great! We have a match! The DNA sample taken from the suspect’s blood matches the DNA that was found in Ellie’s car.
Kate will add this discovery to her evidence notebook.
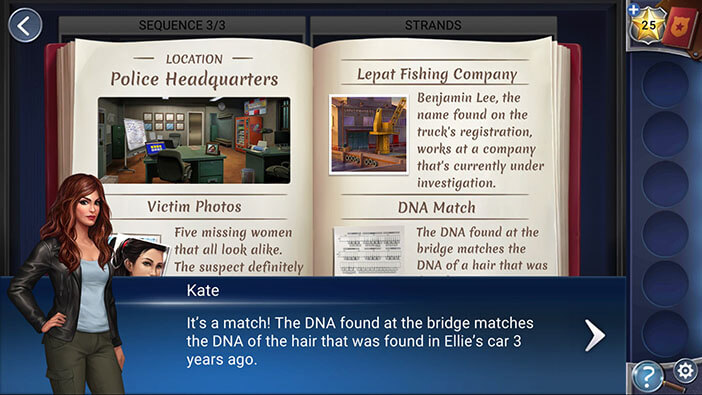
Now, we just have to print these results. Let’s go back to the office.
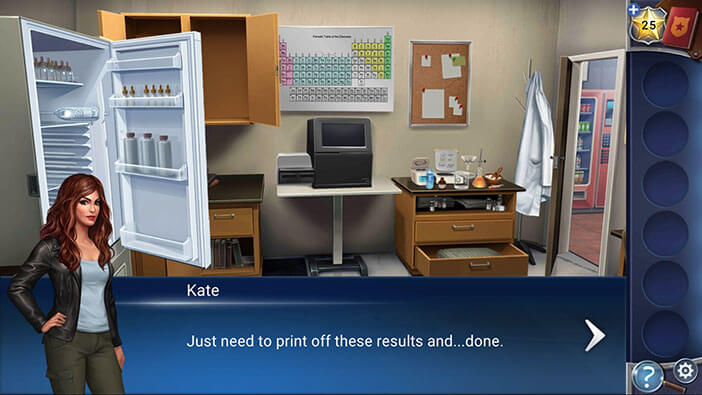
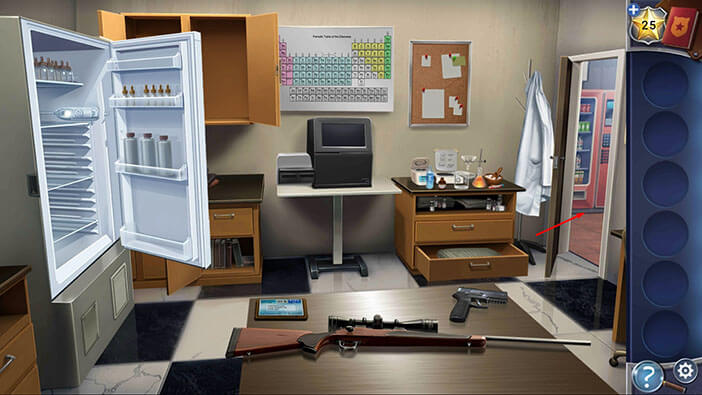
When you enter the office, you will hear that the printer is already working. So, tap on the document to pick it up, and “DNA Match Info” will be added to your inventory.
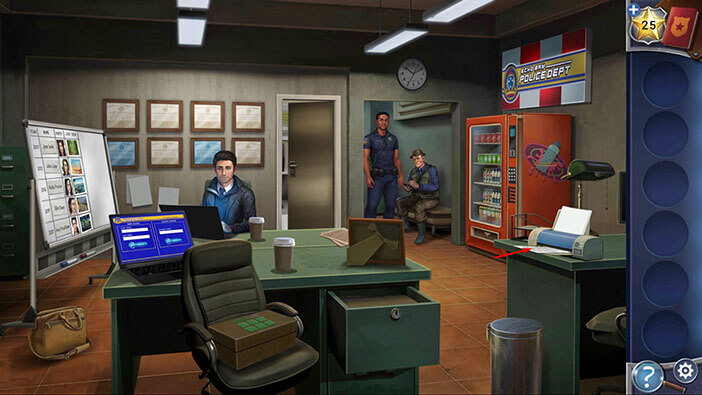
Select the “DNA Match Info” from the inventory and show it to Darius.
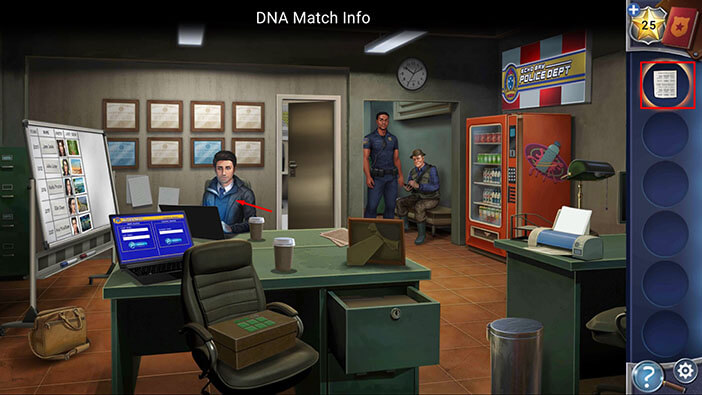
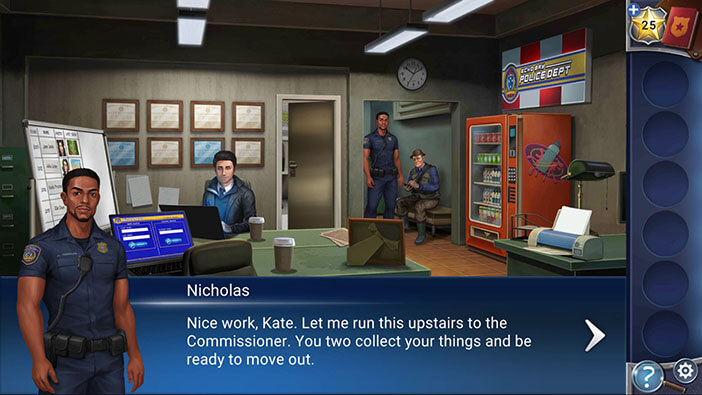
Both Nick and Darius are very excited after hearing the good news. Nick immediately went to his office to call the Commissioner and ask for approval of the search warrant. With the DNA match, he will probably get the approval right away, so he instructs Kate and Darius to prepare because as soon as they get the approval, they will go to the “Lepat Fishing Company”.
Darius is very grateful for Kate’s help because, without her, he probably wouldn’t be able to solve this case. Kate, although her first night in town was very unpleasant, is glad that she could help. If there was any sign of exhaustion before, she has now replaced it with sheer determination. She’s ready to face Benjamin once more, but this time she won’t allow him to escape.
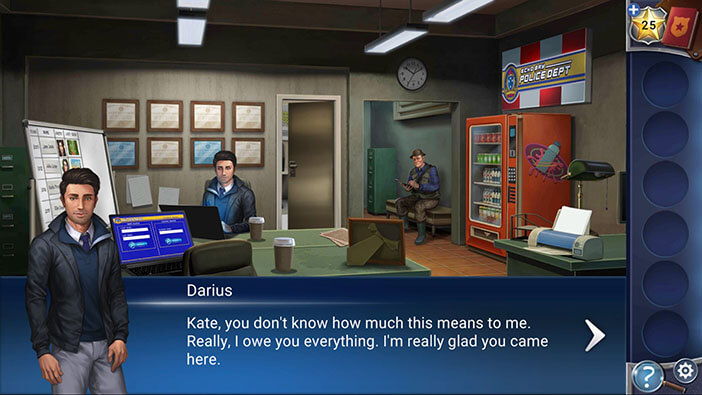
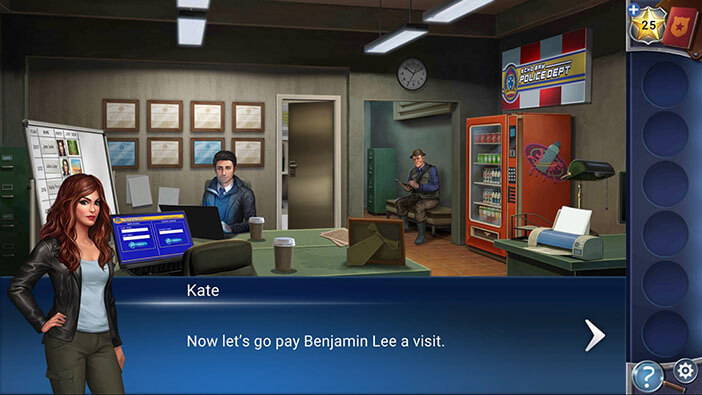
Well, that’s the end of the fifth chapter. After some initial hick-ups, Kate, Darius, and Nicholas managed to secure the search warrant and discovered that their suspect is a serial killer. He’s responsible for at least five murders. However, they only have the physical evidence to connect him with Ava and Ellie. But, will they manage to arrest him? I don’t think so because the next chapter is number 4, out of six. Well, even if they arrest him, he will probably escape because something has to happen in the last two chapters. We will find out soon enough. Join us in the next chapter, as Darius and Kate look for the suspect “Lepat Fishing Company”.
You can check out the sixth chapter by tapping on the “Chapter VI” button.
Thank you for reading.