The Abandoned Planet | Act 3 – The Islands
Intro
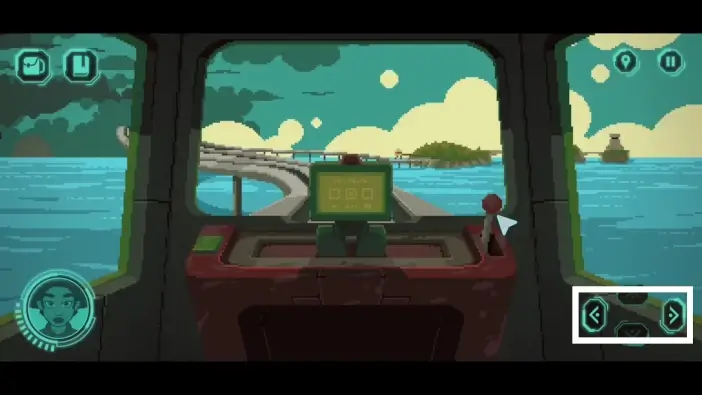
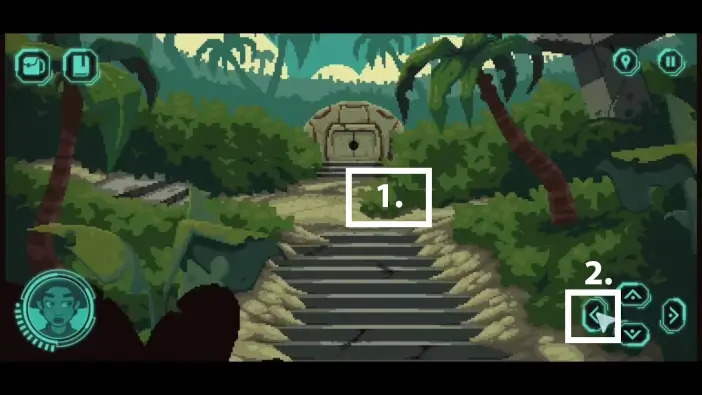
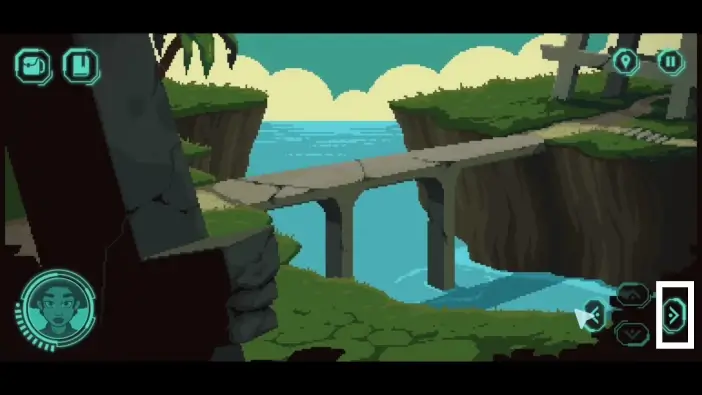
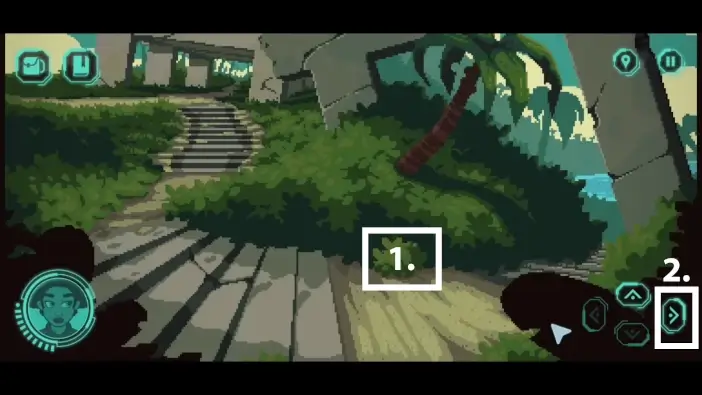
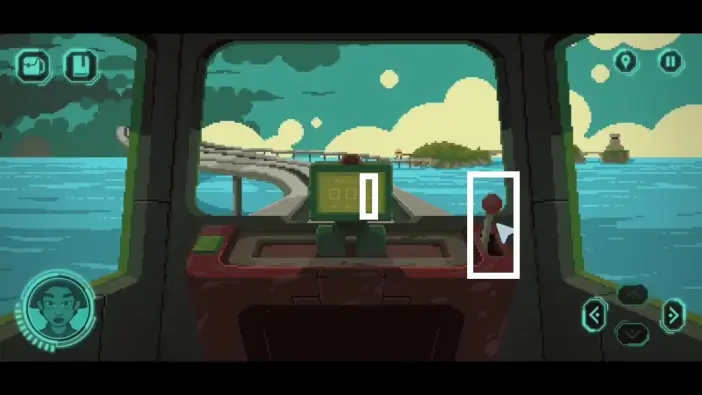
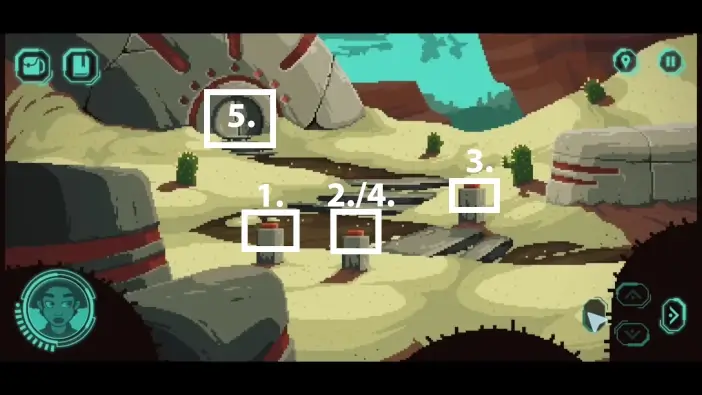
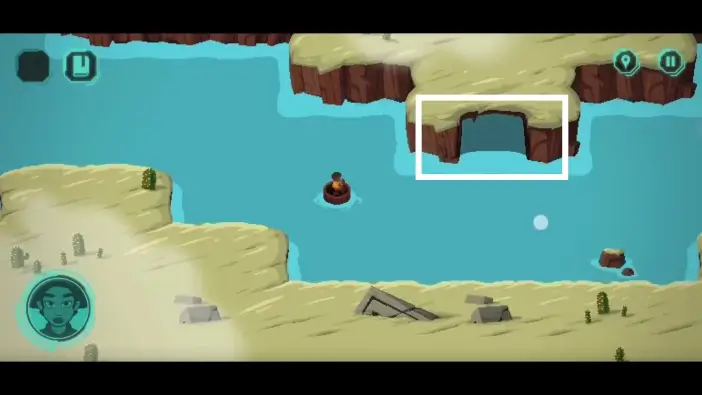
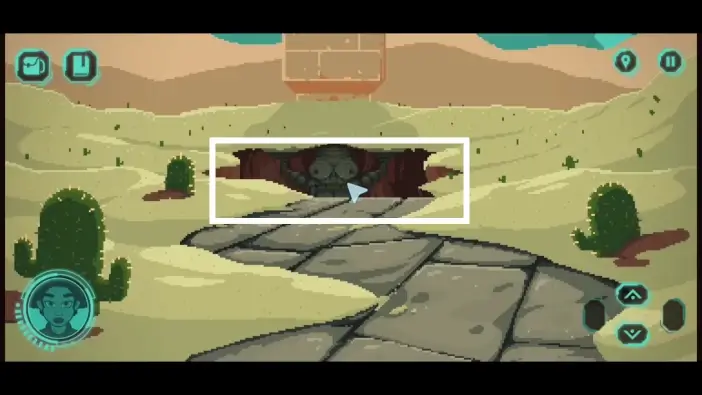
Welcome to our walkthrough for Act 3 of the “Abandoned Planet” from Snapbreak (publishers) and Dexter Team Games (developers). In the previous part, our protagonist found a mysterious journal, explored the abandoned alien city, and made her way toward the distant islands with a railcar. At the beginning of this Act, you will be inside the railcar, with 3 possible directions to go. You will encounter puzzles on 3 different islands to unlock the obelisk’s entrance on the sand island.
Walkthrough
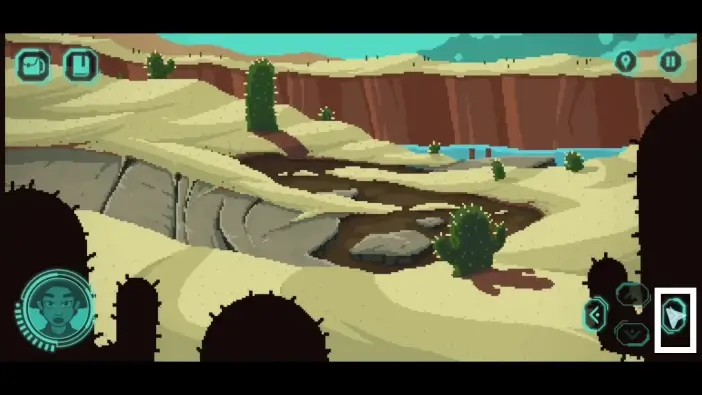
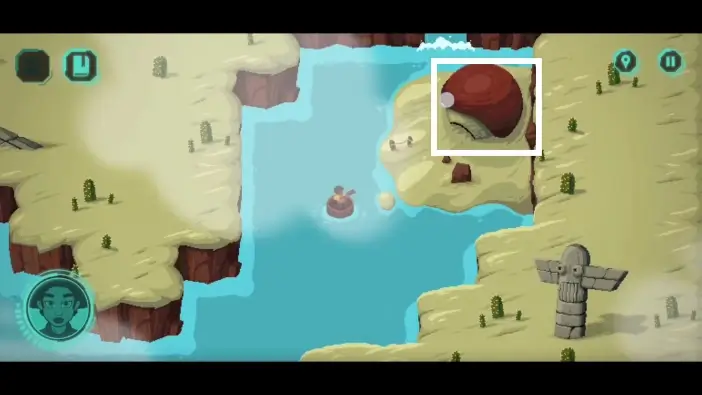
While at the crossroads, you can take a look at the 2 islands, one rainy and tropical to the left, and one sand island on the right side. This is optional.
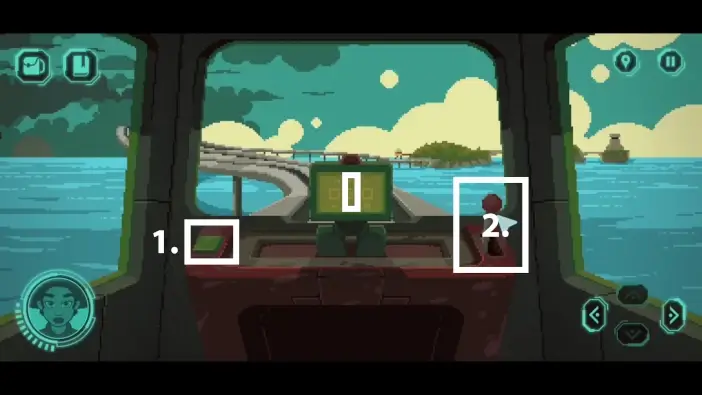
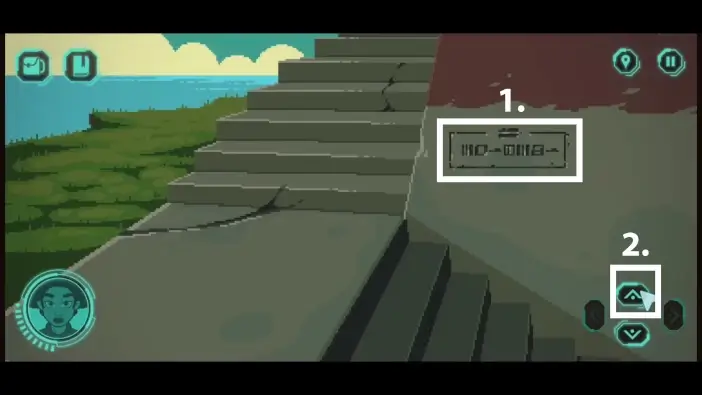
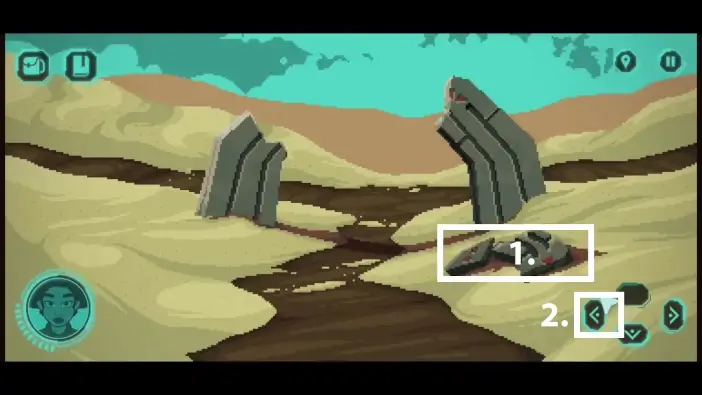
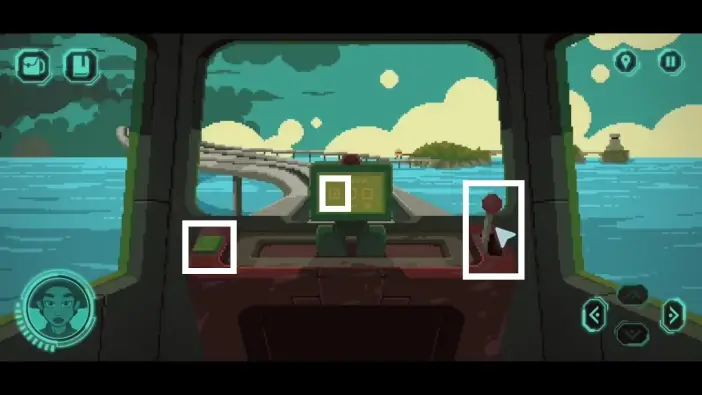
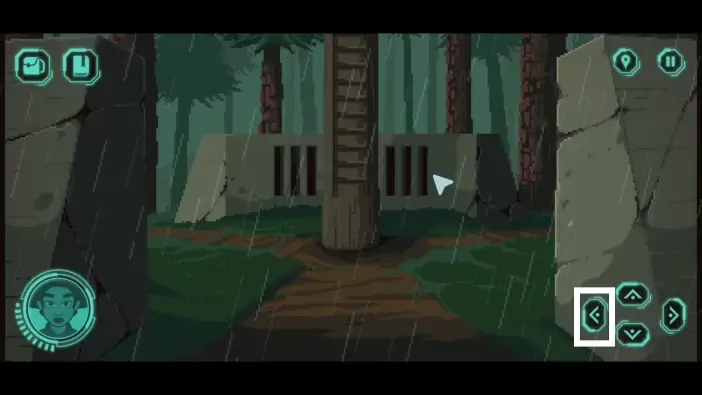
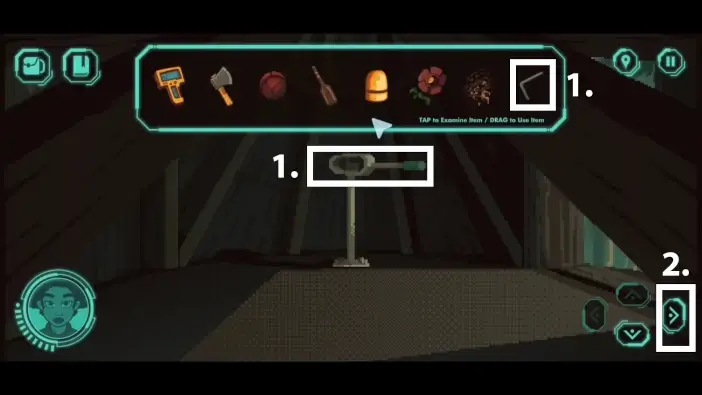
- On the robot’s screen, you can see on which island will railcar go. You can change the direction by pressing the button on the left.
- After you select where you want to go, pull the lever on the right. Go to the central island.
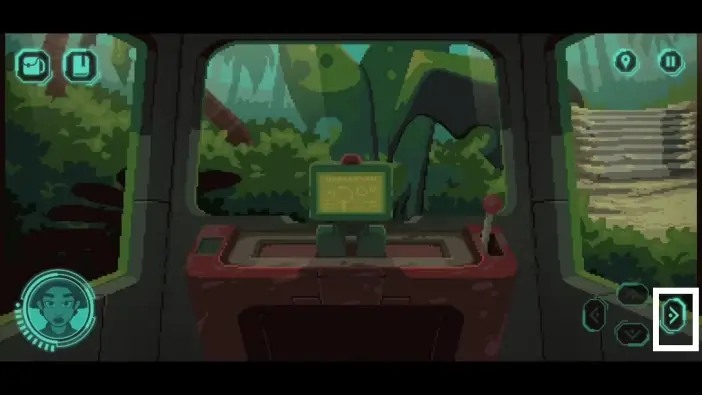
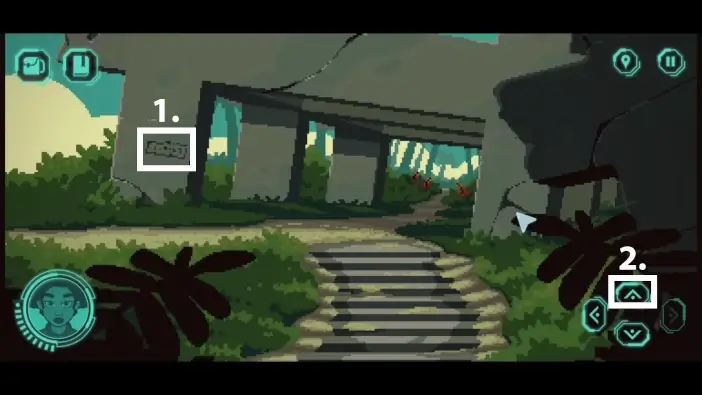
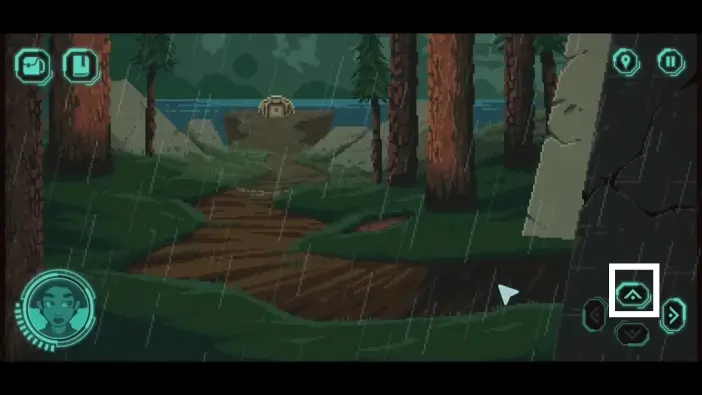
Once you arrive, exit the railcar.
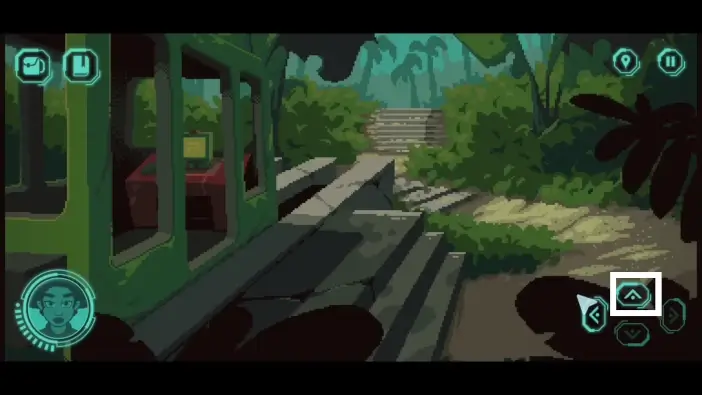
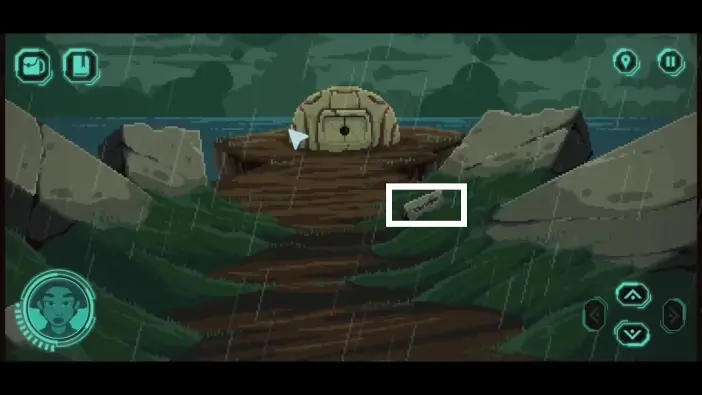
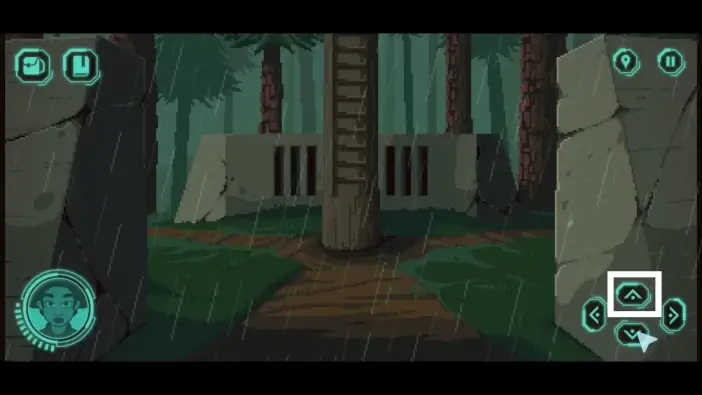
Go toward the staircase.
- Remove the bush and pick the first stone block. You’ll need to collect 4 stone blocks to unlock the bridge toward the watchtower.
- Go left.
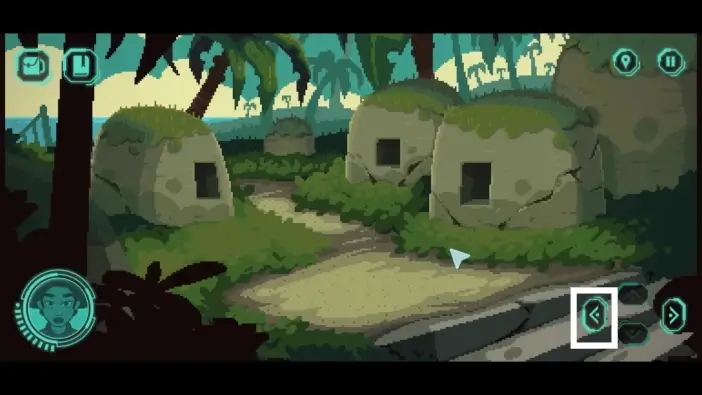
Ignore the stone houses for now and continue to the left.

Go inside the fishery.
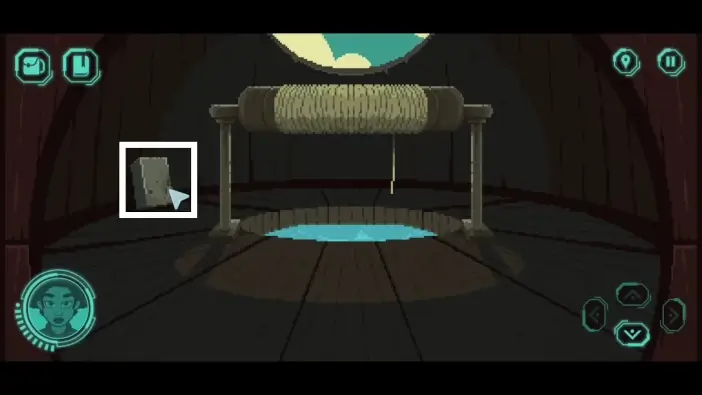
Pic the 2nd stone block.
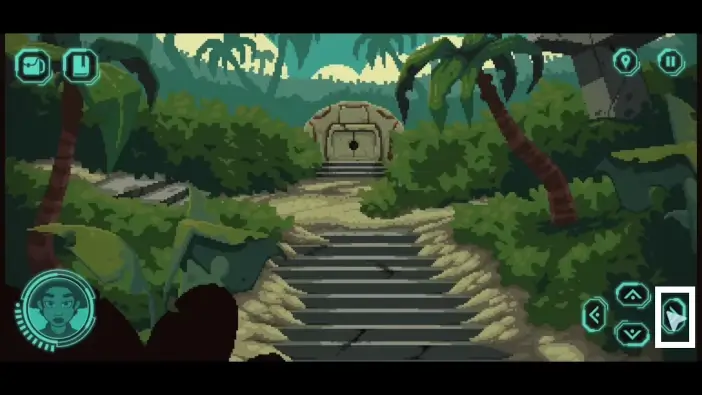
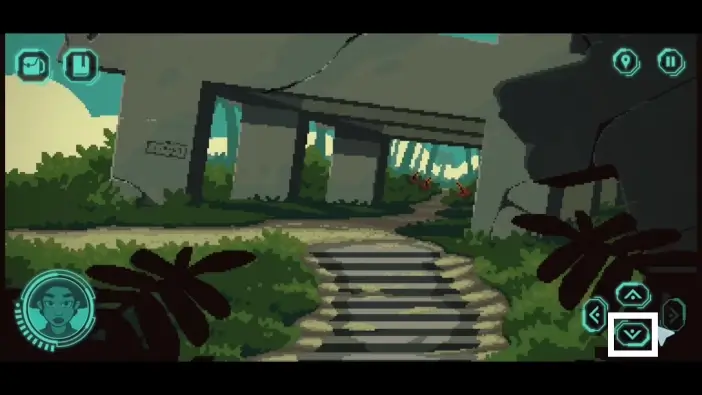
Return to the staircase area and go to the right.
Cross the bridge.
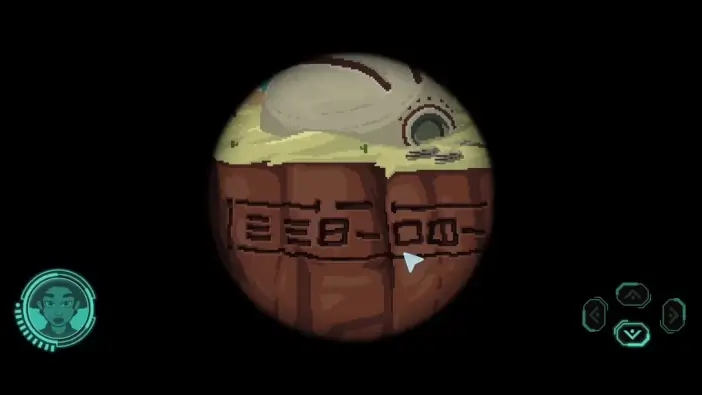
- Check the symbols on the wall. This is one of the many codes for unlocking the stone spheres later. You can screenshot it to look at it later when you need it. This guide will show you the symbols when you need to use them.
- Go forward.
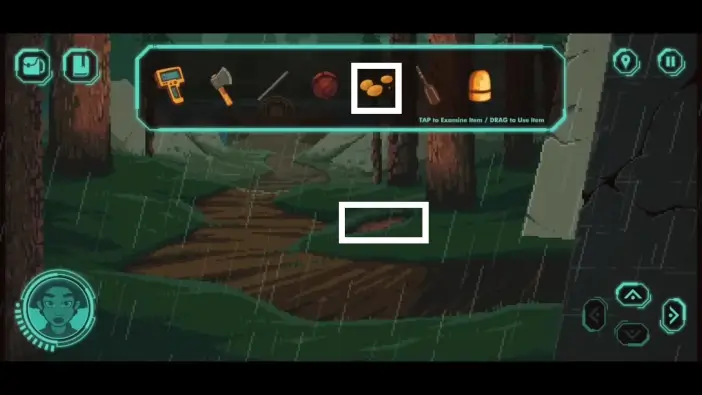
Pick the plant seeds. You can plant them on another island to get the flowers.
Return to the previous location and go south of you.
- Pick the 3rd stone block under the bush.
- Go right.
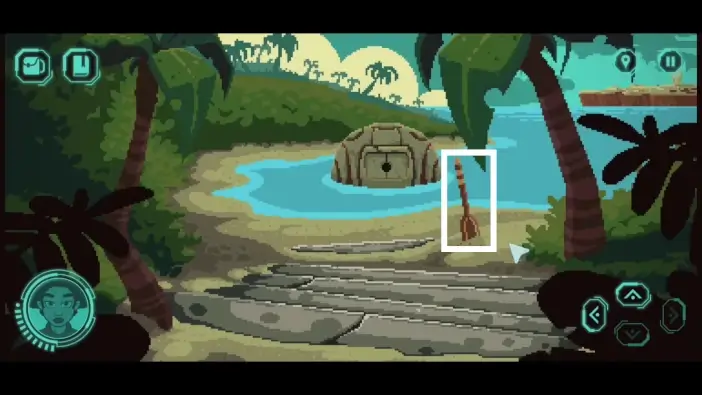
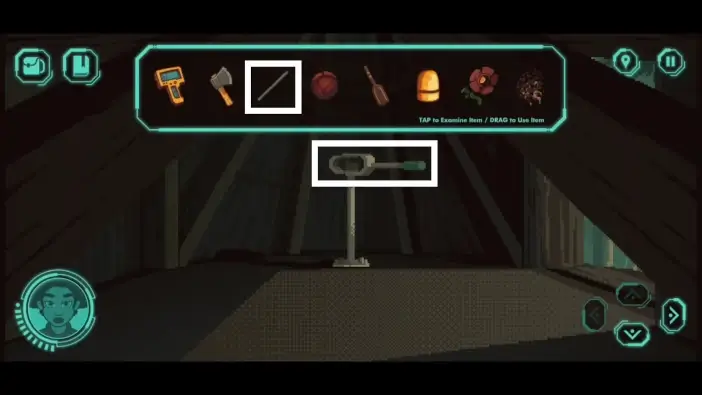
Pick the paddle.
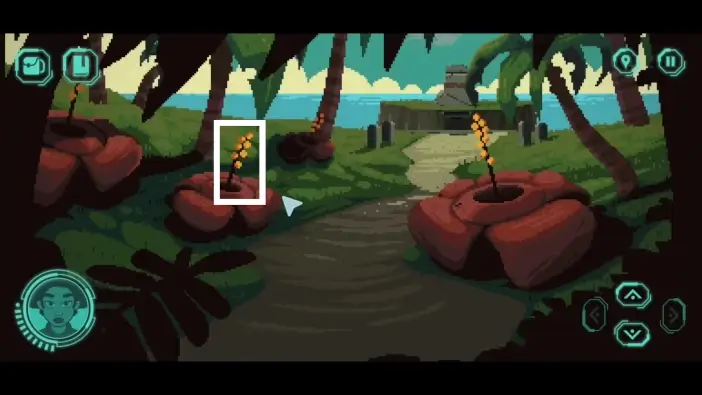
Return to the area with giant flowers and continue forward until you reach the pedestals. Pick the 4th stone block from the bush.
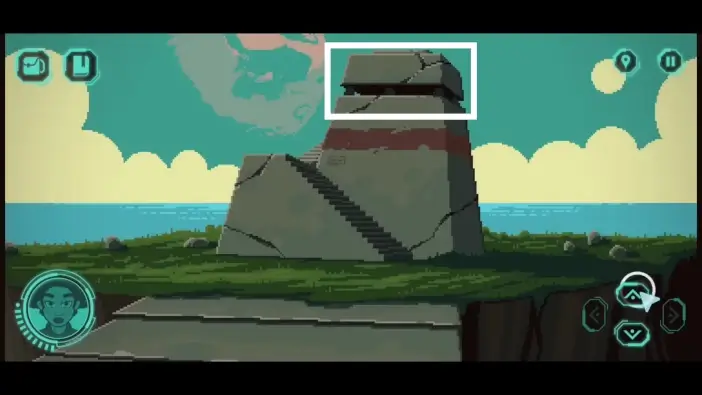
Place all stone blocks on the pedestals and the bridge toward the watchtower will appear. Cross the bridge.
- On the wall of the watchtower, there is another clue for the one of the spheres later.
- Continue climbing the watchtower.
- Pick the golden object. You will need 3 to place them inside the stone houses you saw earlier.
- Use the telescope.
Move the telescope around until you see the 3rd set of symbols for the sphere puzzle. Screenshot it.
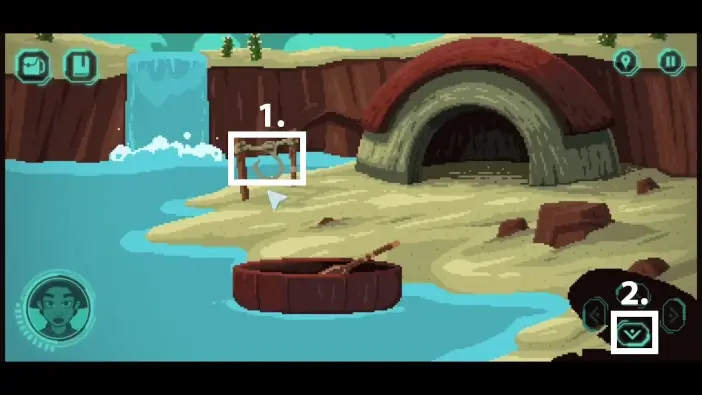
Return to the railcar and pull the lever to return to the railway crossroads.
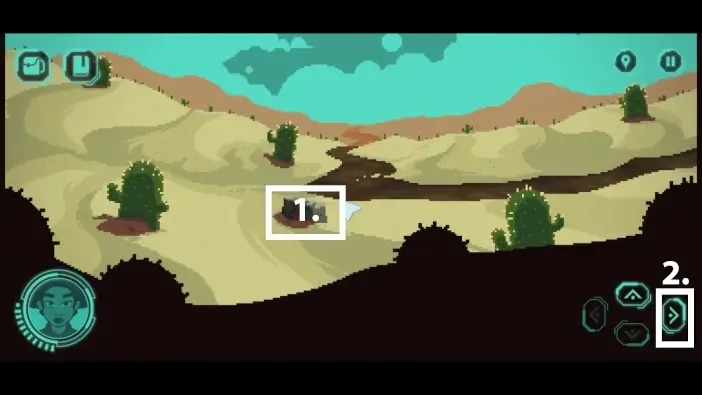
Select the right island (via the button on the left) and pull the lever. The dot on the screen should be inside the right square.

Exit the railcar and go forward to the crossroads.
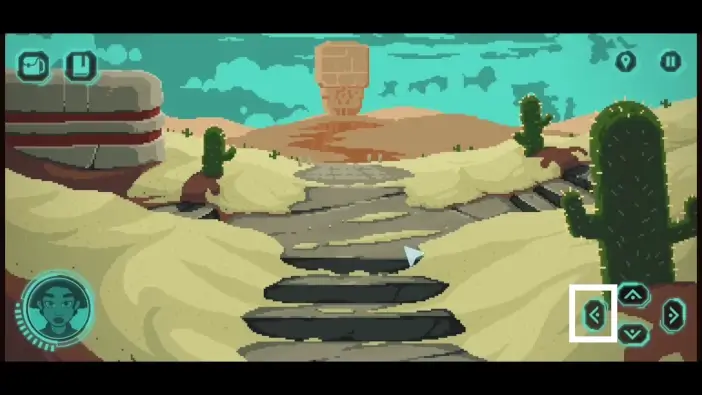
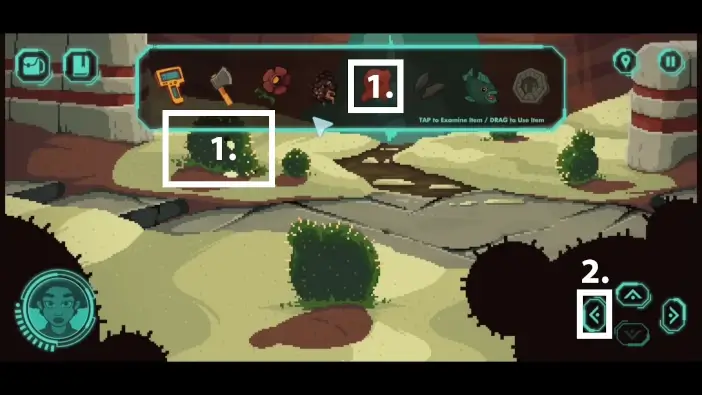
From the crossroads, go left.
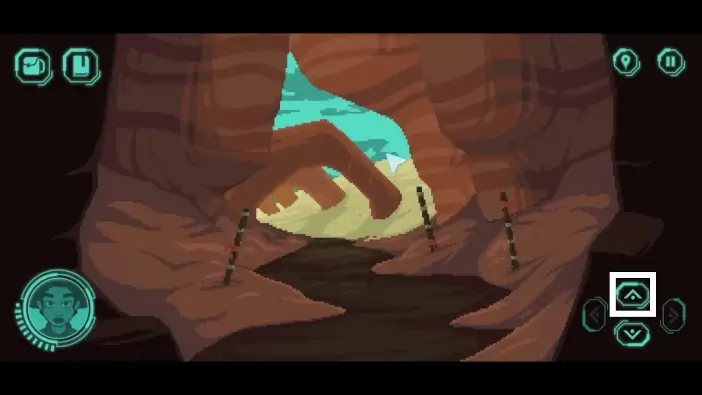
You will see 3 sticks on the ground. You can screenshot the screen to seek the clue they hold later. After that, continue forward.
- Check the 4th set of symbols.
- Continue forward.
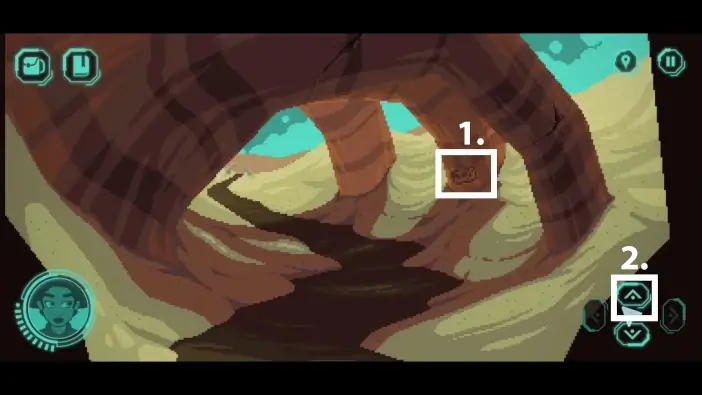
- You need to restore the arch to reveal one of the clues in this location. You need to collect the fragments of the arc. Pick the 1st and 2nd fragments from the pile.
- Go left.
Pick the 3rd fragment and then go right.
Pick the 4th fragment.
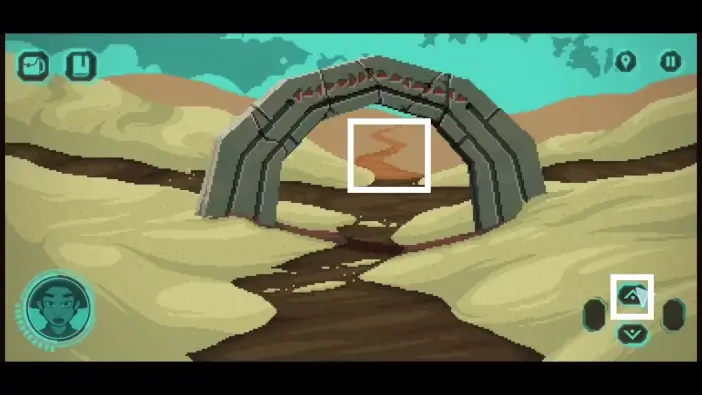
Return to the arch and approach it.
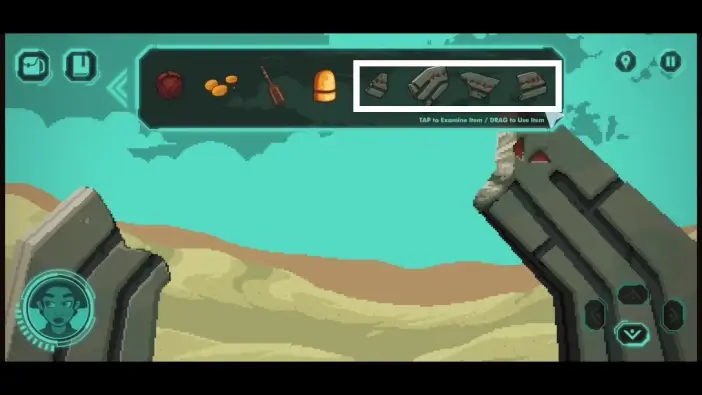
Place the missing fragments in the correct order.
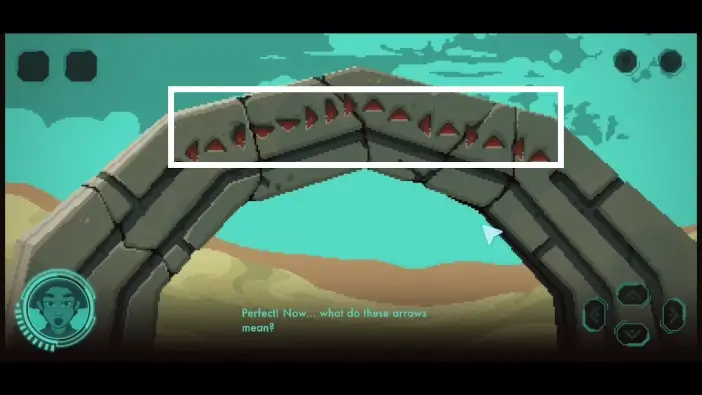
Remember the sequence of the arrows. From the crossroads where this arch is, follow the paths in this sequence of directions.
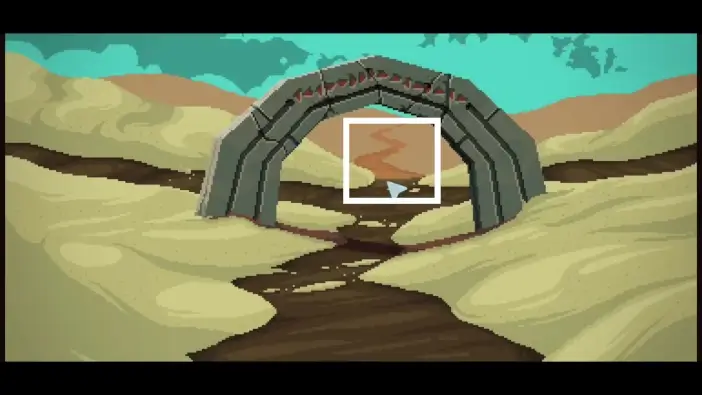
Once you finish, a path forward will appear. This path will lead to a dragon that is protecting the sphere. You can’t do much about it now.
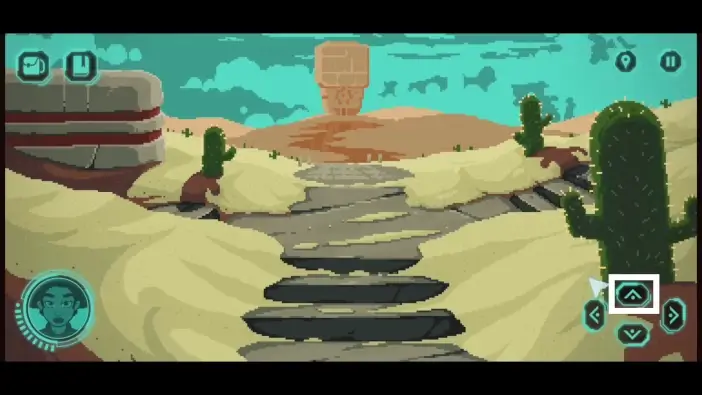
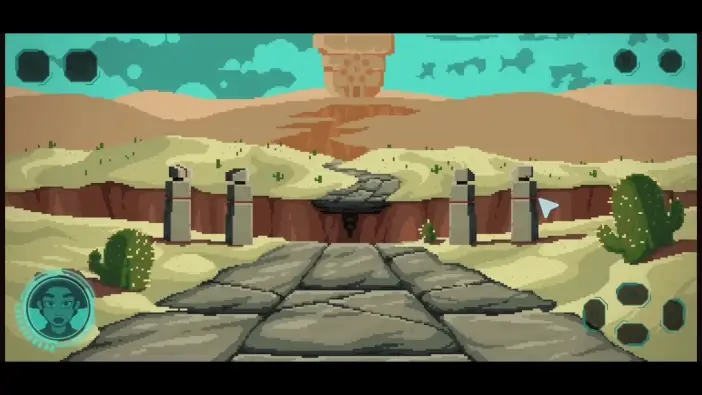
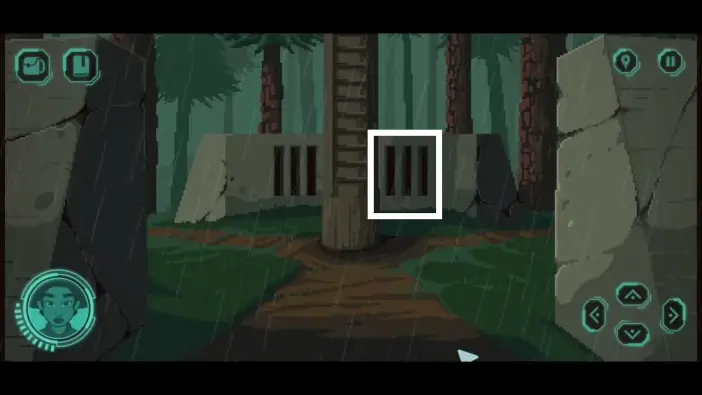
Return to the crossroads and go toward the obelisk.
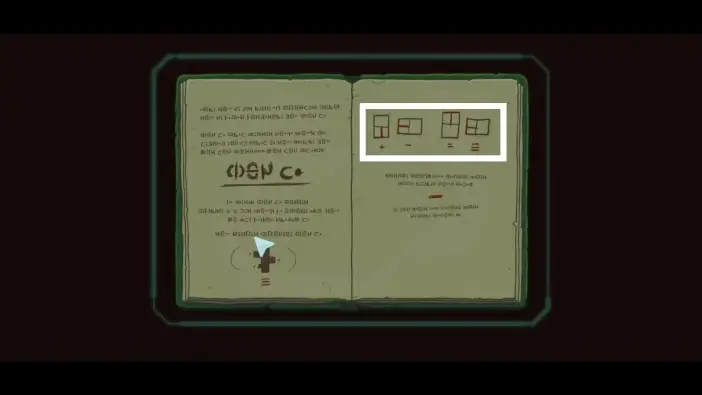
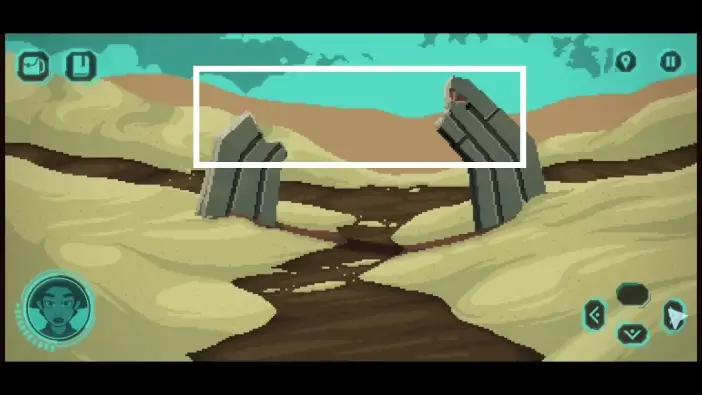
In the journal you have found in the previous act, find the clue about how to unlock the bridge toward the obelisk.
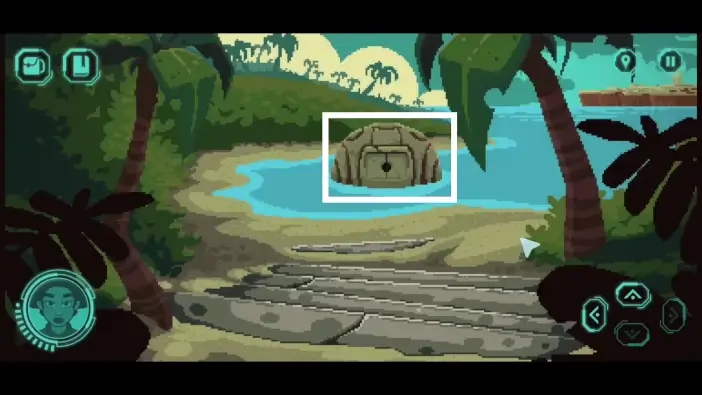
Rotate the stones to be in the same position as in the journal and the bridge will appear. You will go toward the obelisk near the end of this Act. For now, return to the railcar.
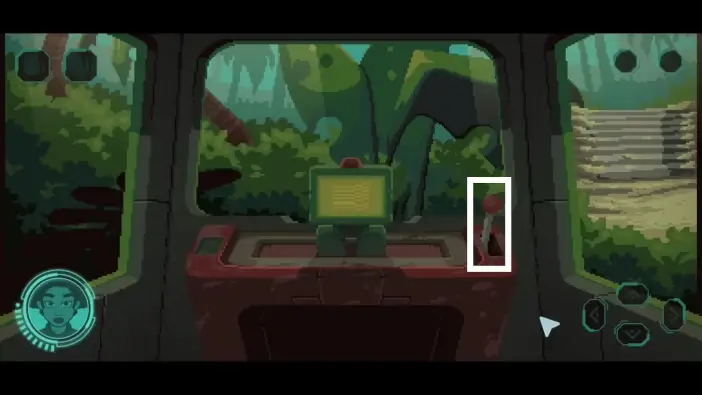
Go to the left rainy island.
- Pick the rebar.
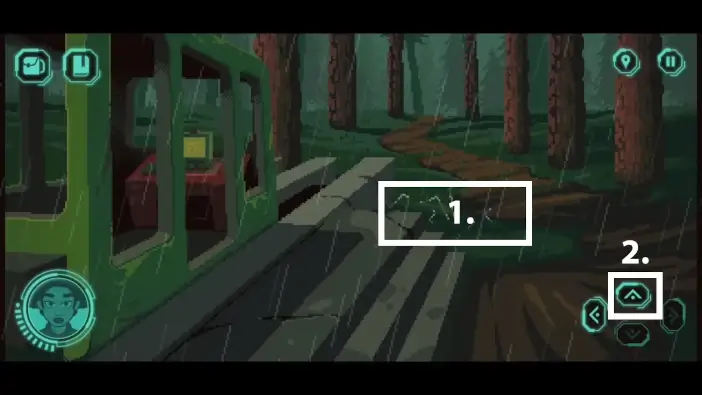
- Move forward, toward the forest.
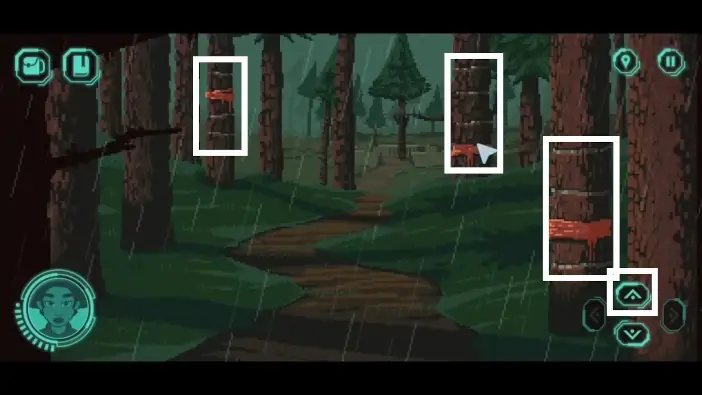
Remember the positions of the fabrics on the trees. This is the clue for the upcoming puzzle.
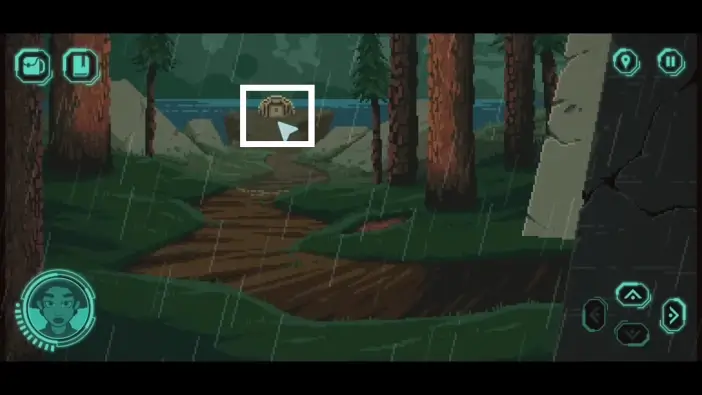
Go forward.
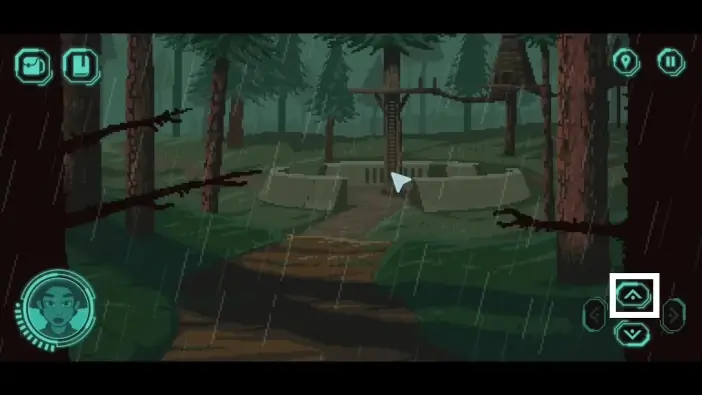
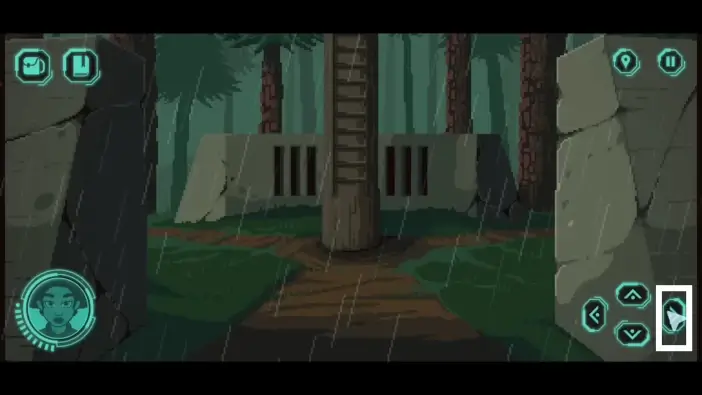
Continue toward the treehouse.
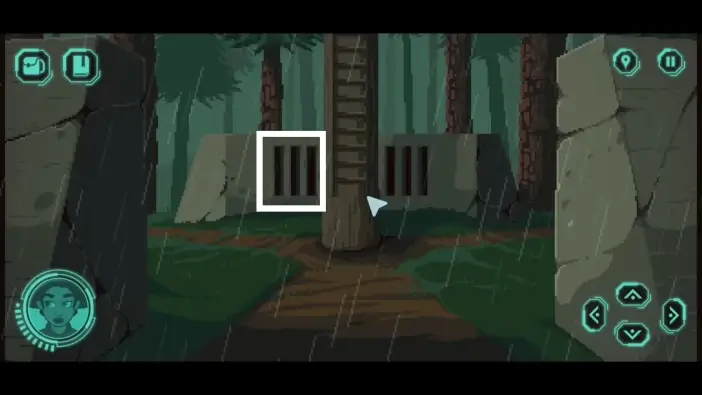
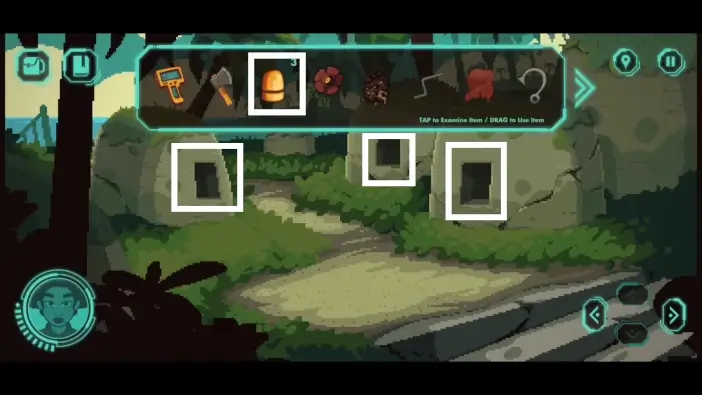
Approach the holes on the left.
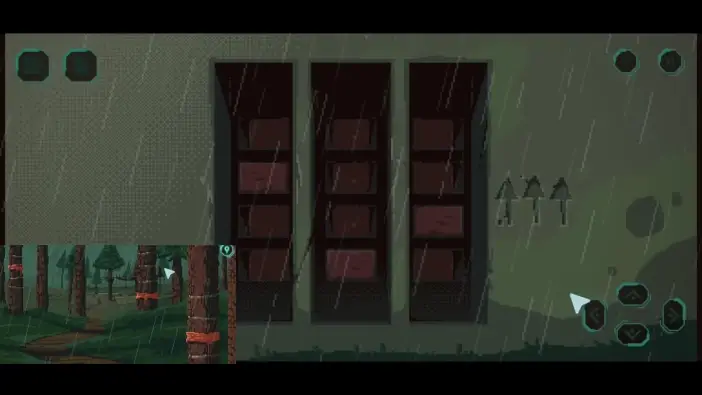
Remember the fabrics on the trees you just saw. Each tree had 4 lines and fabric would be on one of the lines. Each hole represents the tree. Each stone represents a line. Activate the stones that would represent where the fabrics are.
Once you solve this puzzle, the treehouse will unlock.
Approach the holes on the right.
With similar logic, recall where the red fabrics are on the sticks, in the desert island. Activate the corresponding stones. This puzzle will unlock a cupboard inside one of the treehouses.
Go left from the treehouse area.
Get closer to the sphere.
Check the stone. It has the 5th set of symbols.
Go back once and plant the seeds you got from giant flowers. The flower will grow very fast. Pick it up.
From the treehouse area, go to the right.
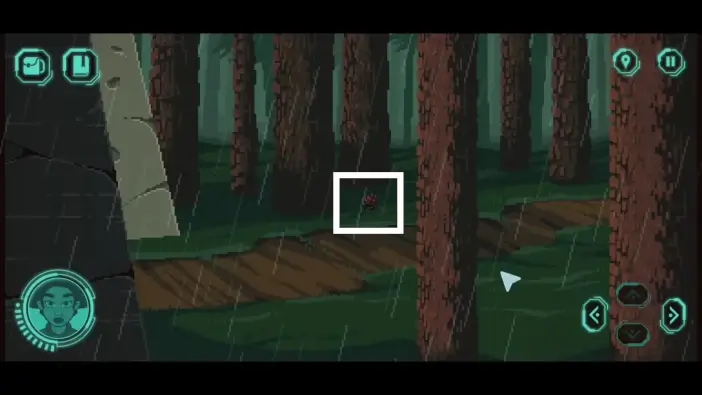
Pick the pine cone. You will use it at the end of this Act to light the fire. Continue right.
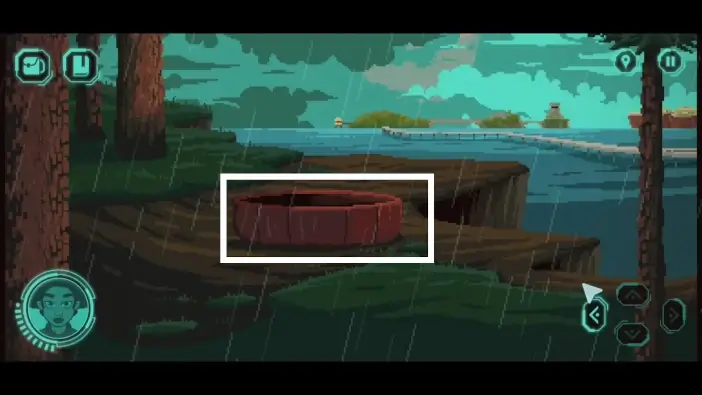
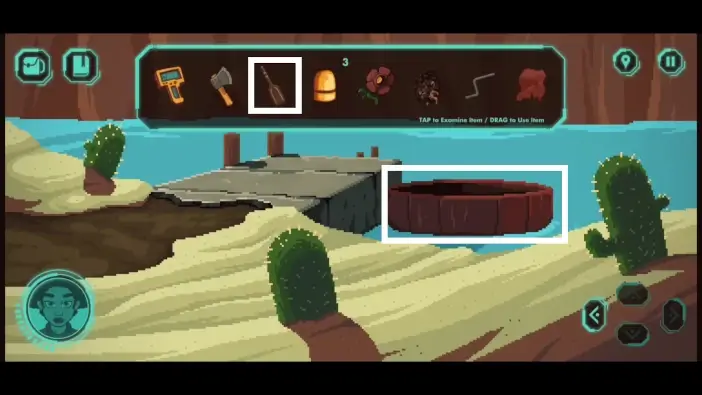
Interact with the rowboat. Once you touch it, it will compress into a small ball. Pick it up. You will need a rowboat to access some areas on the sand island.
Climb the treehouse.
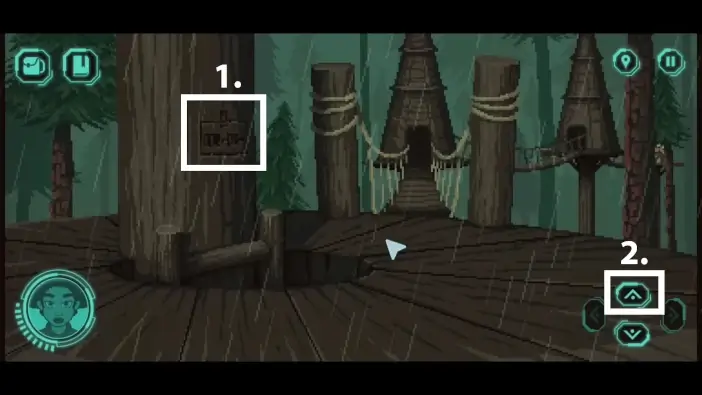
- Check the 6th set of symbols on the tree.
- Continue toward the next treehouse.
Bend the rebar into a L shape.
- Bend the rebar one more time.
- Go to the right.
- Pick 2 golden objects.
- Pick the cloth.
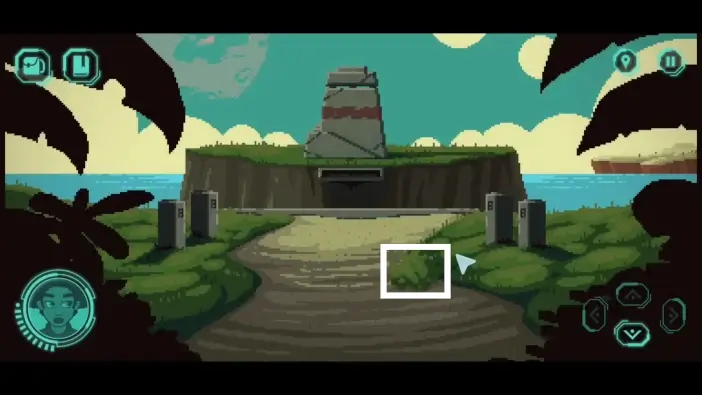
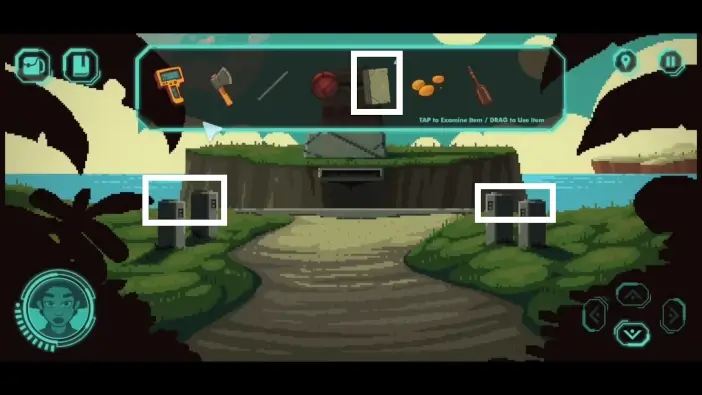
Go to the central island and go to the stone houses. Place 3 golden objects on windows. A pedestal will appear from the ground. Approach it. The protagonist will pick a key for all 7 spheres, but it needs a special password for each sphere. The passwords are written in the same language as the symbols you see on the walls and in various places.
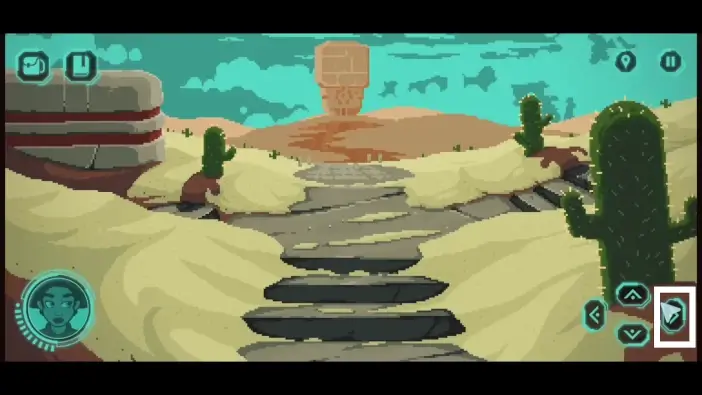
On the sand island, visit the crossroad and go to the right.
Go further to the right.
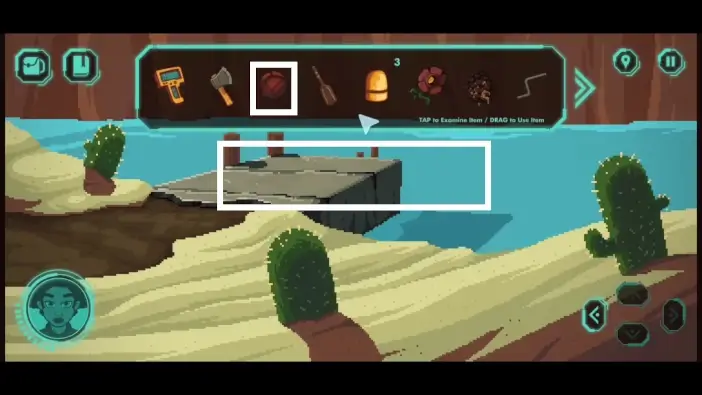
Place the rowboat.
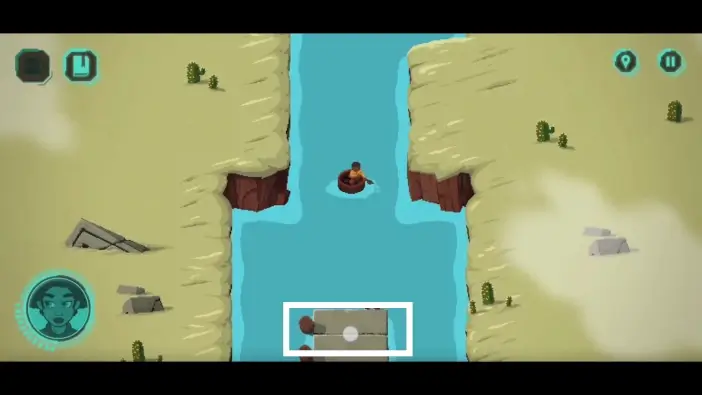
Place the paddle inside the rowboat. Enter the boat.
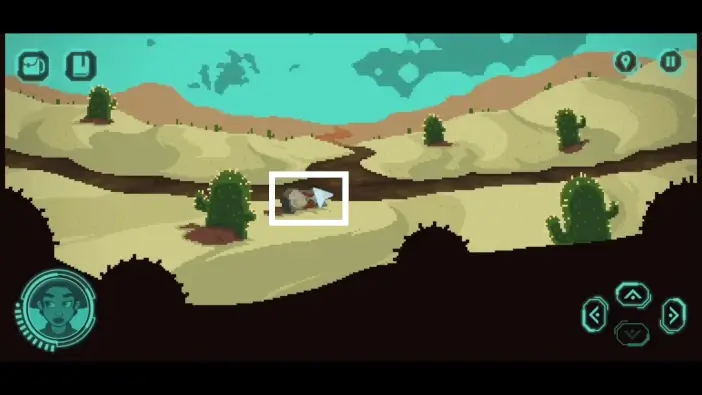
You can move your character by dragging the finger on the screen, in the direction where you want to go.
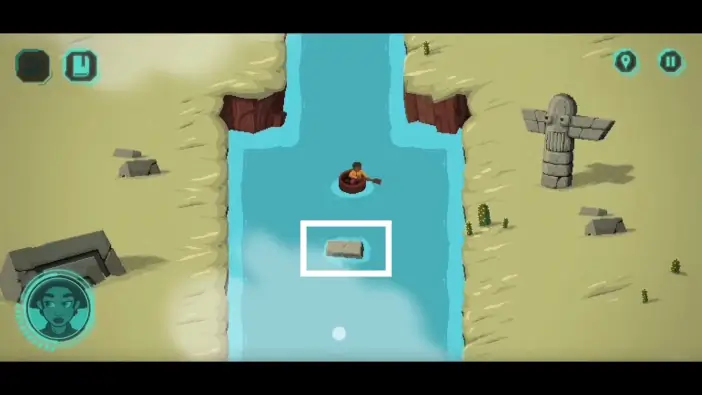
On the south-west, you can find a stone with a 7th set of symbols for the spheres.
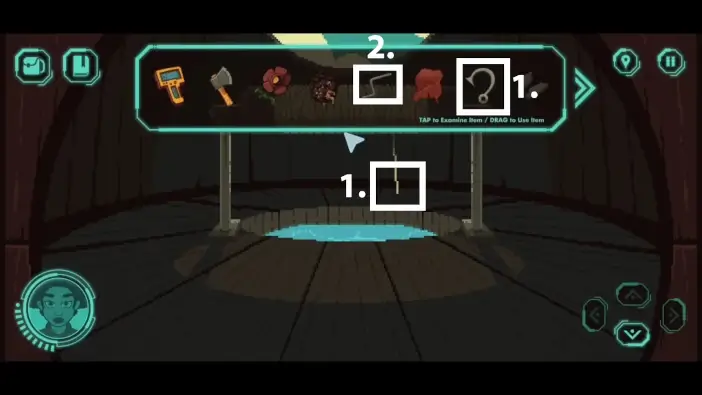
On the north-east, approach the fishing hut.
Take the hook and leave.
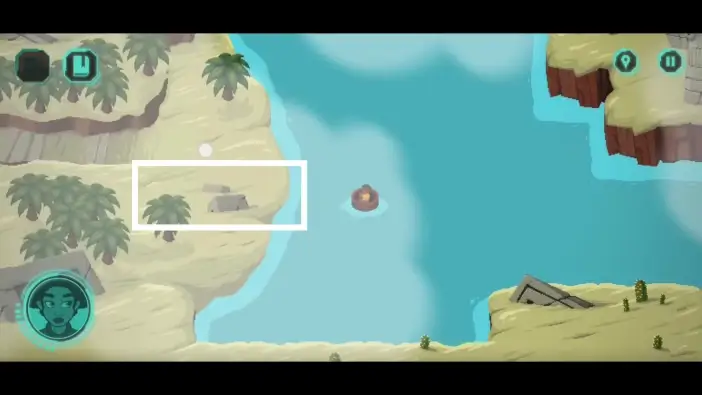
In the west part, embark on the shore.
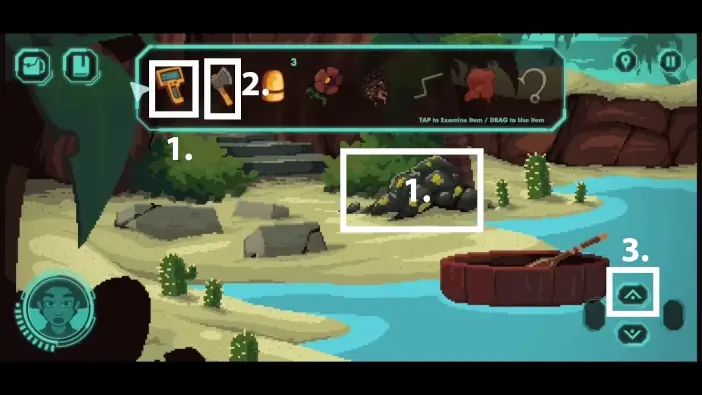
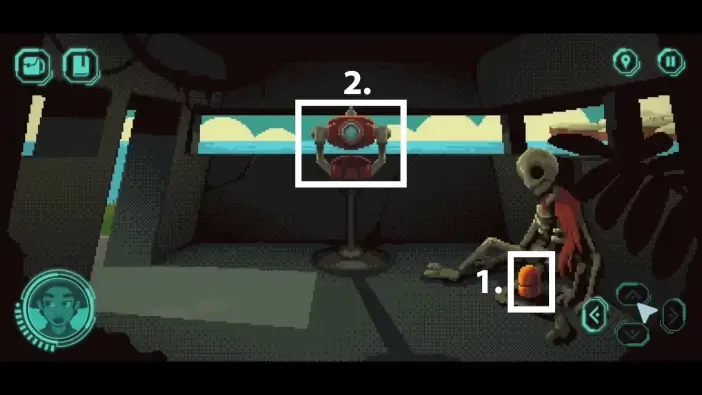
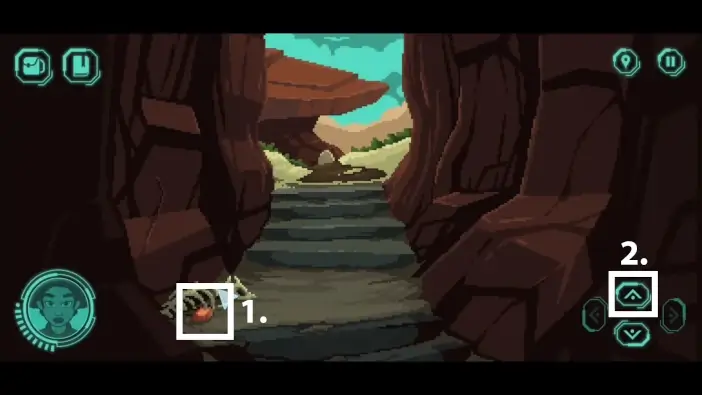
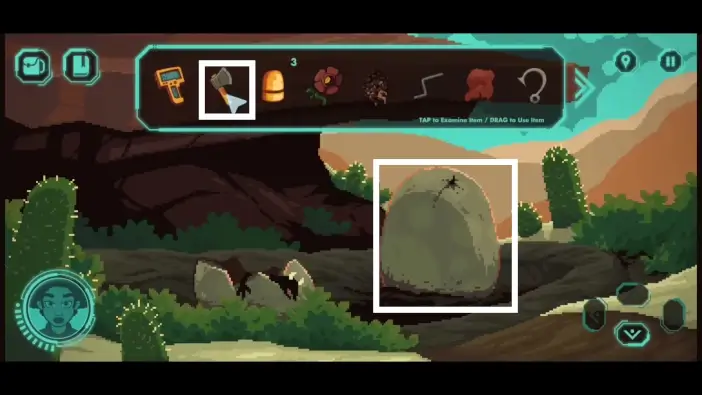
- Use your fusion scanner to scan the mysterious ore.
- Use the hatchet from your inventory to take the flint shards from the ore.
- Go toward the stairs.
Take the chunk of meat and continue forward.
Inside the egg is a baby from the dragon that is protecting one of the spheres. Crack the egg with your hatchet to release the baby. Its mother will hear the cries and it will fly toward it, leaving the sphere.
Return to the docks to go back to the main area of the island.
Return to the rainy island and go to the sphere left from the treehouse area.
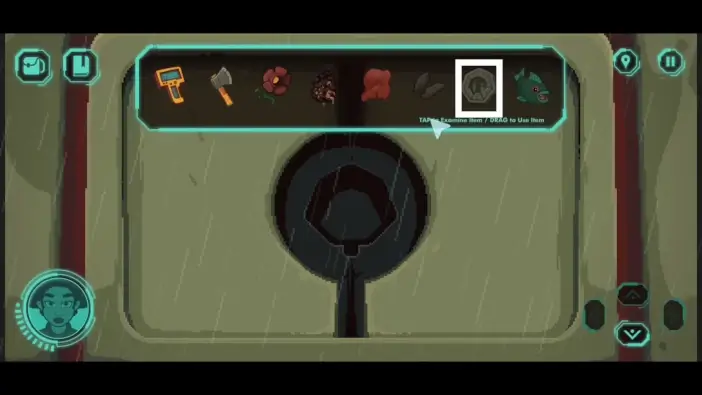
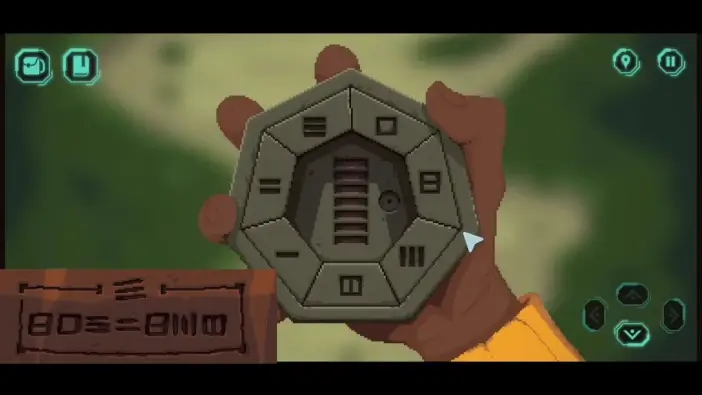
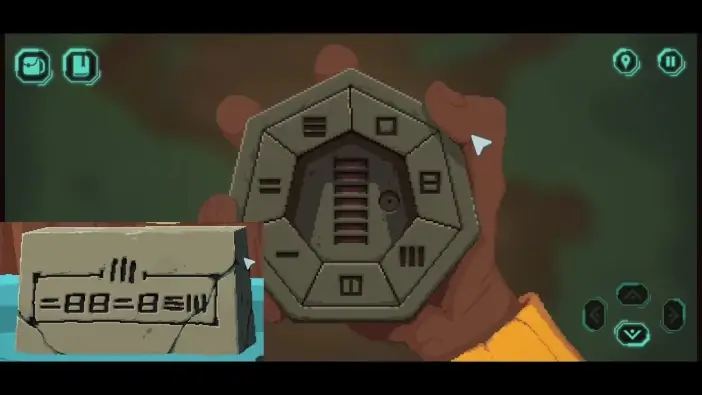
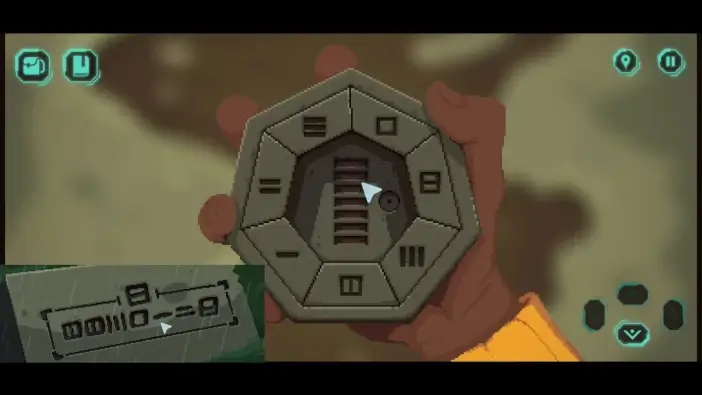
Open your inventory and inspect the key, which is a heptagonal object.
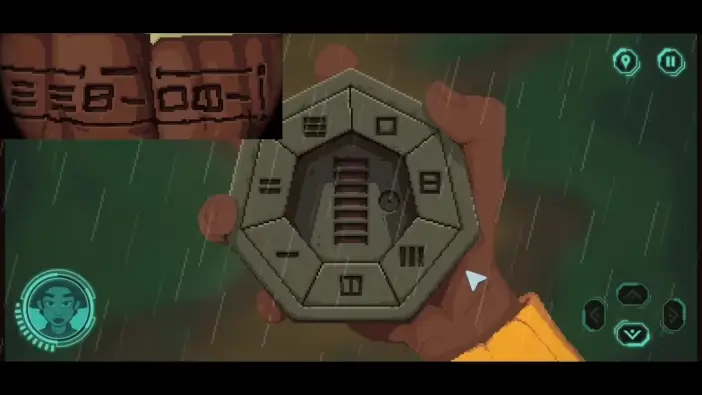
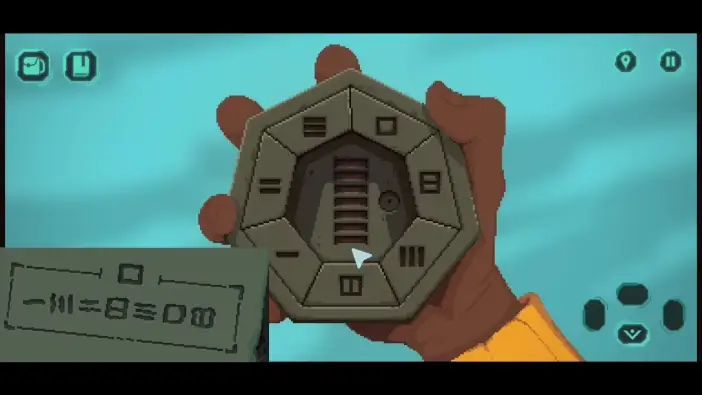
You need to type the password to get the correct key for the sphere. You can see the symbols you need to press in the picture above. If you press the wrong symbol, you can restart the input by pressing a small circular button in the center. Once you finish this puzzle, put the heptagonal object inside the keyhole of the sphere.
The shell of a sphere will open and reveal another puzzle. You need to move a red energy beam into the hole by pressing the buttons. The buttons will move the direction of where the red beam is going. After each solved sphere, you will be one step closer to unlock the obelisk in the sand island, which is the final destination in this Act.

Visit the 2nd sphere. It is after the treehouse that had golden objects and cloth.
The procedure is the same.

Go to the fishery.
- Place the hook.
- Place the rebar that was bent twice to serve as a handle.
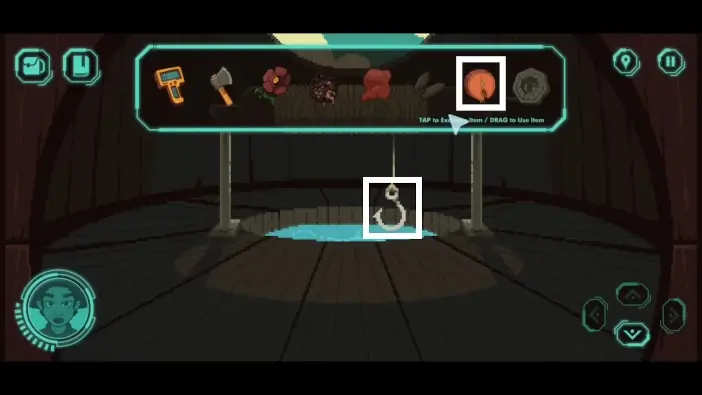
Place the chunk of meat on the hook. Approach the rebar.
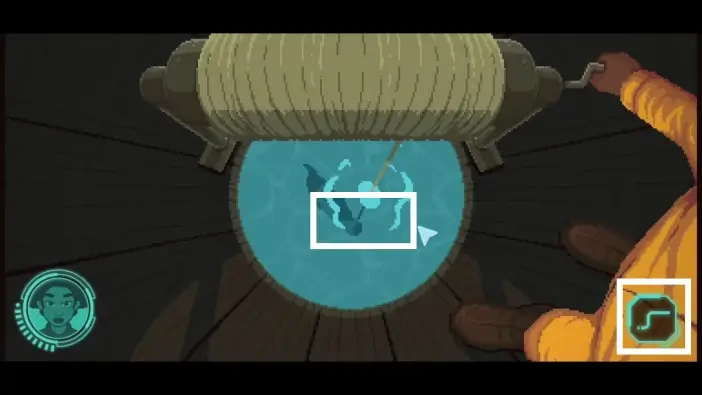
Use the rebar to pull the fish out when it is biting the meat. The fish will be added to your inventory.
Go to the 3rd sphere, on the central island.
4th sphere is where you pick the paddle.
- Go to the sand island and at the crossroads turn left. Pick the cactus with the help of a cloth.
- Go left.
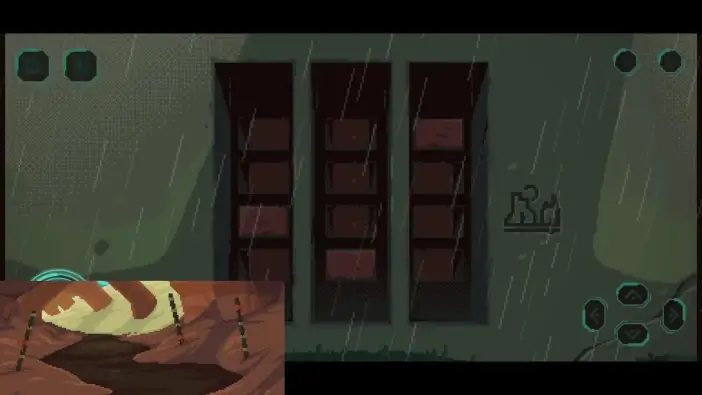
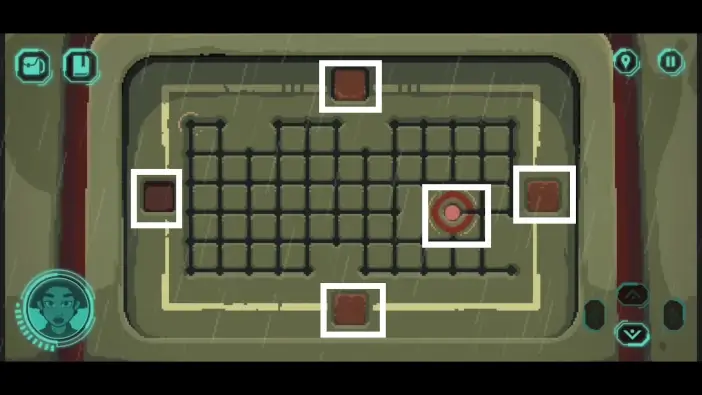
To reach the 5th sphere which is sealed behind the door, press the buttons in the order shown above.
Unlock the 5th sphere.
Visit the arch you restored and go forward, to the path you revealed and where the dragon was.
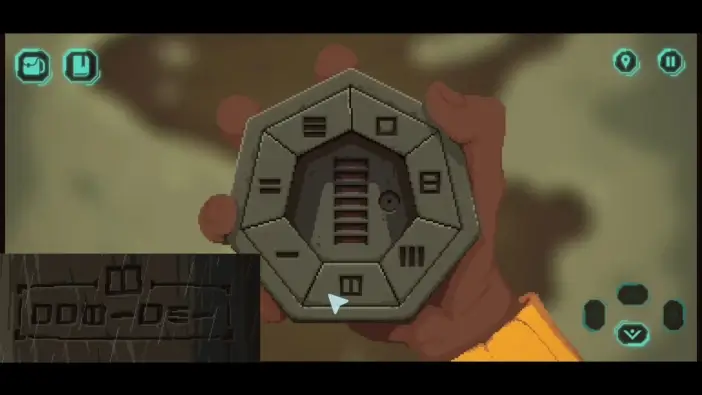
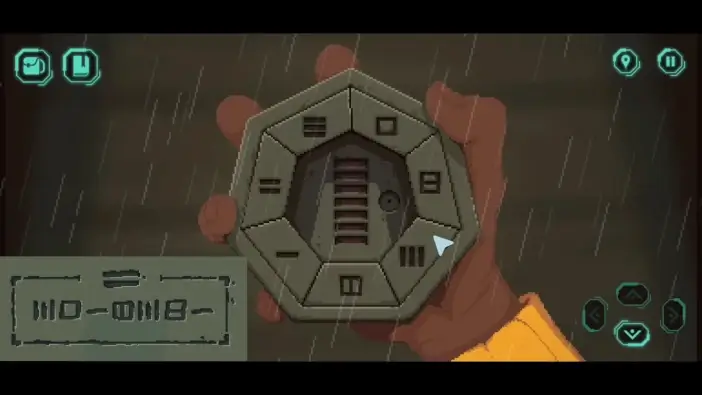
There you will find the 6th sphere. The solution for the heptagonal object is in the picture above.
Go to the dock area, embark on a boat once more, and visit the area in the center where there is a passage. Continue through the passage and you will see the 7th sphere.
Unlock it and solve the light beam puzzle.
After you solve all 7 spheres, the obelisk will show a clue.
To better understand the clue, go to the watchtower that is on the central island.
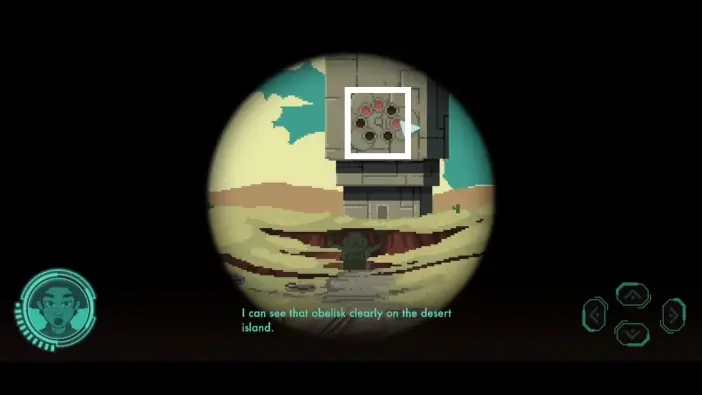
Look at the obelisk with the telescope there. Try to memorize the order in which the circles are shining red.

To reach the obelisk, go to the bridge you unlocked earlier on the sand island (from the crossroads forward).
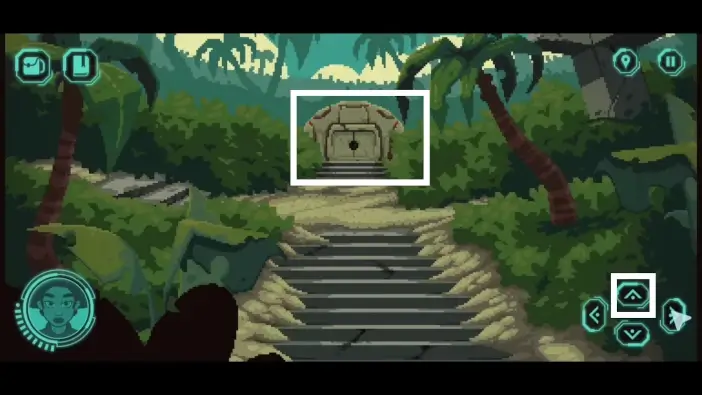
Approach the tunnel entrance to the obelisk.
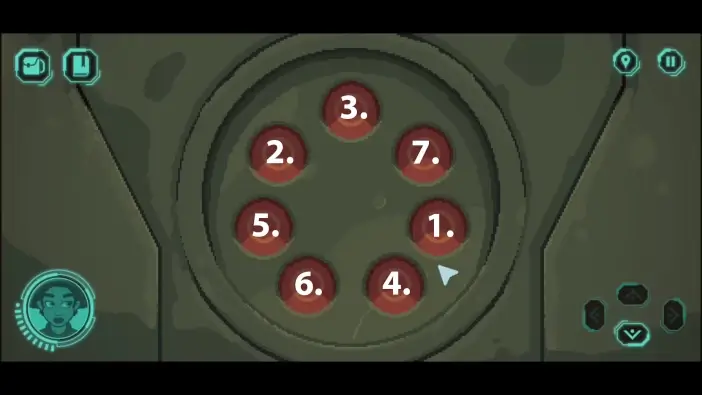
Press the buttons in the order in which they were shining when you were looking at the obelisk via telescope. The solution is in the picture above.

Once you solve the previous puzzle, you will enter the tunnel. To access the obelisk rooms, you need to interact with the 4 statues around you.
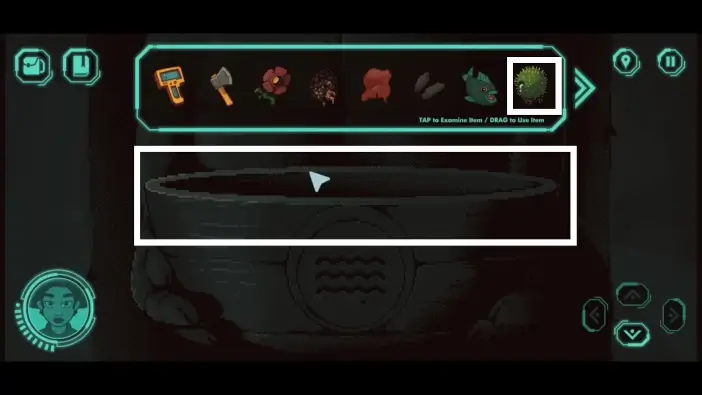
For the statue that shows the symbol of water, place the liquid from the cactus you obtained recently.
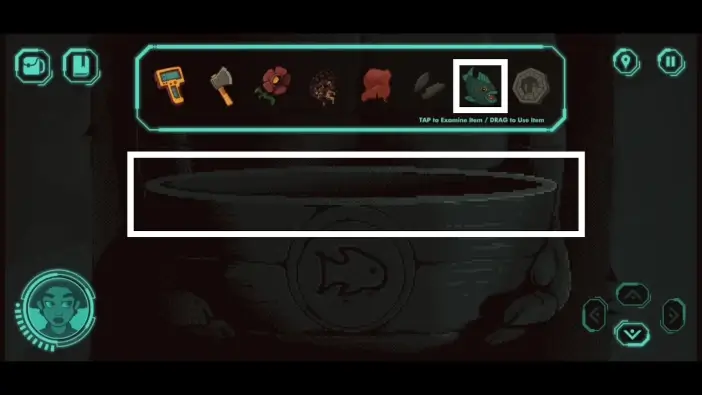
For the statue that shows the symbol of a fish, place the fish you caught in the fishery.
For the statue that shows the symbol of the flower, place the flower you grew on the rainy island.
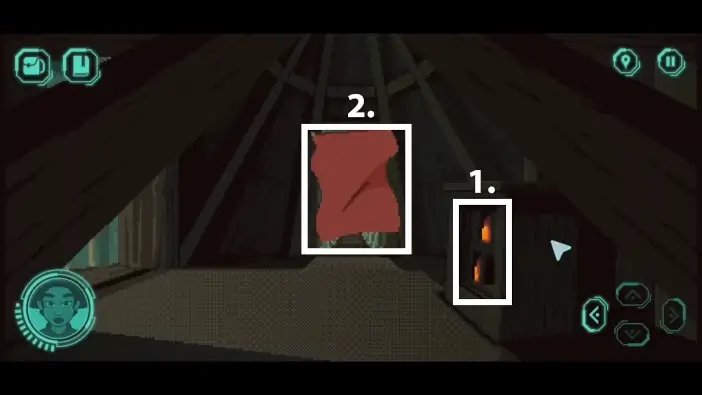
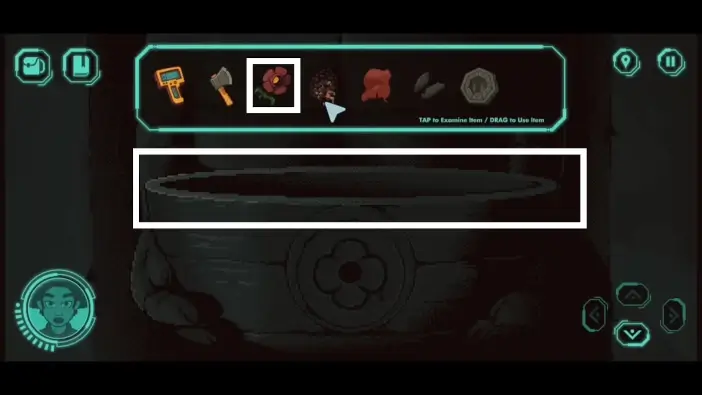
For the statue that shows the symbol of the flame, you need to start a fire in its pot.
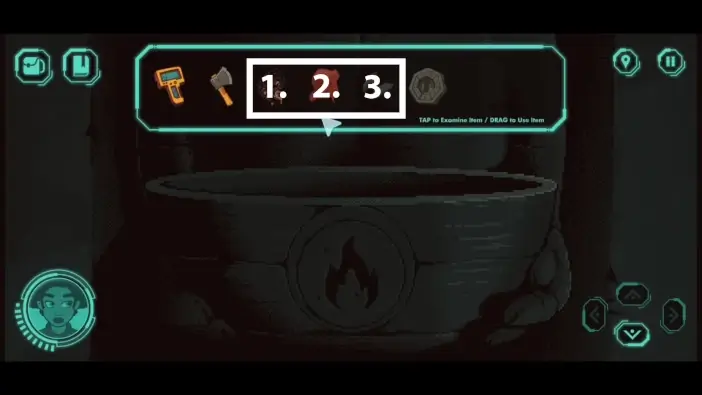
- Place the pine cone.
- Wrap the pine cone with the cloth.
- Use the flint shards to start the fire.
The door to the obelisk will open and you will complete the Act 3.
Our protagonist will go to the obelisk while a mysterious alien follows her behind. She will notice and turn around to face him. What will happen next? Find out in the next part of our guide!
Thank you for reading!