The Abandoned Planet | Act 2 – The City
Intro
Welcome to our walkthrough for Act 2 of the “Abandoned Planet” from Snapbreak (publishers) and Dexter Team Games (developers). In the previous part, our protagonist crashed into an unknown planet after exiting a wormhole. She had found her way inside a mysterious city of a long-dead civilization.
Walkthrough
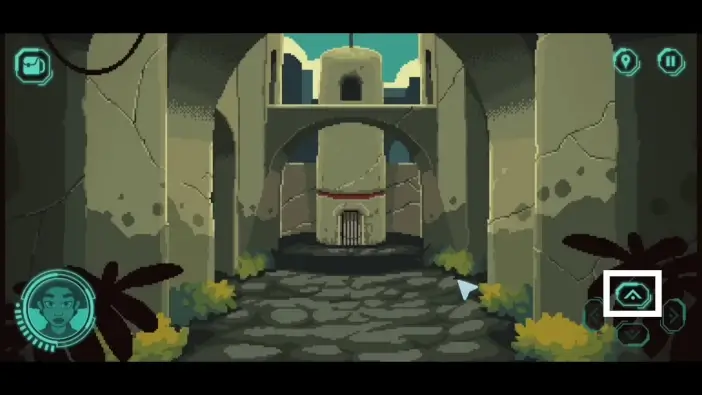
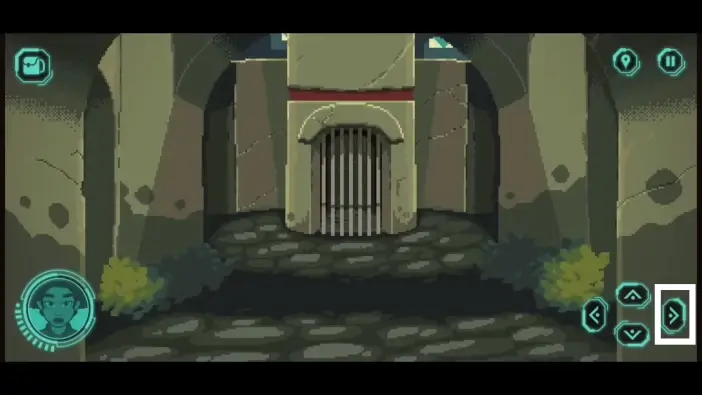
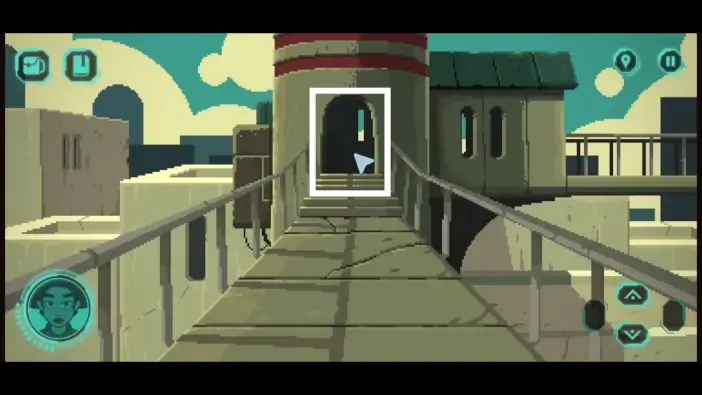
Once inside the city, go forward to reach the crossroads.
Choose left.
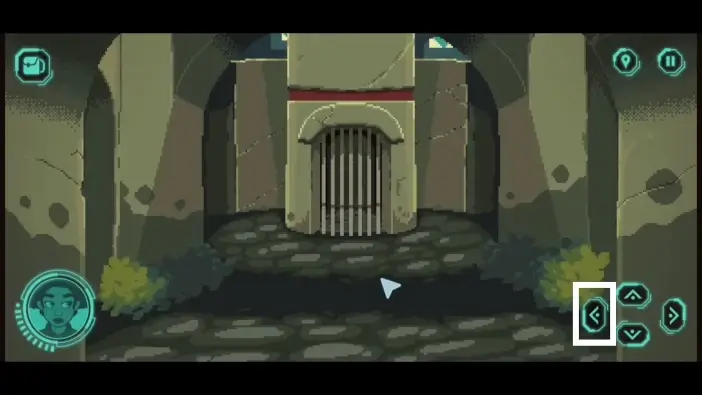
From here, go left again.
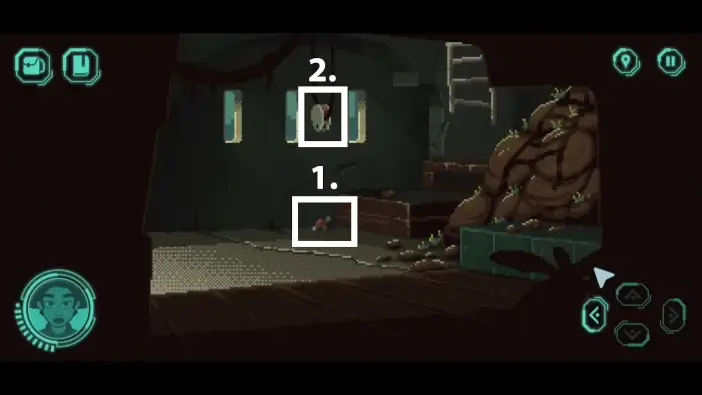
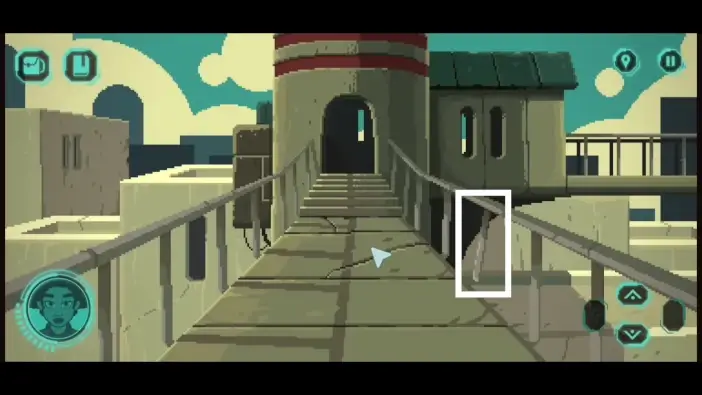
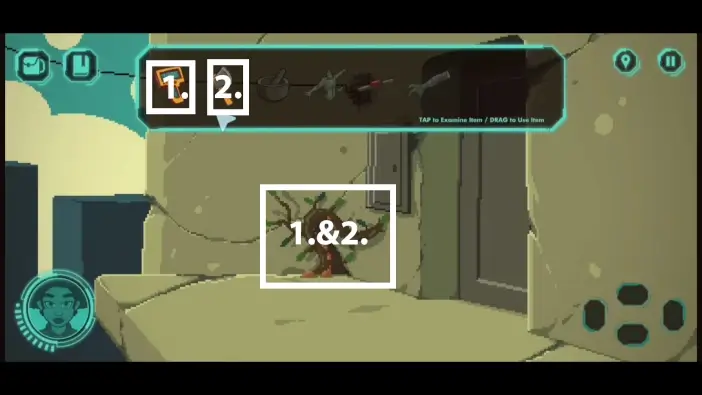
Pick the tree branch. You will use it to reveal one clue. Return to the crossroads.
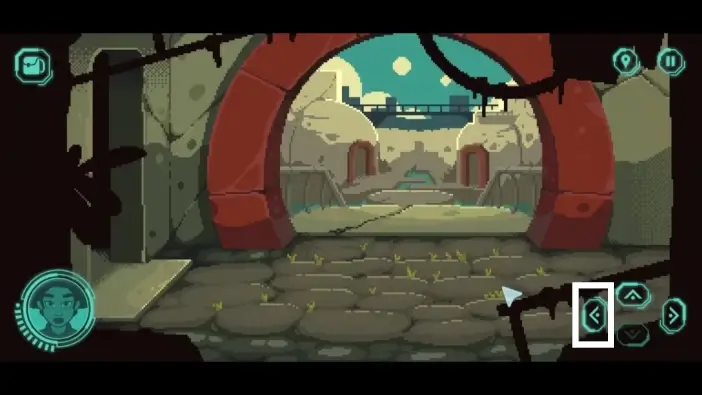
Go right toward the town.
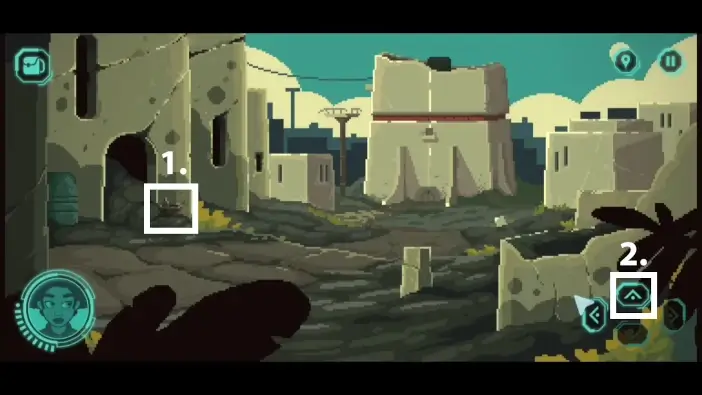
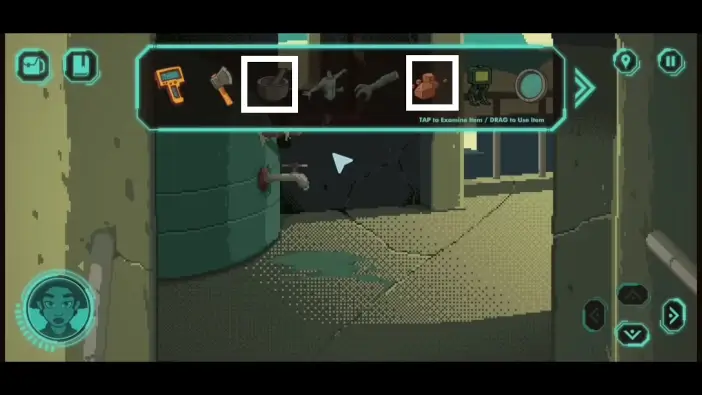
- Pick the mortar and pestle.
- Go forward.
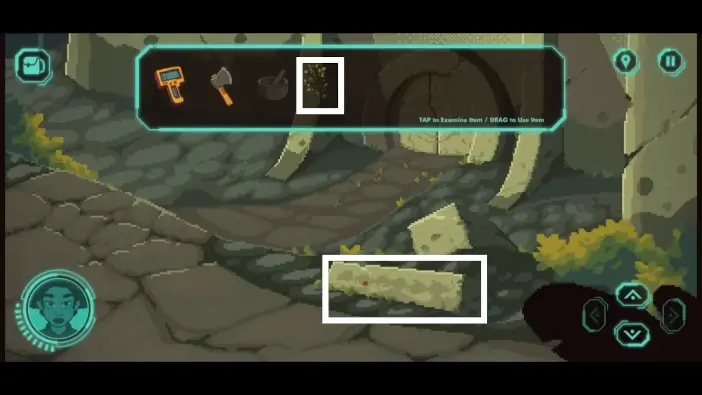
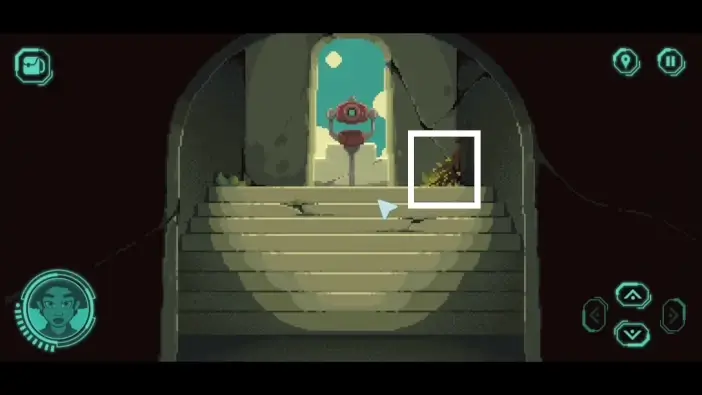
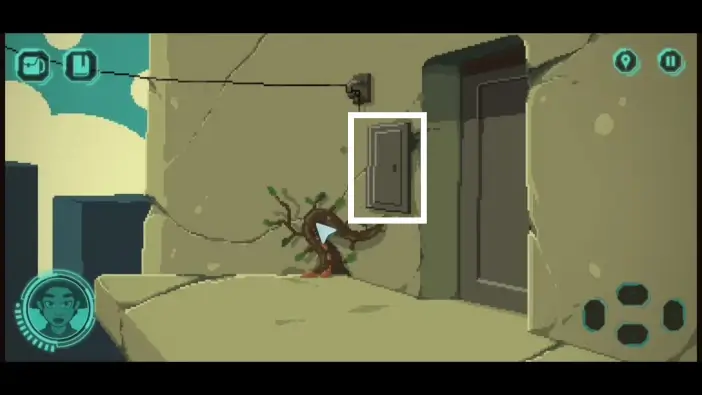
Use the tree branch on the stone block to reveal the clue for the bridge puzzle. You will see circles of different colors.
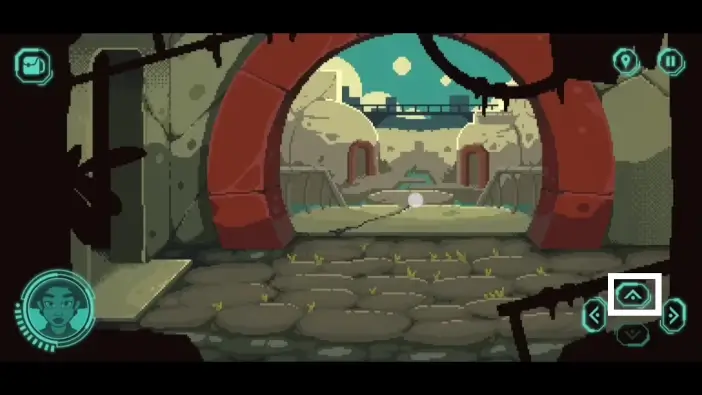
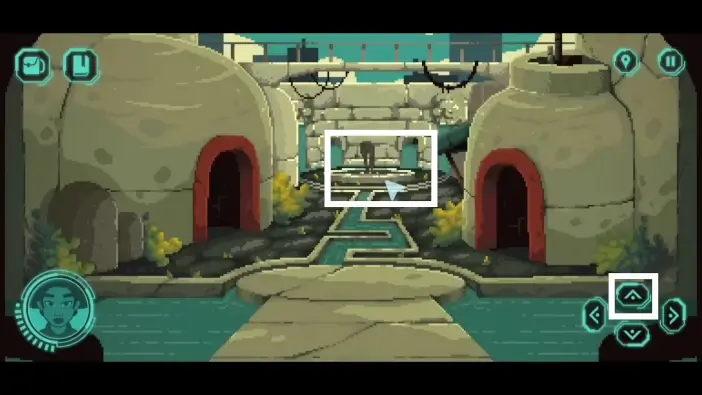
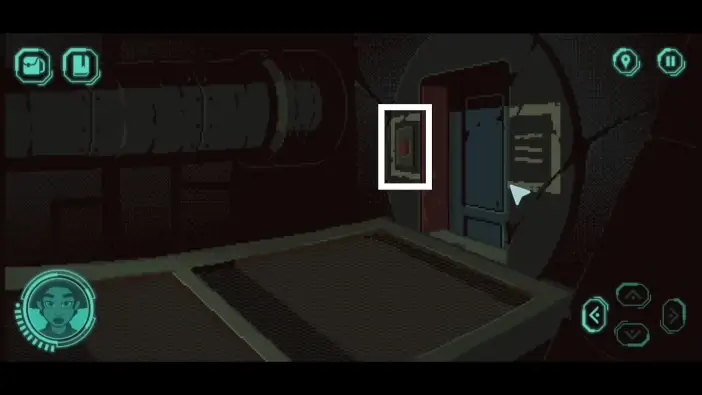
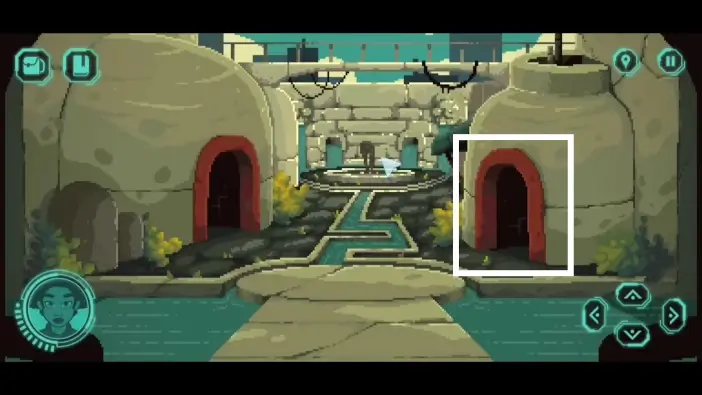
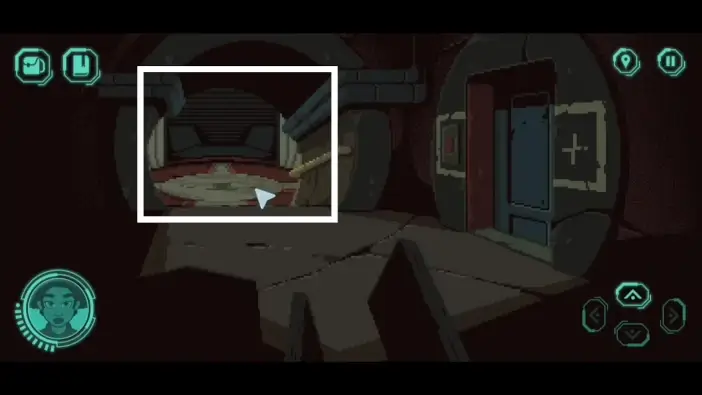
Return to the location shown in the picture above and go toward the houses.
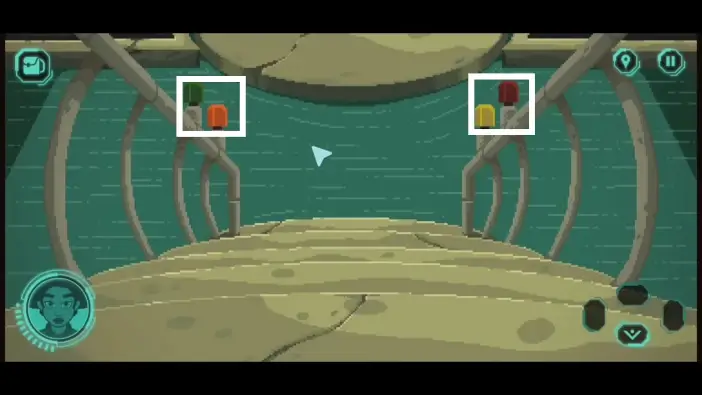
You will need to press the buttons in a specific order to unlock the bridge. The clue on the stone you just saw is the clue for this puzzle. Press the buttons in the following order: green, brown, yellow, yellow, orange, brown. Once you complete the puzzle, cross the bridge.
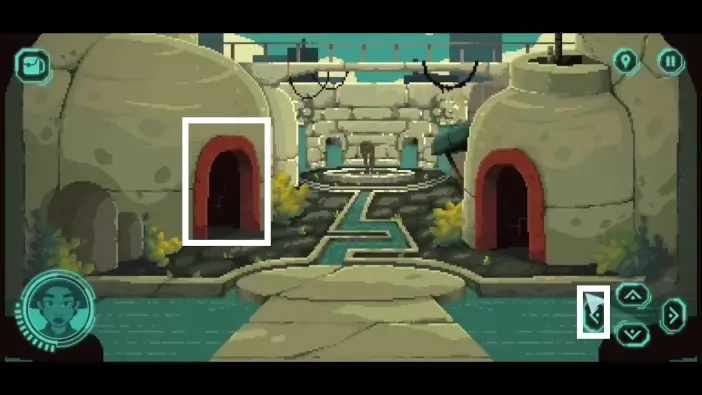
Go to the left house.
- Pick up the statue’s torso. You need to collect multiple parts of the statue.
- Take the journal. This journal will give you clues for multiple puzzles.
On the last page of the journal, there is a key card that you can use to access the elevator. Take it from the journal.
Exit the house and enter the house on the right.
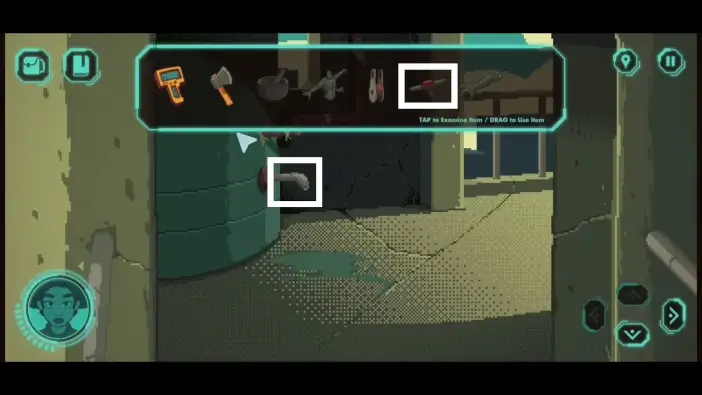
- Pick the spigot valve.
- Pick the pulley.
Exit the right house and approach the statue.
Pick the statue arm.
Return to the crossroad area and approach the elevator.
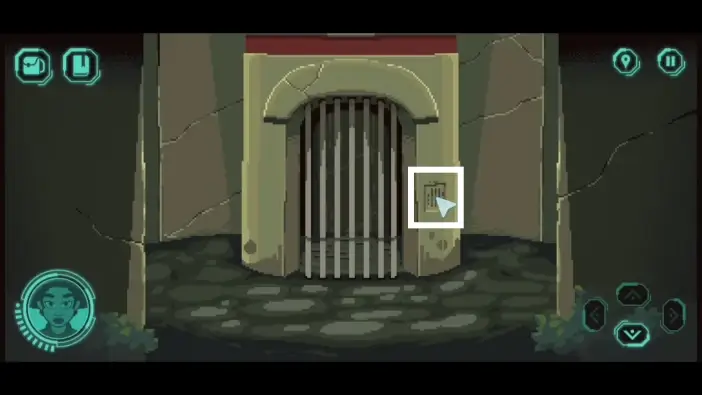
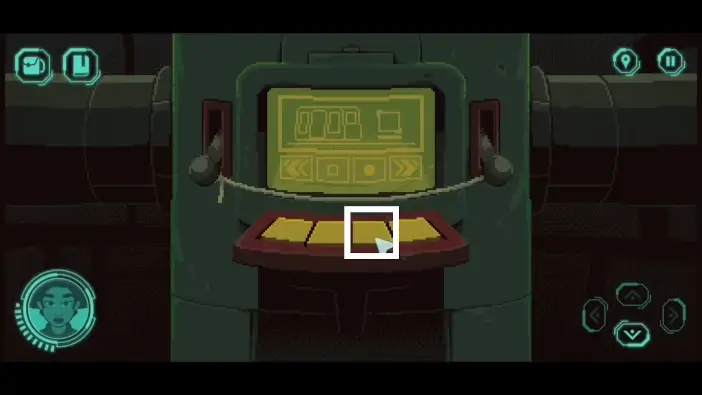
Approach the controls.
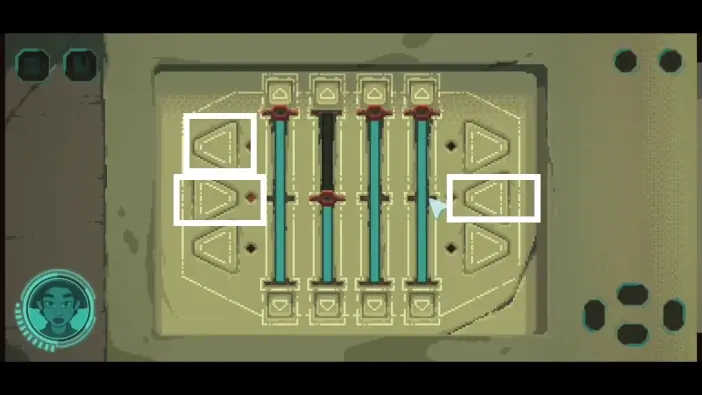
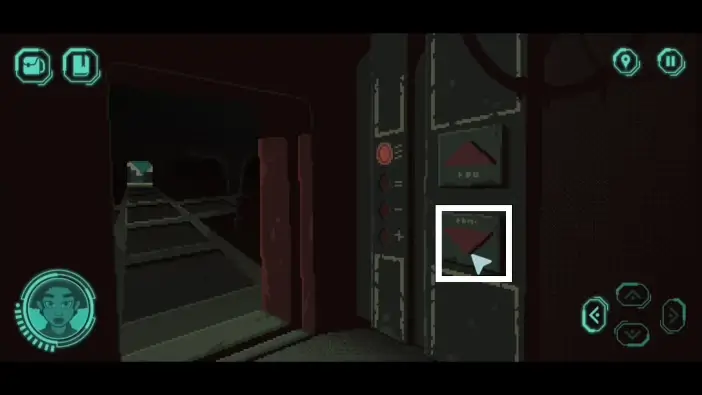
The clue to unlock the elevator is in the journal you acquired. You need to raise the bars like in the picture above and press the buttons marked in the picture.
Use the key card to activate the elevator.
Enter the elevator and go up.
Cross the bridge.
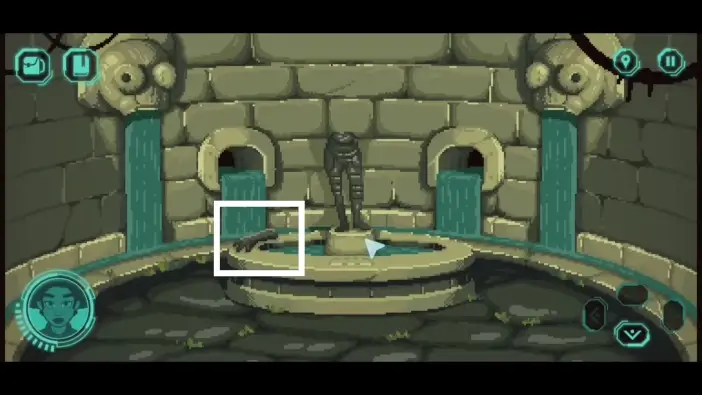
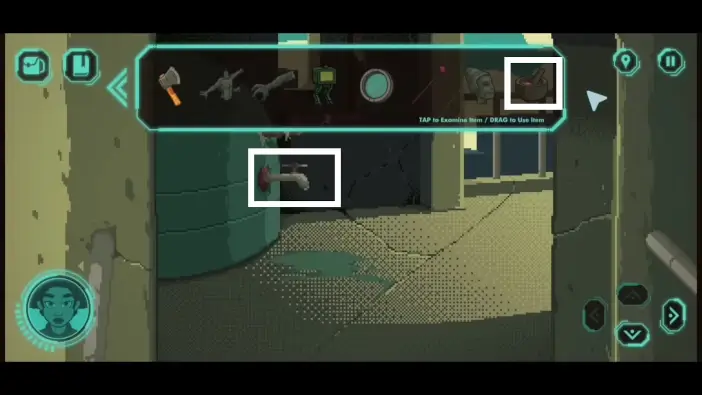
Place the spigot valve on the tap. You will need it later for the mortar.
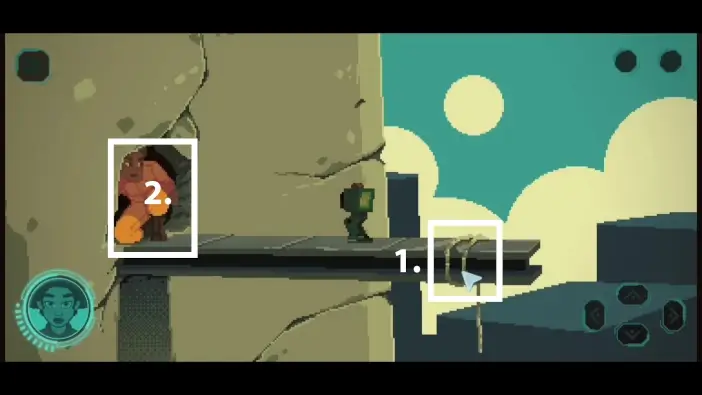
Return to the bridge and interact with the unstable baluster. It will fall to the ground.
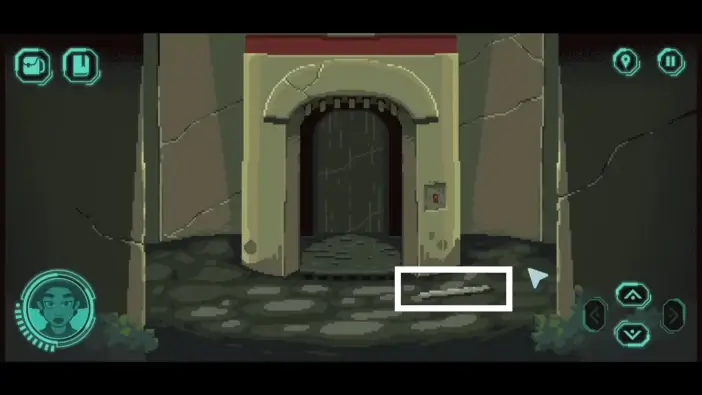
Use the elevator to go back to the ground level and pick up the baluster.

Return to the tap area using the elevator and go right from the water container.
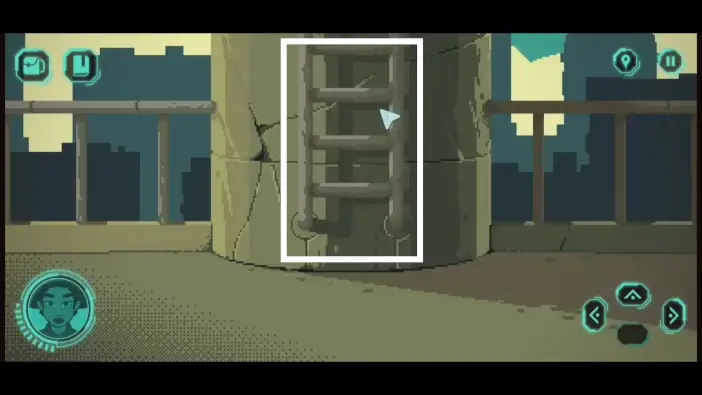
Climb the ladder.
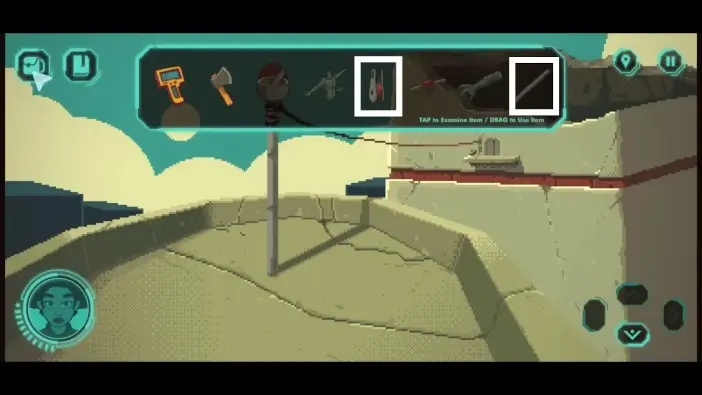
In your inventory, combine the pulley and the baluster to create the “pulley and handle” item.
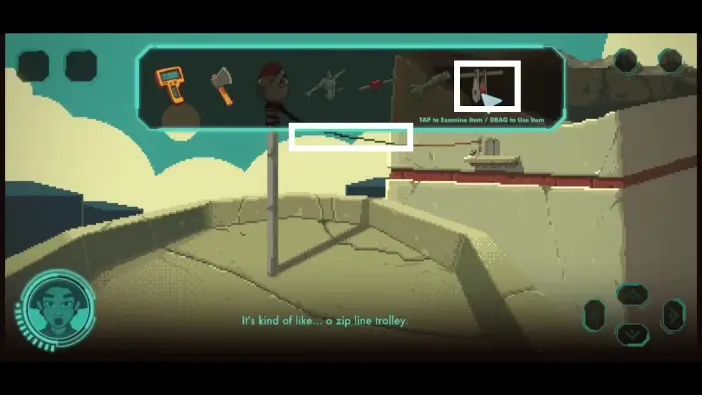
Attach the “pulley and handle” on the zip line to get to the tower on the other side.
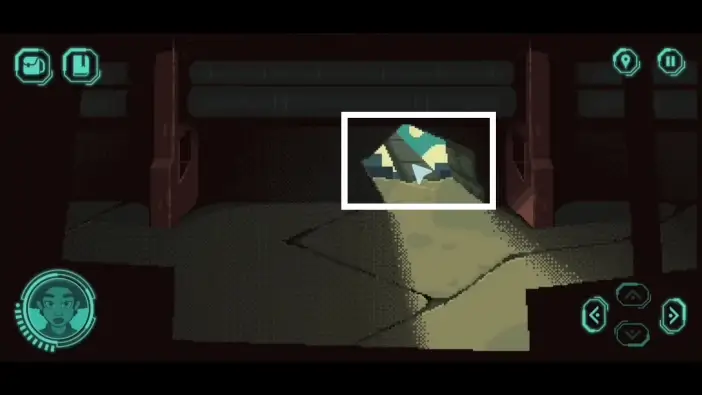
- Scan the plant with your fusion scanner. The protagonist will learn more about the resin of this plant and will be interested in harvesting it.
- Harvest the crystallized resin. It is the main ingredient for restoring the statue later.
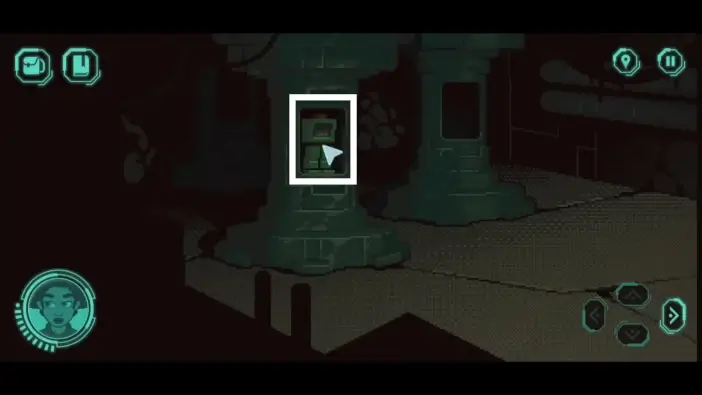
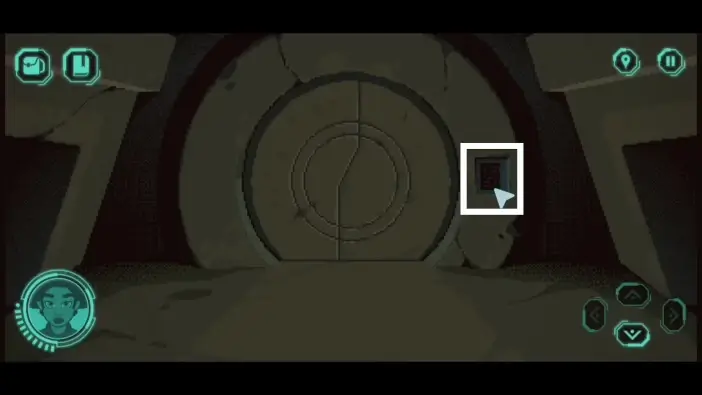
Open the panel to unlock the door.
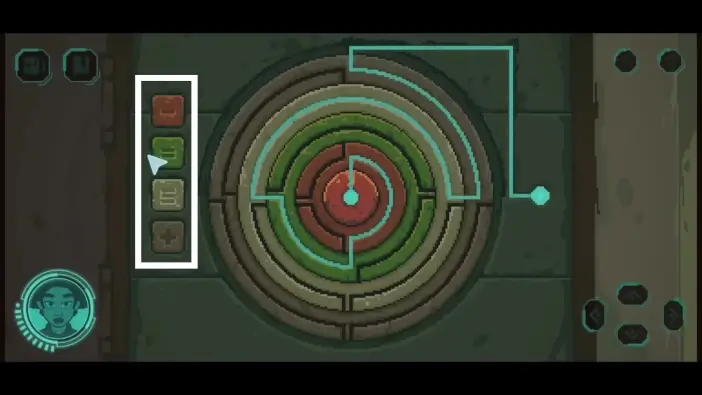
Use the left buttons to move the circles. The color of the button indicates which part of the circle will be rotated. When you complete this puzzle, the door will be opened.
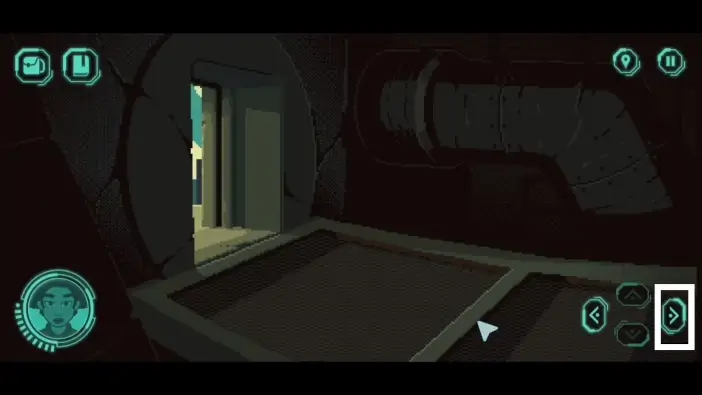
Once inside, go right.
Continue right.
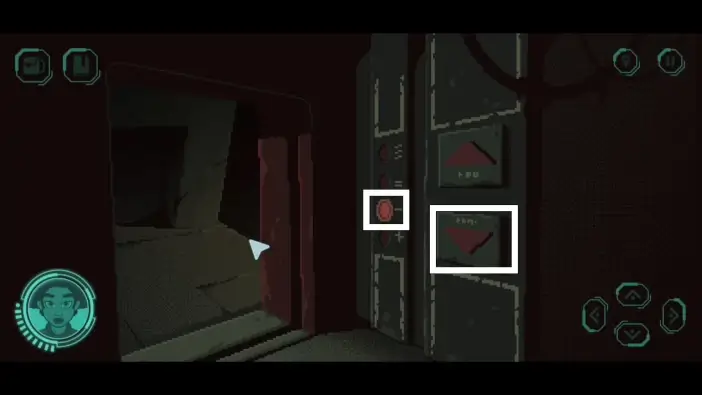
Press the button to open the door to the elevator and enter it.
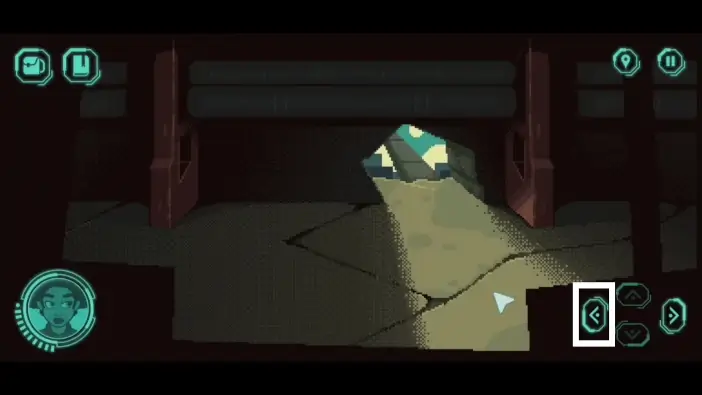
Go one floor below (that has the “=” sign).
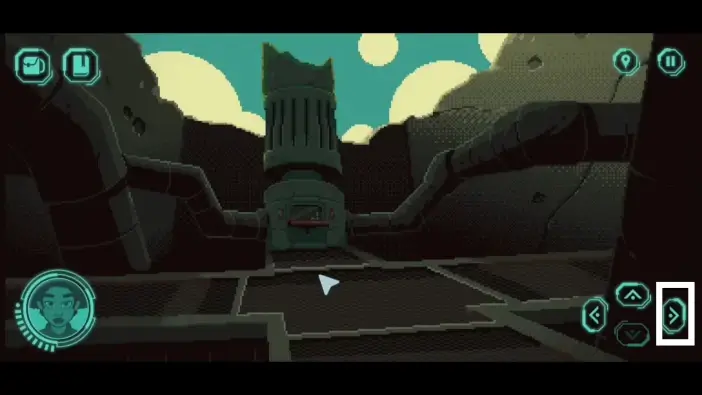
Once you arrive at the desired floor, continue left.
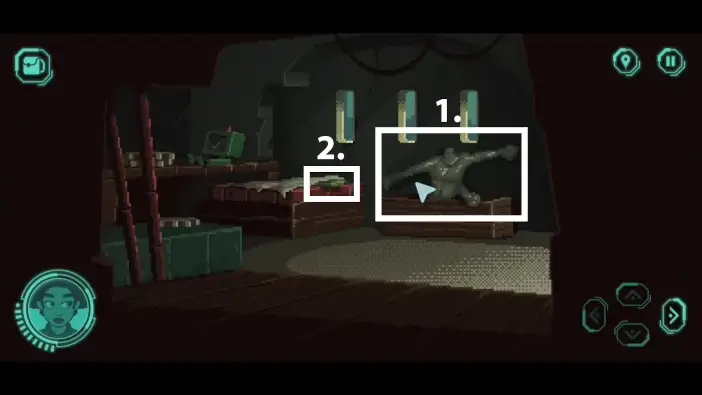
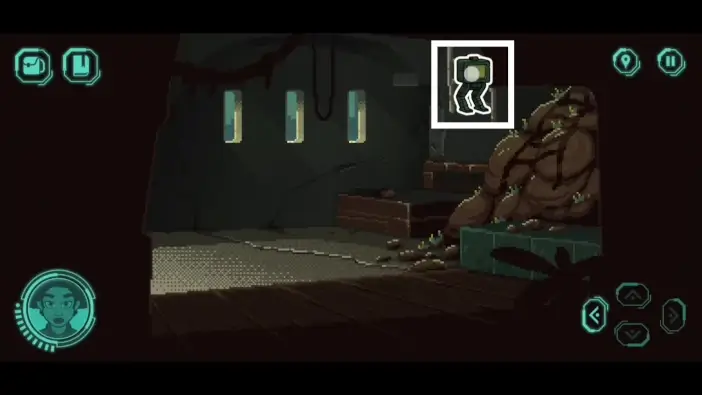
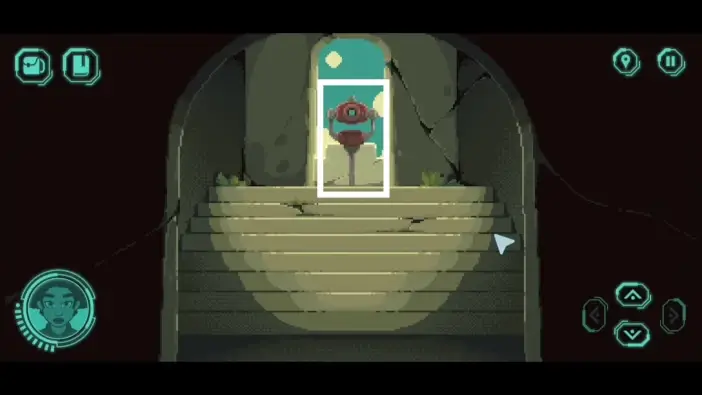
Approach the robot.
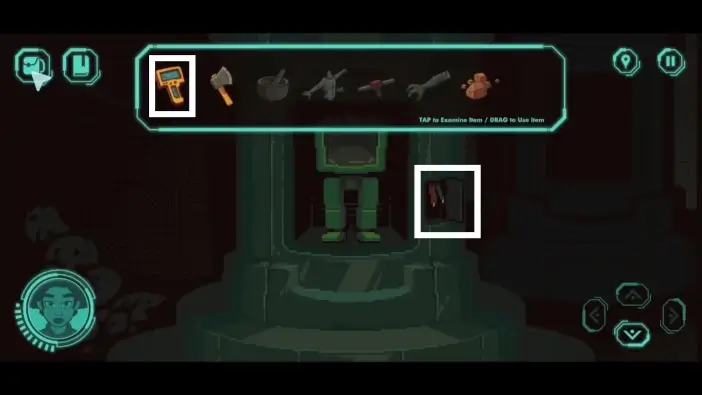
Open the small lid beside the robot and connect your fusion scanner with the cables. This will activate the robot and it will jump from the stand. Pick it up. This robot can help you reach some places where your main character can’t go. Next, go right.
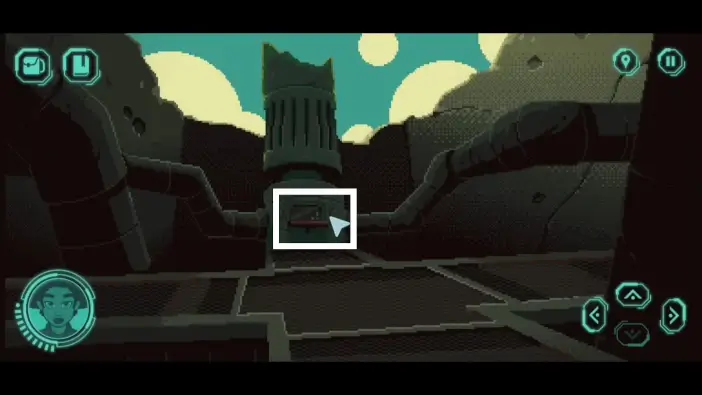
Approach the hole in the wall.
- Use the robot from your inventory and order him to get the rope (click the rope).
- Click on your character to return the robot and the rope to your inventory.
Return to the elevator and return to the floor up. Go to the machine you passed by before.
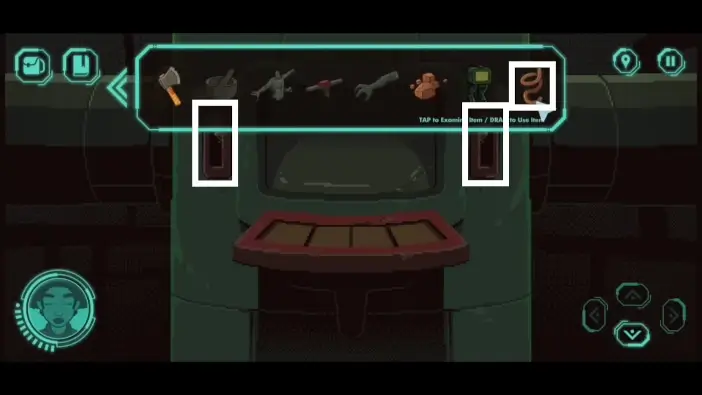
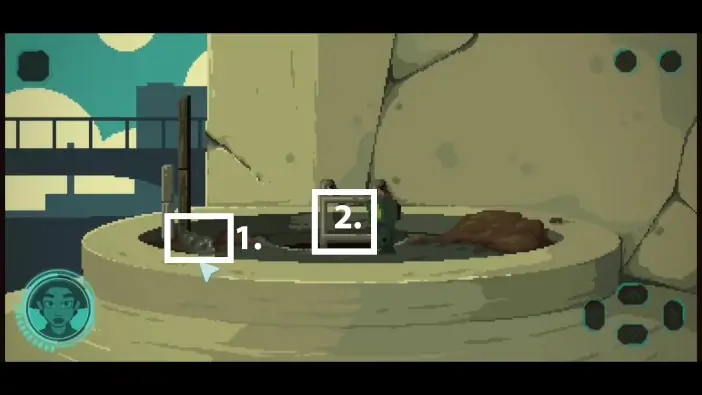
Use the rope you just got to hold both switches down simultaneously.
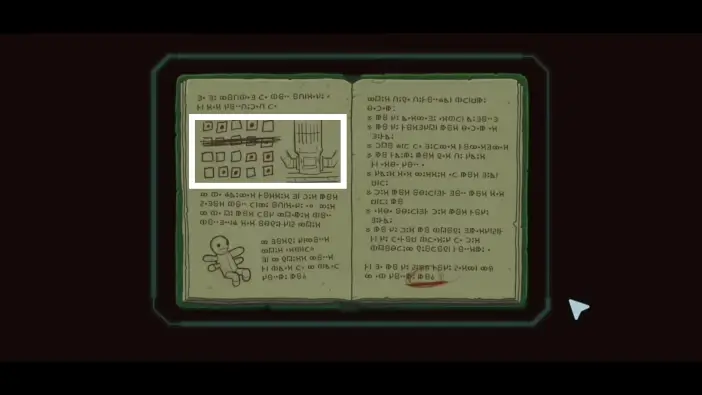
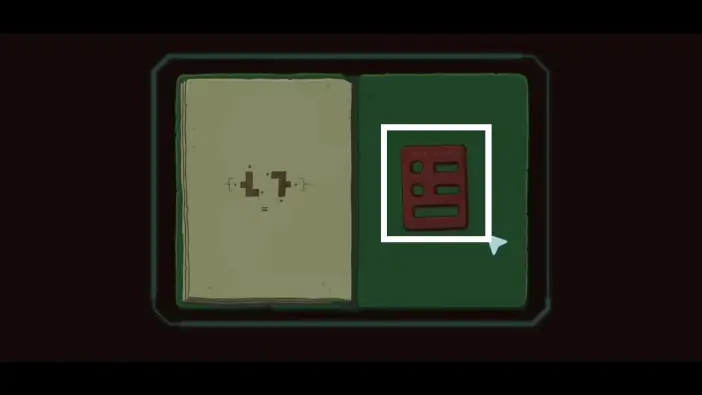
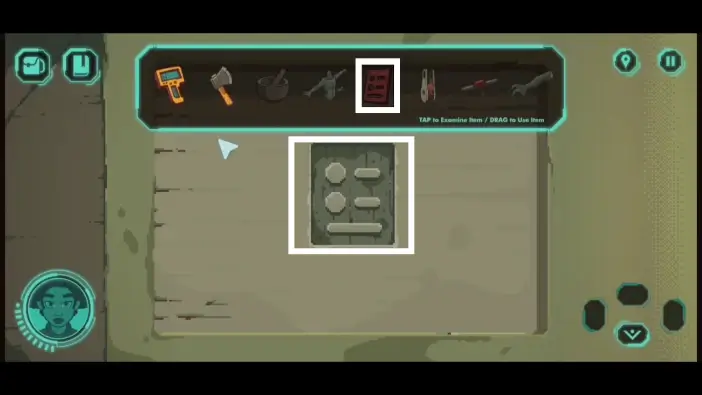
The machine will require a password. Follow the clues in the journal you got from the house earlier. You can see the solutions in the pictures below. Ignore the crossed out row in the journal.
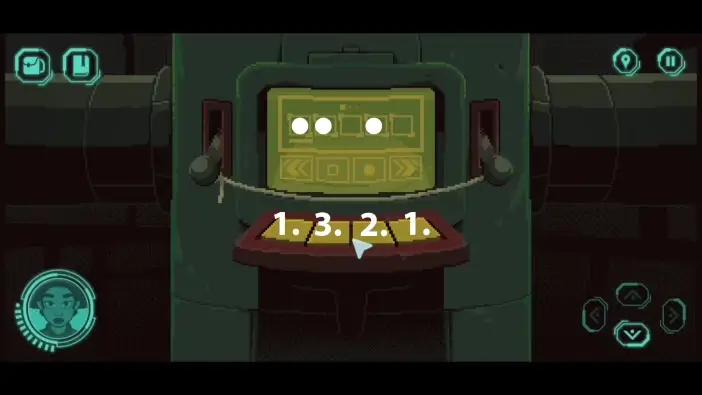
- The far left and far right buttons serve to move the active input field.
- The middle right button servers to place the dot inside the active input field.
- The middle left button serves to delete the dot inside the active input field.
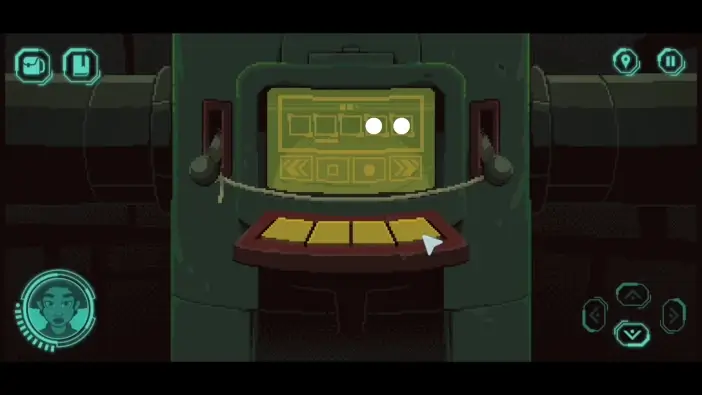
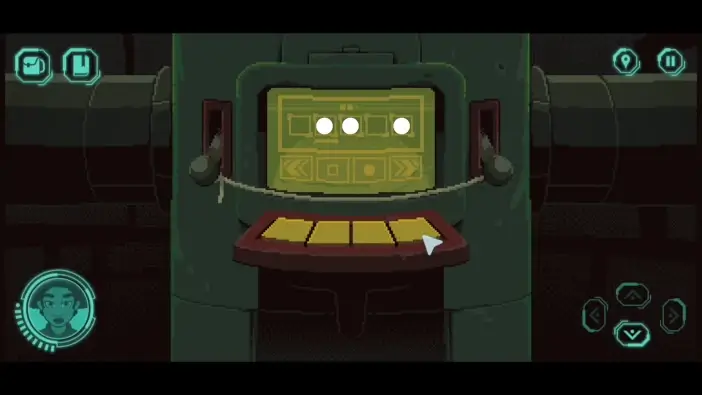
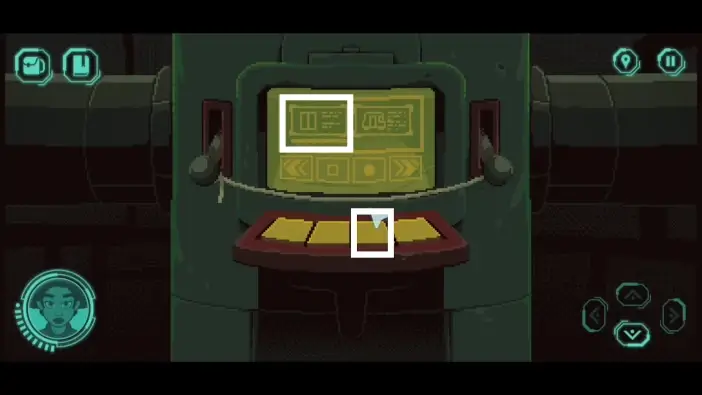
After you insert all the dots, select the left option in the menu. It contains alien settings for the elevator.
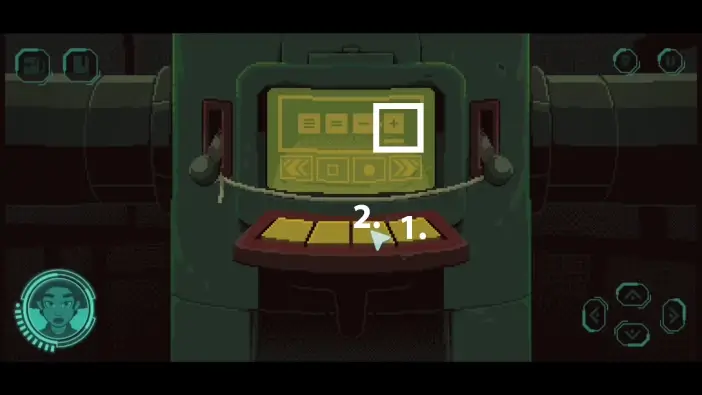
- Navigate to the far right option that has the “+” sign.
- Press the activation button. This will unlock the lowest floor and now you can access it via elevator.
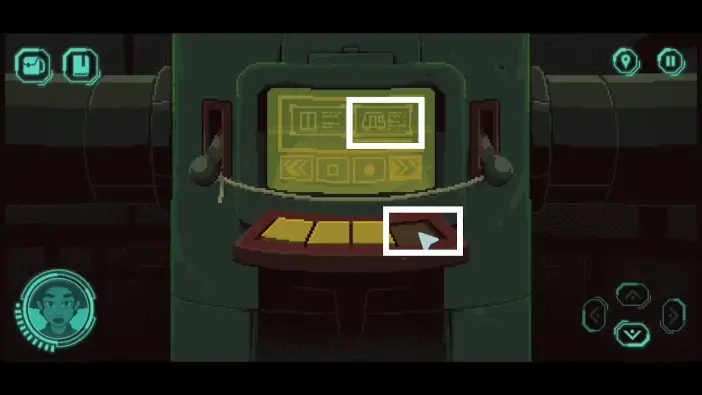
The menu will appear again and this time, select the option on the right. These are alien settings for a railcar and this will be important at the end of this act when you are leaving the area.
Press the activation button to unlock the railcar (the floor with the “+” sign). This will also unlock the access to the exit door on the floor with the “-” sign.
Return to the elevator and go to the floor that has the “-” sign.
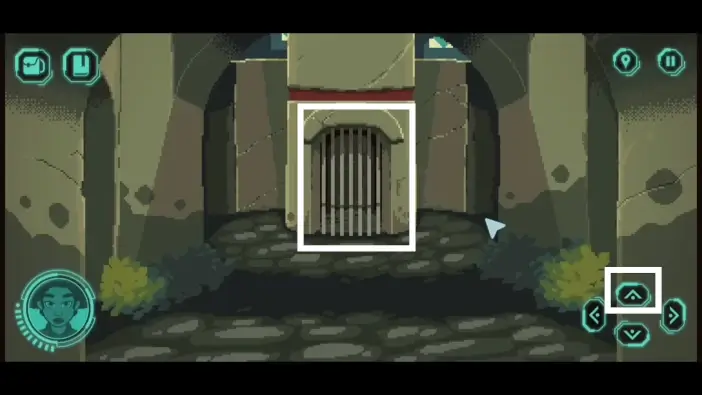
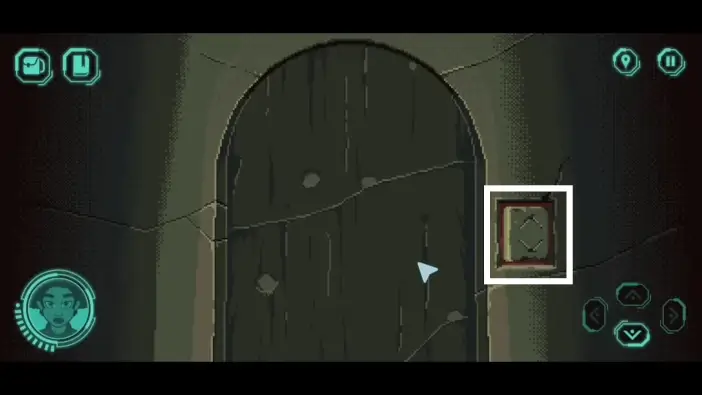
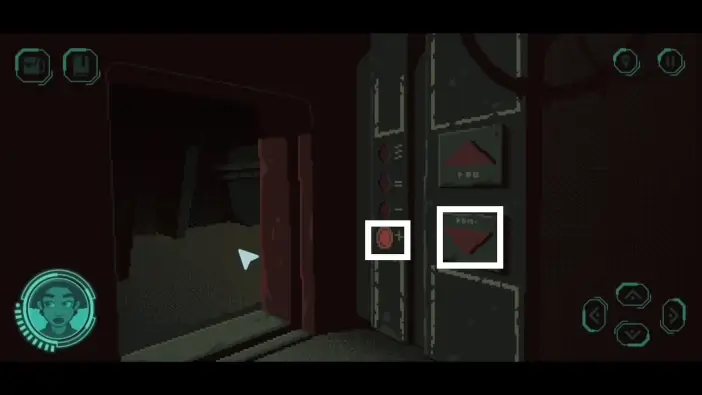
Open the lid beside the exit door and approach it.

To open the exit door, you need to solve the puzzle. To complete it, you need to connect the white dots. To rotate the pipes, use the buttons on the left. Which pipes you will rotate is indicated by the colors. For example, if you press the green “=” button, you will rotate the green pipes.
After you complete this puzzle, the door will open and you will unlock a shortcut to the town area where you previously been.
Return to the statue area and go to the house on the right side.
Send a robot to climb the ladder.
- Order the robot to take the statue’s head.
- Order the robot to return.
Return to the elevator and go to the lowest floor that has the “+” sign.
- Pick the lens. You can place it in the telescope later.
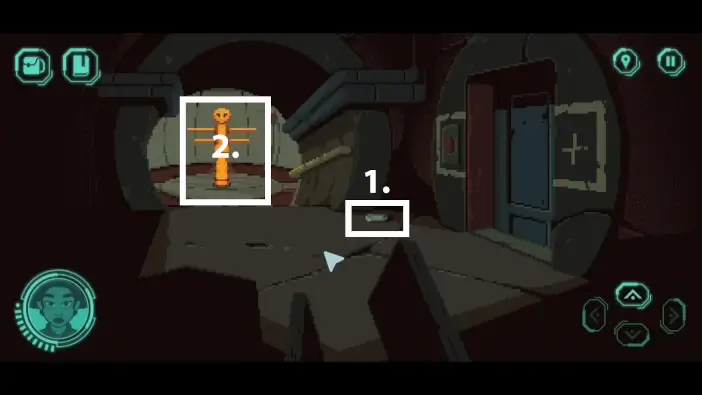
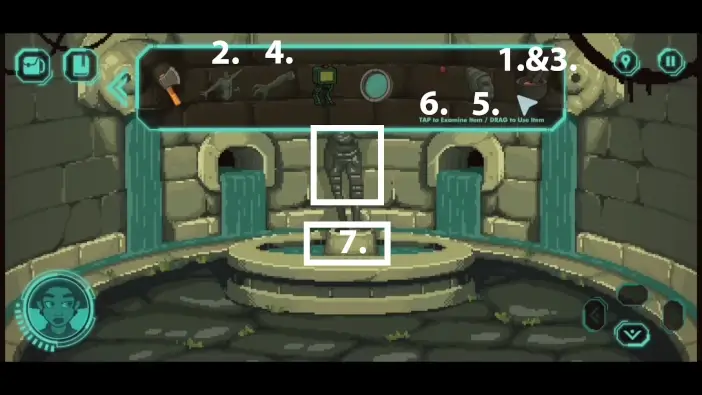
- Approach the dummy area.
Pick the statue’s staff.
Return to the area where the water container is. Open your inventory and place the crystallized resin inside the mortar.
Pour some tap water into the mortar. You will get the “mortar with gooey resin” item in your inventory.
- Return to the statue. Place the gooey resin on the statue.
- Place the torso part of the statue.
- Place the gooey resin once again to glue other parts of the statue.
- Place the arm.
- Place the head.
- Place the stuff.
- Once you place all the pieces of the statue, the compartment will open, containing the medallion. Pick it up.
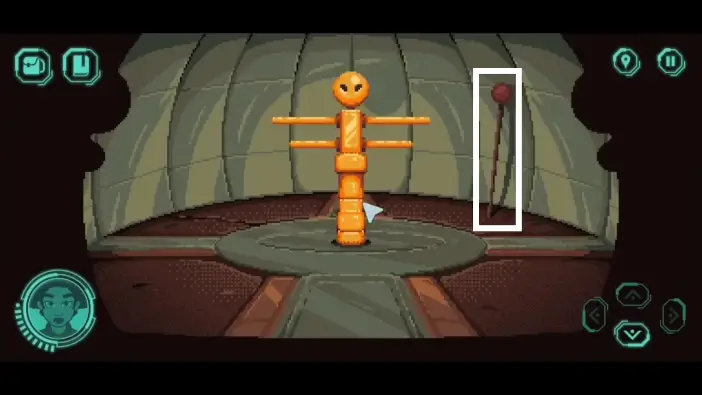
After you complete this puzzle, remember the position of the head and arms of the statue.
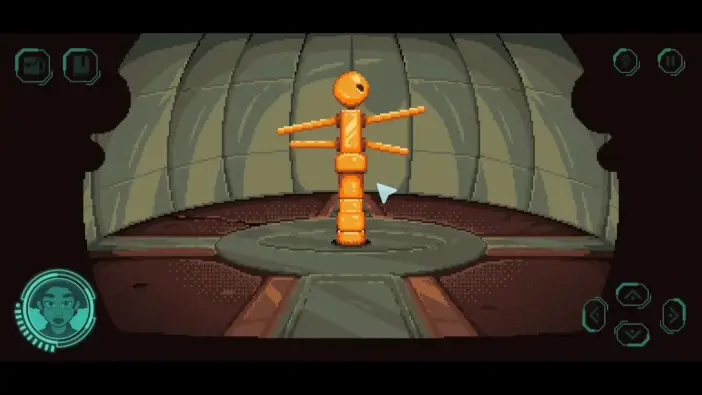
Return to the dummy and move its hands and head to resemble the pose of the statue. The placeholder for a medallion will appear where the dummy’s head was been.
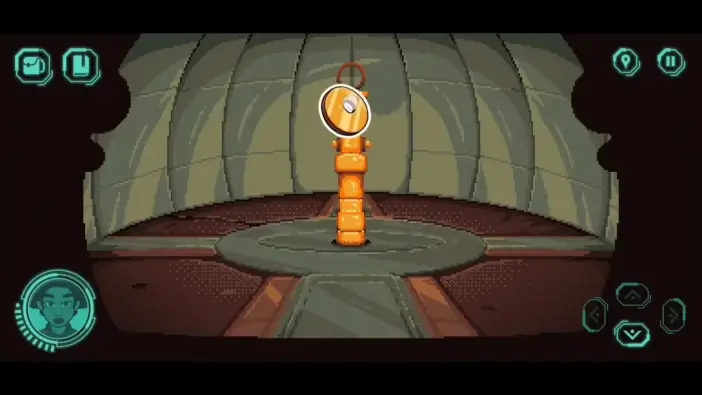
Place the medallion on the placeholder. This will unlock the path toward the railcar.
Before leaving the Act 2 area, you can return to the telescope.
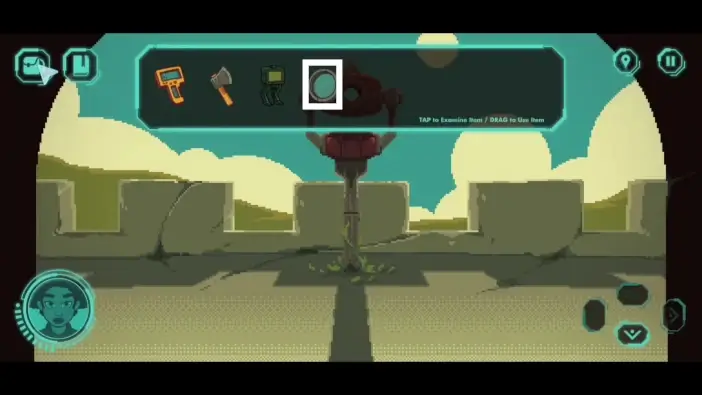
Place the lens you got from the lowest floor. Move the telescope left and right to see points of interest.
To finish Act 2, go to the lowest floor and go to the newly unlocked hallway where the dummy was.
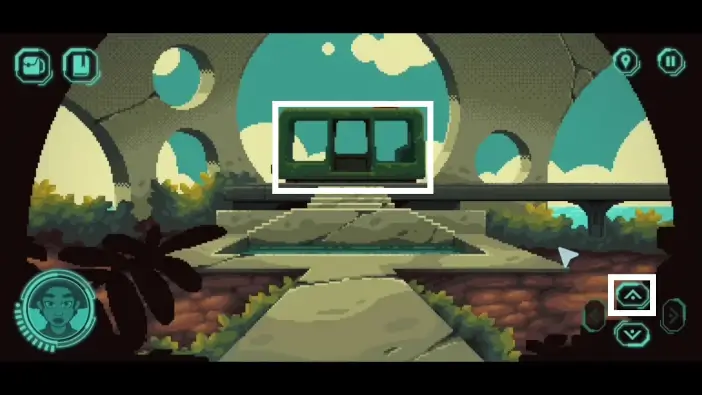
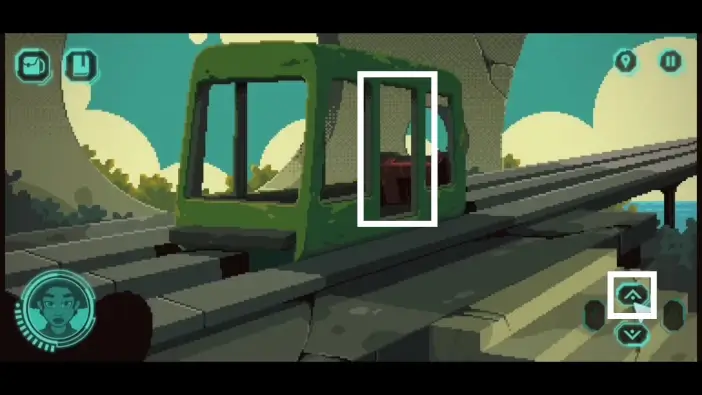
Go inside the railcar.
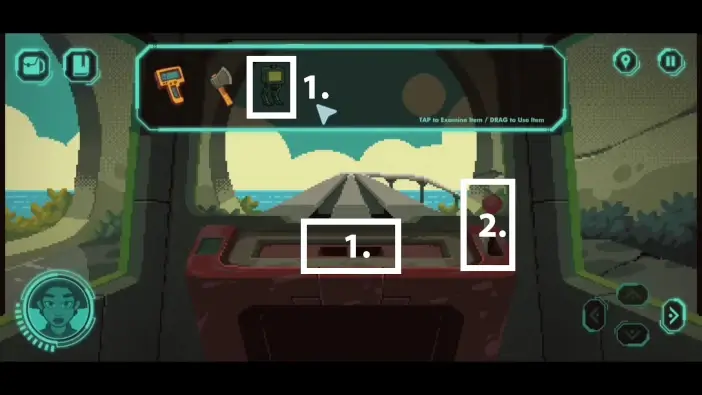
- Place your robot in the central slot.
- Pull the lever to activate the railcar. This is the end of the Act 2.
Our protagonist heads toward the islands, not knowing that the mysterious alien is traveling with her. Who is this alien and what mysteries await on the islands? Find out in the next part of our guide!
Thank you for reading!