The Abandoned Planet | Act 1 – The Crash
Intro
Welcome to our walkthrough for Act 1 of the “Abandoned Planet” from Snapbreak (publishers) and Dexter Team Games (developers). Our protagonist enters a mysterious wormhole that leads her to an unknown planet. Her ship crashed entering the planet and now she must explore this strange world.
Walkthrough
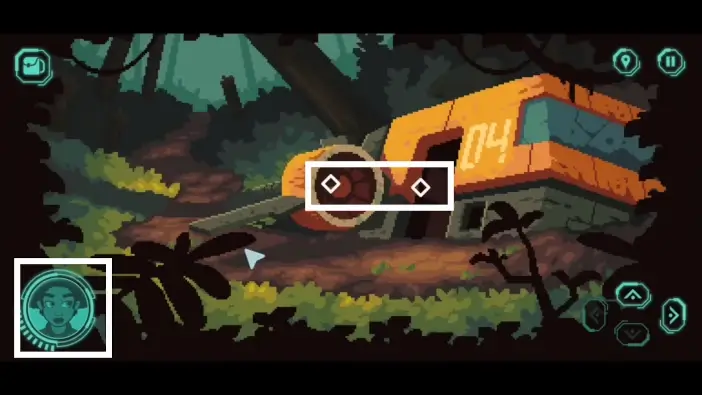
First, to exit your spaceship, you would need to press the button behind the glass to eject the airlock door. You first need to find something to break the glass.
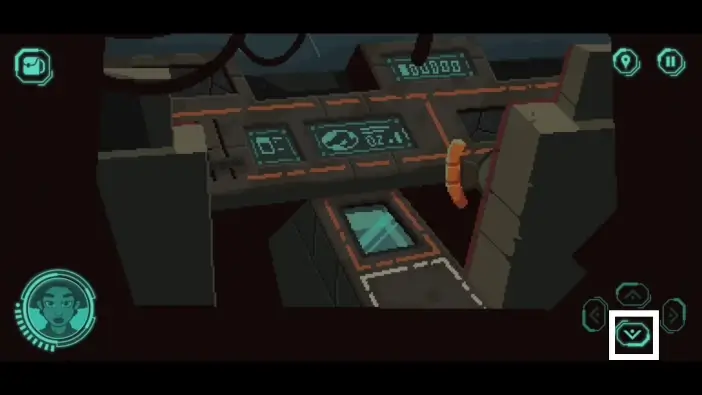
Use the arrows in the bottom-right corner to navigate your character. Leave the cockpit
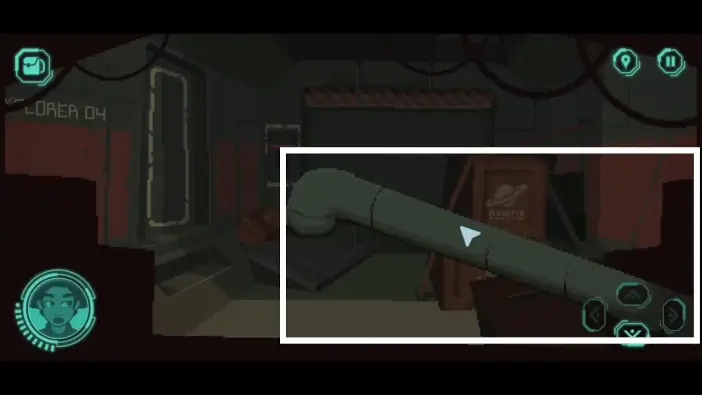
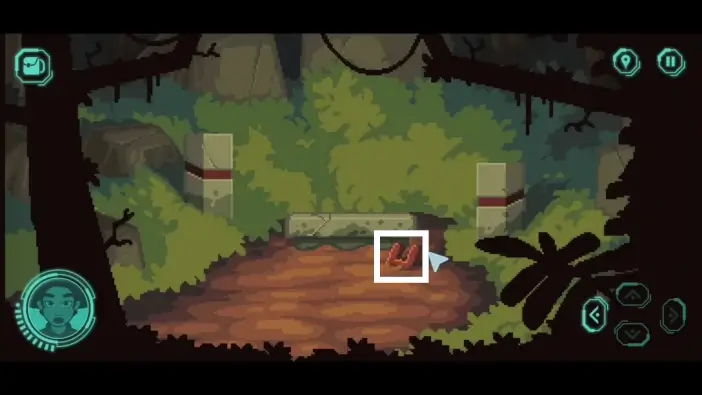
Take the broken pipe and return to the cockpit.
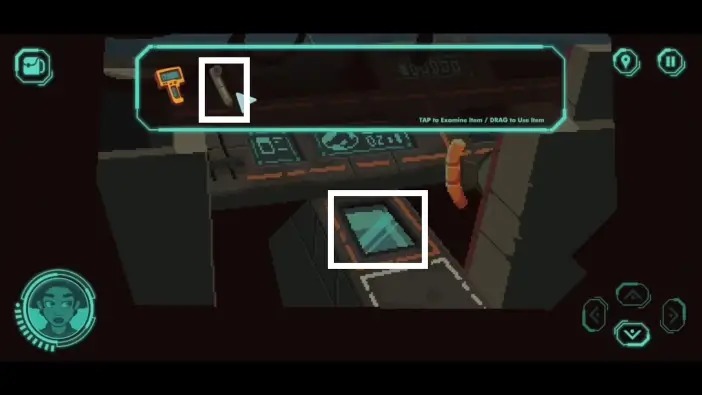
Use the broken pipe to break the glass, then press the red button to eject the door.
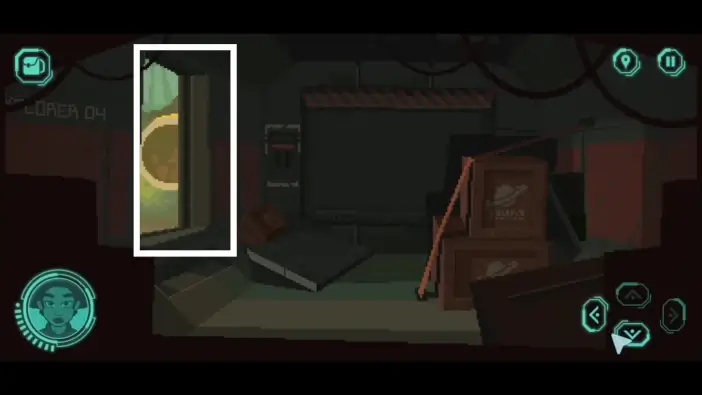
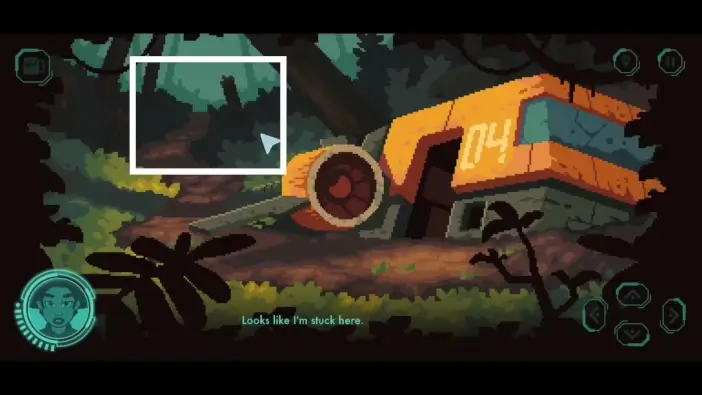
Leave the cockpit and exit your spaceship.
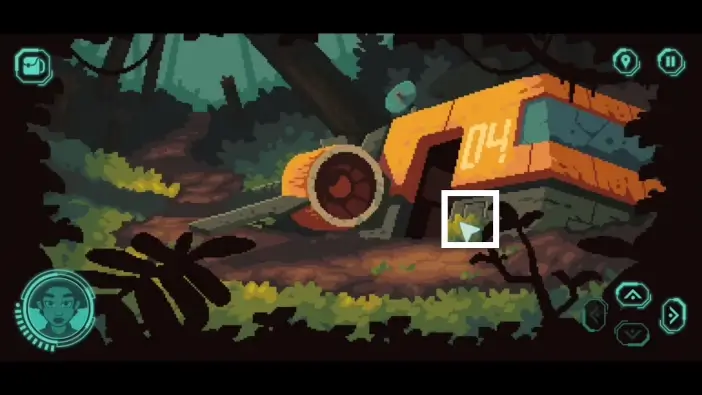
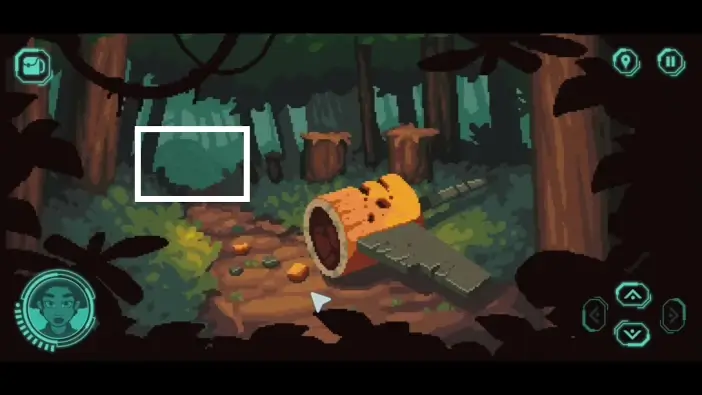
Open the compartment at the side of the spaceship and take the hatchet.
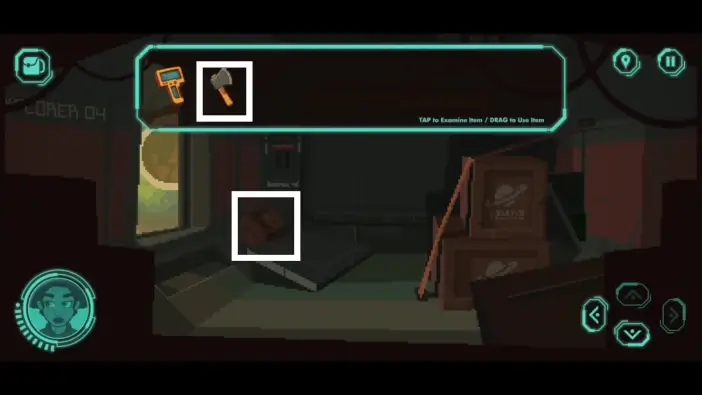
Return to your spaceship, break the box with your hatchet, and pick the powered handgrip.
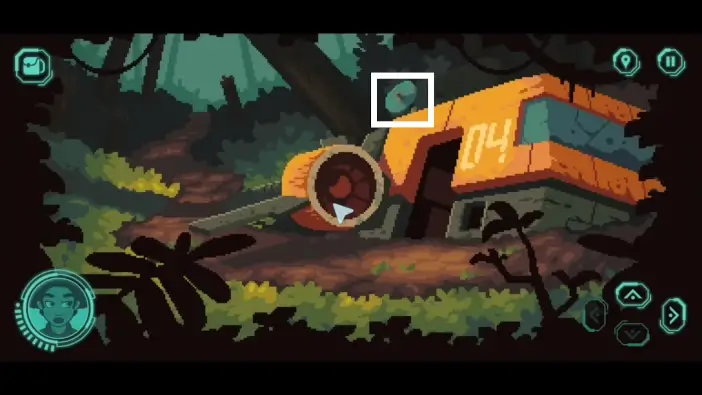
Exit the spaceship and take the ultrasonic dish.
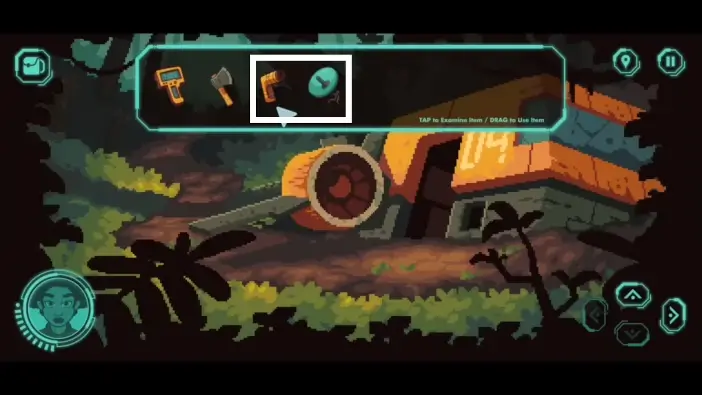
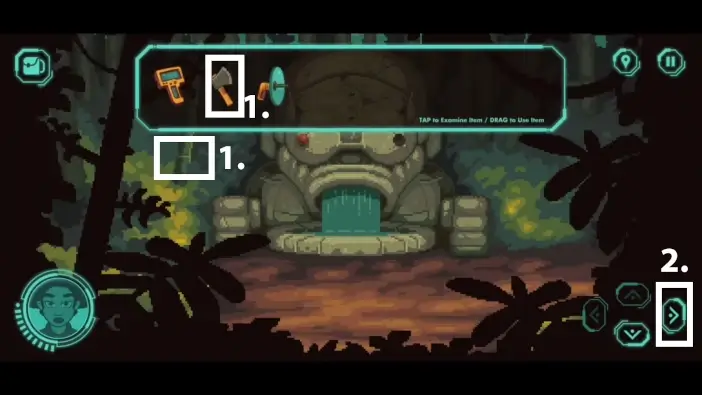
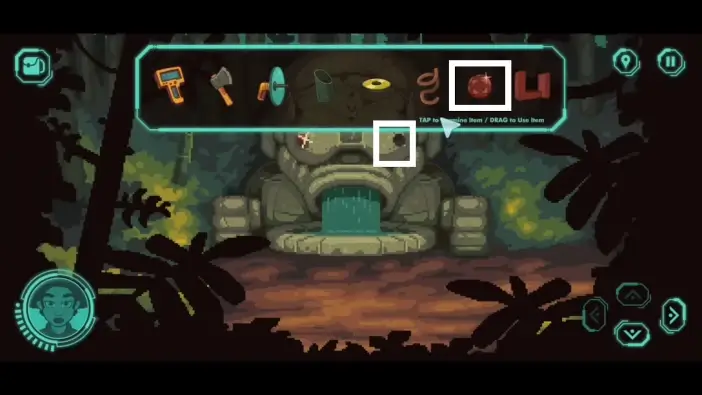
Open your inventory and combine the powered handgrip with the ultrasonic dish to create a sonic emitter. Later, you will use this item to scare off one alien wild animal.
If you click on your character’s portrait, you can see suggestions for places to inspect, either for important items and clues or for some optional information. This guide will not cover all locations where your character will comment on.
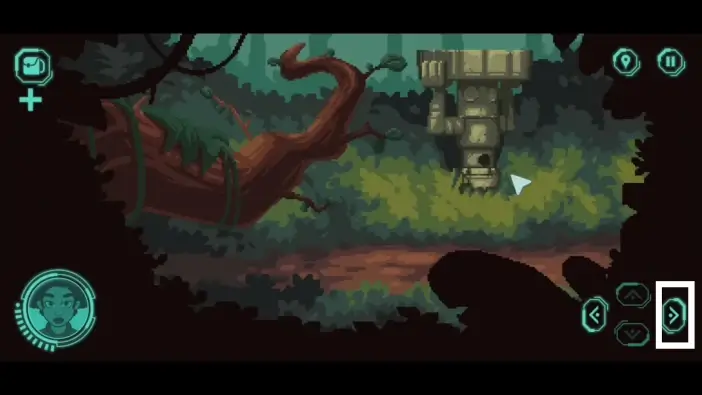
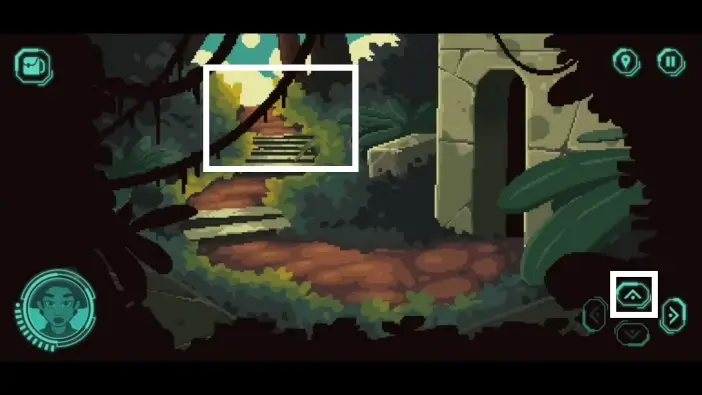
Go towards the forest, either by selecting the up arrow in the bottom-right corner or by clicking on the forest path.
Continue through the forest.
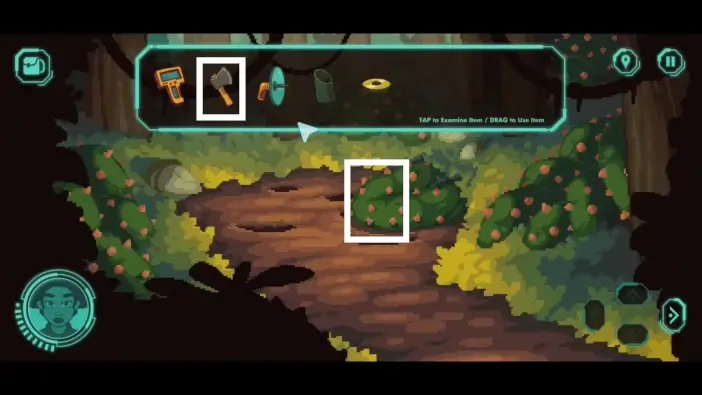
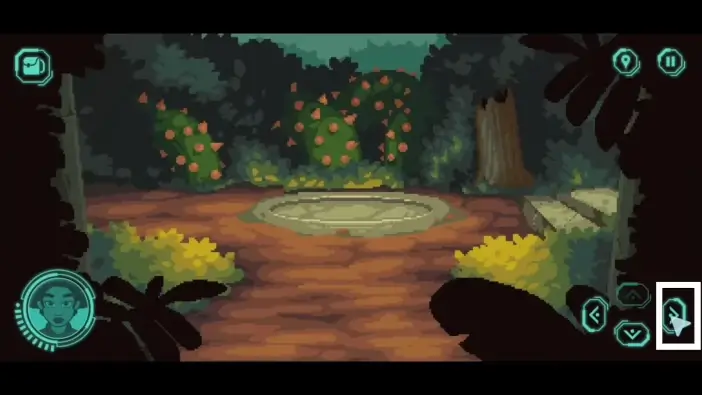
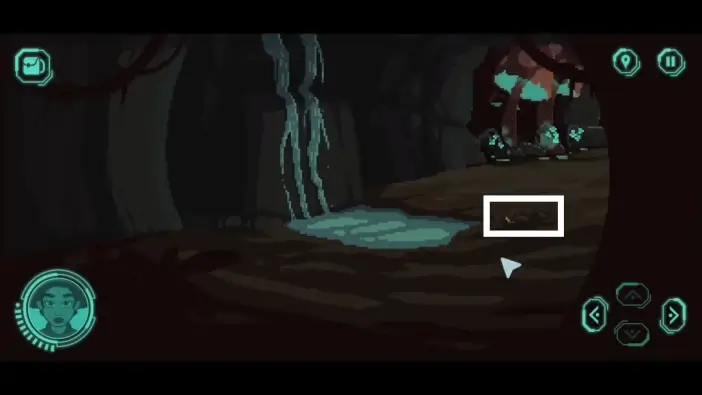
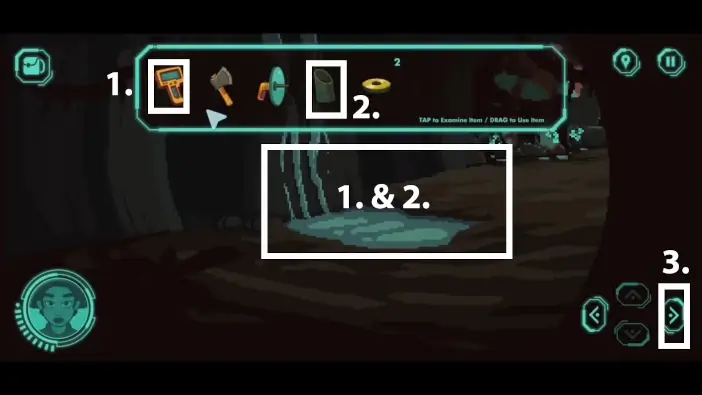
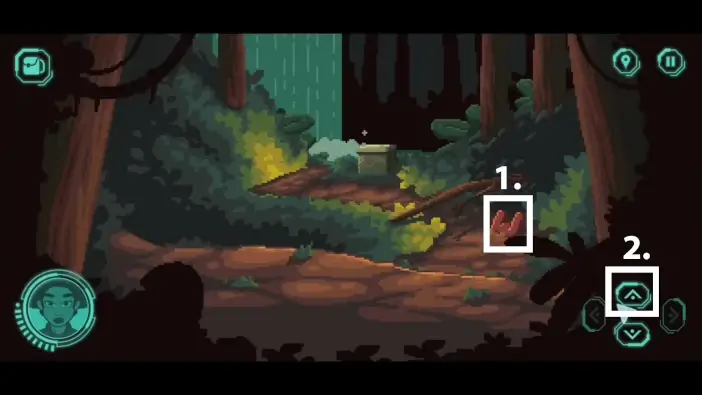
- After the cutscene, you will encounter a strange fountain. Use your hatchet to cut the bamboo and pick it up. The bamboo receptacle will be added to your inventory. You will need it later to pick up some water.
- Go right.
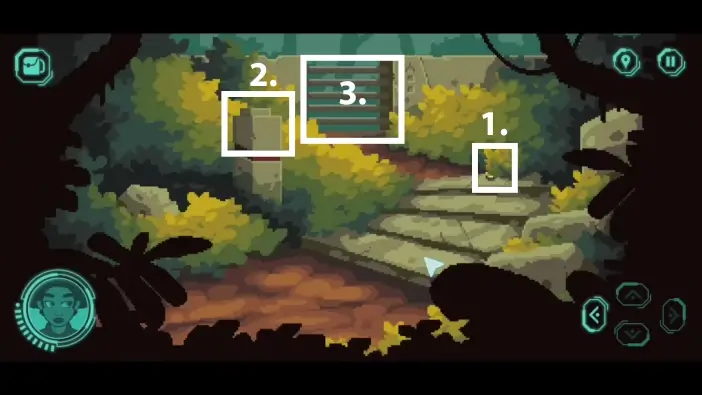
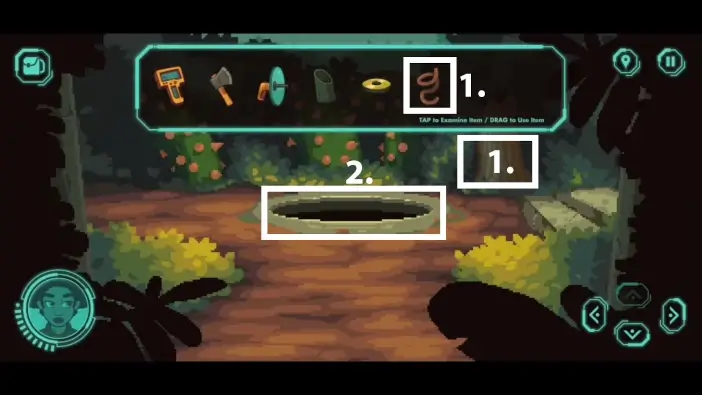
- Pick the first ring under the bush. You will need to collect 5 rings to unlock one area later.
- Press the button on the pedestal to unlock the gate.
- Go through the gate.
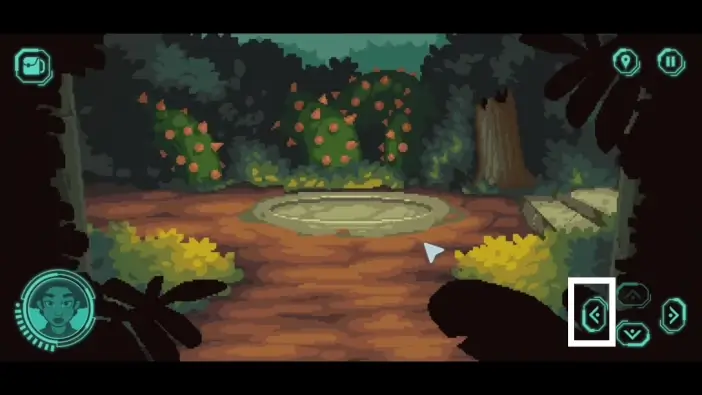
Turn left.
Cut the bushes with your hatchet and descend into the hole.
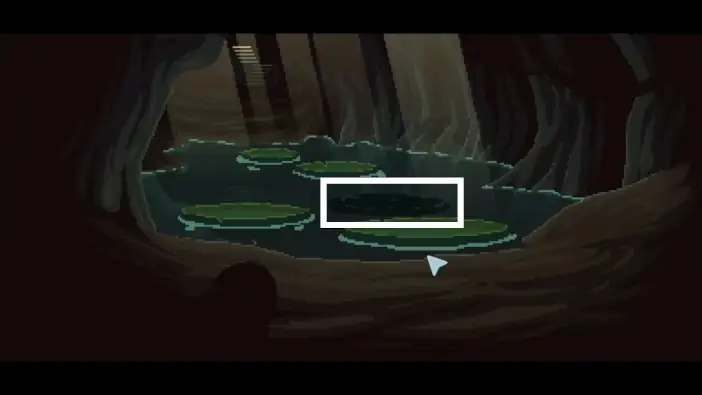
Elevate one of the lily pads so you can cross the lake later. For now, return to the surface.
Return to the pedestal area and go right.
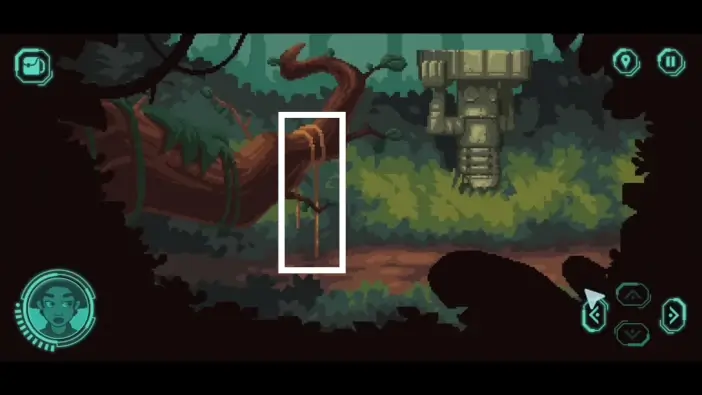
Pick the rope. You will need it to descend underground later. Next, you need to solve the puzzle of the monument on the right, but first, you need to find and remember a few clues.
Go back to where you unlocked the gate and check the symbol on the wall.
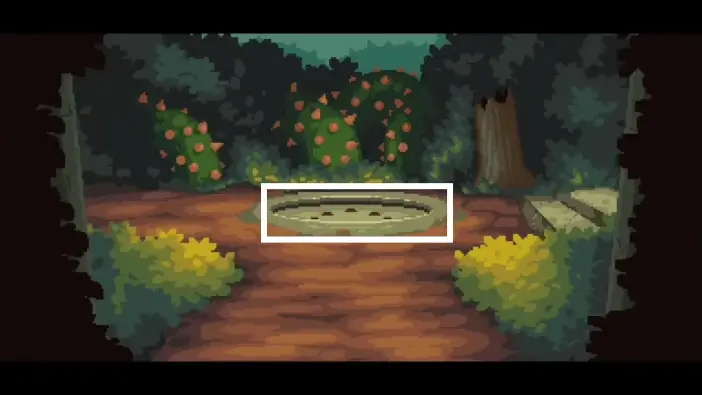
The next symbol is on the fountain.

Return to the statue, near the tree where the rope was.
Rotate the first segment to get the symbol that was on the wall. The second segment should be the symbol you saw on the fountain. For the third segment, rotate until you get the correct one and the statue will react.

The statue will reveal one ruby belonging to the fountain you encountered before. Use the hatchet to pry out the ruby and take it.
Go right.
Pick the shaped block.
Go to the fountain and place the ruby inside the empty slot. This will unlock two buttons in the area where you just found the shaped block. Return there.
Press the right and then the left button.
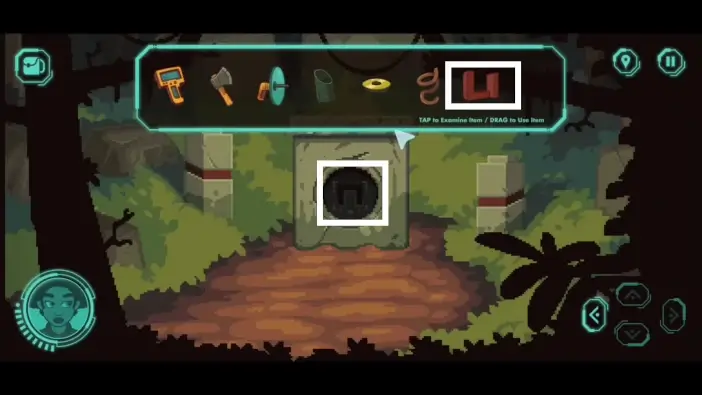
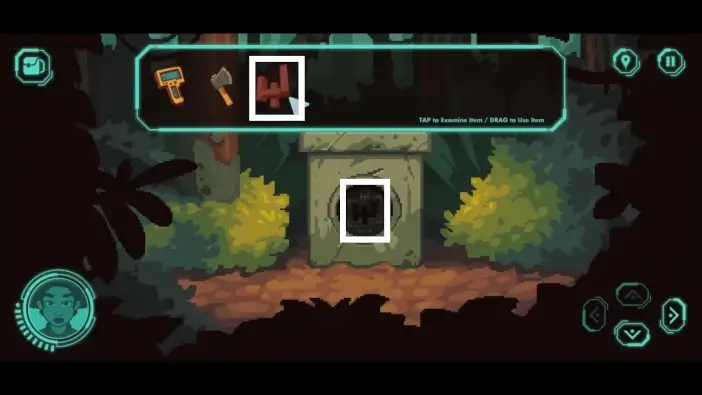
Place the shaped block inside the designated slot. You need to rotate the block into the correct position first.
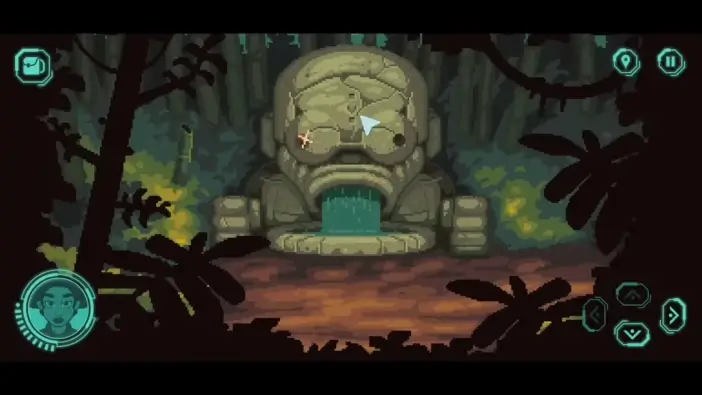
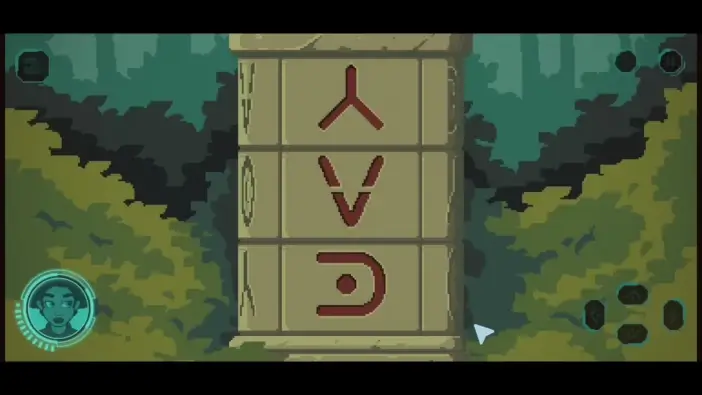
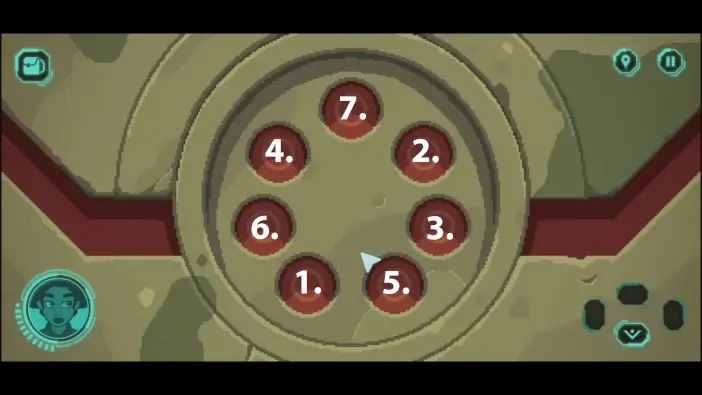
Once you complete this, the opening will be sealed by the circular lid. On that lid, you will see 7 circles. Pay attention to the order in which they start glowing.
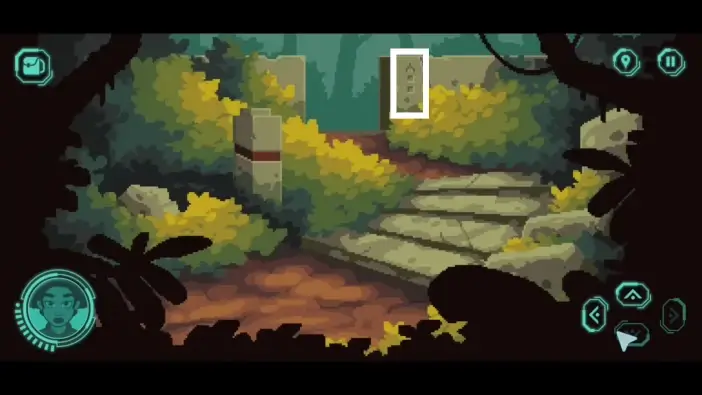
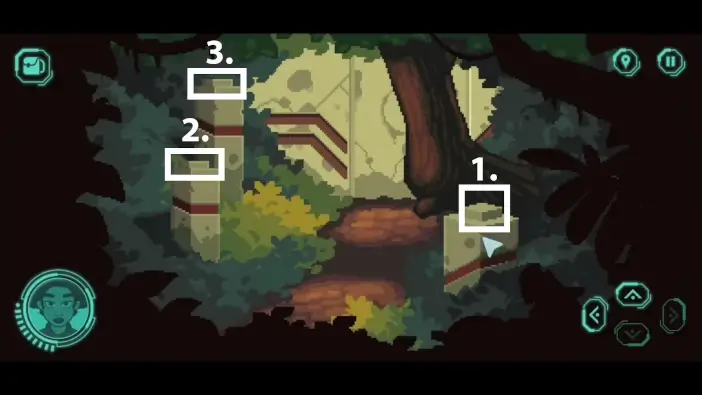
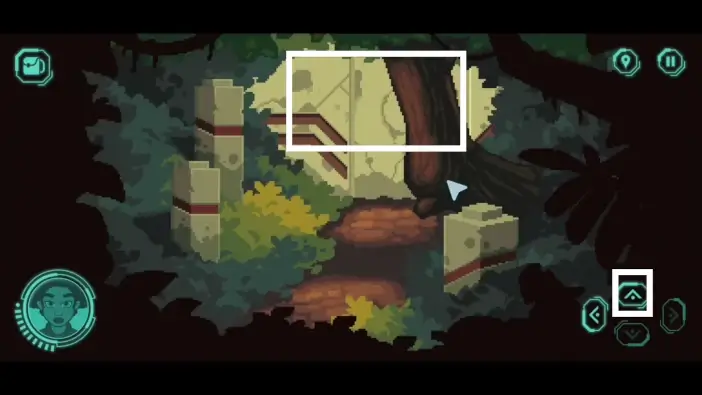
Go to the area shown in the picture above and approach the central circle.
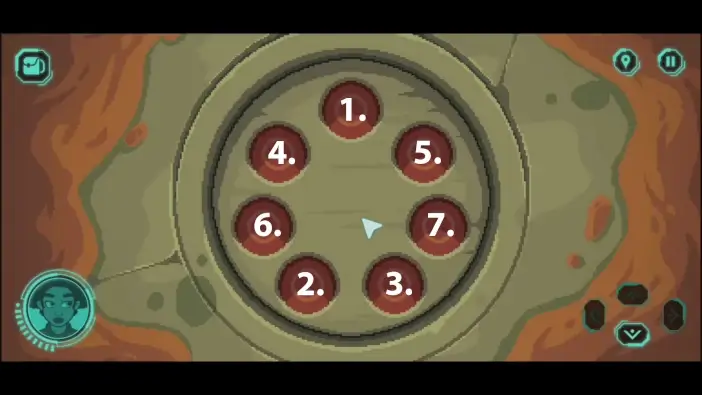
Press the buttons in the same order as the order of glowing circles in the previous section. The order in which you need to press buttons is shown in the picture above.
- Once you unlock the passage to the sewers, tie the rope to the tree.
- Go inside the sewers.
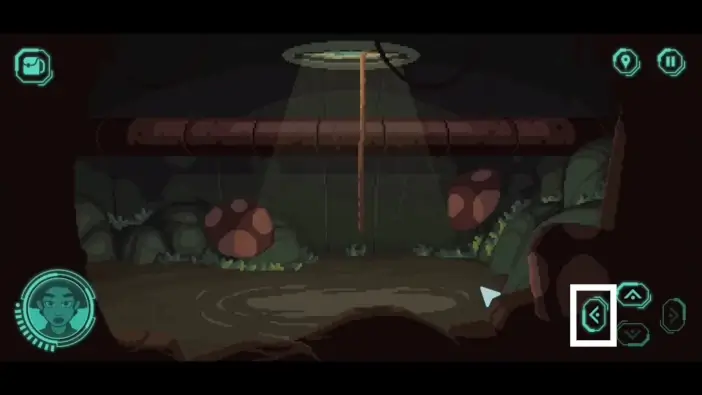
Go left.
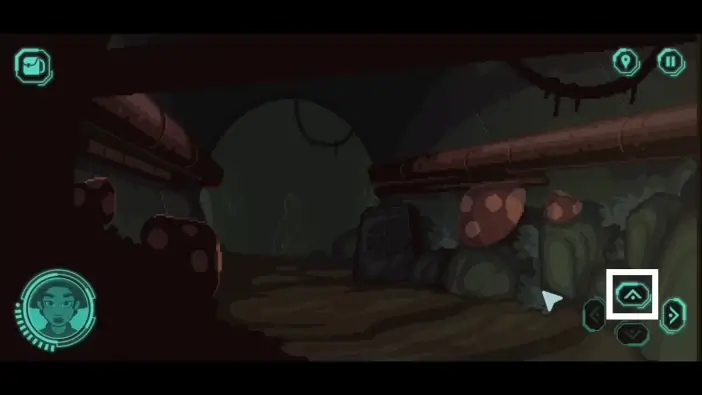
Go forward toward the skeleton.
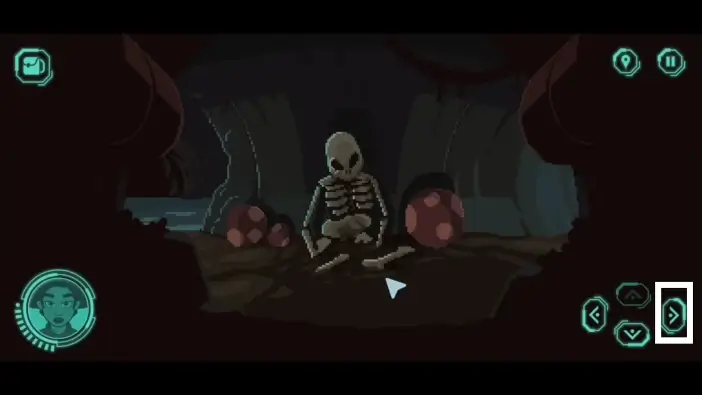
From the skeleton, turn right.
Collect the 2nd ring.
- Scan the water with the fusion scanner. Your character will analyze the water and she will mention that it’s the less toxic form of sulfuric acid. You can use this acid to get the ring from the skeleton’s eyesocket.
- Pick the acidic water with your bamboo receptacle.
- Go right.
Approach the table.

Pick up the 3rd ring.
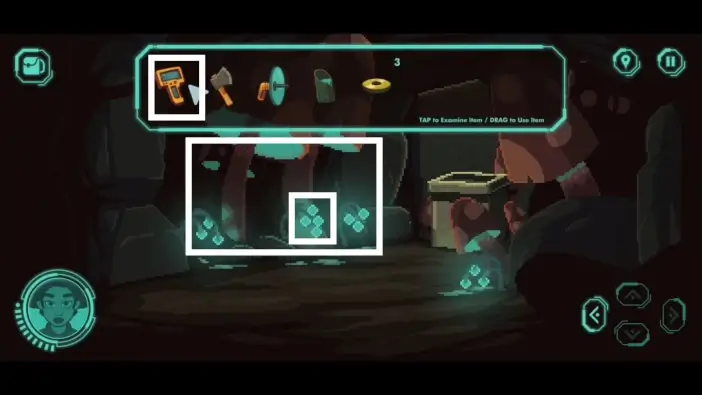
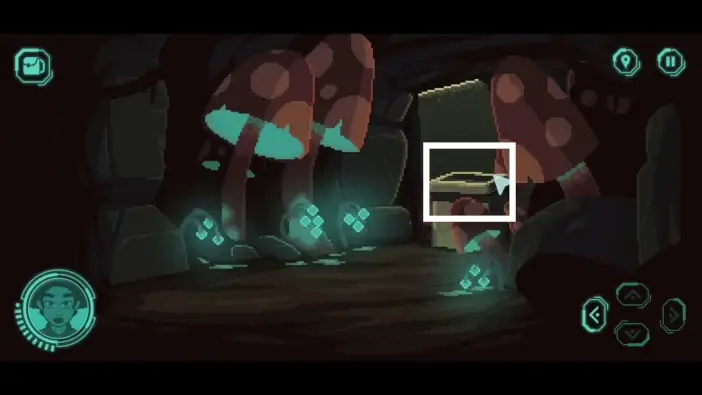
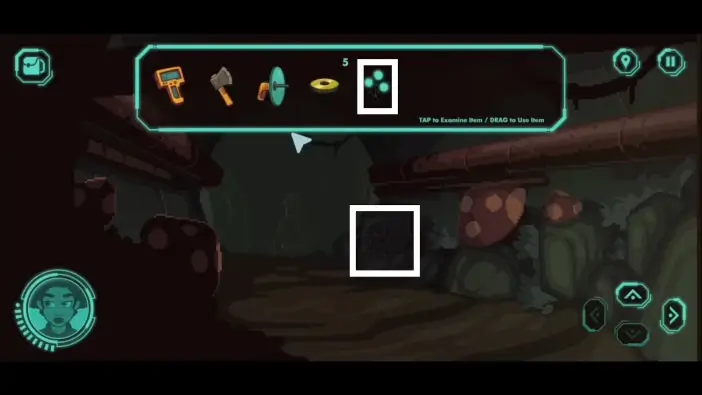
Scan the plants with the fusion scanner. Pick up the glowing plants. You will use it soon.
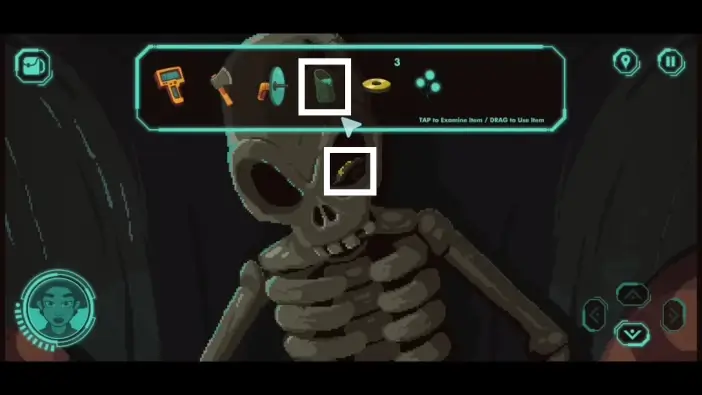
Approach the skeleton. Use the filled receptacle to remove the calcified material, then take the 4th ring.
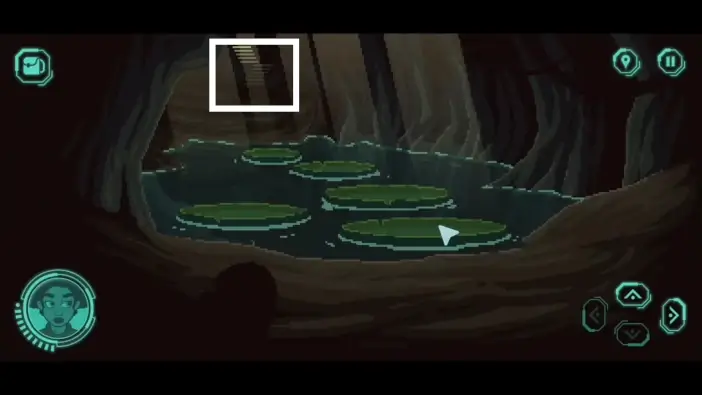
Go left from the skeleton to reach the area with lily pads. Walk on lily pads to go to the staircases.
Pick the last ring.
Go to the area near the skeleton and use the glowing plants on the stone slab. The stone slab will have many rectangular holes. Notice which one of them is glowing. It is a clue for the next puzzle.
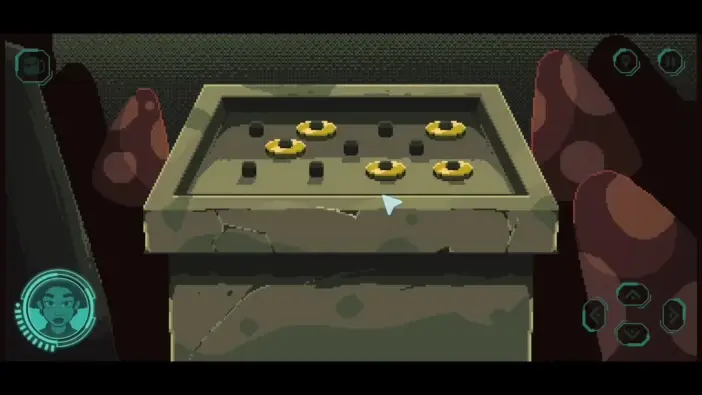
Go to the table where the glowing plants are. Place all the rings in the same positions as the positions of the glowing holes from the stone slabs. The solution is in the picture above. When you solve this puzzle, the staircases you visited earlier will be connected.
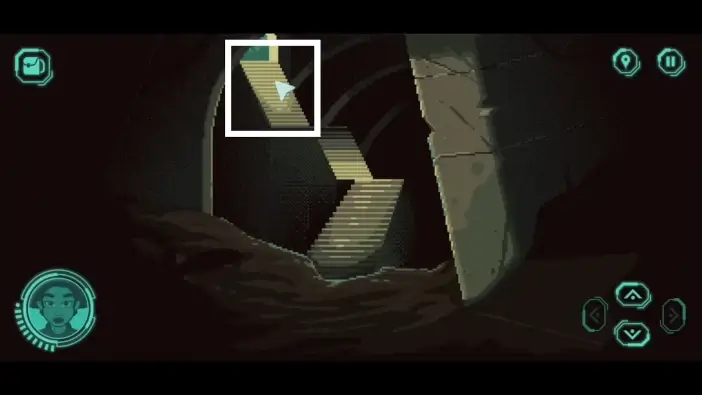
Go to the staircases and exit the sewers.
Continue to the path forward.

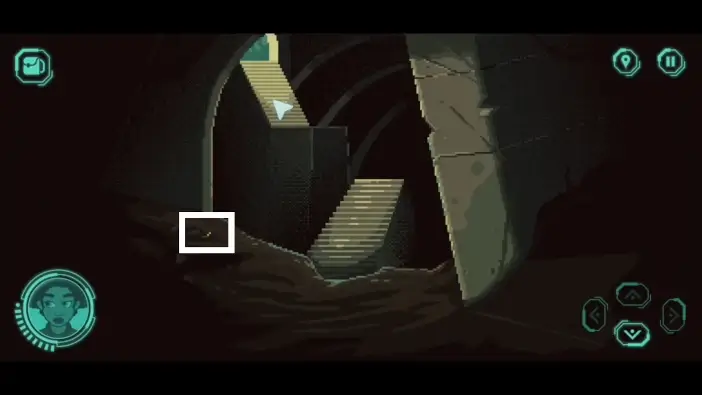
Use your hatchet to dig out the block, then go forward.
- Pick the shaped block. You will need it for a similar puzzle to the previous shaped block.
- Go forward.
To cross the river, press the buttons in the following order:
- Middle
- Right
- Left
- Middle
Cross the river.
From the pedestal area, go right.
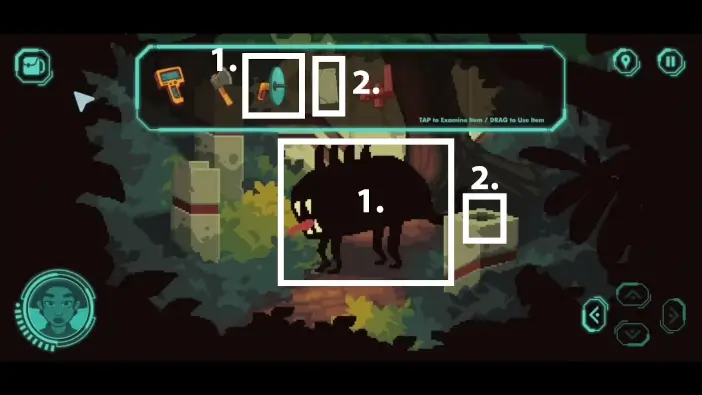
- Use the sonic emitter to scare away the alien animal.
- Place the missing block you found recently.
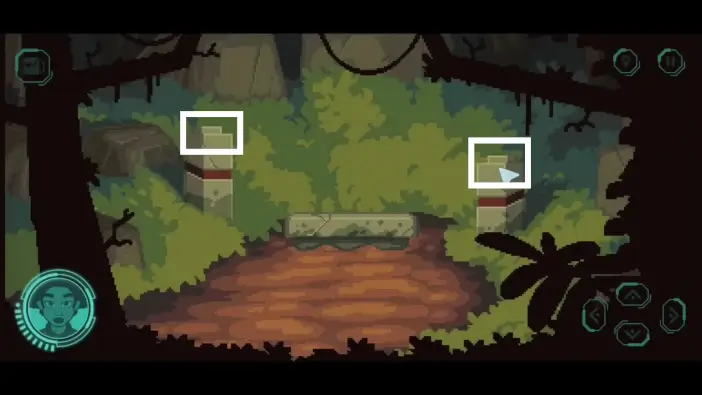
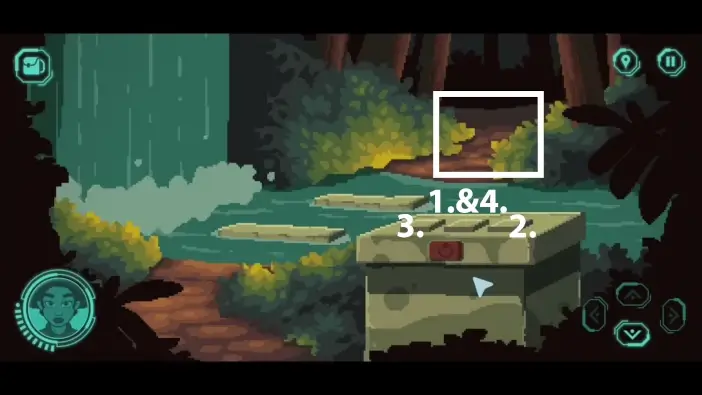
Press the blocks in the order you see in the picture above. This will unlock the pedestal in the area you just passed by. Return there.
Place the shaped block inside the slot. Like before, you need to rotate the block into the correct position first. The opening will be sealed by the circular lid. On that lid, you will see 7 circles. Pay attention to the order in which they start glowing.
Return to the area with blocks and go forward, toward the city wall.
Press the buttons in the same order as the glowing circles in the previous section. The order in which you must press buttons is shown in the picture above.
Our protagonist enters the abandoned alien city. What happened to its population? What is the history of this place? She wonders while an alien watches her from the shadows.
Thank you for reading!