Strange Case: The Alchemist Chapter 3, Part 1
Hello everyone and welcome to Part I of our walkthrough for Chapter 3 of ” Strange Case: The Alchemist”. At the end of the second chapter, we found the Alchemist’s body, but the real killer, the demon that Alchemist summoned is still at loose, in a new body. So, our task in this chapter is to find the demon and neutralize it.
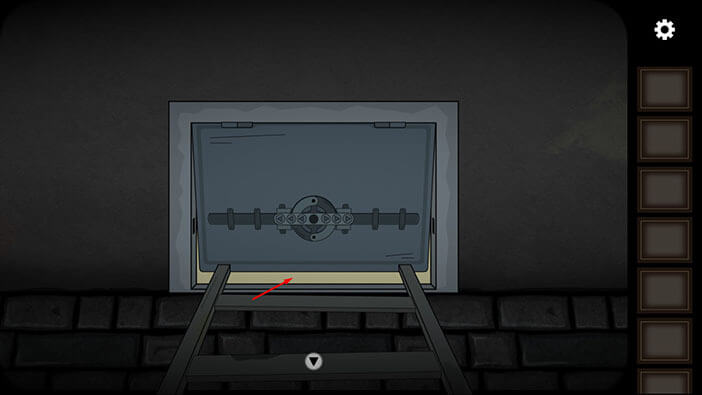
Tap on the ladder to start climbing.
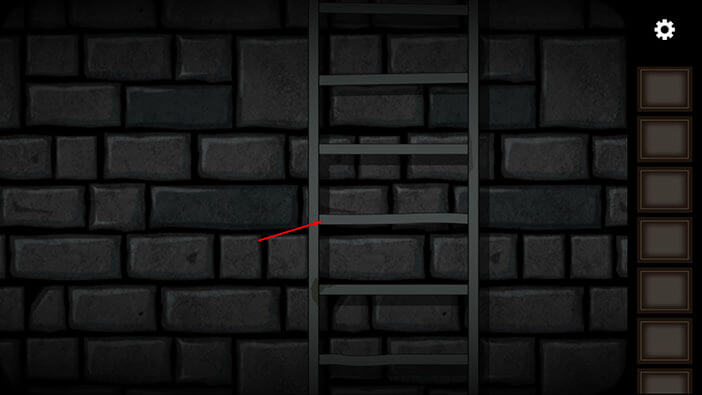
Well, it looks like the hatch is closed, and we will have to solve another puzzle in order to unlock it. Tap on the hatch to start the interaction.
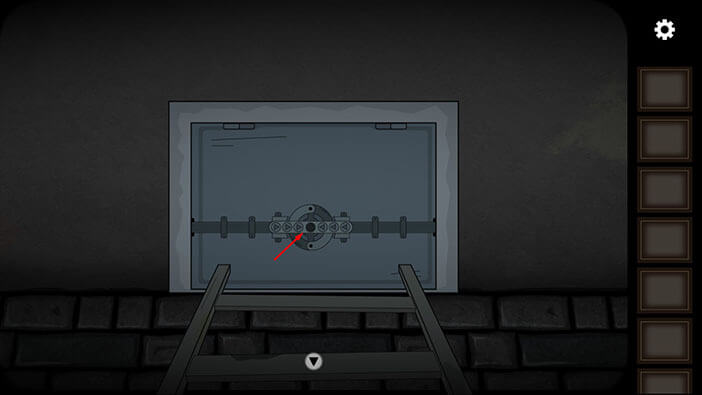
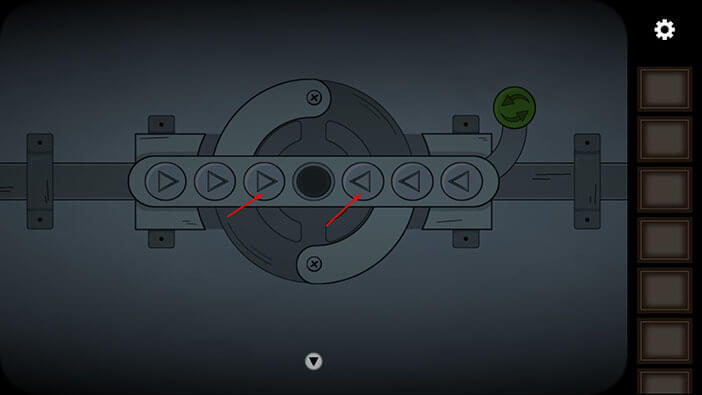
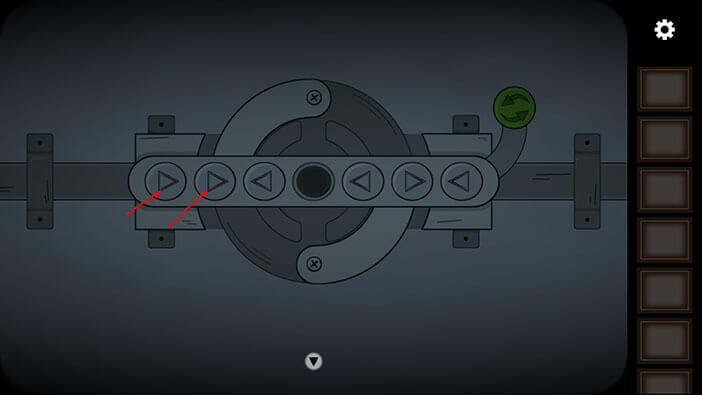
Ok, to solve this puzzle, the arrows on the left should be pointing to the left, and the arrows on the right should be pointing to the right. We will do this puzzle in several steps. Let’s begin.
Step 1
Tap on the third arrow (looking from left to right). After that, tap on the fifth arrow.
Step 2
Tap on the sixth arrow. After that, tap on the fourth arrow.

Step 3
Tap on the second arrow. After that, tap on the first arrow.
Step 4
Tap on the third arrow. After that, tap on the fifth arrow.
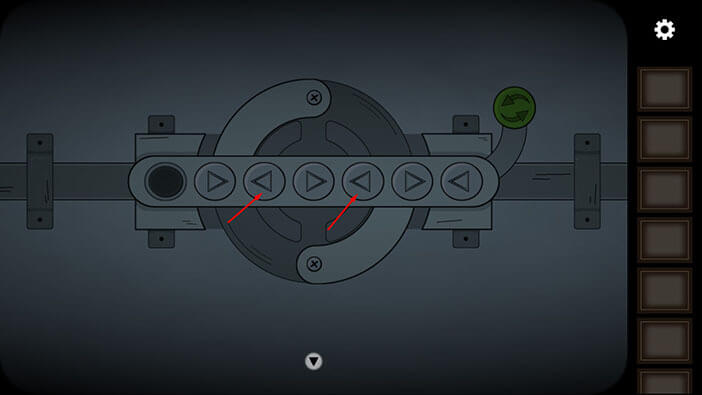
Step 5
Tap on the seventh arrow. After that, tap on the sixth arrow.

Step 6
Tap on the fourth arrow. After that, tap on the second arrow.
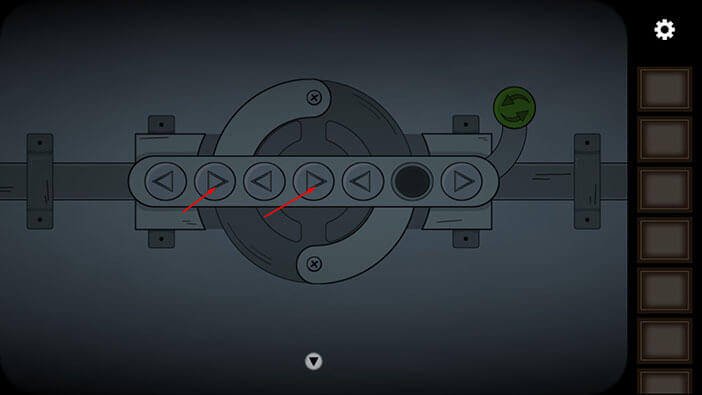
Step 7
Tap on the third arrow. After that, tap on the fifth arrow.
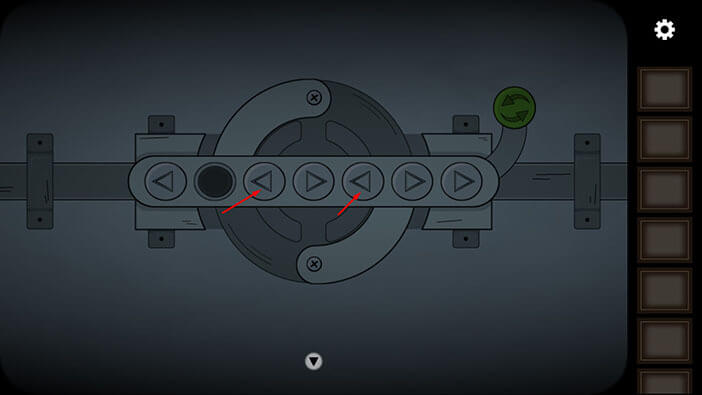
Step 8
Lastly, tap on the fourth arrow, and you will solve this puzzle.
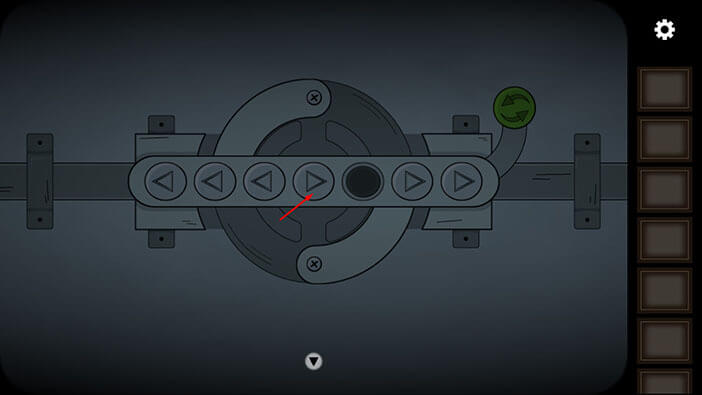
As soon as you solve the puzzle, you will unlock the hatch. Tap on it to proceed to the next floor.
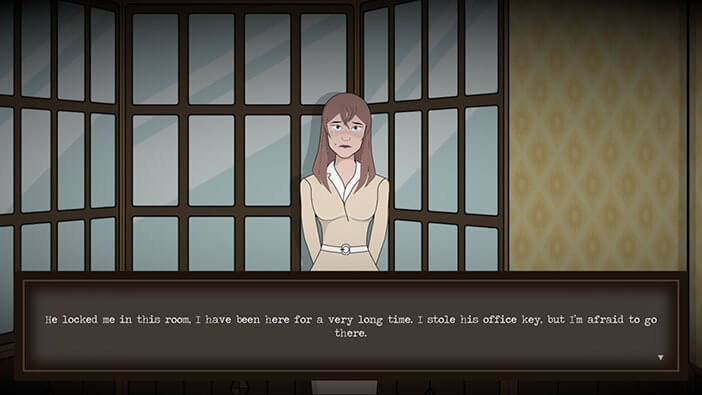
You will find yourself in a small room, and the woman in front of you will start talking as soon as you approach her. She said that her husband attacked her and locked her up in this room. So, she’s probably Alchemist’s wife. More importantly, she also said that she stole her husband’s office key, but didn’t dare to go to the office. Well, the woman sobbingly admitted, that she was too afraid to try, and she was locked up for a very long time.
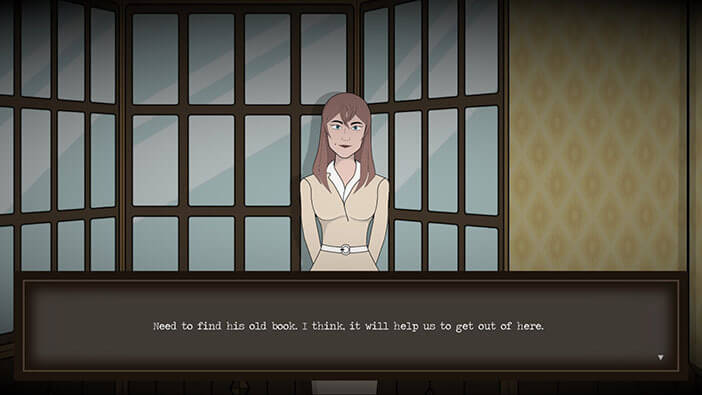
Lastly, she said that we will have to find Alchemist’s book in order to escape. So, let’s look for this book.
Ok, let’s explore this place. Tap on the arrow on the left to proceed to the next room.
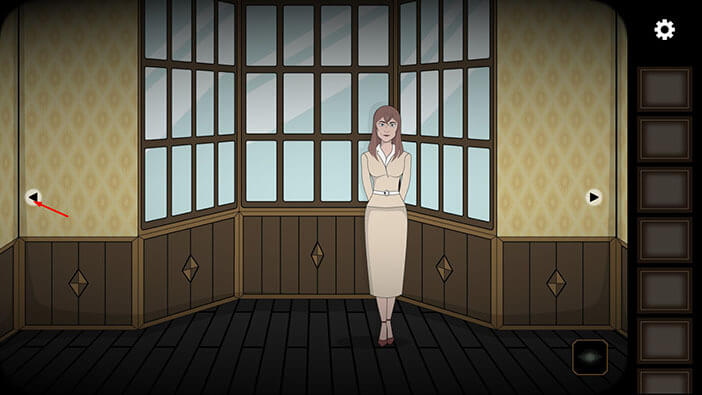
Two doors are leading from this room. Let’s see what’s behind the door on the left.
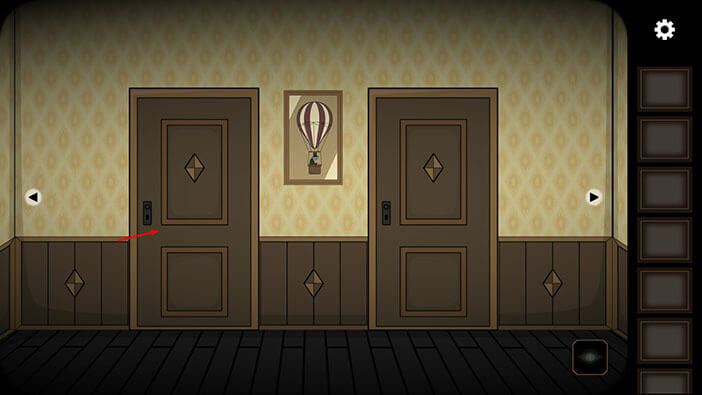
Tap on the middle pillow to move it aside.
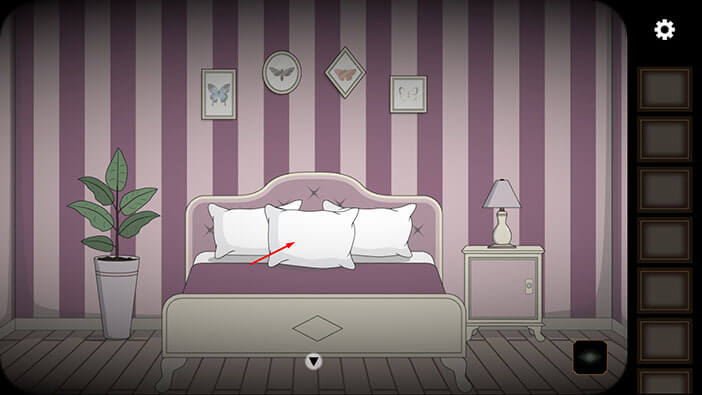
Below the pillow, you will find a key. Tap on it to pick it up and “Key” will be added to your inventory.

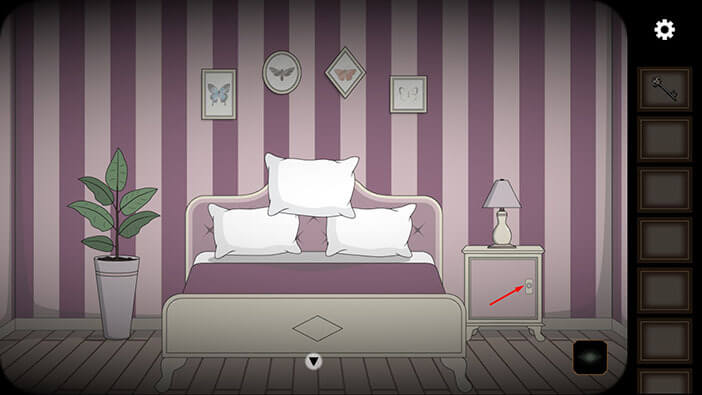
Next, tap on the small cabinet on the right to take a closer look at it, and tap again to open it.
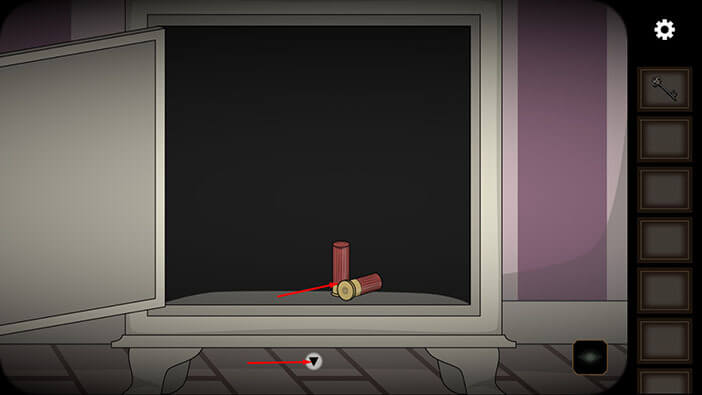
You will notice two shotgun shells. Tap on them to pick them up and “Ammo” will be added to your inventory.
After that, tap on the arrow at the bottom of the screen to go back.
It’s time to use “Ghost Vision” again. Tap on the eye icon in the lower right corner.
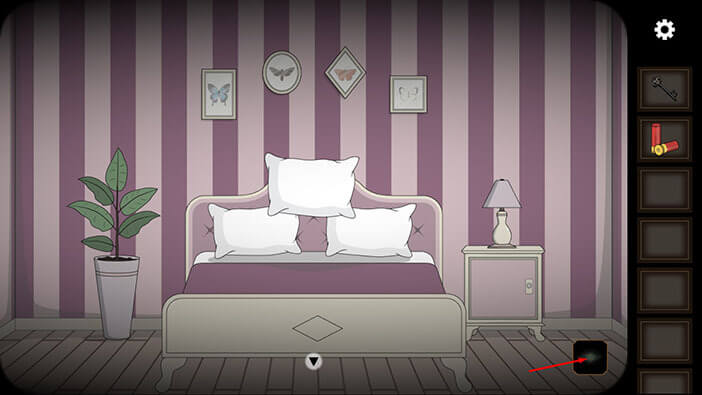
Tap on the teddy bear to take a closer look at it.
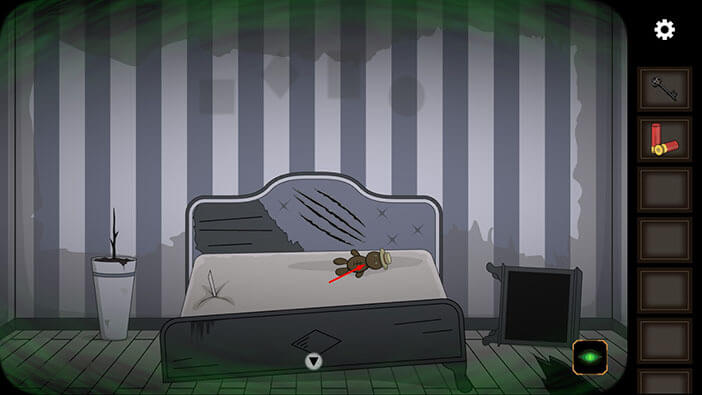
A knife is stuck in the teddy bear. Tap on the knife to pull it out. “Scalpel” will be added to your inventory.
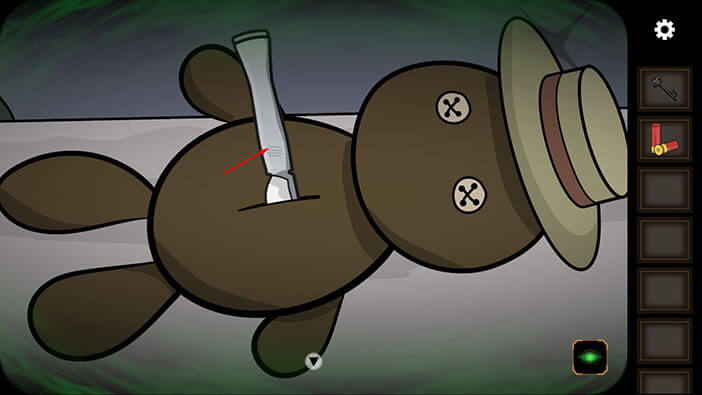
Next, tap on the cut on the teddy bear to look inside.
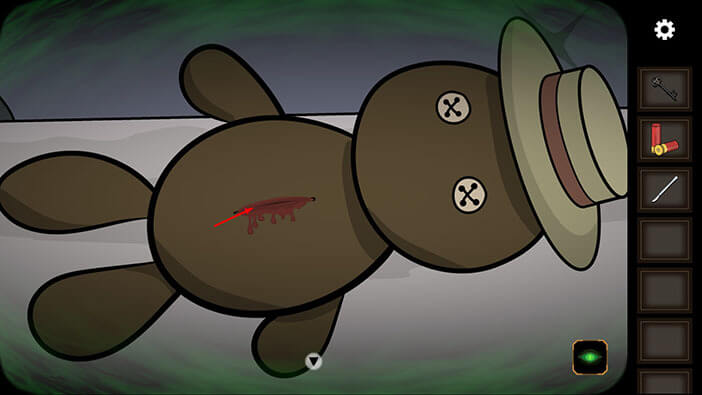
It seems that some strange item is hidden inside the teddy bear. Tap on this item to pick it up and “Mechanism” will be added to your inventory.
After that, tap on the arrow at the bottom of the screen to go back.

Next, tap on the overturned cabinet on the right to take a closer look at it, then tap again to open it.
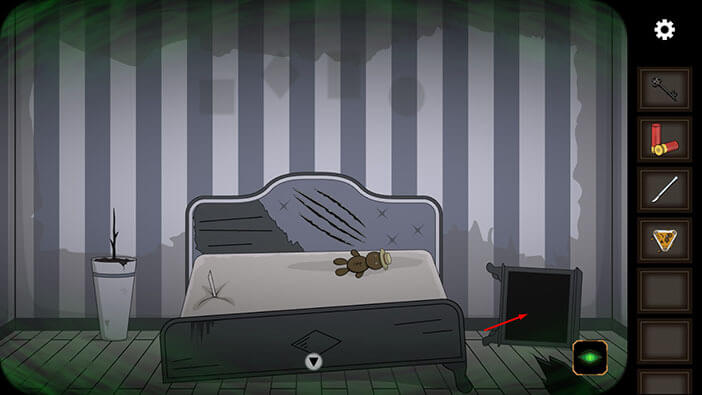
In the cabinet, you will find a skull with sawn-up eyes and a mouth. Select the “Scalpel” from the inventory and tap on the mouth to remove the stitches. A swarm of bugs will rush from the skull’s mouth.
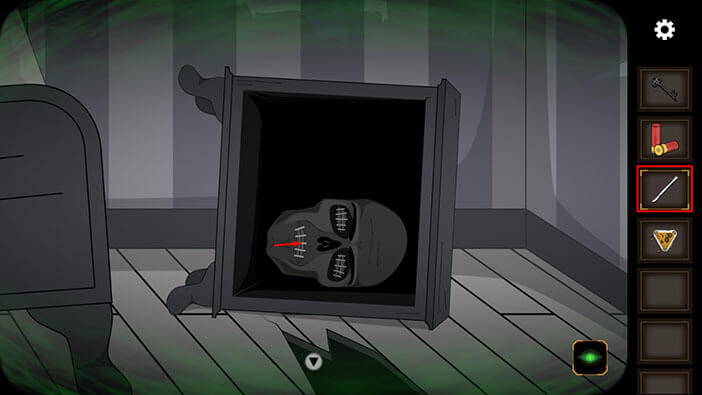
One bug will stop at the skull’s forehead. Tap on the “Cockroach” to pick it up. After that, tap on the arrow at the bottom of the screen to go back.
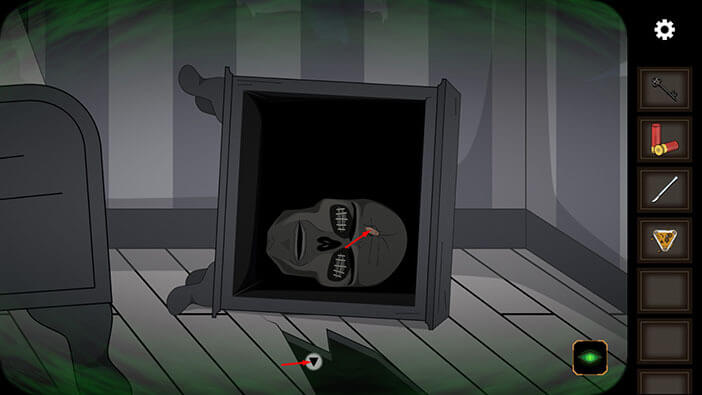
Next, tap on the vase with the dead plant on the left side of the bed to take a closer look.
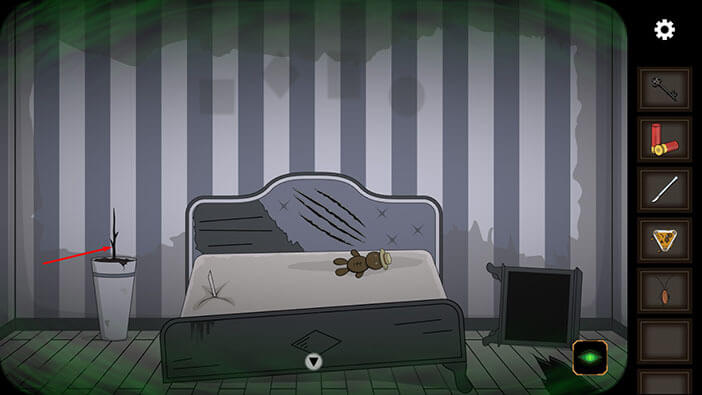
Ok, let’s solve the next puzzle.
Step 1
Tap twice on the top worm.

Step 2
Tap once on the middle worm.

Step 3
Tap twice on the top worm.
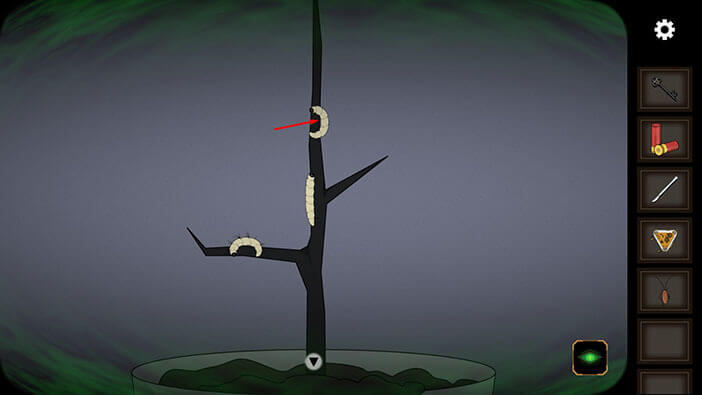
Step 4
Tap once on the middle worm.

Step 5
Tap once on the top worm.
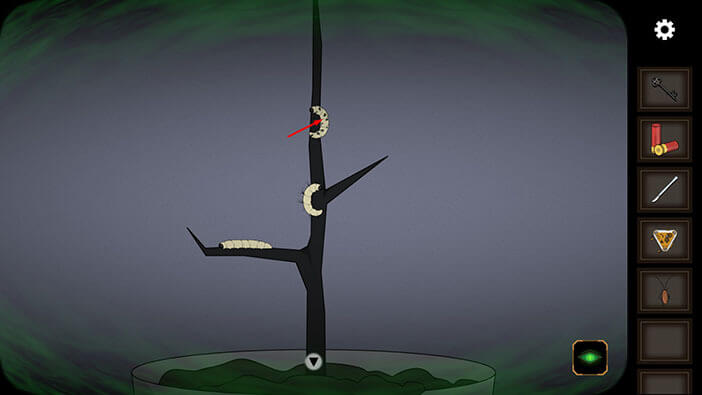
Step 6
Tap once on the bottom worm.
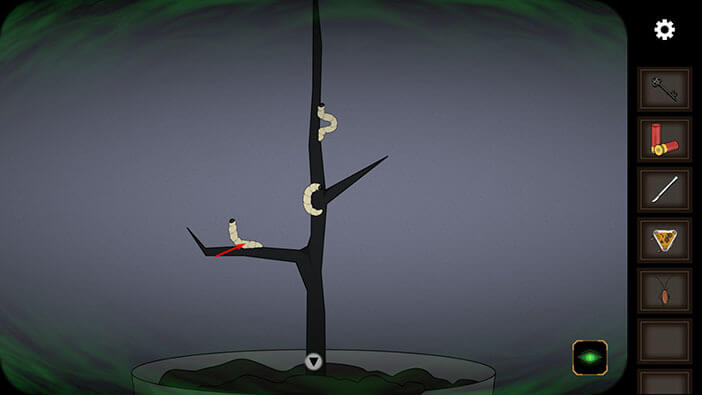
Step 7
Tap once on the top worm, and the top and the middle worm will disappear.
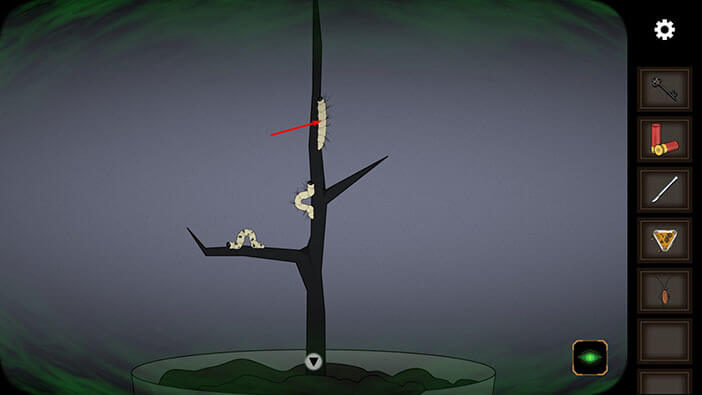
Tap on the last worm to pick it up and “Caterpillar” will be added to your inventory.
After that, tap on the arrow at the bottom of the screen to go back.
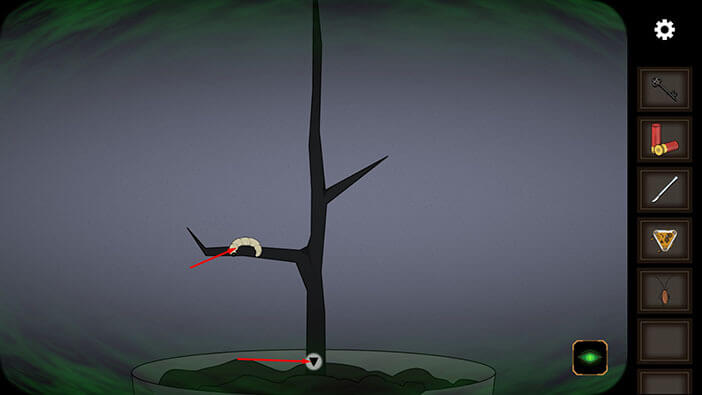
Ok, it’s time to turn off the “Ghost Vision”. So, tap on the eye icon in the lower right corner.

Before we continue, let’s tap on the middle pillow to put it back into its original position, because right now it’s kind of floating in midair.
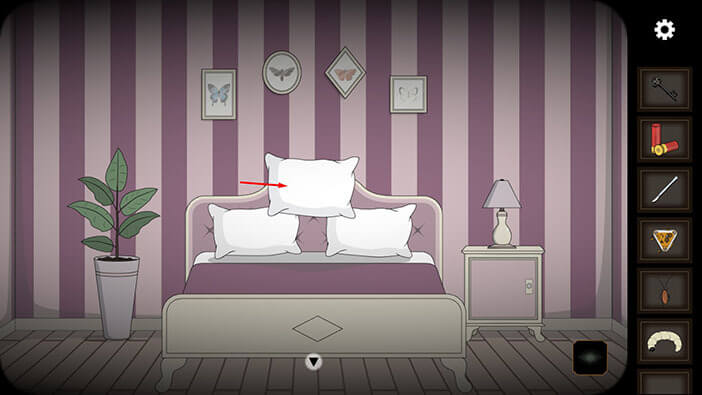
Let’s continue. Select “Caterpillar” from the inventory and tap on the plant on the left.
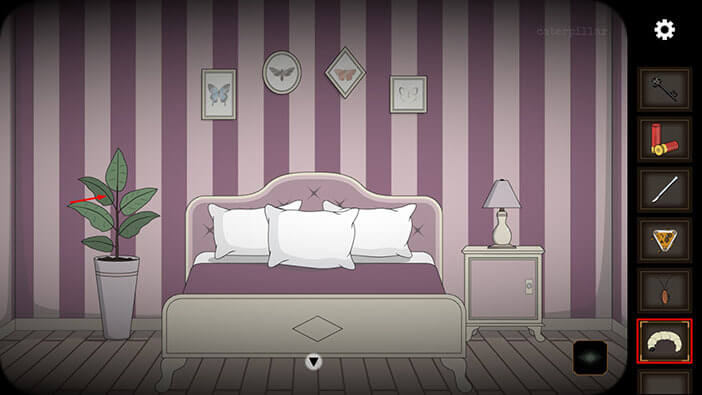
The caterpillar will evolve into a butterfly, and it will land on the bed, looking at the pictures of four butterflies. We will get back to the pictures of the butterflies a bit later. For now, let’s tap on the arrow at the bottom of the screen to go back to the previous room.
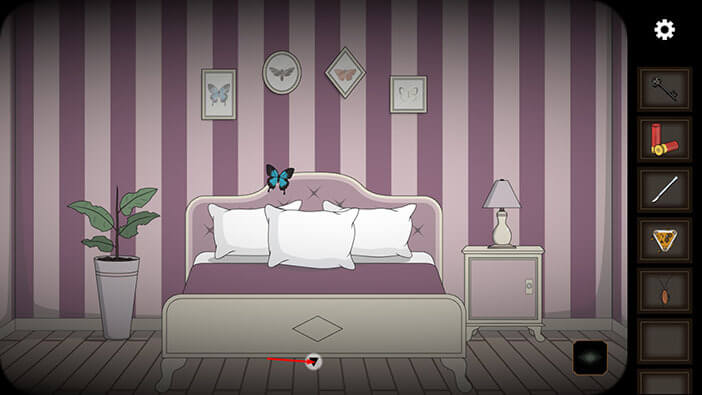
Tap on the door on the right to proceed to the next room.
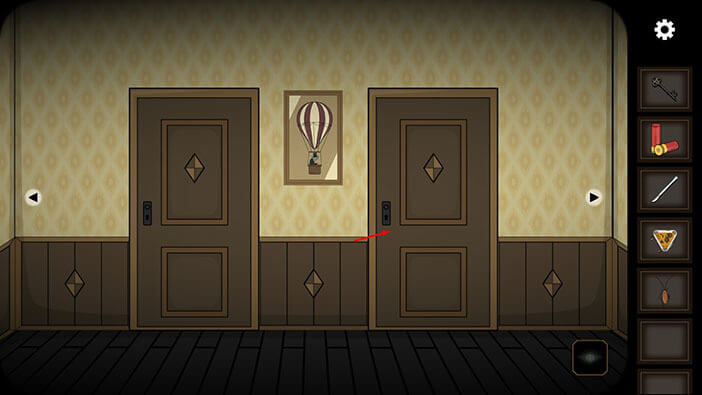
Tap on the left drawer of the work desk to take a closer look at it.
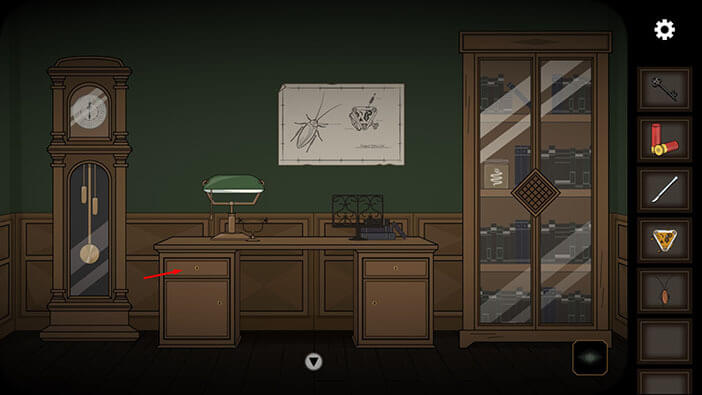
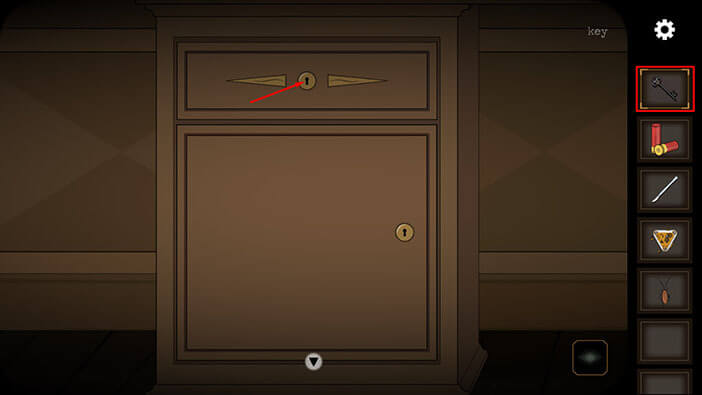
Select the “Key” from the inventory and use it to unlock the drawer. After that, tap on the drawer again to look inside.
In the drawer, you will find two items. Tap on the photo on the right side of the drawer to pick it up and a “Piece of picture” will be added to your inventory.
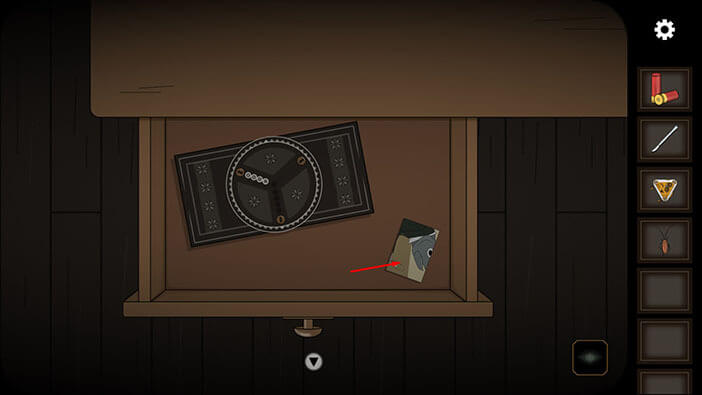
Next, tap on the strange device on the left to take a closer look at it.
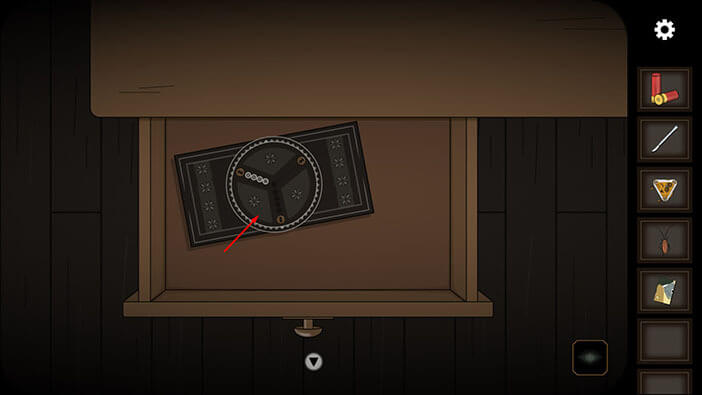
Here, we have another puzzle, which we will solve in several steps. Let’s begin.
Step 1
Tap on the arrow on the left to move the circle with the triangle to the middle.

Step 2
Tap on the arrow at the bottom to move down the circle with the triangle.
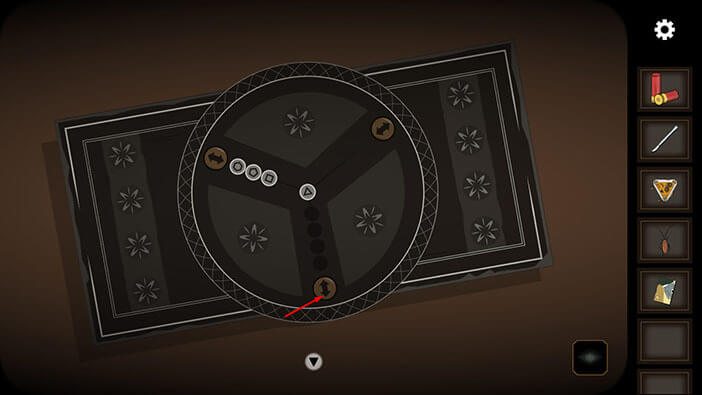
Step 3
Tap on the arrow on the left to move the circle with the square to the middle.

Step 4
Tap on the arrow on the right to move the circle with the square to the upper right corner.

Step 5
Next, tap on the arrow at the bottom to move the circle with the triangle to the middle.
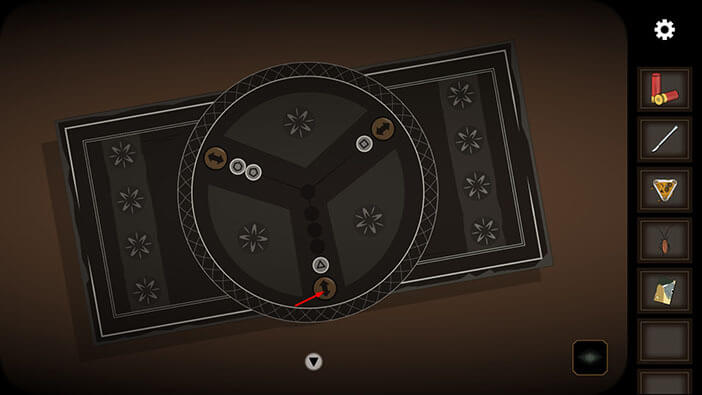
Step 6
Tap on the arrow on the right to move the circle with the triangle next to the circle with the square.
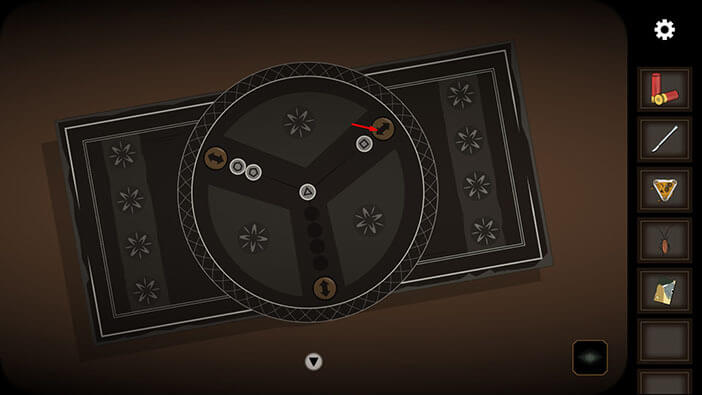
Step 7
Tap on the arrow on the left to move the circle with the pentagon to the middle.
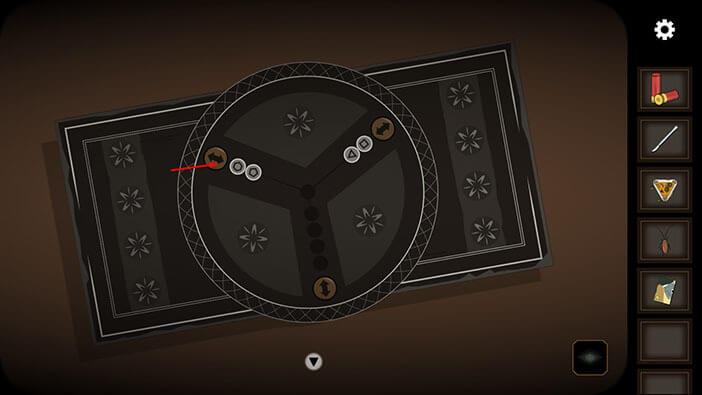
Step 8
Tap on the bottom arrow to move down the circle with the pentagon.
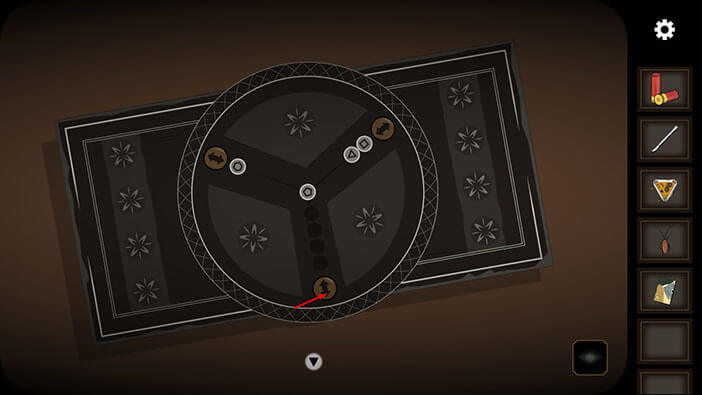
Step 9
Tap on the right arrow to move the circle with the triangle to the middle.
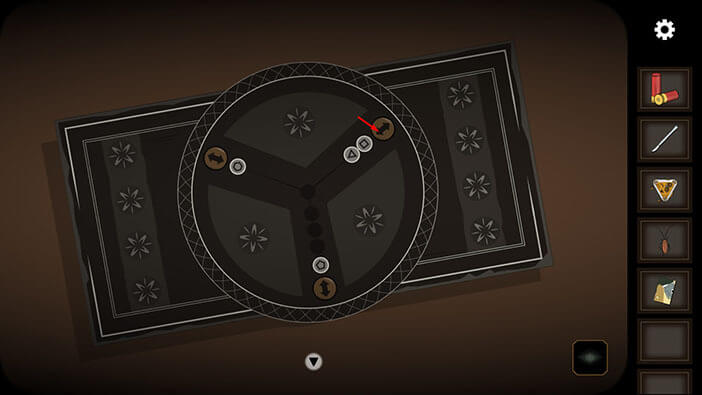
Step 10
Tap on the bottom arrow to move down the circle with the triangle.

Step 11
Tap on the arrow on the right to move the circle with the square to the middle.

Step 12
Tap on the arrow on the left to bring the circle with the square next to the circle with the hexagon.

Step 13
Tap on the arrow at the bottom to move the circle with the triangle to the middle.
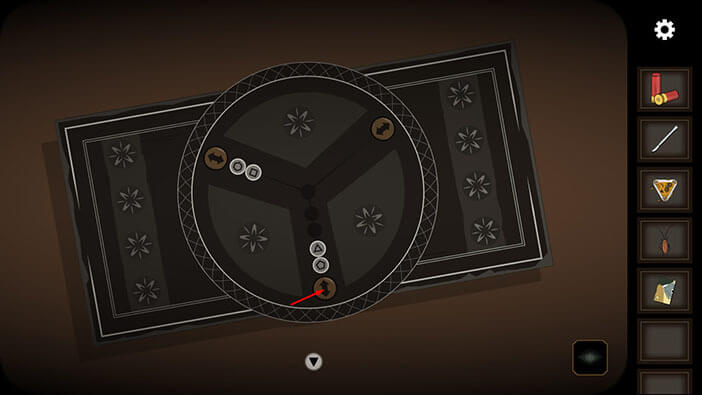
Step 14
Tap on the arrow on the left to move the circle with the triangle next to the circle with the square.
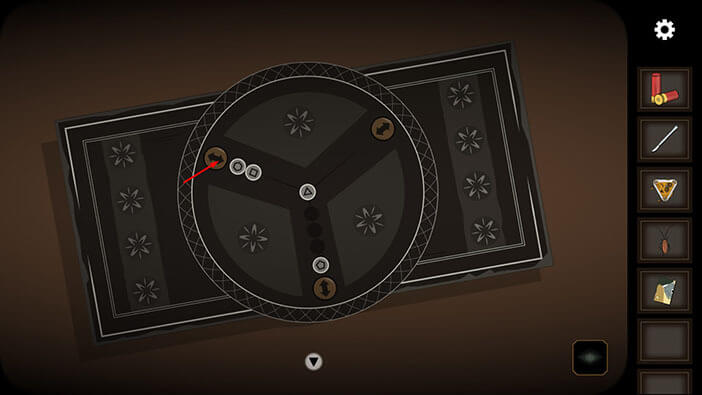
Step 15
Tap on the arrow at the bottom to move the circle with the pentagon to the middle.
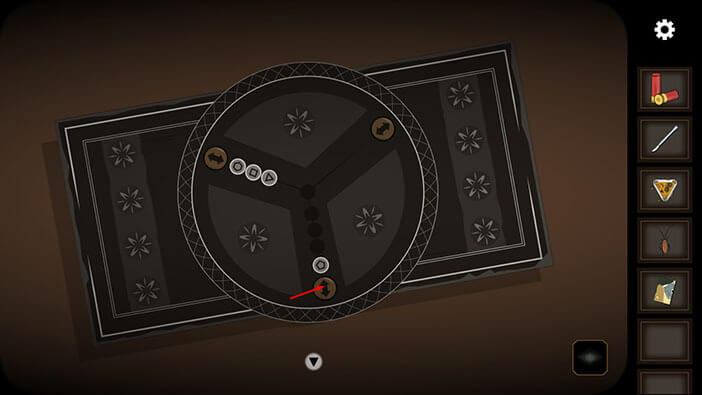
Step 16
Tap on the arrow on the right to move the circle with the pentagon next to the upper right arrow.
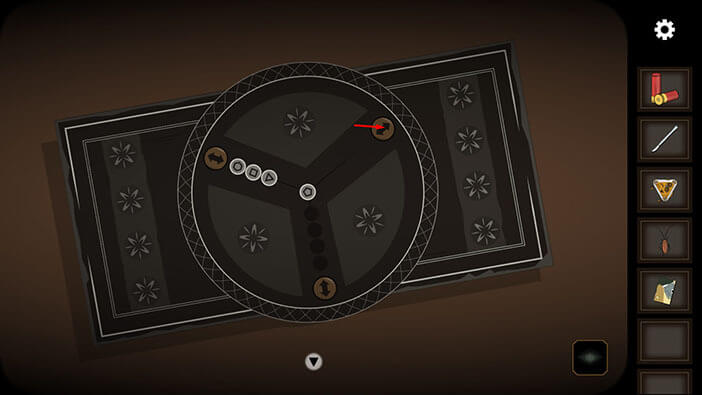
Step 17
Tap on the arrow on the left to move the circle with the triangle to the middle.
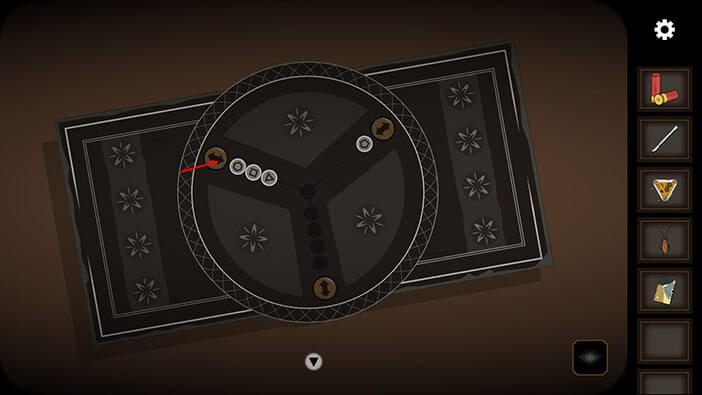
Step 18
Tap on the arrow at the bottom to move down the circle with the triangle.

Step 19
Tap on the arrow on the left to move the circle with the square to the middle.

Step 20
Tap on the arrow on the right to move the circle with the square next to the circle with the pentagon.

Step 21
Tap on the arrow at the bottom to move the circle with the triangle to the middle.
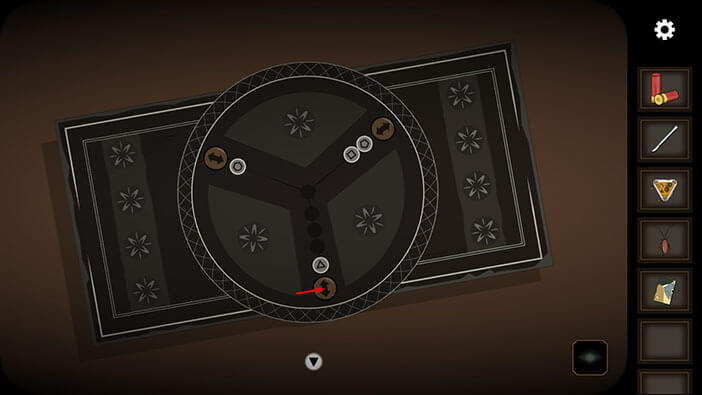
Step 22
Tap on the arrow on the right to move the circle with the triangle next to the circle with the square.
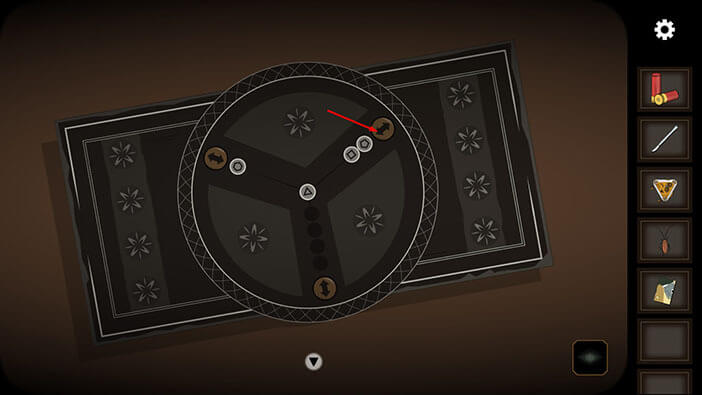
Step 23
Tap on the arrow on the left to move the circle with the hexagon to the middle.
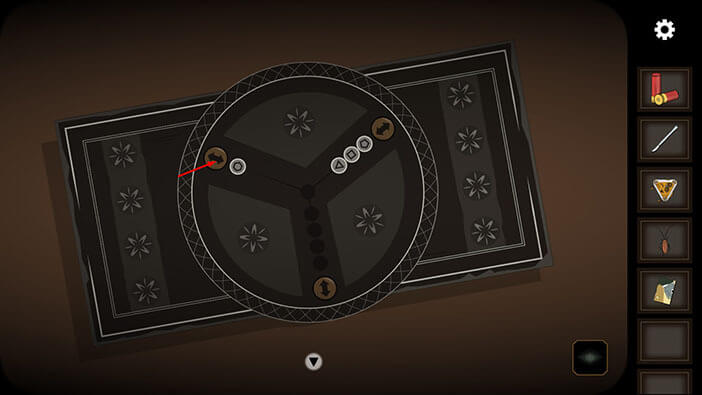
Step 24
Tap on the arrow at the bottom to move down the circle with the hexagon.
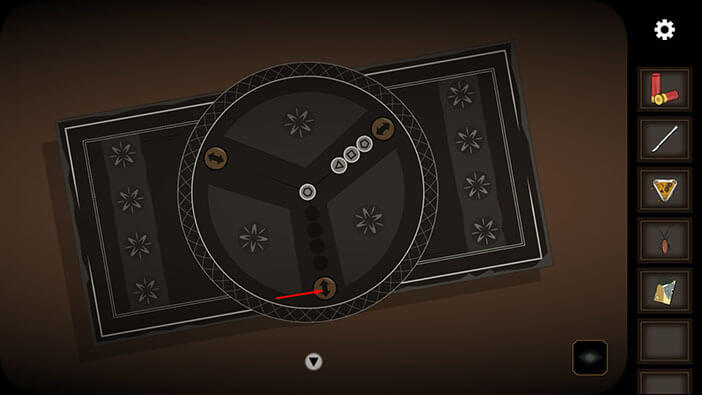
Step 25
Tap on the arrow on the right to move the circle with the triangle to the middle.
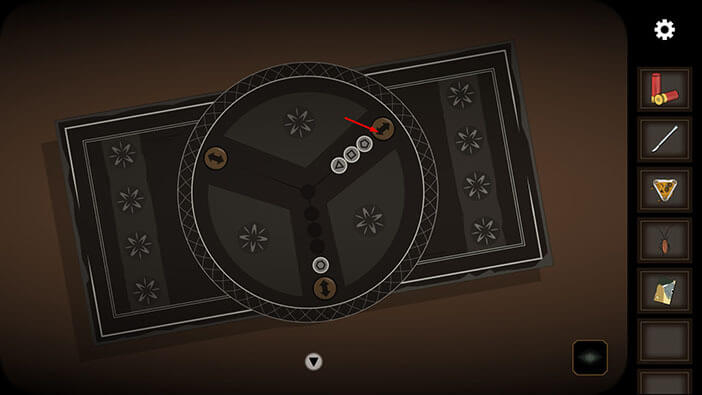
Step 26
Tap on the arrow at the bottom to move the circle with the triangle next to the circle with the hexagon.
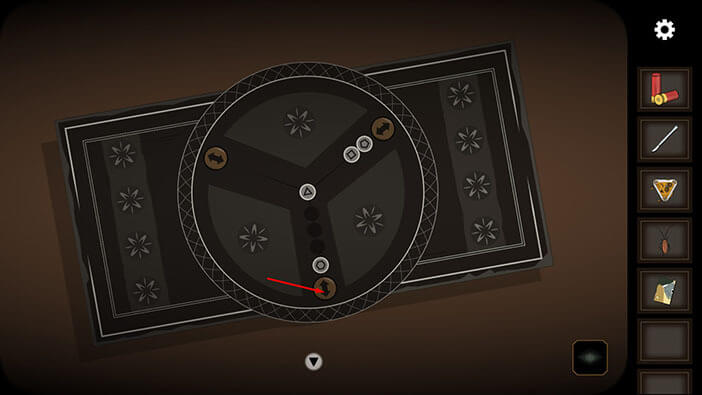
Step 27
Tap on the arrow on the right to move the circle with the square to the middle.
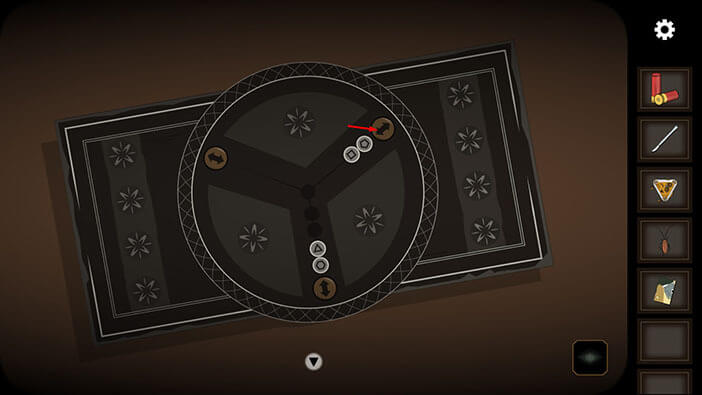
Step 28
Tap on the arrow on the left to move the circle with the square to the left arrow.

Step 29
Tap on the arrow at the bottom to move the circle with the triangle to the middle.
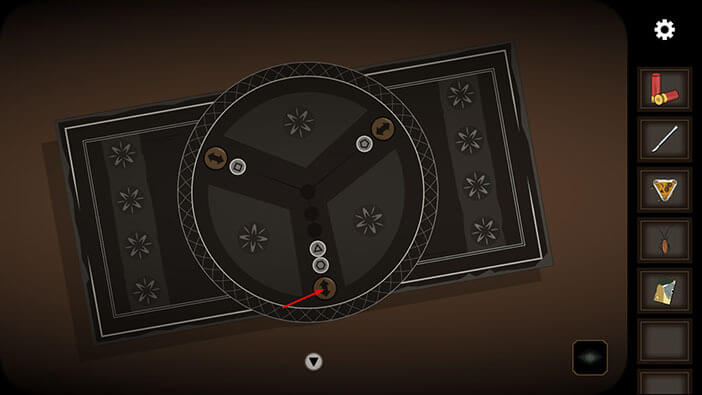
Step 30
Tap on the arrow on the left to move the circle with the triangle next to the circle with the square.
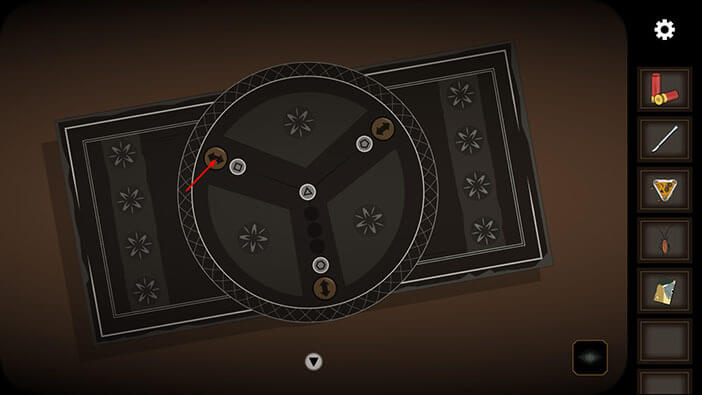
Step 31
Tap on the arrow on the right to move the circle with the pentagon to the middle.
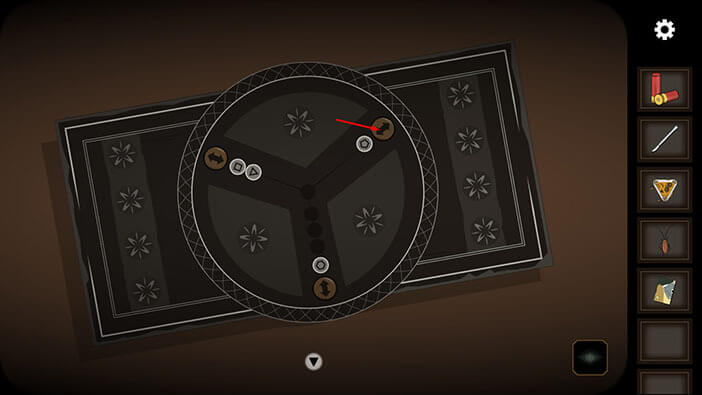
Step 32
Tap on the arrow at the bottom to move the circle with the pentagon next to the circle with the hexagon.
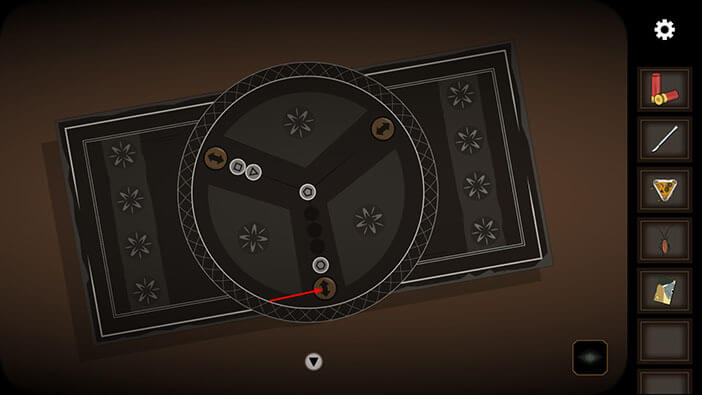
Step 33
Tap on the arrow on the left to move the circle with the triangle to the middle.
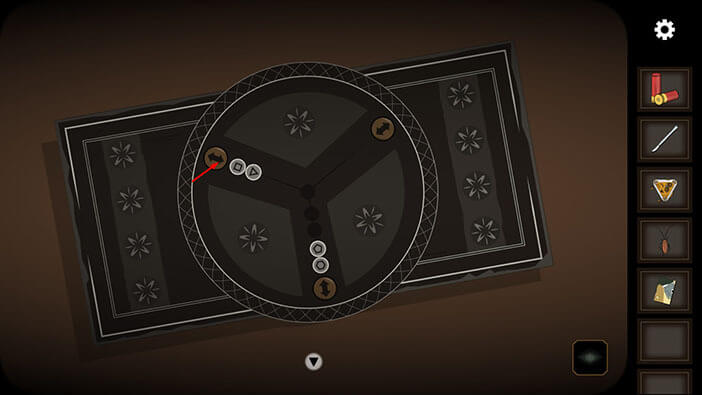
Step 34
Tap on the arrow on the right to move the circle with the triangle next to the right arrow.
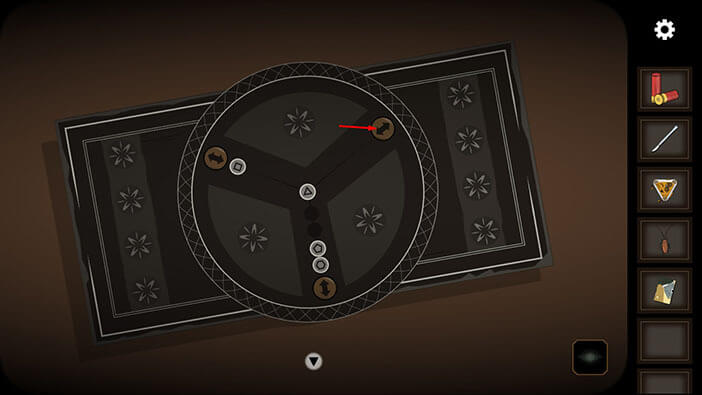
Step 35
Tap on the arrow on the left to move the circle with the square to the middle.

Step 36
Tap on the arrow at the bottom to move the circle with the square next to the circle with the pentagon.
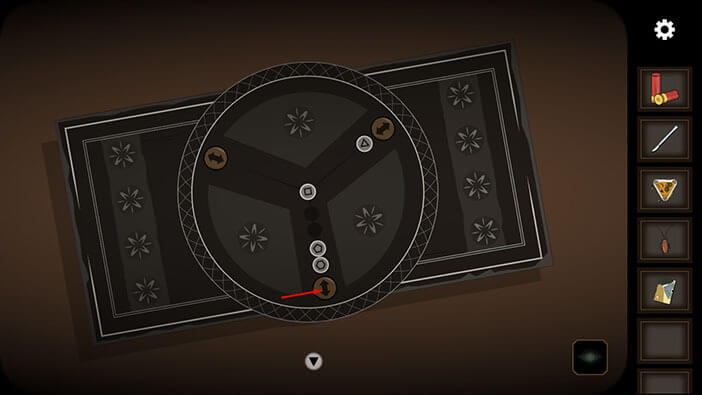
Step 37
Tap on the arrow on the right to move the circle with the triangle to the middle.
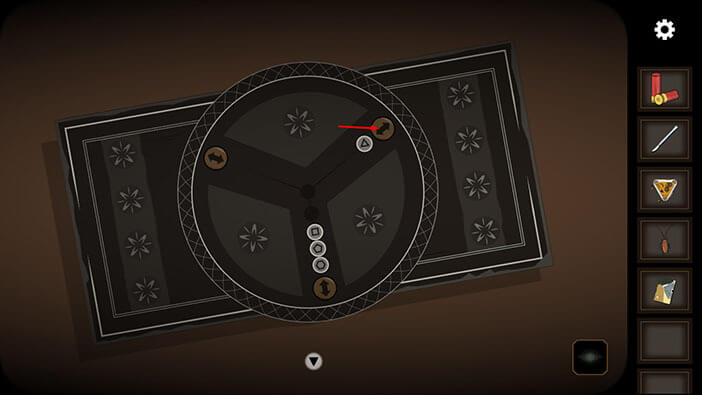
Step 38
Lastly, tap on the arrow at the bottom to move the circle with the triangle next to the circle with the square. With this last step done, you will solve the puzzle.
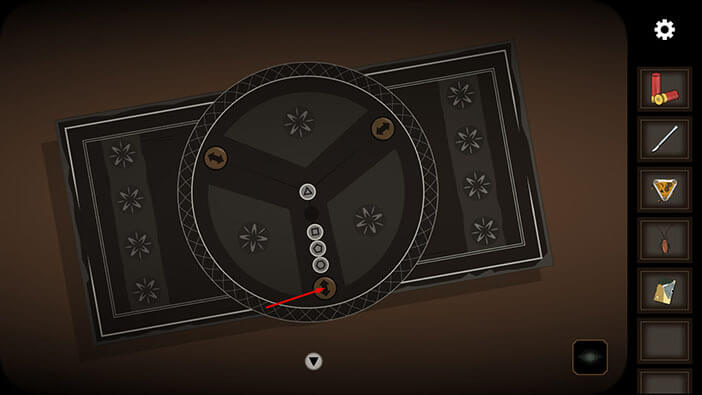
As soon as you solve the puzzle, the box will open. Tap on the item in the box to pick it up, and “Magnifier” will be added to your inventory.
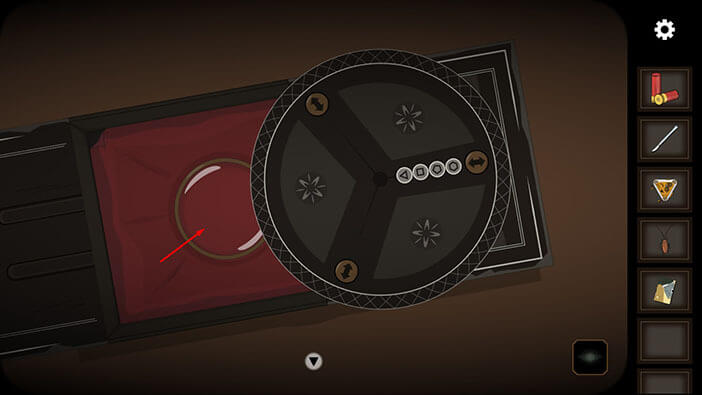
Before we move on, select the “Scalpel” from the inventory and use it to cut the top right corner of the red canvas.
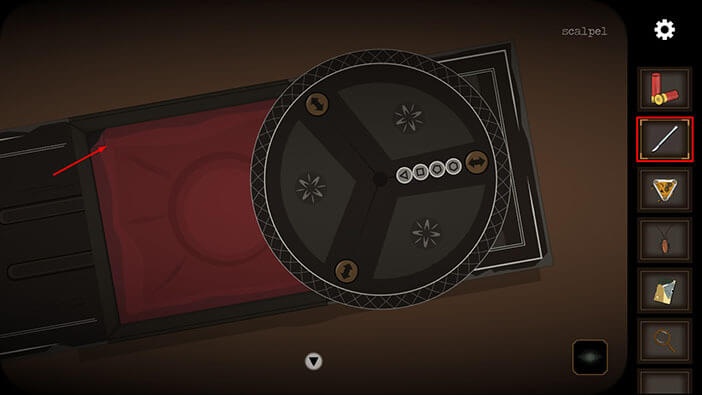
You will find a hidden key under the canvas. Tap on it to pick it up and “Key” will be added to your inventory. After that, tap twice on the arrow at the bottom to go back.
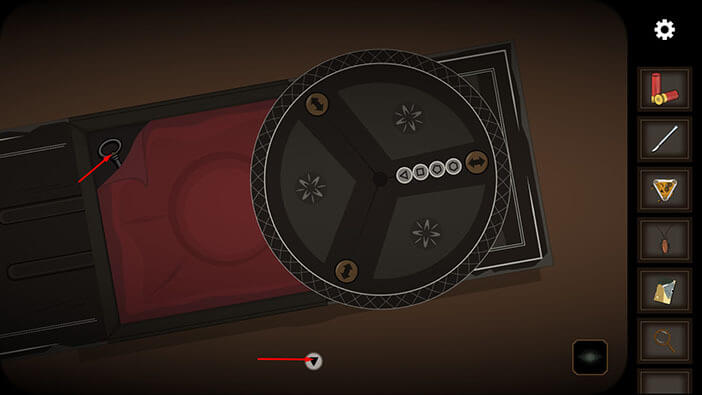
Ok, next, select the “Key” from the inventory and use it to unlock the cabinet door.
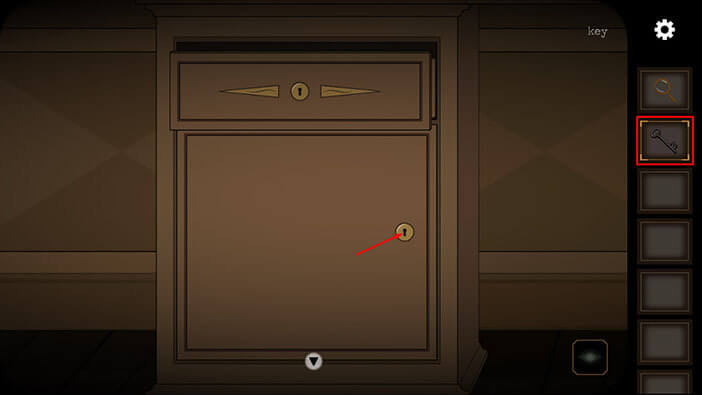
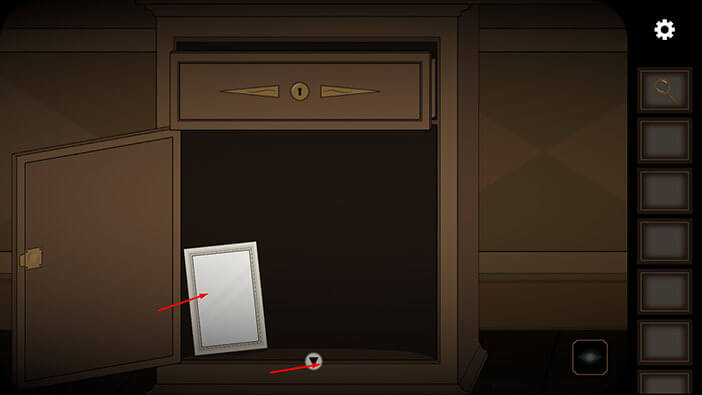
Tap on the white item to pick it up and “Frame” will be added to your inventory. After that, tap on the arrow at the bottom to go back.
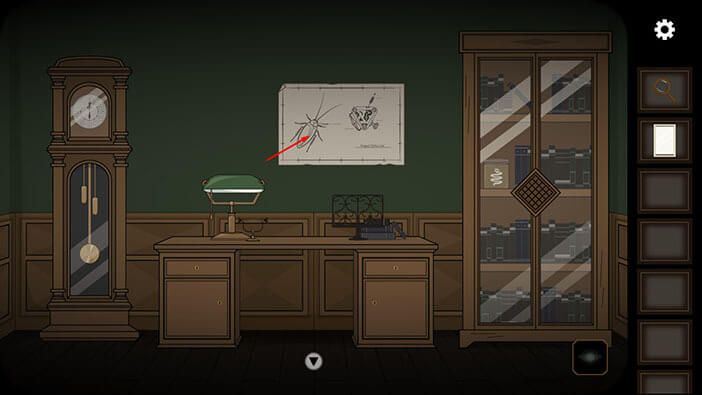
Next, tap on the poster on the wall above the work desk to examine it.
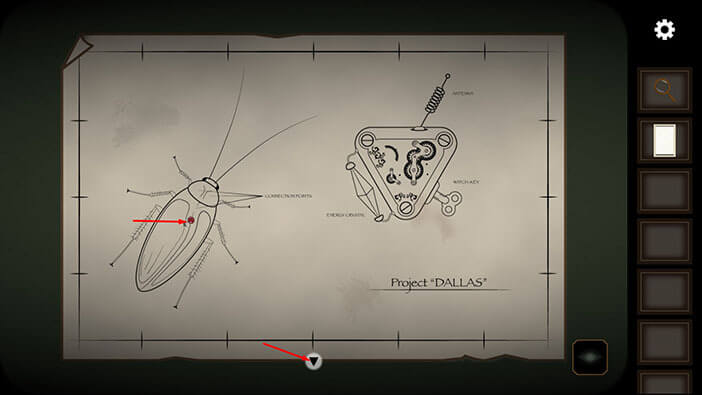
Here, we can see that the machine has several important parts. Besides that, we can also see that the strange device can be somehow connected to the cockroach. We will come back to this later.
For now, tap on the red needle on the cockroach’s back to pick it up. “Pin” will be added to your inventory.
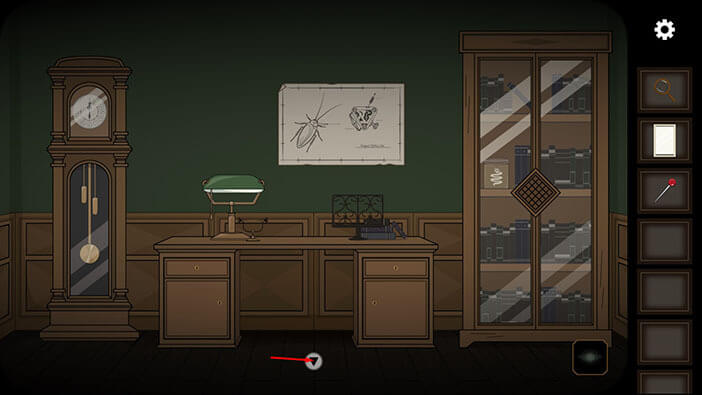
After that, tap on the arrow at the bottom of the screen to go back.
We should now head back to the bedroom. So, tap on the arrow at the bottom of the screen to go back to the hallway.
Tap on the arrow on the left to proceed into the bedroom.

Select the “Pin” from the inventory and use it to pierce the butterfly. “Butterfly” will be added to your inventory.
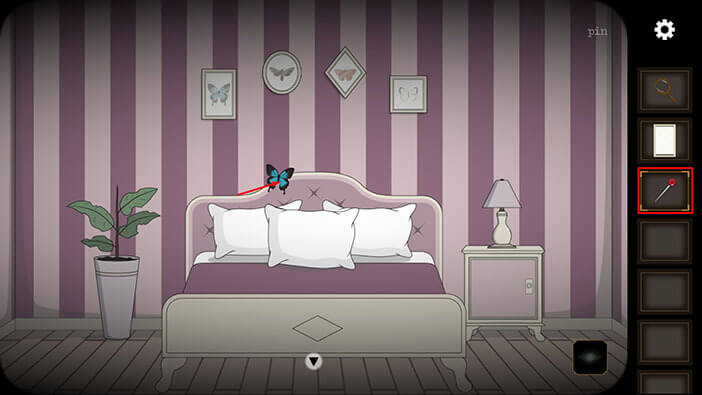
Next, tap on the pictures on the wall, above the bed, to take a closer look at them.
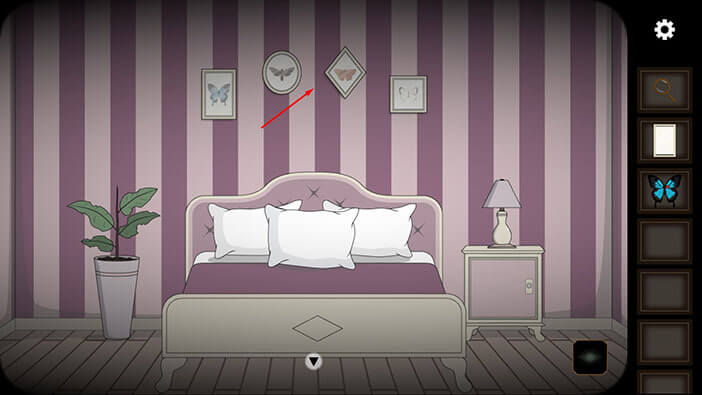
Well, there is a small visual bug here. Until you “zoom in” on the pictures, you will see four of them. However, we are now closely examining the pictures, and there are only three of them.
So, select the “Frame” from the inventory and place it on the empty spot on the wall.
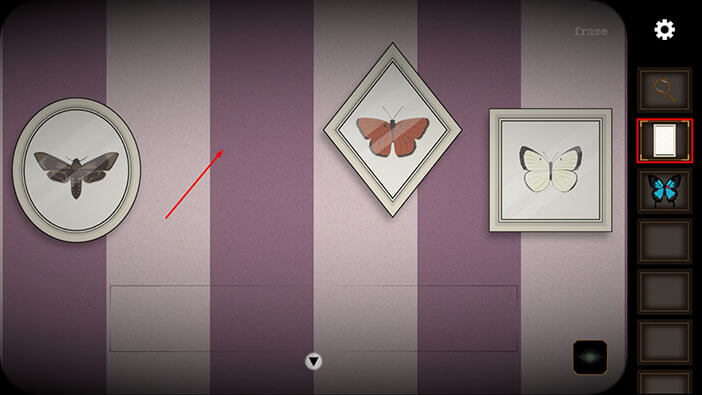
Next, select the “Butterfly” from the inventory and pin it to the empty picture. After that, tap on the arrow at the bottom of the screen.
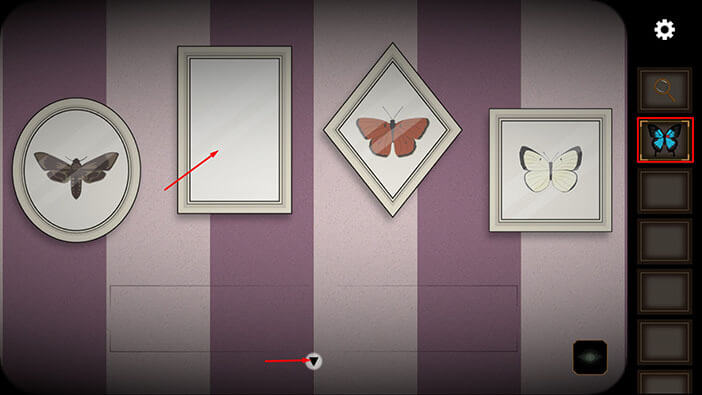
Let’s turn on the “Ghost Vision” again. Tap on the eye icon in the lower right corner.

Here, we can see four shapes that represent the correct order of the pictures. Let’s memorize/write down the order of the shapes, starting from left to right. So, we have
First spot = Square
Second spot = Rhombus
Third spot = Rectangle
Fourth spot = Circle
Once you’re done, tap on the eye icon in the lower right corner to turn off the “Ghost Vision”.
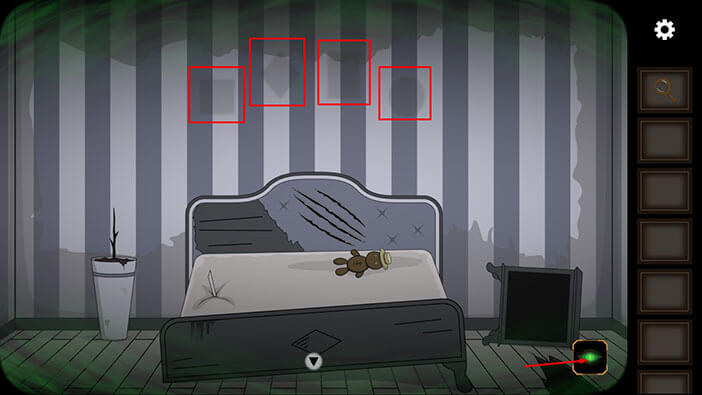
Ok, let’s take a closer look at the pictures once again, and arrange them to match the order which we saw in the order dimension.
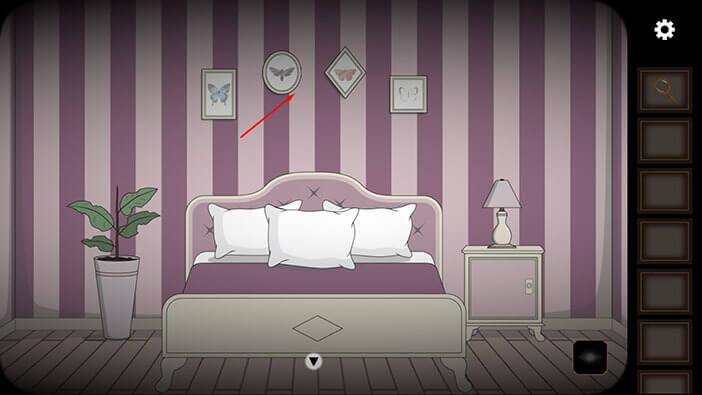
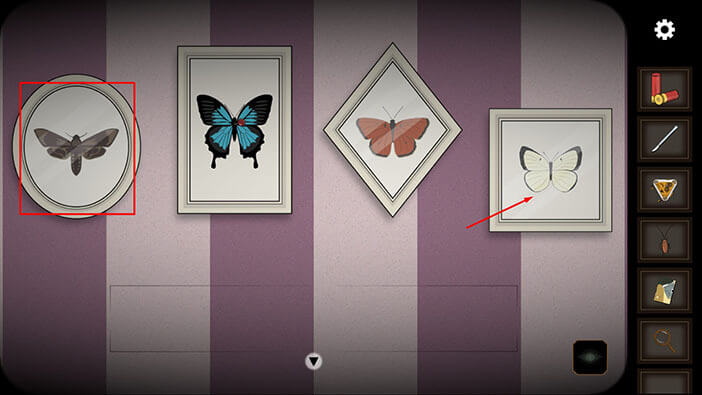
Ok, let’s rearrange the pictures. Tap on the picture with the circle frame then tap on the picture with the square frame to switch their positions.
Next, tap on the picture with the rectangular frame then tap on the picture with the rhombus frame to switch their positions. After completing this action, you will arrange the pictures in an order that matches the order which we saw in the other dimension.
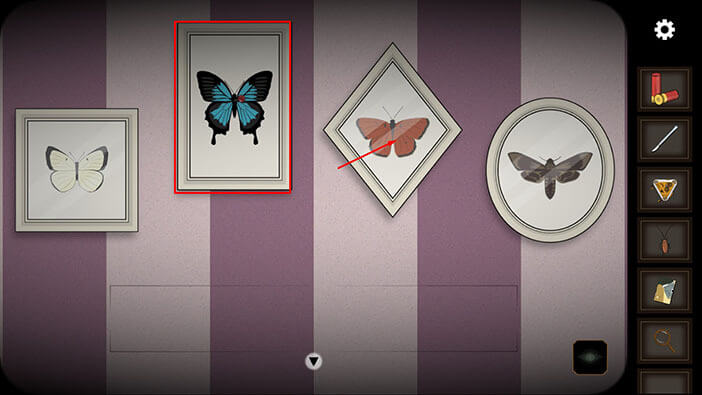
As soon as you correctly arrange the pictures, the secret compartment below the pictures will open. Inside the compartment, you will find a “Shotgun” and a “Key”. Tap on these items to pick them up. Great, we now have the shotgun and the shotgun shells, so our character finally has a working firearm. This makes me wonder why the detective didn’t bring his handgun with him when he started hunting for the Alchemist.
Well, we can only wonder. Let’s continue. Tap on the arrow at the bottom of the screen to go back.
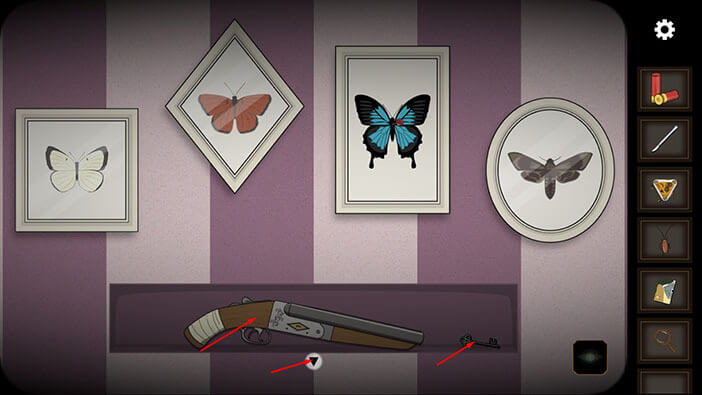
Tap on the arrow at the bottom of the screen to go back to the hallway.
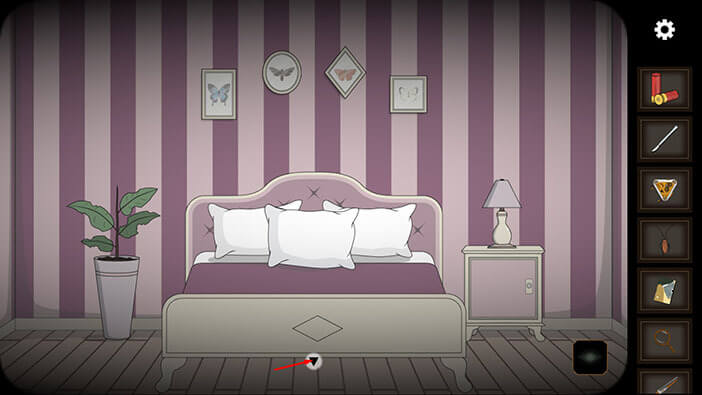
Tap on the door on the right to proceed into the office.
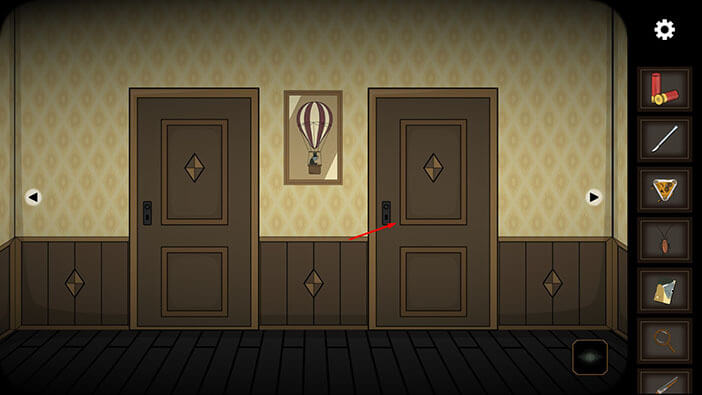
Tap on the books on the right side of the desk to take a closer look at them.

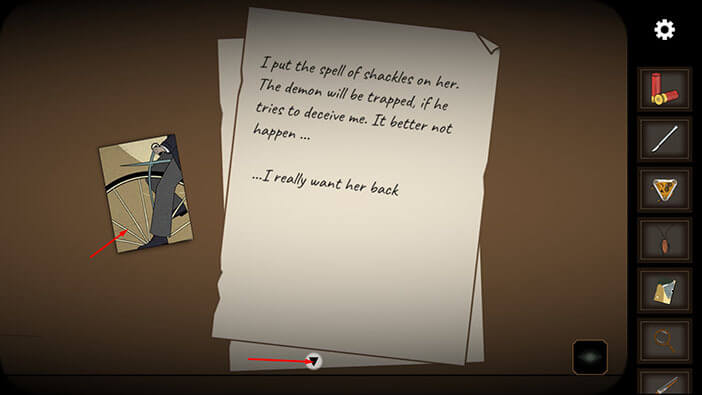
We can now see two notes on the left. Tap on the notes to examine them.
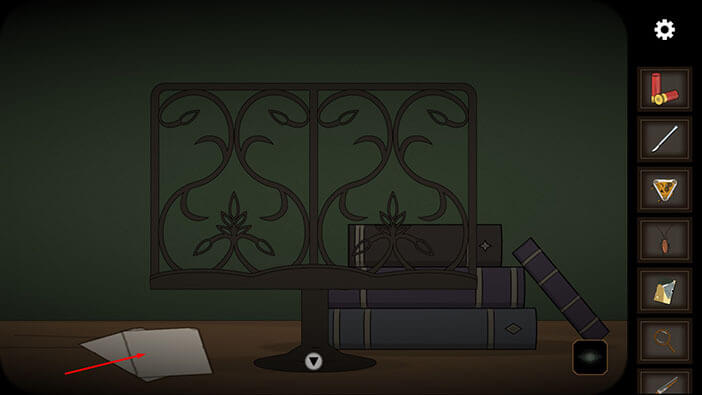
Well, it looks like the Alchemist used some kind of spell to keep the demon imprisoned. This way, Alchemist hoped, the demon won’t trick him, because he was the only one that can set him free.
Tap on the photo on the left to pick it up.
After that, tap twice on the arrow at the bottom of the screen to go back. “Piece of picture” will be added to your inventory.
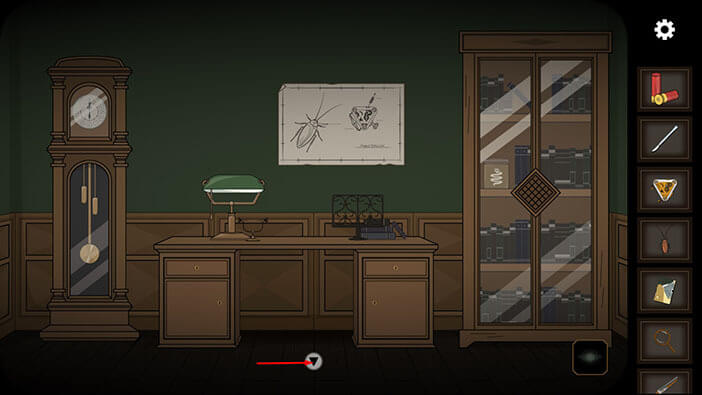
Ok, let’s go back to the hallway. Tap on the arrow at the bottom of the screen to go back.
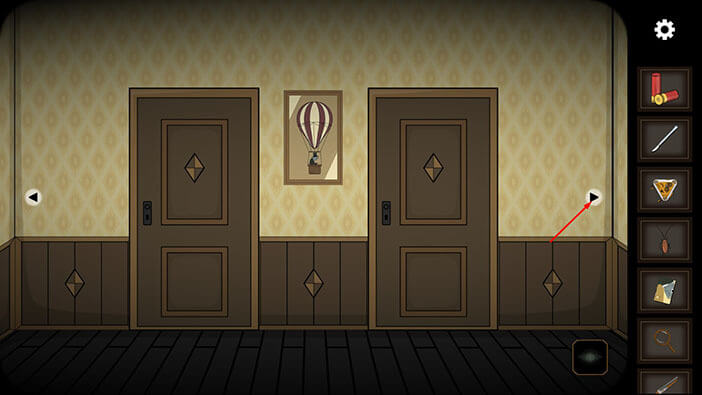
Next, we should go to the second room on the right. So, tap twice on the right arrow.
Time to turn the “Ghost Vision” back on. Tap on the eye icon in the lower right corner.

You will notice that in the other dimension, there is a crack on the left side of the wall. Tap on the crack in the wall to look inside.
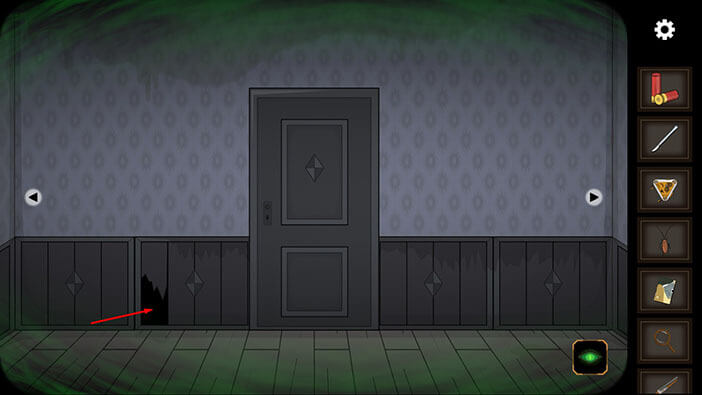
Inside the hole, you will find a picture. Tap on it to pick it up, and another “Piece of Picture” will be added to your inventory.
After that, tap on the arrow at the bottom of the screen to go back.
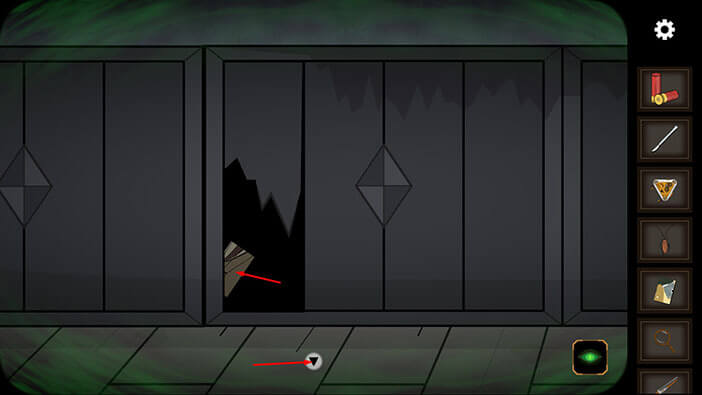
Ok, let’s turn off the “Ghost Vision”. Tap on the eye icon in the lower right corner of the screen.
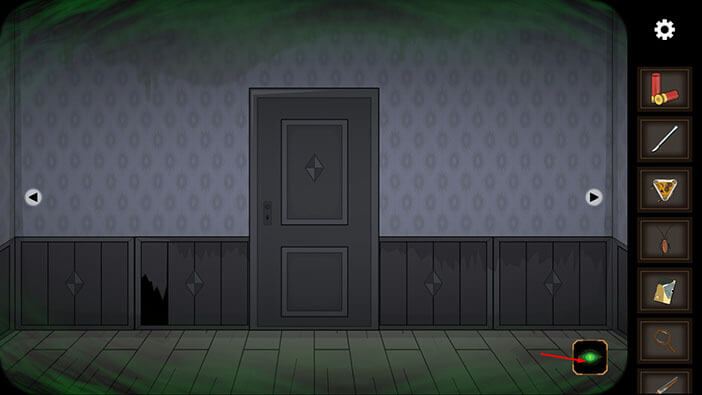
Tap on the picture on the left to start the interaction.
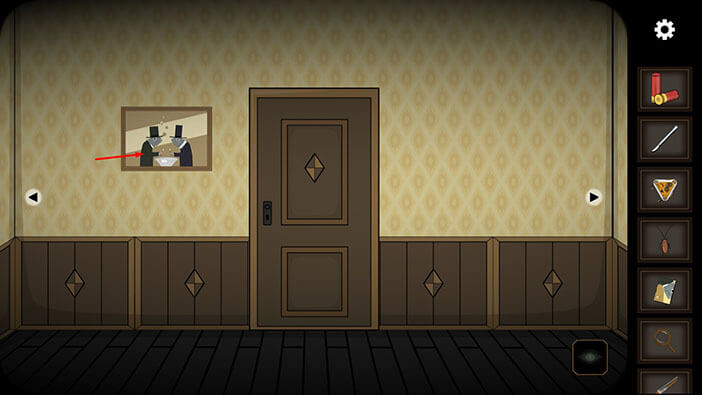
We can see that one piece of the picture is missing. So, select the “Piece of picture” with the frog’s head in your inventory and insert it into the empty slot.
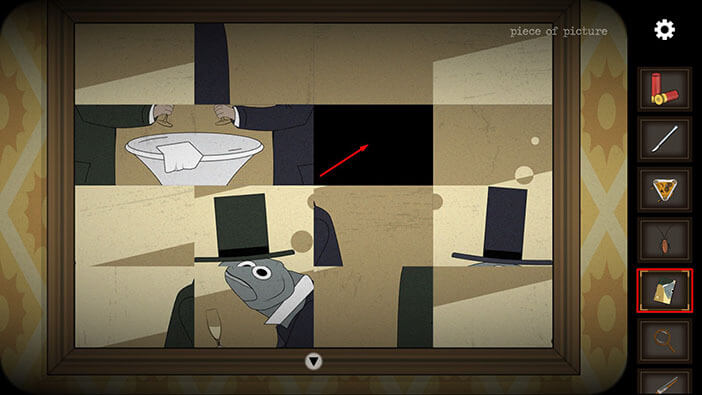
Ok, we can see that the picture is divided into 16 pieces, arranged in 4 columns and 4 rows. Our next task is to assemble the picture by rearranging the pieces. We will do this puzzle in several steps. Let’s begin.
Step 1
Tap on the third piece (left to right) in the second row (top to bottom) and place it into the second slot in the third row.
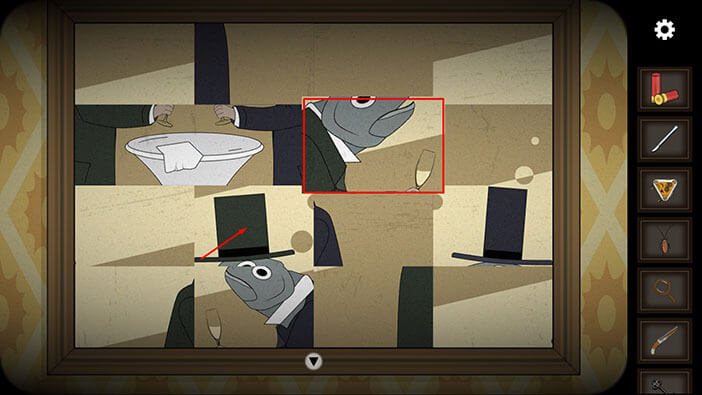
Step 2
Tap on the second piece in the fourth row and place it into the second slot in the third row.
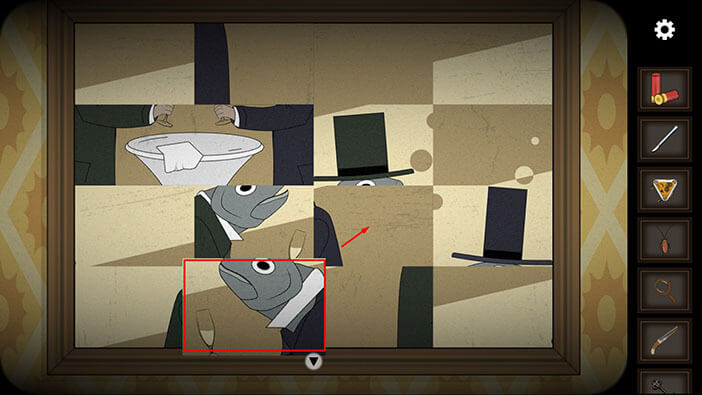
Step 3
Tap on the second piece in the second row and place it into the third slot in the fourth row.
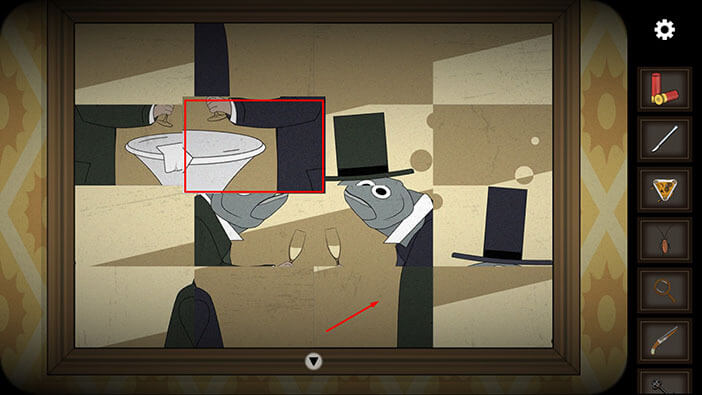
Step 4
Tap on the fourth piece in the third row and place it into the third slot in the second row.
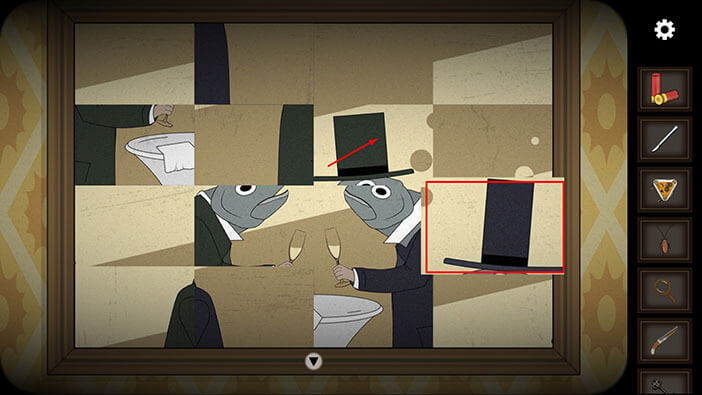
Step 5
Tap on the first piece in the second row and place it into the second slot in the fourth row.
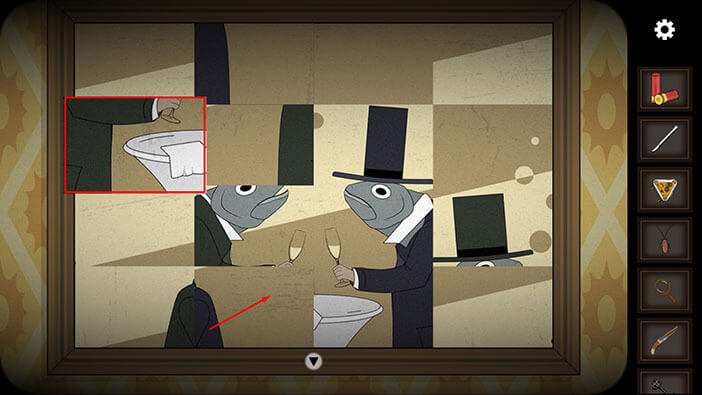
Step 6
Tap on the first piece in the fourth row and place it into the first slot in the third row.
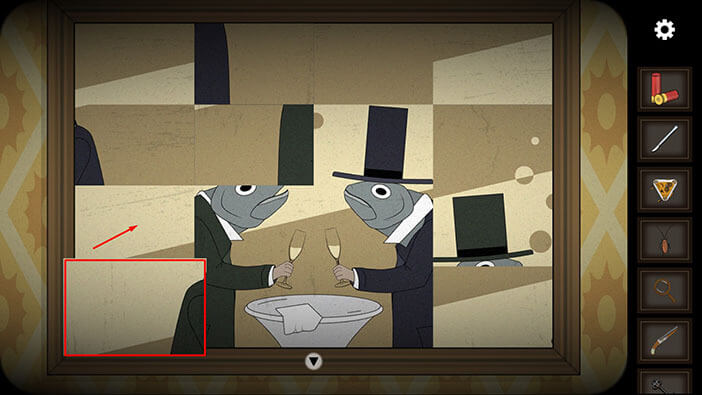
Step 7
Tap on the second piece in the second row and place it into the first slot in the fourth row.
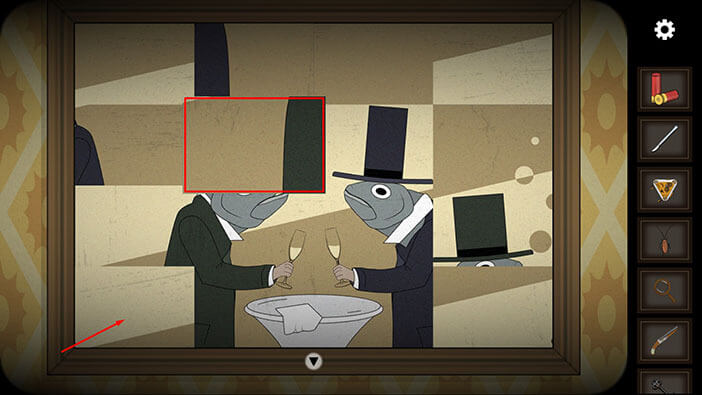
Step 8
Tap on the fourth piece in the third row and place it into the second slot in the second row.
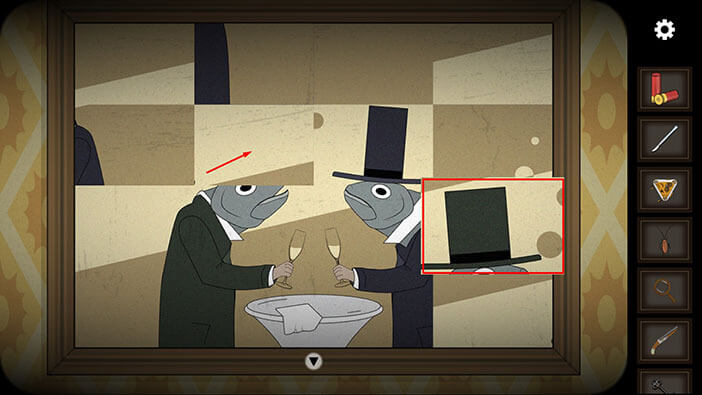
Step 9
Tap on the first piece in the second row and place it into the fourth slot in the third row.
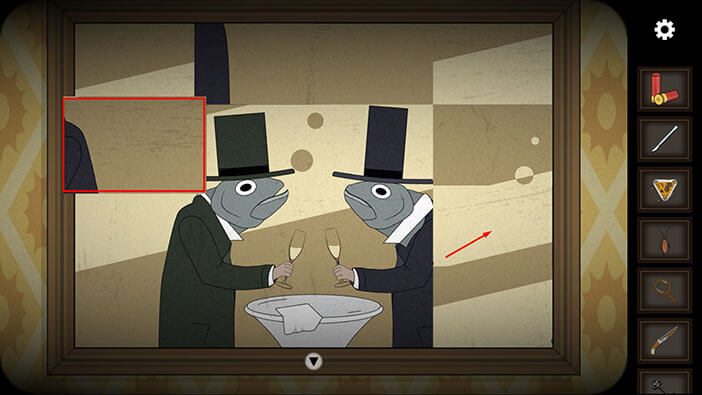
Step 10
Tap on the second piece in the first row and place it into the fourth slot in the fourth row.
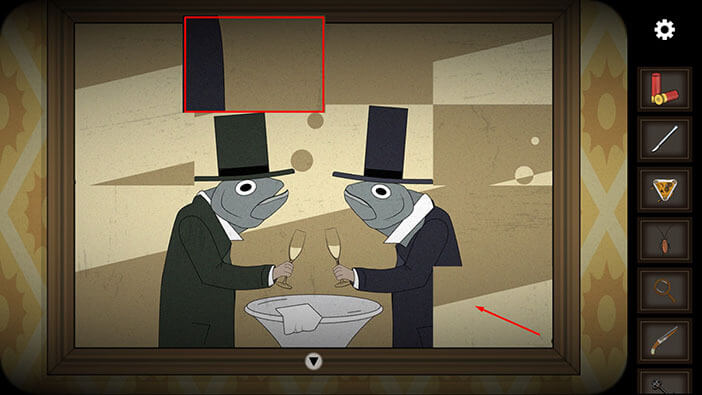
Step 11
Tap on the first piece in the second row and place it into the fourth slot in the second row.
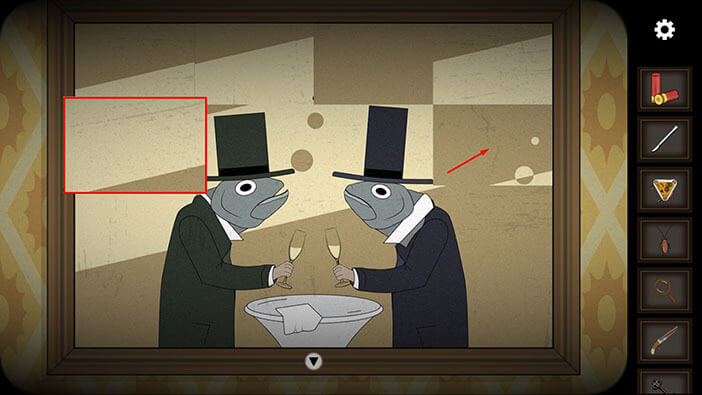
Step 12
Tap on the first piece in the second row and place it into the second slot in the first row.
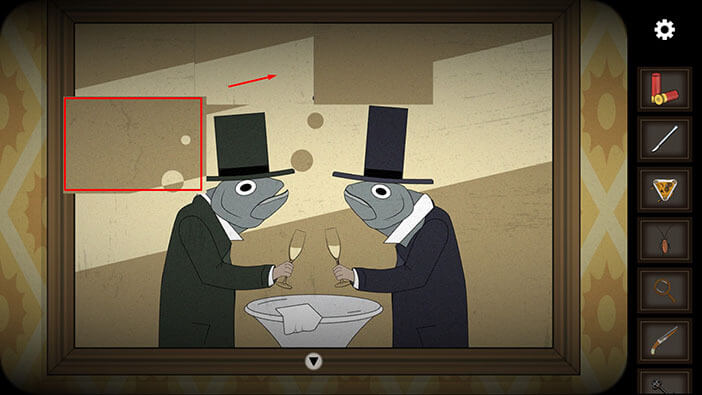
Step 13
Lastly, tap on the first piece in the first row and place it into the third slot in the first row. When you complete this last step, you will assemble the picture.
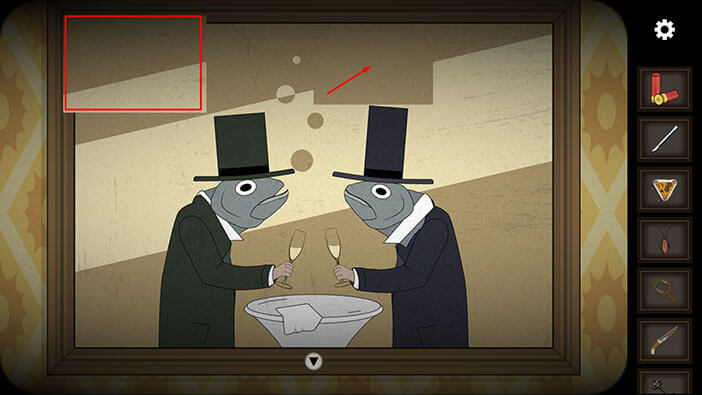
As soon as you assemble the picture, the number “4” will appear. Memorize/write down this number because we will need it a bit later, and also memorize the picture (two frogs drinking wine).
After that, tap on the arrow at the bottom of the screen to go back.
Tap on the arrow on the right to proceed to the next room.
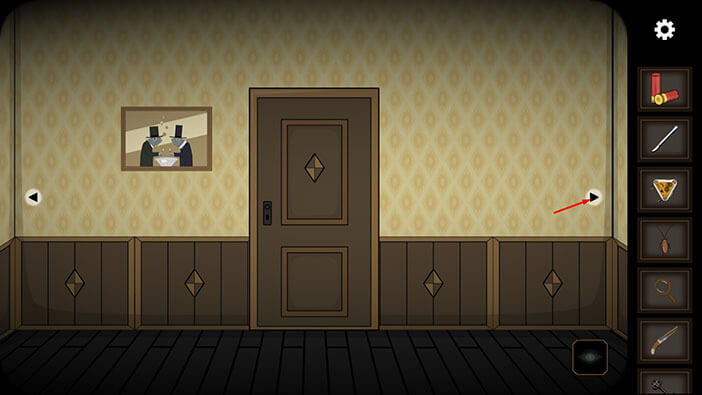
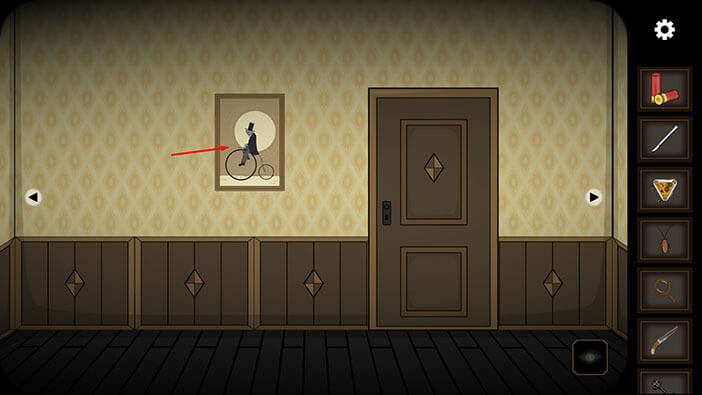
Here, we will find another picture. Tap on it to take a closer look.
Just like the previous picture, this one also misses one piece. So, select the “Piece of a picture” from the inventory and insert it into the empty slot.
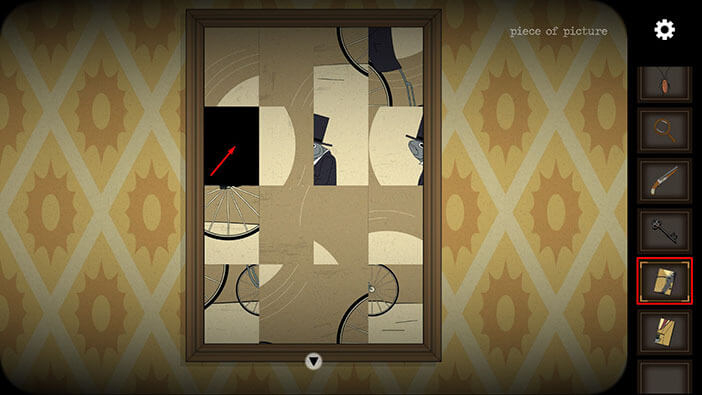
This picture is also divided into 16 pieces, arranged in 4 columns and 4 rows. Again, our next task is to assemble the picture by rearranging the pieces. We will do this puzzle in several steps. Let’s begin.
Step 1
Tap on the first piece in the second row and place it into the second slot in the third row.
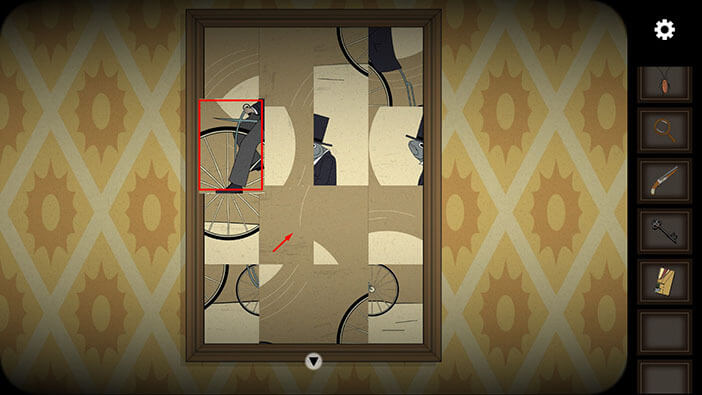
Step 2
Tap on the third piece in the fourth row and place it into the first slot in the third row.
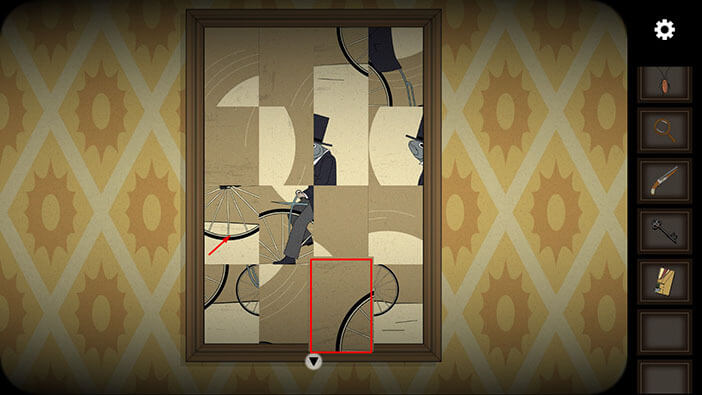
Step 3
Tap on the third piece in the first row and place it into the first slot in the fourth row.
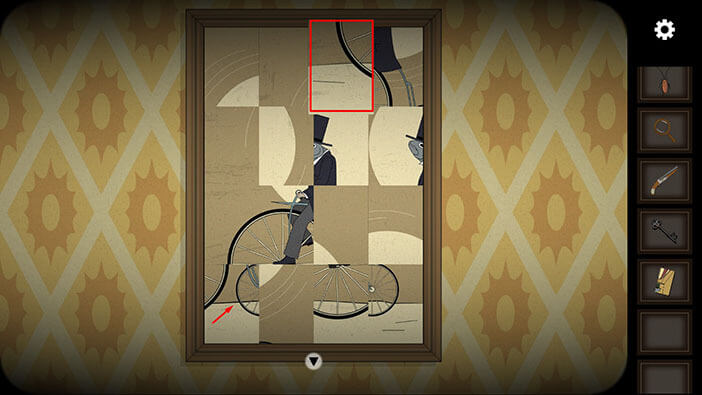
Step 4
Tap on the third piece in the fourth row and place it into the second slot in the fourth row.
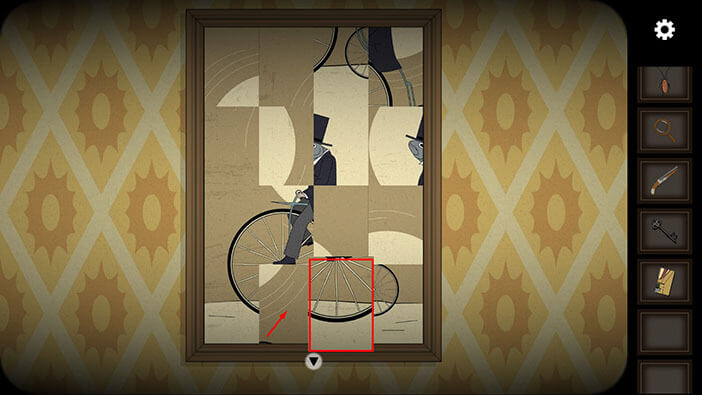
Step 5
Tap on the fourth piece in the second row and place it into the second slot in the second row.
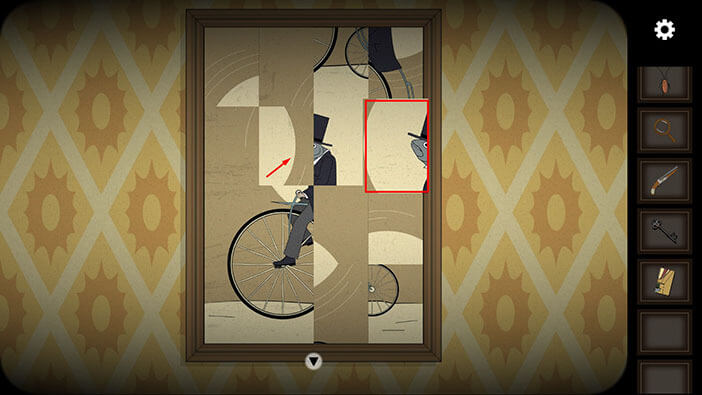
Step 6
Tap on the fourth piece in the first row and place it into the third slot in the third row.
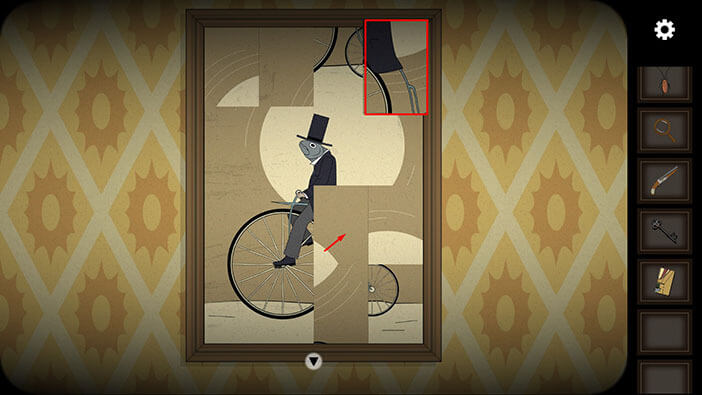
Step 7
Tap on the third piece in the first row and place it into the third slot in the fourth row.
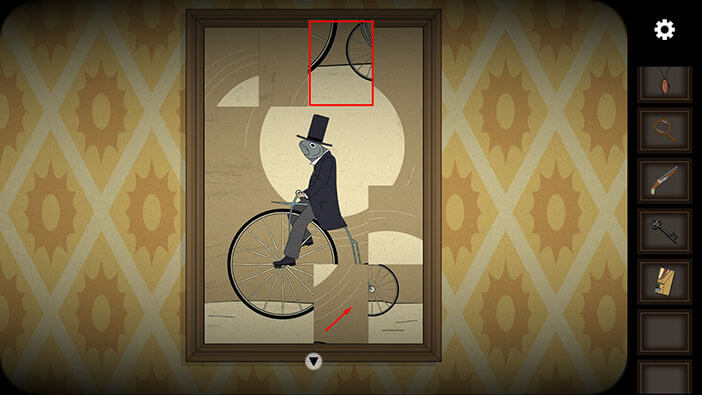
Step 8
Tap on the third piece in the first row and place it into the fourth slot in the third row.
Step 9
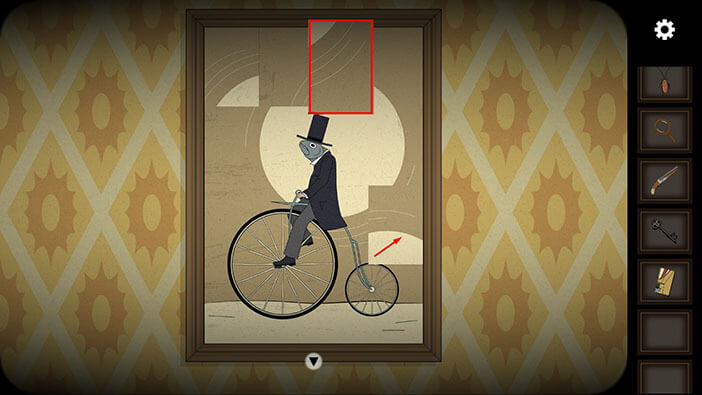
Tap on the first piece in the first row and place it into the second slot in the first row. When you complete this last step, you will assemble the picture.
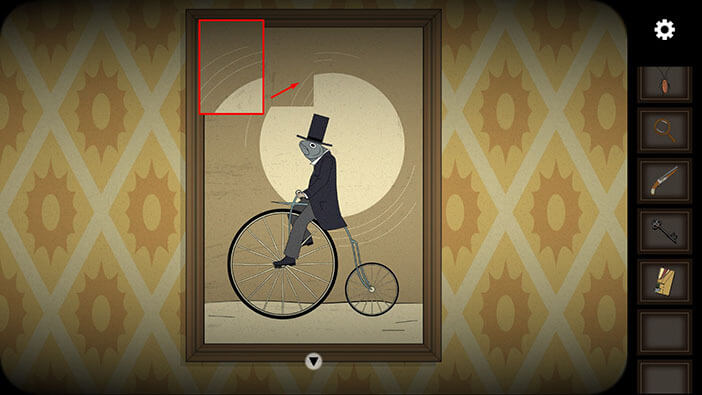
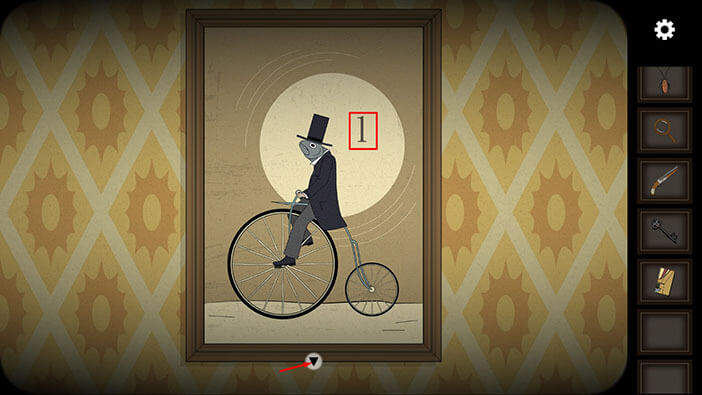
As soon as you assemble the picture, the number “1” will appear. Memorize/write down this number because we will need it a bit later, and also memorize the picture (frog driving a bicycle).
After that, tap on the arrow at the bottom of the screen to go back.
Tap on the arrow on the right to proceed to the next room.
Here, we have another picture. Tap on it to take a closer look.
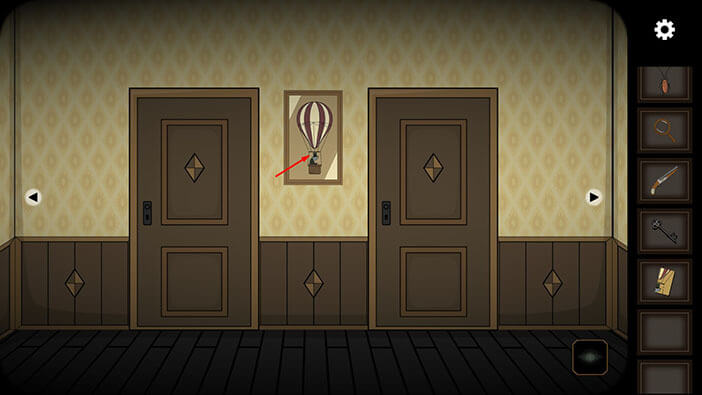
Just like the previous pictures, this one also misses one piece. So, select the “Piece of a picture” from the inventory and insert it into the empty slot.
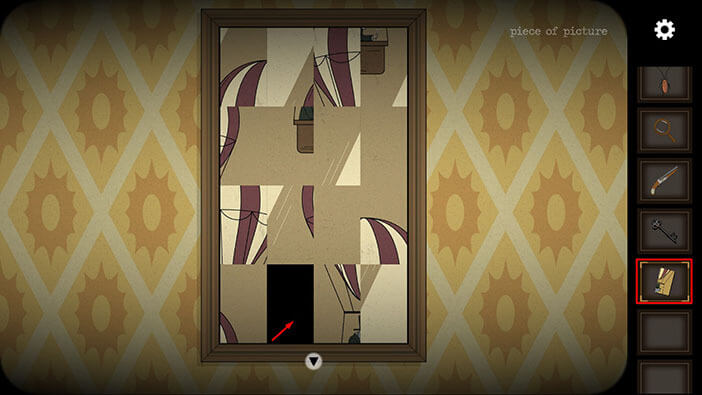
This picture is also divided into 16 pieces, arranged in 4 columns and 4 rows. Again, our next task is to assemble the picture by rearranging the pieces. We will do this puzzle in several steps. Let’s begin.
Step 1
Tap on the second piece in the fourth row and place it into the third slot in the third row.
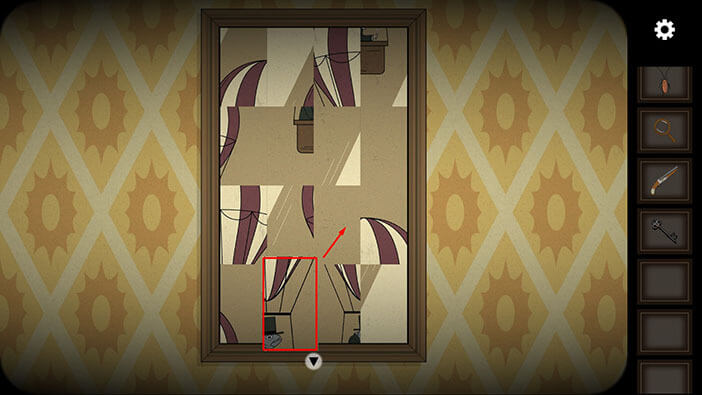
Step 2
Tap on the third piece in the fourth row and place it into the second slot in the third row.
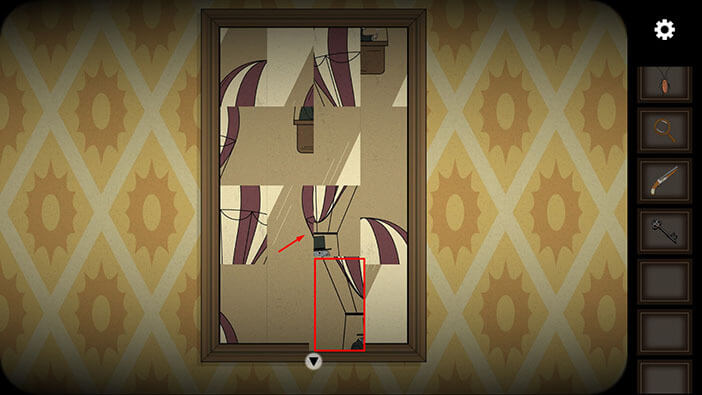
Step 3
Tap on the fourth piece in the first row and place it into the third slot in the fourth row.
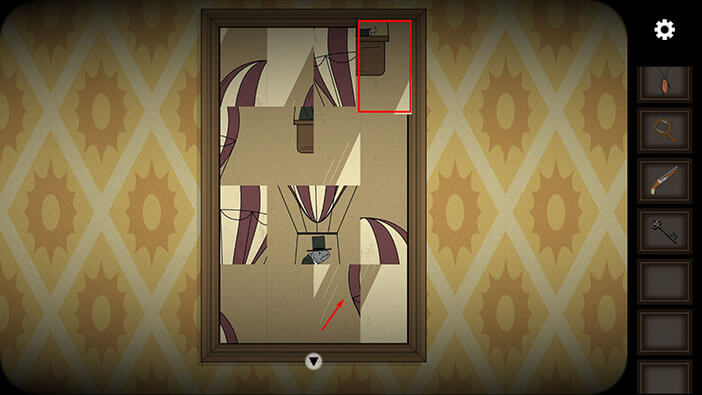
Step 4
Tap on the second piece in the second row and place it into the second slot in the fourth row.
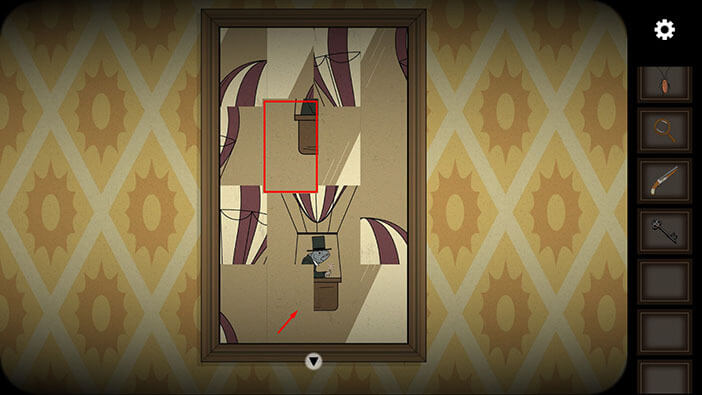
Step 5
Tap on the third piece in the first row and place it into the second slot in the second row.
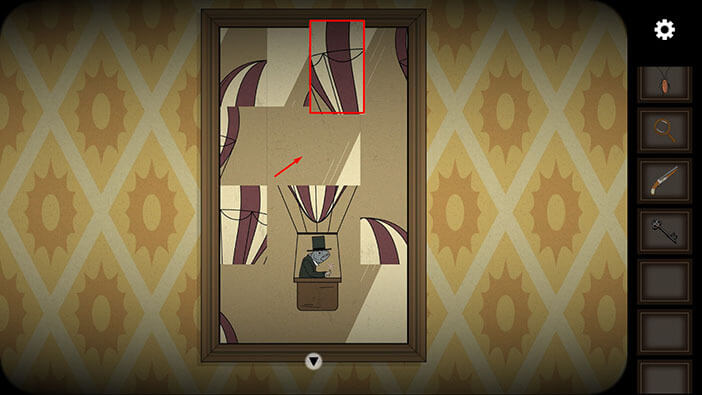
Step 6
Tap on the first piece in the third row and place it into the third slot in the second row.
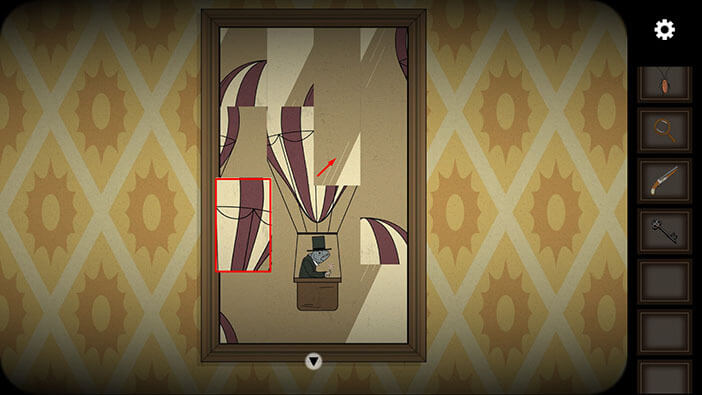
Step 7
Tap on the first piece in the first row and place it into the second slot in the first row.
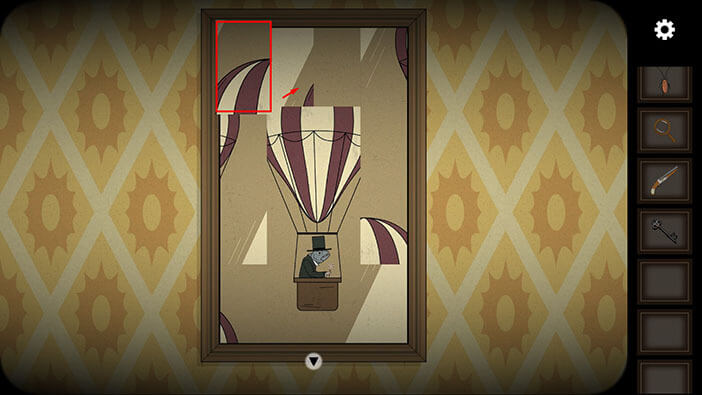
Step 8
Tap on the fourth piece in the third row and place it into the third slot in the first row.
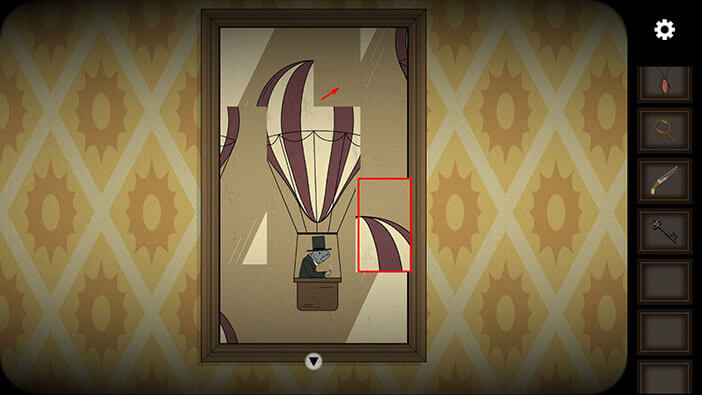
Step 9
Tap on the fourth piece in the first row and place it into the first slot in the second row.
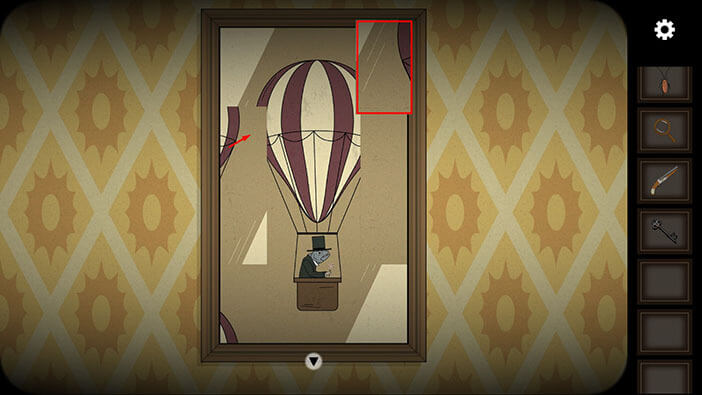
Step 10
Tap on the first piece in the fourth row and place it into the fourth slot in the first row.
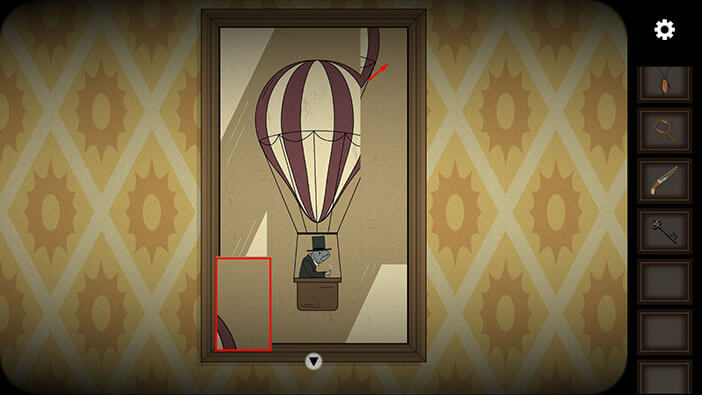
Step 11
Tap on the first piece in the fourth row and place it into the fourth slot in the second row.
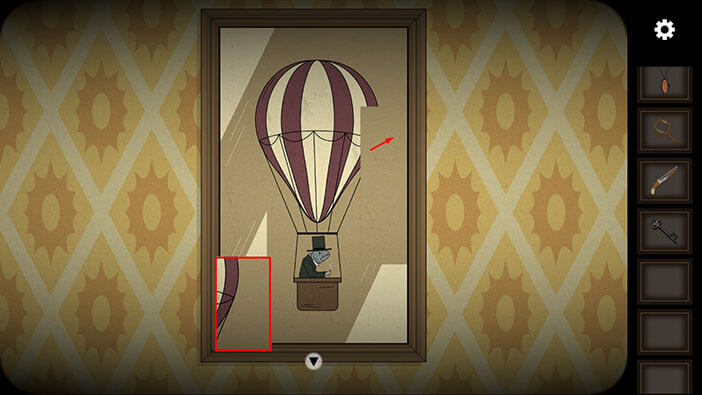
Step 12
Tap on the first piece in the third row and place it into the fourth slot in the third row.
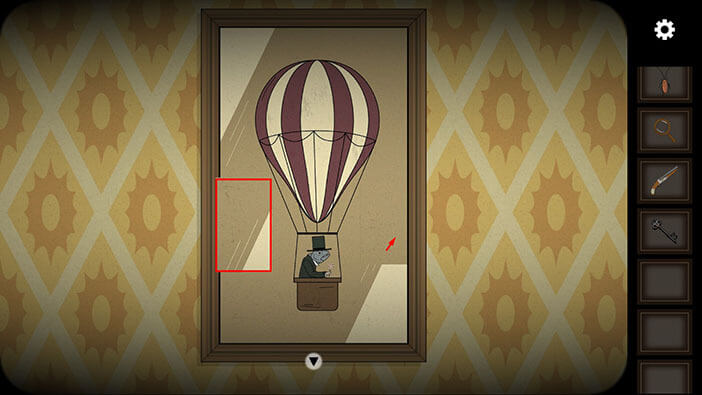
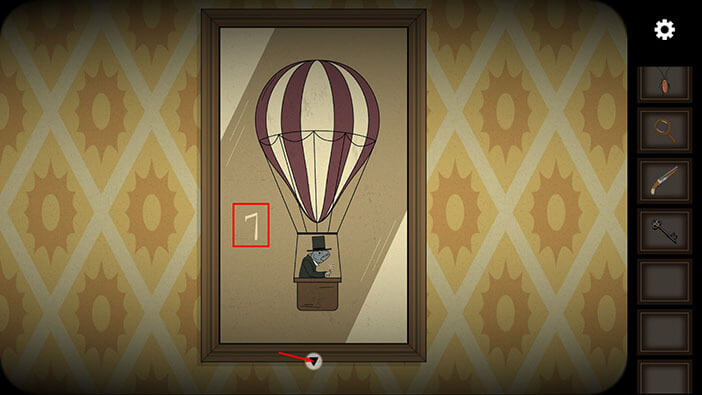
As soon as you assemble the picture, the number “7” will appear. Memorize/write down this number because we will need it a bit later, also memorize the picture (frog in the balloon).
After that, tap on the arrow at the bottom of the screen to go back.
Ok, let’s continue. Tap on the door on the right to proceed into the next room.

Tap on the eye icon in the lower right corner to turn on the “Ghost Vision”.

Tap on the wall clock on the left to take a closer look at it.
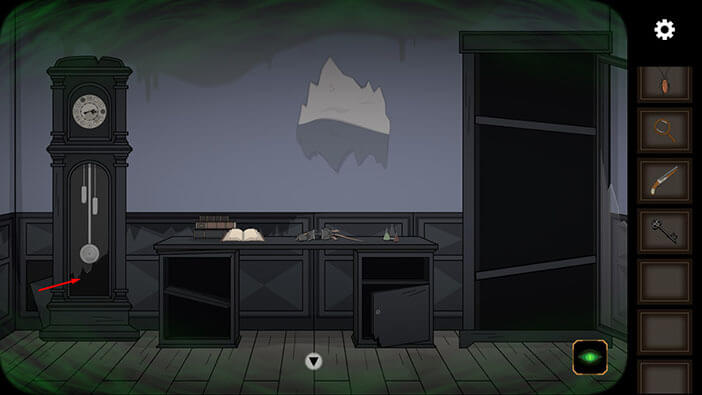
You will notice that the glass is broken, and a small stone is hidden in the corner. Tap on it to pick it up and “Stone” will be added to your inventory.
After that, tap on the arrow at the bottom of the screen to go back.
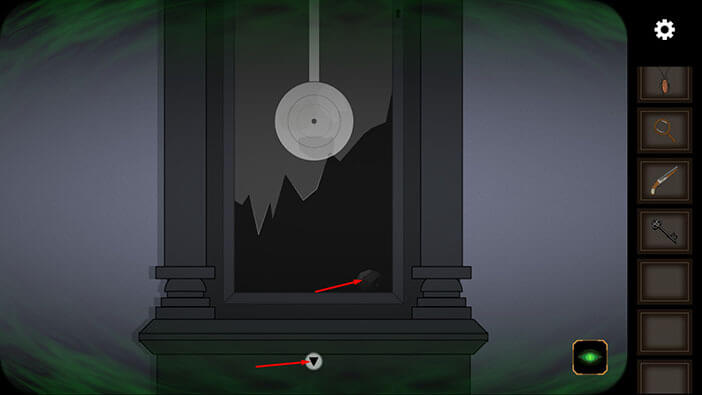
Let’s turn off the “Ghost Vision”. Tap on the eye icon in the lower right corner.
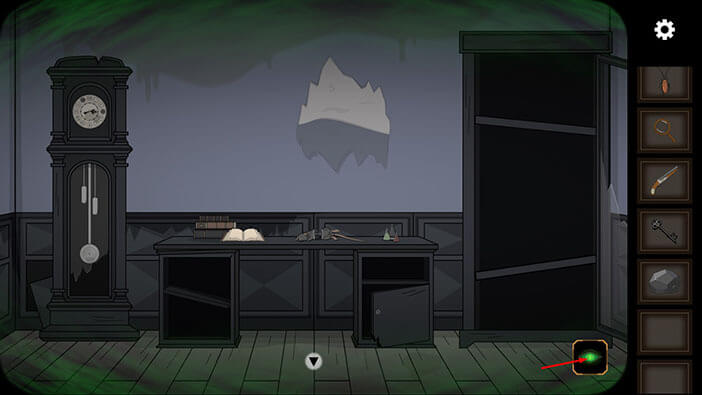
Let’s tap on the wall clock again to take a closer look at it in this dimension.

Select the “Stone” from the inventory and use it to smash the glass.
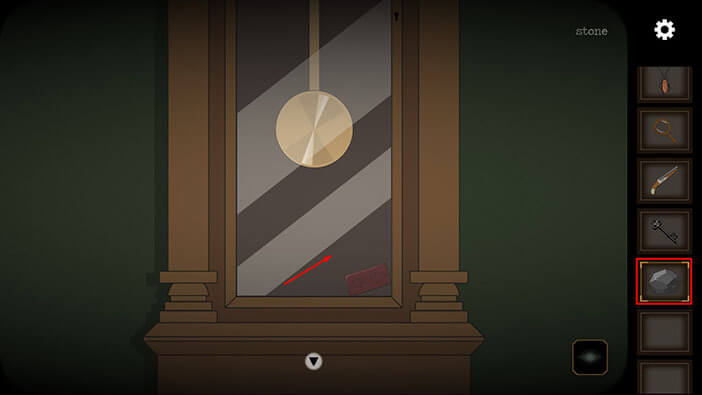
Tap on the red item to pick it up. “Wooden key” will be added to your inventory.
After that, tap on the arrow at the bottom of the screen.
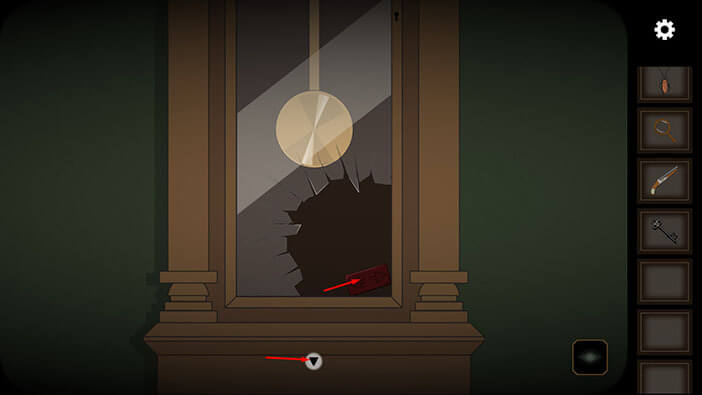
Tap on the upper part of the clock to take a closer look at it.

Tap on the glass door to open it.
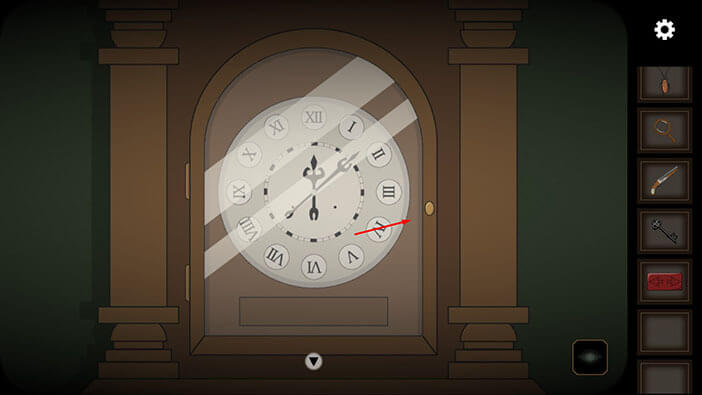
Ok, time to turn the “Ghost Vision” back on. Tap on the eye icon in the lower right corner.
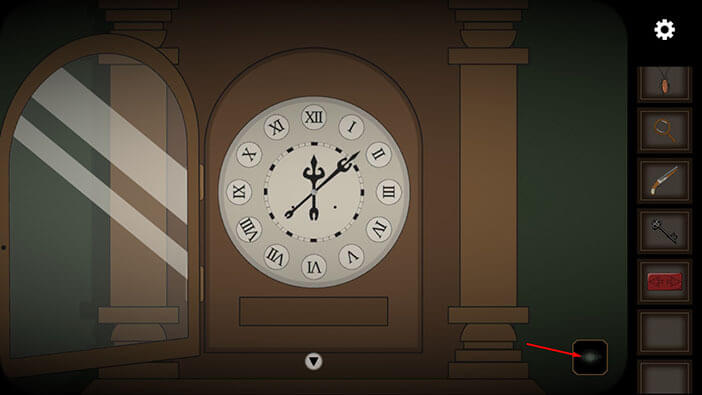
Tap on the clock again to look at it in this dimension.
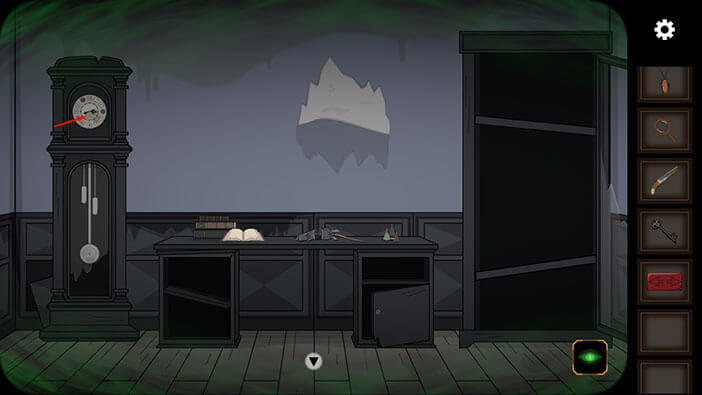
If look closely at the drawing below the clock, you will notice five images. Looking from left to right, we have a balloon, a glass, a bicycle, a bicycle, and a glass.
Ok, if you recall, we previously assembled three puzzles.
Picture of two frogs drinking wine = number 4 (glass)
Picture of a frog driving a bicycle = 1 (bicycle)
Picture of frog in the balloon = 7 (balloon)
So, if we replace the shapes below the clock with the numbers which we discovered by assembling the pictures, we will get the number “74114”. Memorize/write down this number because we will need it for the next puzzle.
Once you’re done tap on the eye icon in the lower right corner to turn off the “Ghost Vision”.
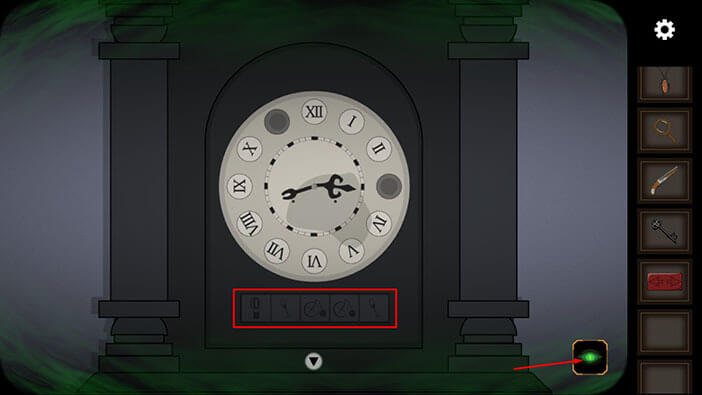
Tap on the clock again to start the interaction.
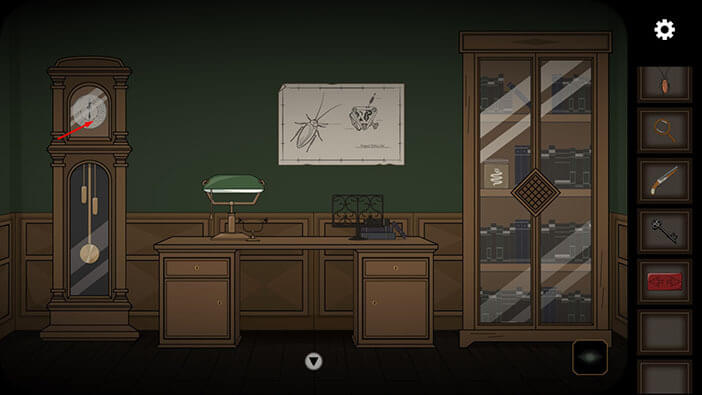
Tap on the number “74114” on the clock. We discovered this number by solving the previous puzzle.
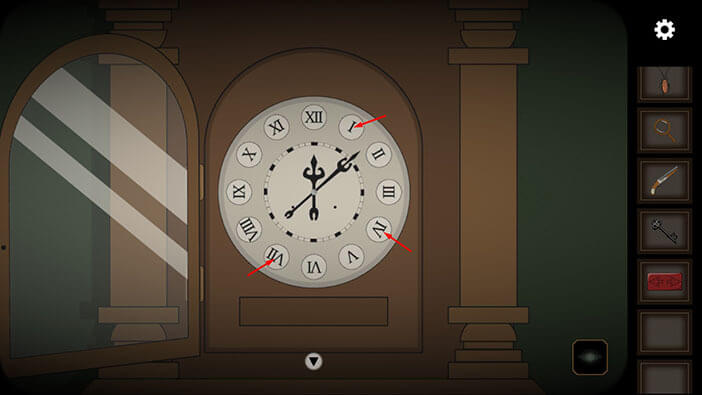
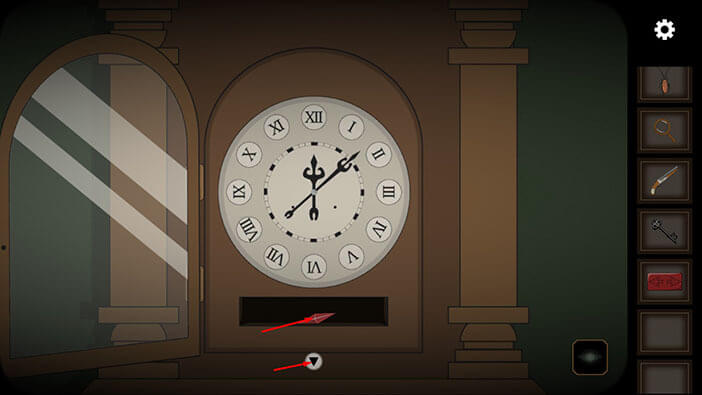
As soon as you enter the correct number, the small compartment will open and inside you will see a red item. Tap on it to pick it up and a “Crystal” will be added to your inventory.
After that, tap on the arrow at the bottom to go back.
We will end the first part of our walkthrough at this point, and continue in the next part. You can check out the second part by tapping on the “Next Part” button.
Thank you for reading.