Scary Horror 3: Escape Mystery – Chapter 1 | Part 3
Intro
Welcome to our walkthrough for Chapter 1 of the “Scary Horror 3: Escape Mystery” from Escape Adventure Games. In this game, you are playing 2 characters: Alex and Anna, who are trying to escape the strange and spooky rooms after being kidnapped. While rooms resemble situations from their past, they must remain brave and help each other.
Walkthrough
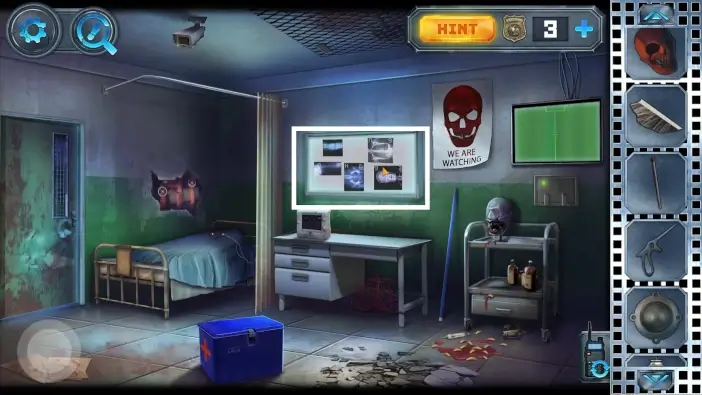
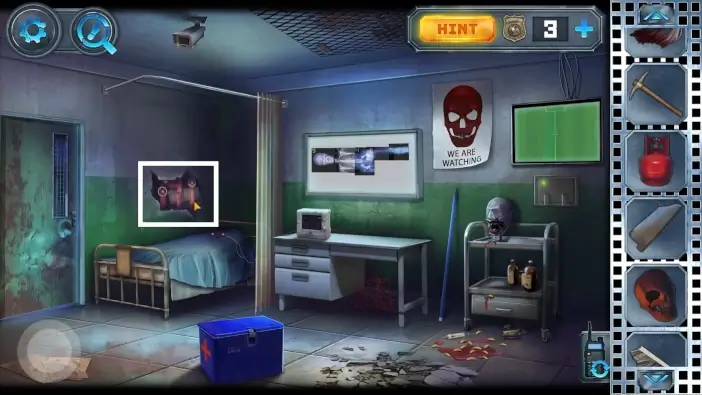
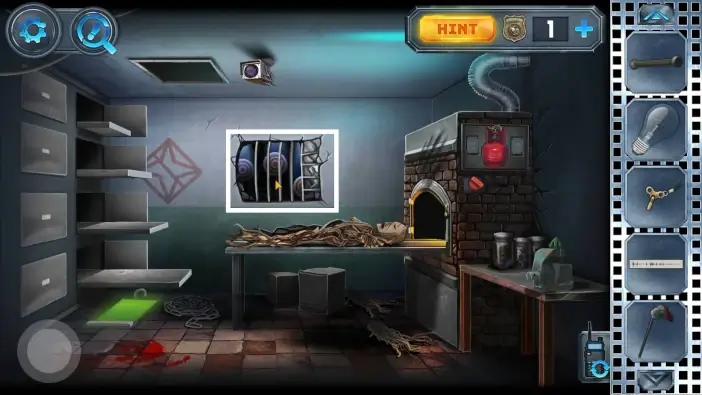
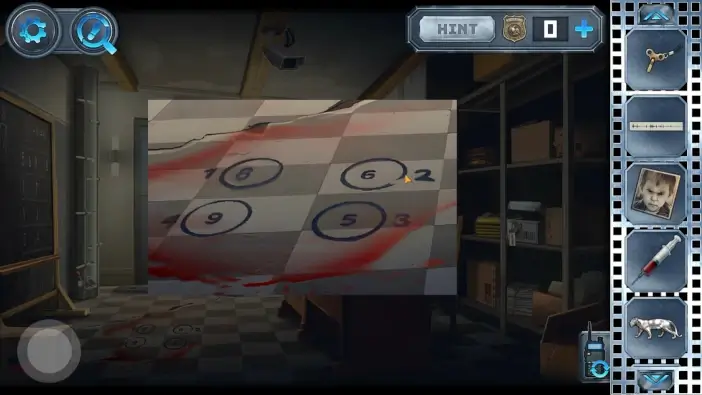
In the hospital room, approach the X-rays.
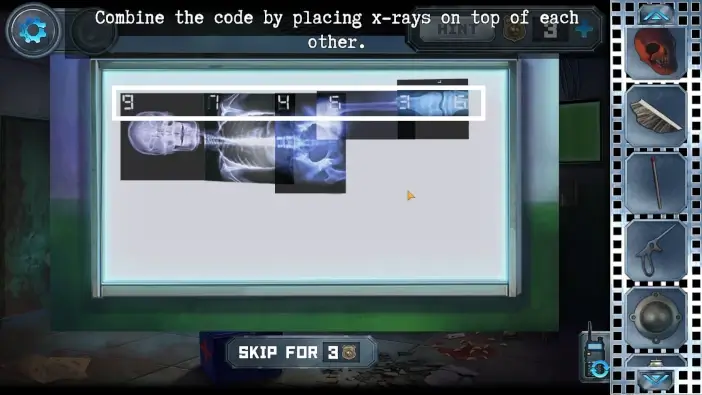
Form a skeleton with X-rays but make sure that the numbers on the corners are overlapping to form new numbers. This number is the code to open the trap door in the mortuary.
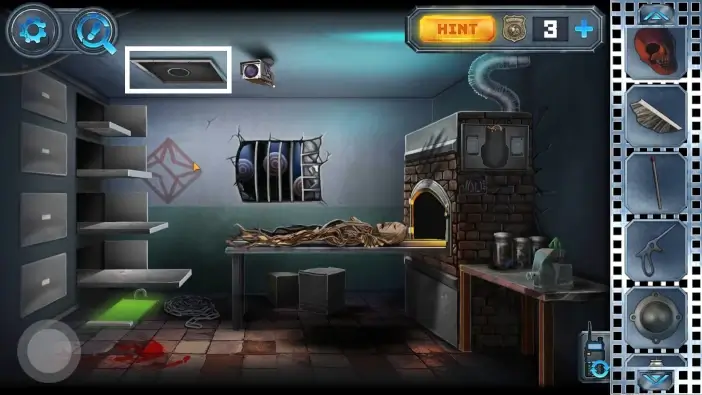
Go to the mortuary and approach the trapdoor.
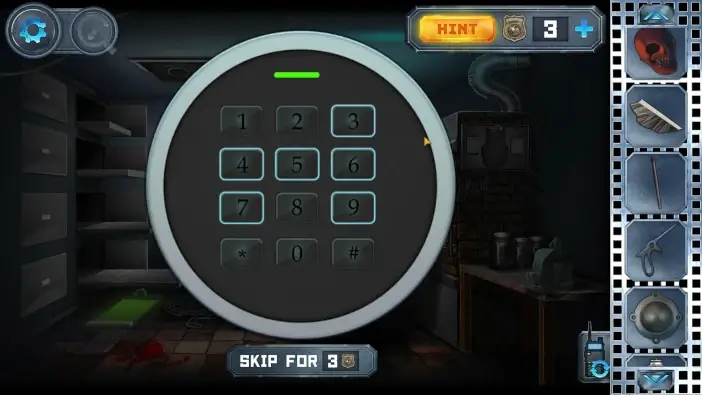
On the clock face type the code you got from the X-rays, which is: 974536. Enter the next room via the trapdoor.
- In the living room, pick the valve. It will be useful for the pipes in the hospital room.
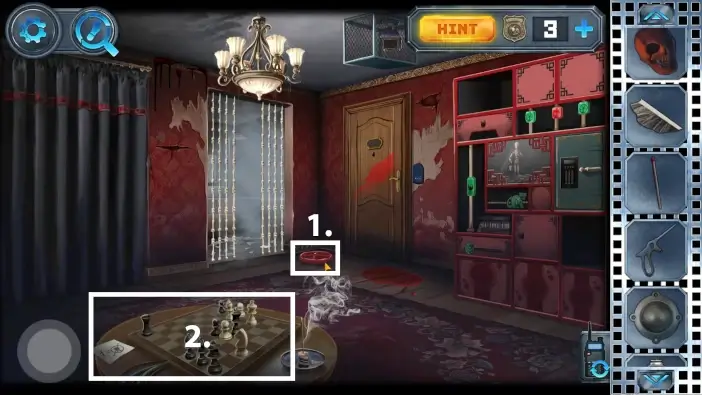
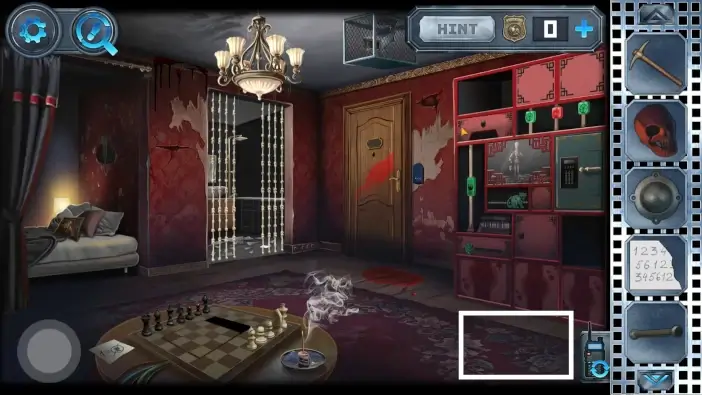
- Approach the chessboard.
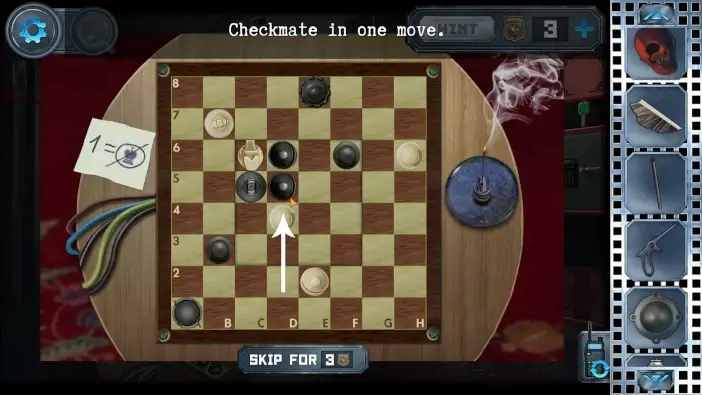
You need to do two challenges in chess where you need to checkmate the King in one move. In the first example, move the Pawn from d2 to d4.
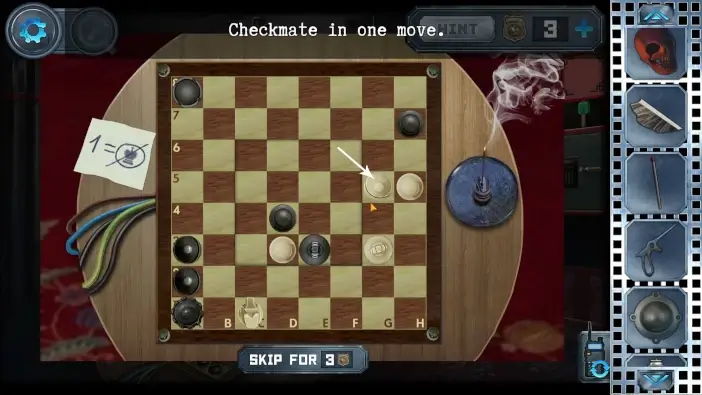
In the second example, move the Bishop from f6 to g5.
After you complete these two challenges, pick the key card. You will use it very soon, to unlock the next door.
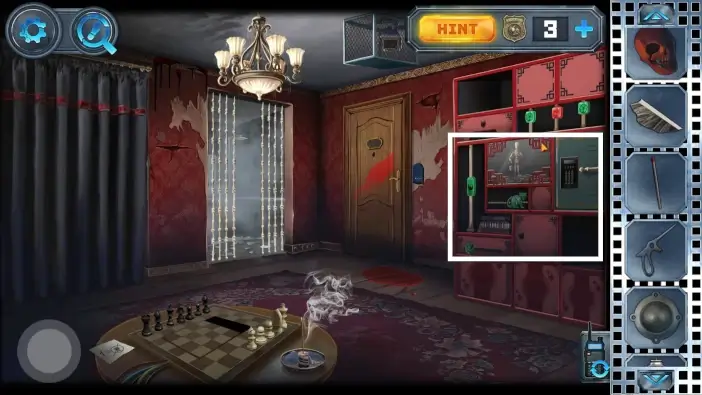
Approach the bookshelves.
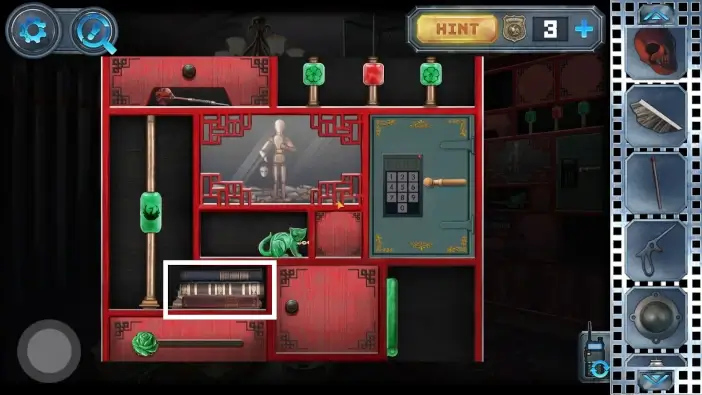
Open the book.
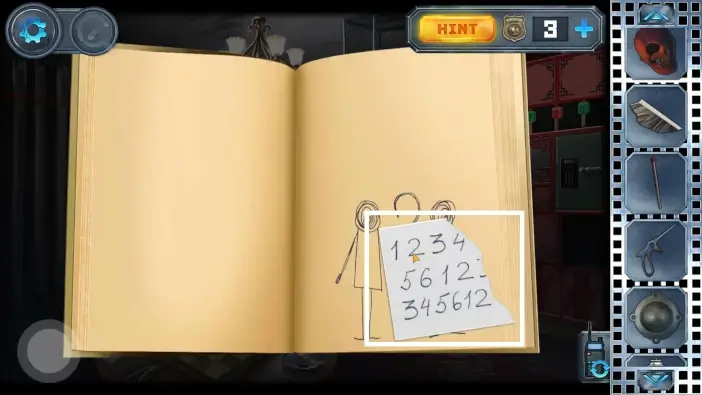
This book holds several clues for some future challenges. Go to the last page to take the first letter fragment. You need to find the second fragment.
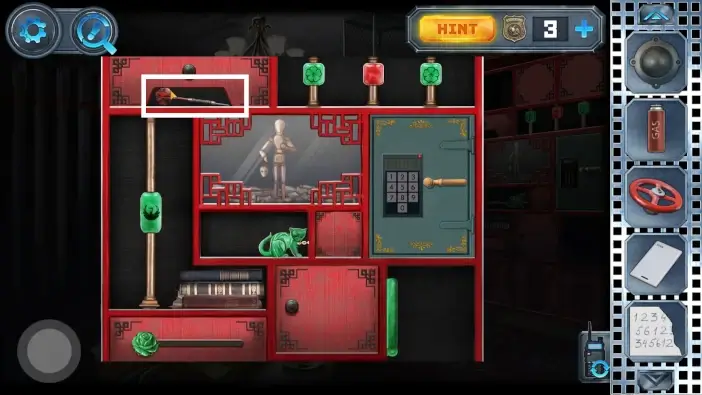
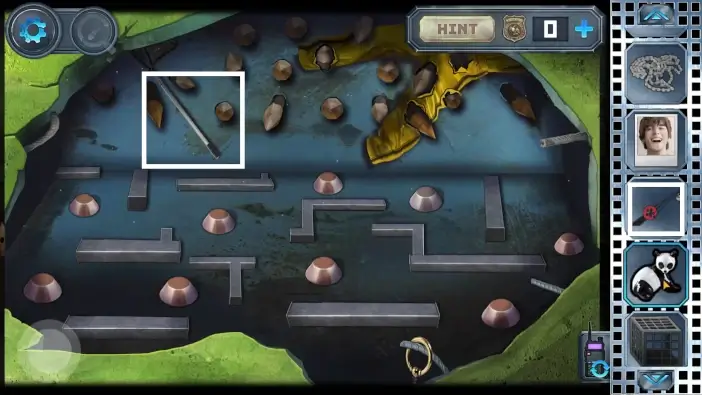
From the bookshelves, pick the darts. You will need it in the mortuary room to shoot at the targets. If you later spend all the darts and need more, you can return to the bookshelves and pick some more.
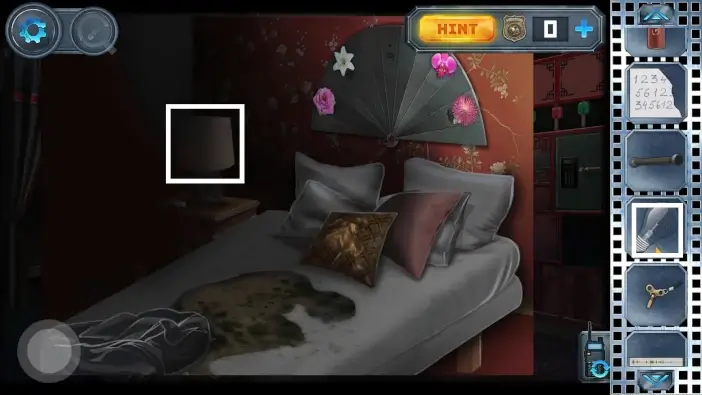
Move the curtains and approach the bed.
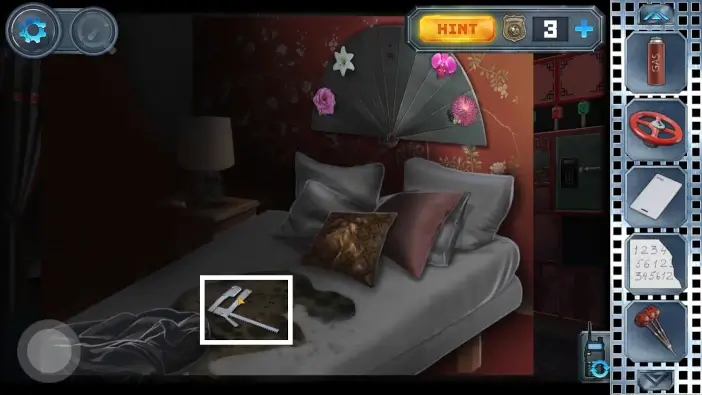
Pick the retractor from the bed.
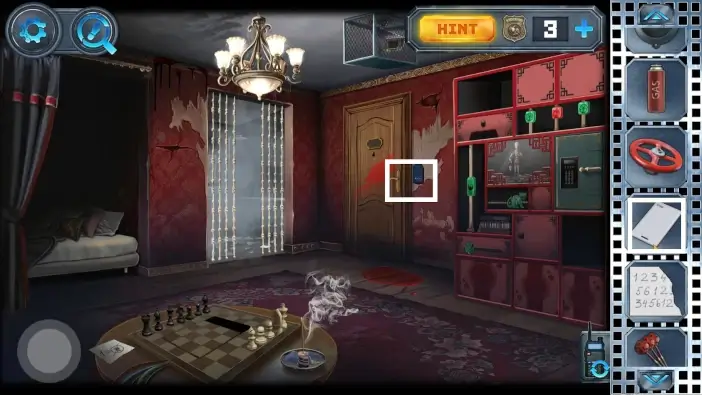
Use the key card to open the door to the lab.
- In the laboratory, pick the vice handle from the ground. You will need it for the machine in the mortuary room.
- Pick the bulb. You will illuminate the bed in the living room.
- Approach the door.
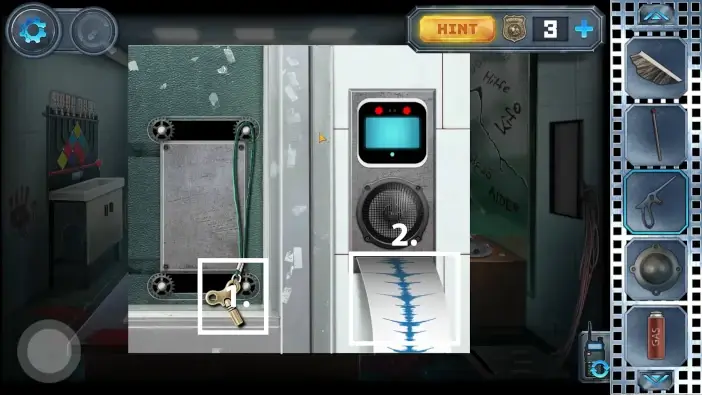
- Pick the winding key.
- Pick the spectrogram. You will need to send both items to Anna later.
Approach the pipes.
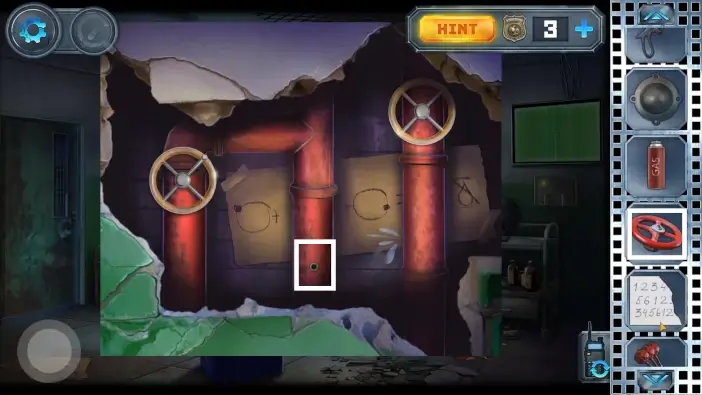
Place the valve you got from the living room.
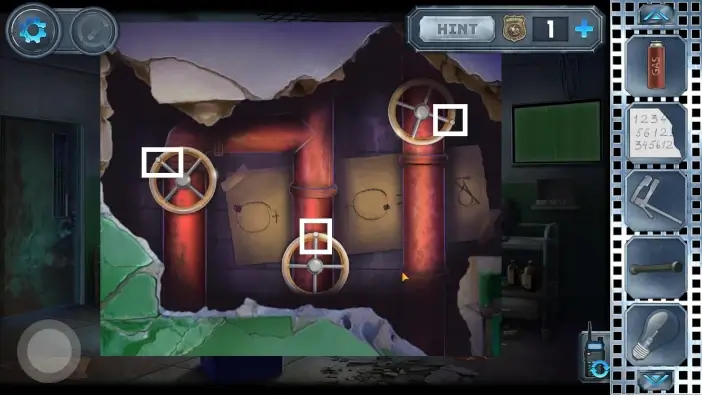
Adjust the pipes like in the picture above. The clue is behind the pipes. This will cause water to stop flowing.
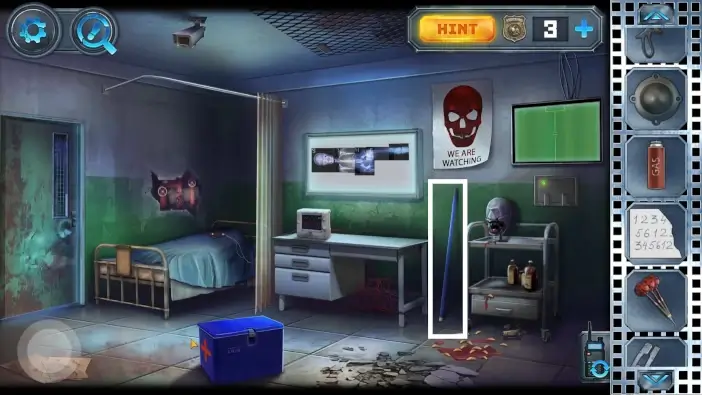
Pick the broomstick.
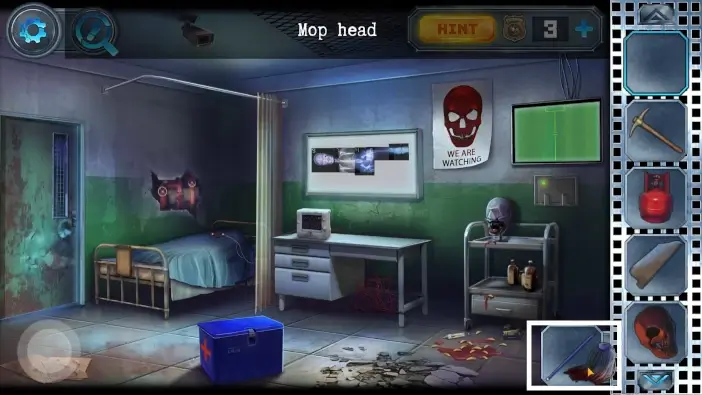
Combine mop head with broomstick.
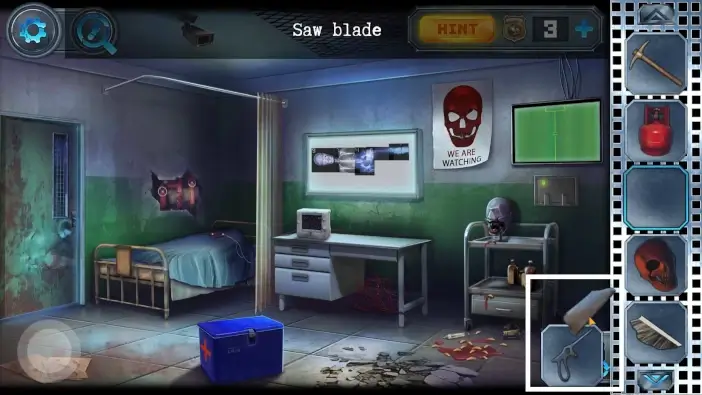
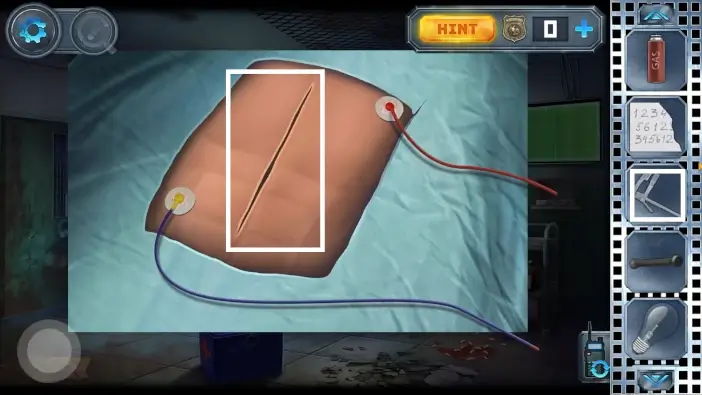
Attach the saw blade to the handle to create the surgical saw.
Switch to Anna and approach the trap.
Use the axe handle to get the trap.
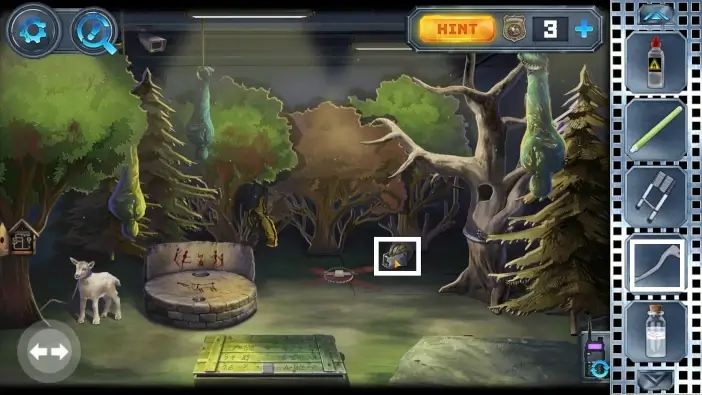
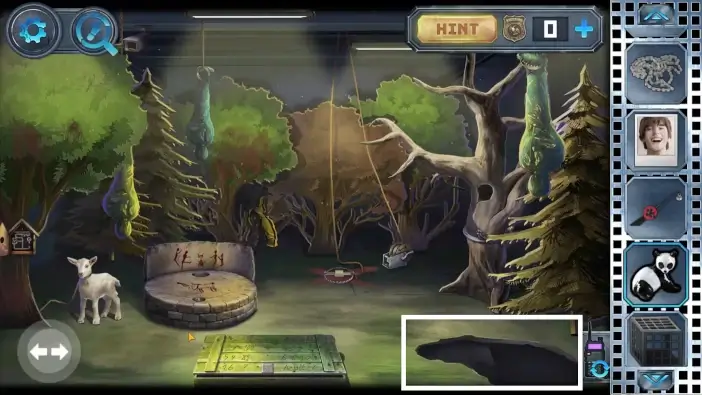
Go to the goat area. Place the trap where the X mark is then place the lever on the camera. Once you do that, take the tarp right next to the chest. You will need a tarp later to cover a bird’s cage. You will also discover a large hole where the tarp used to be.
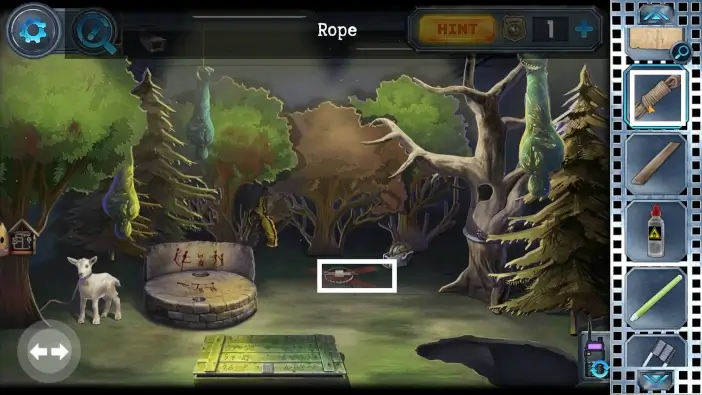
Connect the rope with the trap and camera.
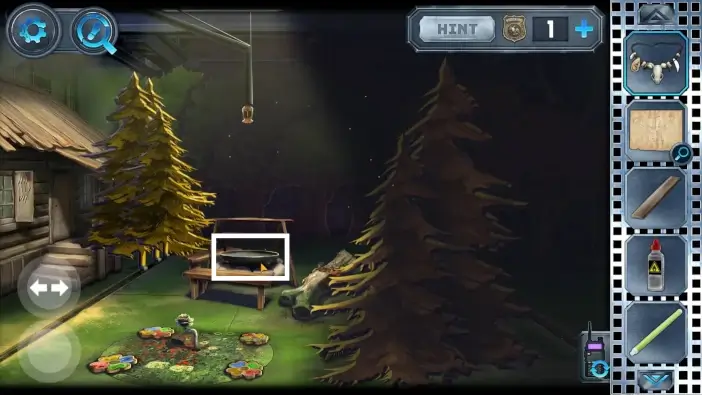
Return to the flower-lever area and approach the pan.
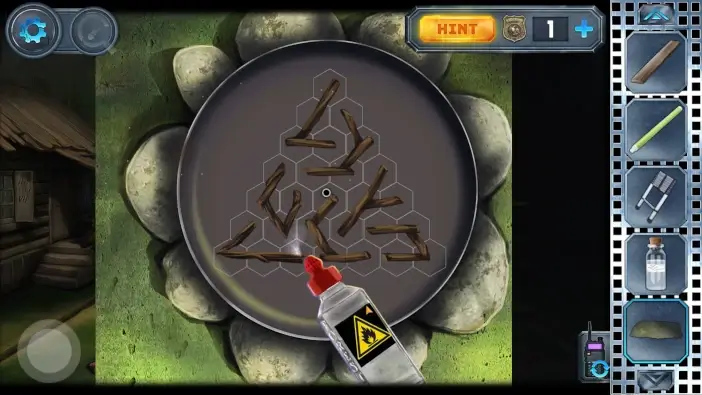
Use the lighter fluid and spray it over all the firewood. Later you will make a fire.
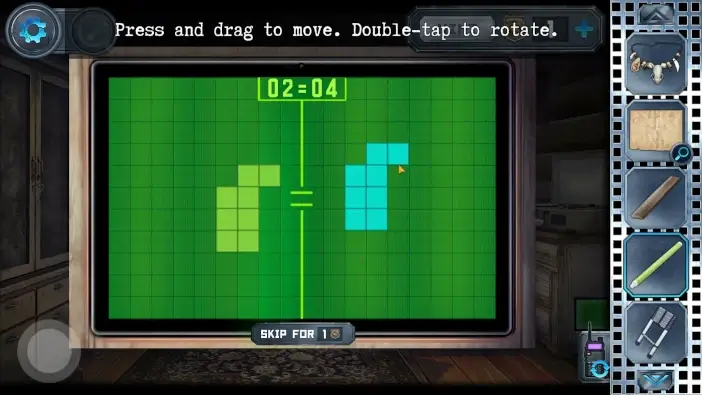
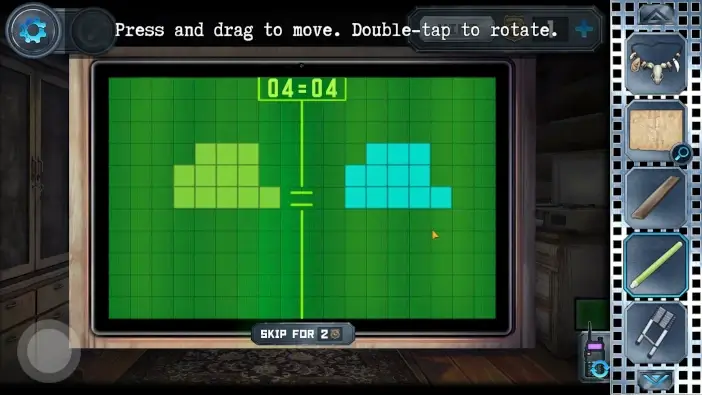
Go to the cabin and approach the green monitor on the right side.
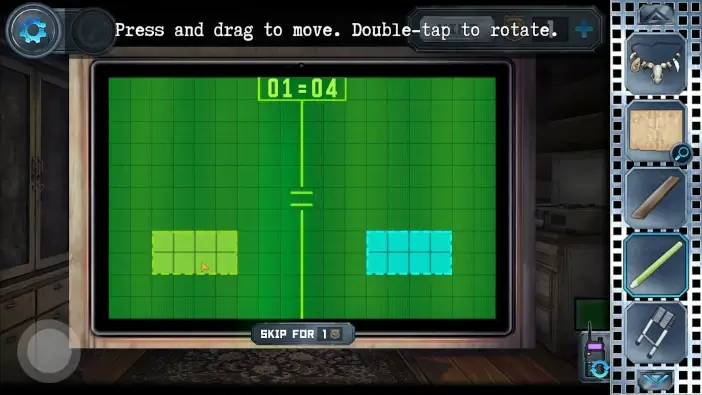
To complete the next set of puzzles, you must arrange shapes so that the shapes on both sides of the screens are the same. The shapes can be different than in the pictures below, but the shape on the left side must be the same as the shape on the right side of the screen.
After you complete the previous challenge, a new compartment will open in the hospital room. Switch to Alex and go there.
- Pick the electric igniter from the compartment.
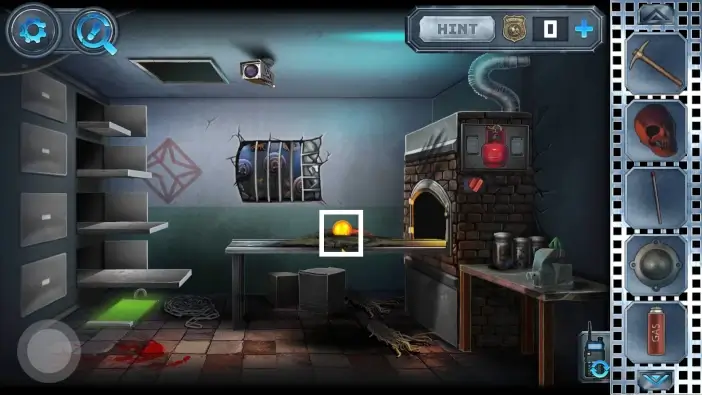
- Go to the mortuary.
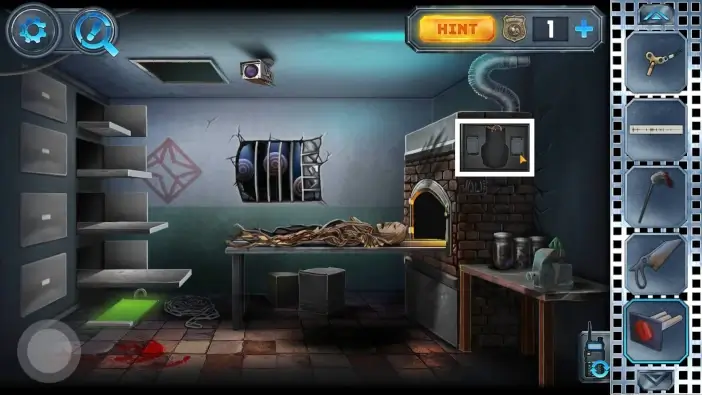
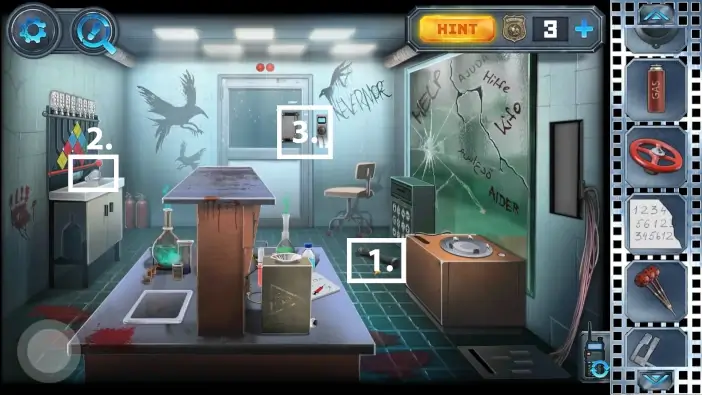
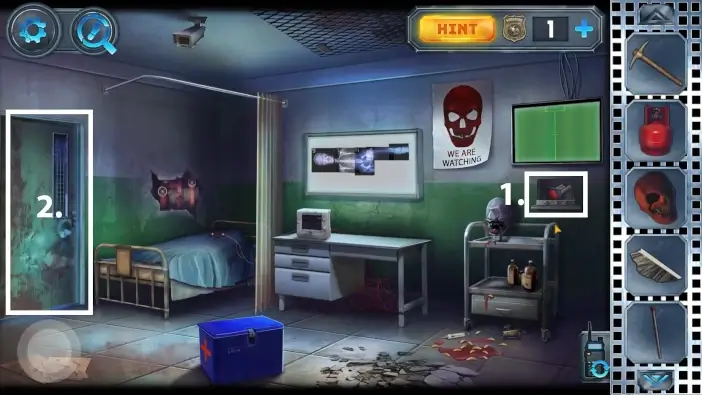
Approach the cremation furnace.
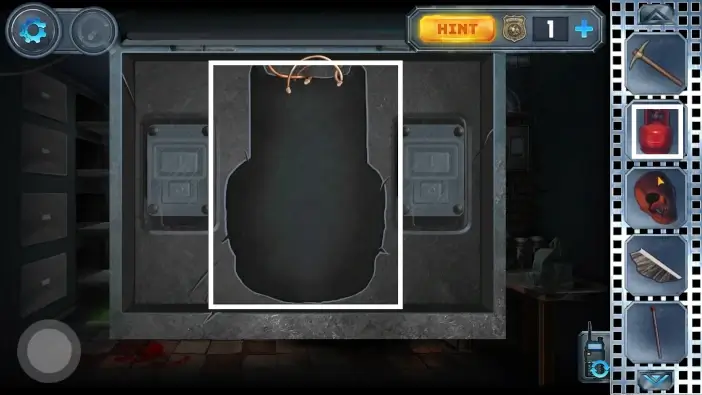
Place the propane tank.
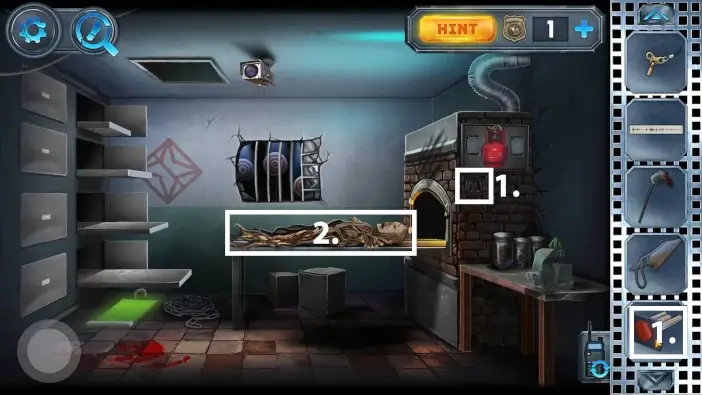
Place the electric igniter you recently picked.
Approach the mannequin.

Cut the arms of the mannequin so it can fit into the furnace.
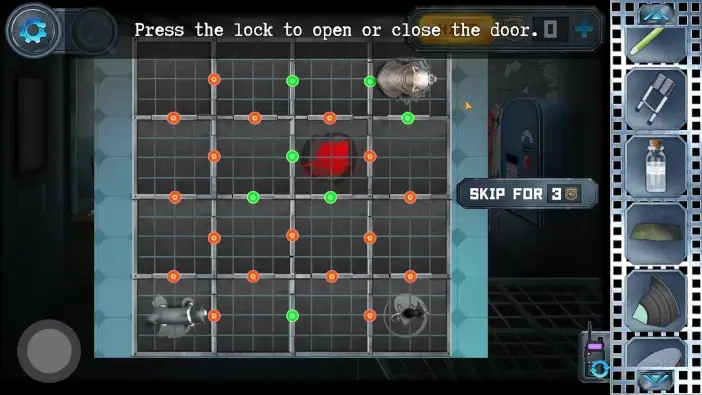
Approach the practice targets.
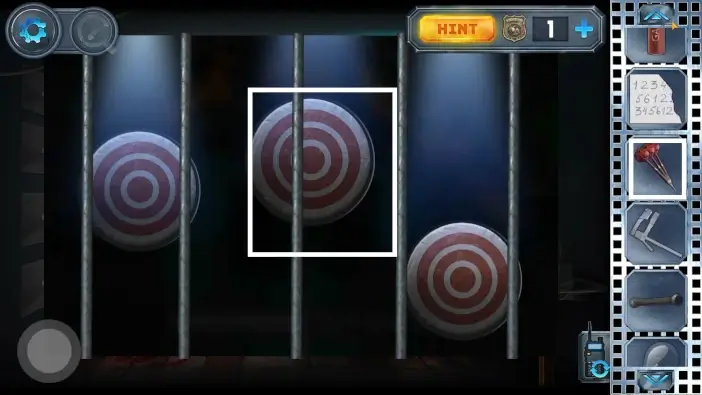
Drag the darts from your inventory to the targets to start the challenge.
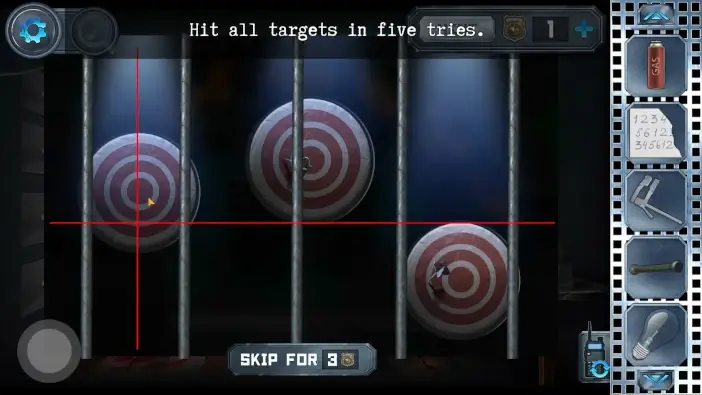
The horizontal line will move up and down. Click the screen to stop it. Afterward, the vertical line will move left and right. When you click to stop it, the dart will fly at the intersection of these two lines. Left and right targets will move.
You will have 5 darts to throw. If you spend them, you can return to the living room (through the trap door) and pick more darts from the bookshelves.
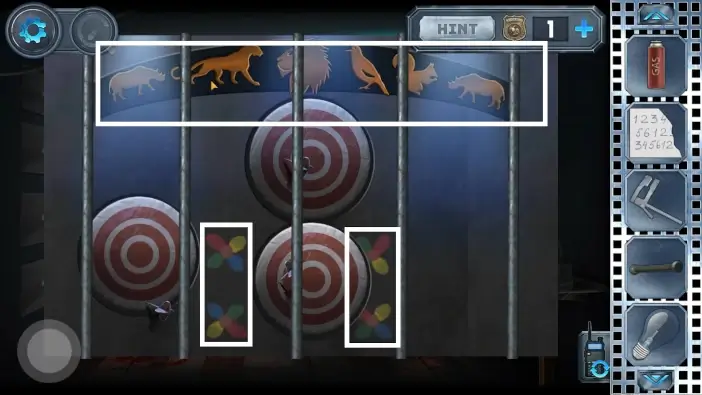
Once you pass the challenge the light will illuminate the color clues on how to rotate the flowers around the flower lever. This clue is for Anna. The door that will appear in the forest after the flower lever will have the same animals as the ones above the targets.
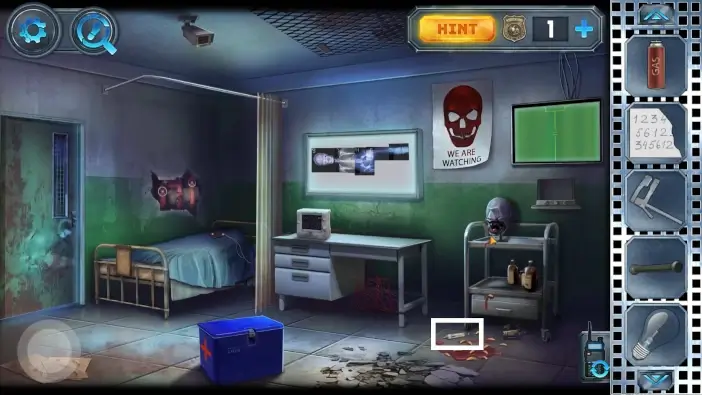
Go to the hospital room and pick up the syringe. You need to fill it with blood later.
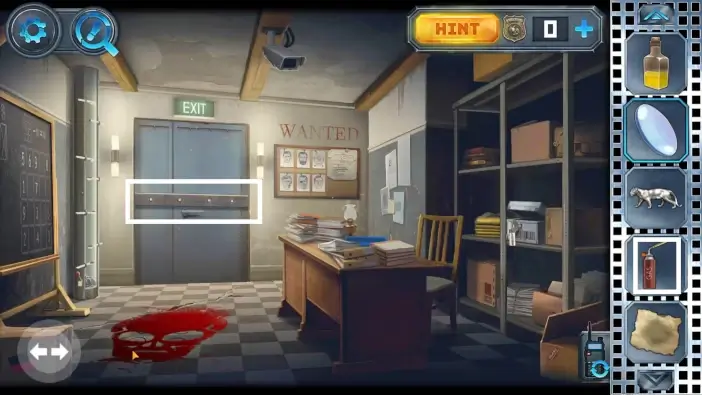
Go to the reception office in the prison hallway. Place the missing part of the photo on the table.
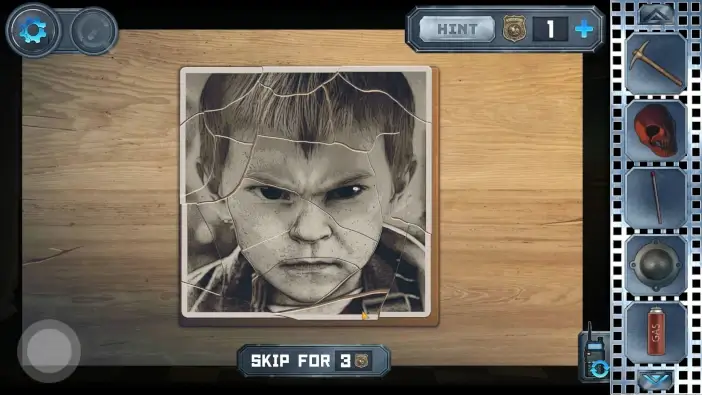
Restore the photo by merging pieces like in a puzzle. This photo will go later to the wall in the forest cabin where Anna is.
Exit the reception office and in the prison hallway pick up the blood with a syringe. Blood is one of the ingredients in the lab near the end of this Chapter.

Switch to Anna and go to the flower-lever. Rotate the flowers like in the picture above. The clue was on the wall in the mortuary, where the targets are. After that, rotate the flower lever counterclockwise.
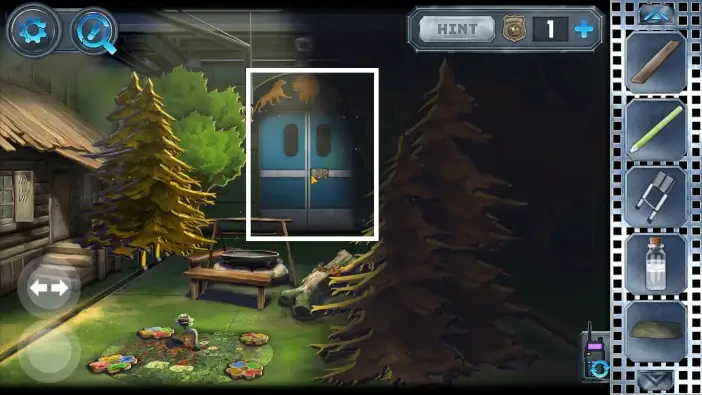
A new door will appear. Approach it.
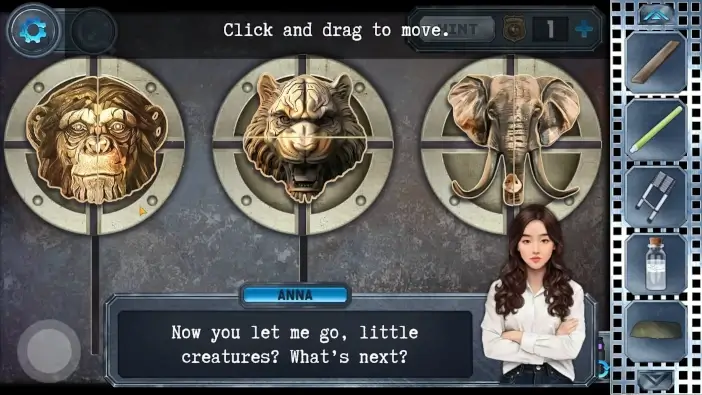
You will have separate pieces of animals and you need to merge the pieces to get the monkey, tiger, and elephant. You can drag the pieces along the rails and you can rotate the circles. Once you complete this puzzle, you can enter the new room.
In the zoo room, pick the fragment of a vinyl record from the table.
Go back to the flower-lever.
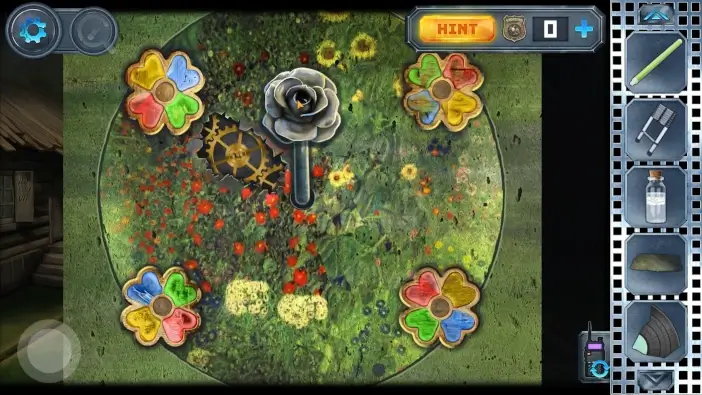
Place the flowers like in the picture above. The clues for this configuration are pins on the wall, where the photos are, in the forest cabin. Spin the flower lever counterclockwise.

The nearby trees will disappear and you will see a large stump. Approach it and pick the sharpened coin from it. With it, you will cut one of the bags around the hanging bodies in the forest.

Approach the pan and use the match to burn the firewood. Hold the match and hover over all the pieces of firewood.
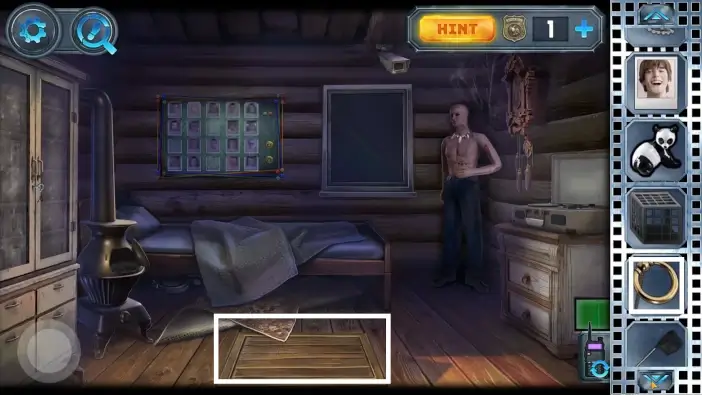
Go to the forest cabin. Place the necklace you got from the torture chamber to the mannequin. You will need a few more items to place on the mannequin later.
Switch to Alex and go to the living room above the trap door. You can now enter the bathroom because you stopped the water in pipes earlier in the hospital room, so there is no steam now in the bathroom.
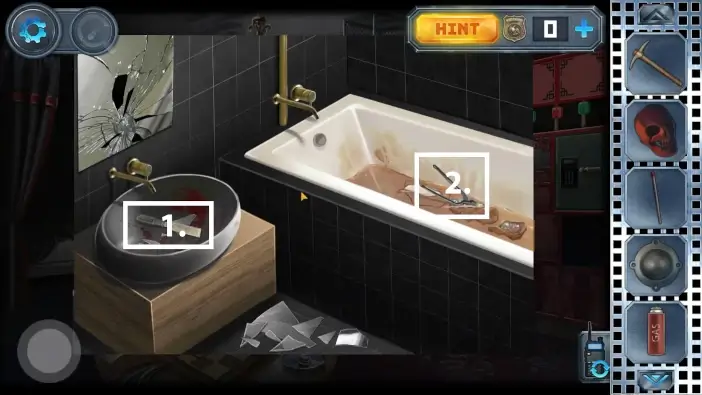
- Pick the chisel.
- Pick the pliers.

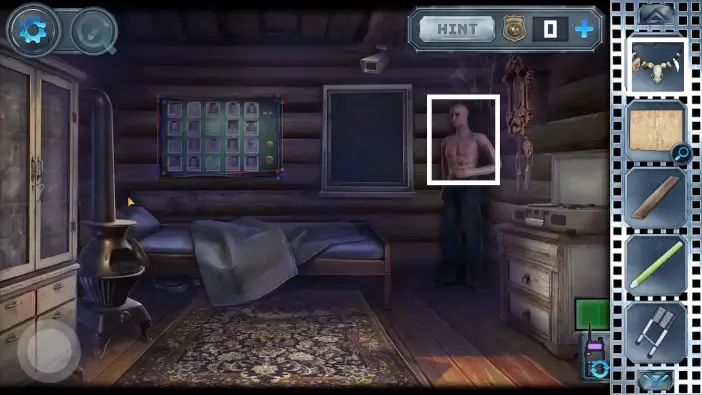
Go to the hospital room and approach the bed.
Use the retractor to open the mannequin’s stomach.
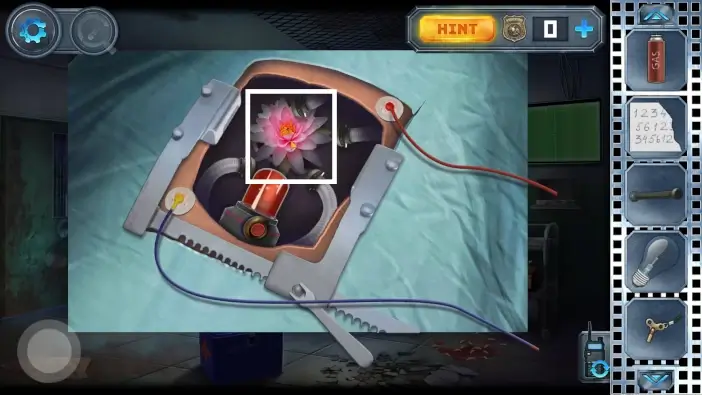
Pick the lotus flower. You will need it for the bed in the living room.
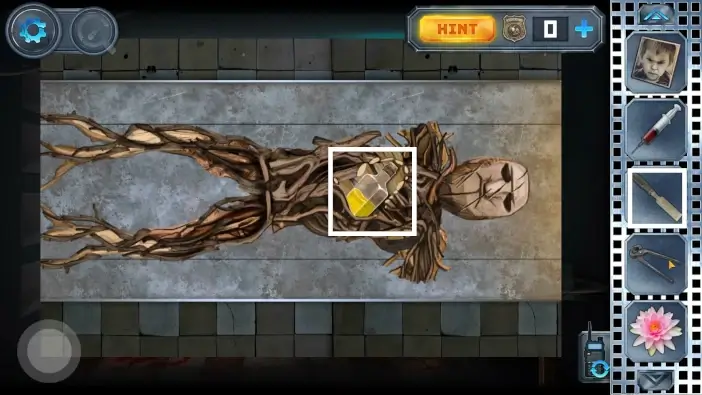
Use the chisel to pick the vial with yellow liquid in it. It is one of the ingredients for the lab later. After you pick it up, Alex will realize that there is something else shining in the bosom of the mannequin. You need to burn the mannequin to reach that object.
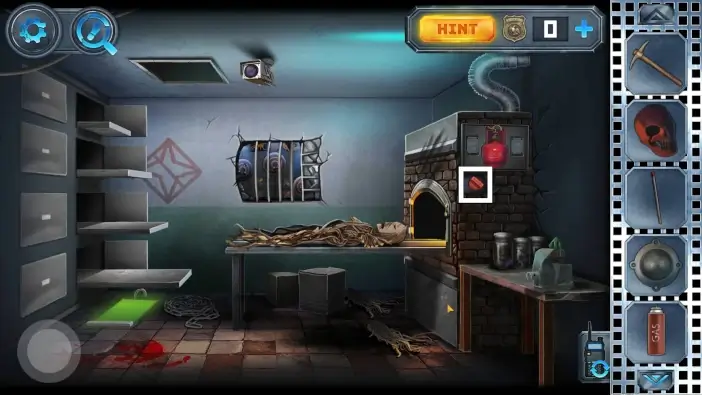
Press the electric igniter to activate the furnace and the mannequin will be burned to ashes.
Approach the ashes.
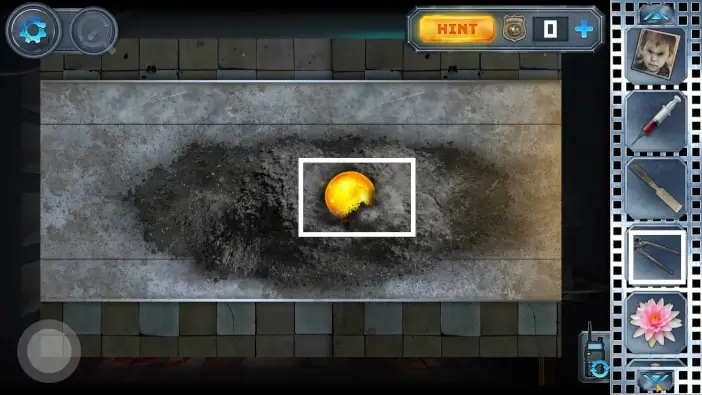
Use the pliers to take the strange burning ball.
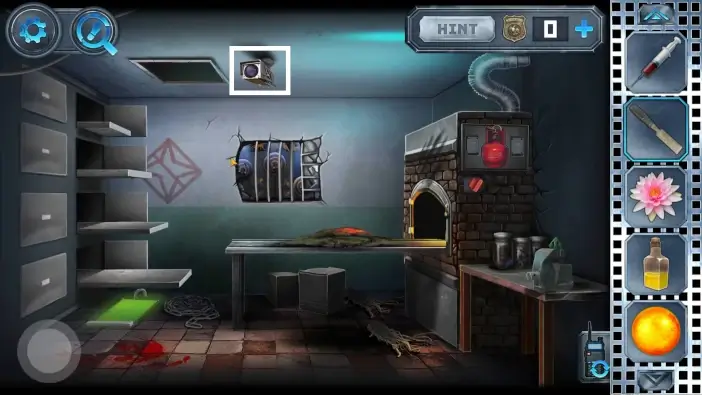
Approach the camera.
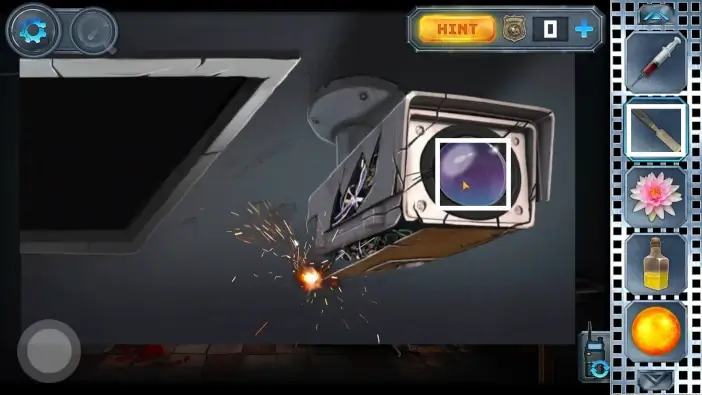
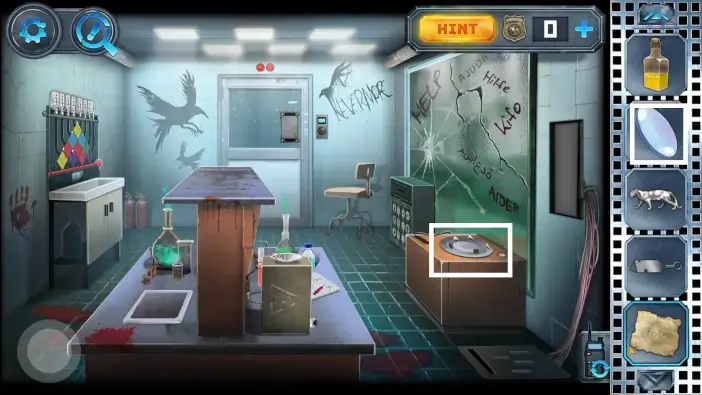
Use the chisel to take the lens. You will need it later for one puzzle.
Go through the trapdoor and approach the bed in the living room. Put the bulb into the lamp.
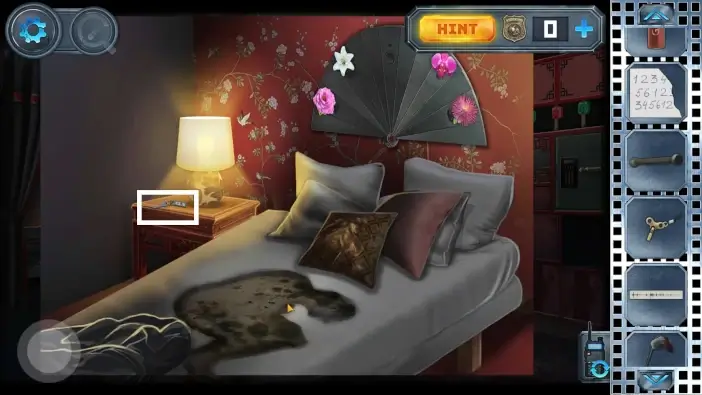
Pick the key.
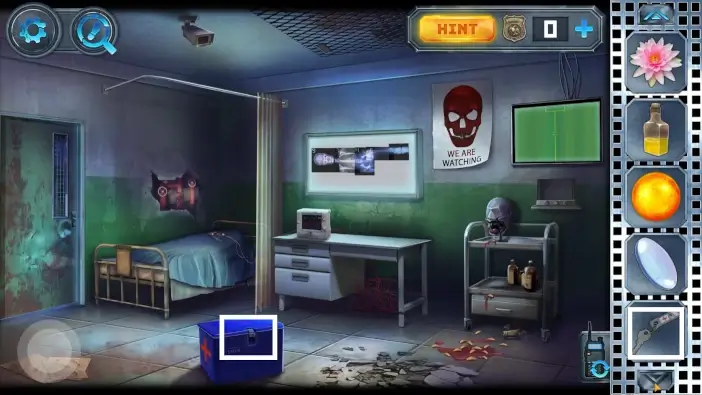
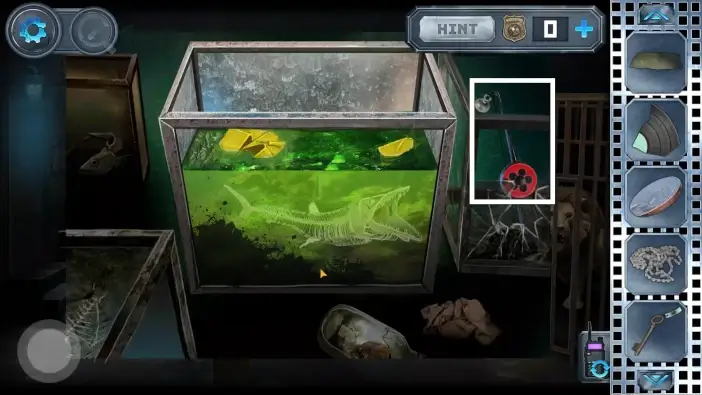
Return to the hospital room and use the key you just picked to open the huge blue box.
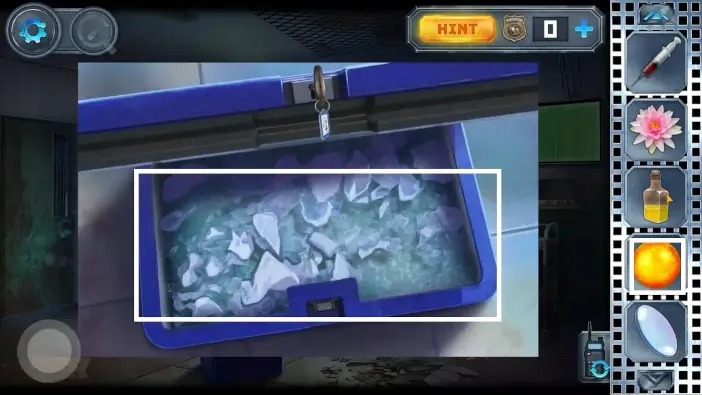
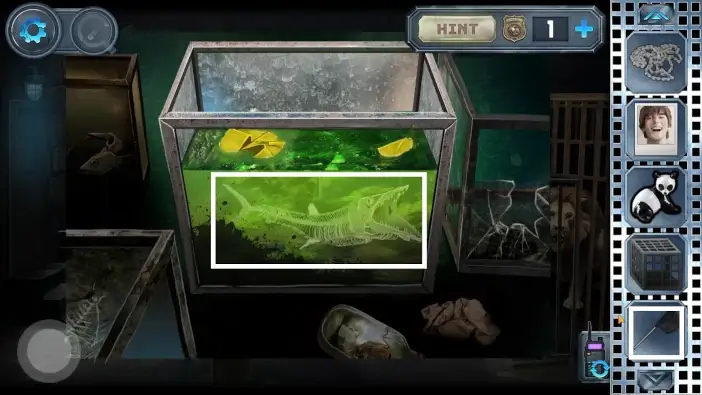
Place the burning ball inside the frozen nitrogen. After the nitrogen is melted, take the puma figurine and the blowtorch nozzle.
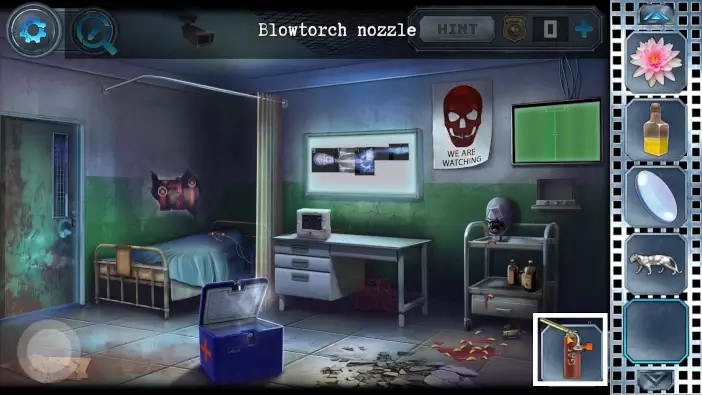
In your inventory, combine the blowtorch nozzle with the gas tank to create a blowtorch.
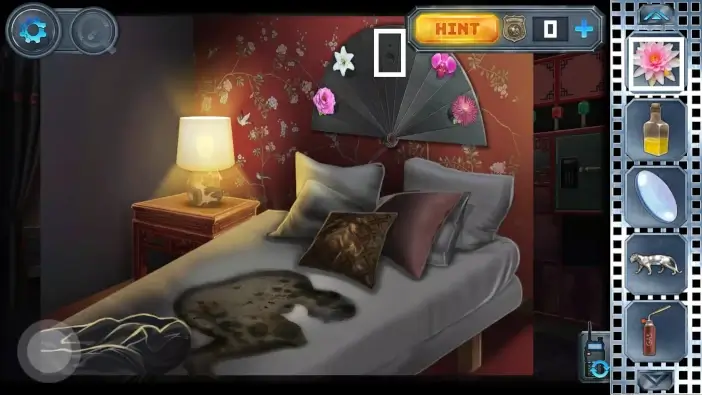
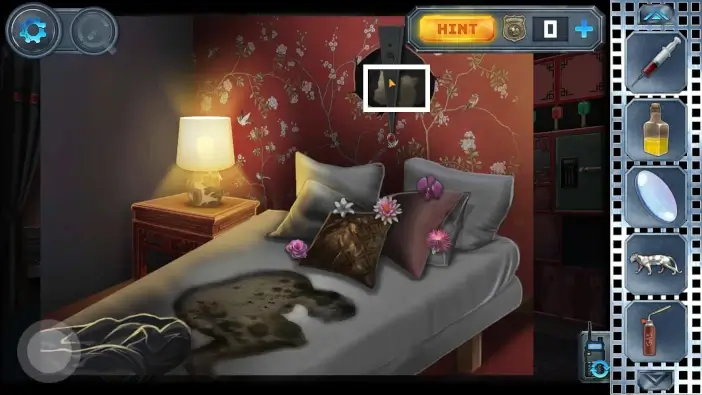
Return to the living room and approach the bed. Place the lotus flower above the bed.
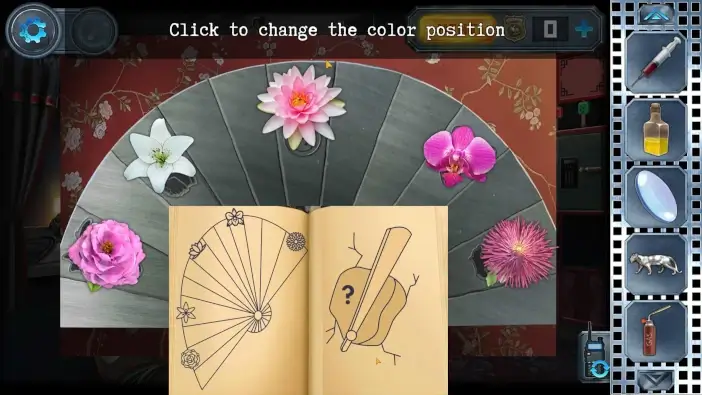
You have to rearrange the flowers to get their correct order. The solution can be found in the book from the bookshelf in the living room.
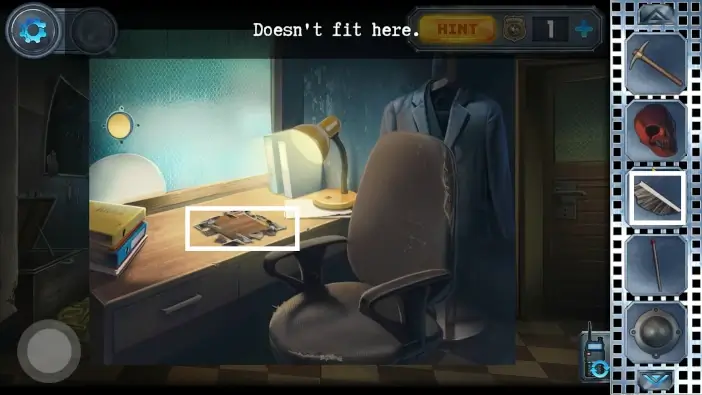
In the same book, you will have a hint that there is something inside the wall. Pick the mystery paper. It looks empty but it has invisible letters.
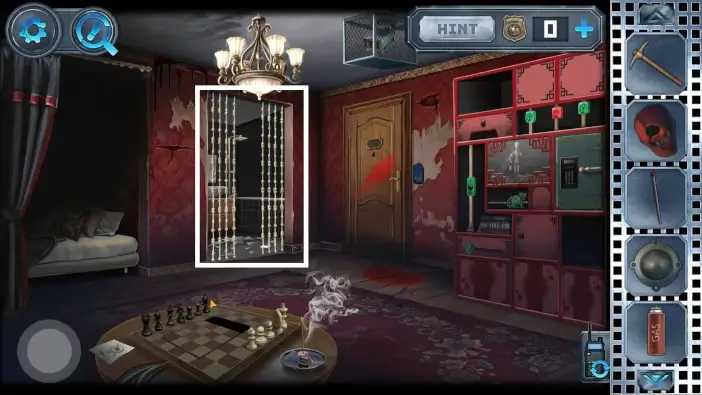
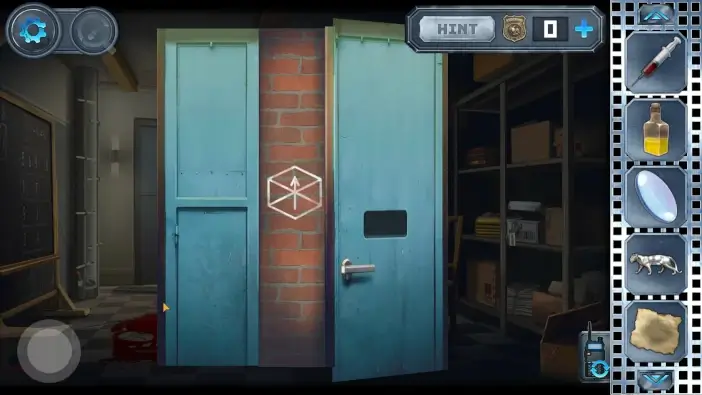
Go to the office, use the blowtorch to heat the steel bar, and then remove the bar. On the door, there is a hole. Pick the triangle-shaped key from it. You will need it to unlock the last door in Chapter 1. After that item, open the door.
You will see one symbol. Many rooms you see have a specific symbol attached to them. You might see these symbols on the walls so far. This will be relevant later for one puzzle, where you will unlock a drawer in the lab.
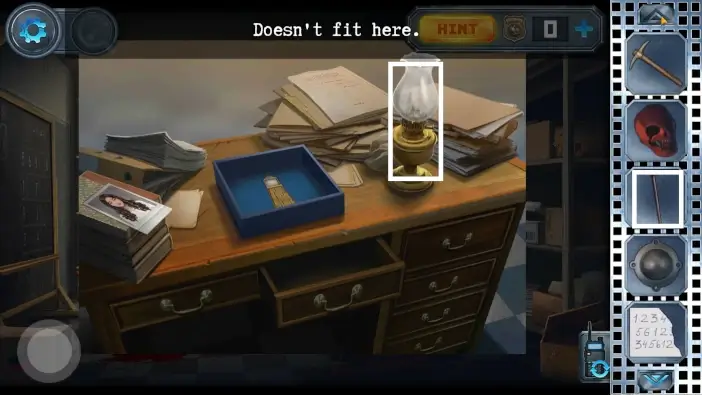
While in the same office, approach the table. Light the lamp with the match.
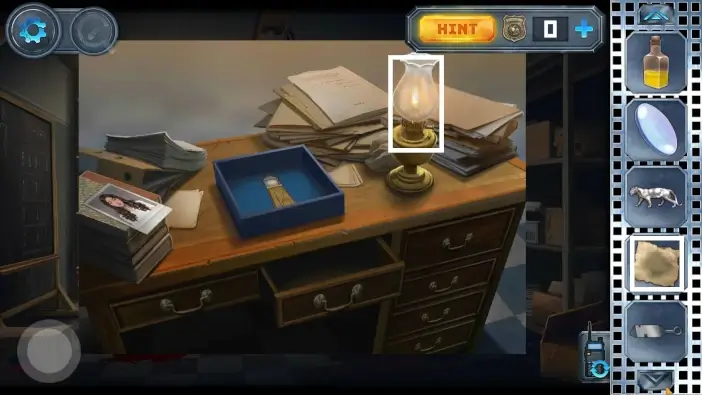
Place the mysterious paper above the lamp. The hidden letters will appear and they will serve as a new clue for later.
Go to the laboratory to leave some of the items you collected so far. Approach the desk on the right side.
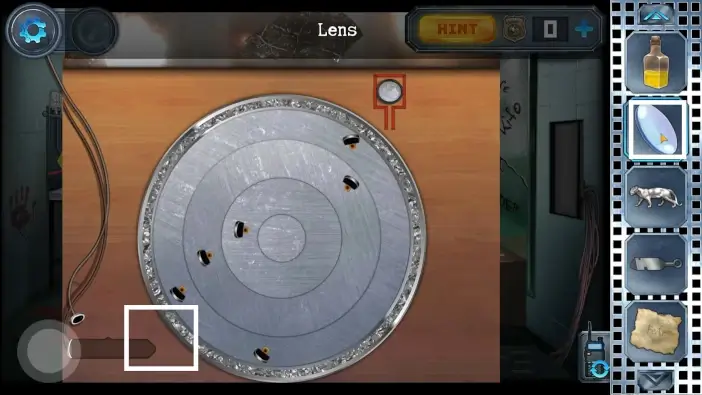
Place the lens. You will need one more item to activate this puzzle.
Approach the large lab desk.
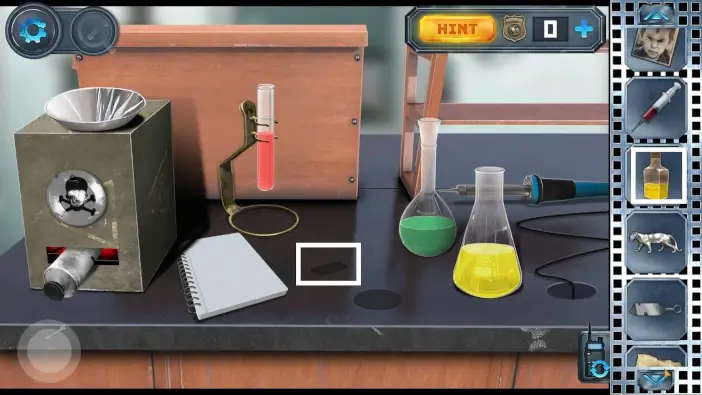
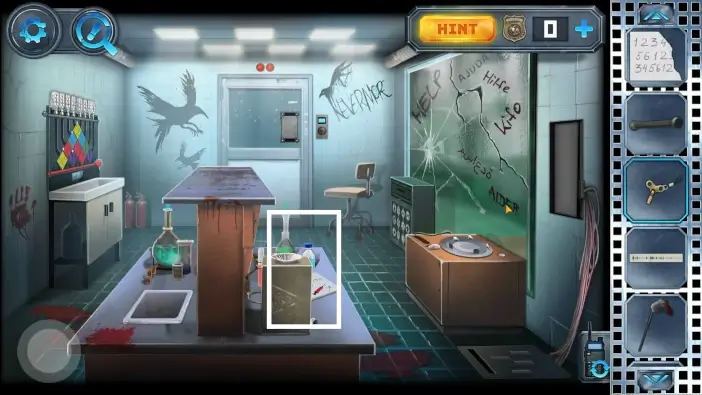
Place the vial you got from the mannequin. You need one more vial.
Go to the living room and uncover the corner of the carpet. You will find a secret stash protected by the 6-digit code.
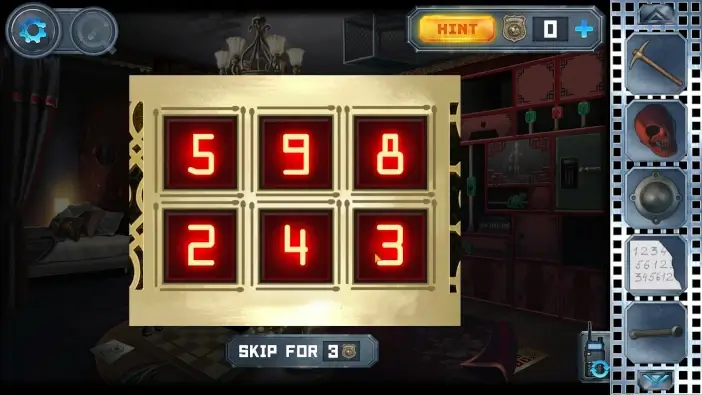
The code for the safe is the numbers on the blackboard in the office, where you used a sponge to erase the lines. Once you open the stash, pick the remover.
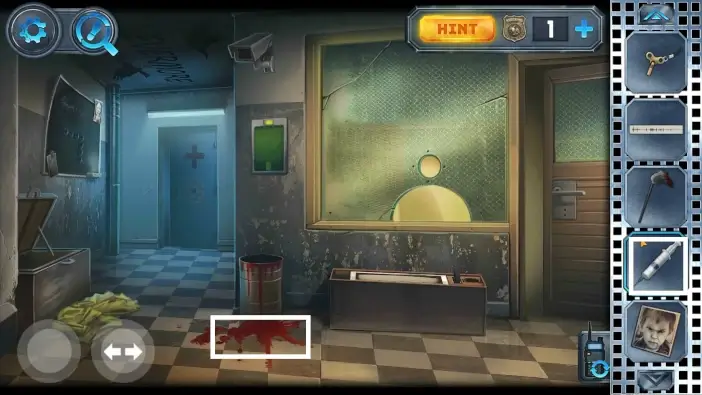
Go to the office and use the remover on the blood stain.
After the remover, use the mop to clean the bloodstain.
After you clean the floor, you will discover a new clue. This will help Anna to unlock one of the doors in the zoo room.
Switch to Anna and go to the zoo room. Approach the door on the left.
To unlock the door, follow the clue you got from the office floor earlier.
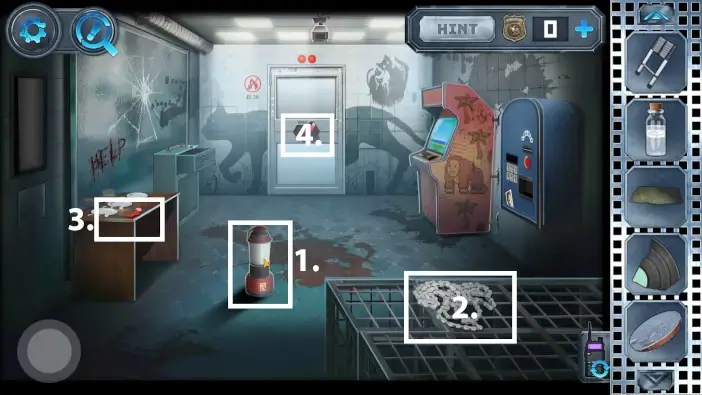
- In the mirror room, pick the lamp. You will need it to illuminate the cave in the zoo room.
- Pick the bicycle chain. You will need it for the artificial lion in the zoo room.
- Approach the table. Pick the red part.
- Approach the door.
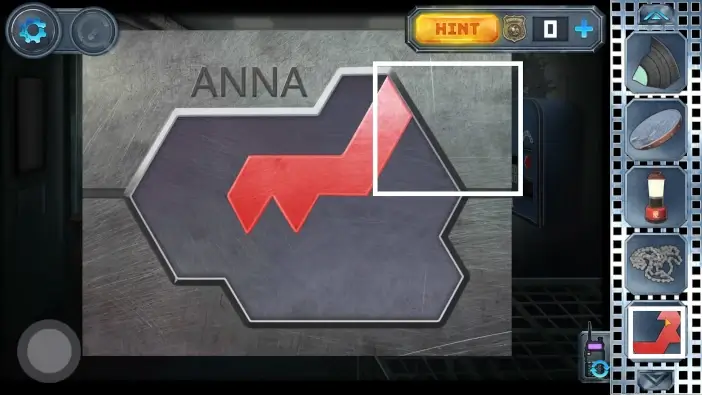
Place the red part on the door. You will need more of them.
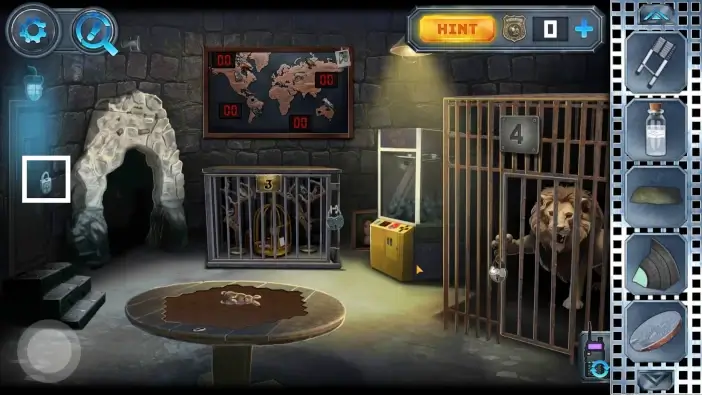
- Pick the key of cage number 4. This is the cage where the artificial lion is.
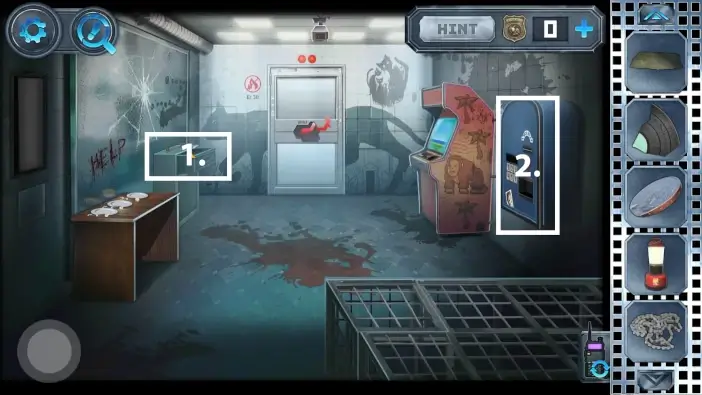
- Approach the token machine.
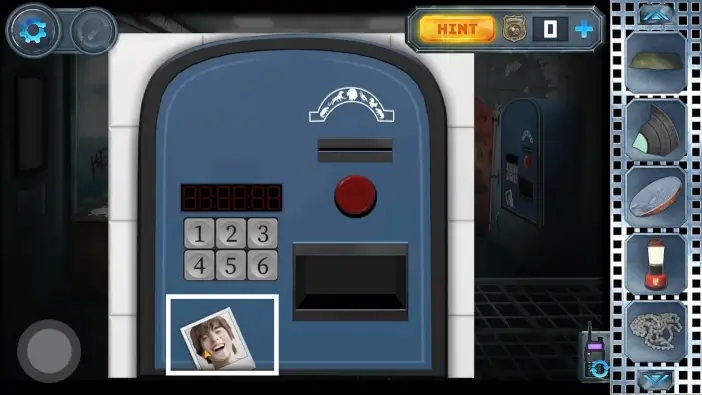
Pick the photo of a laughing teenager. You need to bring it to the forest cabin where the photo collection is.
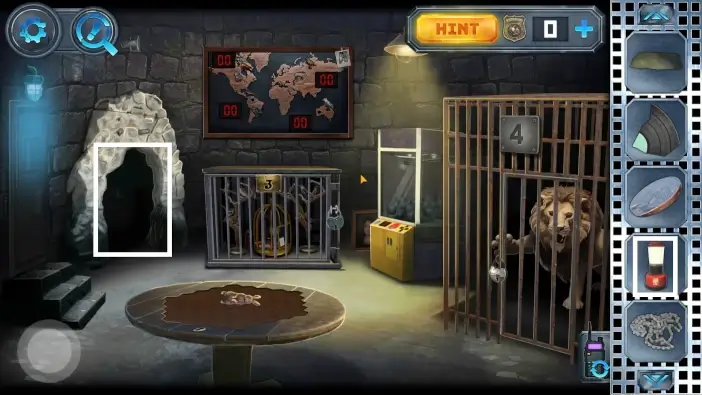
Go to the zoo room. Bring a lamp to the cave to illuminate it.
Pick the magnetic fish rod near the aquarium. You will use it in the hole in the forest area where the goat is.
Return to the mirror room and approach the cage.
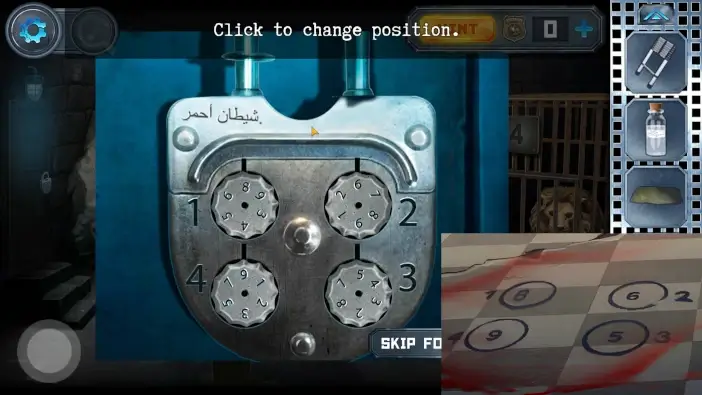
You need to make sure that the cat, the dog, and the mouse go to their designated places. They are moving automatically and they are choosing where they want to go. You need to direct them to their goals by locking and unlocking the doors. When the cat goes to its correct place, you will get the panda figurine which you will use on the geography map later. When you solve the entire challenge, the cage will be added to your inventory.
Go to the area where the goat is and approach the hole.
Place the magnetic fish rod from your inventory to the hole.

You need to get two items: the round handle and the net.
Go to the forest cabin. Move the carpet and place the round handle on the trap door.
As for the net, go to the zoo room, go inside the cave, and use it to take the laser pen from the aquarium. Alex will need the laser pen later.
This will mark the end of part 3 of our guide for Chapter 1. Feel free to check the next part!
Thank you for reading!