Scary Horror 3: Escape Mystery – Chapter 1 | Part 2
Intro
Welcome to our walkthrough for Chapter 1 of the “Scary Horror 3: Escape Mystery” from Escape Adventure Games. In this game, you are playing 2 characters: Alex and Anna, who are trying to escape the strange and spooky rooms after being kidnapped. While rooms resemble situations from their past, they must remain brave and help each other.
Walkthrough
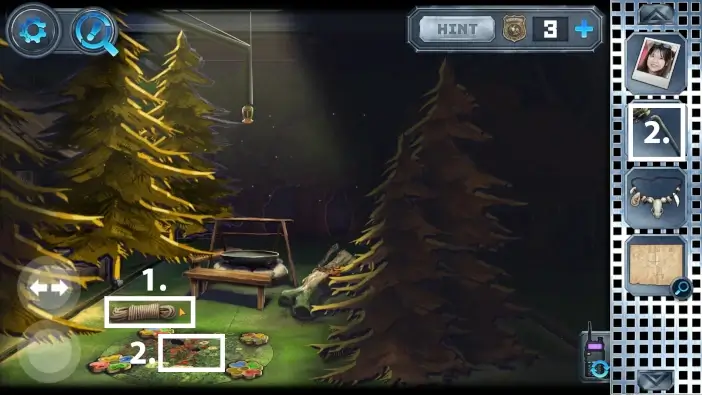
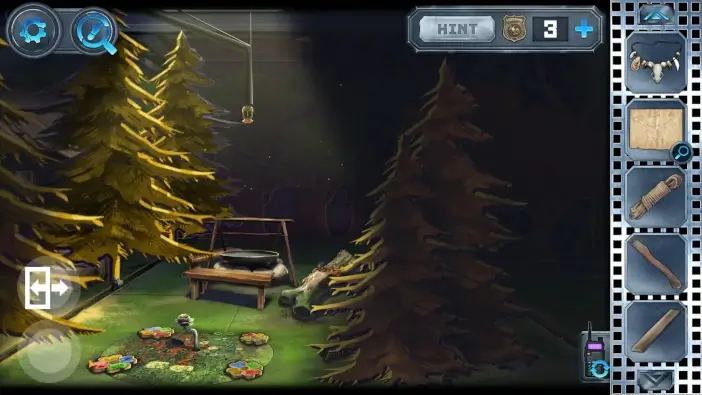
- Once you exit the torture chamber you will find yourself in an artificial forest area. Pick the rope.
- Place the flower-lever. You will use it multiple times later.
Approach the tree branch.

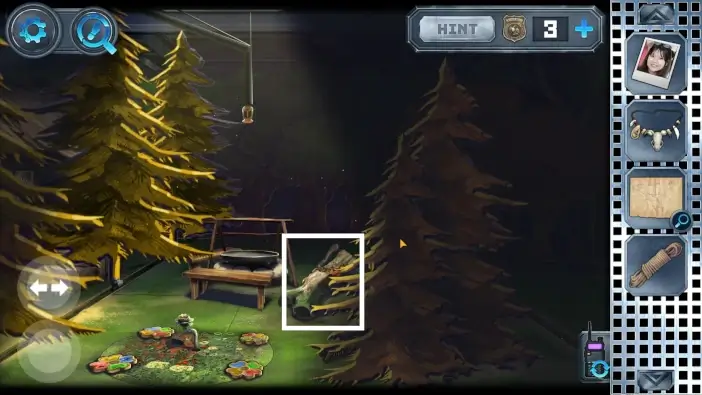
Pick the axe handle. You will need it to take the trap from the torture chamber.
Click on the wood two times to get the part of it.
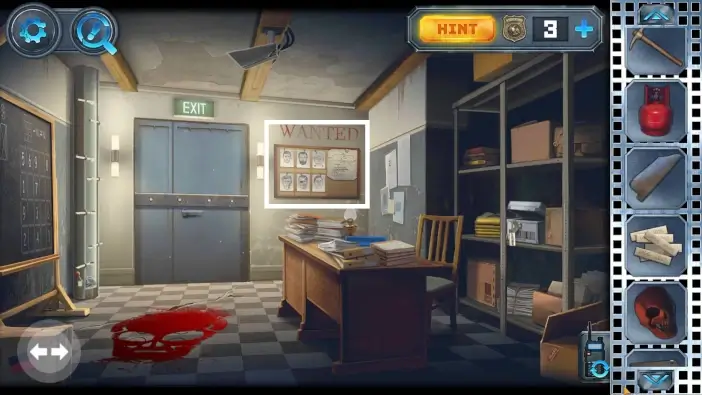
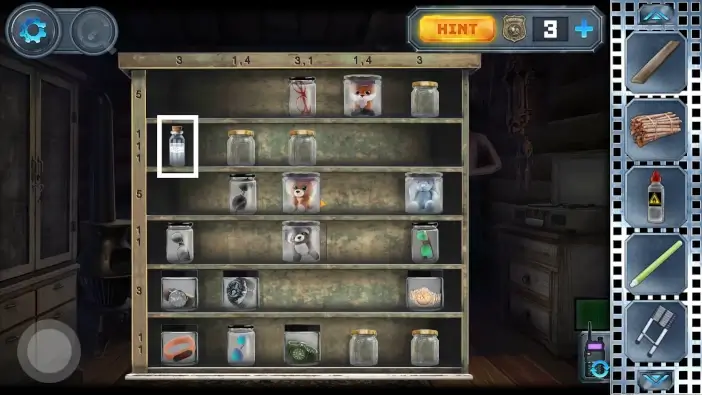
Switch to Alex. In the office, approach the wanted list.
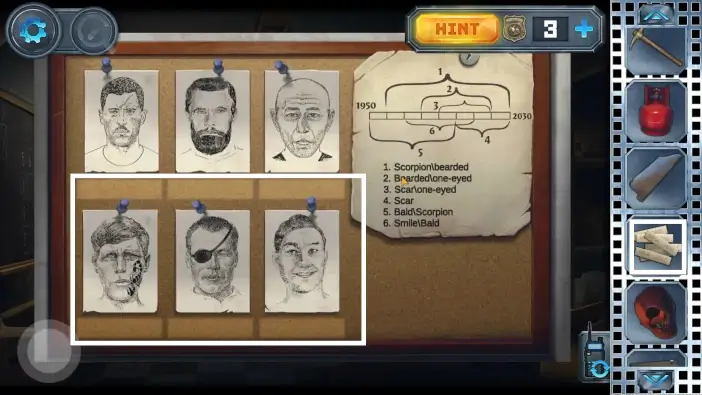
Place the set of numbers on the wanted list.
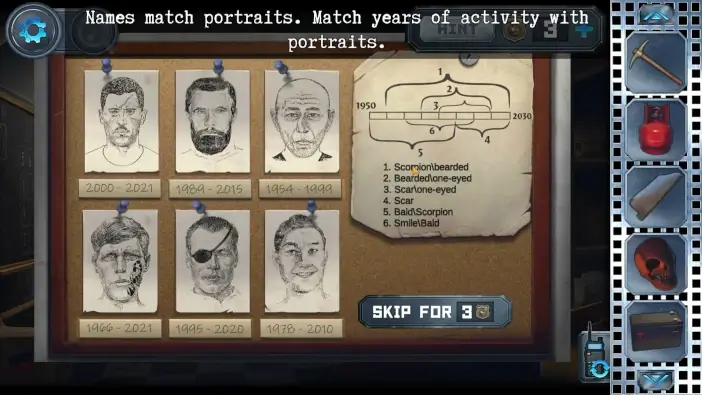
Arrange the numbers like in the picture above. You will get a fragment of a photo. You will need this fragment to start recreating one photo in the reception office.
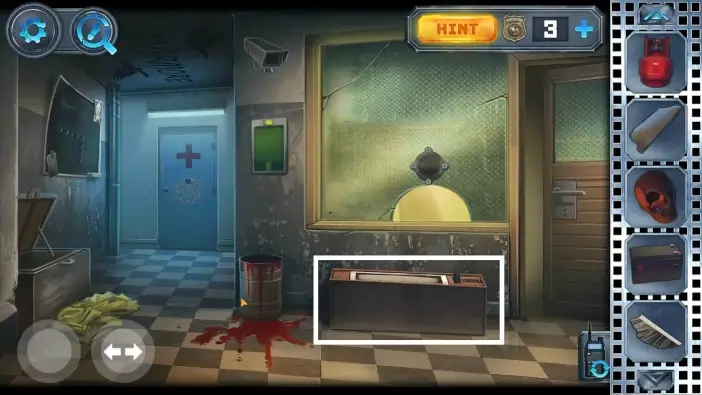
Go to the prison hallway and approach the game console.
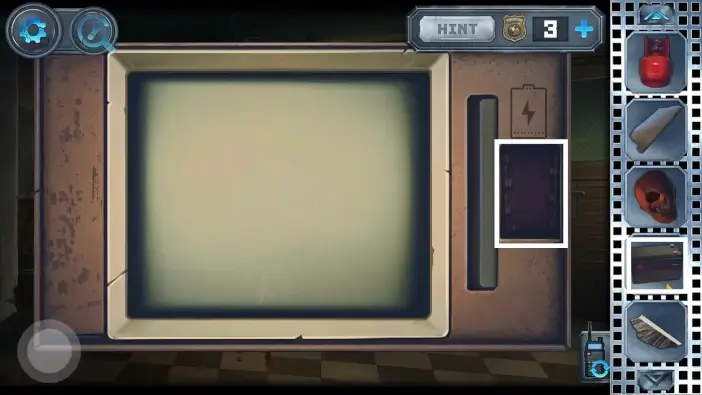
Place the battery you got from the white box.
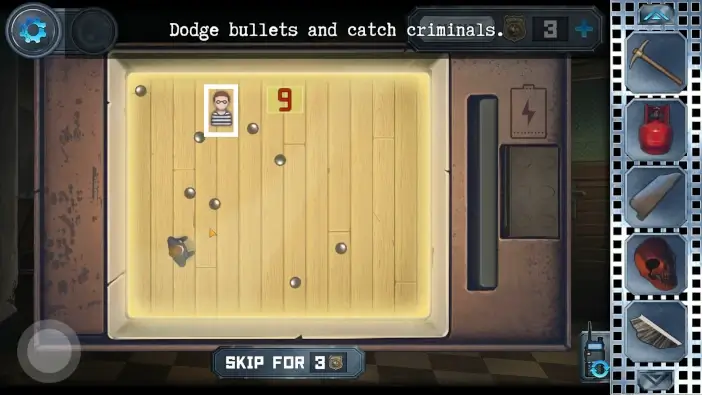
Pass the game by avoiding the bullets and catching 10 criminals. The number of bullets will increase after a certain number of caught criminals.
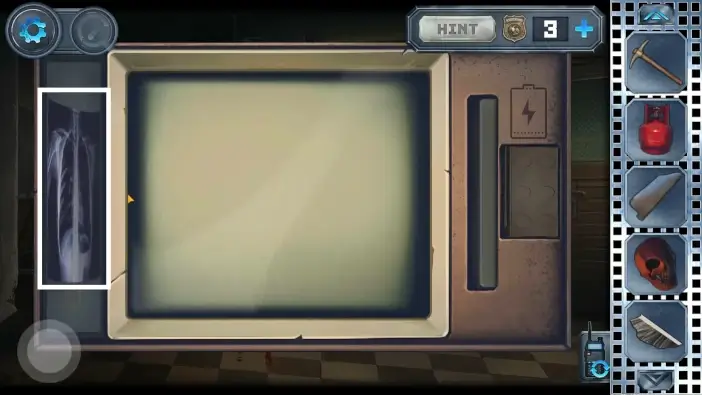
Once you complete the game, you will get an X-ray. You will need it in the hospital room to get to some clues later.
Approach the blackboard.
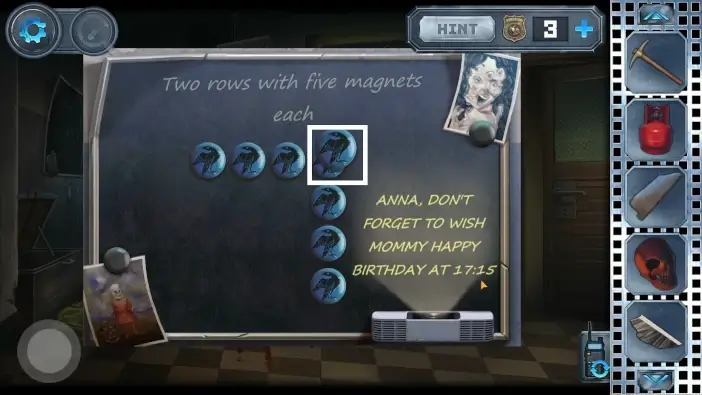
Place one of the magnets atop another one. Their order should look like in the picture above. Once you do this, the message will appear on the right side. This is a clue for a clock much later. Remember the clue or take a screenshot.
Switch back to Anna. From the flower-lever area, go left.

- Pick the firewood. You will need it later for the pan.
- Approach the chest.
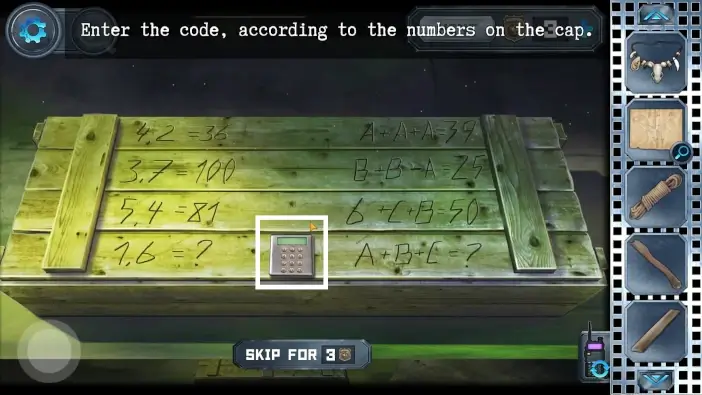
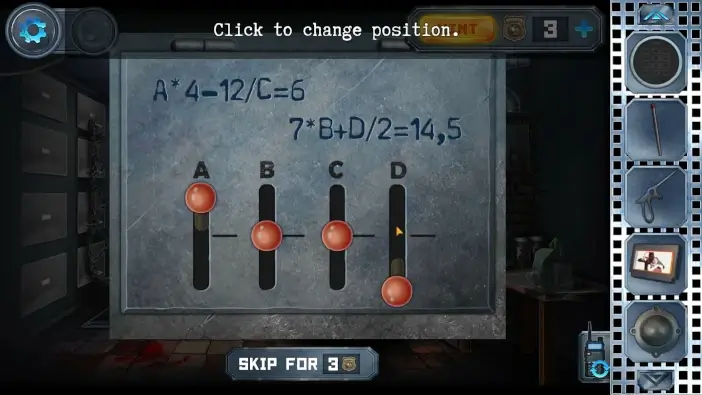
Pay attention to the clues. For 1,6 solution is (1 + 6) * (1 + 6) = 49. Solution for the A + B + C is 13 + 6 + 38 = 57. Approach the lock.
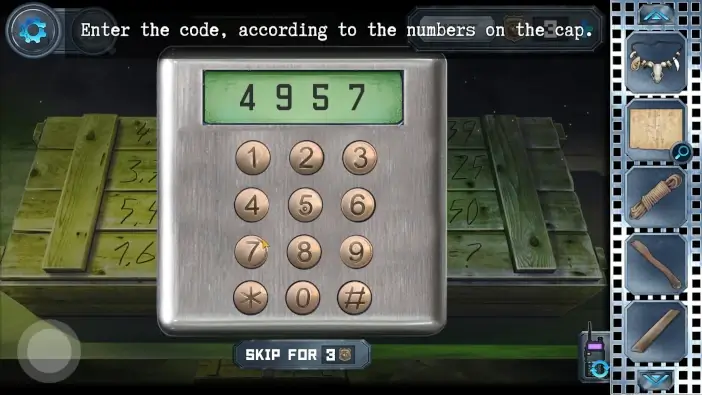
Insert the number 4957. Pick the lighter fluid (for the pan) and the glowsticks (to illuminate one basement later) from the chest.
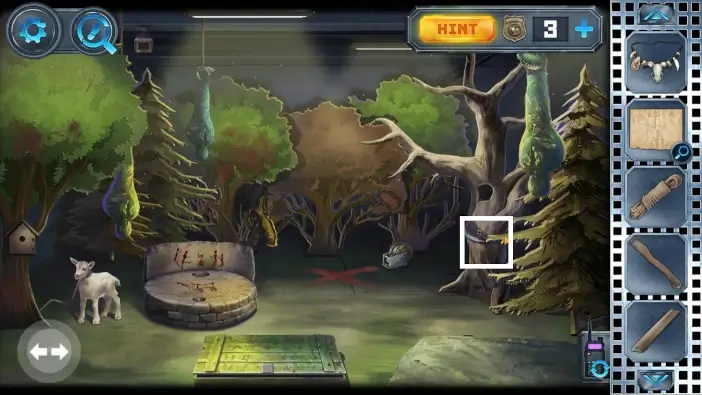
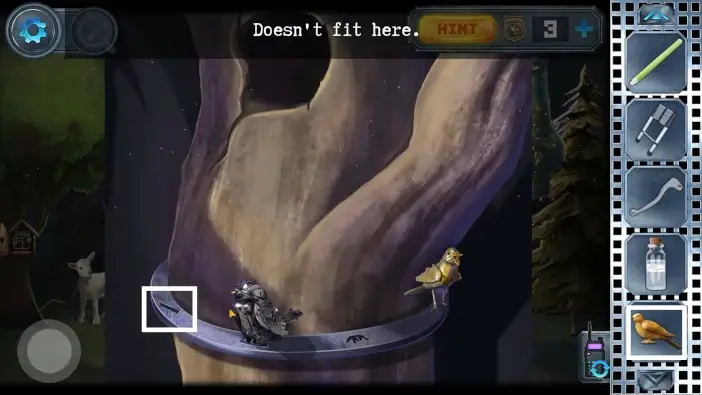
Approach the artificial birds.
Pick a key. You will unlock a cupboard inside the cabin with this key.
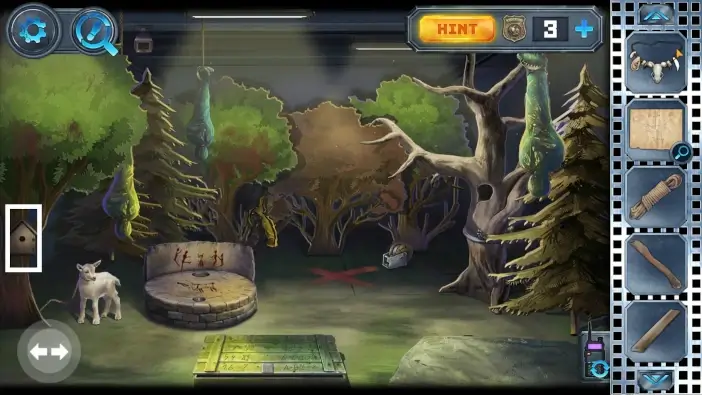
Approach the small birdhouse.
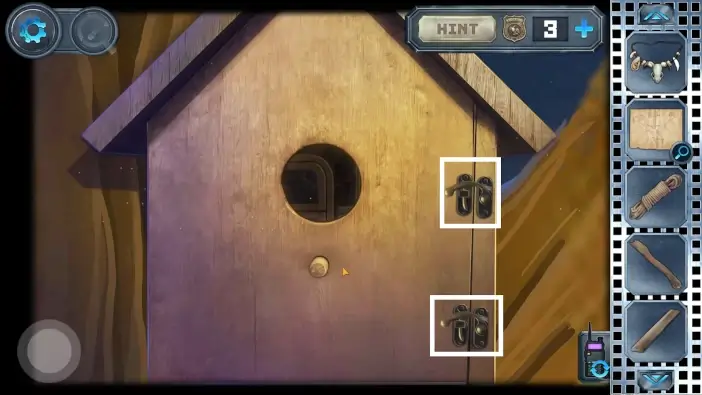
Unlatch the birdhouse.
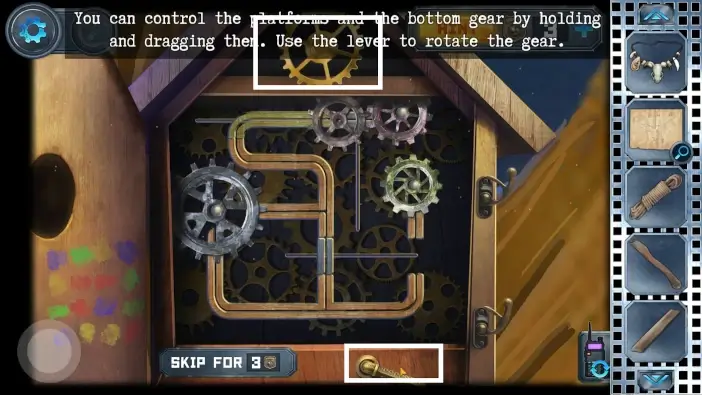
Move the gears so that at least one gear can reach the golden one on the top. Use the handle below to activate all gears. Once one of the gears succeeds in moving the golden gear, you will get the golden gear in your inventory. You will place it near the flower-lever.
Pay attention to the colors on the door on the left side.
Return to the flower-lever.
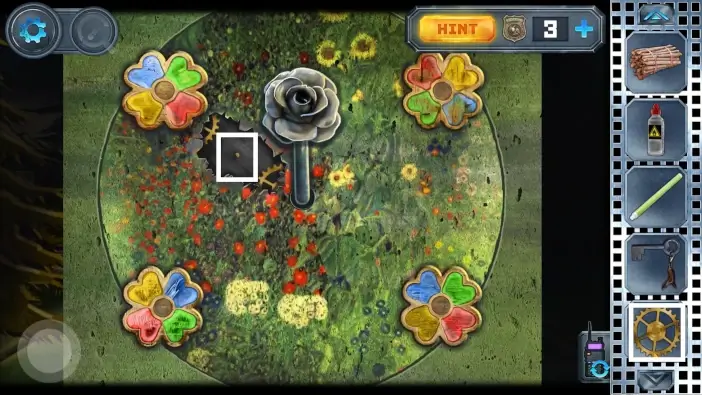
Place the gear you got from the birdhouse. Now you have restored the mechanism. Remember the colors on the birdhouse door. Rotate the flowers according to those colors, then rotate the flower lever counterclockwise until Anna notices that the sound has changed.

By completing the previous step, you will unlock the cabin. Go there.
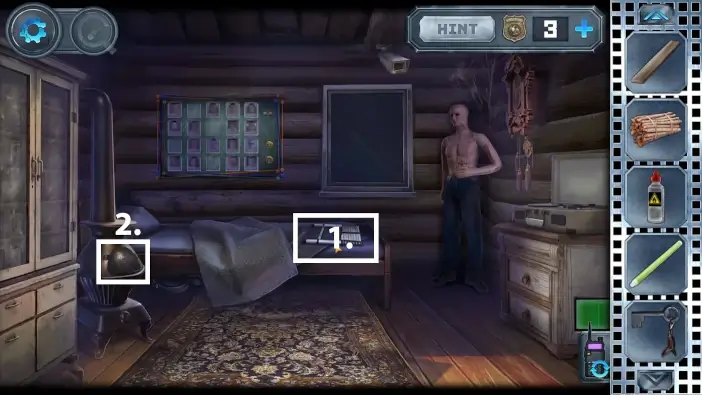
- Pick the ladder. You will need it later to climb to the treehouse.
- Approach the stove.
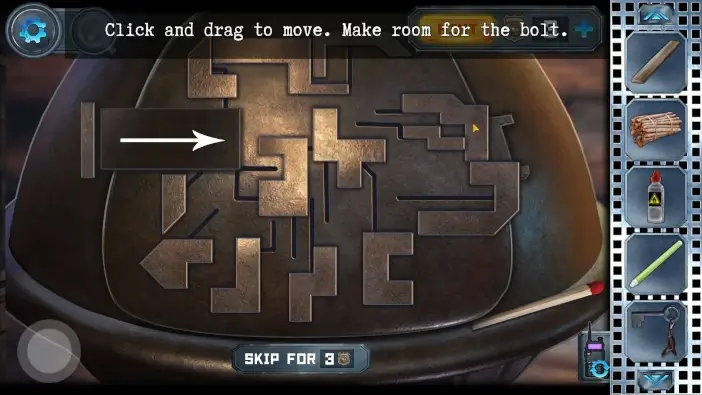
To unlock the stove, you need to move the parts away, enough for the latch part to have enough space, then move the latch to the right.
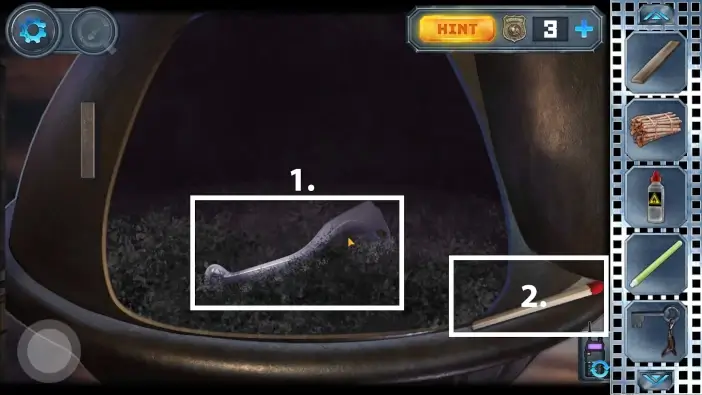
- Pick the lever. You will need it for the camera where the goat is.
- Pick the match for the firewood.

Approach the cupboard and unlock it with the key you got from the artificial birds’ area.
Pick the soporific. You will use it later to lull the lamb into sleep.
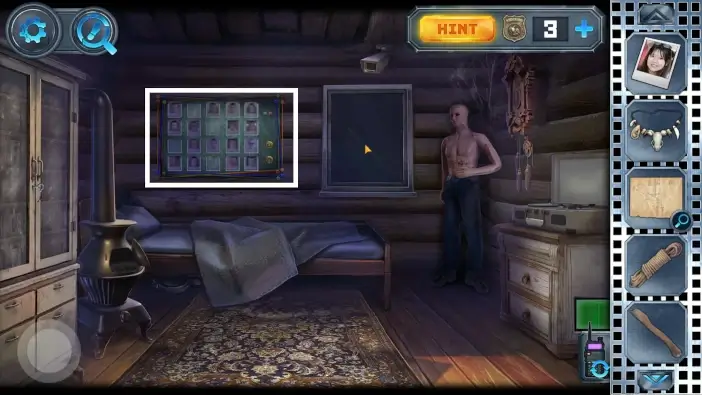
Approach the pictures.
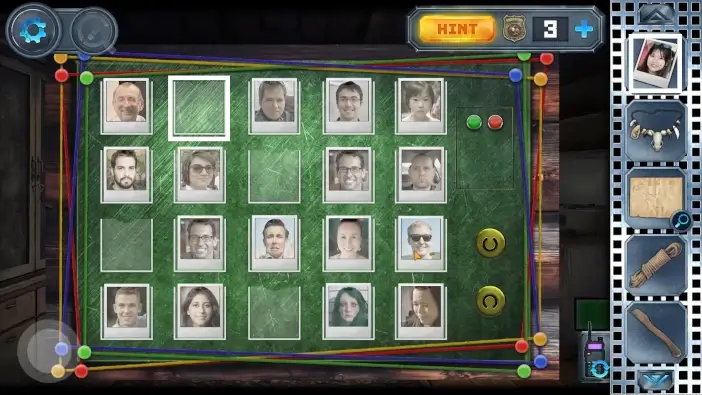
Four pictures are missing before you can activate this puzzle. Place the “Smiling Lady” photo you got from the padded cell.
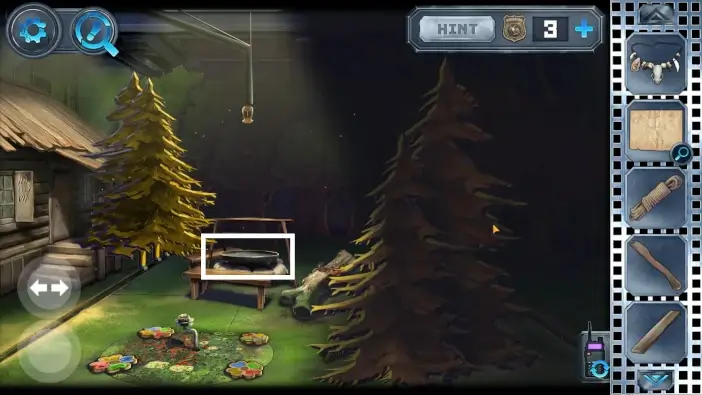
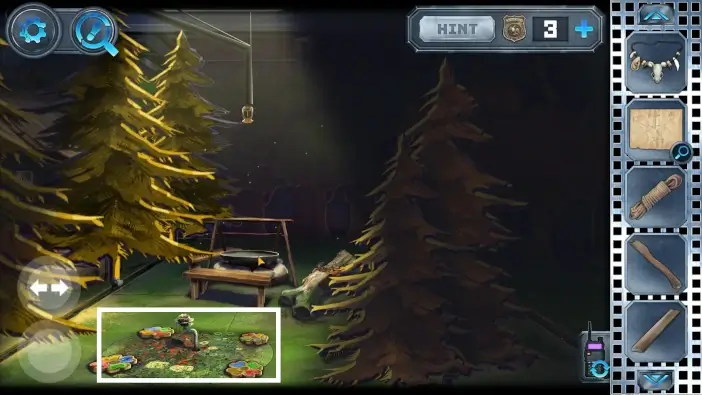
Return to the flower-lever area and approach the pan.
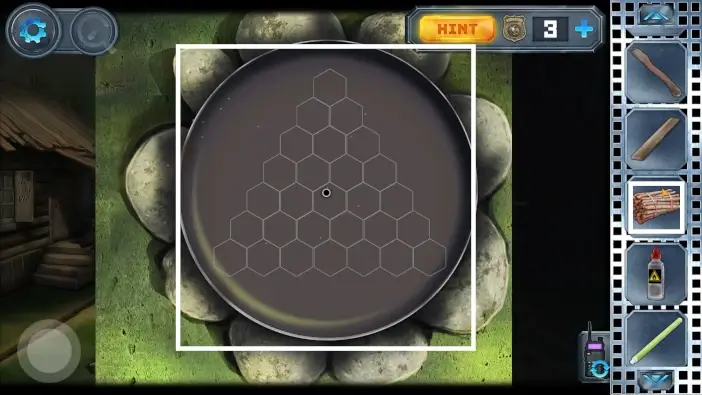
Place firewood in it.
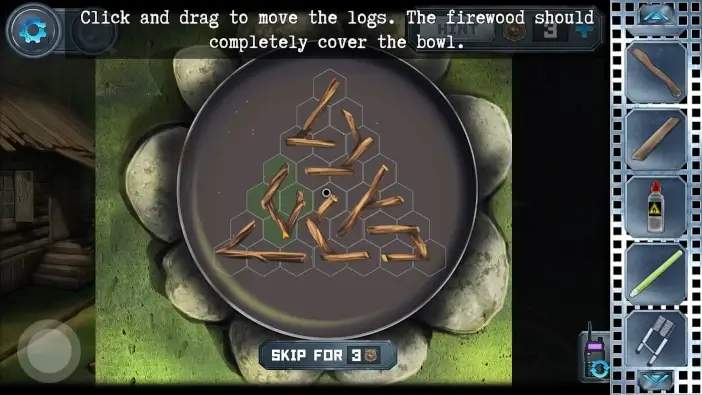
Place all the firewood across the pan to cover every hexagon-shaped tile.
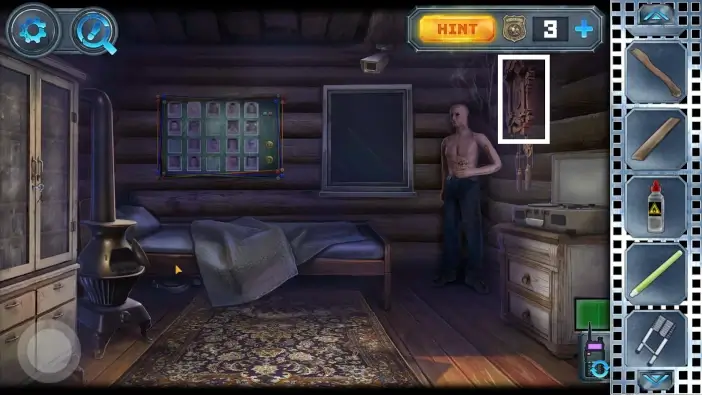
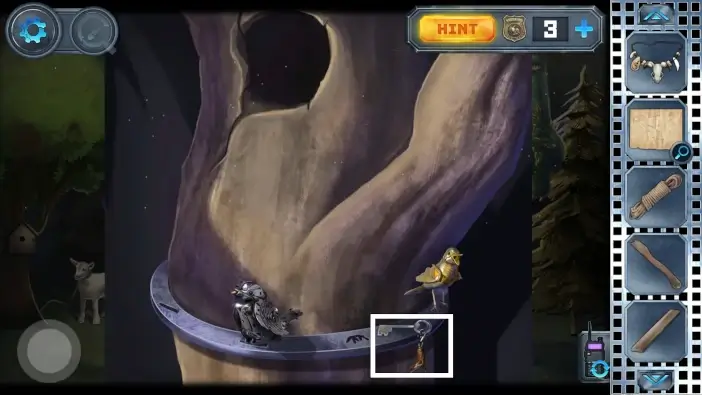
Return to the cabin and approach the clock.
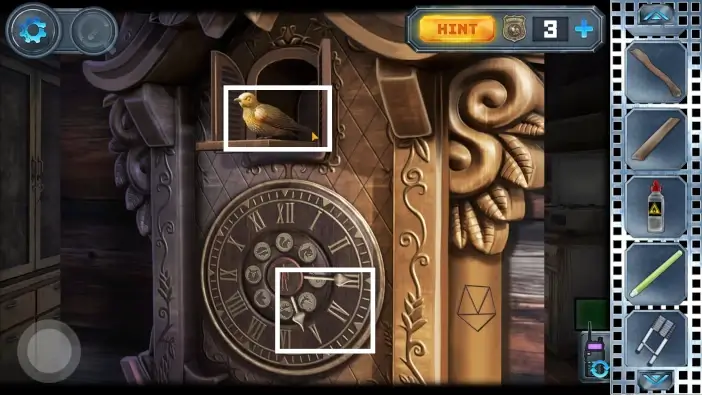
Remember the message that was on the blackboard in the prison cell? It goes: “Anna, don’t forget to wish mommy happy birthday at 17:25”. Set the clock hands to 17:25. The artificial bird will appear. Take it.
Pay attention to the center of the clock. The order of animals represented there is a key for Alex to unlock the hospital room.
Return to the tree that has artificial birds and place the bird you just got in its place. One more bird is missing.
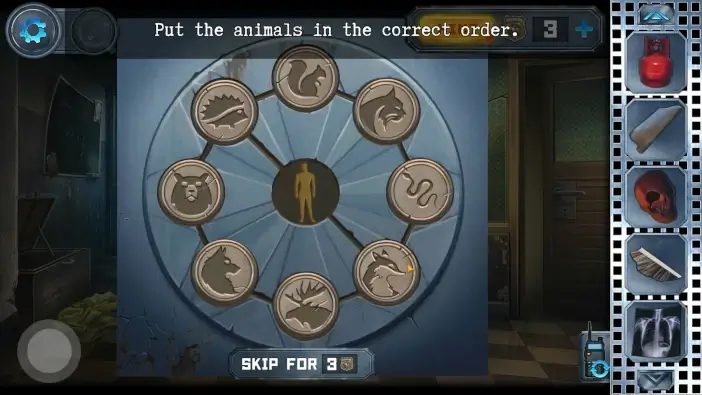
Switch to Alex and go to the blue hospital room door, in the prison hallway. Following the clue from the clock, place the animals in the order like in the picture above.
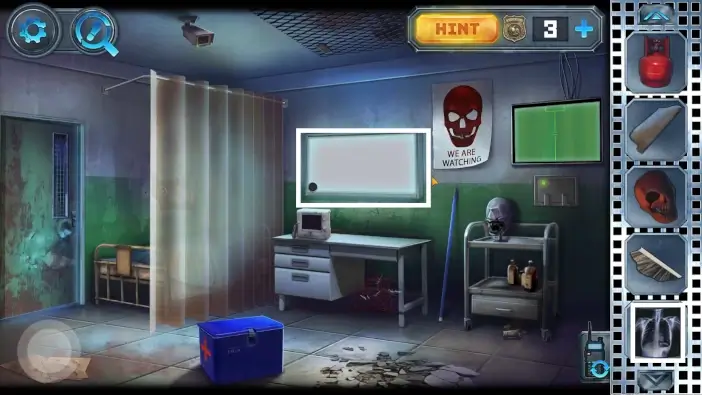
Place the X-ray on the wall.
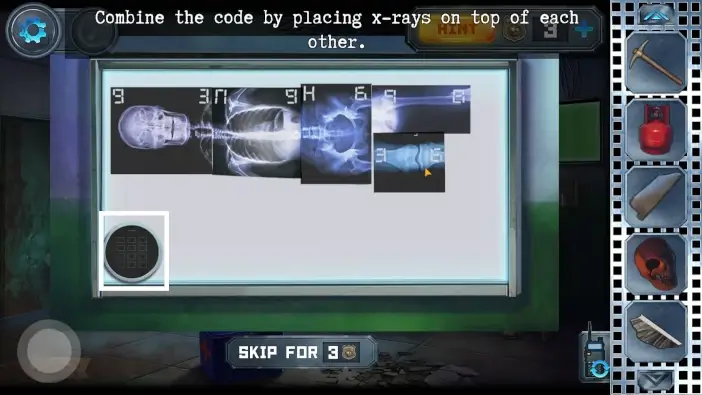
You will later rearrange the X-rays, for now, pick the clock face.
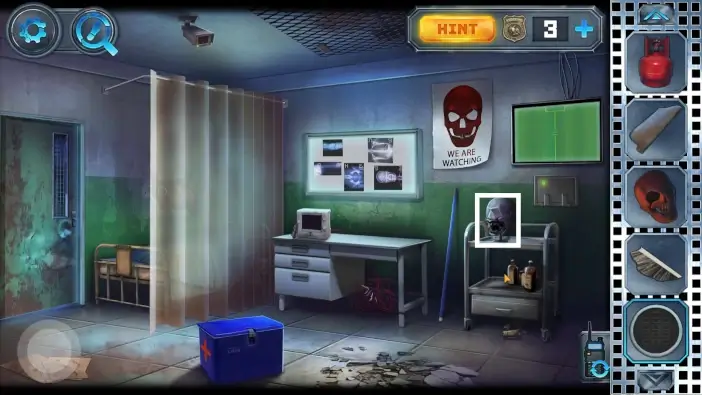
Approach the jaw model.
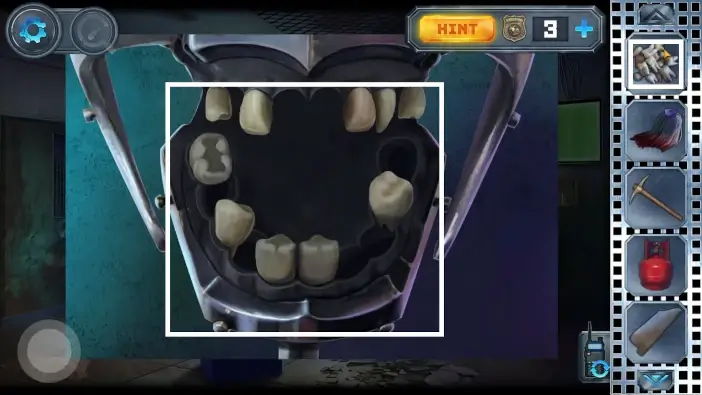
Place the teeth you got from the prison cell.
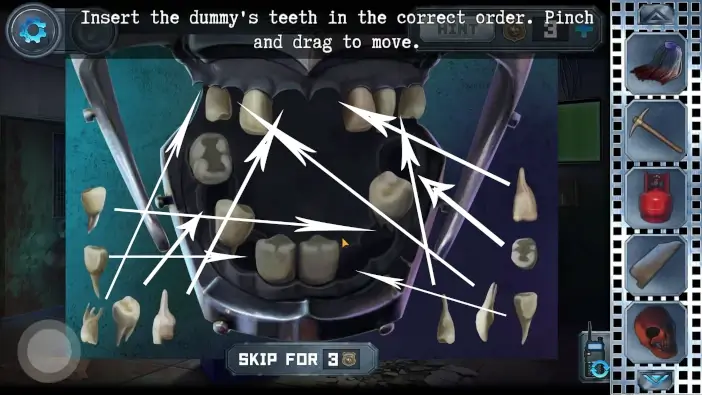
Place all the teeth in their correct locations. Follow the arrows in the picture above.
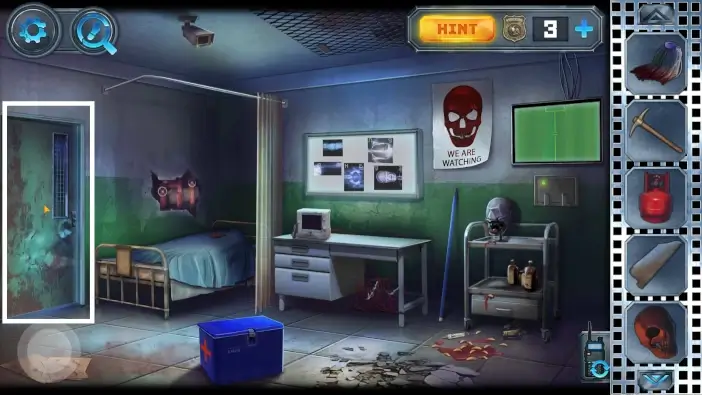
Enter the mortuary.
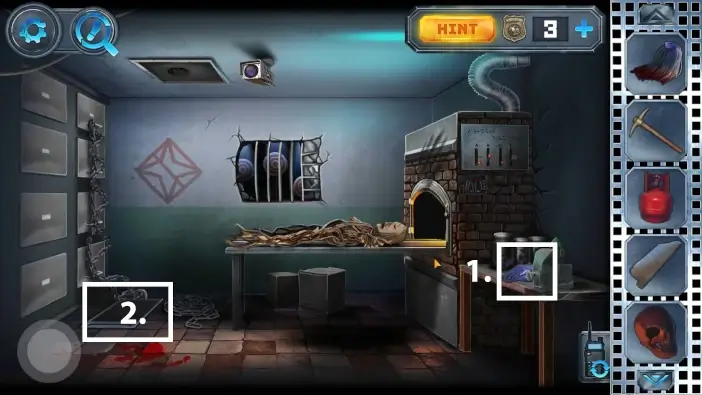
- Pick the rubber gloves from the table.
- Pick another match.
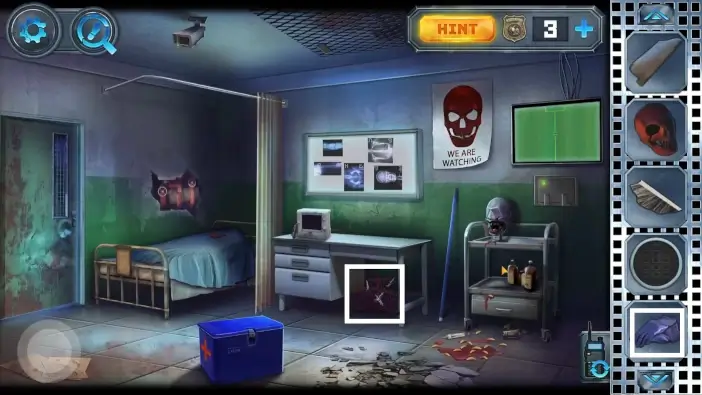
Return to the hospital room and approach the cables below the desk. Drag the rubber gloves item on the cables, then Alex will put them on.
Pick the handle. It will be useful to attach a sawblade to it later.
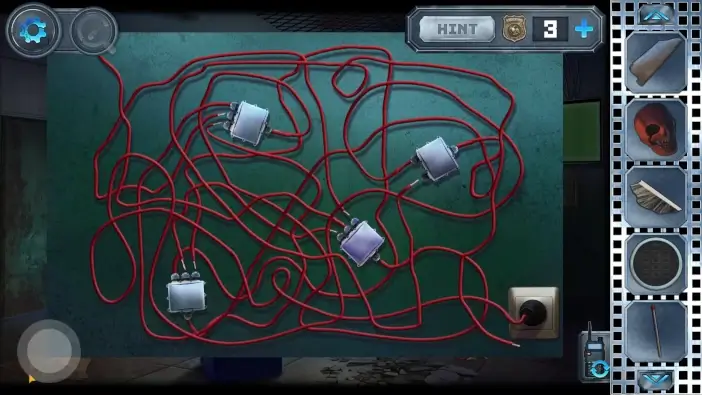
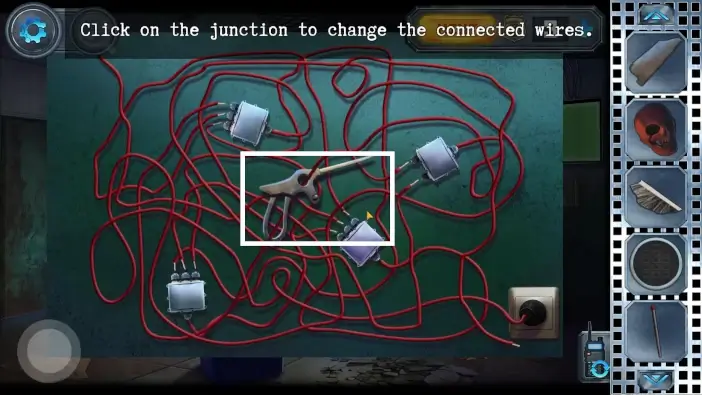
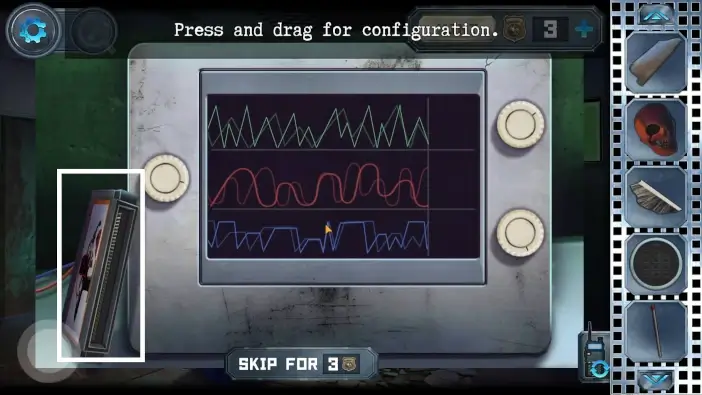
Pay attention to the cable that goes into the socket. Place the correct cables in the connectors to connect the device to the socket.
Approach the device that you just connected to the socket.
Pick the cartridge “Hostage”.
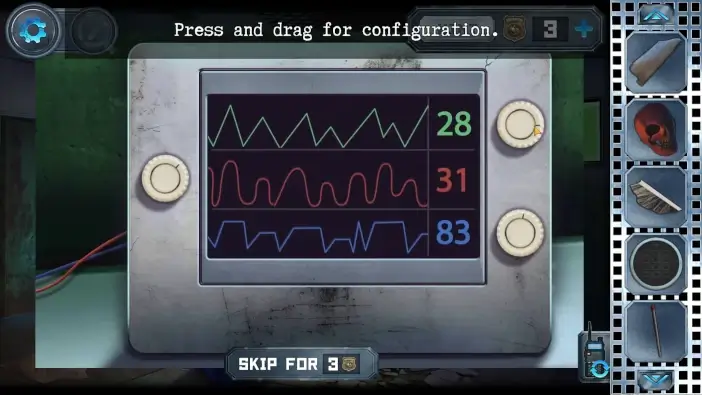
Change the frequencies by interacting with the buttons. You need to overlap the frequencies. For example, in the picture above, you have only one green frequency instead of two, because they are overlapped. After you solve the puzzle, the machine will work as a source of electricity for the artificial heart later.
Approach the pipes.
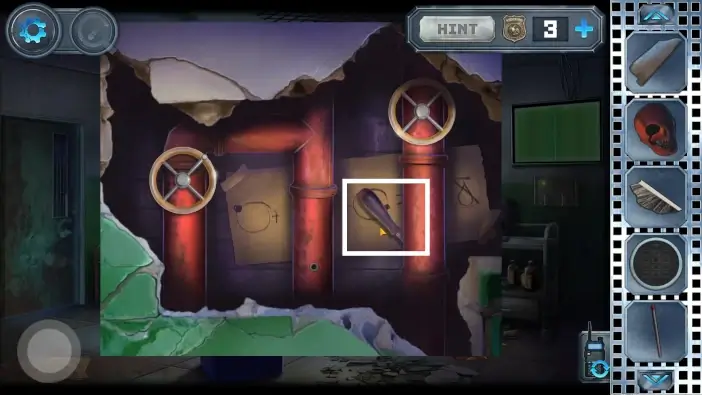
Pick the crosshead screwdriver.
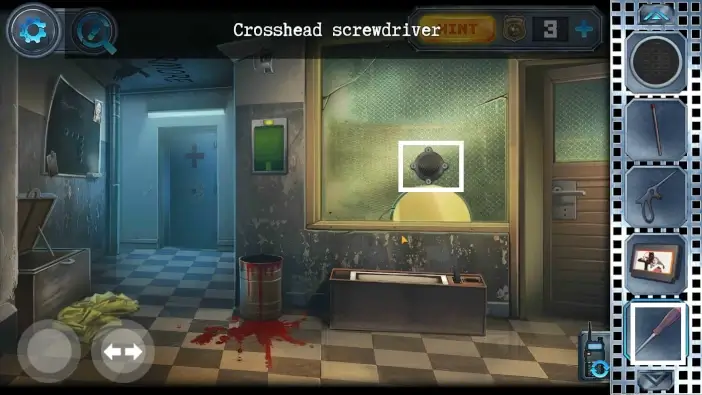
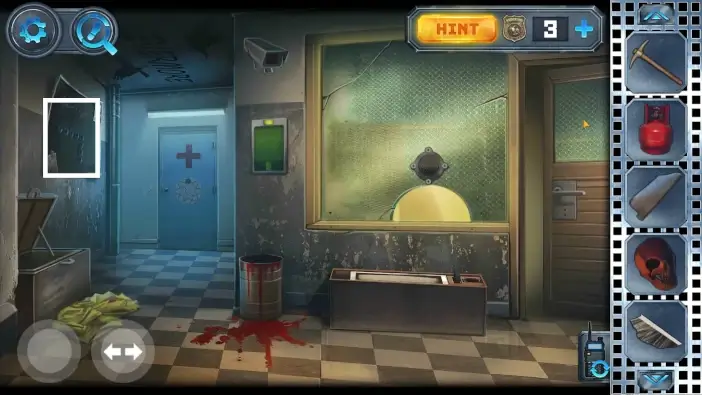
Go to the prison hallway and use the crosshead screwdriver to get the speaker from the reception window. You will need a speaker near the end of Chapter 1.
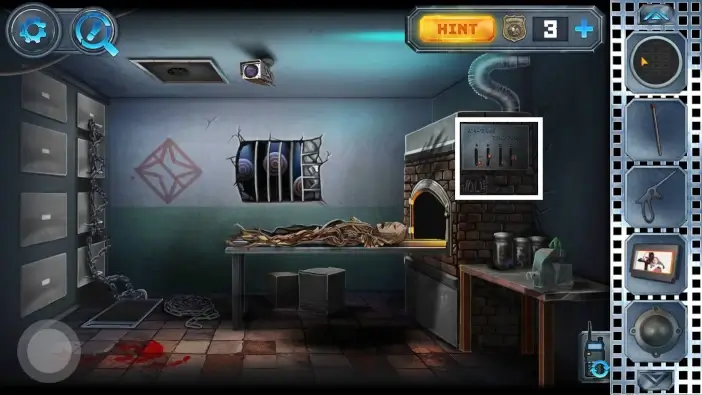
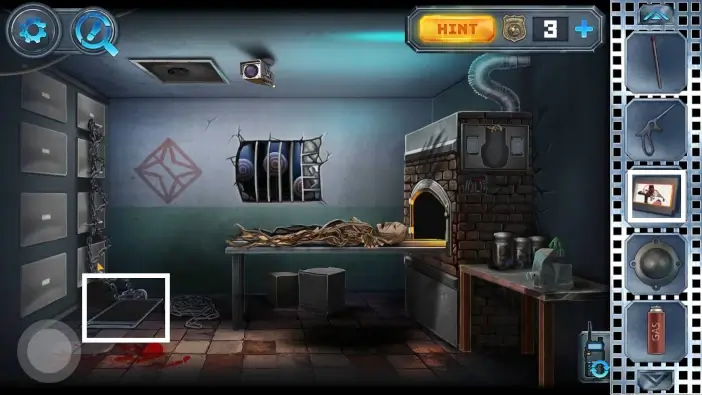
In the mortuary, go to the lid of the cremation furnace.
To open the lid, place the switches like in the picture above. You will need a propane tank to fuel the cremator. Pick the gas tank from the furnace.
Approach the screen on the left and put inside it a cartridge called “Hostage”.
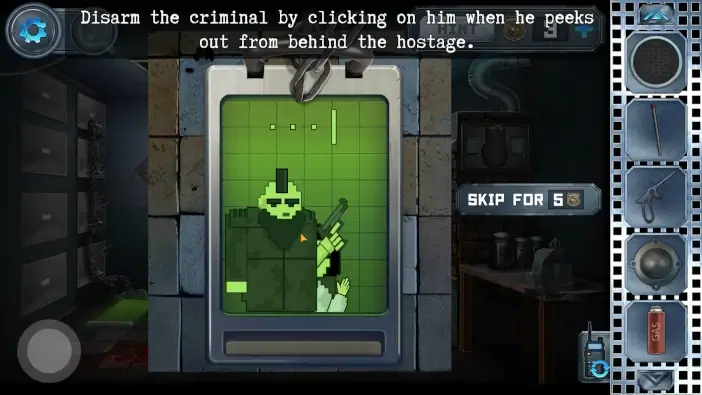
Whenever a terrorist stands in front of the hostage, shoot him. You need to shoot 4 terrorists. If you fail and shoot the victim instead, you will lose progress by 1. When you complete this game, the drawers for bodies will open in a way to form a staircase.
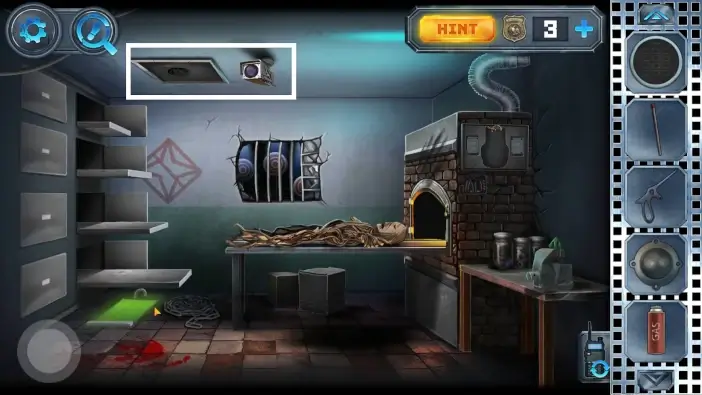
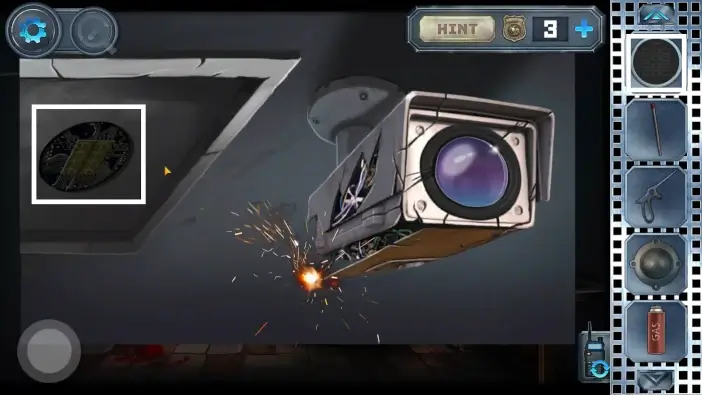
Because of the new improvised staircase, you can access the trapdoor and the camera. Go there.
Place the clock face on the trap door. Before you can unlock the trapdoor and access new locations, you will need to discover the code first.
This will mark the end of part 2 of our guide for Chapter 1. Feel free to check the next part!
Thank you for reading!