Scary Horror 3: Escape Mystery – Chapter 1 | Part 4
Intro
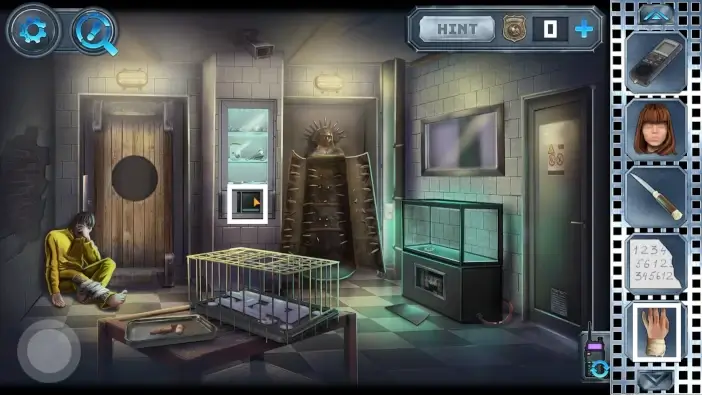
Welcome to our walkthrough for Chapter 1 of the “Scary Horror 3: Escape Mystery” from Escape Adventure Games. In this game, you are playing 2 characters: Alex and Anna, who are trying to escape the strange and spooky rooms after being kidnapped. While rooms resemble situations from their past, they must remain brave and help each other.
Walkthrough
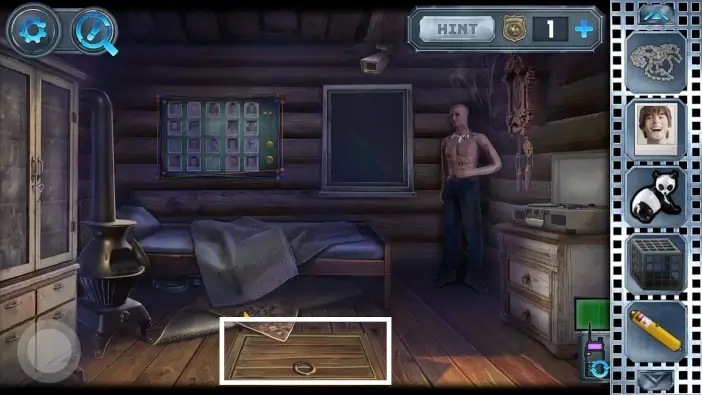
Go to the cabin and open the trapdoor.
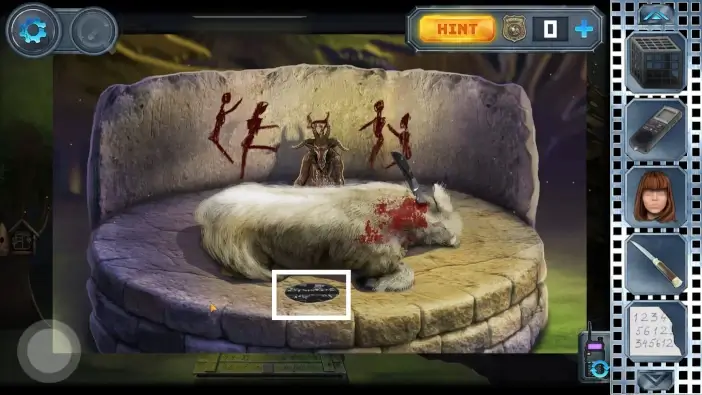
Use the glowsticks to illuminate the space.

- Pick the “questionable meat”.
- Look at the colored circles. This is the clue for the flowers at the flower lever to unlock another location.
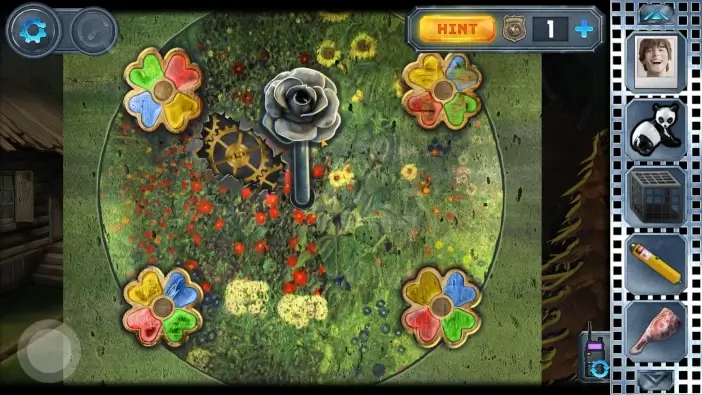
Go to the flower lever and rotate the flowers following the clue in the cabinet. Rotate the flower lever counterclockwise.
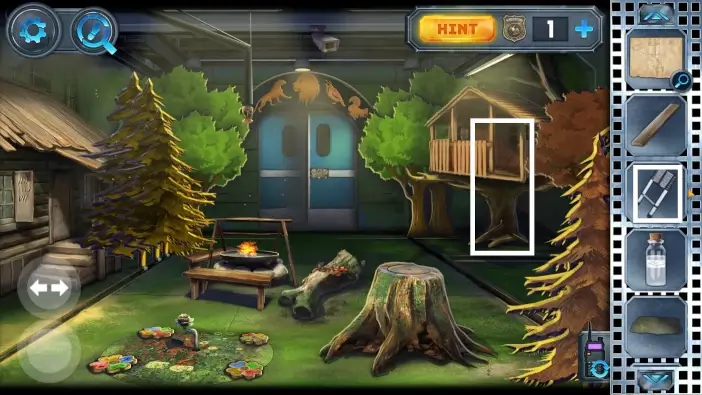
The tree house will appear. Use the ladder to access it.
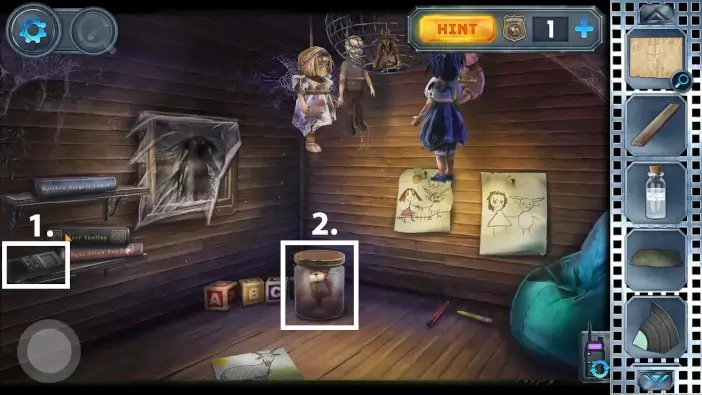
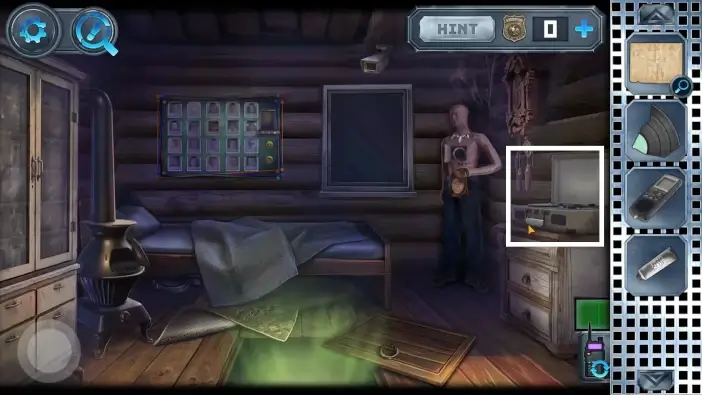
- In the tree house, pick the voice recorder. It is a crucial item for completing Chapter 1.
- Pick a jar with a toy. You need to return it to the cabin.

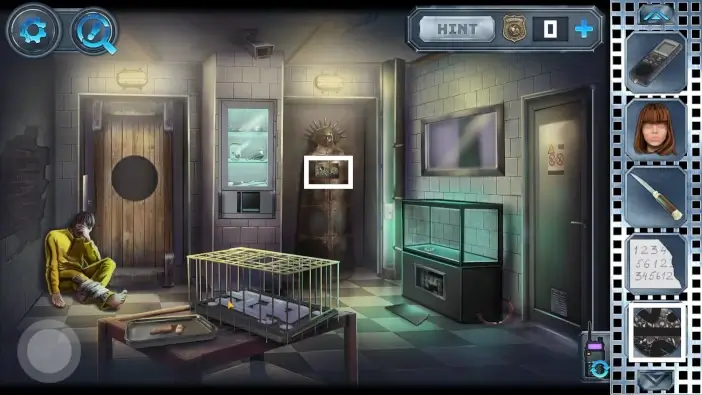
Go to the zoo room, unlock cage 4, and enter. Approach the gears on the lion.
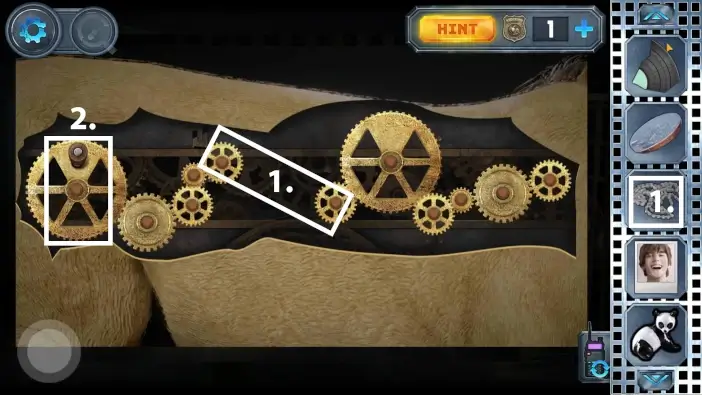
- Rearrange the gears like in the picture above. Afterward, use the bicycle chain to connect two gears in the middle.
- Rotate the leftmost gear.
The lion will not attack you anymore. You can safely take the head dummy.
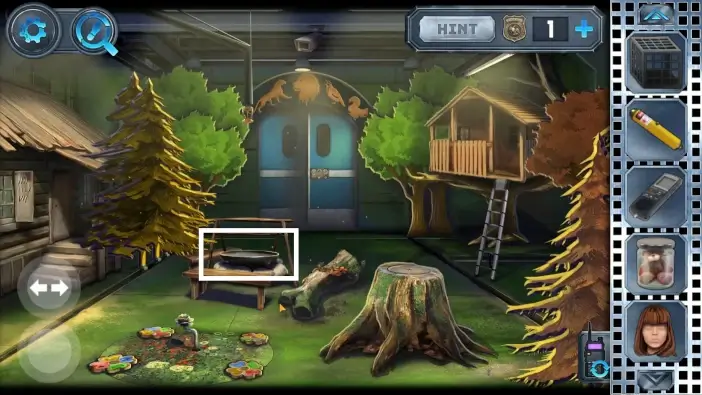
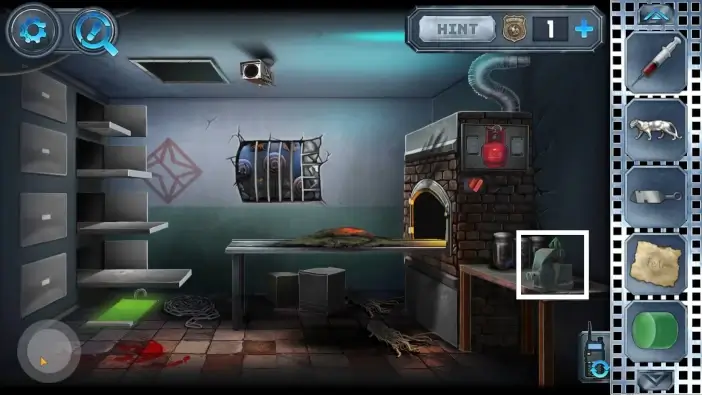
Go to the flower-lever area. Put the questionable meat above the fire in the pan. After a few seconds, the fire alarm will activate and the fire will be extinguished by the water from the pipe above the pan. From the same pipe, the knife will drop after the water, into the pan. Approach the pan.
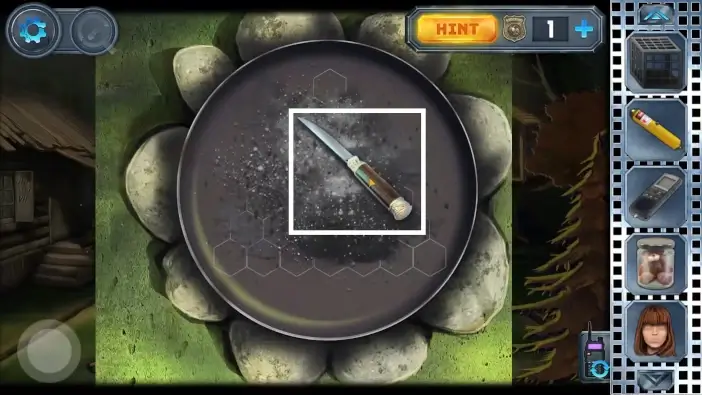
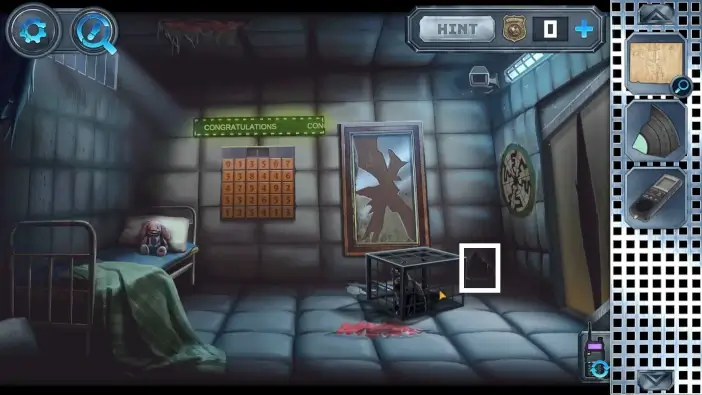
Pick the steak knife from the pan. Go to the area where the goat is and place the roasted meat in front of the camera in the trap, where the X sign is.
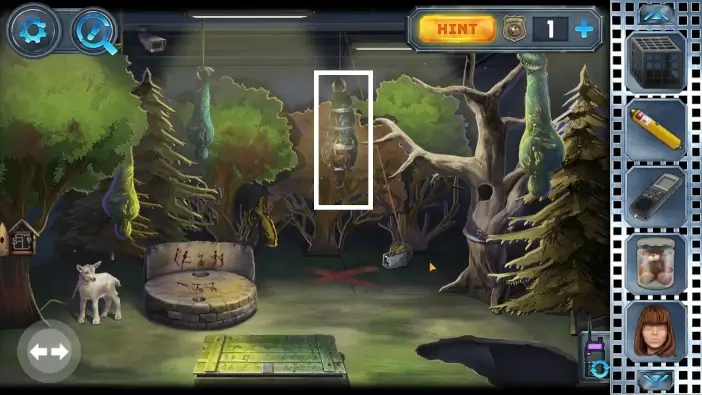
Walk away from the area and return. A new hanging body will appear where the trap and meat were. Approach the hanging body.
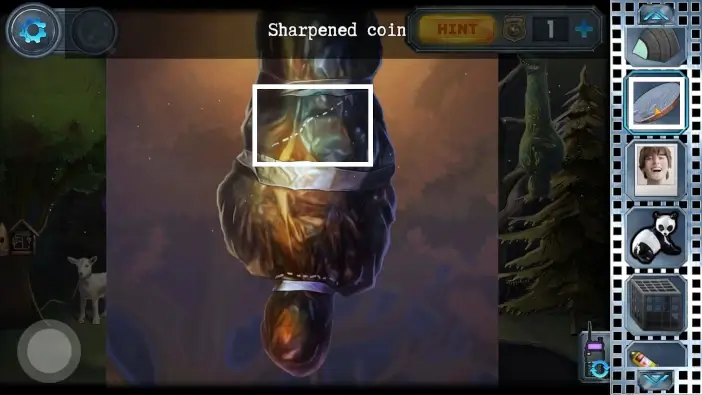
Cut the bag around the body with the sharpened coin.

- Pick the scraper.
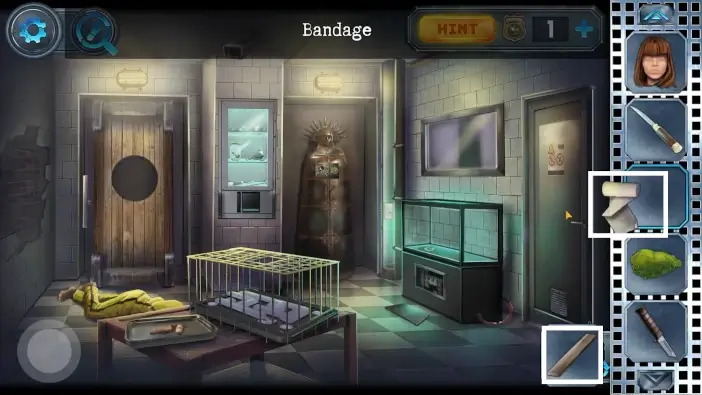
- Pick the bandage.
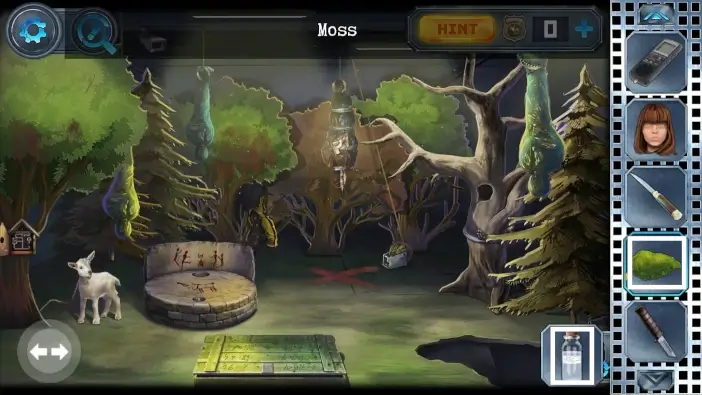
Approach the branch of a tree.
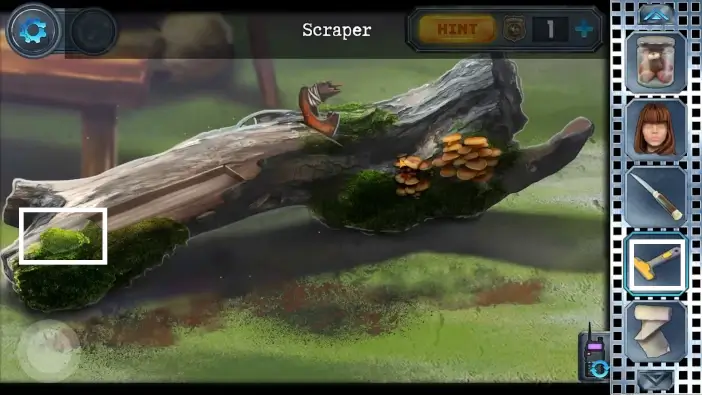
Use a scraper to take the moss from the tree.
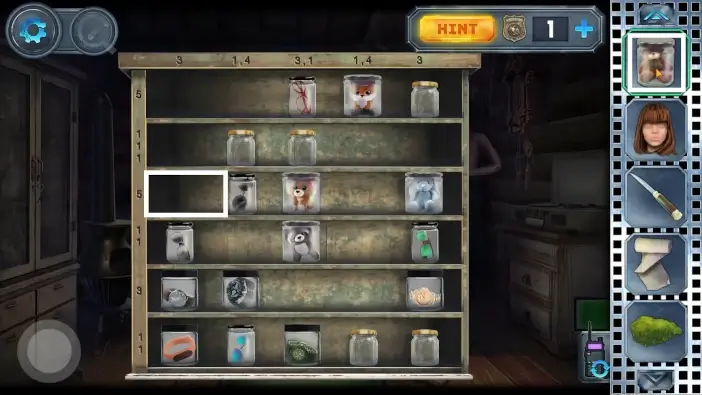
Go to the forest cabin and approach the shelves on the left. Place the jar with a toy inside.
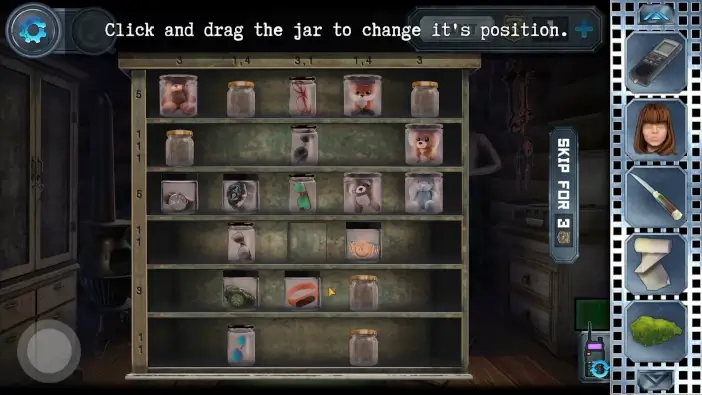
You need to change the positions of the jars following the clues on the left and top edges. On the left edge, you can see how many jars one row should have. If instead of 3 there are three 1s, that means the row will have 3 jars, but there is a space between them. On the top edge, you can see how many jars one column needs to have. If you see two numbers separated by a comma, that means there’s an empty space. For example, if you have 1,4, that means the column will have 1 jar, then an empty space, and then the next 4 jars.
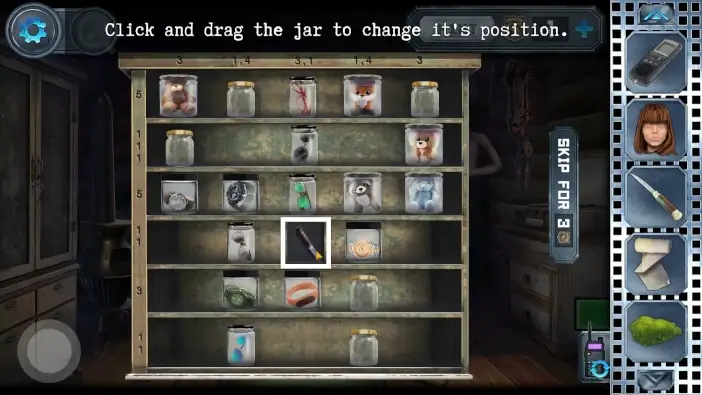
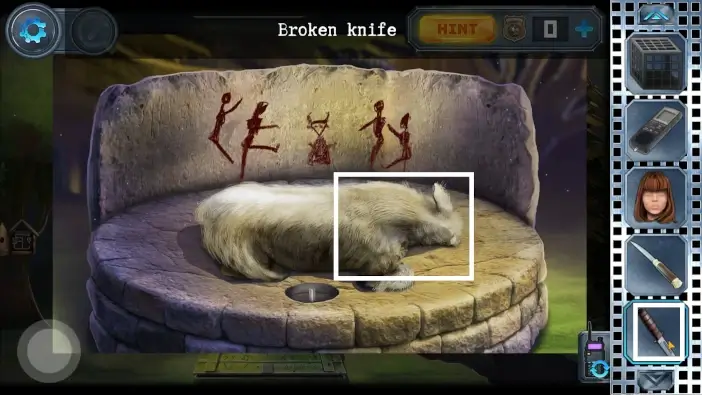
After you finish the puzzle, pick the broken knife. You will pretend that you sacrificed the lamb with it.
Go to the wall where the photos are and place the photo of a laughing teenager.
Go to the torture chamber and in your inventory combine the bandage and the wood you got from the tree branch to create a tire.
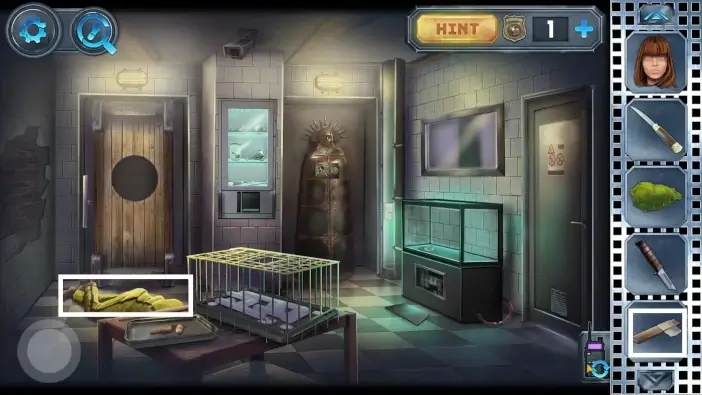
Use the tire to help the victim. He will then sit.
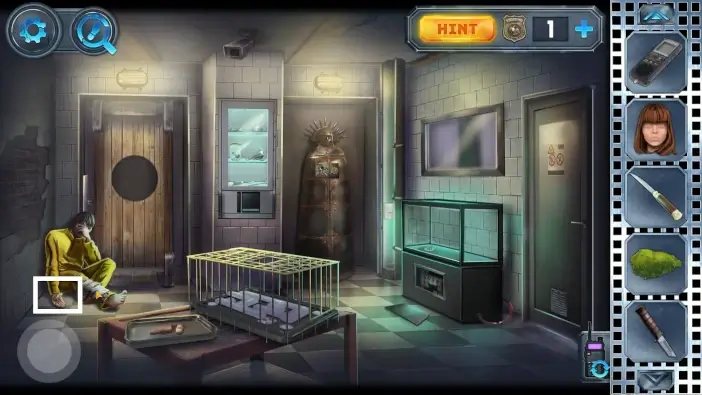
While he is sitting, you will see that he is carrying one of the artificial birds in his hand. Take the bird.
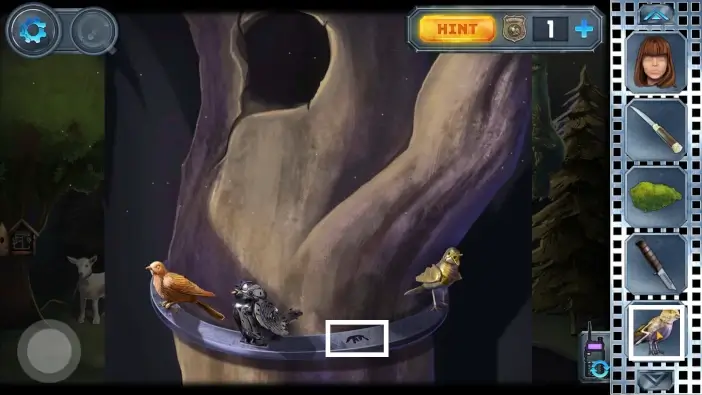
Go to the goat area and approach the tree. Place the last artificial bird. You will need a clue in which order you should activate them to sing.

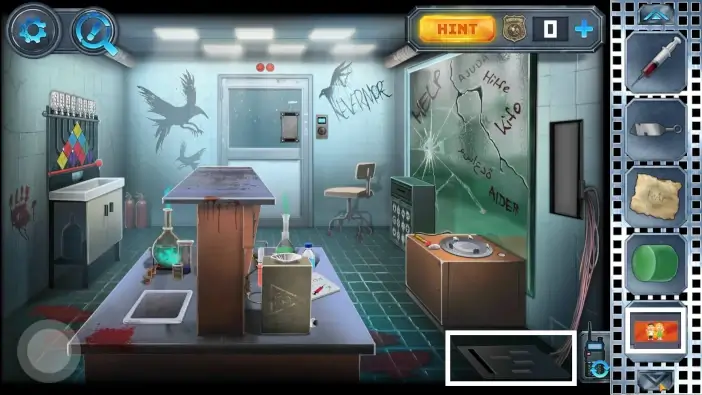
Switch to Alex and go to the laboratory. Approach the drawer.
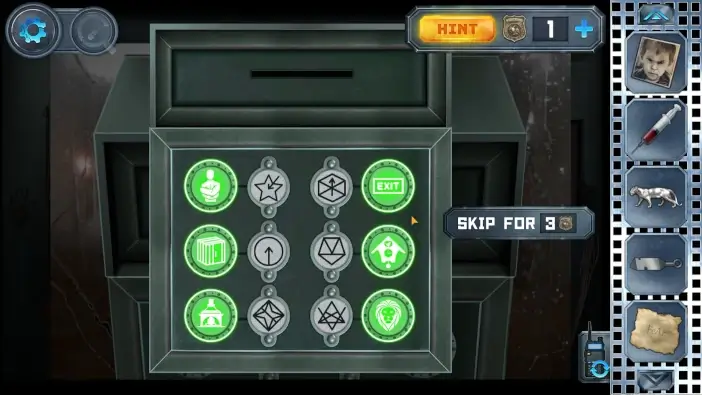
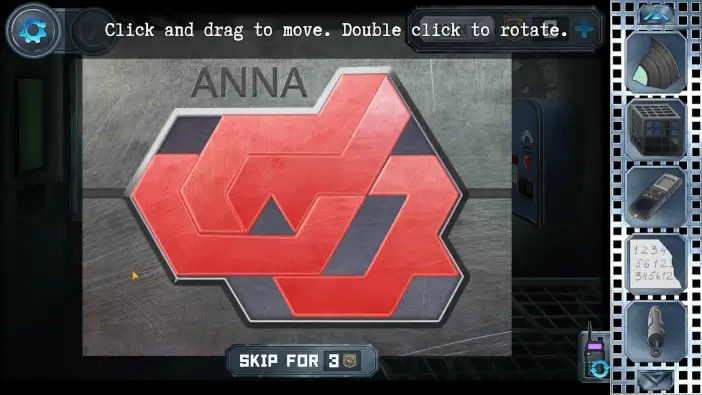
You need to solve a puzzle to unlock this drawer. Several rooms in the game have a special symbol in it. You need to combine the symbols with the icons that represent the rooms they are in. The solution is in the picture above.
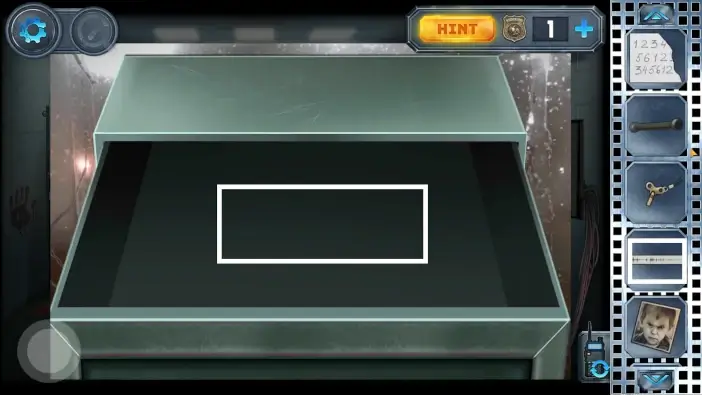
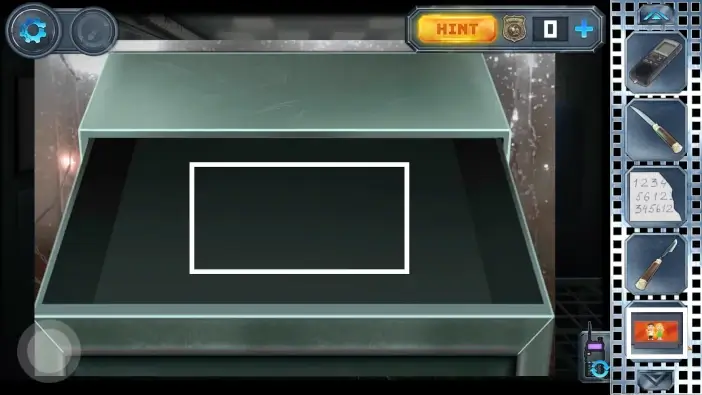
This drawer will enable Alex and Anna to exchange items from their inventories. Open the drawer and place the spectrogram.

Switch to Anna and go to the mirror room. Approach the drawer.
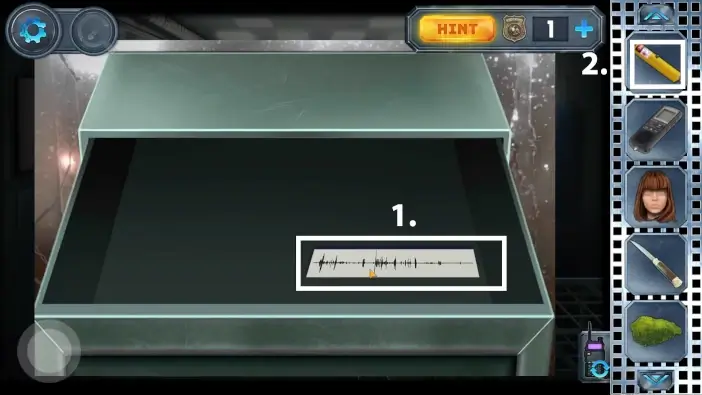
- Open the drawer. Take the spectrogram.
- Place the laser pen to send it to Alex.
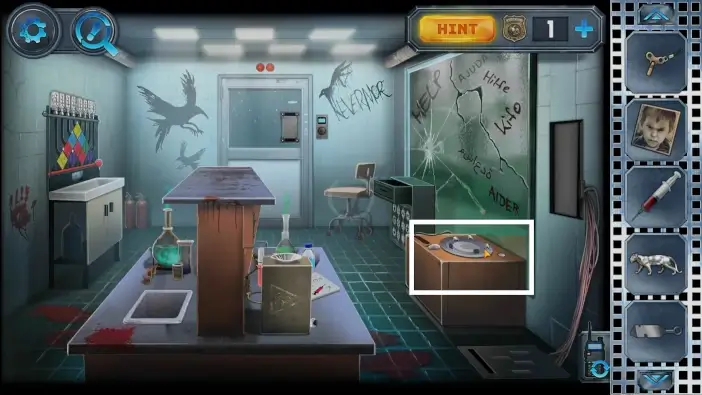
Go to the forest cabin and approach the desk on the right. Place the spectrogram beside the broken vinyl. Before you can record something, you will need to mend the vinyl.
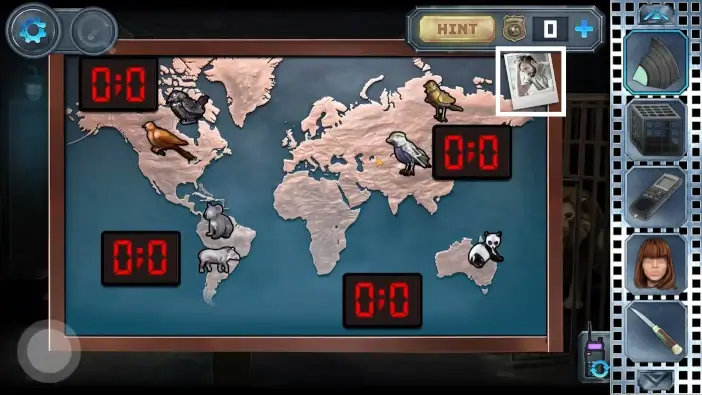
Go to the zoo room and approach the geography map. Place the panda figurine.
Switch to Alex and take the laser pen.
In the lab, approach the small desk on the right.
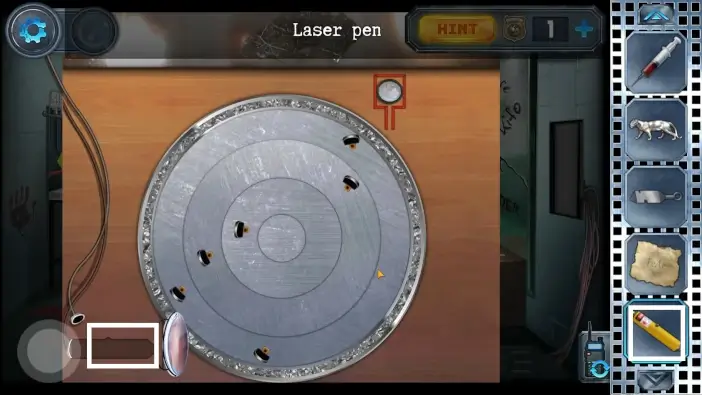
Place the laser pen behind the lens.
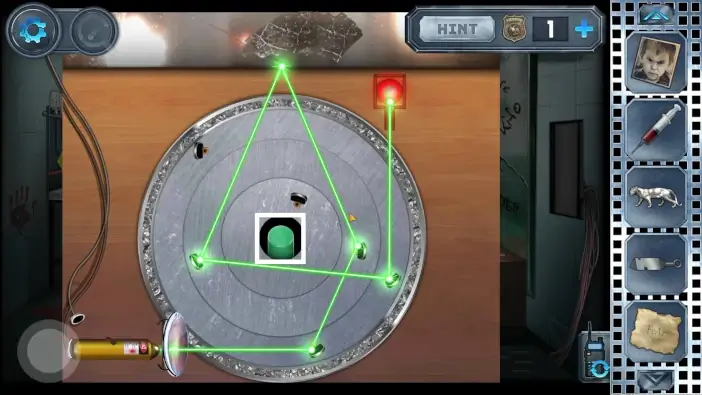
Move the circles so that the laser beam hits the button on the top right. You will get the jade rod as a reward.
Go back to the drawer and give Anna the photo of an angry boy.
Switch to Anna, go to the cabin, and place the angry boy photo in the collection.
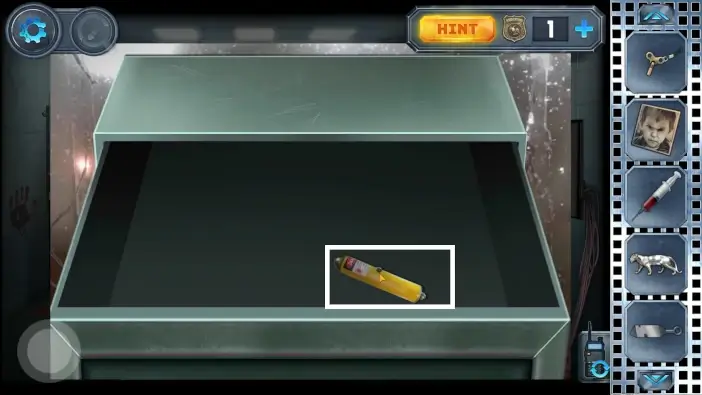
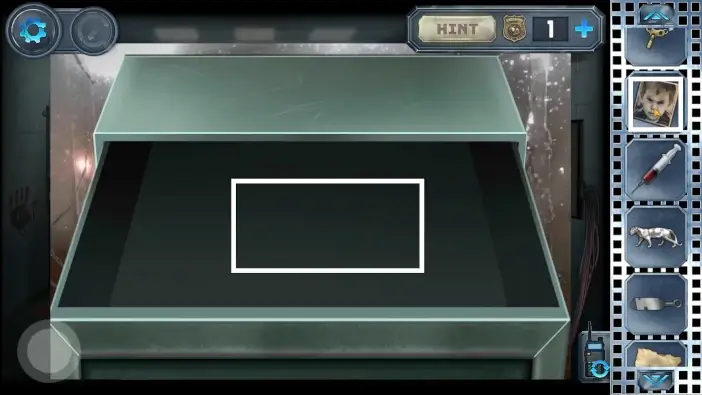
Switch to Alex and go to the mortuary. Approach the machine on the right.
Attach the vice handle to the machine, activate the machine, and you will get a green square piece.

Go to the lab and approach the square pieces on the left.
Place the green square piece. You’ll need one more square piece.
Switch to Anna and go to the area where the goat is. In your inventory, pour soporific into the moss.
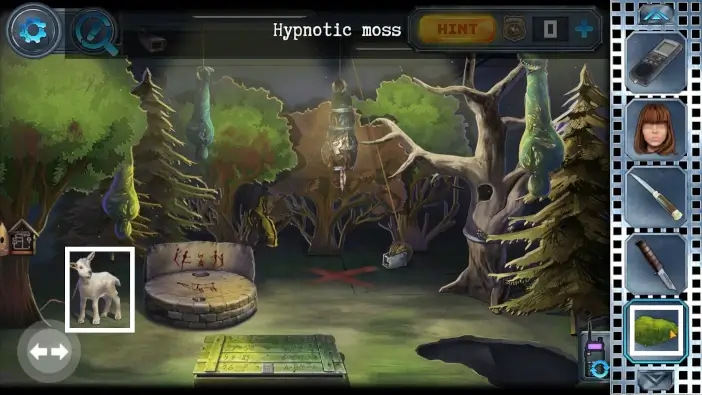
Give the hypnotic moss to the goat. The goat will eat it and then fall asleep.
Place the broken knife on the goat to fake the sacrifice. You will need more items to stage the sacrifice.
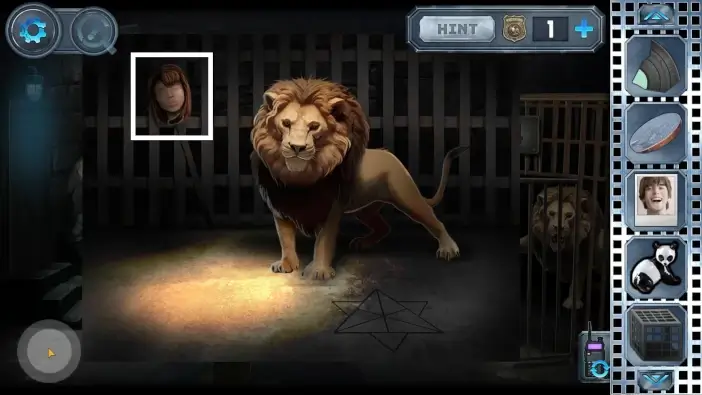
Go to the zoo room and take a photo of a sad man.
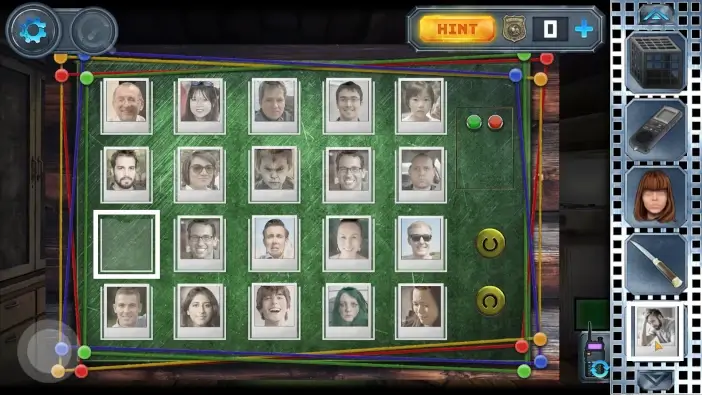
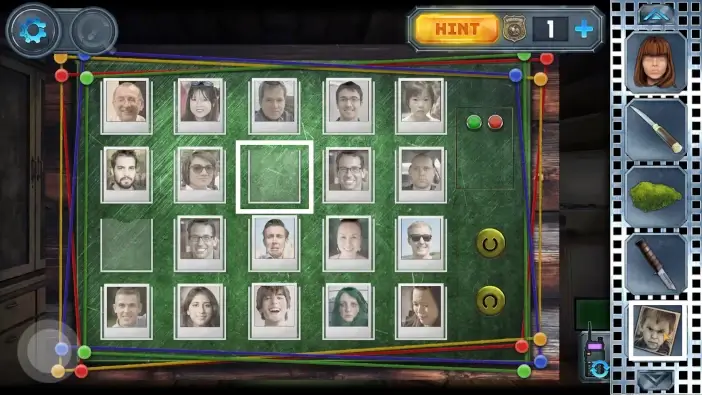
Go to the forest cabin and place the photo of a sad man in the photo collection. This is the last photo and the puzzle challenge will start.
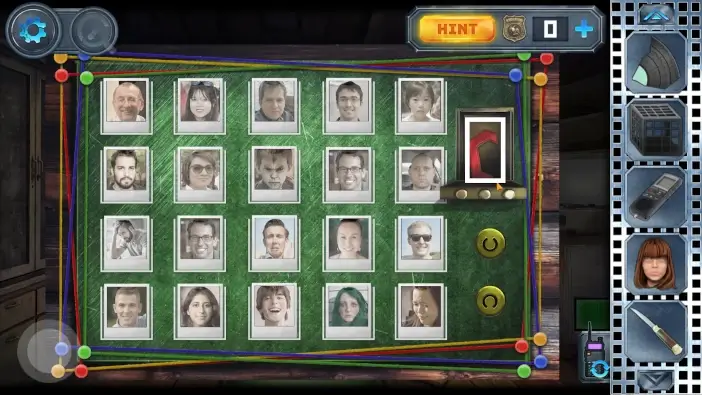
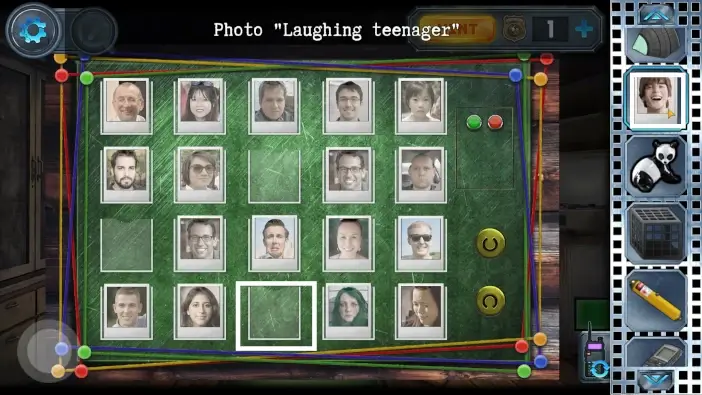
On the right side, you have two buttons. When the photo moves upward, if the person in the photo has a positive emotion and/or smiling, press the upper button. If the person has a negative emotion, like sadness or anger, press the lower button. When you solve the puzzle, you will get another red part for the exit door in the mirror room.
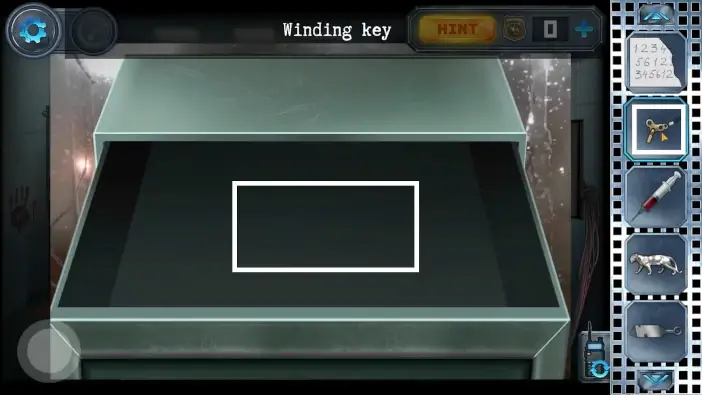
Switch to Alex and in the lab, approach the drawer. Give Anna the winding key.
Switch to Anna and in the mirror room, pick the winding key from the drawer. Leave the 3rd red part on the exit door.

Go to the zoo room and approach the round table. Unlock the table puzzle with the winding key.
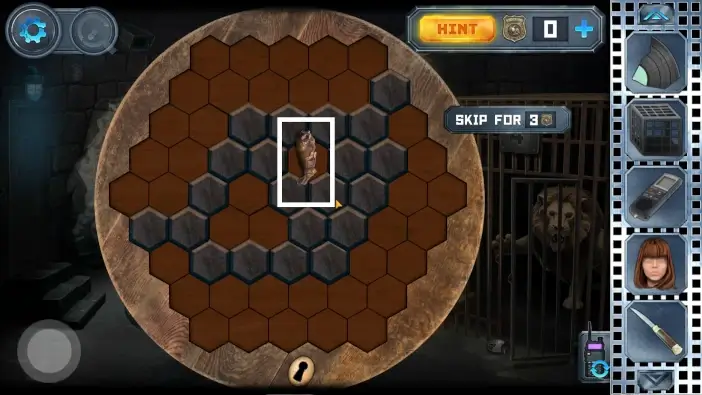
The rabbit toy will try to escape the table. You need to click on the fields to create obstacles. Do not allow the rabbit to flee the table and surround the rabbit with obstacles. When you succeed, you will get the rabbit figurine.
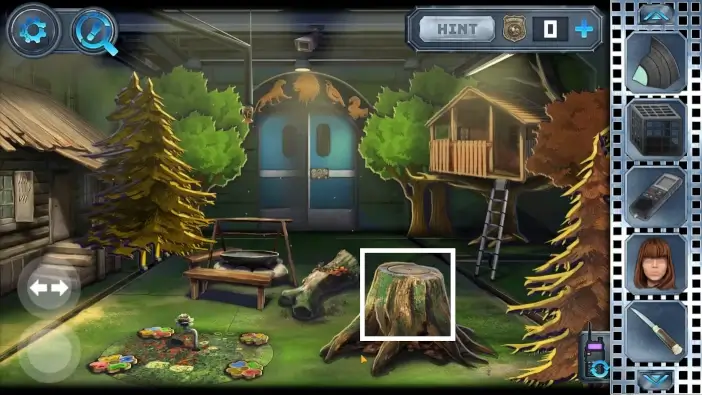
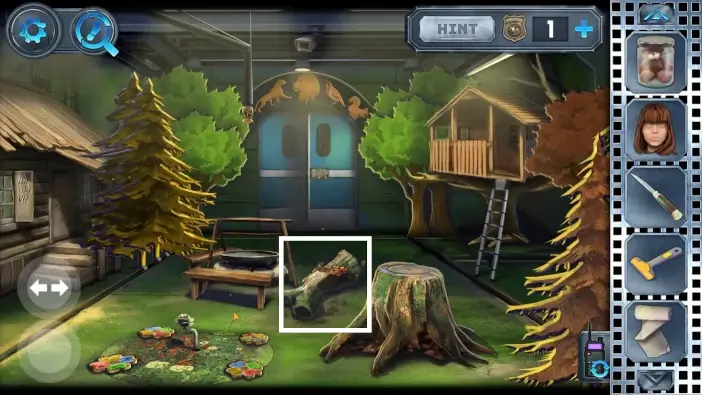
Go to the flower lever area. Approach the stump.
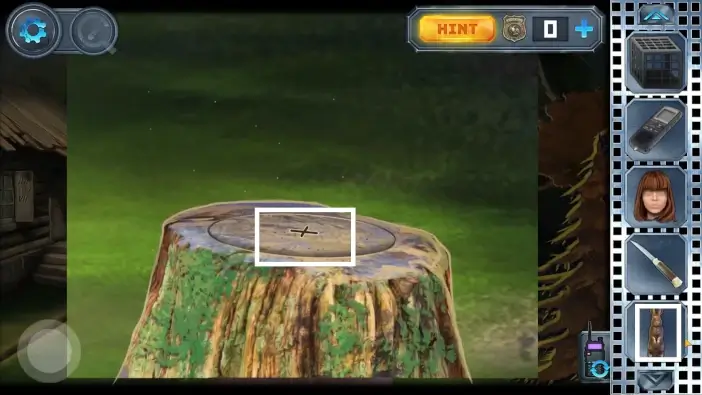
Place the rabbit figurine on the stump.
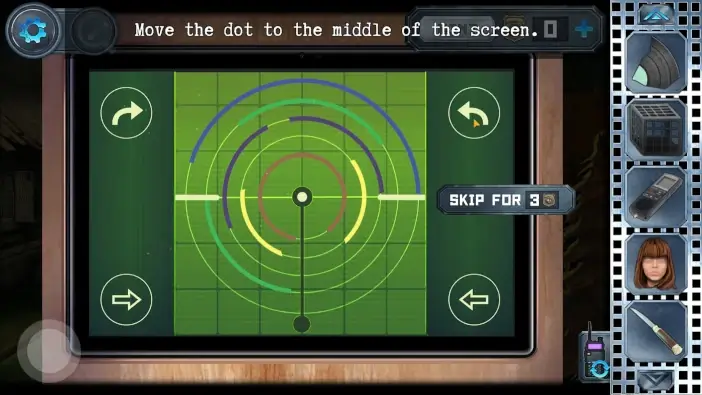
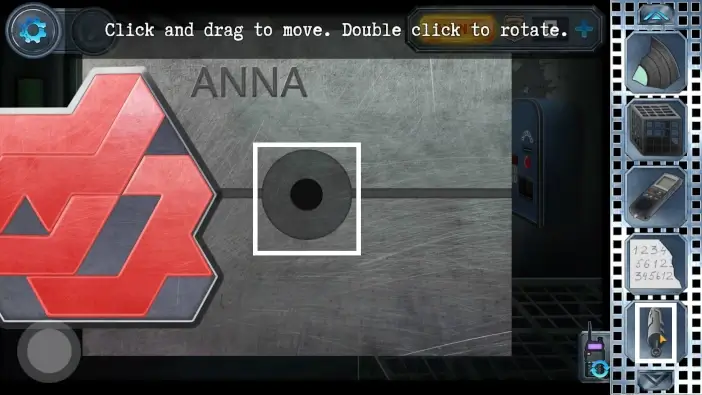
You will get a screen with a new puzzle. Move the dot to the center of the screen. Use the arrows on the sides to move the circles and the central horizontal barrier. The dot will move automatically toward the center if there are no obstacles. When you complete this puzzle, you will get the key for cage number 3.
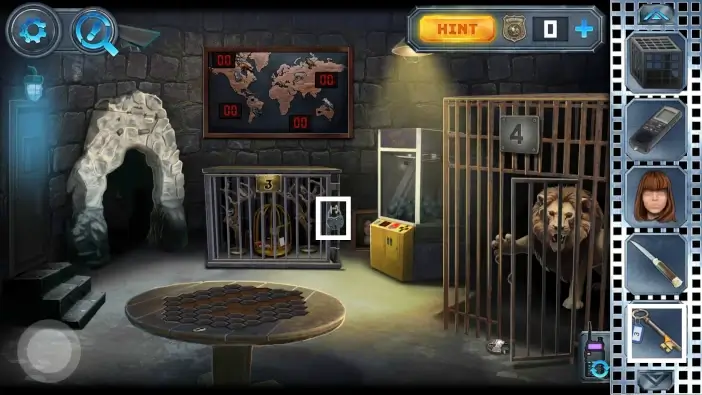
Go to the zoo room where cage number 3 is.
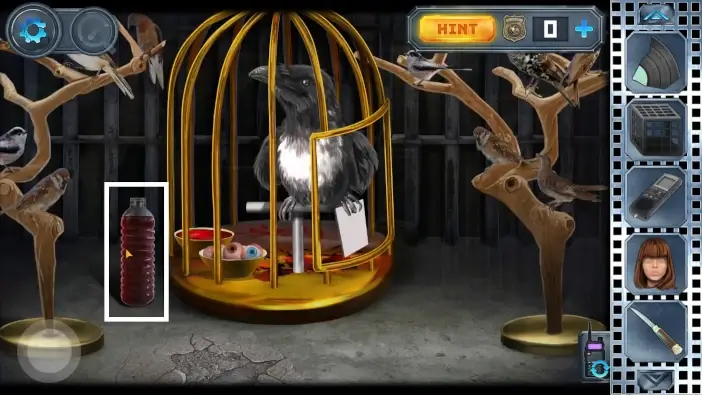
Pick the bottle full of blood. You will need it to fake the goat’s sacrifice.
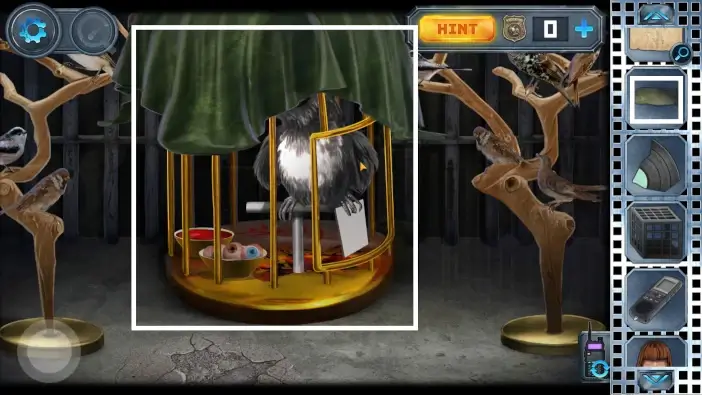
Place the tarp on the cage. This way the bird won’t attack you when you try to take the guest card.
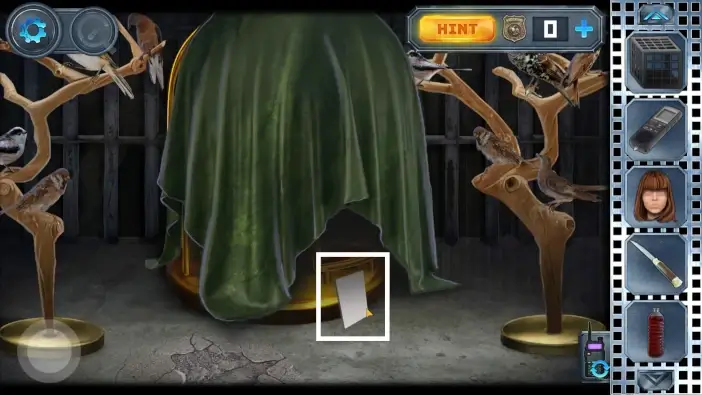
Take the guest card.
Switch to Alex and give more items to Anna, via the drawer in the laboratory. Give the puma figurine and the letter fragment.

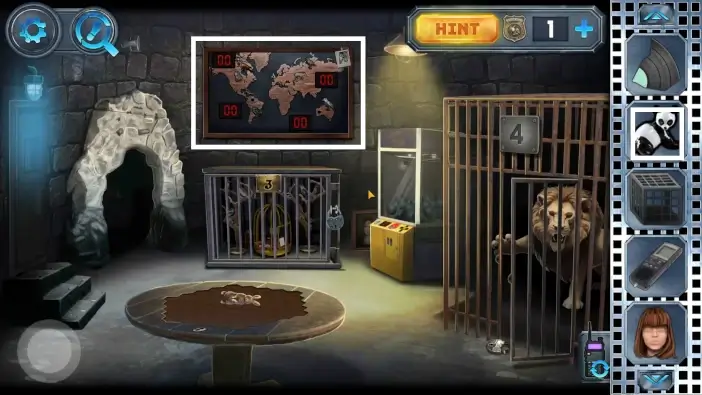
Switch to Anna and get the puma figurine and the letter fragment from the drawer in the mirror room. Go to the zoo room and approach the geography map. Place the puma figurine on it.
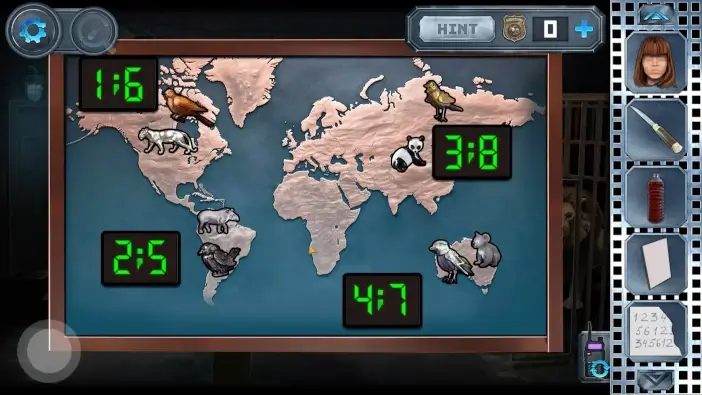
Now you have all the figurines on the map. Move the animals to their habitats on the map. Once you finish the puzzle you will get the clue in which order the artificial birds need to sing in the forest.
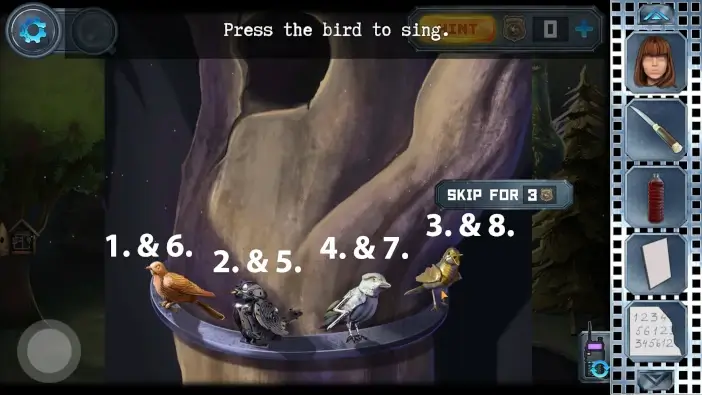
Return to the forest area where the goat is and activate the birds in the order enumerated like in the picture above.
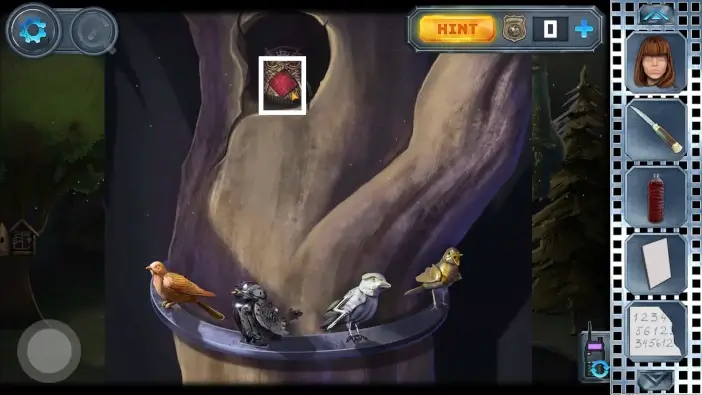
Once you succeed, the owl will bring you the red square piece, take it. You will later give it to Alex.
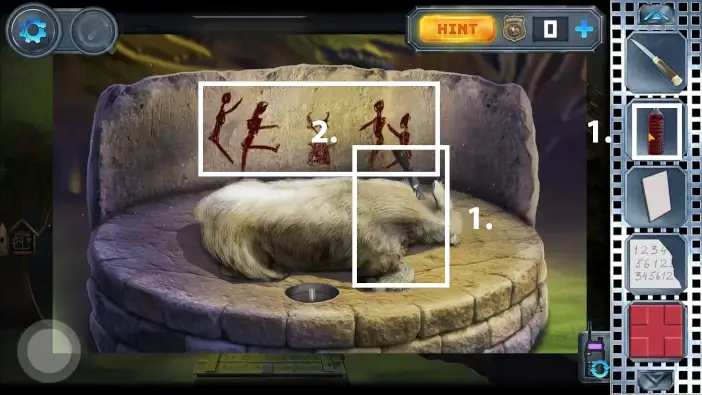
- Approach the sacrificial altar and pour the blood from the bottle on the goat.
- Look at the drawing. It is a clue how to obtain the final piece of the puzzle about sacrifice. You need a devil’s statue. Remember the positions of the bodies.
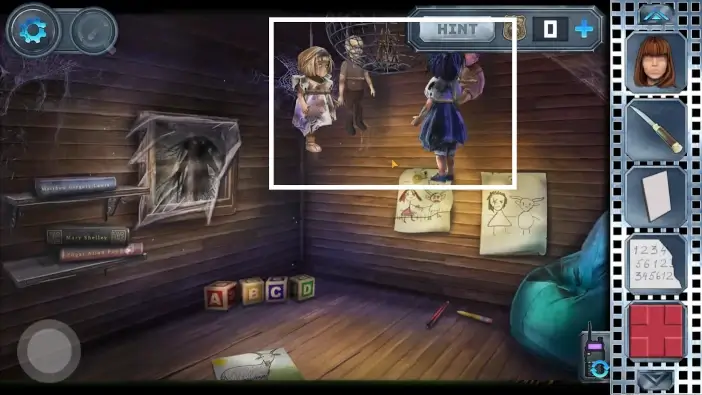
Go to the treehouse. Approach the dolls.
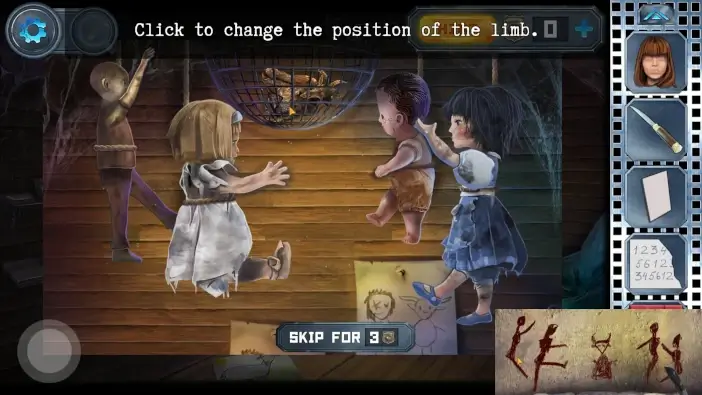
Arrange the limbs of dolls to look like the limbs drawn on the sacrificial altar.
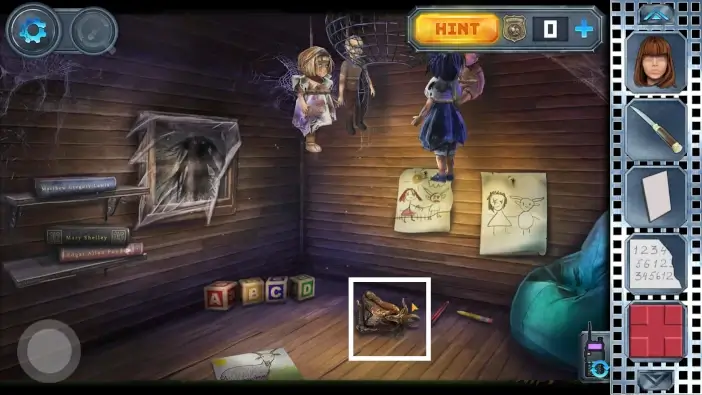
After the puzzle is solved, you can pick the devil’s statue.
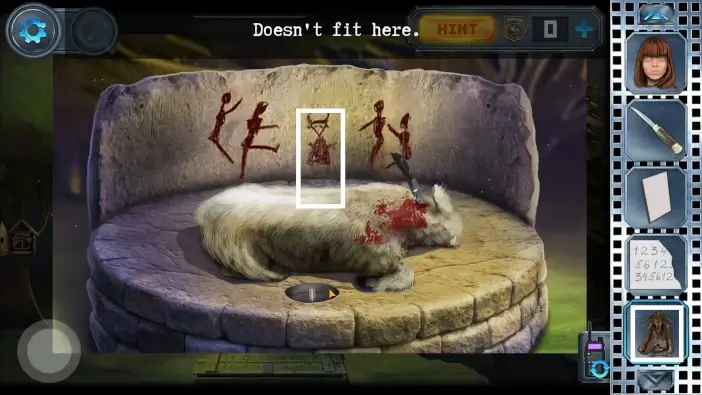
Go to the altar and place the devil’s statue.
You will complete the puzzle. Instead of sacrificing the goat, you faked it and it counts as a solution. Pick the mysterious charm as a reward. You will use it to open the iron maiden torture device in the torture chamber.

Go to the mirror room and give Alex the red square piece via the drawer.
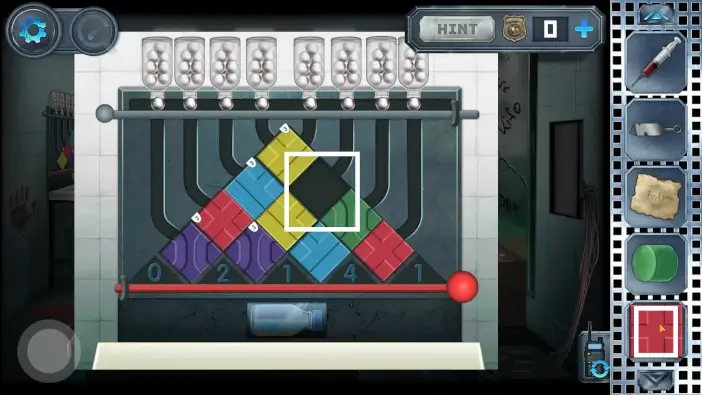
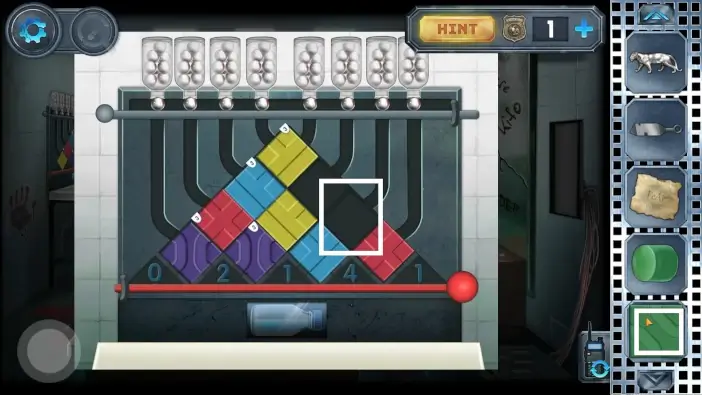
Switch to Alex and in the laboratory approach the wall on the left and place the red square piece.
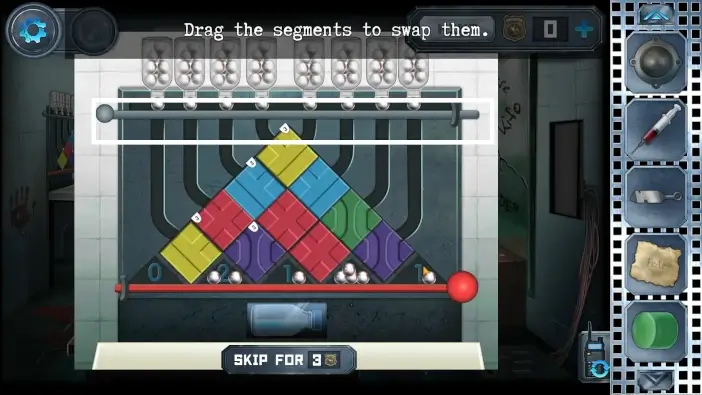
You need to have a specific number of balls in the triangles below. How many balls you need to have is shown in the number in the triangle. You need to swap the pieces to form the pipes that will lead the balls to fall where they need to. When you are finished swapping, you need to pull the barrier to the left and the balls will start falling. As a reward, you will get a reagent.
Place the reagent you just got to the central desk where the other chemicals are.
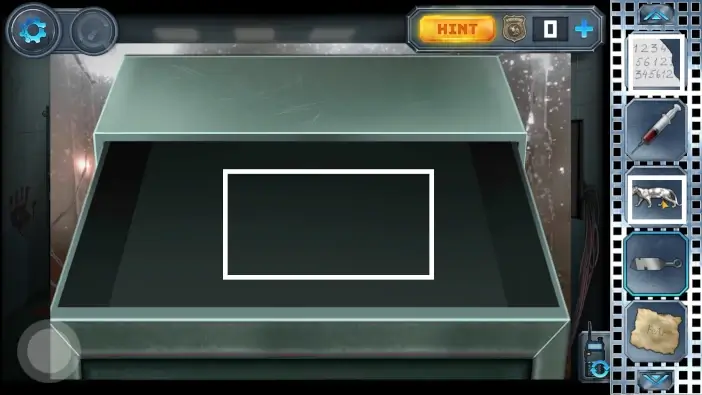
Switch to Anna. In the mirror room, approach the token machine.
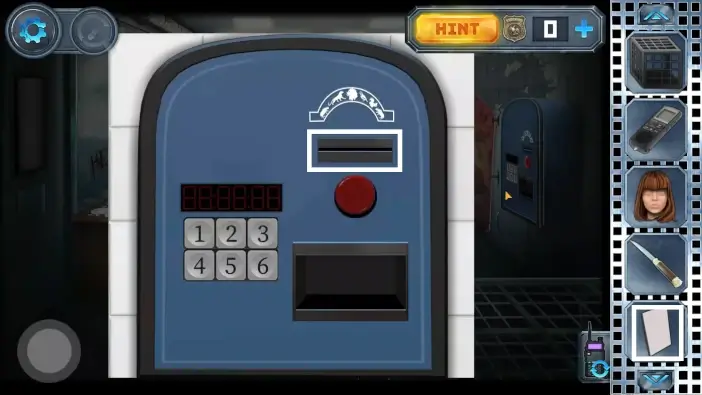
Insert the guest card. You will return to it later when you have more clues for the password.
Go to the torture chamber. Place the mysterious charm on the iron maiden device.
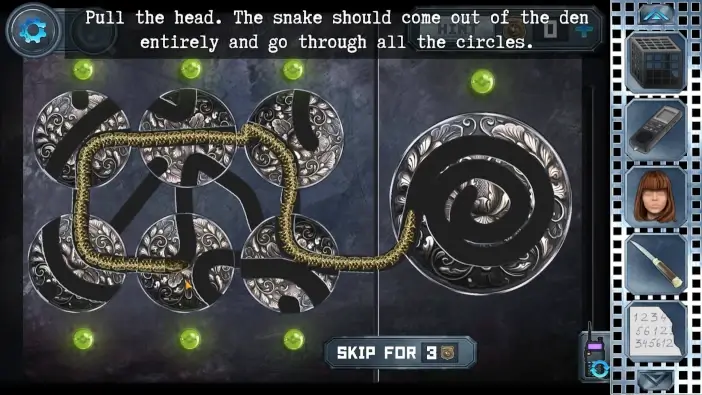
Rotate all the charms in a way that the snake can pass through all of them. You need to manually drag the snake through the path. After the puzzle, pick the severed hand from the iron maiden device.
Place the hand on the screen at the center of the room to unlock the display case.
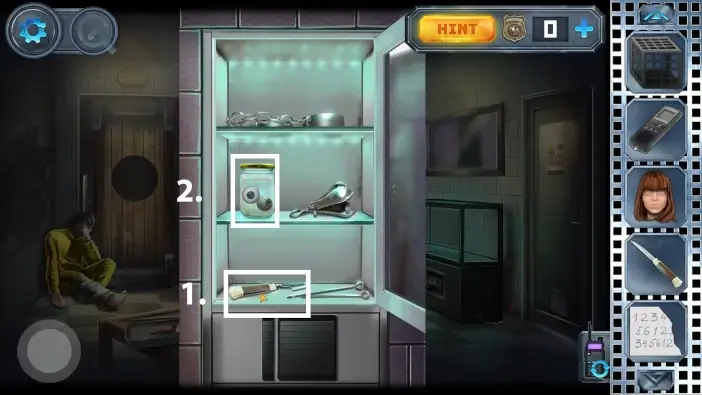
- Pick the fish knife.
- Pick the jar with eyes.
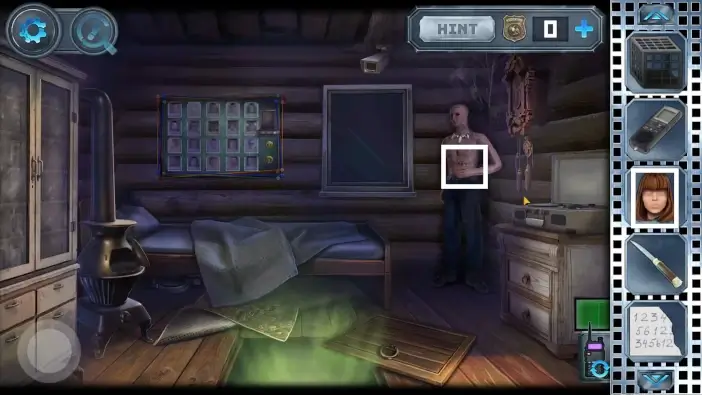
Go to the forest cabin and approach the mannequin.
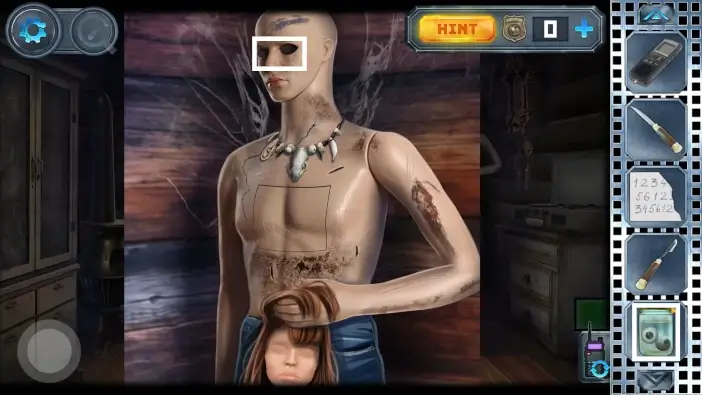
Give the mannequin the head dummy and the eyes. Now that the mannequin has all the items, the mannequin’s chest will open.
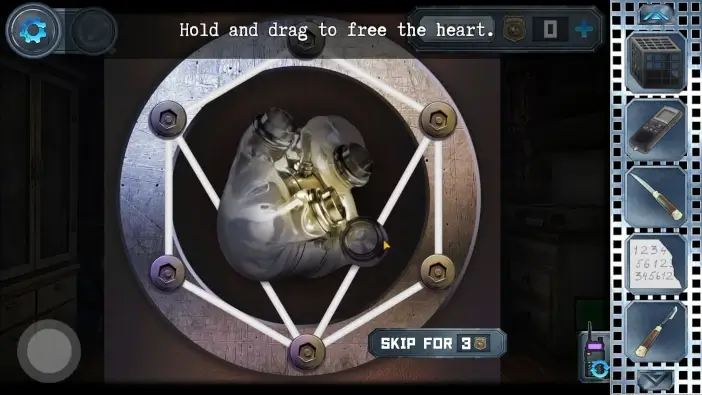
Inside its chest is an artificial heart. Hold and drag the rubber bands until the heart has enough space to be taken. Once the heart has enough space, it will be added to your inventory.
Go to the mirror room and give an artificial heart to Alex.
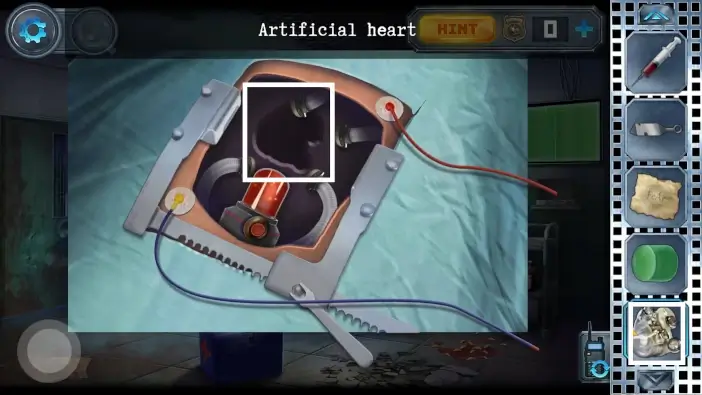
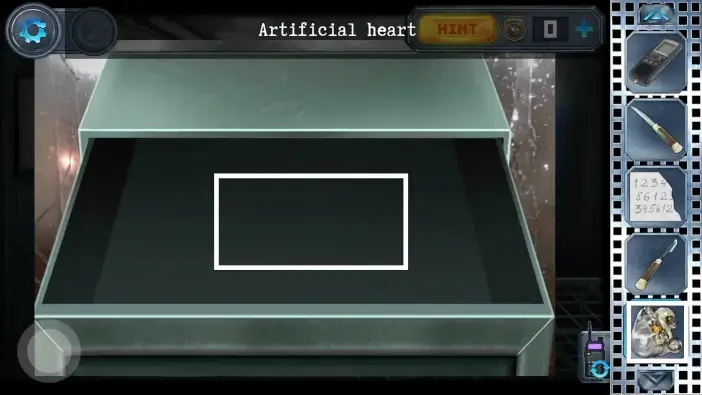
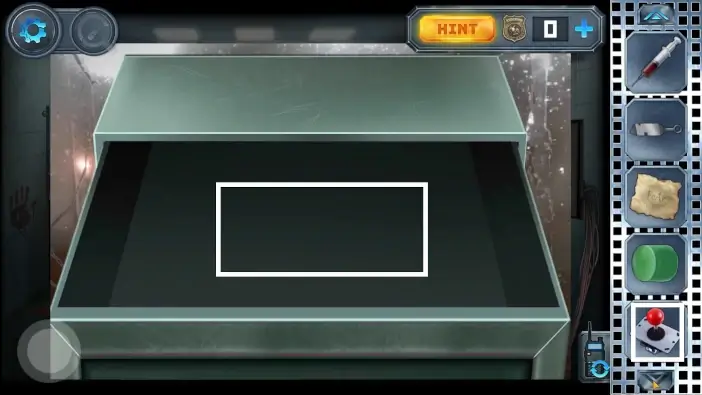
Switch to Alex and take the artificial heart from the drawer, in the laboratory. Go to the hospital room, approach the bed, place the artificial heart inside the mannequin, and click on the red button. Afterward, pick the joystick from the mannequin.
In the lab, place the joystick in the drawer to give it to Anna.
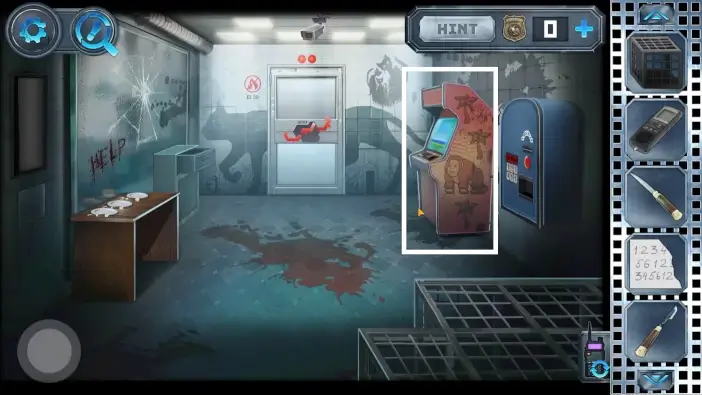
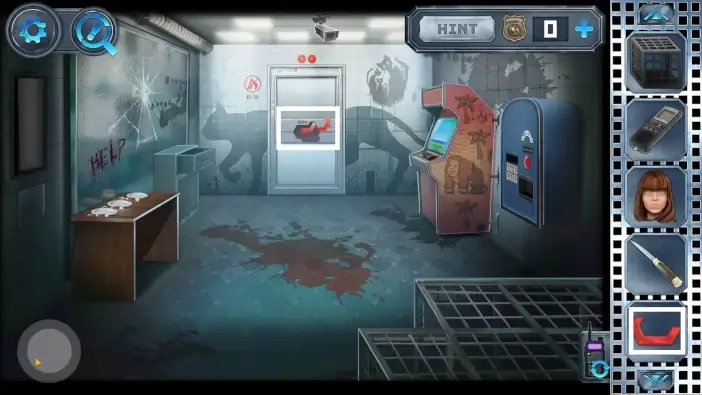
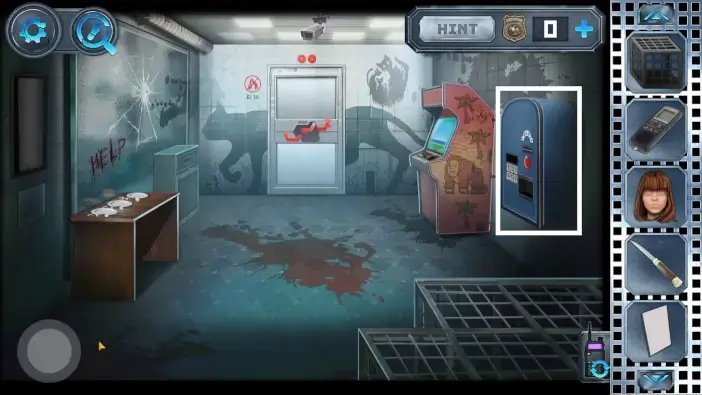
Switch to Anna and pick the joystick from the drawer in the mirror room. Approach the arcade game machine.
- Place the joystick.
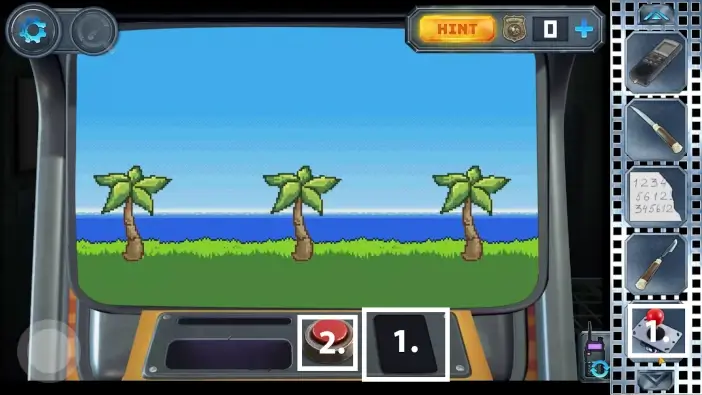
- Press the red button to start the game.

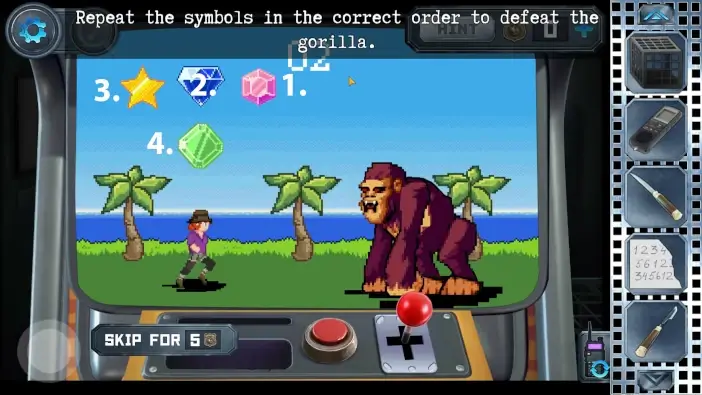
The game is very simple, you will have 3 rounds. Each round the gorilla will have several gems above its head. They will disappear in a specific order. Then the same gems will appear on the main character’s head. You need to click them in the order of how they disappeared before, above the gorilla. Solution for Round 1:
- Pink gem
- Orange gem
- Golden star
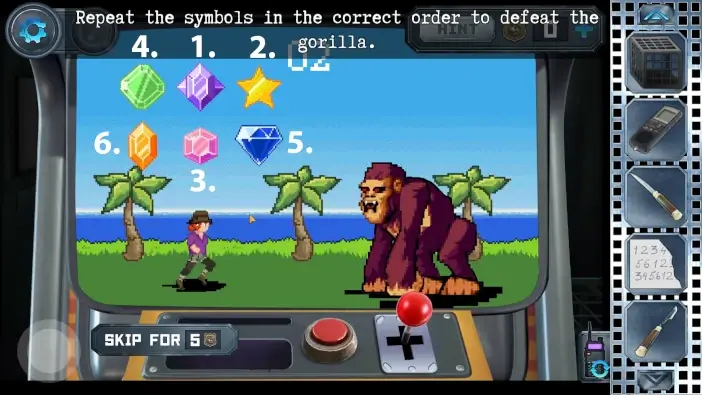
Round 2:
- Pink gem.
- Blue gem.
- Golden star.
- Green gem.
Round 3:
- Purple gem.
- Golden star.
- Pink gem.
- Green gem.
- Blue gem.
- Orange gem.
When you complete the arcade game you will get a cartridge called “Giveaway” as a reward. Place it in the drawer to give it to Alex.
Switch to Alex and take the cartridge from the drawer. In the lab, go to the console machine to the right.
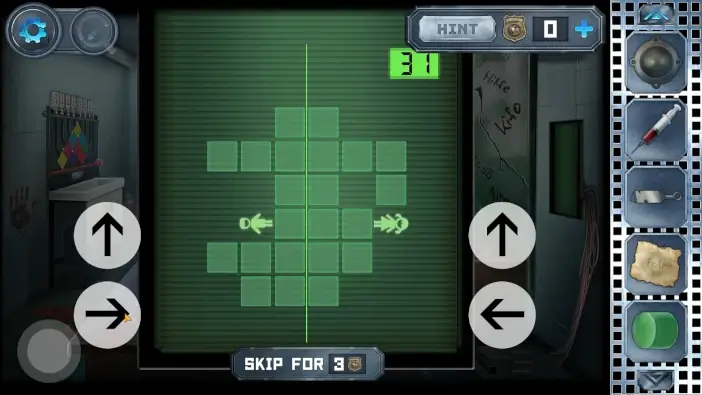
Move the boy and the girl with the top arrows. When either of them has 2 or more squares above them, they can’t move. In that case, use the right and left arrows to overcome the obstacles.
When you pass the game, the hidden compartment will open in the mirror room where Anna is. Switch to Anna and pick the rounded key from the wall.

Approach the table on the left.
Put the steak knife and fish knife on the table. You’ll still miss some items, so this puzzle will come later.
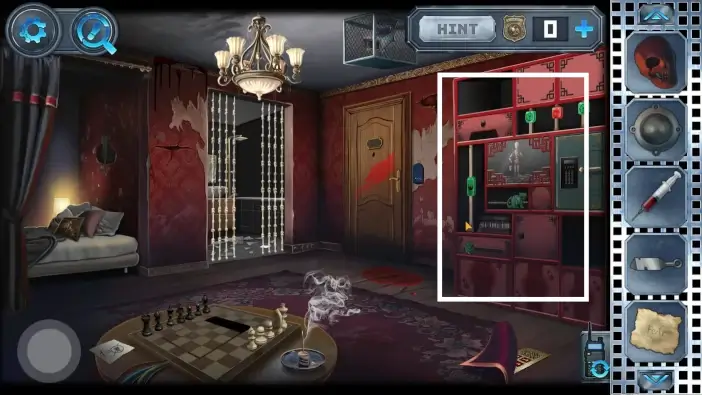
Switch to Alex and go to the living room. Approach the bookshelves.
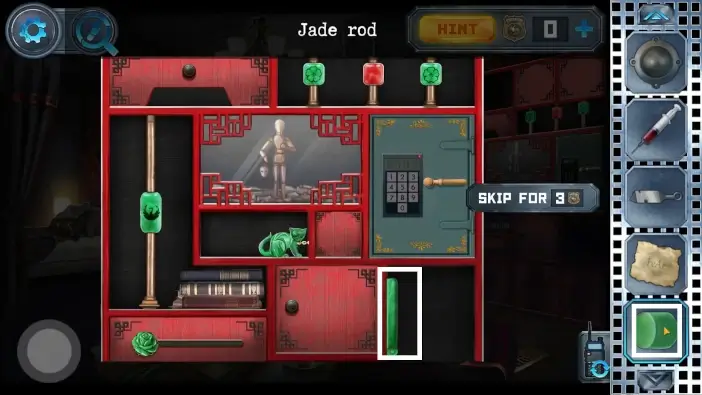
Extend the green surface on the bottom right and place the jade rod in the hole of that surface.
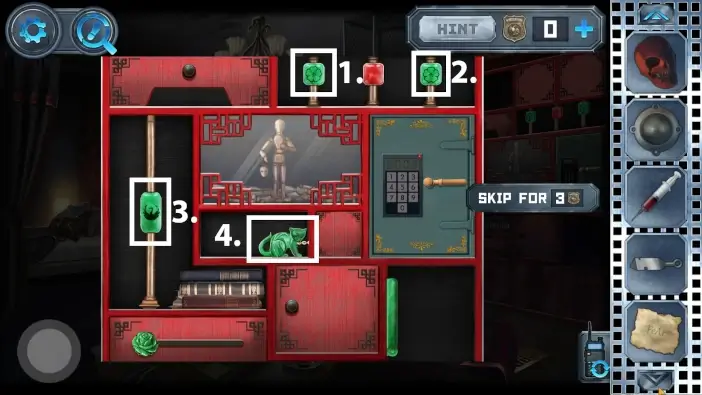
- Move the left flower downward.
- Move the right flower downward.
- Move the bird button downward.
- Move the cat leftward.
After this sequence, the safe will be activated.
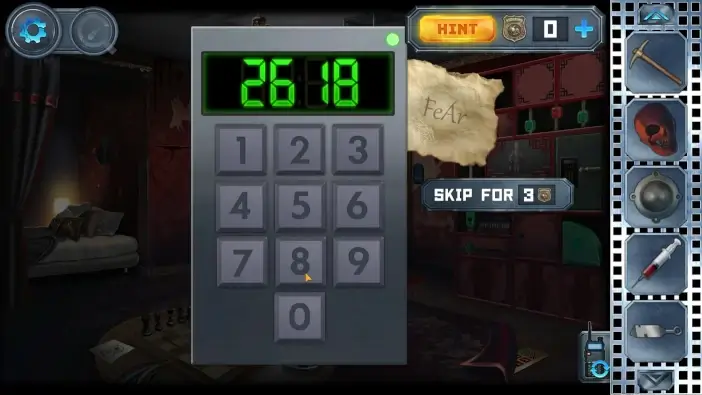
Approach the safe. Use the mysterious paper for a hint. From the paper, you can read the word FeAr, with a specific order of capital-case and lower-case letters. These are symbols of Iron (Fe) and Argon (Ar). In the book from the shelf, you can see a periodic table of the elements. See the numbers for Iron and Argon. For Iron, it’s 26, for Argon it’s 18. On the safe, type the code 2618. Pick another red part from the safe.
Go to the lab and send the red part to Anna, via the drawer.
Switch to Anna and take the red part from Alex, in the mirror room. Approach the exit door and place the last red part. Assemble the red parts so that all parts can fit on the surface.
Use the rounded key to unlock the exit door. Anna is nearly free now, but Alex needs to unlock his exit door in the laboratory room as well.
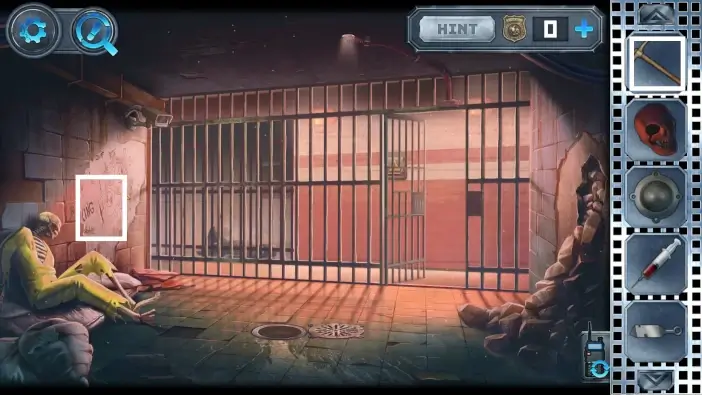
Switch to Alex and go to the prison cell where Alex woke up at the beginning of Chapter 1. Use the pickaxe and expand the hole in the wall. Pick a second letter fragment for Anna.
Send the letter fragment to Anna in the lab.
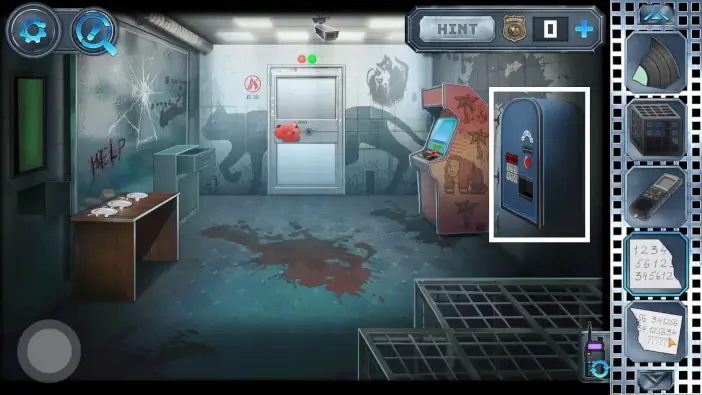
Switch to Anna and take the fragment, then approach the token machine.
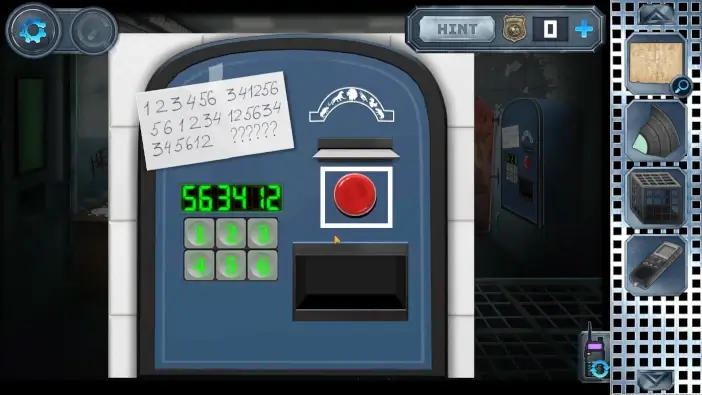
When you approach it, both fragments will stick together. The codes on the paper are different combinations of 2-digit numbers. The solution to the puzzle is 563412. When you insert the code, press the red button and you will get gaming machine tokens.
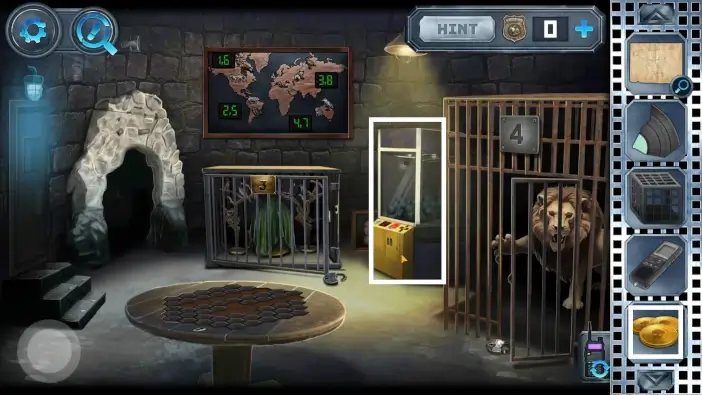
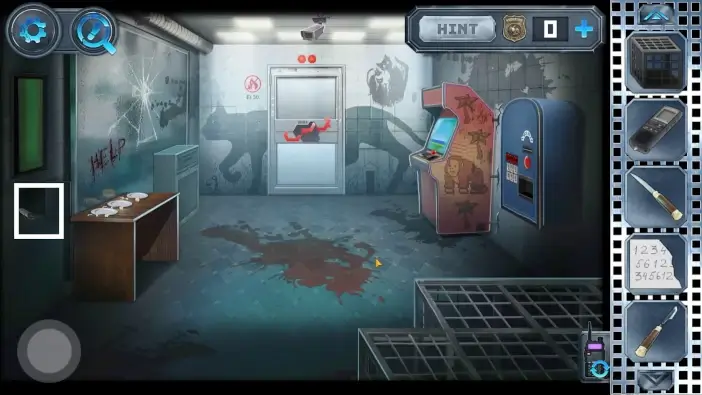
Go to the zoo room and approach the machine.
- Place the gaming tokens.
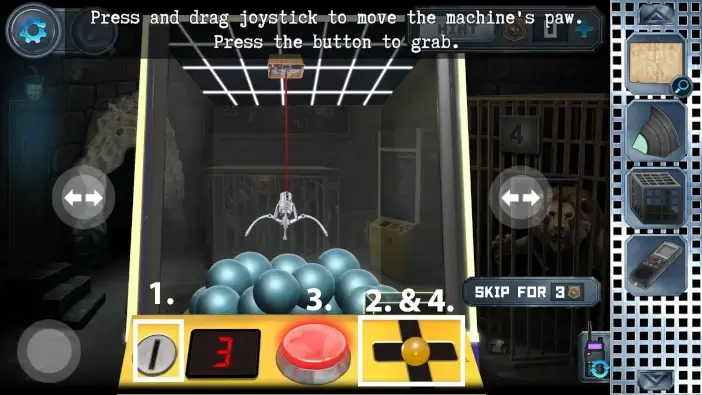
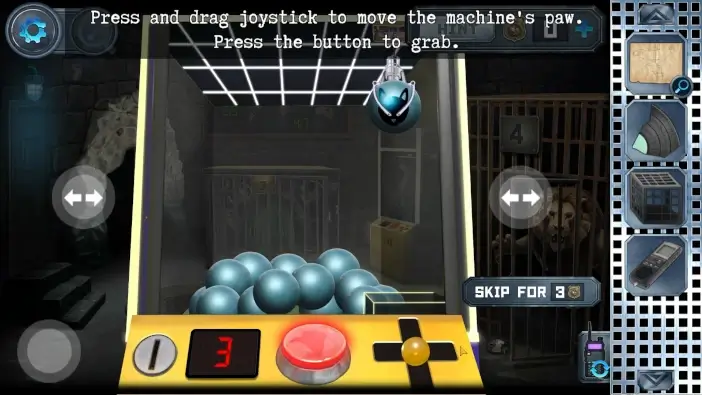
- Use the joystick on the right to move the hand.
- Use the red button to catch what is below the hand.
- Click on the joystick to drop the ball.
In the picture above is the location of the target ball that has a cat on it. You can rotate the machine to spot the cat ball from a different angle.
Drop the cat ball to the hole on the right. As a reward, you will get a mouse.
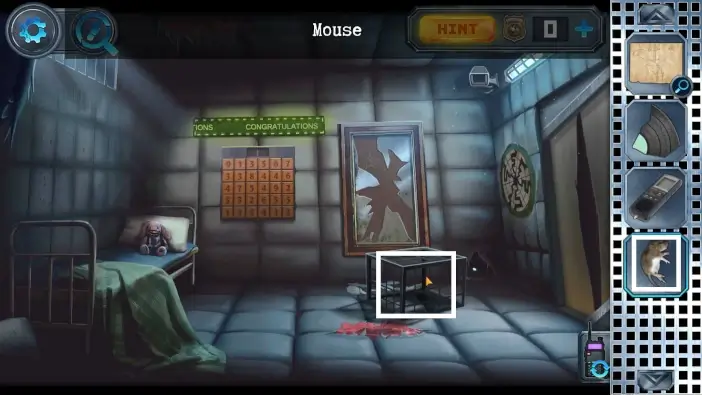
Go to the starting area for Anna, which is a padded cell, and place the mouse inside the cage. The cat will attack it, but it will be trapped in a cage.
While the cat is trapped, you can approach the hole where he was hiding before. Pick the three-prong fork from the hole.
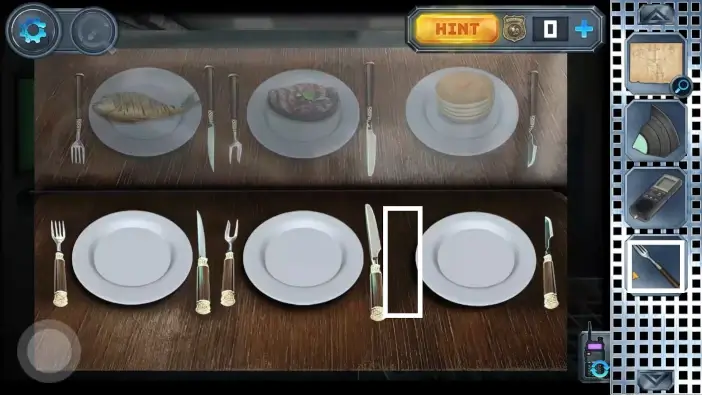
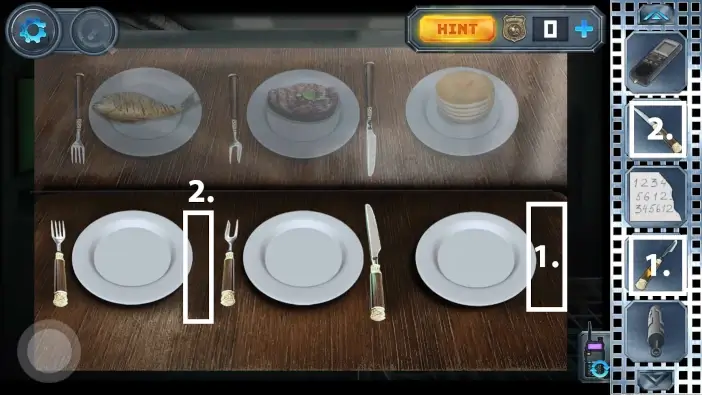
Go to the mirror room and approach the table on the left. Place the three-prong fork.
Rearrange the cutlery according to the type of food on the mirror. Once you solve this puzzle, you will get a paper with chemistry instructions.
Take the paper and give it to Alex via the drawer.
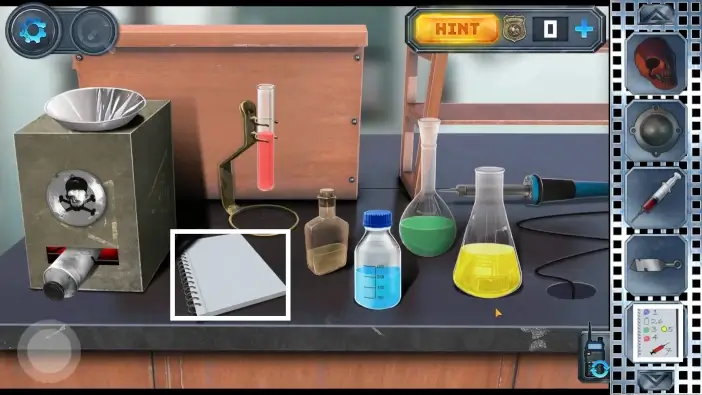
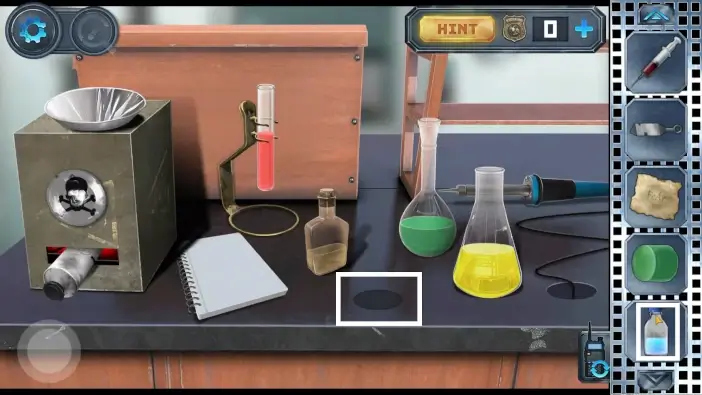
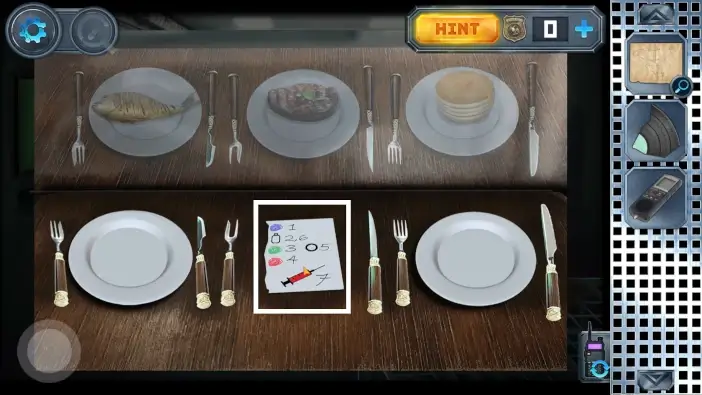
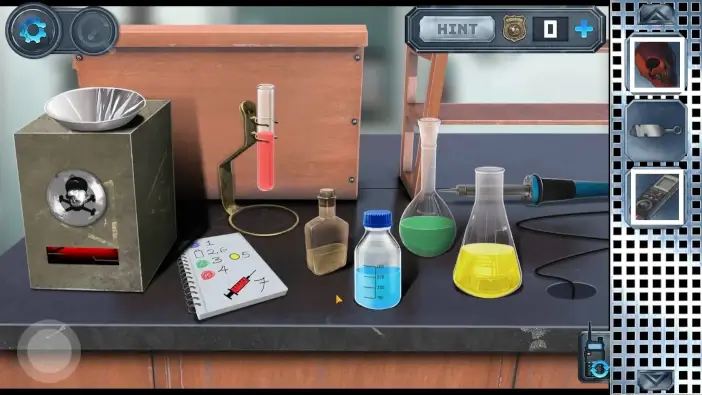
Switch to Alex and take the paper from the drawer. While still in the lab, approach the large desk in the center of the room. Place the paper on the desk.
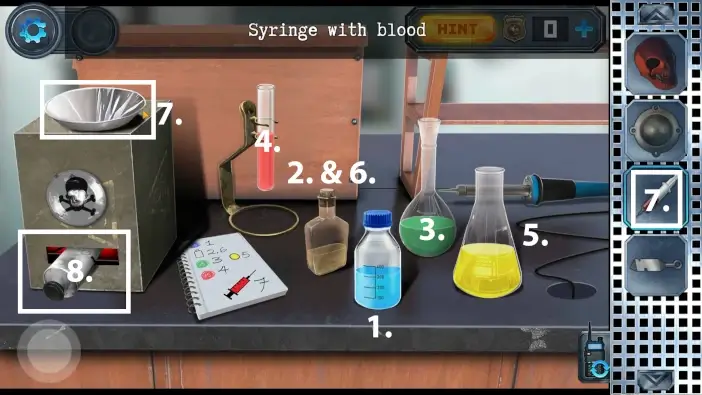
Follow the instructions from the paper. Once you complete 6 steps, the 7th step is to use the syringe full of blood on the plate. Once you complete all 7 steps, pick the superglue.

Give the superglue to Anna.
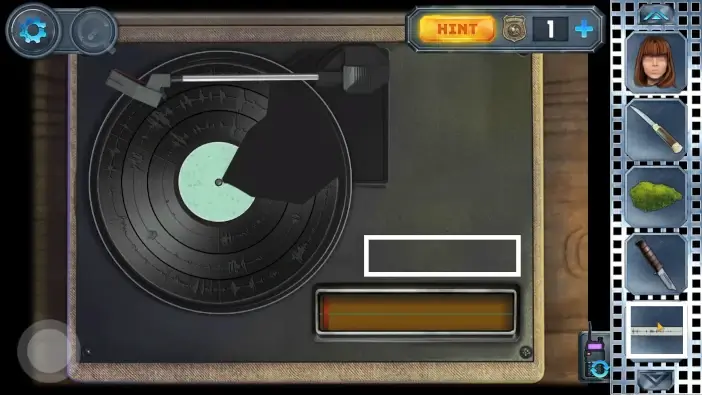
Switch to Anna and pick the superglue. Go to the forest cabin and approach the desk on the right.
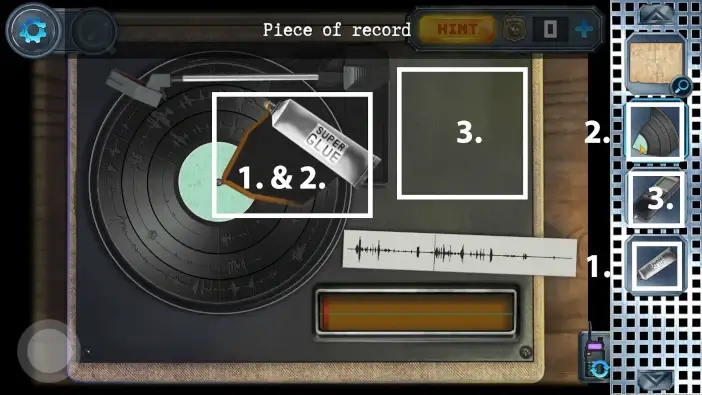
- Use the superglue on the vinyl.
- Place the vinyl fragment.
- Place the recorder beside the vinyl.
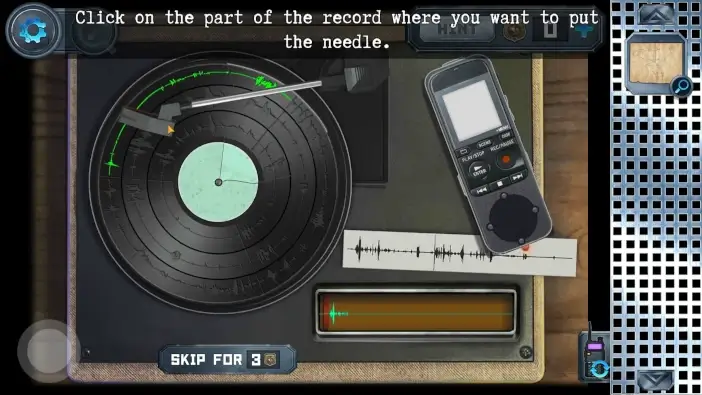
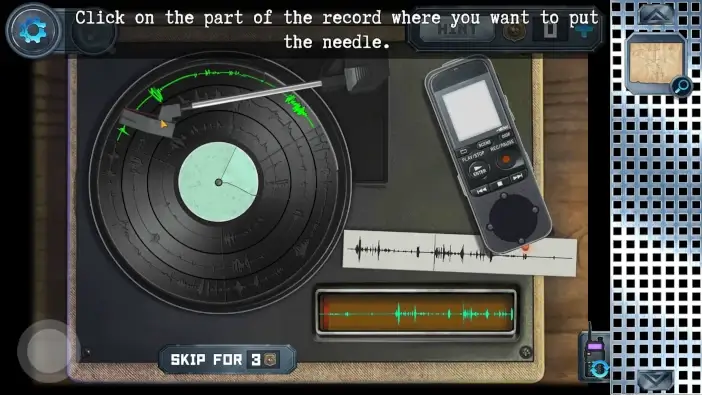
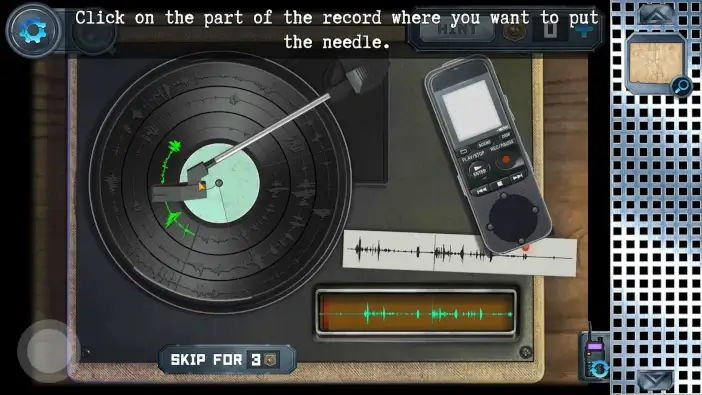
Hold the tonearm of the gramophone by holding the click (or holding the touch on mobile screens). When you release the click, the sound will play. If the sound is wrong, you will see the red color on the vinyl, if the sound is correct, the color will be green. There are 3 circles on the vinyl record and each circle has 4 segments. If you leave the tonearm on the wrong sound, if you immediately lift the tonearm, you will not ruin anything. The spectrogram on the right can also help you see which sounds you need.


Once you finish with this challenge, you will get the “voice recorder with recording” item.
Send the recorder back to Alex.

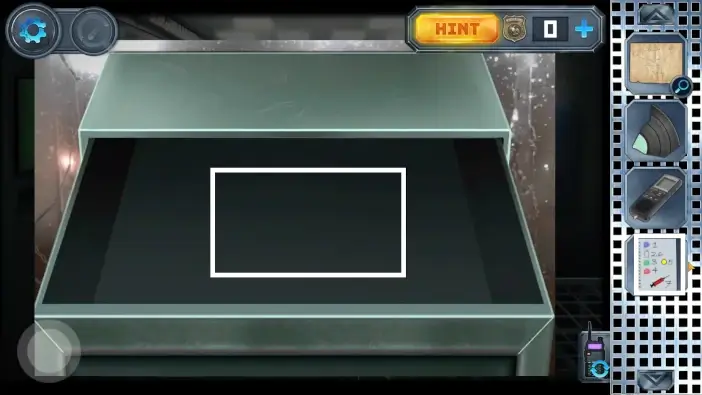
Switch to Alex, take the recorder, and approach the central desk where the vials are. Take the machine on the right side.
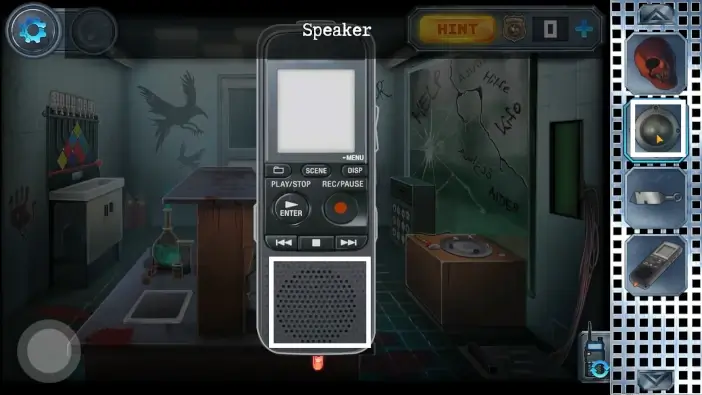
Place the speaker on the recorder.
In your inventory, place the recorder inside the mask.
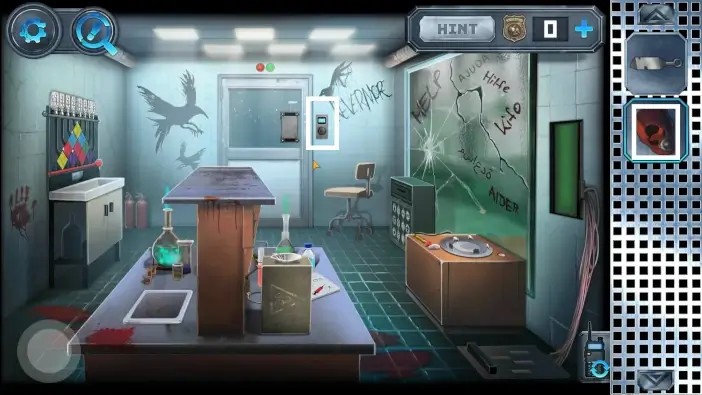
In the laboratory, approach the exit door. On the security check device, use the mask with the recorder to pass the first stage of unlocking the door.
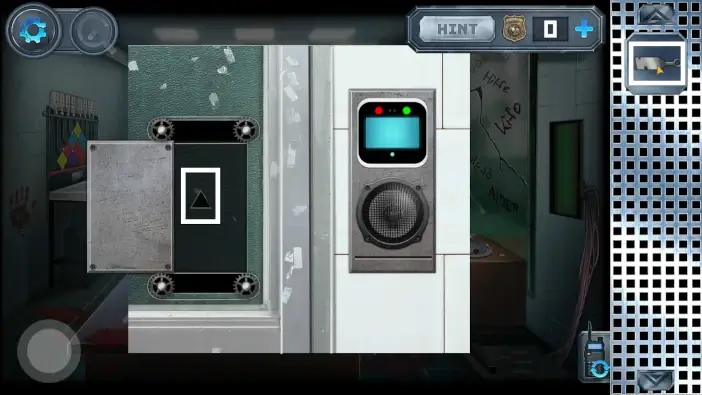
Use the triangle-shaped key to unlock the door.
This will mark the end of Chapter 1. You have solved all the puzzles and Alex and Anna are free! Currently, the game has only one chapter, but the other chapters will also be covered on our website, so stay tuned!
Thank you for reading!