Scary Horror 2 – Chapter 2, Part 2
Hello everyone and welcome to Part II of our walkthrough for Chapter 2 of the “Scary Horror 2: Escape Games”. At the end of Part I, we smashed the wooden boards and gained access to a new area. Let’s continue this adventure.
NOTE: The second part of the walkthrough follows the story up to the point when you discover a secret room by placing a three-cornered hat on the head of the statue of Napoleon.
As soon as we stepped into the next room, some dark creature appeared at the other end of the hallway, but, fortunately, it ran away when it saw our character.
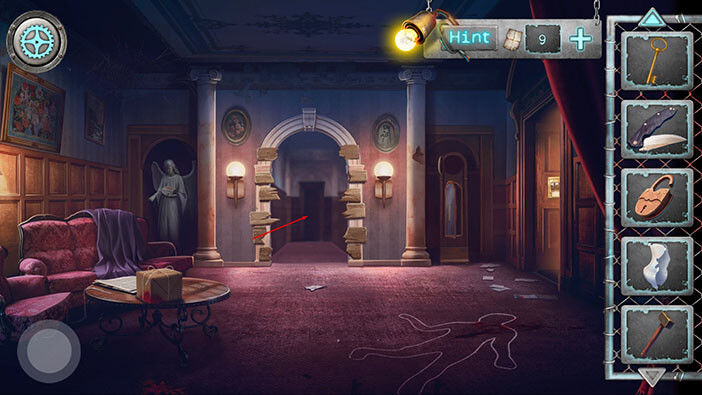
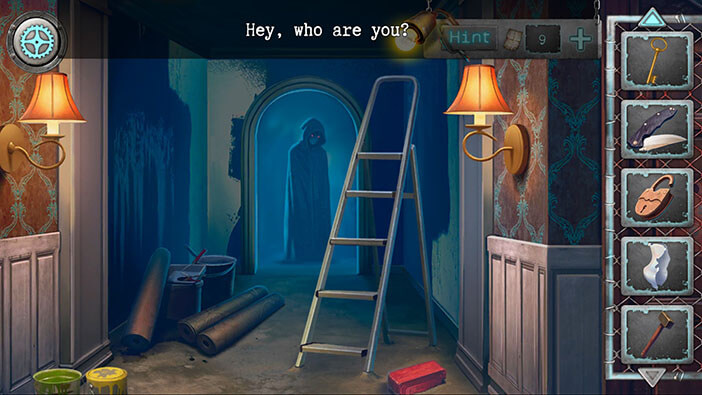
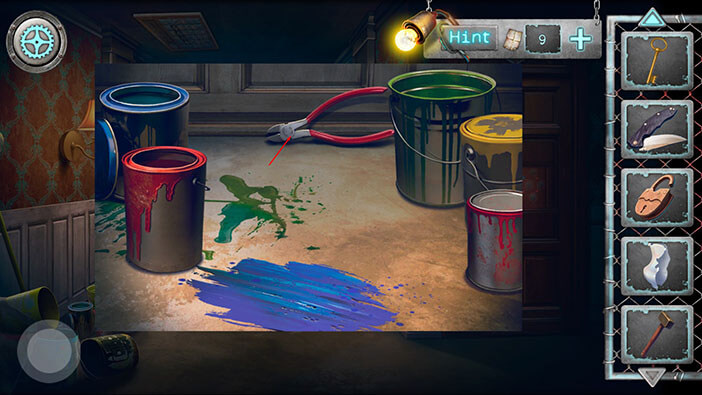
Ok, let’s search this room. Tap on the paint cans, on your left, to take a closer look.
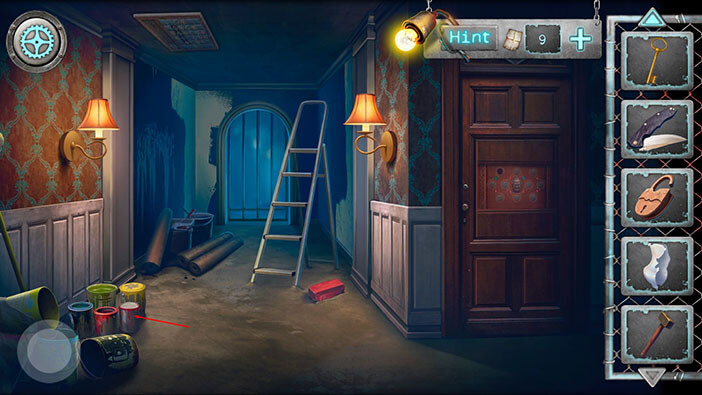
Tap on the paint cans to move them aside.
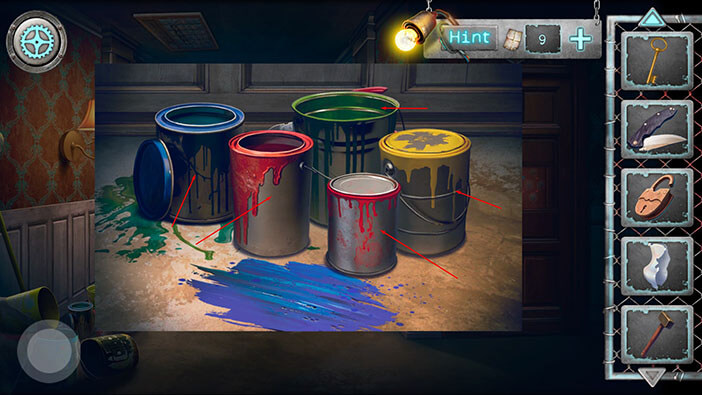
Well, after moving the paint cans, we discovered “Wire cutters”. Tap on the “Wire cutters” to pick them up.
Next, tap on the red box, located just below the ladder, to take a closer look at it.
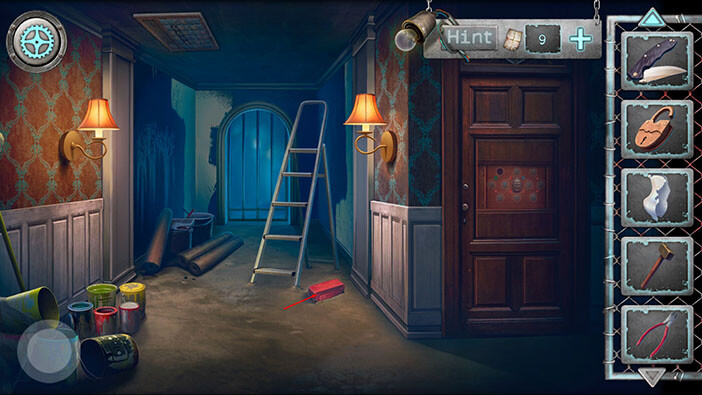
It seems that the red box is embedded into the floor. So, select the “Hammer” from the inventory and use it to smash the floor around the red box.
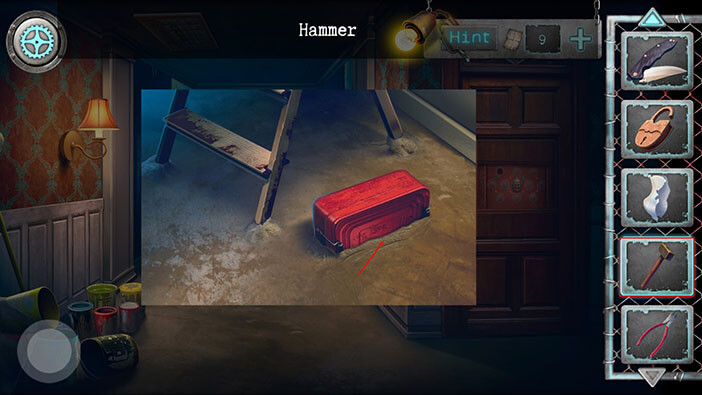
After that, tap on the red box to pull it out. Unfortunately, we will have to find some tools to open this box… In the meantime, let’s search the rest of the room.
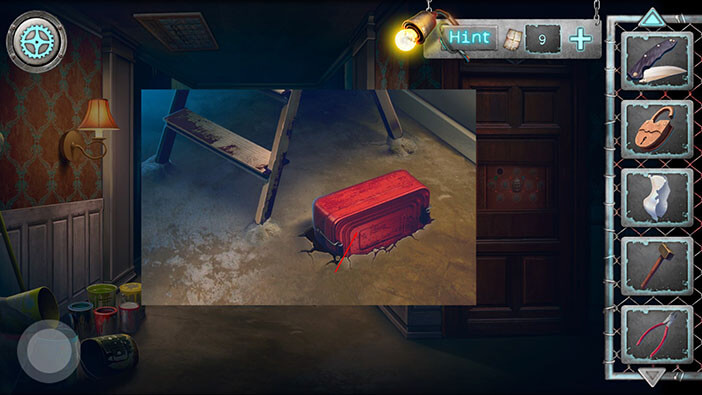
If you take a closer look at the ladders, you will see that it is also embedded into the floor. So, as before, select the “Hammer” from the inventory and use it to smash the ground around the ladders.
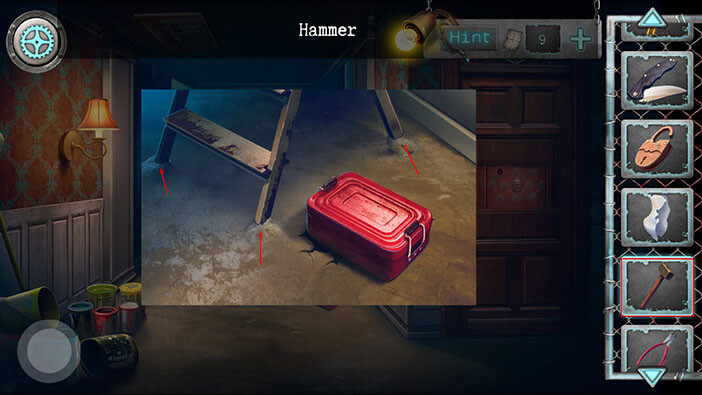
We freed up the ladder, so tap on it, and our character will move it to the left.
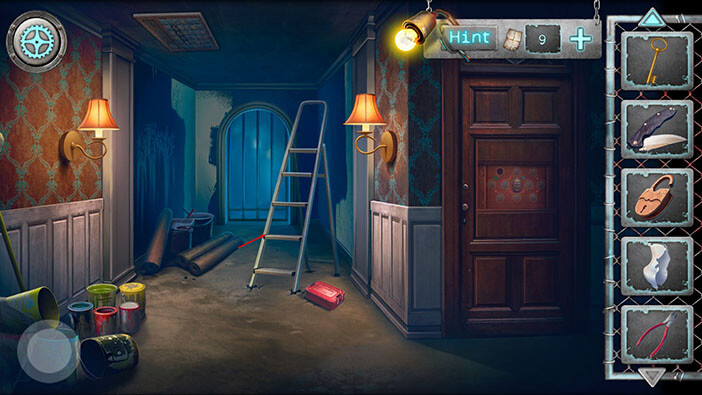
Ok, we can now use the ladder to reach the pattern on the ceiling. Let’s take a closer look at it.
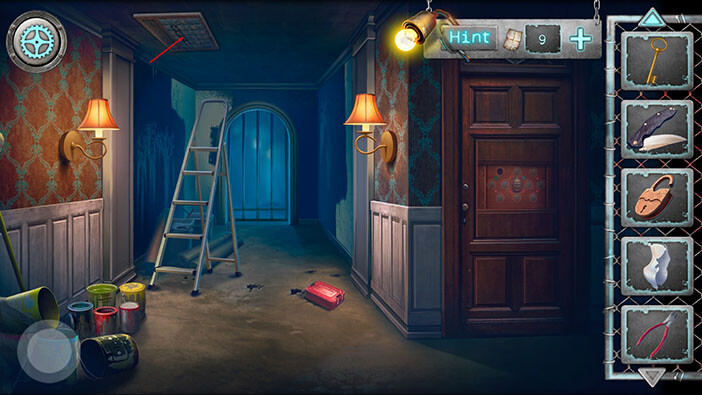
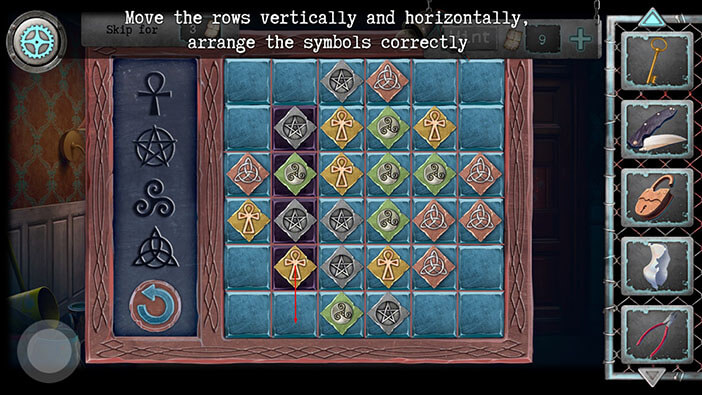
On the left, we can see four symbols. Our task is to arrange the symbols in the same order in the four purple fields on the right. We can rearrange the symbols by moving columns and rows. This shouldn’t be too difficult. Let’s begin.
Step 1
Move the second (left to right) column all the way down.
Step 2
Move the second (top to bottom) row one field to the left.
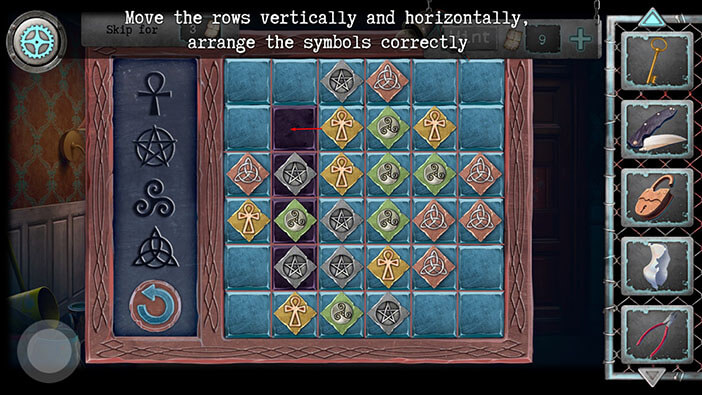
Step 3
Ok, we arranged the first three symbols, now we just have to find the way to get the fourth one. Move the first column all the way down.
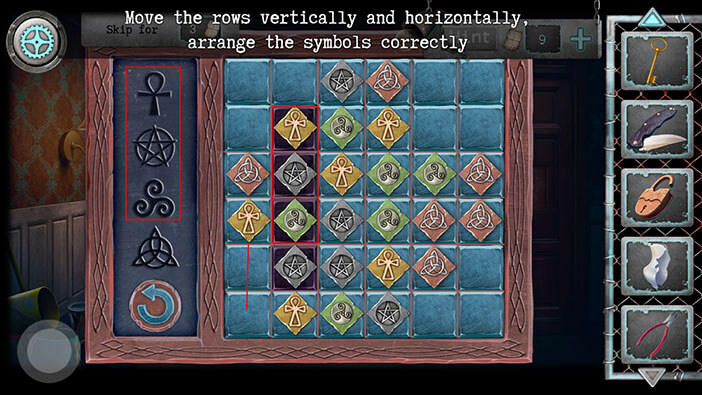
Step 4
Move the fifth row one field to the right, and you will properly arrange the symbols.

After we solved the puzzle, a secret compartment opened, and we discovered two items. Tap on them to pick them up and “Saw for metal” and “Half lampshade” will be added to your inventory.
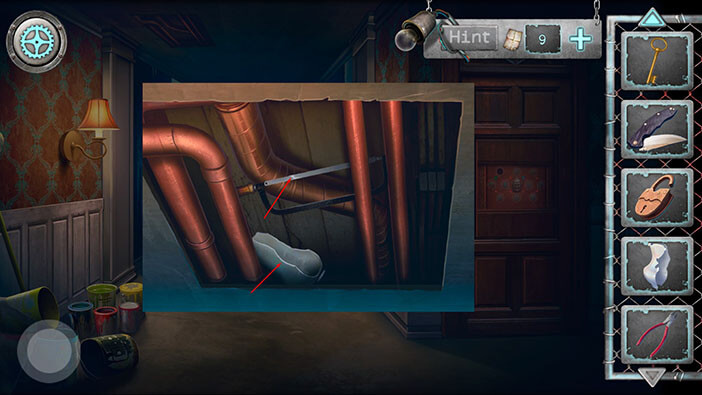
Select the “Half lampshade” from the inventory and combine it with the other half. “Non-glued lampshade” will be added to your inventory.
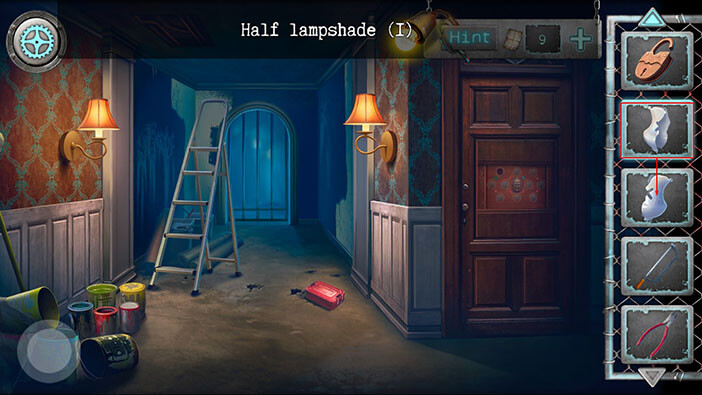
The next step should be very obvious. Select the “Glue” from the inventory and combine it with the “Non-glued lampshade”. After that, “Lampshade” will be added to your inventory.
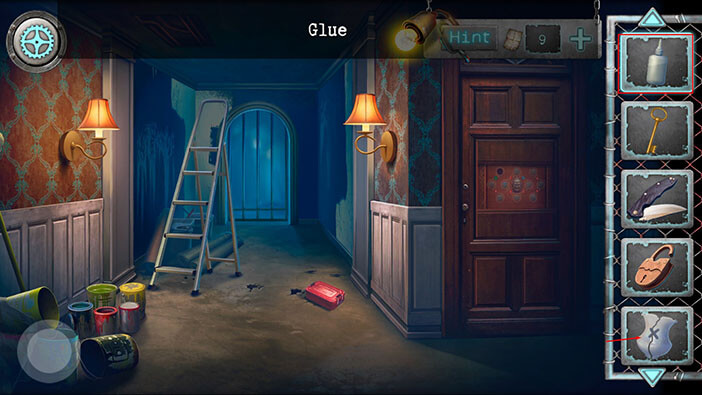
Next, select the “Saw for metal” from the inventory and use it to cut the bars.
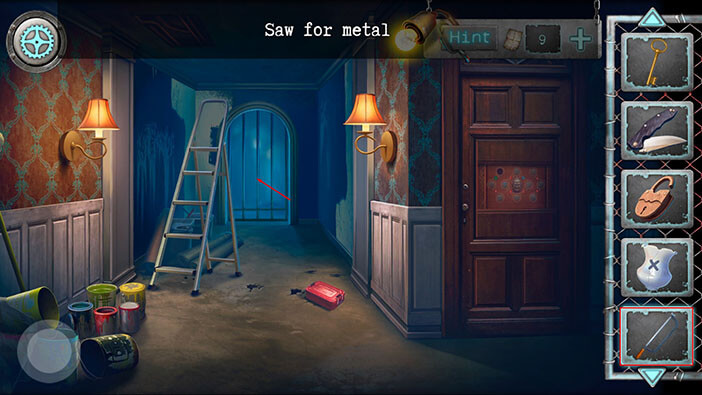
Let’s proceed into the next room.
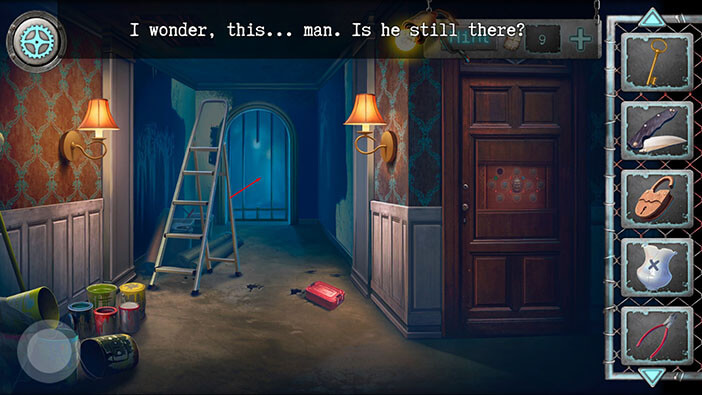
Well, this is a very strange room… Tap on the barrel on your left to take a closer look at it.
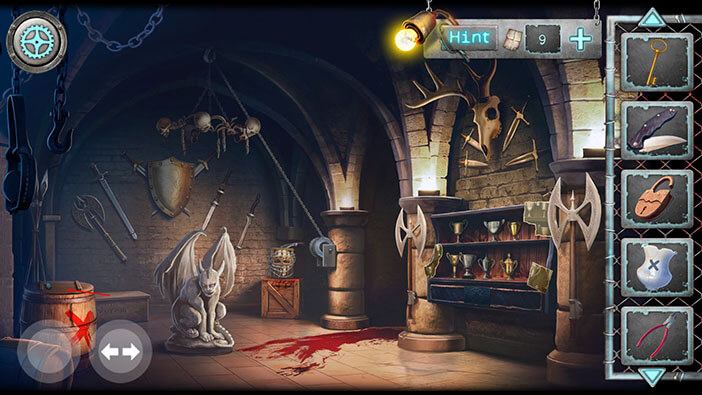
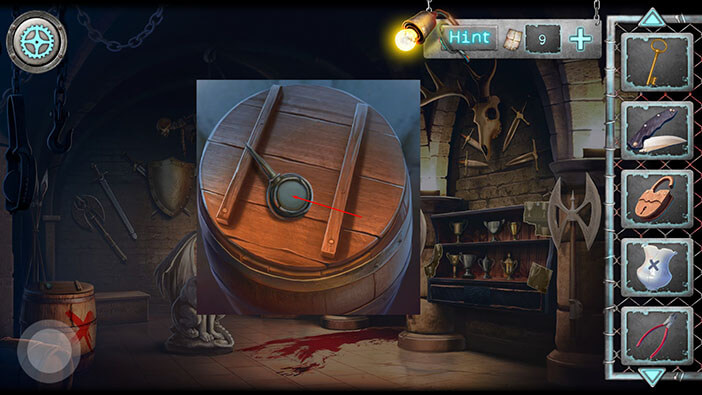
Tap on the item on the barrel to pick it up and “Oiler” will be added to your inventory.
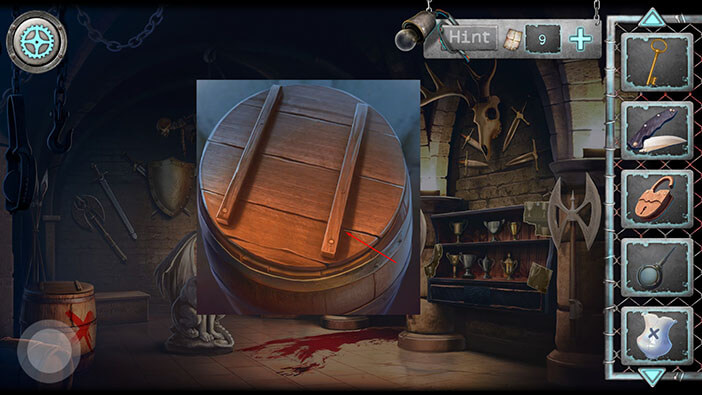
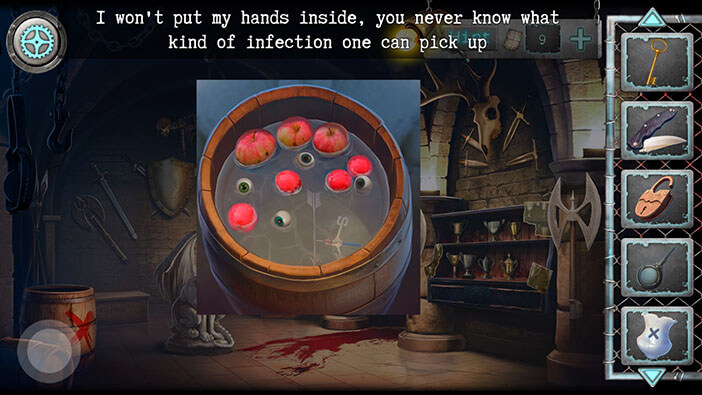
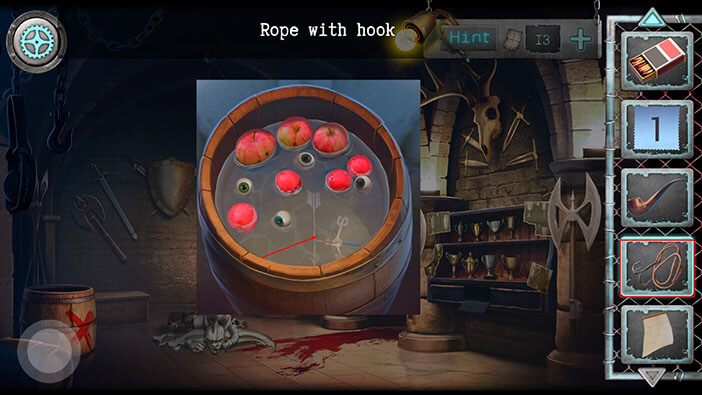
Next, tap on the barrel to open it. It seems that the barrel is filled with apples, eyeballs, and some kind of liquid. We can also see an arrow and some other item (could be a compass) inside the barrel. But, naturally, our character doesn’t want to put his hand inside the barrel, so we will have to find another way to get to these items.
Let’s take a closer look at the head, located on top of the box in the right corner of the room.
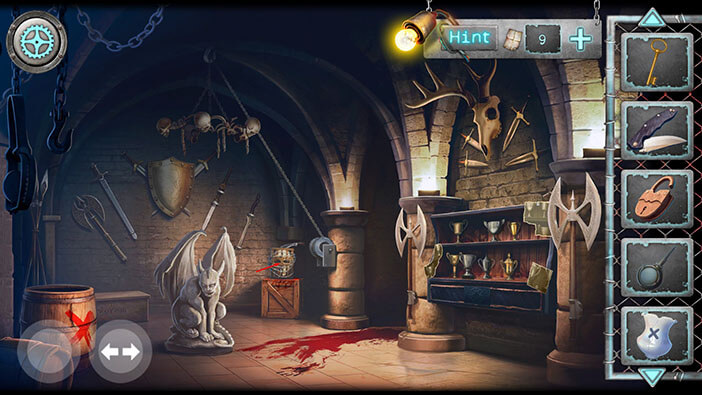
Well, it seems that the head is inside some kind of a container, but this container is tied with the barbed wire. So, select the “Wire cutters” from the inventory, and use them to cut the barbed wire. After that, tap on the wire to move it aside.
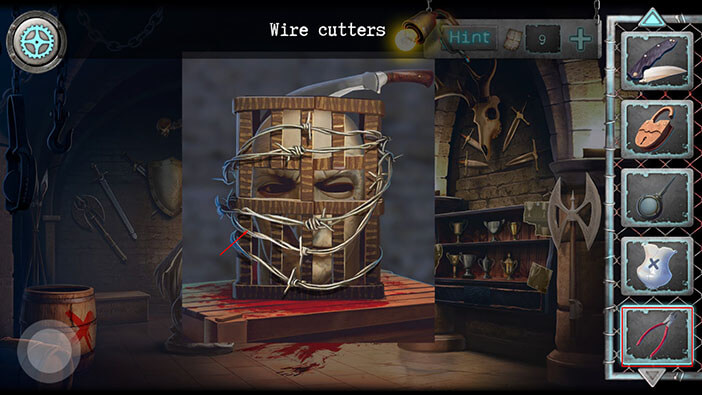
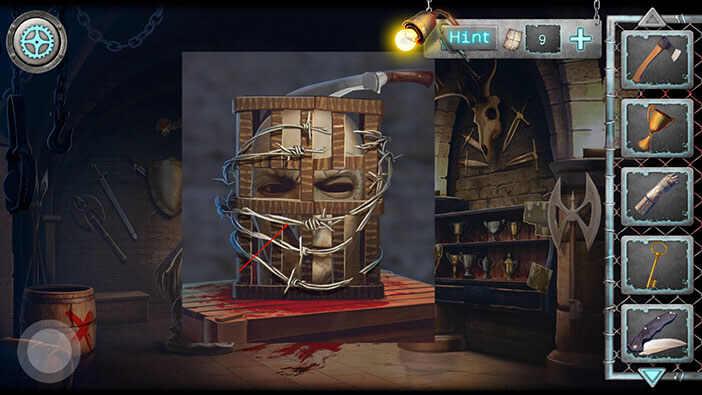
Next, tap on the knife to pull it out.
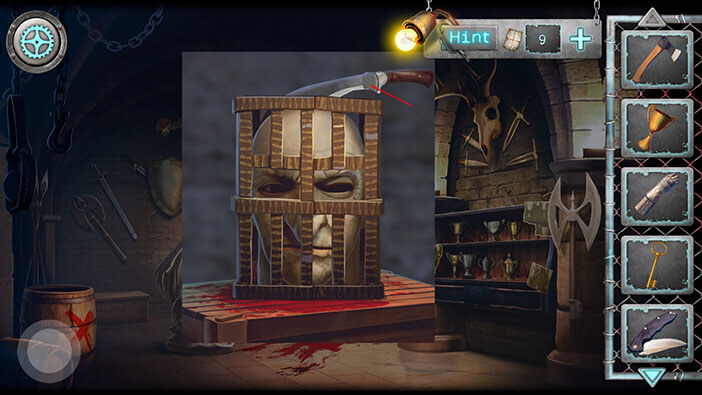
As soon as we pulled out the knife, the head and the container split in two, revealing a small bottle that was hidden inside. Tap on the bottle to pick it up and “Solvent” will be added to your inventory.
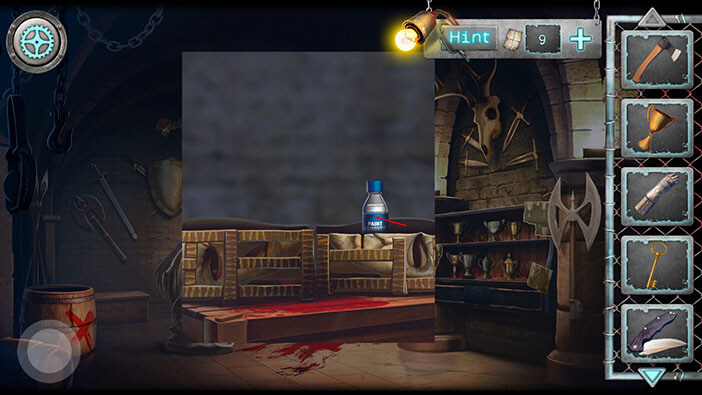
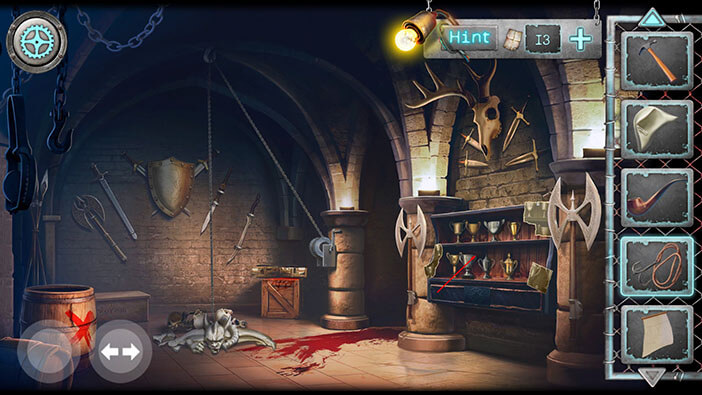
Let’s check out the shelves with trophies on our right.
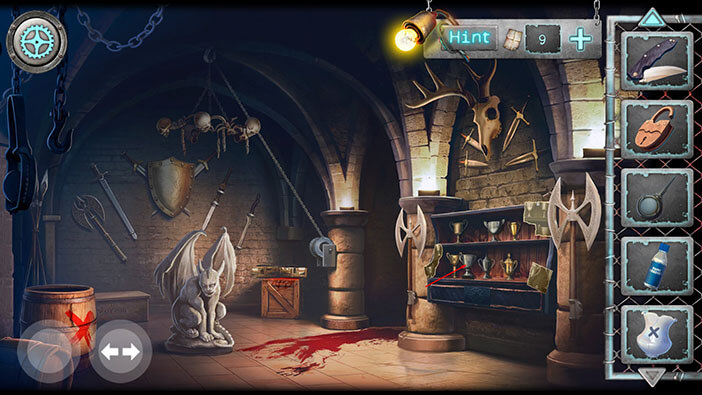
Tap on the item on the left side of the bottom shelf to pick it up, and “Opener” will be added to your inventory.

If you take a closer look at the shelves, you will notice that one of the trophies on the top shelf is missing. So, select the “Cup” from the inventory and tap on the empty space to put it on the shelf.
Also, you will notice that there are pieces of photos in the corners of the shelf, but the photo in the upper left corner is missing. We will come back to this shelf, a bit later.
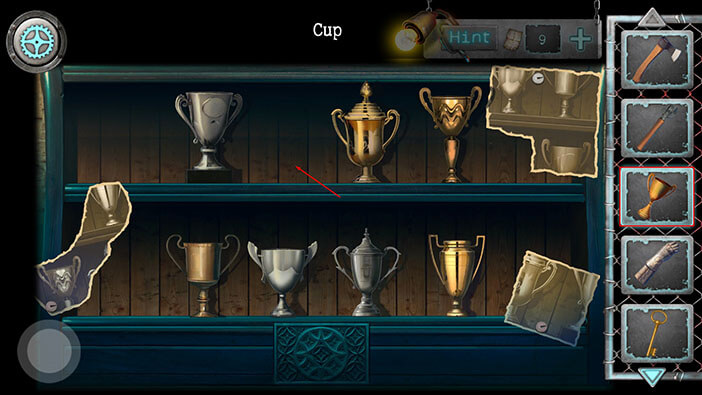
Well, we’re done here, for now. Let’s go back to the previous room.
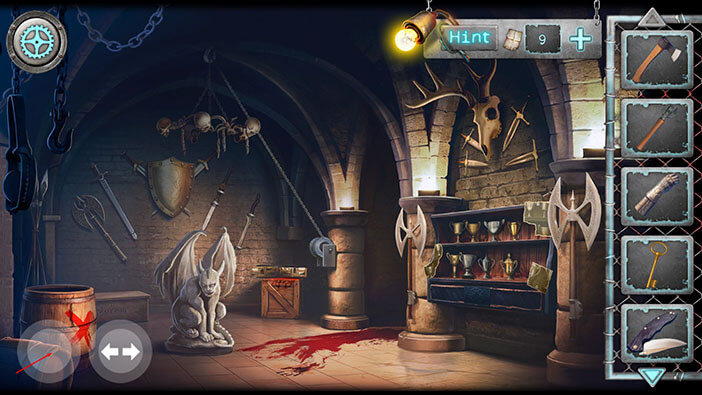
Let’s take another look at the red box.
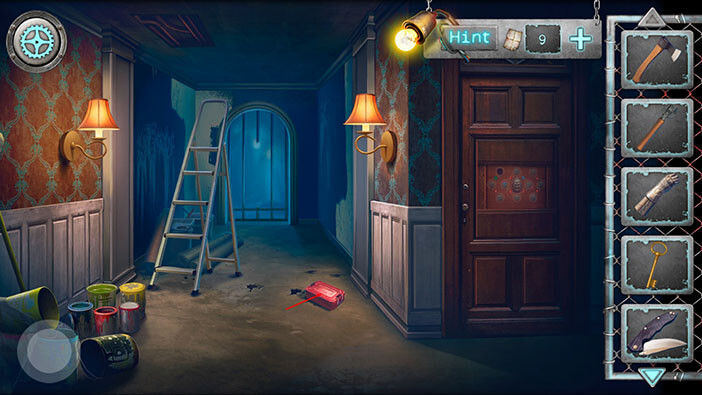
Select the “Opener” from the inventory and use it to open the box.
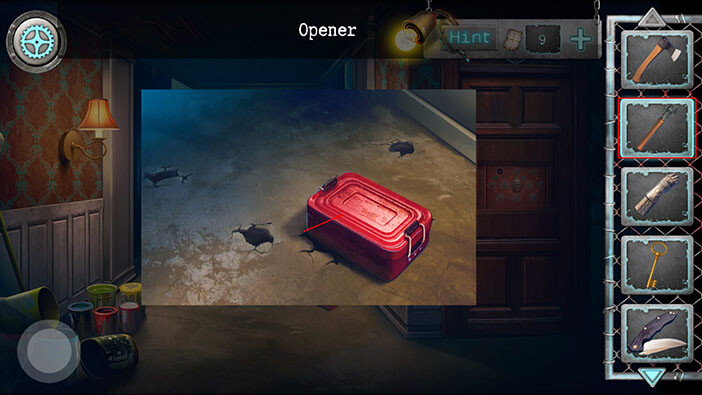
Tap on the glowing sticks to pick them up and “Neon sticks” will be added to your inventory.
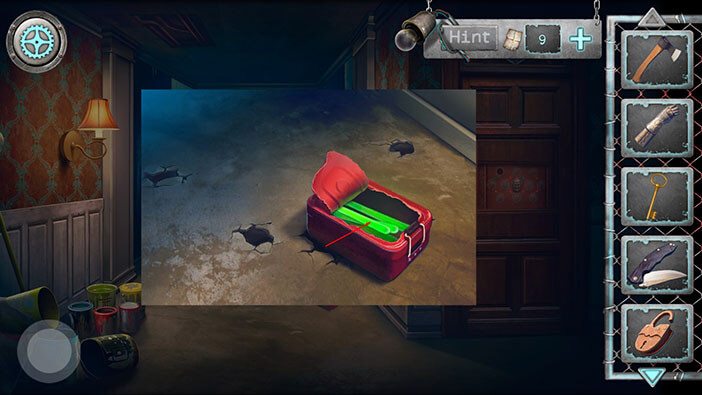
Let’s go a bit further back. Tap on the button in the lower-left corner.
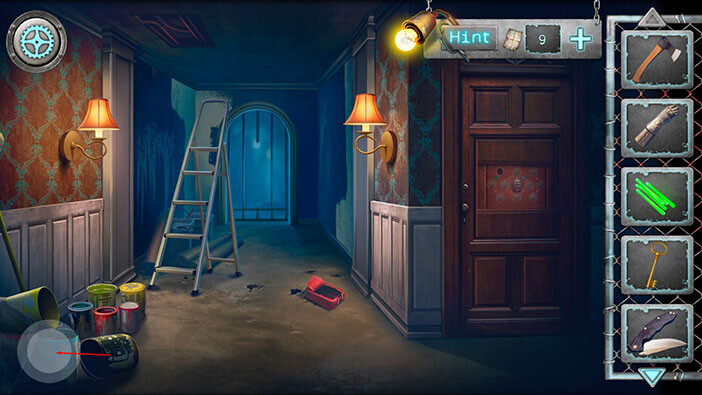
Tap on the box on the table to take a closer look at it.
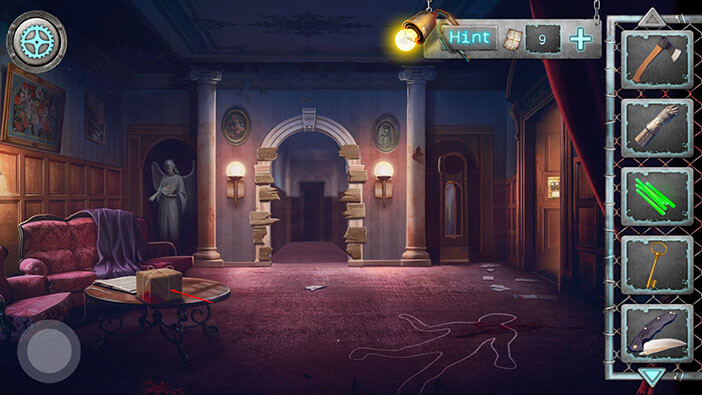
Select the “Folding knife” from the inventory and tap twice on the box to open it.
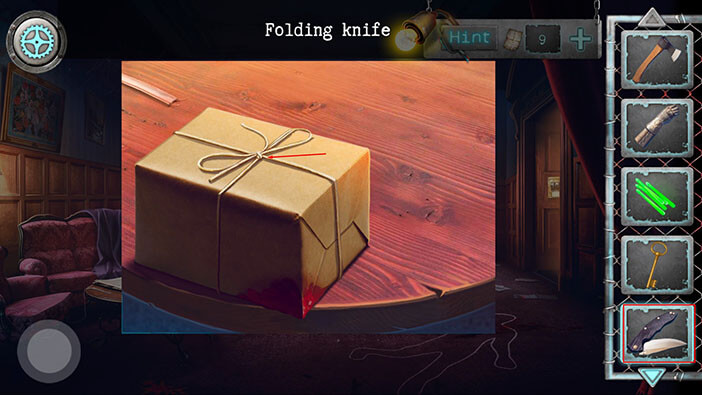
Well, we can see that the jam has spilled inside the box, so luckily the red liquid wasn’t blood, as our character presumed. We can also see one more item on the left side of the box. Tap on it to pick it up and “Ouija pointer” will be added to your inventory.
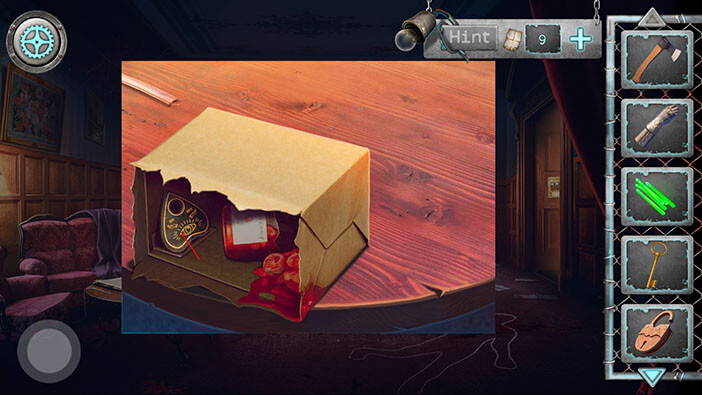
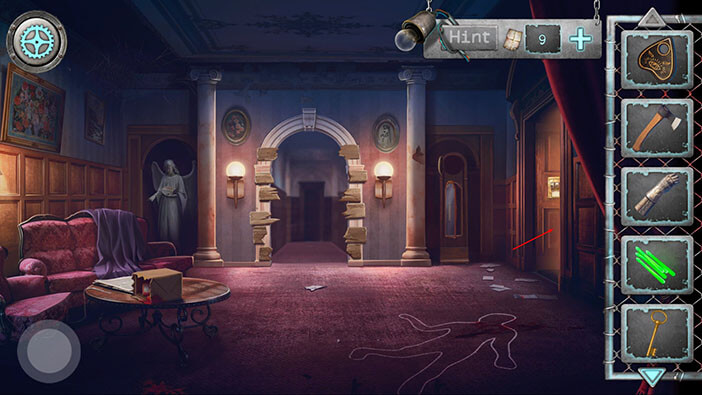
We should now go to the “secret” room on the right.
Let’s take another look at the armor stand on our left.
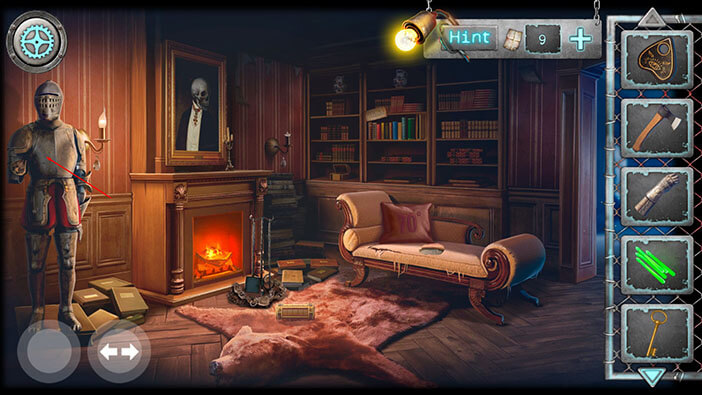
If you take a closer look at the helmet, you will notice that it is quite rusty. So, select the “Oiler” from the inventory and use it to remove the rust. After that, tap on the helmet to open it…
Two red eyes will blink a few times, once you open the helmet. Creepy…
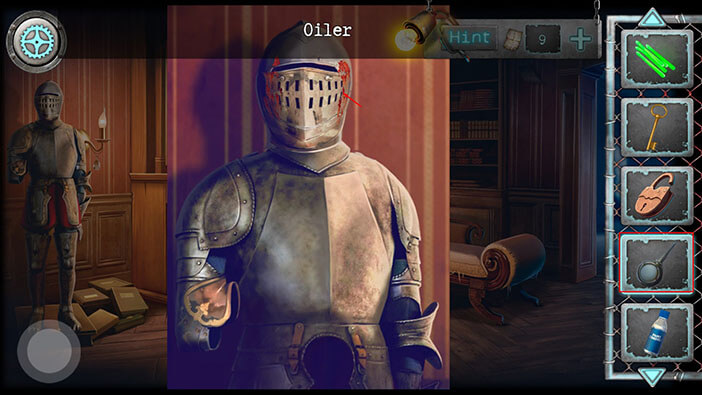
Tap on the item inside the helmet to pick it up and “Handle” will be added to your inventory.
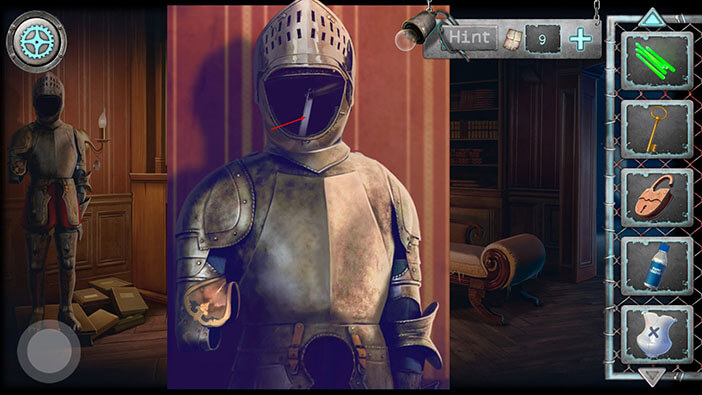
Ok, let’s go to the room on the right.

Tap on the game, on the small table on your left, to take a closer look at it.
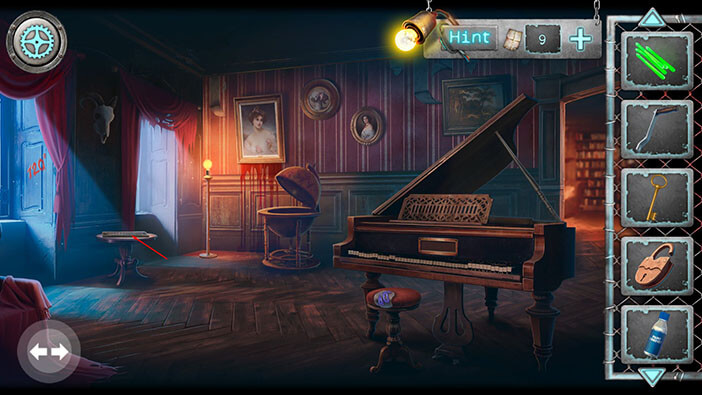
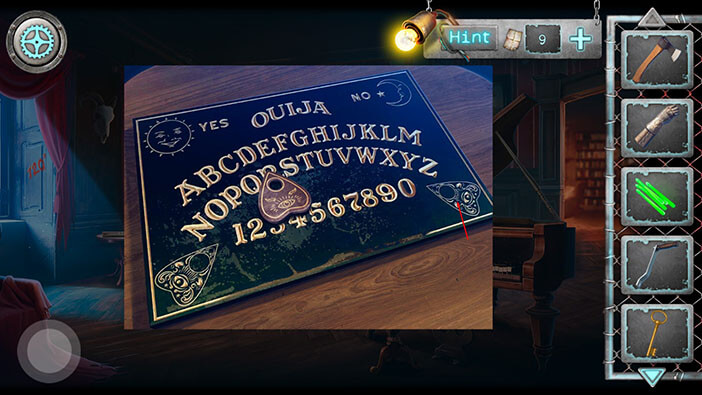
This is an Ouija game, so select the “Ouija pointer” from the inventory and tap on the game to put it down.
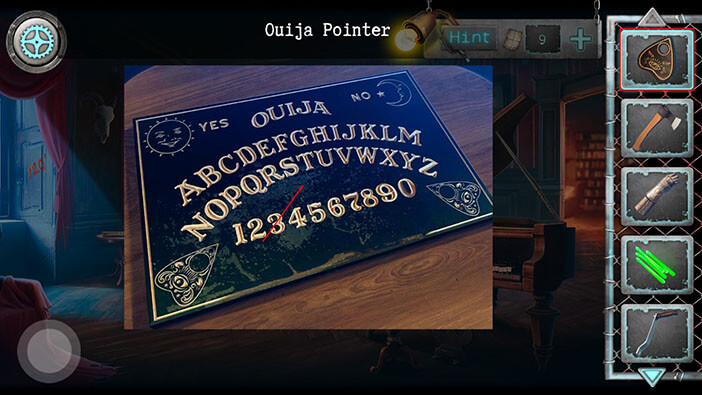
Next, tap and hold on to the arrow in the lower right corner of the game to start the interaction. The “Ouija pointer” will start to move, and it will point to several letters. After some time, it will stop. It pointed to the letters “DEATH”. Memorize this word, or write it down, because we will need it for the puzzle.
Ok, let’s go back to the previous room.
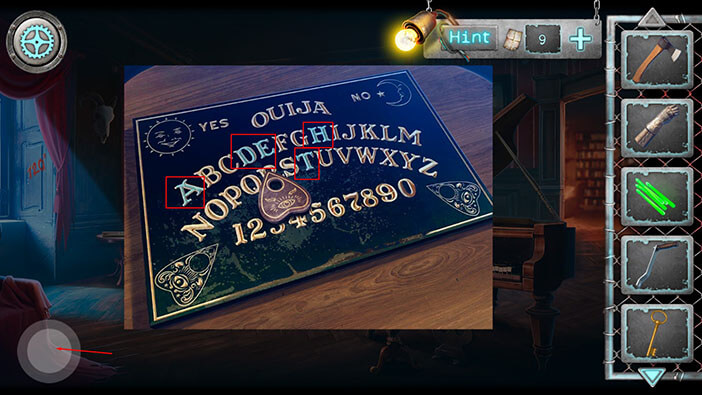
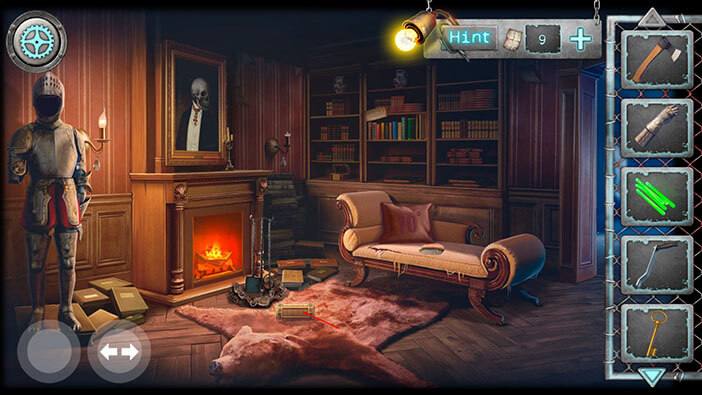
Tap on the small box on the floor to take a closer look at it.
Enter the word “DEATH” (that we just discovered from the “Ouija” game), by dragging on the field with letters.
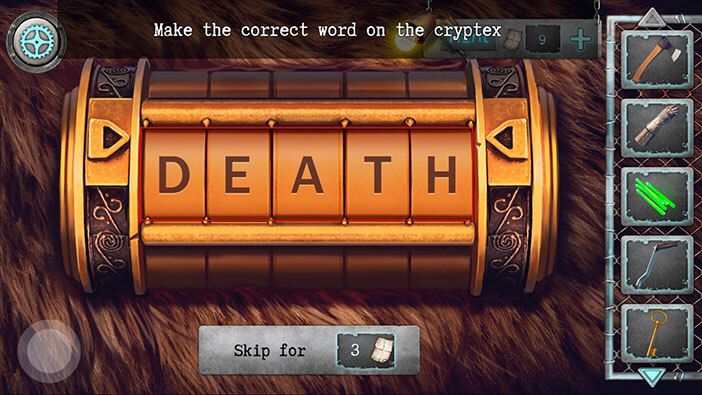
As soon as you enter the correct password, you will hear the clicking sound, and the box will open. Tap on the button inside the box to pick it up and “Detail” will be added to your inventory.
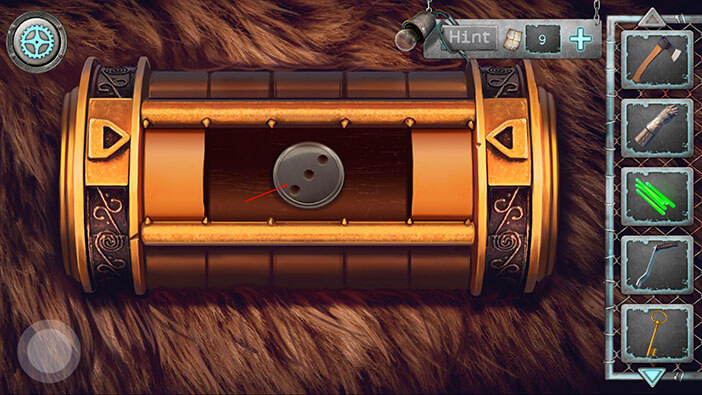
Let’s go back to the hallway (the one that we entered after chopping the wooden boards). To get there tap on the button in the lower-left corner to go back. After that, tap on the hallway.
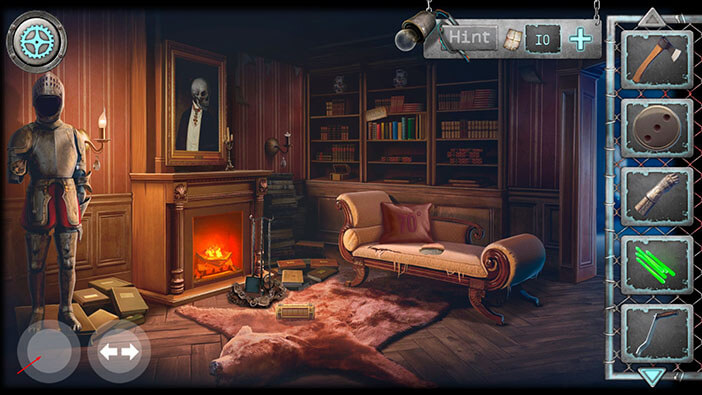
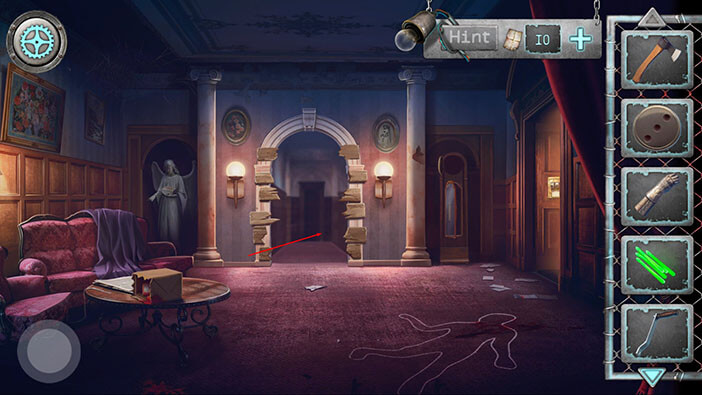
Tap on the board on the door to start the interaction.
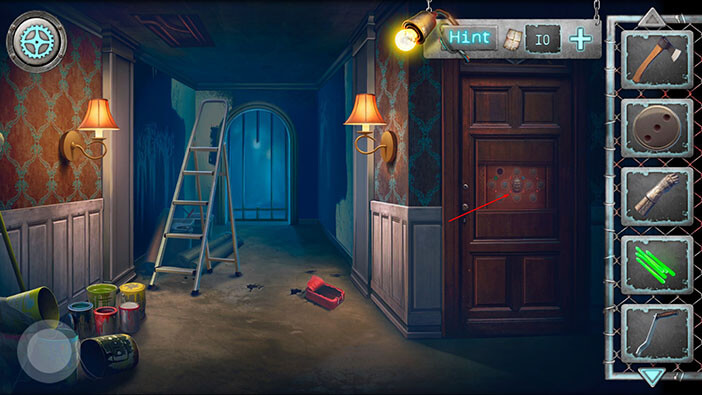
We can see that one of the tiles is missing. So, select the “Detail” from the inventory and insert it into the empty slot.
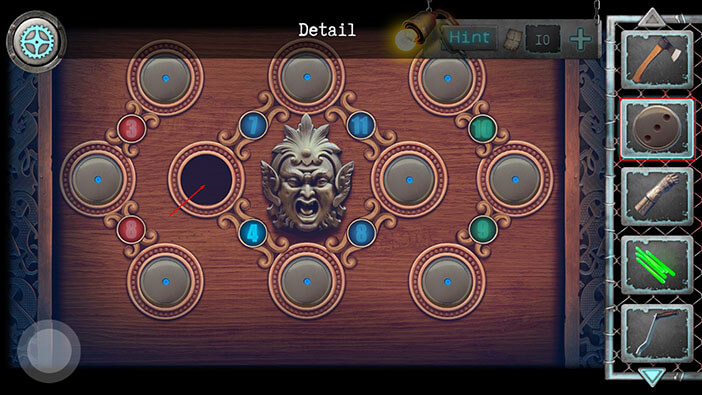
Well, the sum of blue dots in the adjacent tiles should equal the number between them. You can change the number of the dots on the tile by tapping on it. We will do this puzzle in several steps. Let’s begin.
Step 1
We will start by setting the dots in three isolated tiles on the left. Here we have numbers 3 and 8. So, the middle tile should have 2 dots, while the bottom tile should have 6 dots.

Step 2
Next, we will set the dots inside the middle (main) branch. Here, we have four tiles (top, left, right, and bottom), and the numbers are 7, 11, 4, and 8. We inserted the left tile and it is already set to three dots. Also, it already forms the number four with the bottom tile.
The left tile should form the number seven with the top tile. So, set the top tile to four dots.
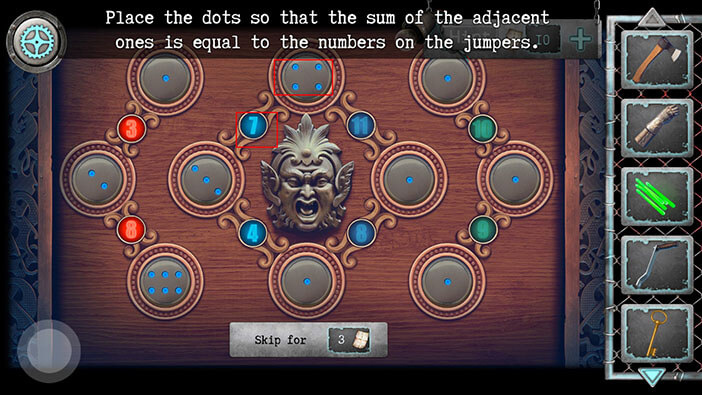
Step 3
Next, we should adjust the right tile. It should form number 11 in combination with the top tile (4) and number 8 in combination with the bottom tile (1). So, let’s set the right tile to seven dots.
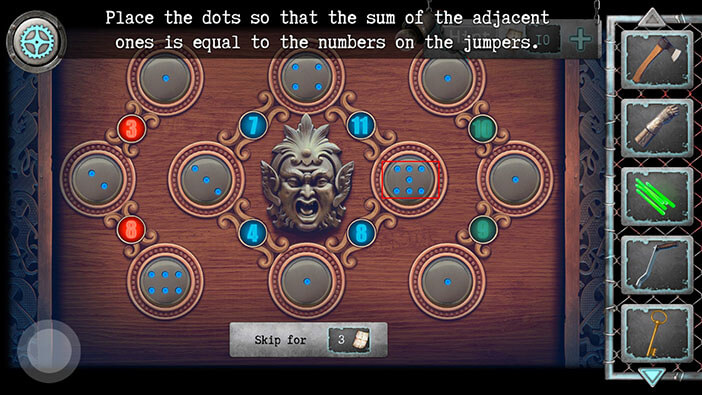
Step 4
Next, we will set the right branch. Here we have three tiles (top, middle, and bottom) and they should form numbers 10 and 9. This could be solved in several ways. One of them is to set the middle tile to six dots, the top tile to 4 dots, and the bottom tile to three dots.
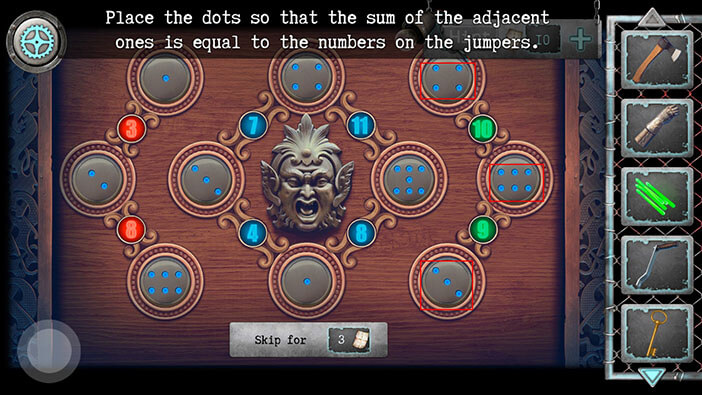
As soon as you solve this puzzle, you will hear a clicking sound and the door will open. Let’s proceed into the next room.
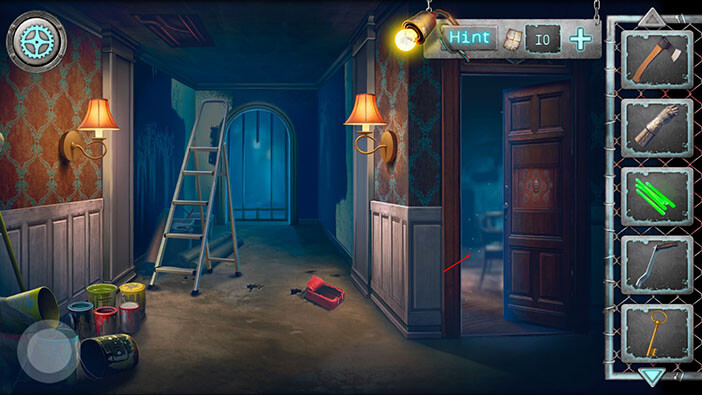
Tap on the “Broom” to pick it up.
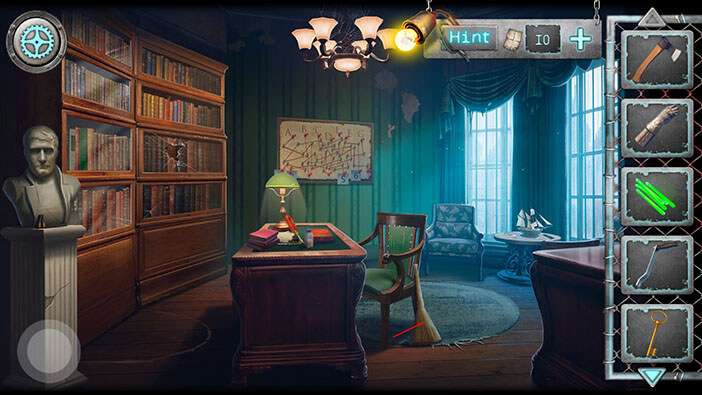
Next, tap on the statue on your left to take a closer look at it.
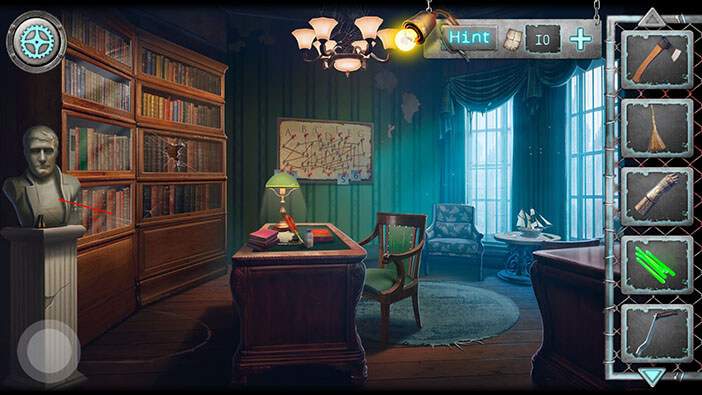
Here, we can see two “Batteries”. Tap on them to pick them up, because we will need them further down the road.

Let’s continue the exploration by taking a closer look at the desk.
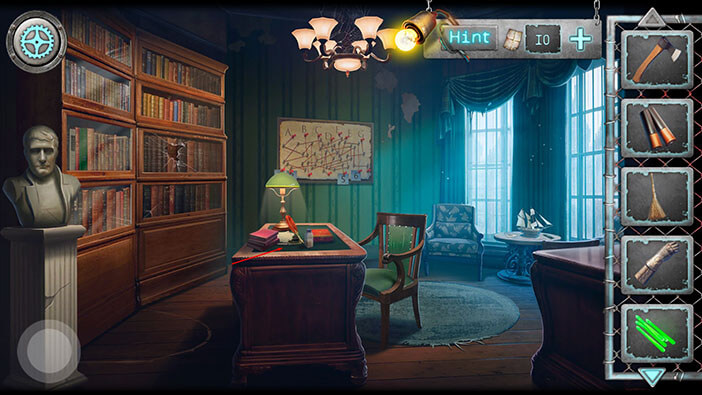
Tap on the small bottle on the left side to pick it up and “Developer” will be added to your inventory.
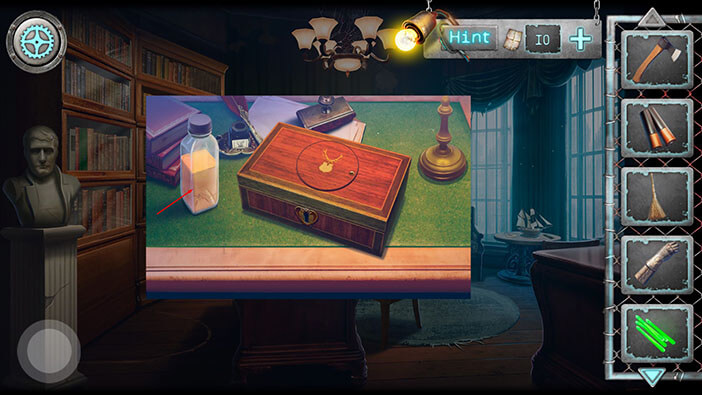
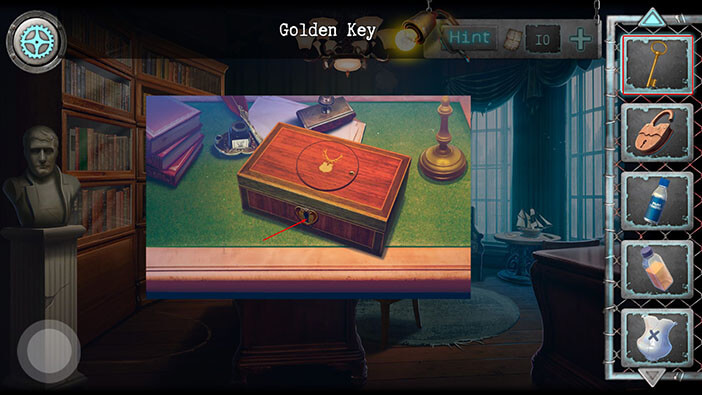
We can also see a small, wooden lockbox on the table. Let’s try to open it. Select the “Golden Key” from the inventory and tap on the keyhole.
Here we have another puzzle, and our goal is to rearrange the parts and assemble the picture. There are 10 pieces in total. In the image below you can see the solution to this puzzle.
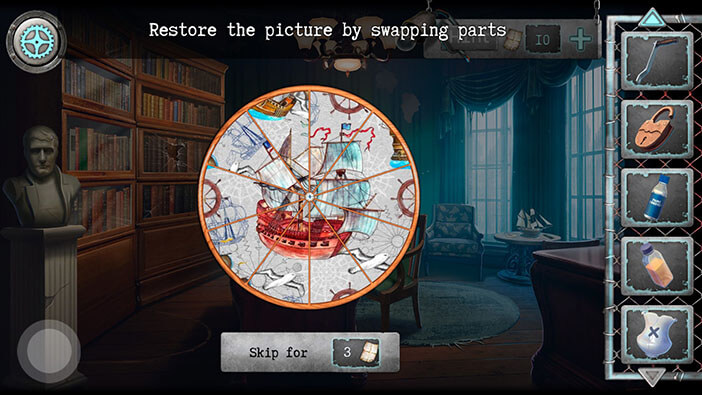
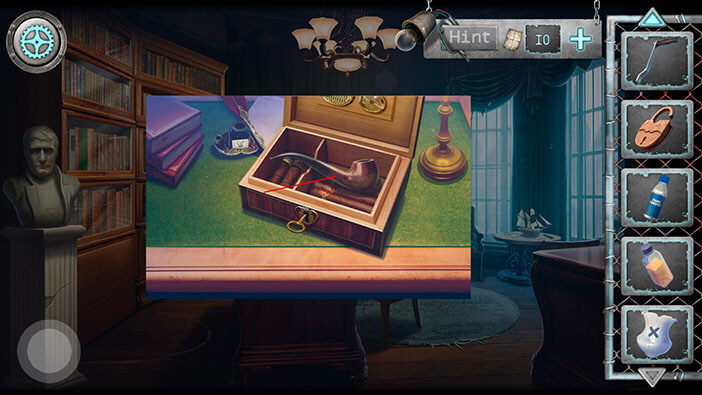
As soon as you assemble the picture, the small box will open. Tap on the smoking pipe to pick it up and a “Tube” will be added to your inventory.
Next, let’s take a closer look at the table and a ship model on our right.
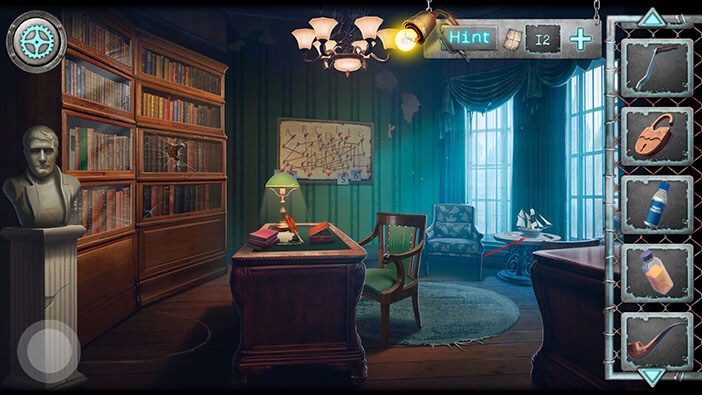
Before we take a closer look at the ship, tap on the “Remote without batteries” to pick it up.
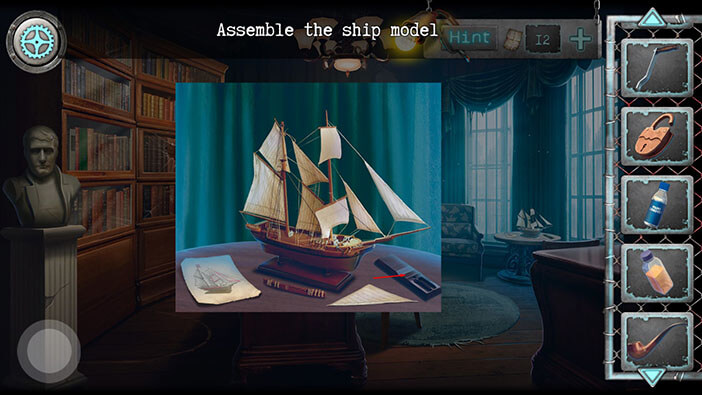
Ok, now let’s take a look at the drawing of the ship on the left side of the table.
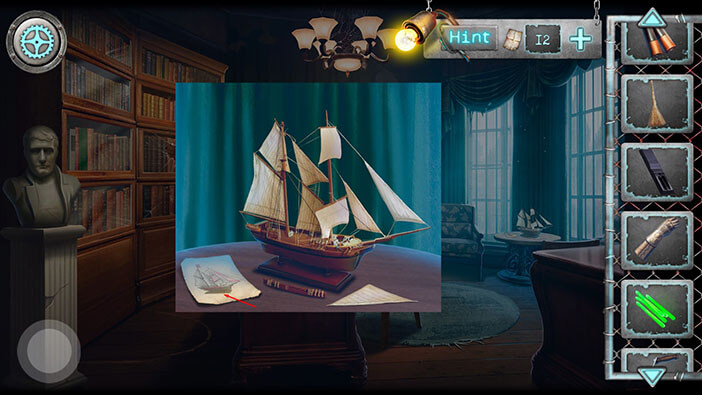
Here, we can see that four parts of the ship are marked with red color. These parts are missing.
Tap on the button in the lower-left corner to go back.
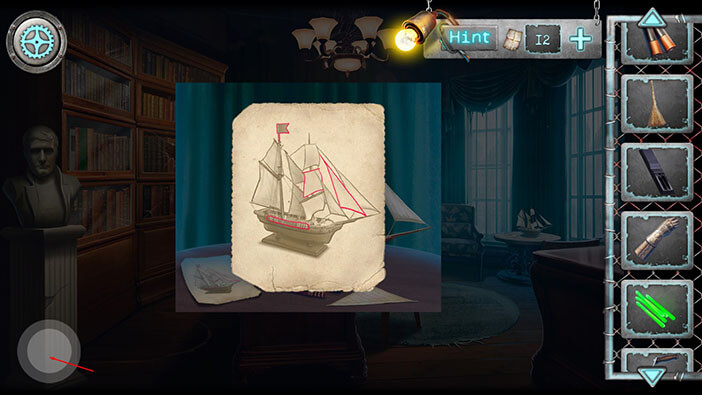
Well, two parts are already on the table, so drag to attach them to the ship model.
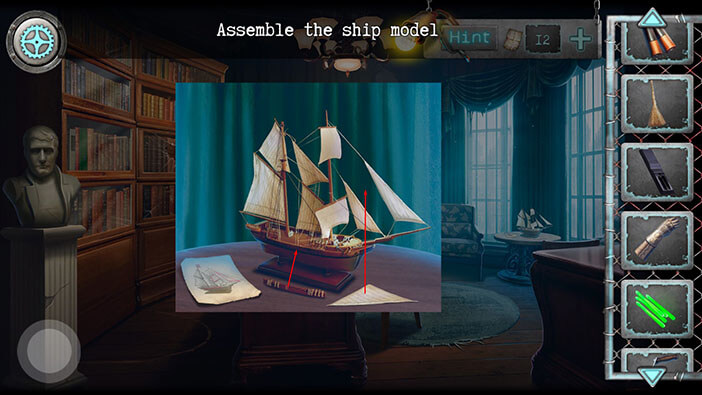
We will come back to the ship model when we find the missing parts. Now, let’s select the “Batteries” from the inventory and combine them with the “Remote without batteries”. “Remote control” will be added to your inventory.
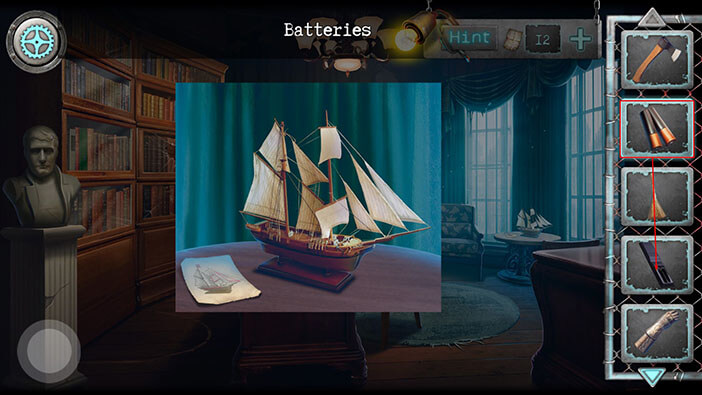
Ok, we should now go back to the piano room. To get there, tap twice on the button in the lower-left corner.
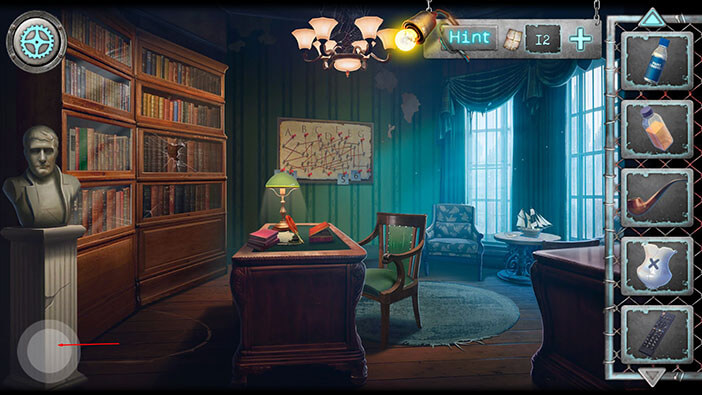
After that, go to the “secret” room on the right. Once there, tap on the right arrow to proceed to the piano room.
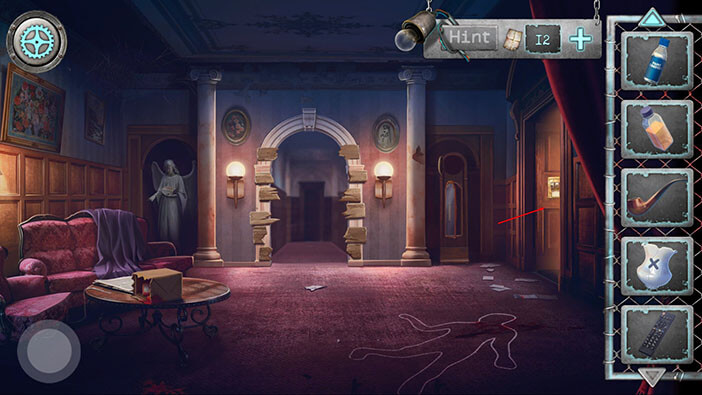
Once you get to the piano room, select the “Lampshade” from the inventory and tap on the lamp post (in the left corner of the room).
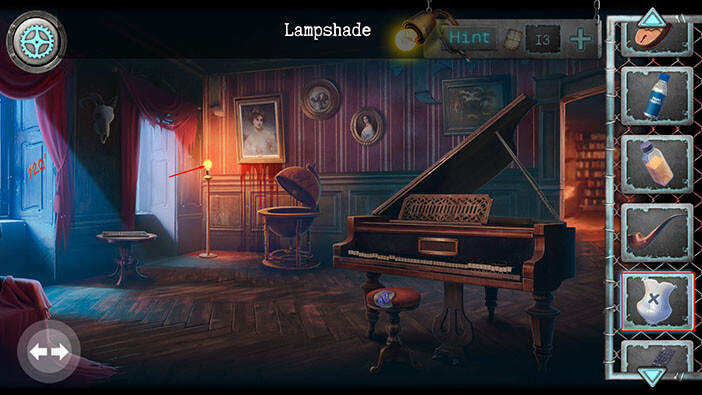
After we attached the lampshade, we can see that there’s an “X” sign on the floor. So, let’s see what’s hidden under the floorboards. Select the “Ax” from the inventory and tap on the “X” sign to chop the wooden boards (you will have to do this three times).
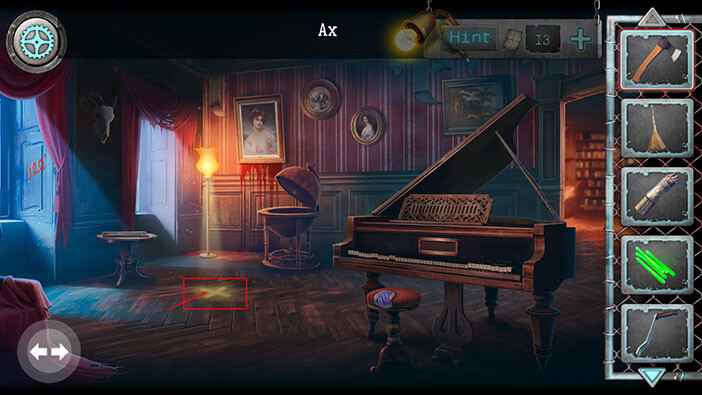
Tap on the hole to look inside it.
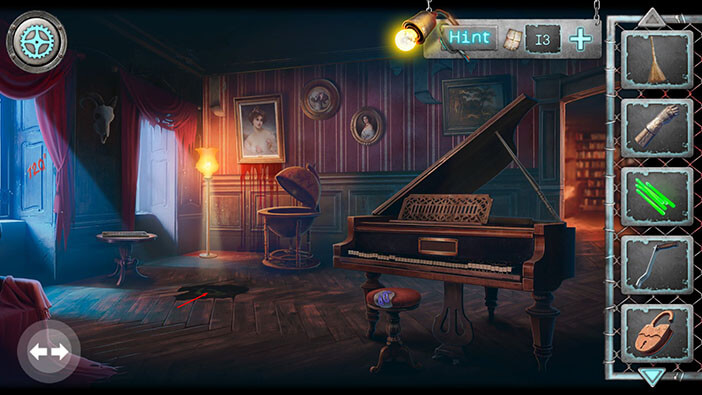
Tap on the “Neckerchief” to pick it up.
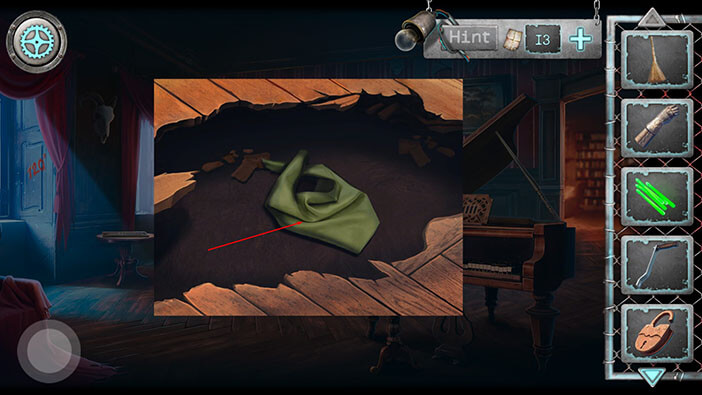
Select the “Neckerchief” from the inventory and combine it with the “Solvent”. “Solvent-soaked neckerchief” will be added to your inventory.
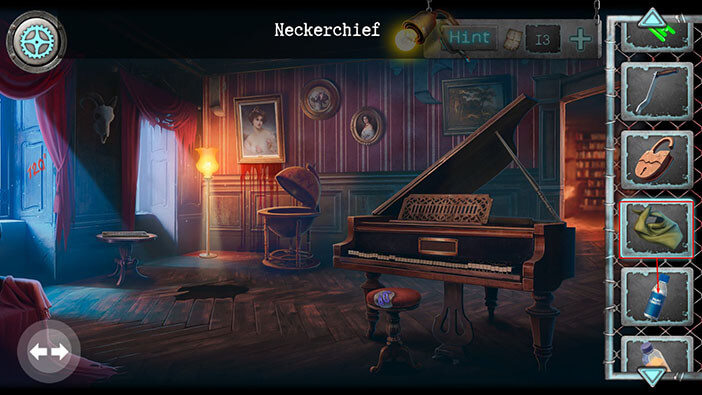
Ok, we should now go back to the room with the ladder and paint cans, and use the “Solvent-soaked neckerchief” to clean the paint from the floor. To get to this room, tap on the arrow on the left, to go back to the room with the fireplace and armor stand. Once there, tap on the button in the lower-left corner to go back to the entry room (the first room that we found after we got out of the elevator).
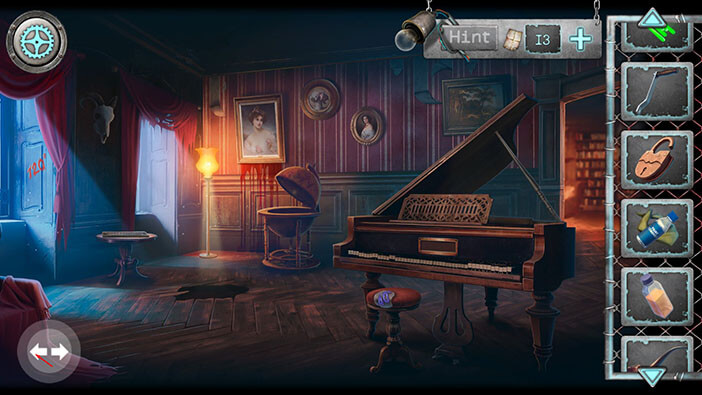
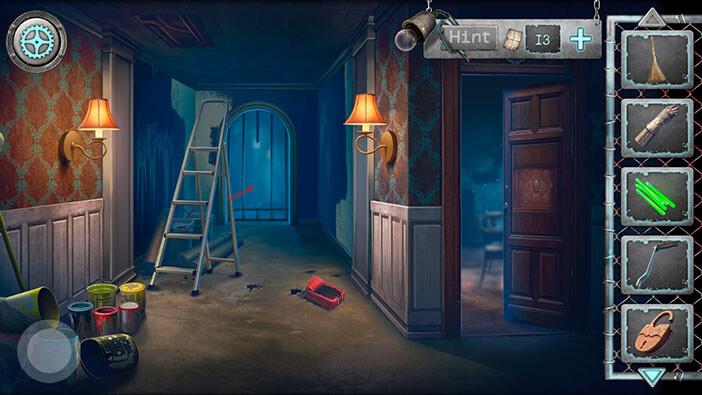
After that, tap on the hallway (where we smashed the wooden boards) and you will reach the room with ladders.
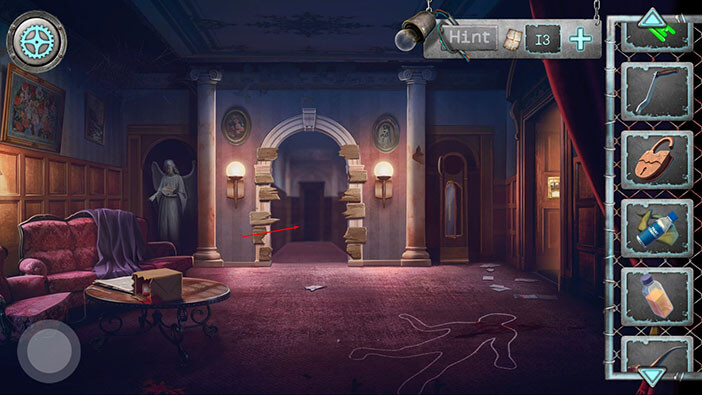
Tap on the paint cans on the left to take a closer look.
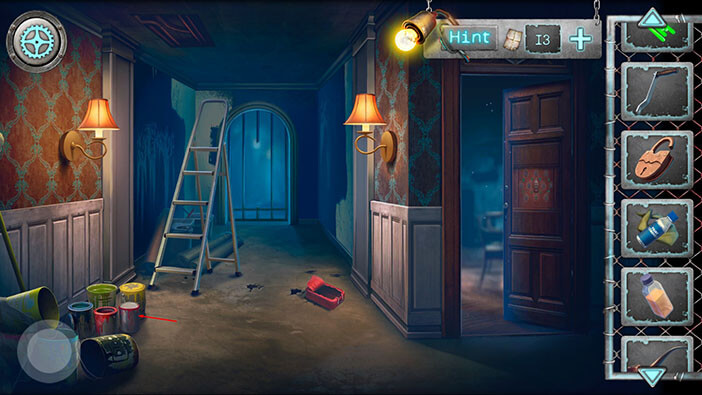
Select the “Solvent-soaked neckerchief” from the inventory and use it to wipe the paint stain.
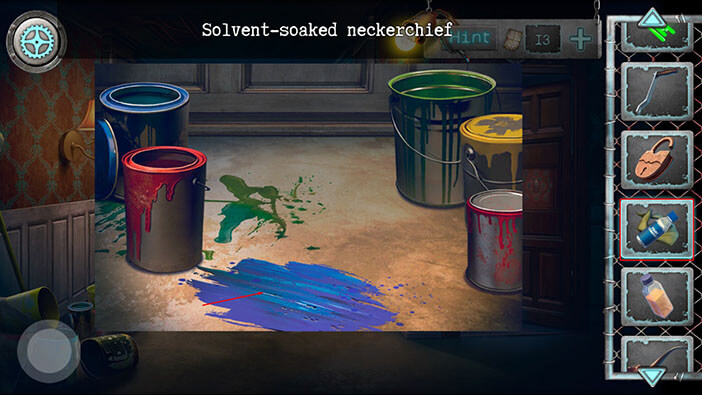
After we removed the paint stain, we can see the number “8162” written on the floor. Memorize/write down this number, because we will need it further down the road.
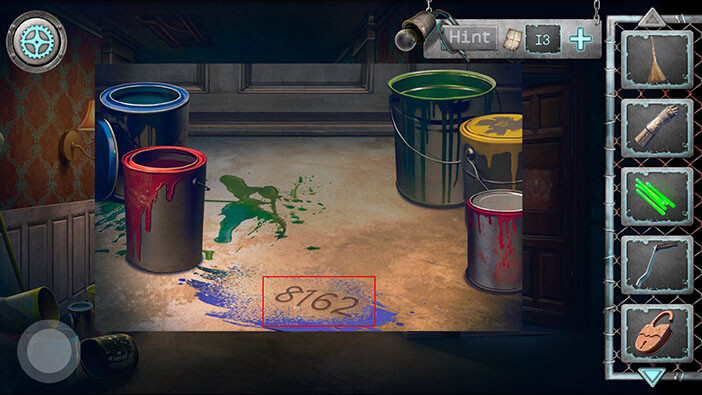
Ok, now tap on the bars that we cut earlier, to go to the room which has medieval weaponry displayed on the walls.
Select the “Handle” from the inventory and tap on the device that is holding the chain in place. After attaching the handle, our character will immediately release the chain and the iron chandelier will fall down, breaking the stone gargoyle statue in the process.
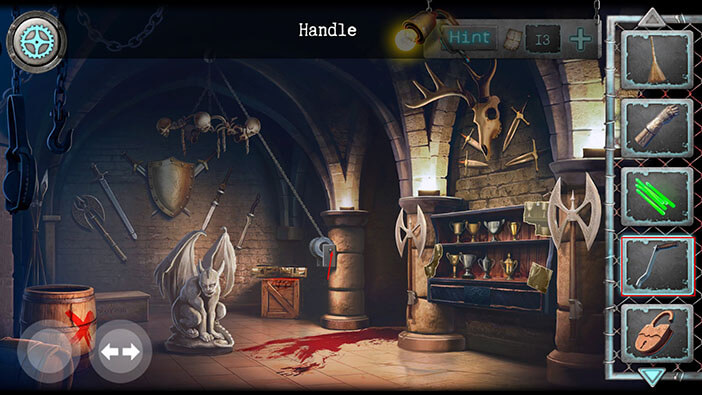
Tap on the broken statue to take a closer look at it.
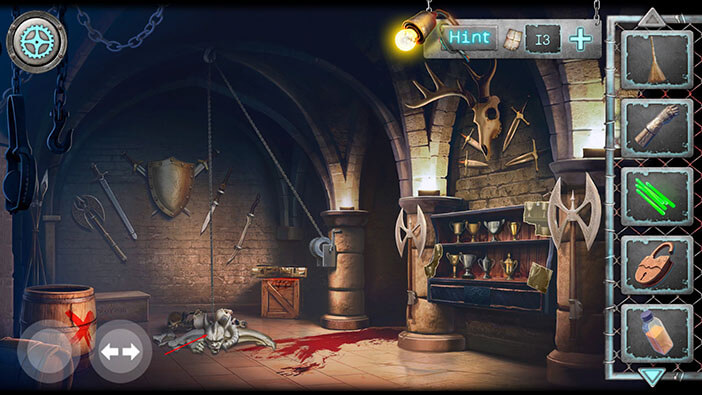
Tap on the pieces of statue to move them aside.
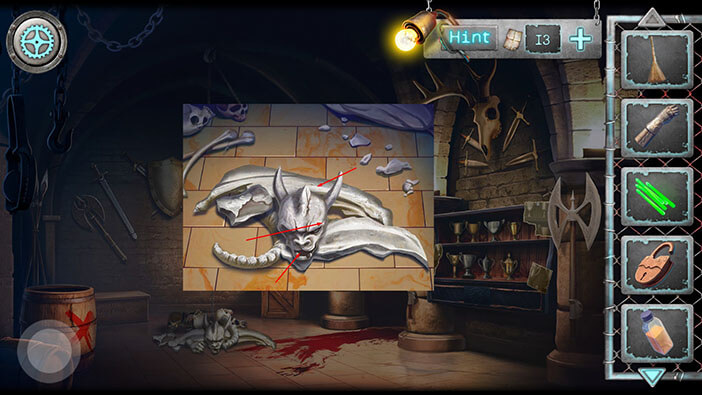
Below the broken statue, you will find a hammer, which means that it was previously hidden inside the statue. Tap on the “Hammer” to pick it up.
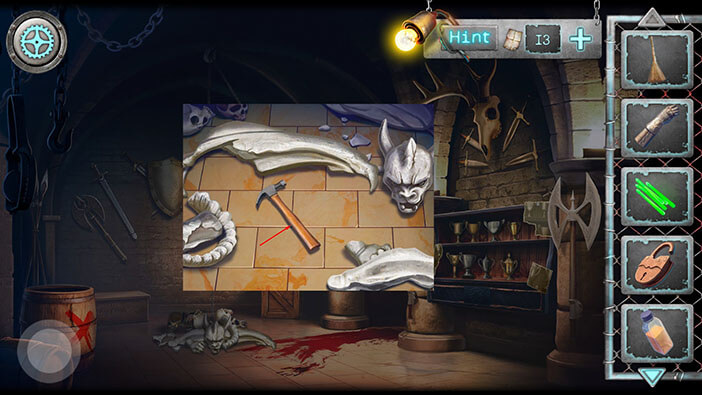
Ok, now let’s take a closer look at the swords and the dear skull which are displayed on the wall on our right.
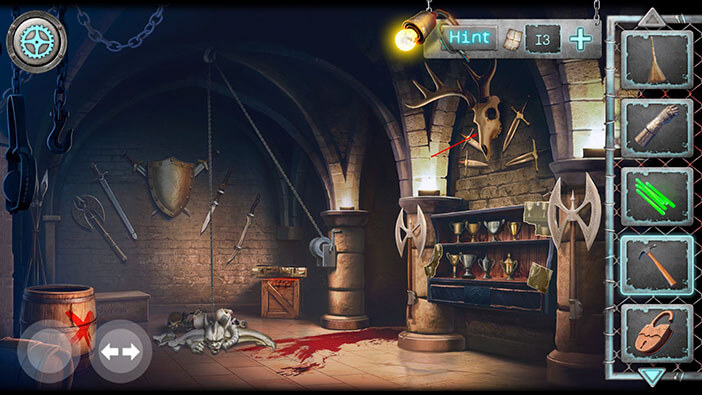
Here, we have to solve a simple equation, which involves four colors. If you take a closer look at the swords, you will notice that they all have different colored pommels and hilts. Also, there is a different Roman numeral on each hilt. Let’s memorize/write down this information.
Blue = 12
Red = 3
Yellow = 9
Green = 4
The equation = Yellow x (Blue – Green) / Red
If we replace the colors of the equation with numbers we will get,
9 x (12 – 4) / 3 = 24
So, tap on the horns and enter the number 24 (2 on the left and 4 on the right horn)
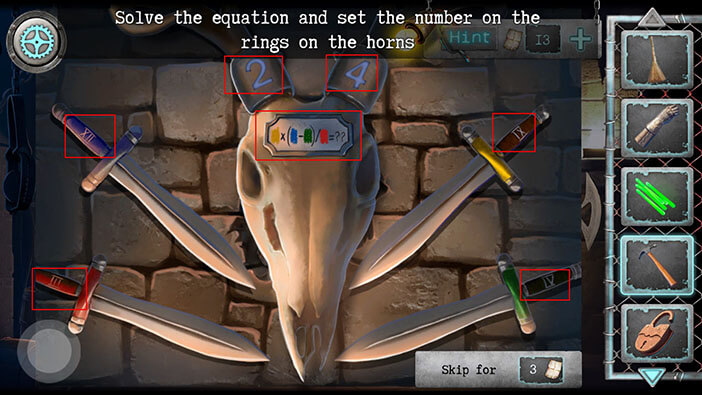
After we solve the puzzle by entering the correct numbers, the dear skull will slide to the right, revealing a hidden compartment. Tap on the “Garlic” to pick it up.

If you take a look at the floor, you will notice a blood trail, and it seems that it is going into another room on the right. Let’s follow the blood trail.
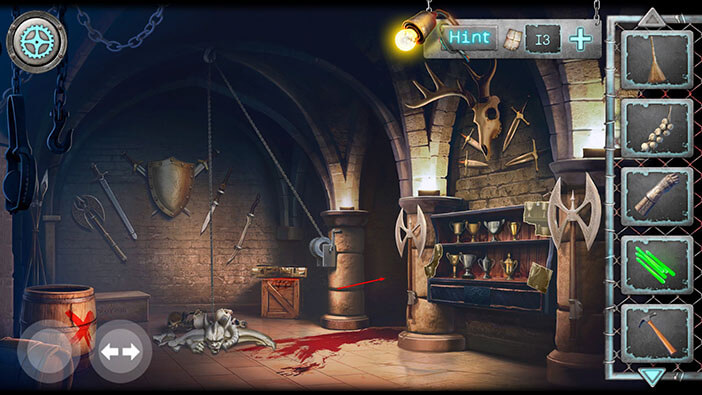
This room is very dark, so select the “Neon sticks” from the inventory and tap on the floor to illuminate the place.
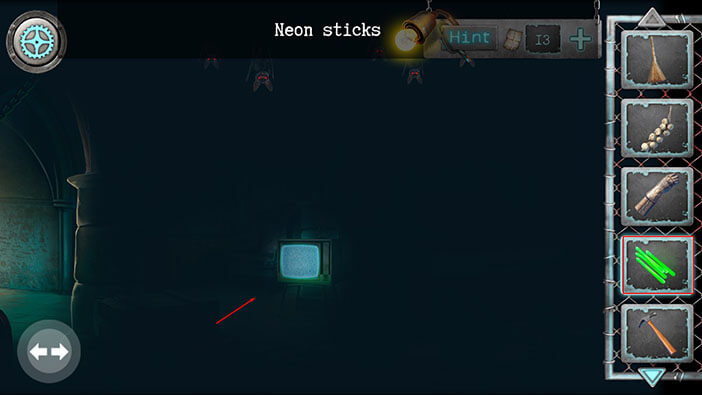
As soon as you illuminated the room, the swarm of bats flew from the ceiling and the vampire suddenly appeared, and it is moving towards you! Quickly select the “Garlic” from the inventory and tap on the vampire to repulse it.
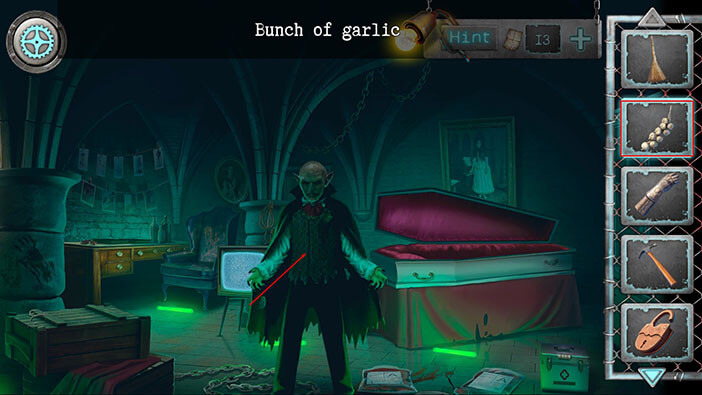
Well, it seems the legends are true. As soon as you came at it with the garlic, the vampire ran away and closed itself inside the coffin. Let’s lock it inside the coffin and prevent it from causing any further trouble.
First, tap on the “Chain” on the floor to pick it up.
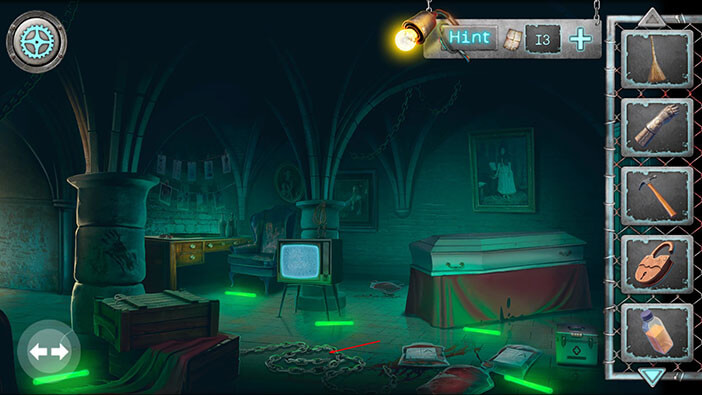
Next, select the “Chain” from the inventory and wrap it around the coffin.
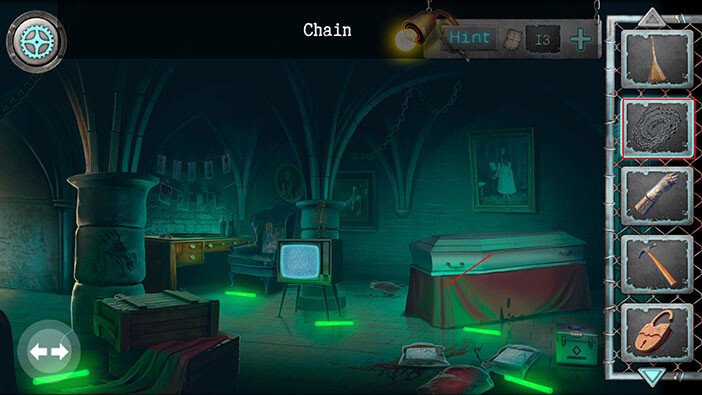
Select the “Padlock” from the inventory and tap on the chain to lock the vampire inside the coffin.
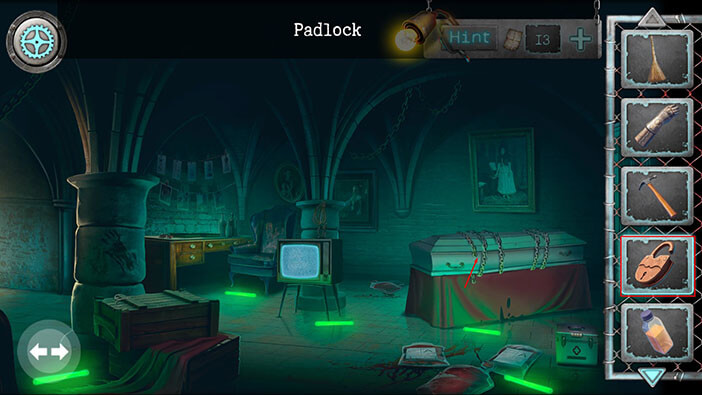
Well, since we neutralized the vampire, we can now search the room. First, let’s check the metal box on our right (just below the coffin).
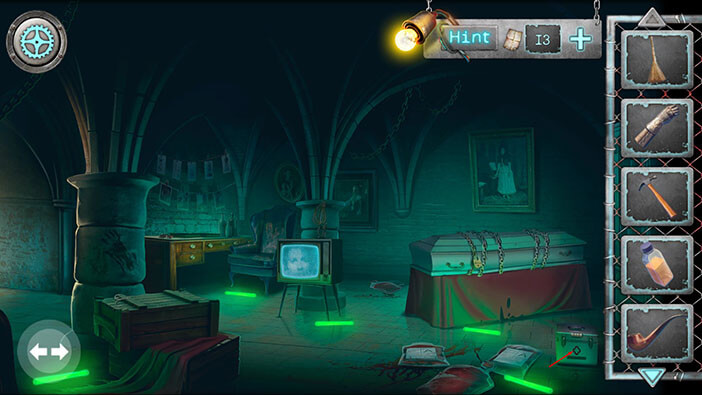
It is locked and requires a four-digit code. Let’s enter the code that we discovered by wiping the paint stain. The number was “8162”.
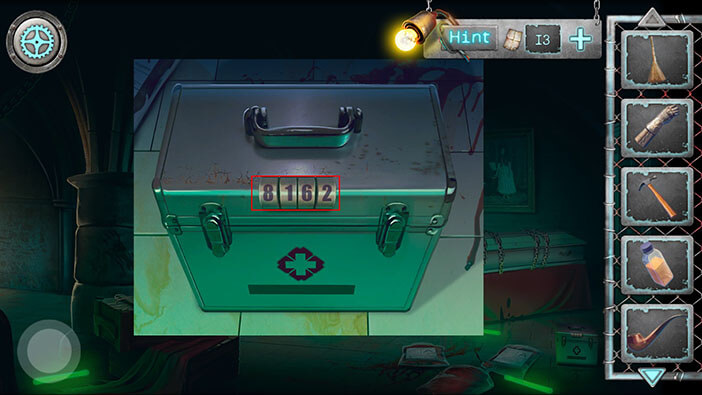
We entered the correct code and opened the box. Tap on the note inside the box to pick it up and “Sail” will be added to your inventory. Oh, so this wasn’t a note. It’s one of the missing parts for the ship model that we saw earlier.
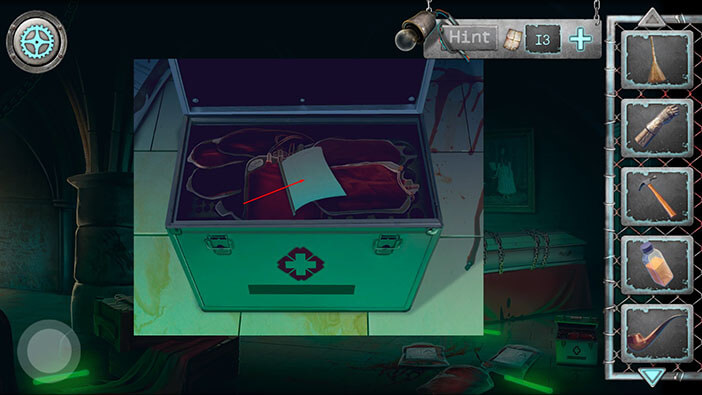
Next, let’s take a closer look at the wooden box on our left.
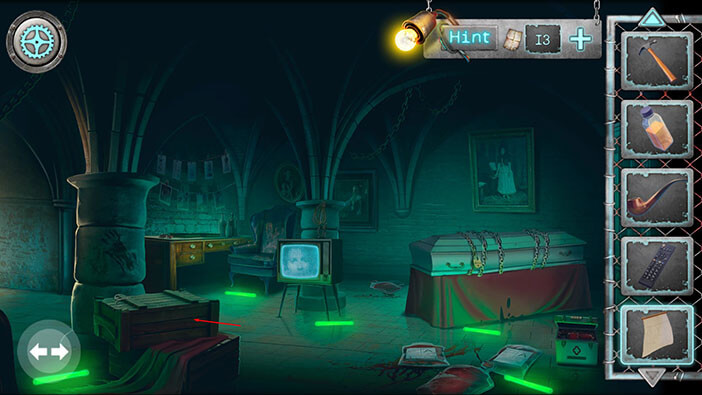
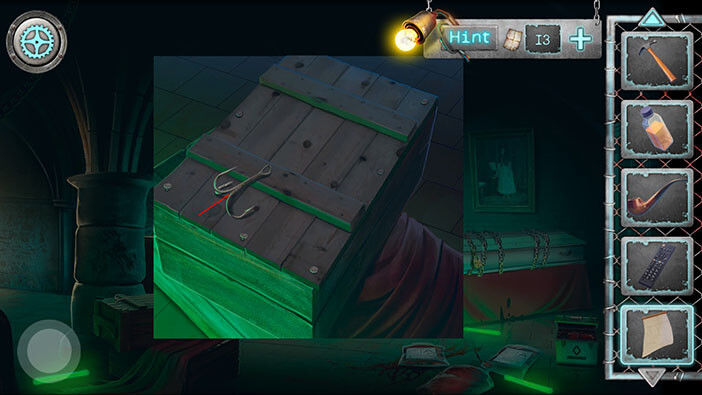
Tap on the “Hook” to pick it up.
Next, tap on the TV to take a closer look at it.
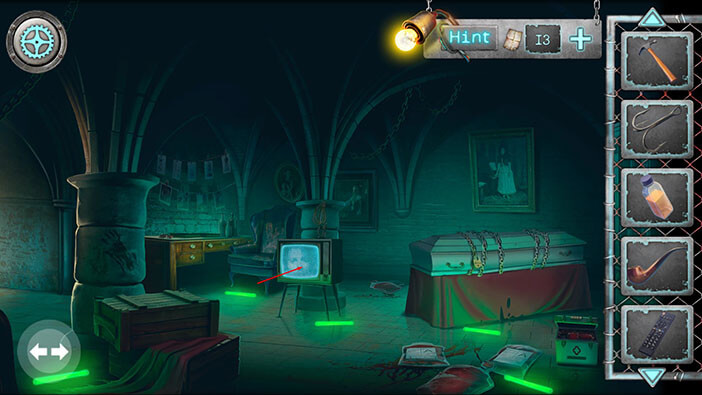
Well, the message on the TV is quite disturbing. Tap several times on the rope above the TV, and our character will untie it. After that “Rope” will be added to your inventory.
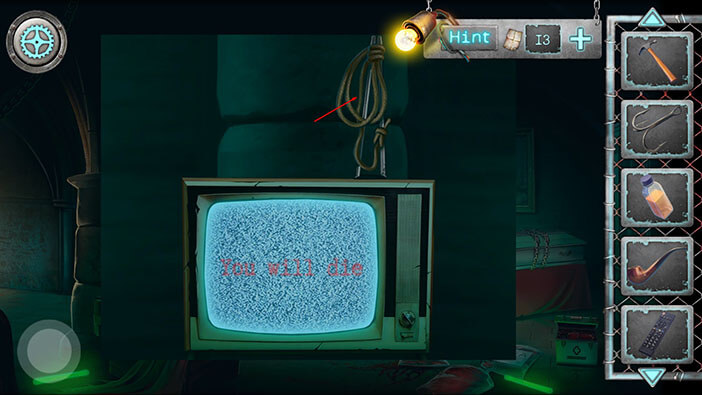
Next, we should adjust the antenna. Move the left antenna to the right (vertical position).
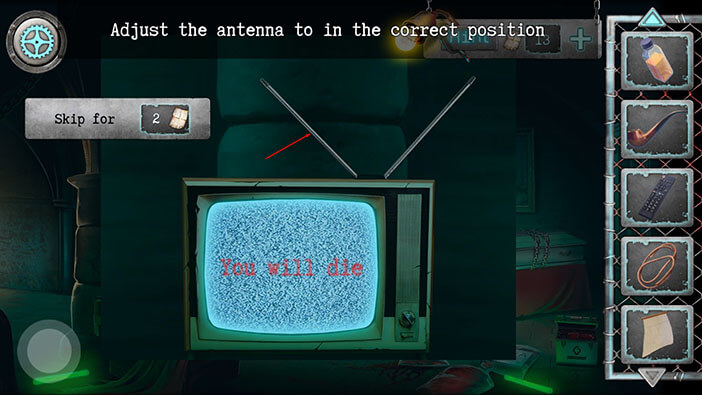
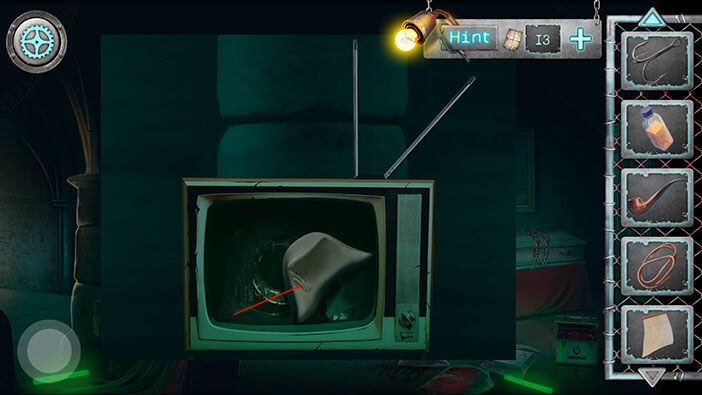
As soon as we moved the antenna, the image on the TV changed, and it is now displaying a remote controller. So, select the “Remote control” from the inventory and tap on the TV.
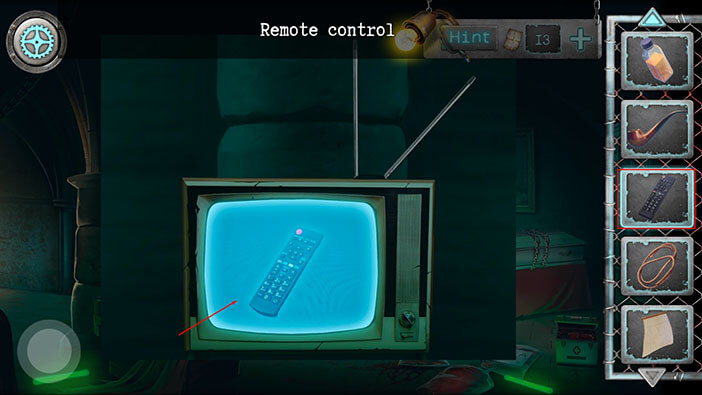
Well, somehow, the screen fell off. Tap on the item inside of the TV to pick it up and “Three-cornered hat” will be added to your inventory.
Next, let’s take a closer look at the table on our left.
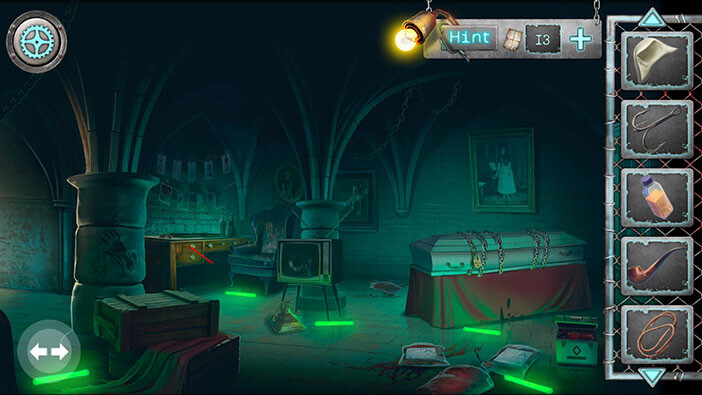
Tap on the “Small Crowbar” to pick it up.
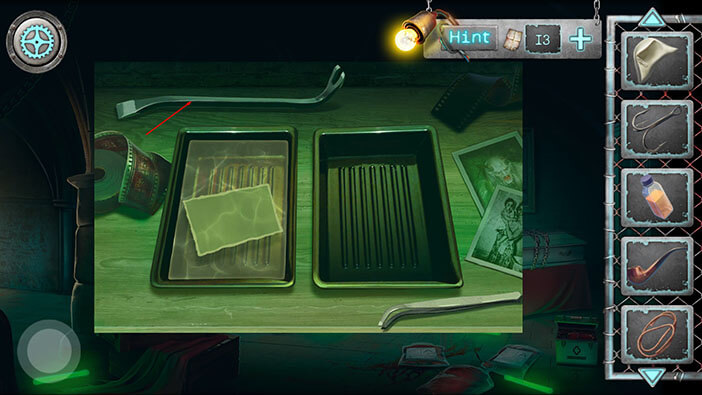
We can conclude that this table and the darkroom were used for developing photos. However, the can on the right is empty. So, select the “Developer” from the inventory and pour it into the empty can.
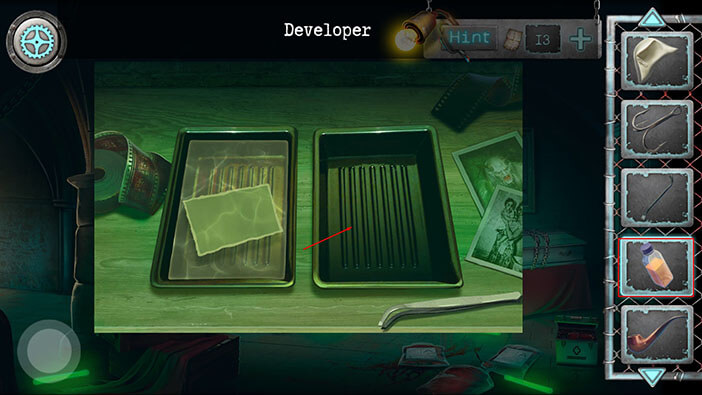
Next, use the small metal object to pick up the photo from the can on the left, and our character will put it into the can on the right.
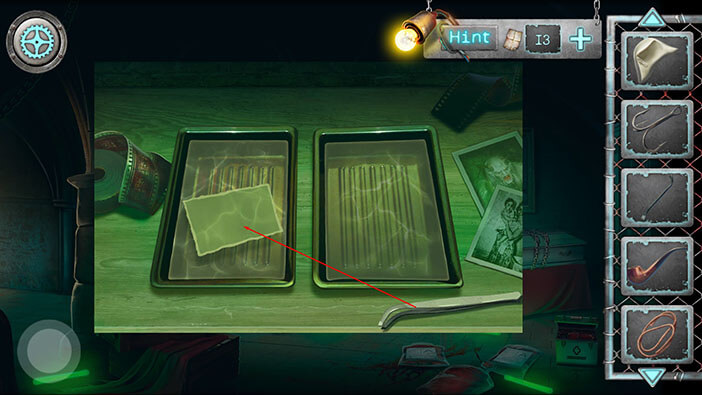
Well, it looks like we managed to develop the photo. Tap on it to pick it up and “Photo with trophies” will be added to your inventory. So, we found the missing photo from the trophy shelf that we saw earlier.
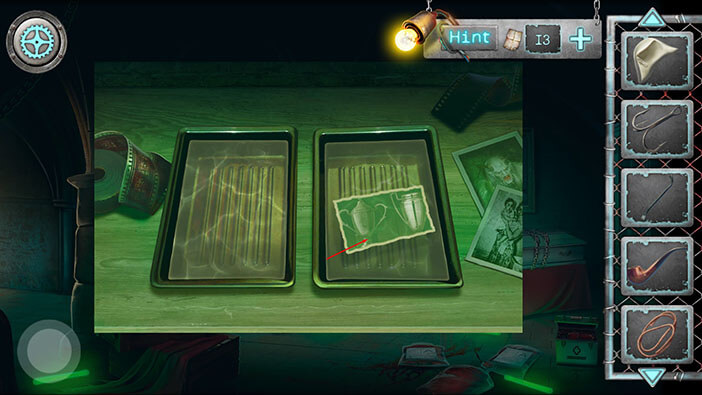
Ok, let’s go back to the wooden box on the left side of the room.
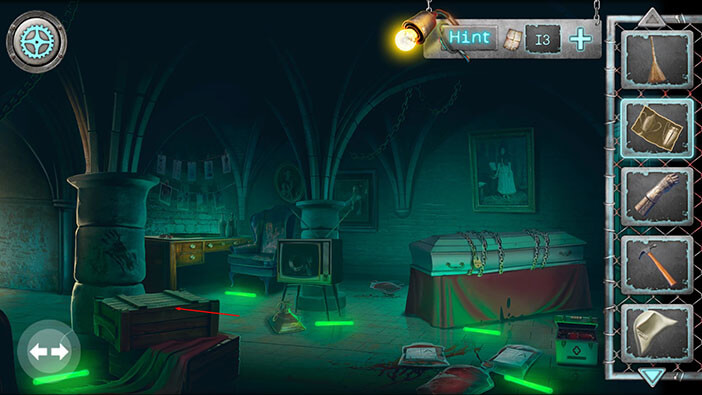
Select the “Small Crowbar” from the inventory and tap on the wooden box. Our character will use the crowbar to pull out the nails and open the box.
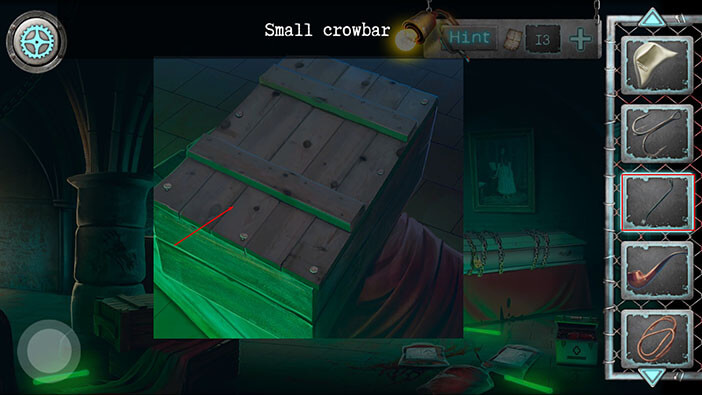
Tap on the padding inside the box to move it aside.
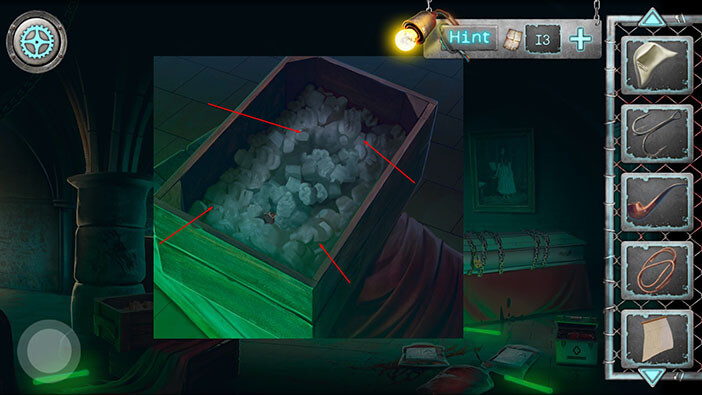
Tap on the item in the box to pick it up and “Chisel” will be added to your inventory. Fun fact, at first I thought that wooden stake was hidden inside the box and that we could use it to slay the vampire.
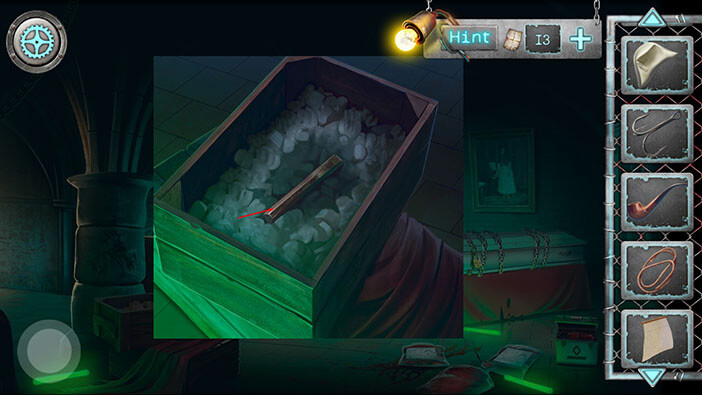
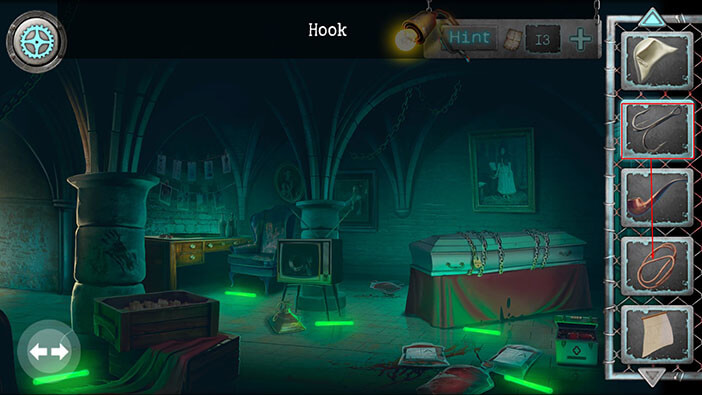
Ok, we are almost done with this room. Before we leave, select the “Hook” from the inventory and combine it with the “Rope”. “Rope with Hook” will be added to your inventory.
Let’s go back to the trophy room. Tap on the left arrow.
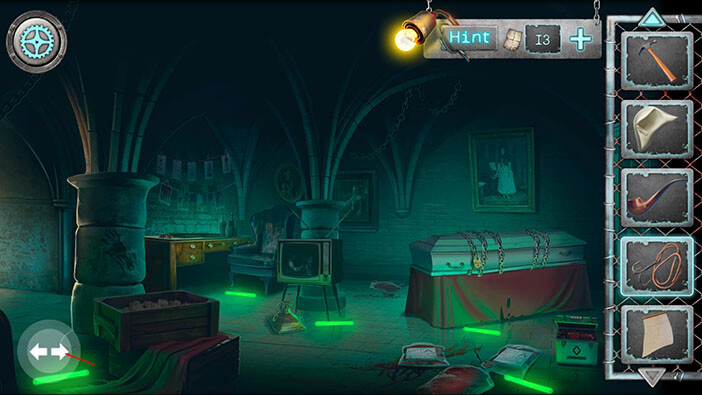
Tap on the trophy shelf to take a closer look at it.
Select the “Photo with trophies” and place it in the top left corner of the shelf.
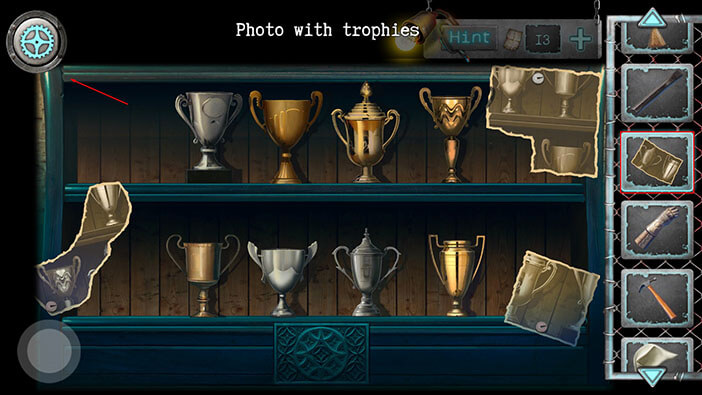
Ok, we now have all four photos, so our next task is to rearrange the trophies to match the arrangement on the photos. We will do this in several steps.
Step 1
First, let’s take a look at the photo in the top left corner (that we just added). Here, we can see the shape of the first (looking from left to right) trophy on the upper shelf. However, currently, this trophy is third on the lower shelf. So, let’s move it to the first spot on the top shelf.
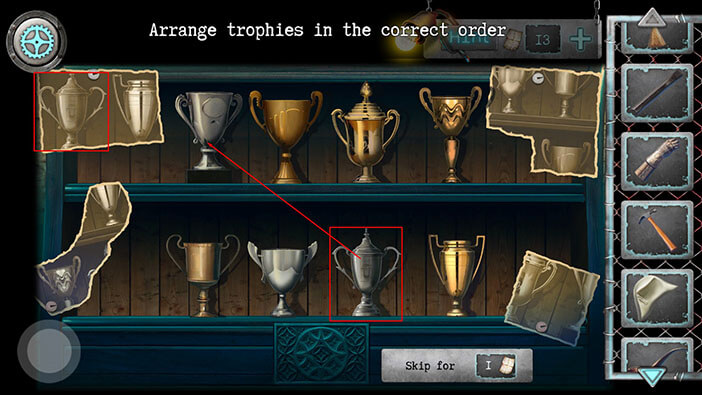
Step 2
By looking at the same photo (top-left) we can see that the trophy that should be second on the top shelf is currently, fourth on the bottom shelf. So, let’s move it to the proper position.
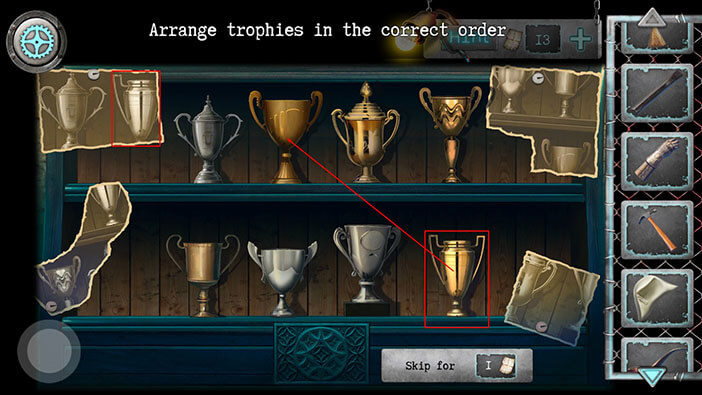
Step 3
If we take a look at the photo in the lower-left corner of the shelf, we can see that the trophy that should be first on the bottom shelf is currently, fourth on the top shelf. So, let’s move it to the proper position.
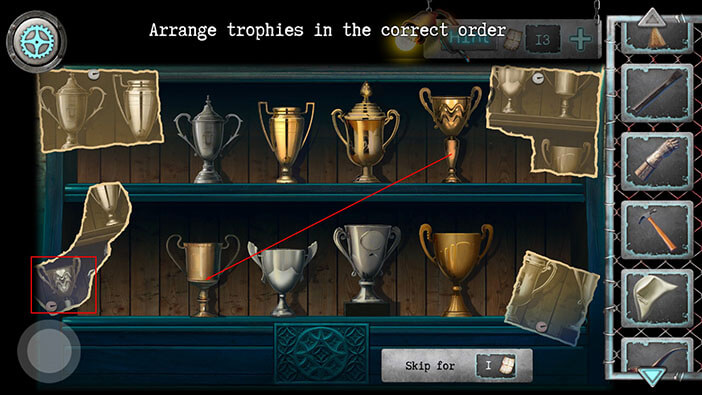
Step 4
Now, we will take a look at the photo in the top right corner of the shelf. We can conclude that the fourth trophy in the bottom row and the fourth trophy in the top row are already on the correct spot. However, we can only see a small portion of the trophy that should be third on the top shelf. If you look carefully at the photo, you will discover that this trophy is currently in the second position on the bottom shelf. So, let’s move it to the proper position.
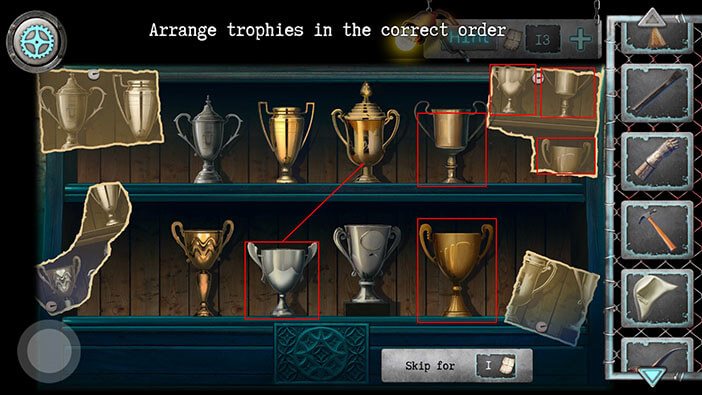
Well, as soon as we placed the last trophy on the correct spot on the shelf, the hidden compartment below the shelf opened. Tap on the “Matchbox” and “Sheet with number I” to pick them up.
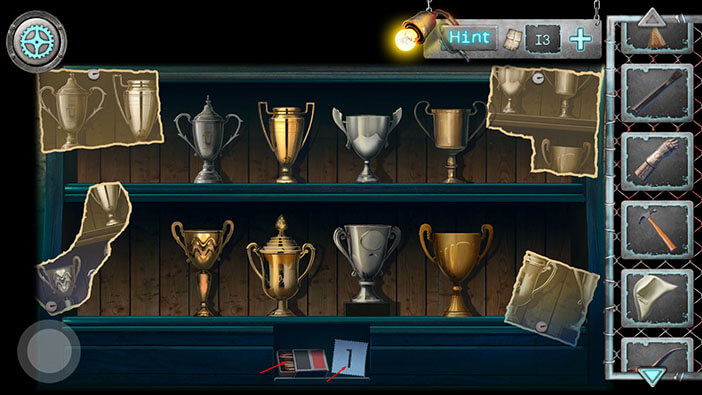
Previously, we couldn’t reach the item inside the barrel on the left. Let’s try again.
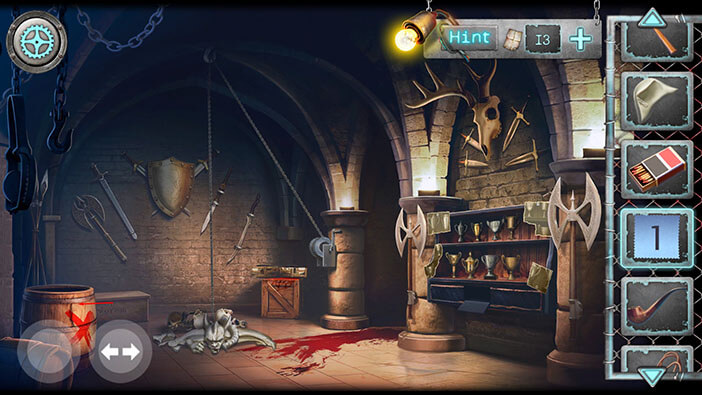
Select the “Rope with Hook” from the inventory and use it to fish the item from the barrel. “Vane” will be added to your inventory.
Ok, let’s go back to the study room. To get there, tap on the button in the lower-left corner of the screen to go back to the hallway with ladders and paint cans.
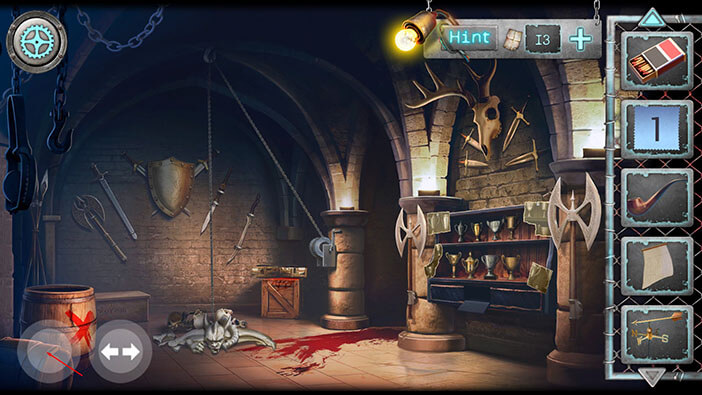
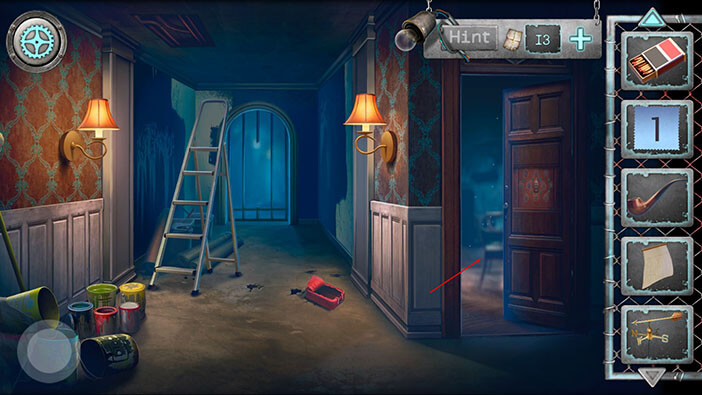
Once you get there, go through the door on the right.
Tap on the statue of Napoleon to take a closer look at it.
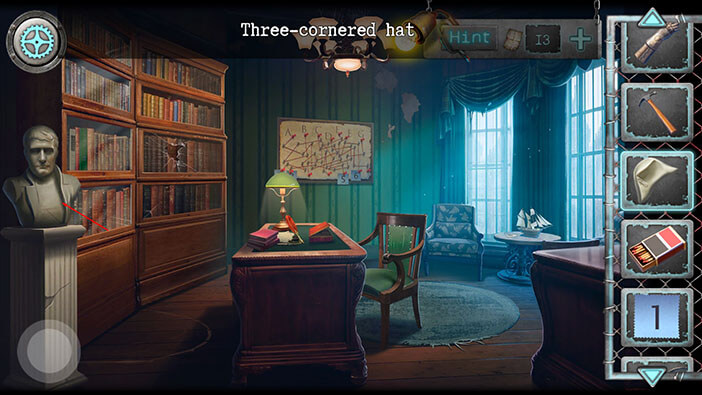
Select the “Three-cornered hat” from the inventory and put it on the statue.
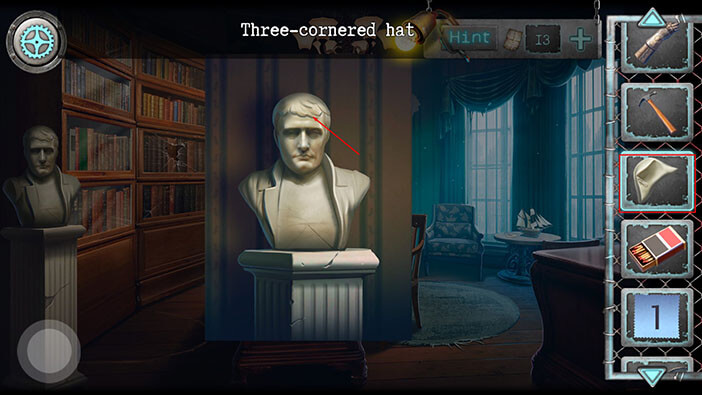
After that, tap on the button in the lower-left corner to go back, and a secret door will open.
Well, we discovered another secret room, but we will have to end the second part walkthrough here.