Scary Horror 2 – Chapter 2, Part 1
Hello everyone and welcome to Part I of our walkthrough for Chapter 2 of the “Scary Horror 2: Escape Games”. At the end of chapter 1, our character walked over the drawbridge and entered the next building. At the start of chapter 2, he briefly saw ghosts of 2 scary-looking girls. Well, it’s time to continue the story.
NOTE: The first part of the walkthrough follows the story up to the point when you assemble the “Ax” and use it to smash the wooden boards that are blocking your way deeper into the building.
Well, we should start by investigating the items in this hallway. Tap on the rug to take a closer look at it.
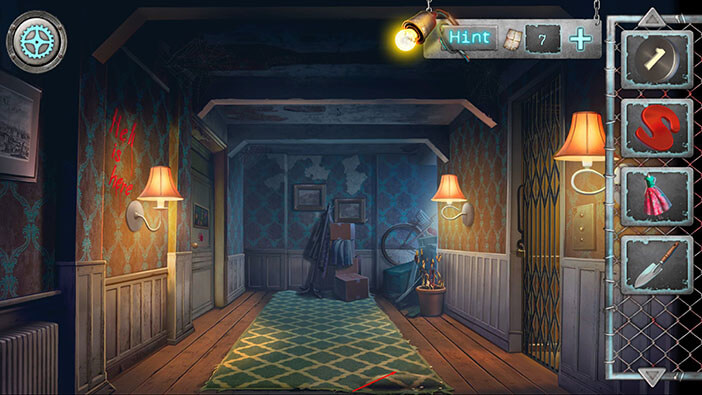
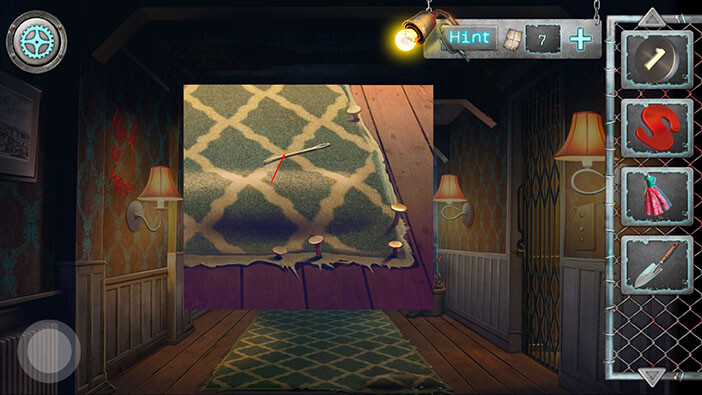
Strangely enough, it seems that someone nailed the carpet to the floor… Tap on the “Needle” to pick it up.
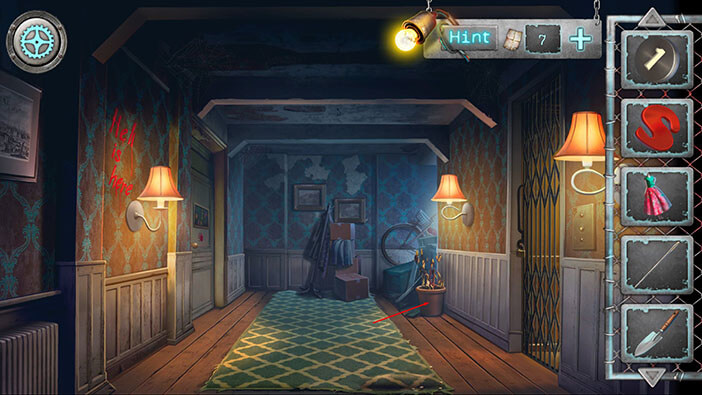
Next, tap on the flowerpot in the upper right corner to take a closer look at it.
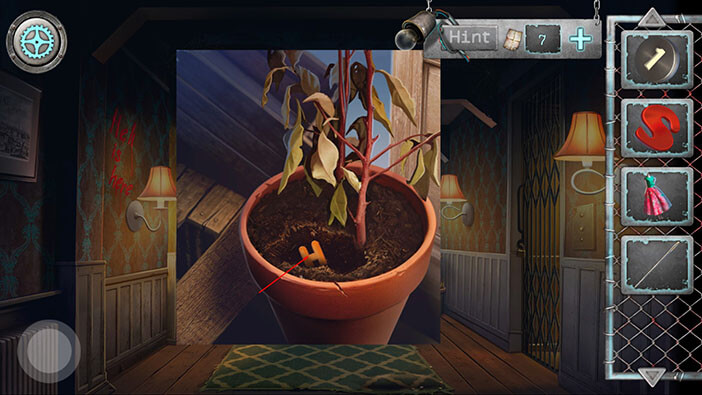
Select the “Garden shovel” from the inventory and tap several times to dig up the dirt.
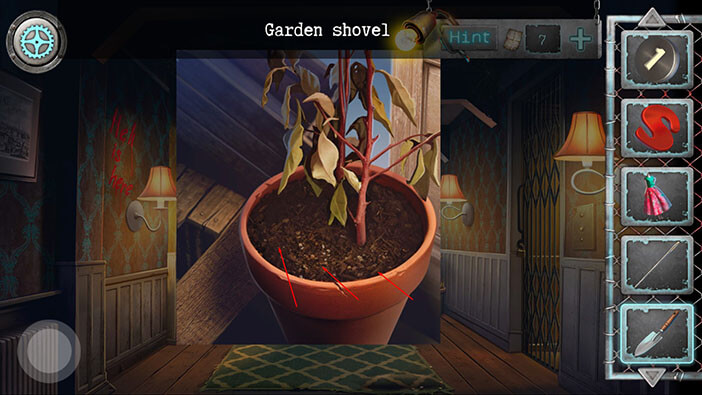
You will discover the letter “H” buried under the dirt. Tap on it to pick it up and “Letter h” will be added to your inventory.
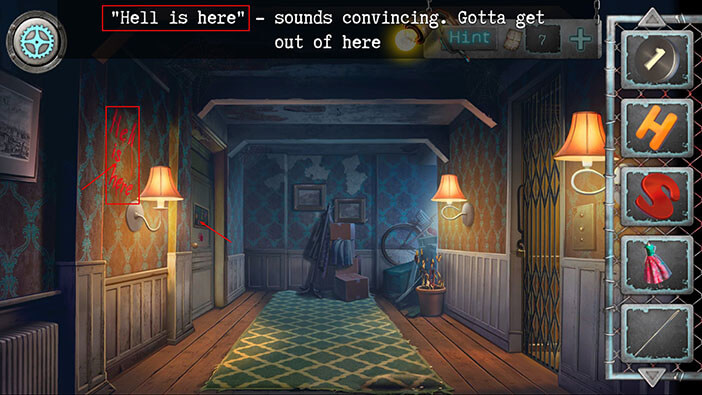
On the wall on the left, we can see the “Hell is here” inscription. Memorize it, and then tap on the door on the left to start the interaction.
Select the “Letter h” and “Letter s” from the inventory and tap on the board to add them to the other letters.
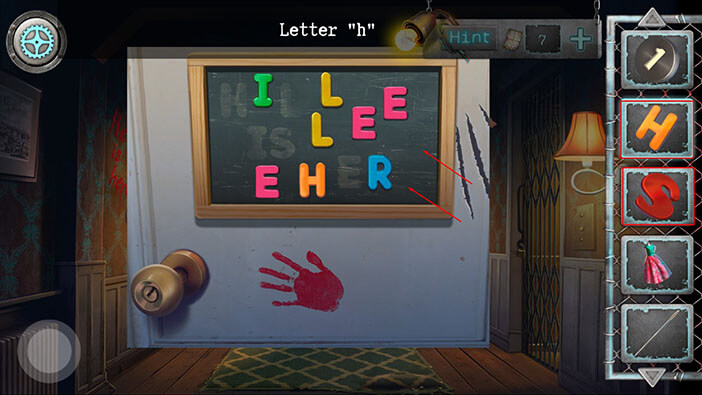
If you take a closer look at the board, you will notice that the letters have been moved, and we can see the outlines of their original position. For example, we can clearly see that the letter “H” should be the first one (left to right) in the top row. Also, it’s probably obvious that we have to arrange the letters to make a “Hell is here” sentence that we saw on the wall.
Let’s begin.
First, drag the letter “H” and place it on the first spot in the top row.
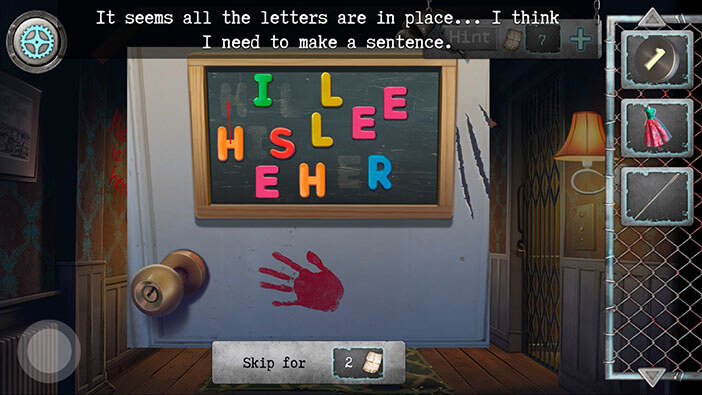
Next, drag the letter “I” from the top row and place it on the first spot in the middle row
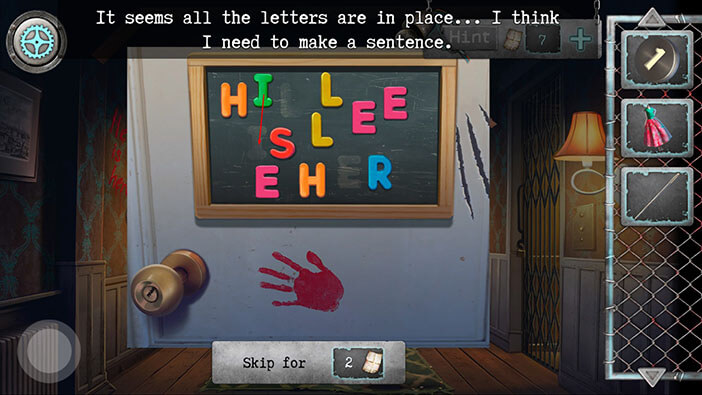
Next, drag the letter “E” from the left and place it on the second spot in the top row.
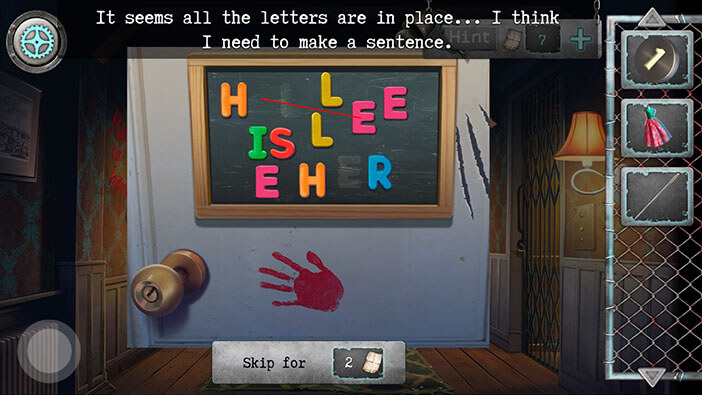
Next, put the two letters “L” on the third and fourth position in the top row, and we will assemble the word “Hell”. Let’s continue.

Next, drag the letter “E” from the lower-left corner to the left of the letter “R” in the bottom row. After that, drag the other letter “E” from to the right side of the letter “R”.
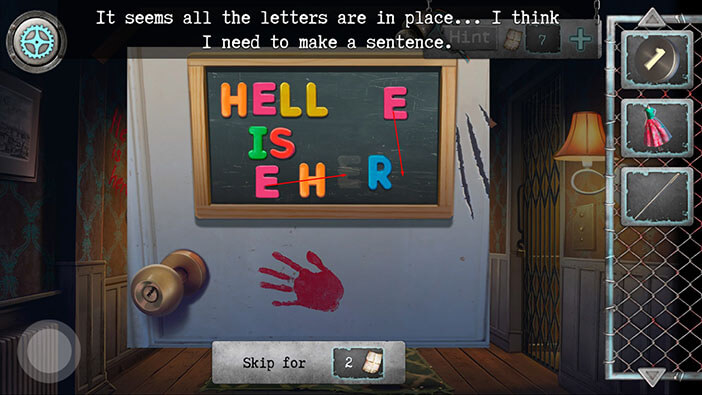
After, we rearranged the letters to form the sentence “Hell is here” the key that was hidden behind the board, suddenly fell out. Tap on the “Key” to pick it up.
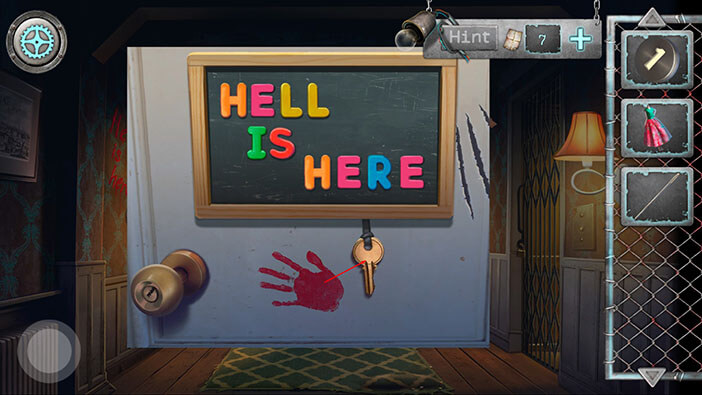
Select the “Key” from the inventory and tap on the keyhole to unlock the door.
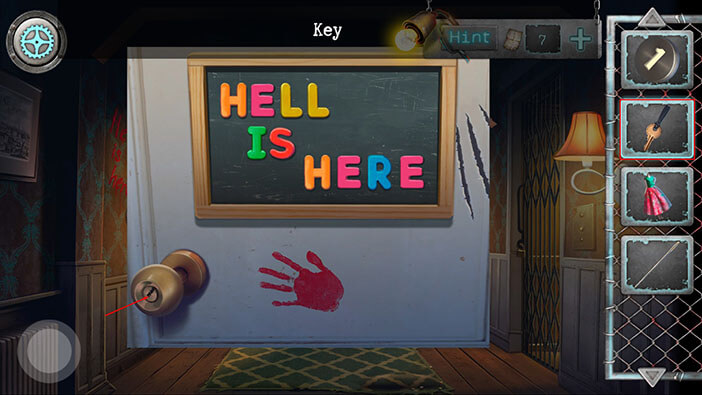
Tap on the door to proceed into the next room.
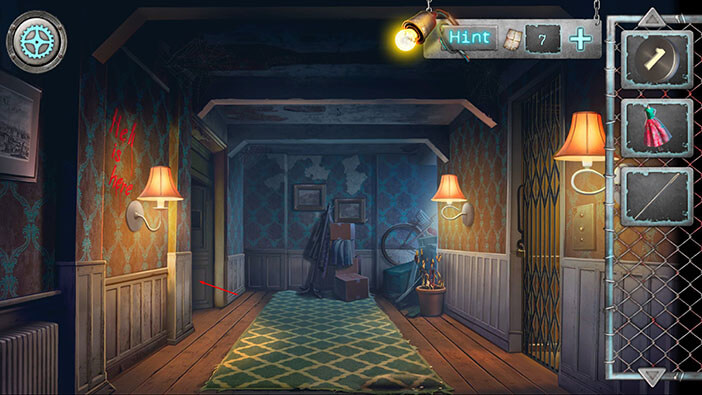
When you enter the room, a toy truck will move in front of you. Tap on the item inside the trailer to pick it up and “Round detail” will be added to your inventory.
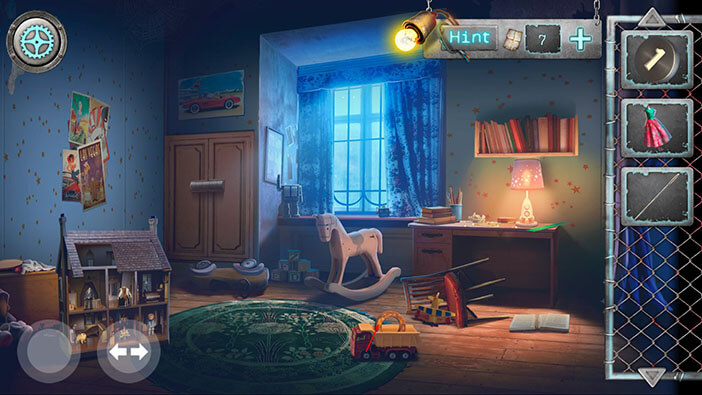
Tap on the posters on the wall on the left to take a closer look.
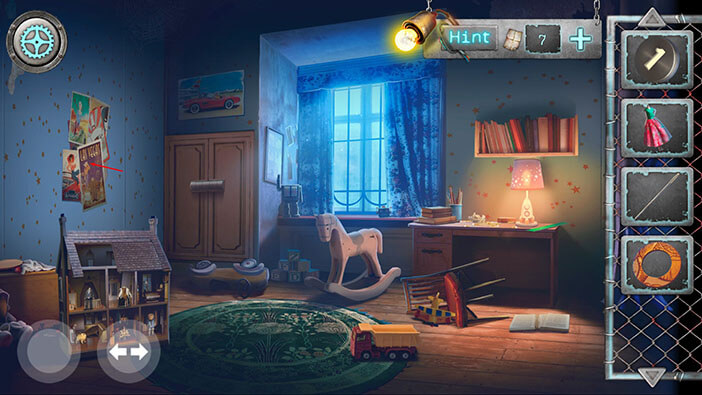
Tap on the posters several times to remove them.
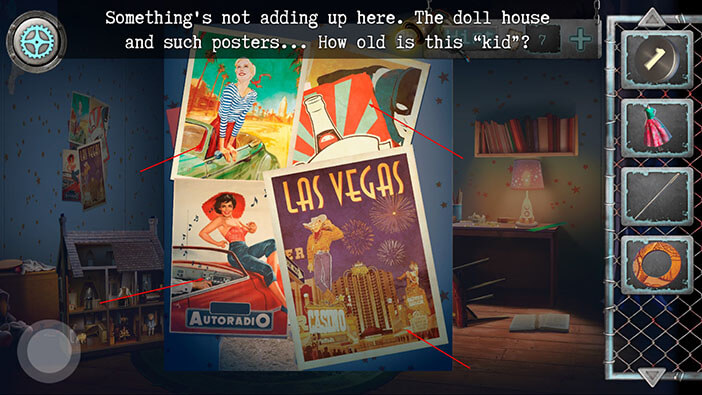
Underneath the posters, we found a wall safe with a star-shaped keyhole. Above the safe, we can see several symbols. Let’s memorize/write down these symbols because we will need them for the next puzzle. Starting from left to right, we have,
Blue triangle, yellow star, red square, yellow triangle, and green star.
Once you’re done, tap on the button in the lower-left corner to go back.
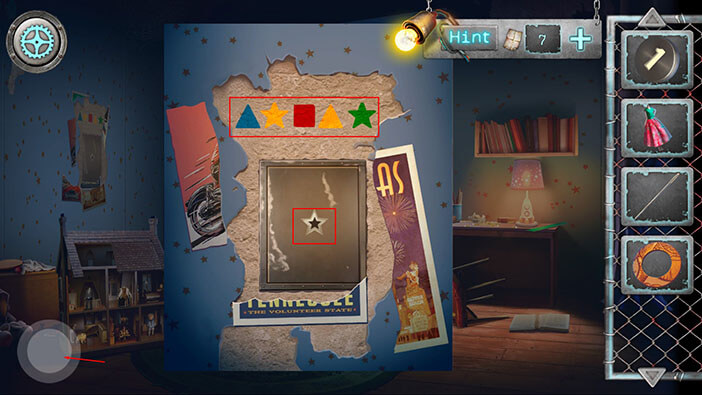
Ok, now let’s tap on the lock on the closet to take a closer look at it.

Well, we already know the combination for this lock, because we saw it above the wall safe. So, starting from left to right, enter
Blue triangle, yellow star, red square, yellow triangle, and green star.
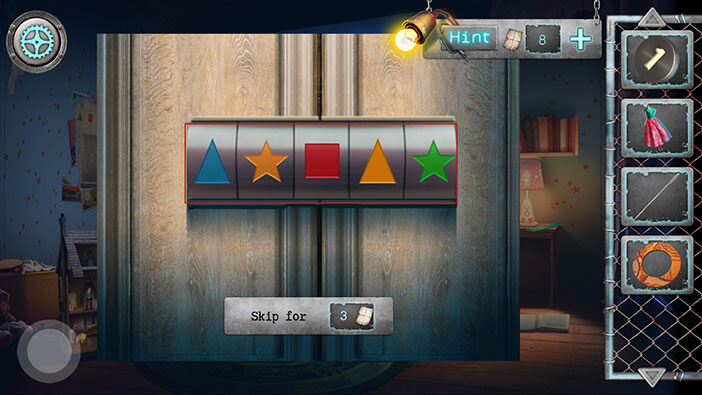
As soon as you enter the correct symbols, you will unlock/open the closet. Let’s move the clothes to the top shelf.
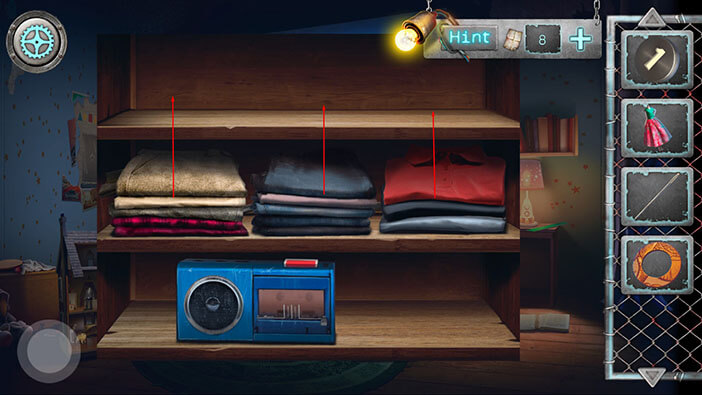
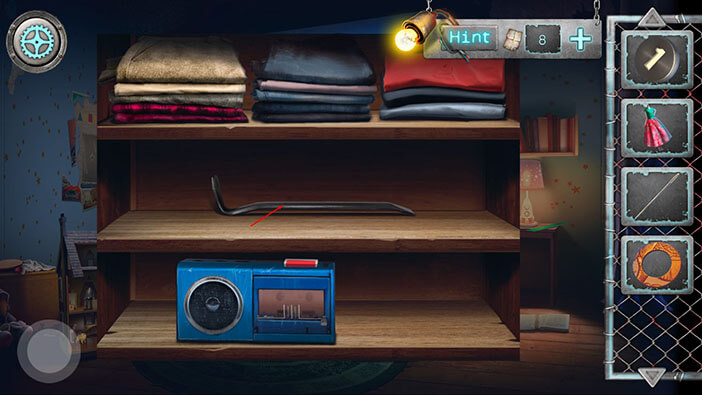
After we moved the clothes, we discovered a crowbar. Tap on the “Crowbar” to pick it up.
Next, let’s take a look at the table on our right.
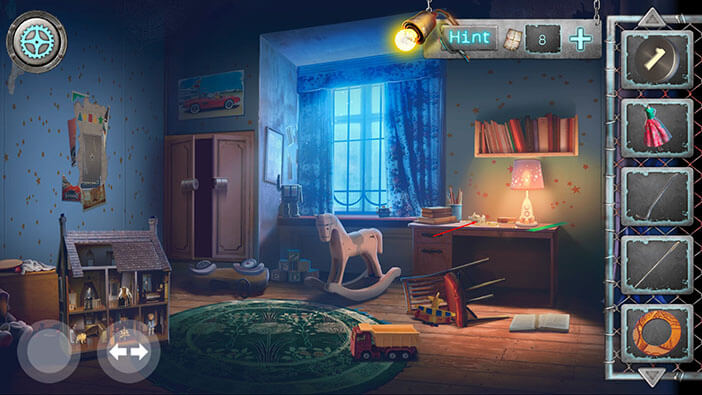
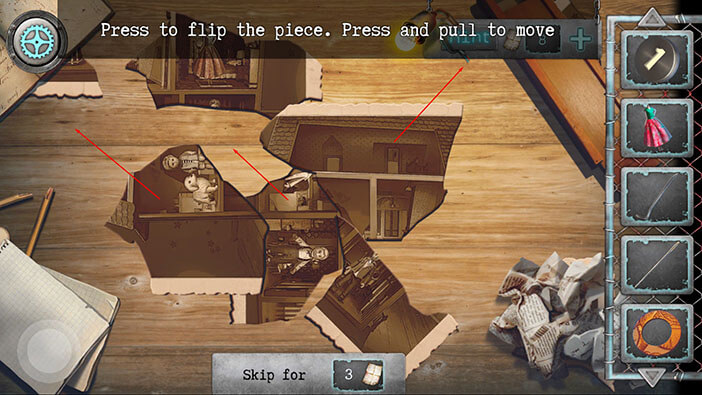
Here, we have another puzzle, and the goal is to assemble the picture by rearranging and rotating the pieces. You can tap on the piece of the picture to rotate it, and you can move it by dragging. We will do this puzzle in several steps. Let’s begin.
Step 1
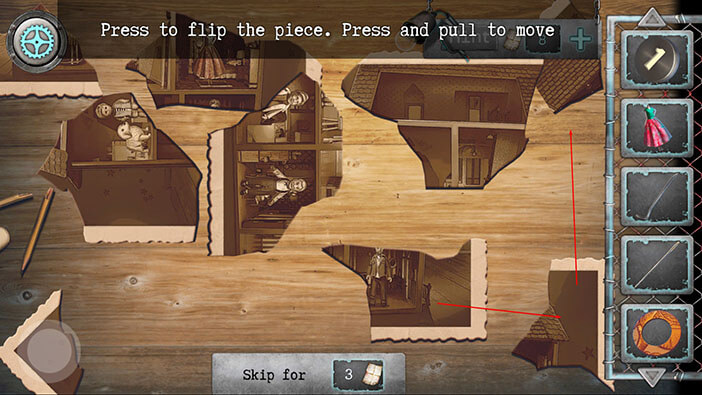
First, let’s make some room by moving all the pieces except the one in the lower right corner. After that’s done, take a closer look at the piece in the lower right corner. By looking at the edges of the piece, we can conclude that it should be in the lower right corner picture. Tap once on this piece to rotate. Before we continue, let’s clear the other objects from the table by tapping on them.
Step 2
Ok, now, let’s drag the aforementioned piece into the lower right corner (we will have to move up the other piece).
Step 3
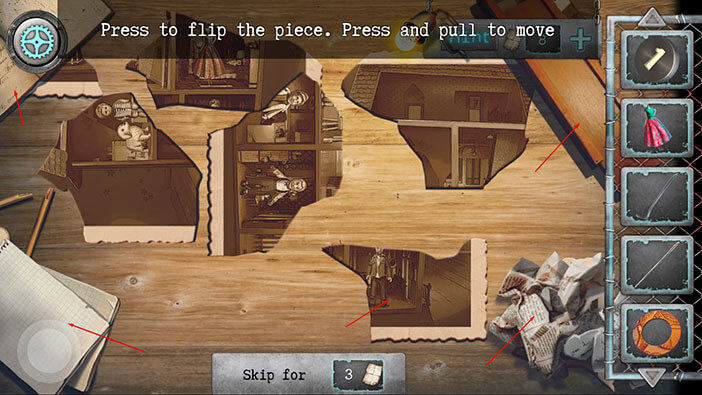
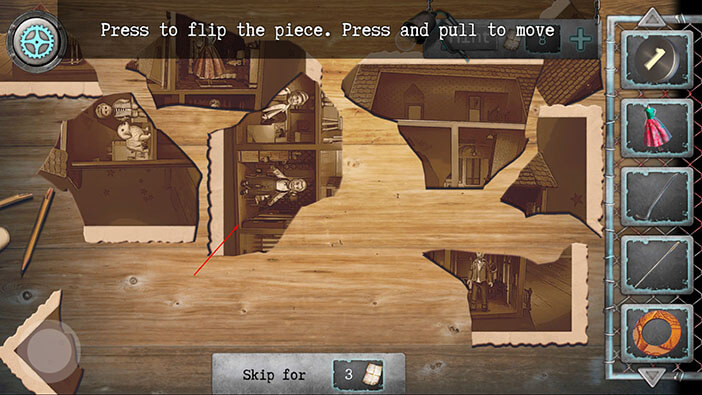
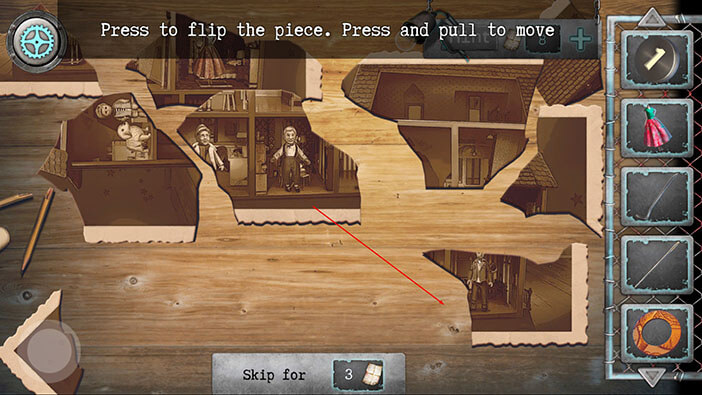
If you take a closer look at the piece of the picture in the middle (grandma and grandpa) you will notice that it would fit perfectly as the continuation of the piece of the picture in the lower right corner. So, tap twice on this piece of the picture to rotate. After that, drag it next to the piece in the lower right corner.
Step 4
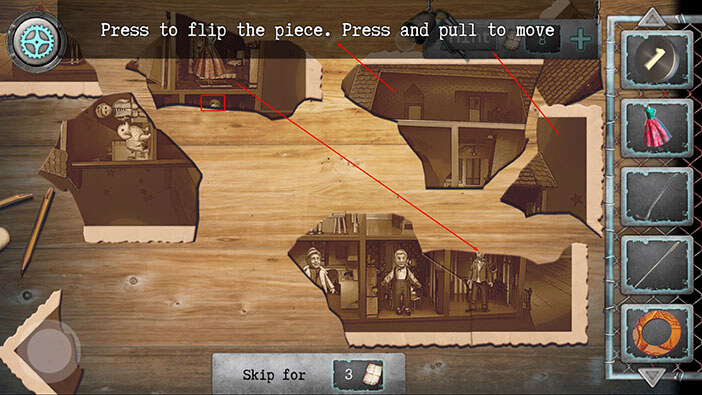
Next, if you take a closer look at the piece of the picture in the upper left corner (the one with the woman in dress), you will notice that the upper half of the head is at the bottom of the piece. Also, the man in the lower right corner is missing the upper part of the head. So, drag the piece and assemble the man’s head (move the pieces that are getting in on our way, and make some room)
Step 5
The piece in the upper left corner of the screen should form the lower-left corner of the picture (take a look at the edges). Also, it contains the other half of the grandma. So, let’s use this piece to assemble the grandma.
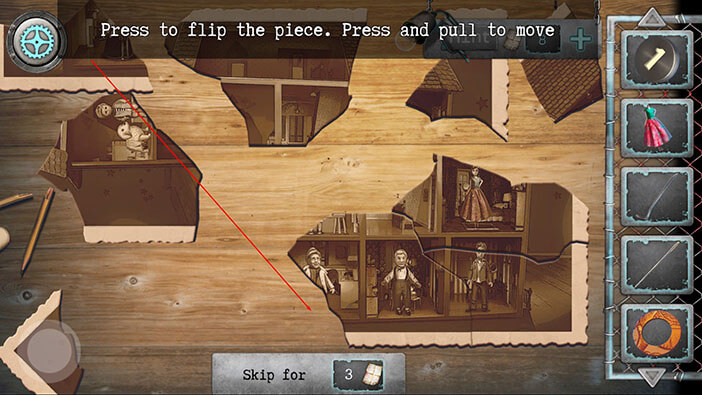
Step 6
Next, by looking at the edges of the piece in the upper right corner, we can see that it would fit perfectly above the piece with a woman in the dress. So, let’s assemble the top right portion of the picture.
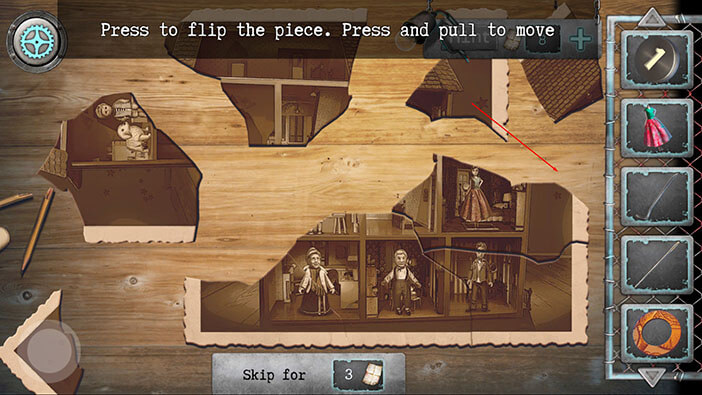
Step 7
Next, we should rotate the piece on the left, and use it to assemble the picture of the boy in the middle (currently, we can only see the boy’s legs in the middle).
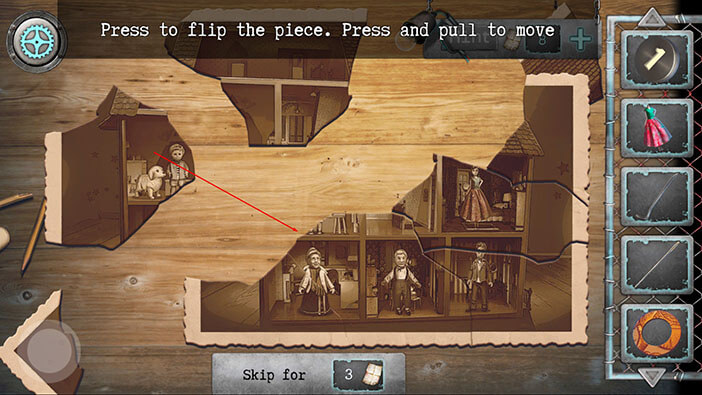
Step 8
The large piece with roof and windows should form the middle of the picture.
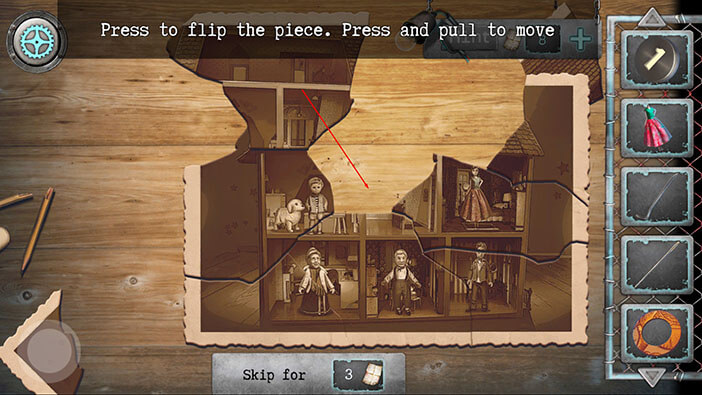
Step 9
The piece in the top right corner of the screen should be rotated and used to form the roof on the right side of the picture.
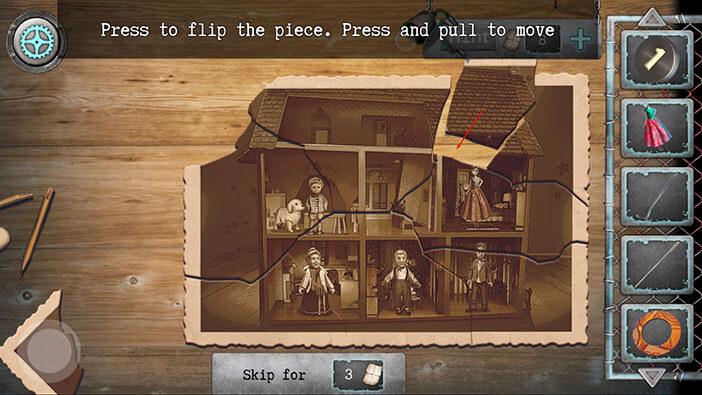
Step 10
Finally, rotate the piece from the lower-left corner of the screen, and use it to assemble the top left corner of the picture.
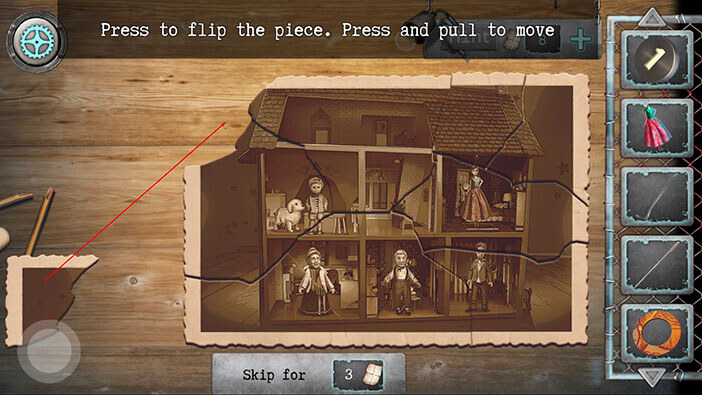
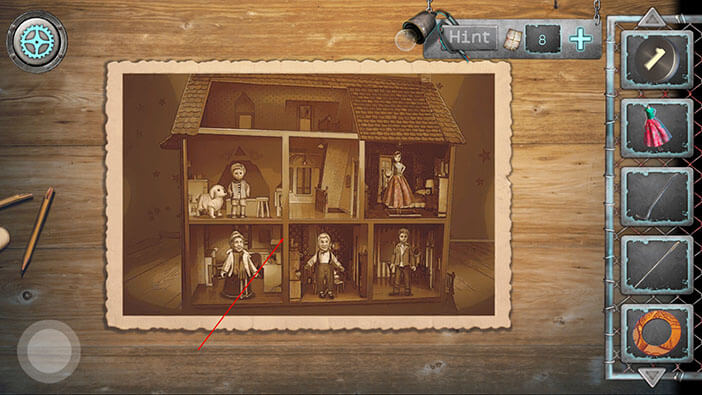
After assembling the picture, tap on it to pick it up, and “Photo of the dollhouse” will be added to your inventory.
Ok, let’s check out the right side of the room (tap on the right arrow on the button in the lower-left corner).
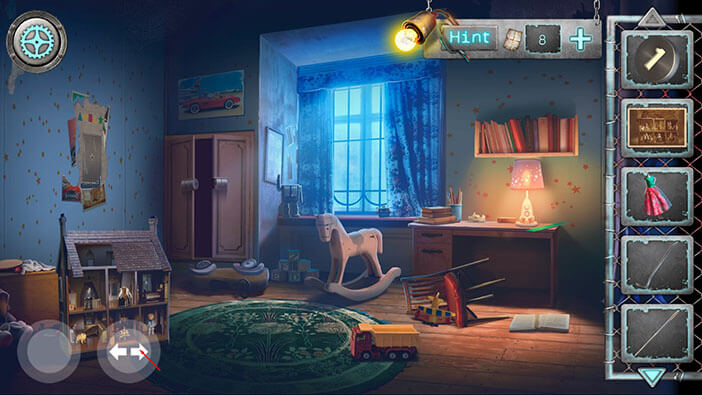
As soon as you enter into this part of the room, some weird baby-spider abomination will fall down from the ceiling and it will hide under the bed. Let’s tap under the bade to take a closer look at this creature.
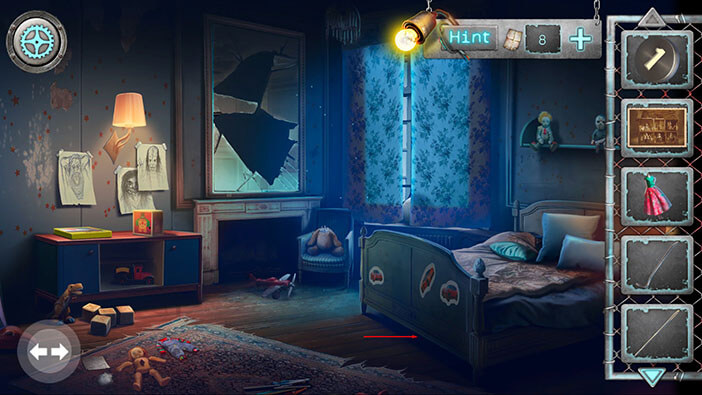
If you tap on the spider-baby, our character will say that he can’t catch this creature with his bare hands, because it’s too fast. Tap on the snicker on your left to move it aside.
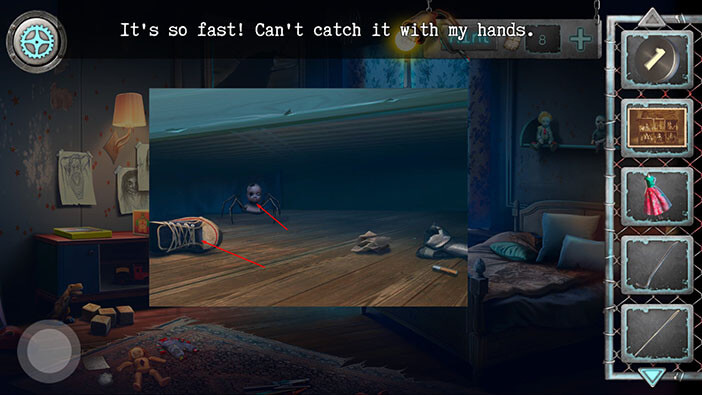
We discovered a roll of thread, that was hidden behind the snicker. Tap on it to pick it up and “Threads” will be added to your inventory.
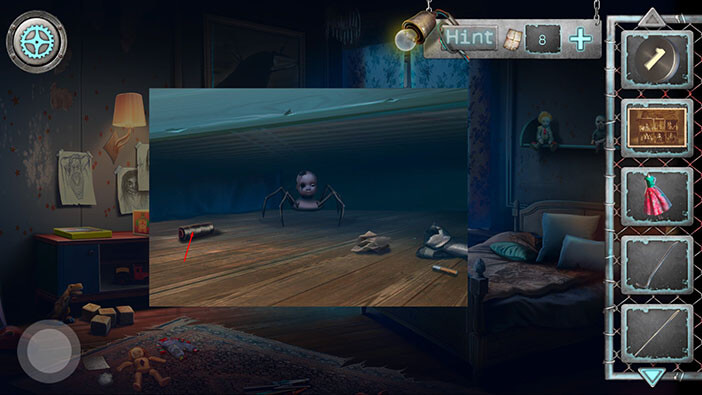
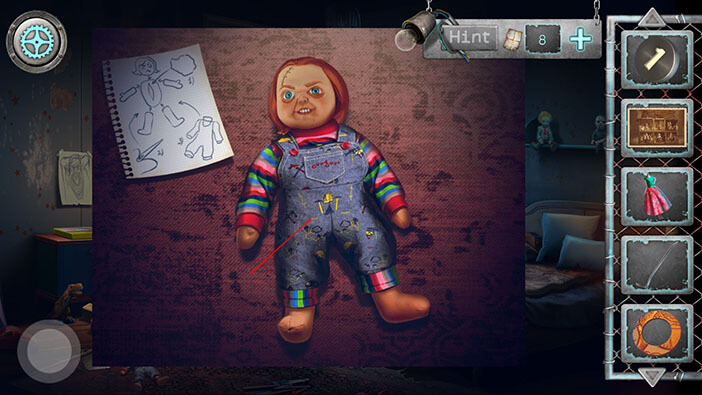
Next, let’s take a closer look at the doll (on the floor to the left).
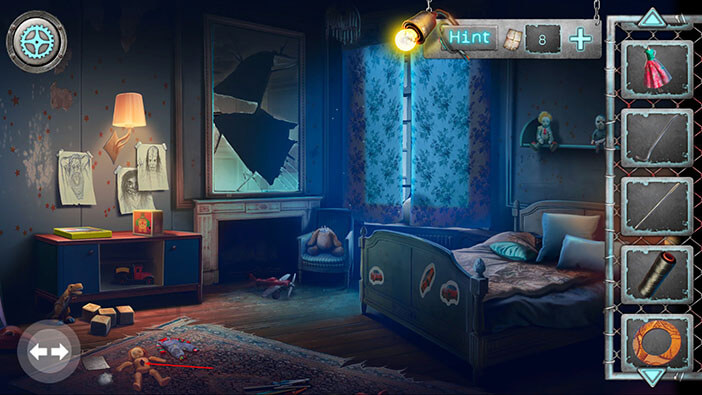
On the note in the upper left corner, we can see the instructions for assembling the doll. Let’s follow the instructions.
Step 1
Stuff the doll.
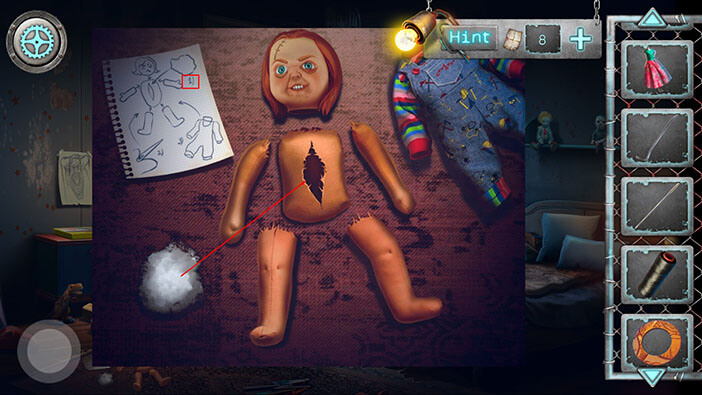
Step 2
Select the “Needle” from the inventory and drag it to the “Threads” to combine these two items. “Thread with a needle” will be added to your inventory.
After that, select the “Thread with a needle” from the inventory and tap on the doll to sew it.
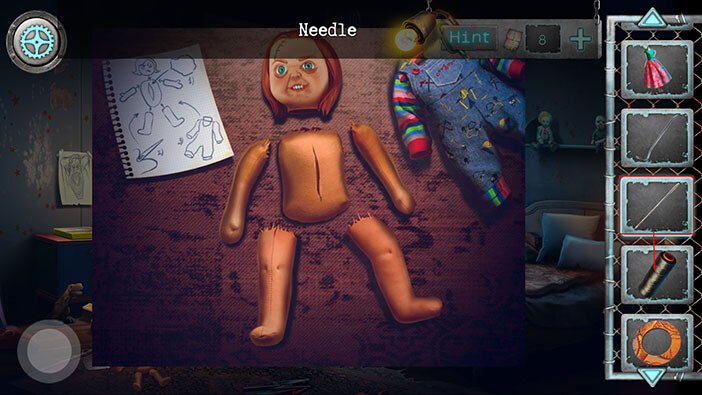
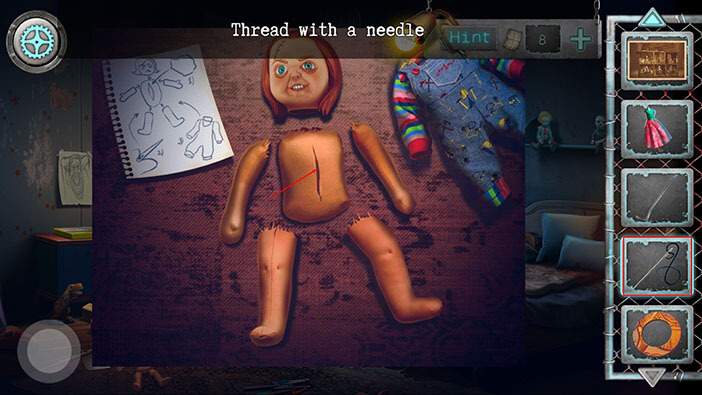
Step 3
Drag the clothes from the left and dress the doll. After that, tap on the doll to pick it up, and “Collectible doll” will be added to your inventory.
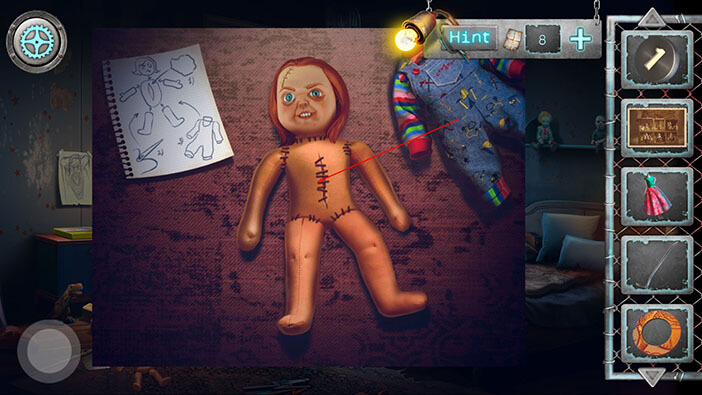
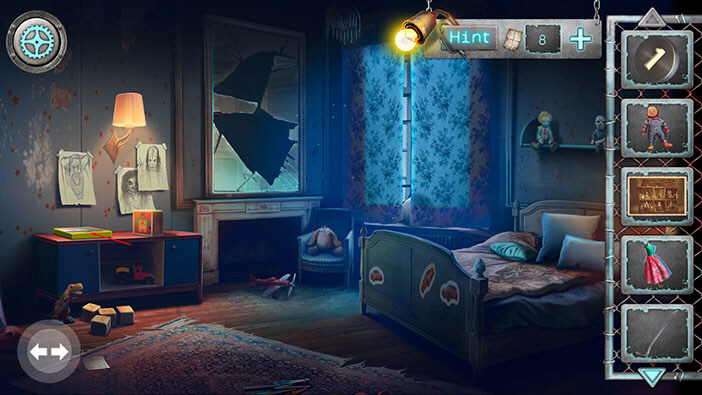
Next, let’s look at the game, located on the cabinet on our left.
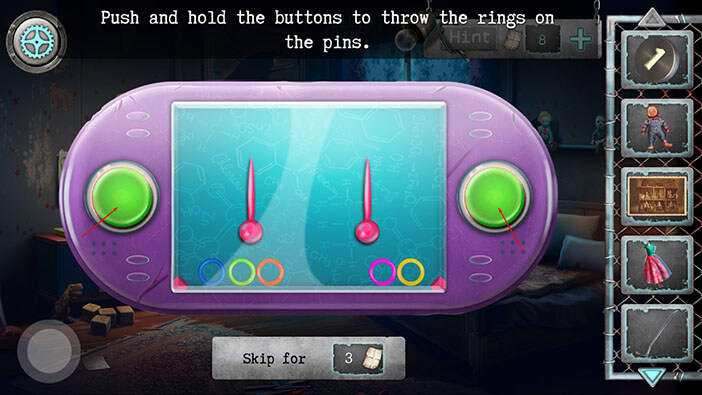
Here, you can push left and right buttons to pump the air, and move the plastic rings. The goal is to throw the rings onto the pins in the middle.
Well, I can’t help you with this one. Just keep trying until you succeed.
When you complete the minigame, you will unlock the box. Tap on the box to open it.
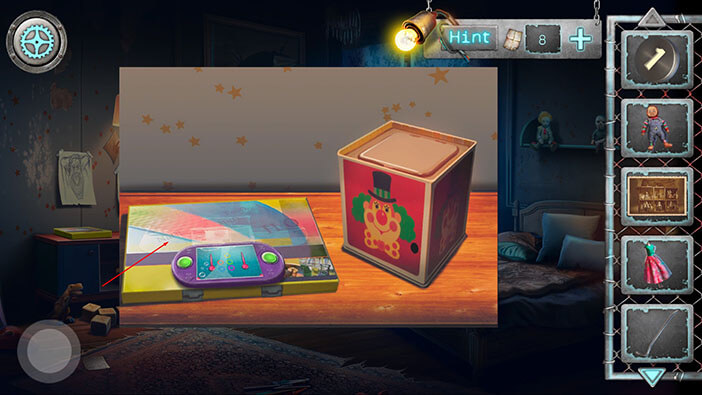
Tap on the “Acid” to pick it up.
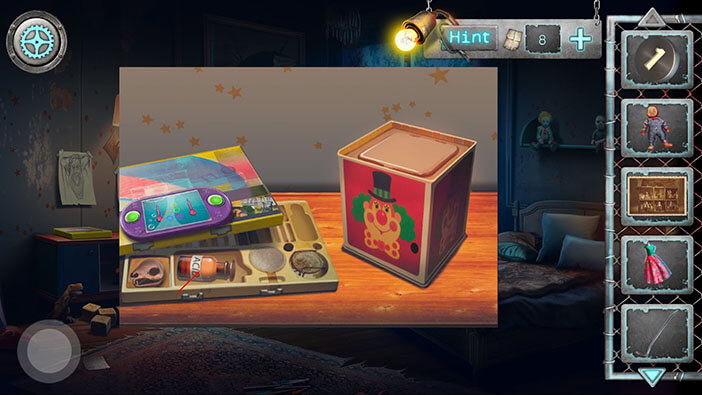
Next tap on the drapes, on your left.
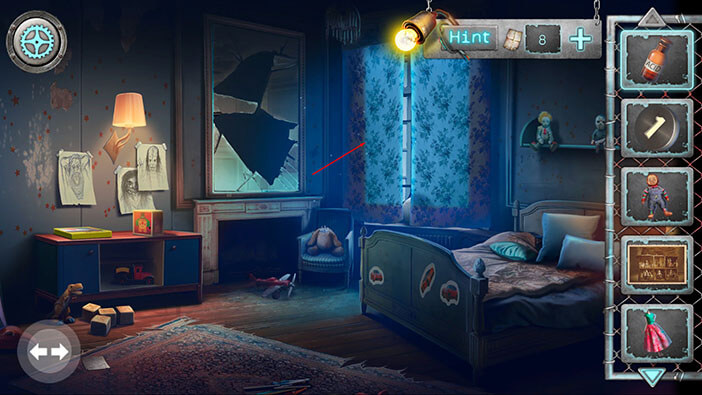
You will discover a white ball that was previously hidden behind the drapes. Tap on it to pick it up and “Marble ball” will be added to your inventory.

Ok, let’s take a closer look at the shelf with dolls, located above the bed.
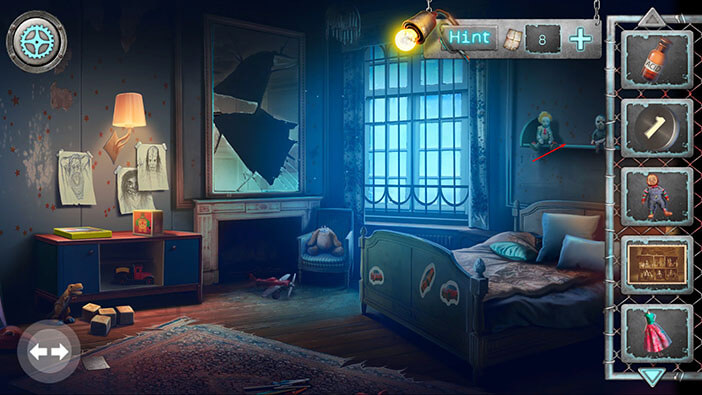
Select the “Collectible doll” from the inventory and place it on the empty spot on the shelf.
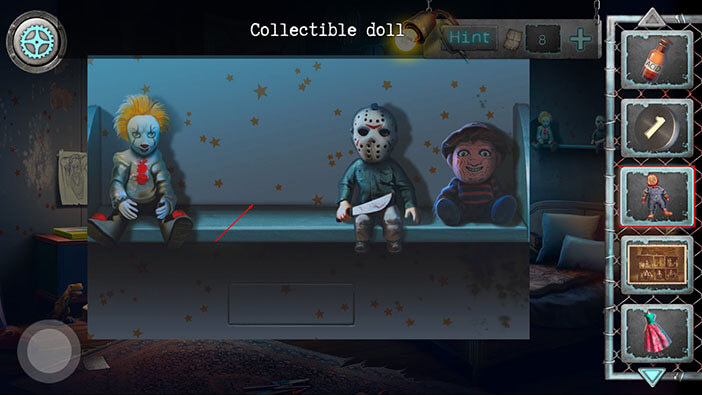
A secret compartment below the shelf will open. Tap on the key inside the compartment to pick it up and “Key with a star” will be added to your inventory.
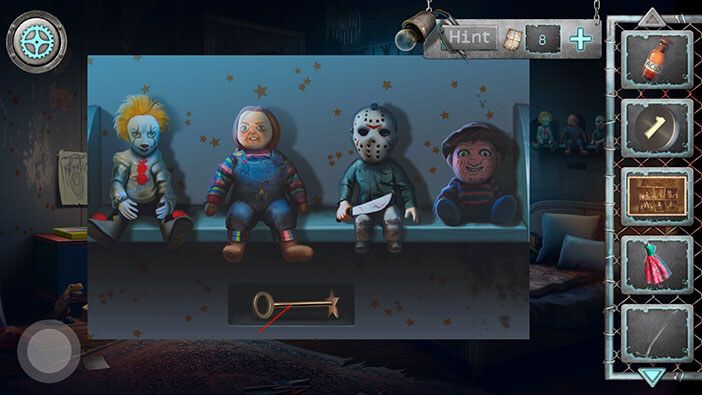
Well, earlier we found a wall safe behind the posters, and this wall safe had a keyhole shaped like a star. So, let’s use the key that we just found to open the safe. First, tap on the left arrow to go to the other side of the room.
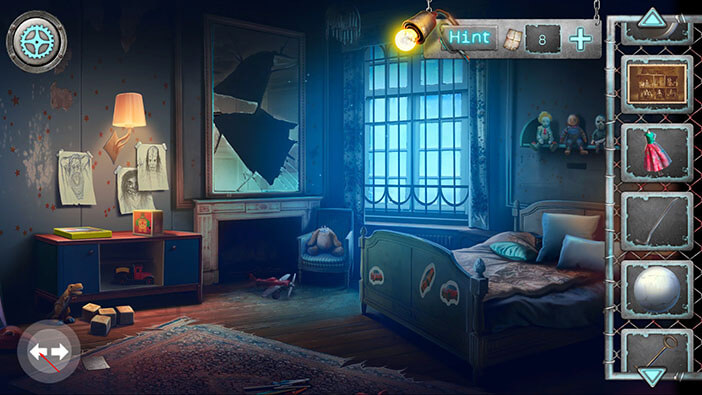
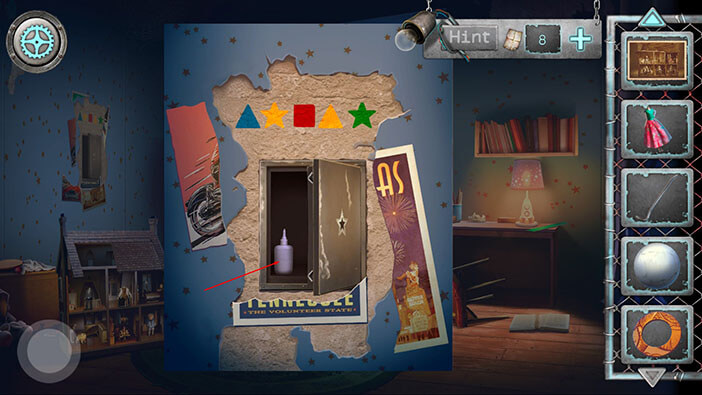
Tap on the wall safe on the left to take a closer look.
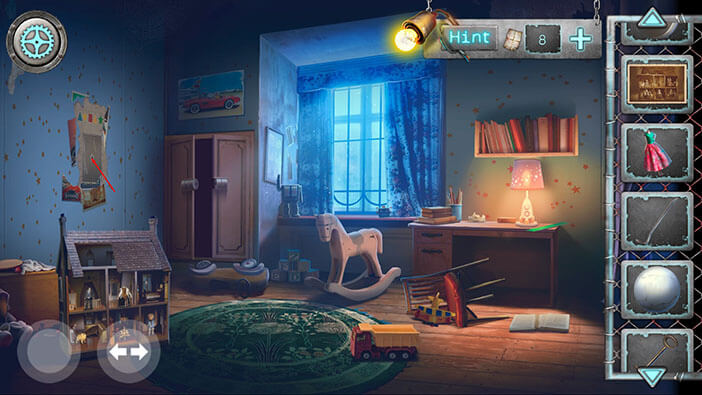
Select the “Key with a star” from the inventory and tap on the star-shaped keyhole to unlock the safe.
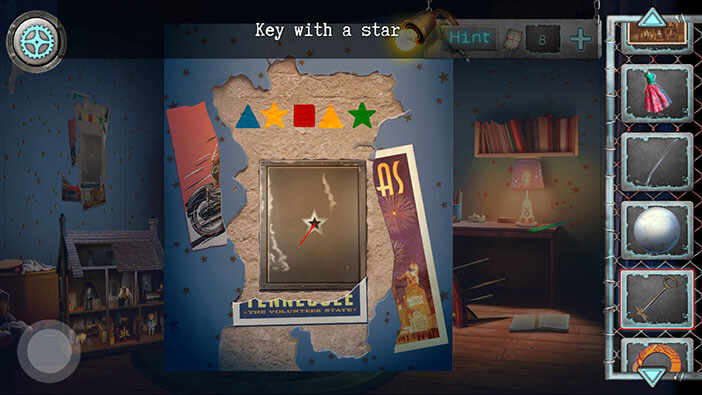
Tap on the bottle inside the safe to pick it up and “Glue” will be added to your inventory.
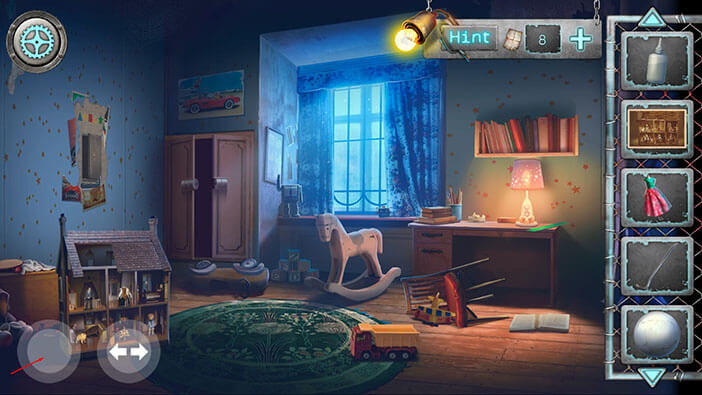
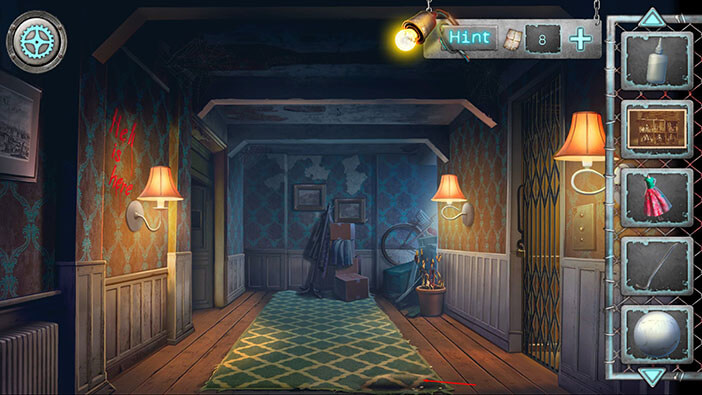
While we were in the hallway, we saw a carpet that was nailed to the floor. Since we found a crowbar, let’s go back to the hallway and use it to pull out the nails. Tap on the button in the lower-left corner to go back.
Tap on the carpet to take a closer look at it.
Select the “Crowbar” from the inventory and tap on the nails to pull them out.
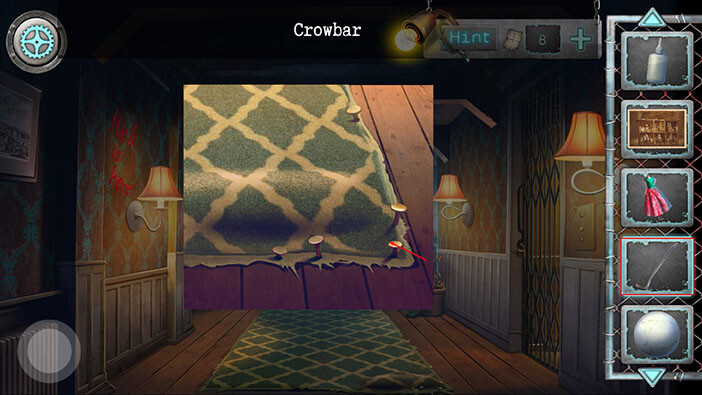
Tap on the item that was hidden below the carpet to pick it up and “Weight” will be added to your inventory.
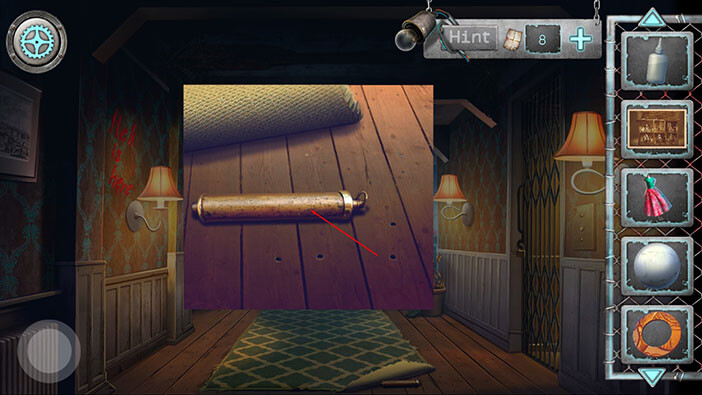
Next, let’s take a closer look at the elevator on our right.
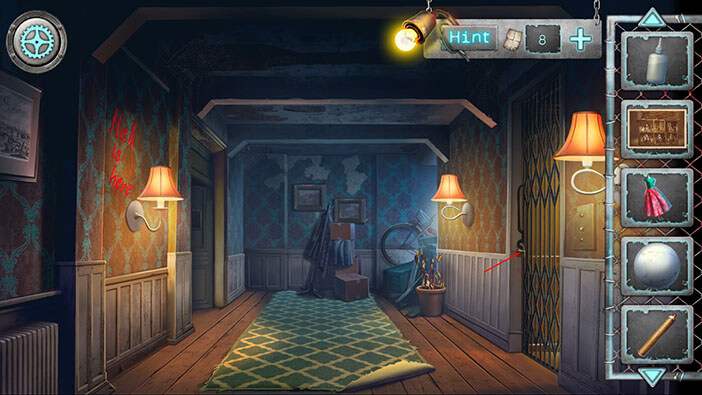
In order to gain the access to the elevator, we will have to remove the padlock. Fortunately, it seems that the padlock is rusty, so we should be able to melt it with acid. So, select “Acid” from the inventory and tap on the padlock.
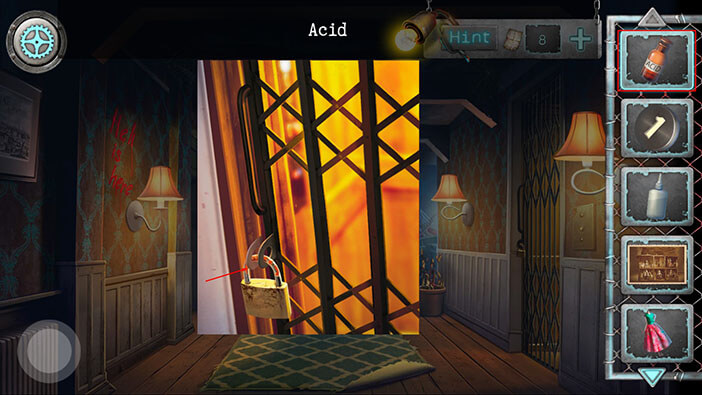
After removing the padlock, tap on the door to enter the elevator.
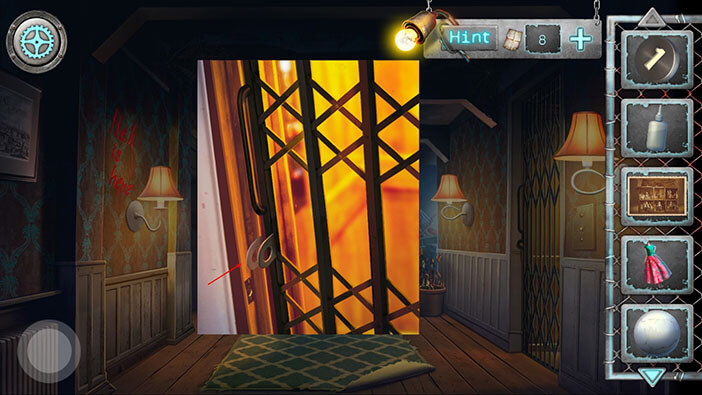
First, tap on the “Ax head” to pick it up.
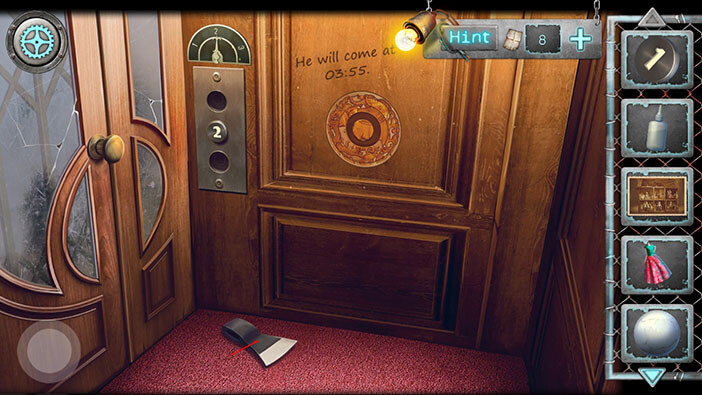
Next, let’s take a closer look at the pattern on the wall.
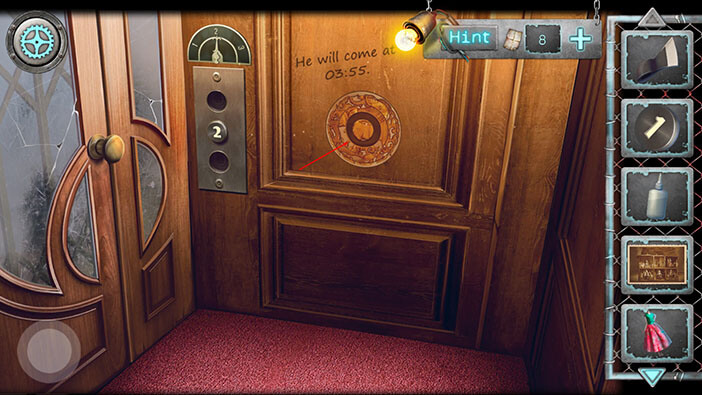
We can see that one of the discs is missing. So, select the “Round detail” from the inventory and insert it into the empty slot.
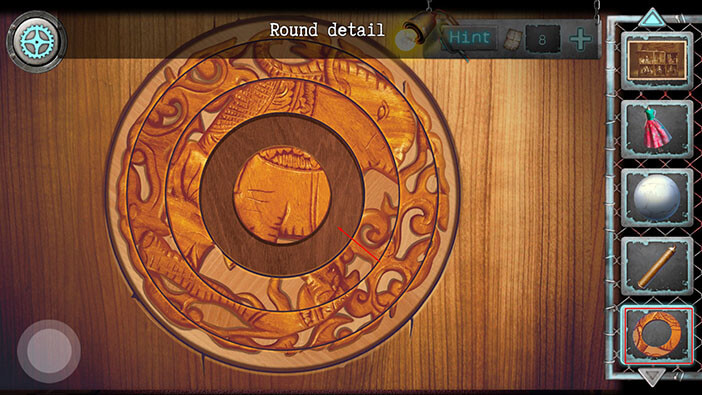
Well, now we assemble the pattern by rotating the four outer discs (the inner disk can’t be rotated). We will do this in four steps. Let’s begin.
Step 1
Rotate the second smallest disc and align it with the pattern on the top of the smallest disc.
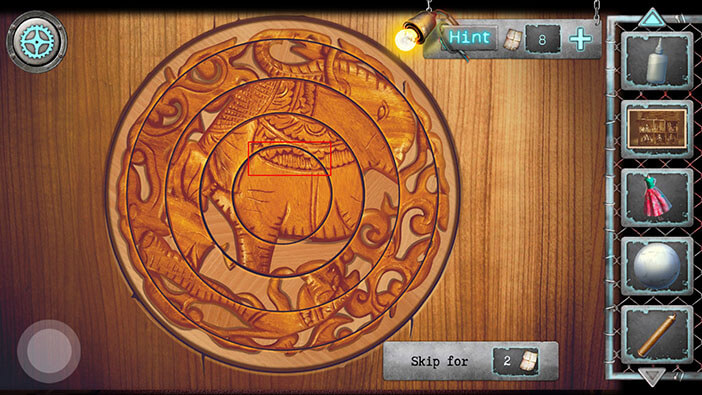
Step 2
Rotate the next disc and align it with the pattern on the top of the previous disc (you will assemble a part of the elephant’s head on the left side).
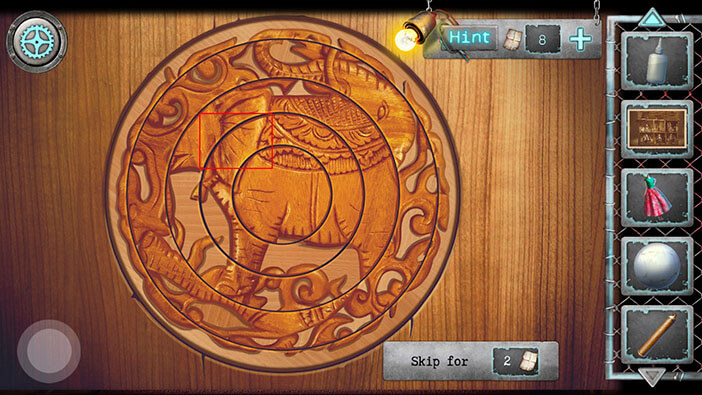
Step 3
Rotate the next disc until you assemble the elephant’s head on the left.
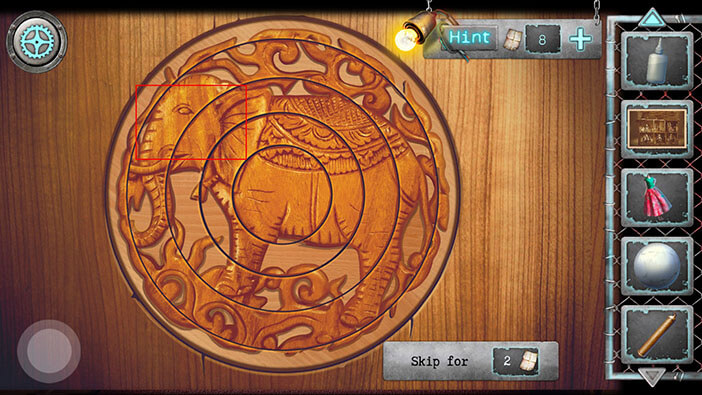
Step 4
Finally, rotate the outer disc until you assemble the elephant’s tusks.
As soon as you assemble the picture, the secret compartment will open tap on the item inside to pick it up, and “Handle from the box” will be added to your inventory.
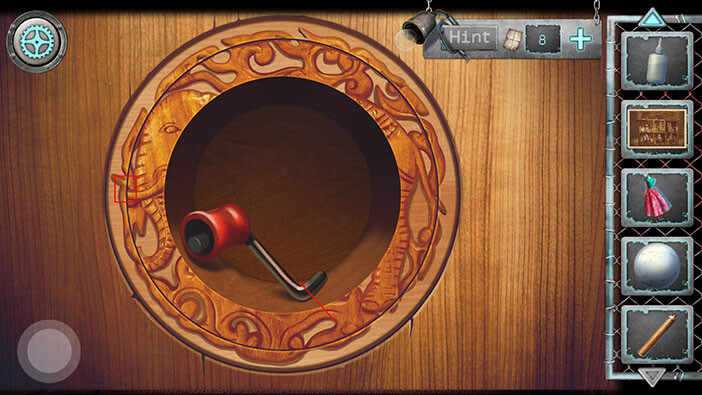
Let’s go back to the room. Tap on the button in the lower-left corner to go back.
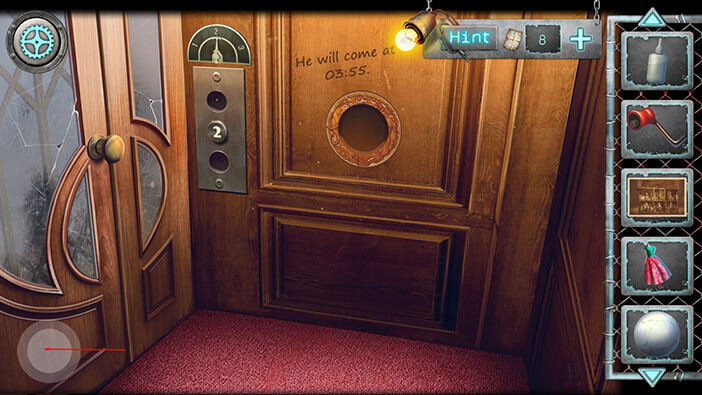
When you get to the hallway, go to the room on the left.
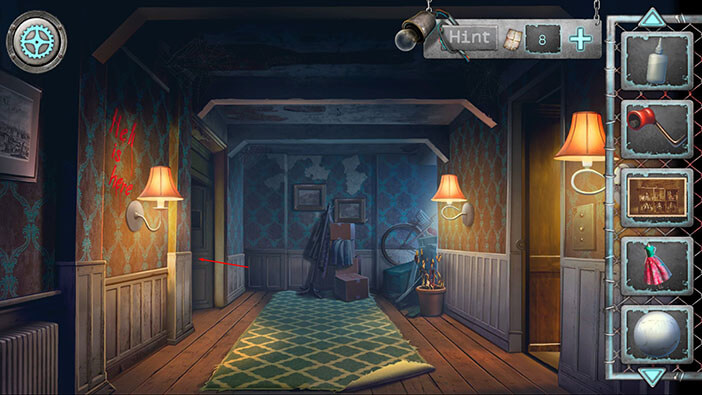
Go to the right side of the room.

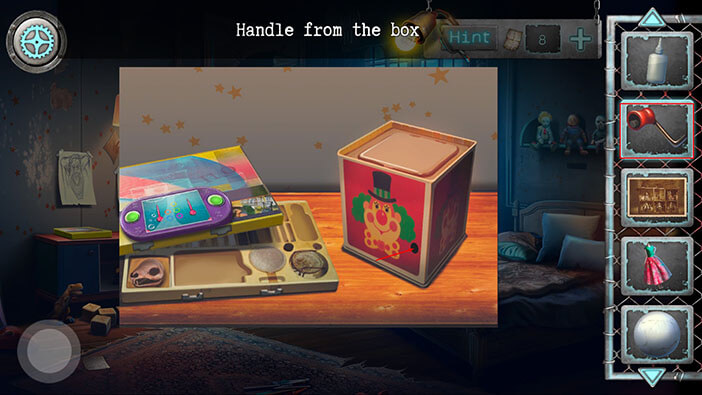
Tap on the box with the picture of a clown to take a closer look at it.

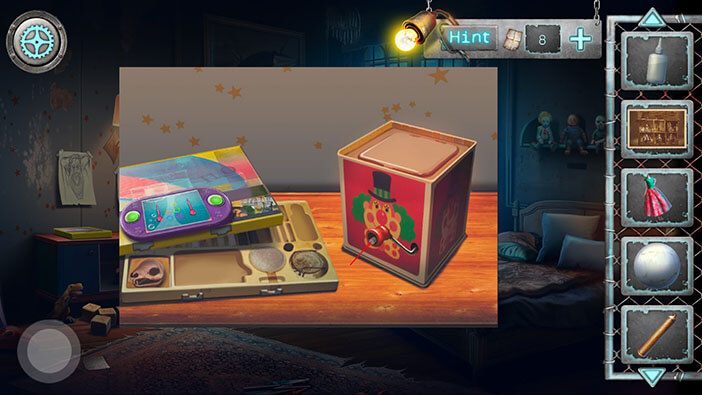
We can see that there’s a hole in the box. So, select the “Handle from the box” from the inventory and tap on the hole to insert the handle. After that, tap on the handle to rotate it.
The box will open. Tap on the “Audio cassette” to pick it up.
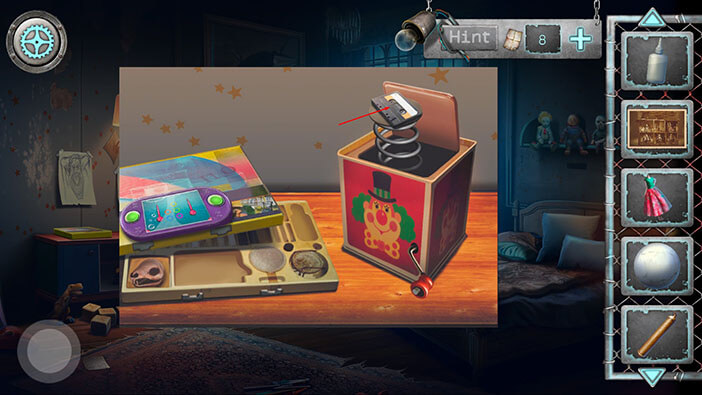
On the left side of the room, we saw a radio cassette player inside the closet. So, let’s go to the other part of the room.

Tap on the closet to take a closer look at it.

Tap on the radio cassette player to open it.
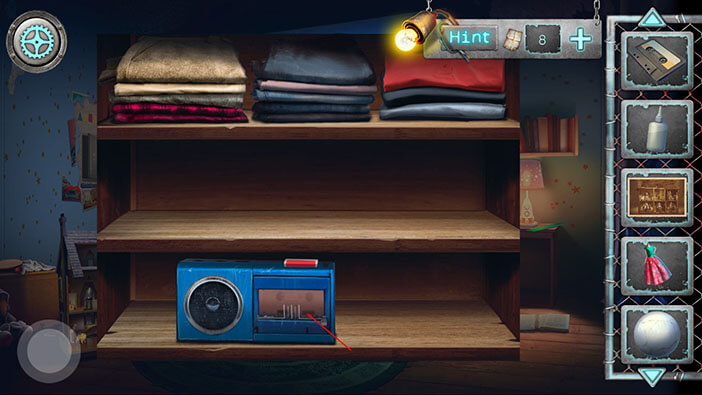
Select the “Audio cassette” and tap on the radio to insert it. After that, tap on the radio to play the tape.
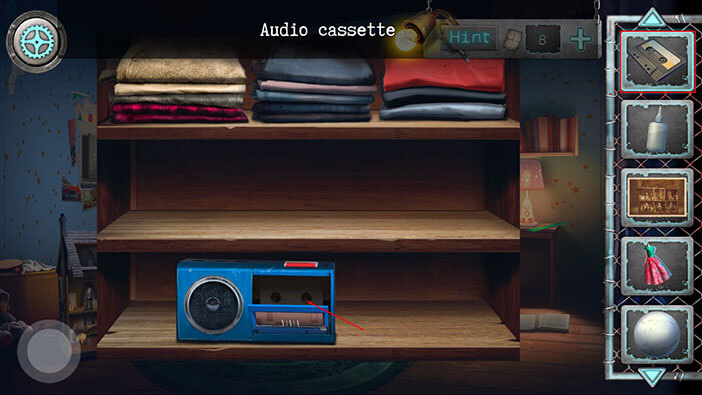
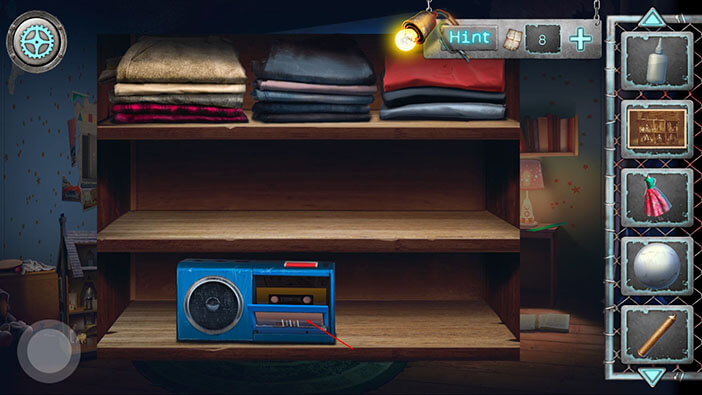
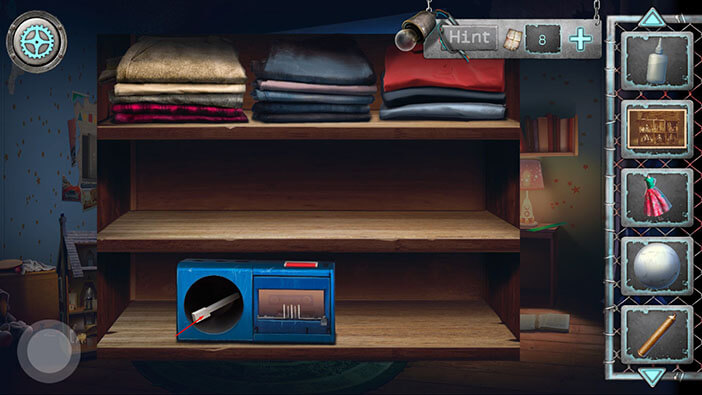
After some disturbing sounds, the secret compartment inside the radio will open. Tap on the item inside the compartment to pick it up and “Key I” will be added to your inventory.
Ok, let’s go back to the elevator. Tap on the button in the lower-left corner to go back to the hallway. After that, tap on the elevator door.

Ok, we can see that buttons 1 and 2 are missing, and we have a button 1. So, select the “Button for elevator Ist floor” from the inventory and tap on the empty slot below button 2.
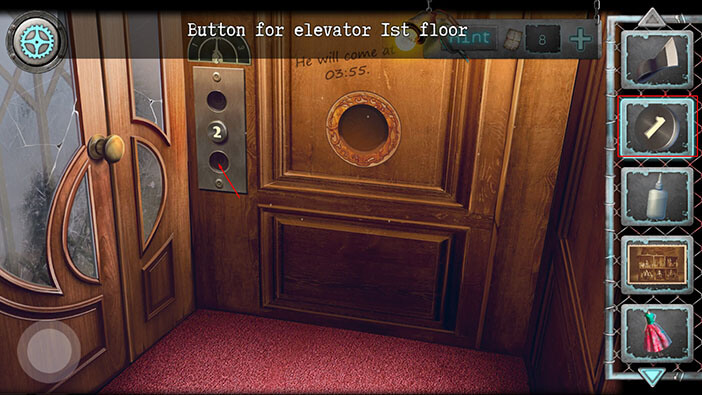
Before we go to the first floor, take a look at the writing on the wall “He will come at 03:55”. Memorize/write down the time 03:55, because we will need this information for the next puzzle.
After that, tap on button 1 to go to the first floor.
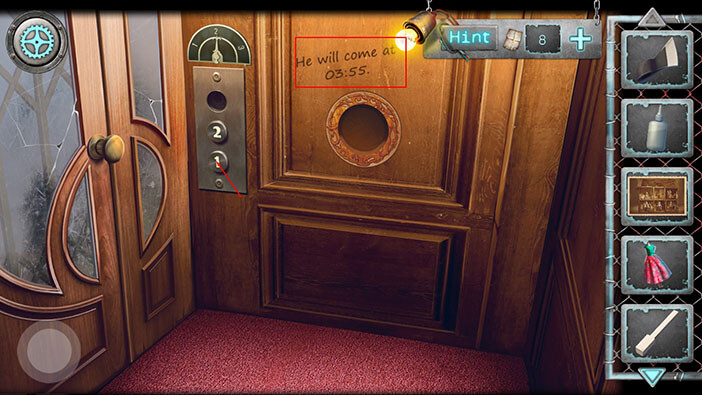
Ok, we’re inside a new room. Tap on the “Butterfly net” on the floor to pick it up.
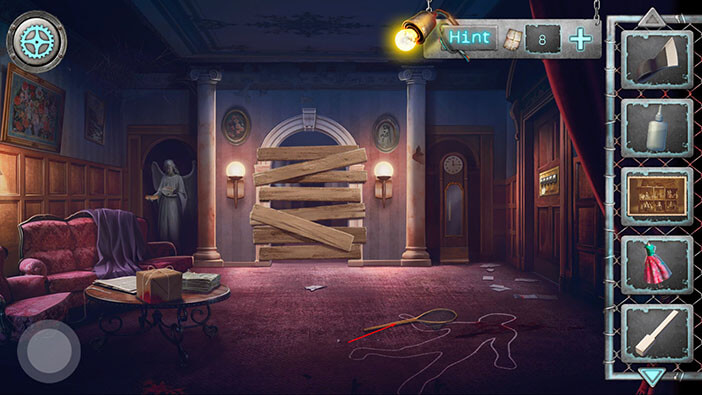
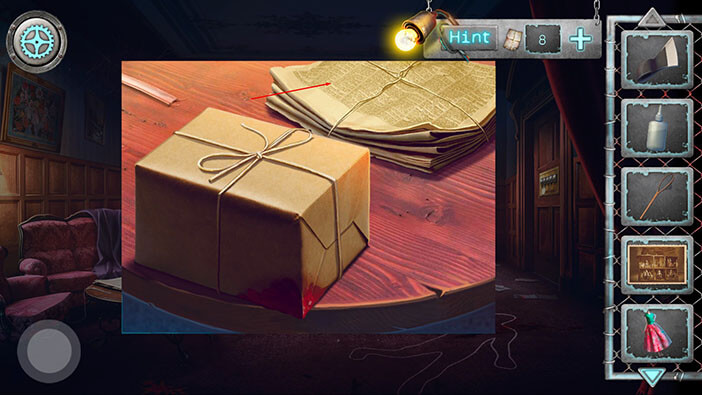
Next, tap on the table to take a closer look at it.
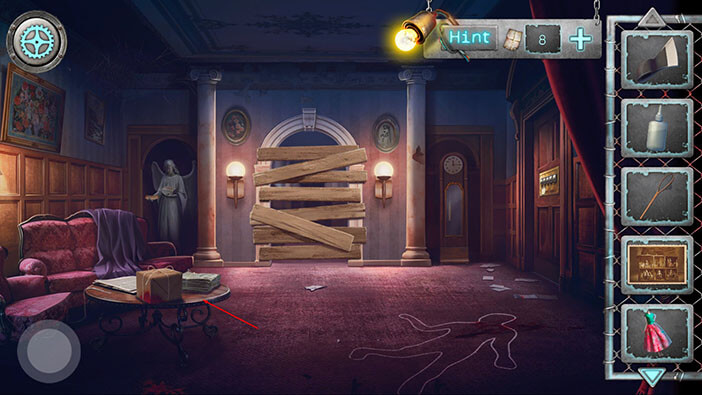
Tap on the pile of newspapers to pick it up and “Newspapers” will be added to your inventory.
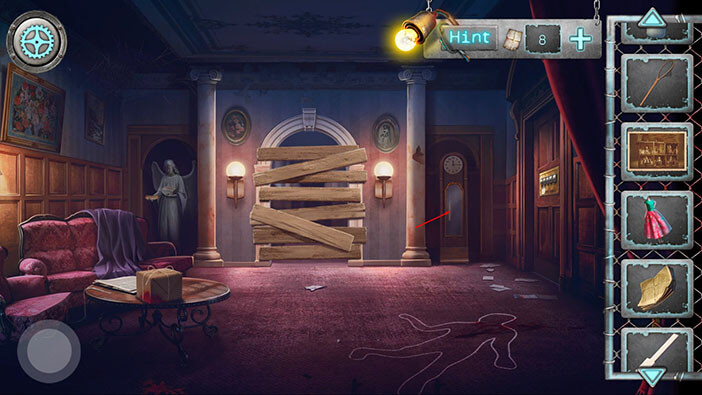
Tap on the wall clock to take a closer look at it.
Tap on the glass door to open it.
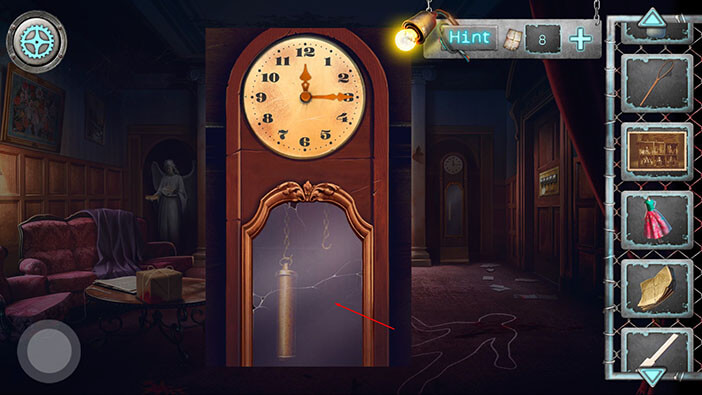
We can see that one of the weights is missing. So, select the “Weight” from the inventory and tap on the empty hook.
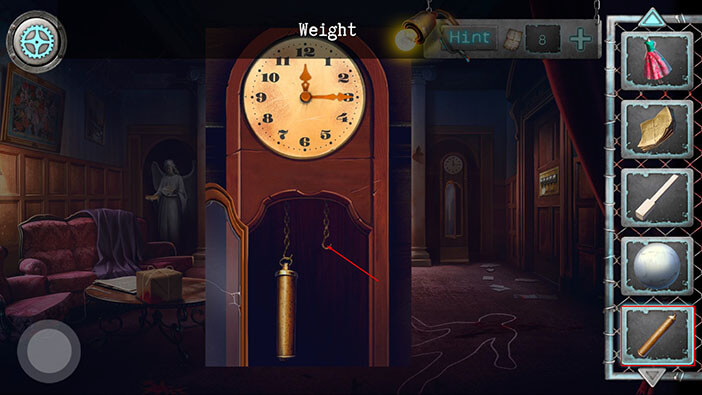
Our next task is to set the correct time. In the elevator, we saw the writing on the wall “He will come at 03:55”. So, point the smaller clock hand to 3, and the larger clock hand to 11.
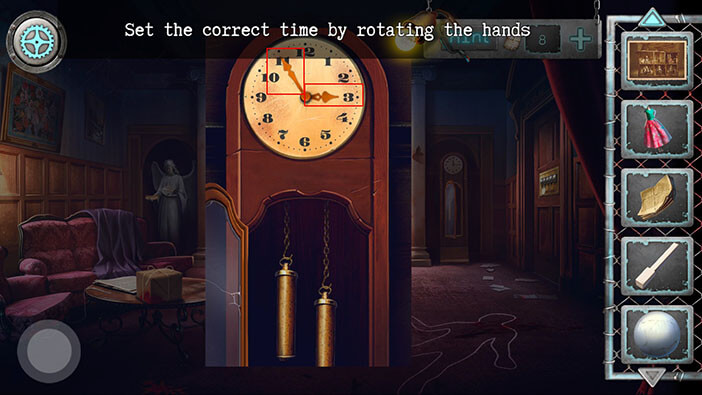
As soon as you set the correct time, the secret compartment on the clock will open. Tap on the doll inside the compartment to pick it up and “Grandpa doll” will be added to your inventory.
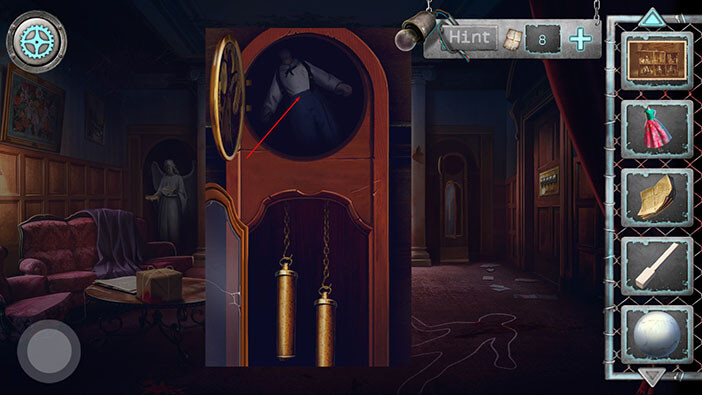
Next, let’s tap on the statue on the left to take a closer look at it.
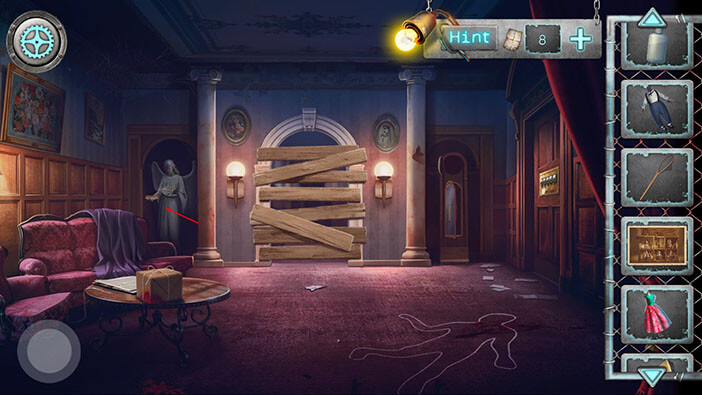
Tap on the note inside the statue’s hand to pick it up and “Book order” will be added to your inventory.
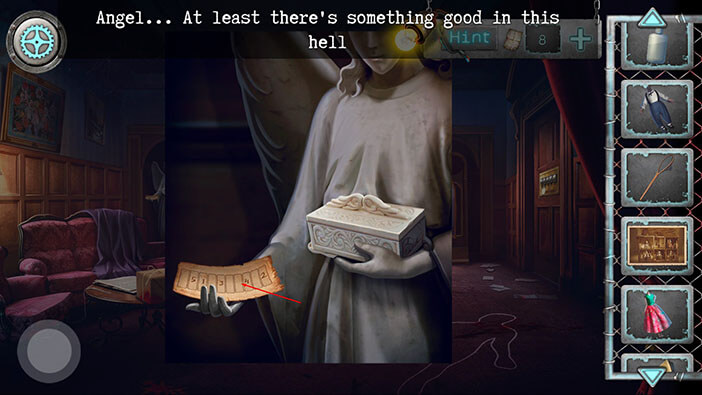
Ok, now, let’s select the “Marble ball” from the inventory and put it inside the statue’s hand.
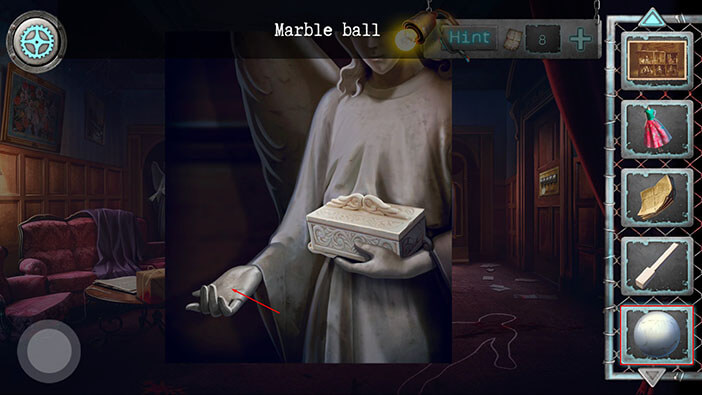
Well, this will activate another puzzle. Our goal is to find the pictures with the extra detail. You can see the solution in the image below.
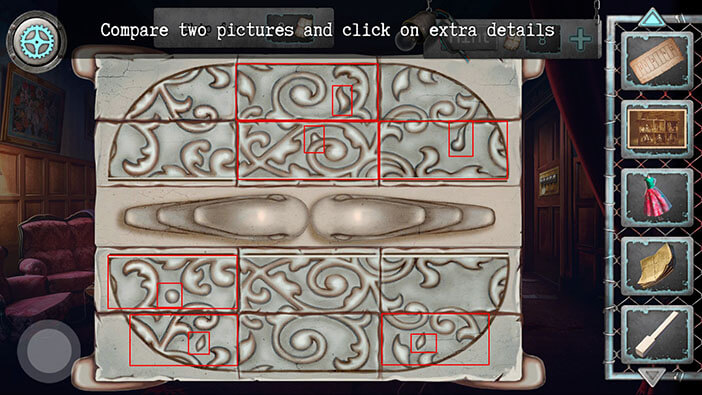
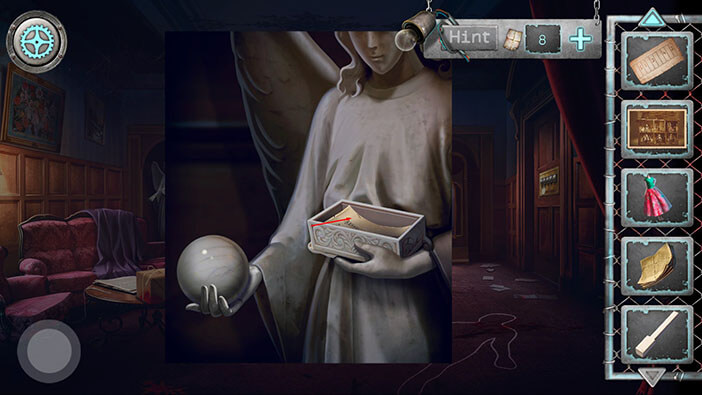
After solving the previous puzzle, the box that the statue is holding will open. Tap on the piece of paper inside the box to pick it up and “Notes” will be added to your inventory.
Let’s go back to the second floor. Tap on the button in the lower-left corner of the screen to go back to the elevator. After that, tap on button 2 to go to the second floor.
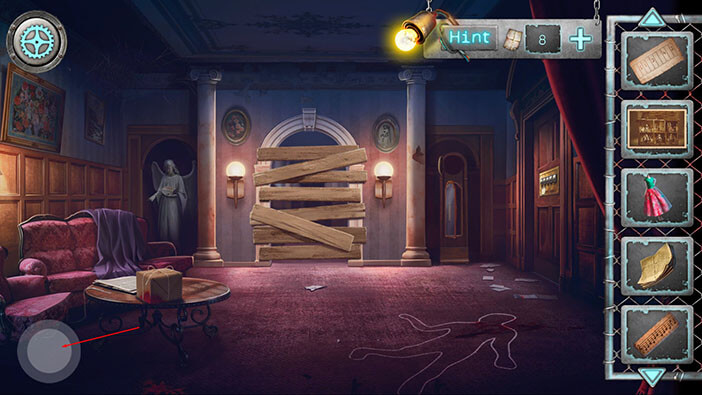
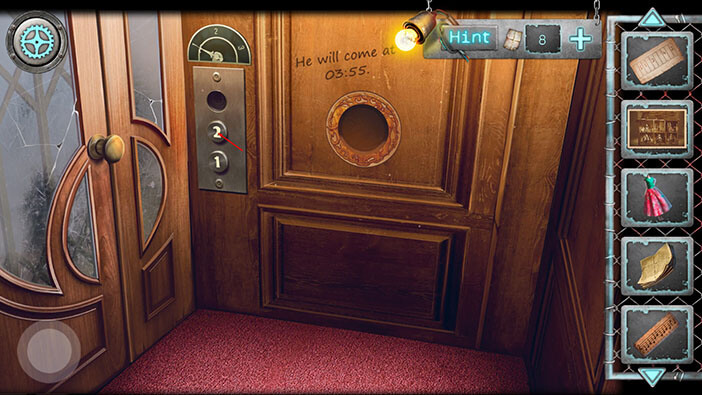
Let’s go into the room on the left.
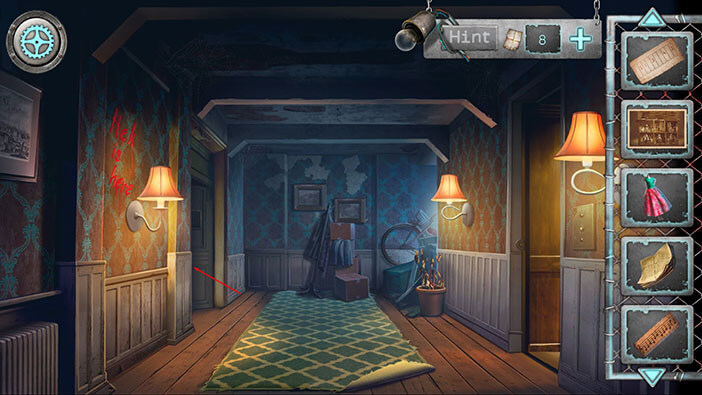
Tap on the dollhouse on the floor on your left to take a closer look at it.
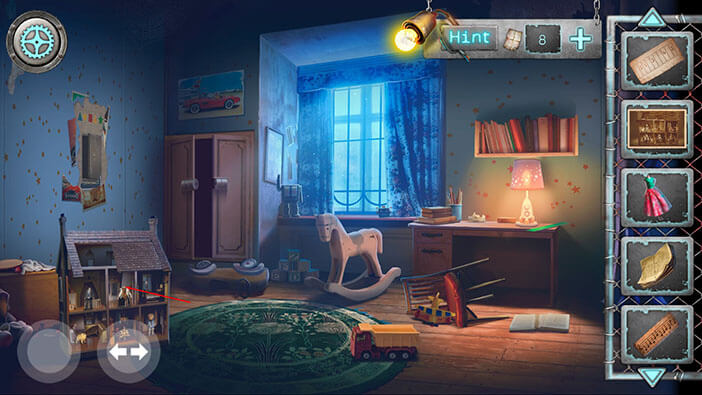
Select the “Photo of the dollhouse” and then tap on the dollhouse.
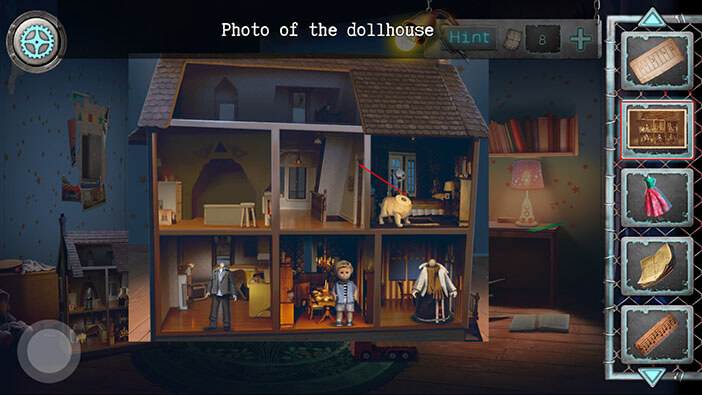
If we take a look at the picture of the dollhouse, we can see that it’s quite different. So, our task is to arrange the dollhouse in the same way as in the photo. Let’s begin.
If you take a look at the third room (left to right) on the top floor, you will see that there’s a doll of the woman in the photo, but not in the actual house. So, select the “Headless mom doll” from the inventory and put it into the third room on the top floor.
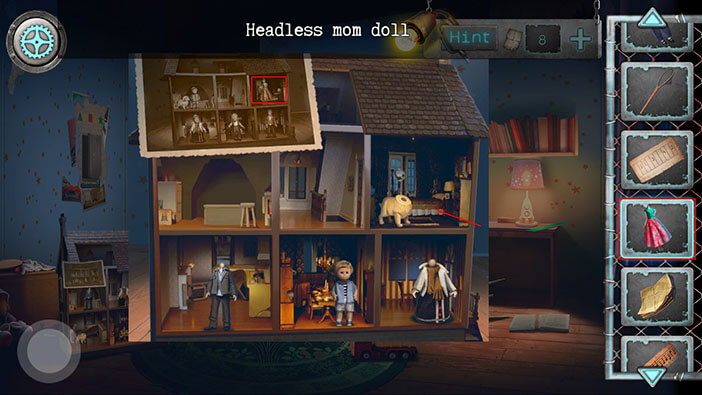
Next, we can see that the “Grandpa doll” should be in the second room on the bottom floor. However, if you tap to place it there, the game will automatically put this doll into the first room on the top floor. That’s ok because now we can rearrange the dolls.
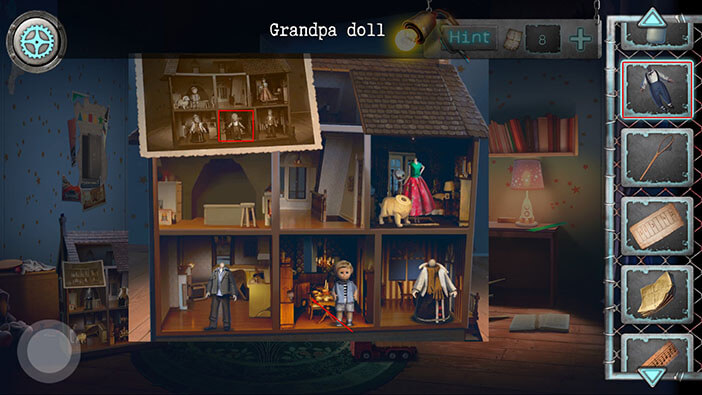
Next, if we take a look at the first room on the top floor (in the photo), we will see that the doll of the boy and the dog should be in this room. So, let’s switch positions of the grandpa and boy dolls.
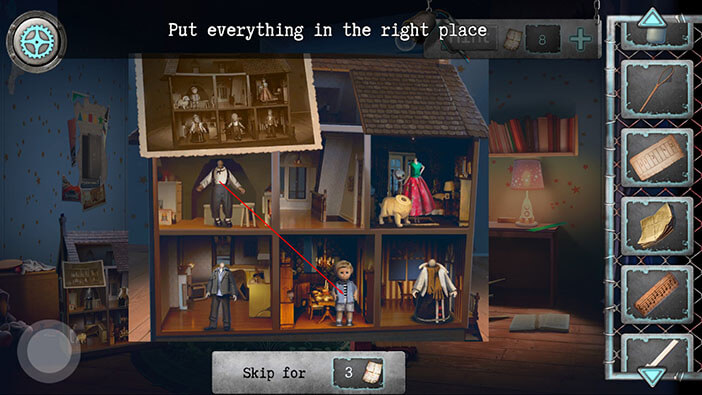
Also, in the photo, the dog doll is next to the boy (first room, top floor). So, let’s put the dog next to the boy.
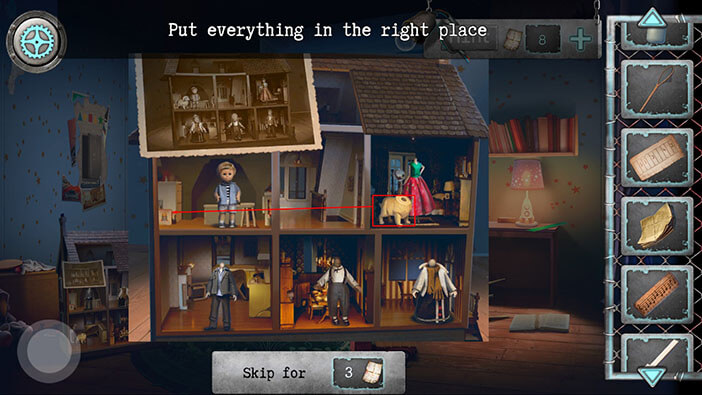
Finally, in the photo, the grandma doll is in the first room on the bottom floor, while the man doll is in the third room on the bottom floor. So, let’s switch the positions of these two dolls.
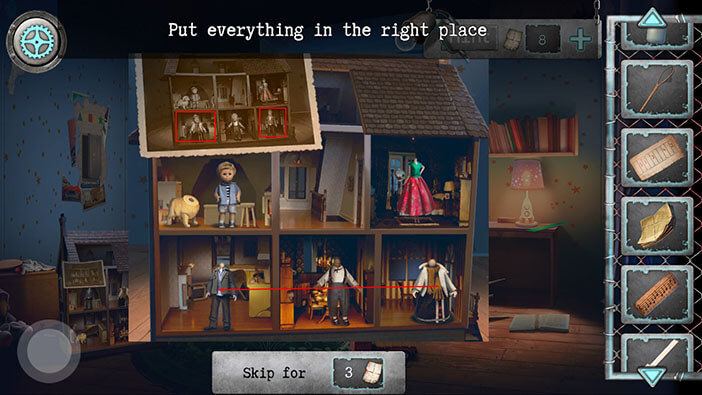
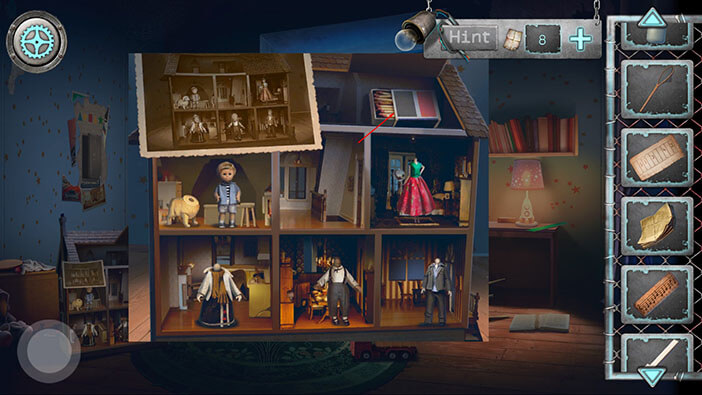
As soon as we properly arranged the dolls, the secret compartment in the roof of the dollhouse opened. Tap on the “Matchbox” to pick it up.
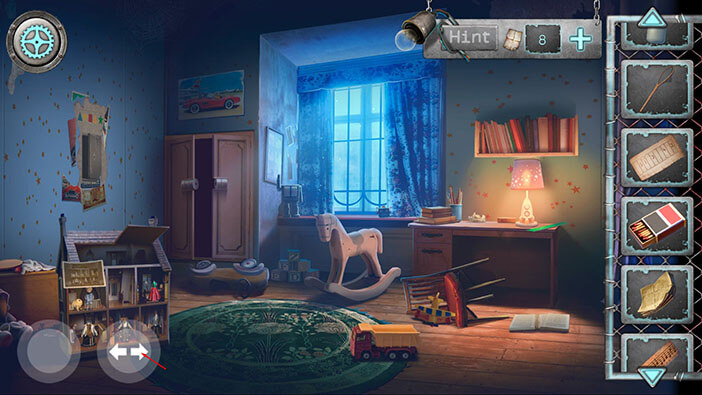
Ok, let’s go to the other part of the room.
Tap on the bed to take a closer look at the spider-baby that is hiding under the bed.
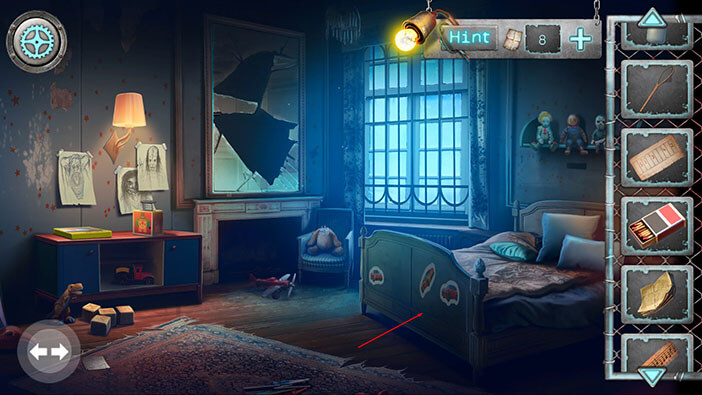
Select the “Butterfly net” from the inventory and use it to catch this strange creature.
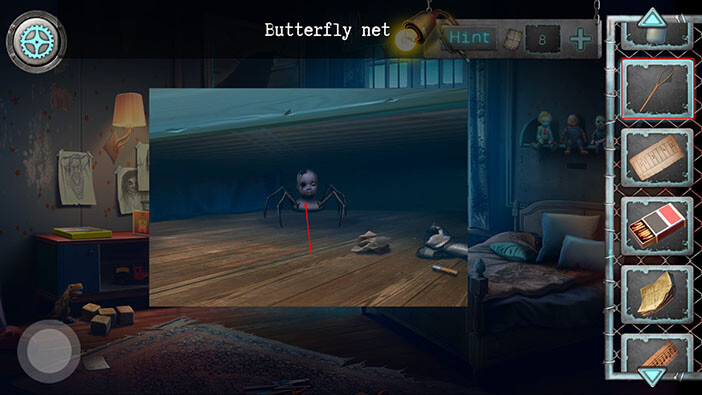
After that, tap on the creature, and our character will remove its head, revealing that it was just some kind of remotely controlled toy.
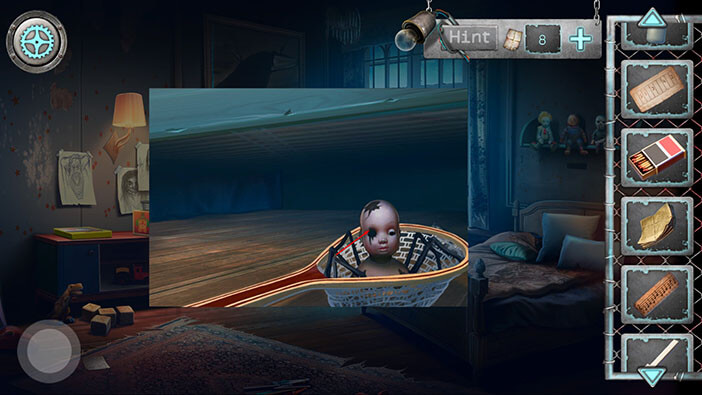
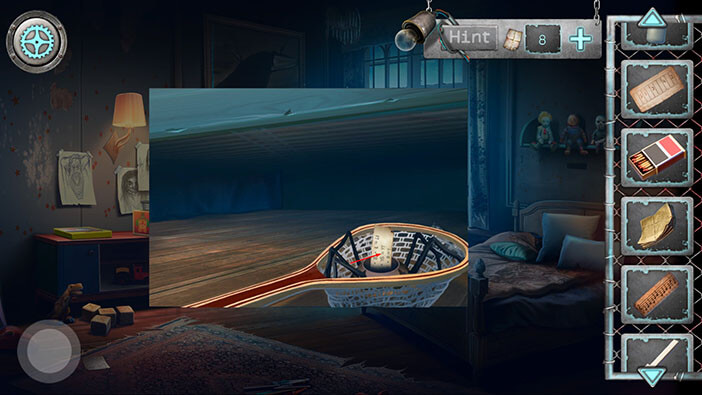
You will discover some kind of note. Tap on it to pick it up “Half of a sheet” will be added to your inventory.
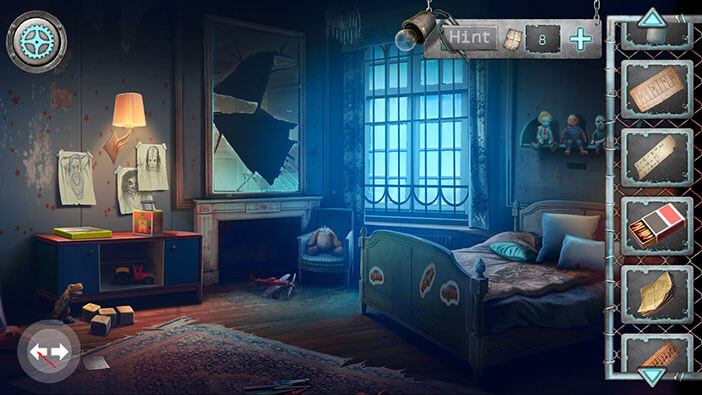
Ok, we should now go back to the first floor. To get there, tap on the arrow on the left to the other part of the room. After that, tap on the button in the lower-left corner to go to the hallway. Next, enter the elevator and tap on the number 1.
Tap on the numerical lock on the left to take a closer look at it.

Select the “Half of a sheet” from the inventory and tap to merge it with the other half.
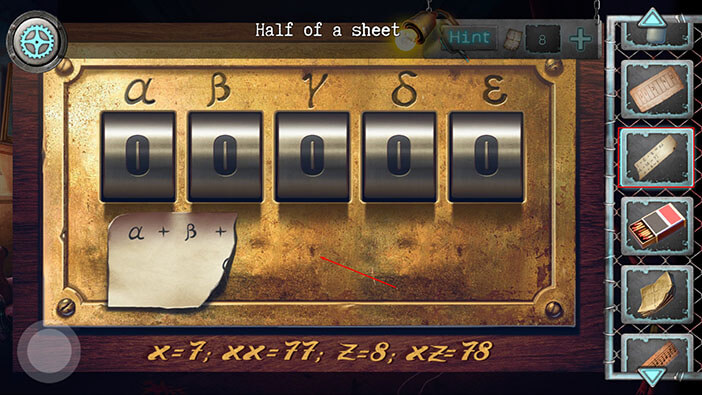
Here, we have a mathematical puzzle. The solution is “40213”
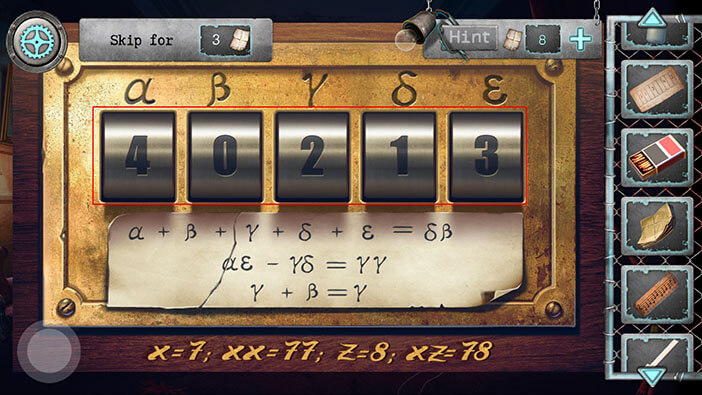
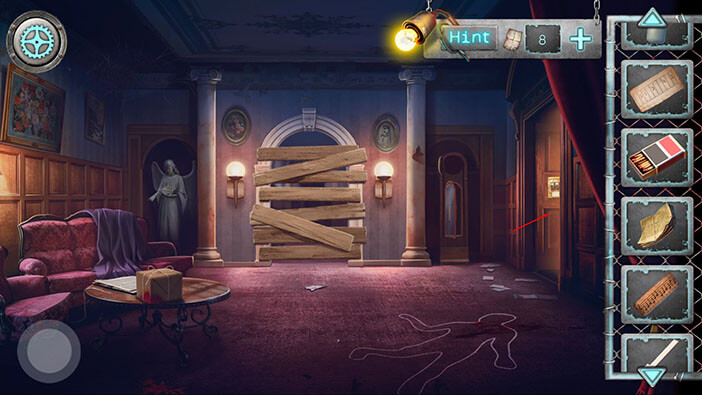
After entering the correct code, the secret door will open. Tap on the door to proceed into the next room.
Ok, let’s see what we can find here. First, tap on the “Hammer” on the floor to pick it up.
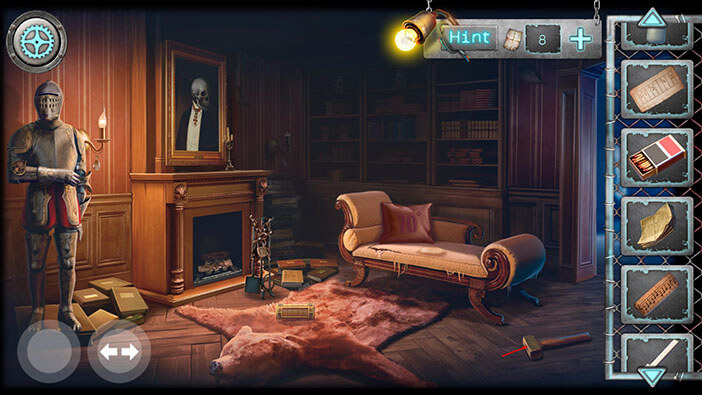
Next, tap on the armor stand on your left to take a closer look at it.
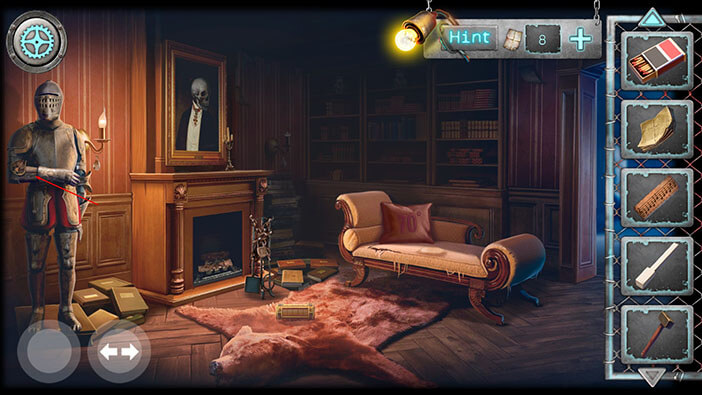
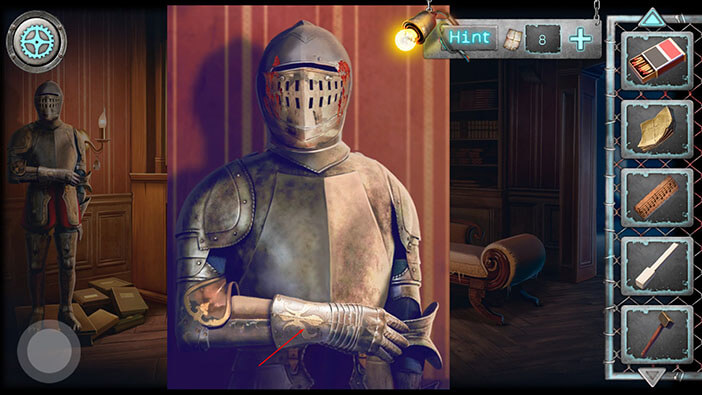
For a moment, our character thought about donning the armor but concluded that he can’t do that without help. So, tap on the “Gauntlet” to pick it up.
Tap on the fireplace to take a closer look at it.
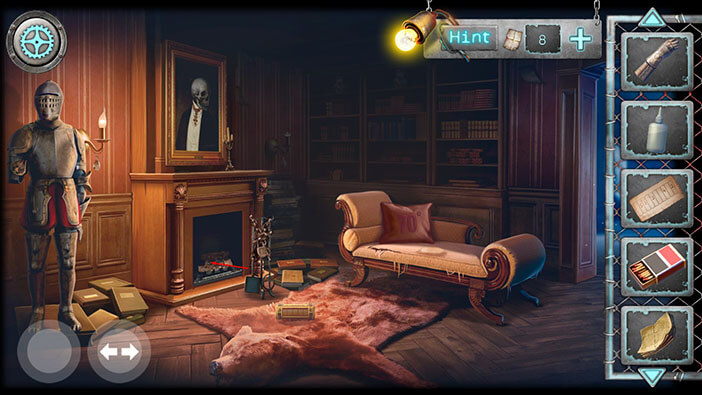
Select the “Newspapers” from the inventory and put them inside the fireplace.
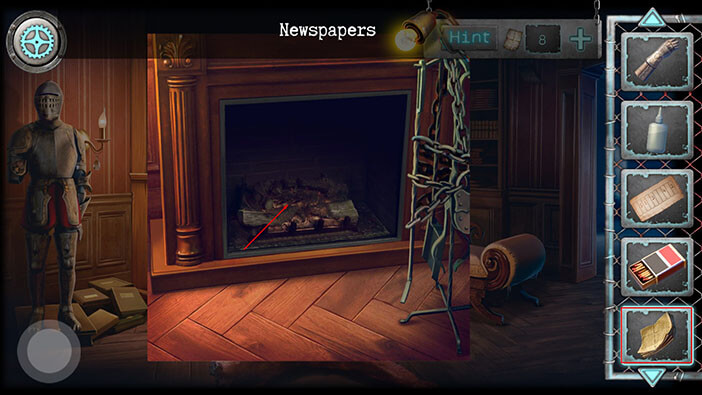
Let’s start a fire. Select the “Matchbox” from the inventory and tap on the newspapers.
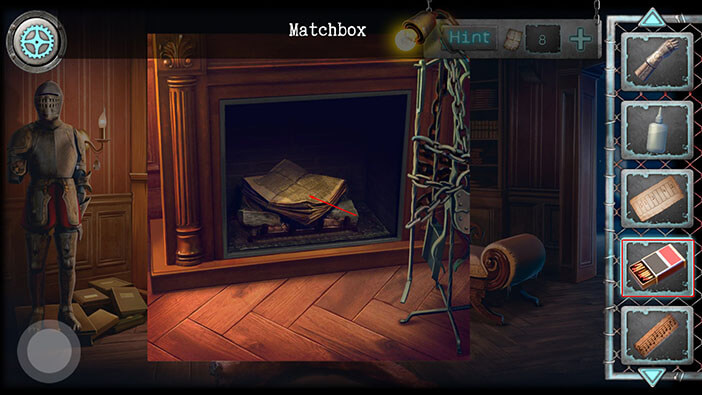
After starting the fire, we can see that there’s a key, dangling above the fireplace. But if you tap on it, our character will burn his hand, and won’t be able to reach it. So, let’s go back.
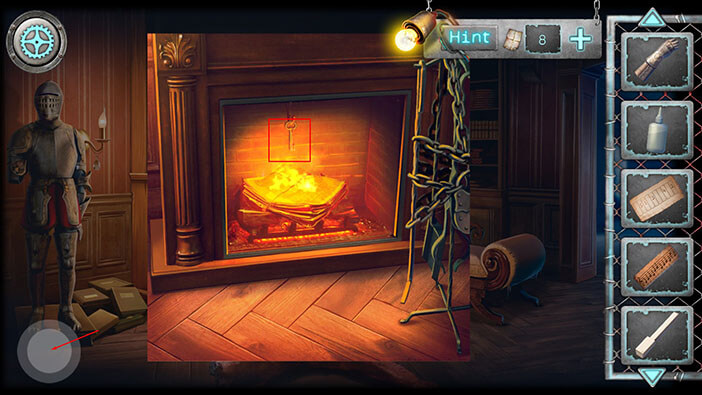
Tap on the box on the bookshelf on your left to take a closer look at it.
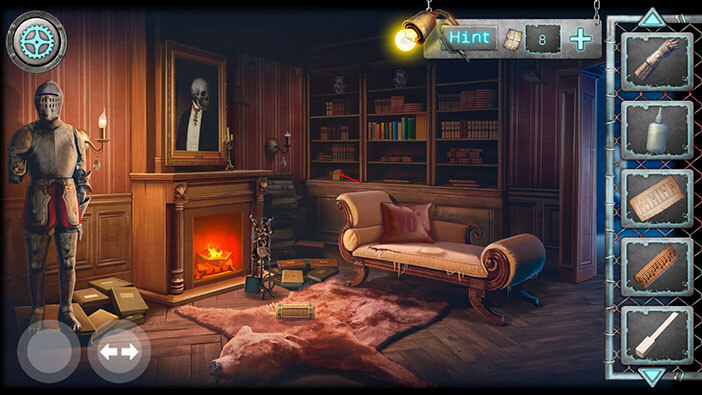
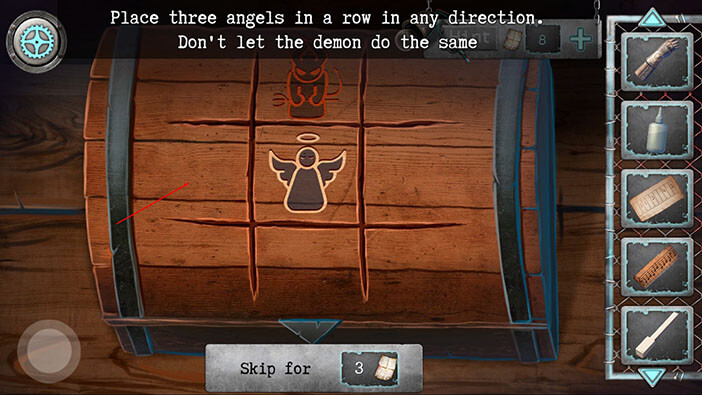
Here, we have a simple game of tick tack toe. We will be playing as angles, against the demons. Let’s do this.
Step 1
Tap on the left field in the middle row.
Step 2
Next, tap on the left field in the top row. After placing the angel on this field, we secured the victory, because in the next move we will be able to finish the game either diagonally or vertically.

Step 3
Tap on the left field in the bottom row and you will win.
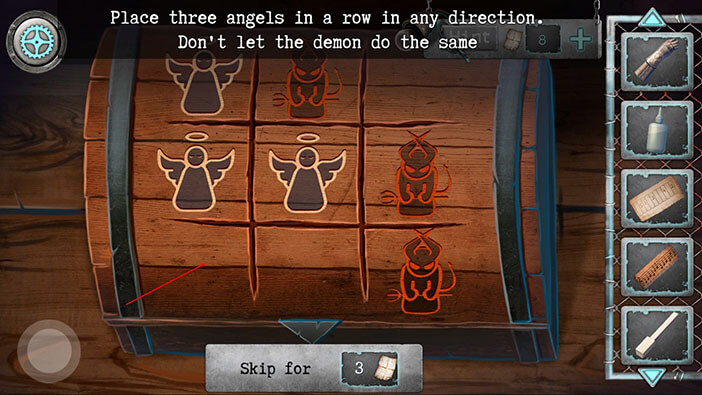
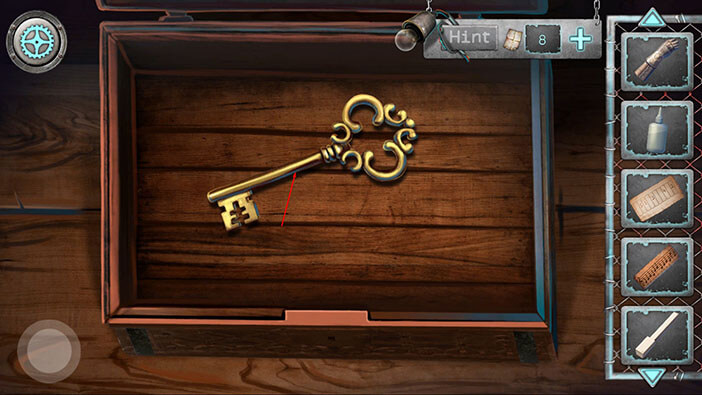
As soon as we won in tick tack toe, the box opened. Tap on the “Key” inside it to pick it up.
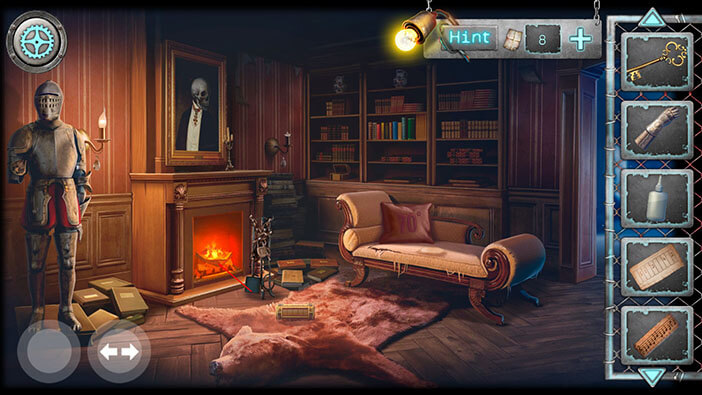
Ok, let’s go back to the fireplace.
Select the “Key” from the inventory and tap on the padlock on your right.
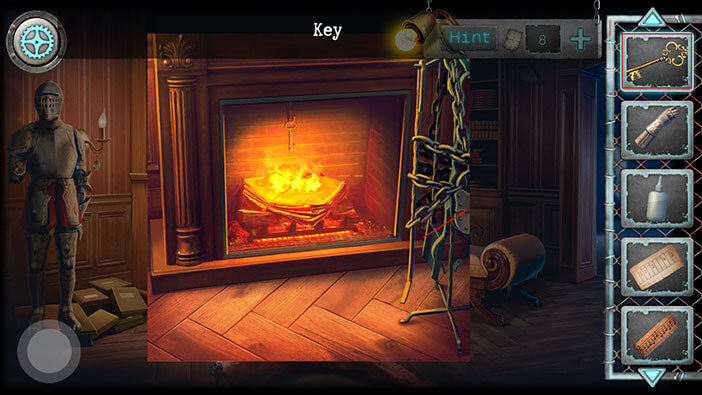
Tap on the “Poker” to pick it up.
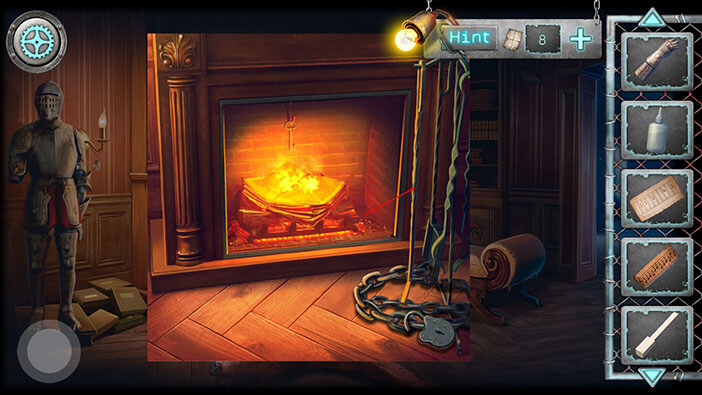
Well, we could use the “Poker” to get the key from the fireplace. Let’s do that. Select the “Poker” from the inventory and tap on the key inside the fireplace to pick it up. “Golden key” will be added to your inventory.
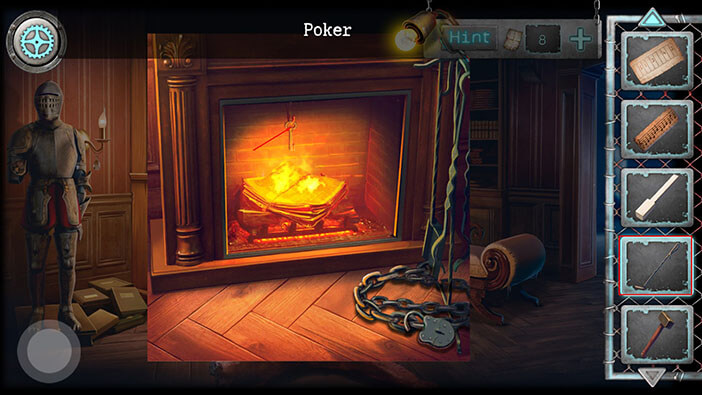
Next, let’s take a closer look at the bookshelf in the middle.

Select the “Sheet with the book order” from the inventory and tap on the bookshelf. Our character will place this note next to the books.
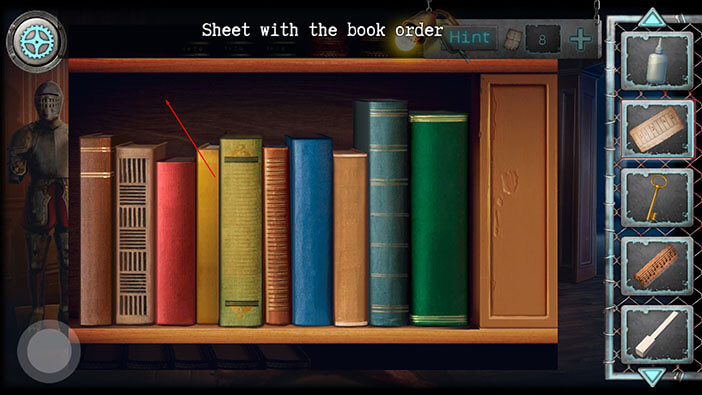
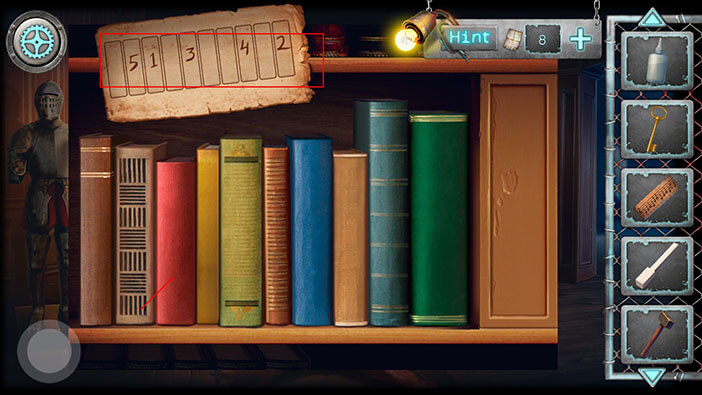
By looking at the “Sheet with the book order” we can easily determine in which order to tap on the books. Let’s begin.
Step 1
Tap on the third book (left to right).
Step 2
Tap on the tenth (last) book.
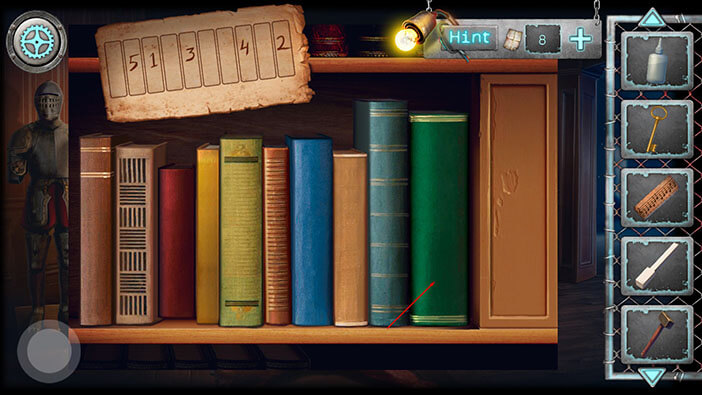
Step 3
Tap on the fifth book.
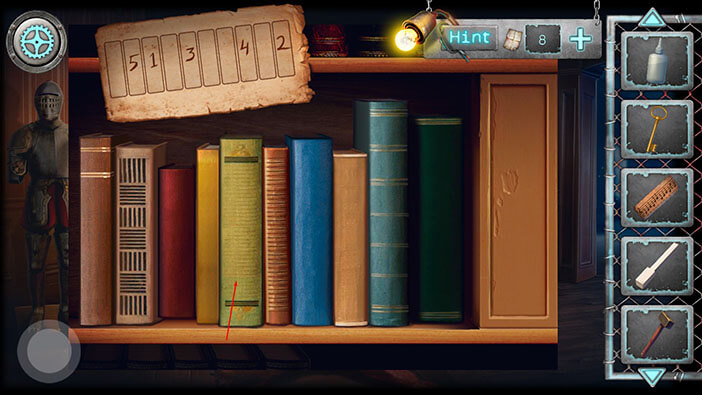
Step 4
Tap on the eighth book.
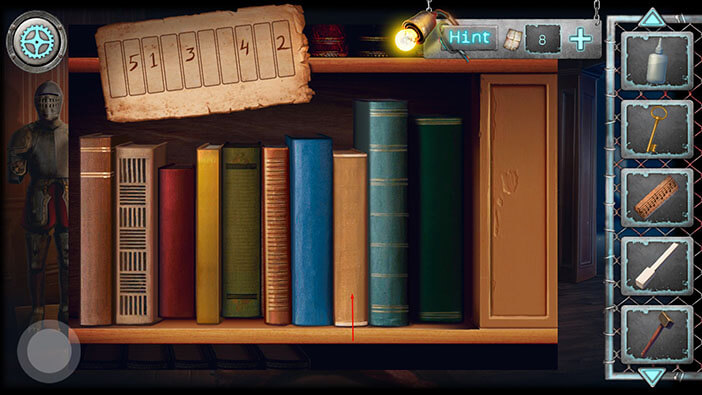
Step 5
Tap on the second book.
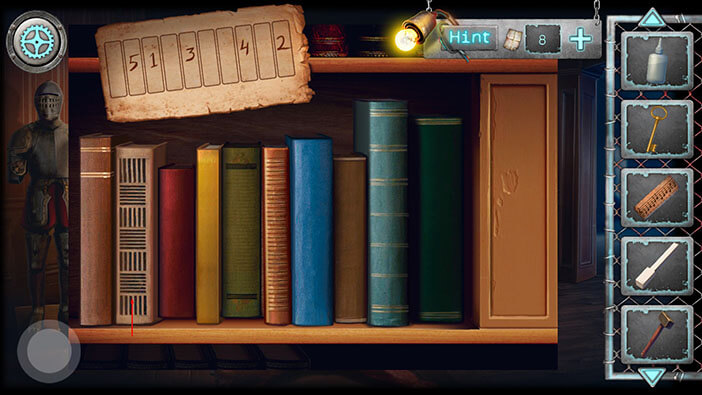
By tapping on the books in the correct order, we managed to open a small secret compartment on the right. Tap on the “Note” inside the compartment to pick it up.
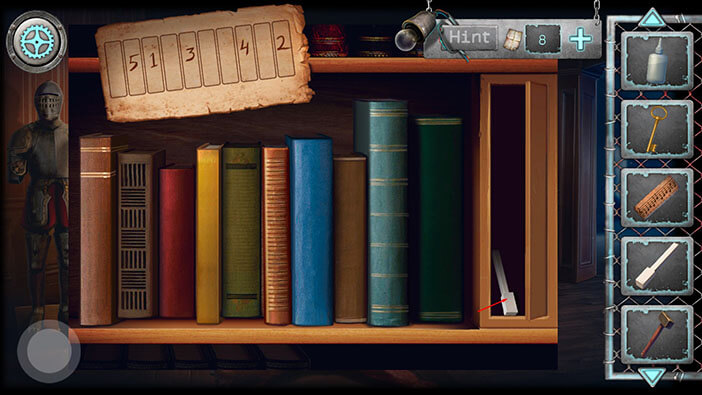
For now, we’re done here. Let’s go to the next room on the right.

Tap on the white item on the floor to pick it up and “Half lampshade” will be added to your inventory.
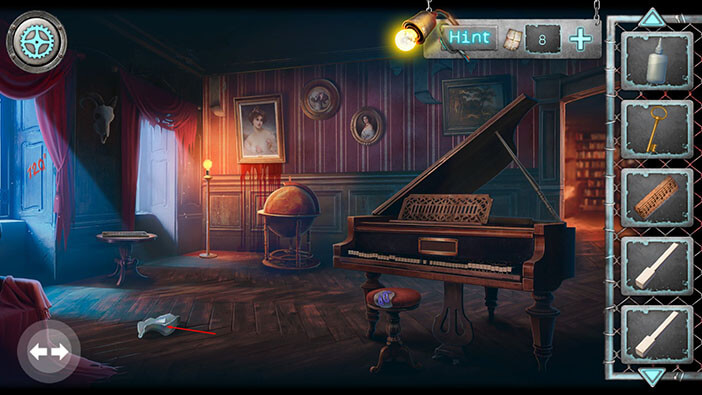
Tap on the piano to take a closer look at it.
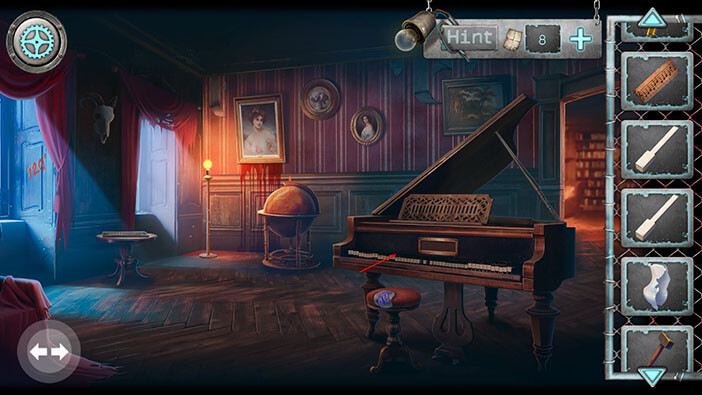
We can see that two of the piano keys are missing. Select “Key I” and “Key II” from the inventory and tap on the empty slots to insert them.
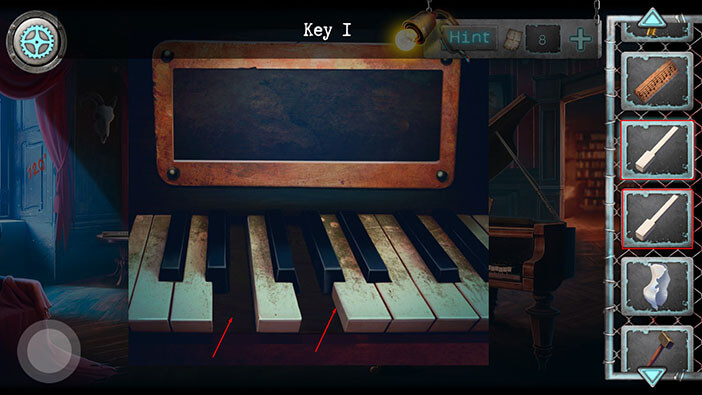
Next, select the “Notes” from the inventory and tap on the piano to place them.
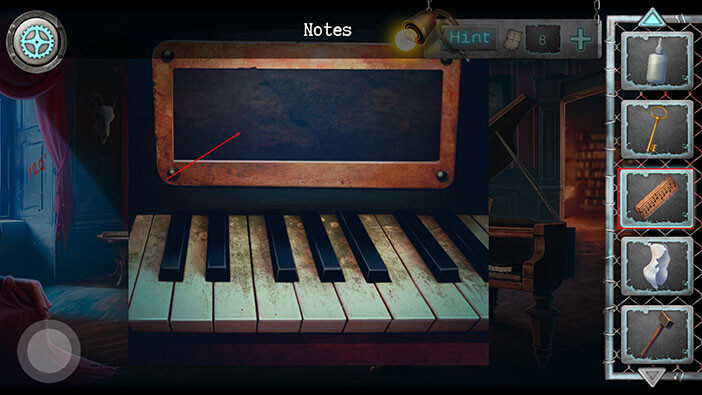
Ok, we should now play the melody. We will do this in several steps. Let’s begin.
Step 1
Tap on the second piano key (left to right). After that, tap on the third piano key.
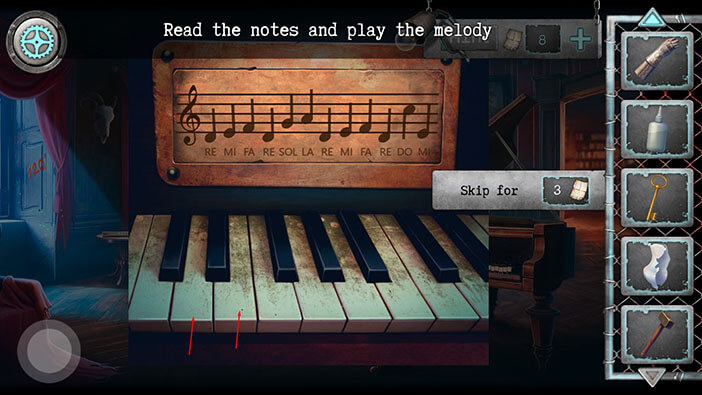
Step 2
Tap on the fourth piano key. After that, tap on the second piano key.

Step 3
Tap on the fifth piano key. After that, tap on the sixth piano key.

Step 4
Tap on the second piano key. After that, tap on the third piano key.
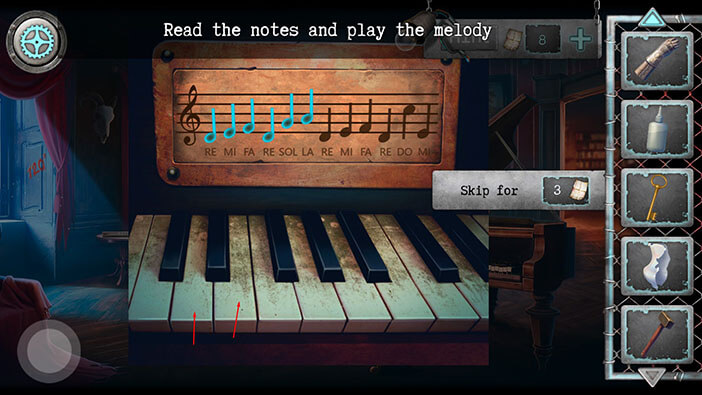
Step 5
Tap on the fourth piano key. After that, tap on the second piano key.
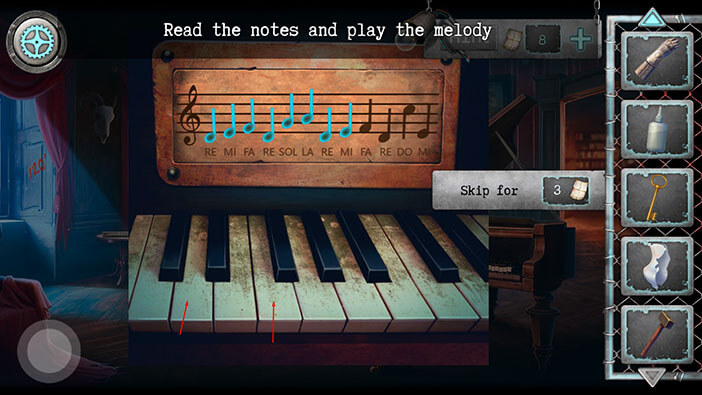
Step 6
Tap on the eighth piano key. After that, tap on the third piano key.
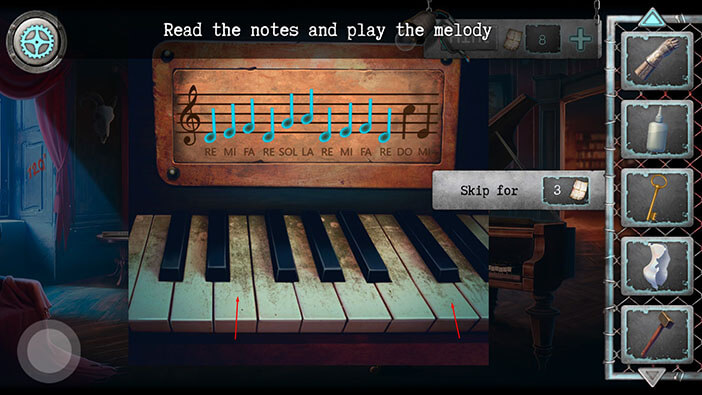
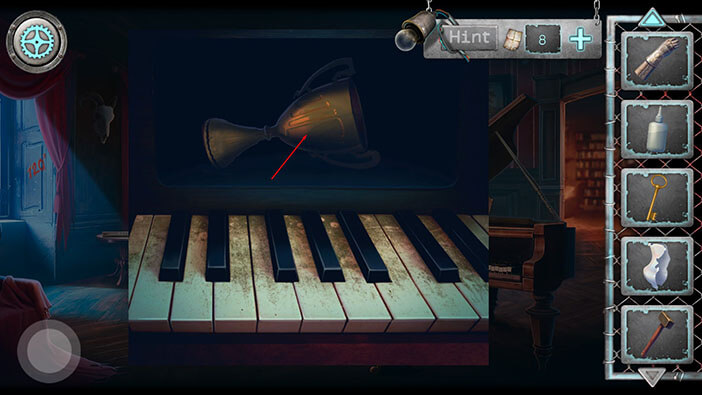
After playing the correct tune, the secret compartment will open. Tap on the “Cup” to pick it up.
Tap on the small table on the left to take a closer look at it.
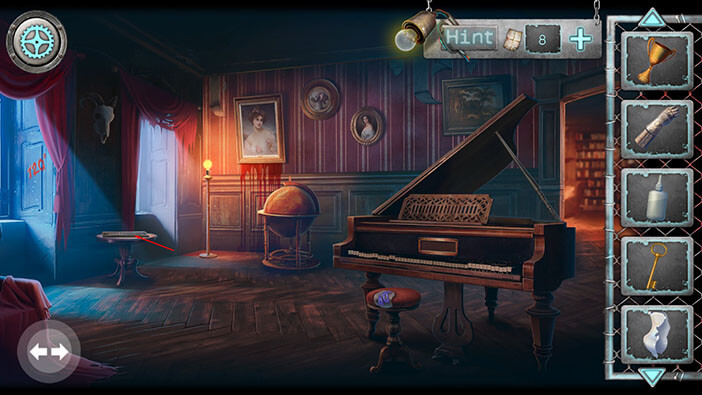
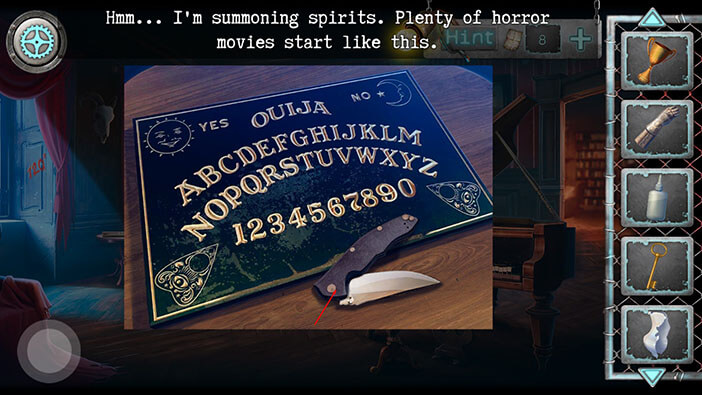
Tap on the knife to pick it up and “Folding knife” will be added to your inventory.
Next, let’s take a look at the globe.
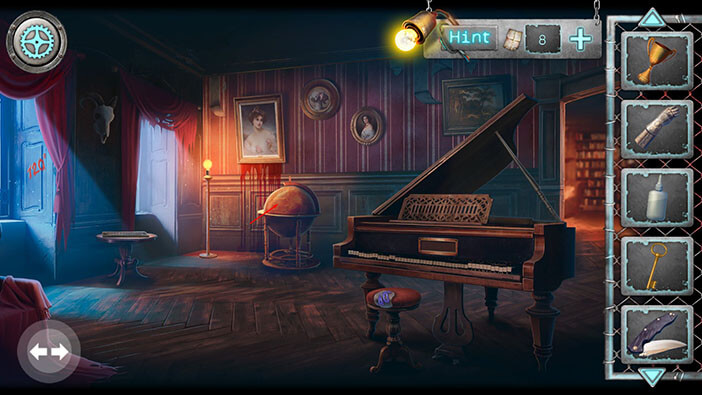
Well, here we will have to set the coordinates, but we don’t know the correct coordinates, yet. We can see a dial marked with different degrees and an arrow. We can rotate the dial. Also, here we can see three arrows, a purple one (pointing clockwise), a red one (counterclockwise), and a blue one (clockwise). We will come back to the globe a bit later.
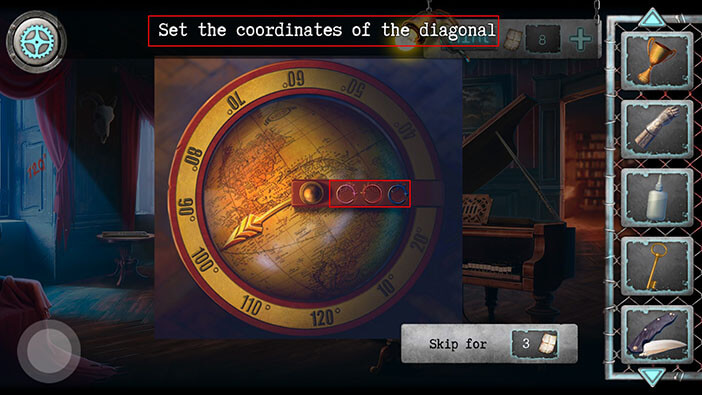
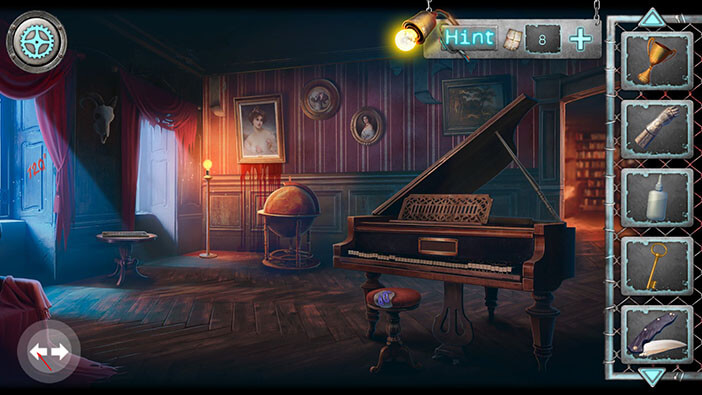
Let’s go back to the previous room.
Tap on the couch to take a closer look at it.
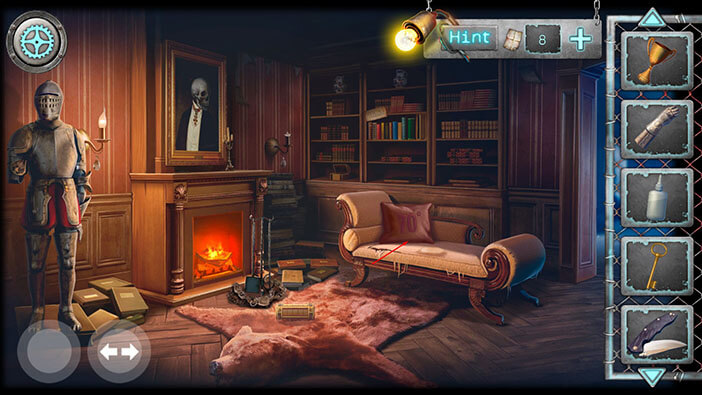
On the pillow, we can see 70 degrees in purple color. This is our first coordinate for the globe, so memorize/write it down.
Also, we can see that something is hidden inside the couch. So, select the “Folding knife” from the inventory and tap on the couch to cut it open.
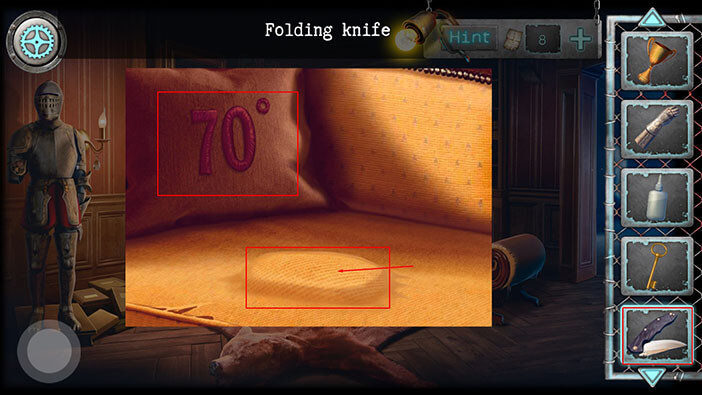
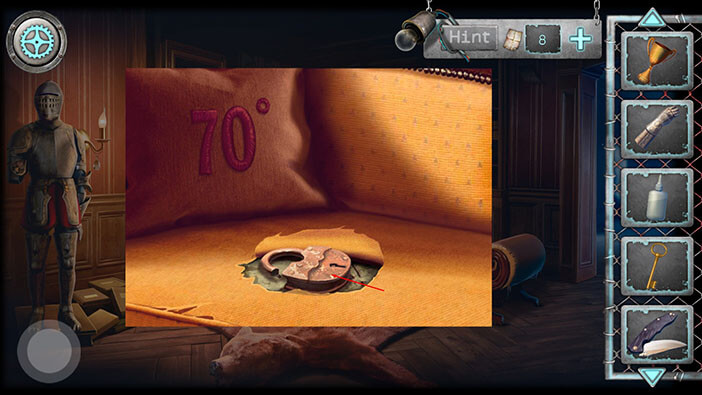
We discovered a “Padlock” inside the couch. Tap on it to pick it up.
Ok, let’s go back to the room with the globe. Tap on the right arrow.
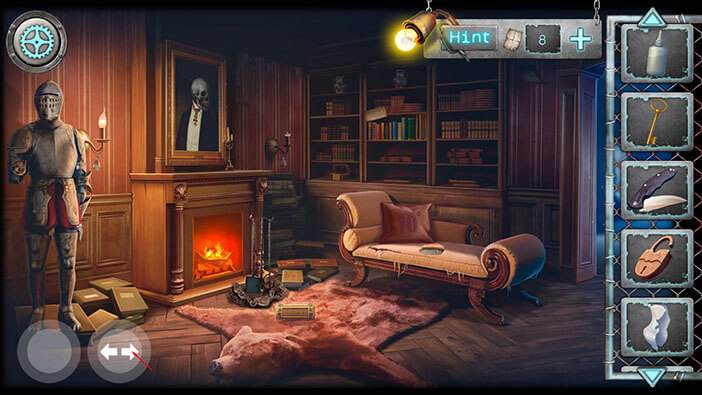
On the left, next to the window, we can see red 120 degrees writing. On the piano chair, we can see blue(ish) 40 degrees writing. Memorize/write down this information and go back to the globe.

Ok, let’s set the coordinates. On the pillow, we saw that the purple arrow (first coordinated) should be set to 70 degrees. Also, the purple arrow should be rotated clockwise.
So, rotate the dial clockwise until the arrow points to 70 degrees.

Next, the red arrow should point to 120 degrees (the writing on the wall next to the window). Also, the red arrow should be rotated counterclockwise.
So, rotate the dial counterclockwise until the arrow points to 120 degrees.
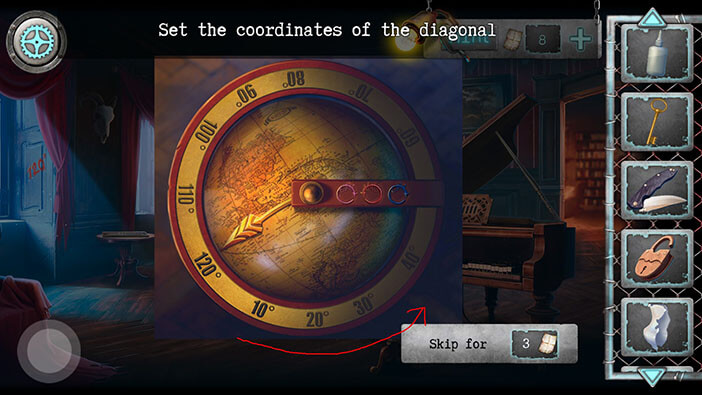
Finally, the blue arrow should point to 40 degrees (the writing on the piano chair). Also, the blue arrow should be rotated clockwise.
So, rotate the dial clockwise until the arrow points to 40 degrees.
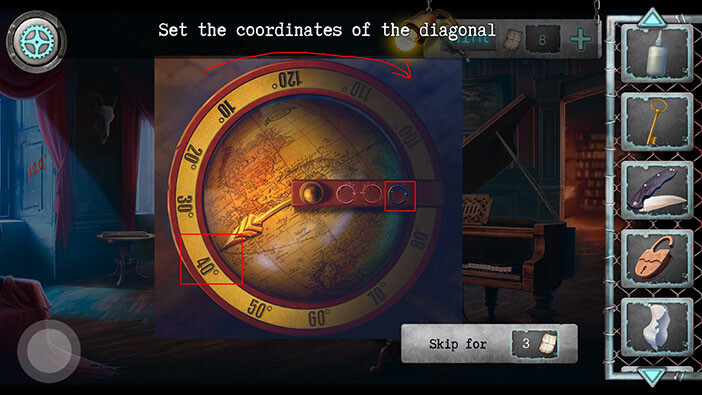
As soon as you set the correct coordinates, the secret compartment will open. Tap on the “Ax handle” to pick it up.
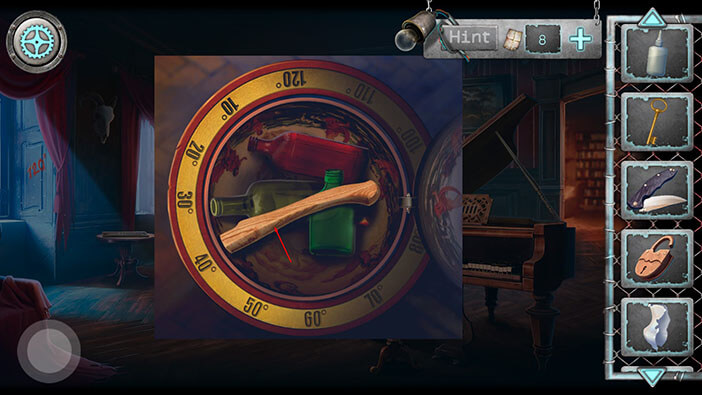
Ok, let’s assemble the ax. Select the “Ax blade” from the inventory, and drag it to the “Ax handle” to combine these two items. “Ax” will be added to your inventory.
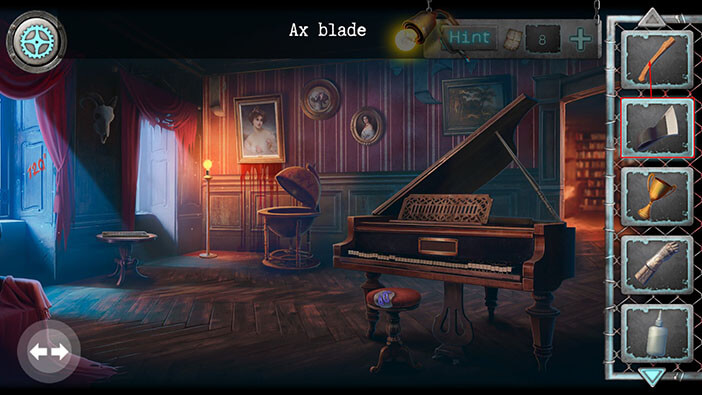
Let’s go back to the first room on the first floor. Tap on the left arrow to go back to the previous room.

After that, tap on the button in the lower-left corner to go back to the first room on the first floor.

Select the “Ax” from the inventory and use it to smash the wooden boards.
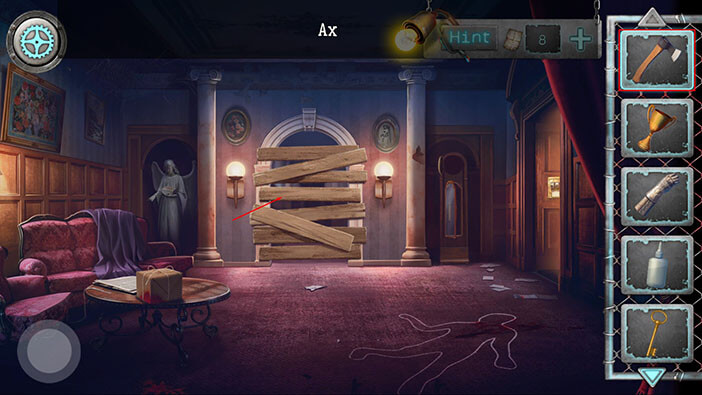
Well, after smashing the wooden boards, we gained access to another part of the building. However, we will end the first part of the walkthrough here.