Scary Horror 2 – Chapter 1, Part 2
Hello everyone and welcome to Part II of our walkthrough for Chapter 1 of the “Scary Horror 2: Escape Games”. We ended Part I when we arranged the photos and discovered a secret room. So, let’s go inside this room and see what’s inside.
NOTE: The second part of the walkthrough follows the story up to the point when you clear the passage to the dining room (by operating the machine).
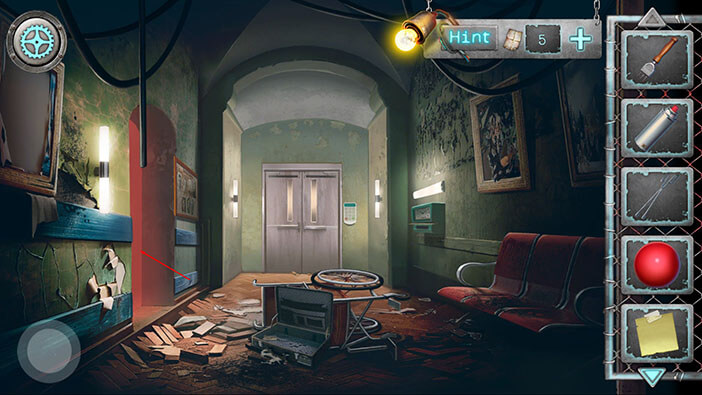
Tap on the bottle to pick it up, and “Empty glass bottle” will be added to your inventory.
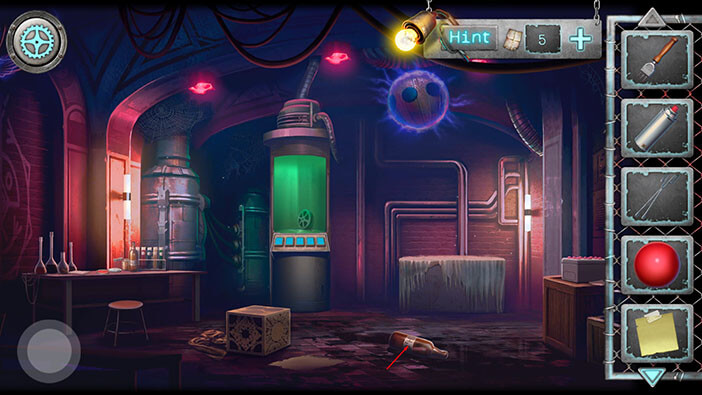
Next, tap on the box to take a closer look at it.
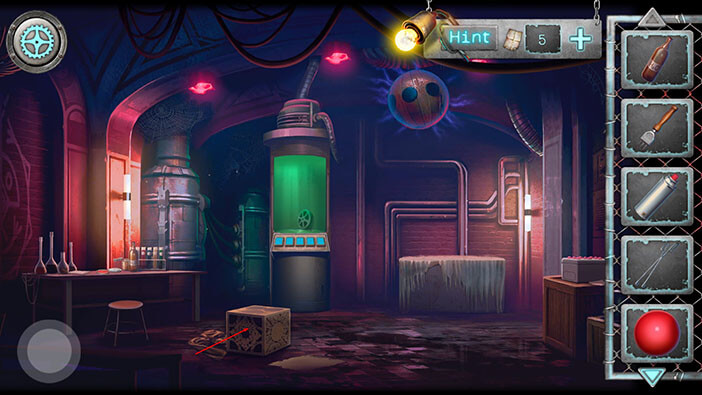
Here, we have another puzzle to solve. Our task is to rearrange the tiles and use them to form three circles. We will do this puzzle in several steps. Let’s begin.
Step 1
Select the second tile (left to right) in the second row (top to bottom), then tap on the third tile in the first row to switch their positions.
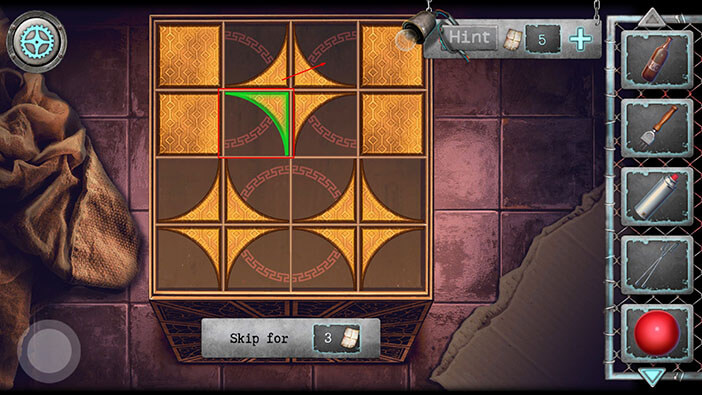
Step 2
Select the second tile in the first row, then tap on the third tile in the second row to switch their positions.
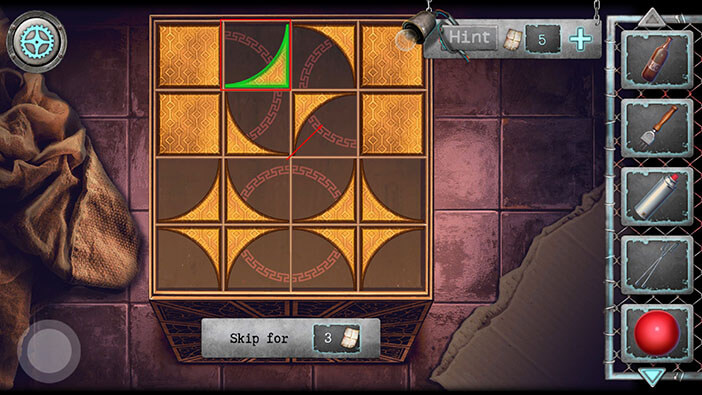
Step 3
Select the first tile in the first row, then tap on the second tile in the first row to switch their positions.
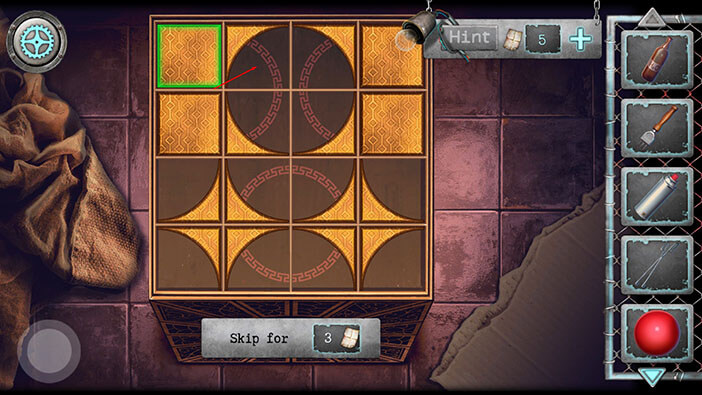
Step 3
Select the first tile in the second row, then tap on the second tile in the second row to switch their positions.
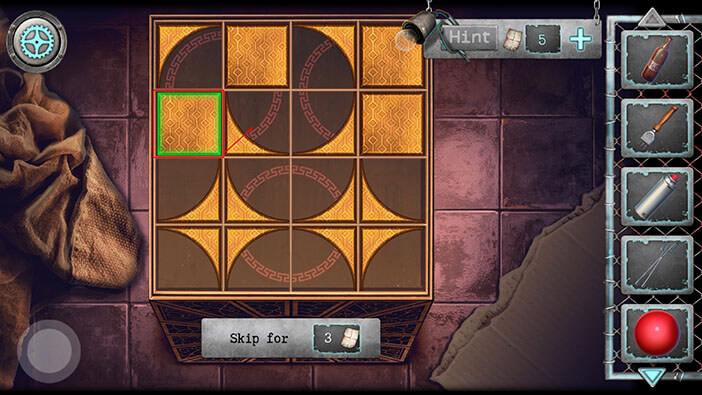
Step 4
Select the second tile in the first row, then tap on the third tile in the first row to switch their positions.
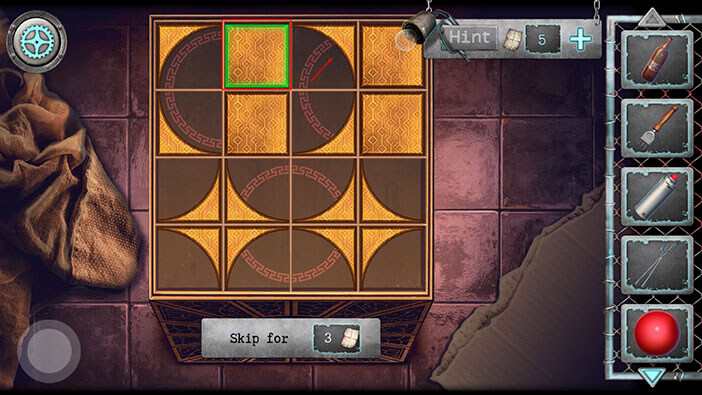
Step 5
Select the second tile in the second row, then tap on the third tile in the second row to switch their positions.
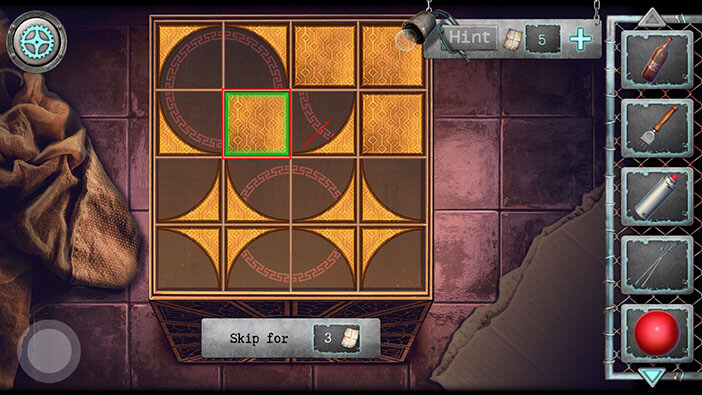
Step 6
Select the third tile in the second row, then tap on the fourth tile in the third row to switch their positions.
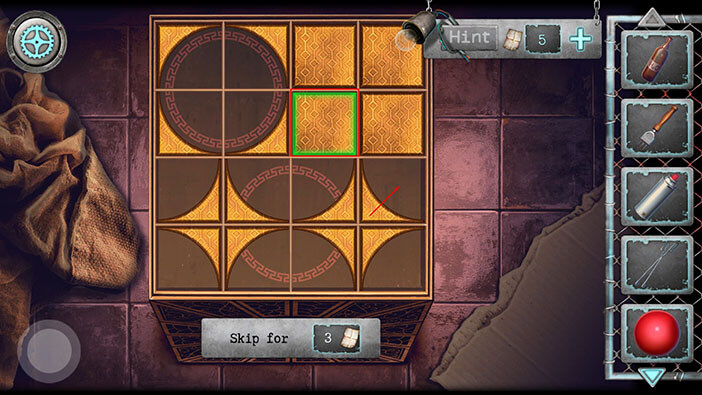
Step 7
Select the second tile in the third row, then tap on the second tile in the fourth row to switch their positions.
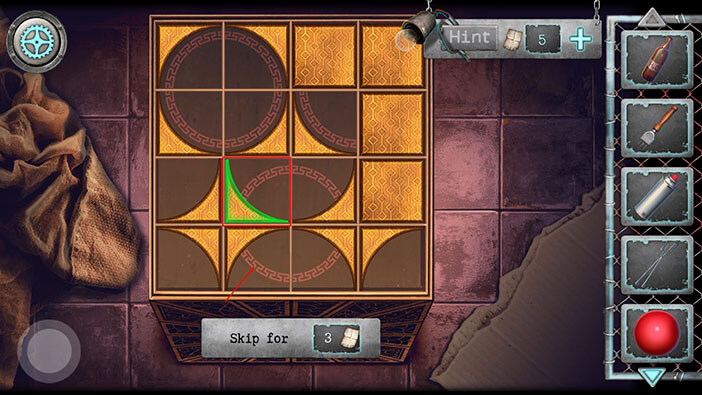
Step 8
Select the first tile in the third row, then tap on the third tile in the fourth row to switch their positions.
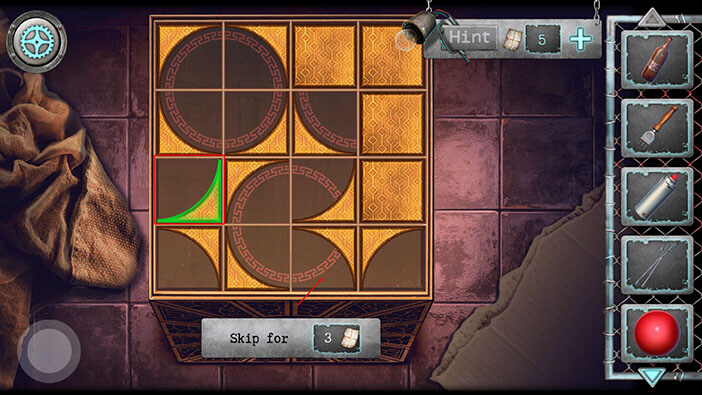
Step 9
Select the first tile in the fourth row, then tap on the fourth tile in the first row to switch their positions.
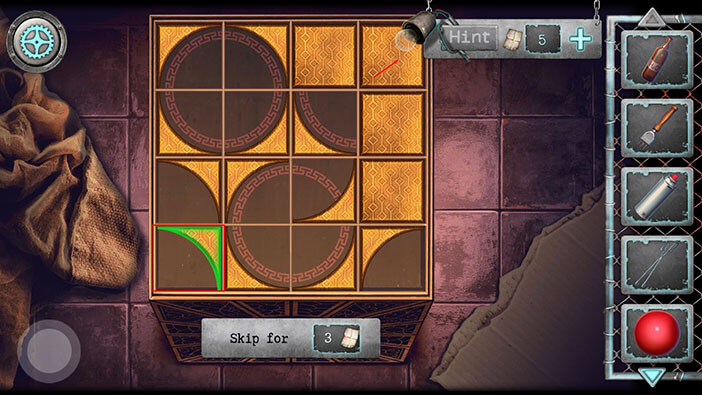
Step 10
Select the first tile in the third row, then tap on the third tile in the third row to switch their positions.
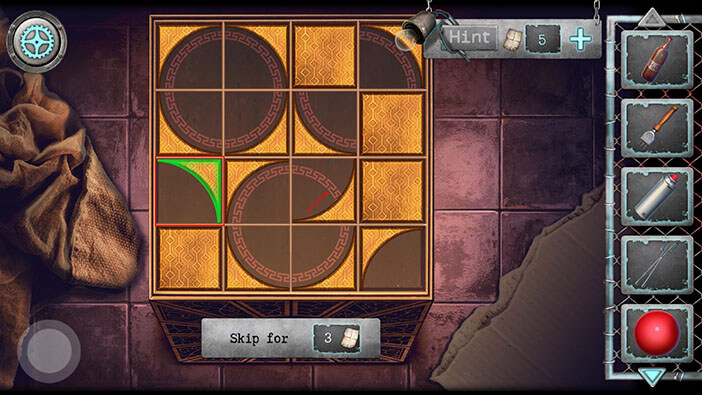
Step 11
Select the fourth tile in the fourth row, then tap on the third tile in the first row to switch their positions.
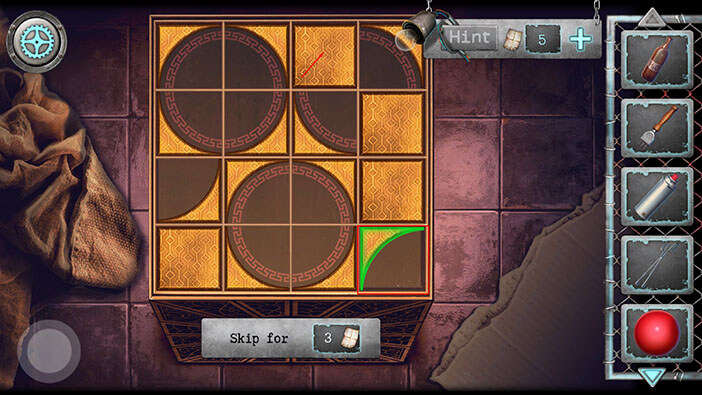
Step 12
Finally, select the first tile in the third row, then tap on the fourth tile in the second row to switch their positions, and you will solve this puzzle.
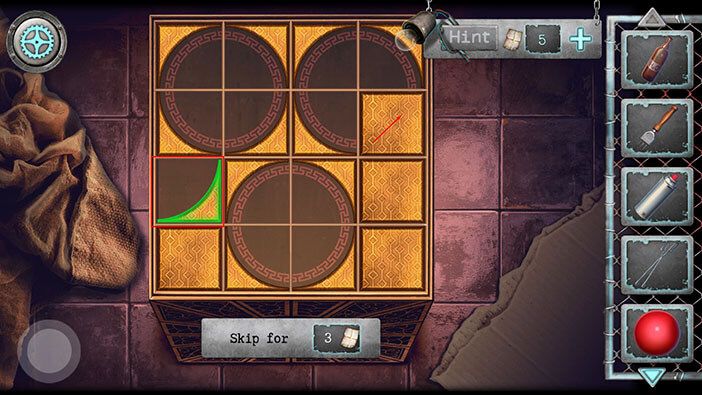
After we properly arranged the tiles, the secret compartment opened. Tap on the small bottle inside of the compartment to pick it up and “Hydrogen peroxide” will be added to your inventory.
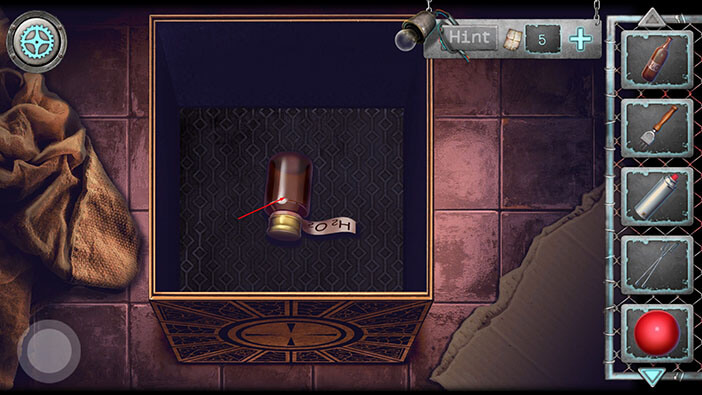
Next, let’s check out the chemical table on our left.
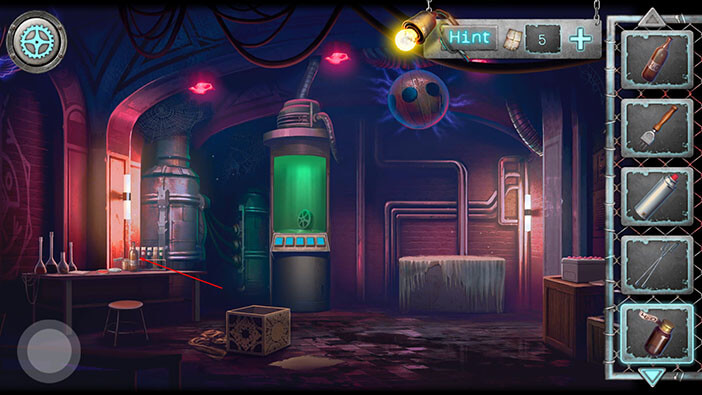
Select the “Hydrogen peroxide” from the inventory and place it on the empty spot.
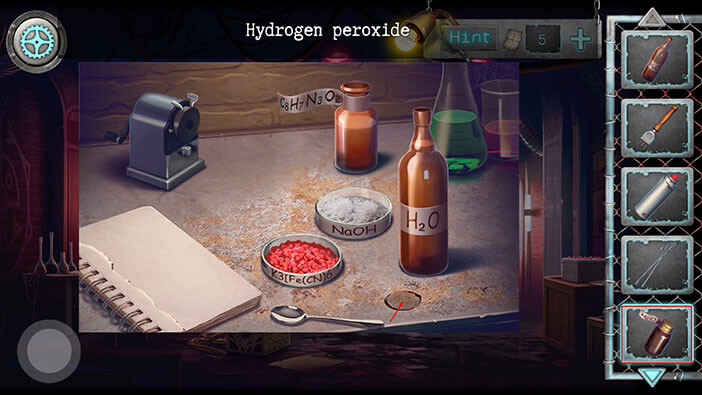
Next, we should take a closer look at the frozen box on our right.
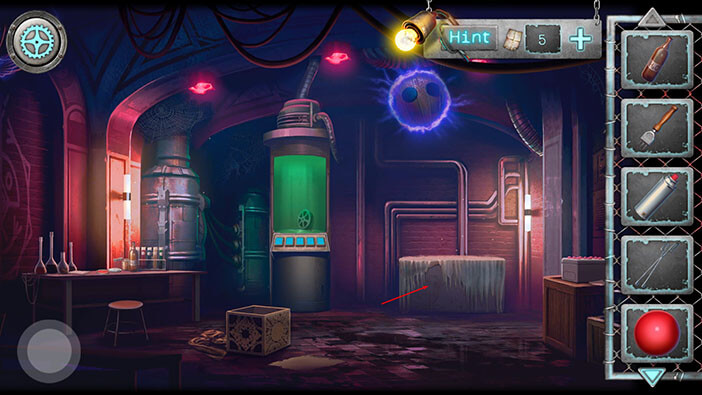
Select the “Ice breaker” from the inventory, then tap on the ice to remove it.
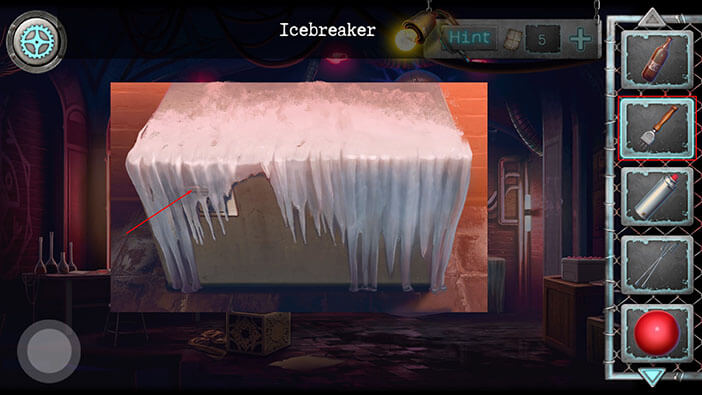
After we removed the ice, we discovered a green button. Tap on it to turn on the power and you will melt the rest of the ice. After that, tap on the freezer to open it.
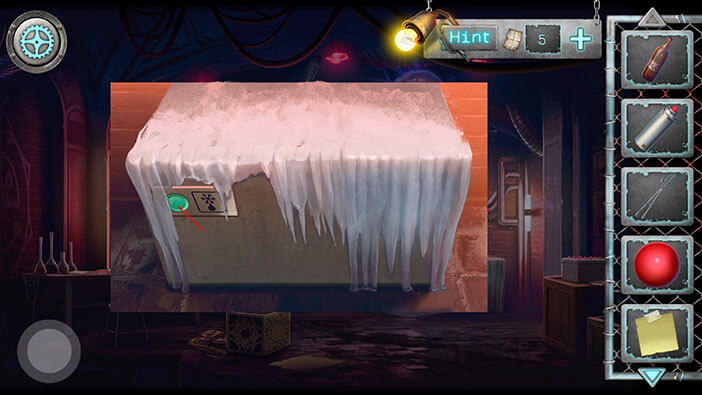
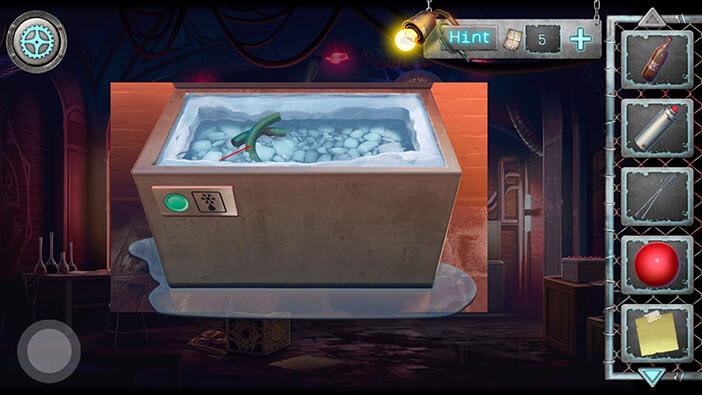
Tap on the item inside the freezer to pick it up, and “Corrugated hose” will be added to your inventory.
Next, we should check out the box filled with red plastic balls, located on our right.
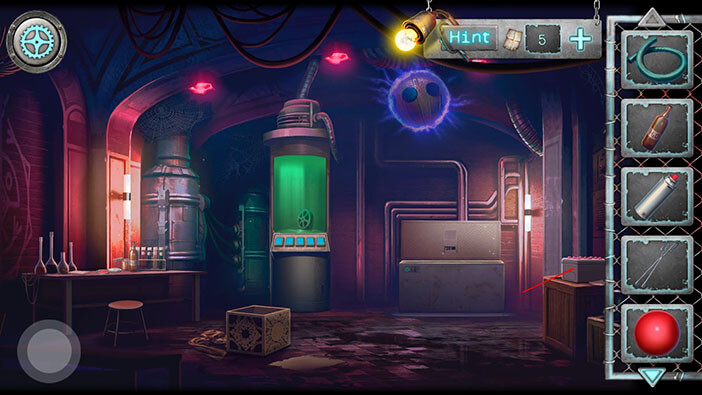
First, select the “Plastic ball” from the inventory and put it into the empty slot. After that, take a look at the instructions for the next mini-game.
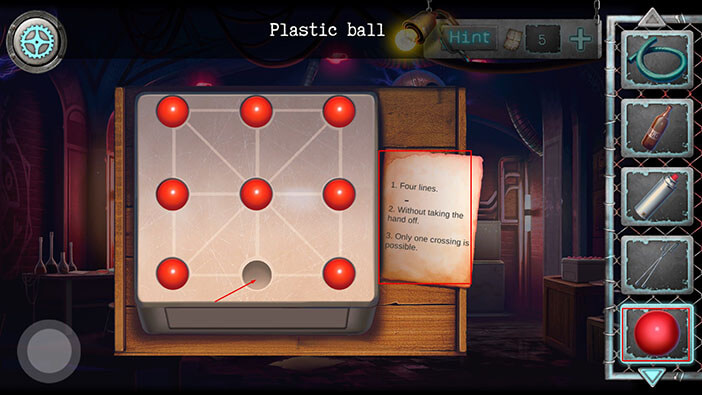
To solve this puzzle we will start from the red ball in the upper right corner and draw the line diagonally to the ball in the lower-left corner. After that, we will draw the line upwards. You can find the complete solution in the image below.
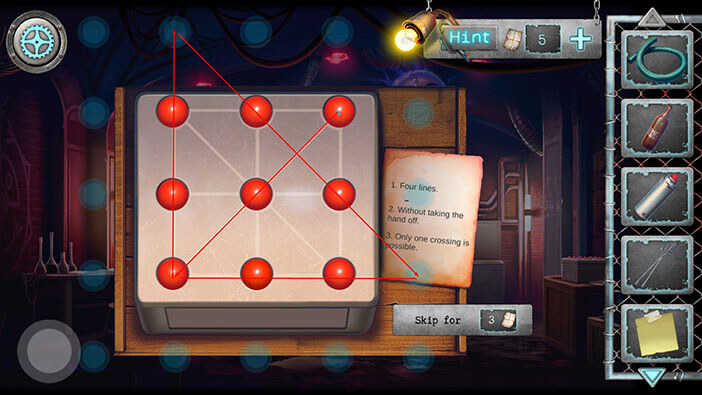
After you connect the dots, the secret compartment will open. Tap on the “Non-sharpened pencil” to pick it up.
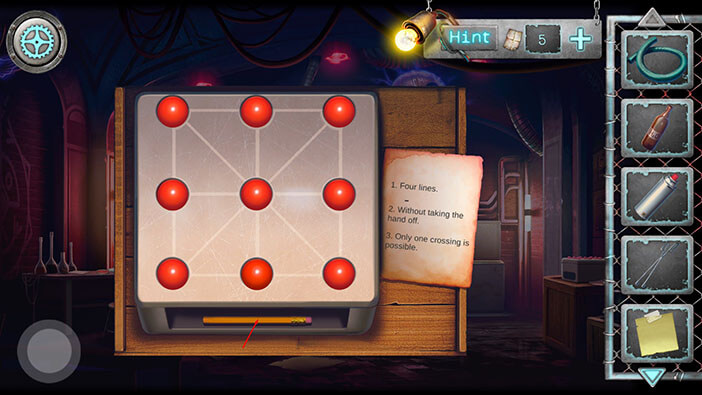
Let’s take another look at the chemical table on our left.
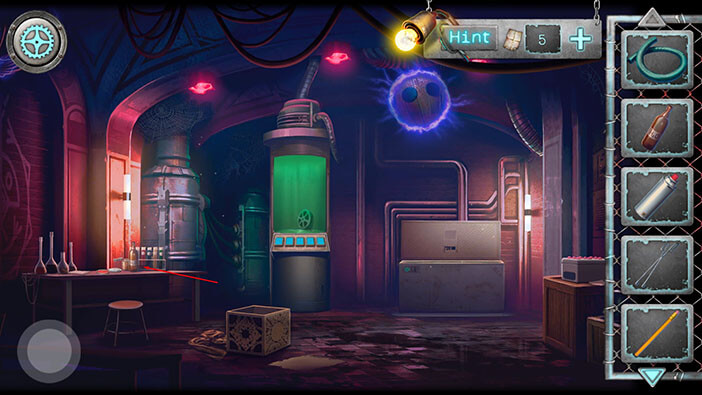
Select the “Non-sharpened pencil” from the inventory and tap on the pencil sharpener on your right. “Sharpened pencil” will be added to your inventory.
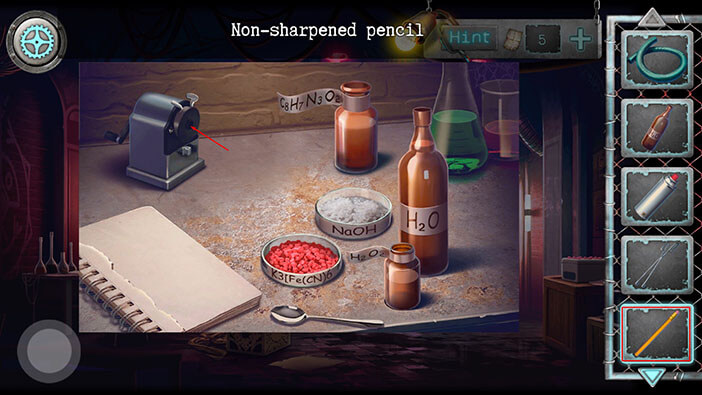
Ok, we should now go back to the room in which we found the doll (this is also the room in which we found the doctor’s cabinet). To get there, first tap on the button in the lower-left corner to go back to the honor hall.
After that, tap again on the button in the lower-left corner.
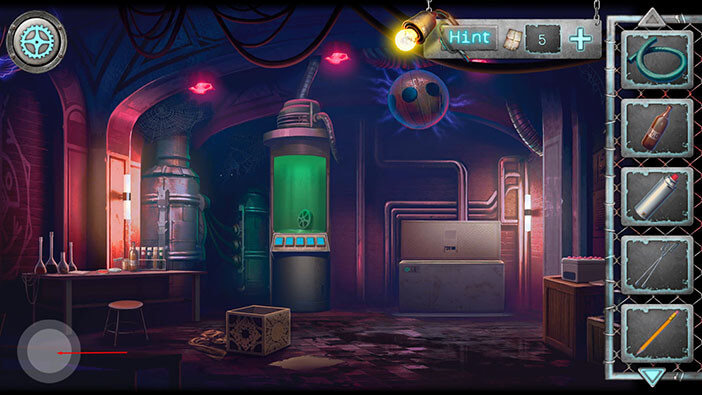
Next, we should go to the room on the left.
After that, go through the blue door.
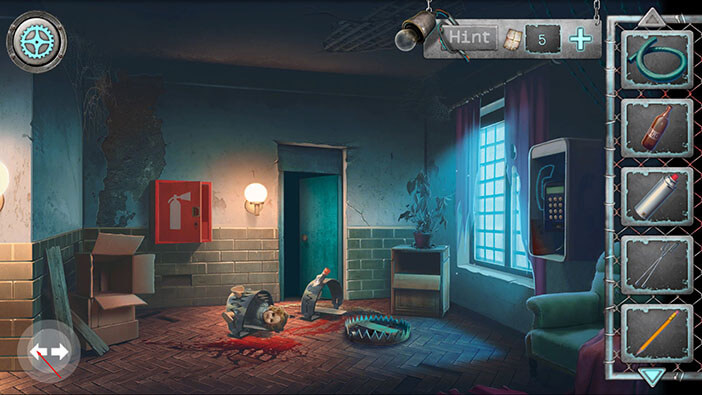
Finally, go to the room on the right and you will reach your destination.
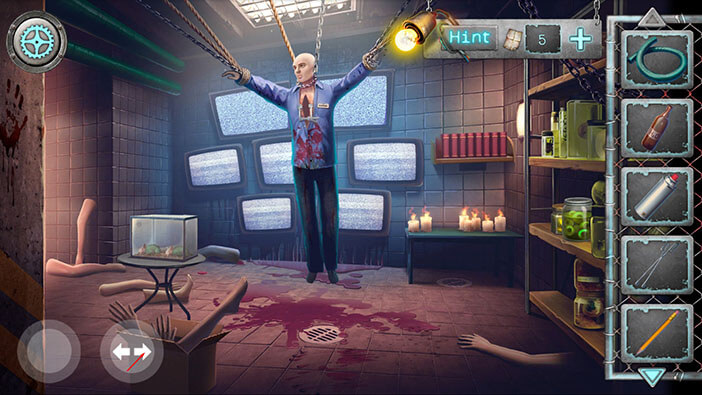
Tap on the chair to take a closer look at it.
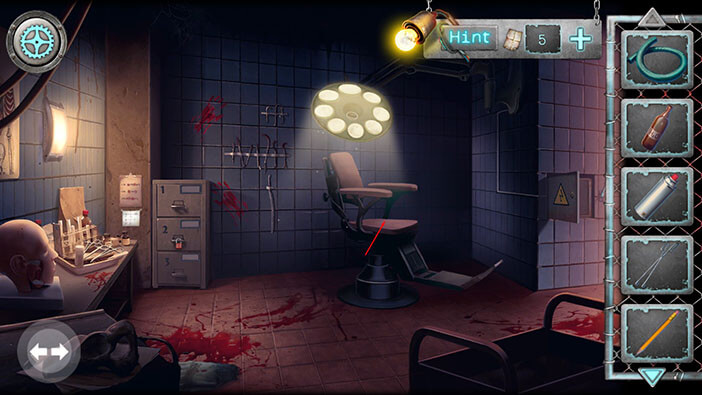
Select the “Sticker” from the inventory and put it on the chair.
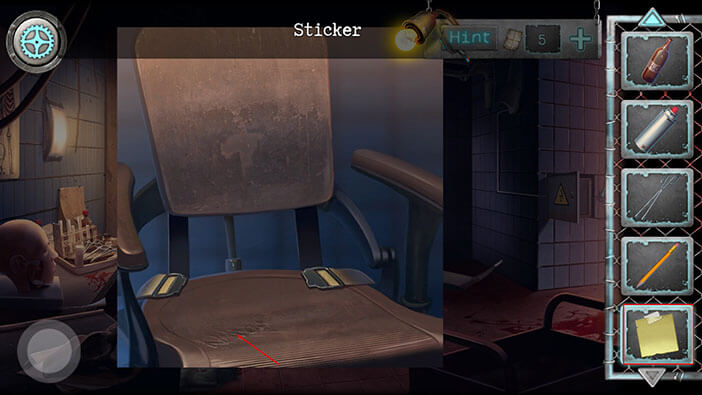
Next, select the “Sharpened pencil” from the inventory and tap on the sticker.
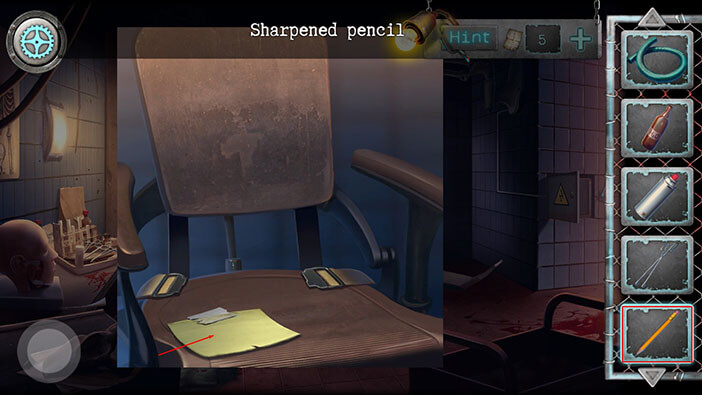
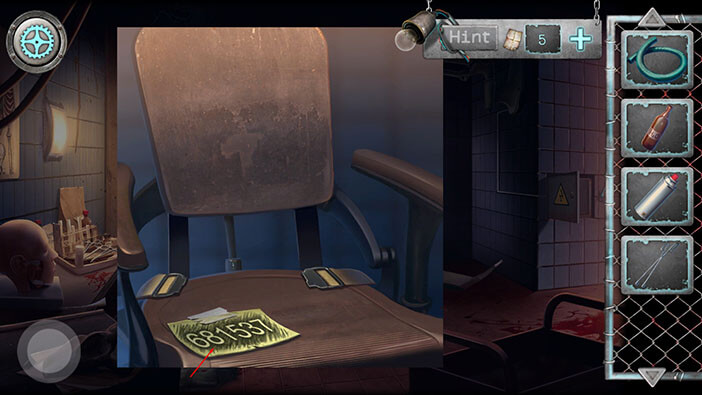
After shading the sticker, the number “681537” will appear, and we will use it to open the door with a numerical lock, located in the honor. Tap on the sticker to pick it up, and “Sticker with a code” will be added to your inventory.
Ok, let’s go to the first room on the left.
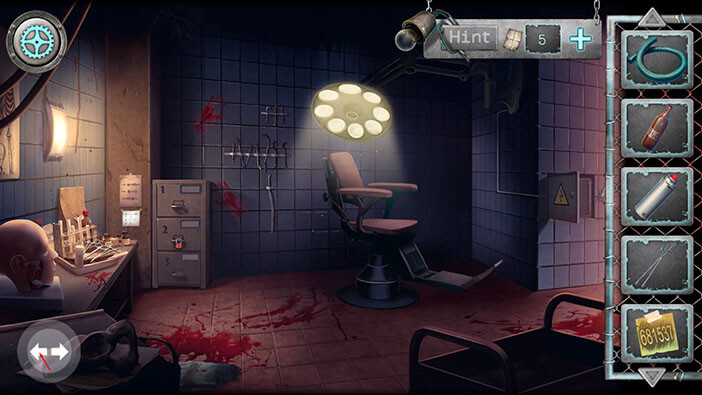
Tap on the cage rats to take a closer look at them.
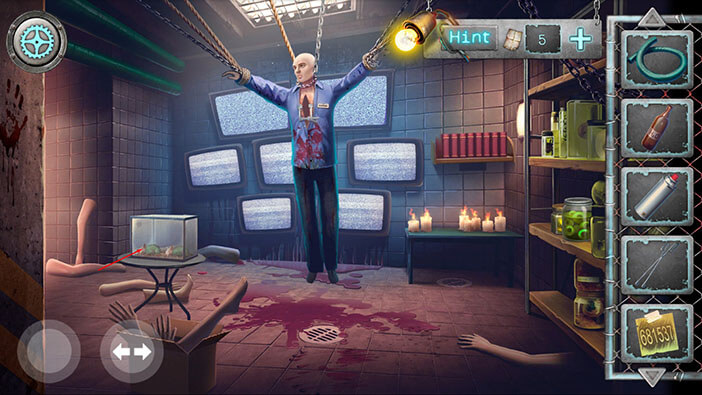
Select the “Corrugated hose” and combine it with the “Sleep gas cylinder”. “Sleep gas cylinder and hose” will be added to your inventory.
We can see that these rats suffered some severe mutations. So, we will first put them to sleep, before we try to reach the key.
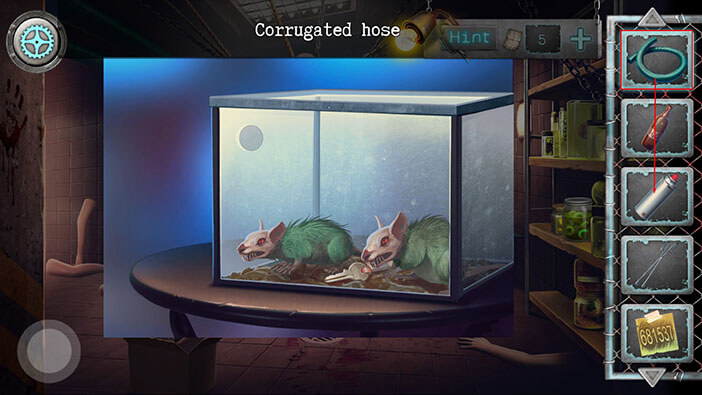
Select the “Sleep gas cylinder and hose” and tap on the hole in the cage. After that, tap on the lid to open it.
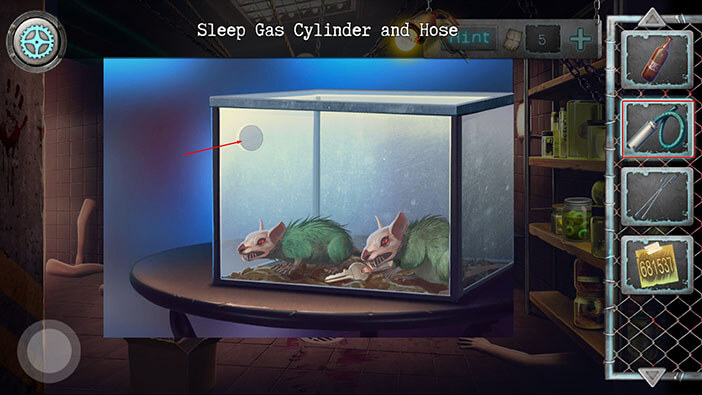
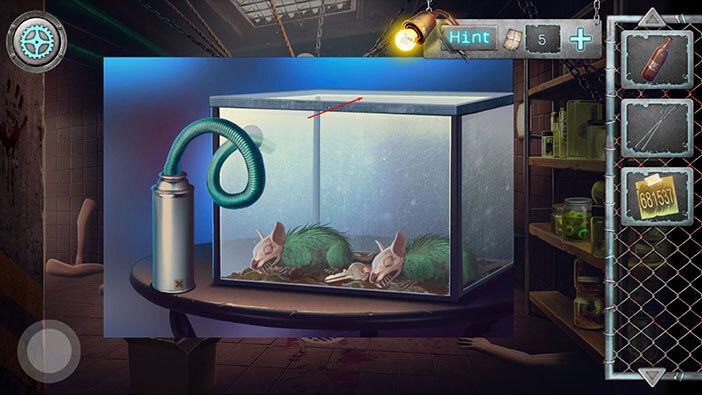
Next, select the “Forceps” from the inventory and tap on the key to pick it up. “Key on the lace” will be added to your inventory.
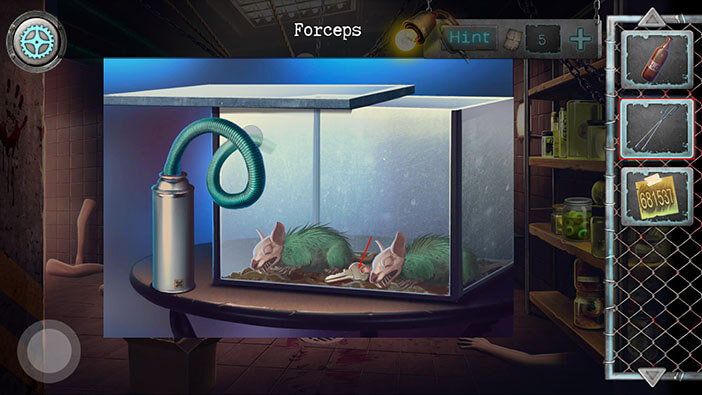
Ok, we should now go back to the honor hall to open the lock. To get there, tap on the button in the lower-left corner to go back.
After that, go to the first room on the right, and then through the green door.
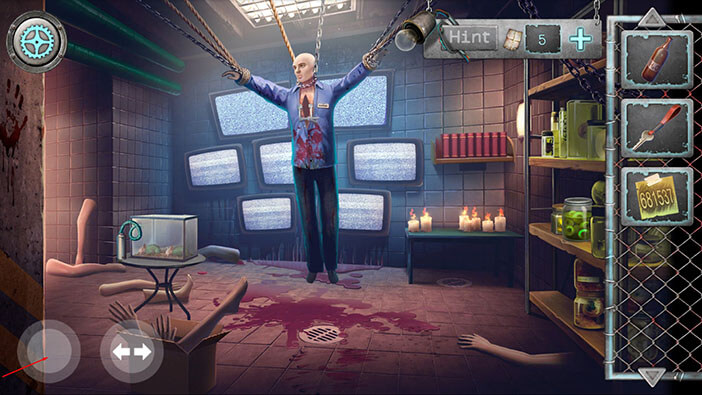
Once you reach the honor hall, tap on the Numpad to start the interaction.
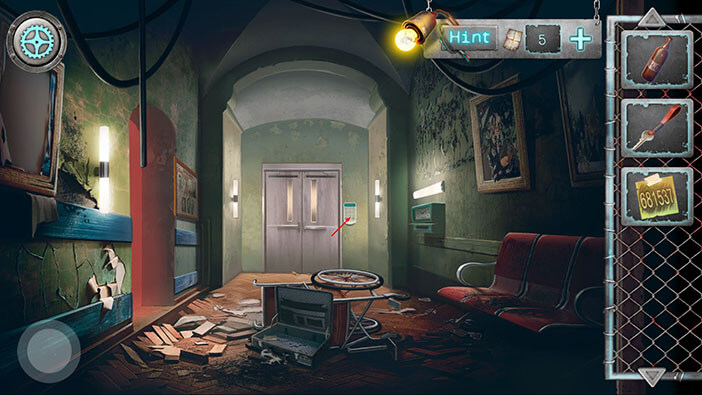
Our character will automatically place the “Sticker with a code” next to the Numpad. So, enter the code “681537” and tap on the “Enter” (green button) to confirm and unlock the door.
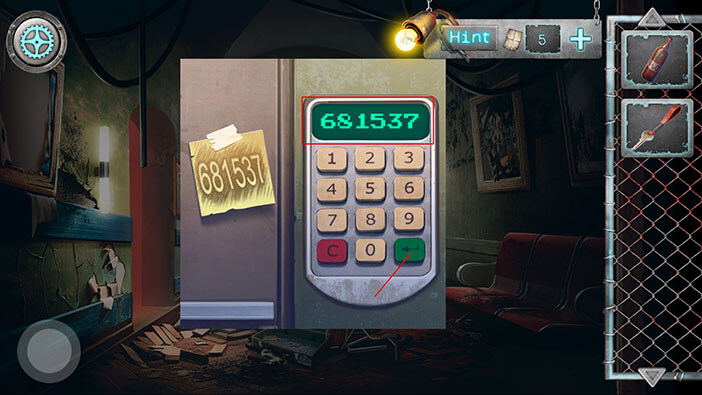
Tap on the door to proceed into the next room.
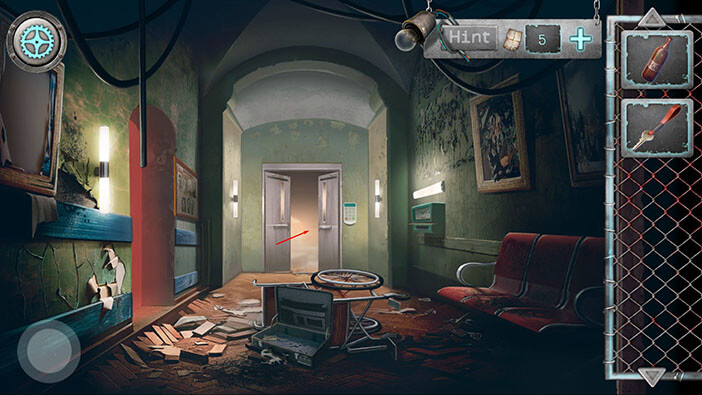
Well, we entered the morgue, and our character saw a ghost walking around and living footprints. Creepy. Let’s see what we can find in this room.
Tap on the note on the floor on your right to take a closer look at it. We will need this note to solve one puzzle a bit further down the line. For now, tap on the “Back” button in the lower-left corner, and our character will pick up the “Note”. This interaction was a bit counterintuitive. Tapping “Back” to pick up something doesn’t really make much sense…
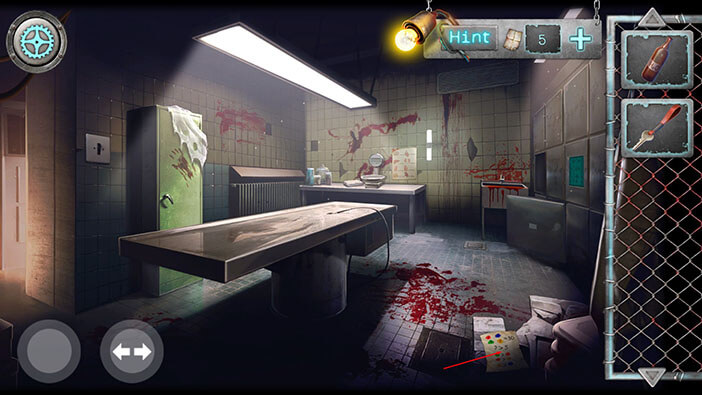
Next, let’s take a closer look at the table in the middle of the room.
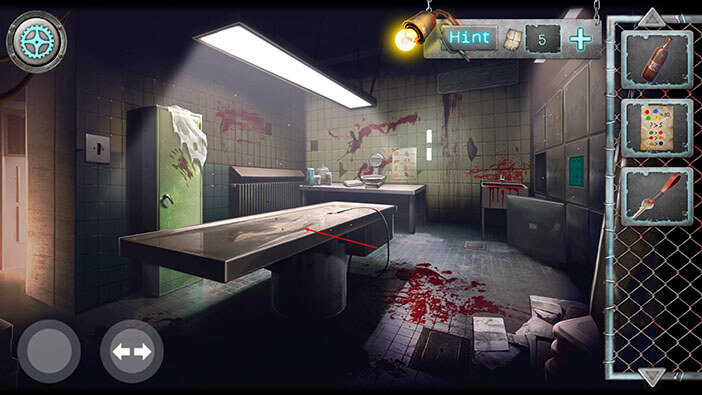
Tap on the note to pick it up and “Instructions leaflet” will be added to your inventory.
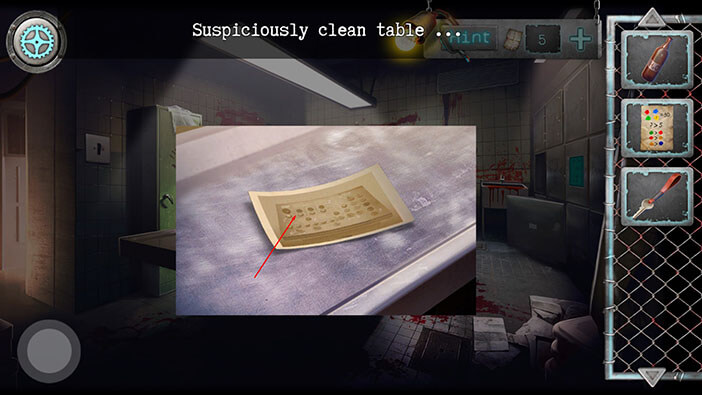
Next, tap on the bloody sink to take a closer look at it.
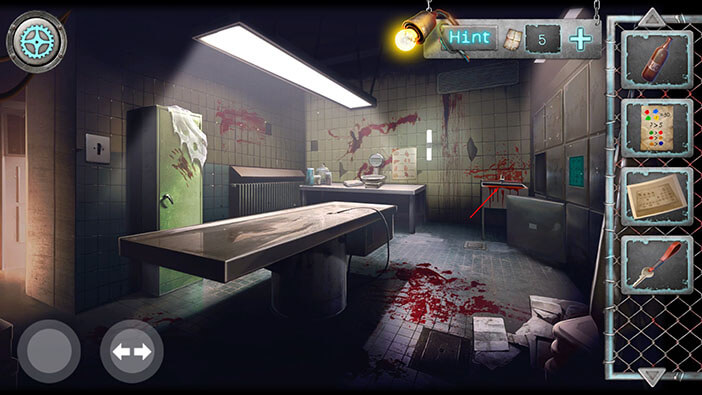
Tap on the glove to pick it up, and “Fire glove” will be added to your inventory.
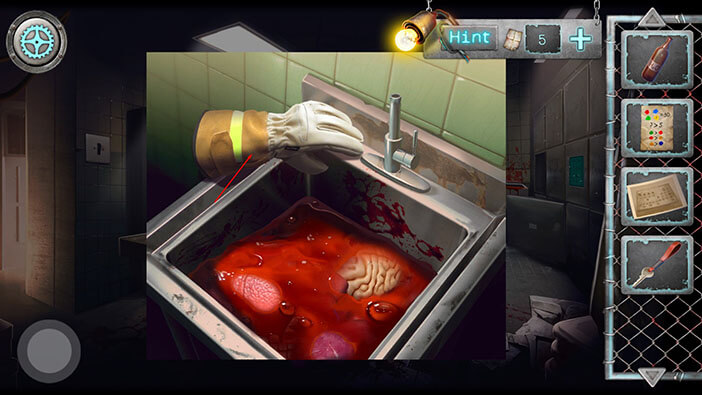
Well, we can also tap on the lever to turn on the water.
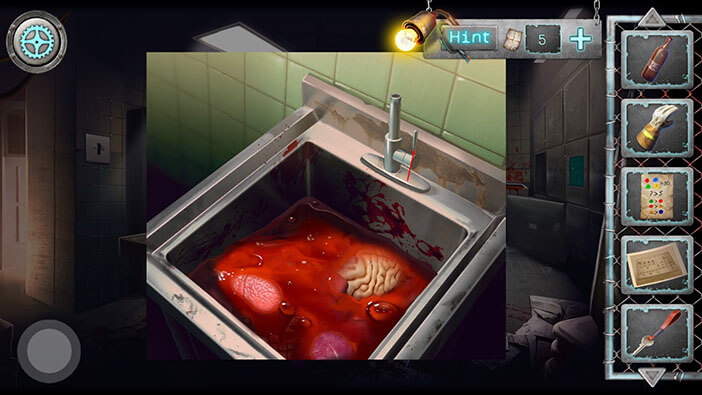
After that, select the “Empty glass bottle” and tap on the water to fill it (the bottle has the label H2O). “Water bottle” will be added to your inventory.
After that, tap on the lever again to turn off the water.
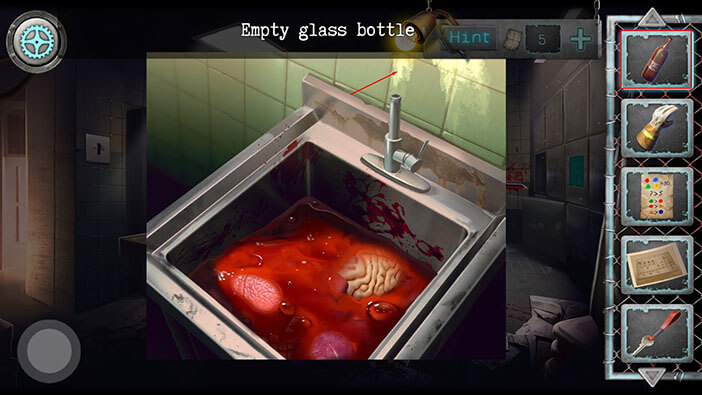
Ok, let’s take a closer look at the green panel on our right.
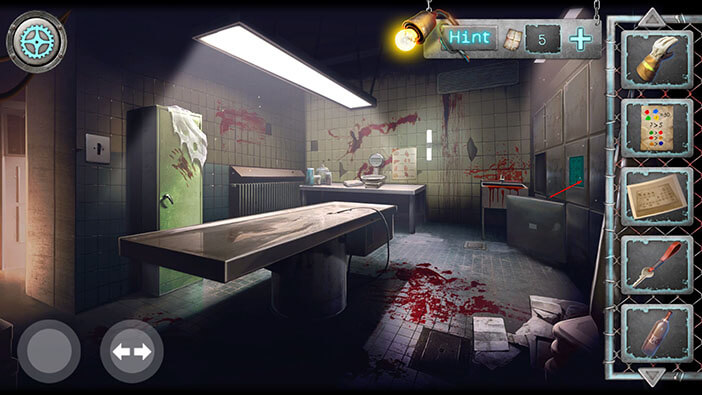
Here, we should arrange so that the sum of digits in each row equals the number on the right, and the sum of digits in each column should equal the number below the column.
Well, this is a very simple mathematical puzzle. The solution for this puzzle is
5, 6, 9
7, 8, 4
1, 3, 2
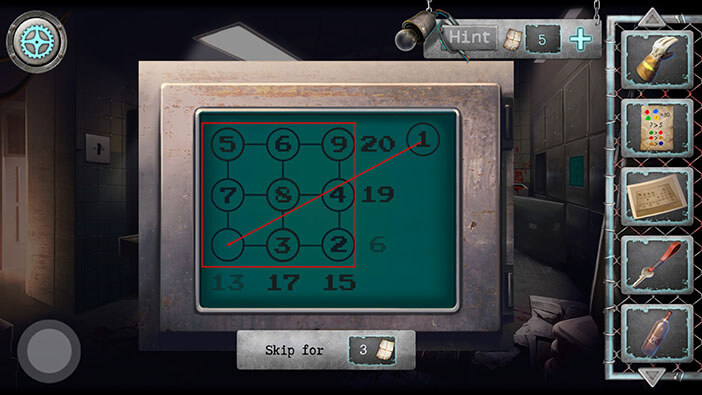
After you solve the puzzle, you will unlock the wall safe. Tap on the bottle inside to pick it up and “Empty spray bottle” will be added to your inventory.
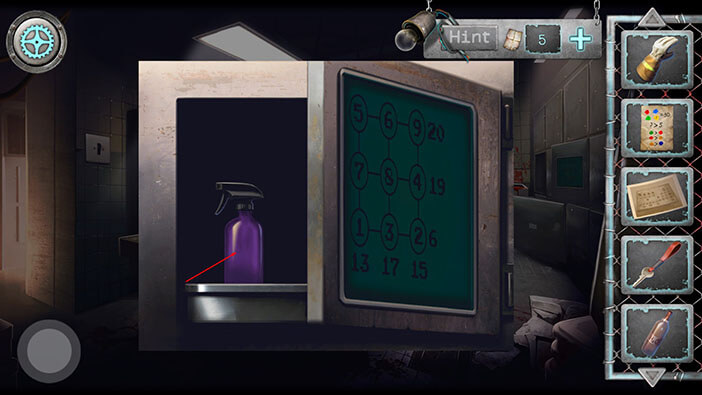
Ok, that’s it for this room, at least for now. Let’s go to the next room on the left.
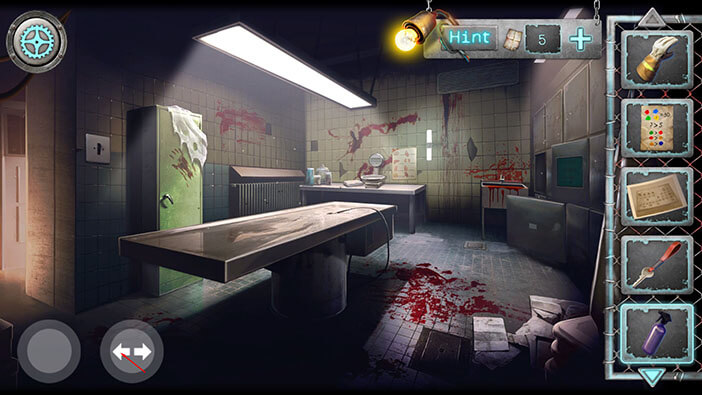
Well, it seems we found a crematorium. Tap on the furnace on your left to take a closer look at it.
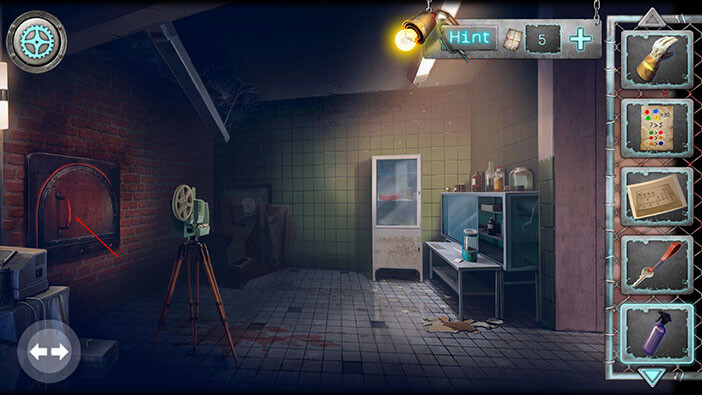
Our character will burn himself if he touches the furnace door with his bare hands. So, select the “Fire glove” from the inventory and tap on the furnace.
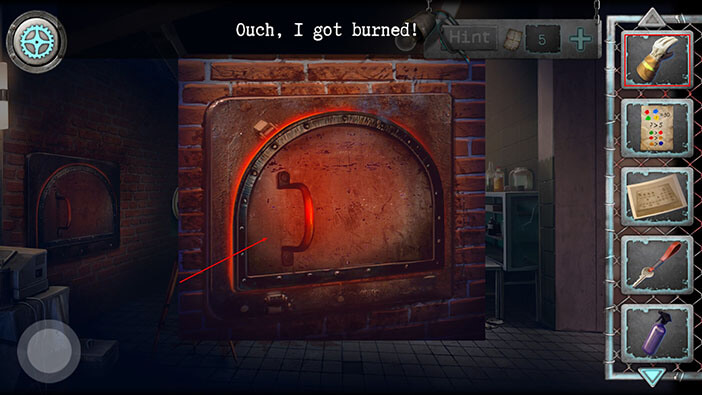
As soon as you tap on the furnace, you will see a screaming, burning skeleton. However, it seems that this was just our character’s imagination because the skeleton will disappear after a few seconds. We can see a horseshoe inside the furnace, but we can’t reach it, so let’s go back.
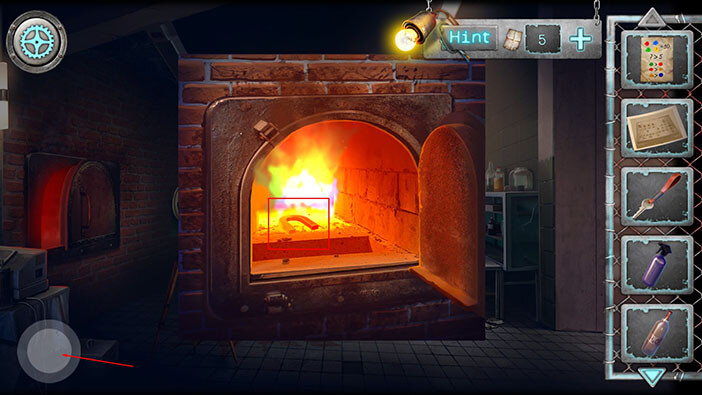
Tap on the projector to take a closer look at it.
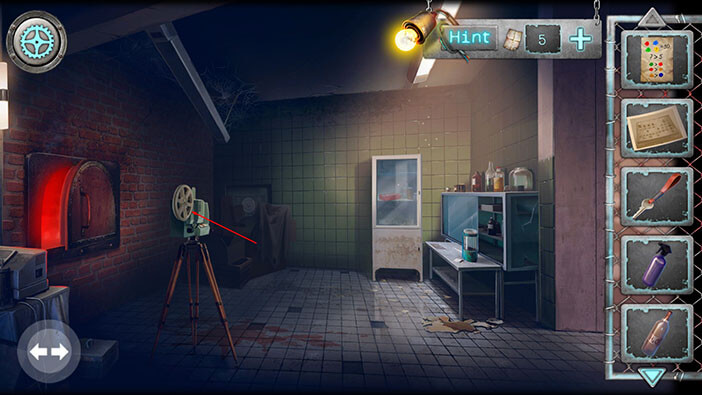
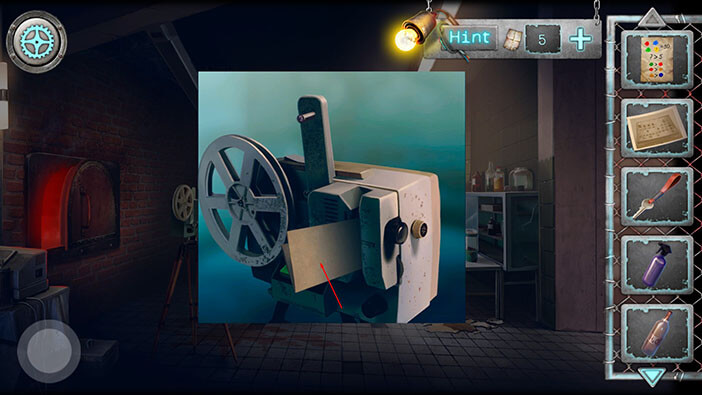
Tap on the note inside the projector to pick it up, and “Luminol recipe page”.
Tap on the cabinet to take a closer look at it.
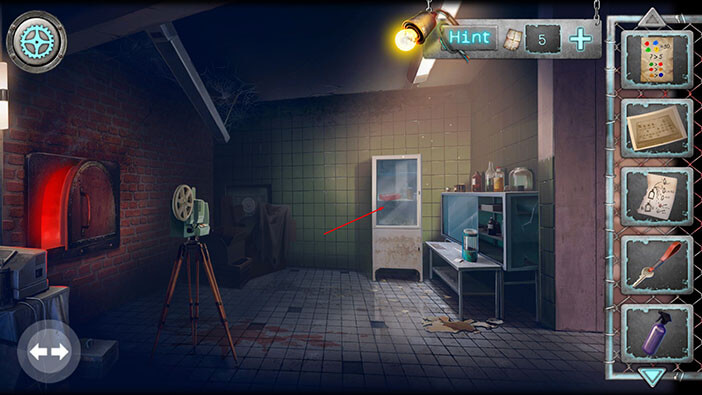
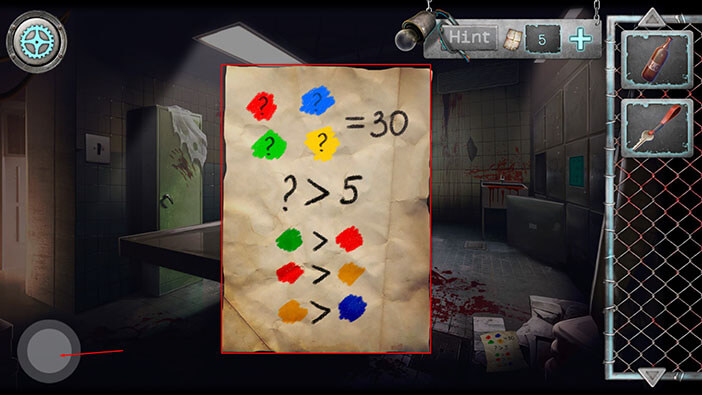
Your character will automatically tape the “Note” next to the padlock. In order to unlock the padlock, we will have to solve the mathematical puzzle on the note. Let’s begin. Tap on the note to take a closer look at it.
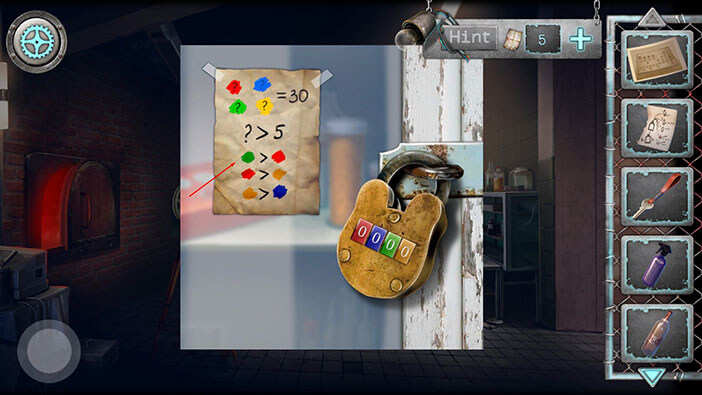
On the top of the note, we can see four colors with the question mark inside. Each color represents one number. If we add those numbers together, you will get 30.
Below that we can see that the question mark is greater than 5. Well, since all numbers are represented by the question mark, that means that all numbers are greater than five.
If we take a look at the final part of the puzzle, we can conclude that,
Blue is the lowest number
Orange is the second-lowest number
Red is greater than orange.
Green is the highest number.
Ok, in the second part of the puzzle, we concluded that all numbers that we are looking for are greater than five. If we take the next four numbers, 6, 7, 8, and 9, and add them together, we will get 30. So, we discovered the numbers, now we just have to arrange them by color.
Blue (the lowest number) = 6
Orange (the second lowest number) = 7
Red (greater than orange) = 8
Green (the highest number) = 9
Memorize/write down this information.
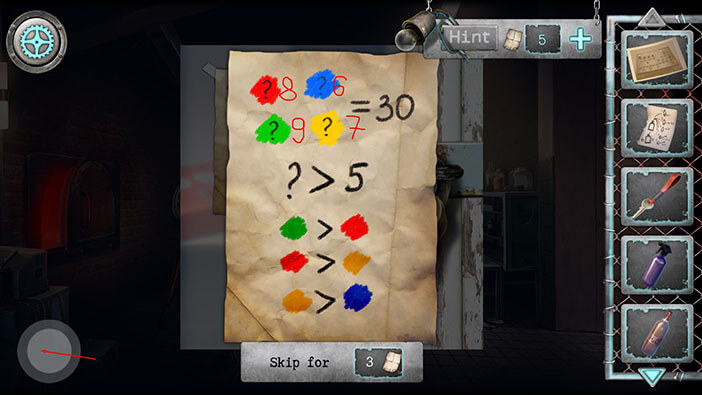
Tap on the padlock to start the interaction and enter the numbers that we discovered.
The colors on the padlock are Red, Blue, Green, Orange. So the code should be 8, 6, 9, 7.
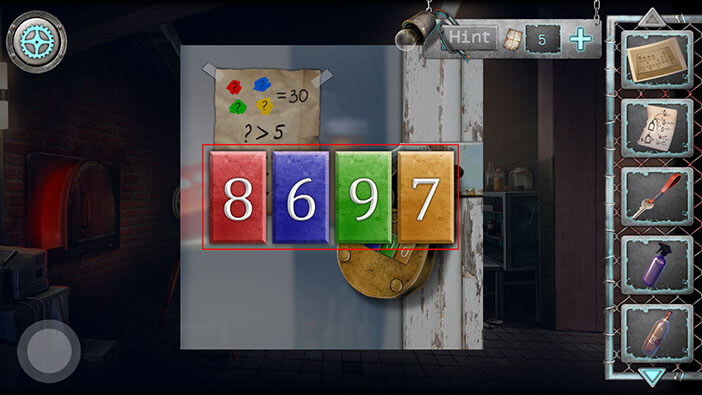
You will hear a clicking sound, indicating that you unlocked the padlock. Tap on the cabinet to open it, and tap once more to look inside.
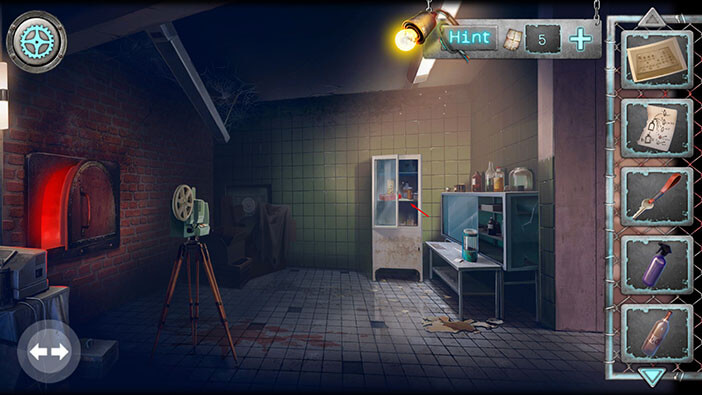
Tap on the red box on the left to take a closer look at it.
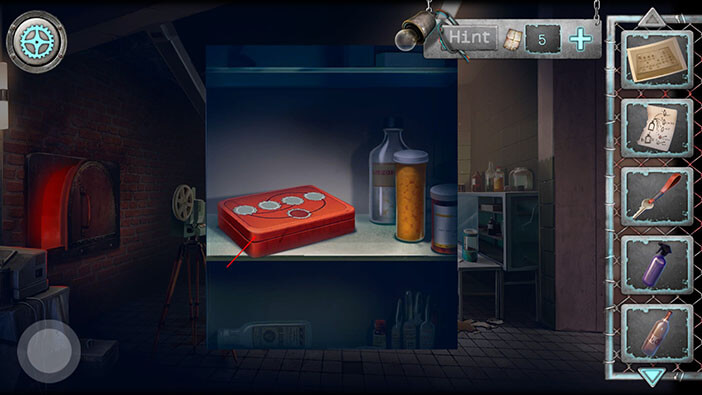
Here, we have to shuffle the tokens and put them on the matching background. We will do this puzzle in several steps. Let’s begin.
Step 1
Move the “Man” token, and a “Skull” token a bit to the right. This will enable us to move the child (baby) token to the matching slot on the left. Also, we now know that the “Man” token should be in the third slot (left to right), and the “Woman” token should be in the second slot.
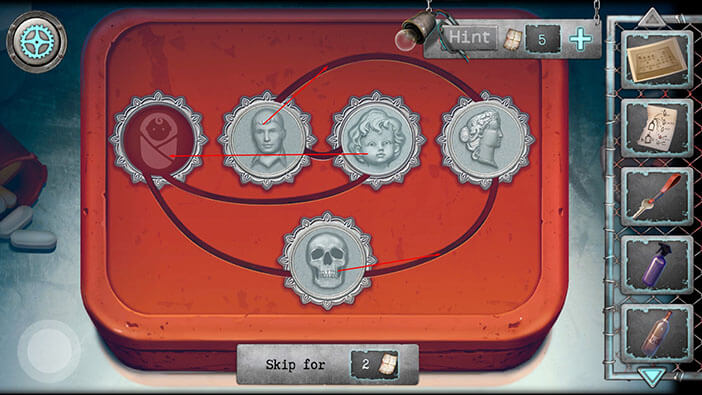
Step 2
Move the “Man” token into the third slot. After that, move the “Woman” token into the second slot.
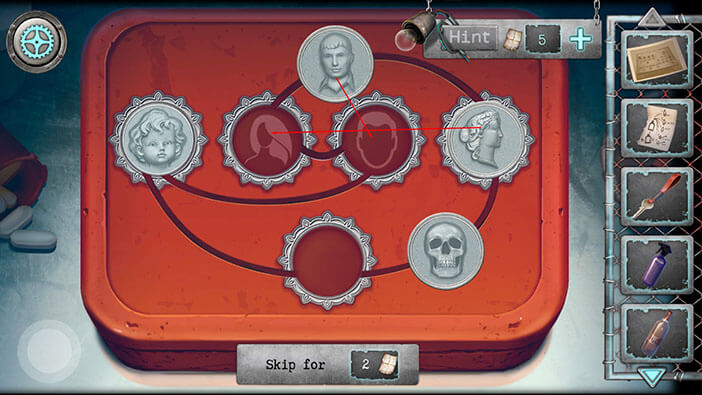
Step 3
Well, move the “Skull” token into the fourth slot, and you will solve the puzzle. This was easy.
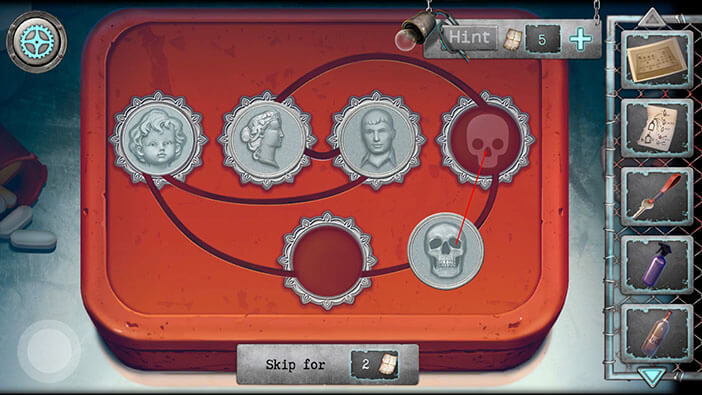
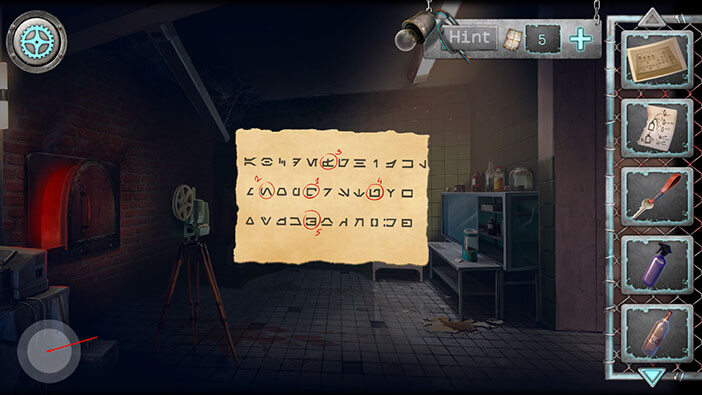
With that, we opened the box. Tap on the note inside to take a closer look at it. We can see that several symbols are marked, and we will probably need this note for one of the following puzzles.
For now, tap on the button in the lower-left corner, and our character will up the note. Another “Instruction leaflet” will be added to your inventory. Hmm, I guess these two leaflets should be used to operate the same machine. However, they could have named them differently (Like leaflet 1 and leaflet 2…).
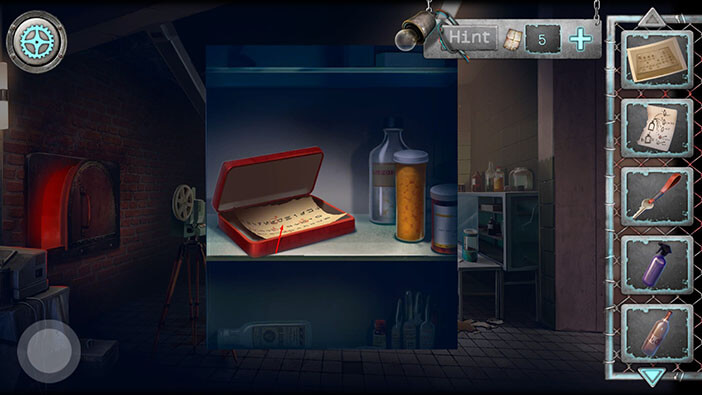
Ok, we should now go back to the secret room. To get there, go to the first room on the right. After that tap on the button in the lower-left corner and you will get to the honor hall.
Once you get to the honor hall, go to the room on your left.
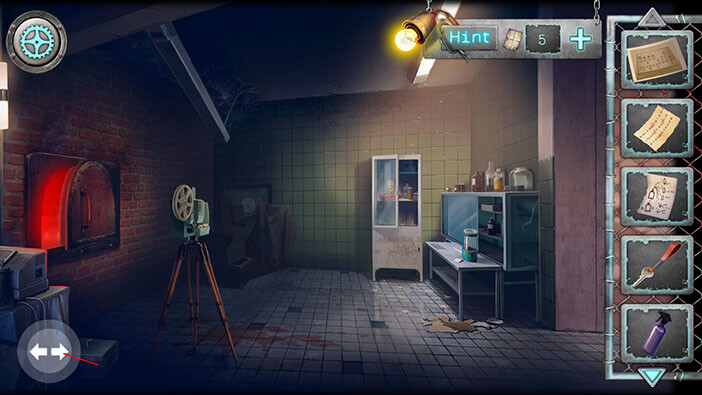
Once you get to the secret room, tap on the machine with the green glass to take a closer look at it.
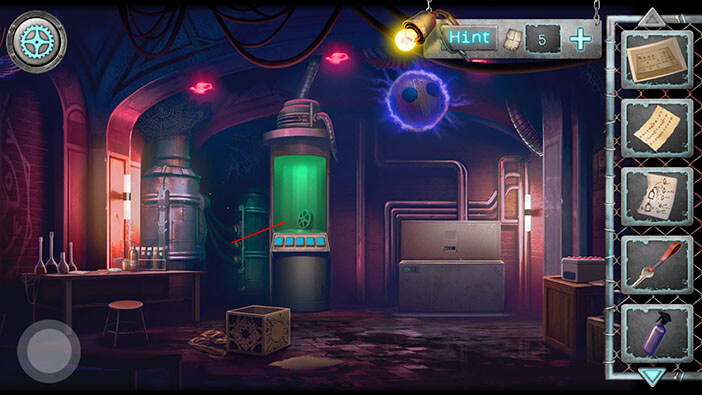
Your character will automatically put down one of the “Instruction leaflets” next to the machine. So, let’s examine the leaflet.
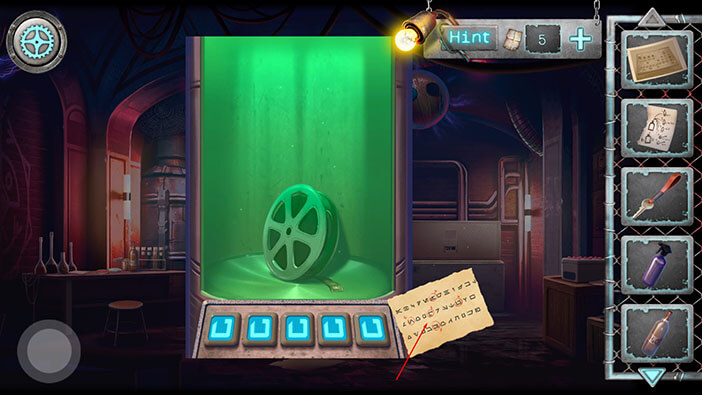
Five symbols on the leaflet are marked with numbers. The numbers represent the order of the symbols. Memorize, or better yet, write down these symbols, and then tap on the button in the lower-left corner.
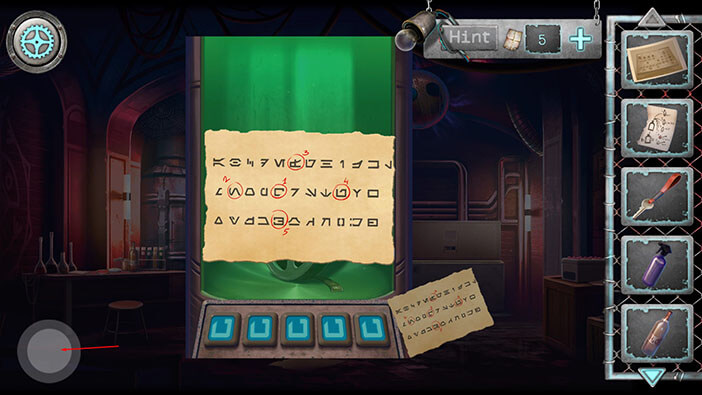
Ok, we should now enter the symbols on the keyboard. The symbols marked with number 1 should be the first one, looking from right to left, then comes the symbol 2, etc.
You can see a solution in the image below.
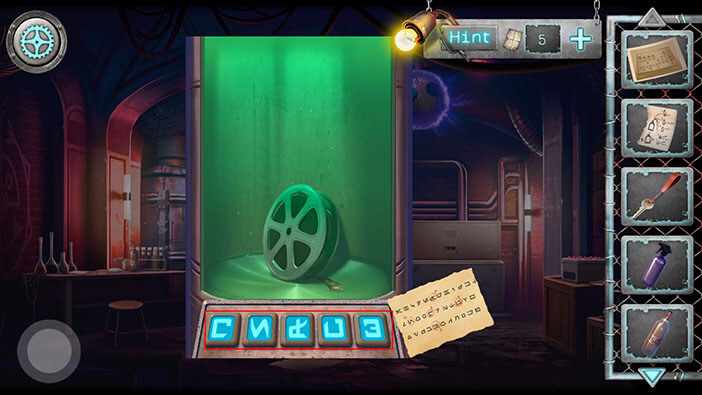
After entering the correct symbols we unlocked the machine. Tap on the “Film reel” to pick it up.
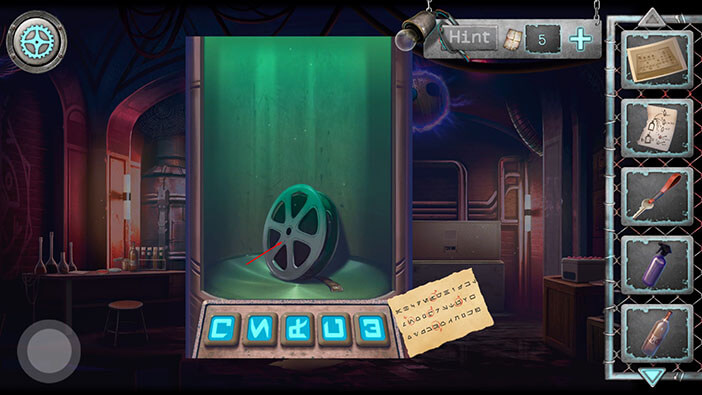
We should now go back to the crematorium and use the “Film reel” on the projector that we saw earlier. To get to the crematorium, tap on the button in the lower-left corner to go back to the honor hall. After that go through the door that we unlocked by using numerical code, and you will reach the morgue. From here, the crematorium is the first room on the left.
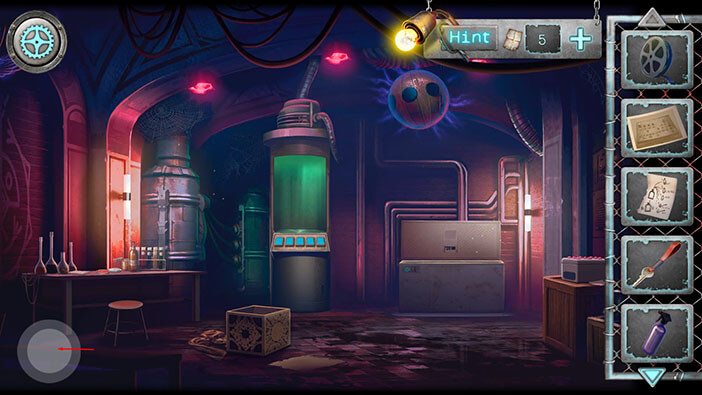
Tap on the projector to start the interaction, once you reach the crematorium.
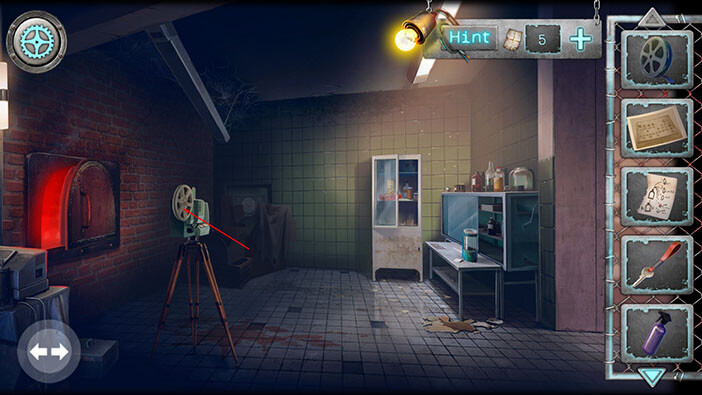
Select the “Film reel” from the inventory and tap on the empty slot on the projector to insert it. After that, tap on the green button to turn on the projector.
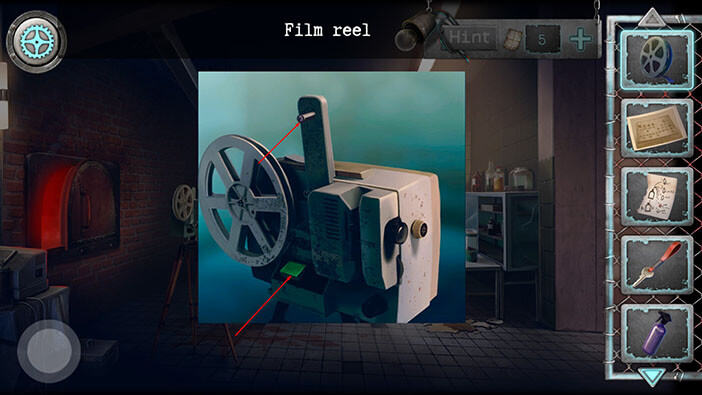
Well, we just saw a scary 3D image of some creature with a sickle. Also, we can now interact with boxes in the left corner of the room. Tap on them to take a closer look.
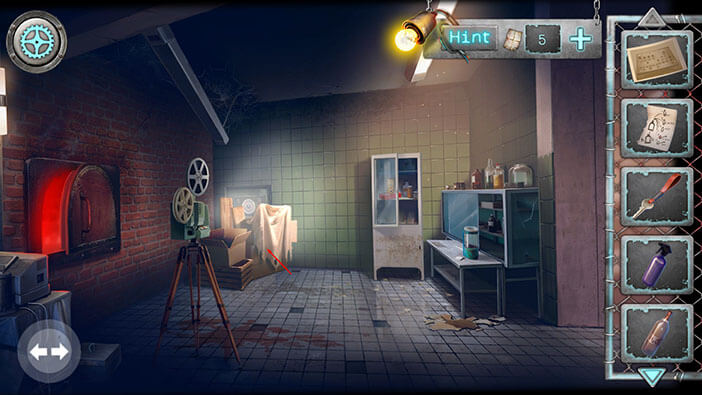
Tap on the boxes, and other items, to move them aside.
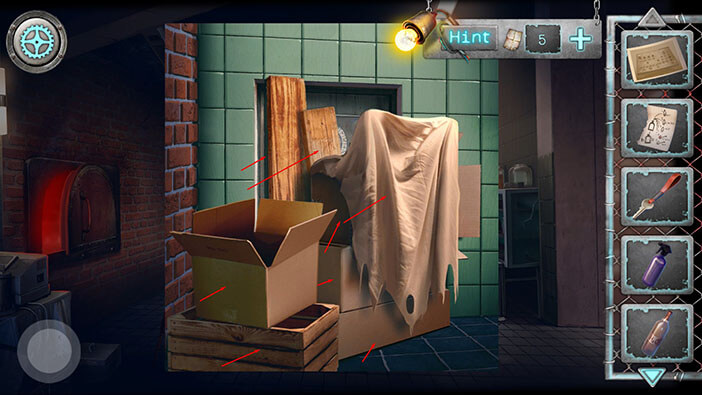
It seems that some strange door was hidden behind the boxes. Let’s take a closer look.
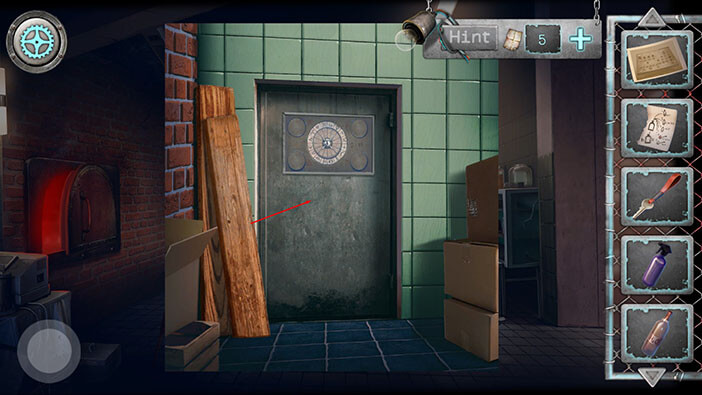
Here, we have to match the symbols on the inner disk with the symbols on the outer disk. The goal is to align the symbols so that they match the four red symbols, that are drawn around the disk. Only the inner disk can be rotated.
Note that the symbols on the outer circle are the exact match of the four red symbols. The symbols in the inner circle are only partially matching the red symbols.
This all sounds a bit confusing, but this puzzle is actually very easy. For example, I solved it by matching the umbrella-like symbol on the inner disk with the triangle symbol on the outer disk (because the umbrella has a triangle). All other symbols were automatically aligned. You can see the solution in the image below.
After you align the symbols, wait for 3-4 seconds and you will complete the first part of this puzzle.
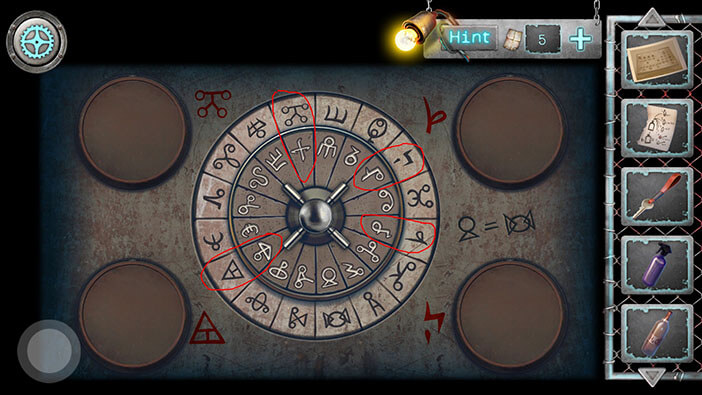
After you align the symbols on the inner disk, you will automatically open the first “door”. The second part is a bit trickier. Here, we have to match the symbols from the outer disk with their pair from the inner disk. Well, we already saw these pairs when we opened the first door, and luckily, taking screenshots really came in handy for this puzzle. So, take a look at the image above and you will see all four pairs.
With this information, this puzzle is very easy to solve.
The arrow in the top left circle should be pointed to the left.
The arrow in the bottom left circle should be pointed down.
The arrow in the top right circle should be pointed up.
Finally, the arrow in the bottom right circle should be pointed down.
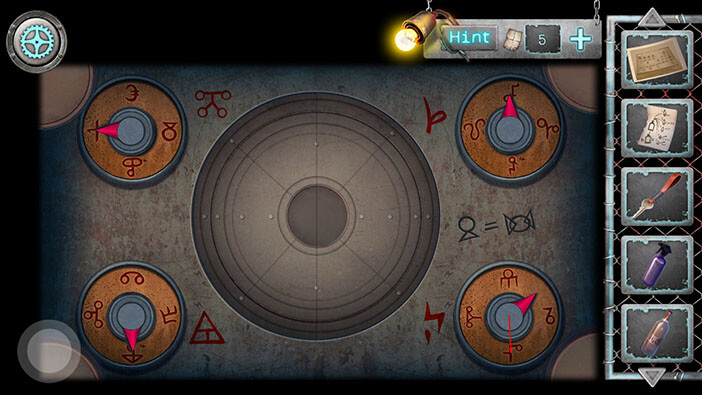
As soon as you turn the arrows the door will open. So, let’s go into the next room.
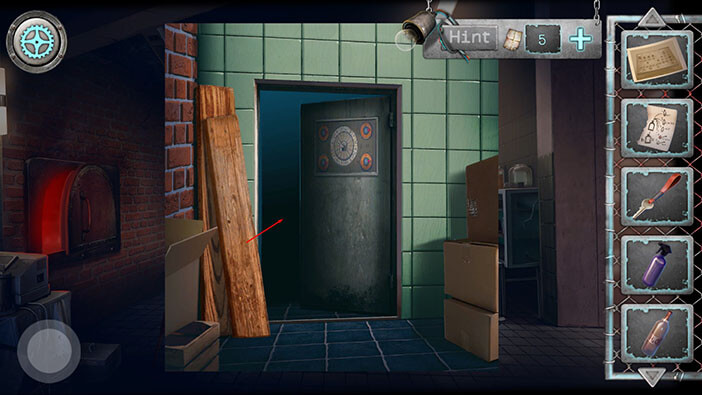
Tap on the machine on the left to take a closer look at it.
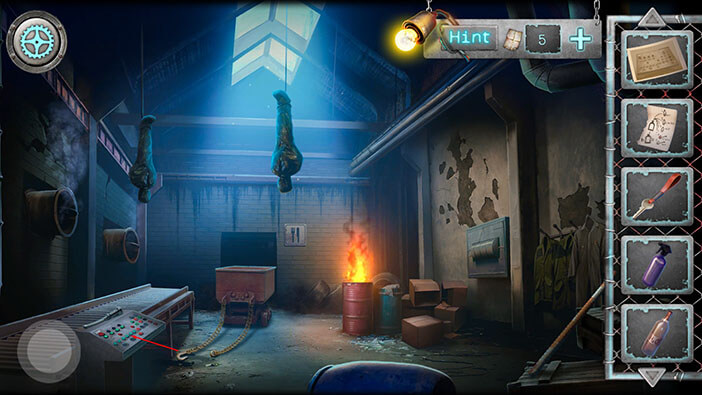
Your character will automatically put the other “Instruction leaflet” on this machine. However, before we take a look at the instructions, we should do several other things. First, let’s tap on the item at the top to pick it up. “Spray hose” will be added to your inventory.
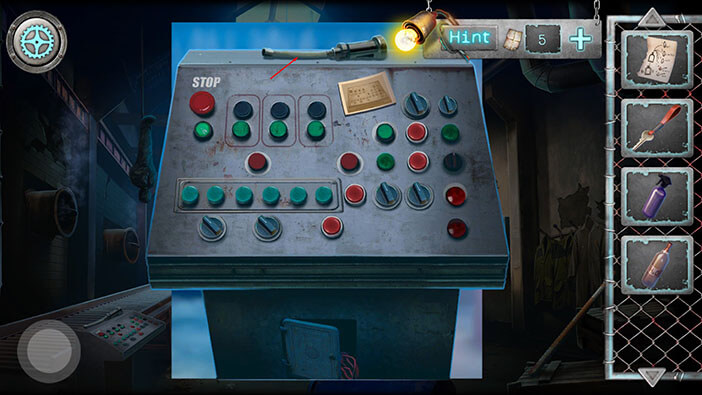
Next, tap on the wires at the bottom of the machine to take a closer look.
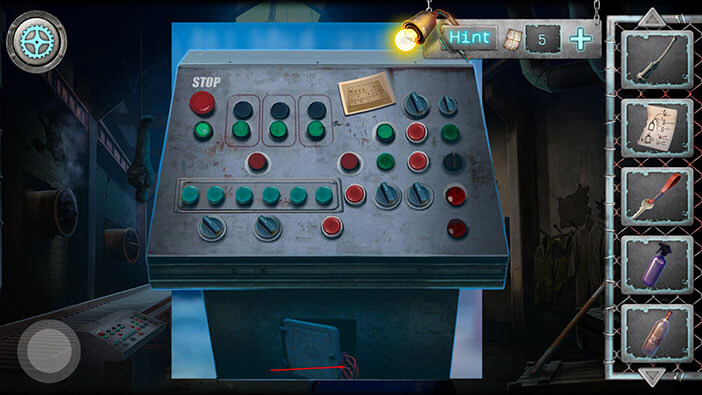
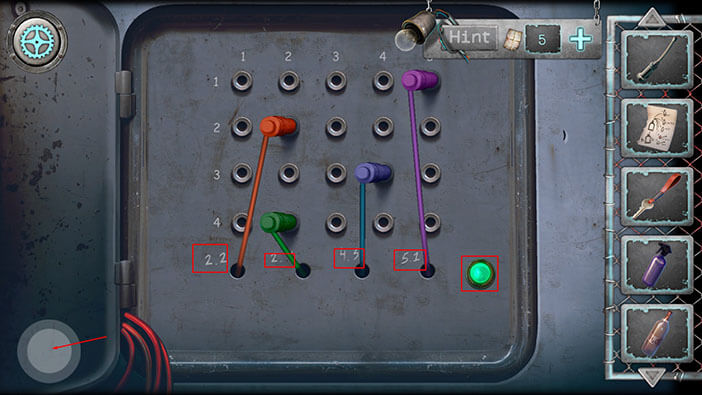
Here, we should plug the cables into the correct slots. This is quite easy because the coordinates are written above the cables.
The first number represents the horizontal position, while the second number represents the vertical position.
So,
Orange cable should be plugged into the second slot (left to right) in the second row (top to bottom).
The green cable should be plugged into the second slot in the fourth row.
Blue cable should be plugged into the fourth slot in the third row.
The purple cable should be plugged into the fifth slot in the first row.
After you plug in the cables, you will restore the power. Let’s go back.
Well, I just realized that I forgot to do something in the morgue. So, let’s go there, and we will come back to the machine a bit later. To get to the morgue, tap on the button in the lower-left corner to go back. After that, go to the first room on the right.
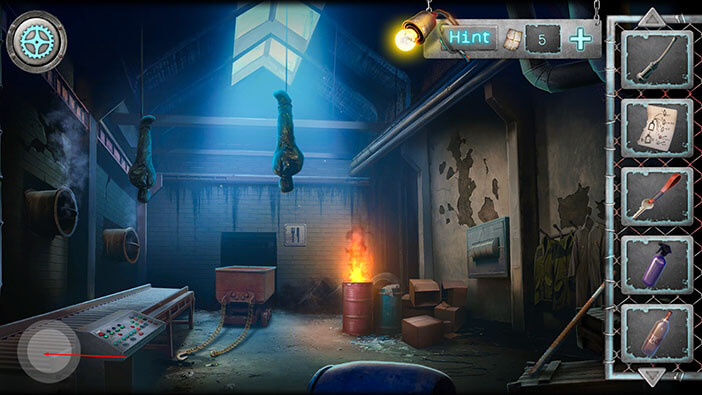
Tap on the sin to take another look at it.
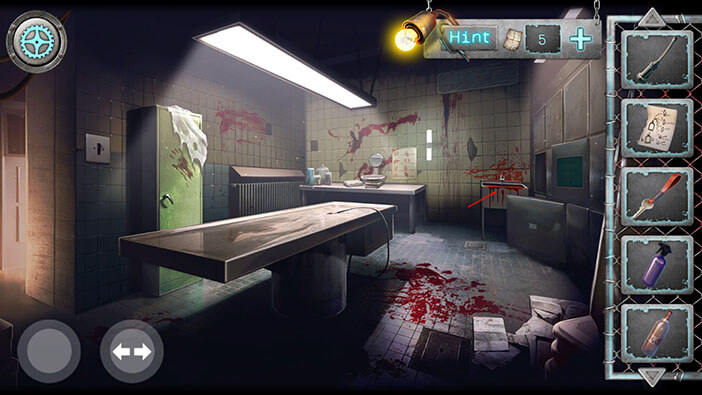
Select the “Spray hose” from the inventory and tap on the water pipe to attach it.
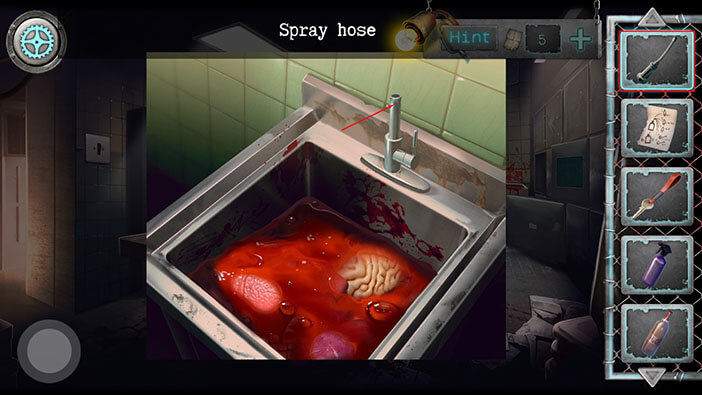
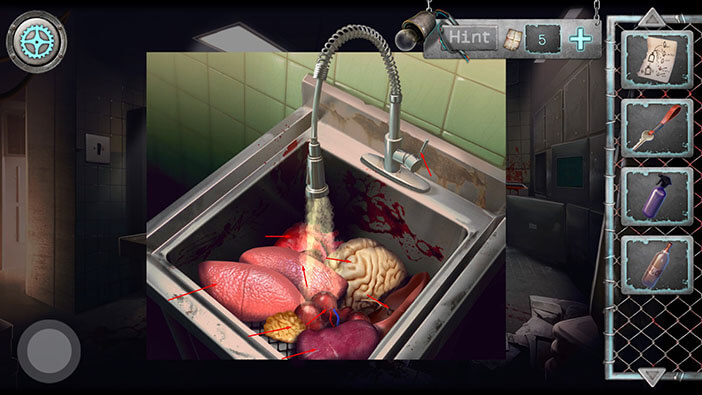
Tap on the lever to turn on the water, and our character will wash the organs inside the sink.
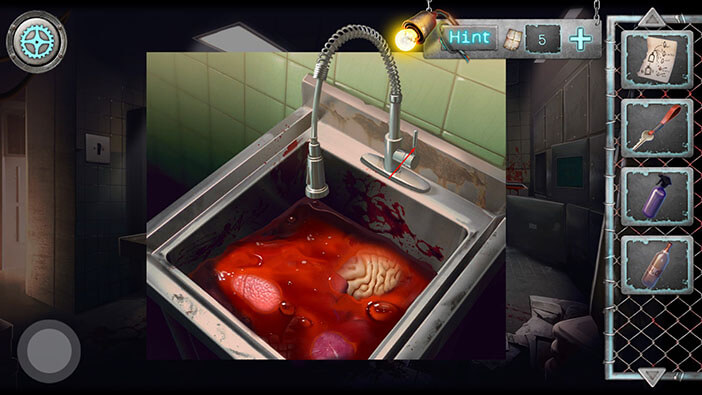
Luckily, these organs are made of plastic. So, tap on the lever to turn off the water. After that, tap on the organs to pick them up.
Next, tap on the digital scales on the left to take a closer look.
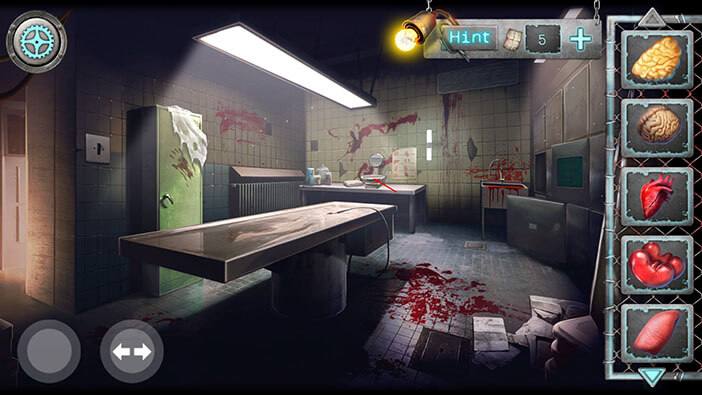
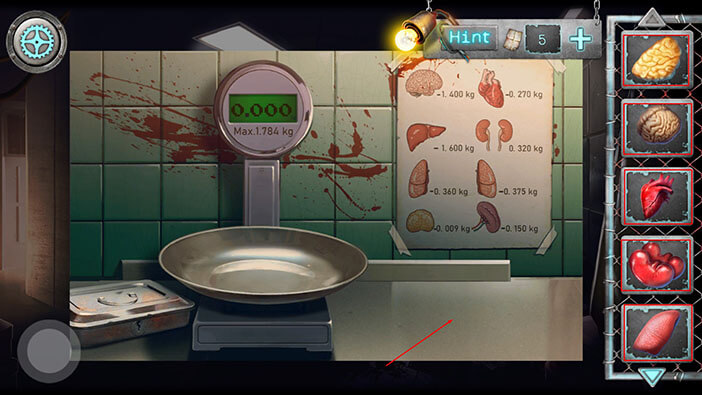
Select all the plastic organs from the inventory and put them down on the right side of the table.
Ok, let’s do something else before we continue the puzzle with the organs. Select the “Key on the lace” from the inventory and tap on the keyhole on the metal box on the left.
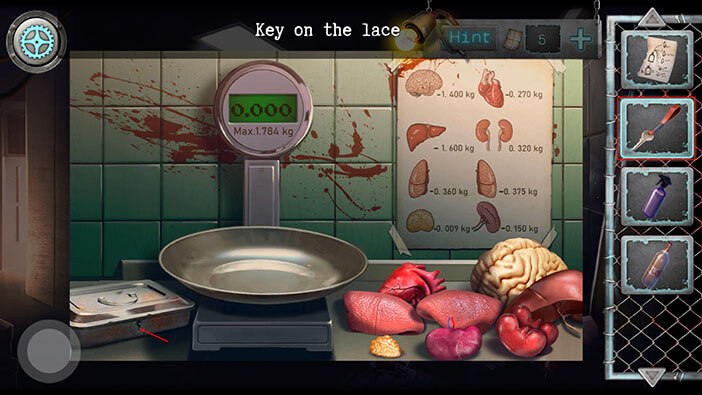
We unlocked and opened the box, so tap on the duct tape to pick it up. “Insulating tape” will be added to your inventory.
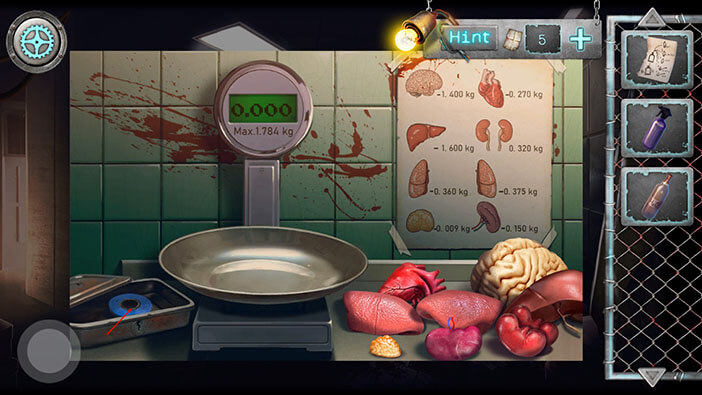
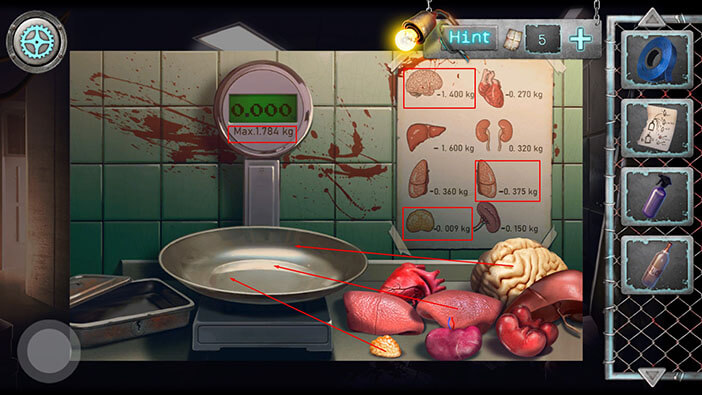
Let’s get back to the puzzle with the plastic organs. If we look at the digital scales, we will see that the maximum weight is 1.784 kg. On the picture on the right, we can see the weight of each organ. So, we should find the organs that have a combined weight of 1.784 kg.
Large brain = 1.400 kg
Right Lung = 0.375 kg (not sure, but I think this organ is the right lung)
Small brain = 0.009 kg
If we add the weights of these 3 organs we will get,
1.400 + 0.375 + 0.009 = 1.784 kg
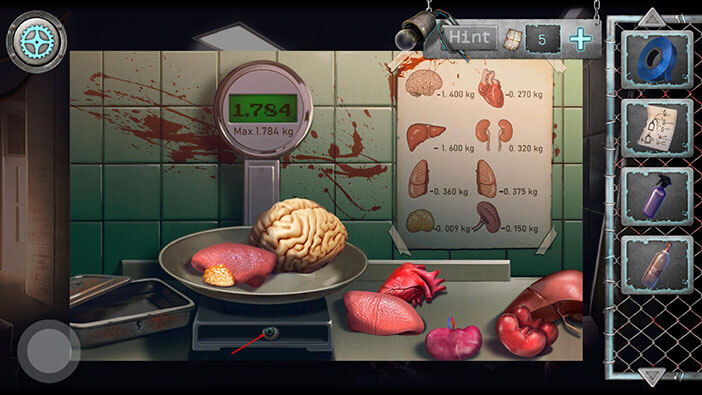
Perfect. Drag these 3 plastic organs and put them on the scales.
As soon as we placed the correct weight on the scales, the small compartment opened. Tap on the eye inside the compartment to pick it up, and “Glass eye” will be added to your inventory.
There’s one more thing that we should do before we go back to the machine room. We should go to the chemical table, and it is located in the secret room. To get there, tap on the button in the lower-left corner to go back to the honor hall. From there, the secret room will be on your left.
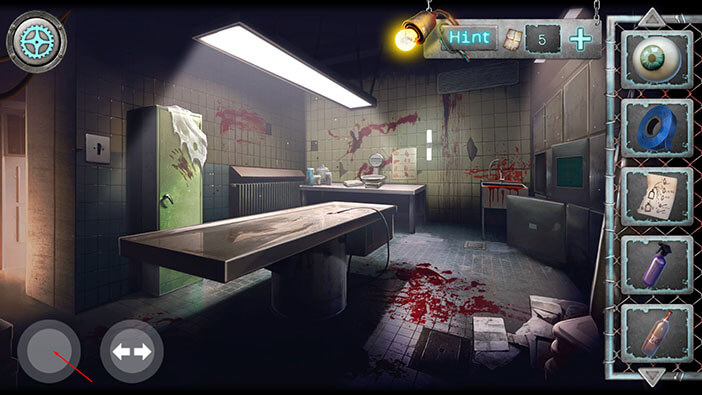
Tap on the chemical table to take a closer look at it.
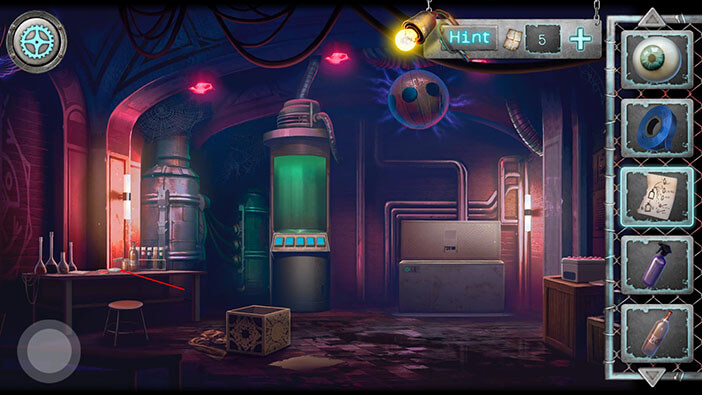
Select the “Luminol recipe page” and tap on the torn-out page from the notebook.
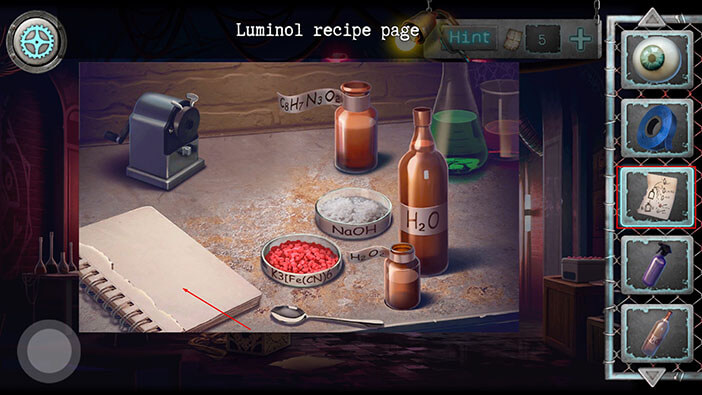
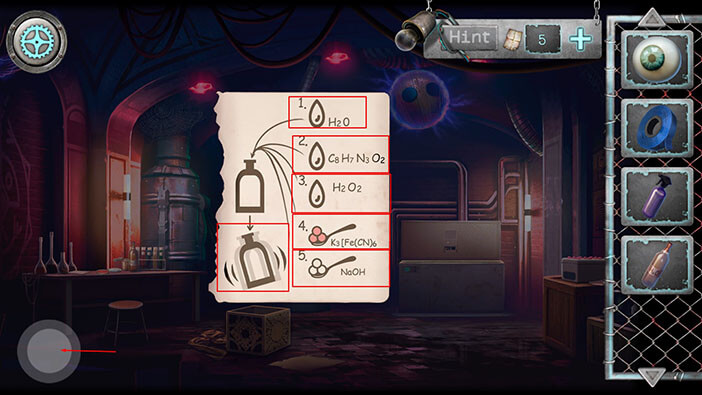
Ok, let’s take a look at the recipe.
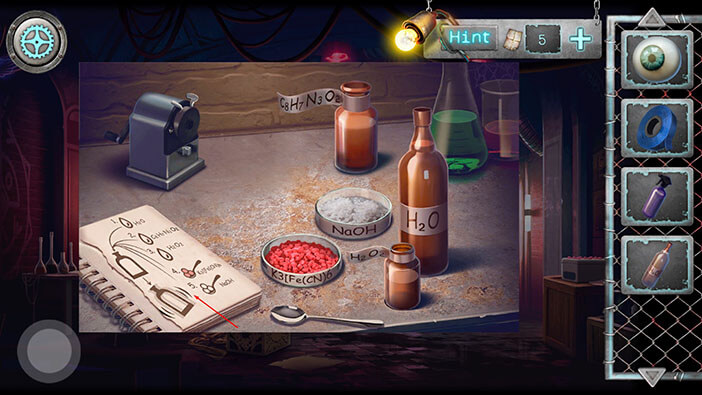
Well, here we can see the entire process. Let’s divide it into steps and write it down.
Step 1 – Add water (H2O)
Step 2 – Add C8H7N3O2
Step 3 – Add H2O2
Step 4 – Add one spoon of K3[Fe(CN)6
Step 5 – Add one spoon of NaOH
Step 6 – Shake the bottle
After writing down all the steps, we should now put down the instructions by tapping on the button in the lower-left corner.
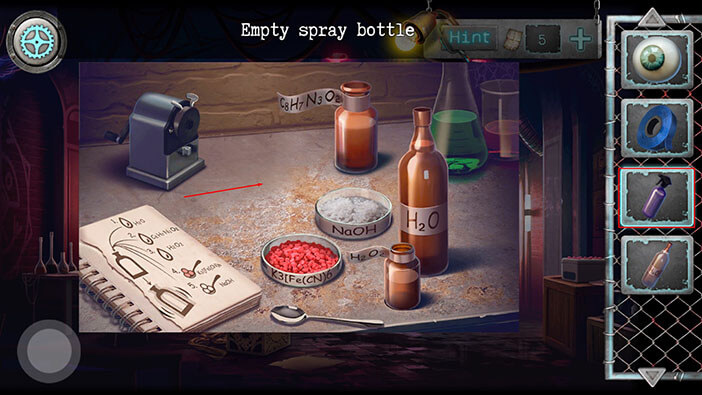
Well, before we can begin this experiment, we will first need an empty bottle. So, select the “Empty spray bottle” from the inventory and put it on the table.
After that, tap on the bottle to open it.
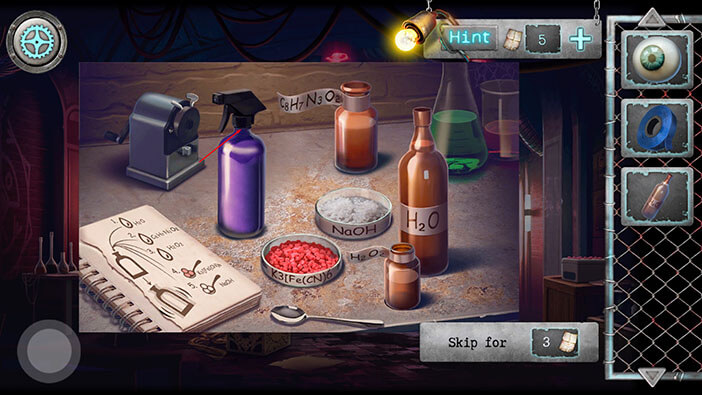
Ok, let’s begin with the first two steps.
Step 1 – Add water (H2O). Drag the bottle with label H20, and pour the liquid into the empty spray bottle
Step 2 – Add C8H7N3O2. Drag the bottle with label C8H7N3O2
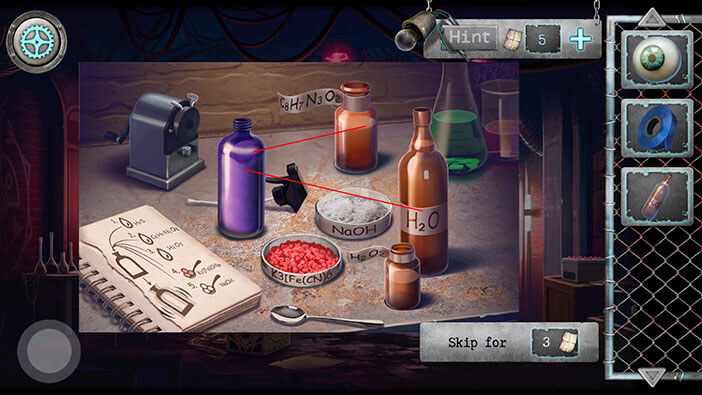
Step 3 – Add H2O2
Step 4 – Add one spoon of K3[Fe(CN)6
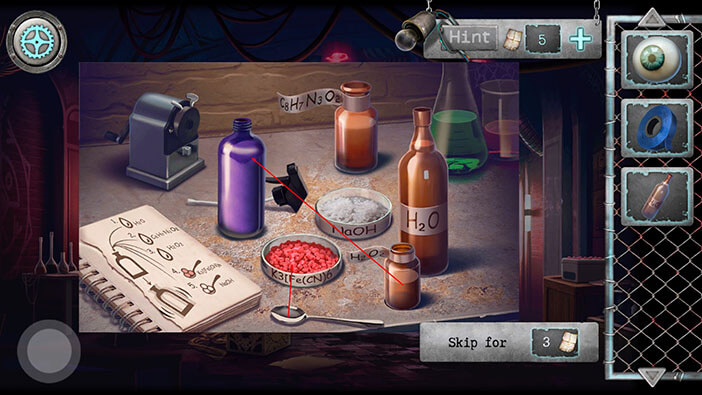
Step 5 – Add one spoon of NaOH
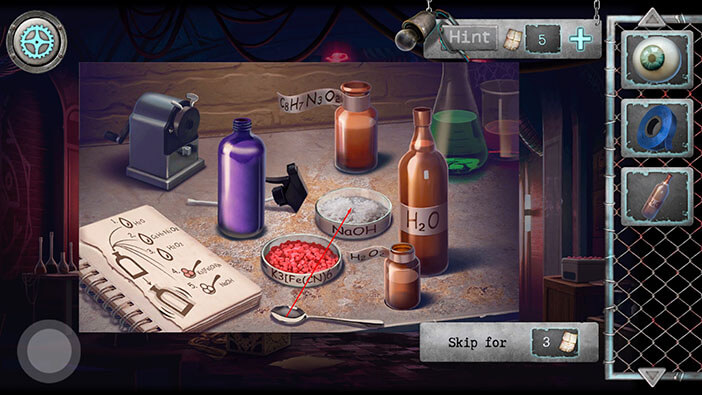
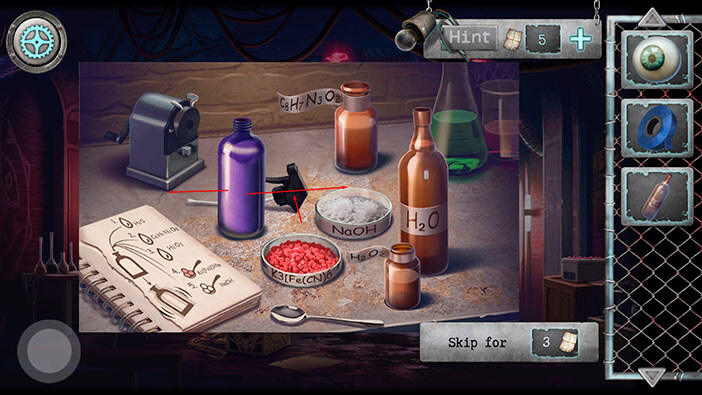
Step 6 – close the bottle and shake it for a few seconds. When you put down the bottle, our character will automatically pick it up. “Luminol solution” will be added to your inventory.
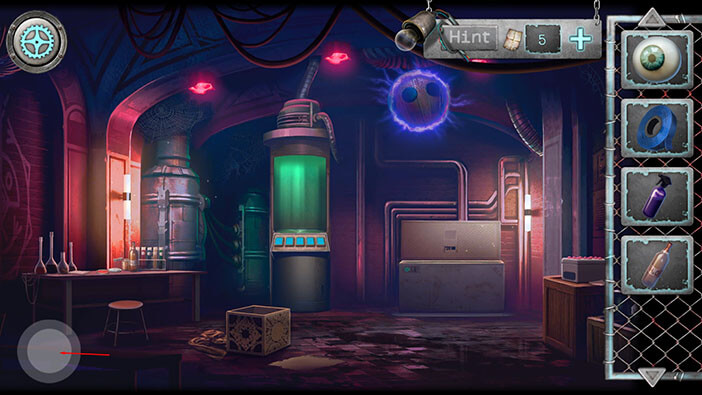
Let’s go back to the morgue. To get there, tap on the button in the lower-left corner to go back to the honor hall. From there, go through the door at the end of the hall and you will reach the morgue.
Tap on the table to take a closer look at it.
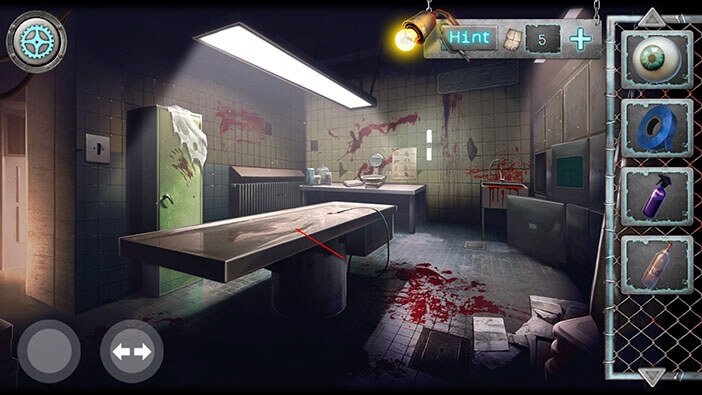
Select the “Luminol solution” from the inventory and tap on the table.
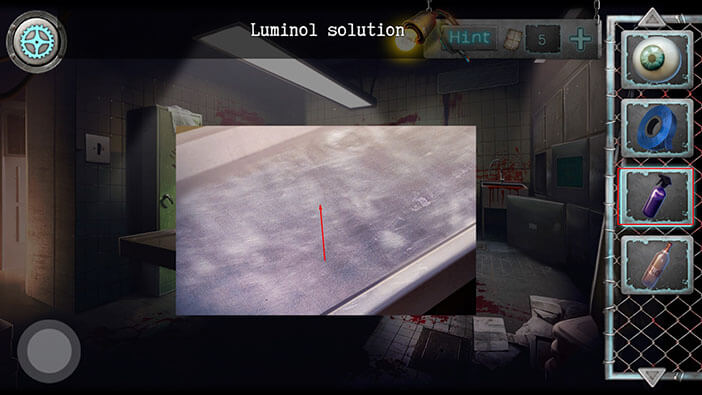
Well, it seems that something was inscribed on the table, but we can’t figure out the letters. Ok, we can now go back to the machine room. To get there, go to the first room on the left, and then through the door that we unlocked by solving the puzzle with the symbols.
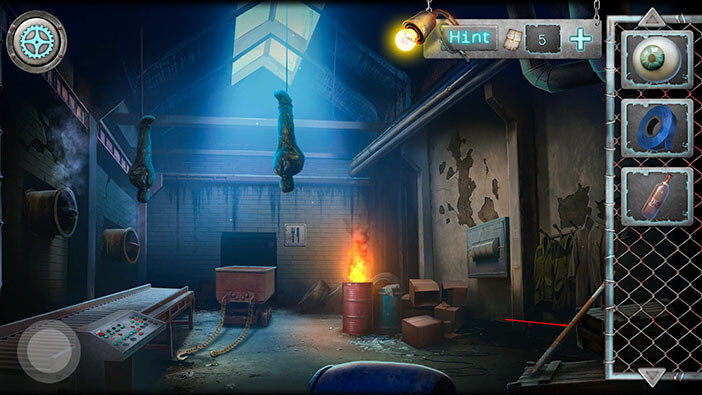
Tap on the “Stick” on your right to pick it up.
Next, we should take a closer look at the broken glass.
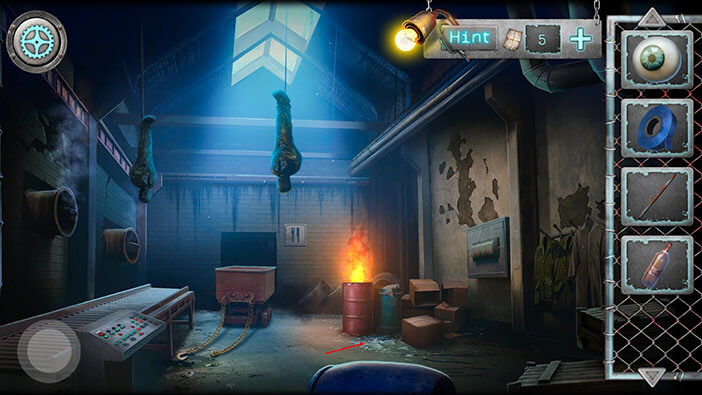
Select the “Insulating tape” from the inventory and tap on the shard of broken glass. Here, we can also see another item, but our character can’t get reach it without cutting himself. We will get back to it later.
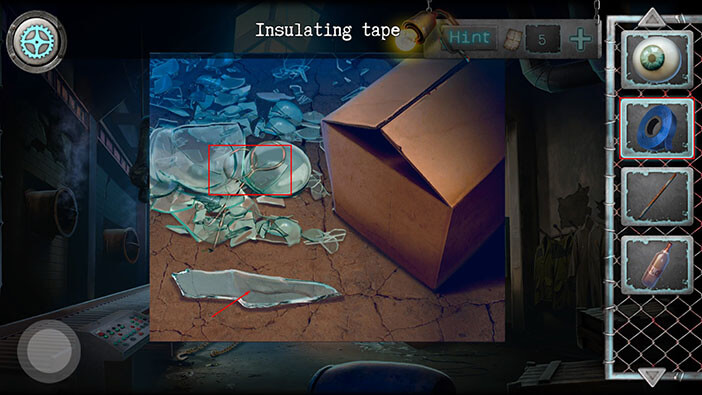
After wrapping the glass shard in insulating tape, tap on it to pick it up, and a “Glass knife” will be added to your inventory.
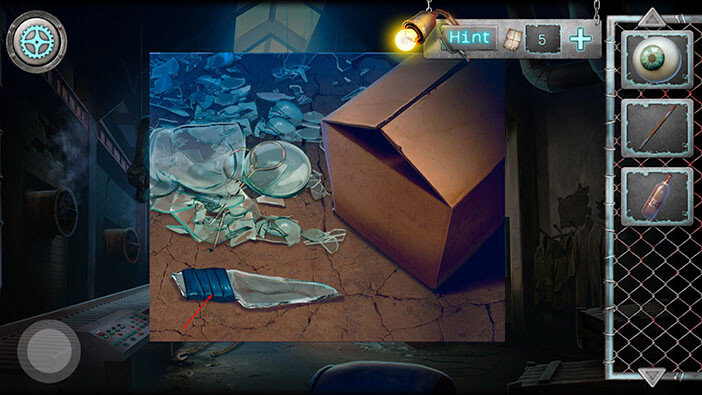
Also, tap on the box to open it. After that, tap on the item inside to pick it up, and “Hook” will be added to your inventory.
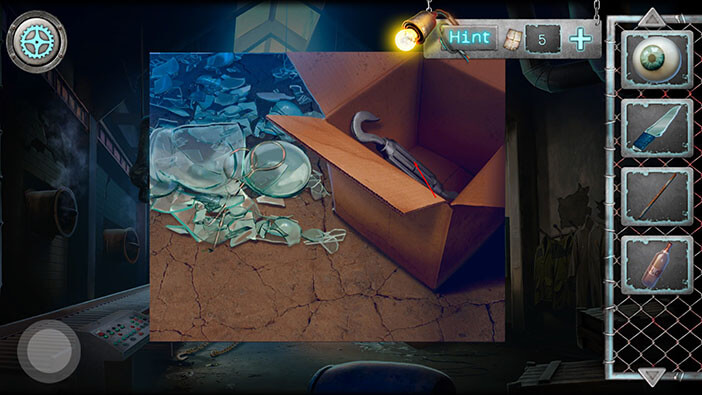
Select the “Hook” from your inventory and attach it to the chain that doesn’t have the hook.
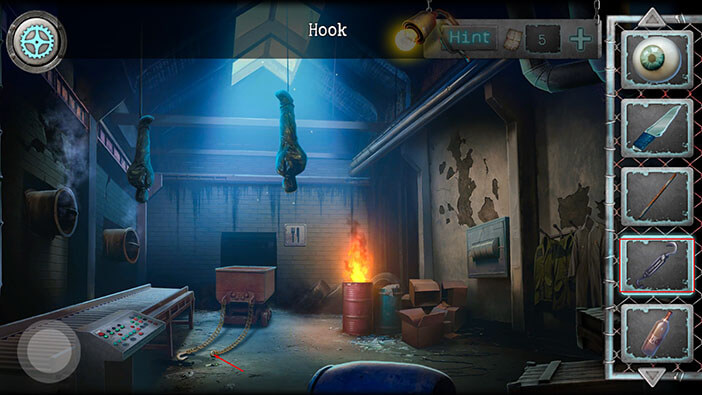
Next, tap on the chains with hooks to attach them to the bars.
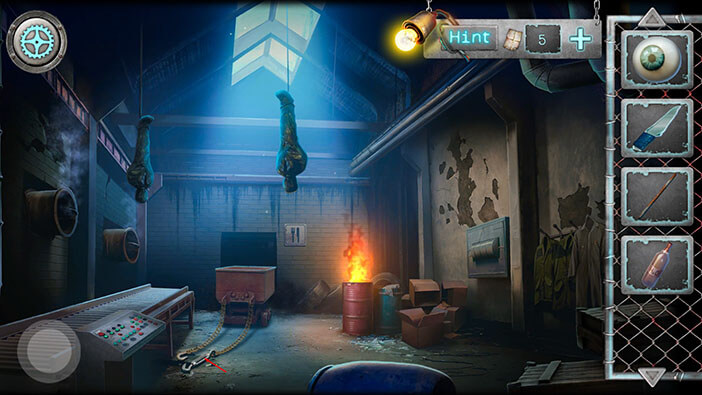
Ok, we should now take a look at the instructions for operating the machine. Tap on the machine to take a closer look. After that, tap on the instructions.
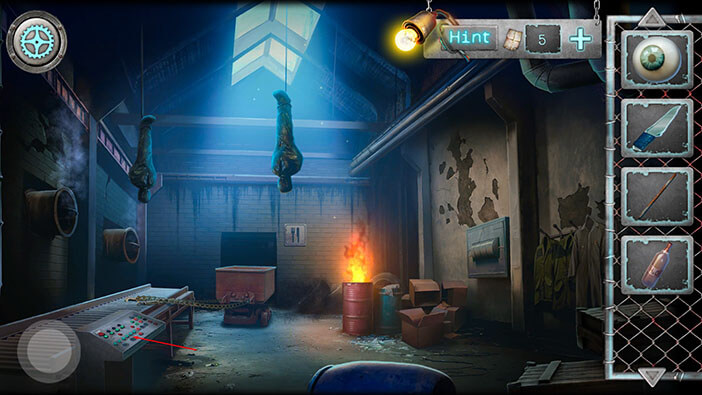
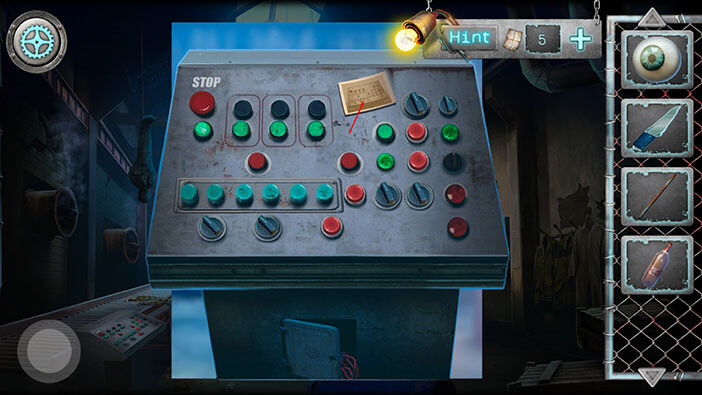
Well, the instruction specifies the order of actions for operating this machine. Let’s write down the instructions.
Step 1 – Push the first (left to right) button in the second row on the left.
Step 2 – Push the fourth button in the first row on the left.
Step 3 – Push on the button which is located above the button in the lower right corner.
Step 4 – Turn the top-left switch to the right.
Step 5 – Next to button number 3, there are two switches. The second switch to the left of the button should be turned to the left.
Step 6 – The bottom left switch should be turned to the right.
Step 7 – Push the fourth button in the third row (left side of the panel)
After you’re done, tap on the bottom in the lower-left corner to go back.
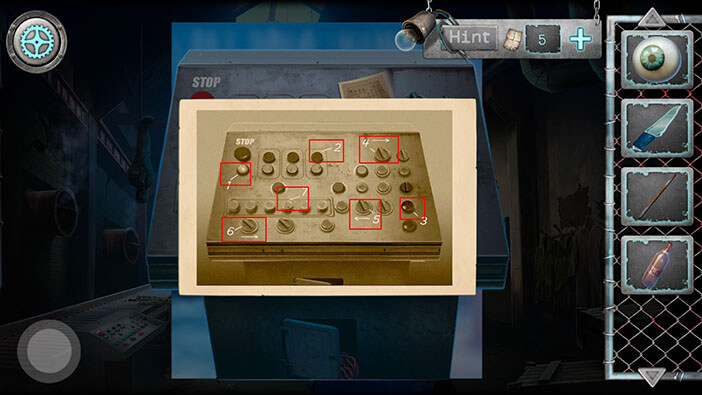
Let’s start with the first two steps.
Step 1 – Tap on the first (left to right) button in the second row on the left.
Step 2 – Tap on the fourth button in the first row on the left.
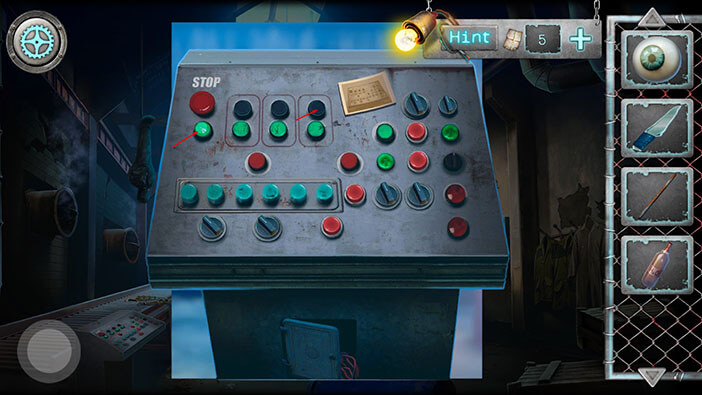
Step 3 – Tap on the button which is located above the button in the lower right corner.
Step 4 – Tap twice to turn the top-left switch to the right.
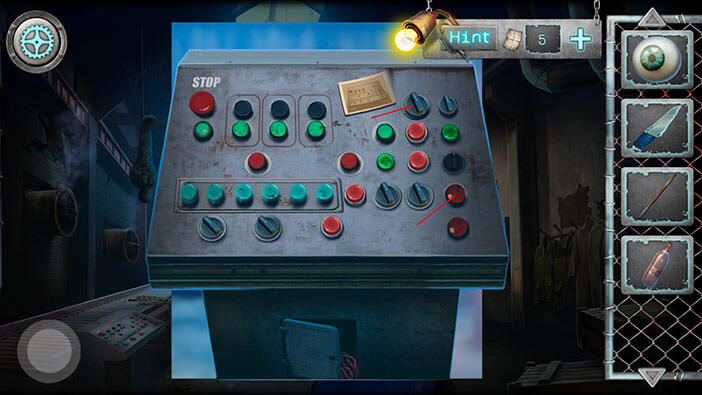
Step 5 – Next to button number 3, there are two switches. Tap once on the second switch to the left of the button to turn it to the left.
Step 6 – Tap twice on the bottom left switch to turn it to the right.
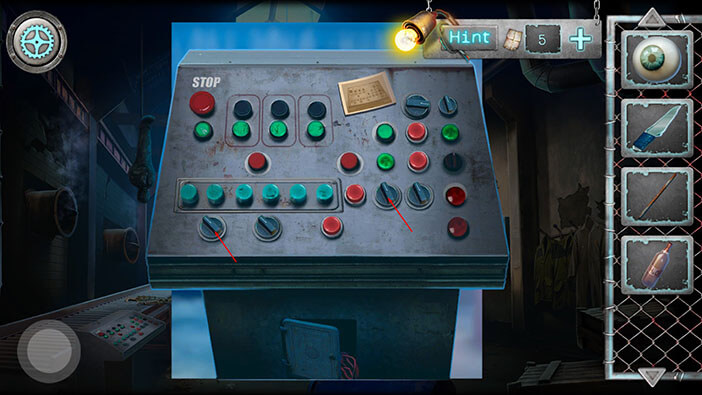
Step 7 – Tap on the fourth button in the third row (left side of the panel) to activate the machine.
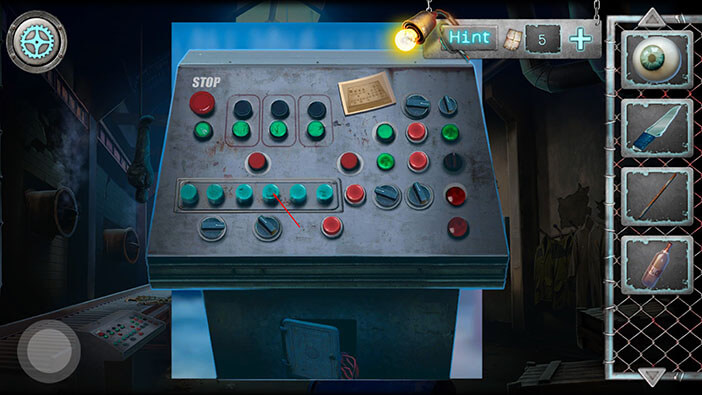
Well, we cleared the way to the next room.