Room Escape: Detective Phantom | Level 5
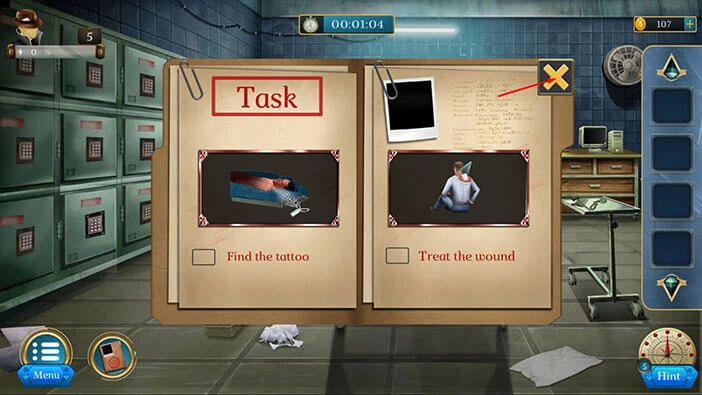
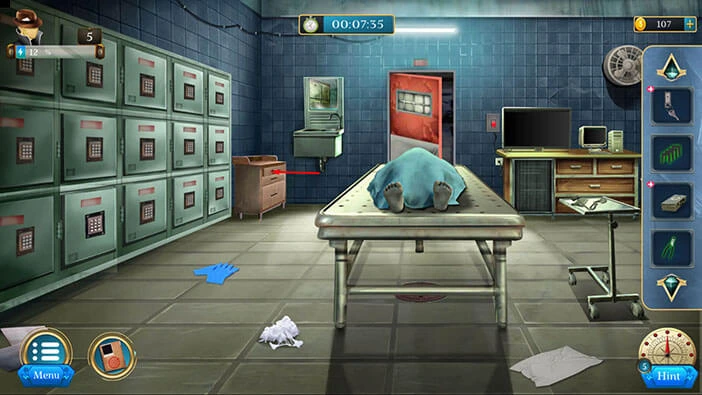
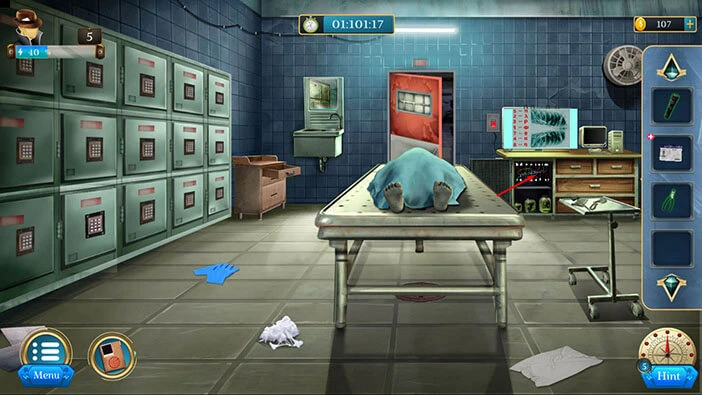
Hello everyone and welcome to the walkthrough for the fifth level of “Room Escape: Detective Phantom”. In the fifth level, our task is to examine the body of the 34th victim.
Our objectives are to “Find the tattoo” and “Treat the wound”. Tap on the “X” button to go back.
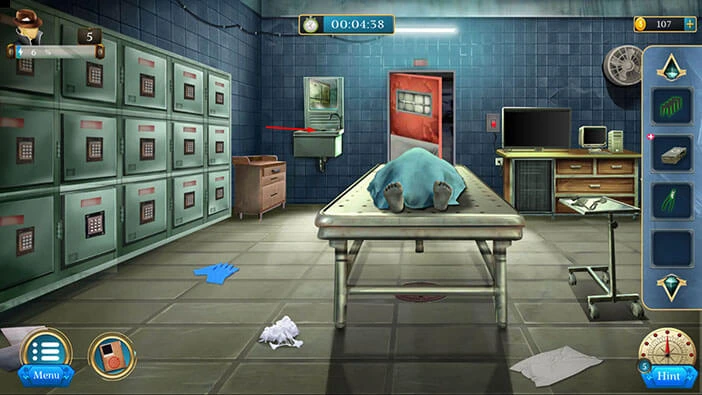
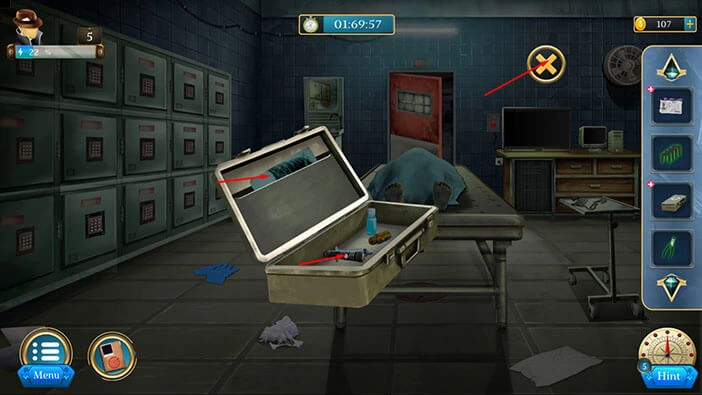
On the right side of the floor, you will notice a “Cutter”. Let’s tap on it to take a closer look, and tap again to pick it up.
After that, tap on the arrow at the bottom to go back.

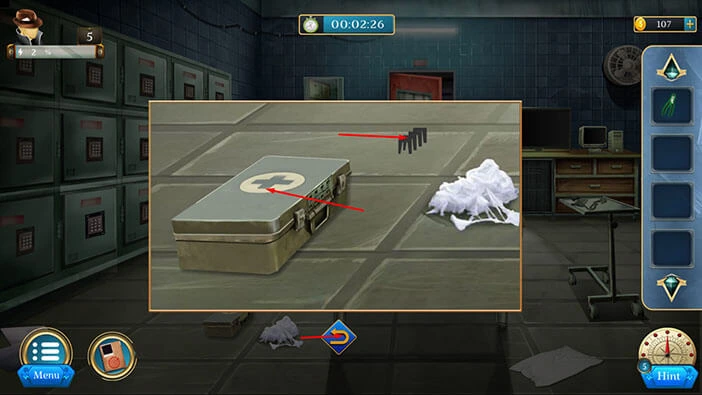
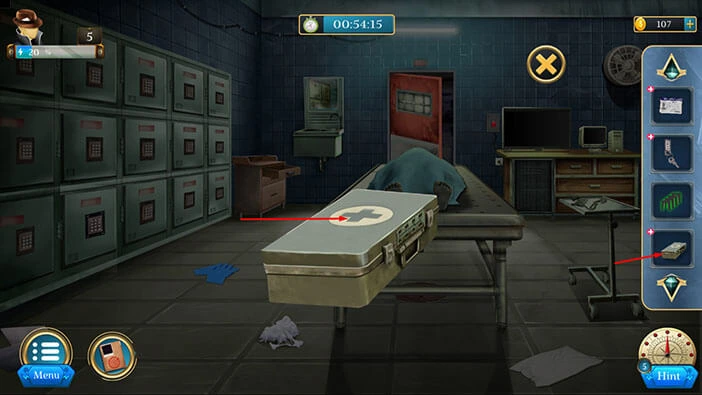
On the left side of the floor, you will notice a “Medical Kit”. Let’s tap on it to take a closer look.

Here, you will find a “Medical Kit” and “Clips”. Let’s tap on these two items to pick them up.
After that, tap on the arrow at the bottom to go back.
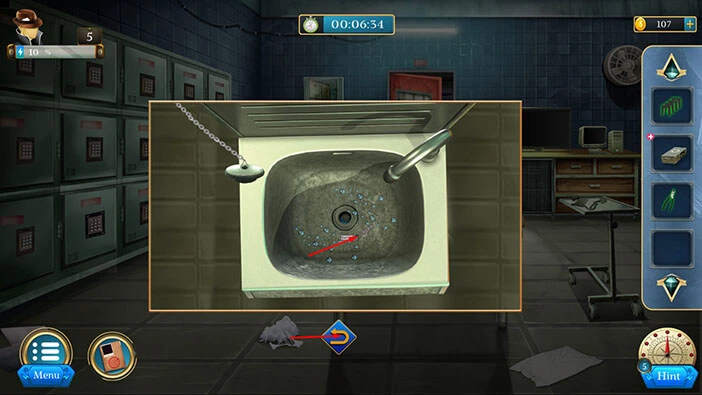
Next, let’s tap on the sink to take a closer look at it, and tap again to start the interaction.
Tap on the chain on the left to pull out the plug and you will drain the water from the sink.
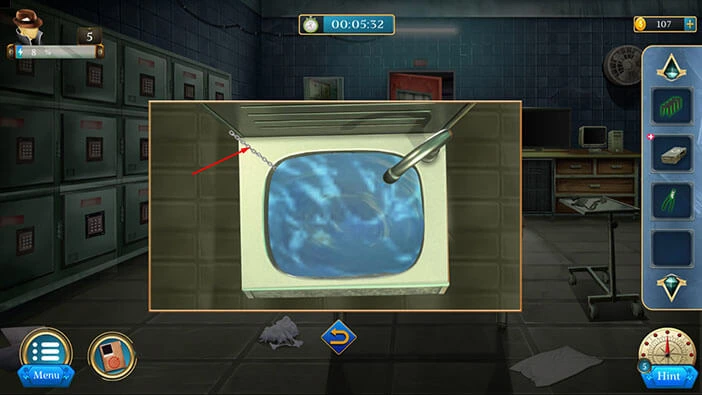
At the bottom of the sink, you will find a “Key”. Let’s tap on it to pick it up.
After that, tap on the arrow at the bottom to go back.
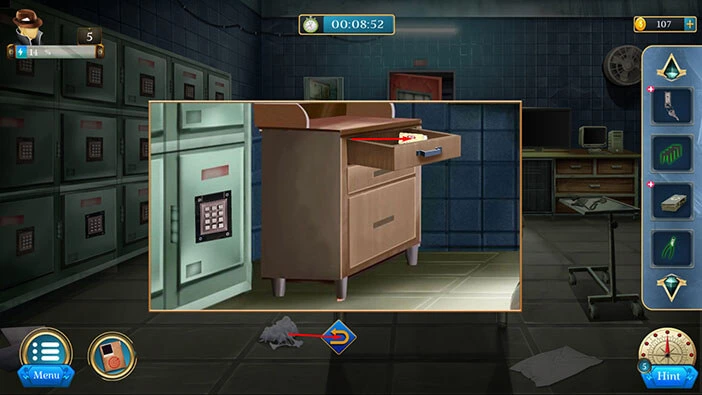
Next, let’s tap on the cabinet in the top left corner of the room to take a closer look at it, then tap on the drawer to open it.
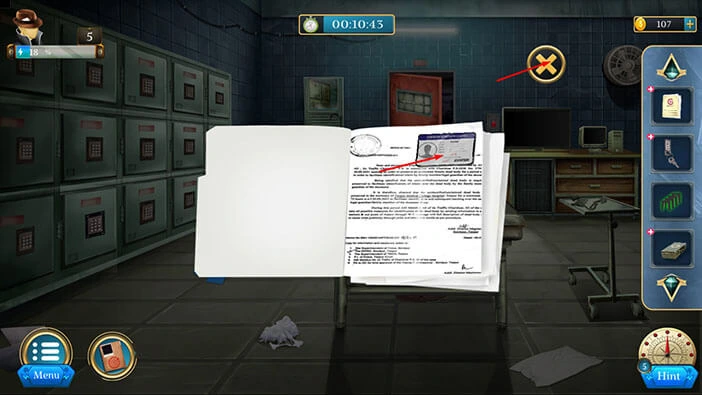
In the drawer, you will find a “File”. Let’s tap on it to pick it up.
After that, tap on the arrow at the bottom to go back.
Next, select the “Medical File” from the inventory and it will appear in the middle of the screen. Let’s tap on the file to look inside.
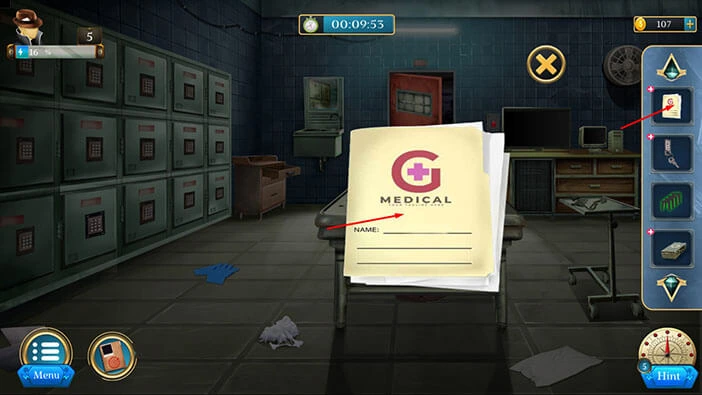
In the file, you will find an “ID card”. Let’s tap on it to pick it up. After that, tap on the “X” button to close this window.
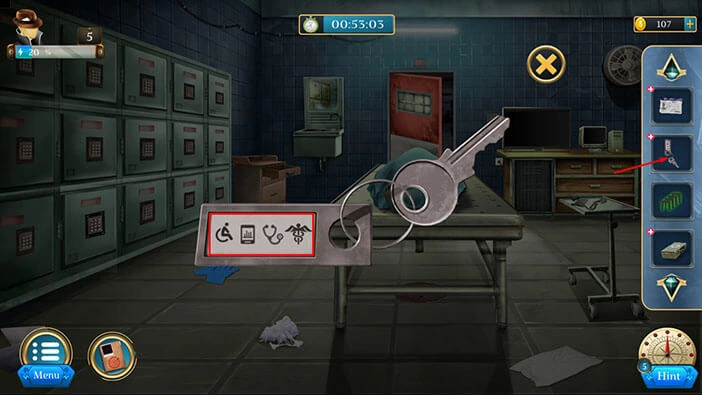
Next, let’s tap on the “Key” in our inventory to examine it, and it will appear in the middle of the screen. You will notice four symbols. Let’s memorize/write down these symbols because they represent the hint for the next puzzle. Looking from left to right, we have,
First = a man in a wheelchair
Second = mobile phone
Third = stethoscope
Fourth = Medical symbol (Hippocratic oath)
Once you’re done, tap on the “X” button to close this window.
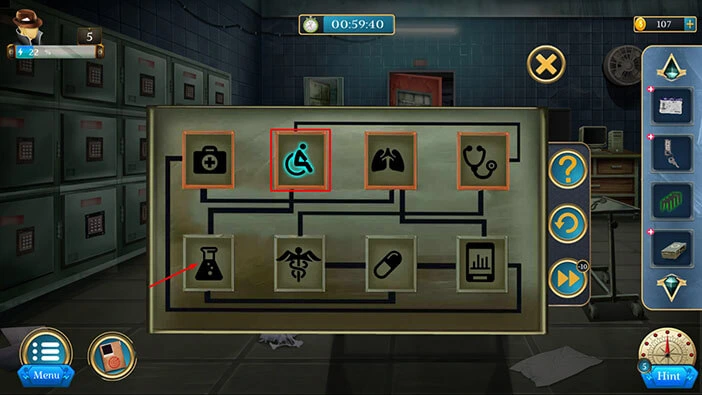
Next, let’s tap on the “Medical Kit” in our inventory to examine it, and it will appear in the middle of the screen. Tap on the “Medical Kit” again to start the interaction.
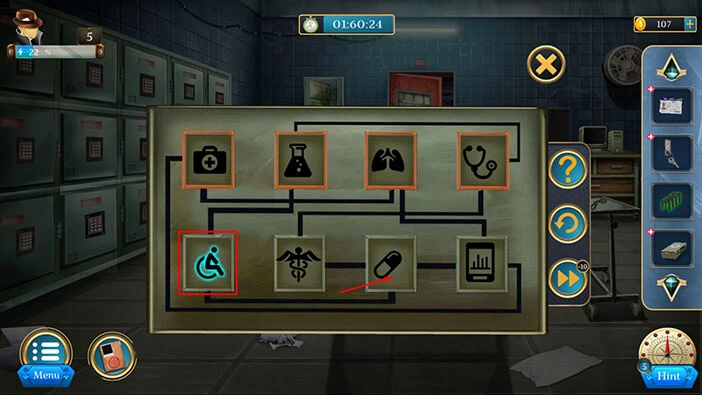
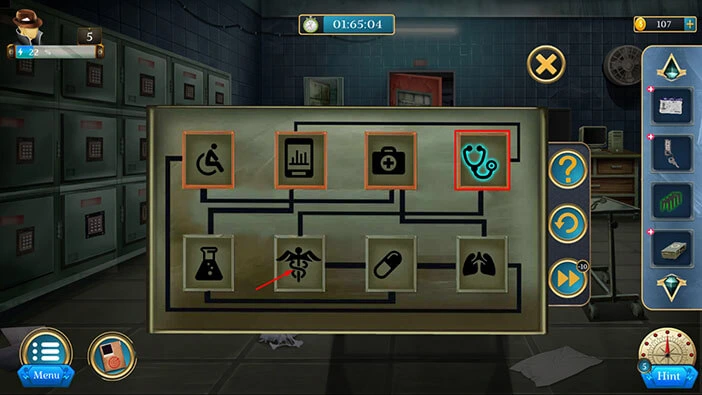
Here, we can see 8 slots with symbols (two rows with 4 slots in each row). Our task is to rearrange the symbols in the slots. The symbols in the first row should match the symbols that we saw on the keychain. If you take a closer look at the slots, you will notice that each slot has two connections. We can only move the symbols between the connected slots.
We will do this puzzle in several steps. Let’s begin.
Step 1
Select the second symbol in the first row, then tap on the first symbol in the second row to swap their positions.
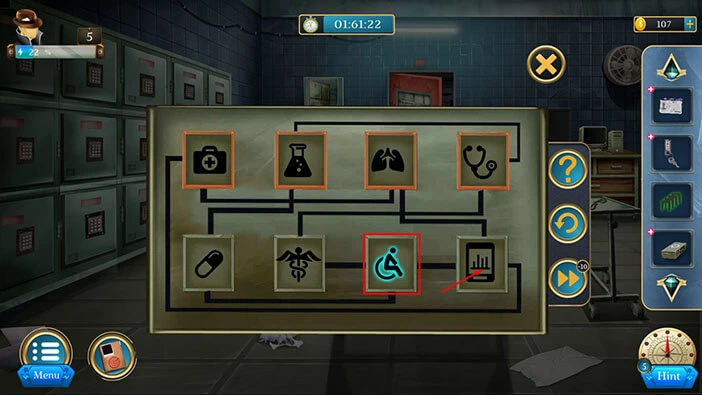
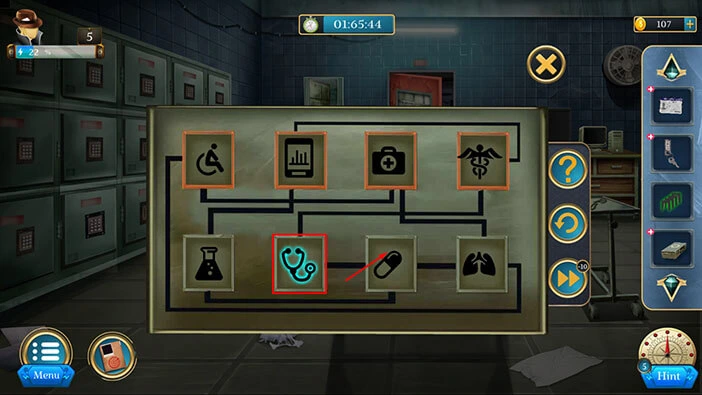
Step 2
Select the first symbol in the second row, then tap on the third symbol in the second row to swap their positions.
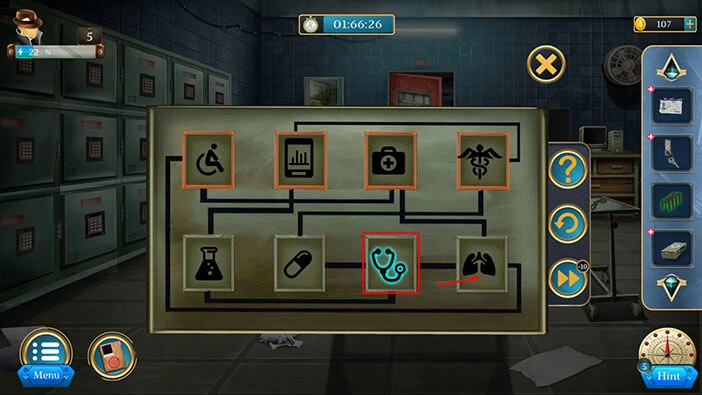
Step 3
Select the third symbol in the second row, then tap on the fourth symbol in the second row to swap their positions.
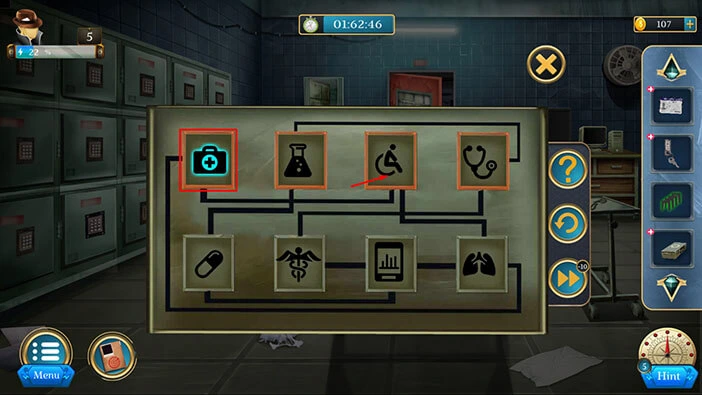
Step 4
Select the fourth symbol in the second row, then tap on the third symbol in the first row to swap their positions.

Step 5
Select the first symbol in the first row, then tap on the third symbol in the first row to swap their positions.
Step 6
Select the third symbol in the second row, then tap on the first symbol in the second row to swap their positions.
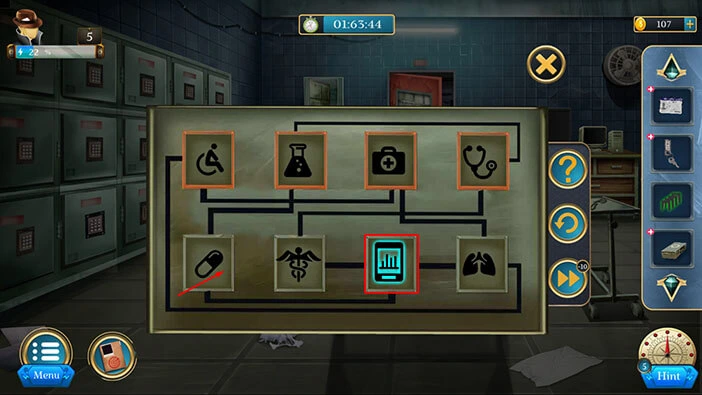
Step 7
Select the second symbol in the first row, then tap on the first symbol in the second row to swap their positions.

Step 8
Select the fourth symbol in the first row, then tap on the second symbol in the second row to swap their positions.
Step 9
Select the second symbol in the second row, then tap on the third symbol in the second row to swap their positions.
Step 10
Select the third symbol in the second row, then tap on the fourth symbol in the second row to swap their positions.
Step 11
Lastly, select the third symbol in the first row, then tap on the fourth symbol in the second row to swap their positions. With that, you will solve this puzzle and you will open the “Medical Kit”.

In the medical kit, you will find an “UV Light” and “X-ray” Let’s tap on these two items to pick them up. Once you’re done, tap on the “X” button to close this window.
Next, let’s tap on the large screen on the right to take a closer look at it.
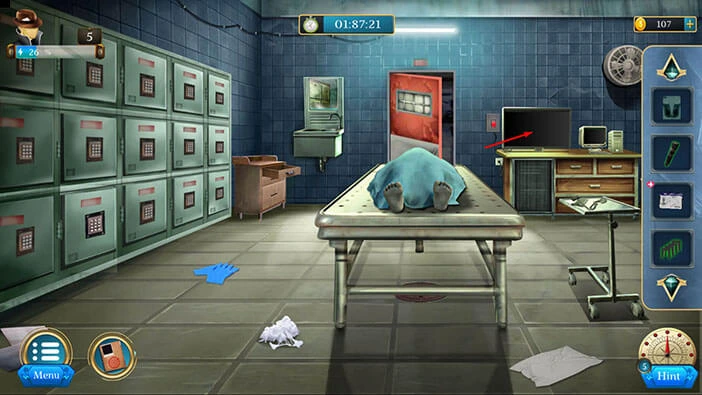
Next, select the “X-ray” from the inventory and attach it to the screen.
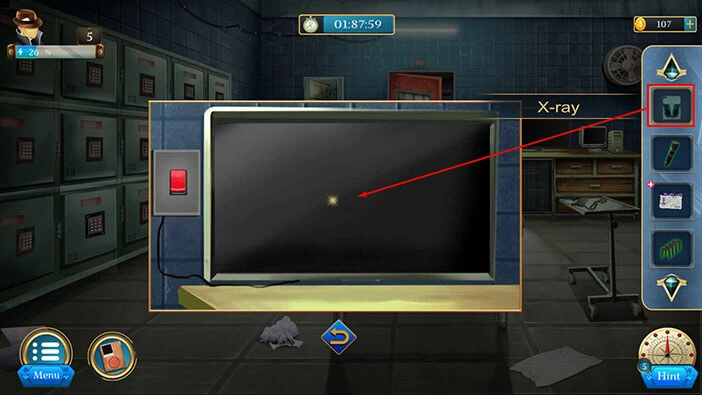
Next, select the “Clips” from the inventory and use it to hold the “X-ray” attached to the screen.
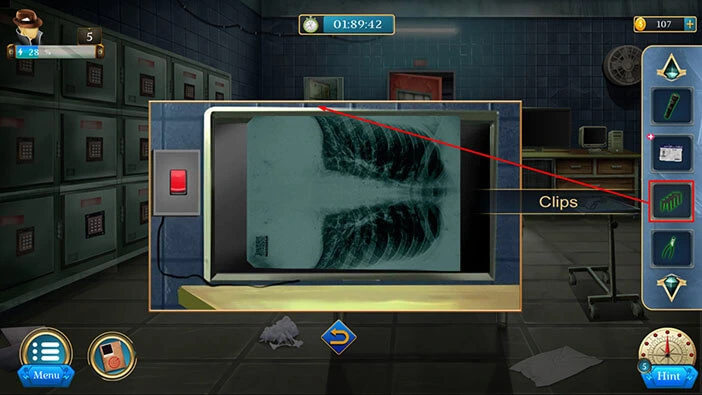
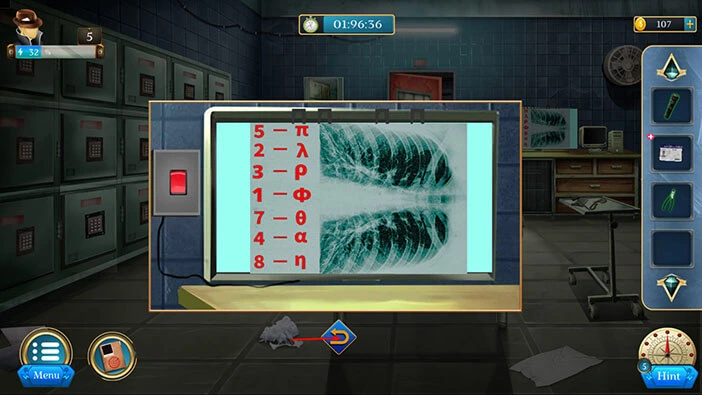
Next, tap on the red button on the left to turn on the screen.
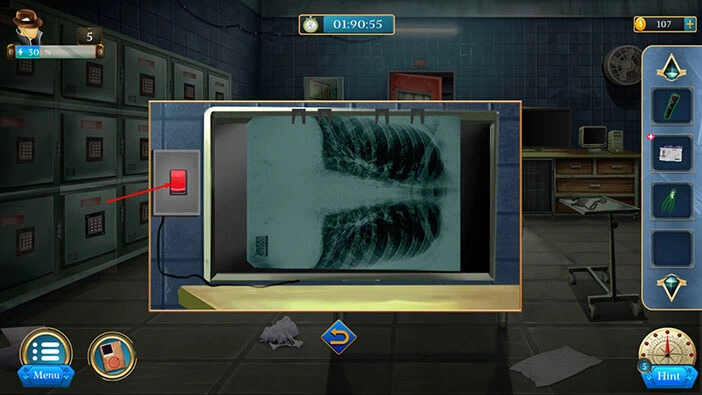
Here, we have a hint for one of the puzzles that we will encounter later in the walkthrough. We actually won’t need this hint to solve it. So, let’s tap on the arrow at the bottom to go back.
Next, let’s tap on the cabinet door under the screen, to take a closer look at it, and tap again to open it.

Tap on the three jars on the top shelf to remove them.

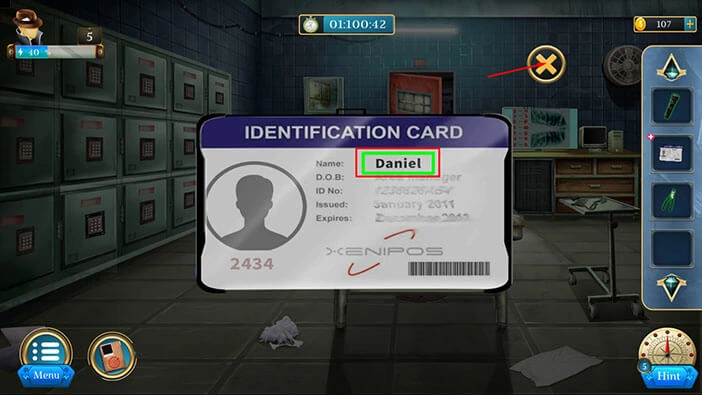
Here, we have another puzzle. Let’s tap on the ID card in our inventory to take a closer look at it.

Here, we can see the name “Daniel”. Let’s memorize/write down this name because it represents a hint for the next puzzle. After that, tap on the “X” button to close this window.
Let’s go back to the hint under the screen. Tap on it to take a closer look.
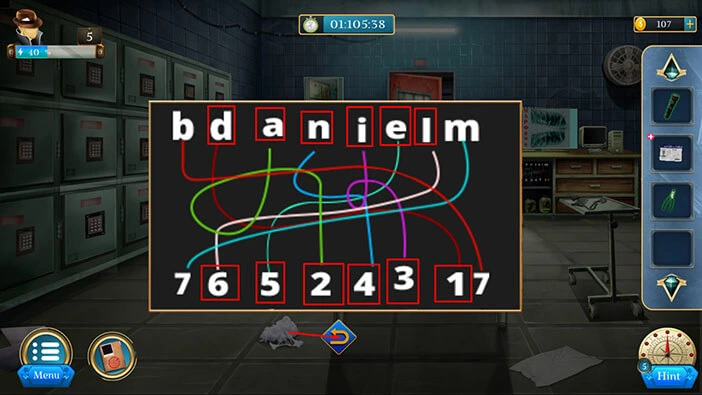
Let’s examine this puzzle. You will notice that each letter is connected to a certain number. So, our next task is to discover the numbers that would represent the name “Daniel” (that we saw on the ID card).
Letter D = 1
Letter A = 2
Letter N = 4
Letter I = 3
Letter E = 5
Letter L = 6
When we put it all together, we will get the number “124356”. Memorize/write down this information.
Once you’re done, let’s tap on the arrow at the bottom to go back.
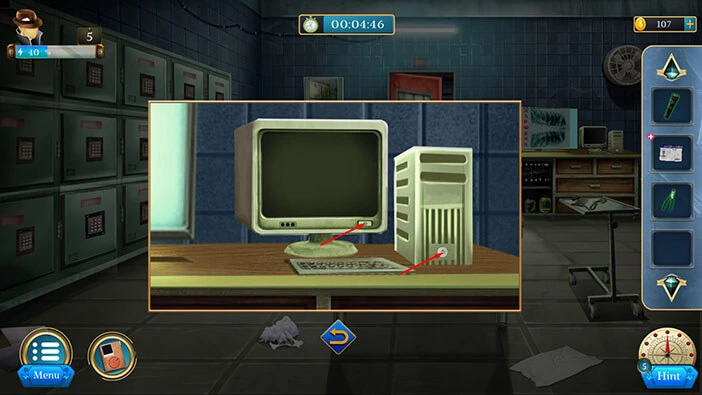
Next, let’s tap on the PC screen on the right to take a closer look at it.

Next, let’s tap on the button to turn on the screen. Also, tap on the button on the right to turn on the PC.
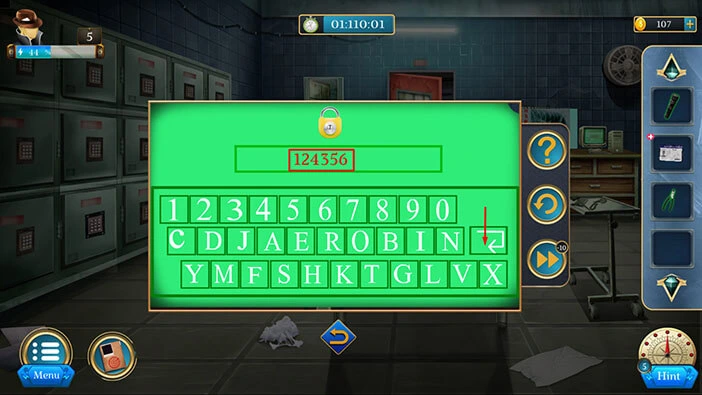
We will need a password in order to access the PC. Let’s enter the code “124356” that we discovered earlier. After that, tap on the “Enter” button.
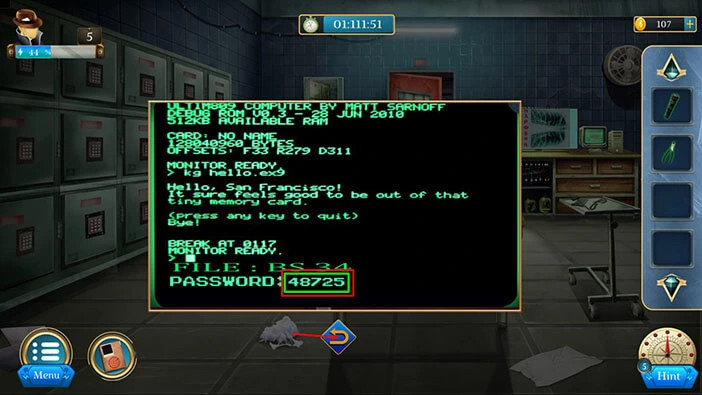
At the bottom of the file, you will see the number password “48725”. Let’s memorize/write down this password. Once you’re done, tap on the arrow at the bottom to go back.
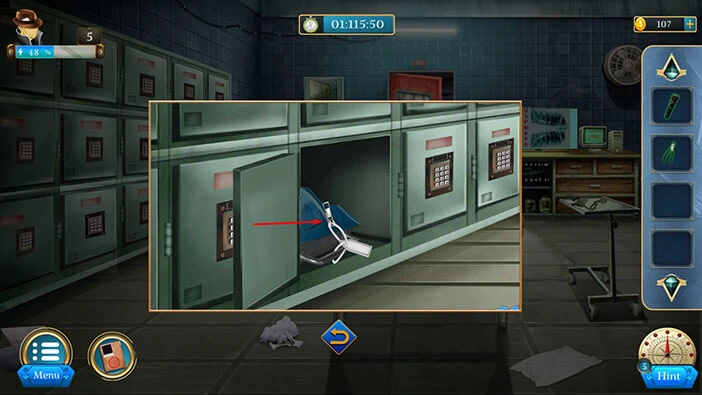
Next, let’s tap on the locker on the left to take a closer look at it, and tap again to start the interaction.
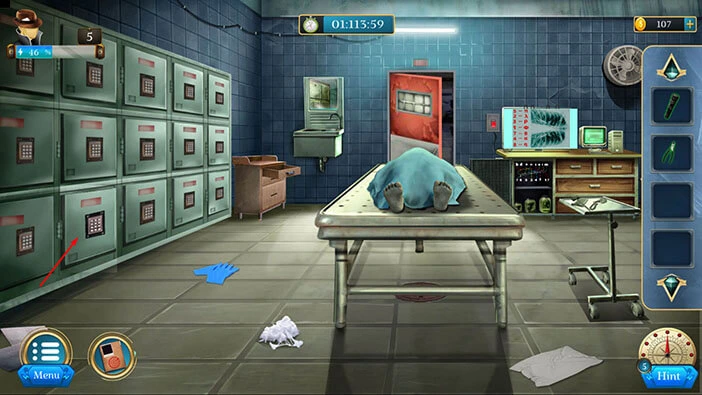
Enter the code “48725” and you will unlock the locker.

Tap on the body bag to pull it out.
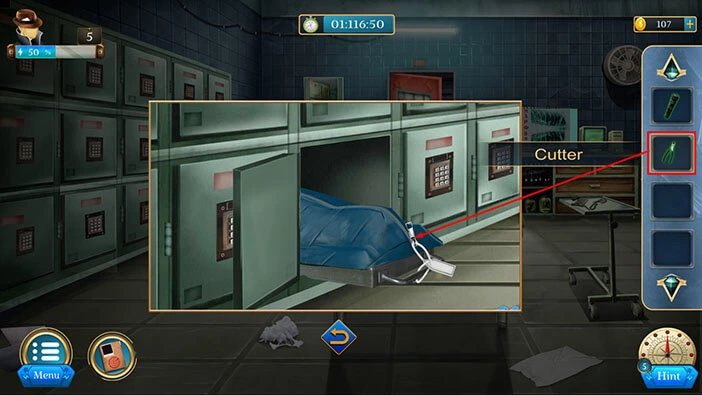
Select the “Cutter” from the inventory and use it on the body bag, then tap on the zipper to open the bag.
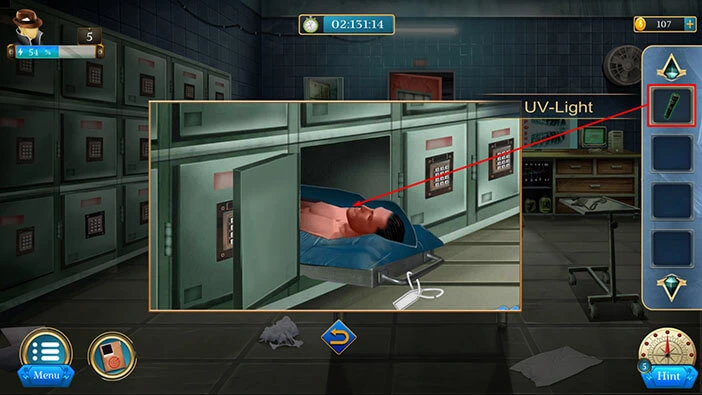
Select the “UV Light” from the inventory and use it on the body.
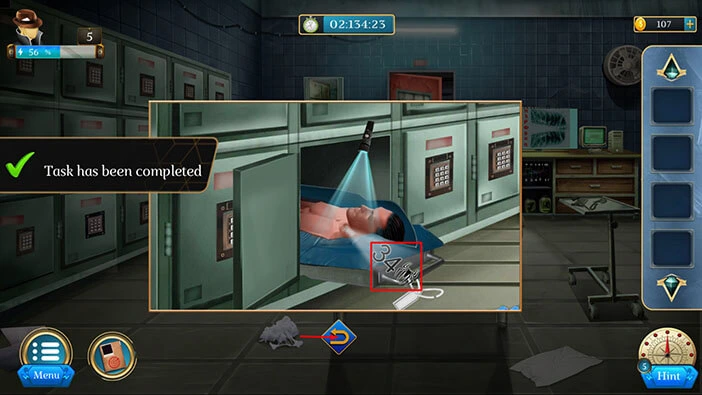
We will discover the number 34 and a spider tattoo. So, this is probably the 34th victim of the Black Spider. The branding was done with invisible ink, so our character wants to send the ink to the lab for additional analysis.
Tap on the arrow at the bottom to go back. With that, you will finish the first task.
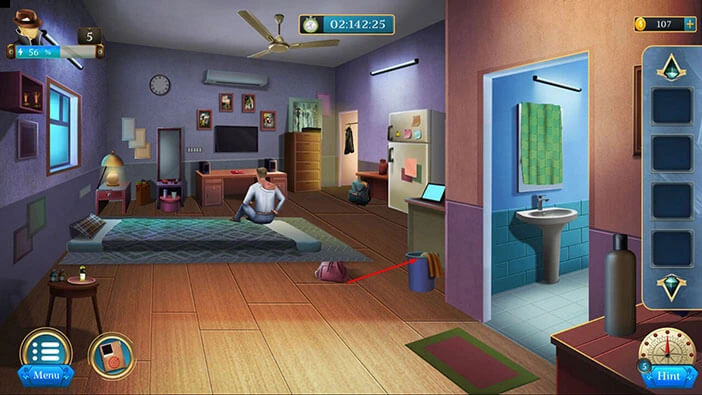
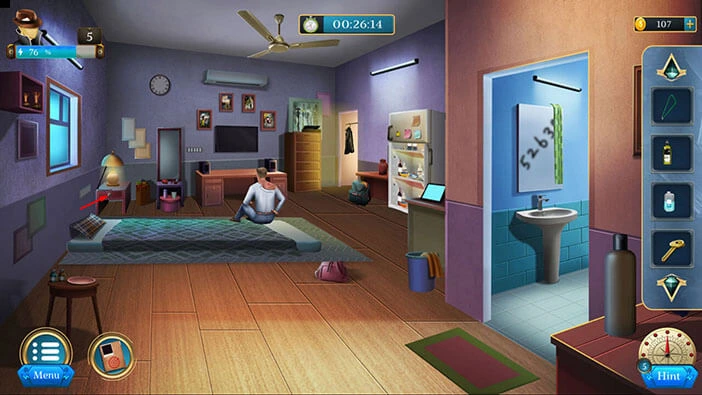
Well, after crashing his car, Detective Kyle (our character), decided to visit his partner Maize. Let’s explore her apartment.
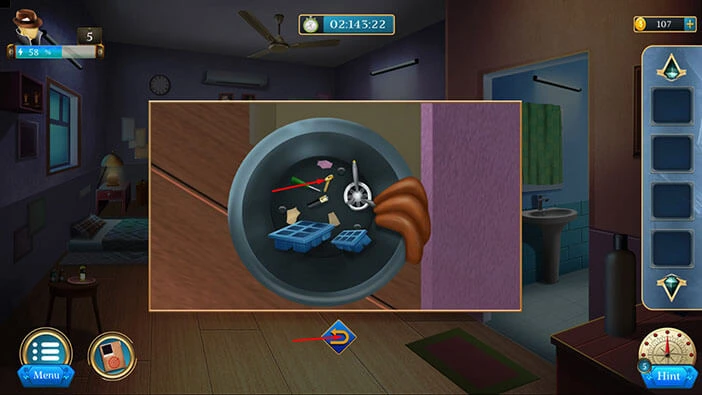
On the right side of the room, next to the bathroom, you will notice a trash can. Let’s tap on it to take a closer look, and tap again to look inside.
In the trash can, you will find a “Key”. Let’s tap on it to pick it up. After that, tap on the arrow at the bottom to go back.
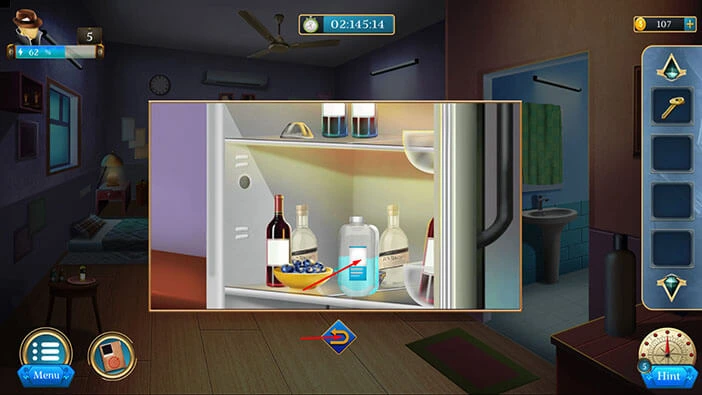
Next, on the right side on the room, you will notice a fridge. Let’s tap on it to take a closer look, and tap again to open the fridge.

In the fridge, you will find the “Alcohol”. Let’s tap on it to pick it up.
After that, tap on the arrow at the bottom to go back.
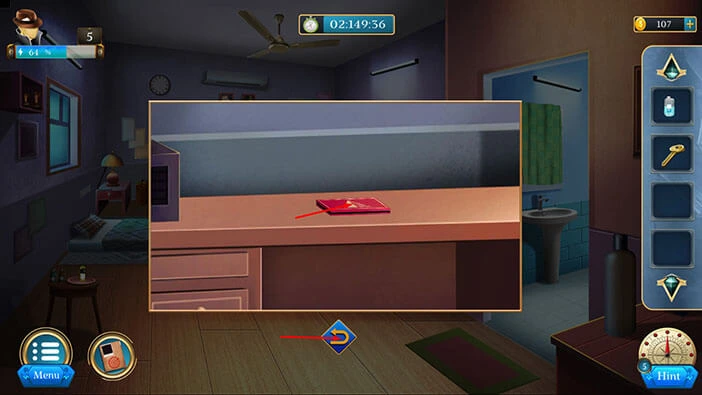
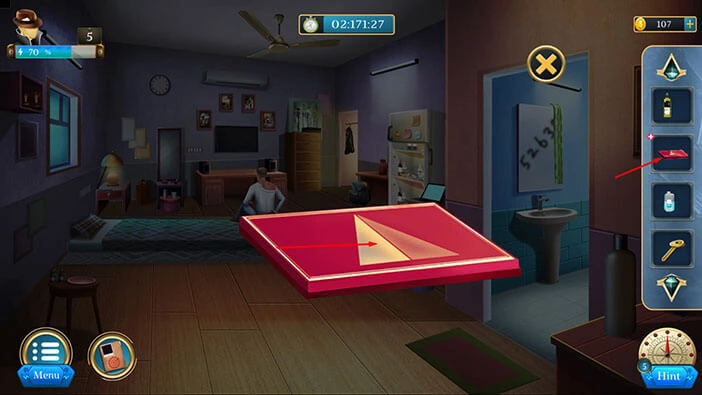
Next, you will notice a desk in front of our character. Let’s tap on it to take a closer look.

Here, you will find a “Makeup kit”. Let’s tap on it to pick it up. After that, tap on the arrow at the bottom to go back.
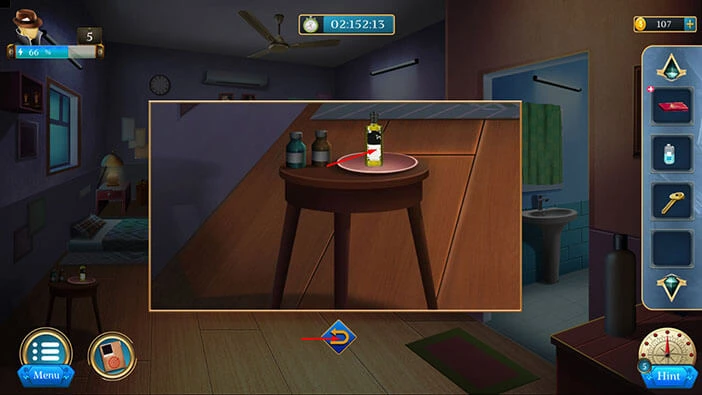
Next, let’s tap on the small table in the bottom left corner of the room to take a closer look at it.

Here, you will find the “Oil”. Let’s tap on it to pick it up. After that, tap on the arrow at the bottom to go back.
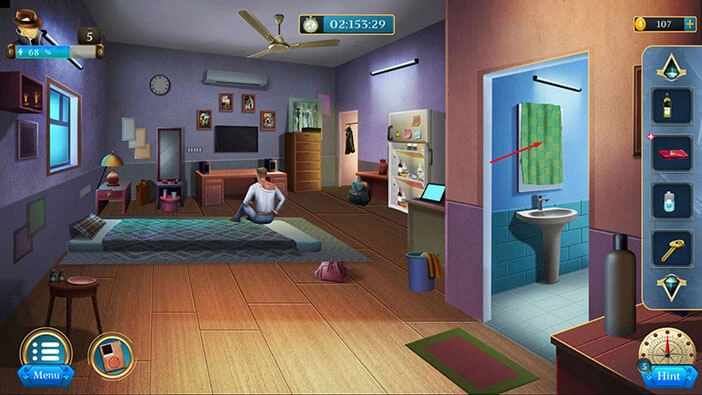
Next, if you take a look inside the bathroom, you will notice a mirror just above the sink. Tap on the mirror to take a closer look at it, and tap again to remove the sheet.
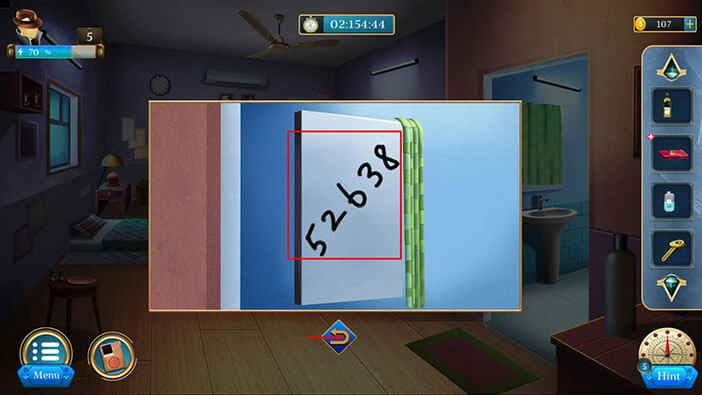
You will discover the number “52638”. Let’s memorize/write down this number because it represents the hint for the next puzzle.
Once you’re done, tap on the arrow at the bottom to go back.
Next, let’s tap on the “Makeup kit” in our inventory and it will appear in the middle of the screen. Tap on the “Makeup kit” again to open it.
Here, we can see some numbers next to the colors. We saw the same numbers (“52638”) when we looked at the mirror. So, let’s decipher the color of each number.
First number = 5 = Purple
Second number = 2 = Pink
Third number = 6 = Yellow
Fourth number = 3 = Blue
Fifth number = 8 = Green
So, we have the colors Purple/Pink/Yellow/Blue/Green. Let’s memorize/write down this information because it represents the solution for the next puzzle.
Once you’re done, tap on the “X” button to close this window.
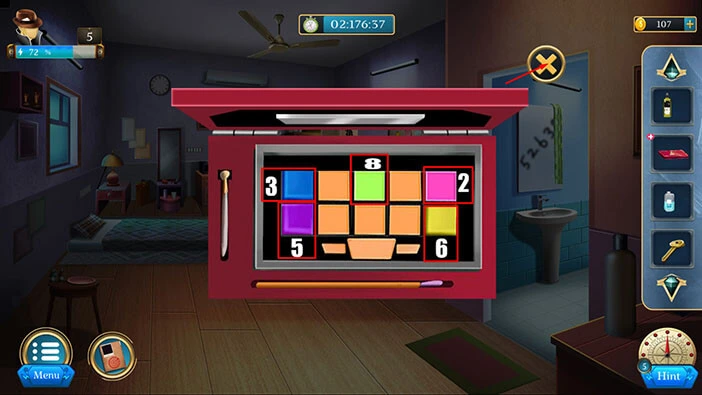
Next, let’s tap on the cabinet in the top right corner of the room to take a closer look at it.

Let’s tap on the black box to start the interaction.
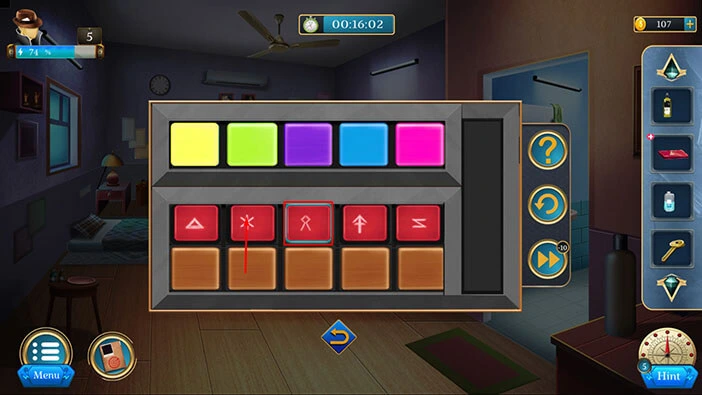
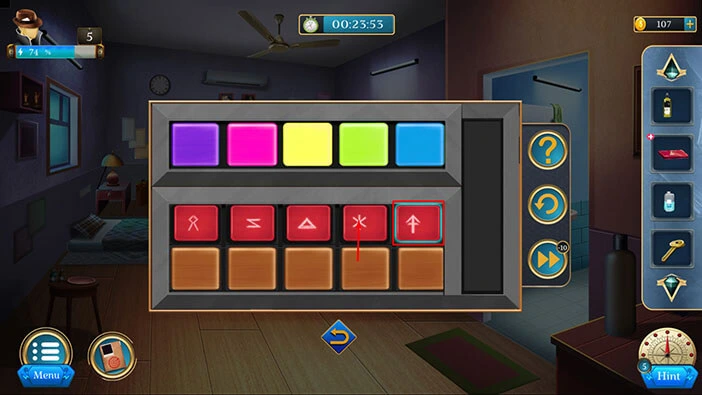
Here, we have another puzzle. Our task is to arrange the colors in the order that we discovered by examining the mirror and the “Makeup Kit”. The order of the colors should be,
Purple/Pink/Yellow/Blue/Green
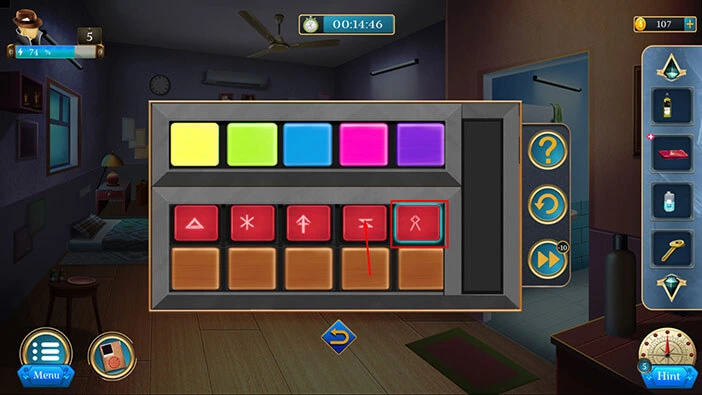
We will do this puzzle in several steps. Let’s begin.
Step 1
Select the button under the purple color, then tap on the button under the pink color to swap the positions of these two colors.
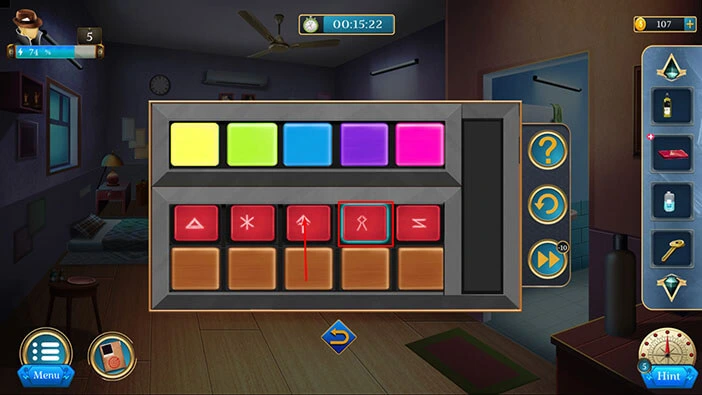
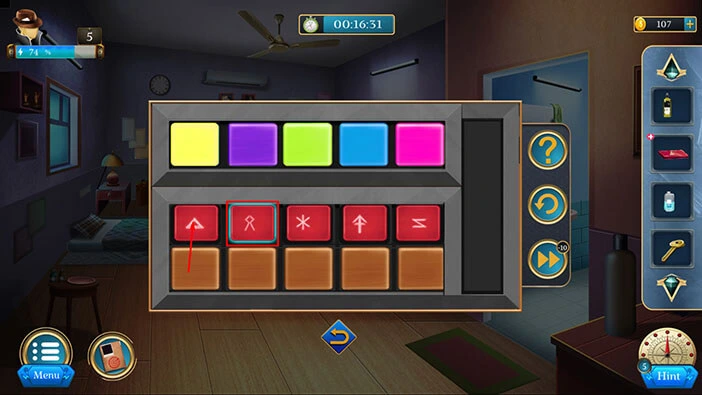
Step 2
Select the button under the purple color, then tap on the button under the blue color to swap the positions of these two colors.
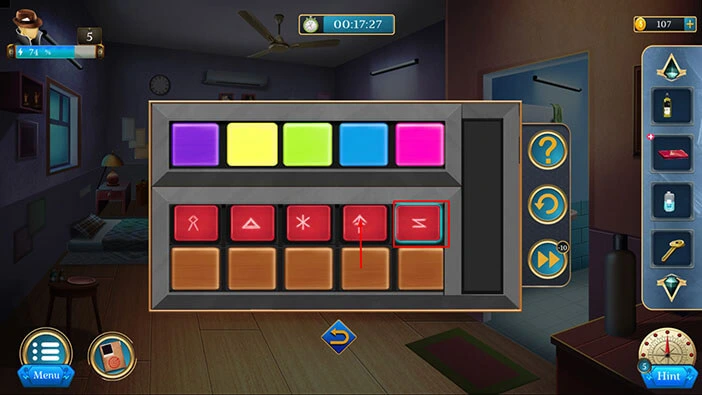
Step 3
Select the button under the purple color, then tap on the button under the green color to swap the positions of these two colors.
Step 4
Select the button under the purple color, then tap on the button under the yellow color to swap the positions of these two colors.
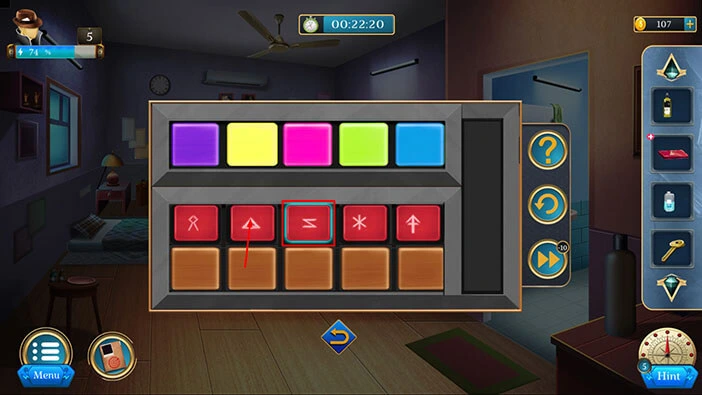
Step 5
Select the button under the pink color, then tap on the button under the blue color to swap the positions of these two colors.
Step 6
Select the button under the pink color, then tap on the button under the green color to swap the positions of these two colors.

Step 7
Select the button under the pink color, then tap on the button under the yellow color to swap the positions of these two colors.
Step 8
Lastly, select the button under the blue color, then tap on the button under the green color to swap the positions of these two colors. With that, you will solve this puzzle, and you will open the box.
In the box, you will find a “Lock Picker”. Tap on it to pick it up. After that, tap on the arrow at the bottom to go back.
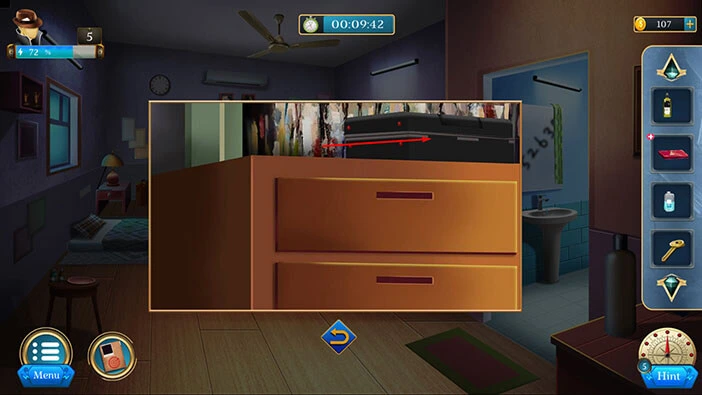
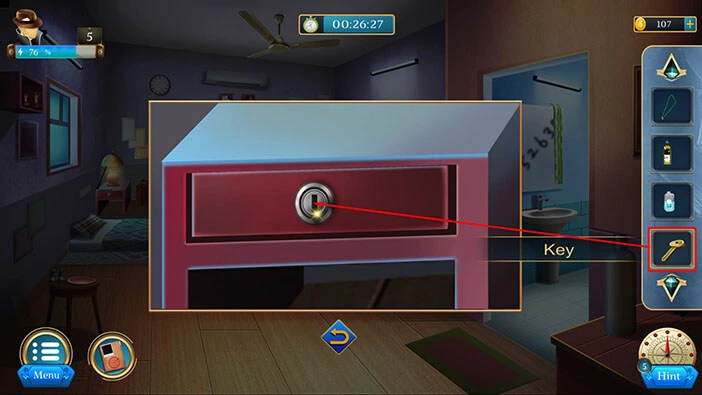
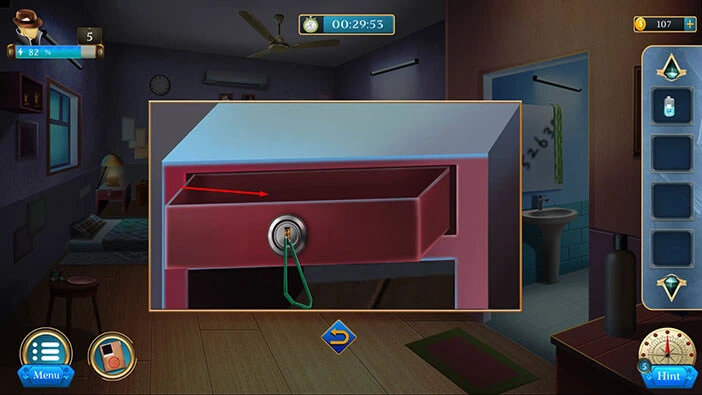
Next, let’s tap on the drawer on the desk in the top left corner of the room to take a closer look at it.
Let’s select the “Key” from the inventory and try to use it to unlock the drawer. The key will break.
Next, select the “Lock Picker” from the inventory and use it to unlock the drawer.

Next, select the “Oil” from the inventory and use it on the lock.
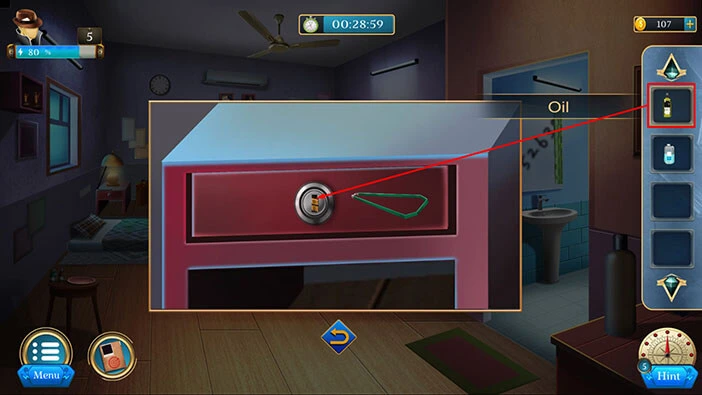
With that, you will unlock the drawer. Tap on the drawer to look inside.
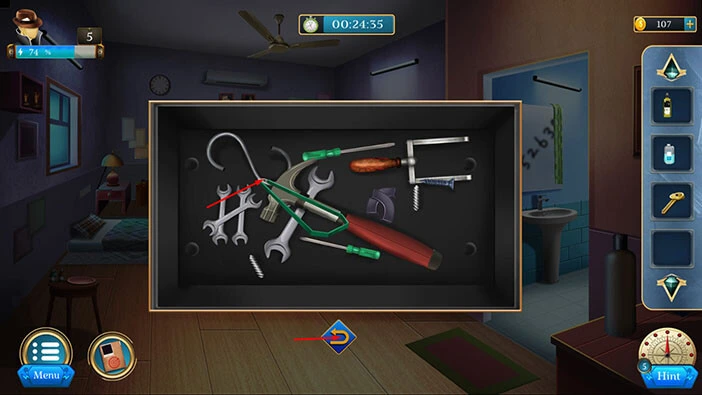
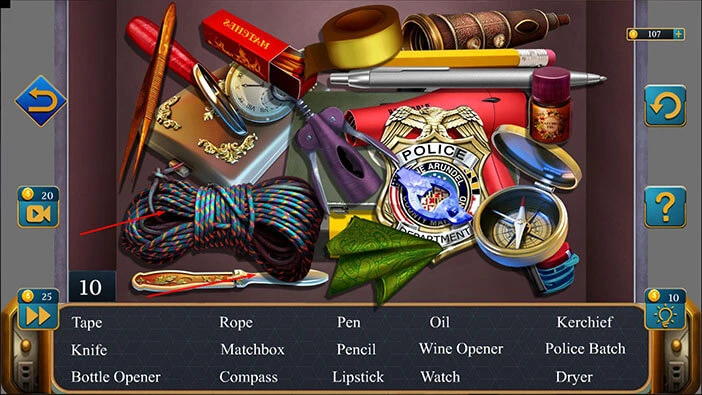
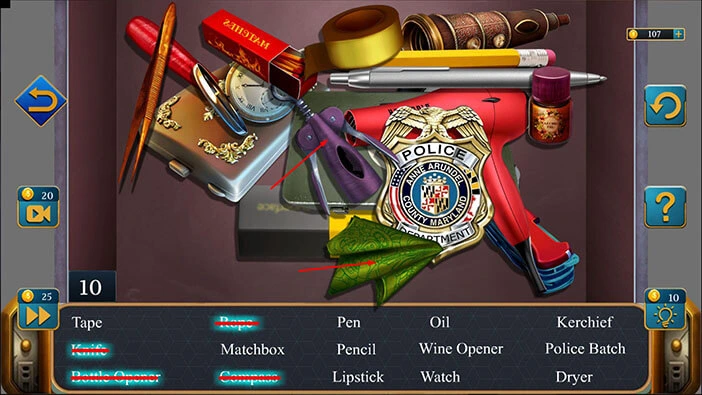
Our next task is to find the objects listed below the image. Let’s do that.
We will do this puzzle in several steps. Let’s begin.
Step 1
Tap on the “Rope” in the bottom left corner. After that, tap on the “Knife” also in the bottom left corner.
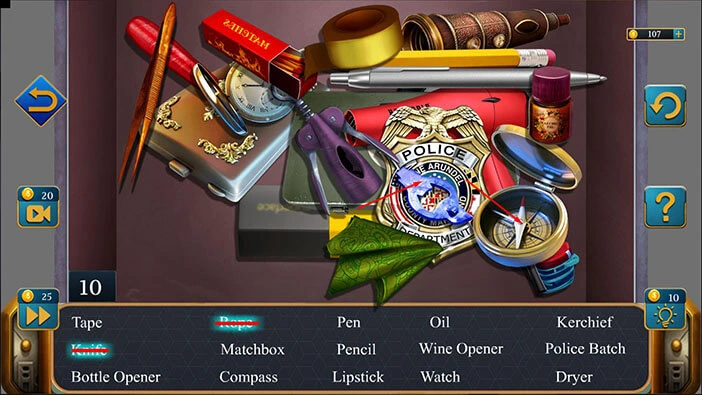
Step 2
Tap on the compass located on the right side of the drawer. After that, tap on the “Bottle opener” located on the police badge.
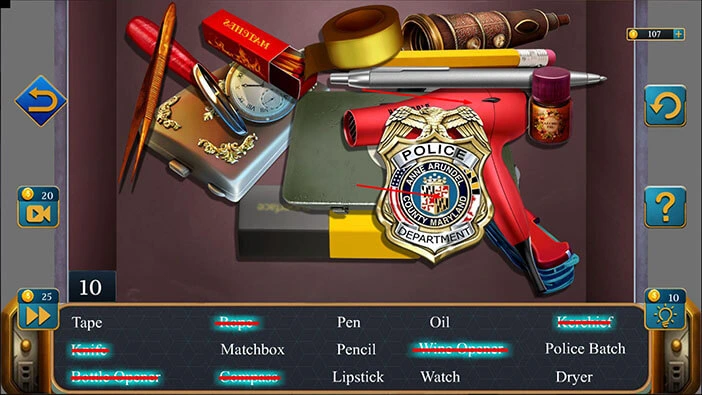
Step 3
Tap on the kerchief located at the bottom of the drawer. After that, tap on the “Wine opener” located in the middle of the drawer.
Step 4
Tap on the police badge located in the middle of the drawer. After that, tap on the “Dryer” located in the middle of the drawer.
Step 5
Tap on the watch located in the top left corner of the drawer. After that, tap on the “Matchbox” located in the top left corner of the drawer.
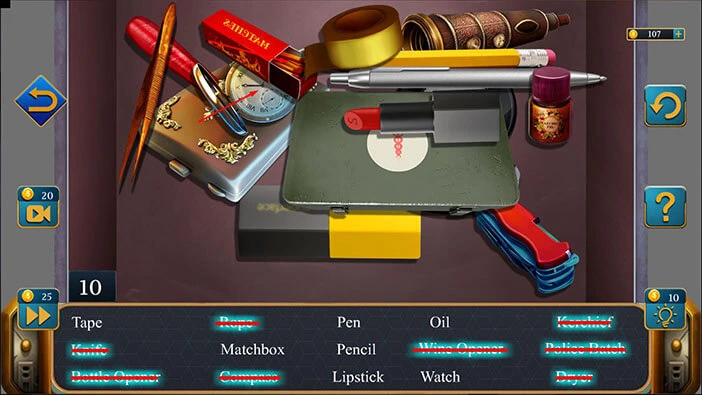
Step 6
Tap on the tape located at the top of the drawer. After that, tap on the “Pencil” located at the top of the drawer.
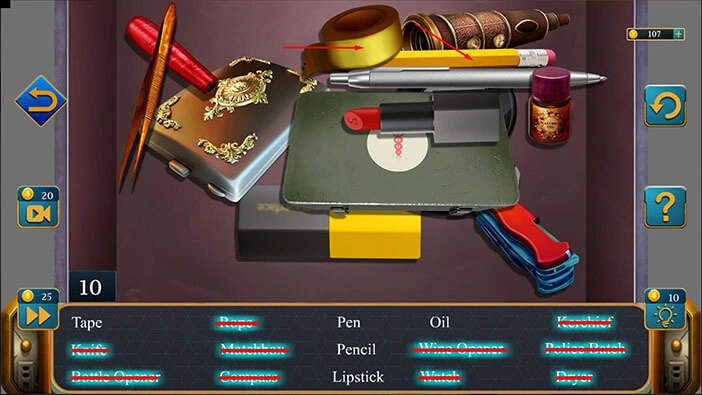
Step 7
Tap on the lipstick located in the middle of the drawer. After that, tap on the pen located in the middle of the drawer.
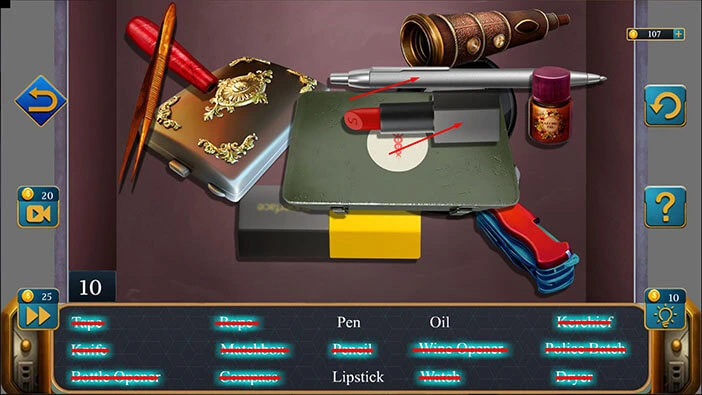
Step 8
Lastly, tap on the oil located on the right side of the drawer.
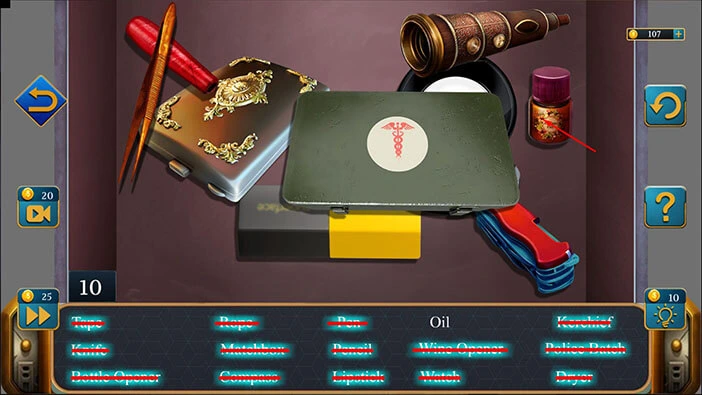
Tap on the “First-aid Kit” to pick it up.
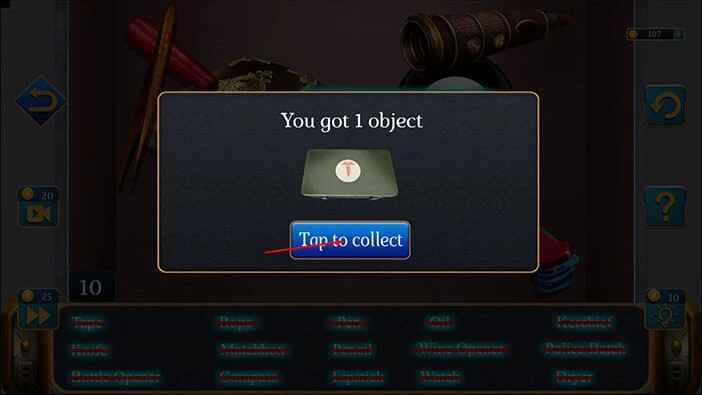
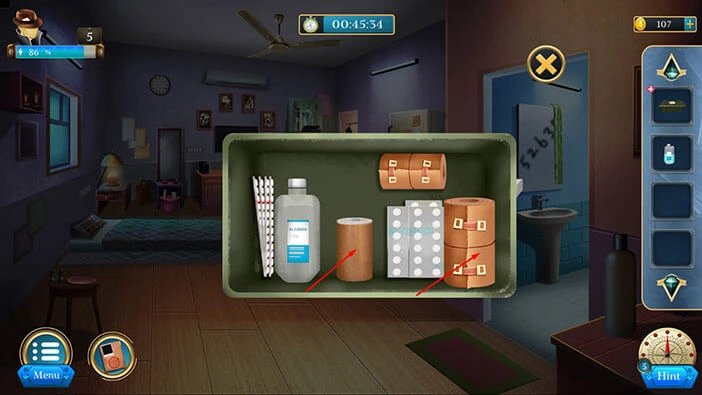
Select the “First-aid Kit” from the inventory and it will appear in the middle of the screen. Tap on the “First-aid Kit” again to open it.
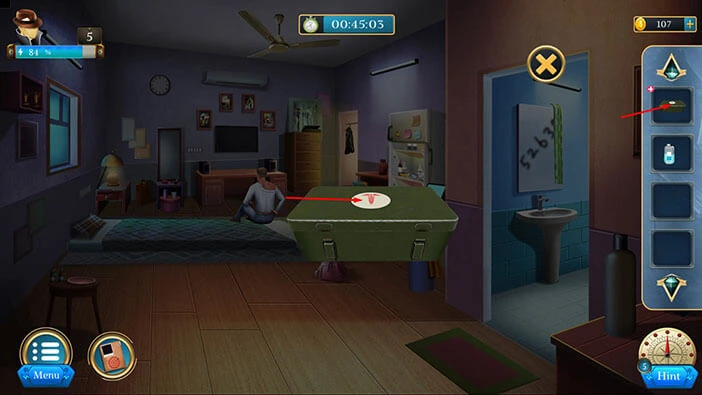
In the First-aid Kit, you will find a “Cotton” and a “Bandage”. Tap on these two items to pick them up.
After that, tap on the arrow at the bottom to go back.
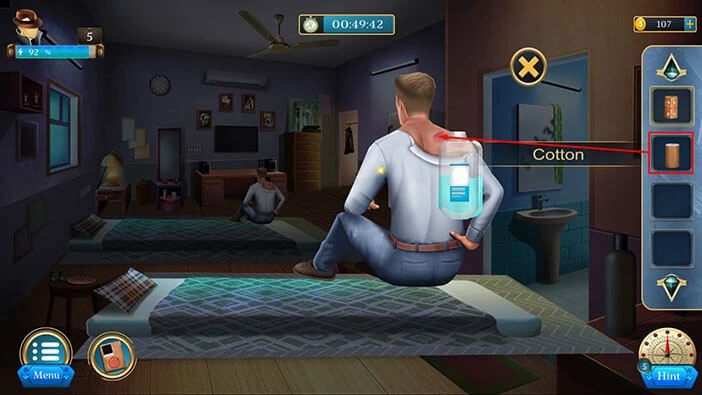
Let’s tap on the Detective Kyle to take a closer look at him.

Select the “Alcohol” from the inventory and drag it to the Detective’s back.

Next, select the “Cotton” from the inventory and drag it to the Detective’s back.
Lastly, select the “Bandage” from the inventory and drag it to the Detective’s back.
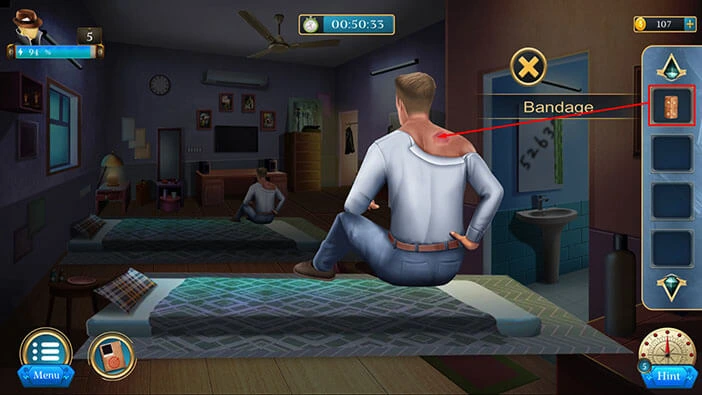
Under the UV Light, we will discover that Detective Kyle is also branded, so the Black Spider intends to eliminate him. The tattoo on his neck is number 37. So, our character wants to find the person number 35 and the person number 36 before the Black Spider gets to them.
With that, you will complete this level.

With that, we have reached the end of the fifth level. If you want to see the walkthrough for the sixth level, tap on the next part button.
Thank you for reading.