Room Escape: Detective Phantom | Level 3
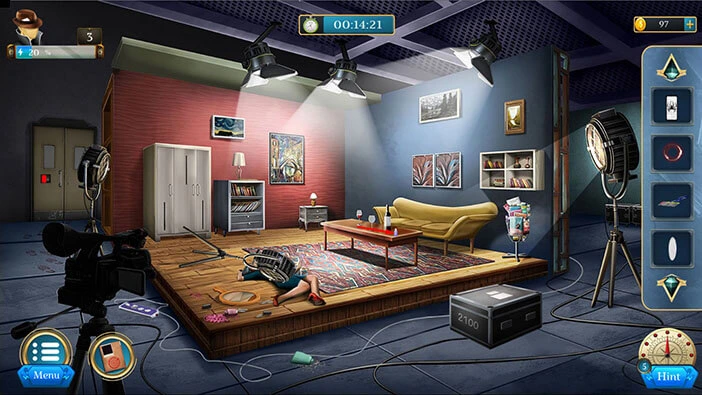
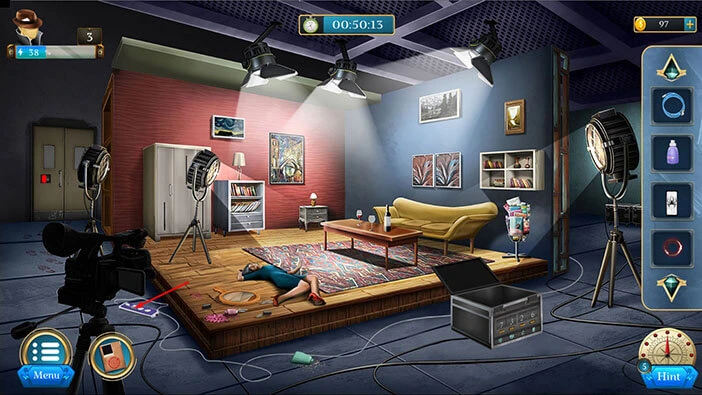
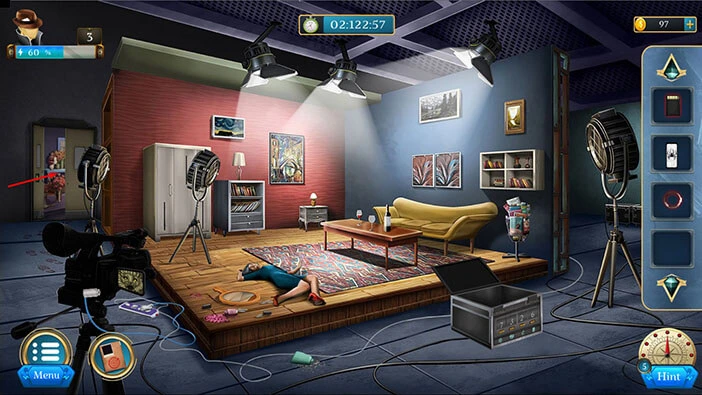
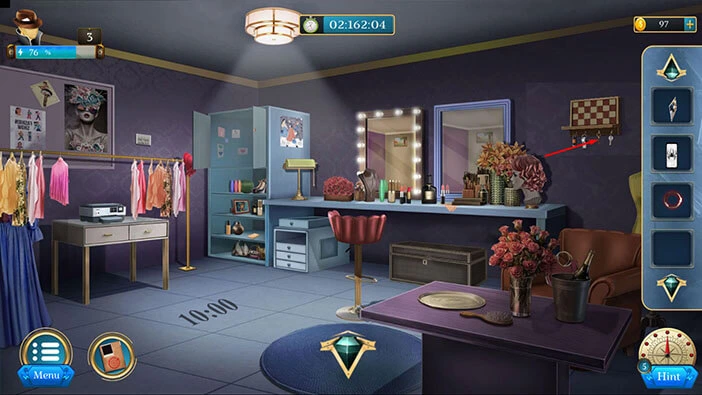
Hello everyone and welcome to the walkthrough for the third level of “Room Escape: Detective Phantom”. In the third level, our task is to investigate the murder at the modeling agency.
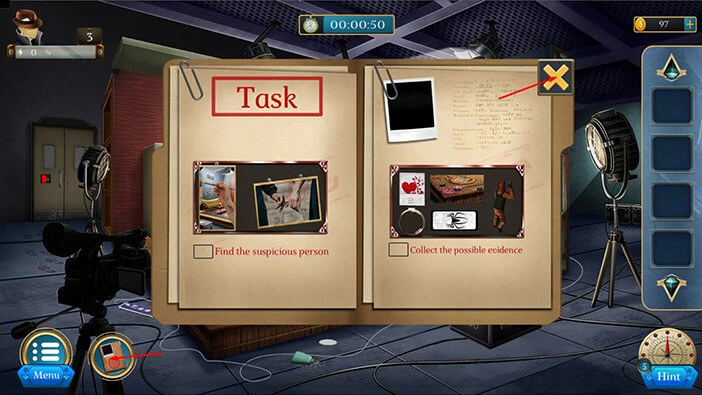
Tap on the second button in the bottom left corner of the screen to view the objectives. Our objectives are “Find the suspicious person” and “Collect the possible evidence”. Tap on the “X” button to go back.
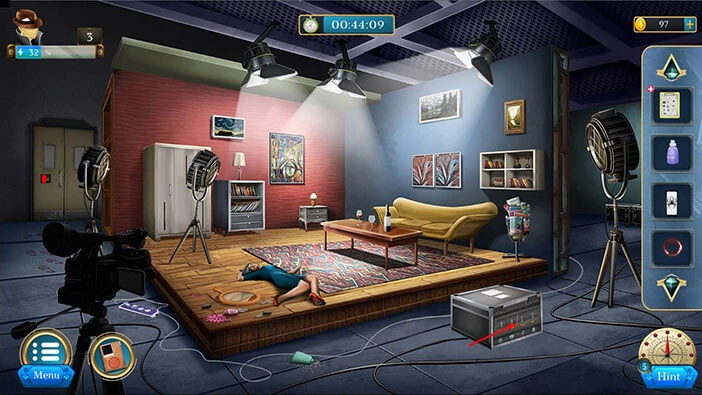
Let’s investigate. On the floor in front of you, you will notice a “Sponge cloth”. Tap on it to take a closer look, and tap again to pick it up.
After that, tap on the arrow at the bottom to go back.
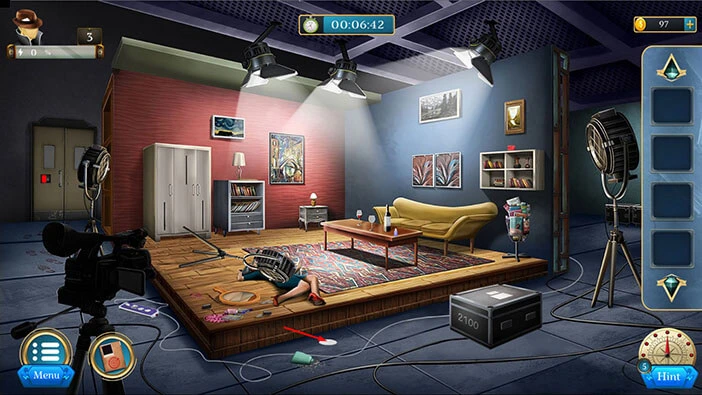
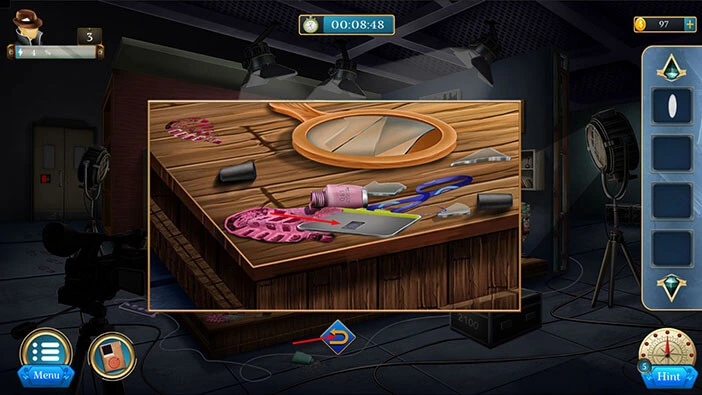
Next, let’s tap on the bottom left corner of the stage to take a closer look at it.

Here, you will notice an “Access card”. Tap on it to pick it up.
After that, tap on the arrow at the bottom to go back.
Next, on the shelf on the wall on the right, you will notice a “Ring box”. Tap on it to take a closer look and tap again to pick it up.
After that, tap on the arrow at the bottom to go back.

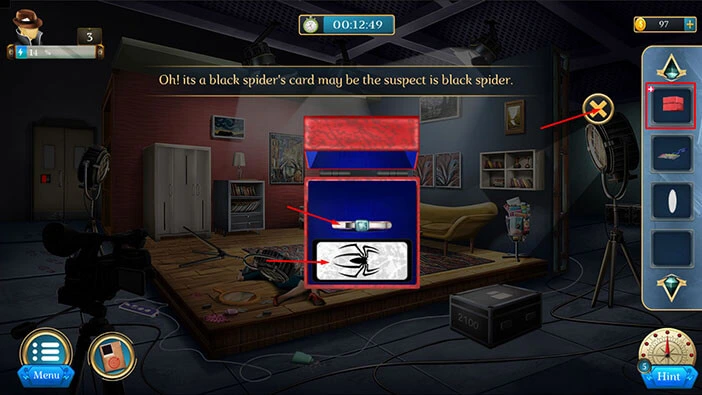
Next, select the “Ring box” in your inventory and it will appear in the middle of the screen. Tap on the ring box to open it.
Inside you will find, a “Black spider card” and a “Ring”. Tap on these two items to pick them up.
After that, tap on the “X” button to go back.
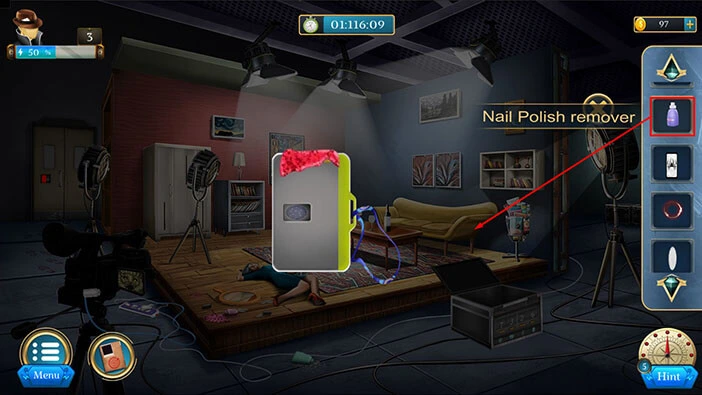
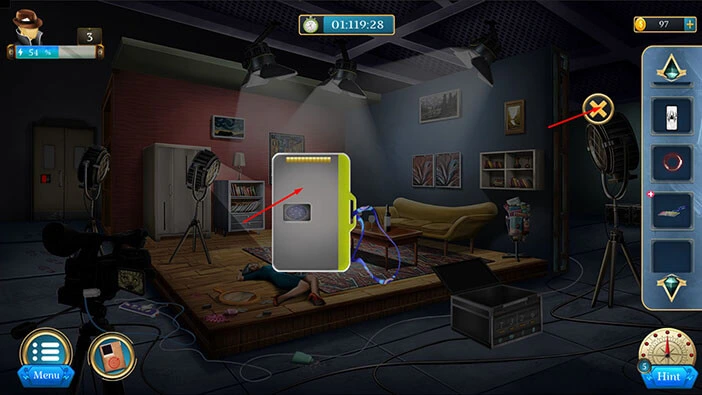
On the table on the right, you will notice a “Nail polish remover”. Let’s tap on it to take a closer look, and tap again to pick it up.
After that, tap on the arrow at the bottom to go back.
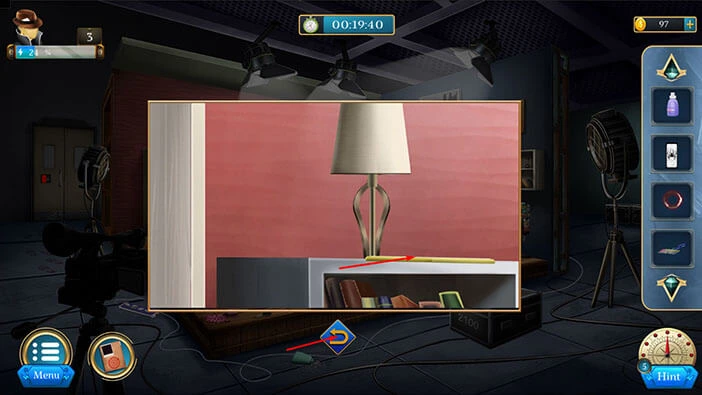
Next, let’s tap on the lamp, located on the bookshelf, to take a closer look at it.

Here, you will discover “Scene paper”. Tap on it to pick it up.
After that, tap on the arrow at the bottom to go back.
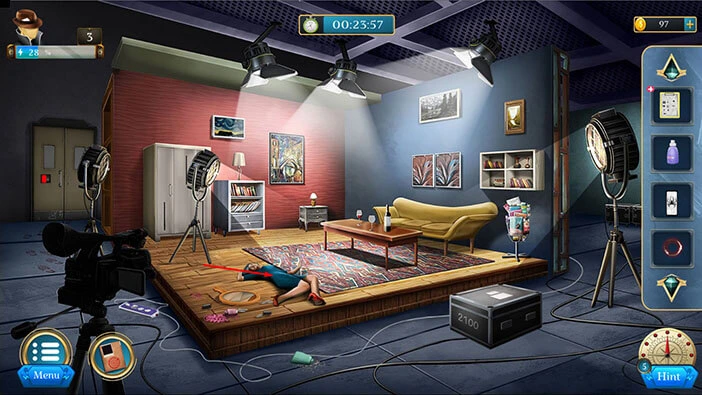
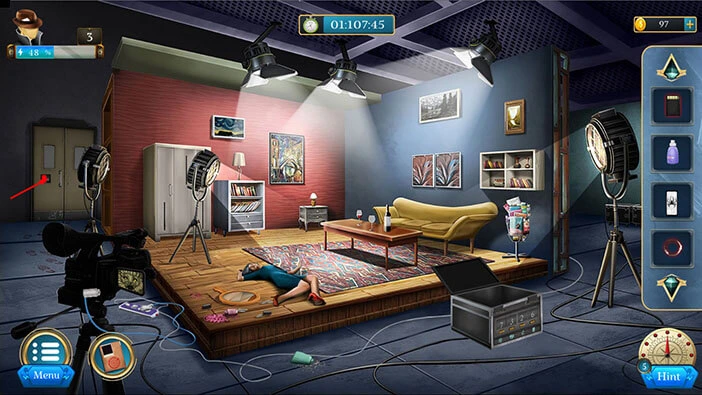
Next, let’s tap on the stage light to lift it.
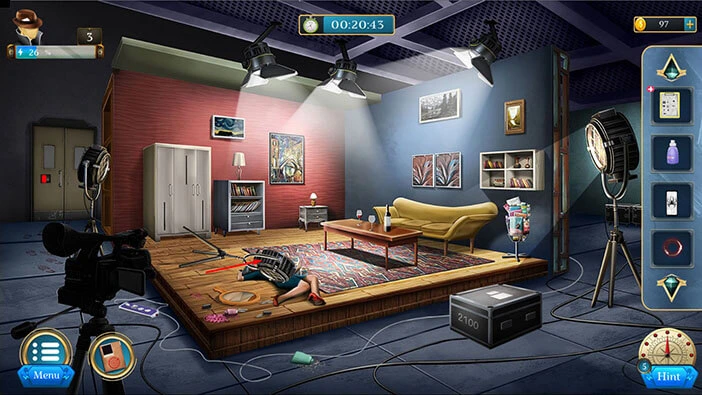
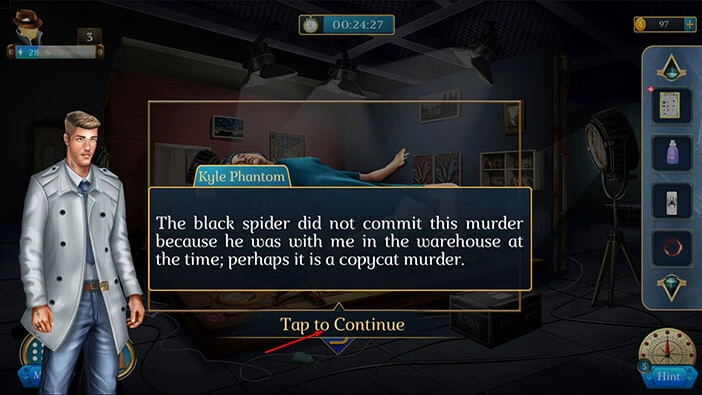
Let’s tap on the victim to examine it.
The victim was strangled, but there are also traces of cyanide poisoning. Our character, Kyle Phantom, is certain that the “Black Spider” didn’t commit this murder because he was in the warehouse when this crime happened. So, the crime was probably committed by the copycat.
Once you’re done, tap on the arrow at the bottom to go back.
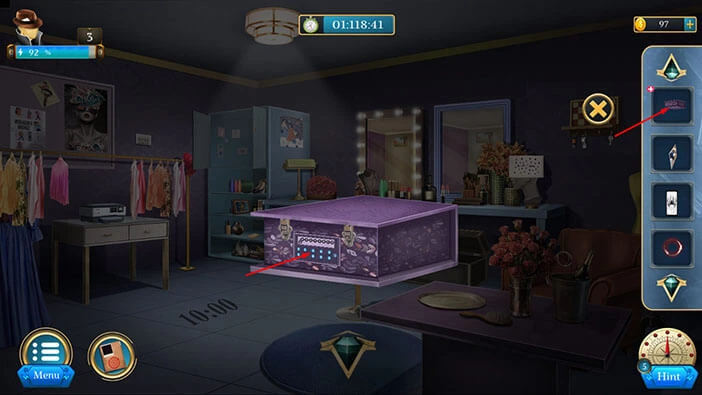
Next, tap on the large box in front of you to take a closer look at it, and tap again to start the interaction.

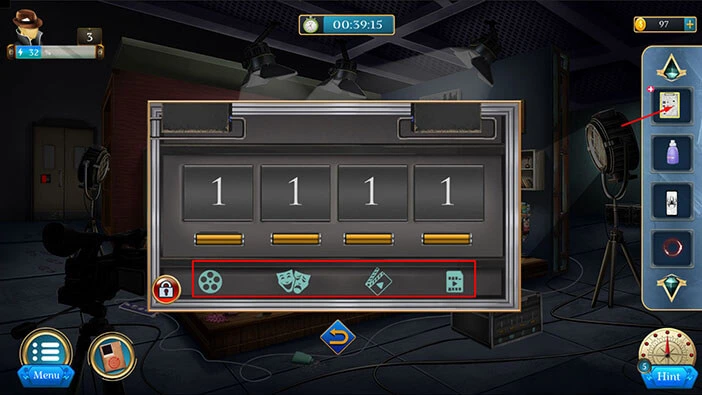
Here, you will see four slots with the number 1, and below each slot, you will notice a certain symbol. Let’s memorize/write down these symbols because we will need this information in order to unlock the box.
First slot = Dial
Second slot = Two masks
Third slot = Cut/Action Board
Fourth slot = Play button
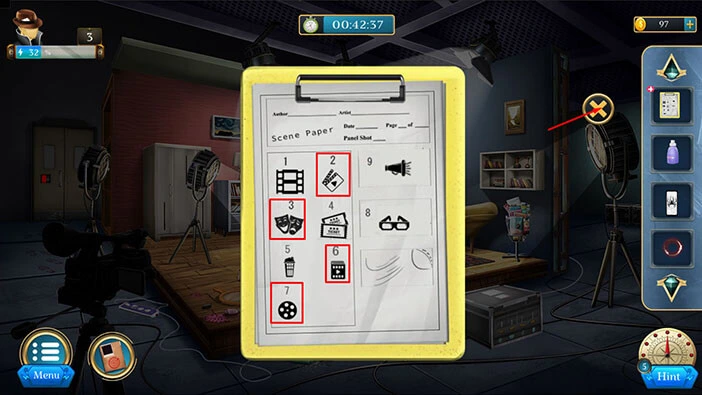
Once you’re done, let’s tap on the “Scene Paper” to examine it.
Here, we can also see these symbols, and there is a number above each symbol. So, let’s write down the numbers associated with the four symbols that we saw on the box.
Dial = 7
Two Masks = 3
Cut/Action Board = 2
Play button = 6
Let’s memorize/write down this information. Once you’re done, tap on the “X” button to close this window.
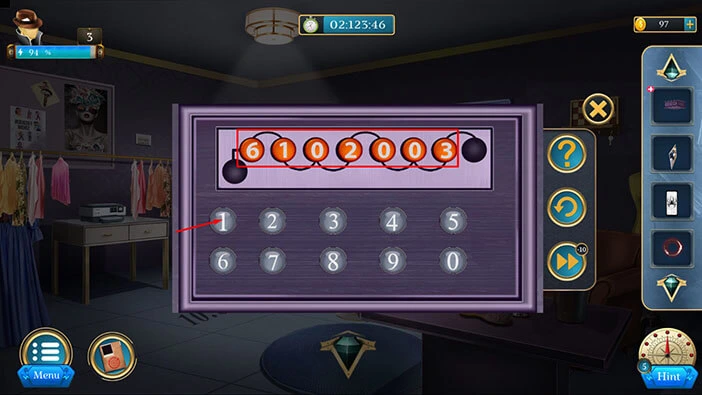
Let’s go back to the box. Tap on it to start the interaction.
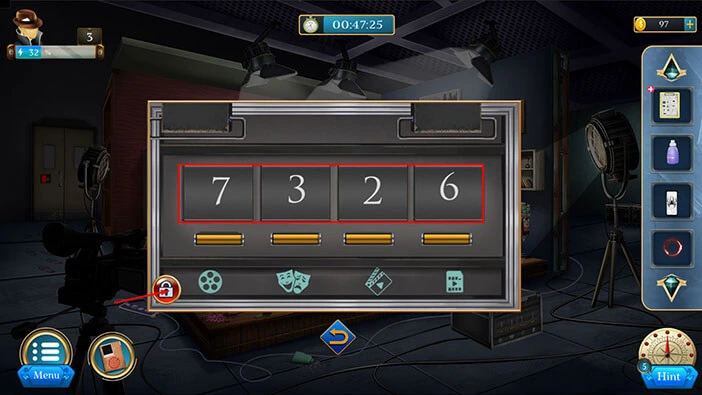
Let’s enter the numbers that we discovered by examining the “Scene Paper”. Enter the number “7326”.
Once you’re done, tap on the padlock button to unlock the box.
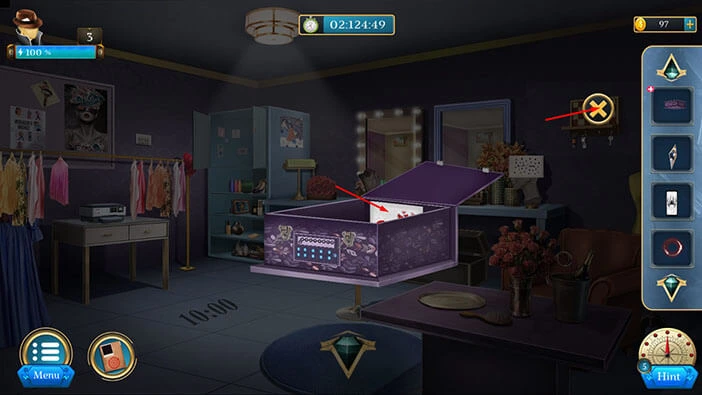
Tap on the box to look inside. You will find a “Connecting wire” so let’s tap on it to pick it up.
After that, tap on the arrow at the bottom to go back.
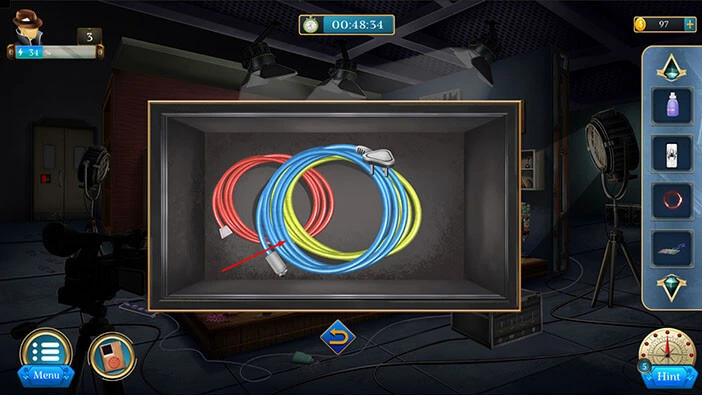
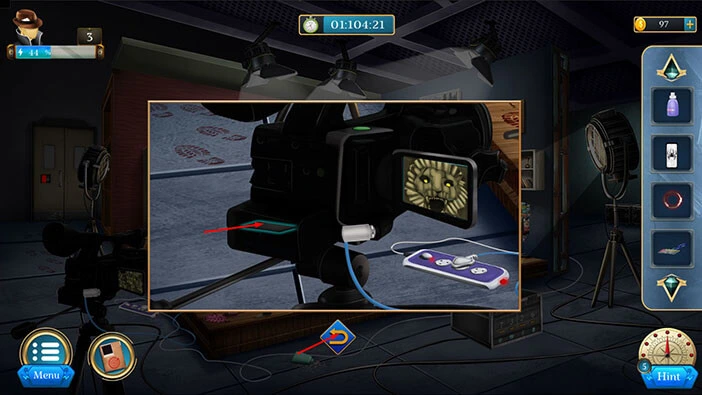
Let’s tap on the cables on the left to take a closer look at them.
Select the “Connecting wire” from the inventory and use it to connect the camera.
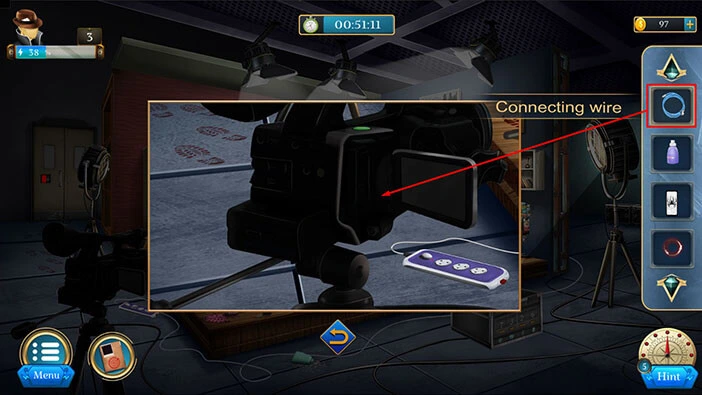
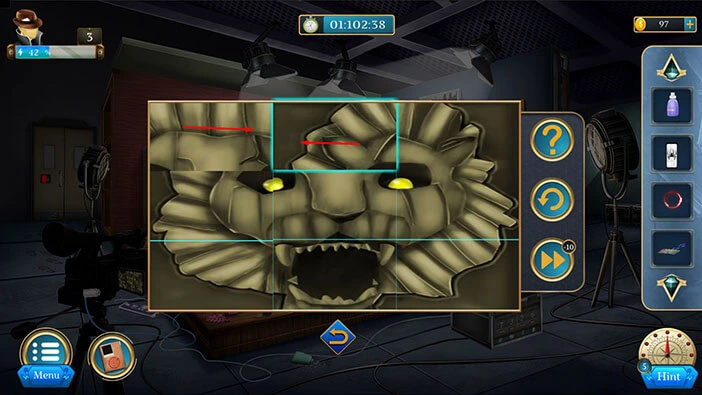
Tap on the image on the display screen to start the interaction.
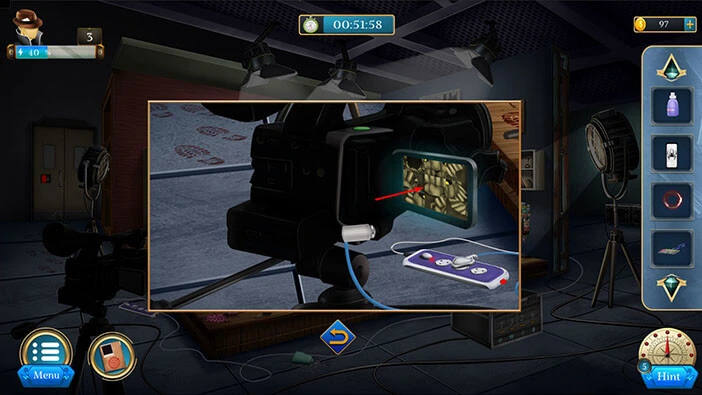
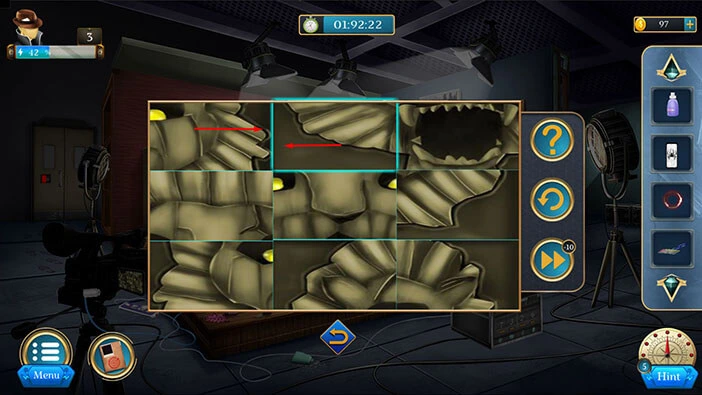
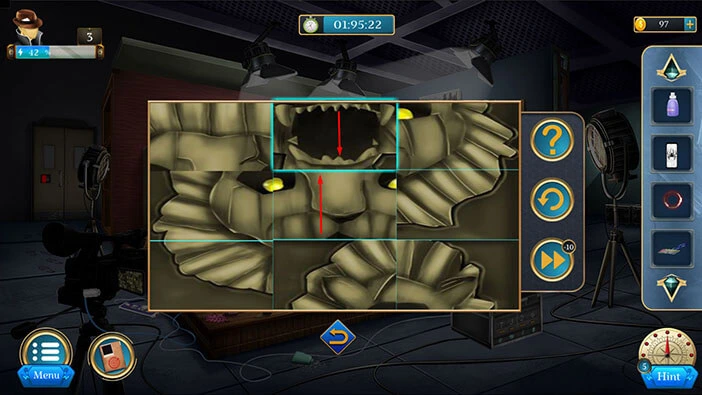
Here, we have another puzzle. This one is very straightforward. Our task is to assemble the image. We will do this puzzle in several steps. Let’s begin.
Step 1
Select the third puzzle piece in the third row, then tap on the third puzzle piece in the second row to swap their positions.
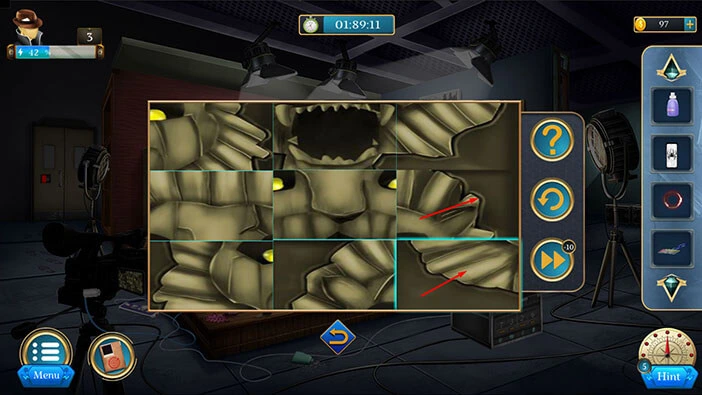
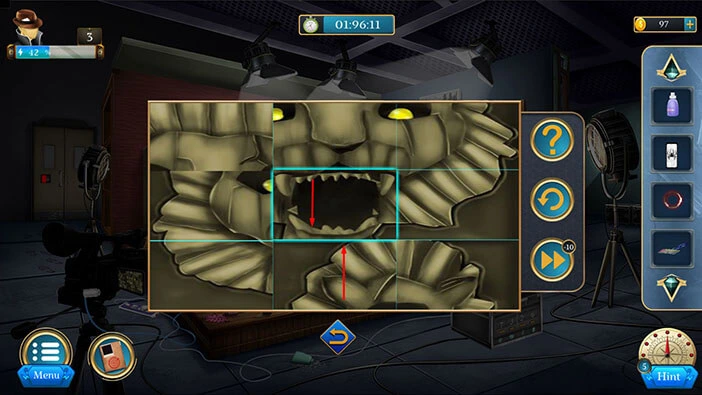
Step 2
Select the third puzzle piece in the second row, then tap on the third puzzle piece in the first row to swap their positions.
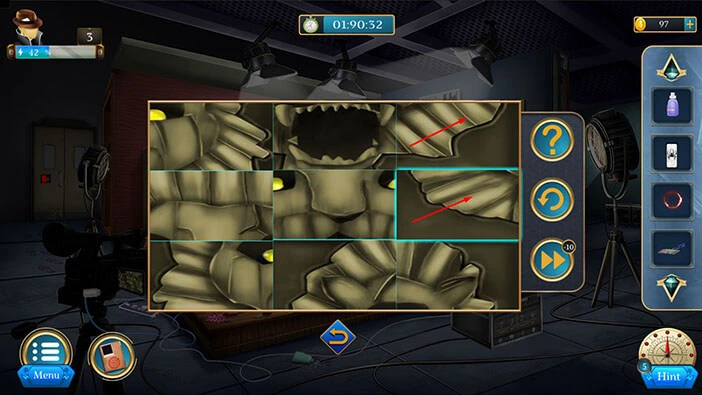
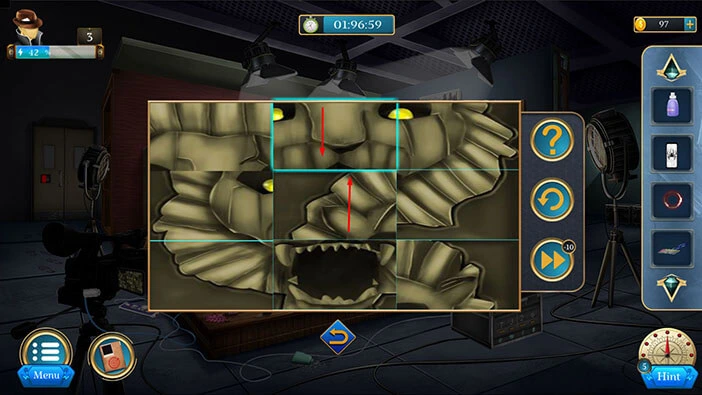
Step 3
Select the third puzzle piece in the first row, then tap on the second puzzle piece in the first row to swap their positions.
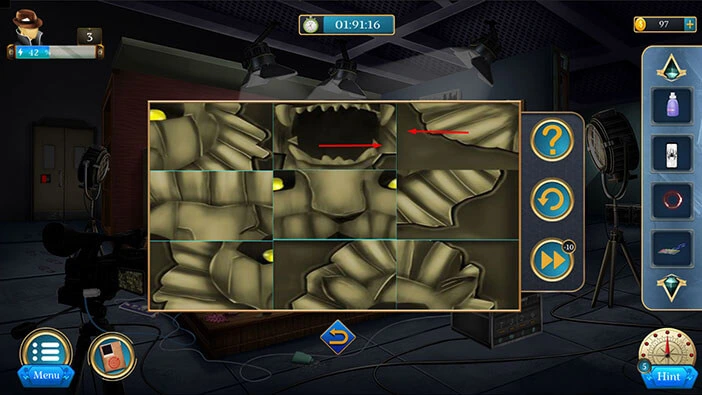
Step 4
Select the second puzzle piece in the first row, then tap on the first puzzle piece in the first row to swap their positions.
Step 5
Select the first puzzle piece in the first row, then tap on the first puzzle piece in the second row to swap their positions.
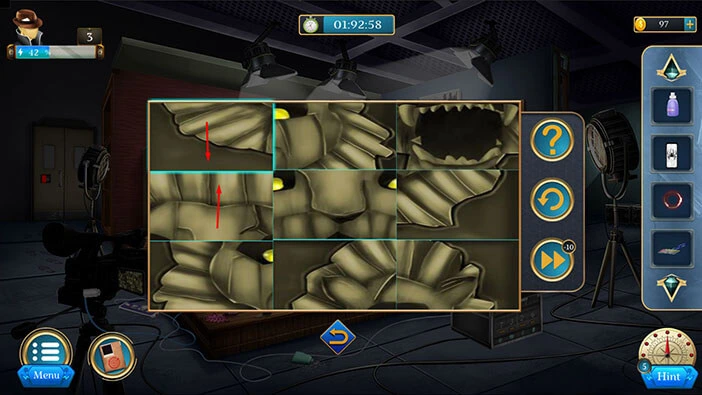
Step 6
Select the first puzzle piece in the second row, then tap on the first puzzle piece in the third row to swap their positions.
Step 7
Select the second puzzle piece in the first row, then tap on the third puzzle piece in the first row to swap their positions.
Step 8
Select the second puzzle piece in the first row, then tap on the second puzzle piece in the second row to swap their positions.
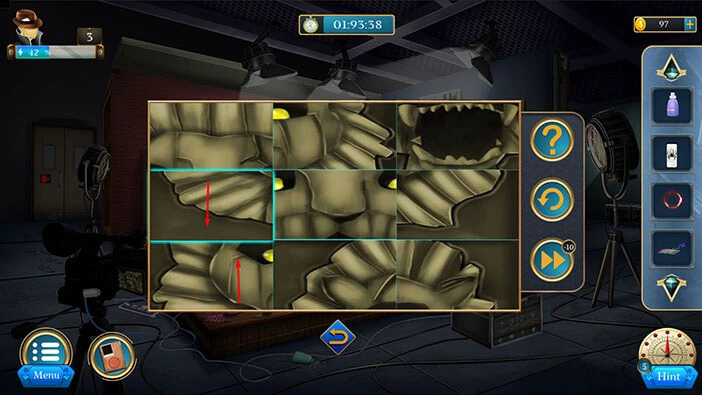
Step 9
Select the second puzzle piece in the second row, then tap on the second puzzle piece in the third row to swap their positions.
Step 10
Select the second puzzle piece in the first row, then tap on the second puzzle piece in the second row to swap their positions.
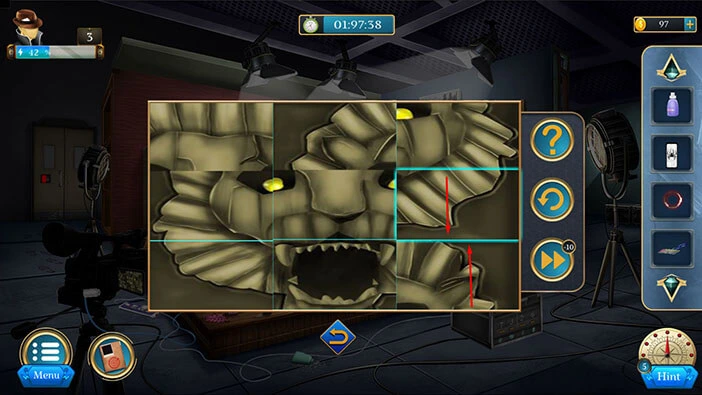
Step 11
Select the third puzzle piece in the second row, then tap on the third puzzle piece in the third row to swap their positions.
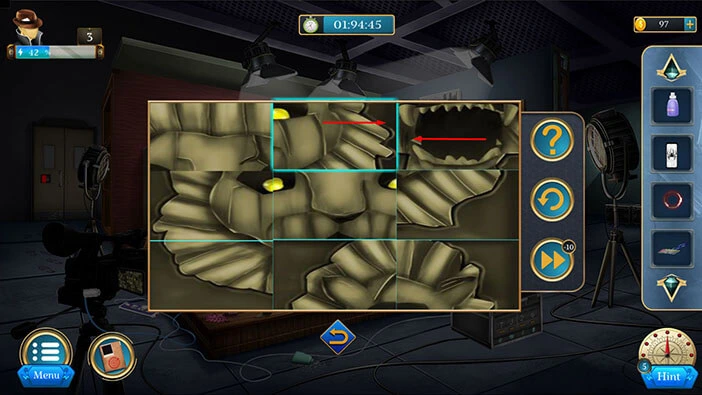
Step 12
Select the third puzzle piece in the second row, then tap on the third puzzle piece in the first row to swap their positions.

Step 13
Lastly, select the second puzzle piece in the first row, then tap on the first puzzle piece in the first row to swap their positions.
You will discover a “Memory card”. Tap on it to pick it up. After that, tap on the arrow at the bottom to go back.
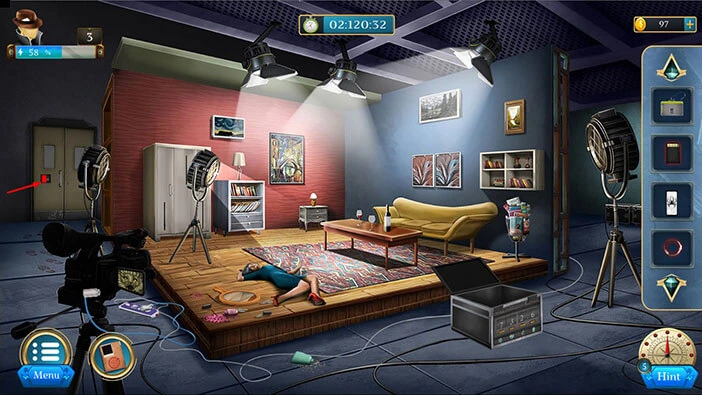
Next, let’s tap on the door on the left to take a closer look at it.
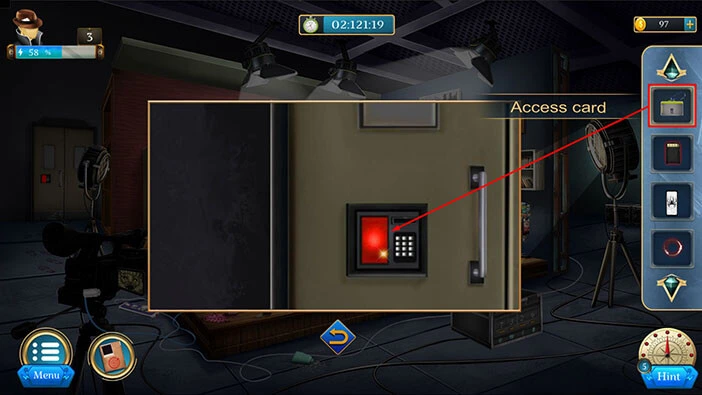
Select the “Access card” from the inventory and place it on the scanner.
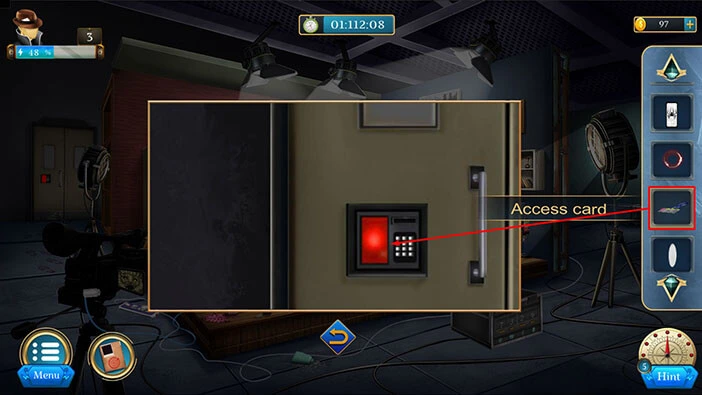
You will get the message, “ERROR! We need to do something first.”
Let’s see what we can do. Select the “Access card” from the inventory and it will appear in the middle of the screen.
Next, select the “Nail Polish remover” and drag it next to the “Key card”.
Next, select the “Sponge cloth” from the inventory and drag it to the “Nail Polish remover”. Our character will use these two items to clean the “Access card”.

Tap on the “Access card” to pick it up. After that, tap on the “X” button to close this window.
Let’s go back to the door on the left. Tap on it to take a closer look.
Select the “Access card” from the inventory and use it to unlock the door.
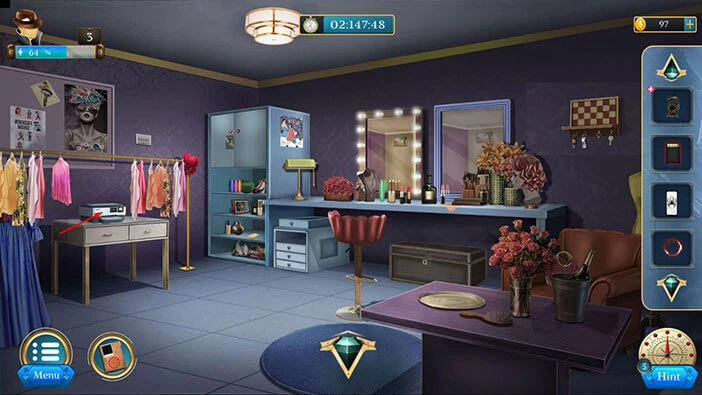
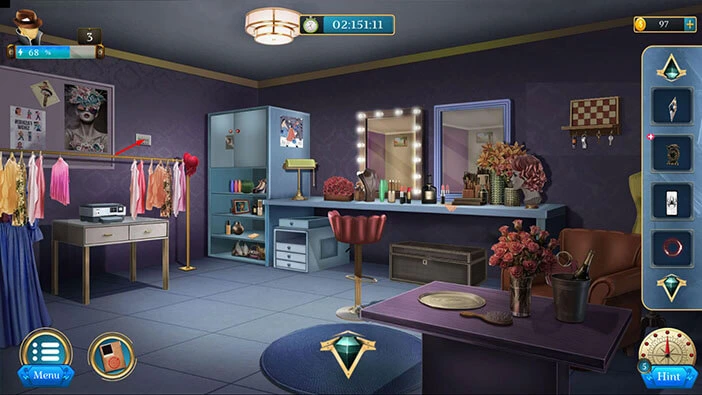
We gained access to the next room, so let’s explore it. Tap on the door to proceed to the next room.
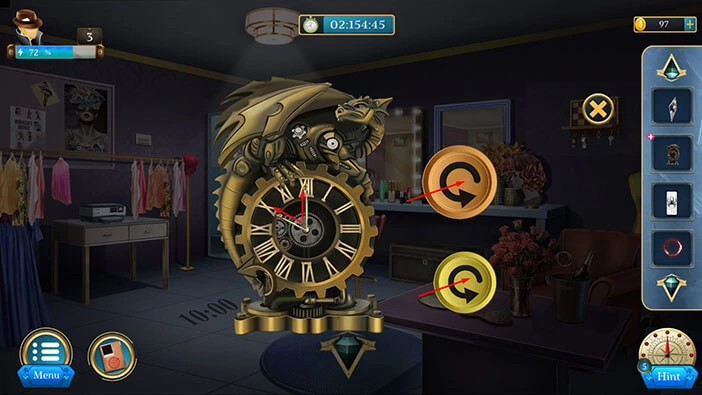
On the table on the right, you will notice the “Analog clock”. Tap on it to take a closer look, and tap again to pick it up.
After that, tap on the arrow at the bottom of the screen to go back.
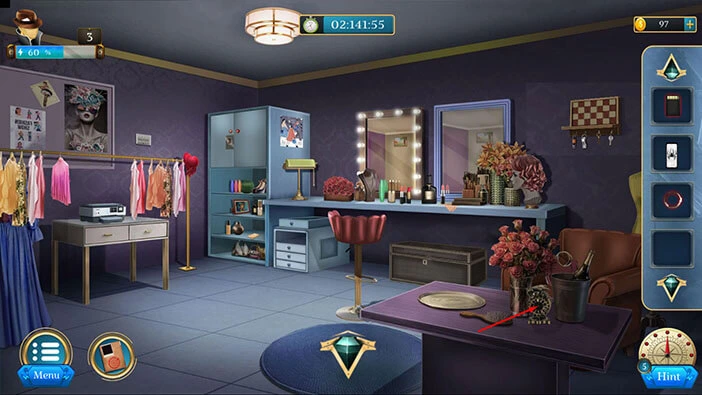
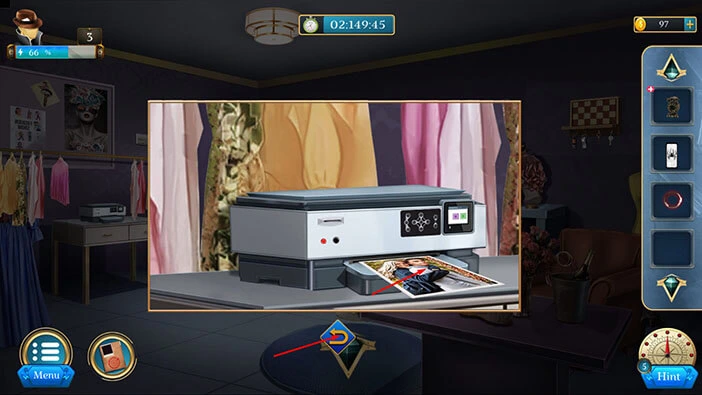
On the table on the left, you will notice a printer. Let’s tap on it to take a closer look.
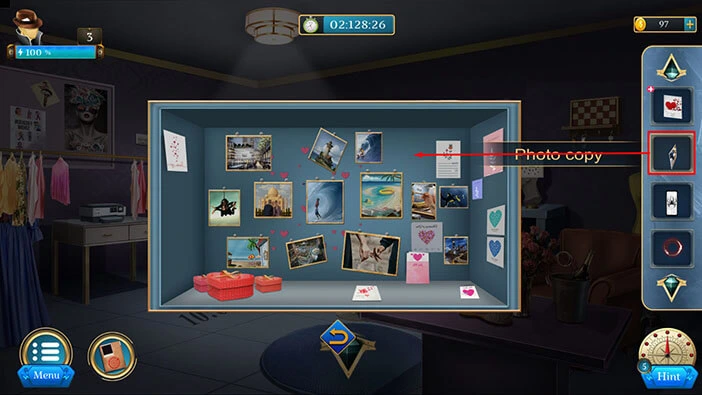
Select the “Memory card” from the inventory and insert it into the printer slot.
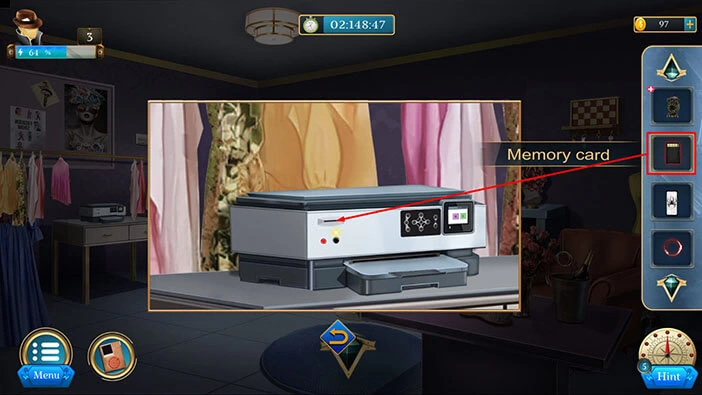
Tap on the “Photo copy” to pick it up. After that, tap on the arrow at the bottom to go back.
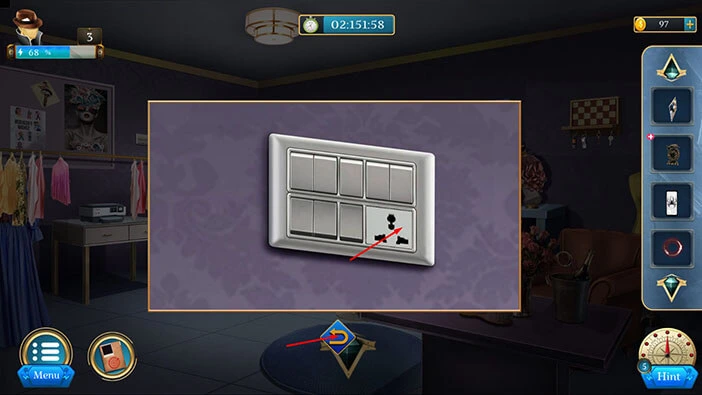
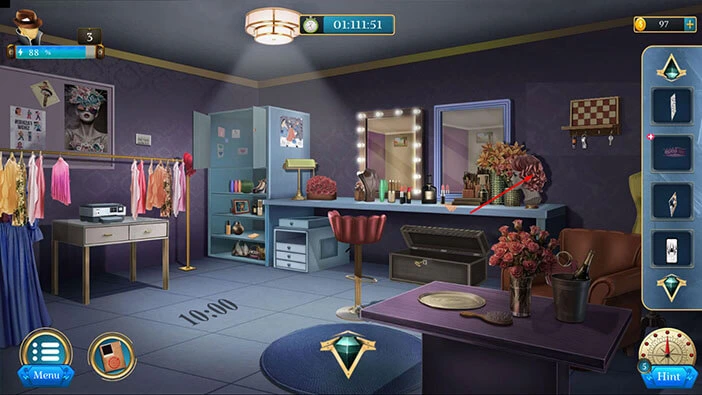
On the wall on the left, you will notice a switch. Let’s tap on it to take a closer look.
Tap on the button on the right to turn on the light. After that, tap on the arrow at the bottom to go back.
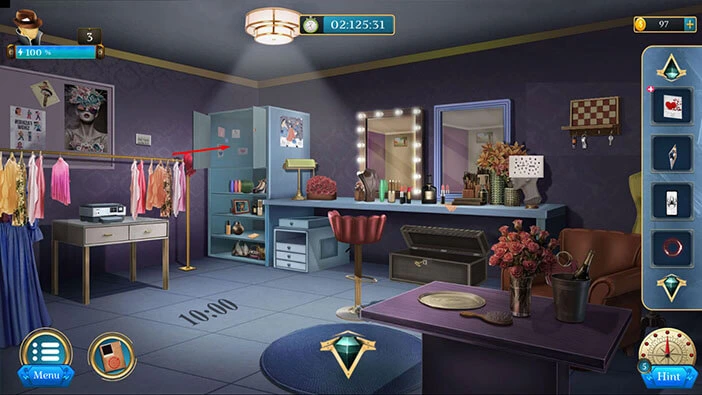
You will see “10:00” on the floor. Memorize/write down this information. After that, tap on the clock in your inventory to examine it.
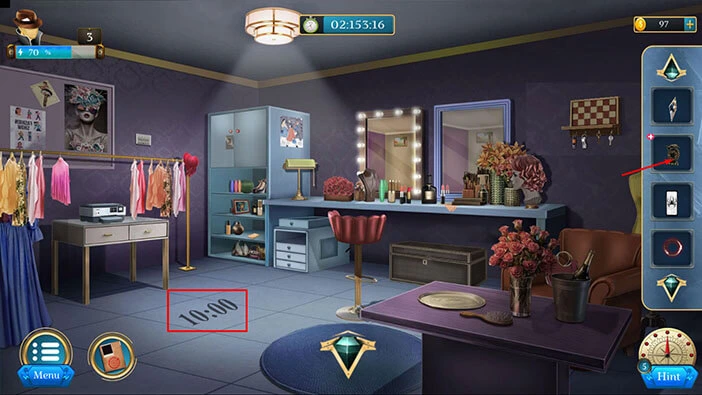
Use the arrows on the right side of the clock, and set the time to “10:00”.
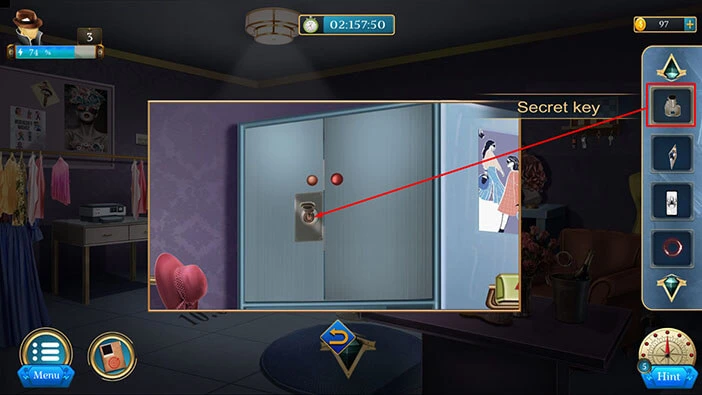
The top part of the clock will open, and inside you will find a “Secret key”. Tap on it to pick it up.
After that, tap on the “X” button to close this window.
Next, let’s tap on the cabinet on the left to take a closer look at it.

Select the “Secret key” from the inventory and use it to unlock the cabinet. After that, tap on the cabinet to look inside.
We will come back to the cabinet. For now, tap on the arrow at the bottom to go back.
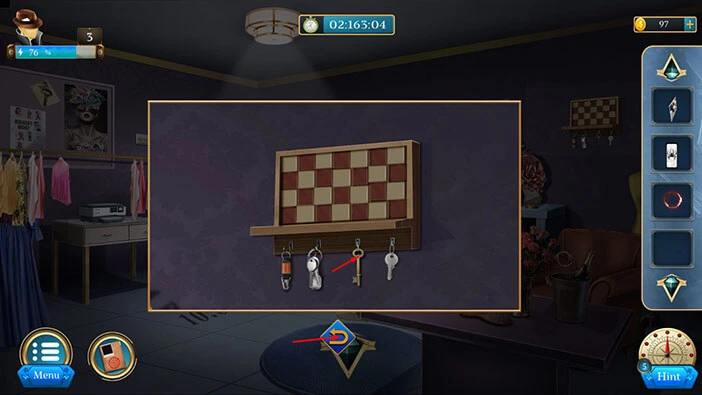
Next, if you take a look at the wall on the right, you will notice a chessboard. Below the chessboard, we can see several keys. Let’s tap on the keys to take a closer look at them.
Tap on the “Key” to pick it up. After that, tap on the arrow at the bottom to go back.
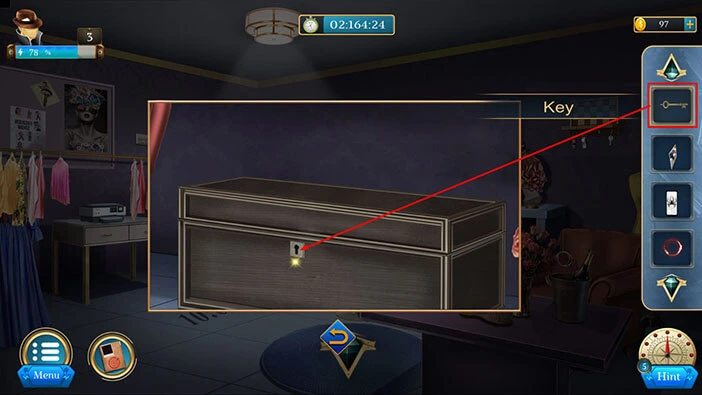
Next, let’s tap on the large chest, located under the mirrors on the right, to take a closer look at it.

Select the “Key” from the inventory and use it to unlock the chest.
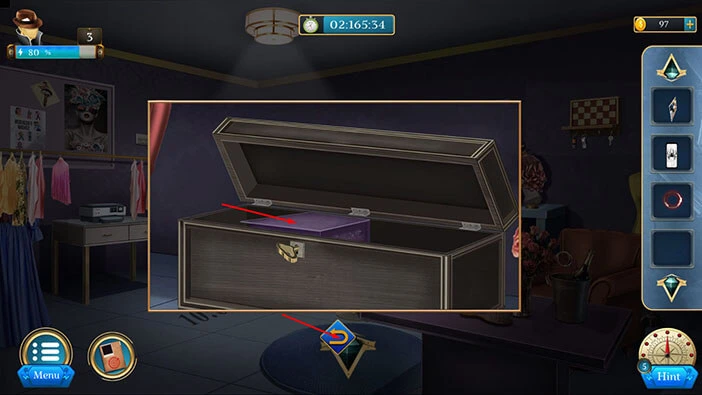
Inside you will find a “Greeting box”. Tap on it to pick it up. After that, tap on the arrow at the bottom to go back.
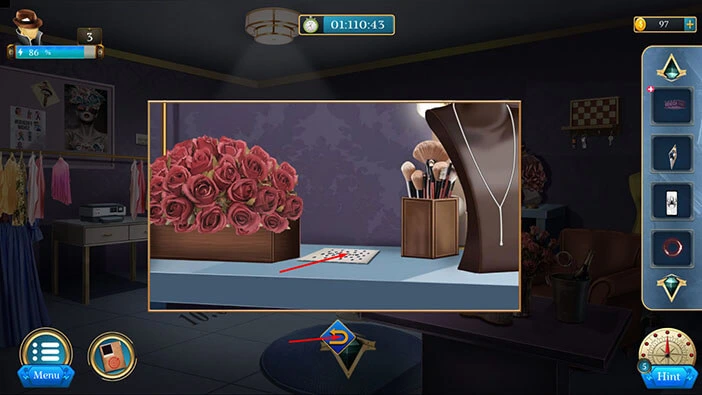
On the right side, next to the mirror, you will notice a box of flowers. Tap on it to take a closer look, and tap again to move it aside.

Under the box, you will find a “Clue paper”. Tap on it to pick it up. After that, tap on the arrow at the bottom to go back.
Next, let’s tap on the mannequin head on the right to take a closer look at it, and tap again to remove the wig.
Next, select the “Clue paper” from the inventory and place it on the head.
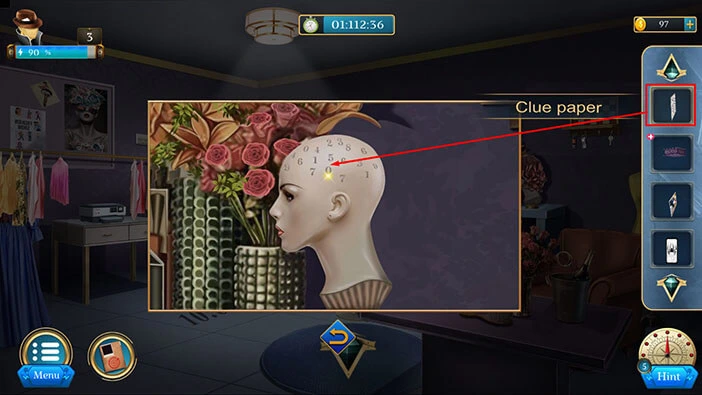
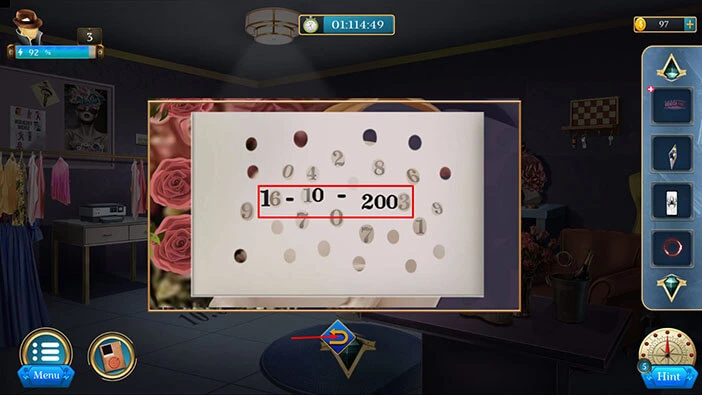
Once you place the “Clue paper” on the mannequin head, you will discover the date “16-10-2003”. Memorize/write down this date because we will need it for the next puzzle.
Once you’re done, tap on the arrow at the bottom to go back.
Tap on the “Greeting box” in your inventory to select it, and it will appear in the middle of the screen. Tap on the box again to start the interaction.
Previously, we discovered the date “16-10-2003”. To unlock this box, we should enter this date, but backward. So, tap on the numbers “3-0-0-2-0-1-6-1”.
In the box, you will find a “Greeting card”. Tap on it to pick it up. After that, tap on the “X” button to go back.
Next, let’s go back to the cabinet on the left. Tap on it to take a closer look.
Tap on the “Greeting card” in your inventory to select it and it will appear in the middle of the screen.
You will get the message “Task completed”.
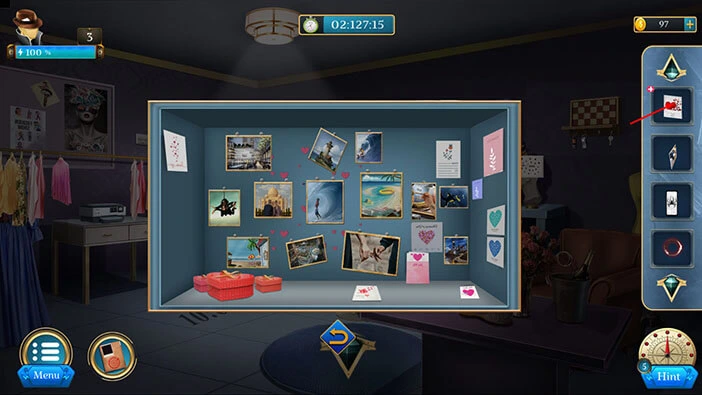
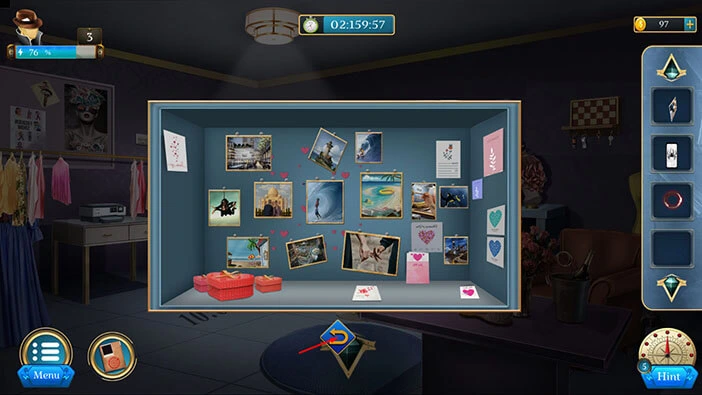
Let’s go back to the cabinet. Select the “Photo copy” from the inventory and put it next to the other photos. After that, tap on the photos to start the interaction.
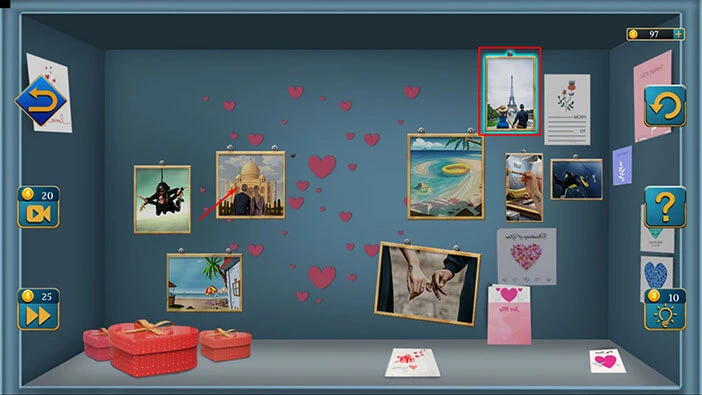
Here, we have another puzzle. Our task is to find pairs of similar photos. We will do this puzzle in several steps. Let’s begin.
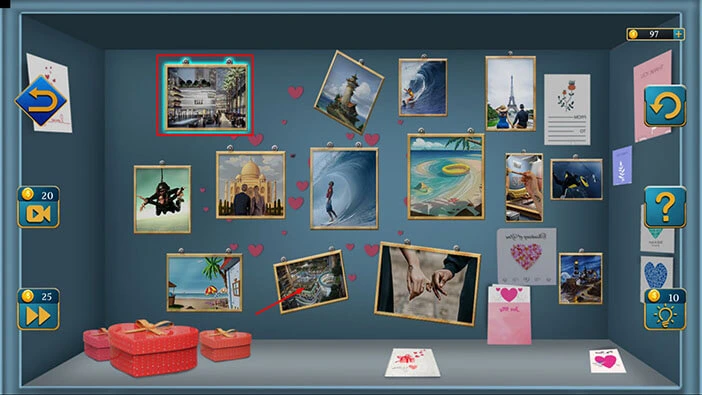
Step 1
Select the first photo in the first row, then tap on the second photo in the third row.
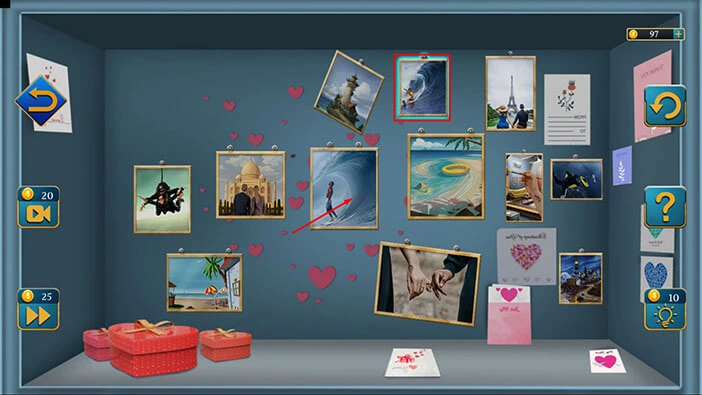
Step 2
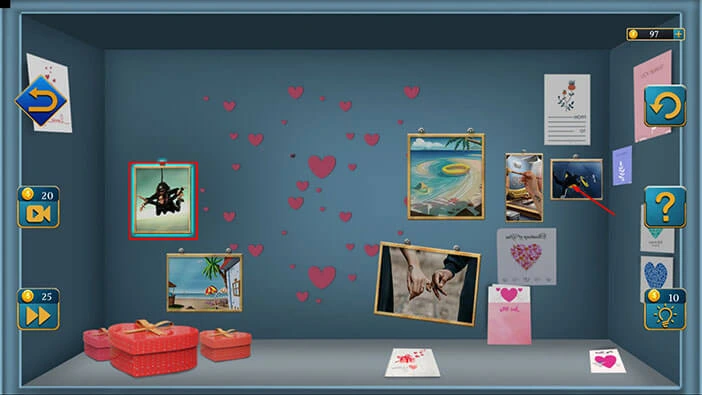
Select the third photo in the first row, then tap on the third photo in the second row.
Step 3
Select the second photo in the first row, then tap on the last photo in the third row.

Step 4
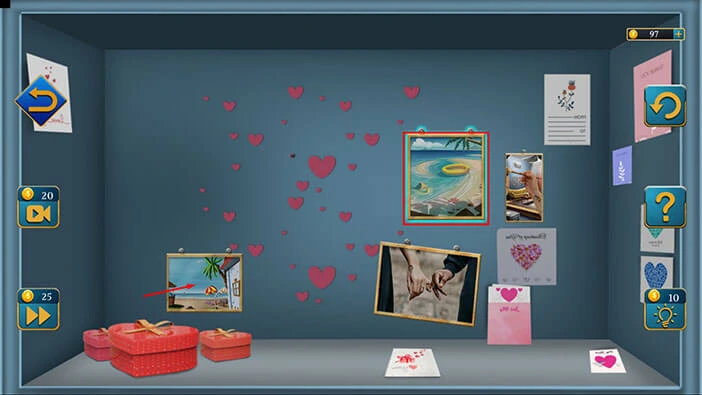
Select the last photo in the first row, then tap on the second photo in the second row.
Step 5
Select the first photo in the second row, then tap on the last photo in the second row.
Step 6
Select the third photo in the second row, then tap on the first photo in the third row.
With that, you will solve this puzzle.
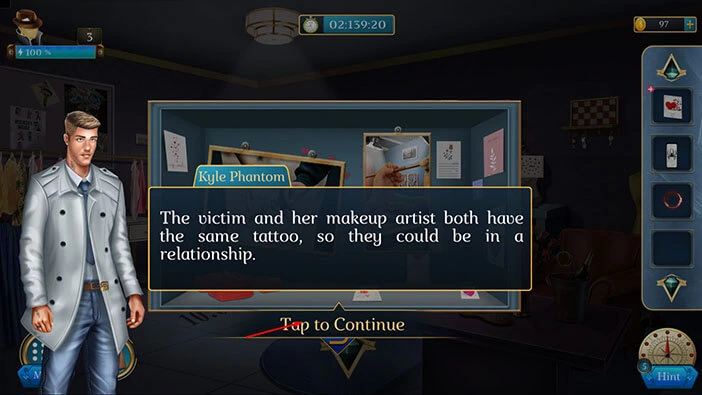
The victim and her makeup artist have the same tattoo. So, our character, Detective Phantom, suspects that they might be in a relationship.
With that, we have reached the end of the third level. If you want to see the walkthrough for the fourth level, tap on the next part button.
Thank you for reading.