Room Escape: Detective Phantom | Level 2
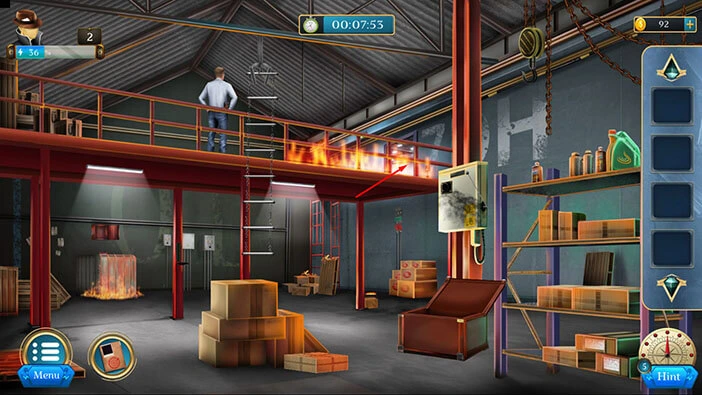
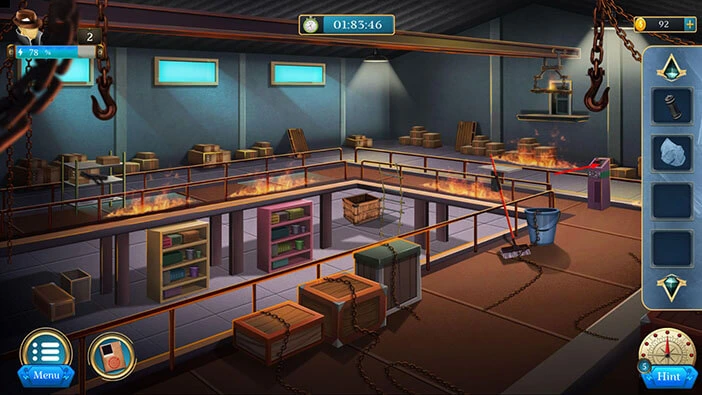
Hello everyone and welcome to the walkthrough for the second level of “Room Escape: Detective Phantom”. In the second level, we are trapped in the burning warehouse, and our task is to follow the suspect because he knows how to escape from the building.
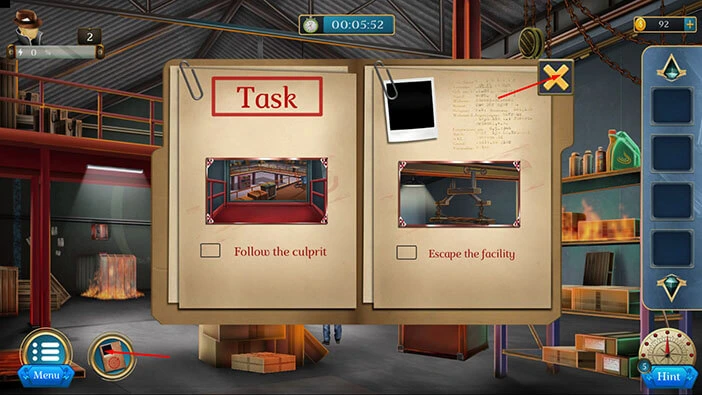
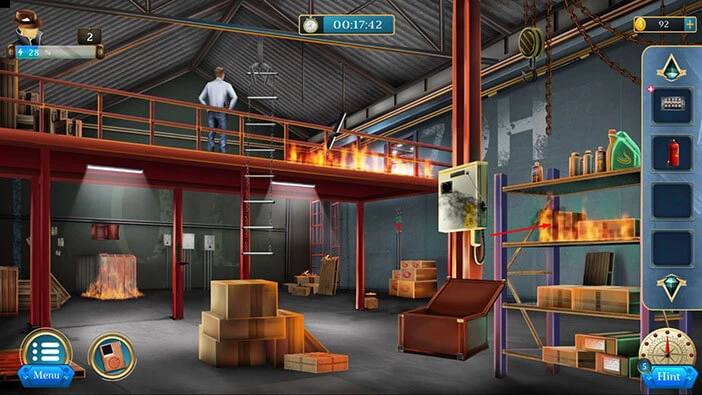
Tap on the second button in the bottom left corner of the screen to view the objectives. Our objectives are “Follow the Culprit” and “Escape the Facility”. Tap on the “X” button to go back.
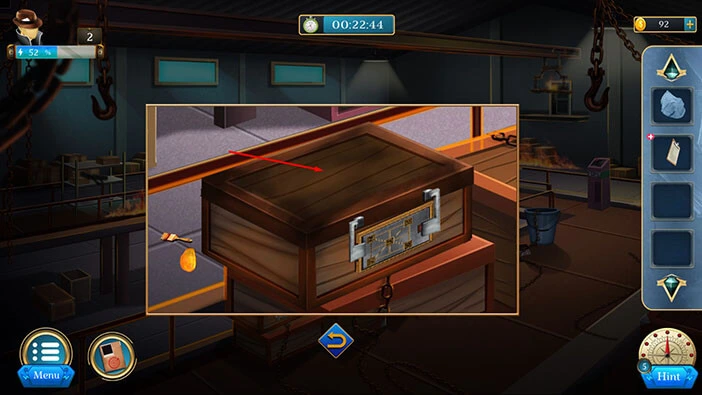
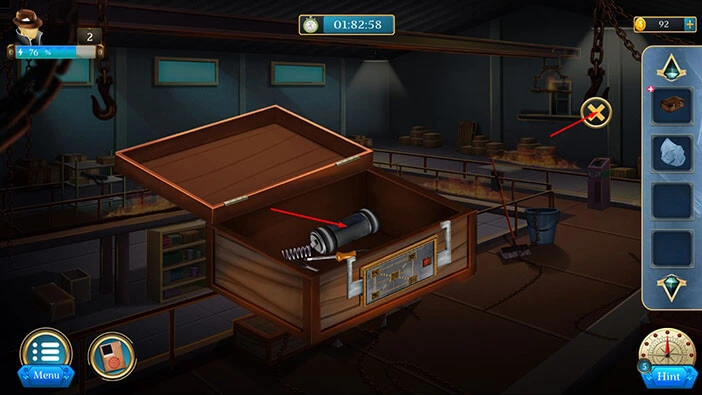
Let’s tap on the large, red box on the right side of the room to take a closer look at it. Tap on the box again to open it.
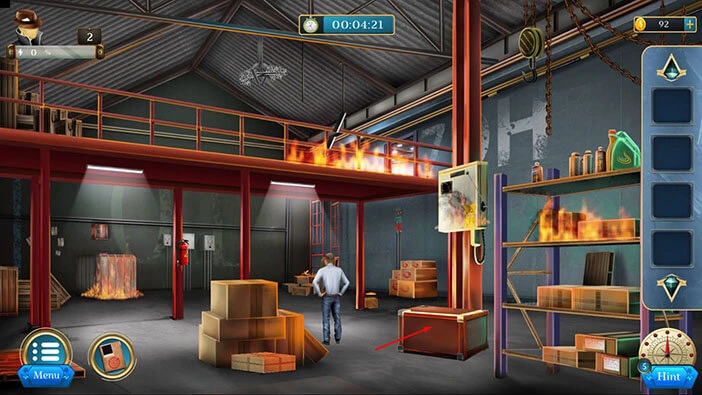
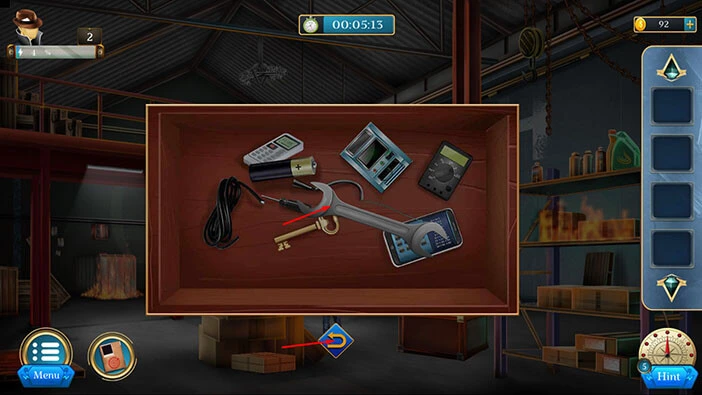
In the box, you will find a “Spanner”. Tap on it to pick it up. After that, tap on the arrow at the bottom to go back.
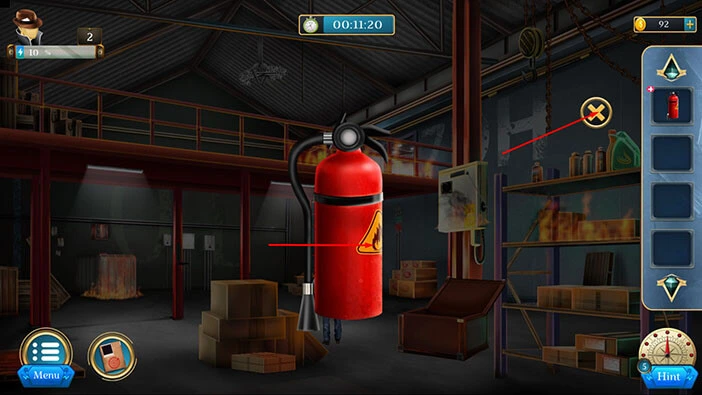
Next, on the pillar in front of you, you will notice a fire extinguisher. Tap on it to take a closer look, and tap again to pick it up.
After that, tap on the arrow at the bottom to go back.

Next, tap on the “Fire extinguisher” in your inventory to select it and it will appear in the middle of the screen. Select the “Spanner” from the inventory and use it on the “Fire extinguisher”.

Once you’re done, tap on the “Fire extinguisher” in the middle of the screen to put it back into the inventory. After that, tap on the “X” button to close this window.
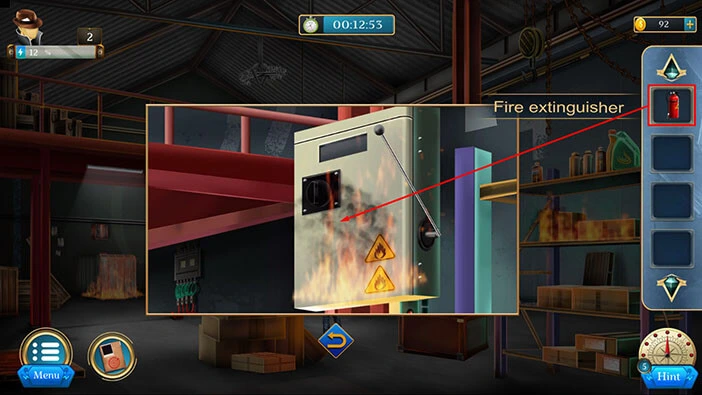
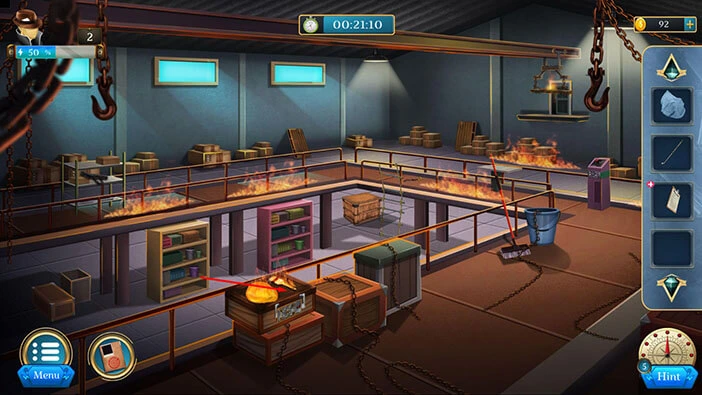
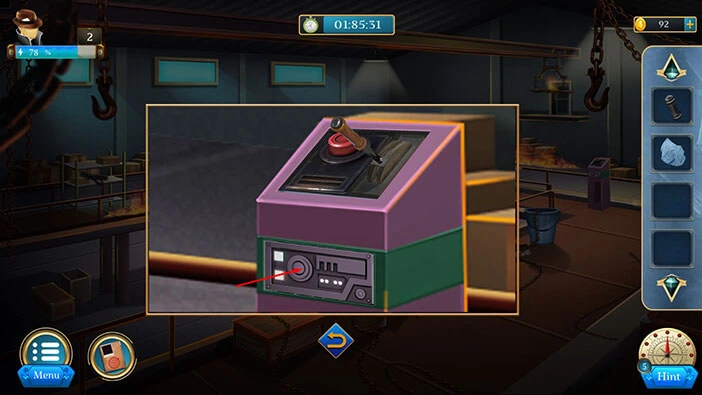
Next, let’s tap on the burning control box on the right side of the room to take a closer look at it.

Select the “Fire extinguisher” from the inventory and use it to put out the fire.
Once you put out the fire, tap on the lever to interact with it.
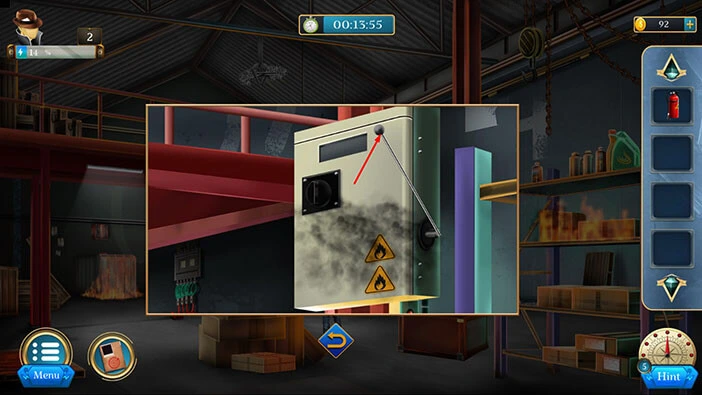
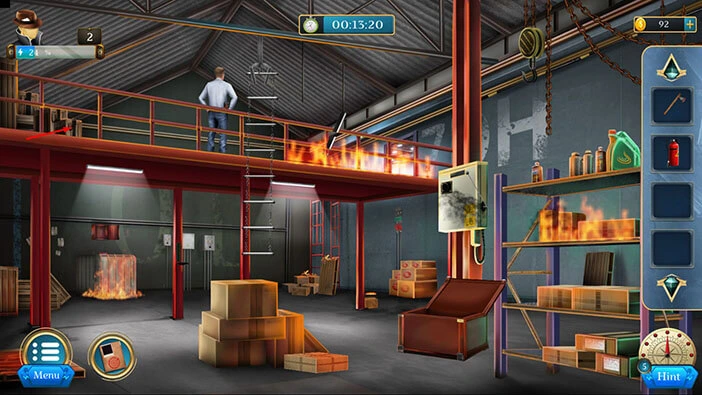
You will lower the ladder, and our character will use it to climb to the second floor.
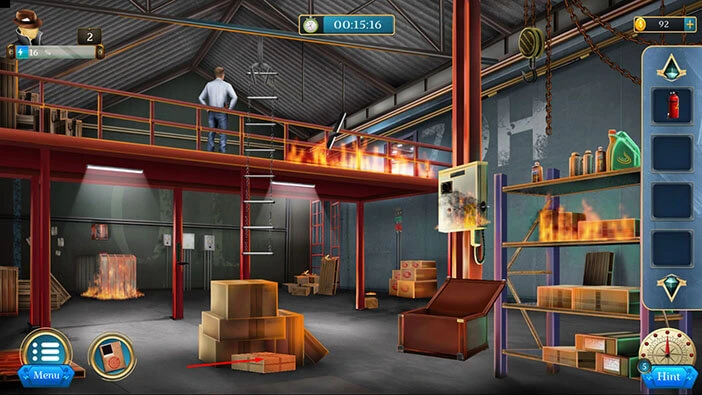
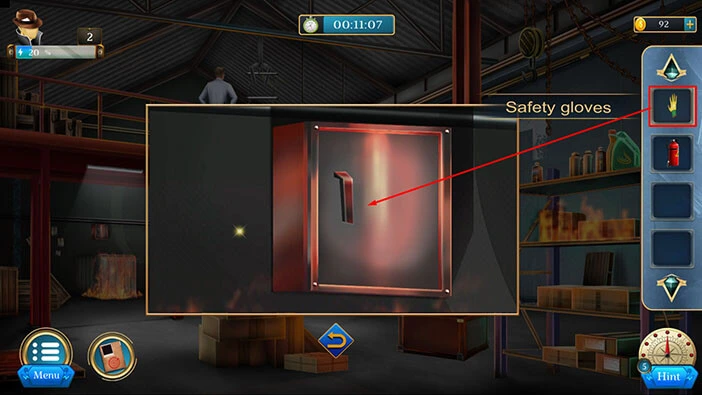
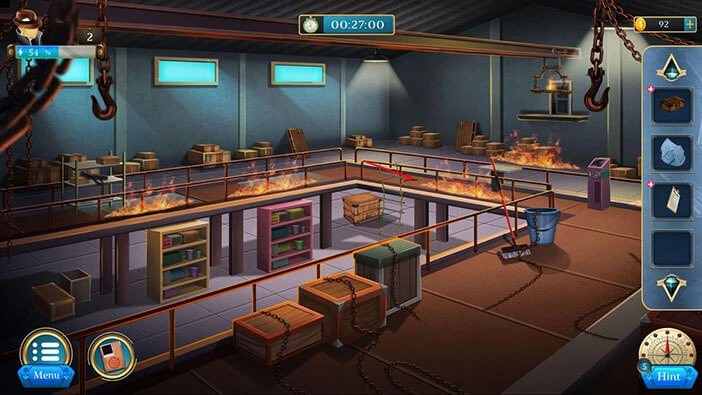
Next, tap on the pile of cardboard boxes on the first floor to take a closer look at it. After that, tap on the box one more time to move it aside.
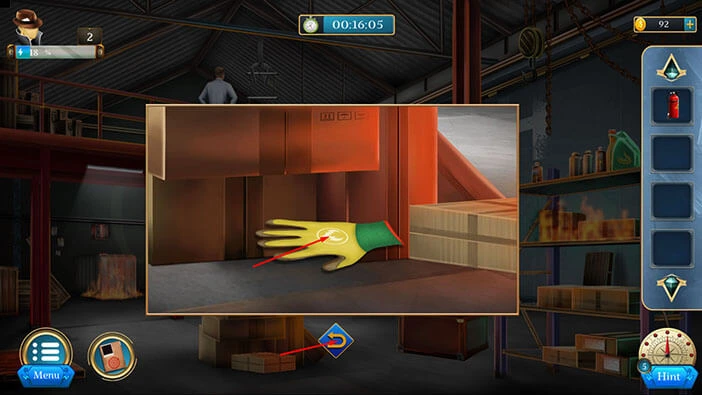
You will discover “Safety gloves” so let’s tap on them to pick them up. After that, tap on the arrow at the bottom to go back.
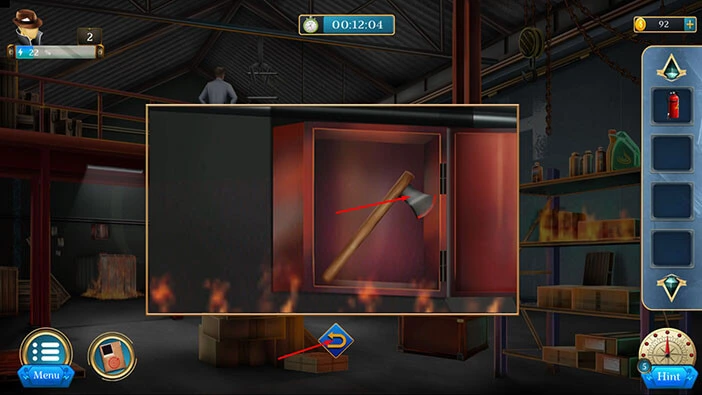
At the back wall on the first floor, you will notice a wall cabinet (just above the burning box). Let’s tap on it to take a closer look.

If you tap on the wall cabinet, you will discover that it is too hot, and our character can’t touch it with his bare hands. So, select the “Safety Gloves” from the inventory and use them to open the cabinet.
In the cabinet, you will find an “Axe”. Tap on it to pick it up. After that, tap on the arrow at the bottom to go back.
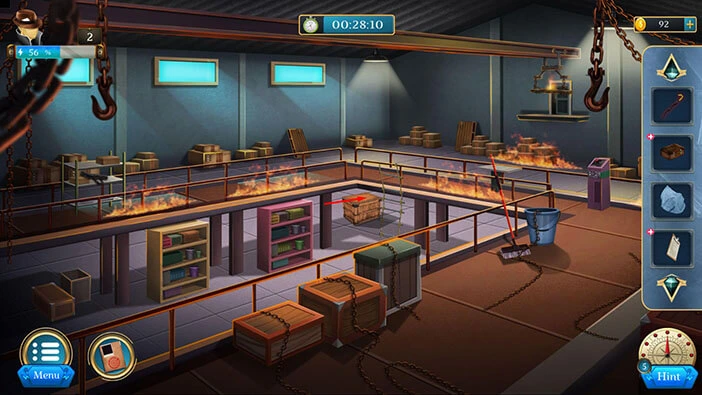
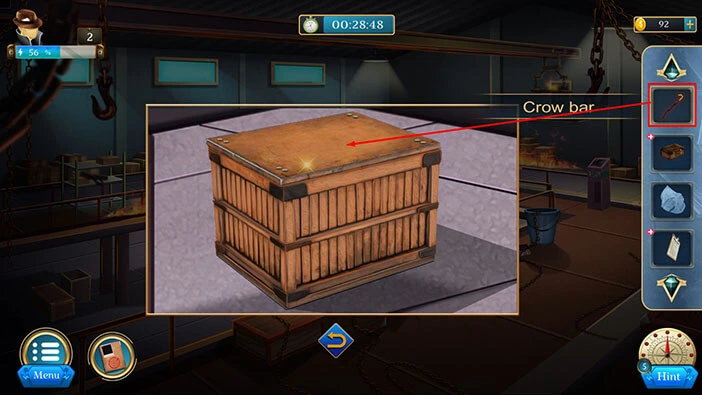
Next, tap on the pile of wooden crates on the second floor to take a closer look at them.
Select the “Axe” from the inventory and use it to smash the wooden crate.
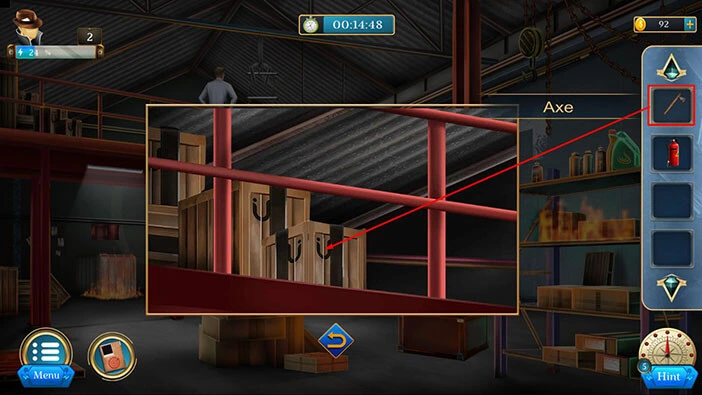
In the crate, you will find a “Box”. Tap on it to pick it up. After that, tap on the arrow at the bottom to go back.
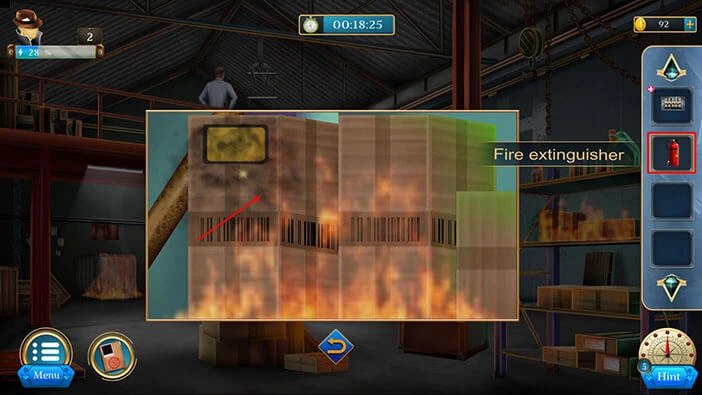
Next, if you take a look at the shelf on the first floor, you will notice several burning cardboard boxes. Let’s tap on them to take a closer look.
Select the “Fire extinguisher” from the inventory and use it to put out the fire.
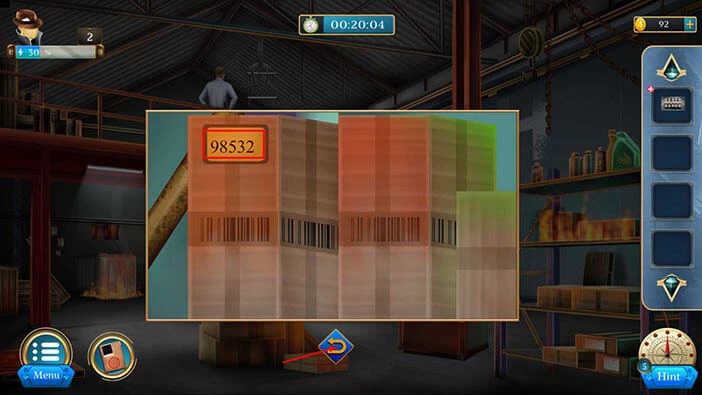
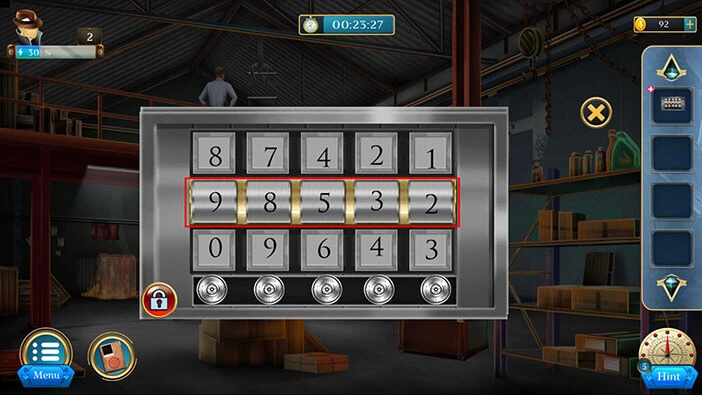
On the box on the left, you will notice the number “98532”. Let’s memorize/write down this number because we will need it for the next puzzle.
Once you’re done, tap on the arrow at the bottom to go back.
Next, tap on the “Box” in your inventory and it will appear in the middle of the screen. Enter the number “98532” and you will unlock the box. Tap on the padlock icon in the bottom right corner of the box to open it.
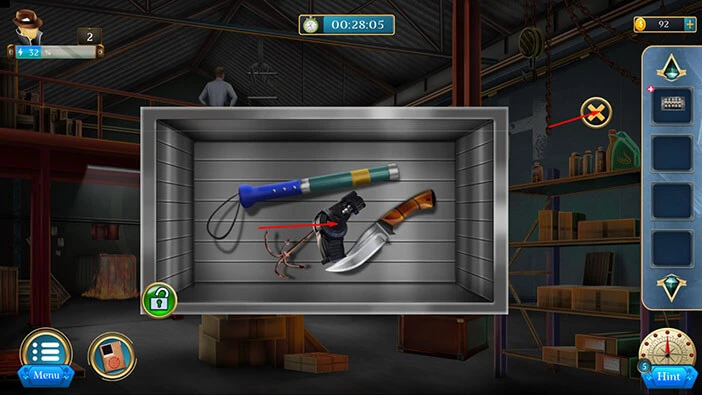
In the box, you will find a “Rope gun”. Tap on it to pick it up. After that, tap on the “X” button to close this window.
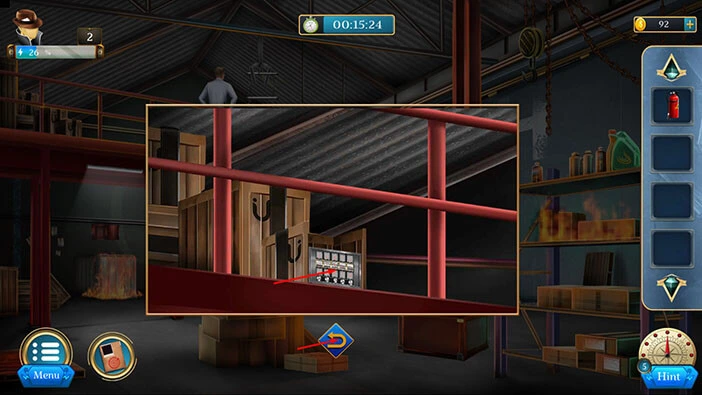
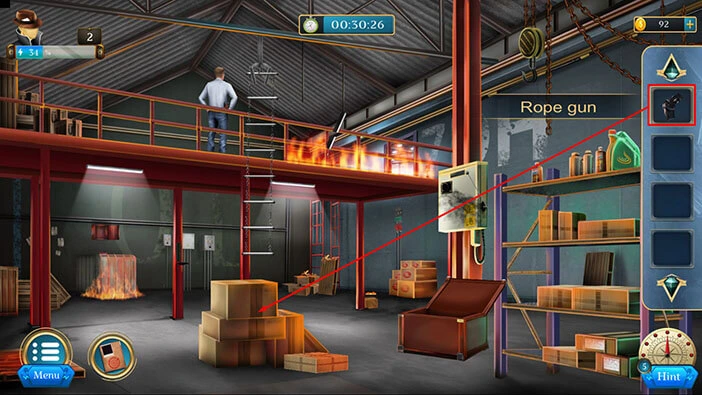
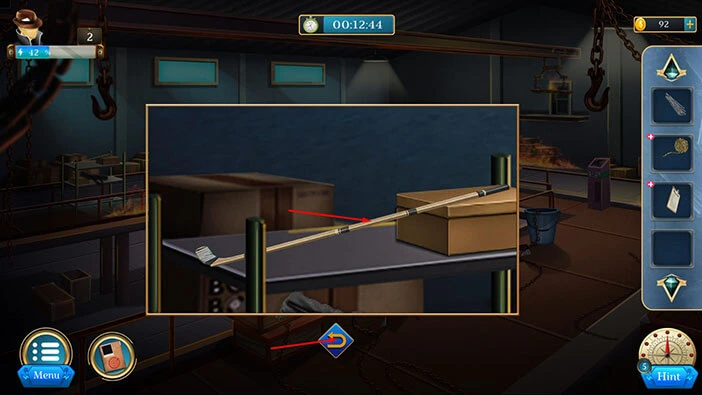
Select the “Rope gun” in your inventory to select it, and drag it to the pile of boxes at the bottom floor.
When the reticle turns green, tap on the blue button (just to the right of the gun) to fire the rope gun.
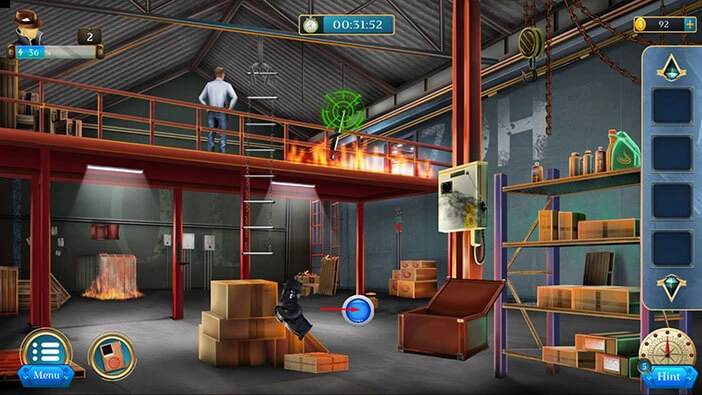
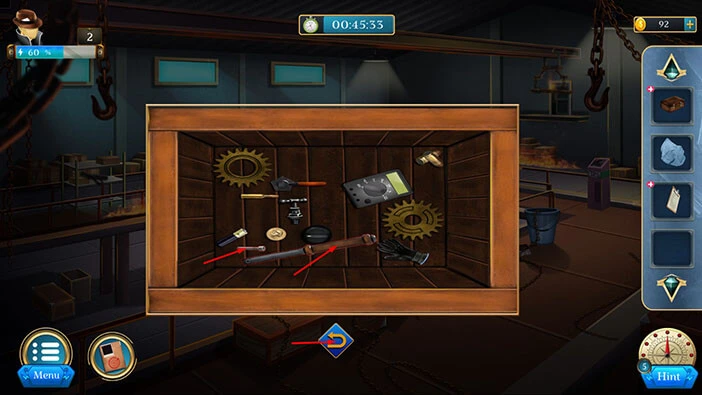
The suspect went through the fire, so we have to follow him. Tap on the door on the other side of the fire, and our character will place down the metal beam, and we can use it to get to the other side.
So, let’s tap on the door on the other side again to proceed to the next room.
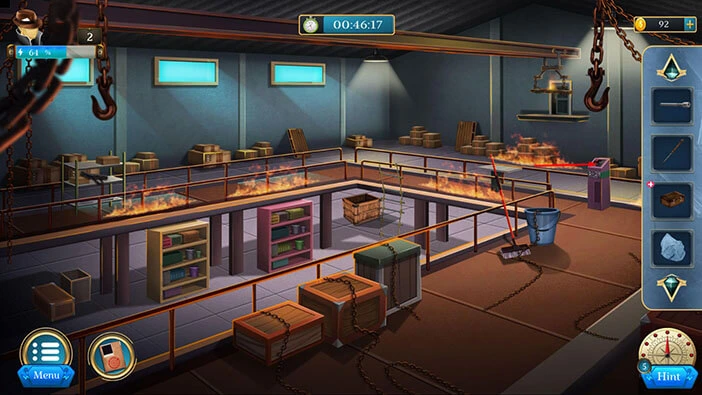
There is a door on the far side of the room (right side). But to get to it, we will need to use the crane.
On the floor on the right, you will see a “Rope” and a “Notebook”. Tap on these two items to take a closer look, and tap again to pick them up. After that, tap on the arrow at the bottom to go back.
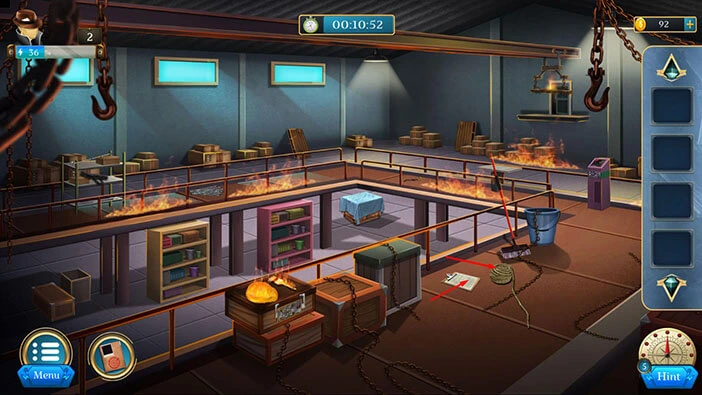
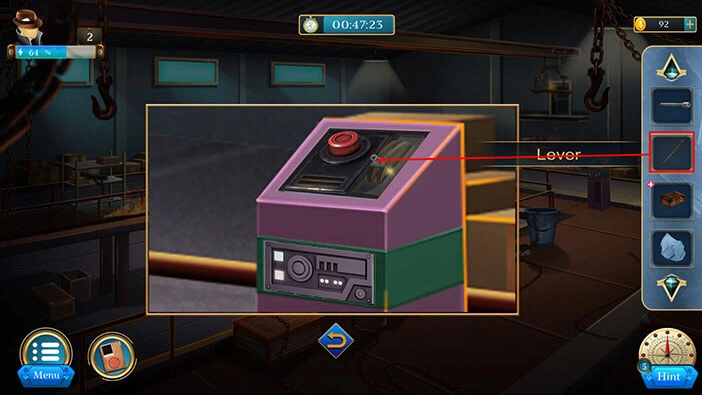
Next, let’s tap on the crane control panel on the right to take a closer look at it.

If you tap on the lever, it will break. So, now we have to find a way to repair it. Tap on the arrow at the bottom to go back.
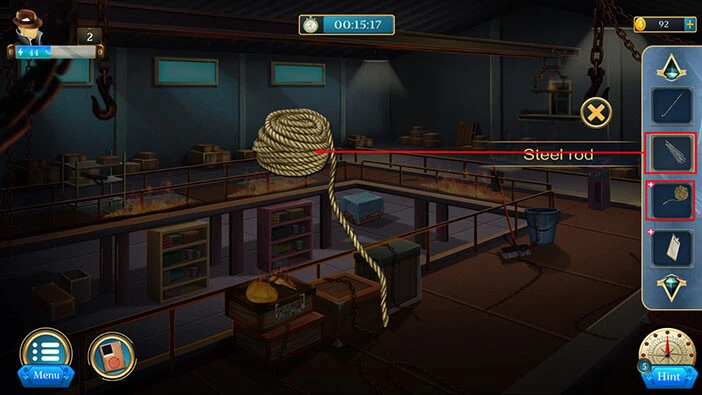
On the wooden board on the right side, you will see a pile of “Steal rods”. Tap on them to take a closer look, and tap again to pick them up.
After that, tap on the arrow at the bottom to go back.

Next, let’s tap on the shelf on the left to take a closer look at it.
Here, you will find a “Hockey bat”. Tap on it to pick it up. After that, tap on the arrow at the bottom to go back.
Next, select the “Rope” from the inventory and it will appear in the middle of the screen. After that, drag the “Steel Rod” from the inventory and combine it with the “Rope”. With that, you will create a “Ladder”, so let’s tap on it to pick it up.
Once you’re done, tap on the “X” button to go back.
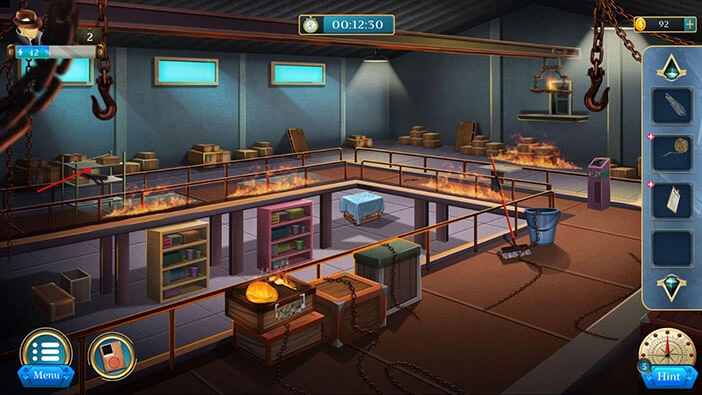
Select the “Ladder” from the inventory and attach it to the fence. With that, you will gain access to the first floor.

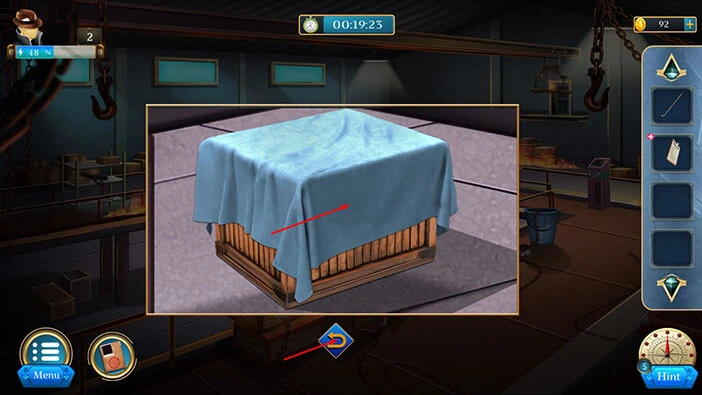
Let’s tap on the wooden box on the first floor to take a closer look at it.

Here, you will find a “Sheet” so let’s tap on it to pick it up. Later, we will have to find a way to open the wooden box.
Once you’re done, tap on the arrow at the bottom to go back.
Next, on the wooden box on the second floor, you will notice a burning brush. Let’s tap on the box to take a closer look at it.
Select the “Hockey bat” from the inventory and use it to remove the burning items.

We now have access to the “Wooden box” so let’s tap on it to pick it up. After that, tap on the arrow at the bottom to go back.
Next, on the second floor, behind the ladder, you will notice a “Crowbar”. Tap on it to pick it up. After that, tap on the arrow at the bottom to go back.
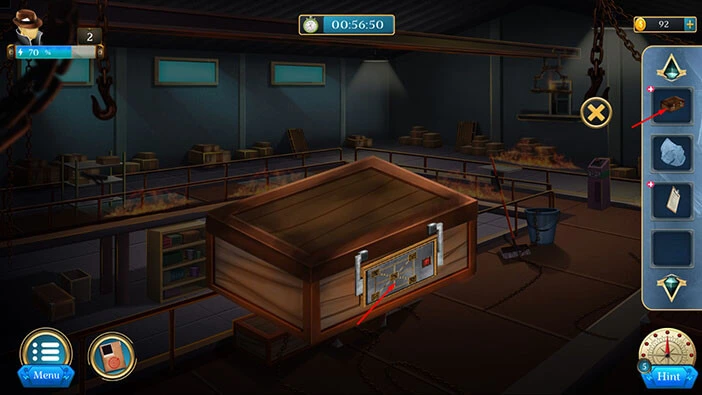
Let’s go back to the wooden box on the first floor. Tap on it to take a closer look.
Select the “Crowbar” from the inventory and use it to open the box. After that, tap on the box to look inside.
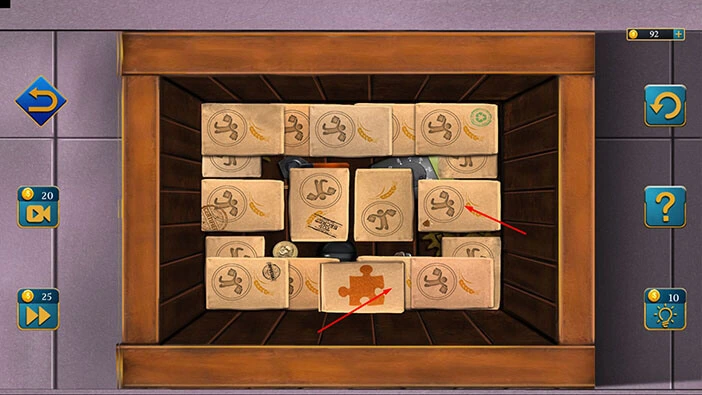
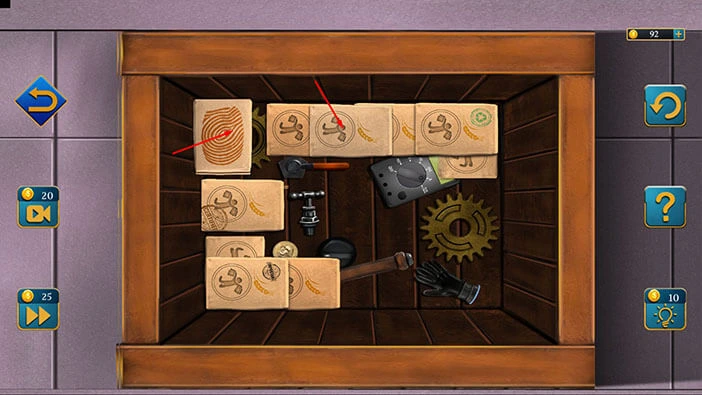
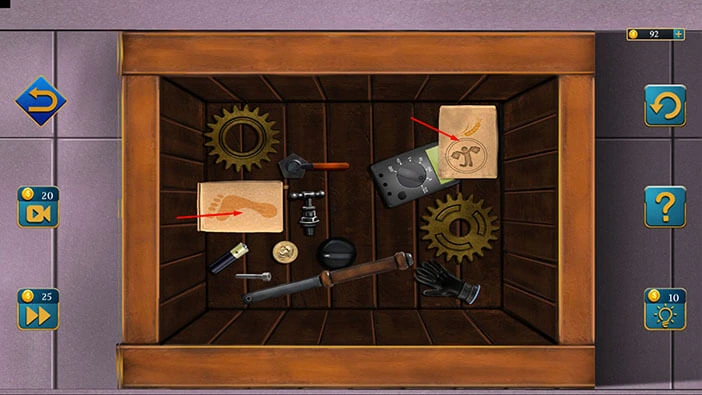
Here, we have a memory game. Our task is to find the pairs of symbols. We will do this puzzle in several steps. Let’s begin.
Step 1
Tap on the third card in the third row, then tap on the card on the right (look at the image below).
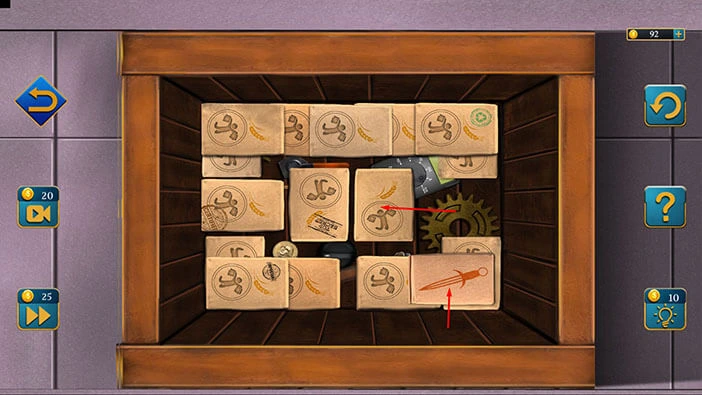
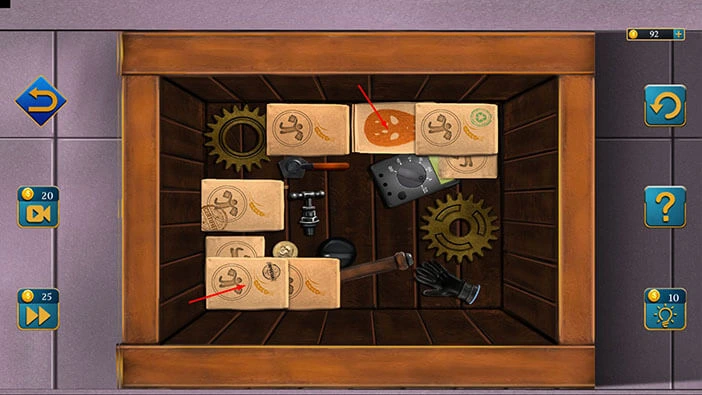
Step 2
Tap on the fourth card in the third row, then tap on the card in the middle (look at the image below).
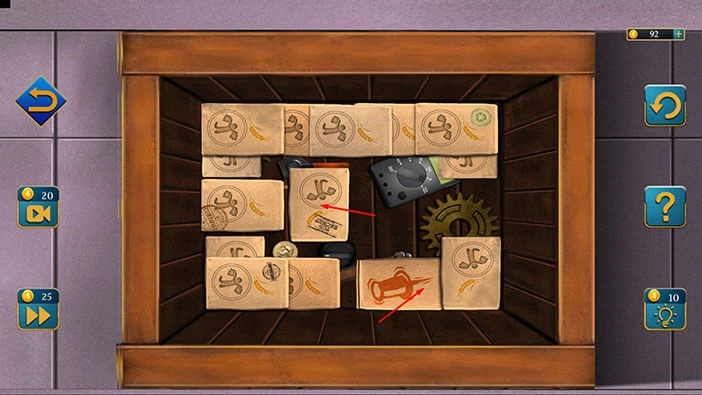
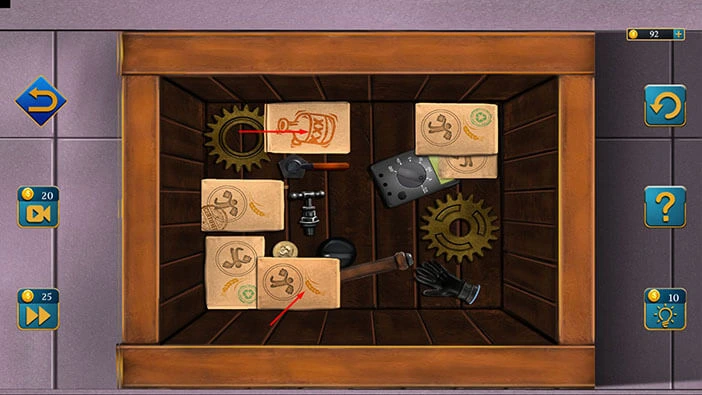
Step 3
Tap on the third card in the third row, then tap on the card in the middle (look at the image below).
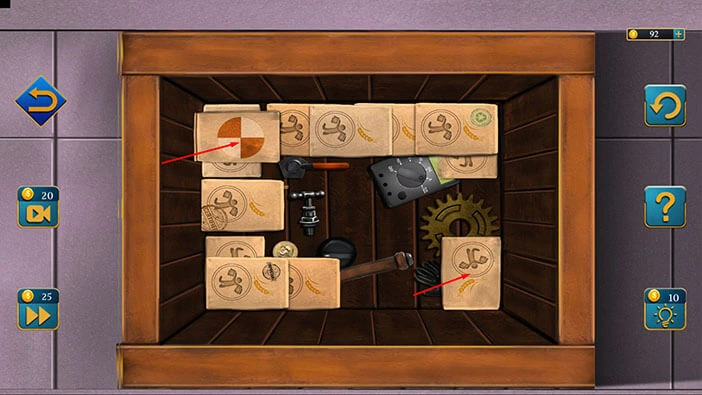
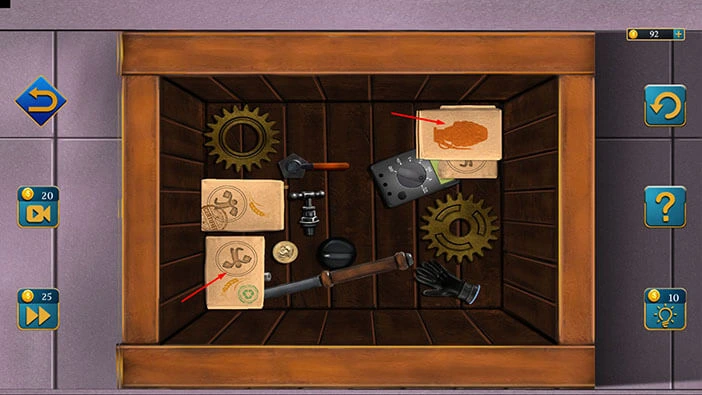
Step 4
Tap on the first card in the first row, then tap on the last card in the third row (look at the image below).
Step 5
Tap on the first card in the first row, then tap on the third card in the first row (look at the image below).
Step 6
Tap on the fourth card in the first row, then tap on the first card in the third row (look at the image below).
Step 7
Tap on the second card in the first row, then tap on the second card in the third row (look at the image below).
Step 8
Tap on the last card in the first row, then tap on the first card in the third row (look at the image below).
Step 9
Tap on the last two cards and you will solve this puzzle.
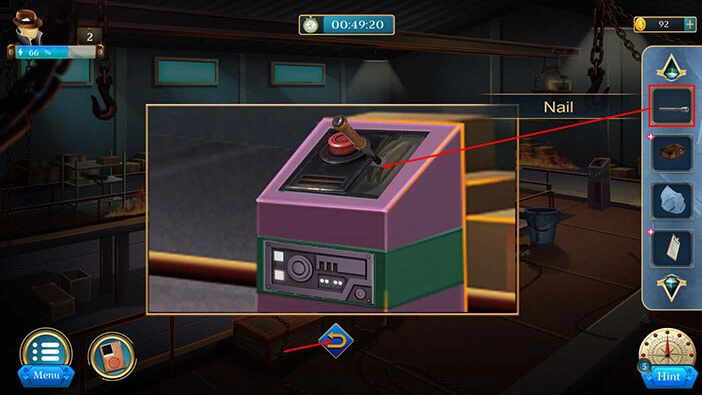
In the box, you will find a “Lever” and a “Nail”. Tap on these two items to pick them up. After that, tap on the arrow at the bottom to go back.
Next, let’s go back to the crane control panel. Tap on it to take a closer look.
Select the “Lever” from the inventory and attach it to the broken lever.
Next, let’s select the “Nail” from the inventory and place it into the hole, next to the lever. We still haven’t repaired the lever, so let’s tap on the arrow at the bottom to go back.
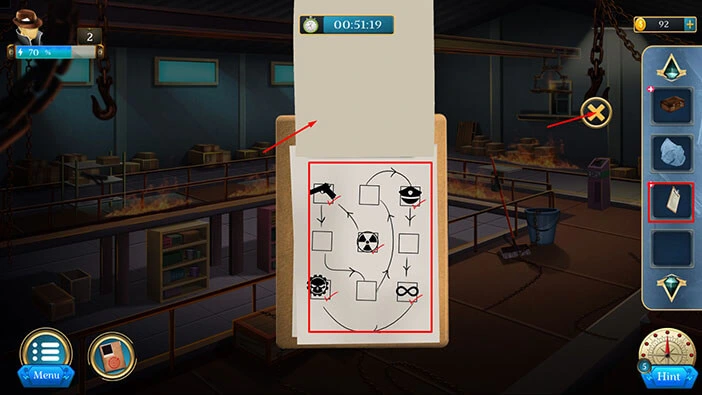
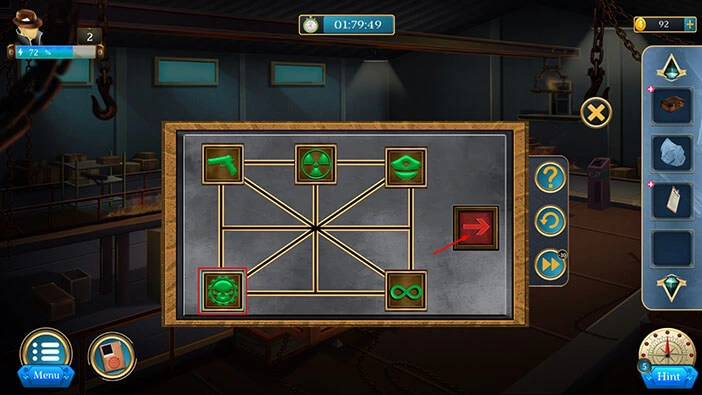
Next, let’s tap on the “Notepad” in our inventory to take a closer look at it. After that, tap on the notepad until you see a drawing on the last page.
Let’s memorize/write down this hint because we will need it for the next puzzle. Here, we are interested in the location of the symbols.
Handgun symbol = top left slot
Police hat symbol = top right slot
Skull symbol = bottom left slot
Infinite symbol = bottom right slot
Radiation symbol = middle slot
Once you’re done, tap on the “X” button to close this window.
Tap on the “Box” in your inventory to select it and it will appear in the middle of the screen. Tap on the box again to start the interaction.
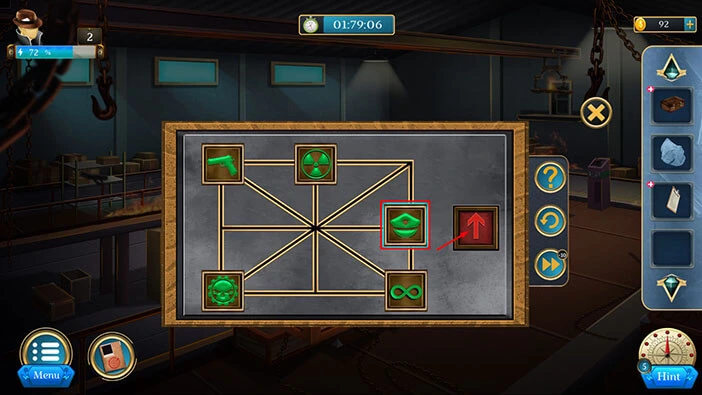
Here, we have another puzzle. Our task is to rearrange the symbols. The position of the symbols should match the drawing that we saw in the notepad.
We will do this puzzle in several steps. Let’s begin.
Step 1
Select the handgun symbol, then tap on the up arrow on the right to move the handgun symbol to the second slot in the first row.

Step 2
Select the infinity symbol, then tap on the right arrow to move the infinity symbol to the second slot in the third row.

Step 3
Select the skull symbol, then tap on the down arrow to move the infinity symbol to the second slot in the second row.

Step 4
Select the gun symbol, then tap on the left arrow to move the gun symbol to the first slot in the first row.

Step 5
Select the police hat symbol, then tap on the up arrow to move the police hat symbol to the third slot in the second row.

Step 6
Select the infinity symbol, then tap on the right arrow to move the infinity symbol to the third slot in the third row.

Step 7
Select the skull symbol, then tap on the down arrow to move the skull symbol to the first slot in the third row.

Step 8
Select the radiation symbol, then tap on the left arrow to move the radiation symbol to the second slot in the first row.

Step 9
Select the police hat symbol, then tap on the up arrow to move the police hat symbol to the first slot in the first row.
Step 10
Select the skull symbol, then tap on the right arrow to move the skull symbol to the second slot in the third row.
Step 11
Select the radiation symbol, then tap on the down arrow to move the radiation symbol to the second slot in the second row.

Step 12
Lastly, select the skull symbol, then tap on the left arrow to move the skull symbol to the first slot in the third row. With that, you will solve this puzzle, and you will unlock the box.

In the box, you will find a “Capacitor”. Let’s tap on it to pick it up.
After that, tap on the “X” button to go back.
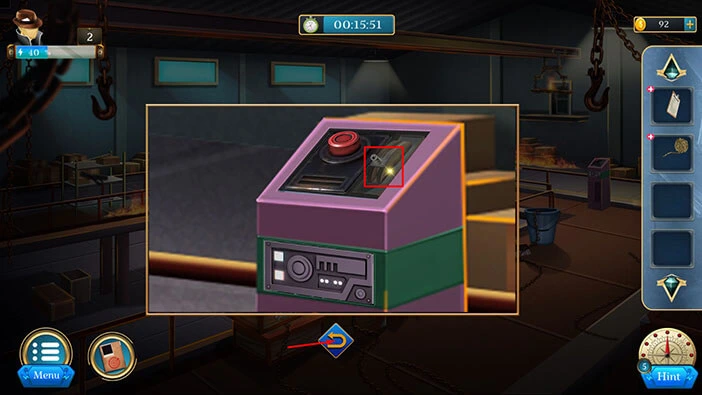
Let’s go back to the crane control panel. Tap on it to take a closer look.
Tap on the panel below the lever to remove it.
Select the “Capacitor” from the inventory and insert it into the empty slot.

Next, let’s tap on the lever to activate it.
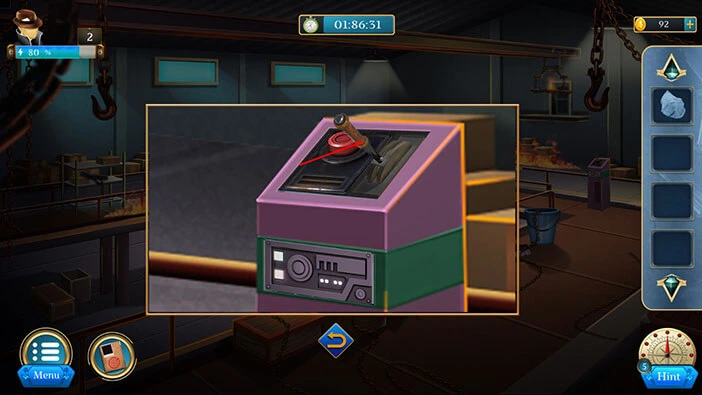
Lastly, let’s tap on the red button to activate the crane.
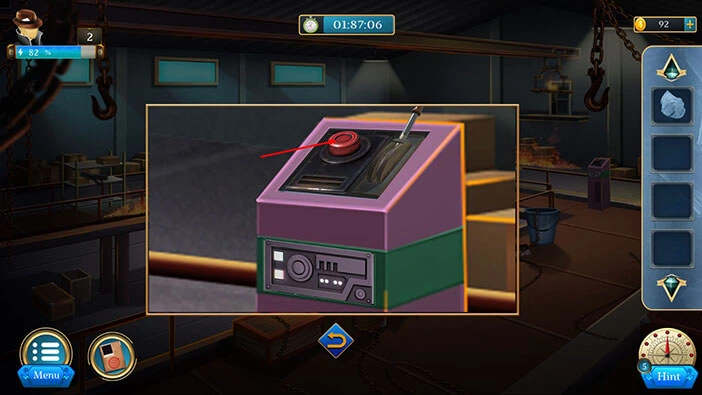
The crane with the ramp will come closer. Let’s tap on it to take a closer look.
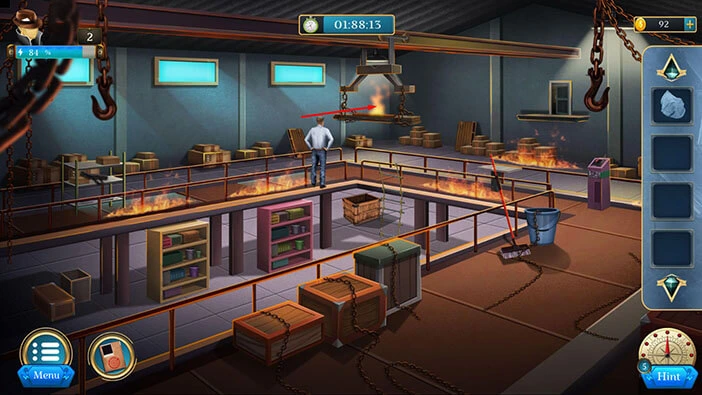
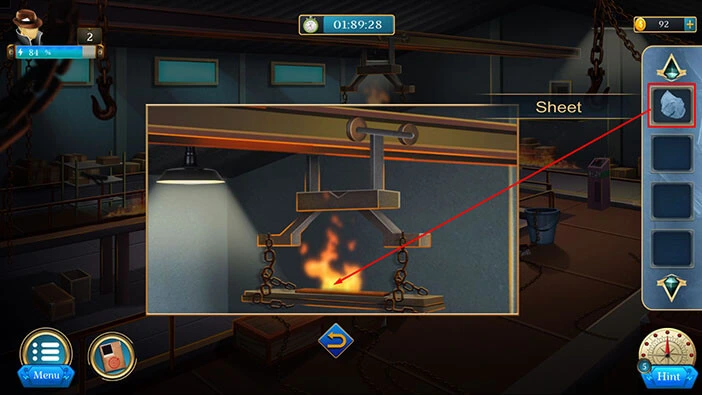
Before we can use the crane, we have to put out the fire. So, select the “Sheet” from the inventory and use it to put out the fire.
Our character will use the crane to get to the door on the other side and, with that, you will complete this level.
With that, we have reached the end of the second level. If you want to see the walkthrough for the third level, tap on the next part button.
Thank you for reading.