Room Escape: Detective Phantom | Level 21
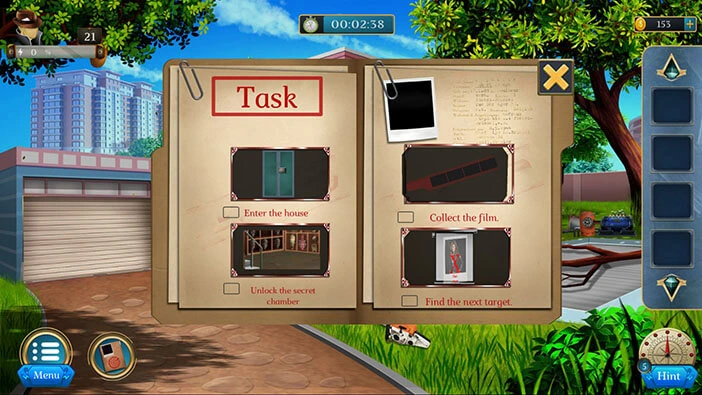
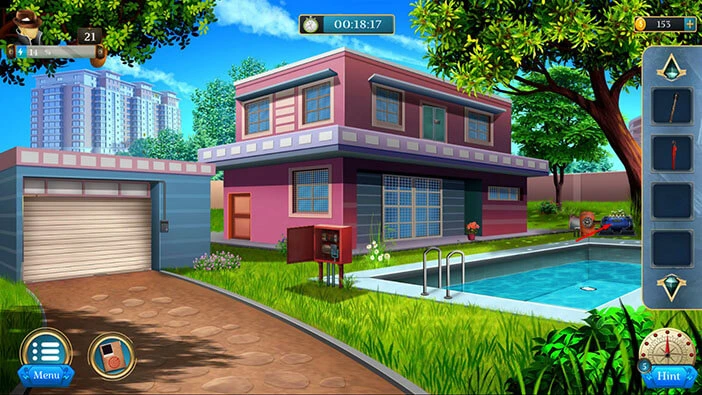
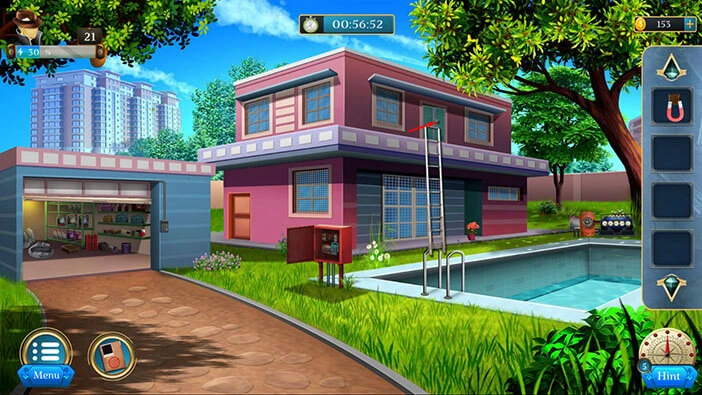
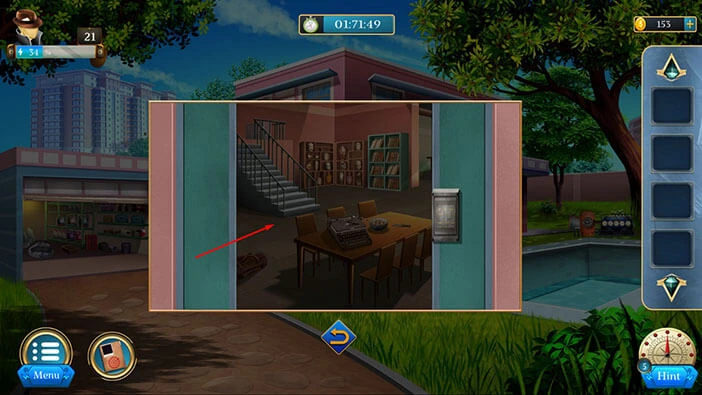
Hello everyone and welcome to the walkthrough for the twenty-first level of “Room Escape: Detective Phantom”. In the twenty-first level, our task is to look for clues regarding Black Spider’s next target.
Our objectives are to “Enter the house” “Unlock the secret chamber” “Collect the film” and “Find the next target”. Tap on the “X” button to go back.
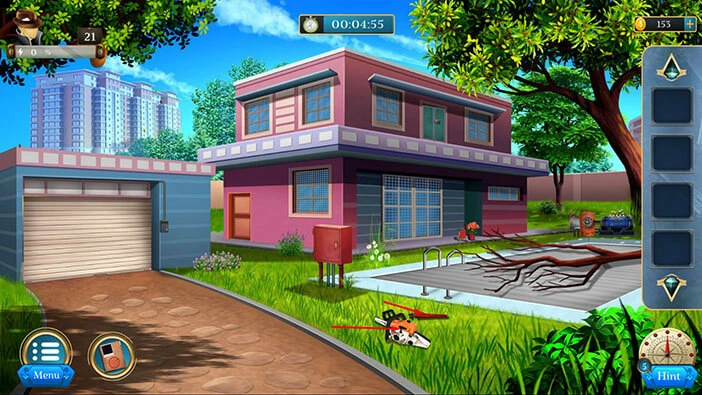
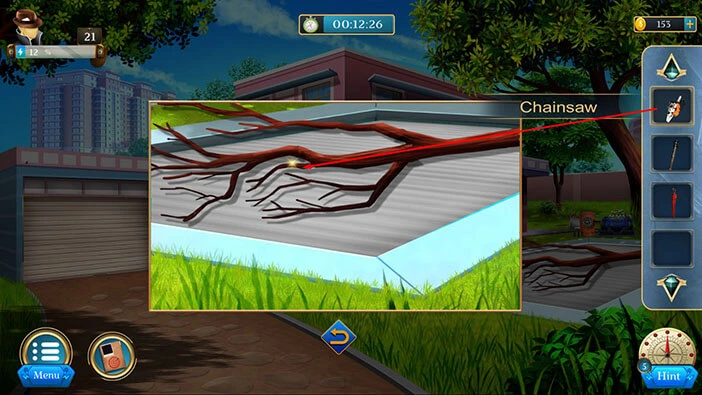
On the ground in front of you, you will notice a “Chainsaw” and a “Spanner”. Let’s tap on these two items to pick them up.
After that, tap on the arrow at the bottom to go back.
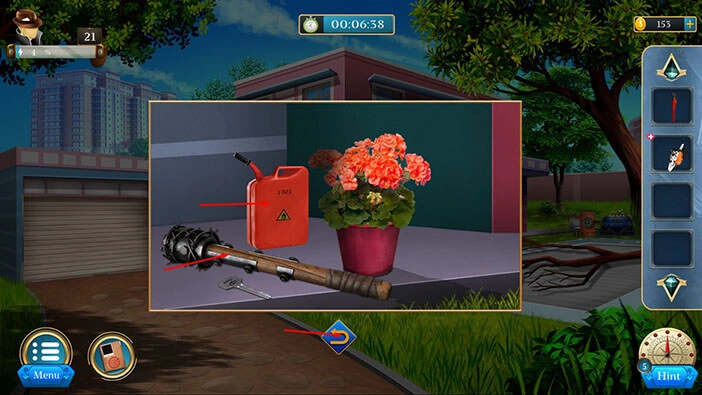
Next, let’s tap on the flowers on the right to take a closer look.
Here, you will find a “Fuel can” and a “Hammer”. Let’s tap on these two items to pick them up.
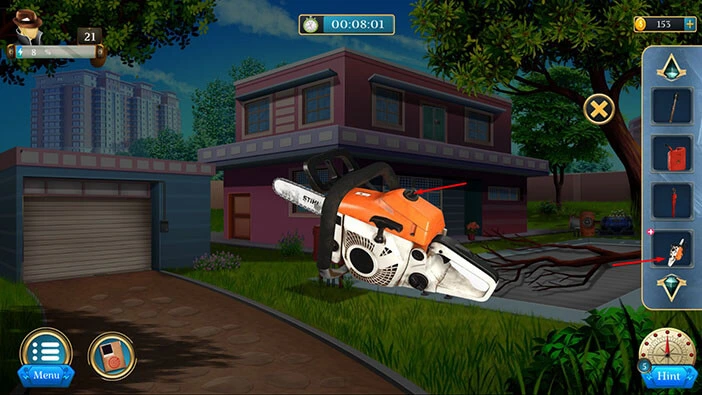
Next, select the “Chainsaw” from the inventory and it will appear in the middle of the screen. After that, tap on the lid at the top to remove it.
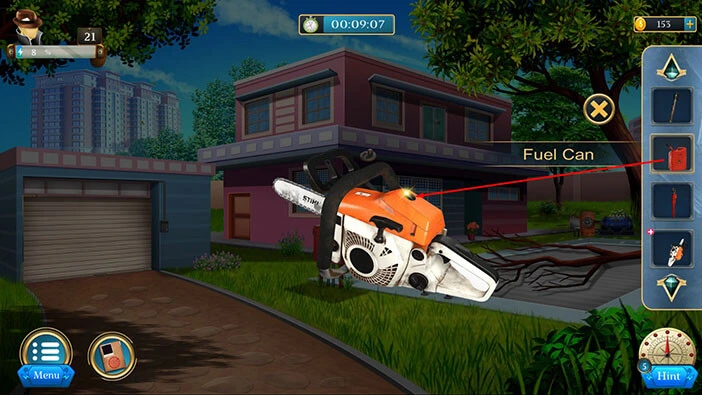
Select the “Fuel can” from the inventory and use it to fill up the chainsaw with gasoline.
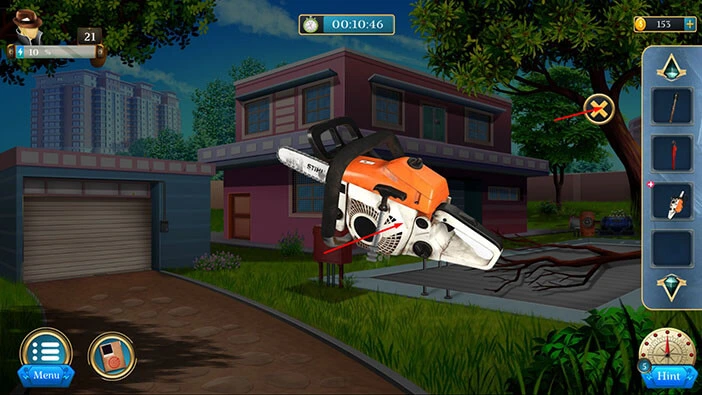
Once it’s fueled, our character will turn on the chainsaw. So, let’s tap on it to pick it up.
After that, tap on the “X” button to close this window.
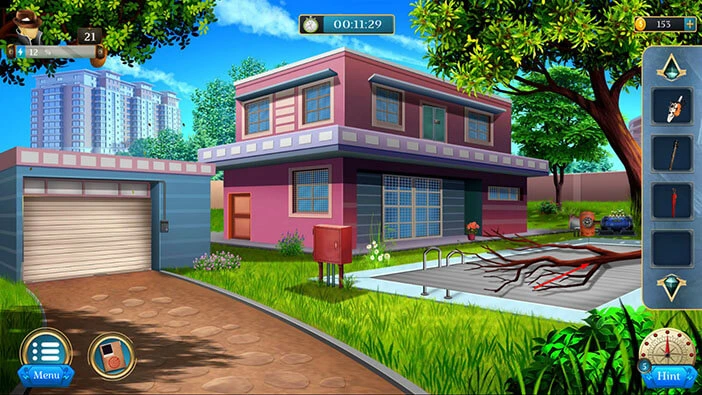
Next, let’s tap on the fallen tree on the right to take a closer look at it.
Select the “Chainsaw” from the inventory and use it to cut the tree.
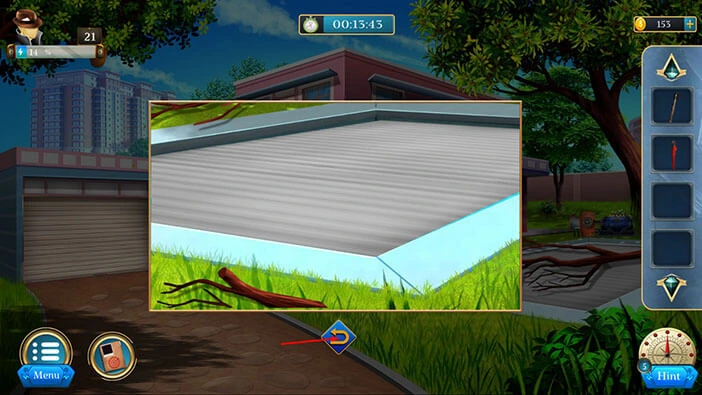
So, we cleared this area by removing the fallen tree. Let’s go back. Tap on the arrow at the bottom.
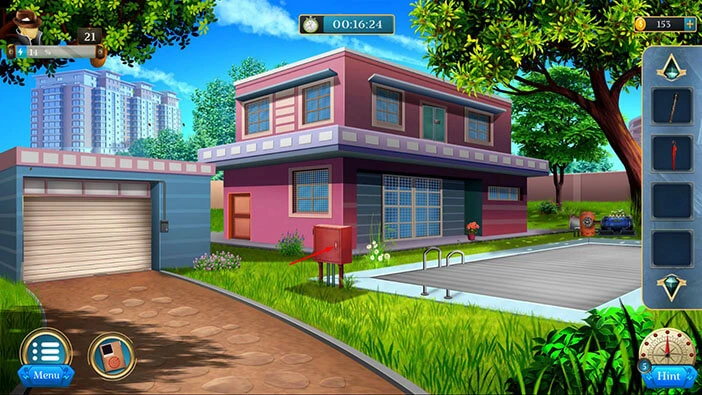
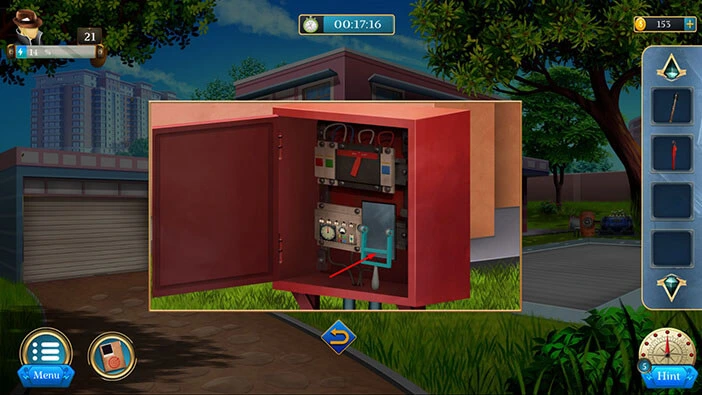
Next, let’s tap on the red box to take a closer look at it, and tap again to open it.
After that, tap on the blue lever to remove the pool cover.
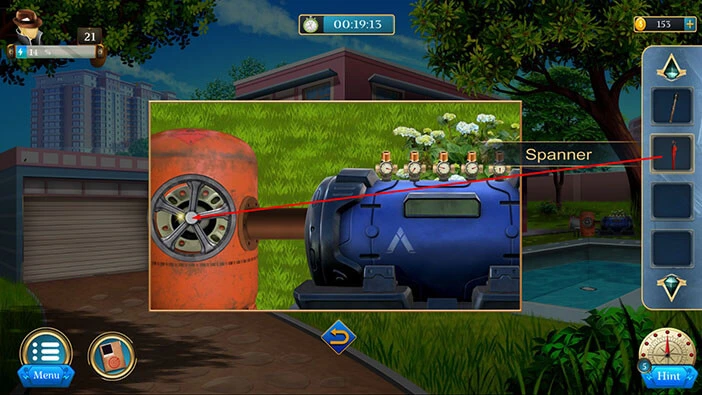
Next, let’s tap on the blue machine on the right to take a closer look at it.
Select the “Spanner” from the inventory and use it to turn the valve on the left.
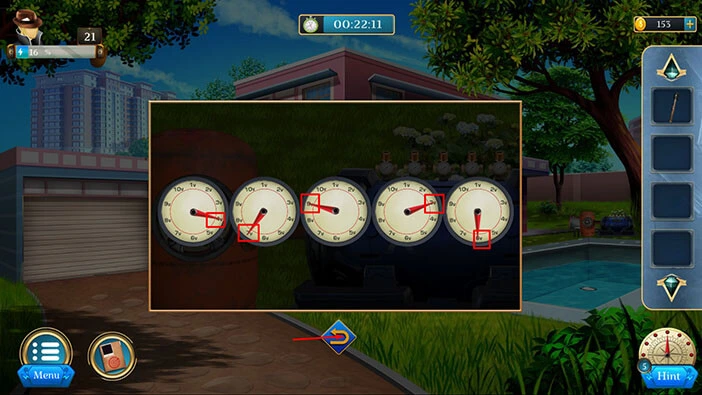
Here, you will see five dials with red arrows, and each arrow is pointing at a certain number. So, let’s memorize/write down the numbers that arrows are pointing at because we will need this information for the next puzzle.
Starting from left to right, we have the numbers, 4, 7, 9, 3, 6.
Once you’re done, tap on the arrow at the bottom to go back.
Let’s go back to the red box. Tap on it to take a closer look.

Let’s set the numbers that we discovered previously. We will do that in several steps. Let’s begin.
Step 1
So, let’s tap on the red arrow and move it to the number 4. After that, tap on the second slot to switch to the second number.

Step 2
Let’s tap on the red arrow and move it to the number 7. After that, tap on the third slot to switch to the third number.
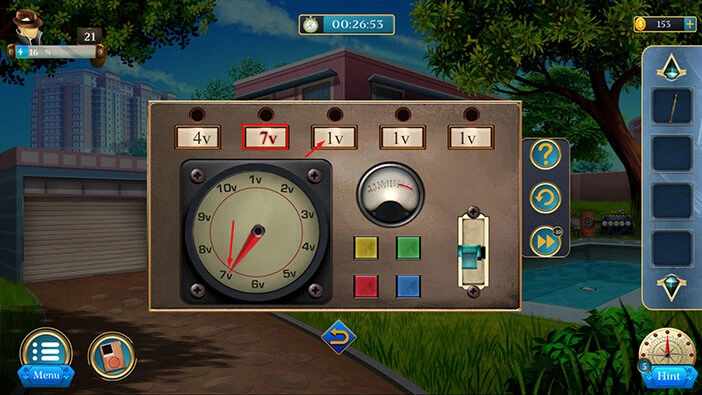
Step 3
Let’s tap on the red arrow and move it to the number 9. After that, tap on the fourth slot to switch to the fourth number.

Step 4
Let’s tap on the red arrow and move it to the number 3. After that, tap on the fifth slot to switch to the fifth number.
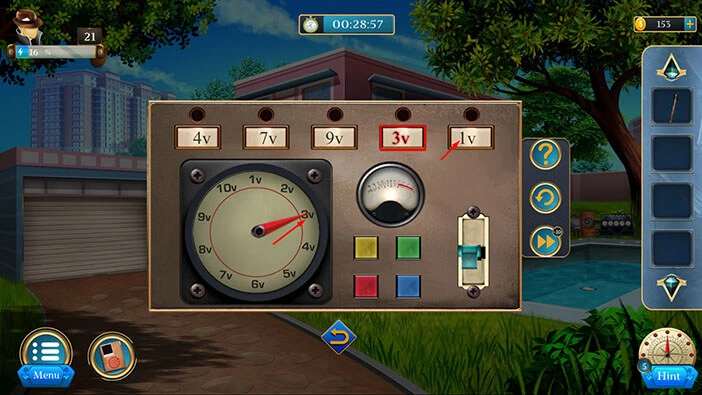
Step 5
Let’s tap on the red arrow and move it to the number 6. After that, tap on the blue switch, and you will drain the pool.

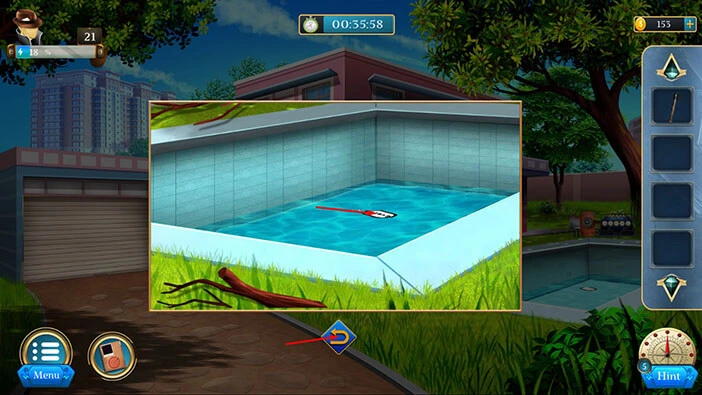
Ok, we have drained the pool, so let’s tap on the item inside it to take a closer look.

Here, you will find a “Dog tag”. Let’s tap on it to pick it up. After that, tap on the arrow at the bottom to go back.
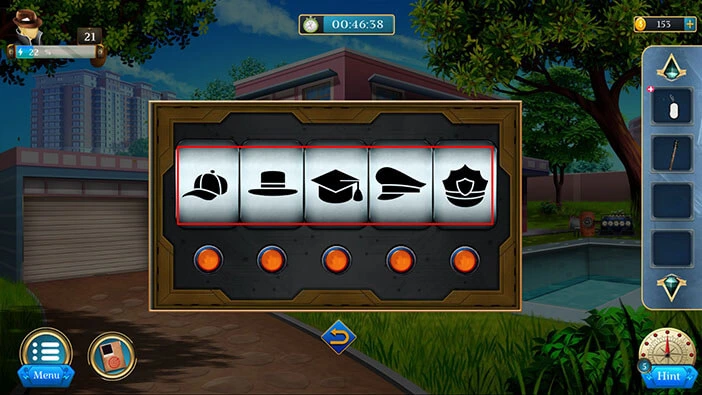
Select the “Dog tag” from the inventory and it will appear in the middle of the screen. Here, we can see five hats. Let’s memorize/write down these hats because we will need this information in order to open the garage door.
So, we have a baseball hat, a top hat, a graduation hat, a police hat, and a police badge.
Once you’re done, tap on the “X” button to close this window.
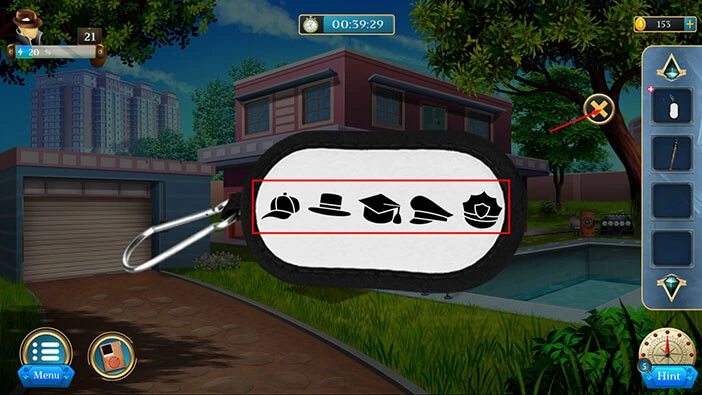
Let’s tap on the switch, next to the garage door, to take a closer look at it, and tap again to start the interaction.
Let’s set the hats that we discovered. We had, a baseball hat, a top hat, a graduation hat, a police hat, and a police badge.
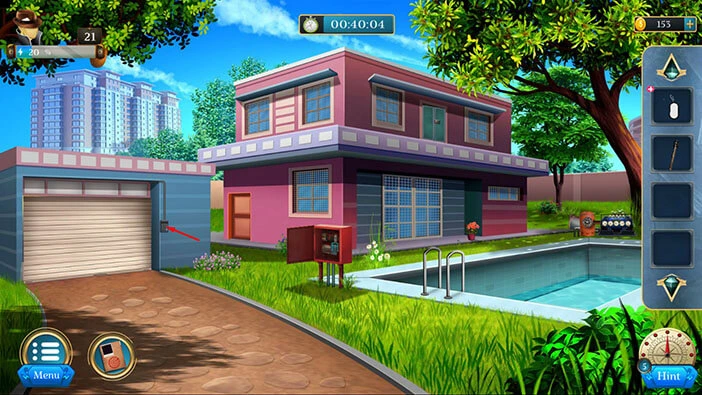
With that, you will open the garage door, so let’s look inside. Tap on the pile in the garage to take a closer look at it.

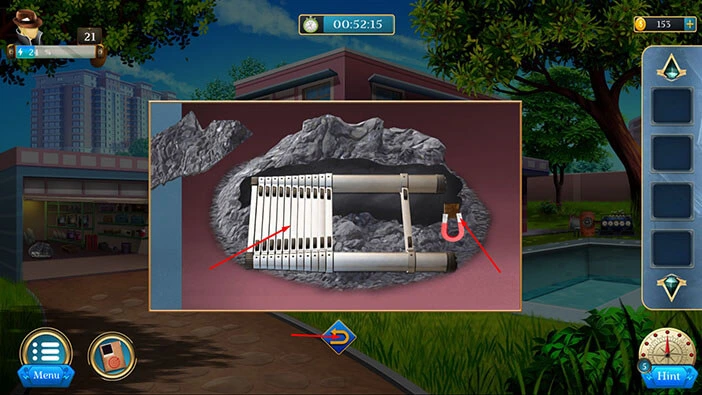
You will notice several items, trapped in the concrete. So, let’s select the “Hammer” from the inventory and use it to break the concrete.
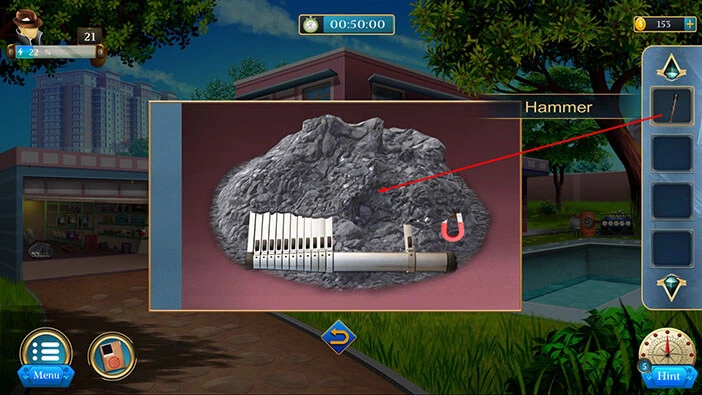
We can now pick up the “Ladder” and the “Magnet” so let’s do that. Once you’re done, tap on the arrow at the bottom to go back.
Well, we can now reach the second floor, so let’s do that. Select the “Ladder” from the inventory and place it under the door on the second floor.
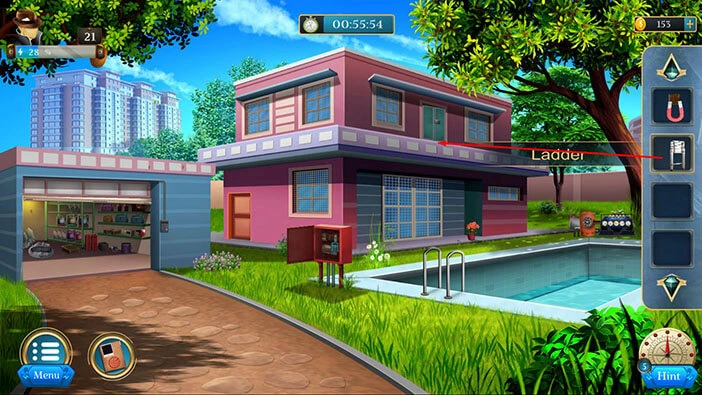
Let’s tap on the door on the second floor to take a closer look at it, and tap again to start the interaction.
Select the “Magnet” from the inventory and place it into the labyrinth.
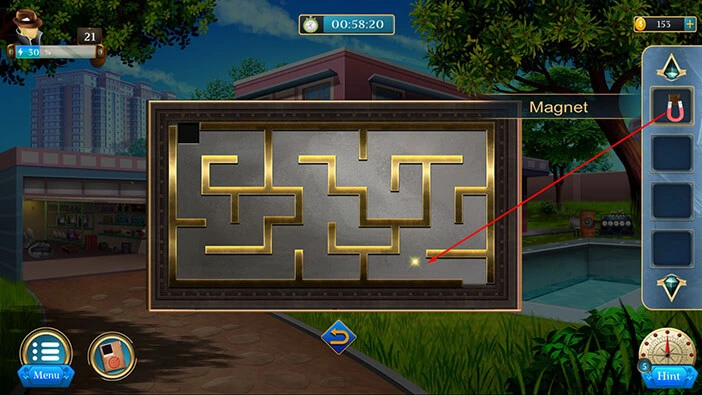
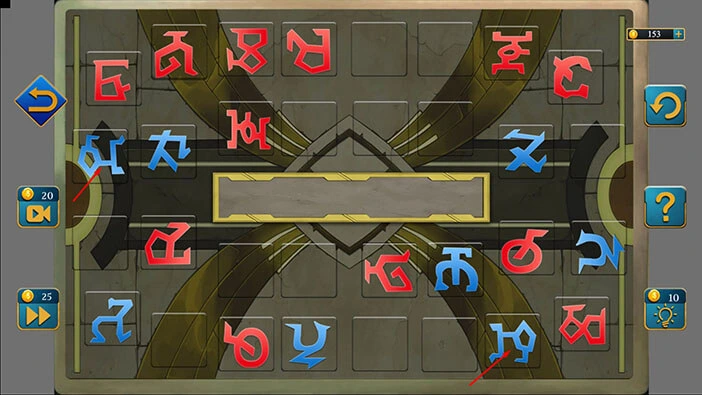
Here, we have another puzzle. Our task is to lead the “Magnet” through the labyrinth and get it to the exit located in the top left corner.
We will do this puzzle in several steps. Let’s begin.
Step 1
Select the “Magnet” and tap twice on the left arrow.

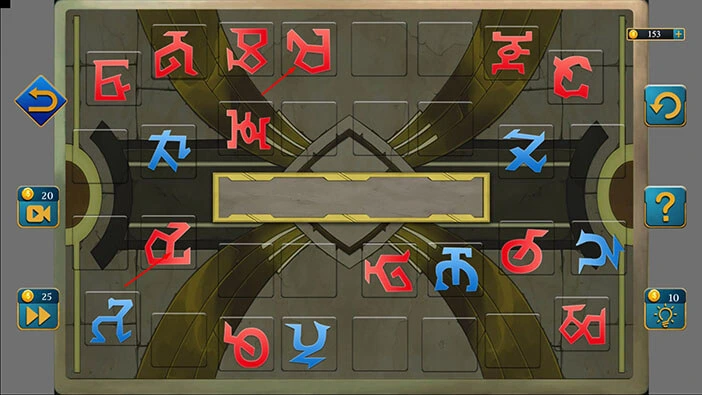
Step 2
Tap on the up arrow, then tap on the right arrow.
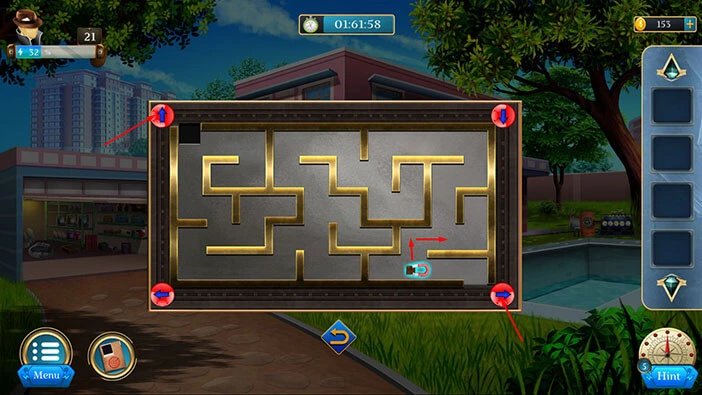
Step 3
Tap twice on the up arrow, then tap on the right arrow.

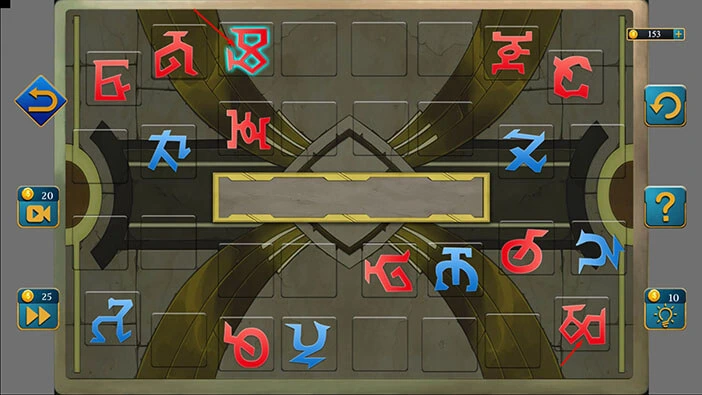
Step 4
Tap on the up arrow, then tap twice on the left arrow.

Step 5
Tap on the down arrow, then tap on the left arrow.
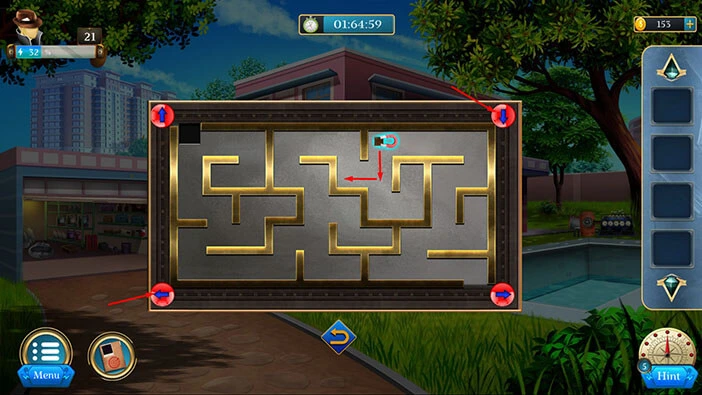
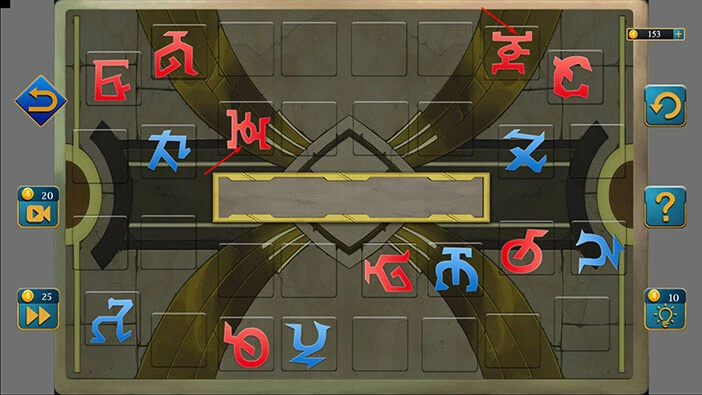
Step 6
Tap on the up arrow, then tap twice on the left arrow.

Step 7
Tap on the down arrow, then tap on the right arrow.

Step 8
Tap twice on the down arrow, then tap on the left arrow.

Step 9
Tap on the down arrow, then tap three times on the left arrow.

Step 10
Tap on the up arrow, then tap on the right arrow.

Step 11
Tap on the up arrow, then tap on the left arrow.

Step 12
Lastly, tap three times on the up arrow.

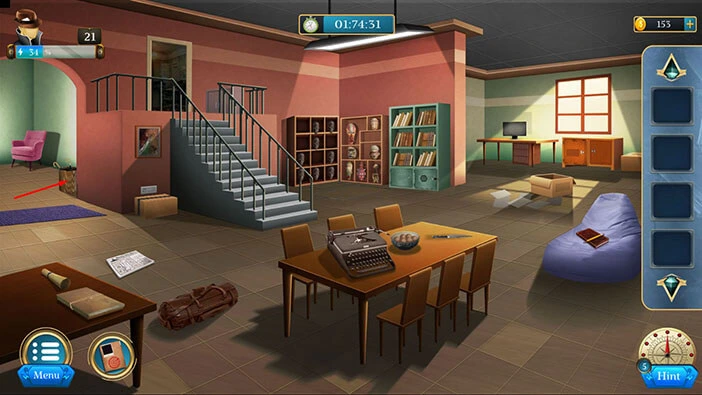
With that, you will unlock the door on the second floor. Let’s tap on it to proceed into the next room.
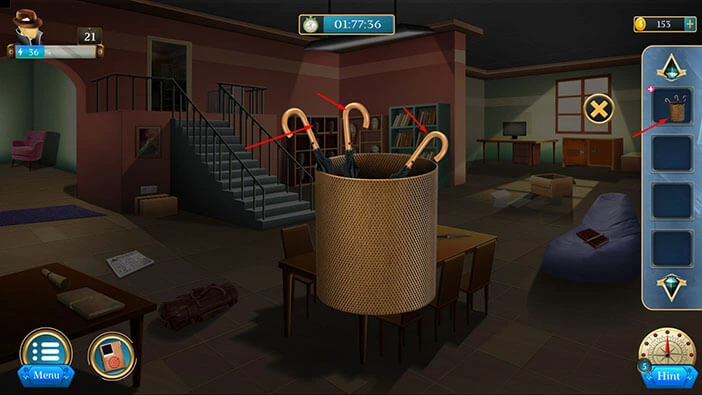
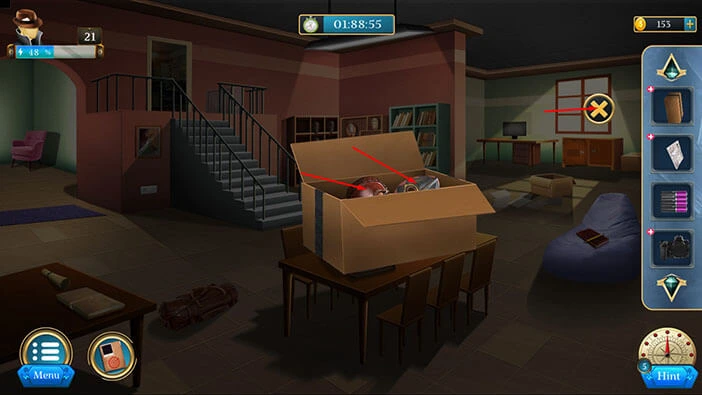
In the room on the left, next to the doorway, you will notice a bucket with three umbrellas. Let’s tap on it to take a closer look, and tap again to pick up the “Box”.
After that, tap on the arrow at the bottom to go back.
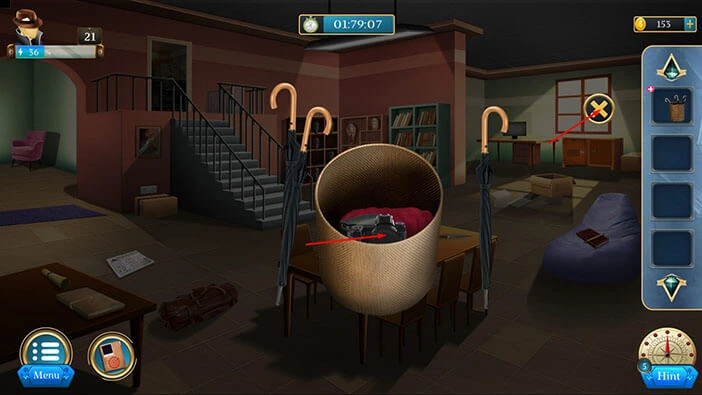
Let’s select the “Box” in our inventory and it will appear in the middle of the screen. After that, tap on the three umbrellas in the box to remove them.
In the bucket, you will find a “Camera”. Let’s tap on it to pick it up. After that, tap on the “X” button to close this window.
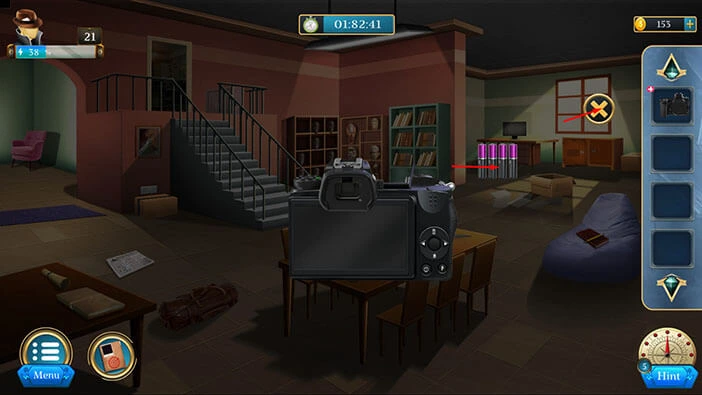
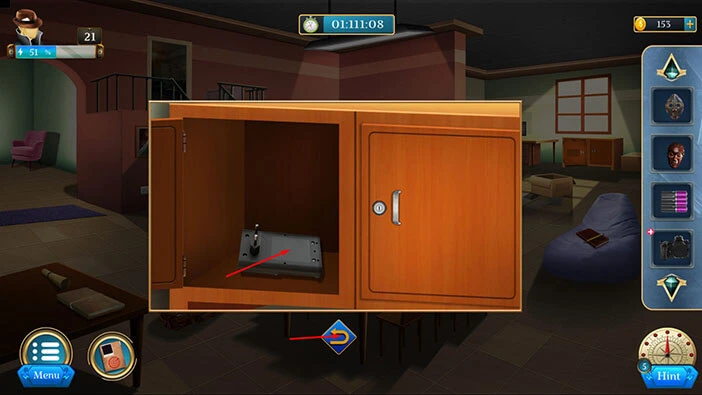
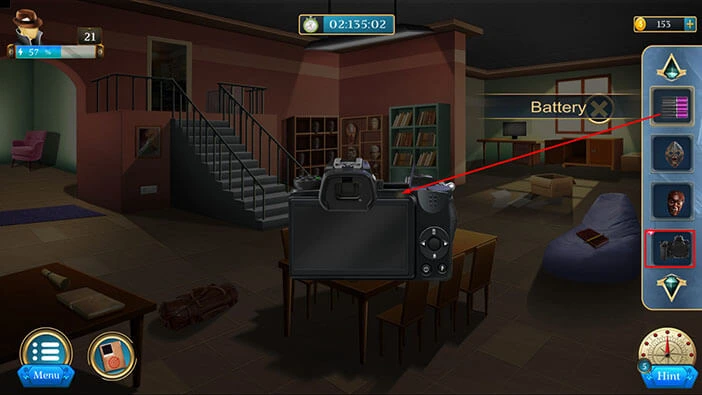
Select the “Camera” from the inventory and it will appear in the middle of the screen. Let’s tap on it to start the interaction.
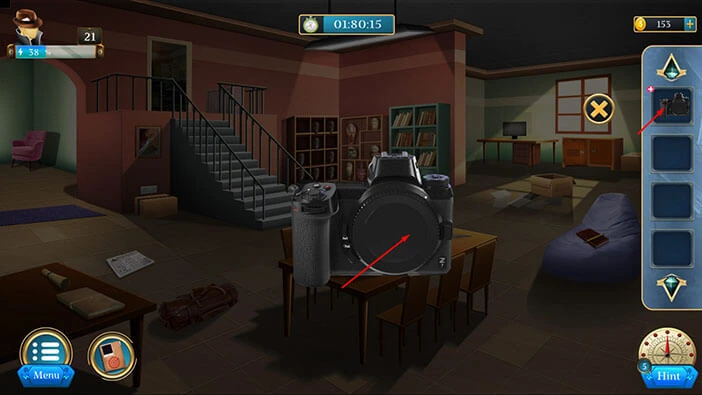
You will discover that the batteries are empty. So, let’s tap on the camera to pull out the batteries.

Let’s tap on the “Battery” to pick it up. After that, tap on the “X” button to close this window.
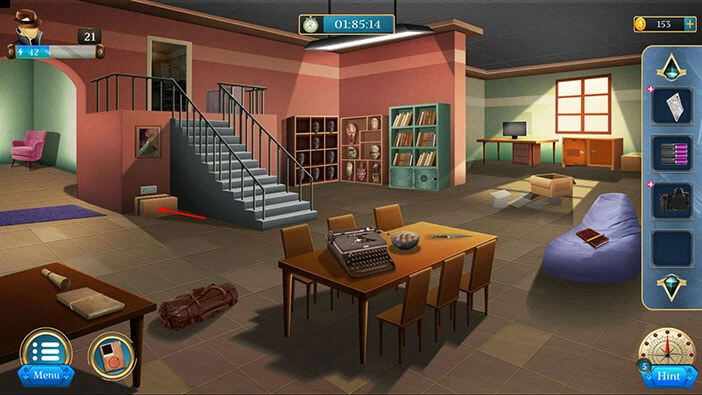
On the left side of the floor, you will notice a “Paper”. Let’s tap on it to take a closer look, and tap again to pick it up.
After that, tap on the arrow at the bottom to go back.

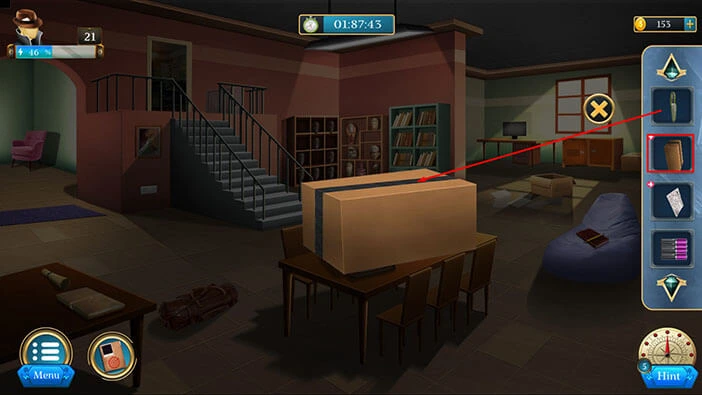
Next, let’s tap on the cardboard box next to the doorway on the left to take a closer look at it. Let’s tap on it again to pick it up.
After that, tap on the arrow at the bottom to go back.
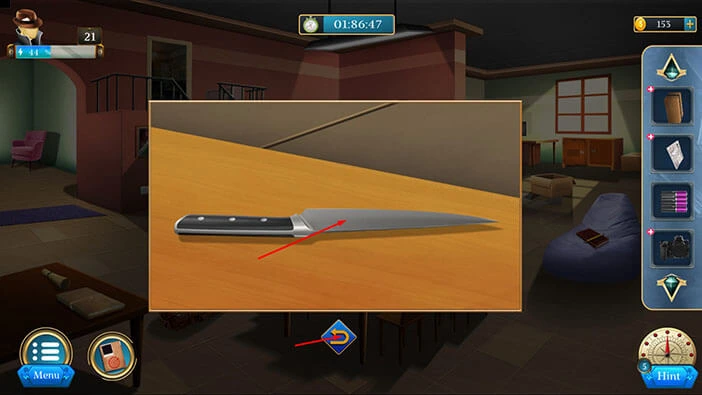
Let’s tap on the table to take a closer look at it.
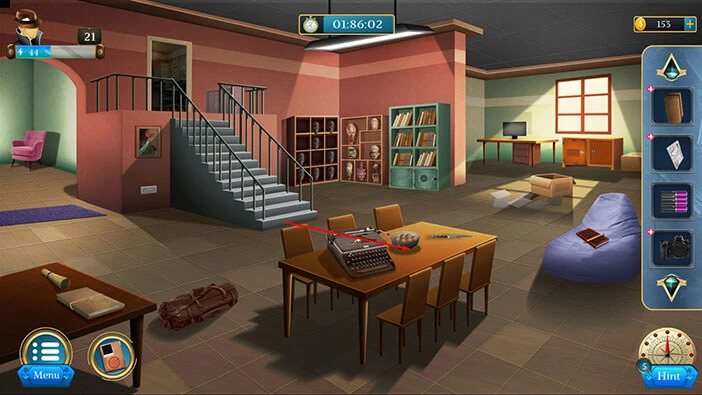
Here, you will find a “Knife”. Let’s tap on it to pick it up. After that, tap on the arrow at the bottom to go back.
Select the “Box” from the inventory and it will appear in the middle of the screen. After that, select the “Knife” from the inventory and use it to cut open the box.
Inside, you will find two “Masks”. Let’s tap on them to pick them up. After that, tap on the “X” button to close this window.
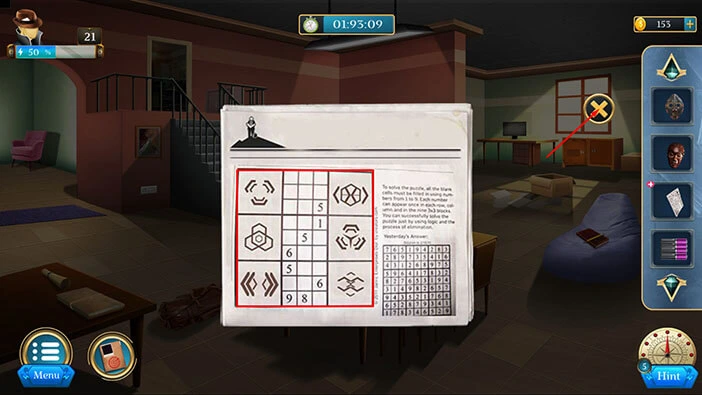
Next, let’s select the “Paper” in our inventory and it will appear in the middle of the screen. Here, we can see six symbols. Let’s memorize/write down these symbols and their positions because we will need this information for the next puzzle.
Once you’re done, tap on the “X” button to close this window.
Let’s tap on the cabinet in the top right corner of the room to take a closer look at it, then tap on the puzzle on the door on the left to start the interaction.

Here, we can see the same six symbols that we previously saw in the paper. So, our next task is to place all the symbols into the proper slots (the symbols should be in the same positions as the symbols in the paper).
We will do this puzzle in a few, easy steps. Let’s begin.
Step 1
Tap twice on the arrow in the middle to rotate the six symbols.
Step 2
Let’s tap on the symbol in the bottom right slot, the symbol in the bottom left slot, and the symbol in the top left slot to put them into the empty slots in the outer layer.
Step 3
Next, let’s tap once on the arrow in the middle to rotate the symbols that are still in the inner layer.
Step 4
Let’s tap on the symbol in the right slot to put it into the empty slot in the outer layer.
Step 5
Next, let’s tap once on the arrow in the middle to rotate the symbols that are still in the inner layer.
Step 6
Let’s tap on the symbol in the top right slot to put it into the empty slot in the outer layer.
Step 7
Next, let’s tap once on the arrow in the middle to rotate the symbols that are still in the inner layer.
Step 8
Lastly, let’s tap on the symbol in the left slot to put it into the empty slot in the outer layer. With that, you will solve this puzzle, and you will unlock the door.
In the cabinet, you will find the “Adapter”. Let’s tap on it to pick it up. After that, tap on the arrow at the bottom to go back.
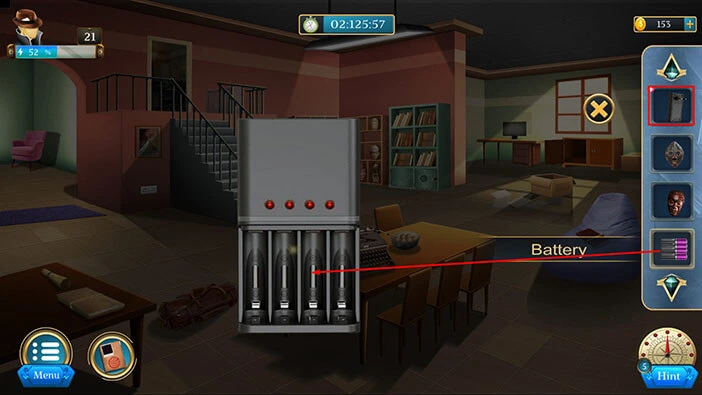
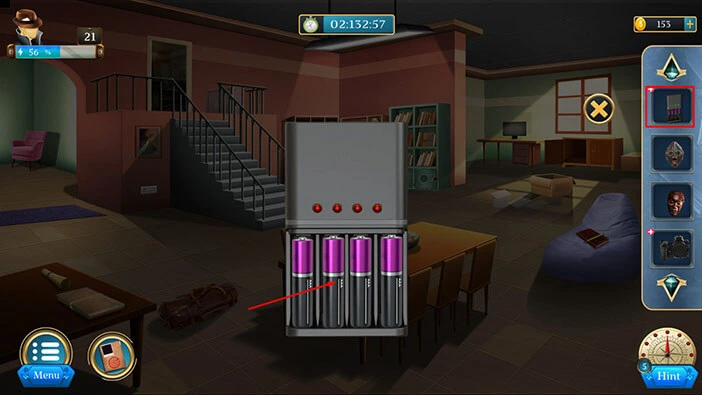
We can use the adapter to charge the batteries from the camera, so let’s do that. Select the “Adapter” from the inventory and it will appear in the middle of the screen. After that, select the “Battery” from the inventory and insert it into the adapter.
Next, tap on the “Adapter” to pick it up. After that, tap on the “X” button to close this window.
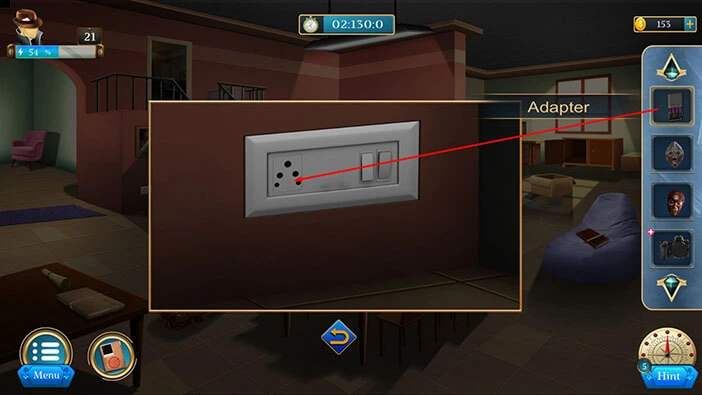
Let’s tap on the outlet, located next to the doorway on the left.
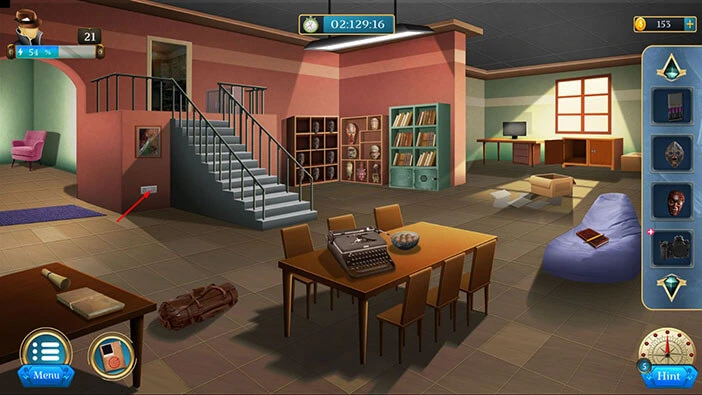
Select the “Adapter” from the inventory and plug it into the outlet.
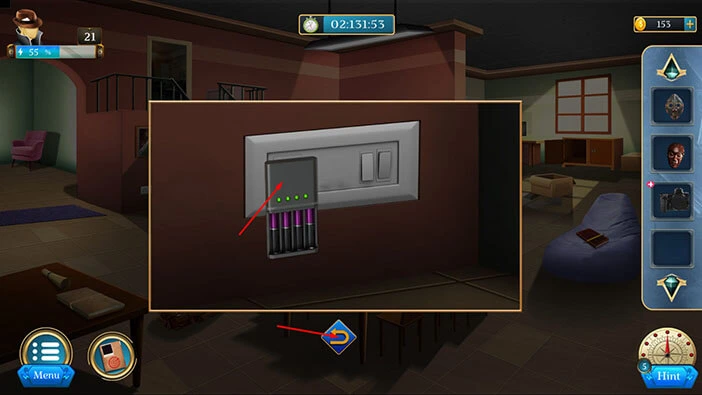
A few moments later, you will see four green dots, indicating that we recharged the batteries. So, let’s tap on the “Adapter” to pick it up.
After that, tap on the arrow at the bottom to go back.
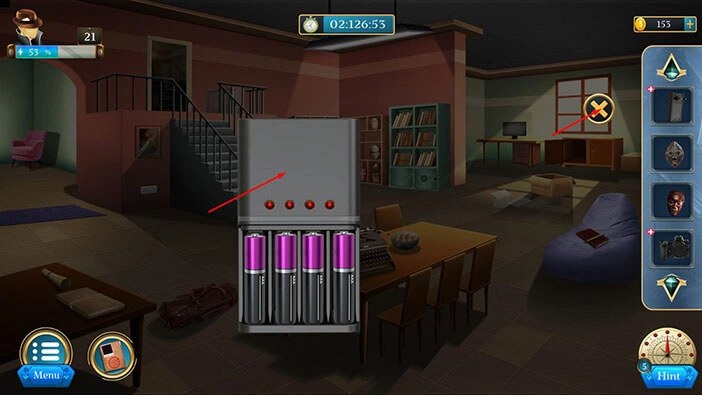
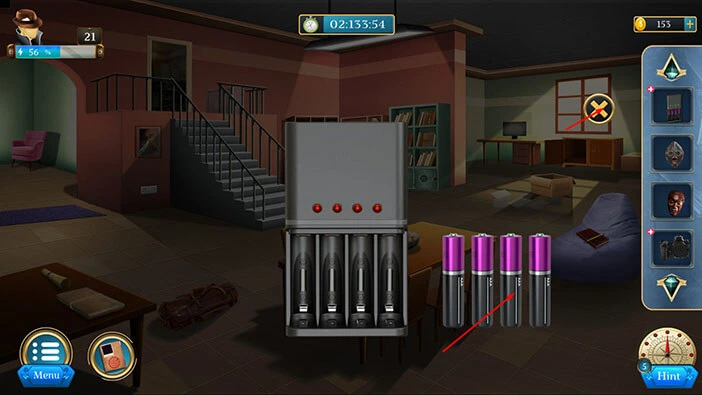
Select the “Adapter” from the inventory and it will appear in the middle of the screen. After that, tap on the batteries to pull them out.
Next, let’s tap on the “Battery” from the inventory to pick it up. After that, tap on the “X” button to close this window.
Select the “Camera” from the inventory and it will appear in the middle of the screen. After that, select the “Battery” from the inventory and put it into the camera.
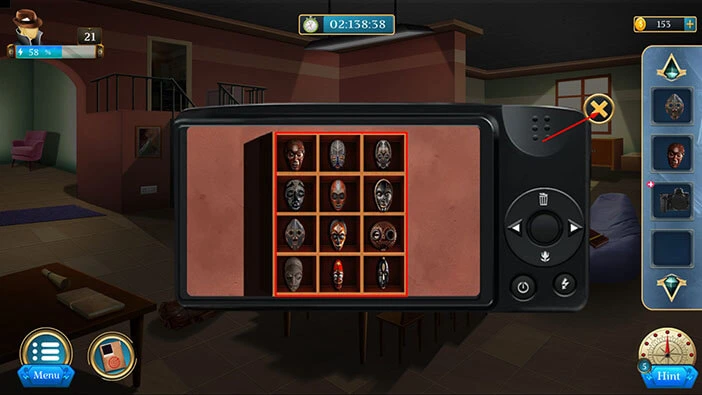
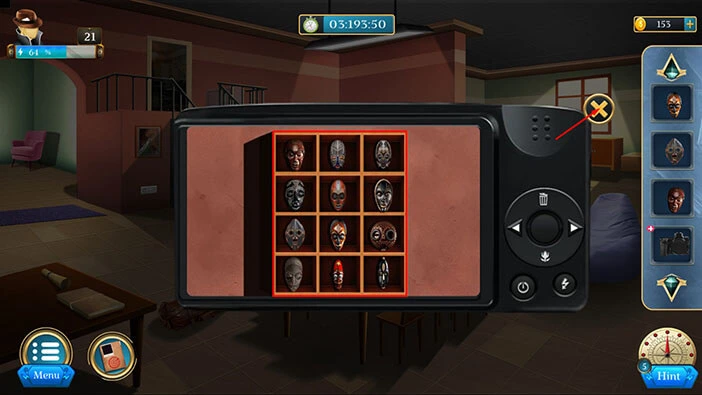
You will discover an image of the 12 masks, arranged in four rows, with three masks in each row. We will come back to it a bit later.
For now, let’s tap on the “X” button to close this window.
On the right, you will notice an armchair covered by a sheet. Let’s tap on it to take a closer look.

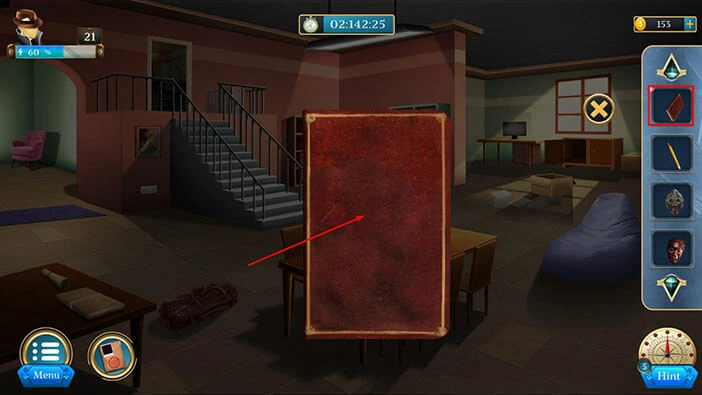
Here, you will find a “Pencil” and a “Book”. Let’s tap on these two items to pick them up. After that, tap on the arrow at the bottom to go back.
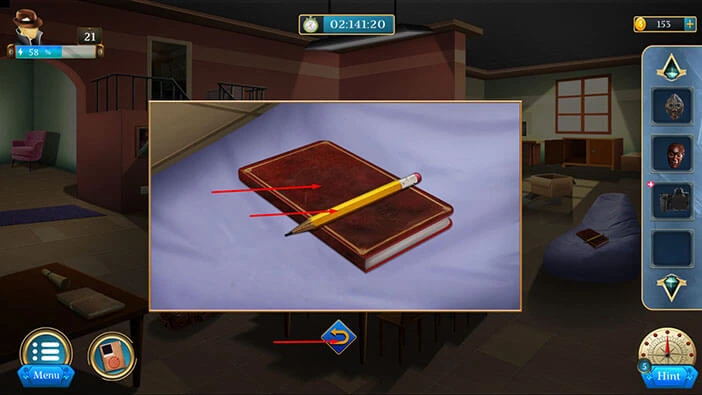
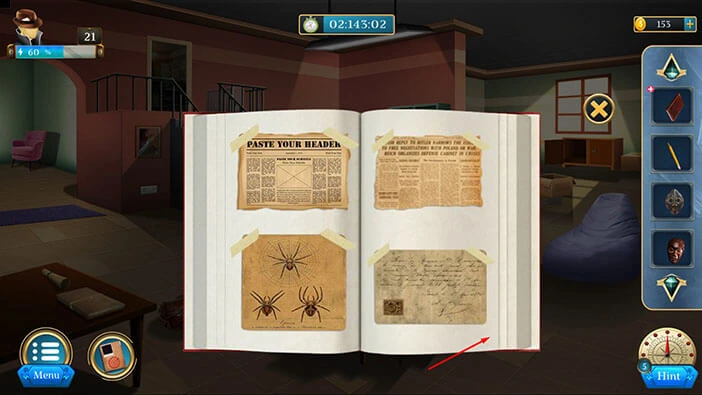
Next, select the “Book” from the inventory and it will appear in the middle of the screen. After that, tap on the book to open it.
Tap on the page on the right to look at the next two pages.
Select the “Pencil” from the inventory and use it on the right page.
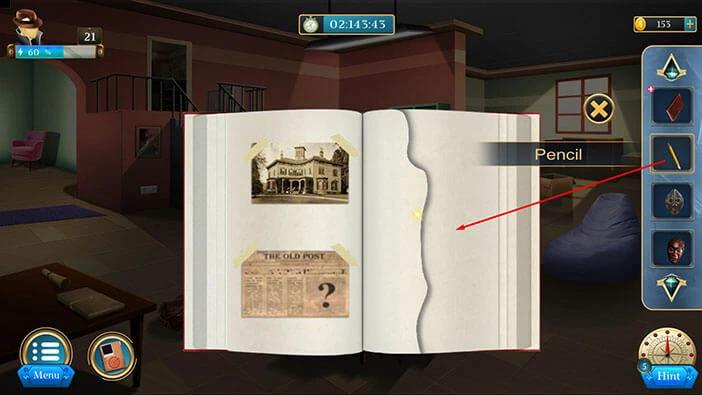
Our character will discover a hint for the next puzzle. Let’s memorize/write down the symbols and their position because we will need this information for the next puzzle.
Once you’re done, tap on the “X” button to close this window.
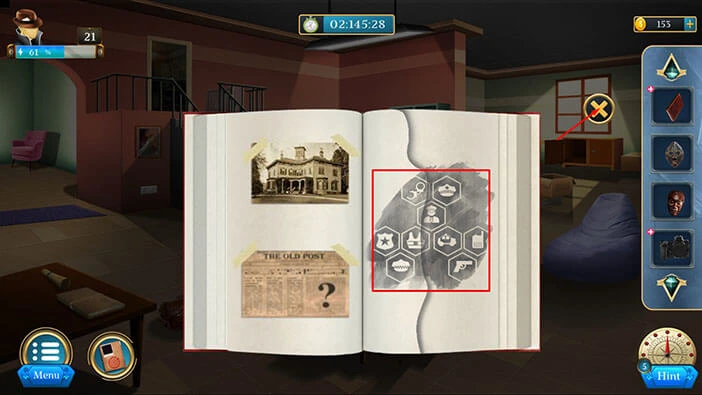
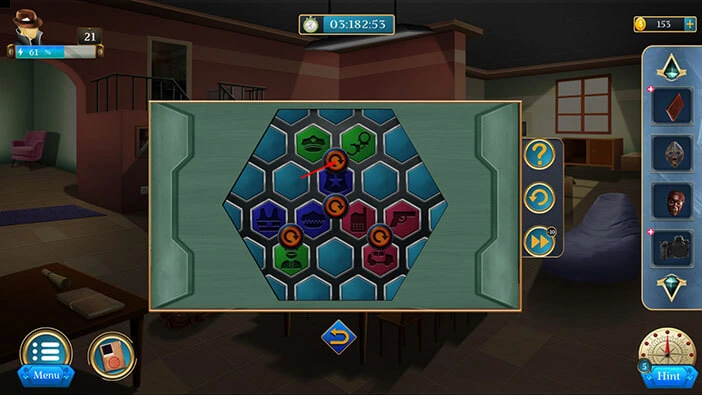
Next, let’s tap on the blue cabinet door to take a closer look at it. Here, you will notice another puzzle. Let’s tap on it to start the interaction.

Here, we have another puzzle. Our task is to rearrange the symbols and place them into the correct slots. The position of the symbols should match the hint that we discovered in the book, so you can take another look at the “Book” in your inventory if you need a reminder.
We will do this puzzle in several steps. Let’s begin.
Step 1
Tap twice on the top arrow to shuffle the symbols.
Step 2
Tap twice on the bottom left arrow to shuffle the symbols.

Step 3
Tap on the arrow in the middle to shuffle the symbols.
Step 4
Tap on the top arrow to shuffle the symbols.

Step 5
Tap twice on the arrow in the middle to shuffle the symbols.
Step 6
Tap twice on the top arrow to shuffle the symbols.
Step 7
Tap twice on the bottom left arrow to shuffle the symbols.
Step 8
Tap on the bottom right arrow to shuffle the symbols, and you will solve this puzzle.
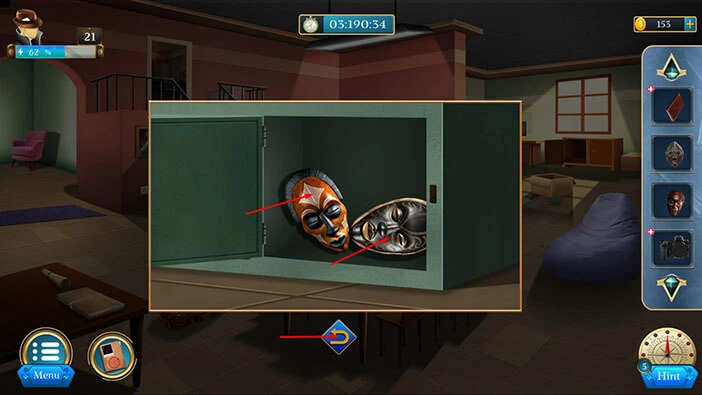
In the cabinet, you will find two “Masks”. Let’s tap on them to pick them up.
After that, tap on the arrow at the bottom to go back.
We collected four masks, so let’s take another look at the hint in the camera. So, select the “Camera” from the inventory and it will appear in the middle of the screen.
After that, we should memorize/write down the position of the masks, because we will need this information in order to solve the next puzzle.
Once you’re done, tap on the “X” button to close this window.
Next, let’s tap on the shelf with masks (located next to the stairs) to take a closer look at it.

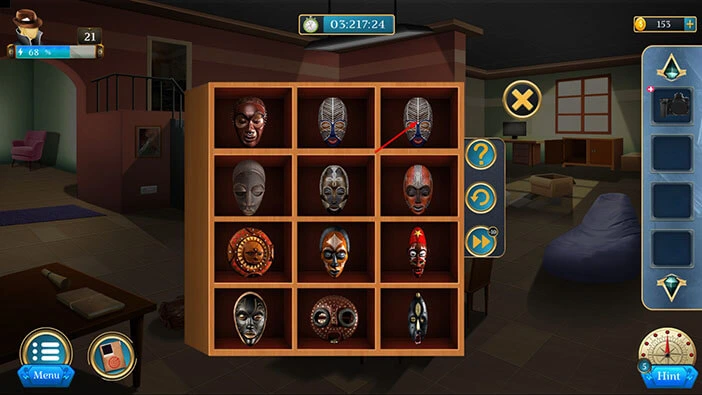
Here, we have another puzzle. To activate it, drag the masks from your inventory into the empty slots.
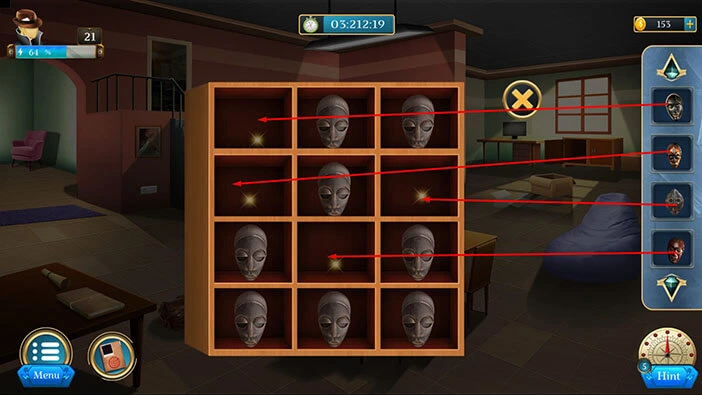
We already saw the correct order of the masks when we restored the power to the camera in our inventory. If you need a reminder take another look at the camera.
So, our task in this puzzle is to rearrange the masks, and their positions should match the image that we saw in the camera. We will do this puzzle in several steps. Let’s begin.
Step 1
Tap eleven times on the first mask in the first row to set it.

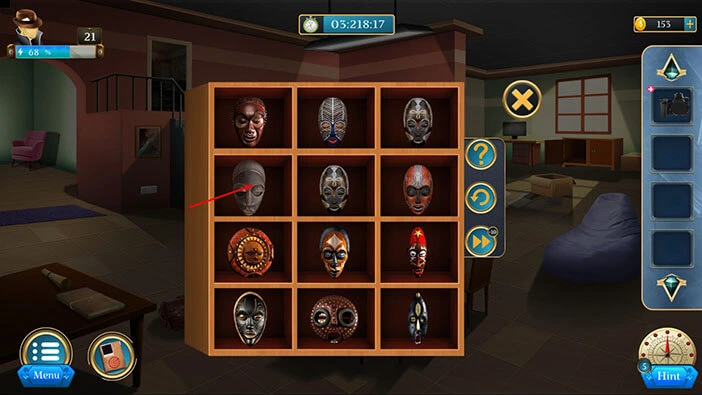
Step 2
Tap once on the second mask in the first row to set it.

Step 3
Tap once on the third mask in the first row to set it.
Step 4
Tap twice on the first mask in the second row to set it.
Step 5
Tap eleven times on the second mask in the fourth row to set it.

Step 6
Tap four times on the first mask in the fourth row to set it.

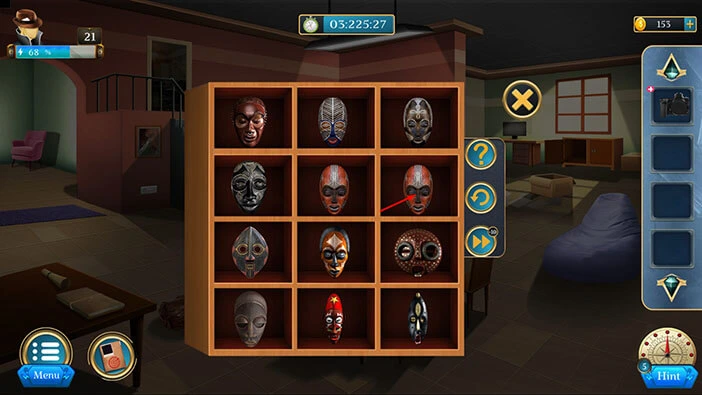
Step 7
Tap twice on the third mask in the third row to set it.

Step 8
Tap eight times on the first mask in the third row to set it.

Step 9
Tap once on the second mask in the second row to set it.

Step 10
Tap four times on the third mask in the second row to set it. With that, you will solve this puzzle.
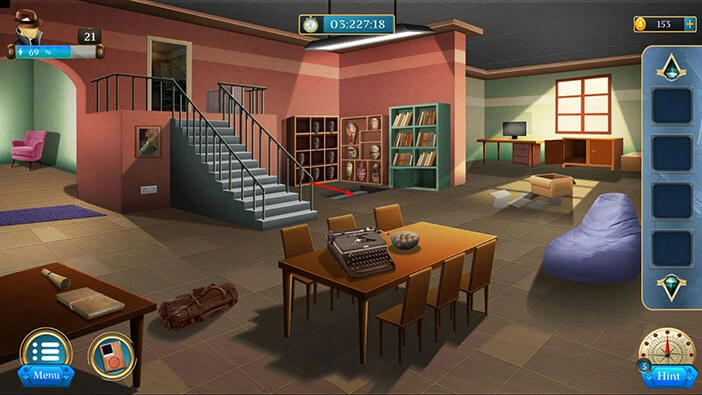
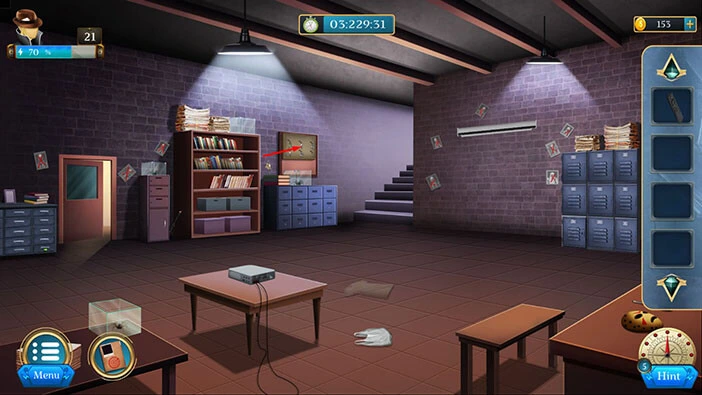
As soon as you correctly arrange the masks, you will discover a secret door on the floor. Let’s proceed to the secret room and explore it.
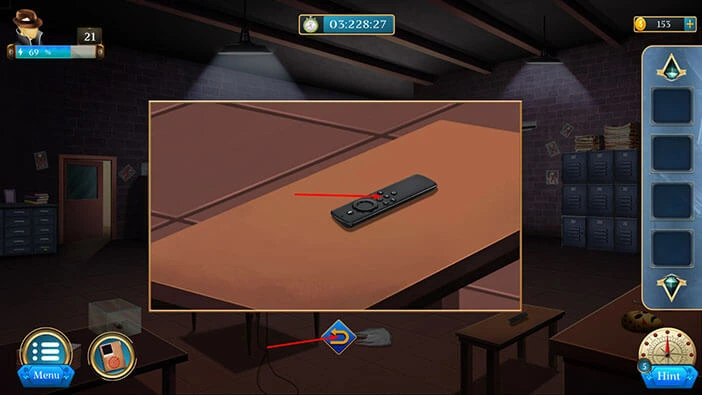
Let’s tap on the small table on the right to take a closer look at it.

Here, you will find a “Remote”. Let’s tap on it to pick it up. After that, tap on the arrow at the bottom to go back.
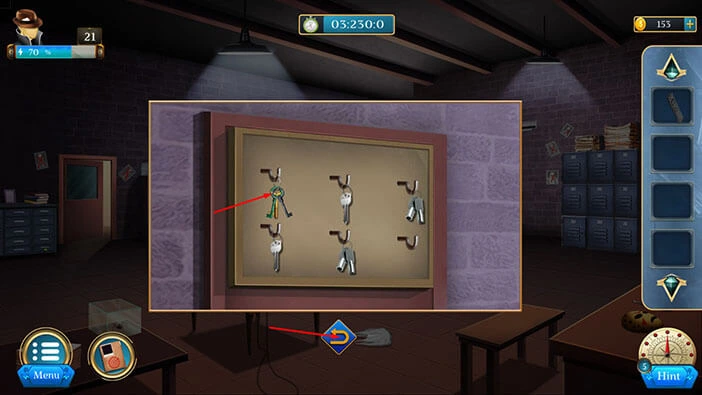
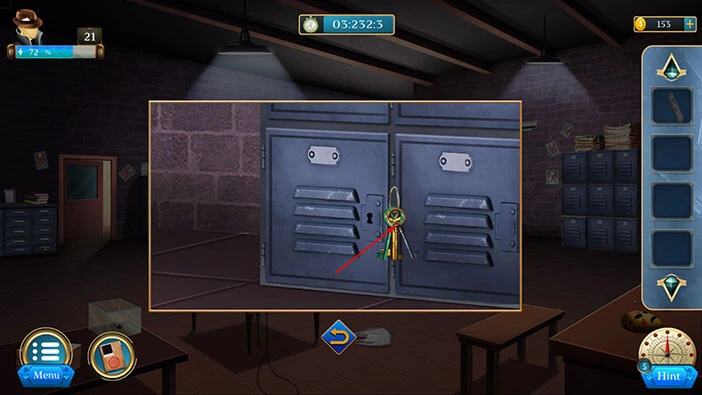
On the wall, next to the staircase, you will see a panel with several keys. Let’s tap on it to take a closer look.
Let’s tap on the first “Key” in the first row to pick it up. After that, tap on the arrow at the bottom to go back.
Let’s top on the bottom left locker on the left side of the room to take a closer look at it.

Select the “Key” from the inventory and drag it to the keyhole.
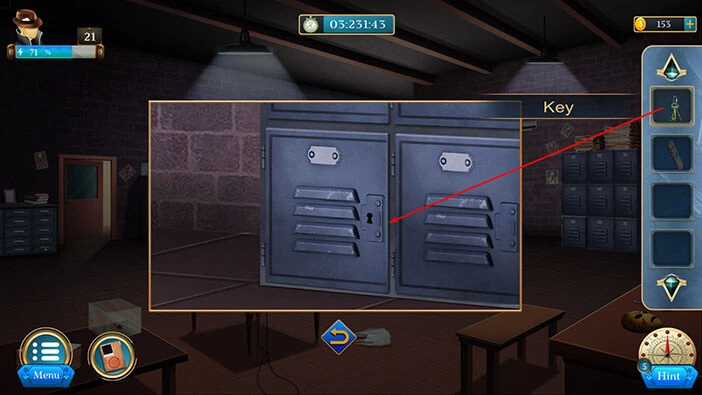
After that, tap on one of the keys, and our character will use it to open the locker.
Well, that didn’t work. Let’s try the next key.
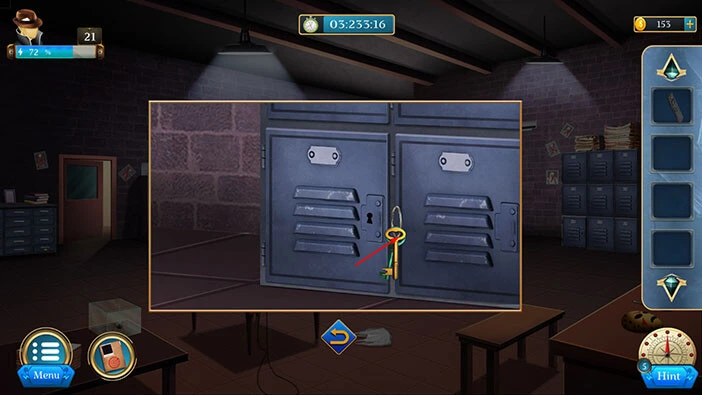
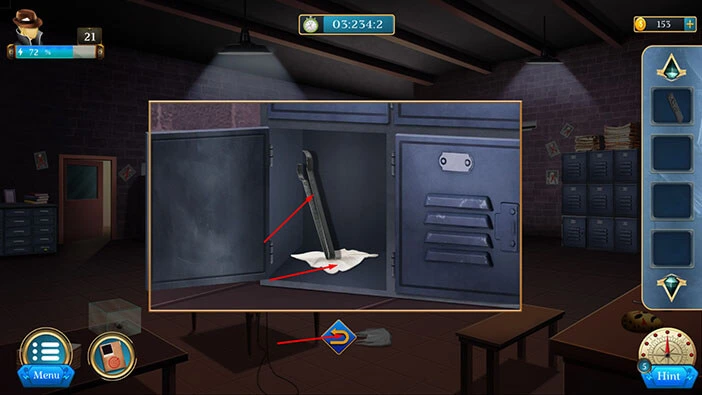
Well, that worked. In the locker you will find a “Tong” and a “Cloth”. Let’s tap on these two items to pick them up.
After that, tap on the arrow at the bottom to go back.
Let’s tap on the panel on the right to take a closer look at it, and tap again to unfold it.
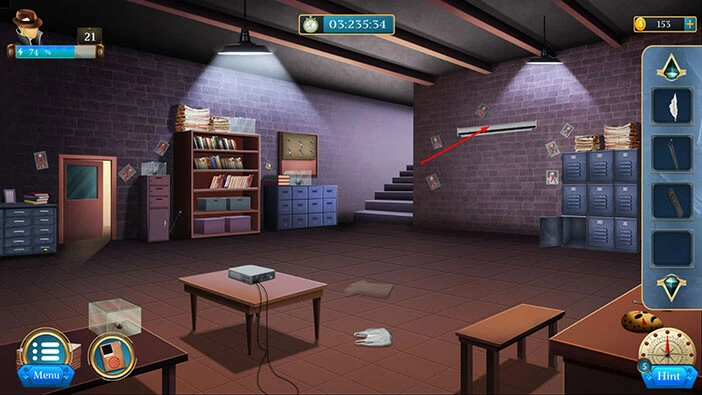
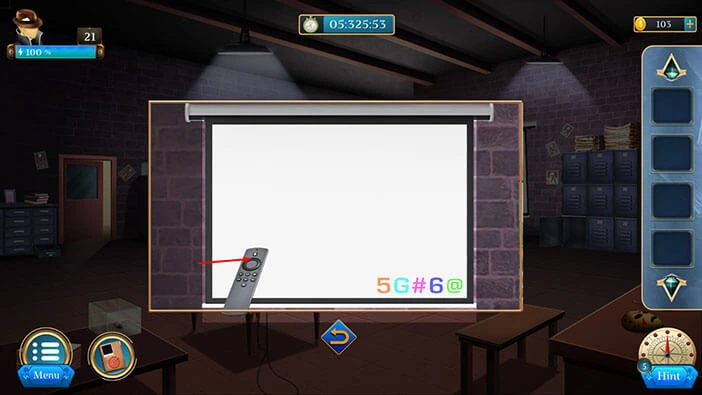
Next, select the “Remote” from the inventory and use it to turn on the projector.
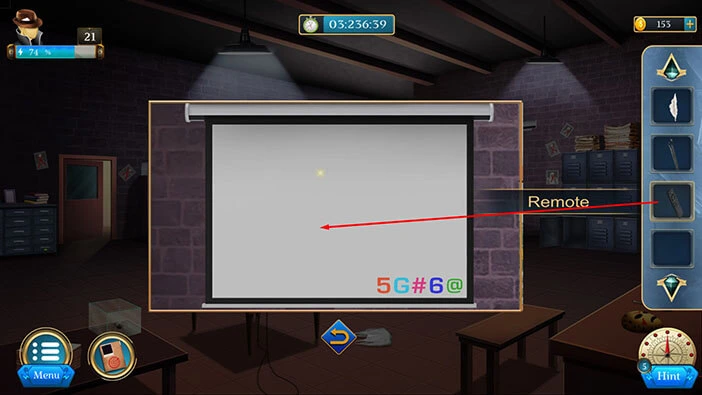
Let’s memorize/write down the symbols in the bottom right corner. Once you’re done, tap on the arrow at the bottom to go back.

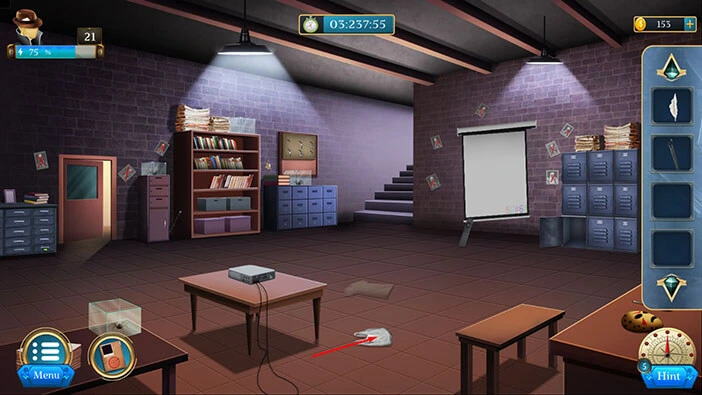
Let’s tap on the “Cover” on the floor to take a closer look at it, and tap again to pick it up. After that, tap on the arrow at the bottom to go back.
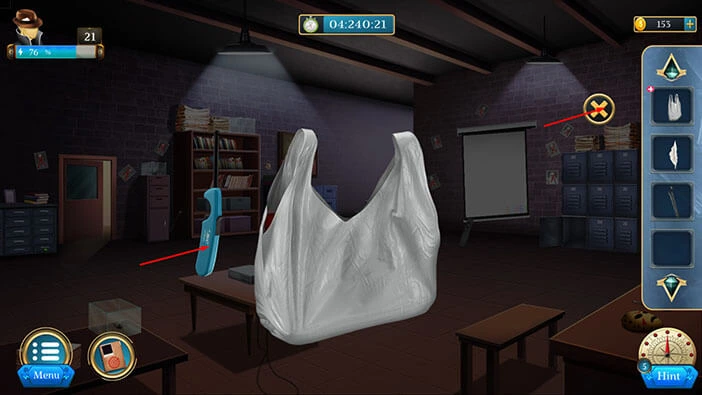
Select the “Cover” from the inventory and it will appear in the middle of the screen. After that, tap on the cover to start the interaction.
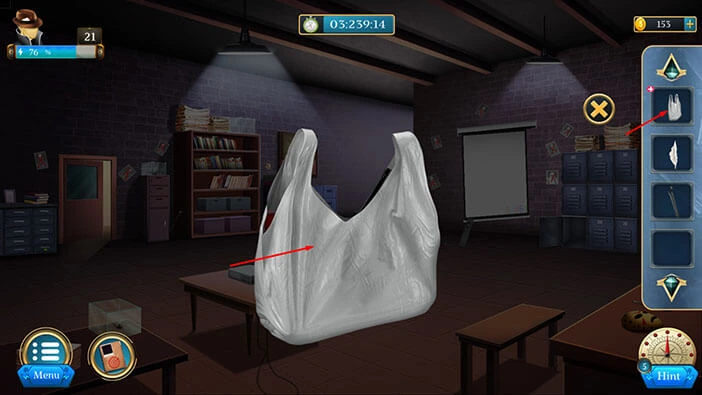
Inside the cover, you will find a “Lighter”. Let’s tap on it to pick it up. After that, tap on the “X” button to close this window.
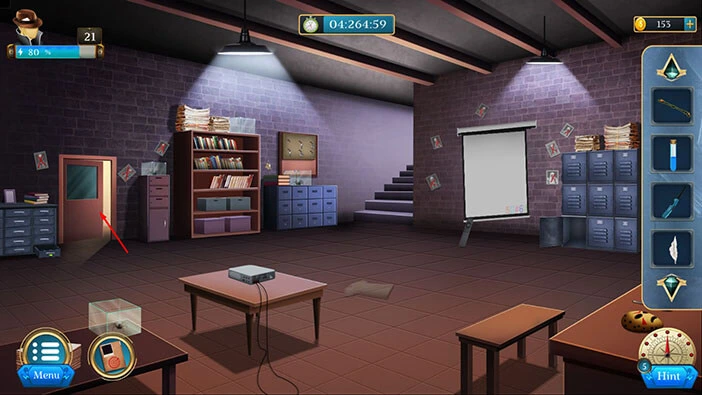
Let’s explore the next room. Tap on the door on the left.

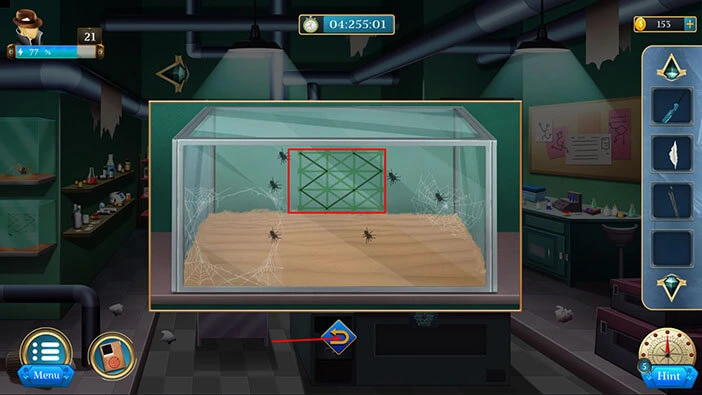
Next, let’s tap on the glass on the box to take a closer look at it.

In the back, we can see the hint for the next puzzle. Let’s memorize/write down this hint because we will need it for the next puzzle.
Once you’re done, tap on the arrow at the bottom to go back.
Let’s go back to the previous room. To do that, tap on the arrow in the top left corner of the screen.
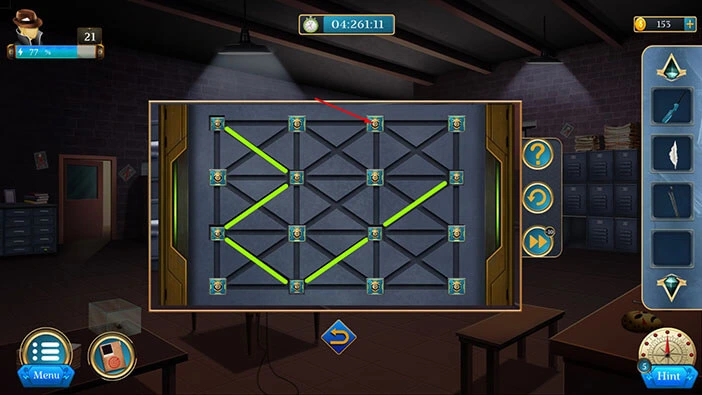
Let’s tap on the locker on the left to take a closer look at it and tap again to start the interaction.

Here, we have another puzzle. Our task is to draw the pattern according to the hint that we saw in the previous room. We will do this puzzle in several steps. Let’s begin.
Step 1
Select the first slot in the first row. After that, tap on the second slot in the second row.
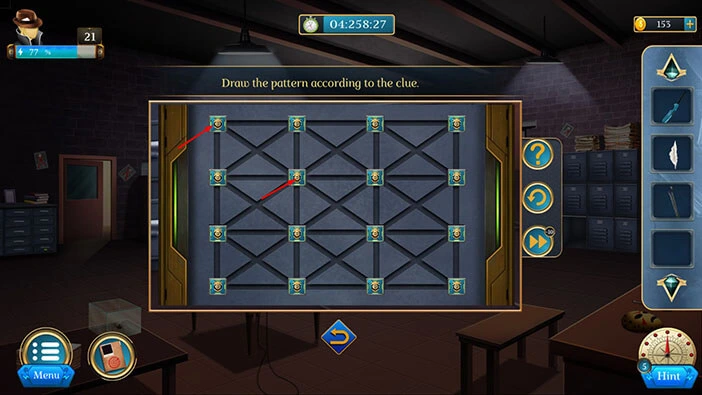
Step 2
Tap on the first slot in the third row.

Step 3
Tap on the second slot in the fourth row.
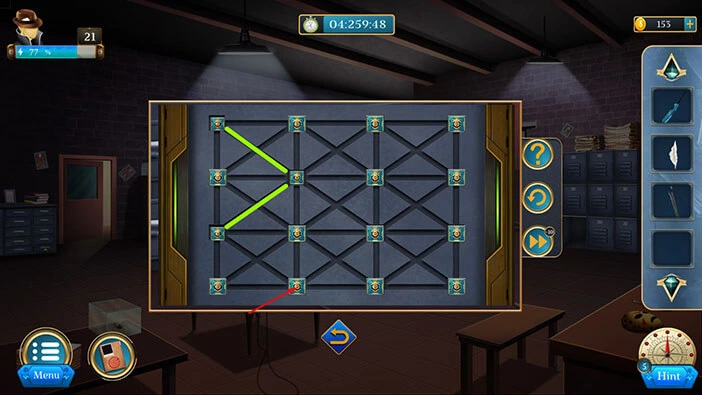
Step 4
Tap on the third slot in the third row.

Step 5
Tap on the fourth slot in the second row.

Step 6
Tap on the third slot in the first row. With that, you will solve this puzzle.
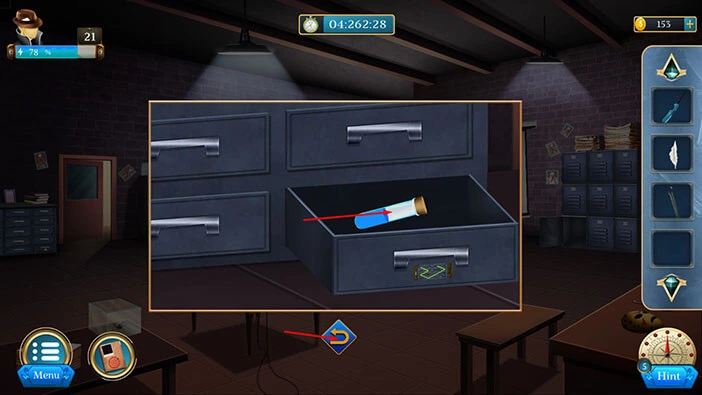
With that, you will open the drawer and inside you will find a “Blue Vile”. Let’s tap on it to pick it up.
After that, tap on the arrow at the bottom to go back.
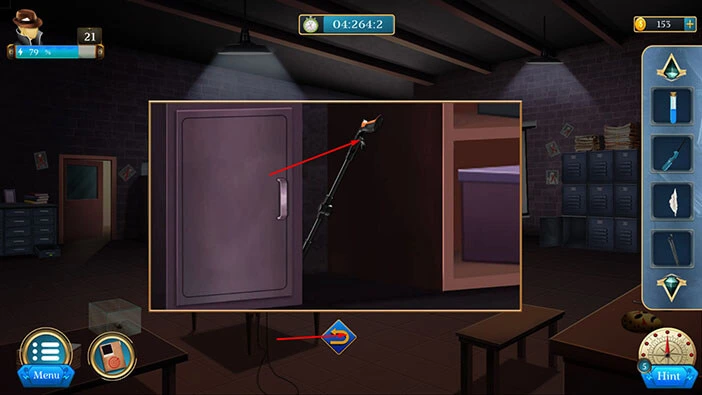
Next, let’s tap next to the bookshelf on the left to take a closer look.
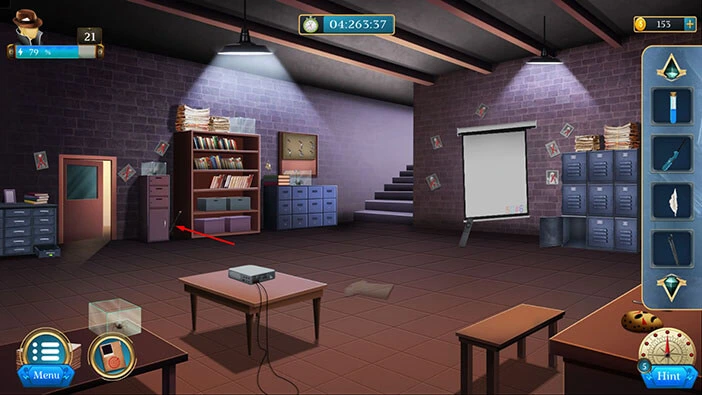
Here, you will find a “Grappler”. Let’s tap on it to pick it up. After that, tap on the arrow at the bottom to go back.
Let’s go back to the laboratory. Tap on the door on the left.
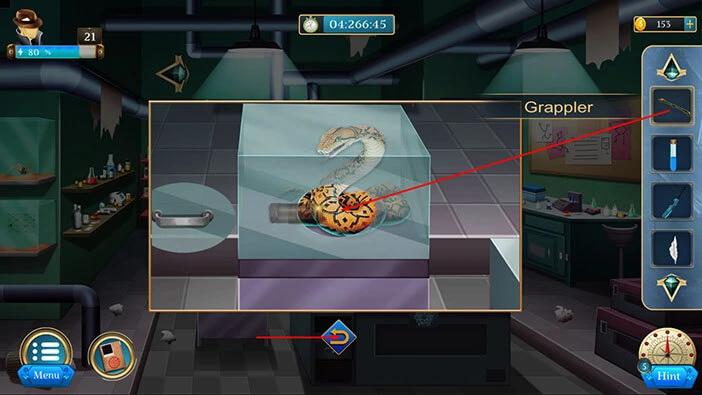
Let’s tap on the glass box with the snake to take a closer look at it, then tap on the small door to open it.

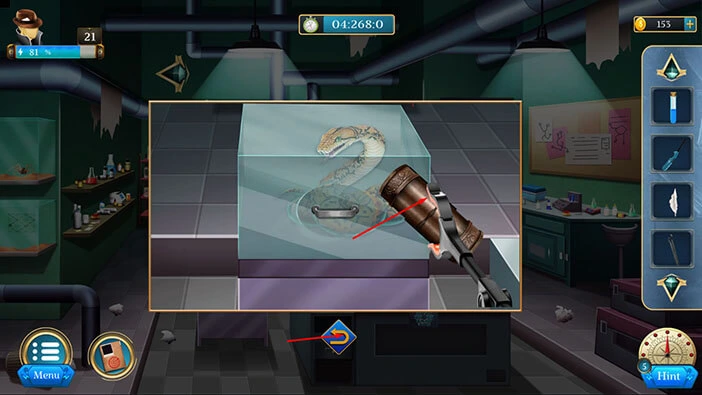
Select the “Grappler” from the inventory and use it to grab the item next to the snake.
You will retrieve a “Scroll”. Let’s tap on it to pick it up. After that, tap on the arrow at the bottom of the screen to go back.
Select the “Scroll” from the inventory and it will appear in the middle of the screen. Let’s tap on it to start the interaction.
We already saw a hint for this puzzle when we turned on the projector. So, let’s use it to solve this puzzle.
We will do that in several steps. Let’s begin.
Step 1
Tap four times on the first button to shuffle the symbols.
Step 2
Tap once on the second button to shuffle the symbols.

Step 3
Tap once on the third button to shuffle the symbols.

Step 4
Tap the fourth button four times to shuffle the symbols. With that, you will solve this puzzle.
As soon as you solve this puzzle, you will open the scroll. Inside you will find a “Key”. Let’s tap on it to pick it up.
Don’t tap on the “X” button yet, because we first need to solve another puzzle on the scroll.

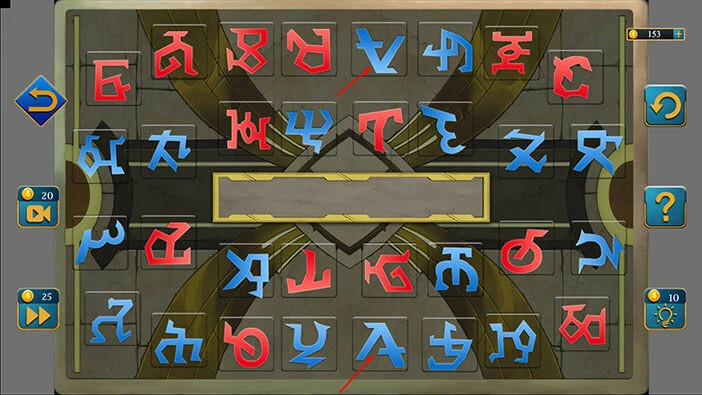
On the right side of the scroll, you will notice another puzzle. Let’s tap on it to start the interaction.
Here, we have another puzzle. Our task is to find matching pairs of symbols. We will do that in several steps. Let’s begin.
Step 1
Tap on the fifth symbol in the first row, then tap on the fifth symbol in the fourth row.
Step 2
Tap on the third symbol in the third row, then tap on the eighth symbol in the second row.
Step 3
Tap on the sixth symbol in the first row, then tap on the sixth symbol in the fourth row.

Step 4
Tap on the first symbol in the third row, then tap on the sixth symbol in the second row.
Step 5
Tap on the fourth symbol in the third row, then tap on the fifth symbol in the second row.
Step 6
Tap on the second symbol in the fourth row, then tap on the fourth symbol in the second row.
Step 7
Tap on the first symbol in the first row, then tap on the seventh symbol in the fourth row.
Step 8
Tap on the second symbol in the third row, then tap on the fourth symbol in the first row.
Step 9
Tap on the third symbol in the first row, then tap on the eighth symbol in the fourth row.
Step 10
Tap on the third symbol in the second row, then tap on the seventh symbol in the first row.
Step 11
Tap on the second symbol in the first row, then tap on the fifth symbol in the third row.
Step 12
Tap on the third symbol in the fourth row, then tap on the seventh symbol in the third row.
Step 13
Lastly, tap on the eighth symbol in the third row, then tap on the fourth symbol in the fourth row and you will solve this puzzle.
You will open the scroll as soon as you solve this puzzle, and inside you will find a “Scroll”. Let’s tap on it to pick it up.
After that, tap on the “X” button to close this window.

Select the “Scroll” from the inventory and it will appear in the middle of the screen. After that, tap on the scroll to unfold it.

You will discover a hint for one of the following puzzles. We will come back to it a bit later.
For now, tap on the “X” button to close this window.
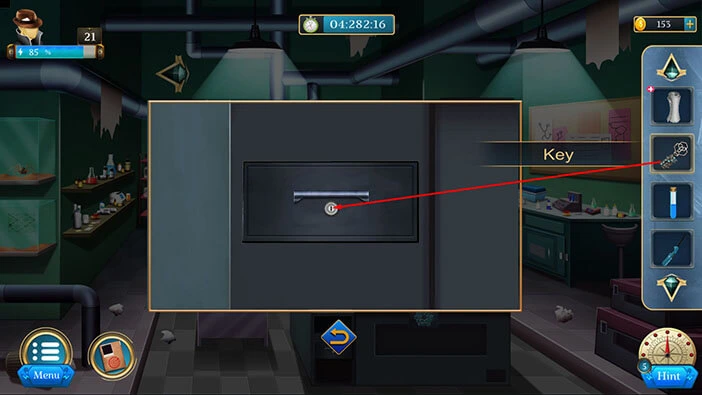
Next, tap the small drawer in front of you to take a closer look at it.

Select the “Key” from the inventory and use it to unlock the drawer.
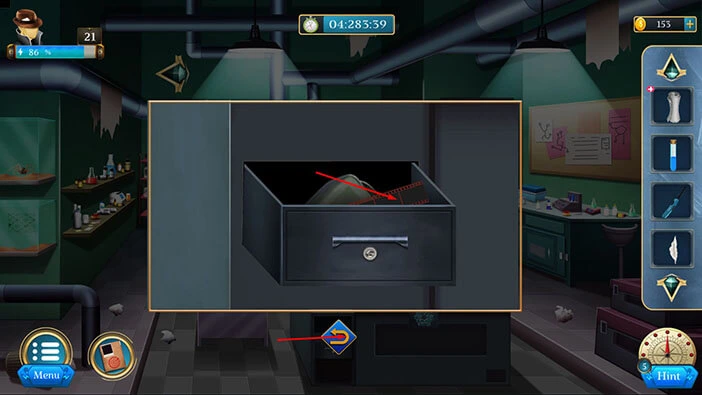
In the drawer, you will find a “Film”. Let’s tap on it to pick it up. After that, tap on the arrow at the bottom to go back.
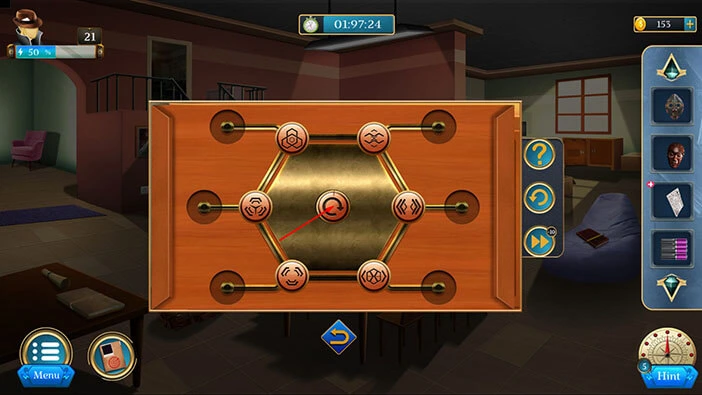
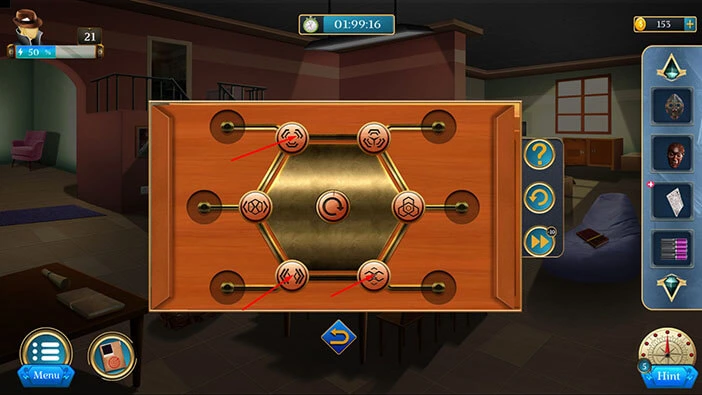
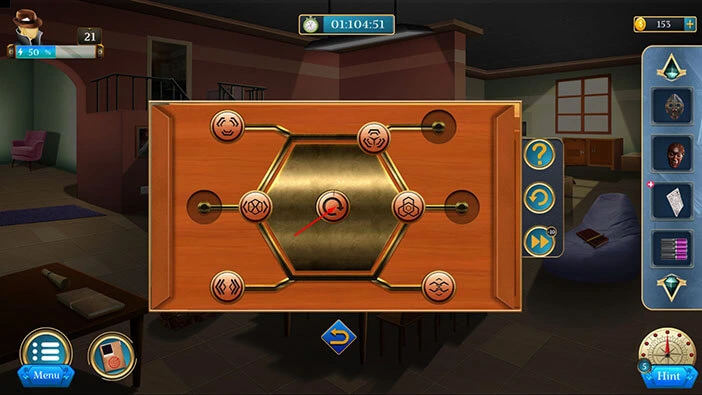
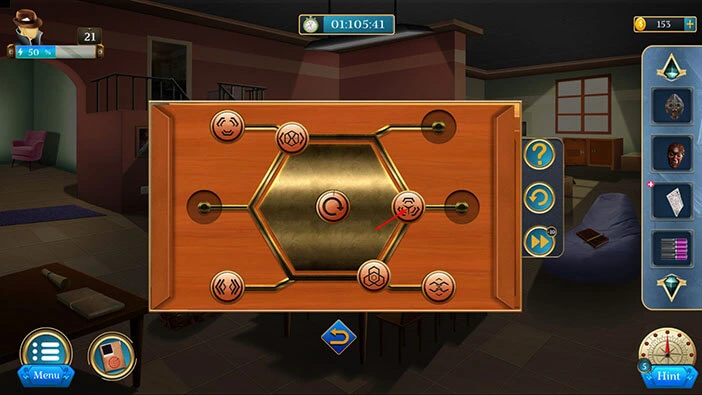
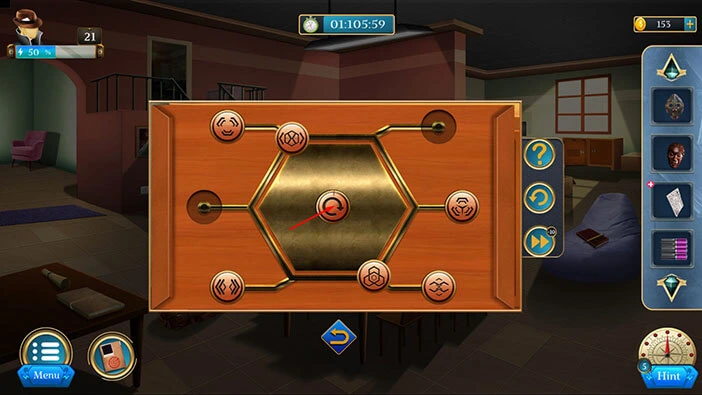
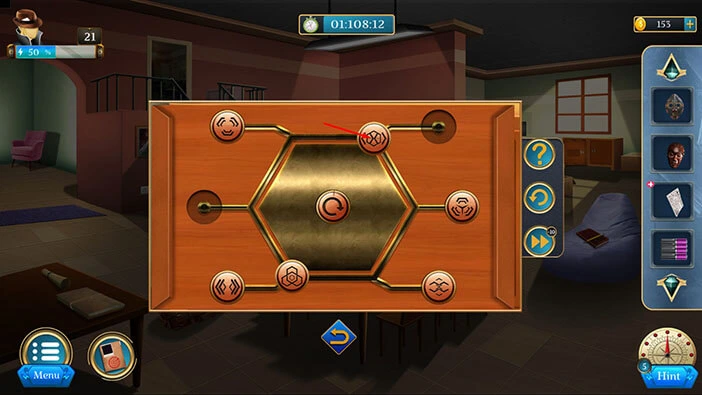
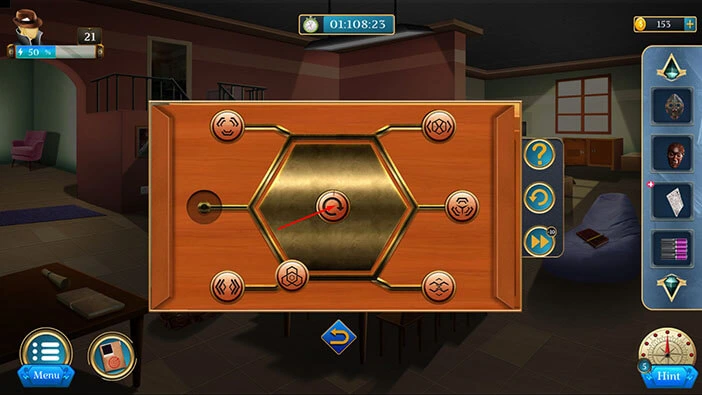
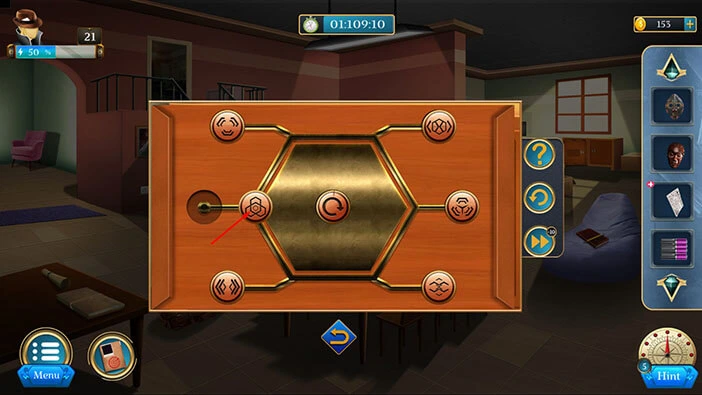
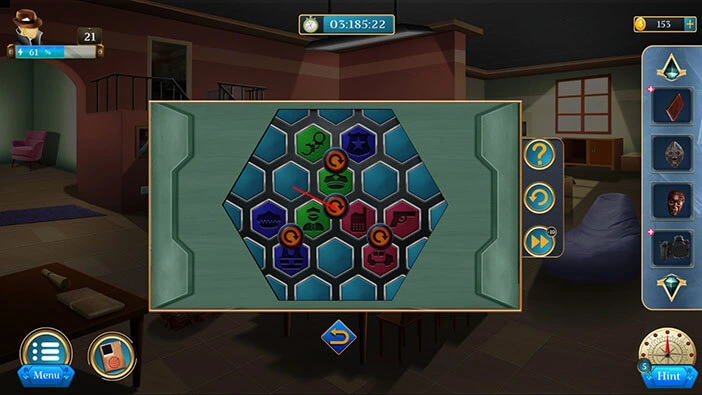
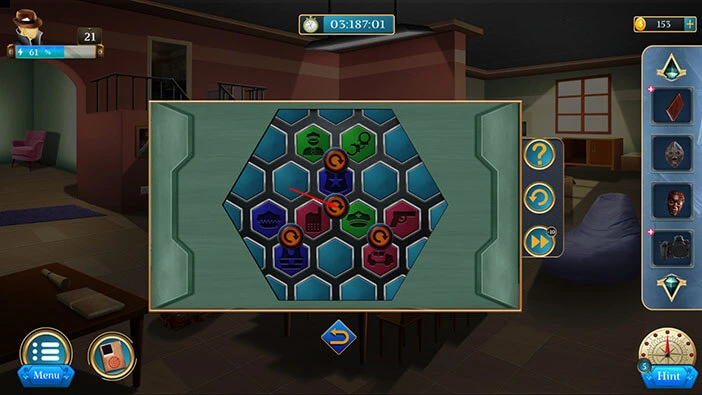
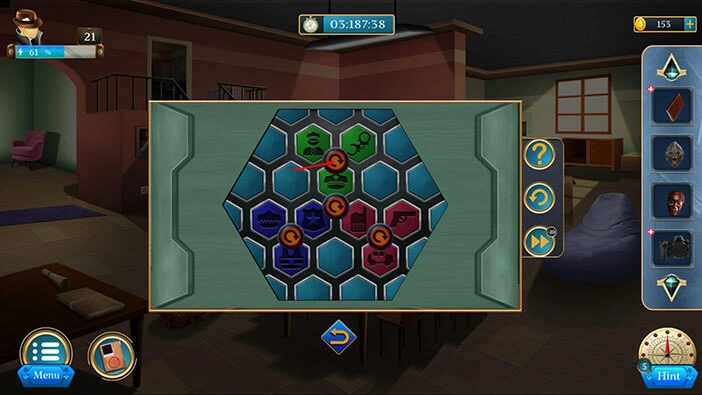
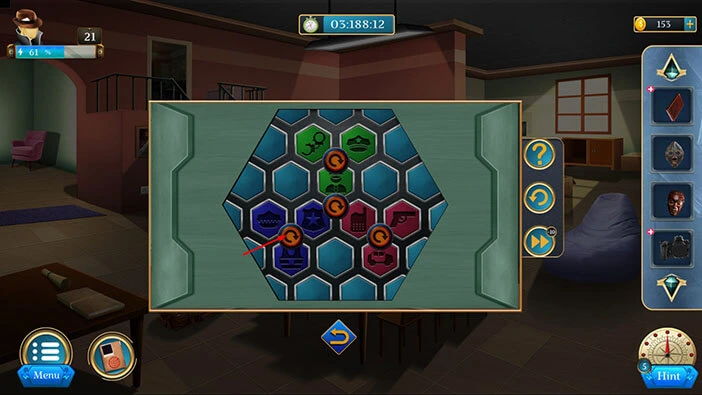
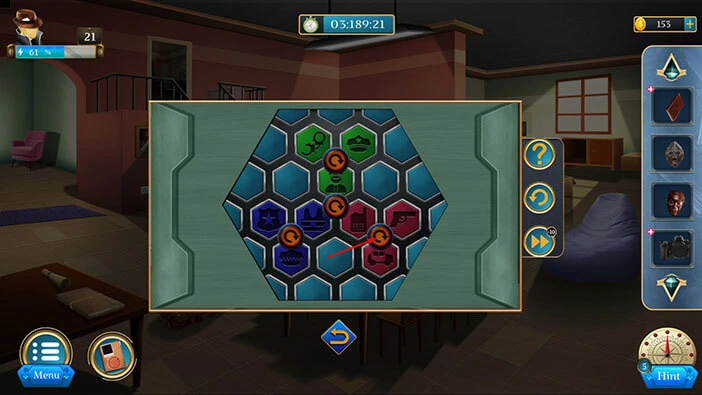
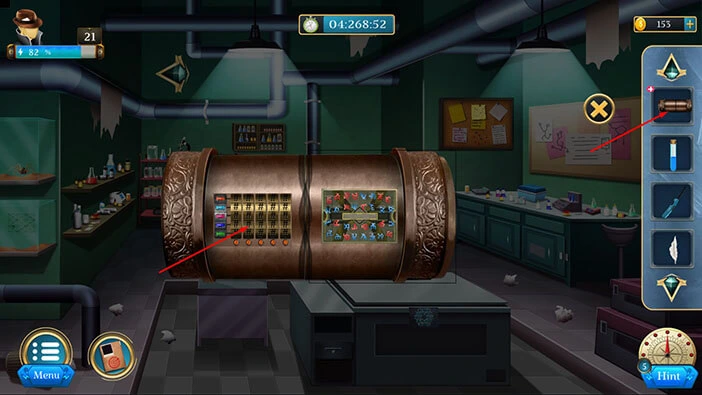
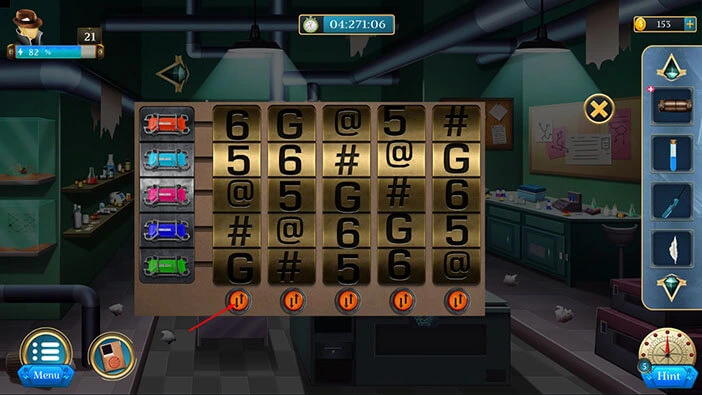
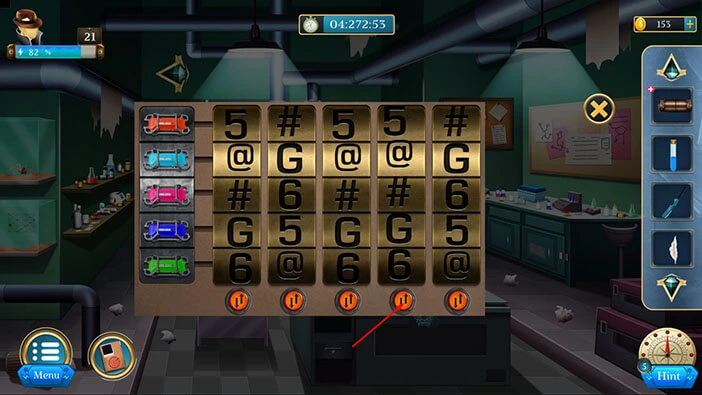
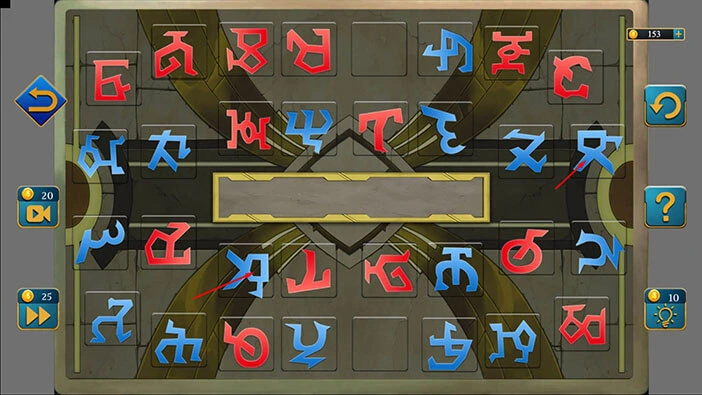
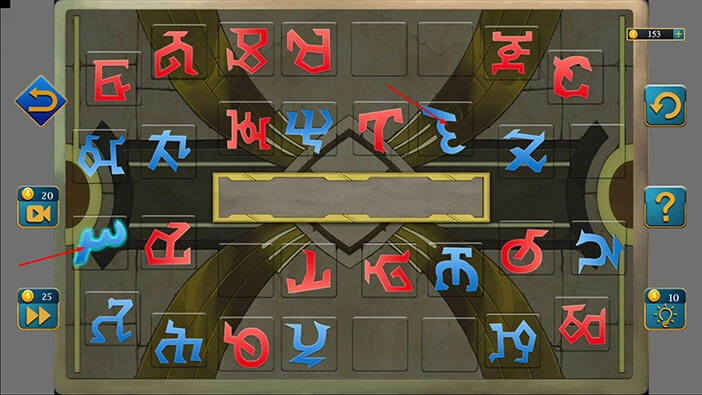
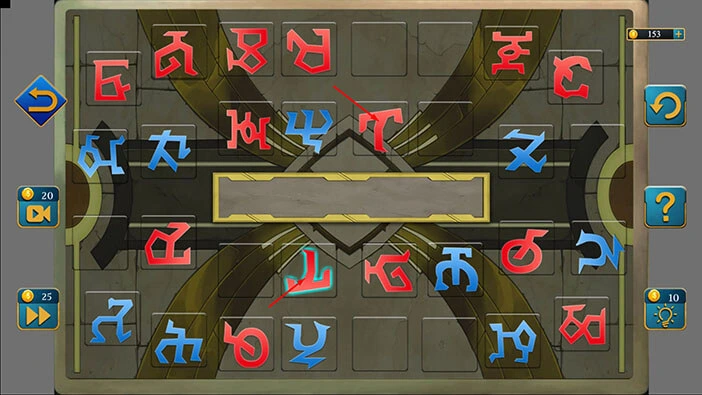
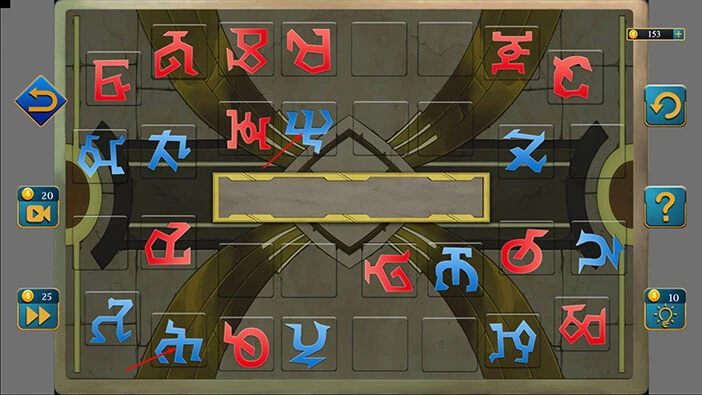
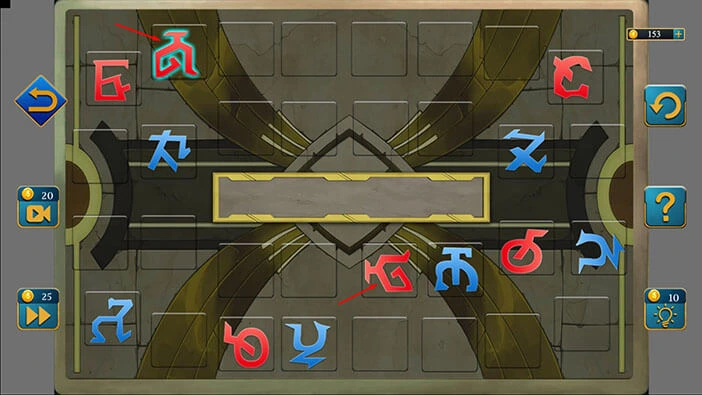
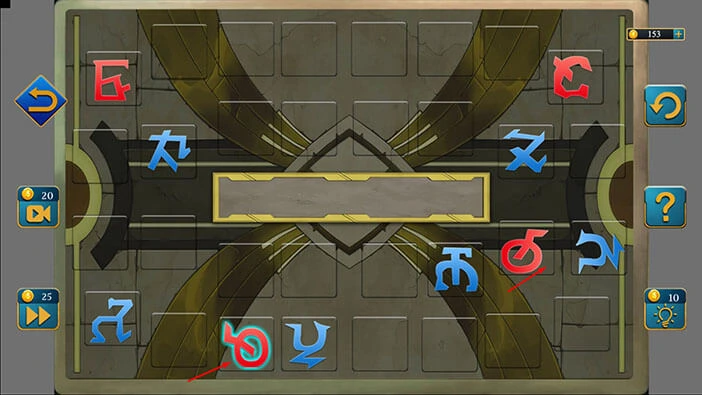
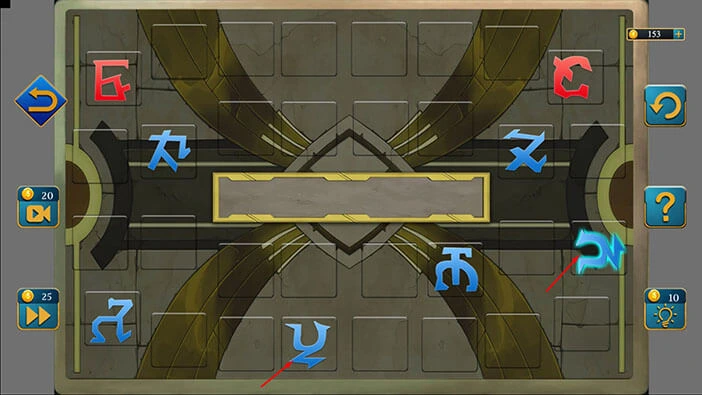
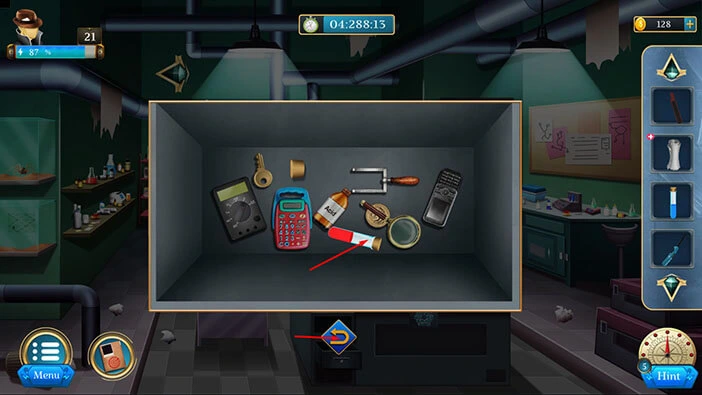
To the right of the drawer, you will notice some kind of puzzle. Let’s tap on it to take a closer look and tap again to start the interaction.

In this puzzle, our task is to shuffle the symbols and group them around certain buttons. Just use 25 coins to skip this puzzle. It’s too long and honestly too boring.
As soon as you solve the puzzle, you will discover a container with “Red Vile”. Let’s tap on it to pick it up.
After that, tap on the arrow at the bottom to go back.
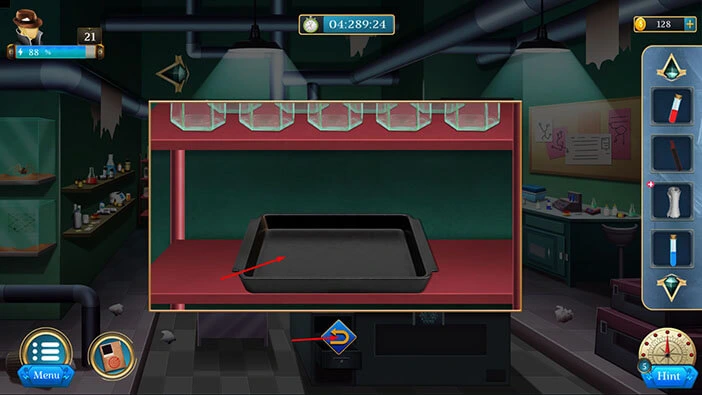
Next, let’s tap on the shelf on the left to take a closer look at it.
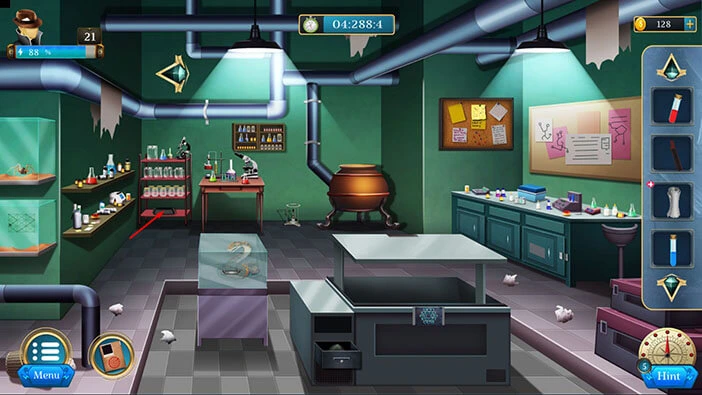
Here, you will find a “Tray”. Let’s tap on it to pick it up. After that, tap on the arrow at the bottom to go back.
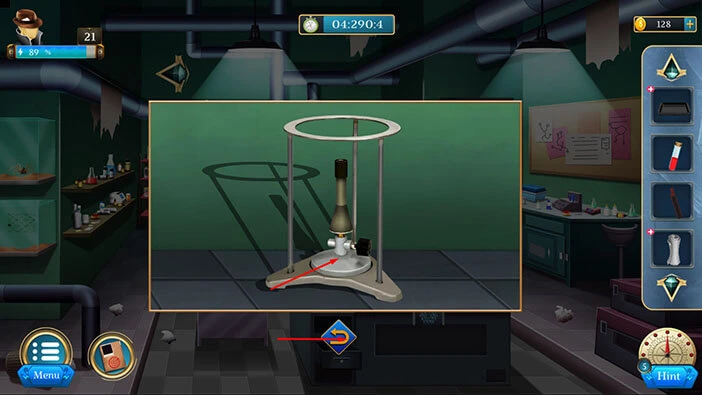
Next, let’s tap on the item located next to the cauldron to take a closer look at it.
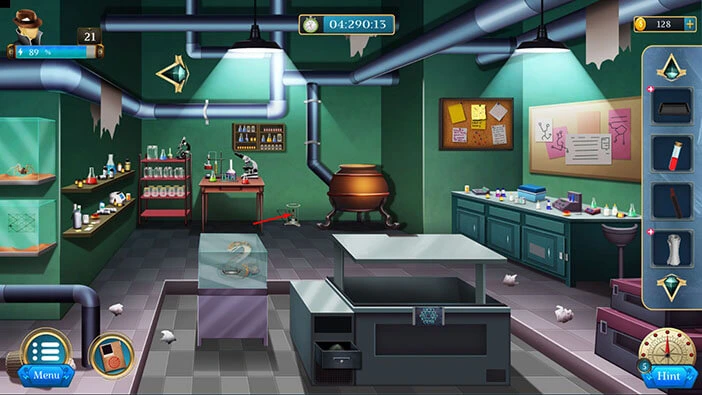
Here, you will find a “Burner”. Let’s tap on it to pick it up. After that, tap on the arrow at the bottom to go back.
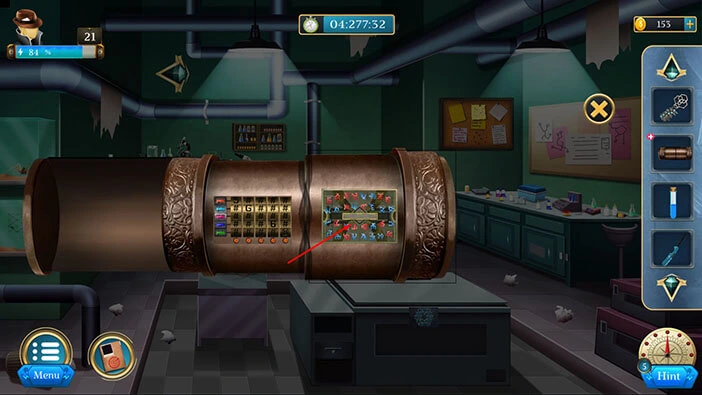
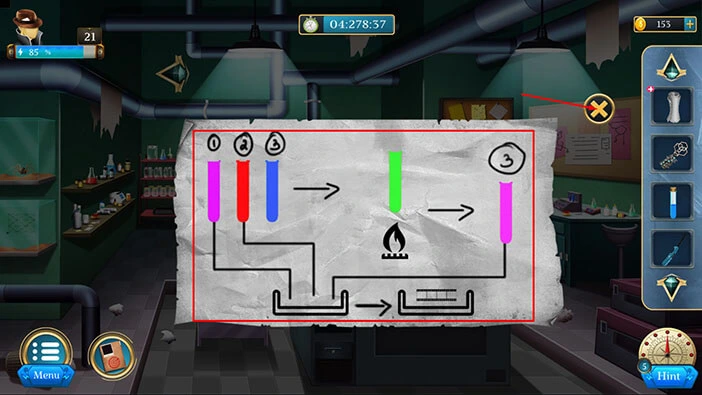
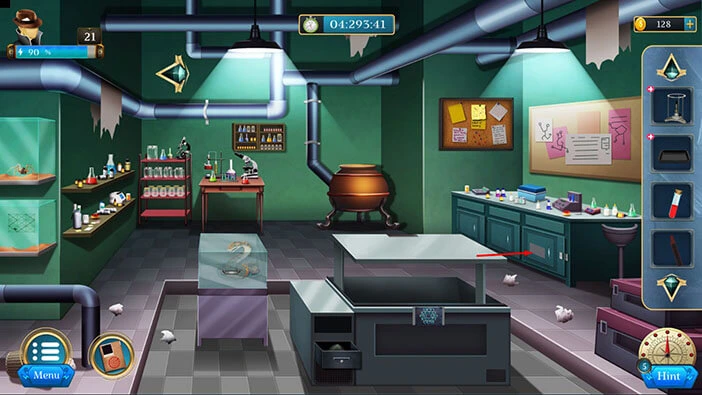
Next, let’s tap on the cabinet on the right to take a closer look at it and tap again to start the interaction.
Here, we have another puzzle. In the top row, we have several shapes, and our task is to create the same shapes in the bottom row. This is a very easy puzzle. You can see the solution in the image below.
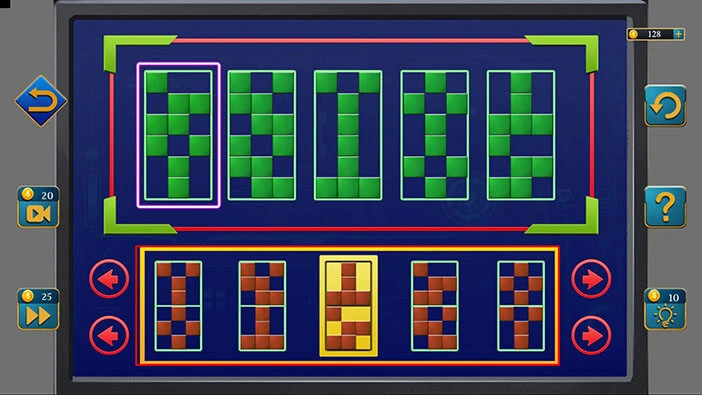
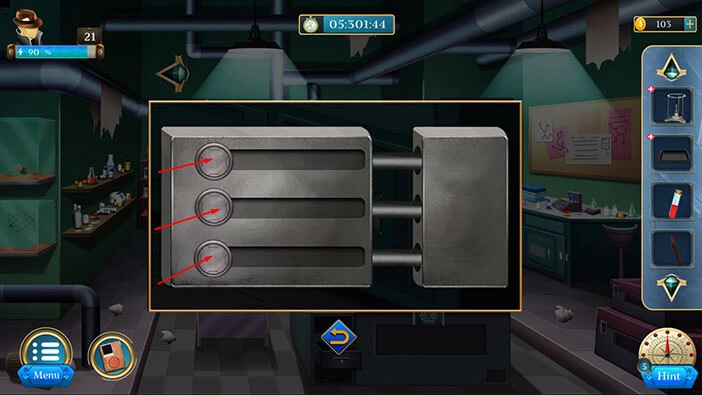
Our next task is to unlock this lock. Tap once on each plug and you will unlock it.
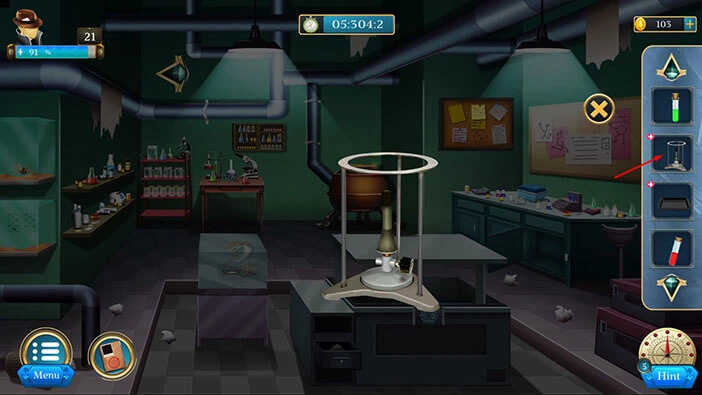
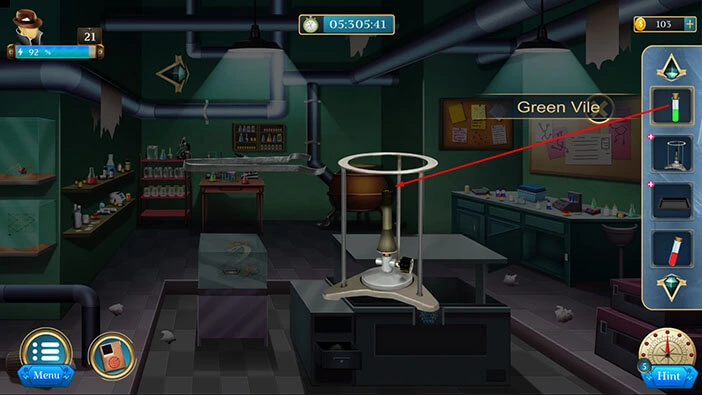
With that, you will unlock the locker, and inside you will find a “Green Vile”. Let’s tap on it to pick it up.
After that, tap on the arrow at the bottom to go back.

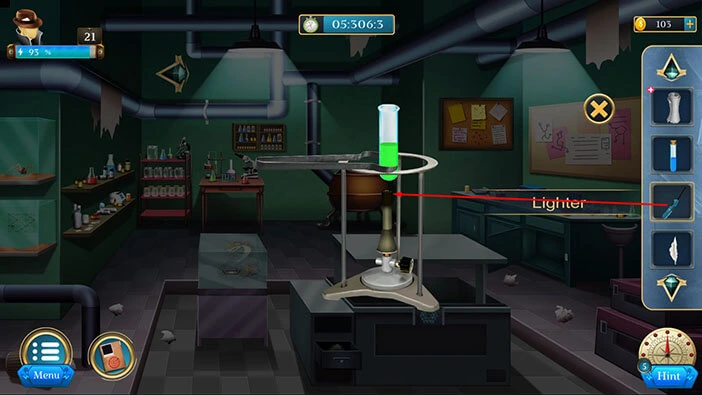
Let’s start the experiment. Select the “Burner” from the inventory and it will appear in the middle of the screen.
Next, select the “Tong” from the inventory and drag it to the burner.

Next, select the “Green Vile” from the inventory and drag it to the burner.
Next, select the “Lighter” from the inventory and use it to start the fire.
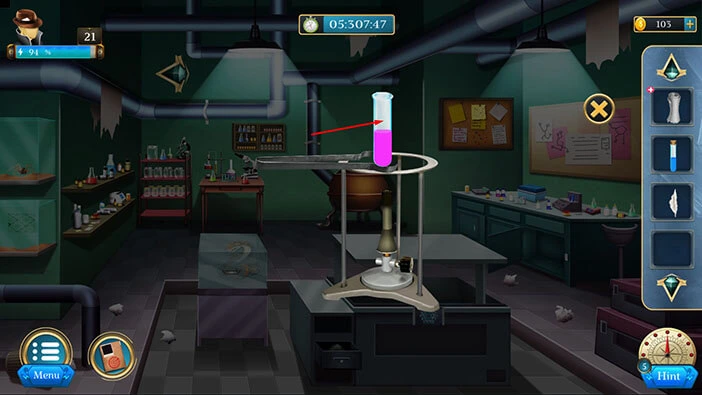
You will create the “Violet Vile”. Let’s tap on it to pick it up.
Next, select the “Tray” from the inventory and it will appear in the middle of the screen. After that, select the “Violet Vile” from the inventory and pour it into the tray.
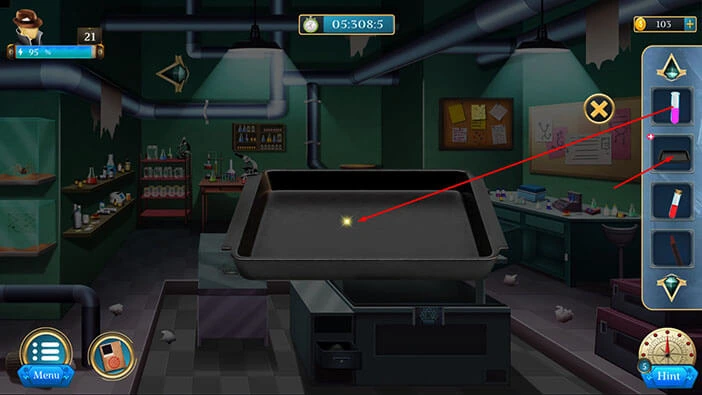
Next, select the “Red Vile” from the inventory and pour it into the tray.
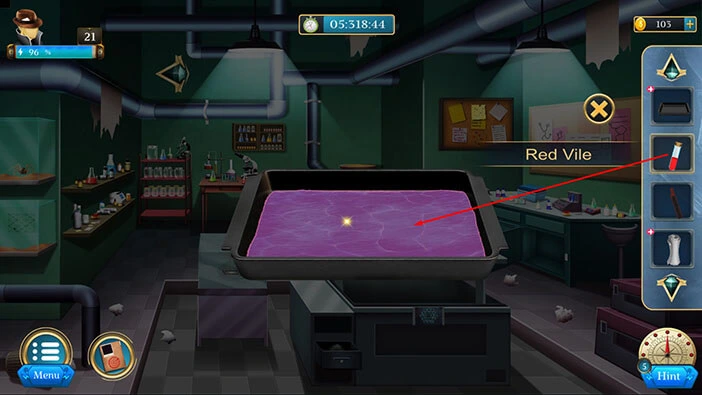
Next, select the “Blue Vile” from the inventory and pour it into the tray.

Next, select the “Film” from the inventory and put it into the tray.
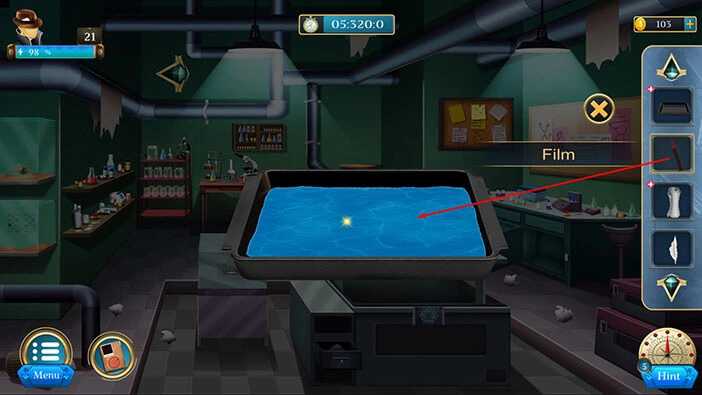
Next, select the “Cloth” from the inventory and use it to wipe the film.
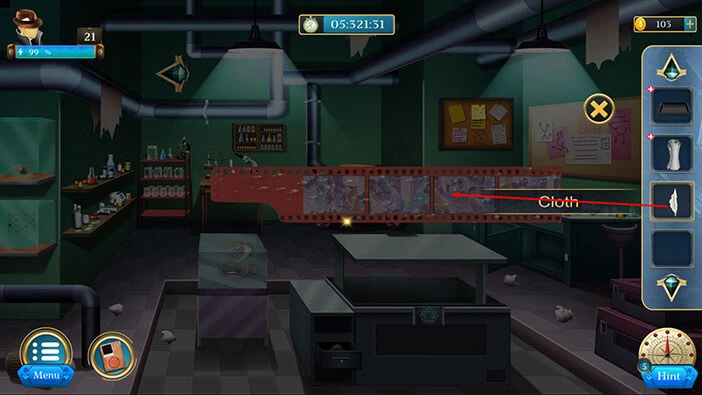
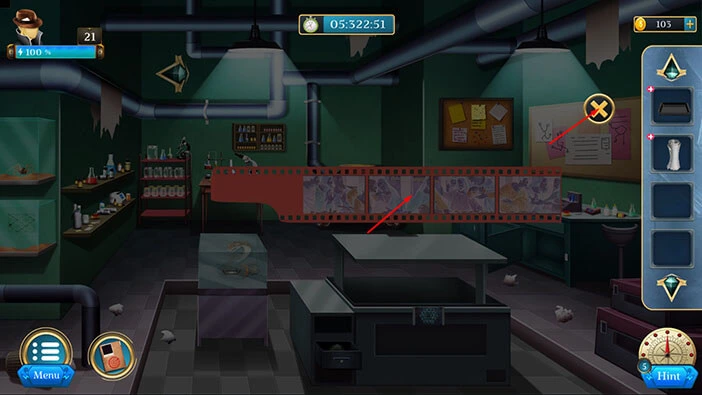
Lastly, tap on the “Film” to pick it up. After that, tap on the “X” button to close this window.
Let’s go back to the previous room. Tap on the arrow in the top left corner of the screen.
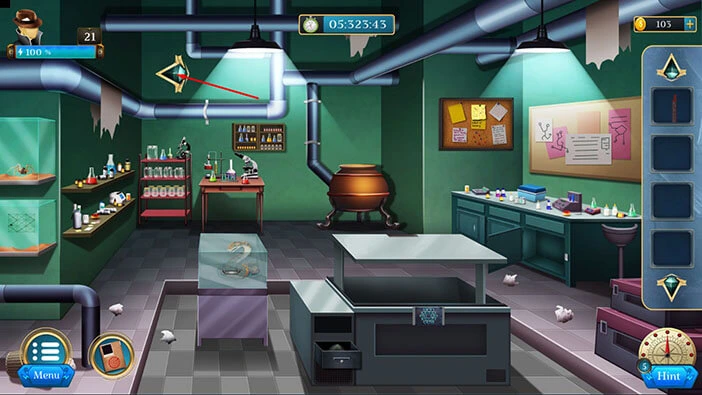
Let’s tap on the projector, located on the table, to take a closer look at it.
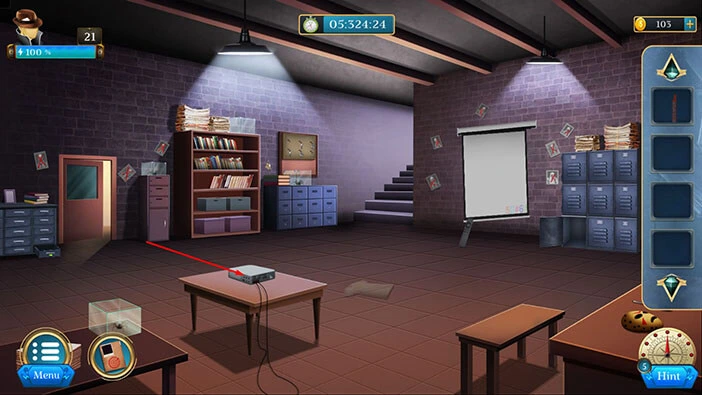
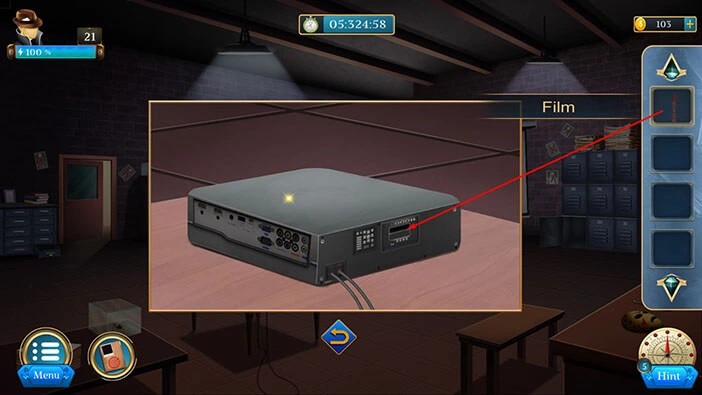
Select the “Film” from the inventory and insert it into the projector.
Tap on the remote control to see the content of the film.
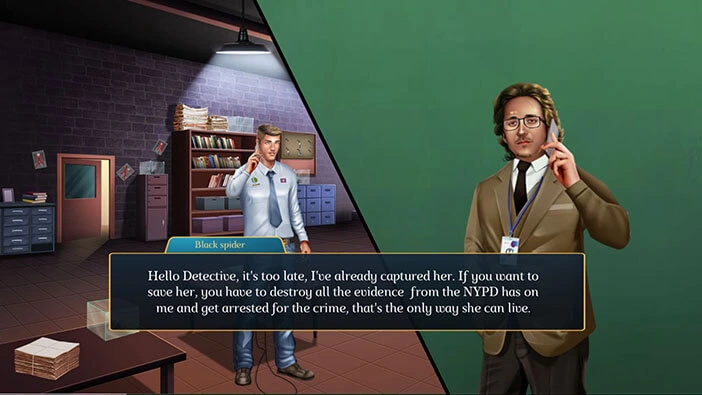
You will discover that Maze is the next target of the “Black Spider”. Our character tried to warn her, but it was too late…
With that, we have reached the end of the twenty first level. If you want to see the walkthrough for the twenty second level, tap on the next part button.
Thank you for reading.