Room Escape: Detective Phantom | Level 17
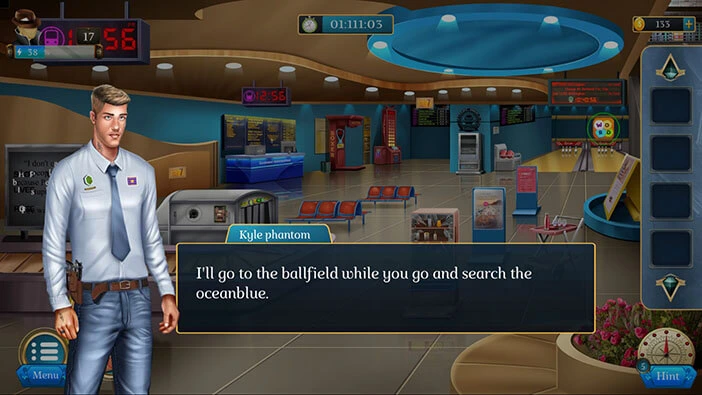
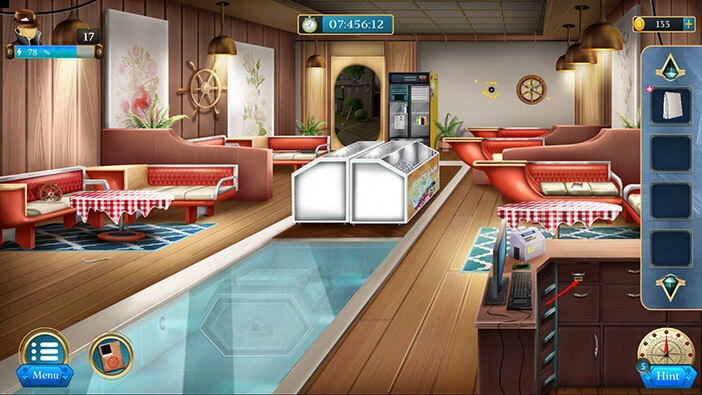
Hello everyone and welcome to the walkthrough for the seventeenth level of “Room Escape: Detective Phantom”. In the seventeenth level, our task is to investigate another crime scene.
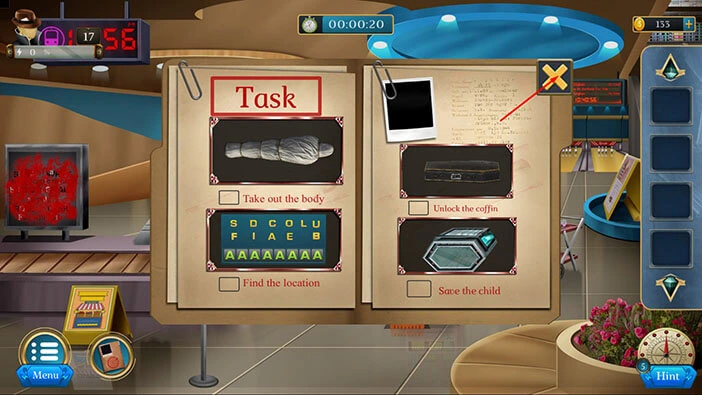
Our objectives are to “Take out the body” “Find the location” “Unlock the coffin” and “Save the child”. Tap on the “X” button to go back.
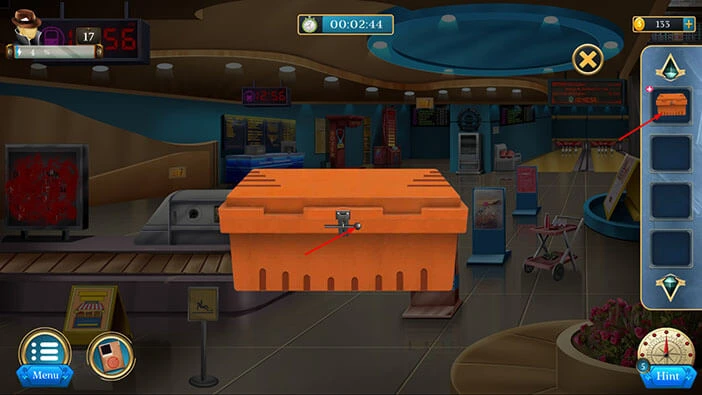
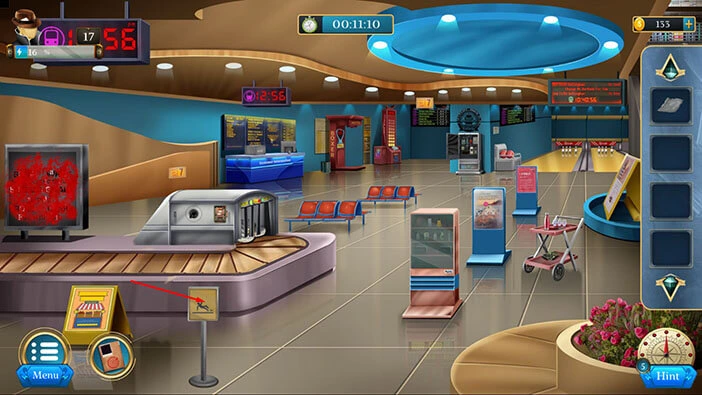
Let’s explore this level. On the floor in front of you, you will notice a “Toolbox”. Let’s tap on it to take a closer look, and tap again to pick it up.
After that, tap on the arrow at the bottom to go back.

Select the “Toolbox” from the inventory and it will appear in the middle of the screen. After that, tap twice on the toolbox to open it.
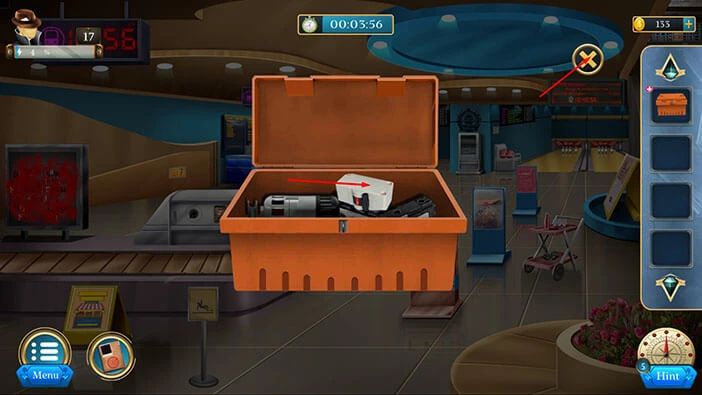
In the toolbox, you will find a “Fuse”. Let’s tap on it to pick it up. After that, tap on the “X” button to close this window.
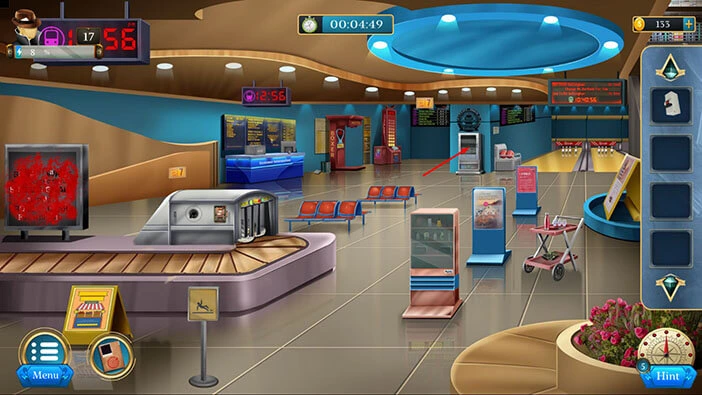
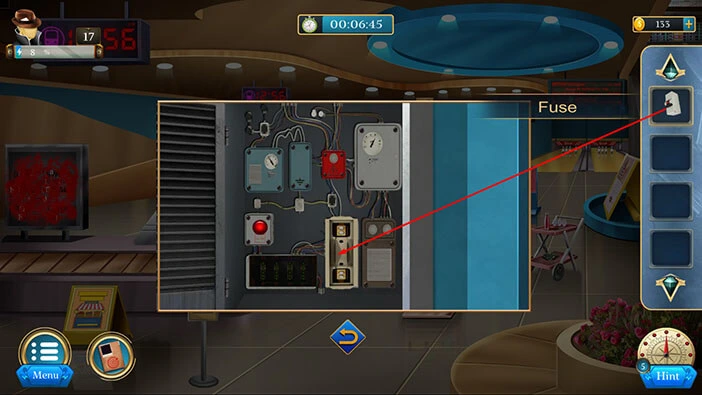
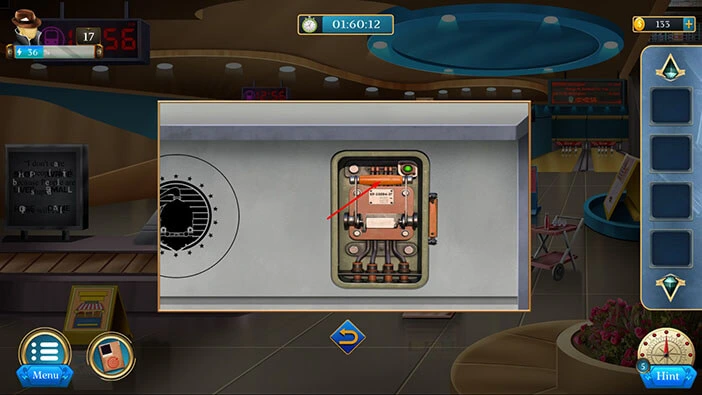
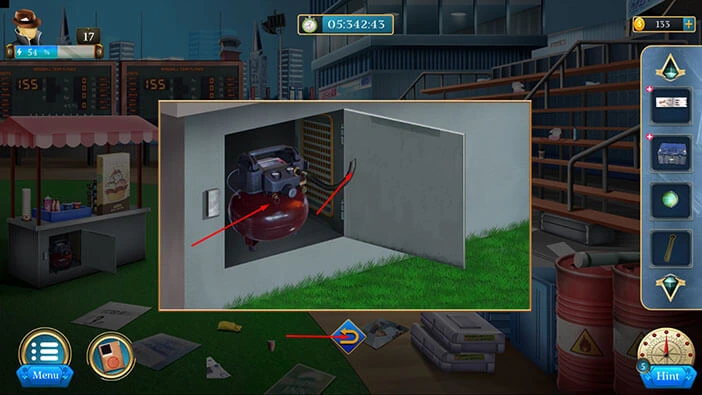
Next, let’s tap on the machine on the other side of the room to take a closer look at it, and tap again to open it.
You will notice that the fuse is malfunctioning. So, let’s tap on it to take a closer look, and tap again to remove it.

Next, select the “Fuse” from the inventory and insert it into the empty slot. After that, tap on the fuse to activate it.
Here, we have another puzzle, but we can’t solve it at the moment. So, let’s tap on the arrow at the bottom to go back.
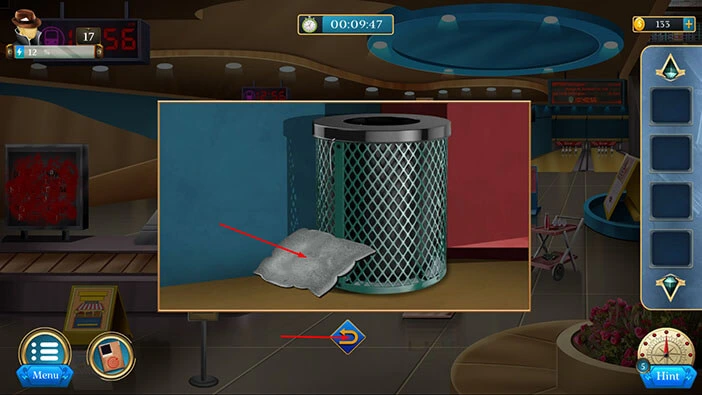
Next, you will notice a bucket in the top left corner of the room. Let’s tap on it to take a closer look.
Here, you will find “Cloth”. Let’s tap on it to pick it up. After that, tap on the arrow at the bottom to go back.
Right in front of you, you will notice a “Caution stand”. Let’s tap on it to take a closer look, and tap again to pick it up.
After that, tap on the arrow at the bottom to go back.
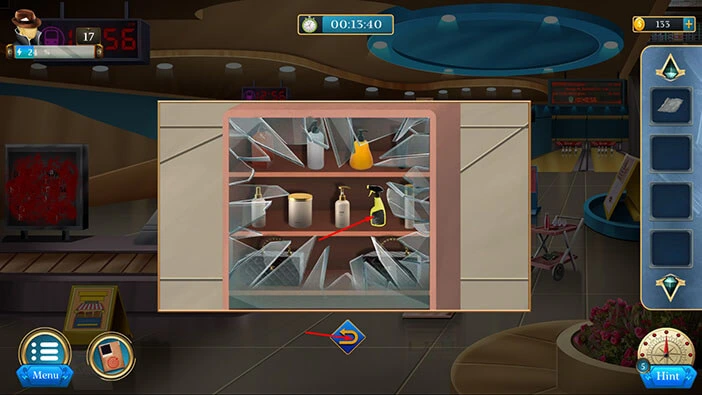
Next, tap on the vending machine in front of you to take a closer look at it.
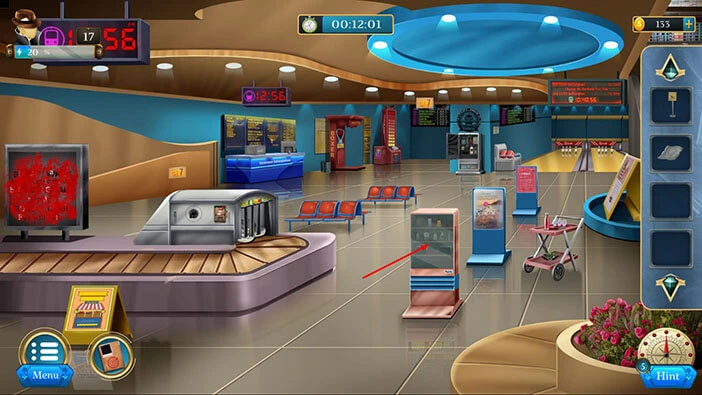
Select the “Caution Stand” from the inventory and use it to break the glass.

Inside, you will find a “Spray”. Let’s tap on it to pick it up. After that, tap on the arrow at the bottom to go back.
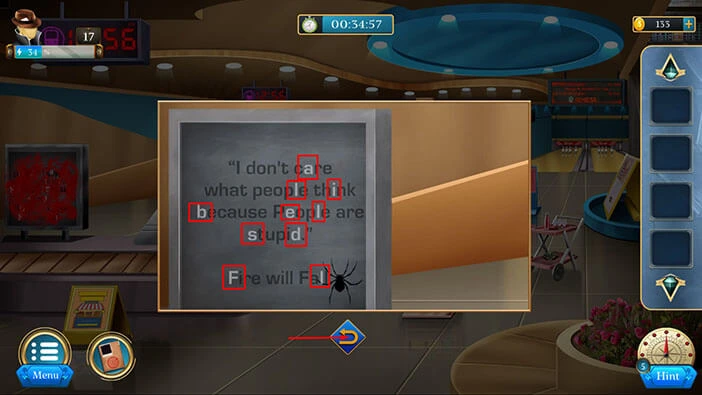
Next, if you take a look at the left side of the room, you will notice a blood-stained screen. Let’s tap on it to take a closer look.

Select the “Spray” from the inventory and use it on the screen.

Next, select the “Cloth” from the inventory and use it to clean the screen.
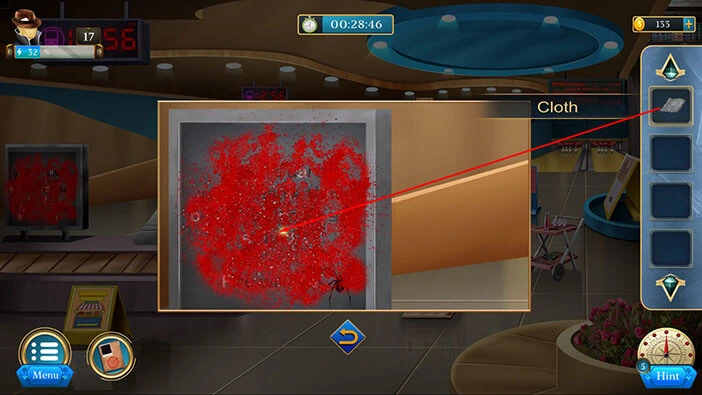
You will see text on the screen, and you will notice that some letters are white. Let’s memorize/write down the white letters because they represent a part of the hint for the next puzzle. So, we have,
“ALIBELSDFL”.
Once you’re done, tap on the arrow at the bottom to go back.
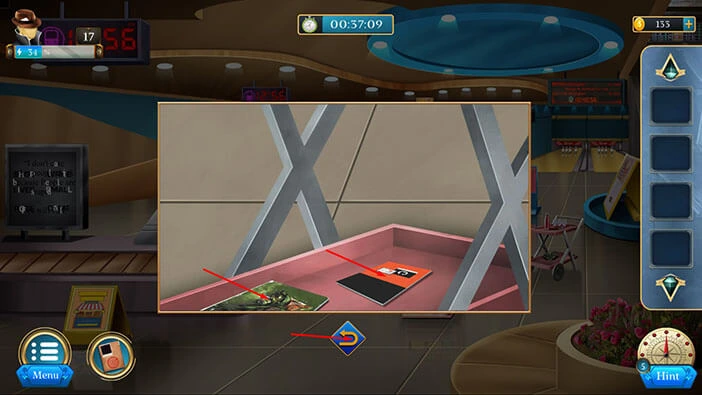
Next, let’s tap on the cart on the right to take a closer look at it.

Here, you will notice a magazine. Let’s tap on it to move it aside. Under the magazine, you will discover a “User Manual”. Let’s tap on it to pick it up.
After that, tap on the arrow at the bottom to go back.
Select the “User Manual” from the inventory and it will appear in the middle of the screen. After that, tap on the user manual to open it.
Tap on the pages several times to skip to the last page. Here, you will notice a hint for the next puzzle. Let’s memorize/write down the number of dots in each column.
Here, we have,
The first column = three dots
The second column = five dots
The third column = two dots
The fourth column = four dots
Once you’re done, tap on the “X” button to close this window.

Let’s go back to the machine at the other side of the room, because we just discovered a hint that we can use to solve that puzzle.
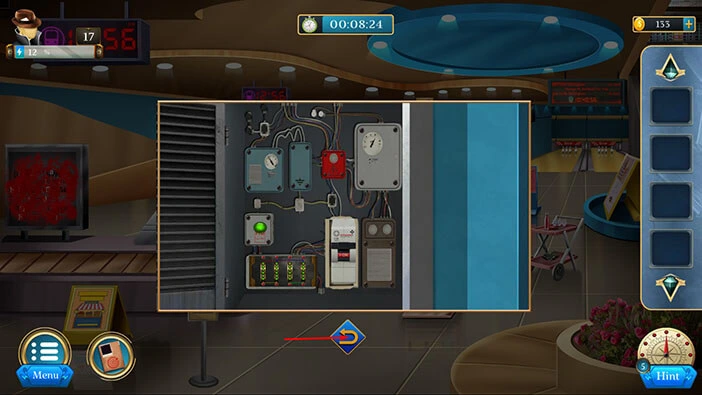
Our next task is to set the correct number of dots. We already discovered this information by examining the user manual, so let’s solve this puzzle. We will do that in several steps.
Step 1
Tap on the arrow in the top left corner and you will move two dots from the first column to the third column.

Step 2
Tap on the arrow in the bottom right corner and you will move three dots from the third column to the fourth column.

Step 3
Tap on the arrow in the bottom left corner and you will move one dot from the second column to the first column.

Step 4
Tap on the arrow in the top right corner and you will move two dots from the fourth column to the second column.

Step 5
Tap on the arrow in the bottom right corner and you will move one dot from the fourth column to the third column.
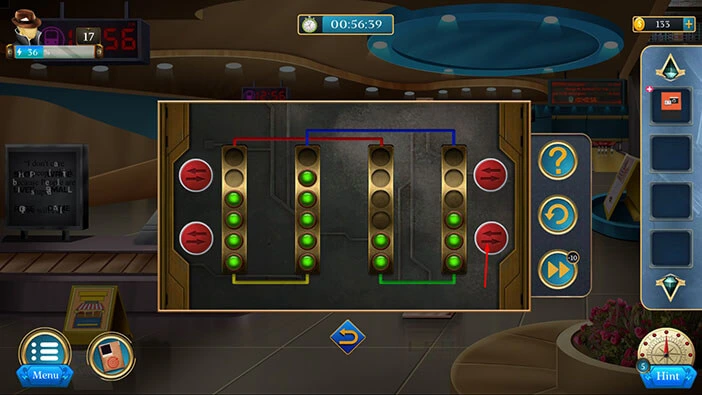
Step 6
Tap on the arrow in the top left corner and you will move one dot from the first column to the third column.

Step 7
Lastly, tap on the arrow in the bottom right corner and you will move two dots from the third column to the fourth column. With that, you will solve this puzzle.

With that, we restored the power, so let’s tap on the lever.
You will discover a dead body, let’s tap on it to take a closer look, and it will appear in the middle of the screen.
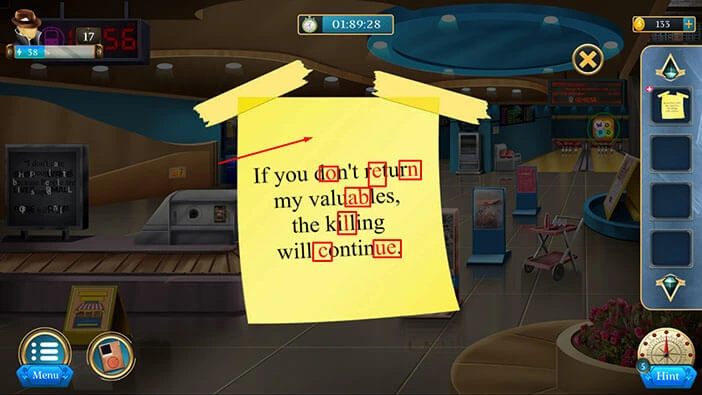
Here, you will notice a “Note”. Let’s tap twice on the “Note” to pick it up. After that, tap on the “X” button to close this window.
Select the note in your inventory and it will appear in the middle of the screen. Here, you will see a text, and you will notice that some letters are red. Let’s memorize/write down the red letters. Here, we have,
“OENABLCUE”
Once you’re done, tap on the “X” button to close this window.
Let’s tap on the letter in the top right corner of the room to take a closer look at them.
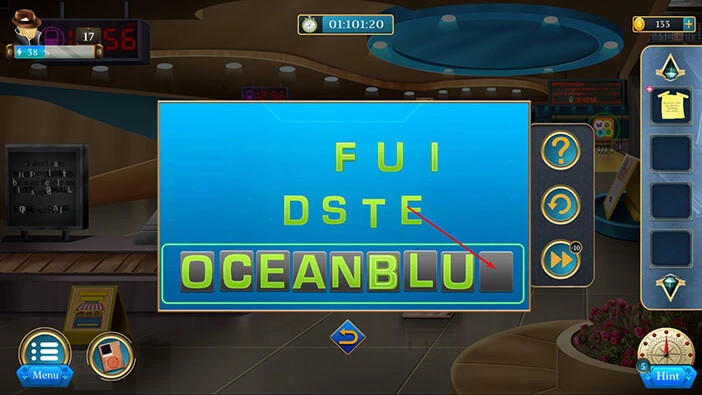
Here, we have another puzzle. Our task is to use two sets of letters that we discovered previously to assemble the meaningful words. We will do that in two steps. Let’s begin.
Step 1
First, we had the letters, “OENABLCUE”. We can use these letters to assemble the words, “OCEANBLUE”.
So, use the letters of the puzzle and assemble the word “OCEANBLUE”.
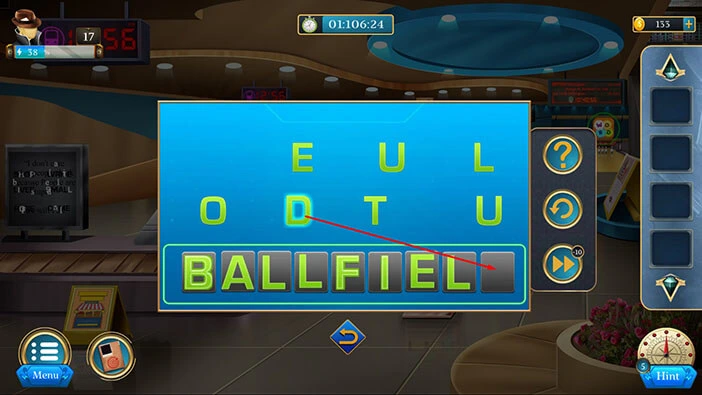
Step 2
Second, we had the letters, “ALIBELSDFL”. There are 9 slots, so we have one extra letter (“S”). Anyway, we can use these letters to assemble the words, “BALLFIELD”.
So, use the letters of the puzzle and assemble the word “BALLFIELD”.
Detective Maze believes that the next victim is being held at one of these two locations. So, Detective Kyle will investigate Ballfield while the Maze investigates Ocean Blue.
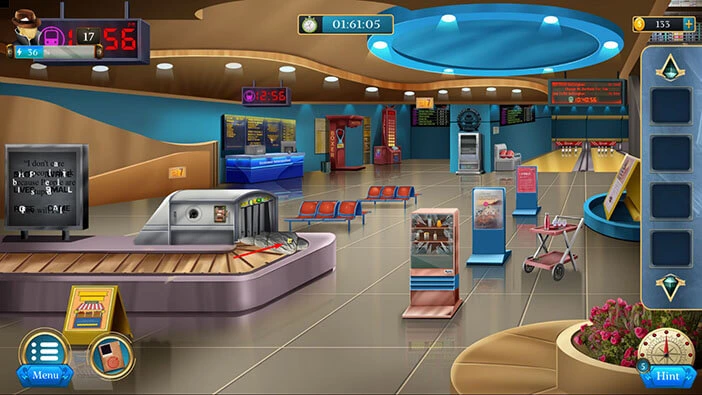
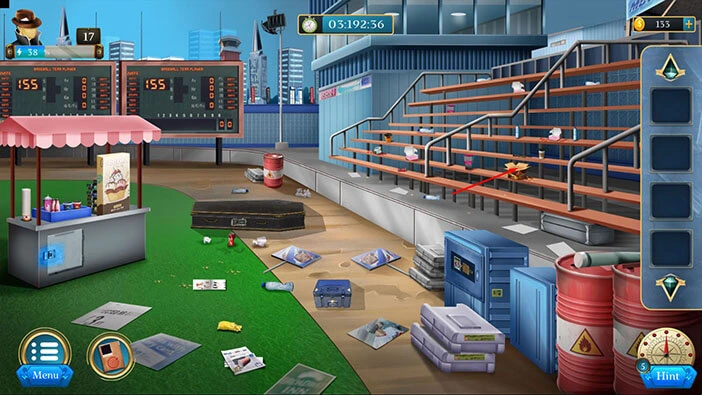
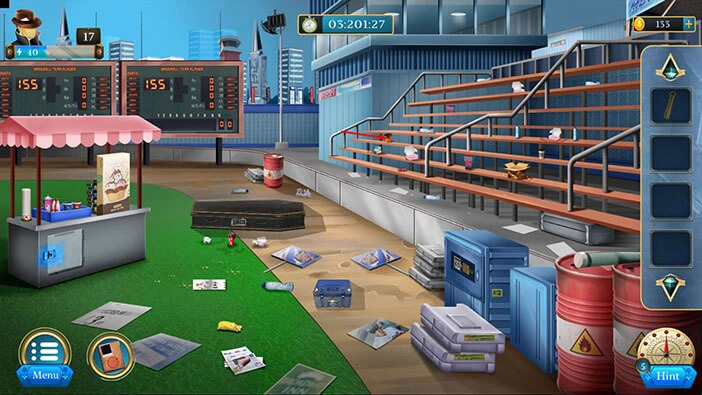
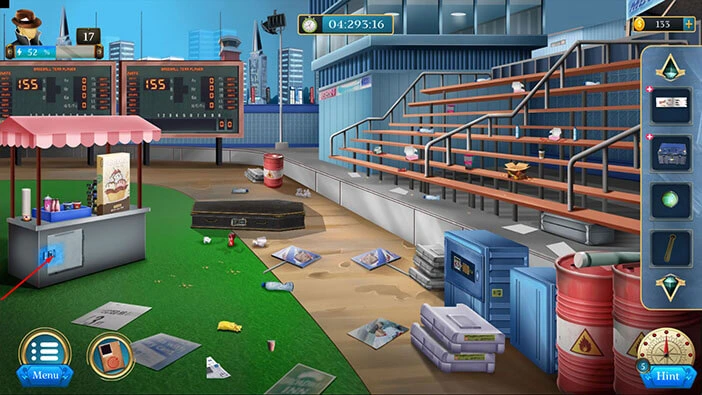
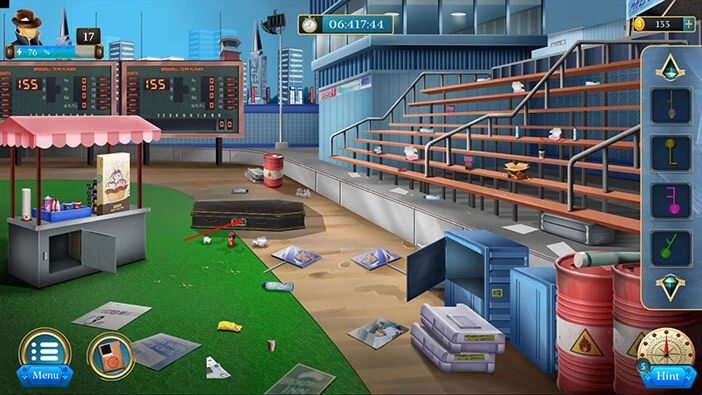
In the next scene, Detective Kyle will begin his investigation in the Ballfield. Let’s explore this area.
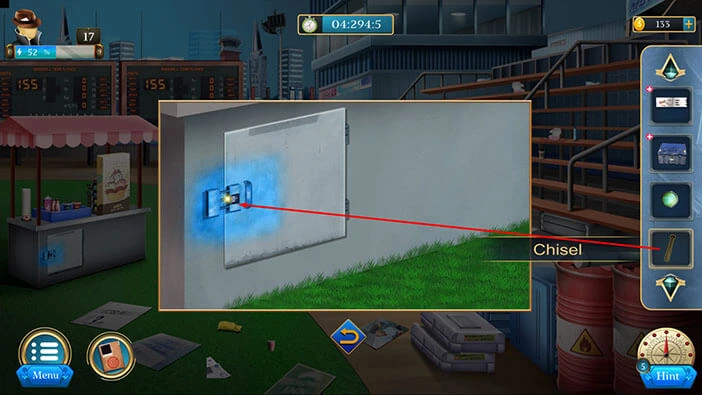
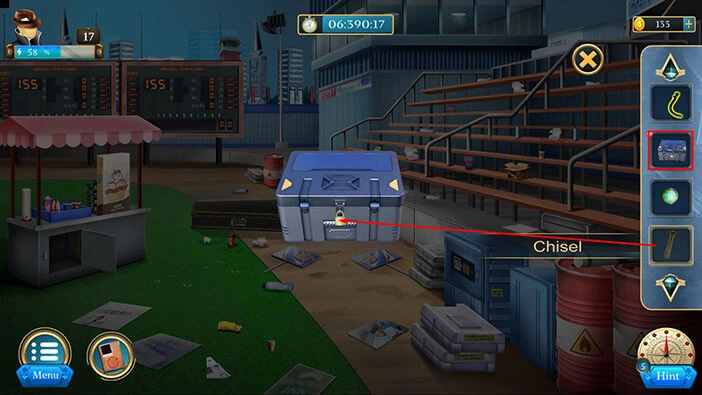
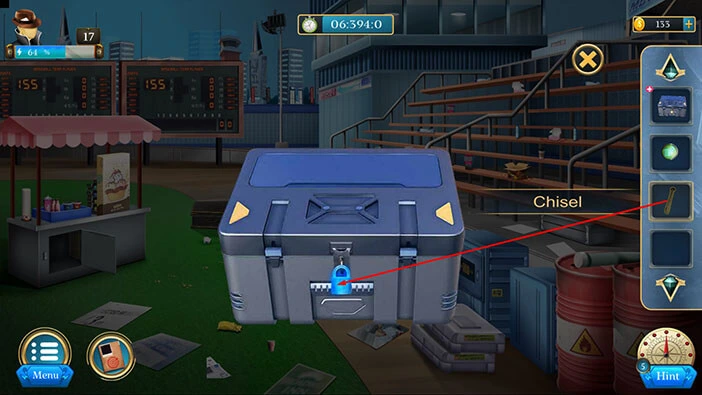
Tap on the cardboard box on the right to take a closer look at it.
Here, you will find a “Chisel”. Let’s tap on it to pick it up.
After that, tap on the arrow at the bottom to go back.
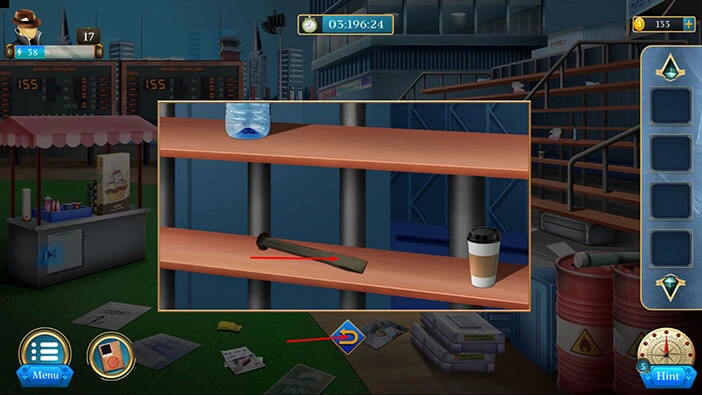
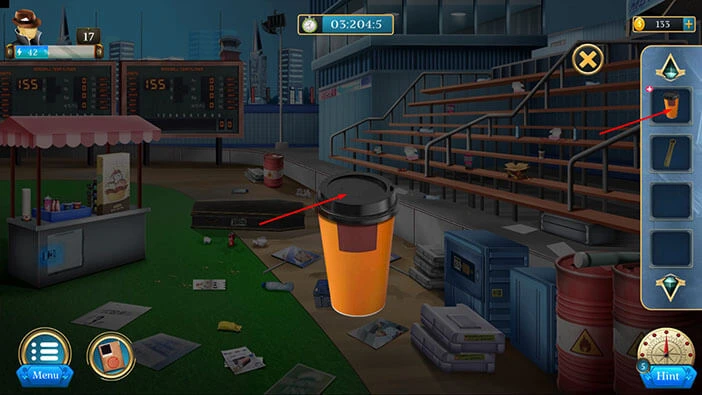
Further on the right side, you will notice a “Coffee cup”. Let’s tap on it to take a closer look, and tap again to pick it up.
After that, tap on the arrow at the bottom to go back.
Select the “Coffee cup” from the inventory and it will appear in the middle of the screen. After that, tap on the coffee cup to open it.
A “Piece” will fall out of the coffee cup. Let’s tap on it to pick it up. After that, tap on the “X” button to close this window.
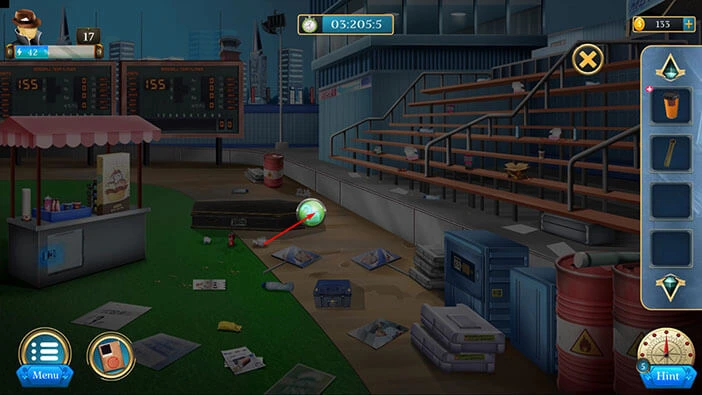
On the ground in front of you, you will notice a “Box”. Let’s tap on it to take a closer look, and tap again to pick it up.
After that, tap on the arrow at the bottom to go back.

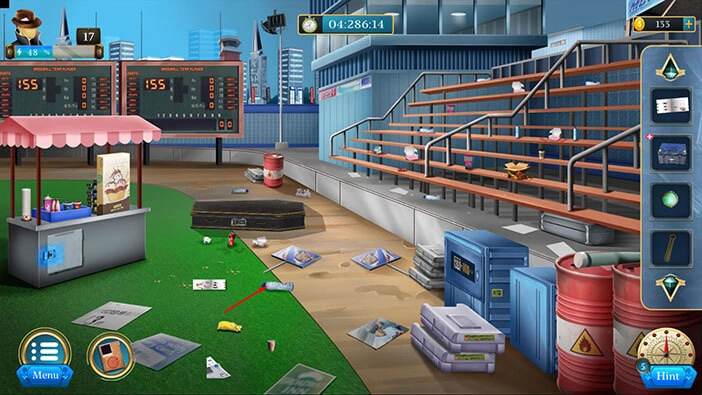
Next, on the ground in front of you, you will notice newspapers. Let’s tap on them to take a closer look, and tap again to move them aside.

Under the newspaper, you will find a “Menu card”. Let’s tap on it to pick it up.
Next, on the ground in front of you, you will also notice a plastic bottle. Let’s tap on it to take a closer look.
Next, to the plastic bottle, you will find another “Menu card”. Let’s tap on it to pick it up.
After that, tap on the arrow at the bottom to go back.
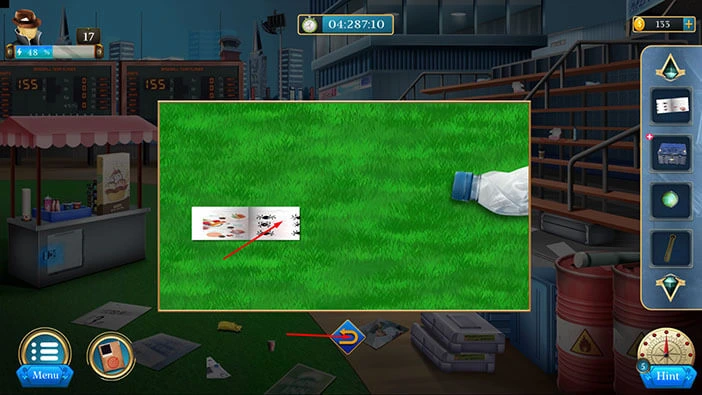
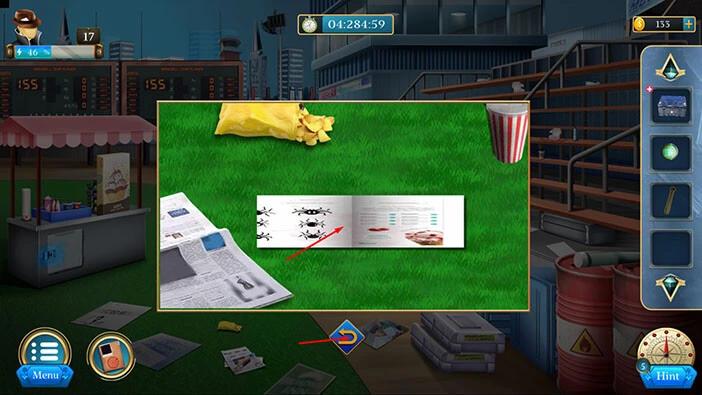
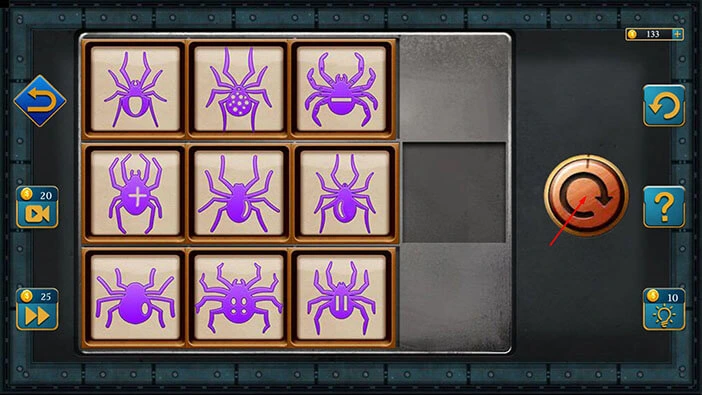
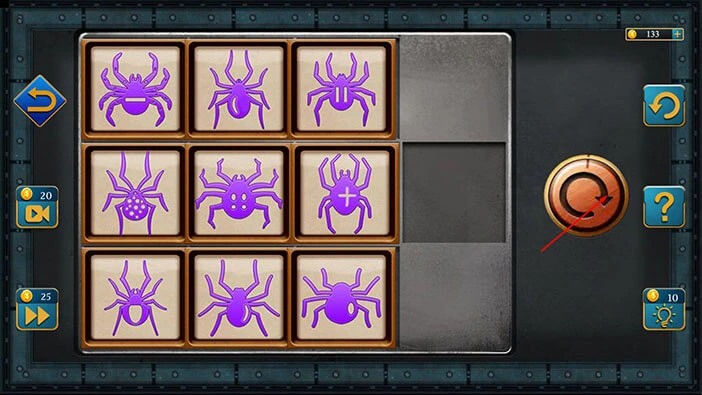
Let’s select the “Menu card” (with a plus sign) from the inventory and it will appear in the middle of the screen. After that, select the other “Menu card” from the inventory and place it next to the first menu card.

Here, we can see 9 spiders, arranged in three rows with three spiders in each row. Let’s memorize/write down the position of the spiders.
Once you’re done, tap on the “X” button to close this window.
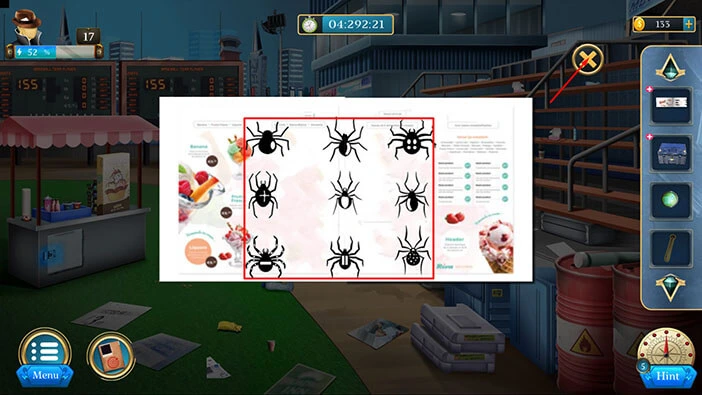
Next, let’s tap on the small door on the food stand to take a closer look.
Select the “Chisel” from the inventory and use it to break the ice around the lock. After that, tap on the lock to start the interaction.
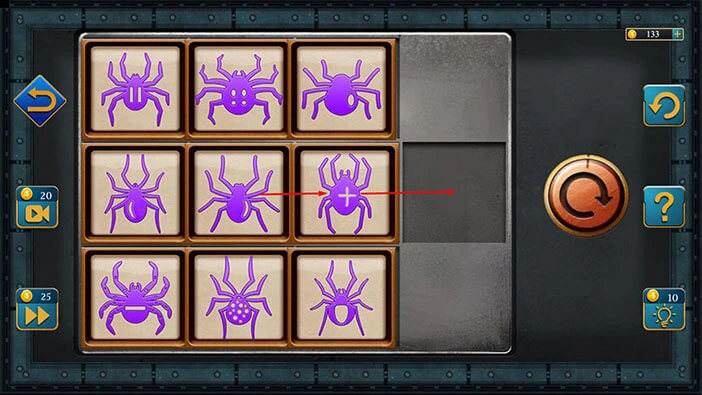
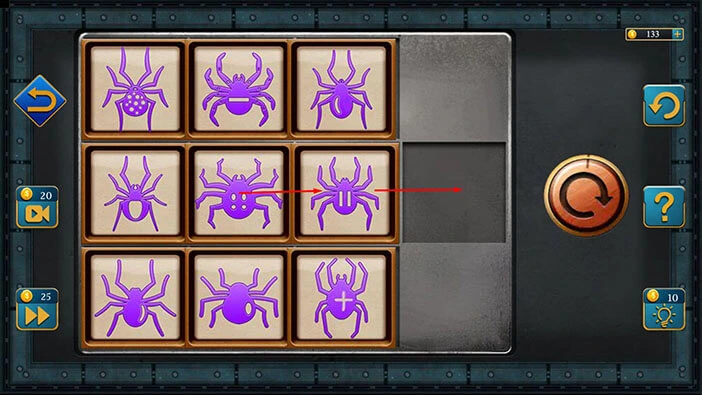
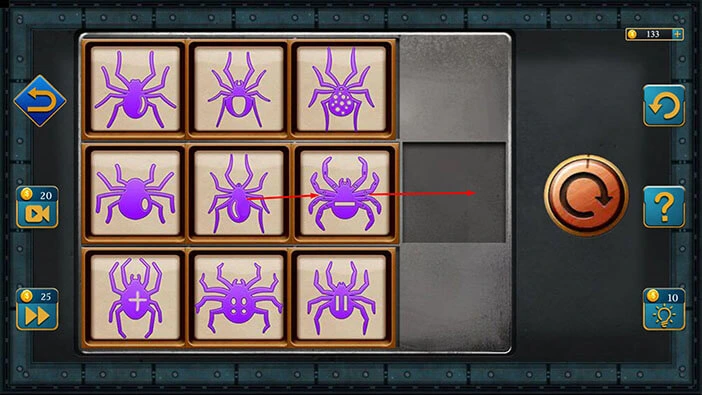
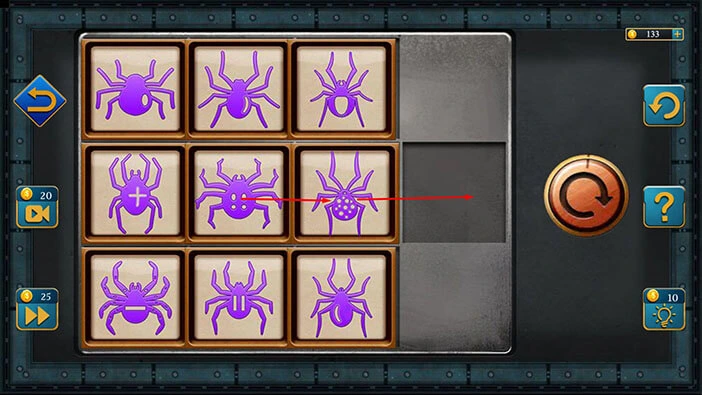
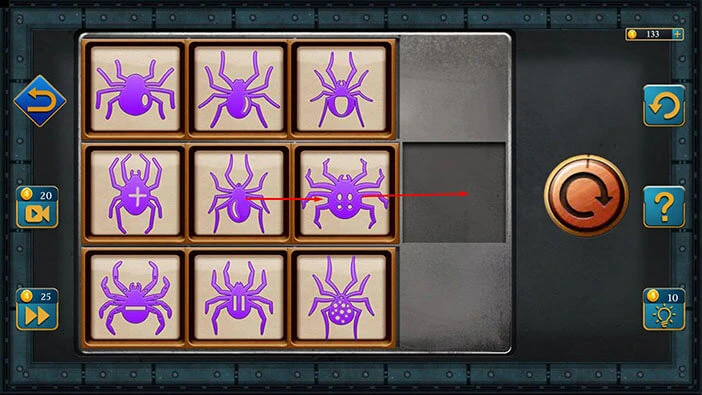
Here, we can see the same nine spiders that we saw previously, but they are placed in different positions. So, our next task is to rearrange the spiders. We will do that in several steps. Let’s begin.
Step 1
Tap four times on the arrow on the right to rotate the symbols.
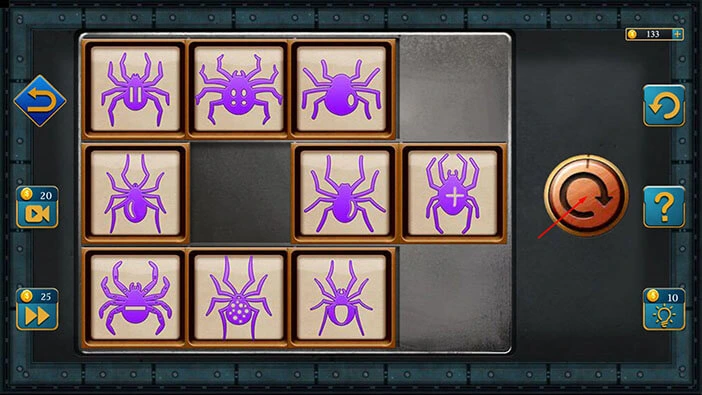
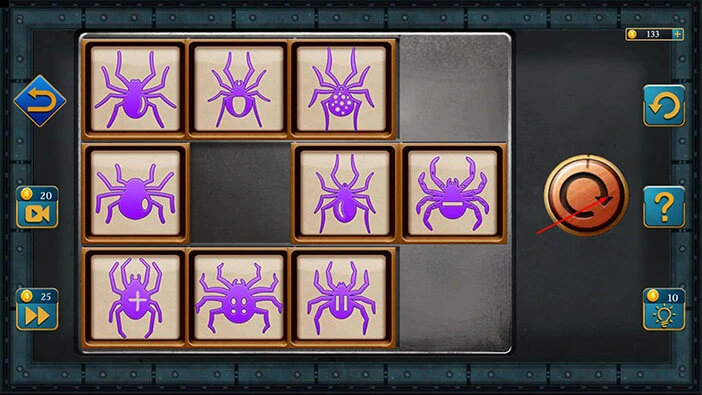
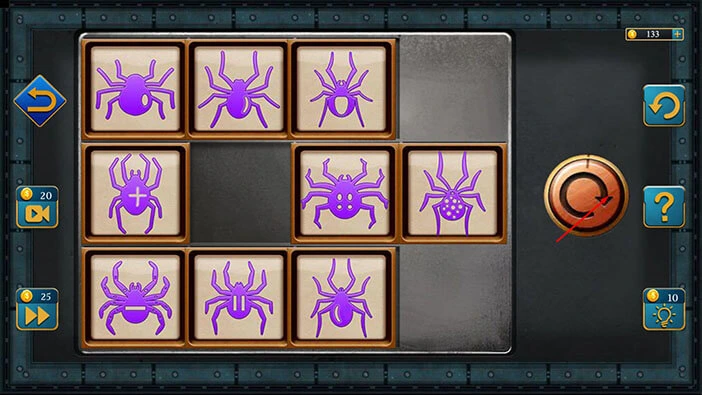
Step 2
Tap on the third slot in the second row to move this symbol to the right slot. After that, tap on the second slot in the second row to move this symbol to the right.
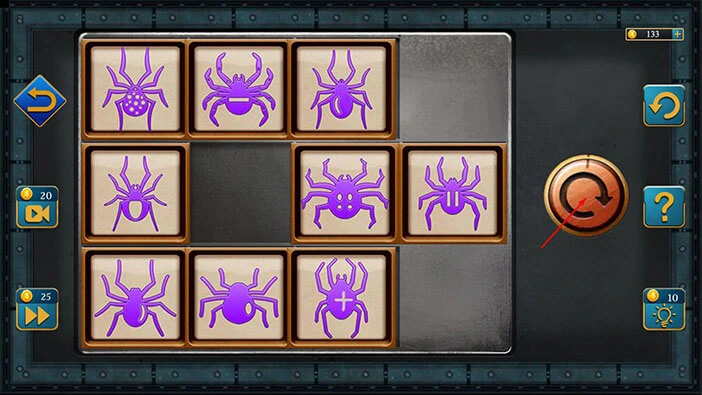
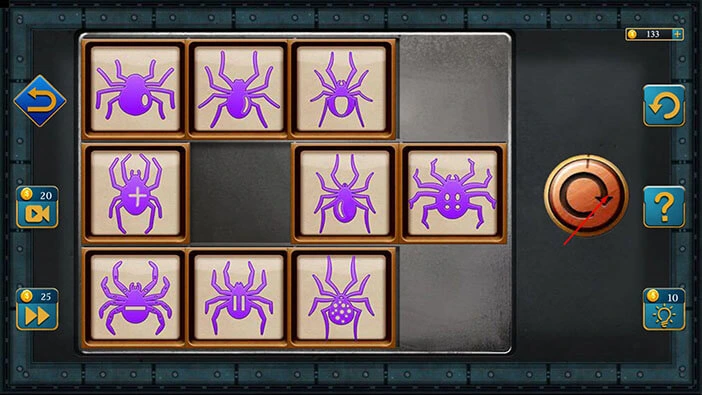
Step 3
Tap twice on the arrow on the right to rotate the symbols.
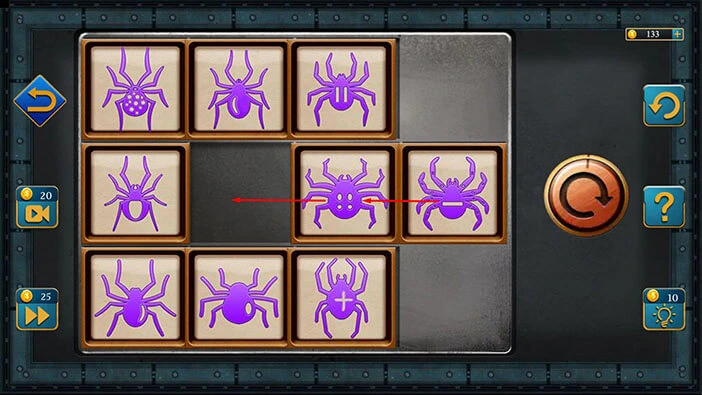
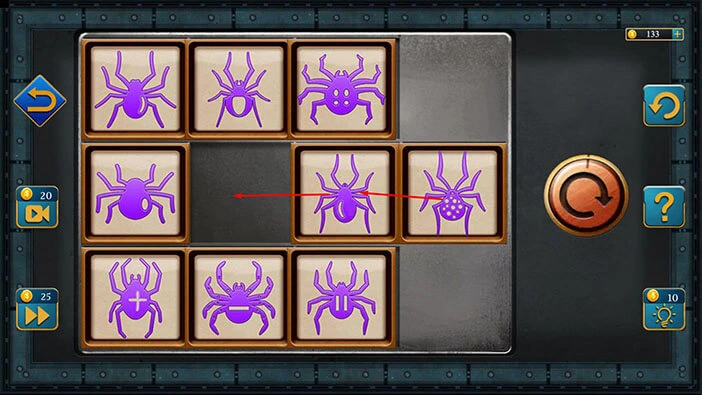
Step 4
Tap on the third slot in the second row to move this symbol to the left. After that, tap on the slot on the right to move this symbol to the left.
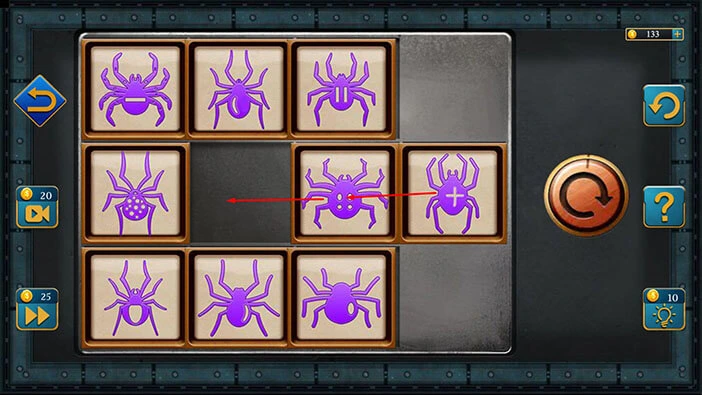
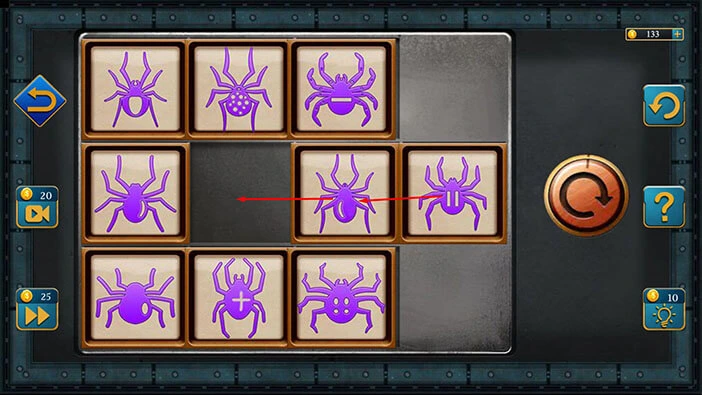
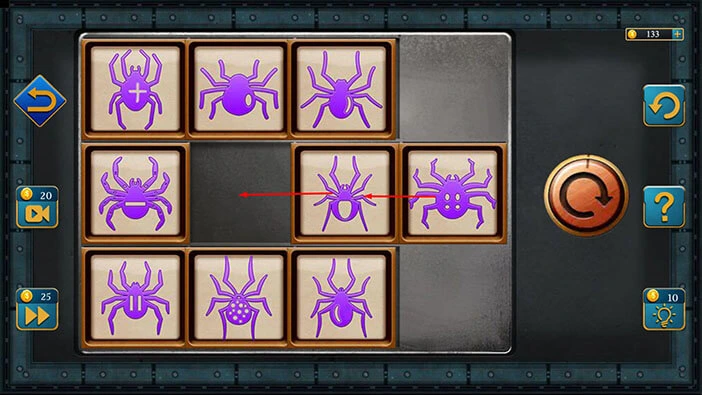
Step 5
Tap once on the arrow on the right to rotate the symbols.
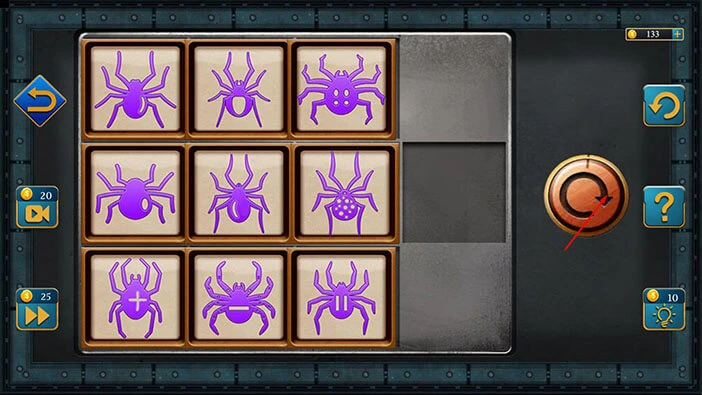
Step 6
Tap on the third slot in the second row to move this symbol to the right slot. After that, tap on the second slot in the second row to move this symbol to the right.
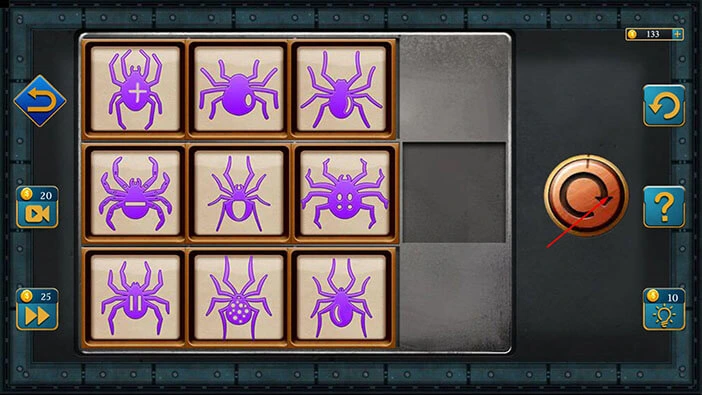
Step 7
Tap once on the arrow on the right to rotate the symbols.
Step 8
Tap on the third slot in the second row to move this symbol to the left. After that, tap on the slot on the right to move this symbol to the left.
Step 9
Tap once on the arrow on the right to rotate the symbols.

Step 10
Tap on the third slot in the second row to move this symbol to the right slot. After that, tap on the second slot in the second row to move this symbol to the right.
Step 11
Tap six times on the arrow on the right to rotate the symbols.
Step 12
Tap on the third slot in the second row to move this symbol to the left. After that, tap on the slot on the right to move this symbol to the left.
Step 13
Tap three times on the arrow on the right to rotate the symbols.
Step 14
Tap on the third slot in the second row to move this symbol to the right slot. After that, tap on the second slot in the second row to move this symbol to the right.
Step 15
Tap seven times on the arrow on the right to rotate the symbols.
Step 16
Tap on the third slot in the second row to move this symbol to the left. After that, tap on the slot on the right to move this symbol to the left.
Step 17
Tap once on the arrow on the right to rotate the symbols.
Step 18
Tap on the third slot in the second row to move this symbol to the right slot. After that, tap on the second slot in the second row to move this symbol to the right.
Step 19
Tap once on the arrow on the right to rotate the symbols.
Step 20
Tap on the third slot in the second row to move this symbol to the left. After that, tap on the slot on the right to move this symbol to the left.
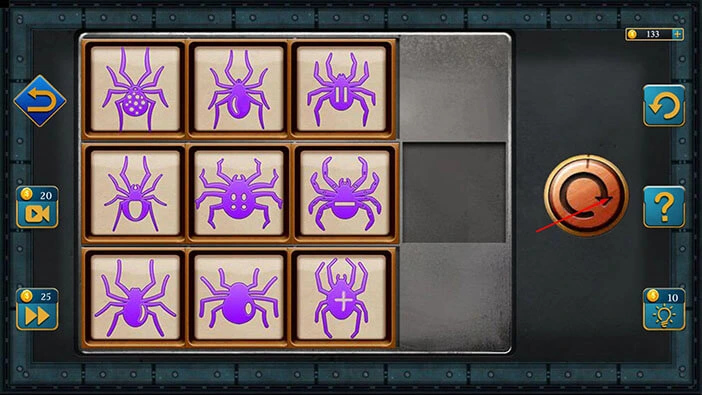
Step 21
Tap seven times on the arrow on the right to rotate the symbols and you will solve this puzzle.
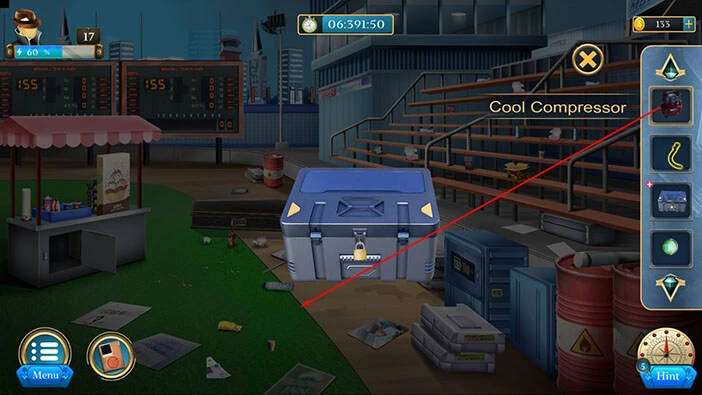
Inside, you will find a “Tube” and a “Cool Processor”. Let’s tap on these two items to pick them up.
After that, tap on the arrow at the bottom to go back.
Select the “Box” from the inventory and it will appear in the middle of the screen. After that, select the “Chisel” from the inventory and try to break the lock.
Our character didn’t manage to break the lock. Let’s see what we can do about it. Select the “Cool Compressor” from the inventory and place it in front of the box.
Next, select the “Tube” from the inventory and attach it to the compressor.
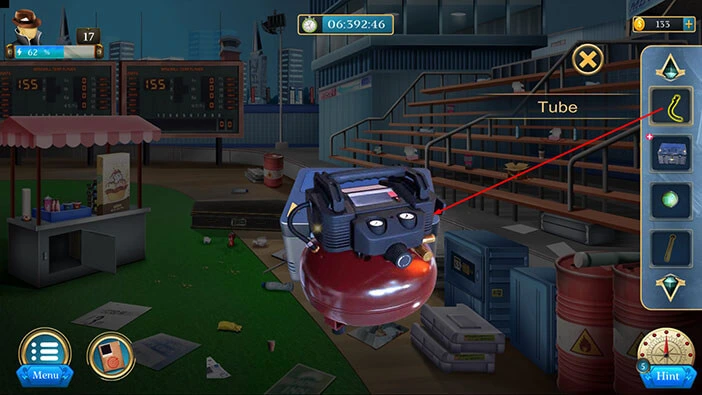
Our character will use the compressor to freeze the lock, and now we should be able to break it. So, let’s select the “Chisel” from the inventory and use it to break the lock.
In the box, you will find two “Keys” (the green key and the purple key). Let’s tap on them to pick them up.
After that, tap on the “X” button to close this window.
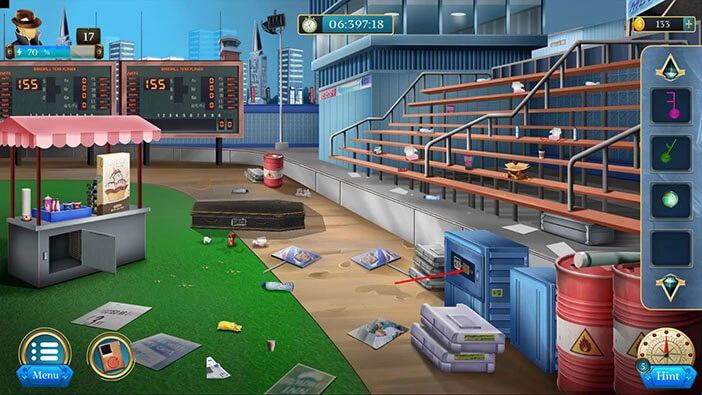
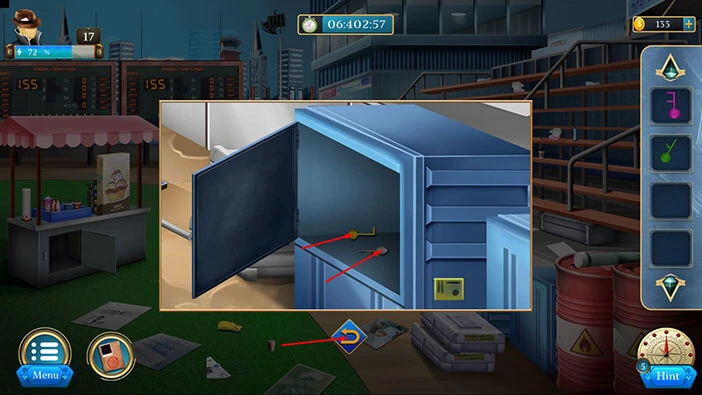
Next, let’s tap on the machine on the right to take a closer look at it.
Select the “Piece” from the inventory and insert it into the empty slot on the left.
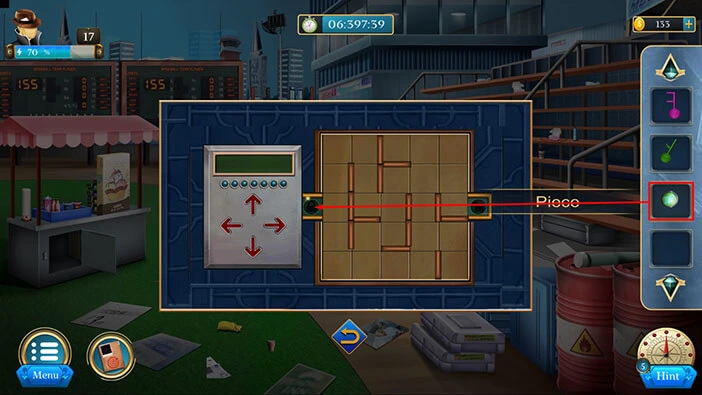
Here, we have another puzzle. Our task is to bring the ball to the slot on the right, and we should do that in seven steps. Let’s solve this puzzle. Tap on the,
Right arrow, Down arrow, Right arrow, Up arrow, Right arrow, Down arrow, Right arrow.

Inside, you will find two “Keys” (the yellow key and the grey key). Let’s tap on them to pick them up.
After that, tap on the “X” button to close this window.
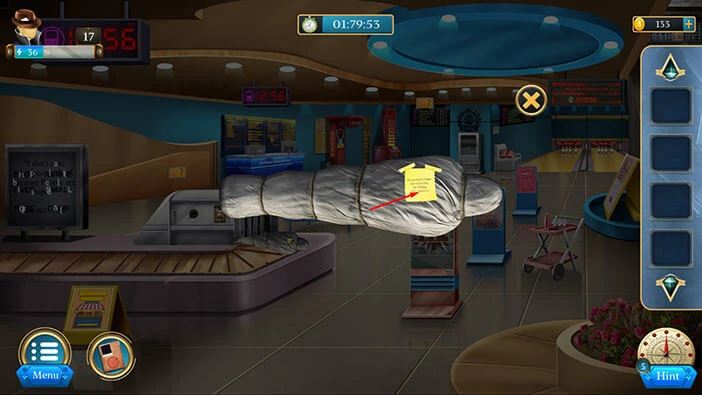
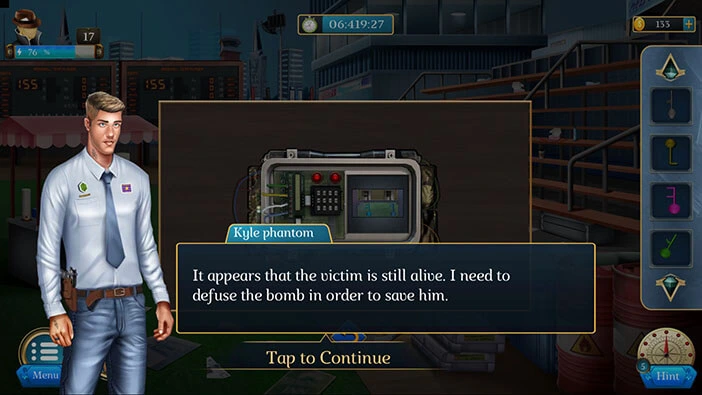
Let’s tap on the coffin to take a closer look at it, and tap again to start the interaction.
It seems that the victim is still alive and locked in the coffin. However, there is also a bomb attached to the coffin and the time is ticking down, so we will have to find a way to defuse it, and quickly.
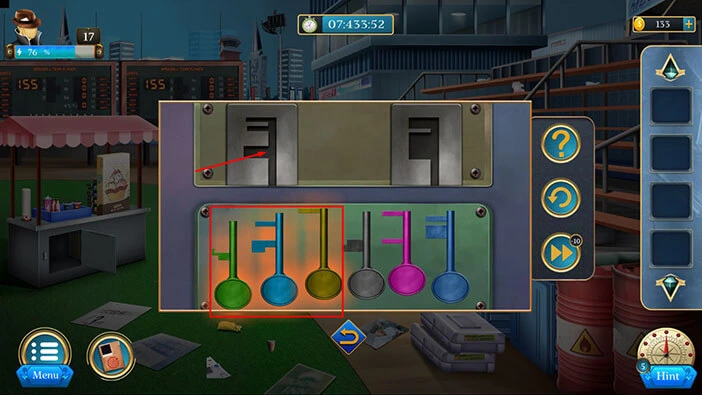
Tap on the right side of the bomb to start the interaction. Select the four “Keys” from the inventory and place them next to the blue keys.
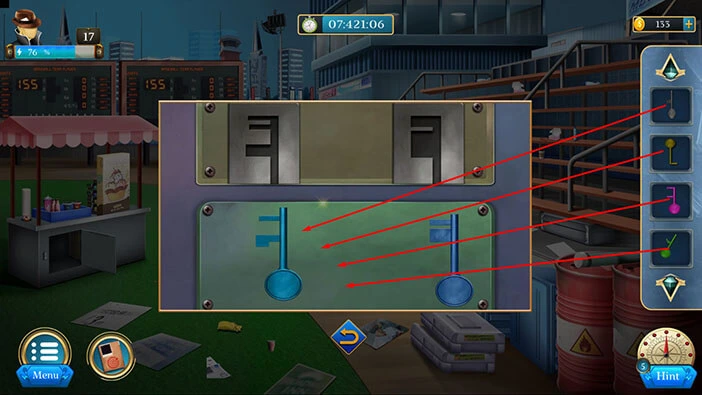
Our next task is to combine the keys and create shapes that will match the keyholes at the top. Let’s do that. First, let’s create the key for the keyhole on the left.
So, let’s select the green key, yellow key and the blue key on the left. After that, tap on the keyhole on the left.
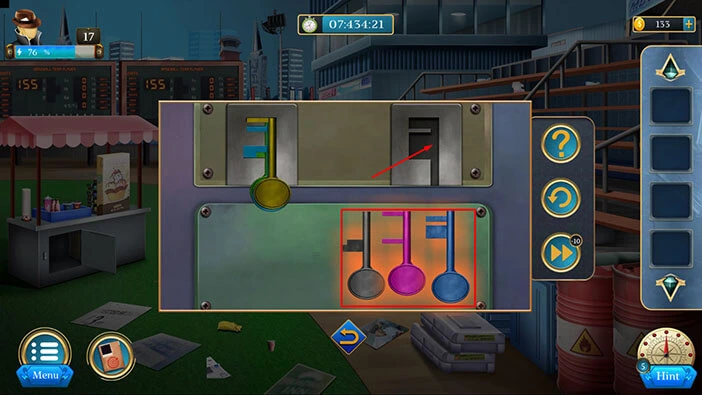
Next, let’s create the key for the keyhole on the right.
So, let’s select the grey key, purple key and blue key on the right. After that, tap on the keyhole on the right.
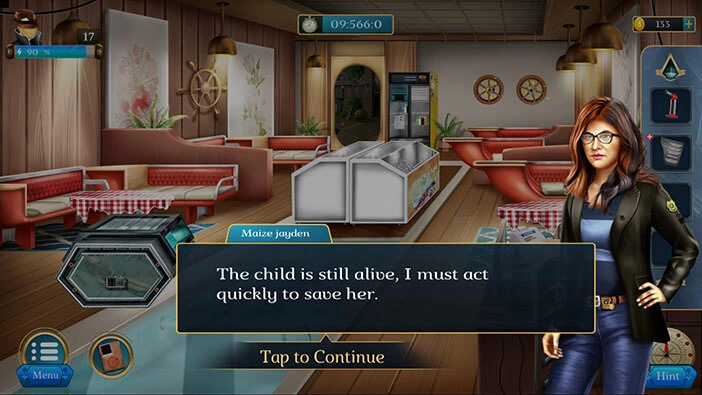
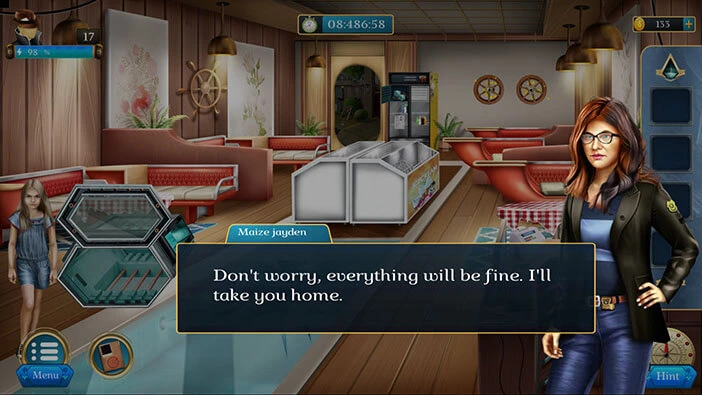
However, the bomb exploded as soon as our character opened the coffin. We will continue our investigation as Detective Maze. Her task is to investigate the other location, “OCEANBLUE”. Let’s proceed.
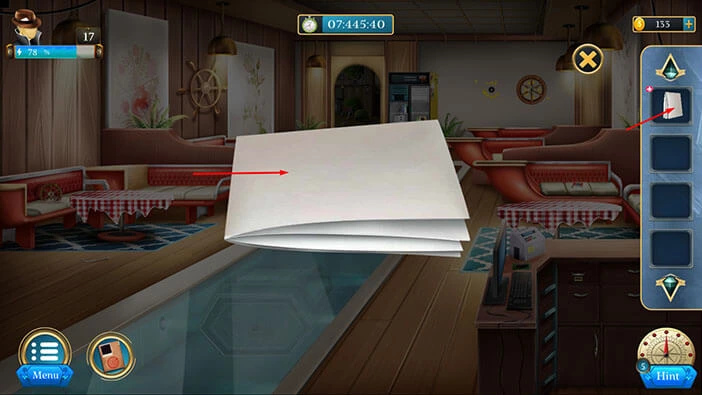
On the floor on the right, you will notice a “Bill”. Let’s tap on it to take a closer look, and tap again to pick it up.
After that, tap on the arrow at the bottom to go back.

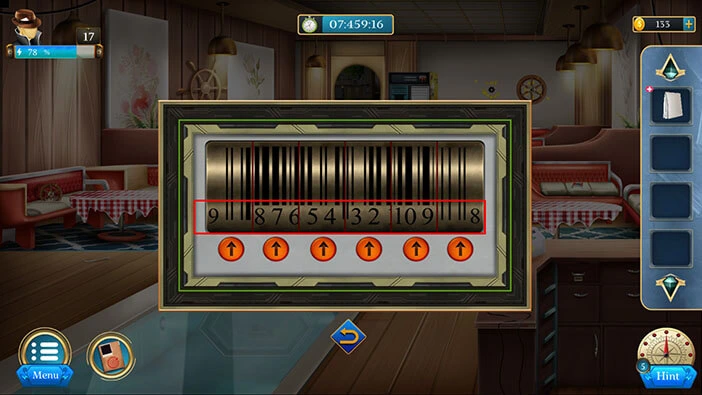
Select the “Bill” from the inventory and it will appear in the middle of the screen. After that, tap twice on the bill to examine it.
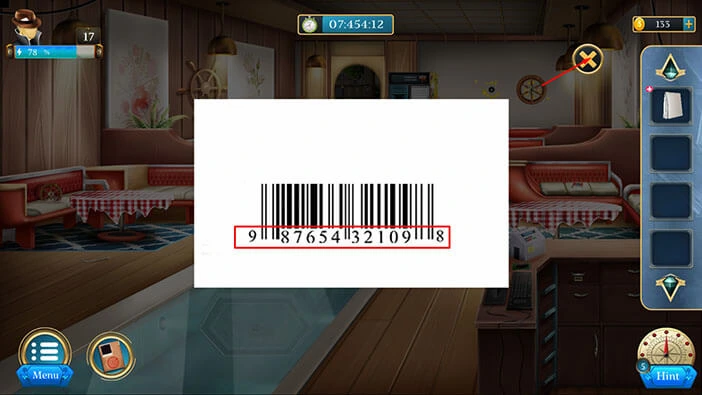
Here, we can see a barcode, and it can be broken up into several parts. Let’s memorize/write down the barcode because we will need it for the next puzzle. So, we have,
The first part = “9”
The second part = “876”
The third part = “54”
The fourth part = “32”
The fifth part = “109”
The sixth part = “8”
Once you’re done, tap on the “X” button to close this window.
Next, if you take a look at the drawer on the right, you will notice a small lock. Let’s tap on it to take a closer look and tap again to start the interaction.
So, let’s set the correct barcode. We had,
The first part = “9”
The second part = “876”
The third part = “54”
The fourth part = “32”
The fifth part = “109”
The sixth part = “8”
With that, you will unlock the drawer.
In the drawer, you will find a “Steel board”. Let’s tap on it to pick it up.
After that, tap on the arrow at the bottom to go back.

Next, let’s tap on the couch on the right to take a closer look at it.

Here, you will find a “Blowtorch”. Let’s tap on it to pick it up.
After that, tap on the arrow at the bottom to go back.

Next, let’s tap on the couch in the top left corner of the room to take a closer look at it.

Here, you will find an “Oar”. Let’s tap on it to pick it up. After that, tap on the arrow at the bottom to go back.
Next, let’s tap on the couch on the left to take a closer look at it.
Here, you will find a “Wheel”. Let’s tap on it to pick it up. After that, tap on the arrow at the bottom to go back.
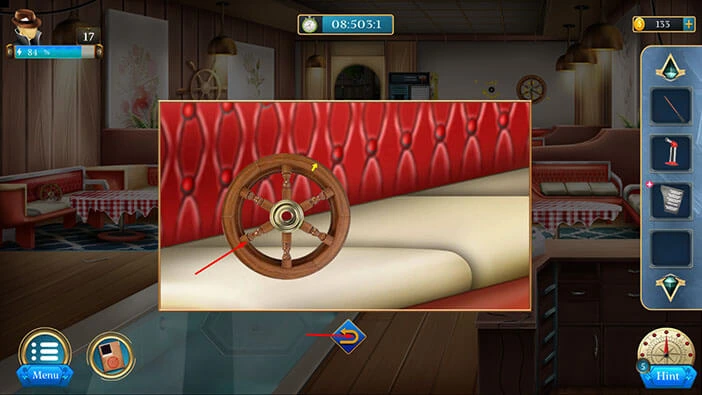
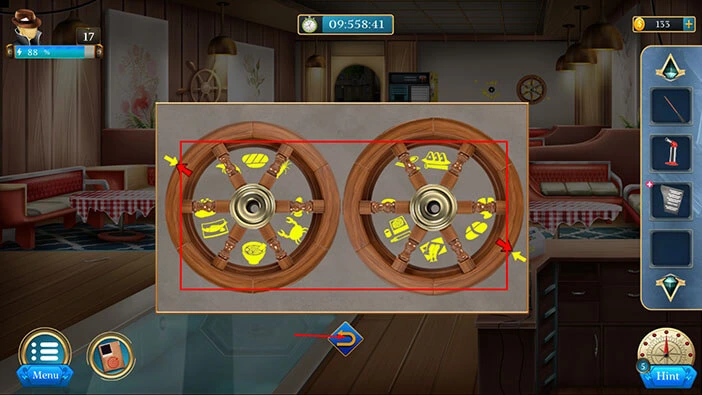
Next, let’s tap on the wheel in the top right corner of the room to take a closer look at it.
Select the “Wheel” from the inventory and insert it into the empty slot on the left.
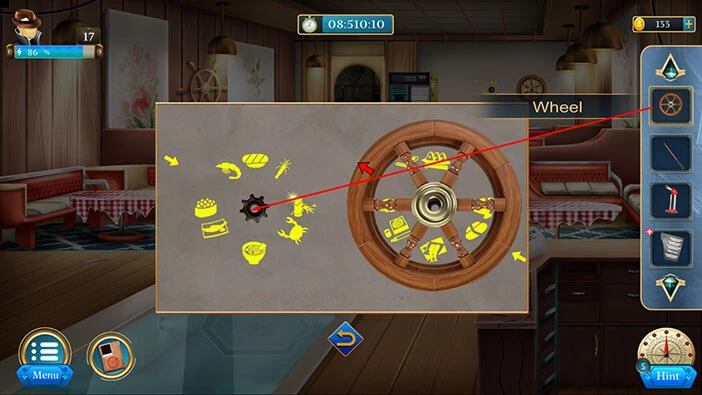
Our next task is to rotate the wheels into the correct position. So, the red arrow on the wheel on the left should point to the yellow arrow in the top left corner. Also, the red arrow on the wheel on the right should point to the yellow arrow in the top right corner.
With that said, let’s rotate the wheels into the correct positions.
Let’s memorize/write down the symbols inside the wheels because this information represents the hint for the next puzzle.
Once you’re done, tap on the arrow at the bottom to go back.
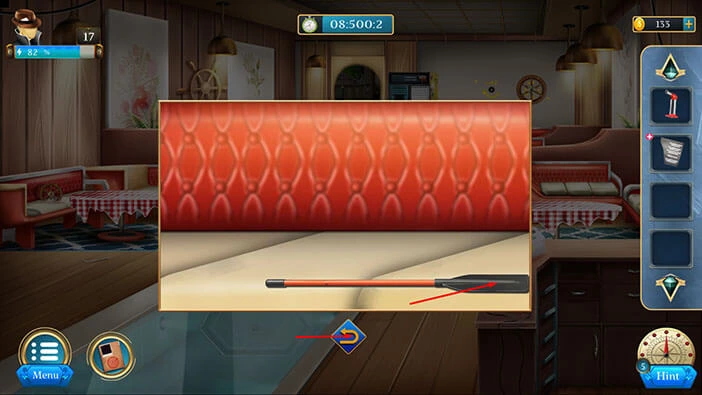
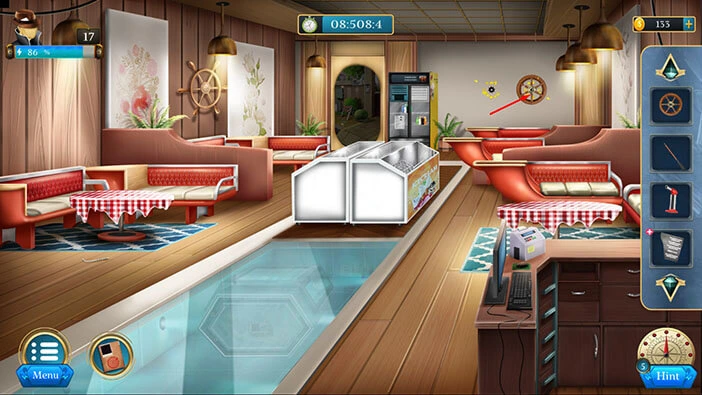
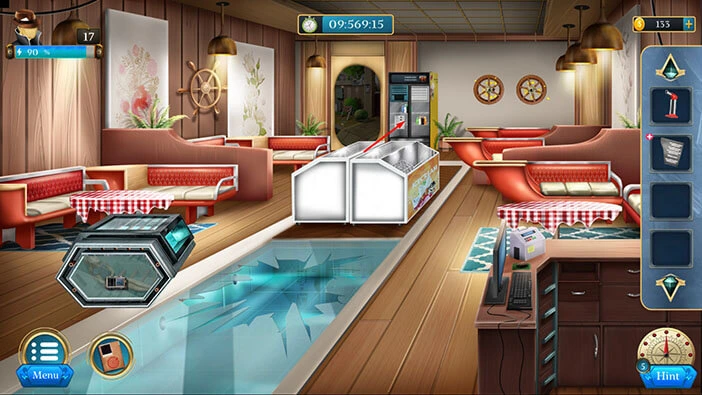
Next, you will notice something under the glass floor. Let’s tap on it to take a closer look.
Select the “Oar” from the inventory and use it to break the glass.
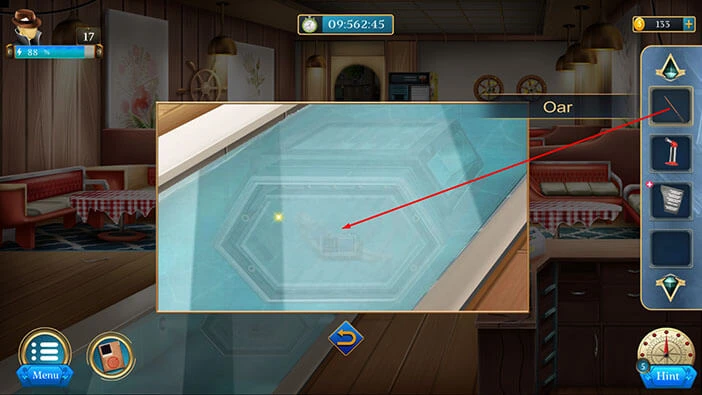
Our next task is to disable the mechanism and save the child that is locked in the strange container. Let’s do that.
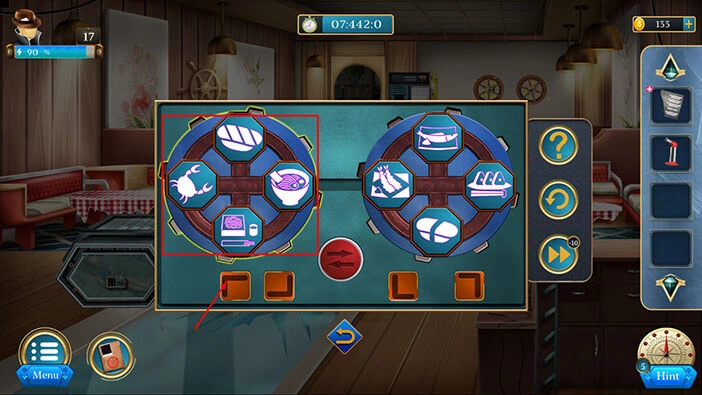
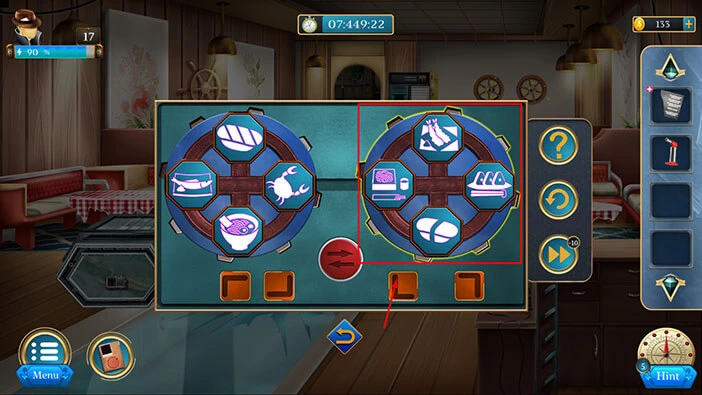
Next, let’s tap on the vending machine on the other side of the room to take a closer look at it. After that, tap on the two wheels to start the interaction.
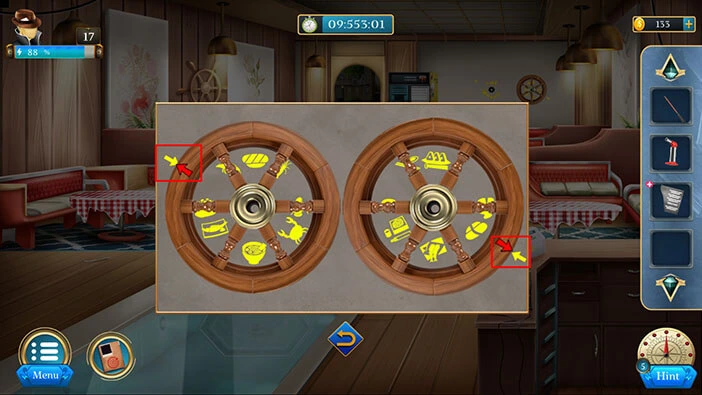
Here, we have another puzzle. The goal is to rearrange the symbol. The position of the symbols should match the position that we saw on the hint with the two wheels.
We will do this puzzle in several steps. Let’s begin.
Step 1
Select the wheel on the left, then tap on the first button at the bottom to swap the symbols.
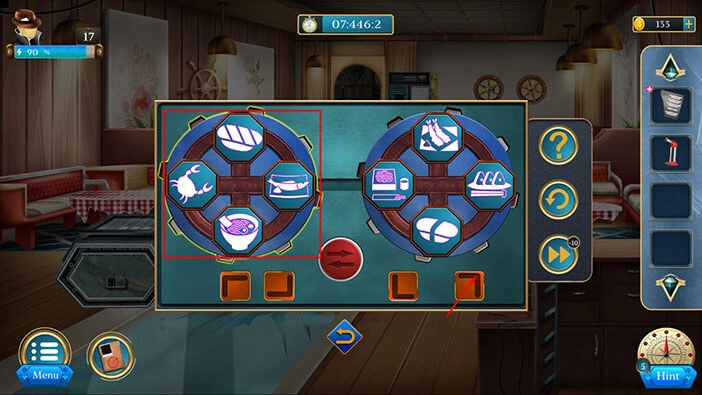
Step 2
Select the wheel on the right, then tap on the second button at the bottom to swap the symbols.

Step 3
Tap on the red arrows to swap the symbols between the wheels.

Step 4
Select the wheel on the left, then tap on the fourth button at the bottom to swap the symbols.
Step 5
Select the wheel on the left, then tap on the first button at the bottom to swap the symbols.
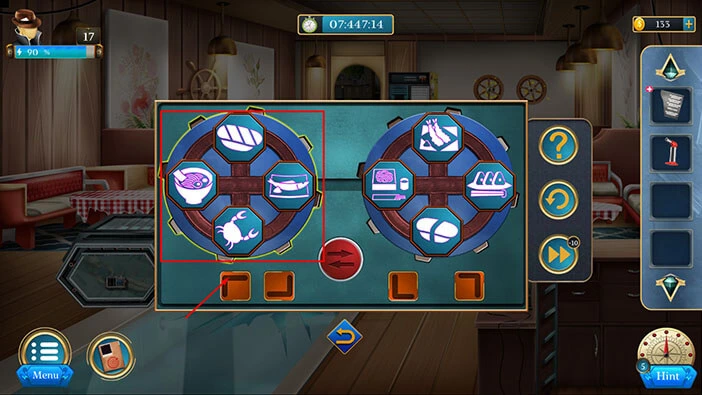
Step 6
Select the wheel on the left, then tap on the fourth button at the bottom to swap the symbols.
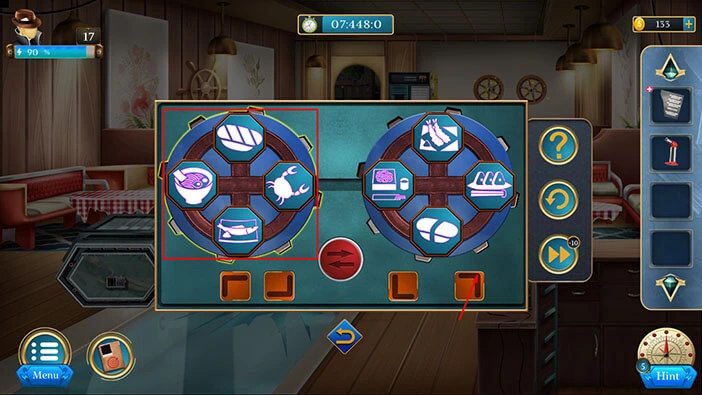
Step 7
Select the wheel on the right, then tap on the third button at the bottom to swap the symbols.
Step 8
Lastly, select the wheel on the right, then tap on the first button at the bottom to swap the symbols. With that, you will solve this puzzle.
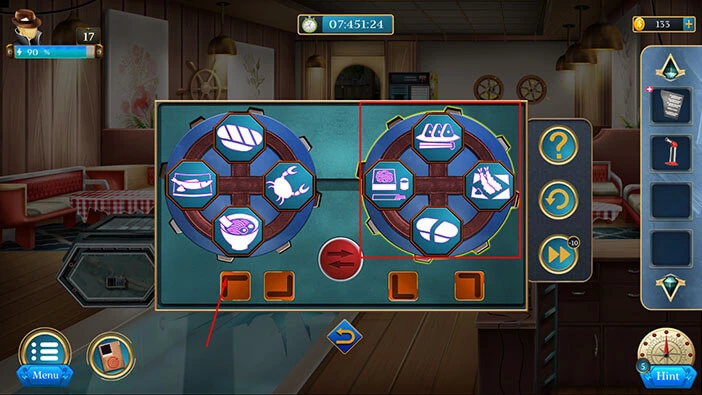
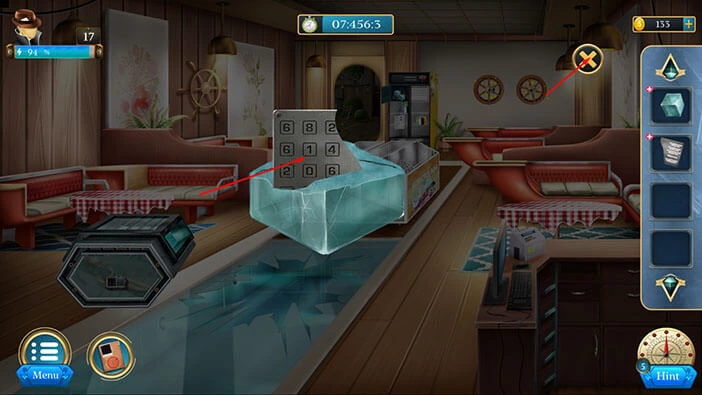
In the vending machine, you will find an “Ice cube”. Let’s tap on it to pick it up. After that, tap on the arrow at the bottom to go back.
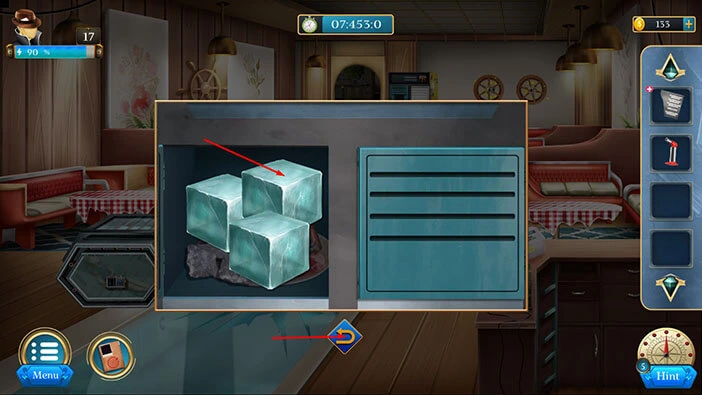
Select the “Ice cube” from the inventory and it will appear in the middle of the screen. After that, select the “Blowtorch” from the inventory and use it to melt down the ice cube.
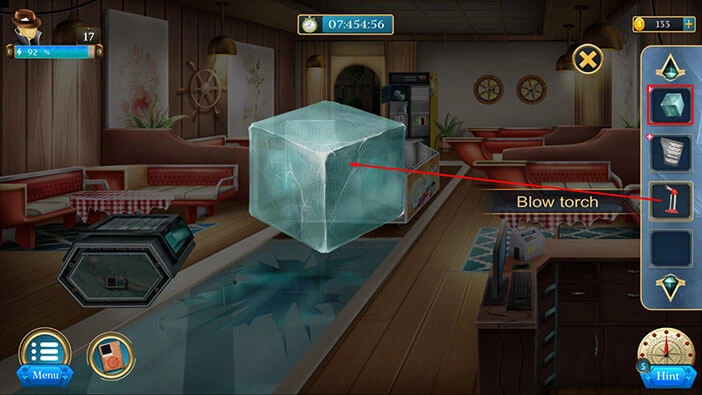
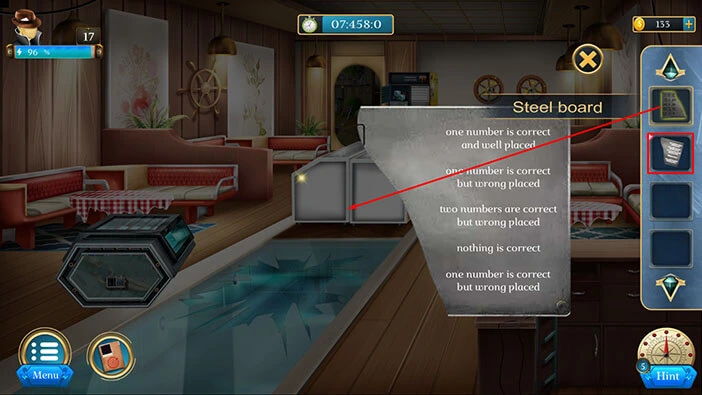
Once you melt down the ice cube, you will discover another “Steel board”. Let’s tap on it to pick it up.
After that, tap on the “X” button to close this window.
Select the “Steel board” (with a plus) from the inventory and it will appear in the middle of the screen.
After that, select the other “Steel board” from the inventory and merge it with the first one.
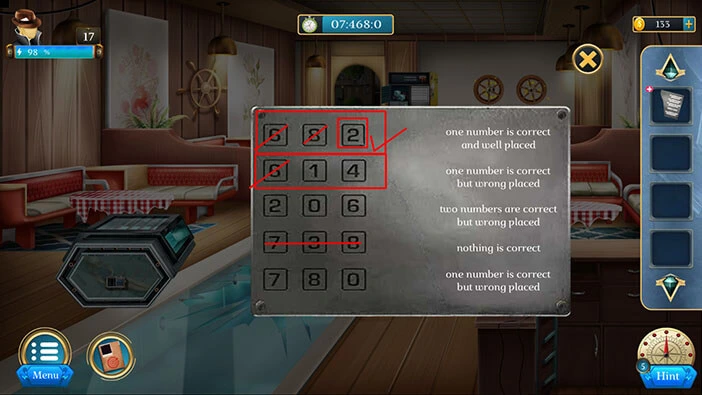
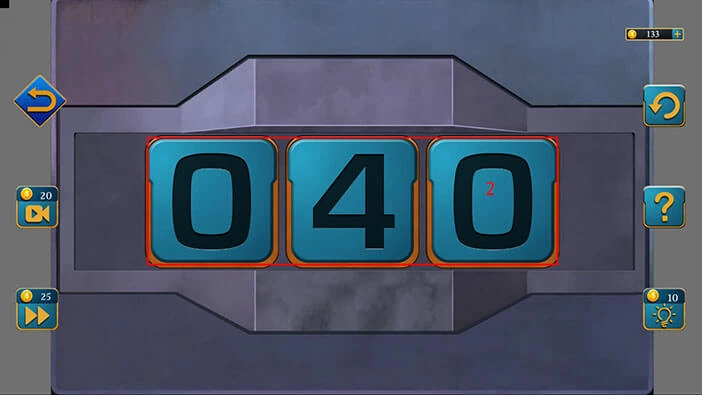
Here, we have another puzzle. This is a logical puzzle, and once we solve it, we will discover the correct three digits. We will do this puzzle in several steps. Let’s begin.
Step 1
If we look at the first row we will see the numbers 6, 8, and 2. One of these three numbers is correct, and it is in the correct position.
If we look at the second row we will see the numbers 6, 1, and 4. One of these numbers is correct, but it is in the wrong position.
So, we can eliminate the number 6 because it is in the first slot in both rows (first and second). The number in the first row is in the correct position, while the number in the second row is in the wrong position.
In the first step, we will focus on the first row. We eliminated the number 6, so the number in the correct position is either number 8 in the second slot or the number 2 in the third slot.
Let’s take a look at the fourth row. Here, we can see the numbers 7, 3, and 8 and none of these numbers is correct. So, we can also eliminate the number 8.
With that, we can conclude that the number 2 is the correct number, and it should be placed in the third slot.
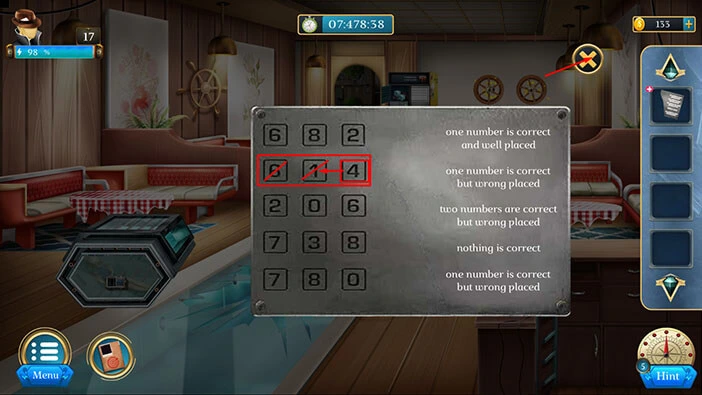
Step 2
Let’s take a look at the third row. Here, we can see the numbers 2, 0, and 6. Two numbers are correct but in the wrong position. We already discovered that we don’t have the number 6 so we can eliminate it.
So, the correct numbers are number 2 and number 0. Number 2 should be in the third slot (we have already discovered that). The number 0 is the correct number, but it shouldn’t be placed in the second slot. The third slot is already occupied by number 2.
So, the first slot is the correct position for the number 0.

Step 3
Let’s look for the last number. If we take a look at the second row we will see the numbers 6, 1, and 4. One of these numbers is correct but it is in the wrong position. We already eliminated the number 6 so it is either 1 or 4.
The first slot is already occupied by the number 0, and the third slot is occupied by the number 2, and only the second slot is open. So, number 1 isn’t the correct number, because the correct number in this row isn’t in the correct position.
With that said, we can conclude that the number 4 should be in the second slot. When we put it all together, we will get the number “042”. Let’s memorize/write down this number because we will need it for the next puzzle.
Once you’re done, tap on the “X” button to close this window.
Let’s tap on the box on the left to take a closer look at it.

Enter the number “042” that we discovered previously, and you will unlock the box.
With that, you will save the child, and you will successfully solve this case.
However, the reporters accused Detective Kyle, claiming that he provoked the Black Spider, and failed to stop him. Their logic is completely flawed, but that’s kind of common with the media nowadays. Anyway, Detective Kyle was suspended.
With that, we have reached the end of the seventeenth level. If you want to see the walkthrough for the eighteenth level, tap on the next part button.
Thank you for reading.