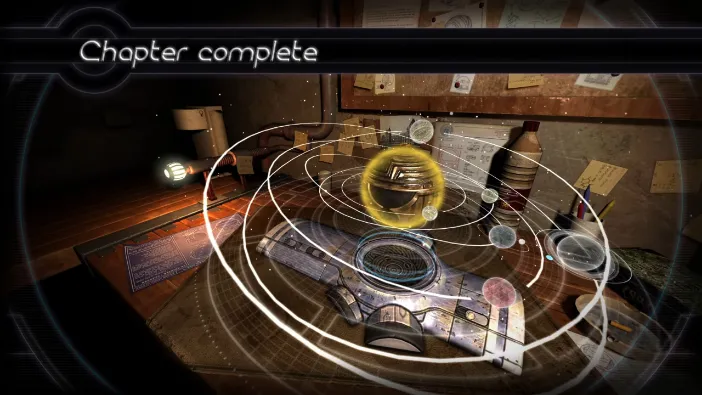
Machinika Museum – Chapter 8
Chapter 8 begins strangely enough, with only a note and a set of keys on the desk in front of you.
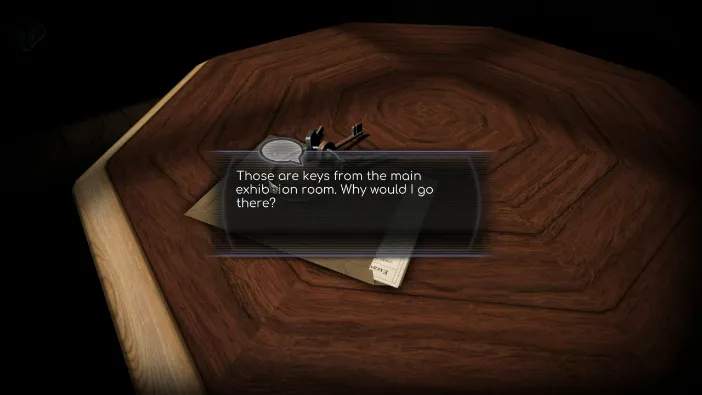
Pick them all up and read the note:
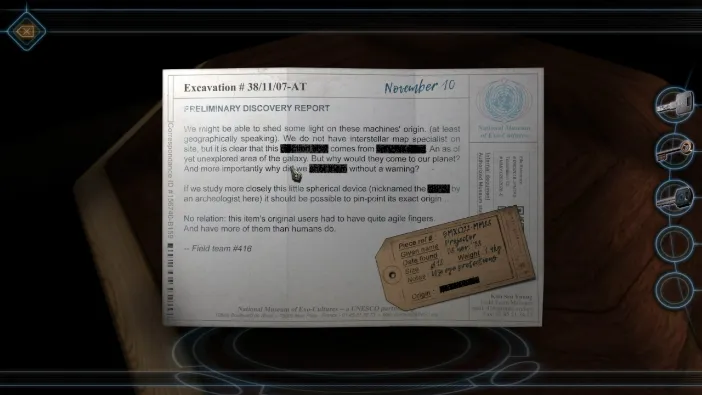
The note indicates that the next item you are to examine is even more intricate than those before. Mainly, it seems to require more fingers than humans have to operate, and quite nimble as well. Now, tap on the door and go to the great hall.
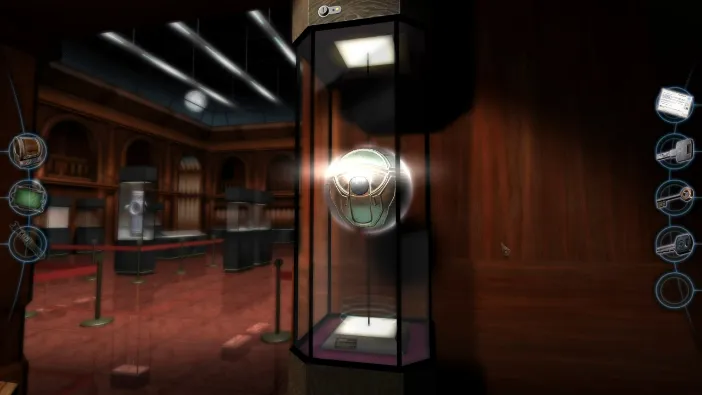
The great hall looks interesting enough. Immediately tap on the top of the display case in front of you, to zoom in on the keyhole. Use this key on it and turn it once it is in:
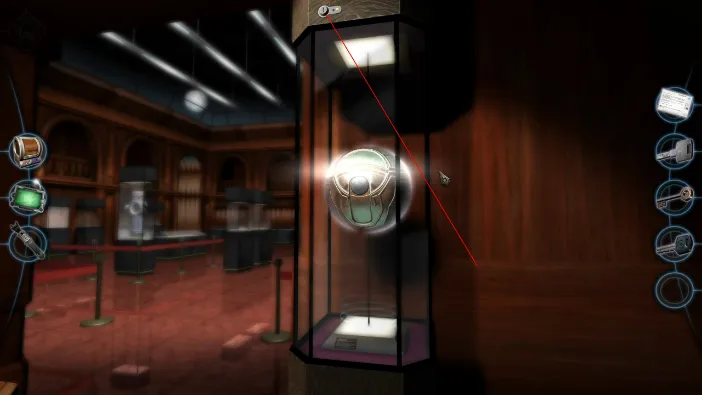
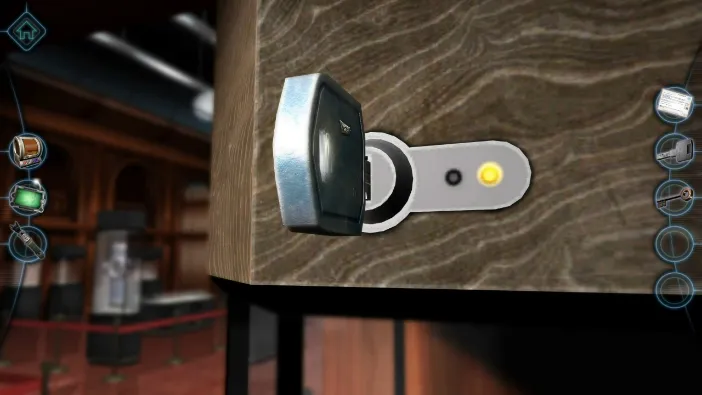
Now, tap on the spherical item inside:
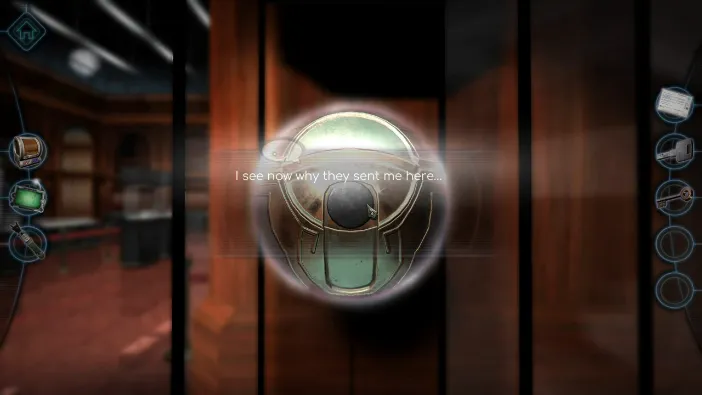
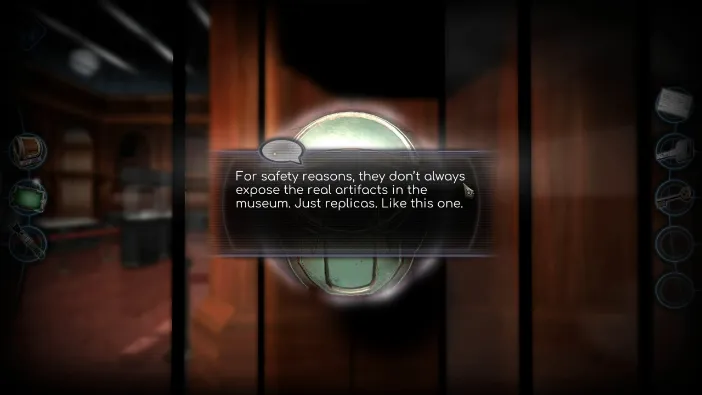
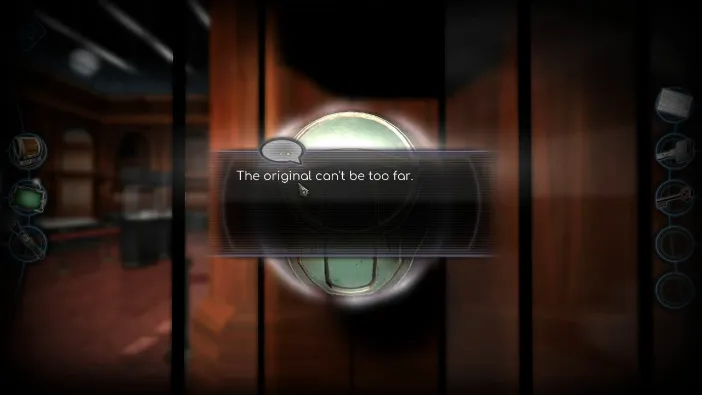
It appears that this is a replica for display only. We need to look for the real one. Now, tap on the bottom of this display case and open the keyhole there:
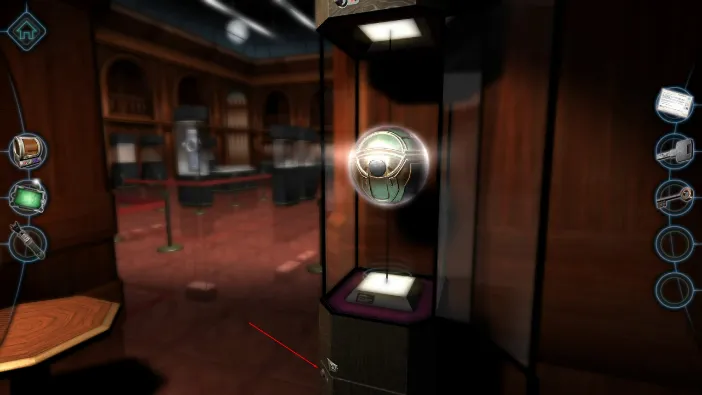
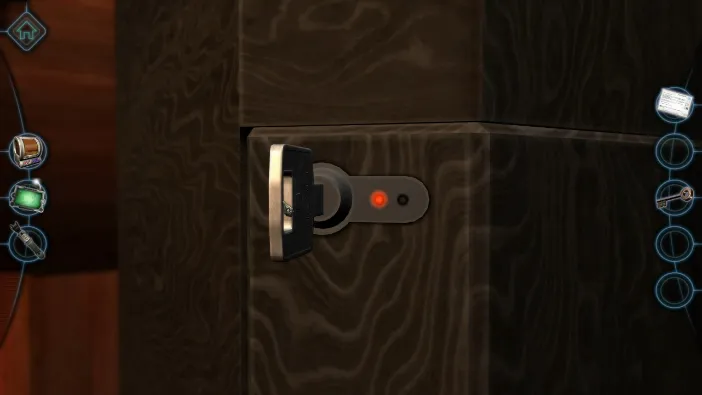
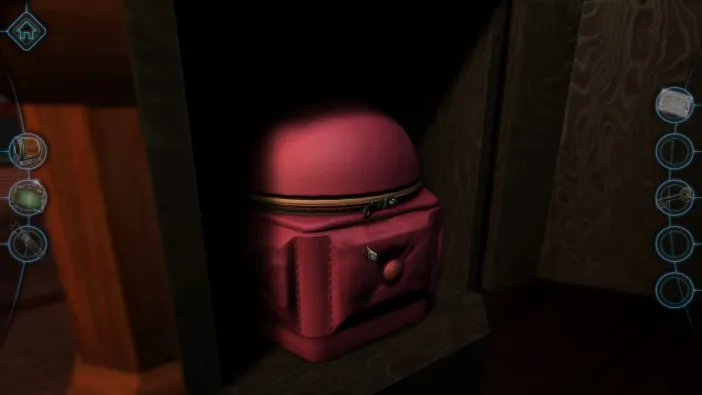
Once you tap on the bag, it will automatically be displayed on the desk. Now, turn it a bit to the left and tap on the side pocked with a symbol resembling the letter K turned over:
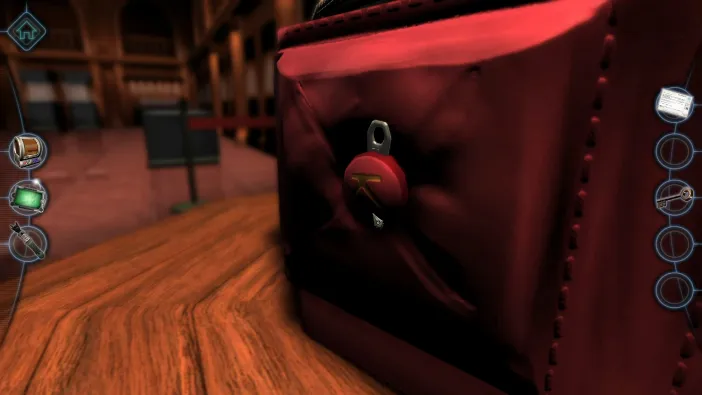
Tap on the button and it will fall off together with a zipper slider. Pick up the zipper slide:
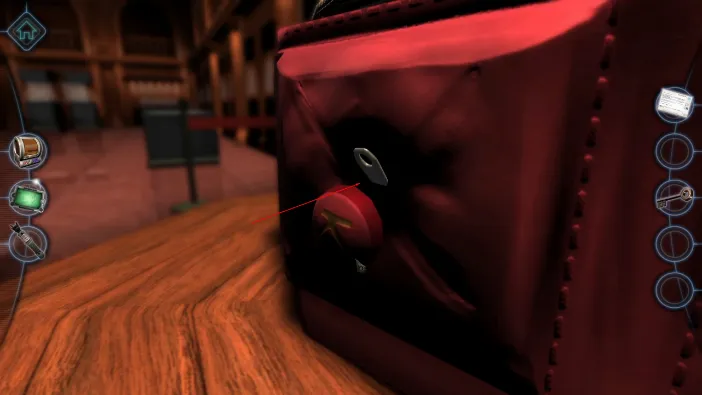
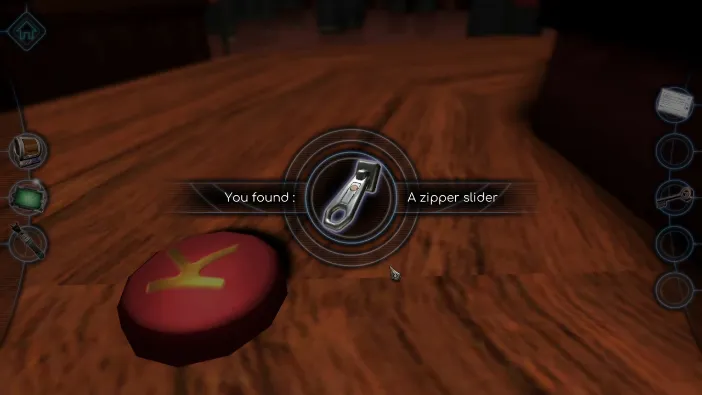
Now, turn the bag over to there the zippers starts. Drag the zipper slider to the beginning to attach it and then drag it around to open it. This might require a lot of dragging by the way:
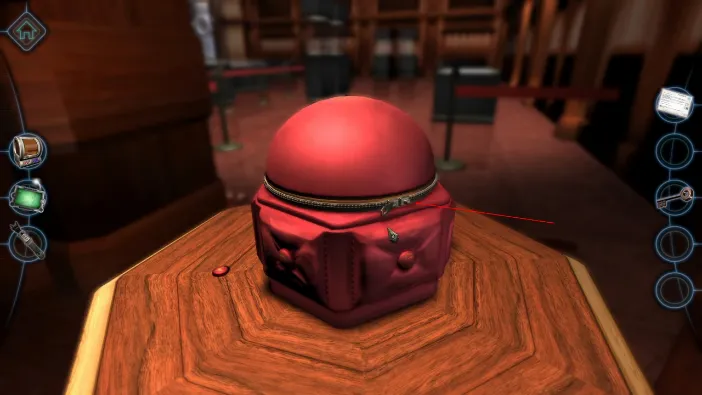
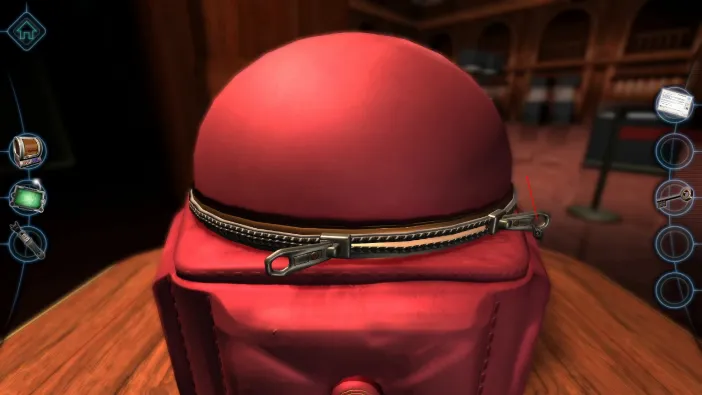
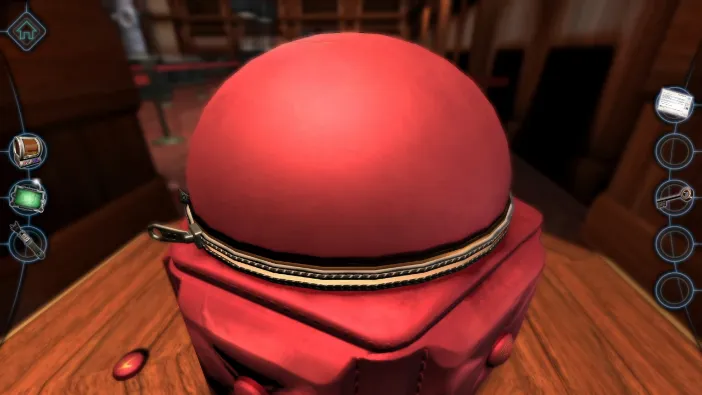
Once you unzip it all the way, pull the top off to find the read artifact in the bag:
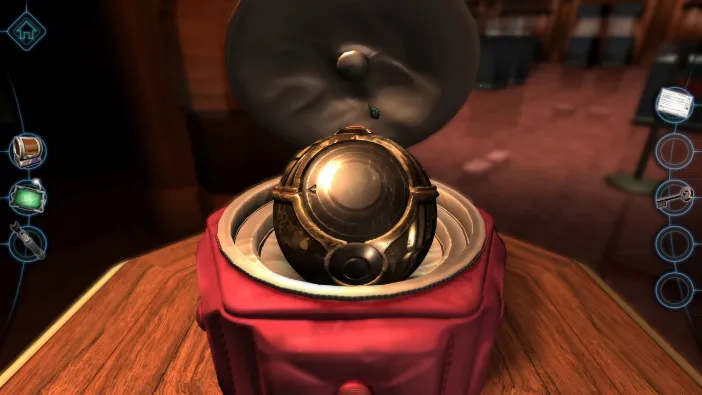
The official chapter begins. The ball will be mounted in the anti gravity field. Zoom in and slide the large lid on it:
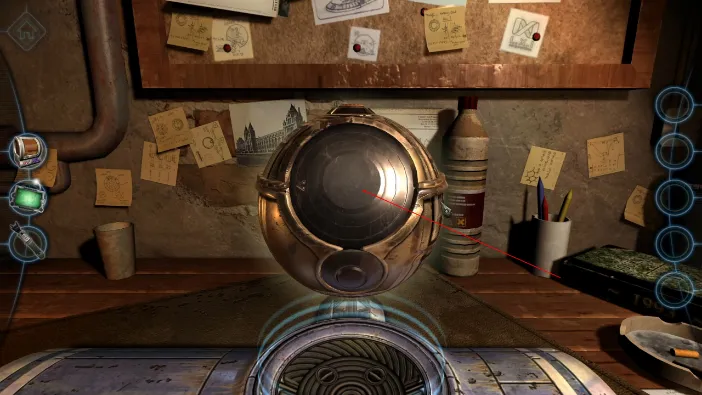
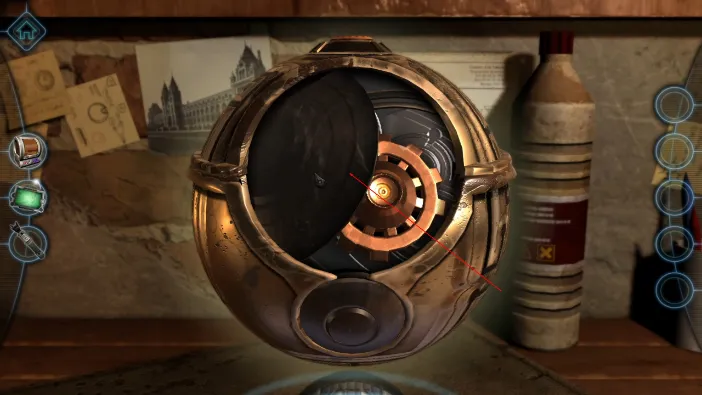
We must move the cogs a bit to enable the mechanism to open a compartment just under it. First, move the plate-shaped cog so that the nick on it faces the larger cog. The larger cog will spring up a bit, then turn it a bit down to catch the lid of the bottom compartment, then turn it to open it, like so:
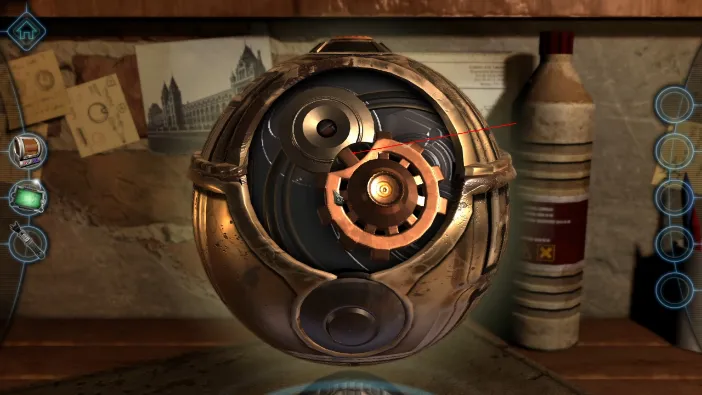
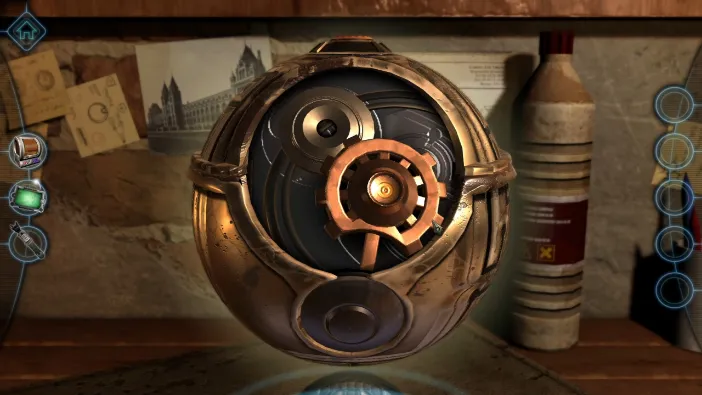
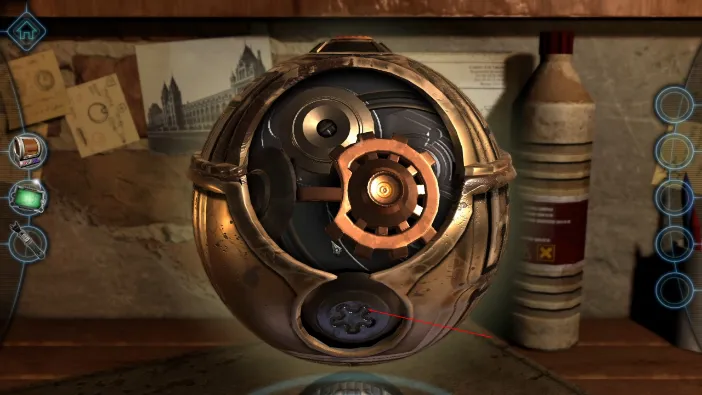
Now, zoom in on the screw below and use your screwdriver on it:
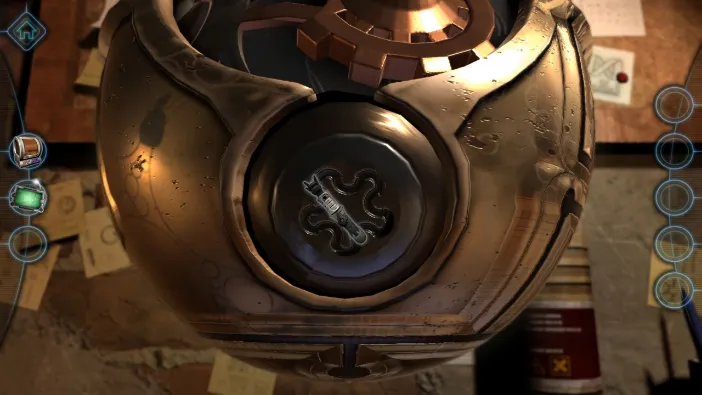
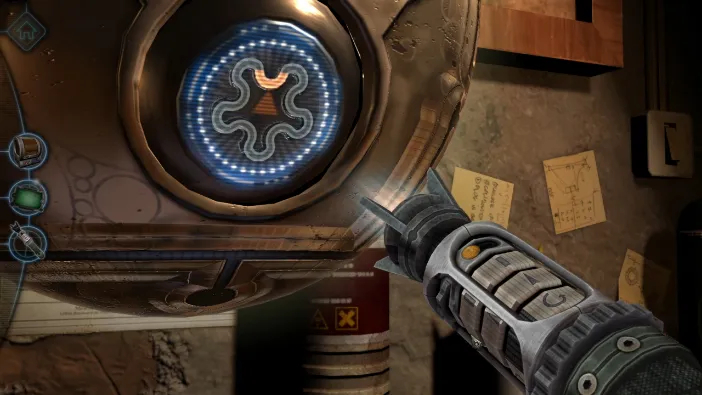
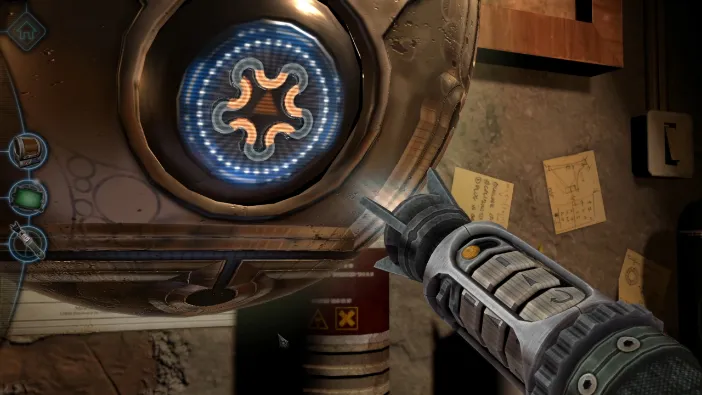
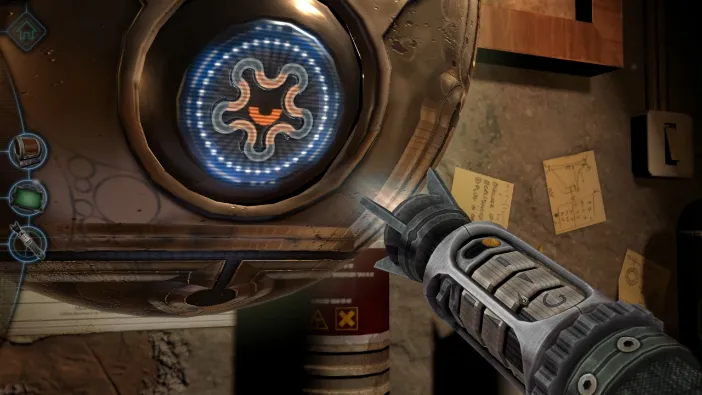
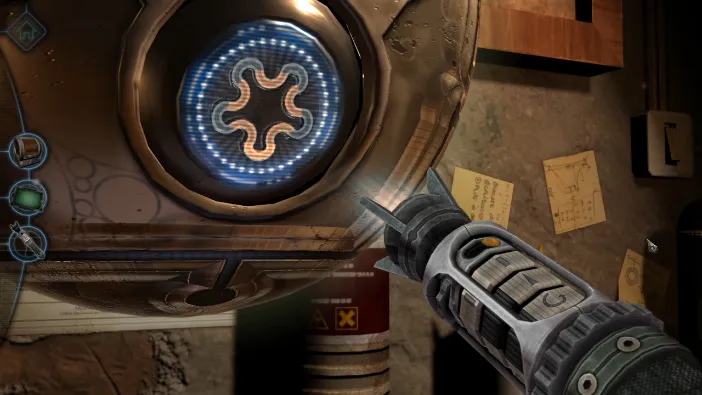
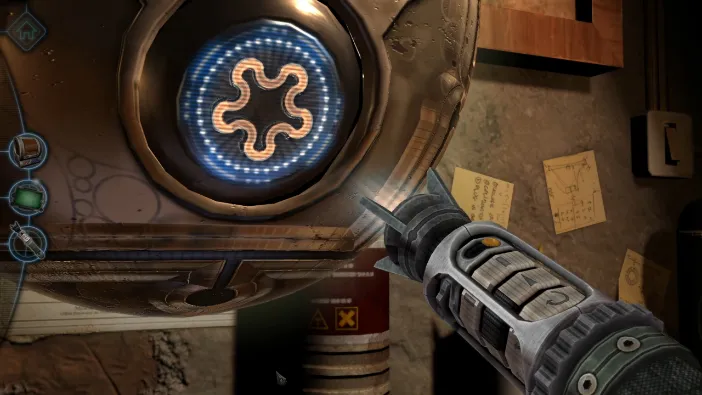

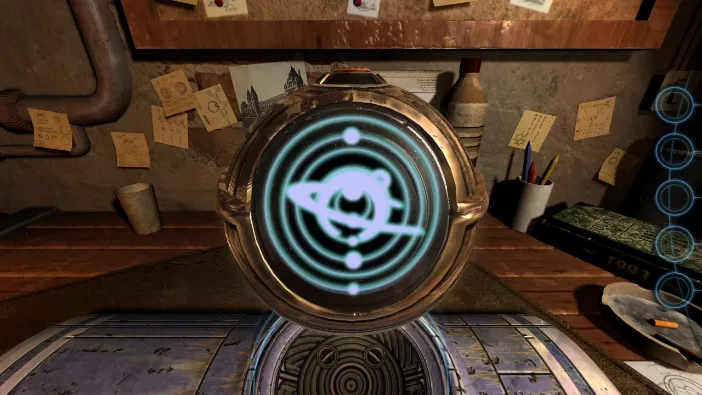
The ball will shift and several bits will move on it, while the large circle will display a familiar constellation. Once the animation is done, turn your gaze and tap on the newly-extracted control knobs, and turn them to match the orange lines:
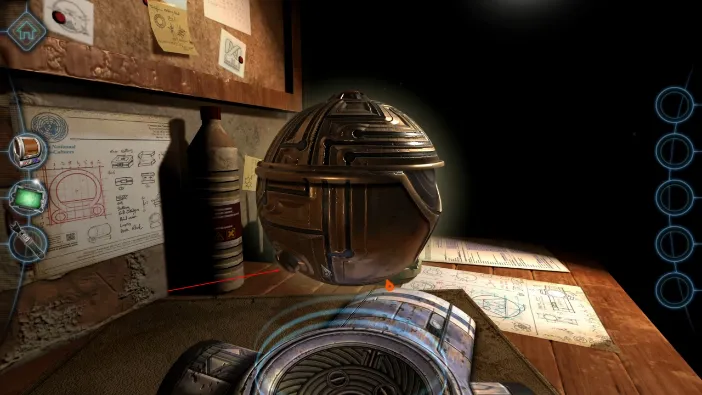
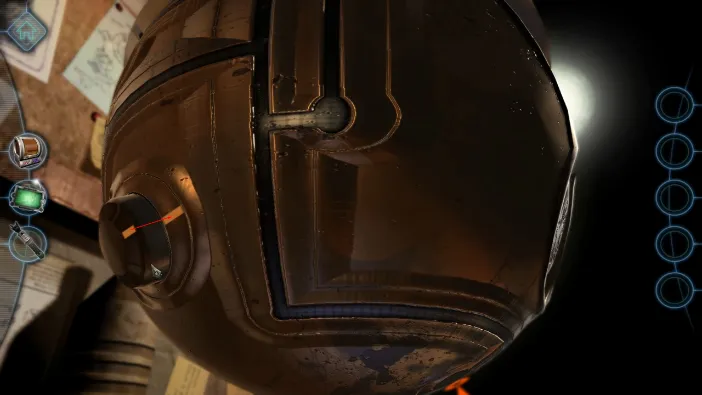
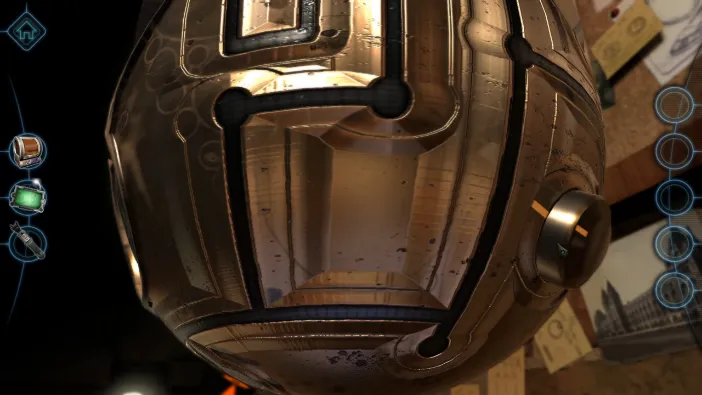
This will engage the main display:
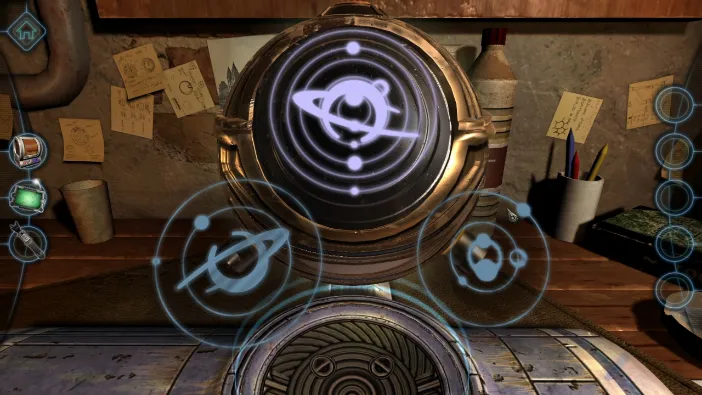
Now, drag to turn the two hologram constellations so that together they form a perfect match for the one on the main display in the middle:
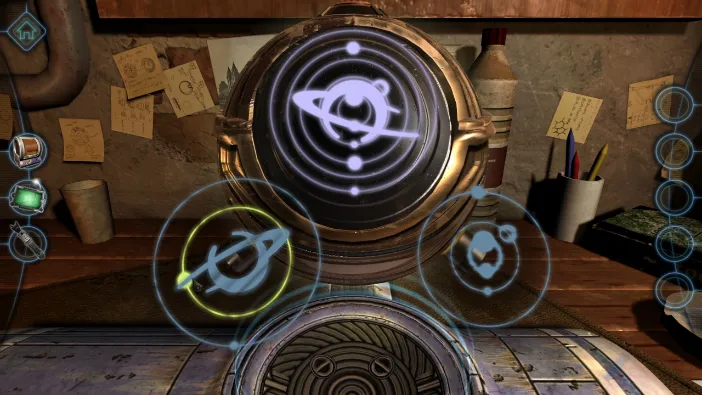
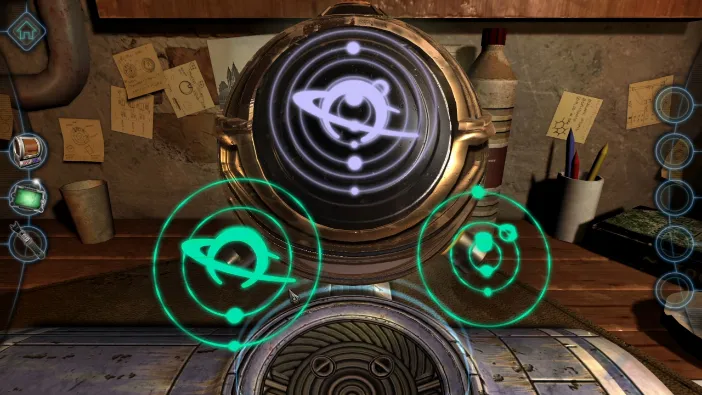
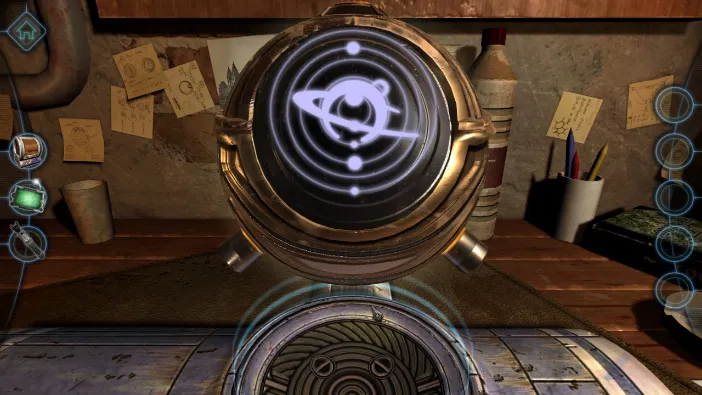
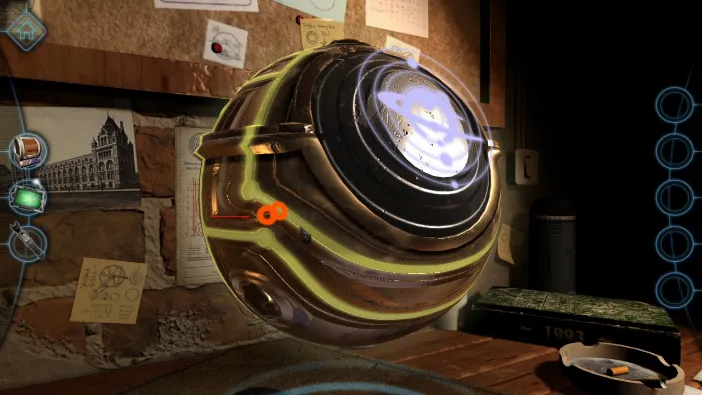
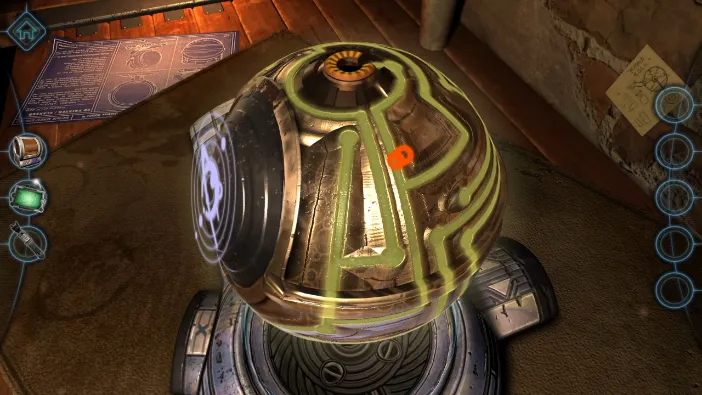
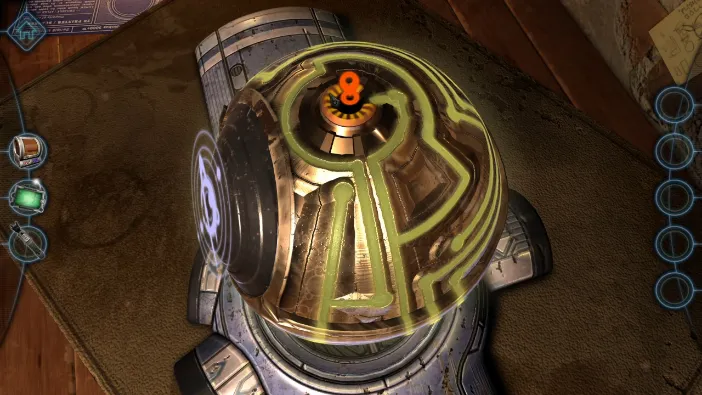
Once this is done, turn the ball to the rear and tap on the orange pin that has appeared on its bottom pole. Drag it alongside the yellow lines to guide it to the top pole. This will not be easy and it will require much dragging and view point adjustments:
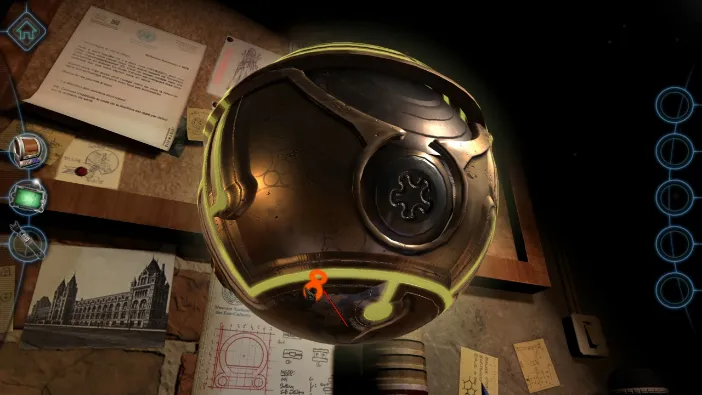
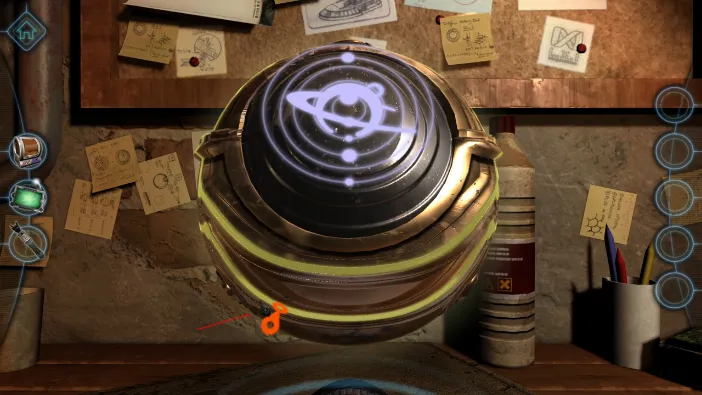
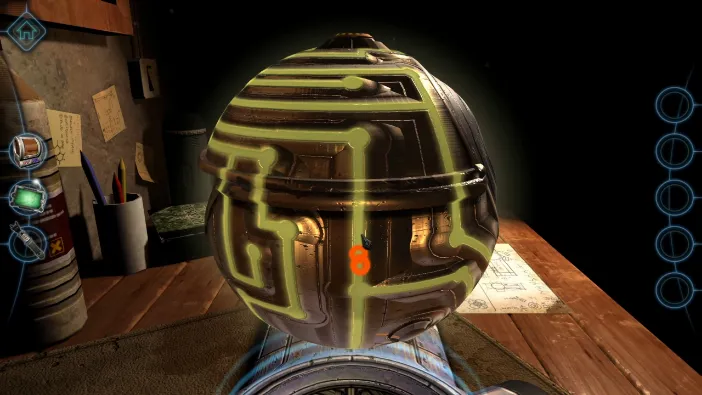
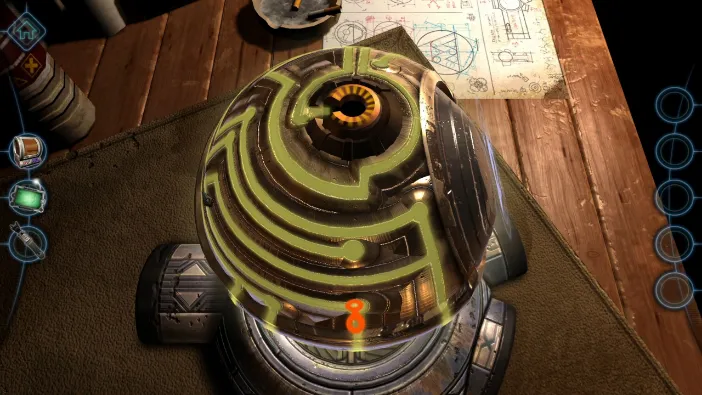
Now, zoom in on the top pile that we extracted and tap it to engage:
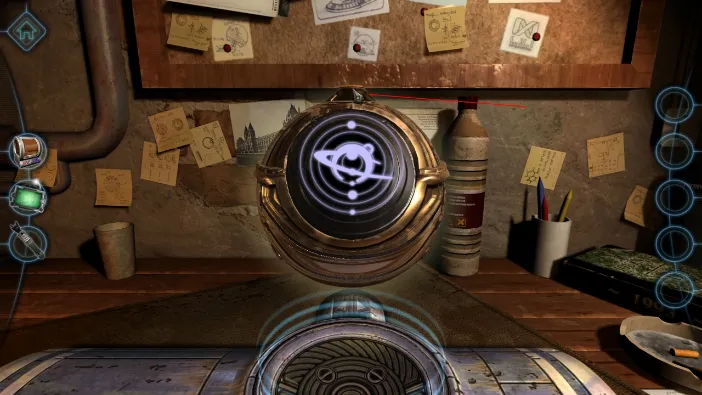
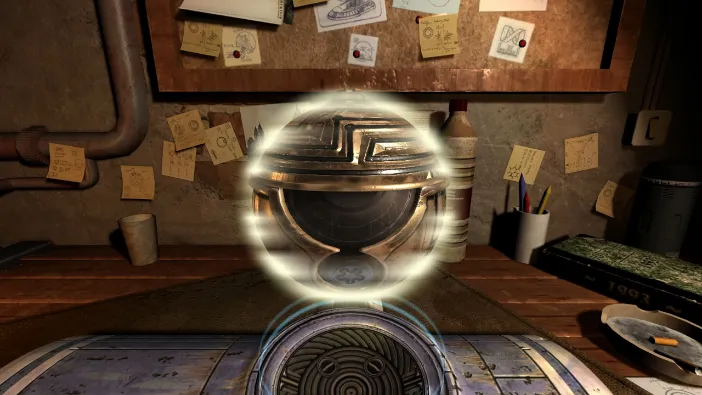
The ball will open up, and a smaller one will come out:
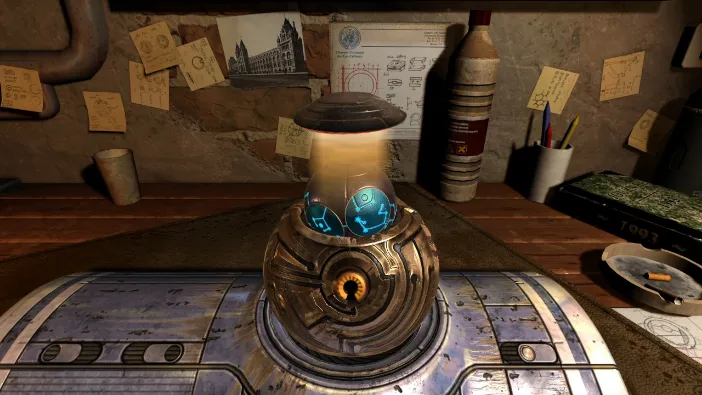
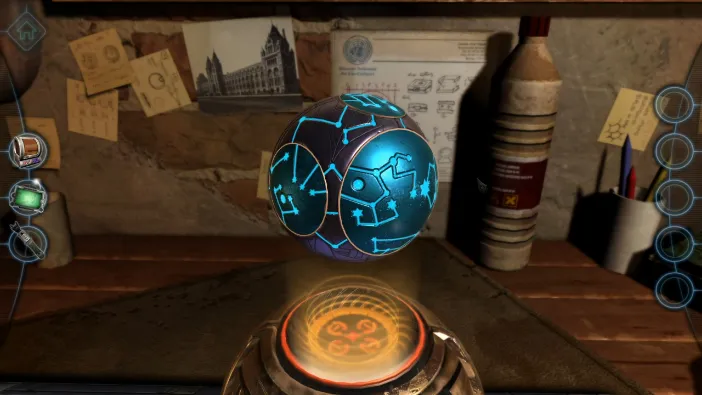
Turn your view to its top and tap on the blue circle there to open it. Pick up what you find in there, which are one large and one small gear:
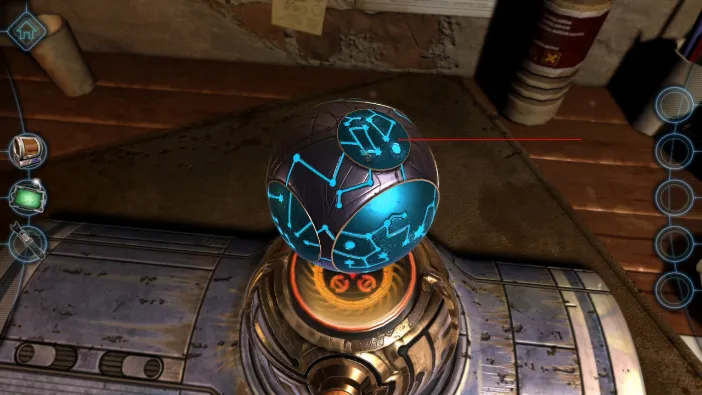
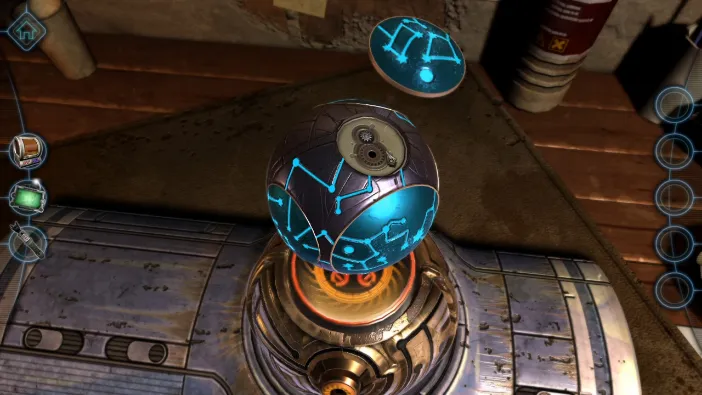
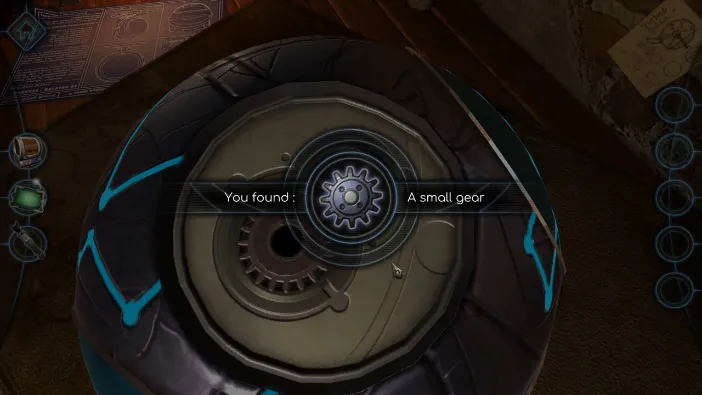
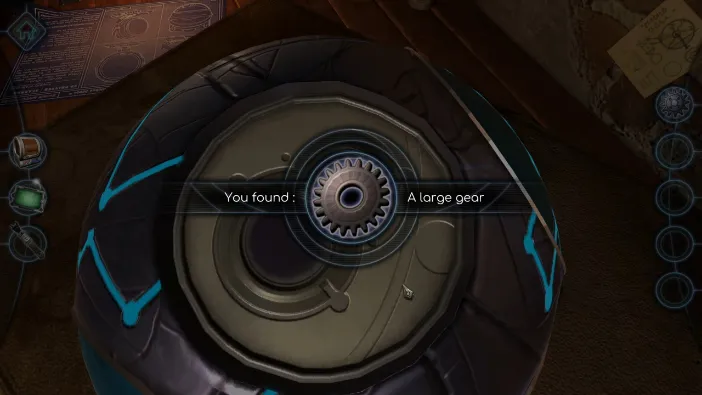
Now, turn it and open the blue lid on the side (the one on the far side then where you are at once you finish with the top):
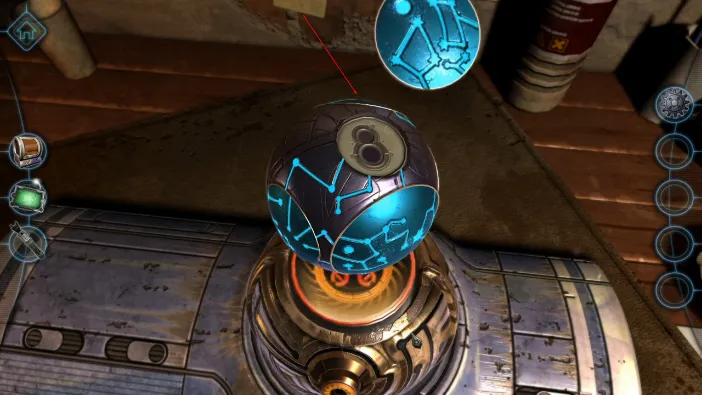
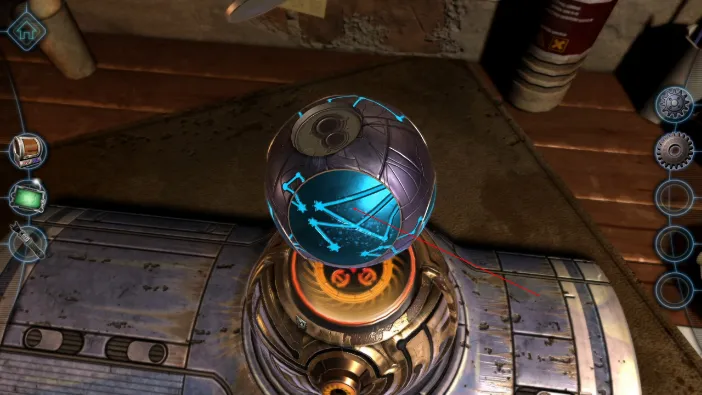
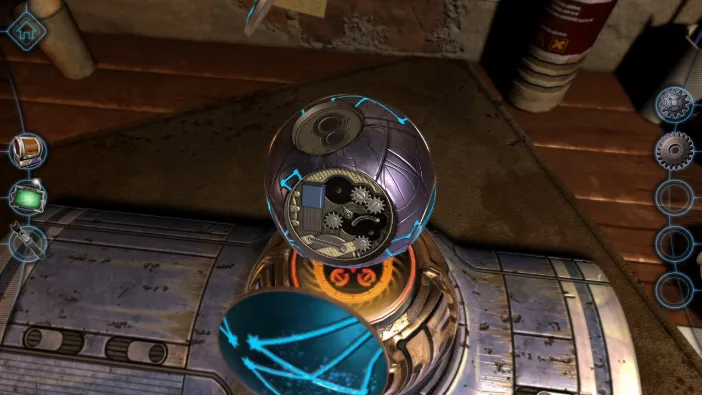
Now, tap on it and make duplicates of both the large and the small gears to place them inside. But, you can’t place then at the same time. You need to use two small gears first and one large, move the mechanism a bit, then remove one small and put the second large one in, then move it some more. The mechanism is activated with the sliding knob under it:
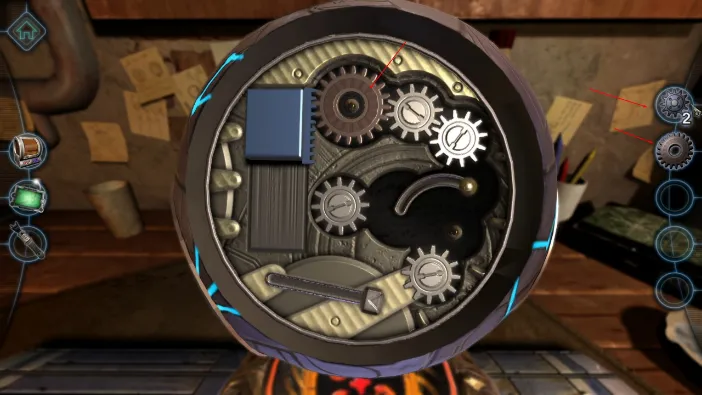
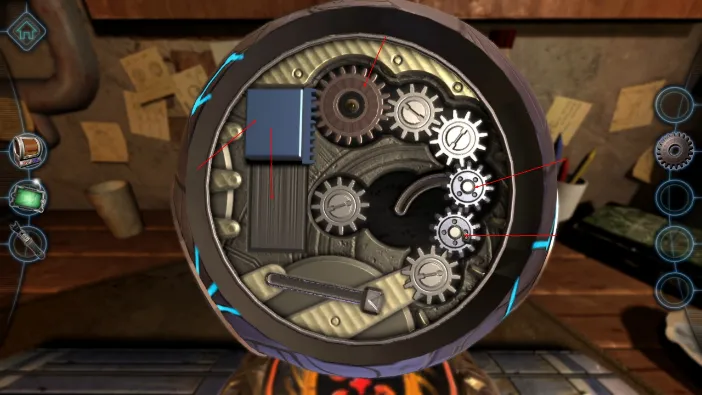
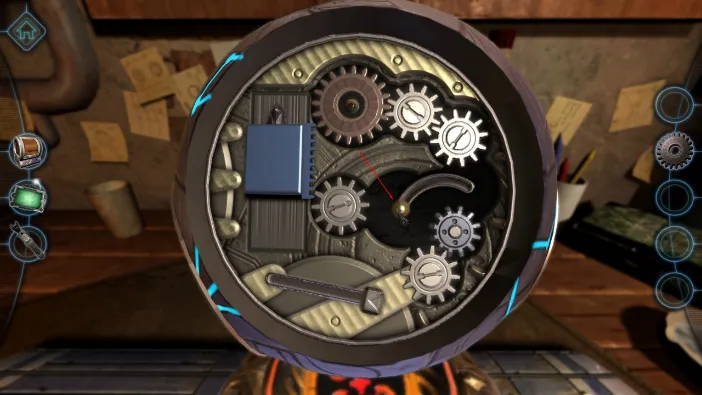
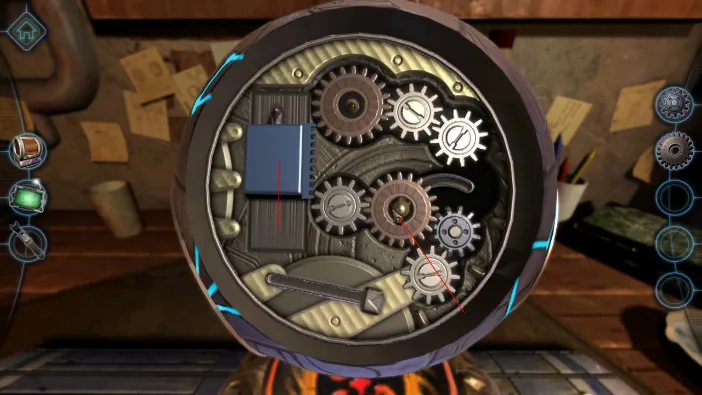
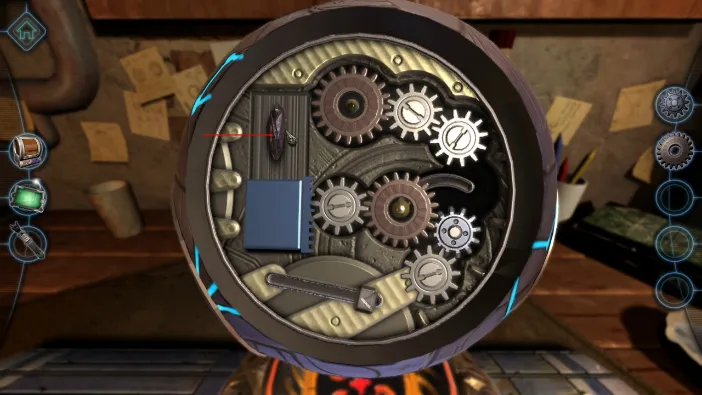
Now, that you have the crystal, turn to the two unopened lids. Tap on the right one to open it, and then tap on its hovering lid to pick up a gear wheel:
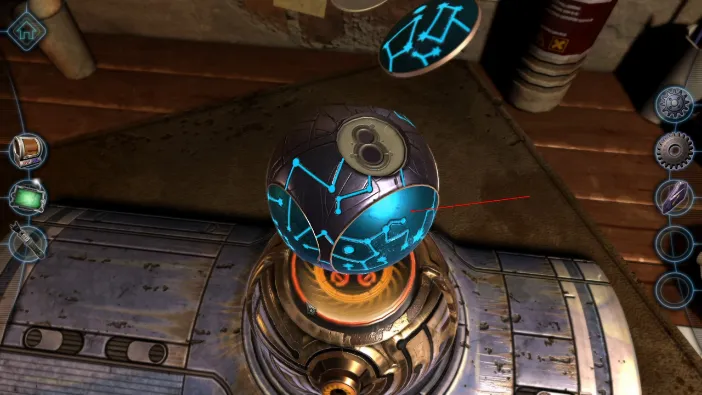
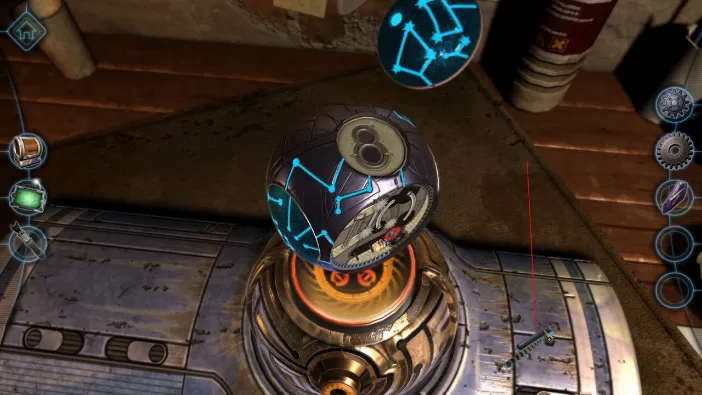
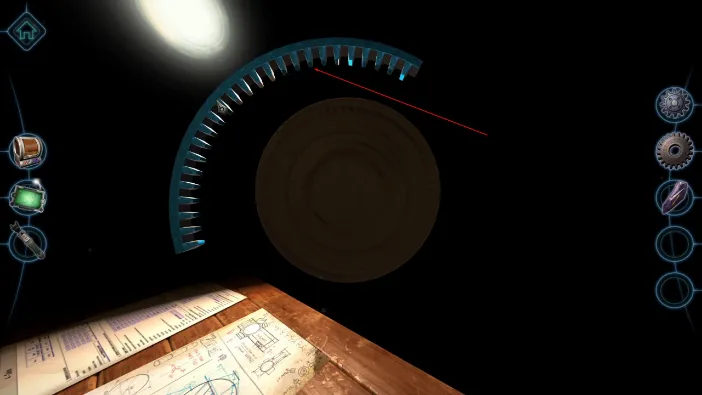
Now, zoom in on the mechanism and insert all the parts like this:
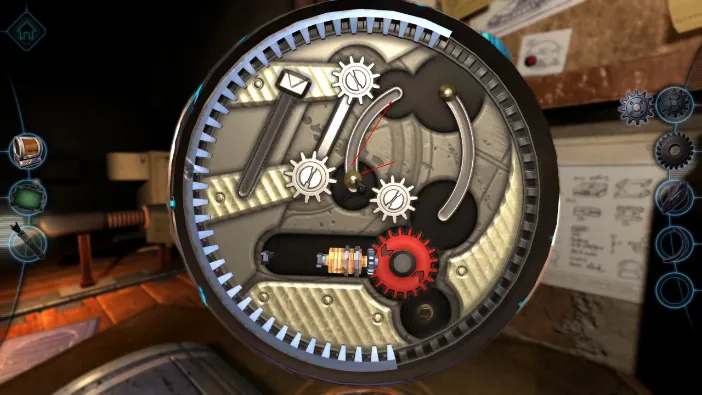
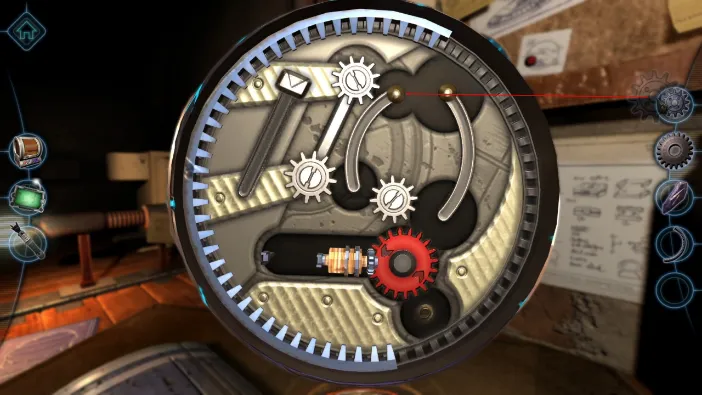
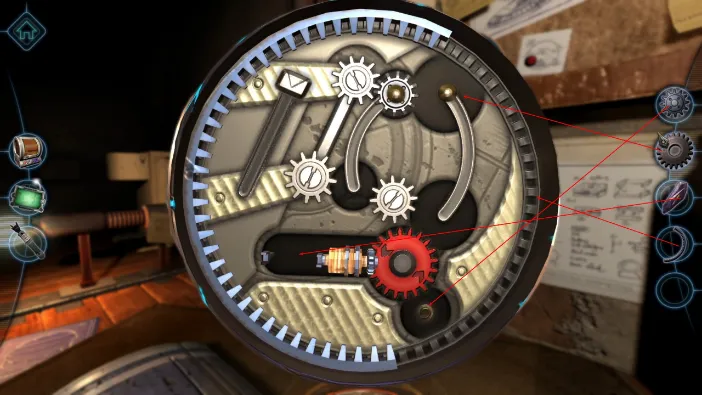
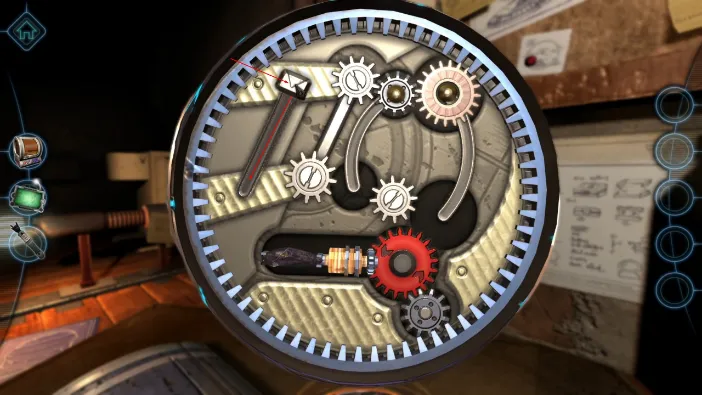
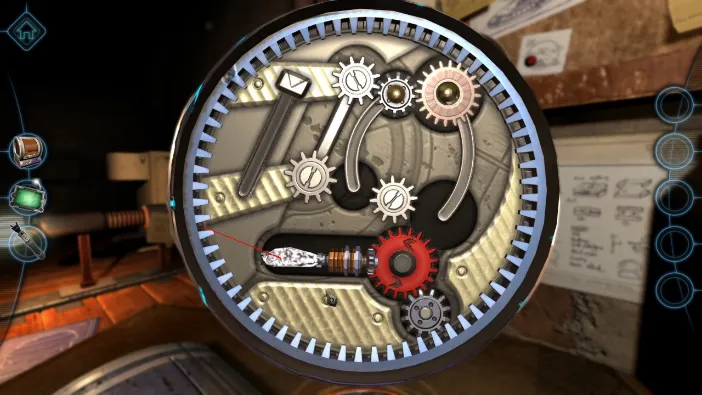
This will irradiate the crystal and, after it does, pick it up:
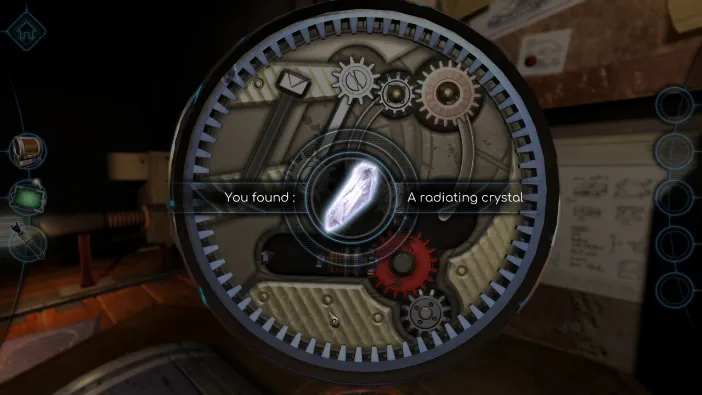
Now, turn the ball and open the third blue lid, the one right next to the previous:
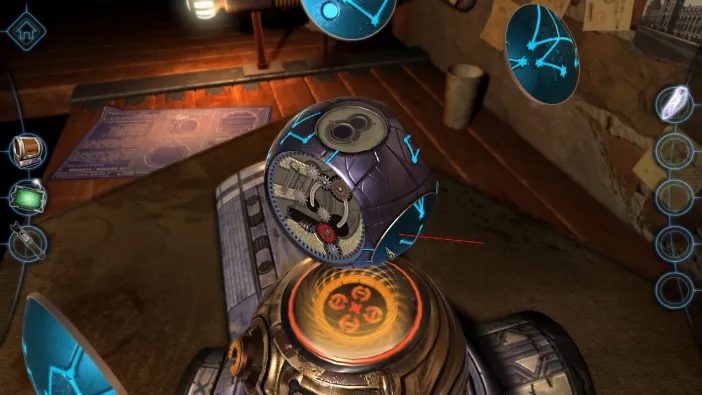
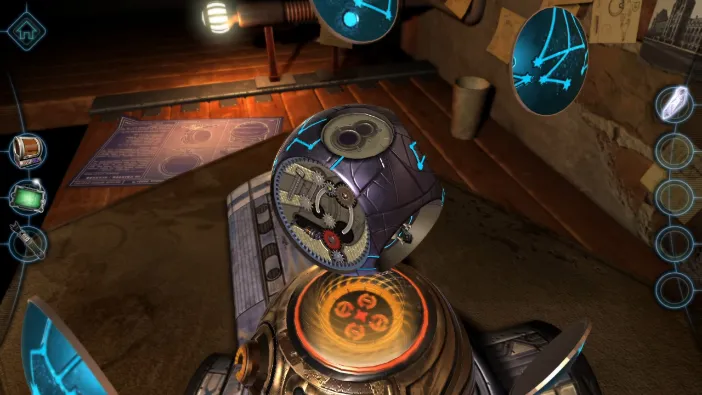
Place the crystal into the middle slot there:
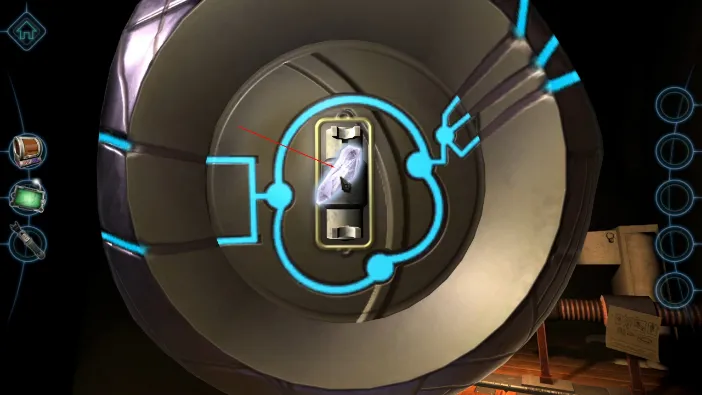
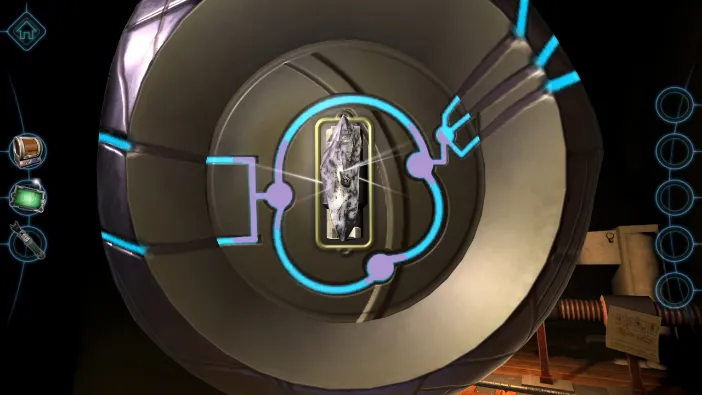
This will engage the ball. Now, you need to tap and turn all the blue lids with the constellations on them and match them all, like this:
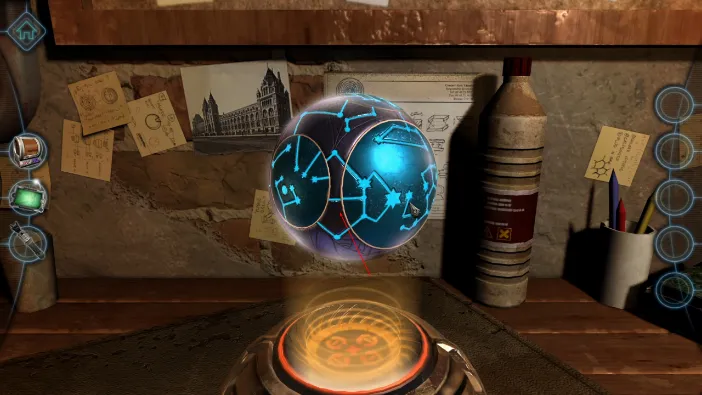
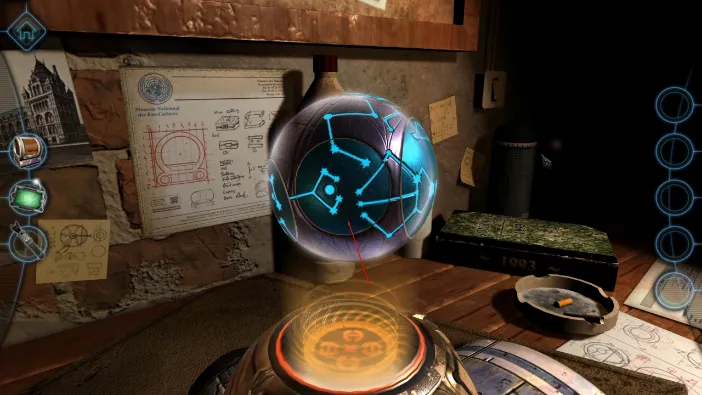
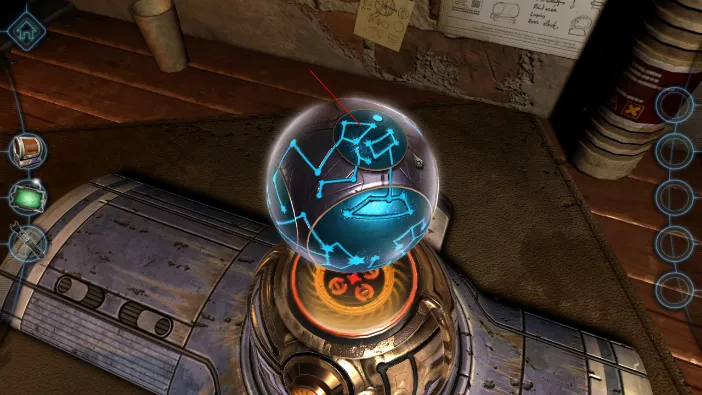
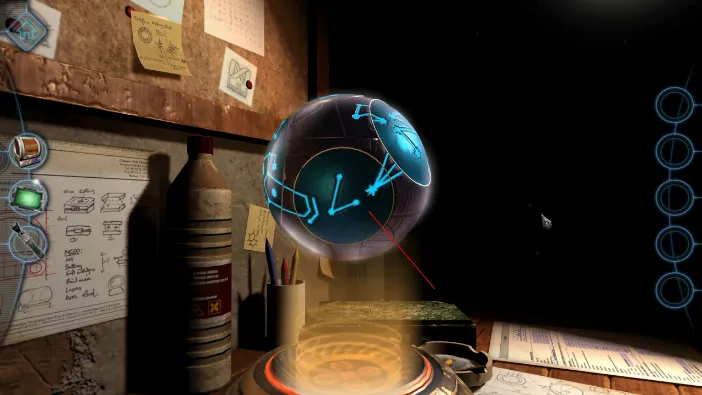
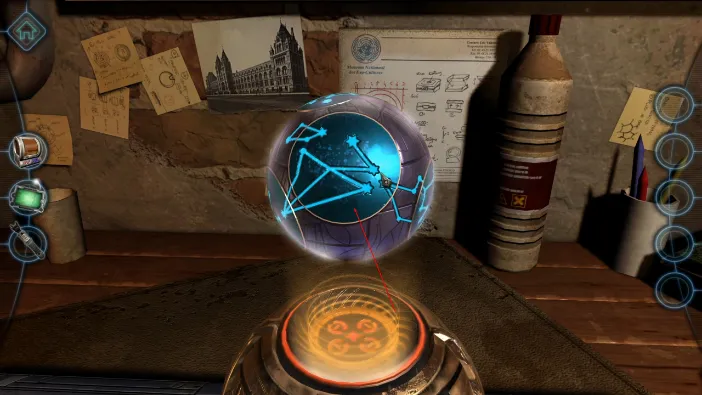
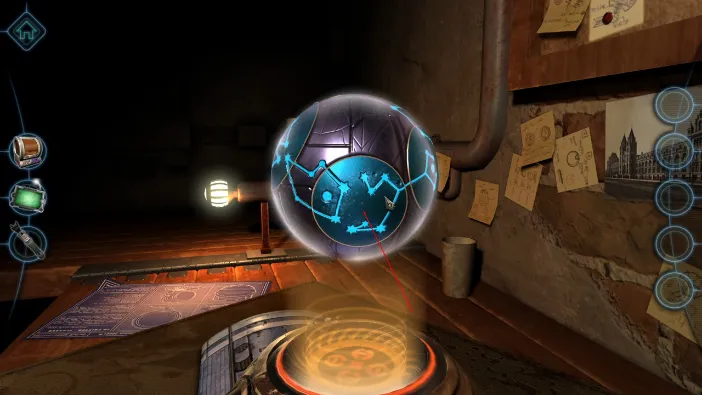
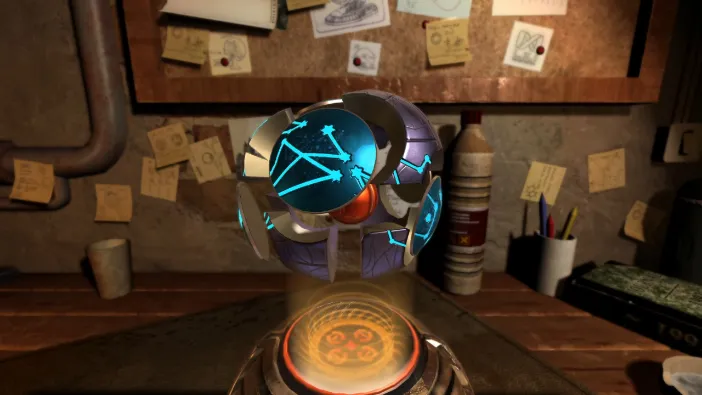
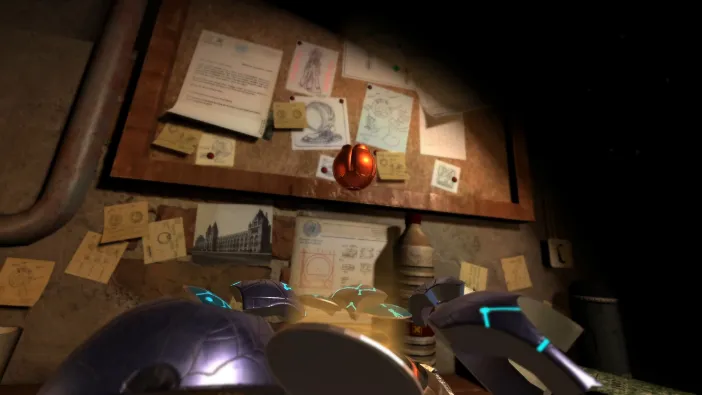
The ball will disassemble and out will come a small object, resembling a flower petal. While it is hovering, from this perspective, put a mini cam in the hole in its bottom side:
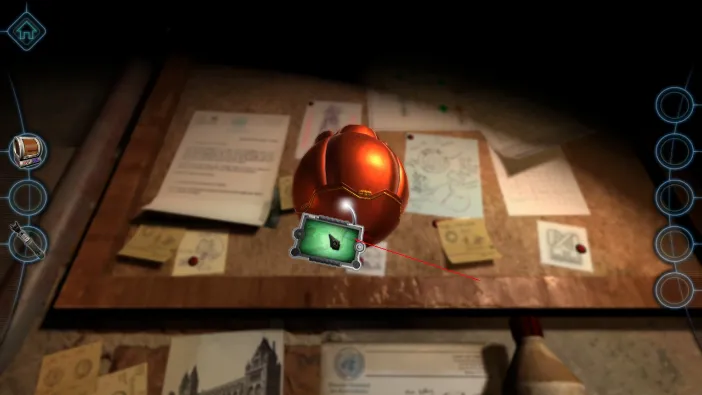
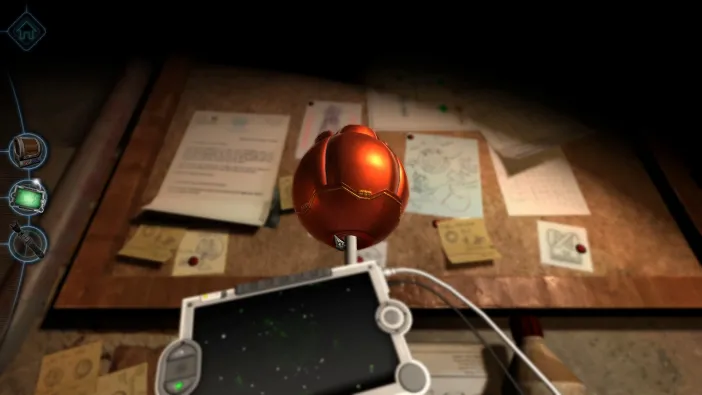
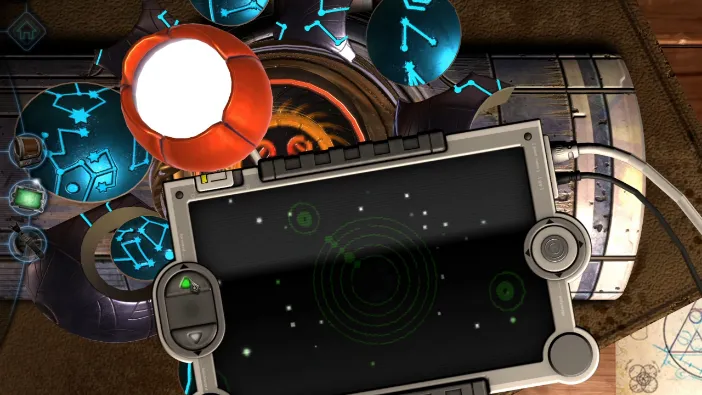
While in this view, you need to tap on the various different parts of the petal. It will move the planets in the constellation. The goal is to align all of them with the respective colors:
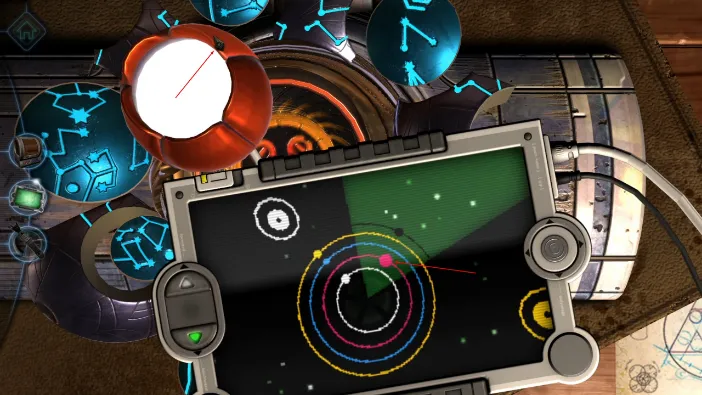
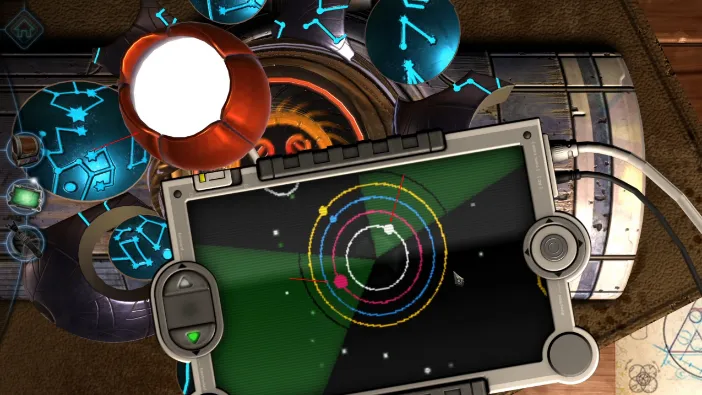
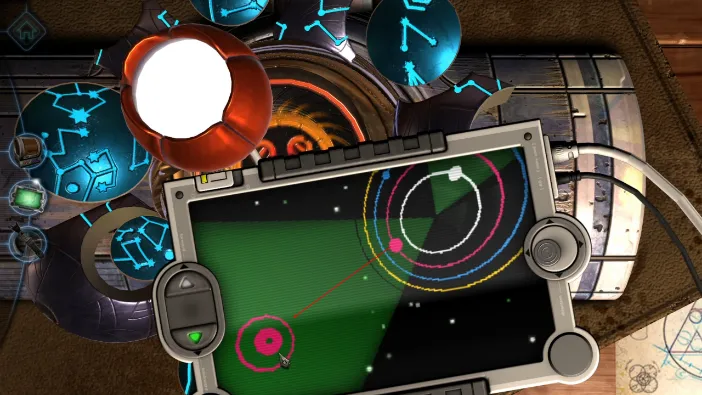
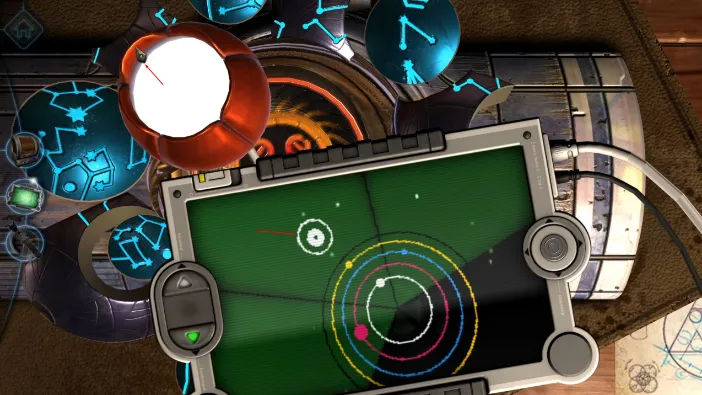
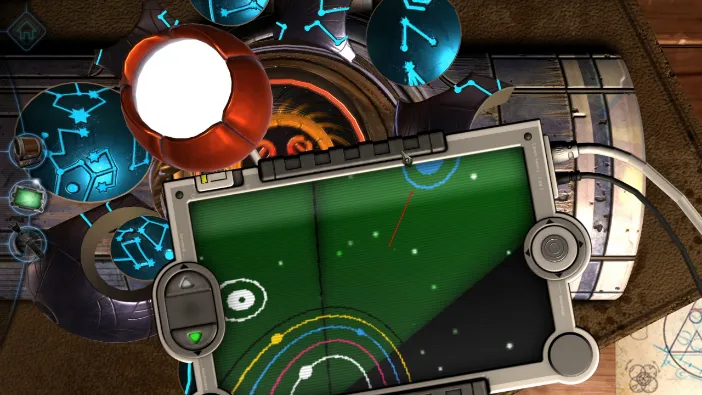
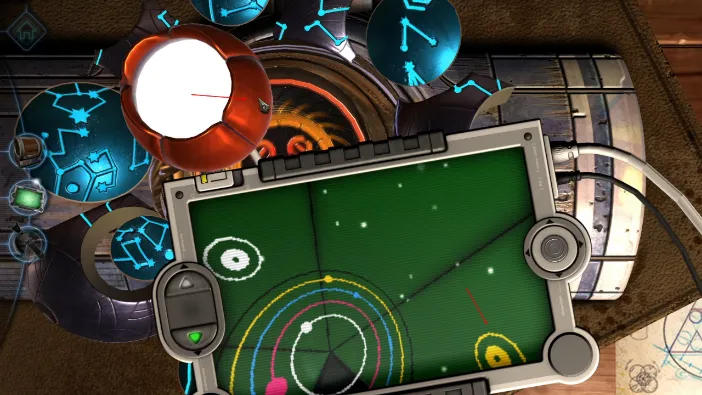
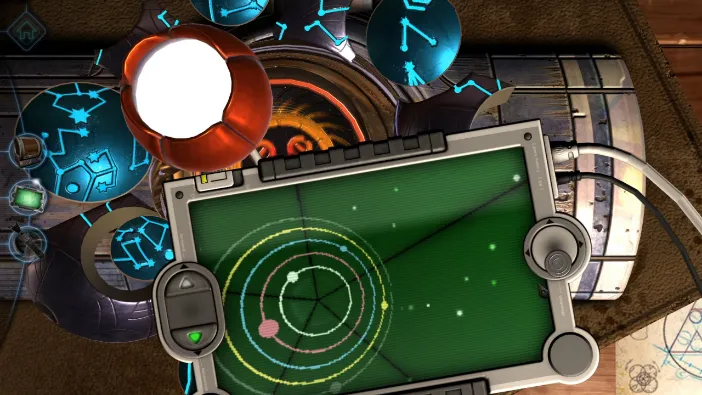
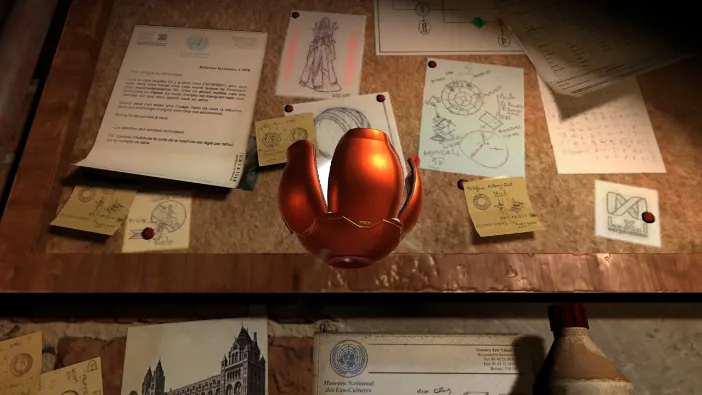
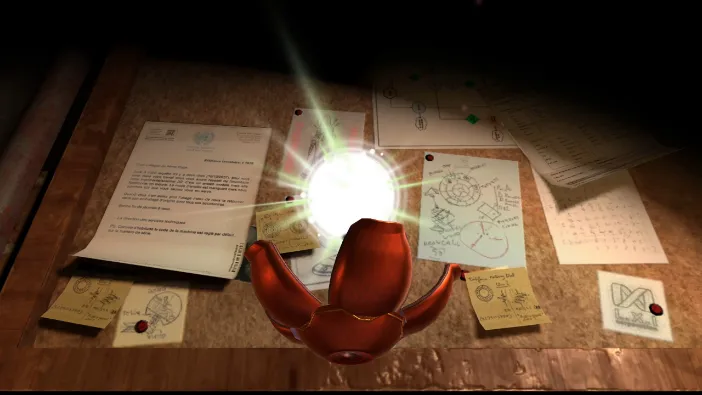
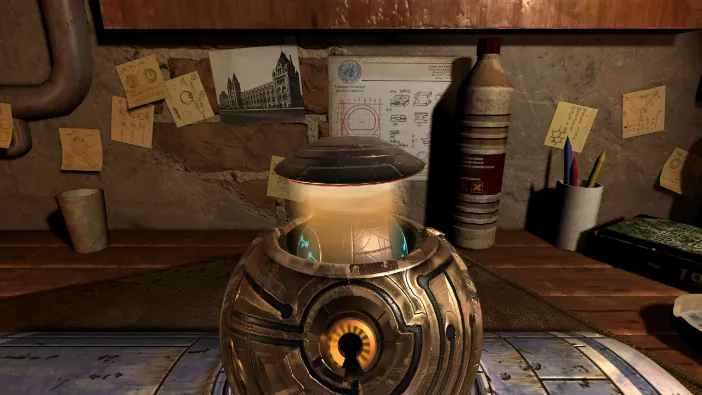
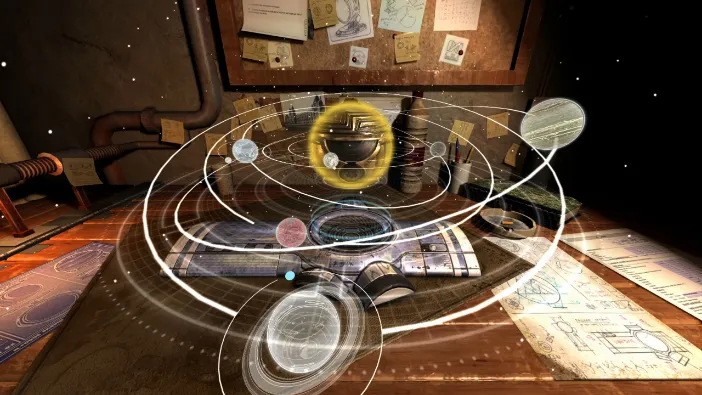
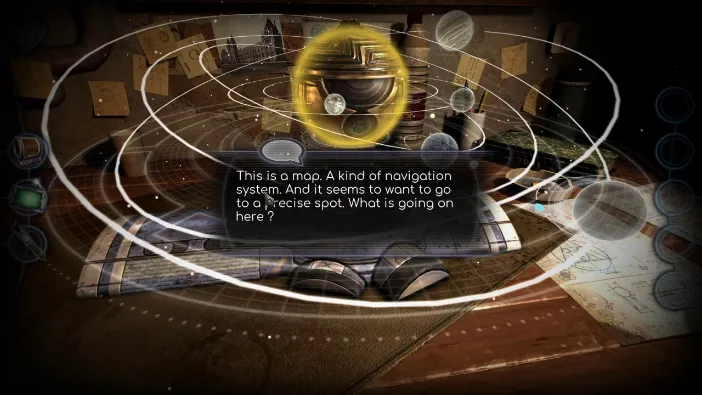
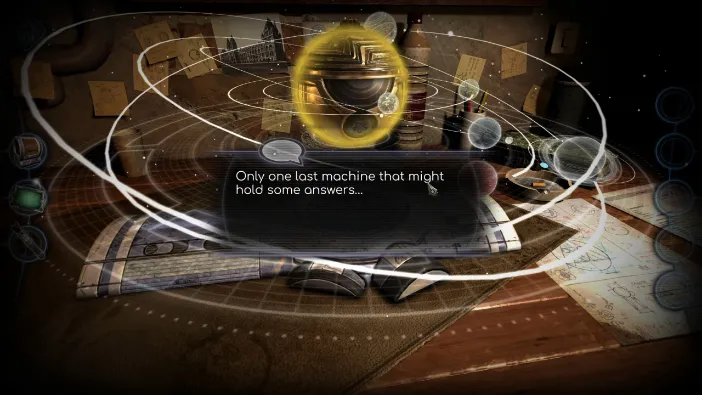
This marks the end of chapter 8. There is only one machine part left and it is still a mystery.
