Machinika Museum – Chapter 9
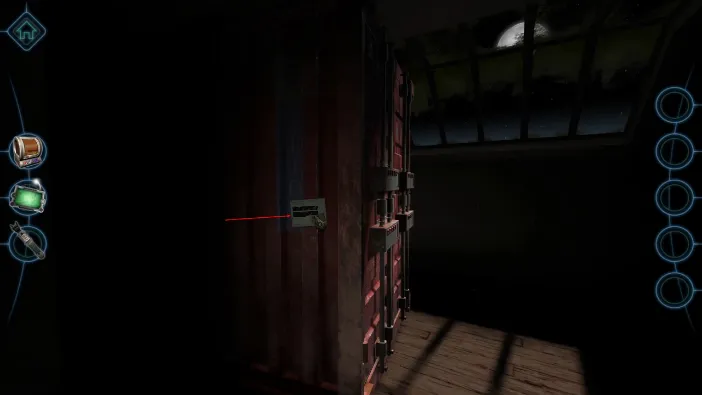
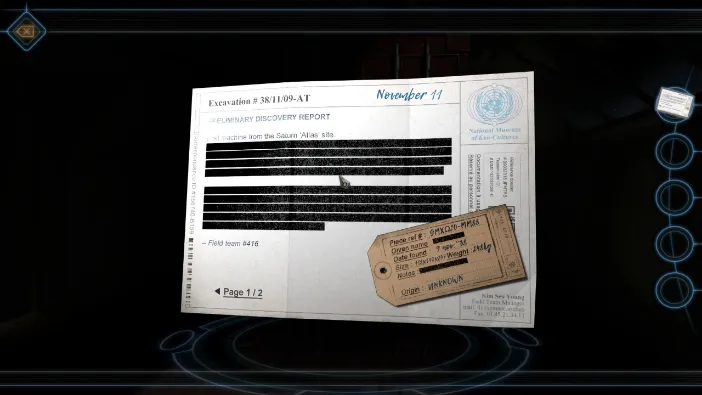
In chapter 9 of Machinika Museum, we need to first open a large metal shipping container. When you start, turn to its left side to find the note there. Pick it up and read it. You will find that it is much more encrypted then the previous ones, albeit it has important data on the backside:
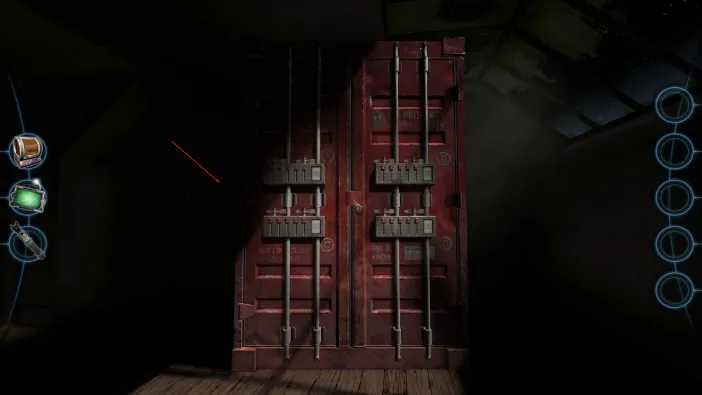
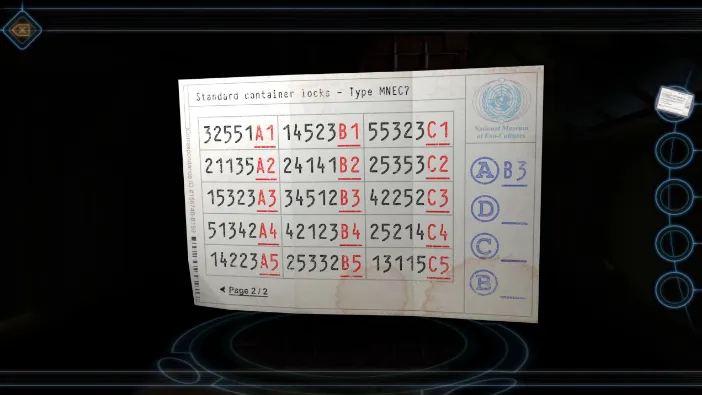
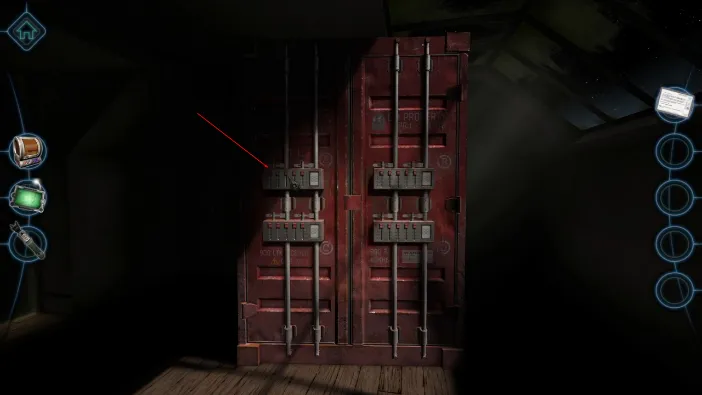
After you close the message, zoom in on the top left container lock to begin unlocking. In the note, each code has a letter and a number in red, right next to it. It indicates which lock it is for and which position. A is the top left lock, so we start there:
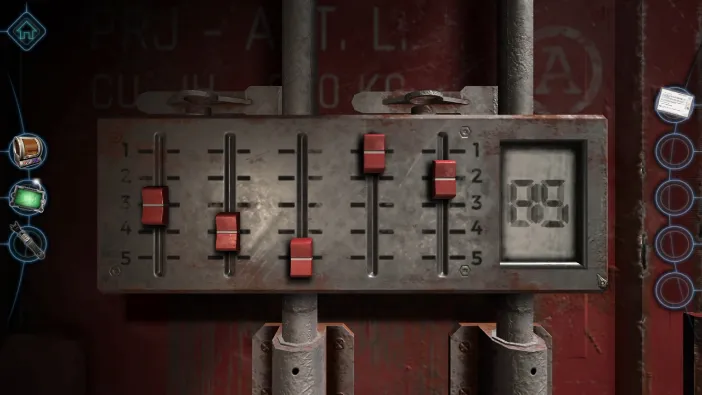
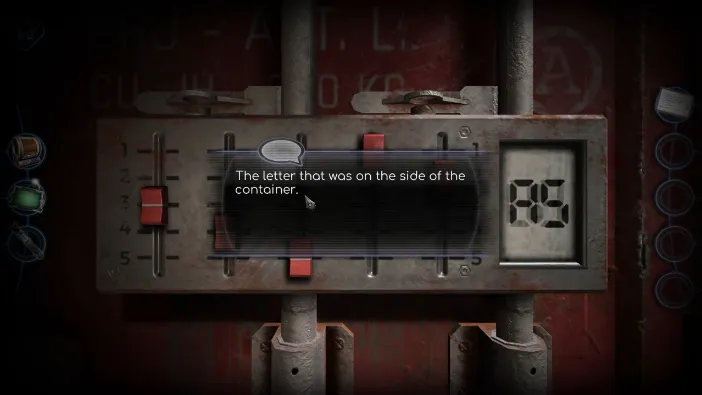
Now, tap on the bottom right lock, D, and enter these values:
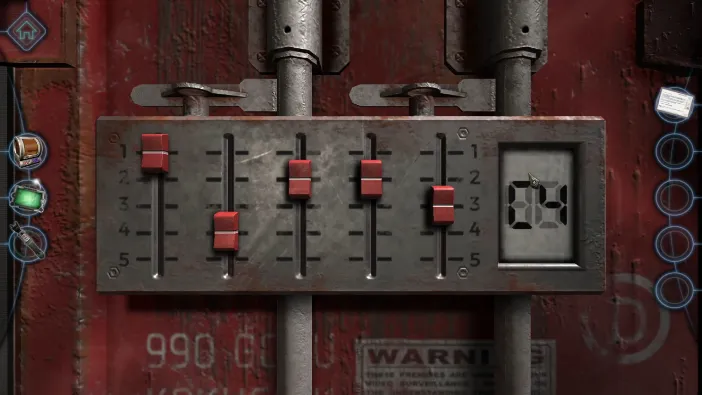
Next, we go to bottom left lock, C. Once you enter this, it will start an alarm and the doors will open:
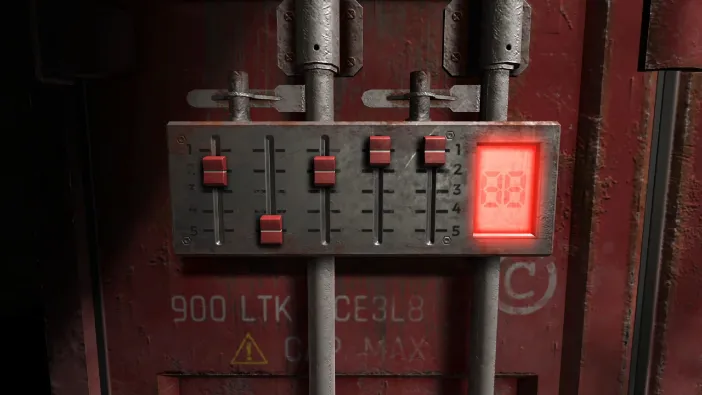
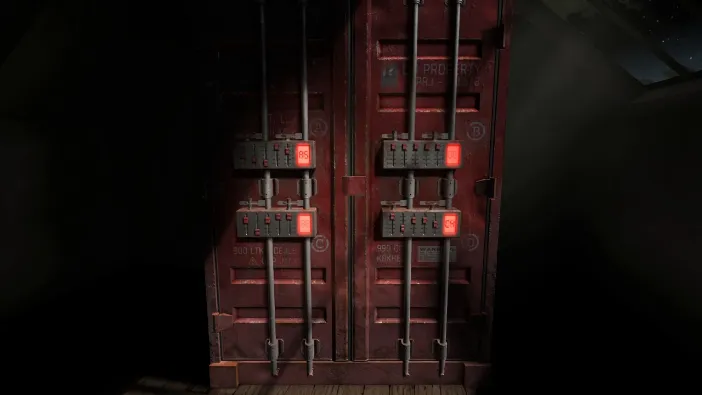
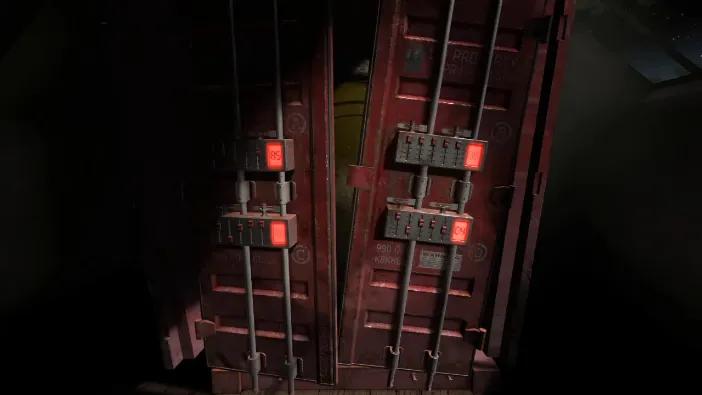
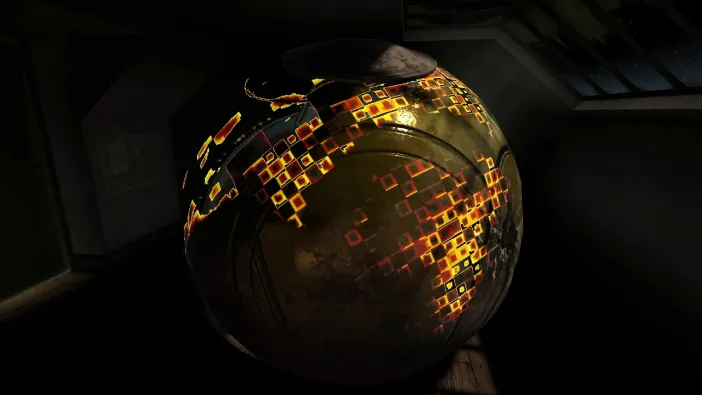
After you come to consciousness, you will see a large metal ball next to you, and chapter 9 begins:
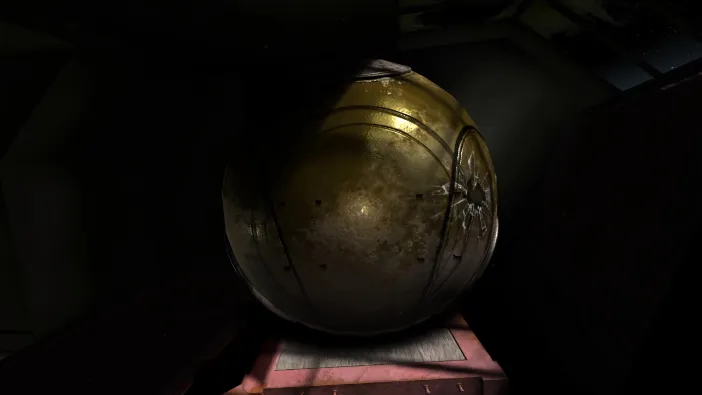
As you come to your senses, the large sphere is right in front of you. It looks like it has gone through a crash, which may have something to do with the space ship crash we heard from the black box. Right from the starting position, turn the ball to the other side and tap on the little square compartment:
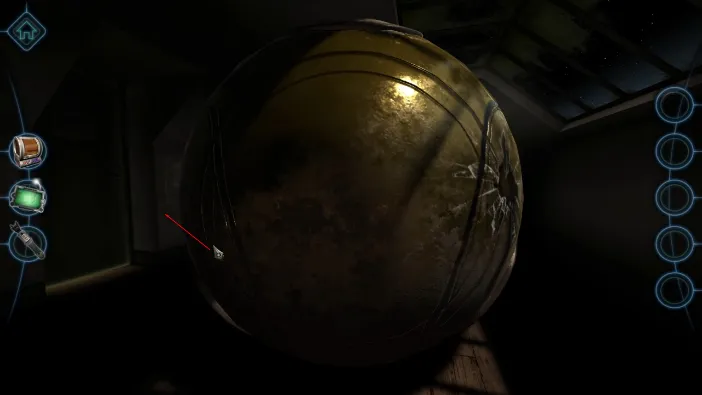
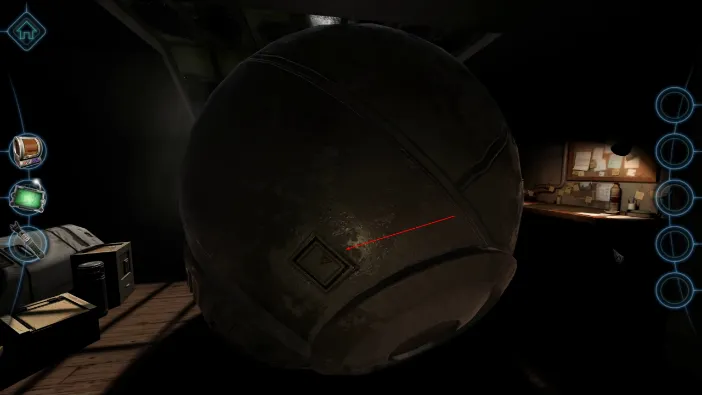
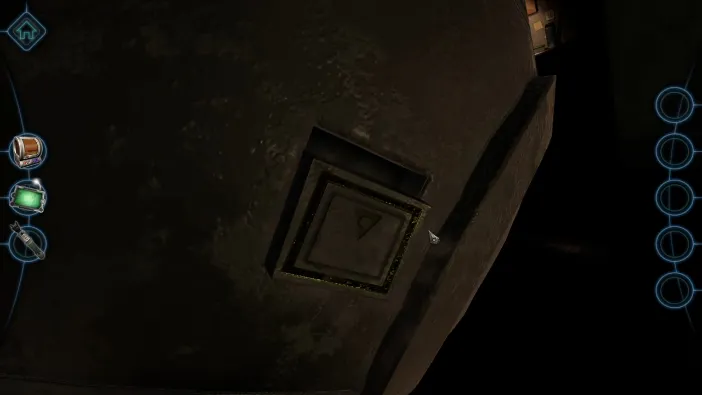
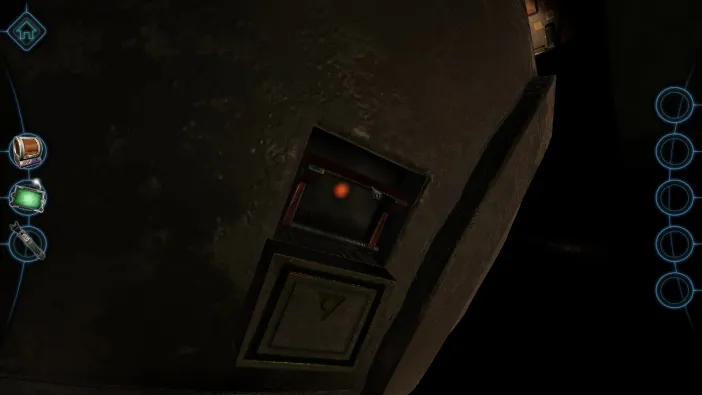
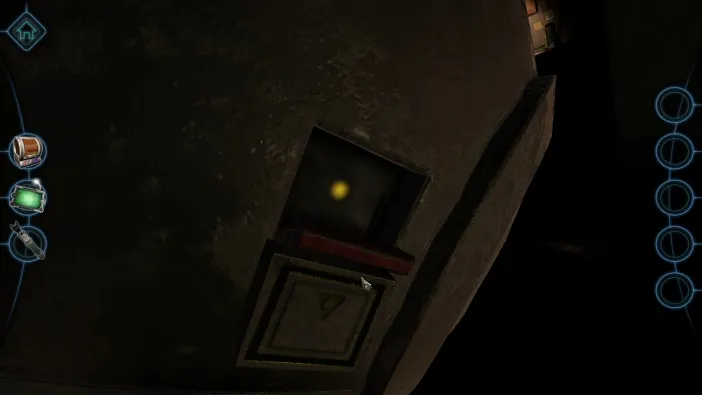
After pulling the lever down, turn the view some more to the same side and tap on a similar square compartment. Open it and pull down its lever as well:
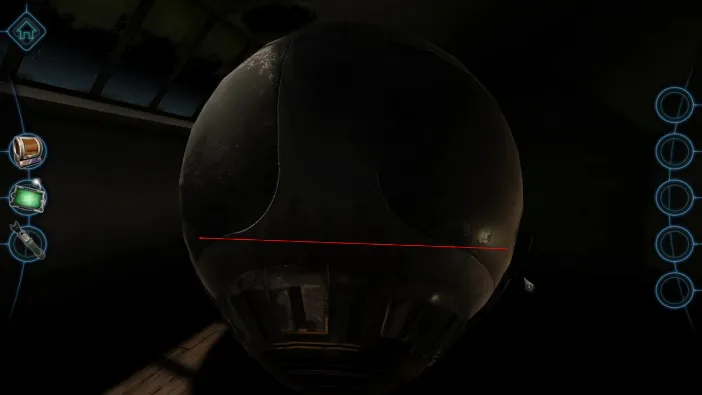
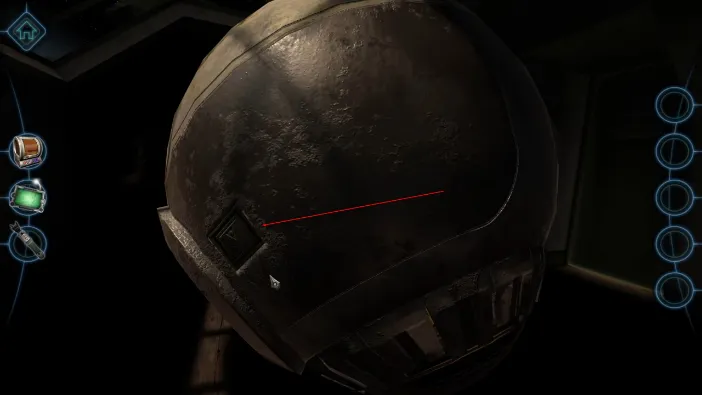
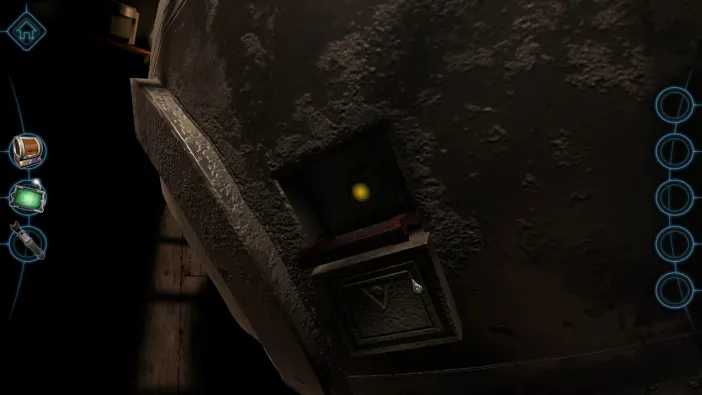
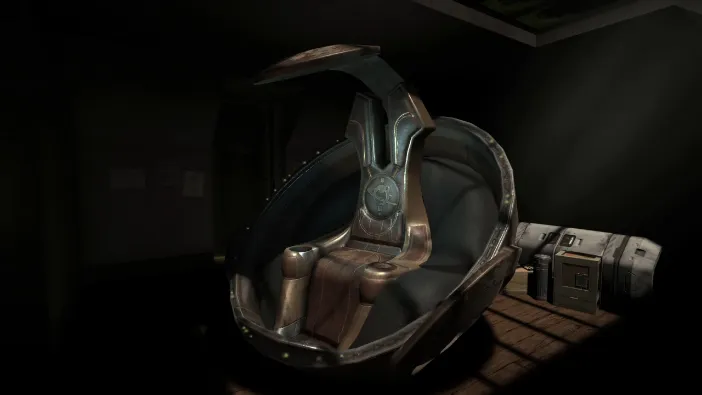
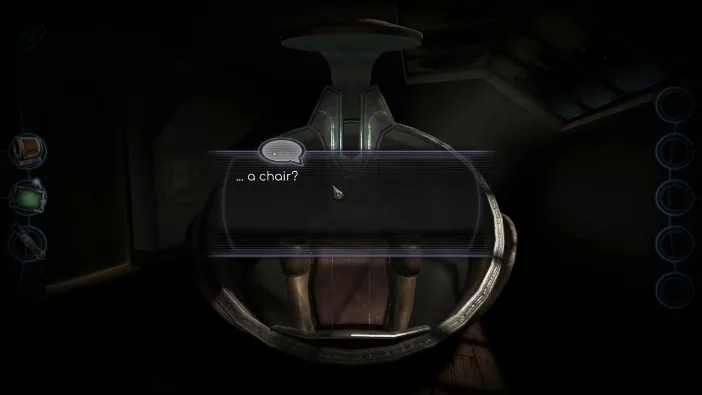
Tap on the chair to sit in it. Then, tap on the small circular compartment on the right hand side:
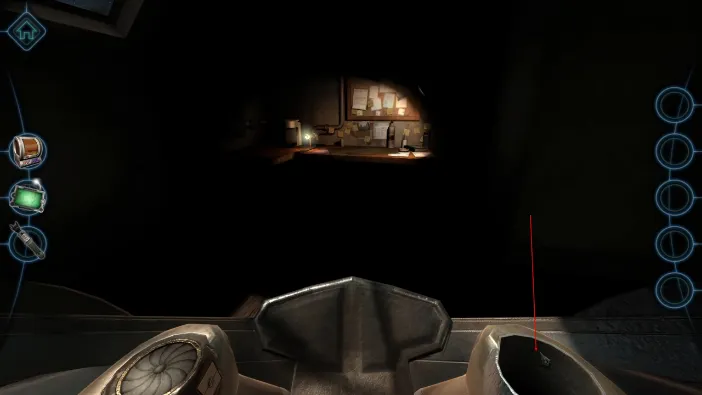
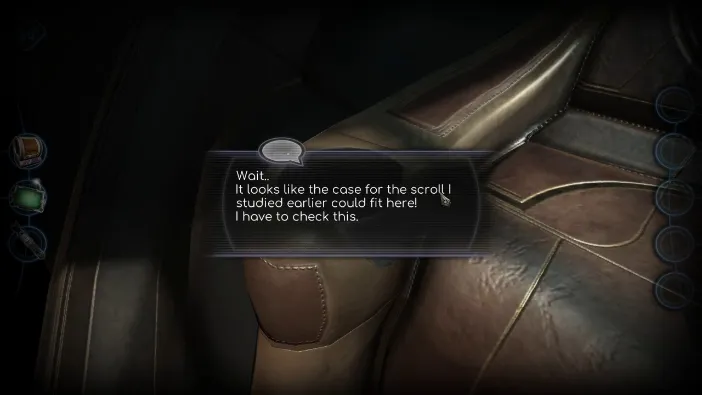
We realize that the scroll case we already studied fits here. So, we turn our attention to the containers in the back. After it is automatically picked up, drag it from the inventory into the chair slot:
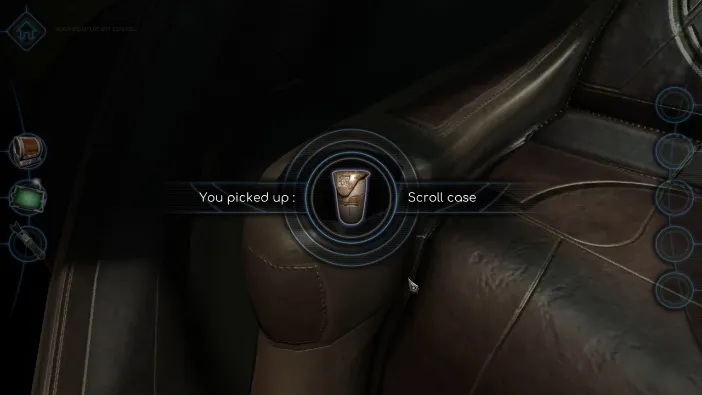
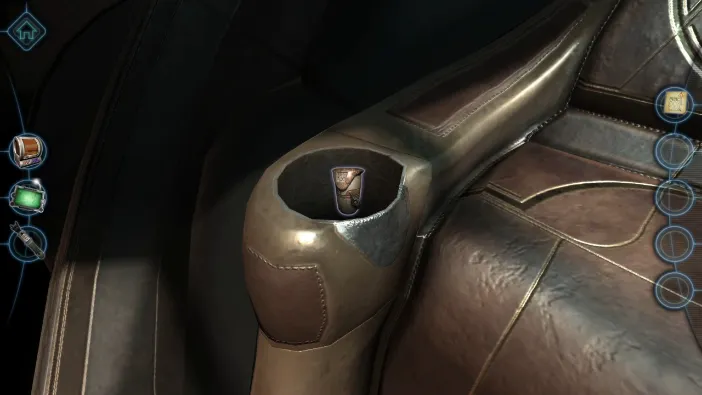
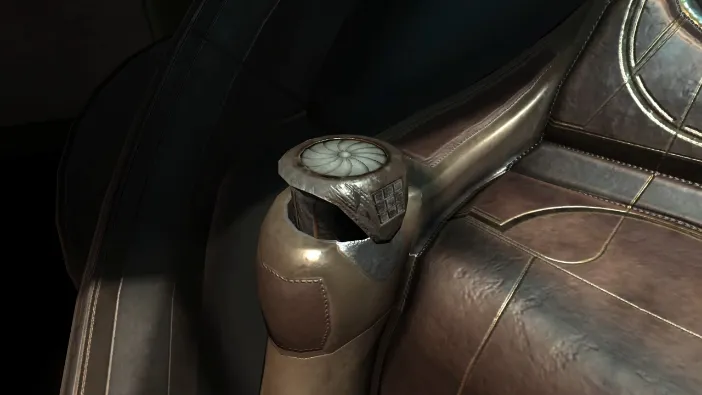
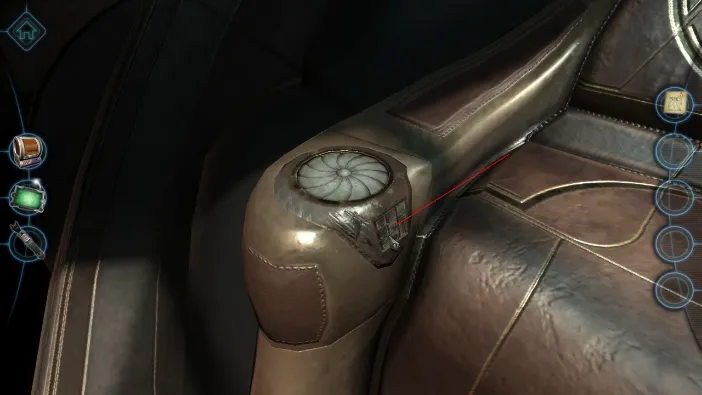
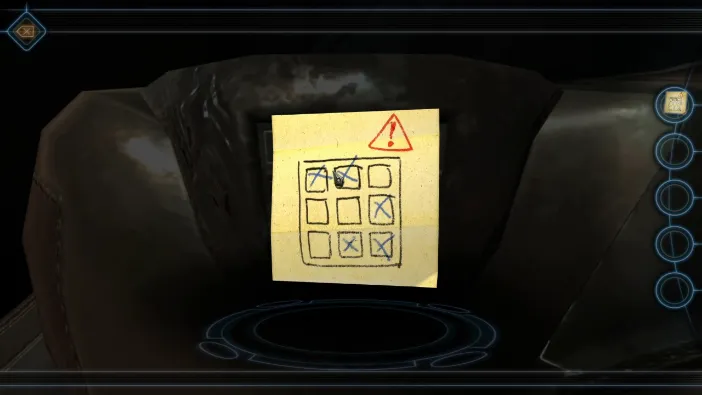
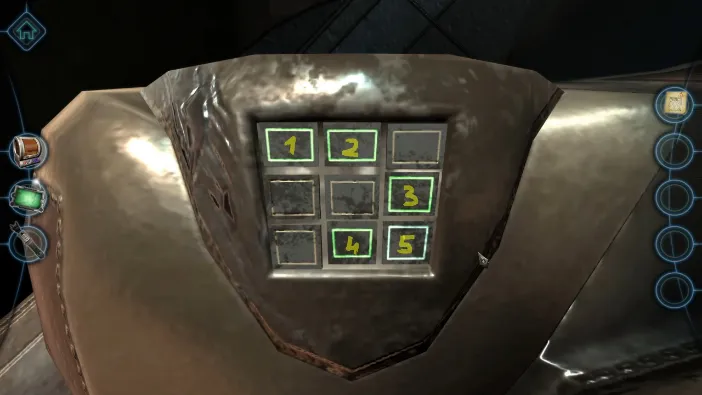
Tap on the console on the part you just put in and activate the buttons like the note (already in your inventory) suggests. Tap them in this order:
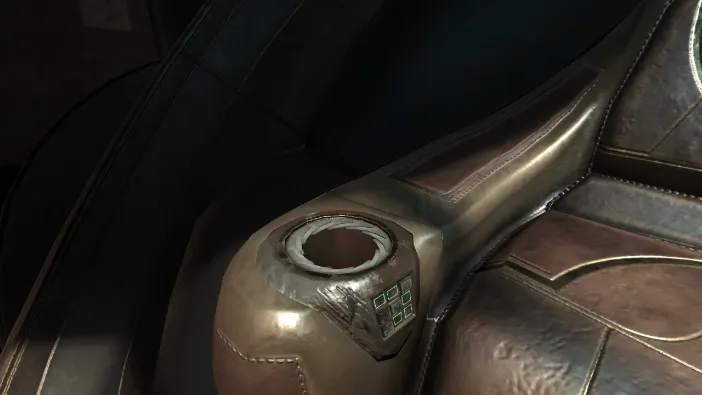
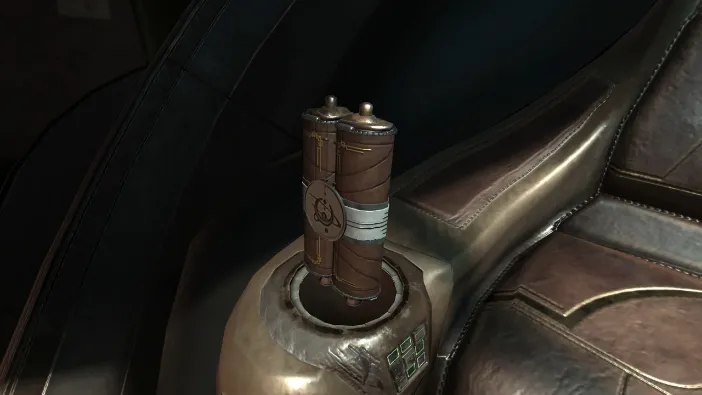
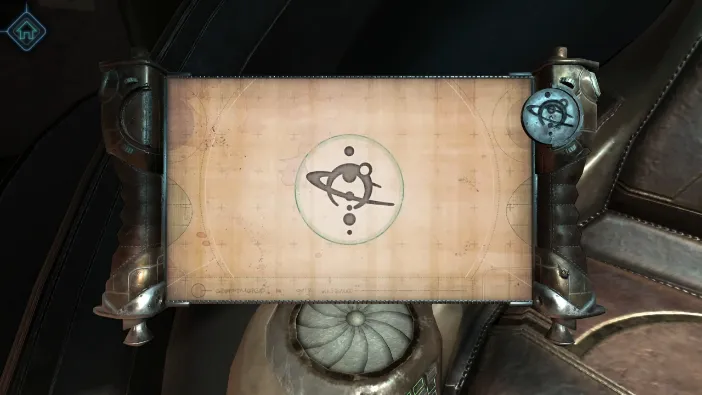
The scroll will engage and show you the schematics of the chair and where the various parts fit on it. All the parts we’ve examined seem to form a spacecraft together with the chair:
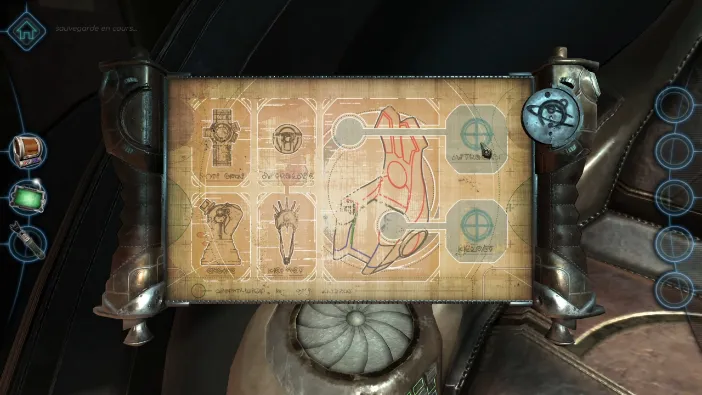
The image is interactive, so tap on the top right cross first. IT will cause the outer shell to dissipate:
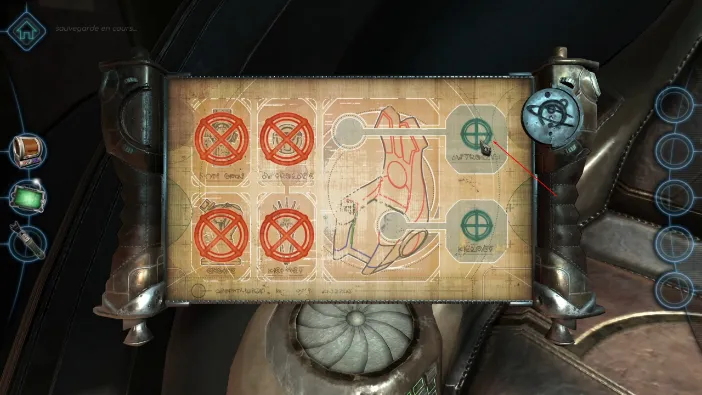
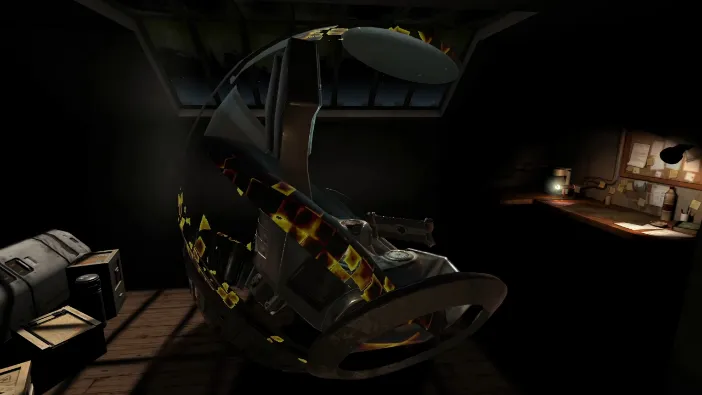
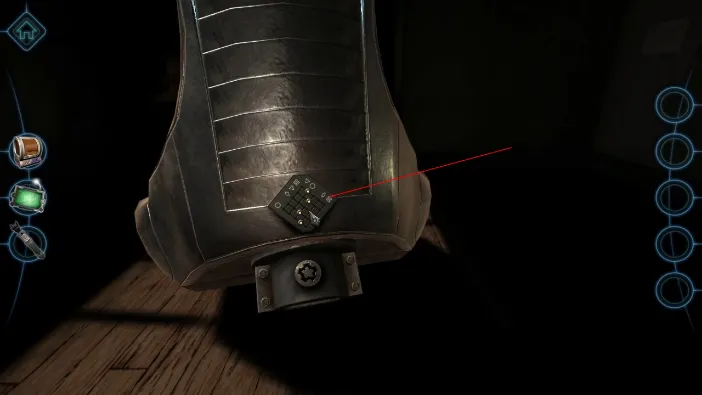
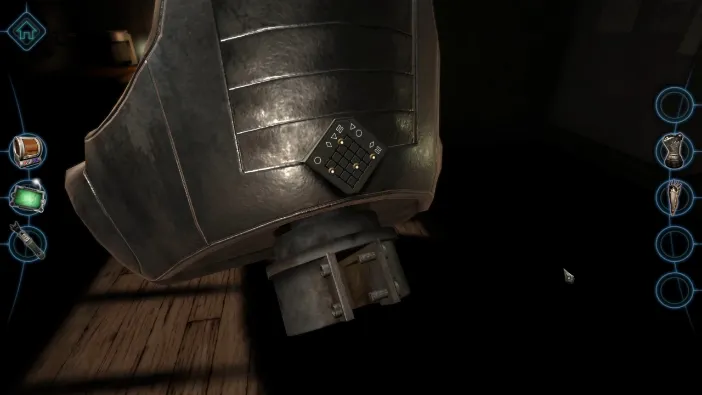
Now, turn to the back of the chair and tap on the little black plate on the bottom there:
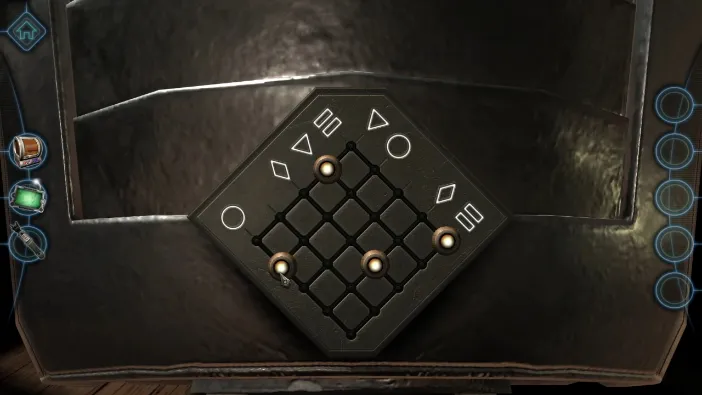
The goal is to get a pin on every intersection where lines originating at the same symbols meet, like this:
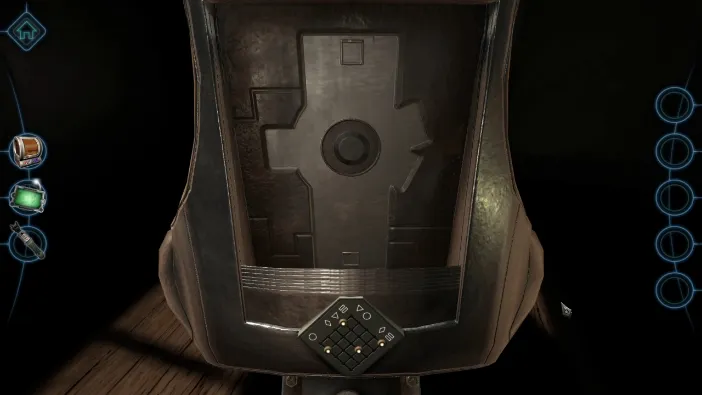
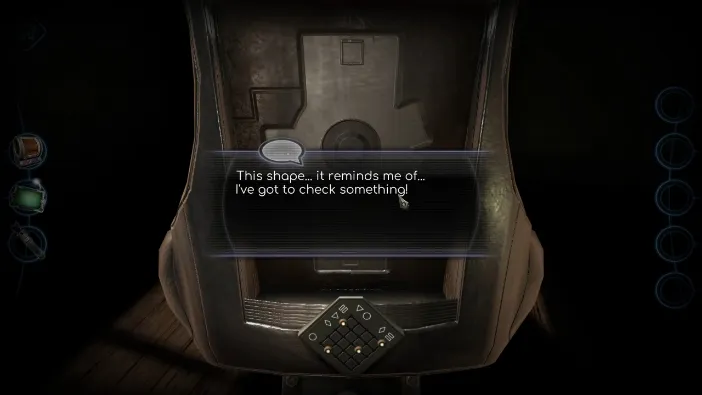
The shape is the same as the anti-gravity field generator we’ve used before. We will now automatically pick up 3 of the previously used objects. Drag and drop the anti-gravity device onto the back of the chair:
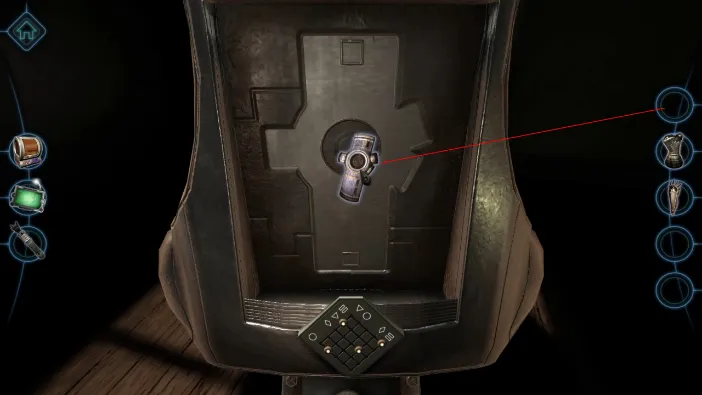
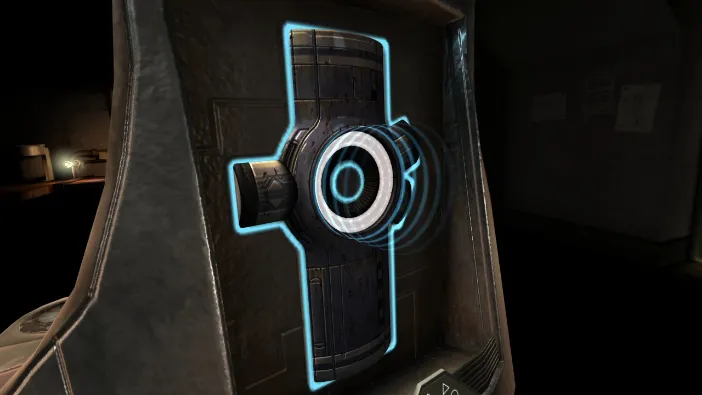
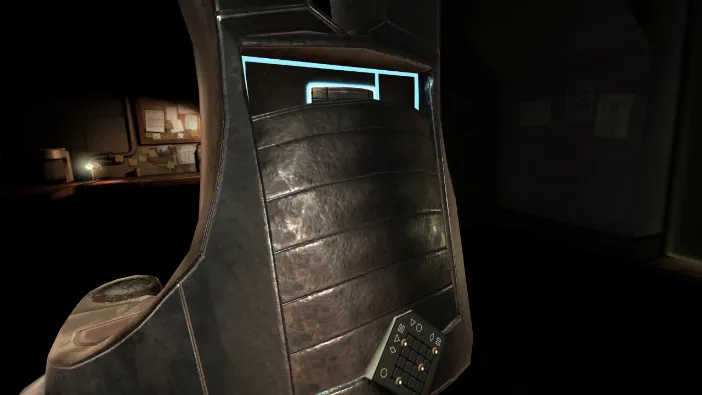
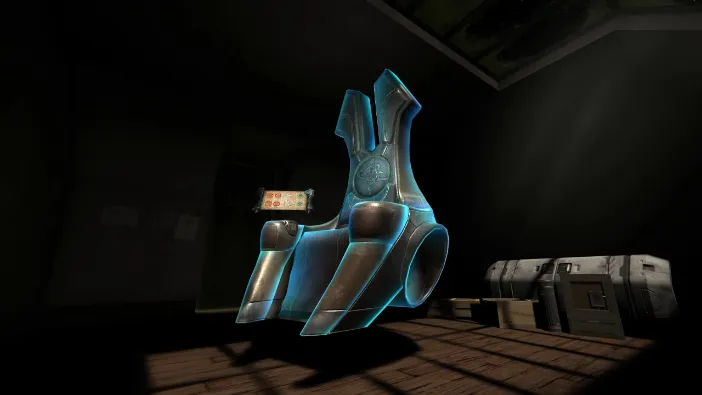
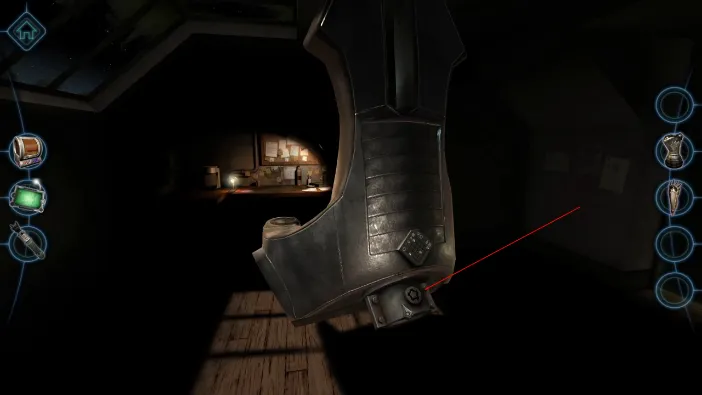
This will make the chair float on air. Now, turn to the back of the chair and tap on the screw at the very bottom. Use the screwdriver on it:
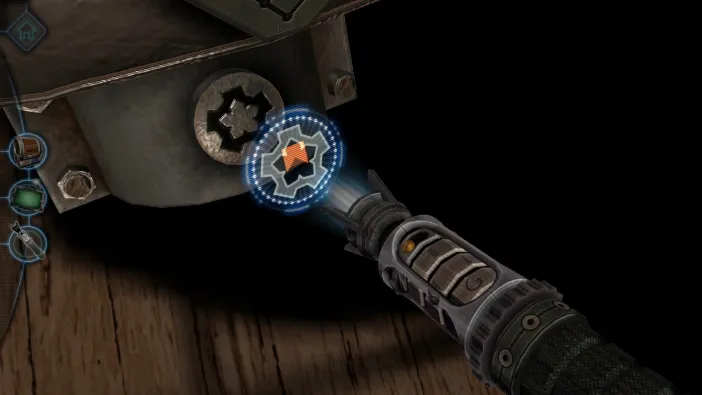
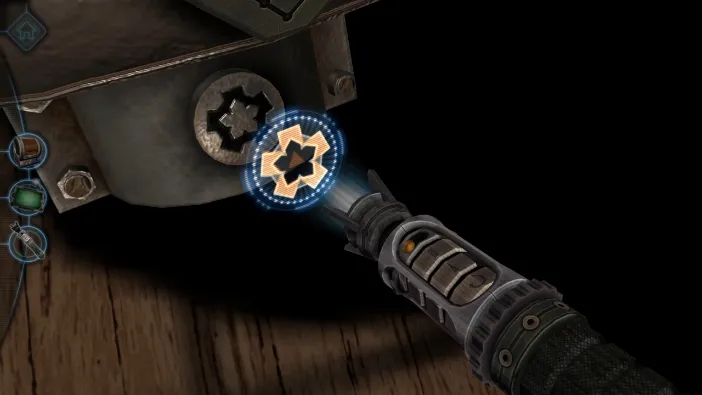
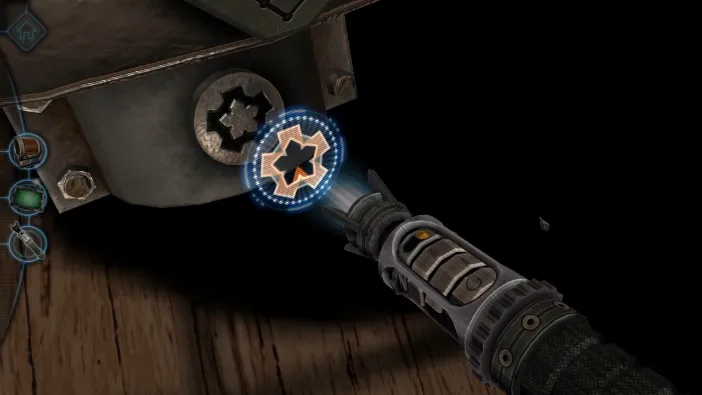
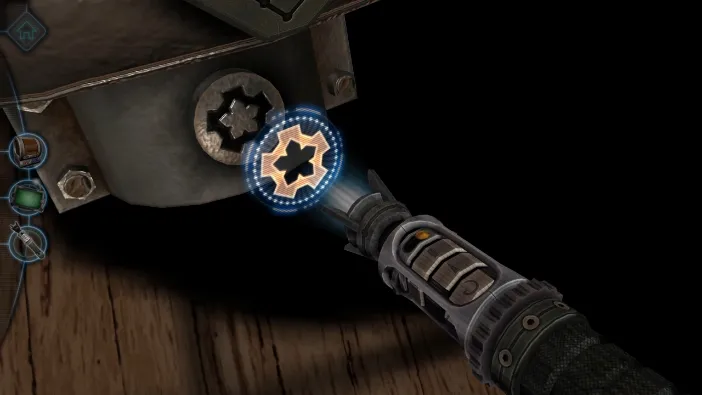
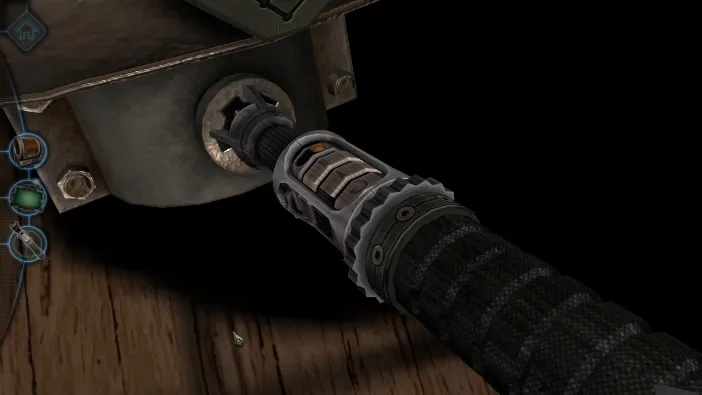
Now that the base of the chair is loosened, drag and drop the object we presumed was the power source:
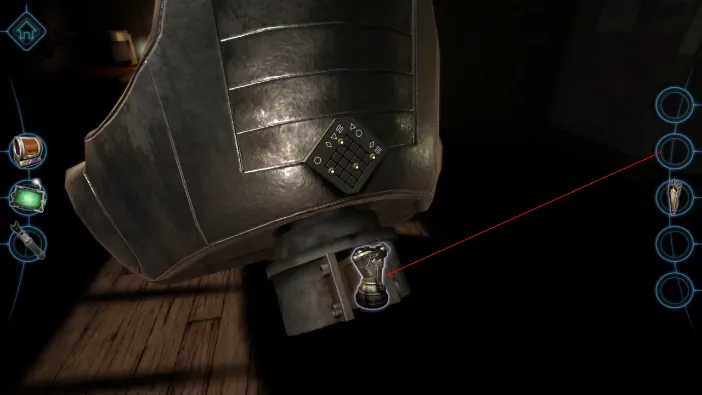
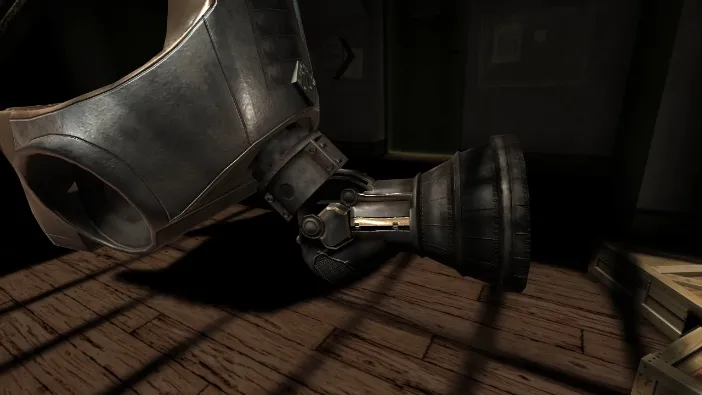
Now, tap on the interactive scroll console again and tap on the bottom right cross this time:
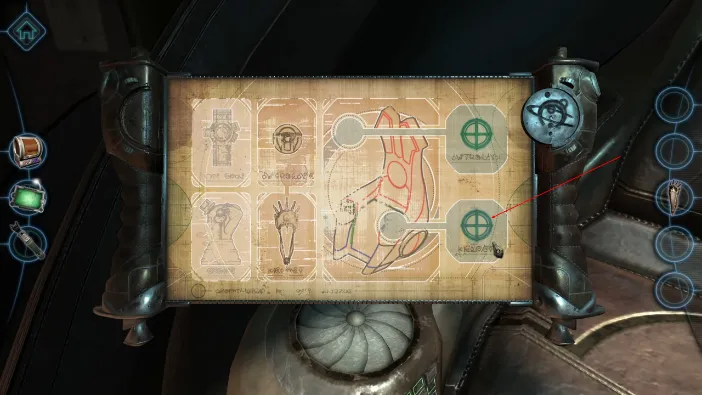
This will take us to the other arm rest, where we need to solve a holographic puzzle:
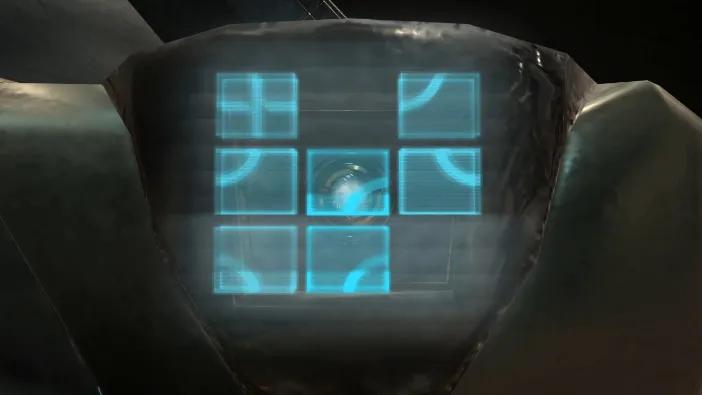
Drag and rearrange the holographic squares to get this:
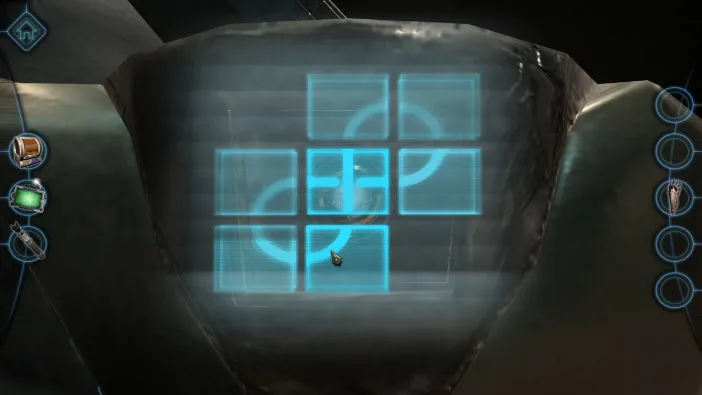
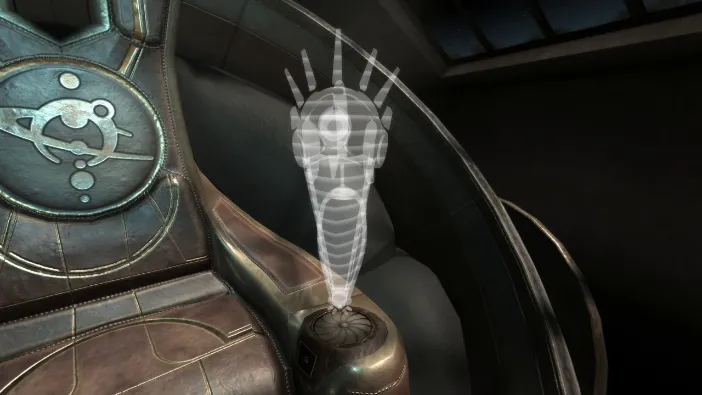
The slot for the necklace and helmet is now activated, so drag the item from the inventory to it:
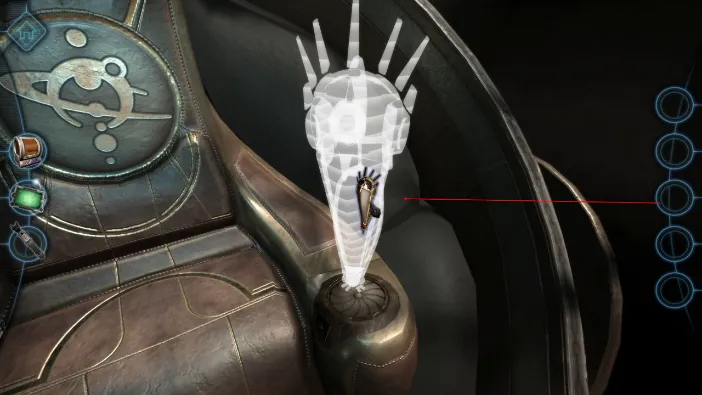
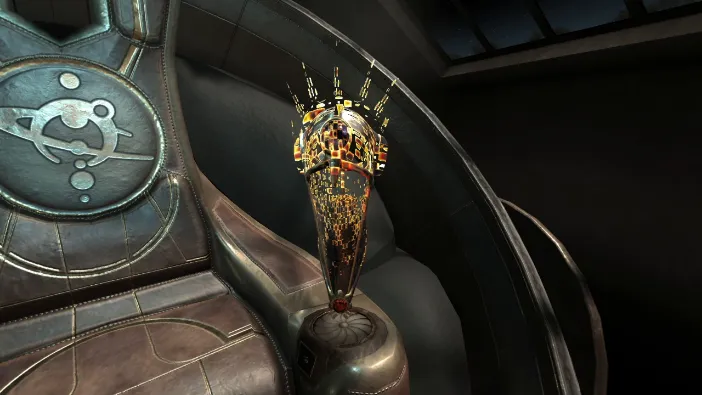
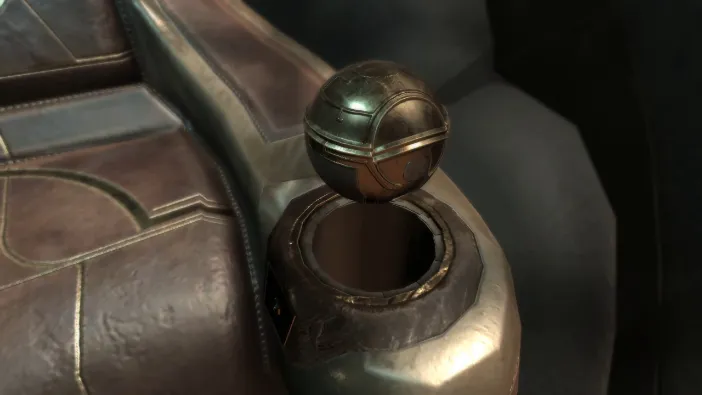
The item will dissipate and out of the arm rest comes a floating metal ball. Turn it a bit and unlock it by moving the little circular plate down, then turning the larger one around, like this:
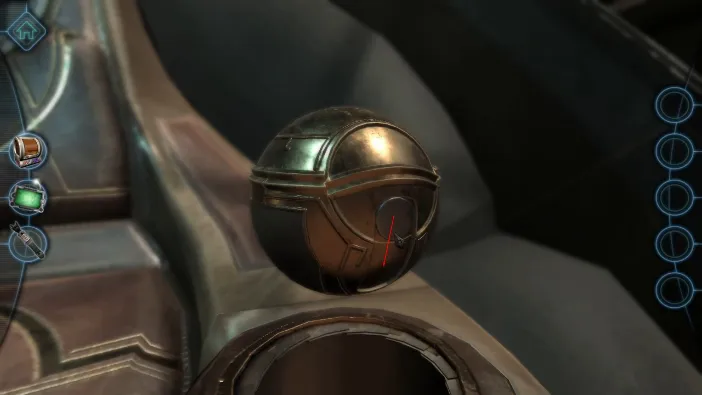
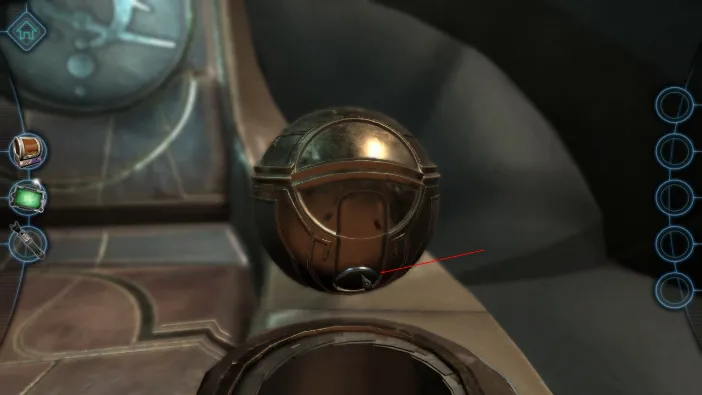
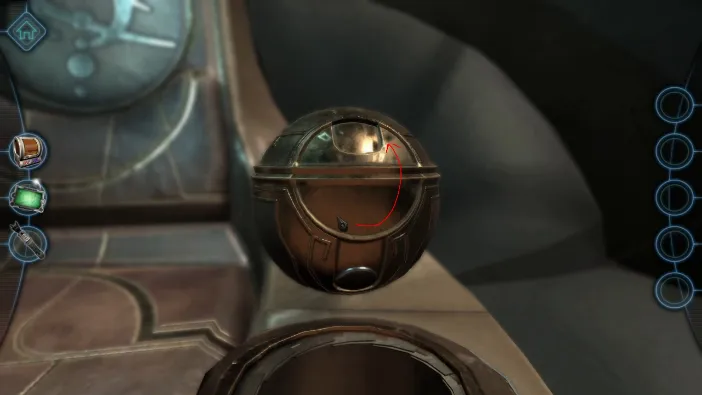
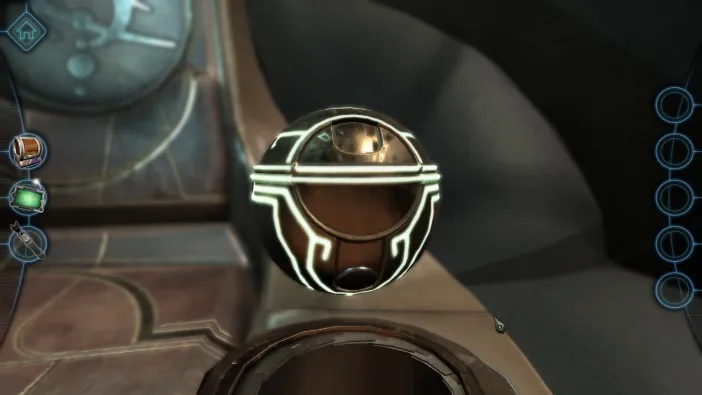
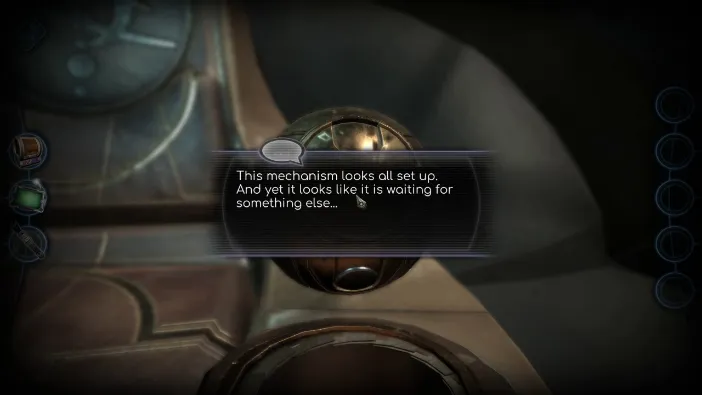
After you zoom out, tap on the chair to sit in it again. Once you do, the ball will float and flash in front of you, then project a constellation:
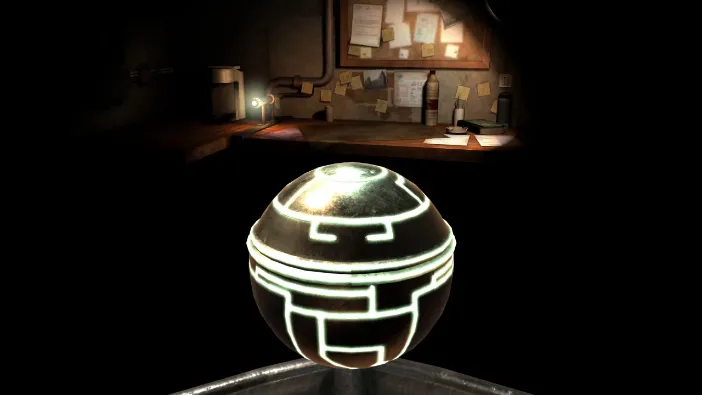
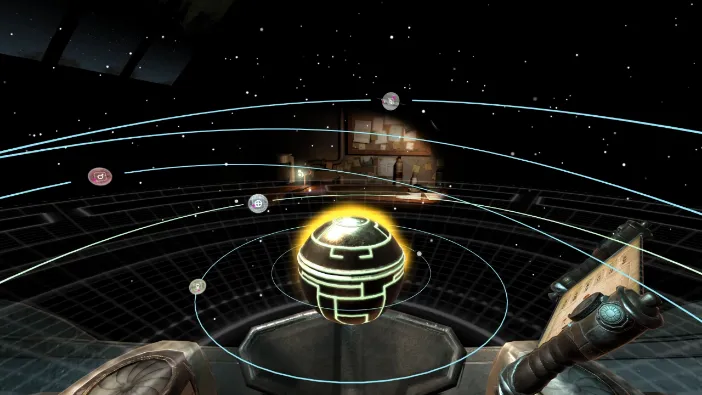
When you sit back in the chair, tap on the scroll. You will see 6 symbols. They match the symbols on some of the planets on the constellation hologram. In the text, you will find a few more symbols, which are important to set to the respective planet. Move the center metallic orb to move the constellation:
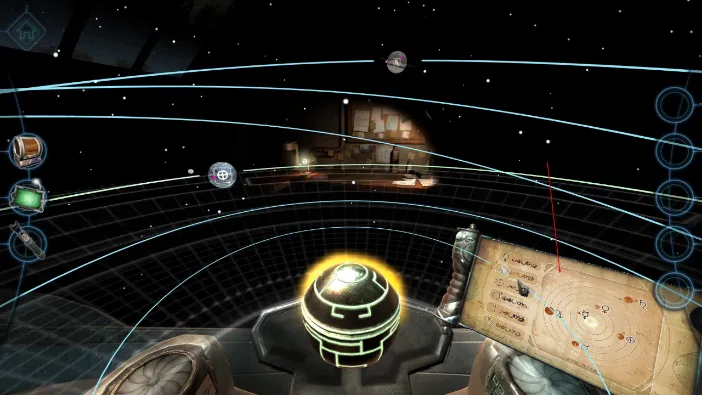
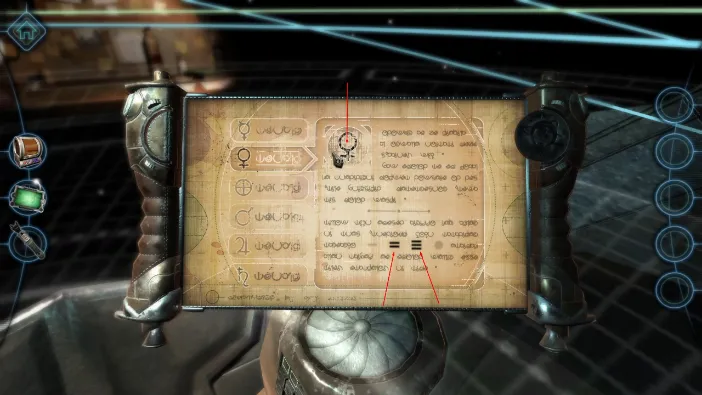
Now, find the planet with this symbol and set the secondary symbols by tapping them and switching. The faded symbols represent those which should stay as is, while the clear-marked ones are the ones you need to tap:
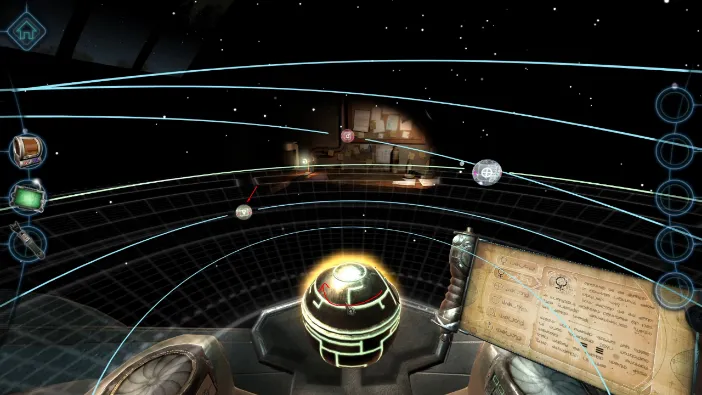
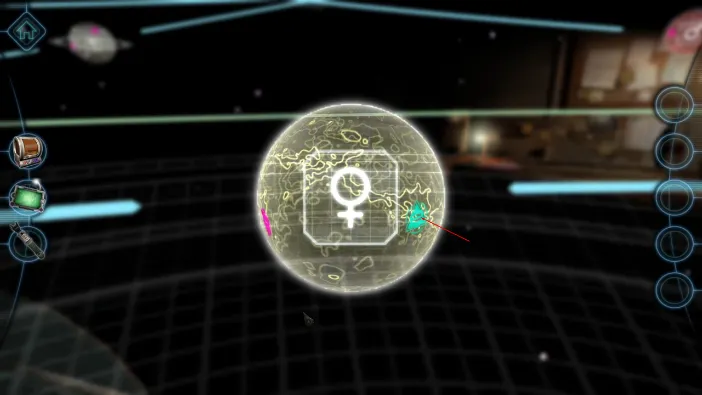
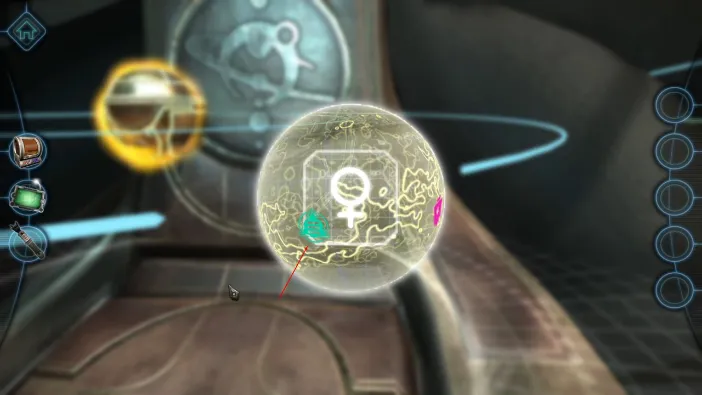
Now, go back to the scroll and move on to the next symbol, doing the same thing:
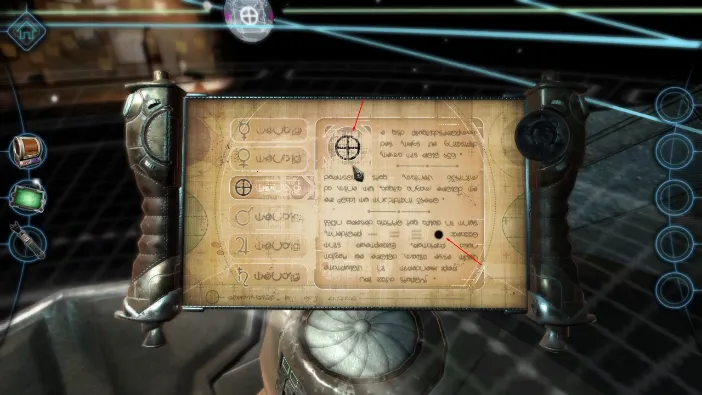
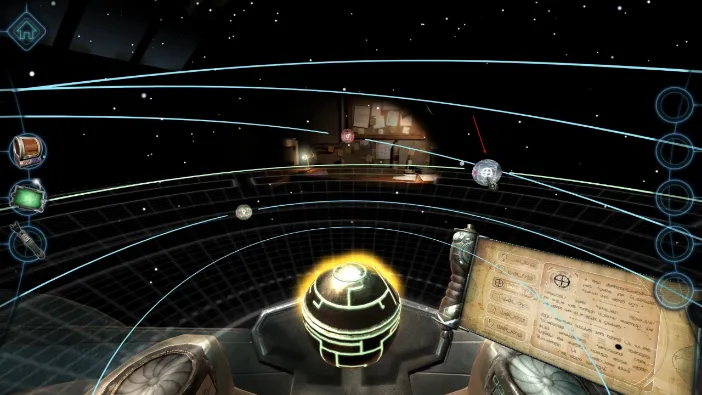
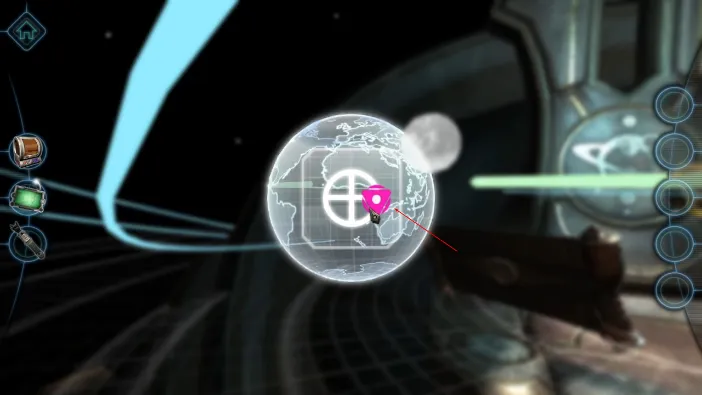
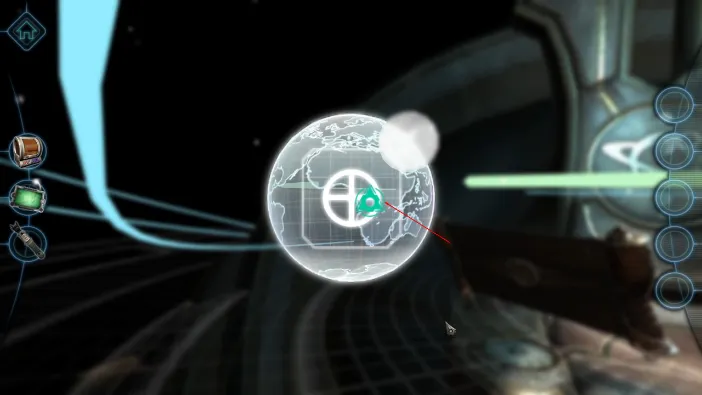
By the way, skip the symbols that don’t have any other secondary symbols marked, like this one:
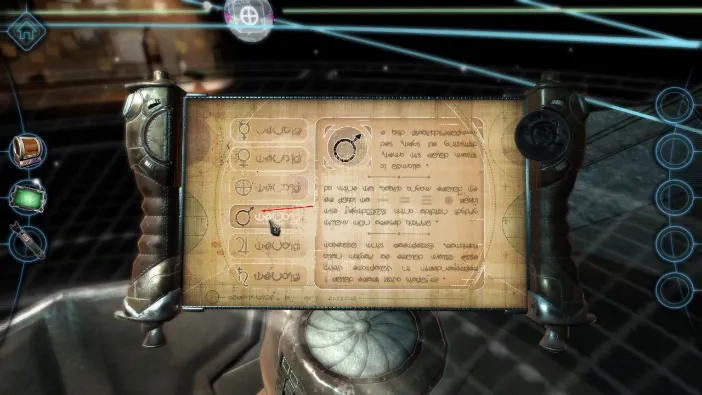
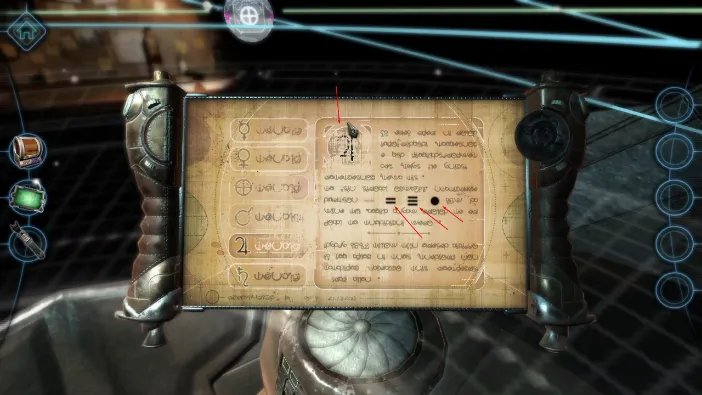
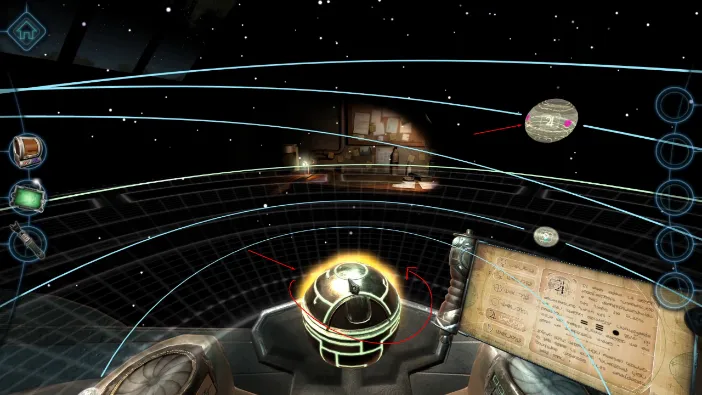
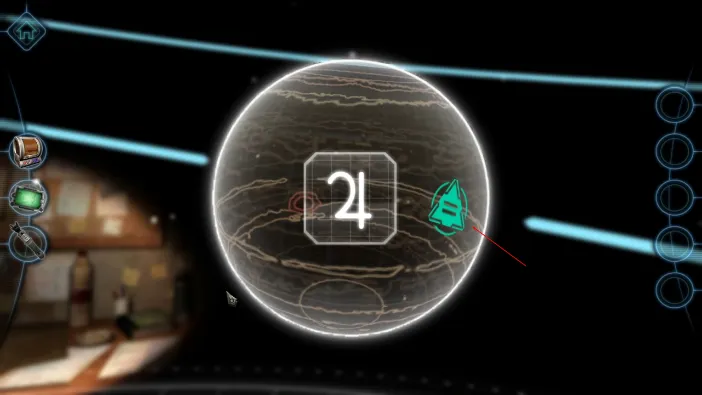
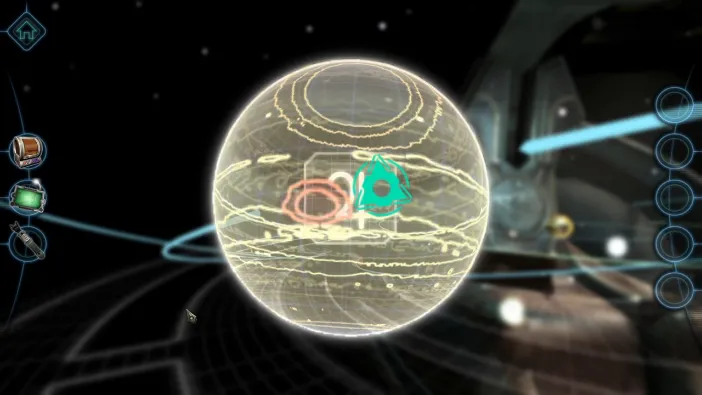
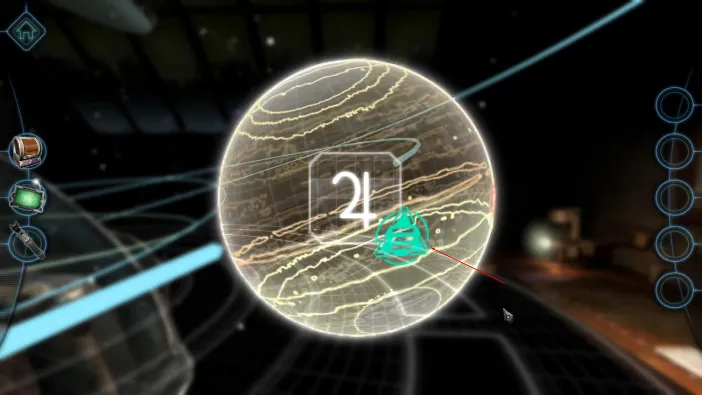
And, proceed with the final symbol:
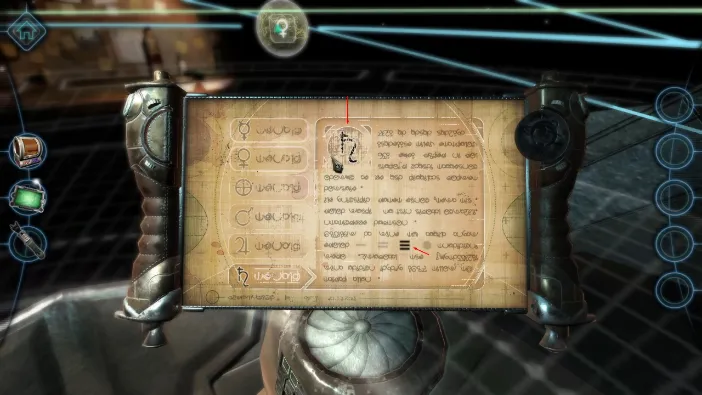
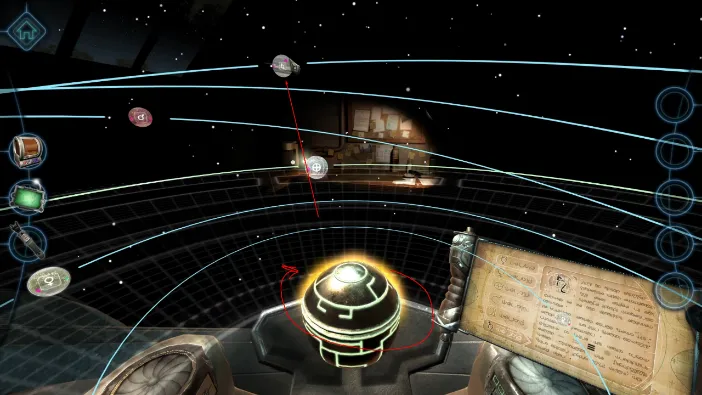
Now, this last planet will be unique as it is Saturn and has a moon with a secondary symbol. You just tap on it and then switch it as usual:
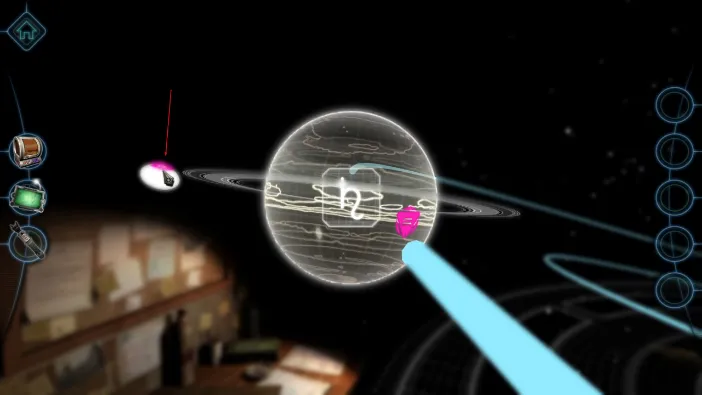
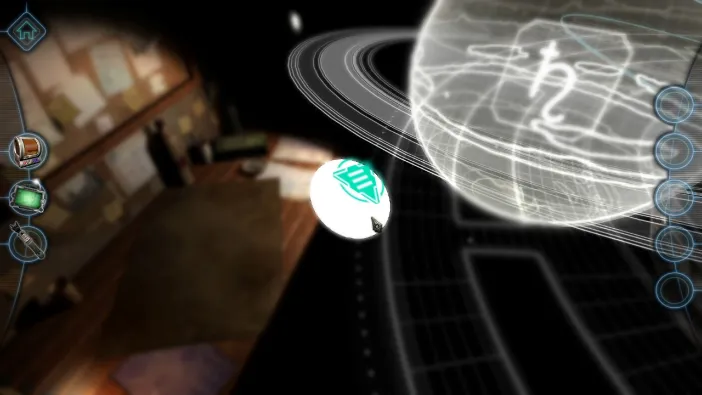
After you do this, a beam will automatically connect the planets, marking a pathway through the constellation:
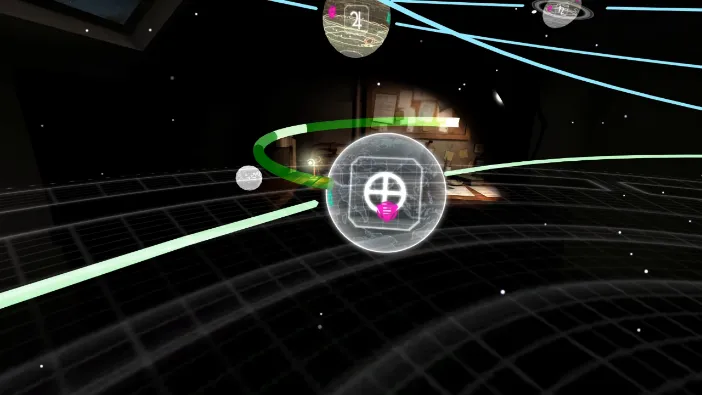
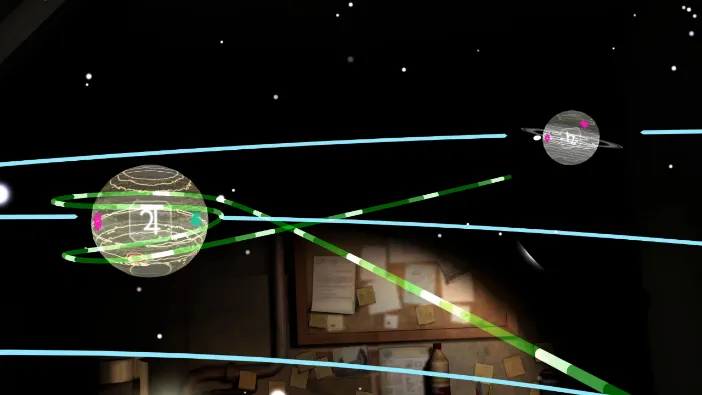
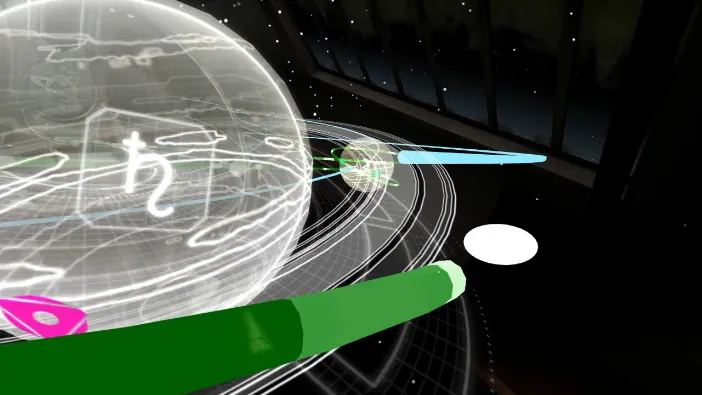
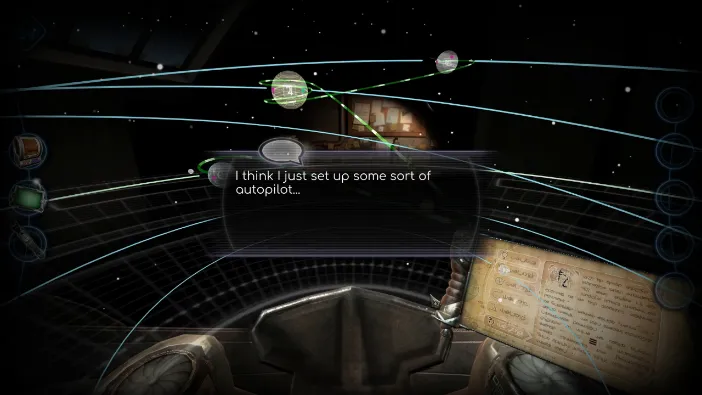
After the way has been marked, the cockpit will close and the craft will engage:
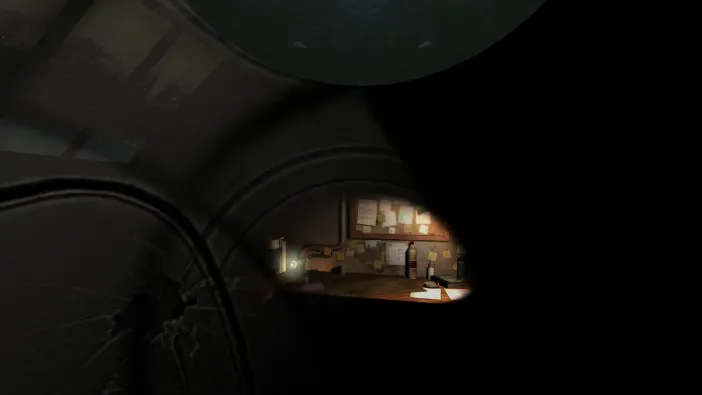
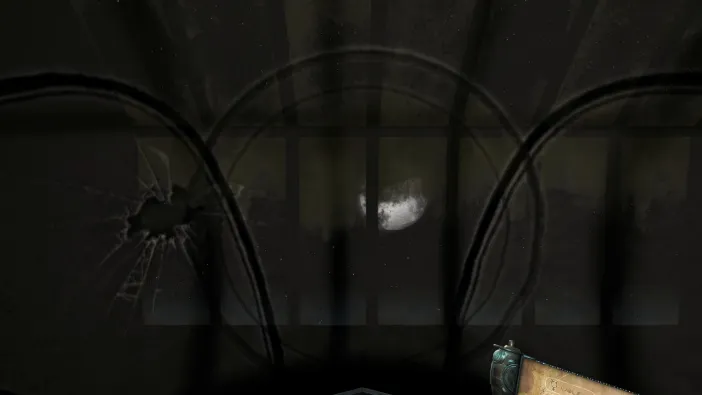
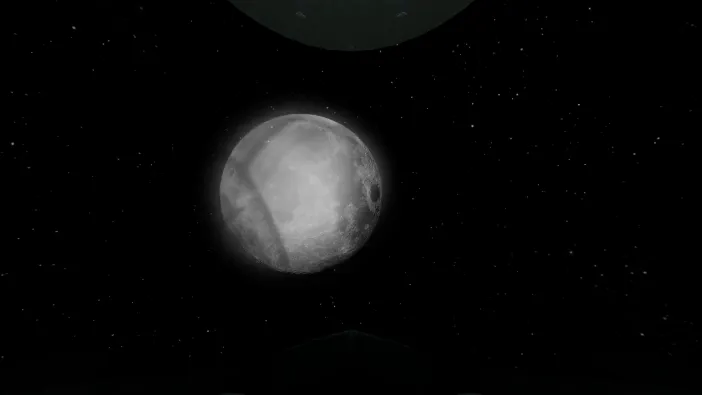
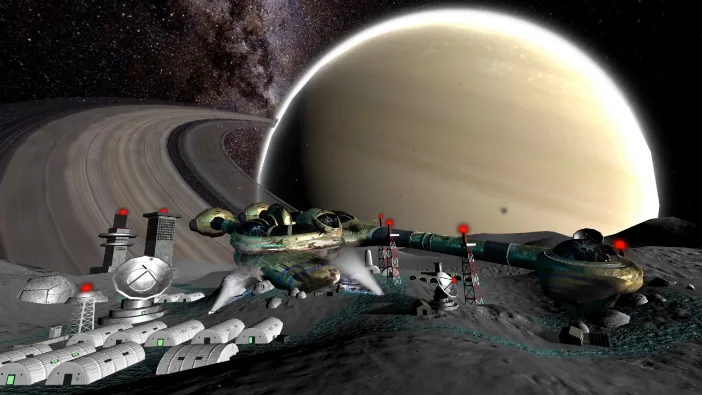
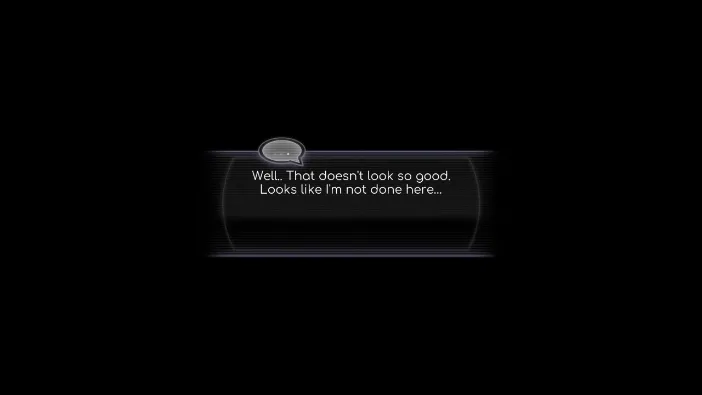
The craft has carried us to the ship that is on one of Saturn’s moons. This marks the end of the game, but the message says we are not done. The developers are promising us Machinika Museum sequel, so until next time, cheers!