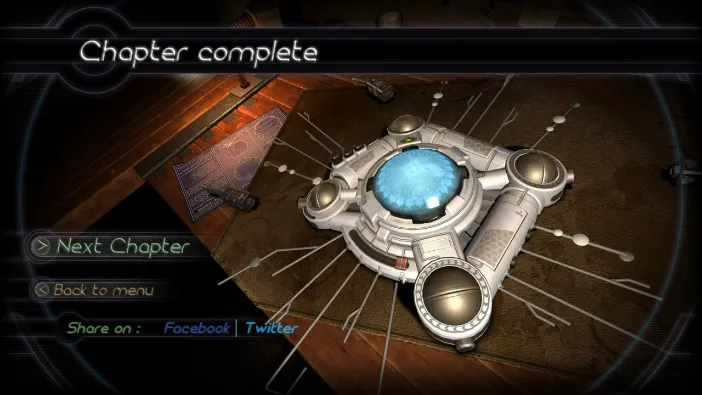
Machinika Museum – Chapter 7
In chapter 7, we have a new item, locked in a lockbox case and left for us on the desk. It comes with a familiar note and a crowbar, which is a refreshing change of style against the usual high-tech stuff. Pick them both up and read the note.
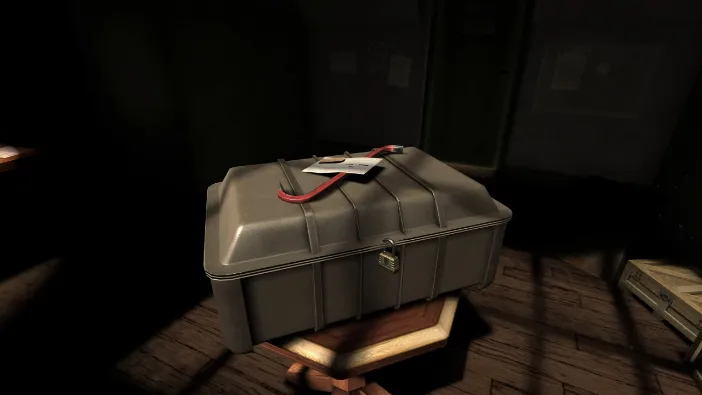
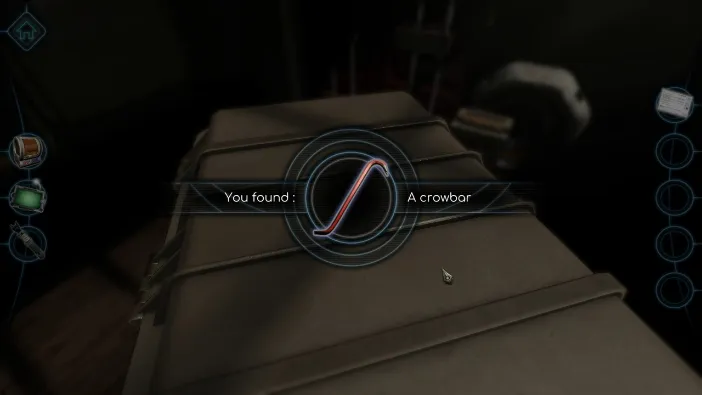
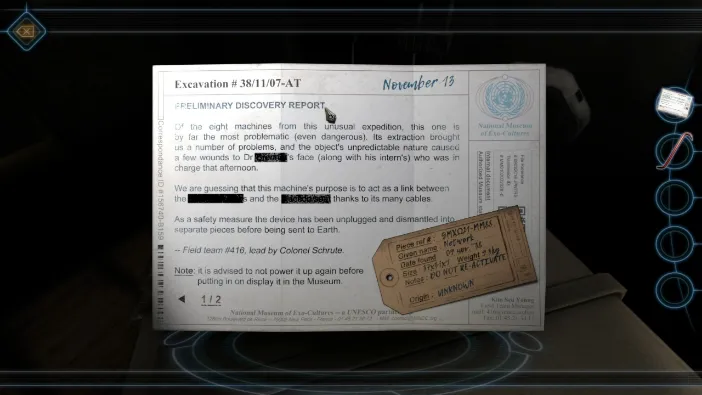
Several details in the note have been omitted and crossed off, as usual, but it does reveal that it is dangerous. Now, tap on the padlock and use the crowbar to break it off:
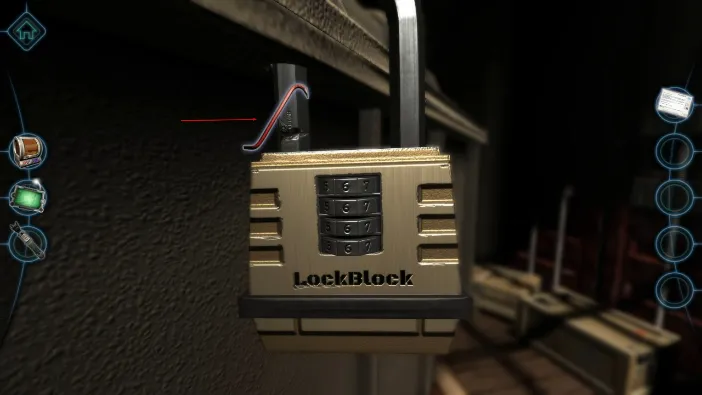
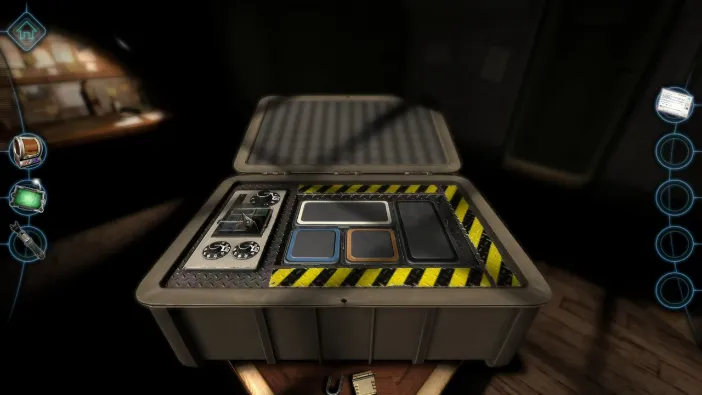
Drag the top to open it and tap on the controls inside. Now, open the note again and turn it over, it will tell you the values to set on the control board:
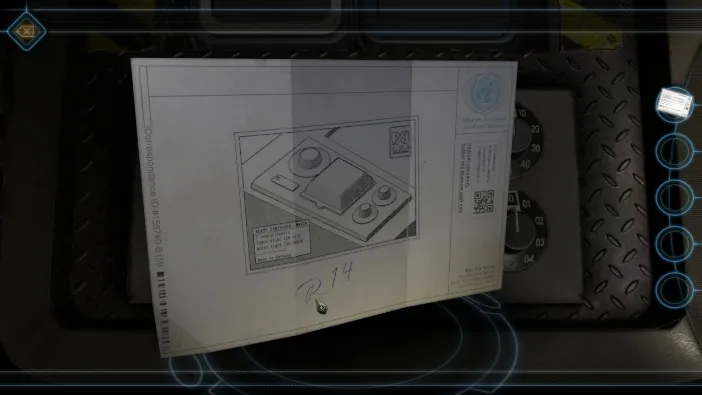
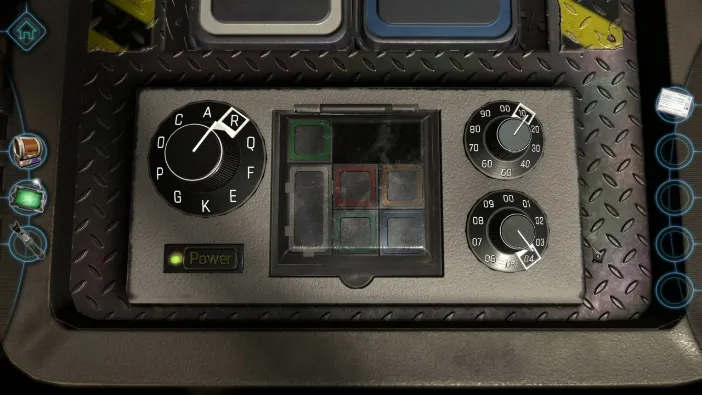
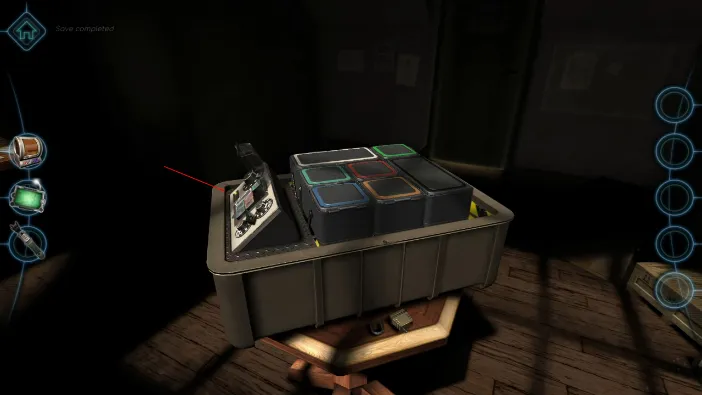
This will cause the mechanism to engage, but once it does, return to the control table again:
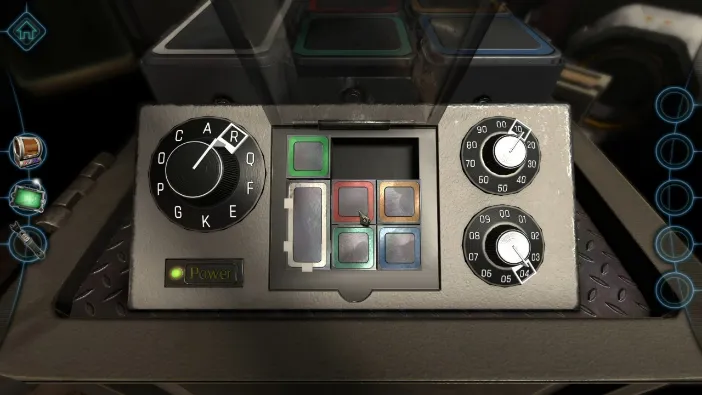
Pull the red cube up and then to the right, then change the viewpoint to observe it from the side. You will find a hidden value there:
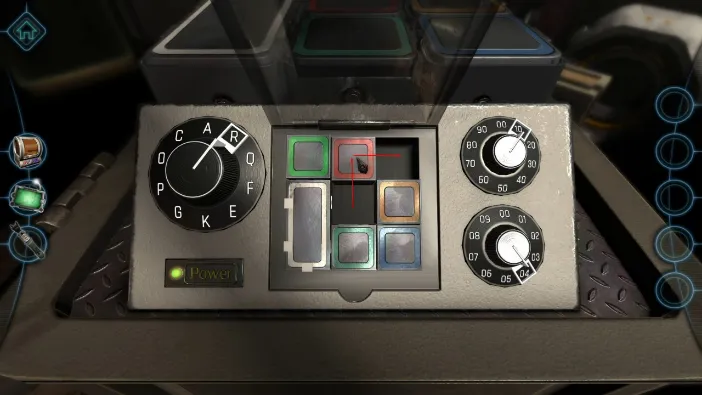
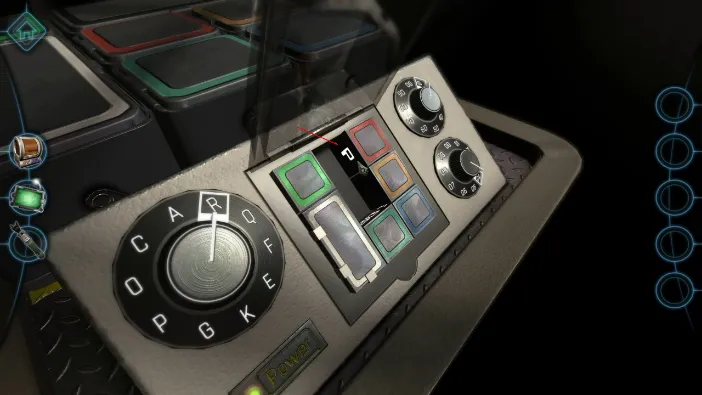
Then change your view angle again and move the red cube to the right, to see two more values:
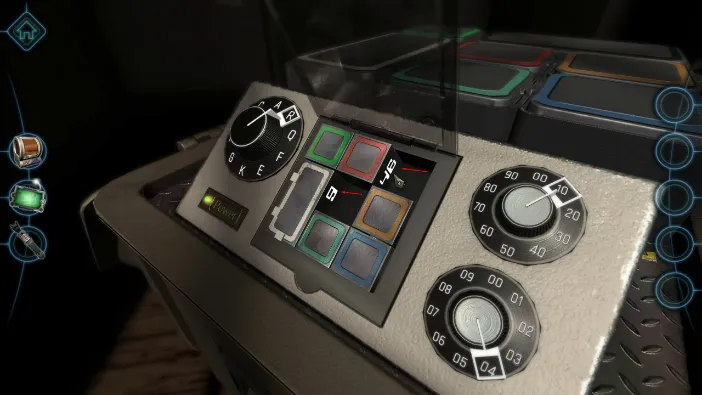
Now, set those values to the three switches, in the same order:
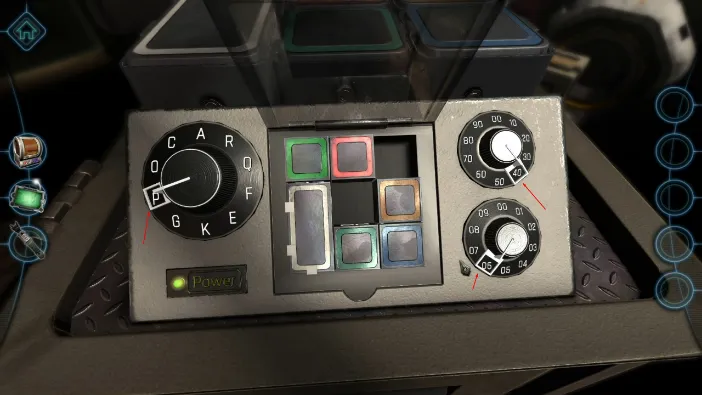
This will make the red cube glow. Now, move it to the right and move the green one to the right. Change your viewpoint to see all 3 values on two sides of the green cure (the second and the third values are together):
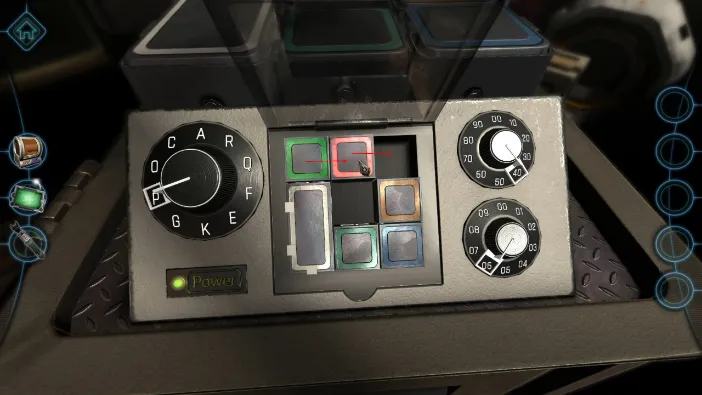
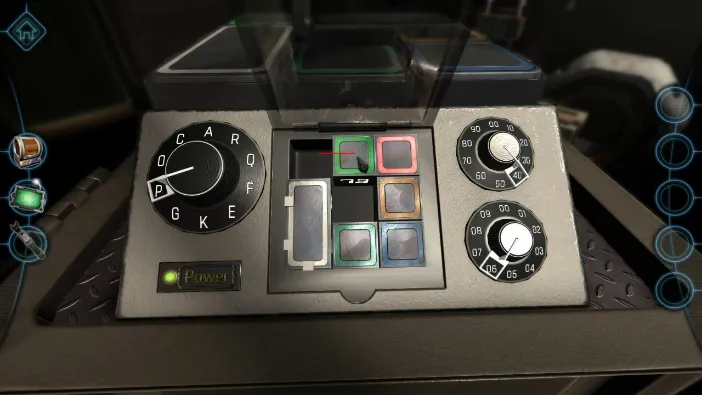
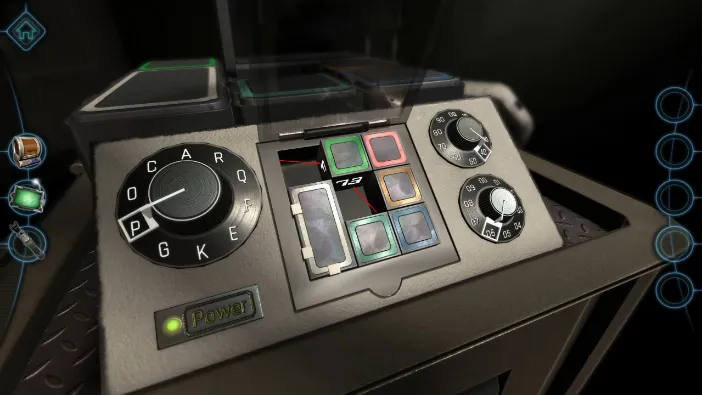
Now, set those values (F, 7, 3) in that order. This will make the green cube glow:
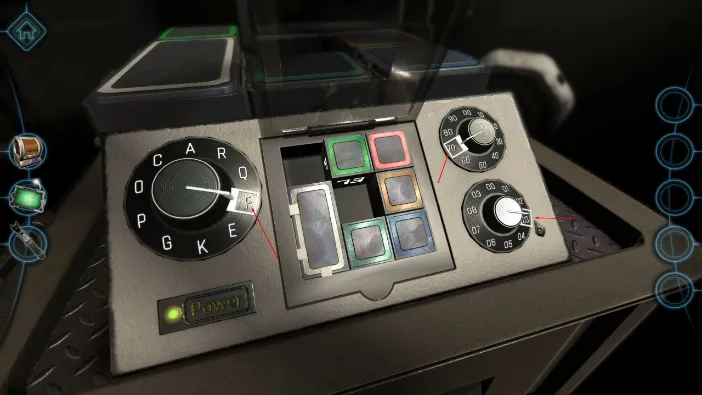
Now, move the green cube back to its original place and move the red cube left. Then move the yellow cube to the top, then down, and then left to observe the values on its bottom and right sides:
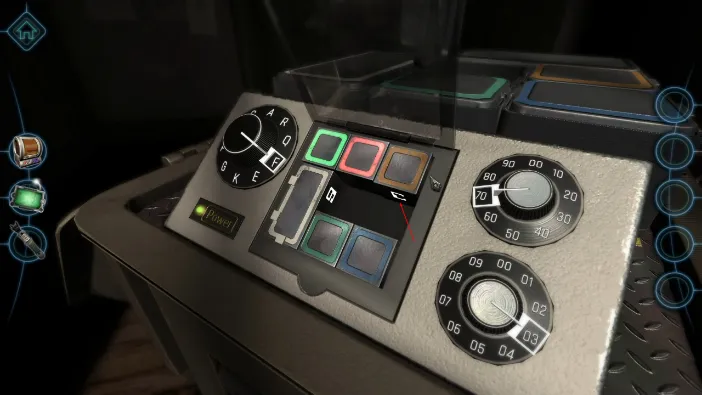
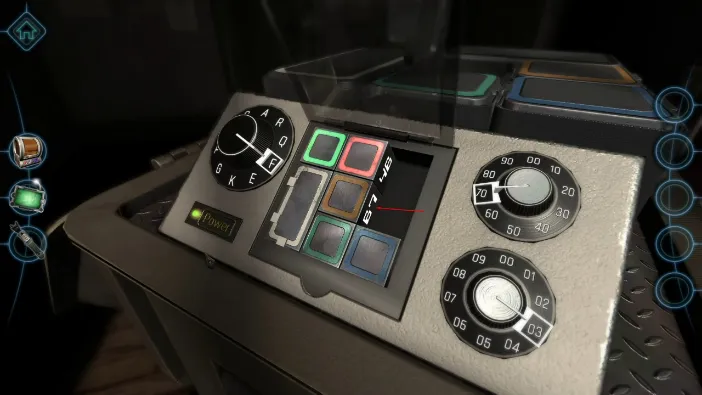
Now, set these 3 values (C. 6, and 7) to the switches in that order, which will activate the yellow cube. Then, move the yellow cube back to its original place:
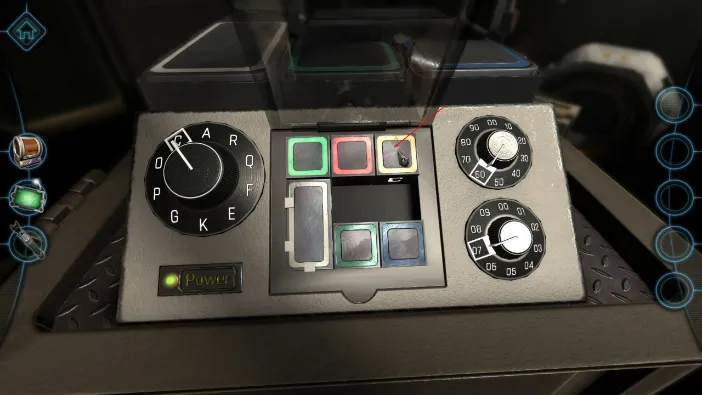
Now, change your view and move the dark green cube to see the values on its sides. Then turn the switches to those respective values (K, 00, 09):
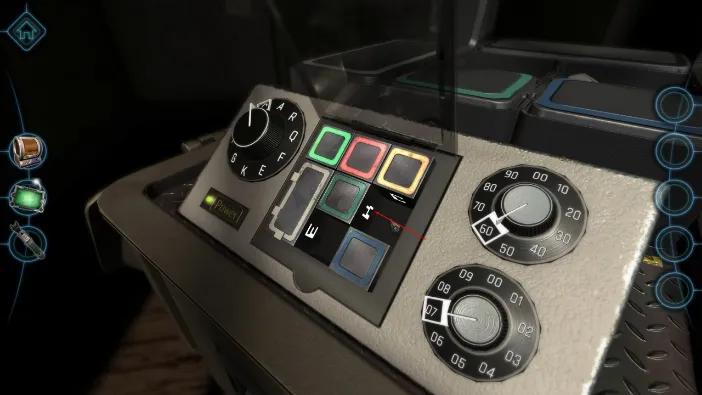
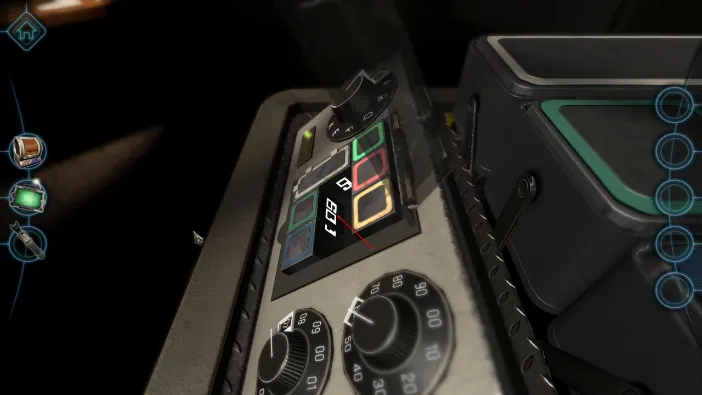
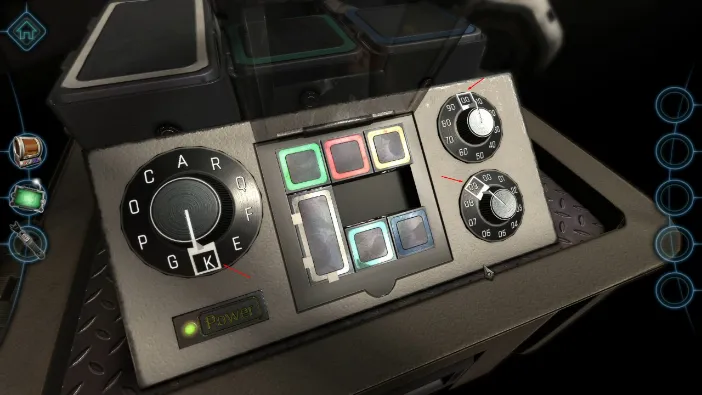
Now, move the dark green cube up and to the far right, so you can have a view of the large white rectangle. Move others too and move your field of view to see the values on it (E, 9, 8), and then input them as usual:
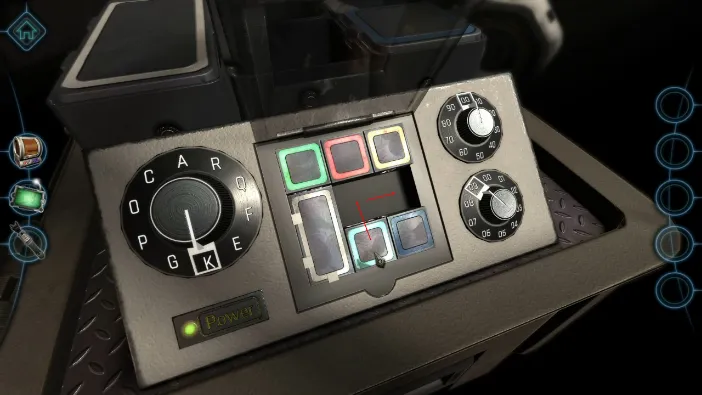
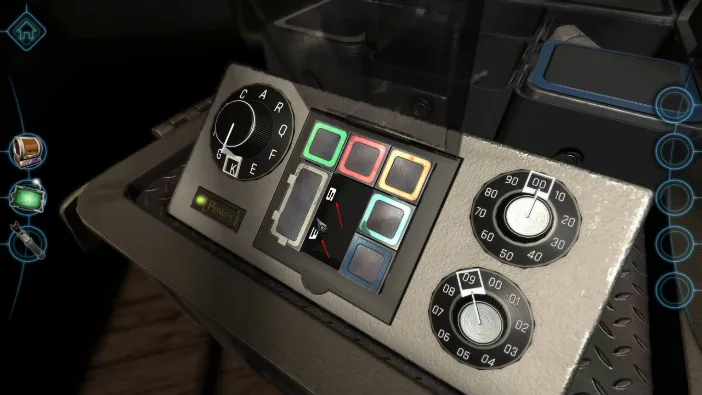
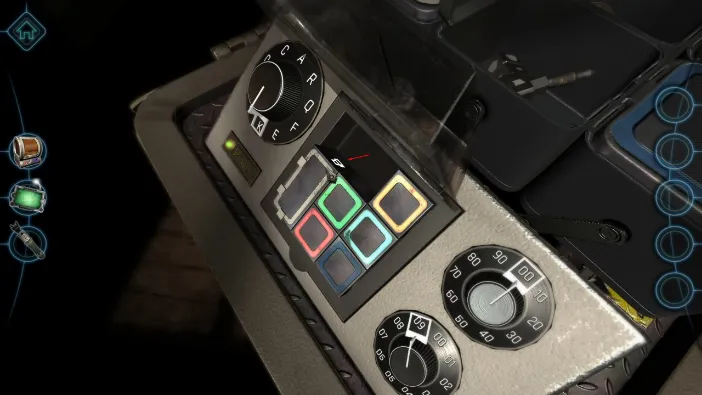
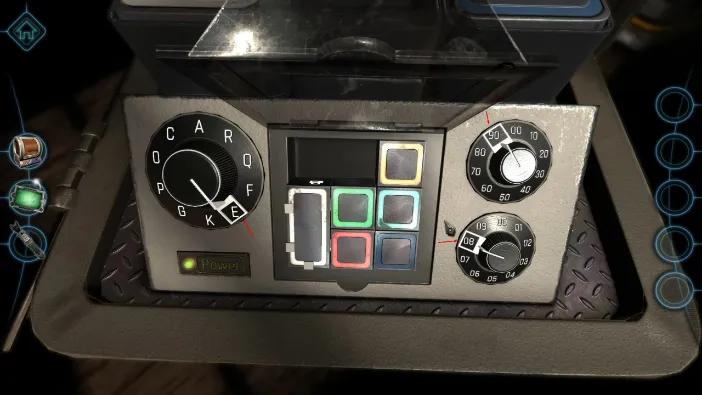
Now, we only have the dark blue cube left. Move the other cubes to free it and move it around to see its values. Then, input them as usual (G, 2, 2):
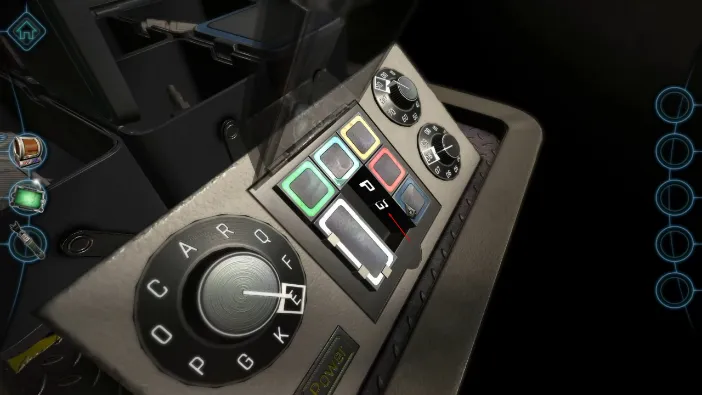
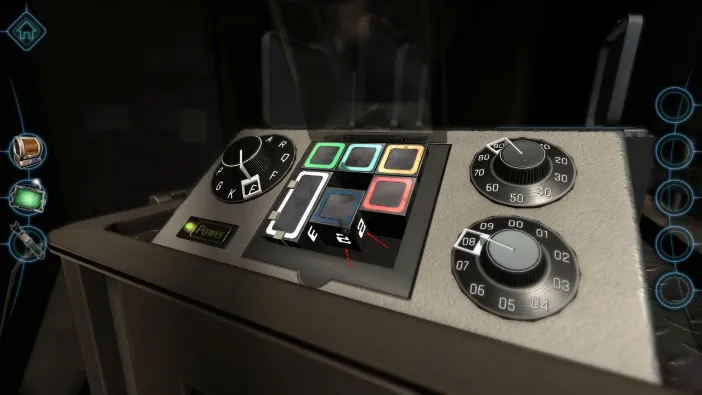
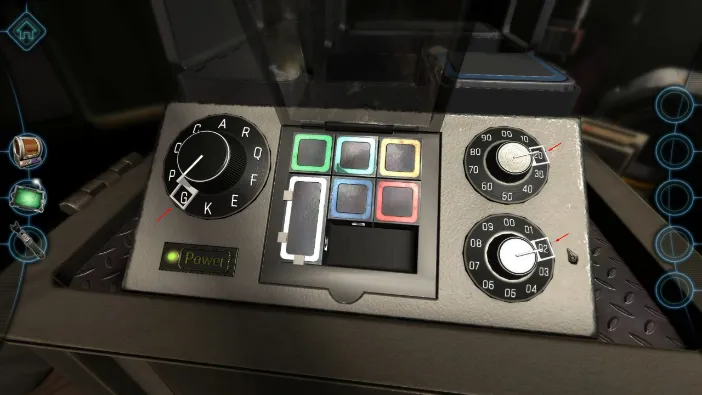
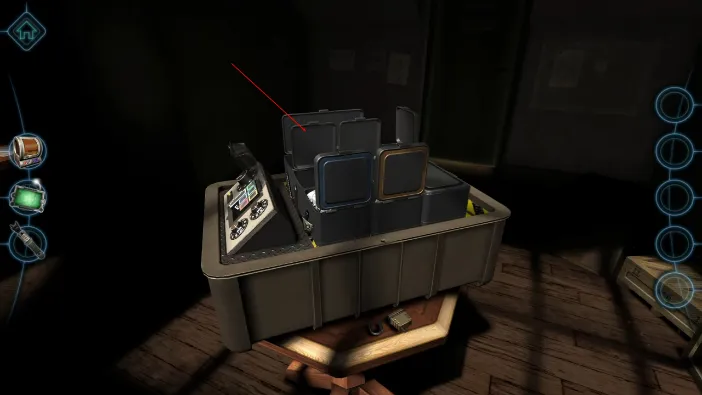
This will open all of the top containers, so go ahead and loot them all:
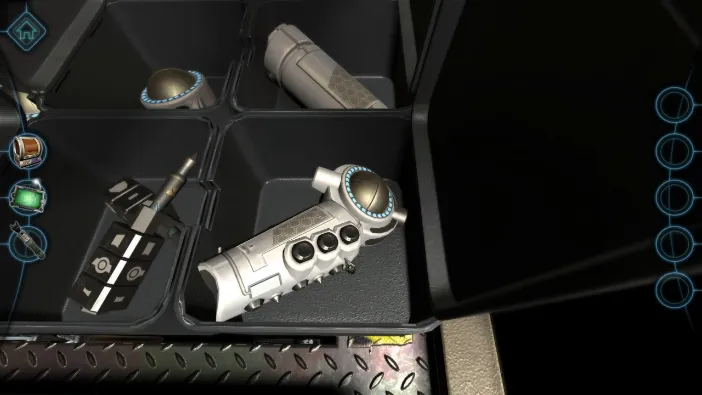
You will pick up 4 machine parts and four cables. And, the main part of the machine will be in the large container, so pick it up too:
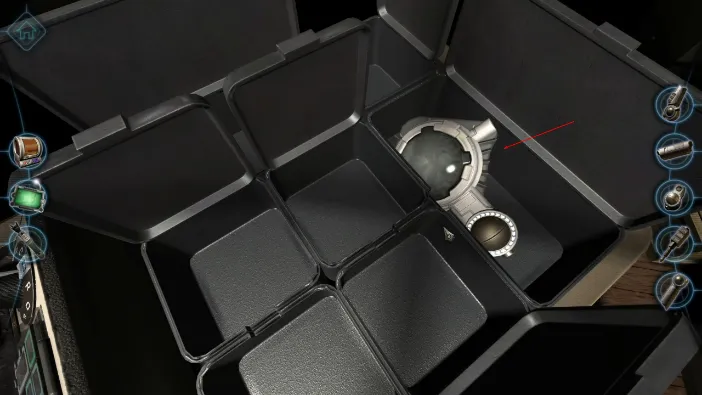
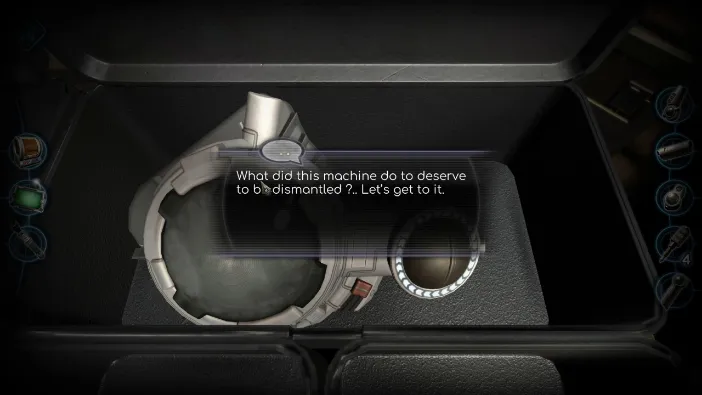
The chapter now officially begins. The goal is to now assemble all these parts:
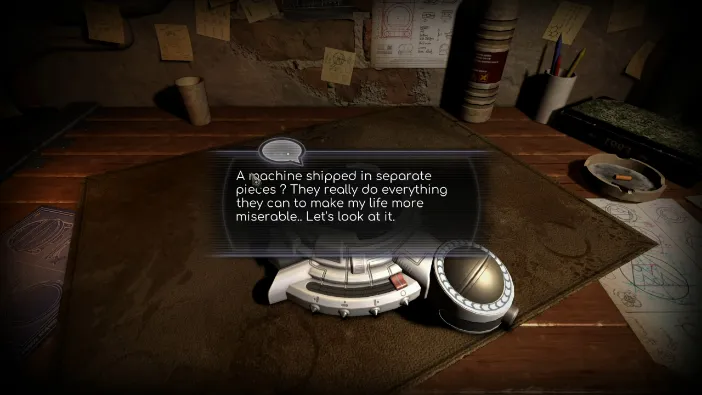
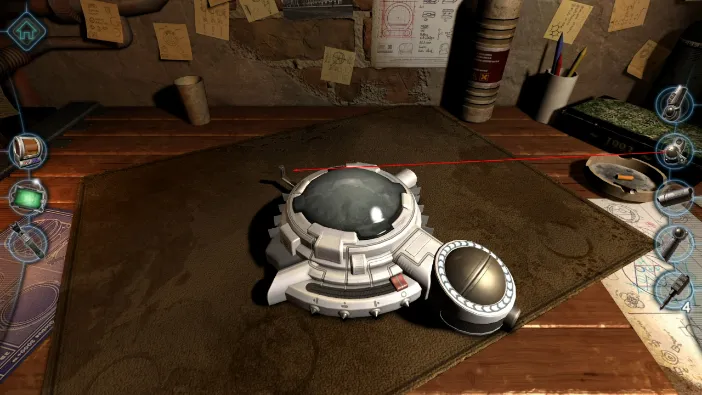
Once you place that part there, zoom in on it and push the beeping green button:
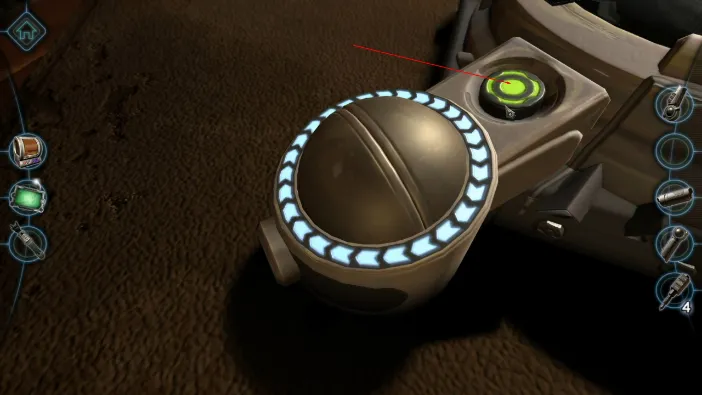
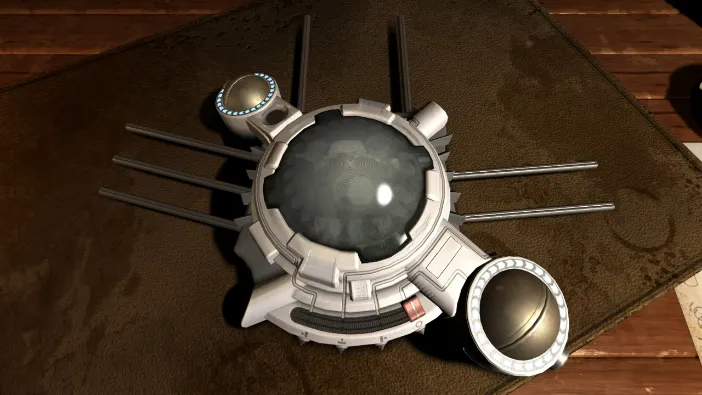
Now, go ahead and add the rest of the parts to the rails that just sprung out. Add them in this order, but keep in mind that you have to drag them each to get them fastened all the way:
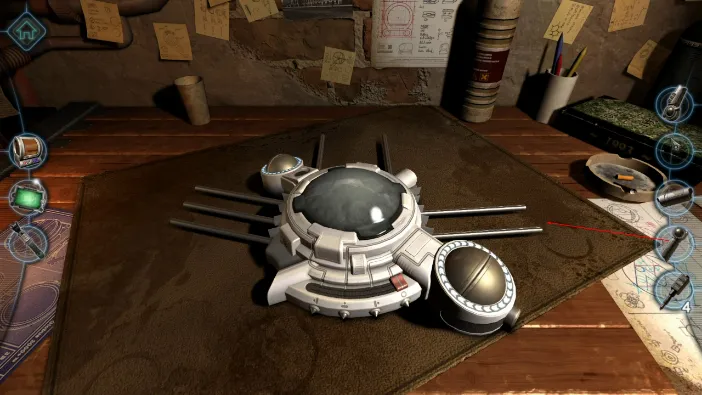
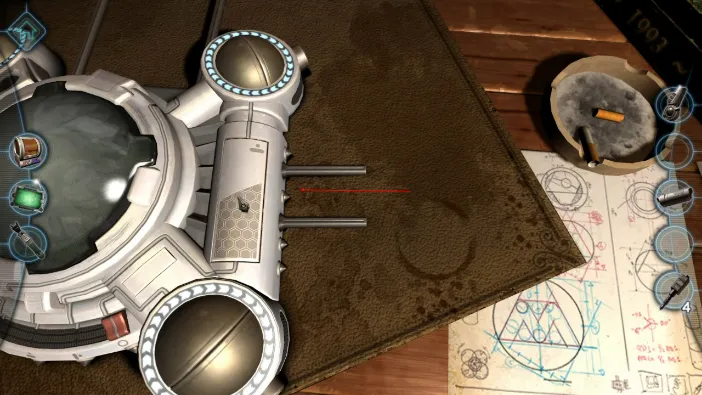
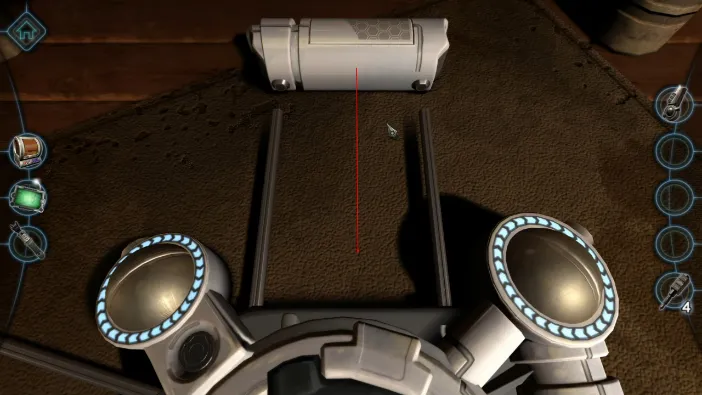
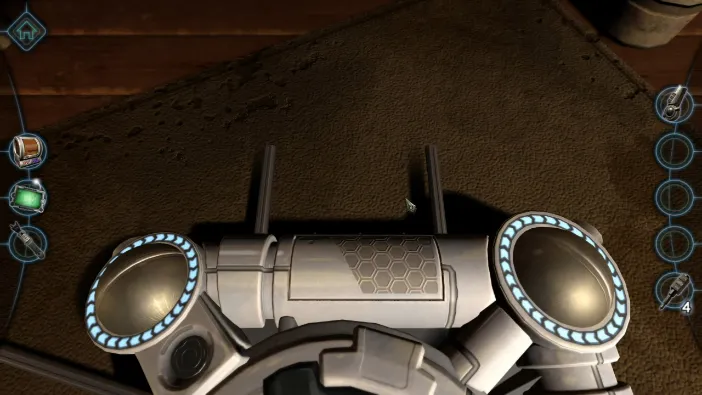
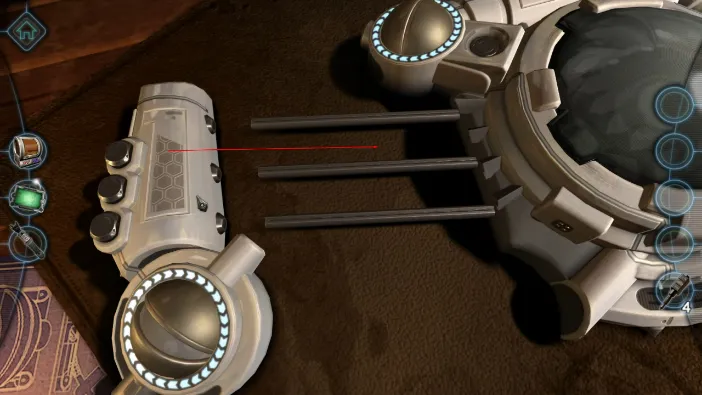
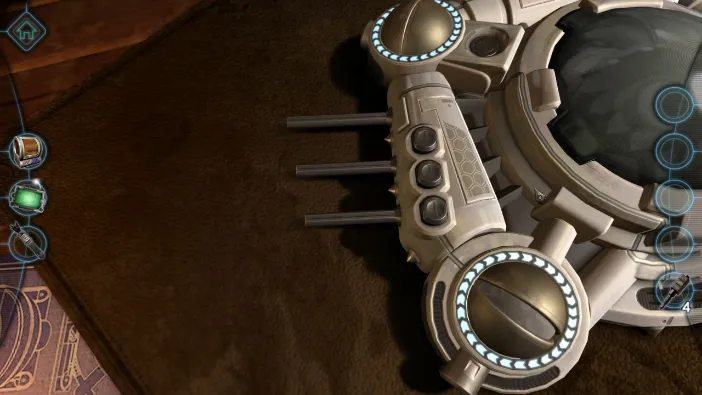
Once it is assembled, the green button will beep again, so tap it again:
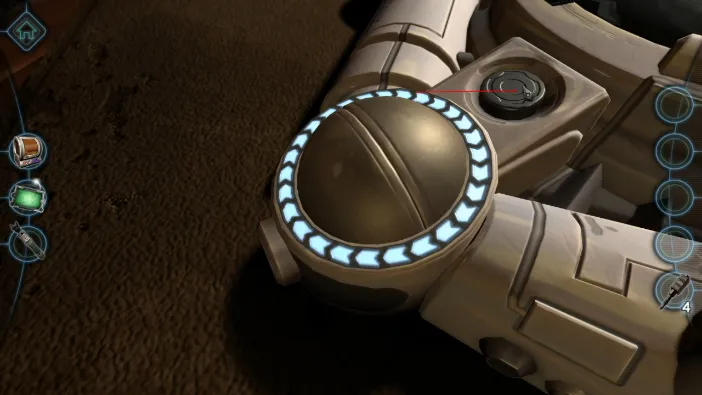
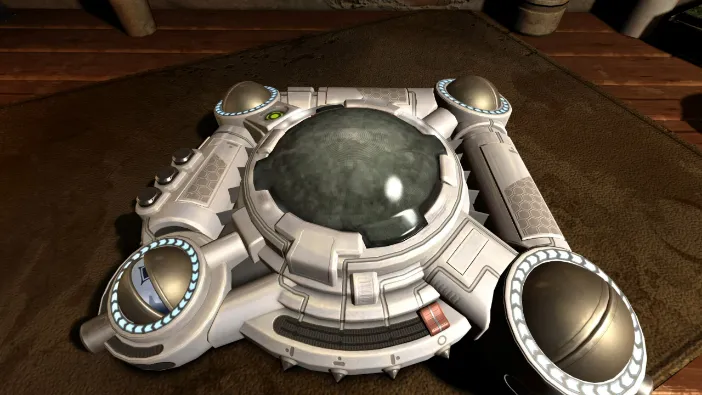
When the device engages, tap on the top part the drag the lid to unscrew it:
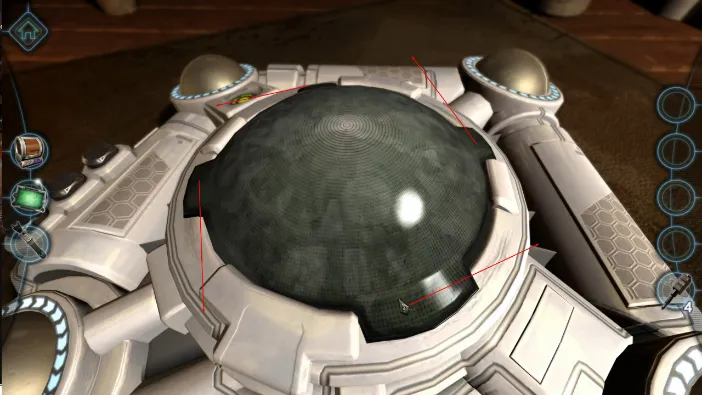
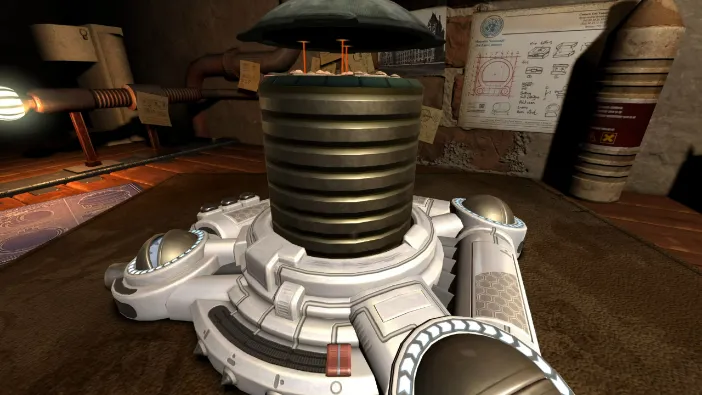
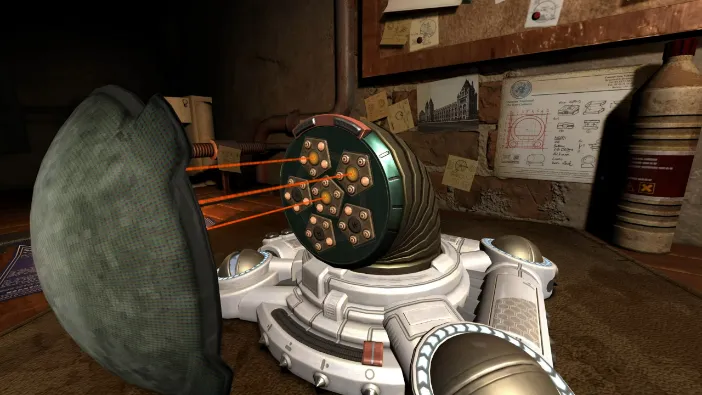
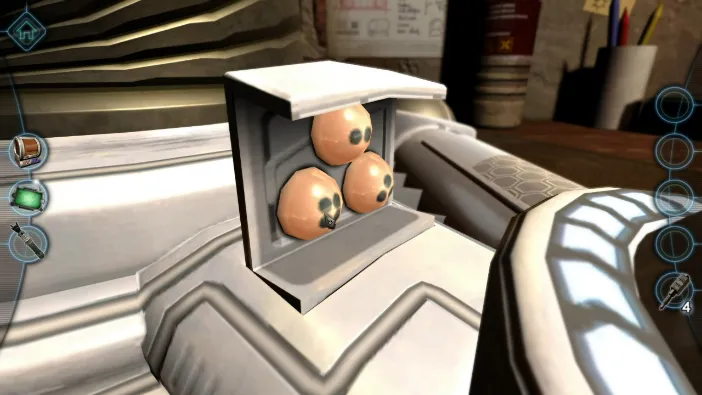
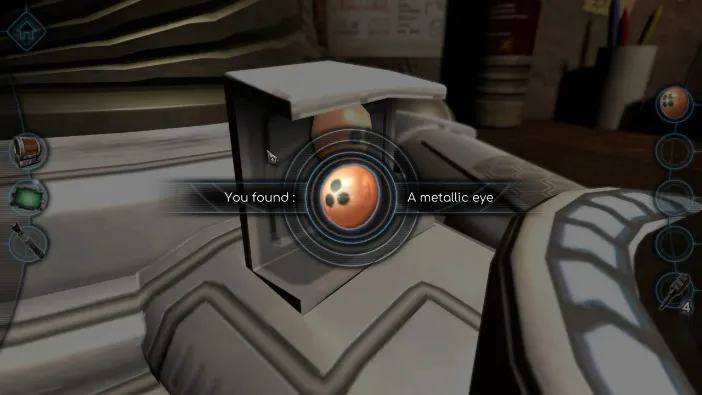
First, zoom in on the 3 separate metallic eyes in the corner and pick them up:
Now, zoom in on the main mechanism to add t eyes where the lasers go. You will have to turn it and match the number of dots on the eyes with the number of the eyes already on the device. To torn it to the right position, tap the upper rim button twice:
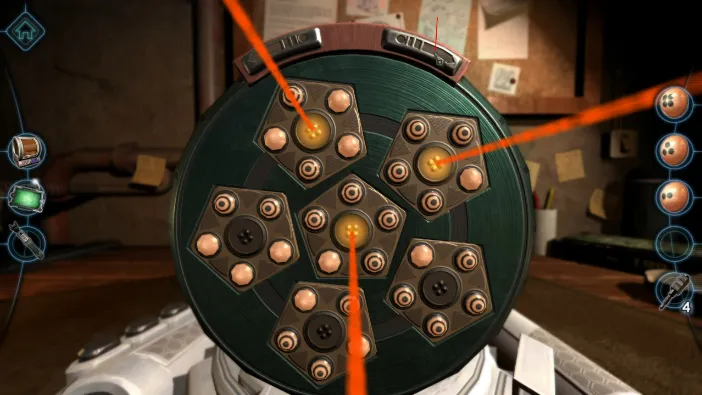
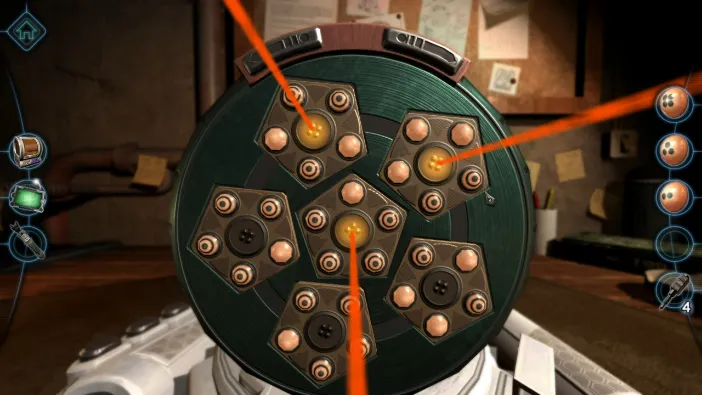
Now, put the eyes by matching the numbers of dots with the numbers of dots on the lenses (the eye with 2 dots to the lens with two dots and so on):
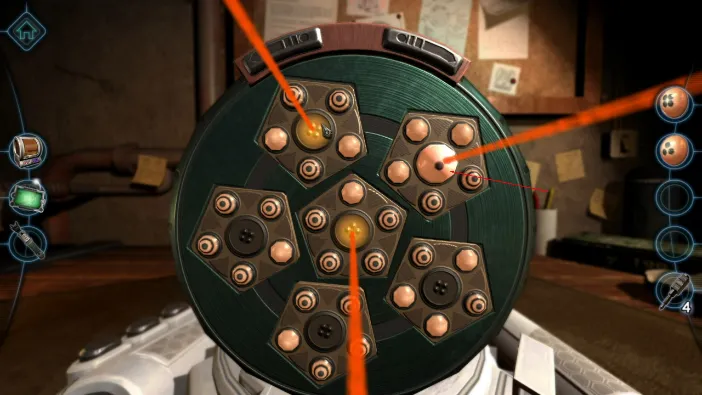
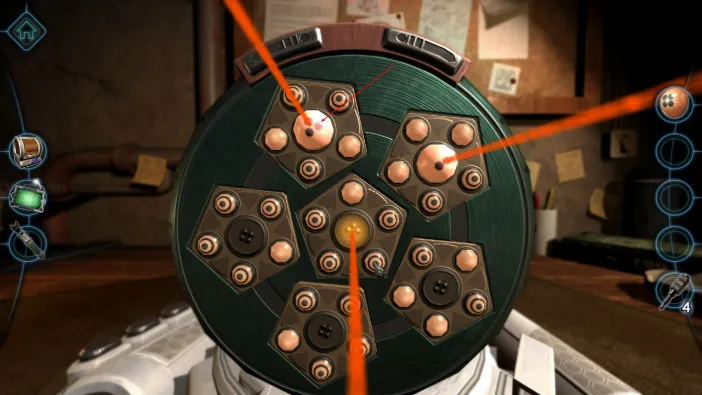
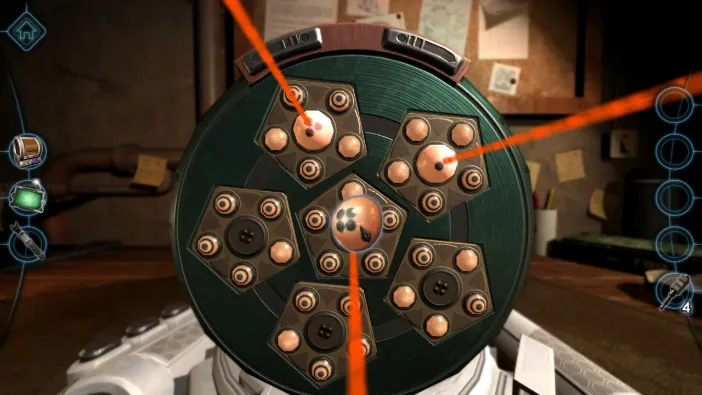
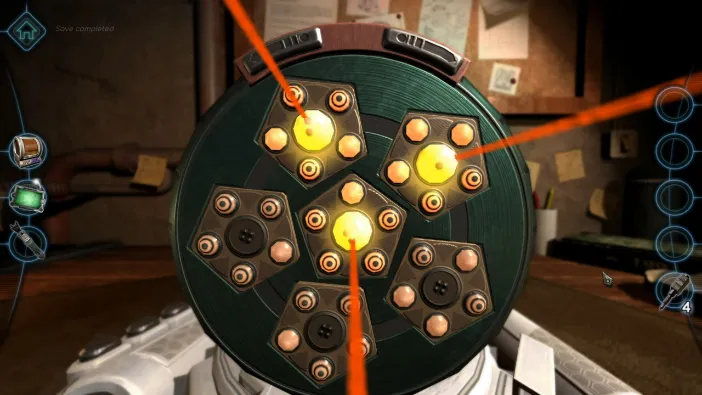
The lens will slide back into the initial position and one of the peripheral eyes will engage. Tap on it:
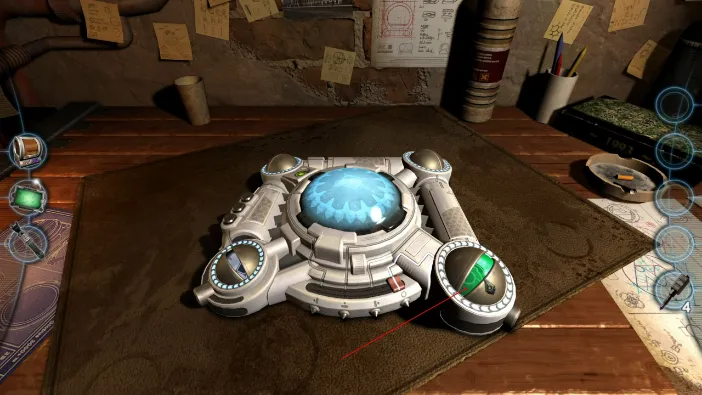
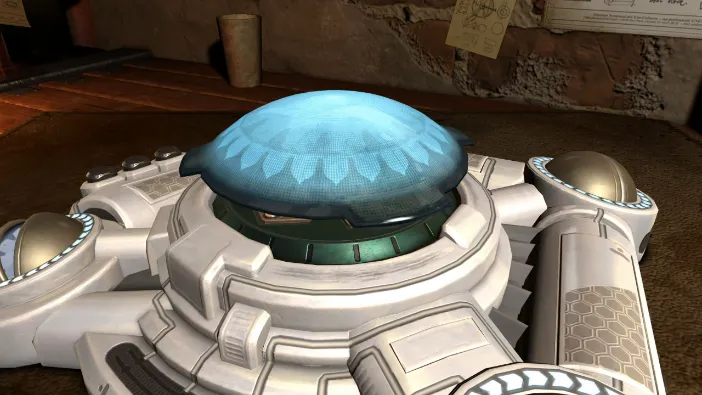
Now, first turn the eye’s rim until a metal rod pops out:
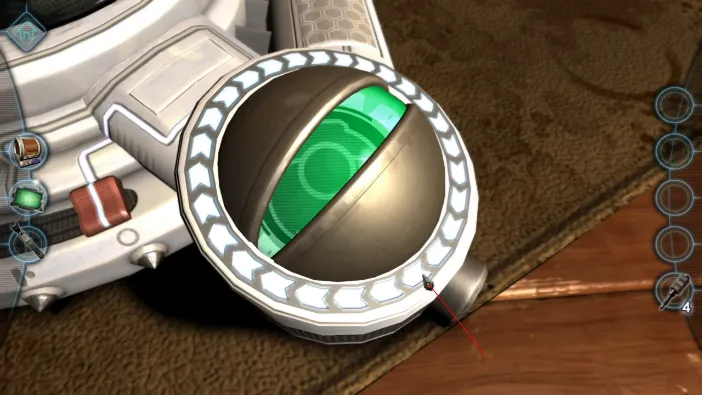
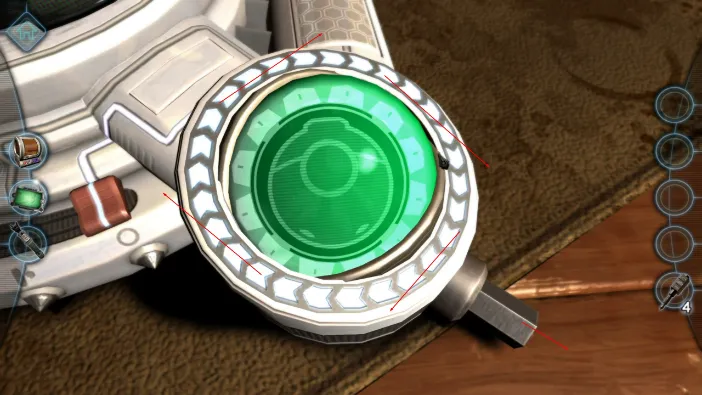
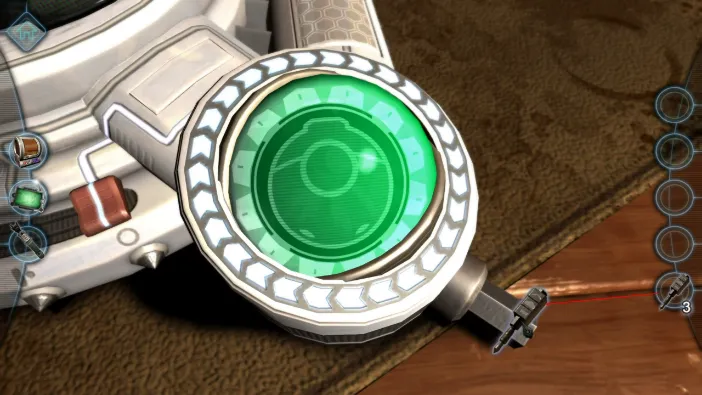
After it does, drag one of the cables from your inventory to attach it on to it:
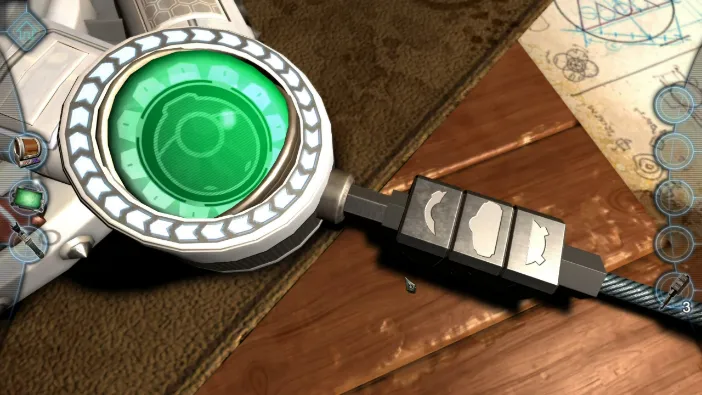
We need to turn the 3 little symbols on the cable to match the symbol in the eye. The 3 need to build the eye symbol together, so here you need these 3:
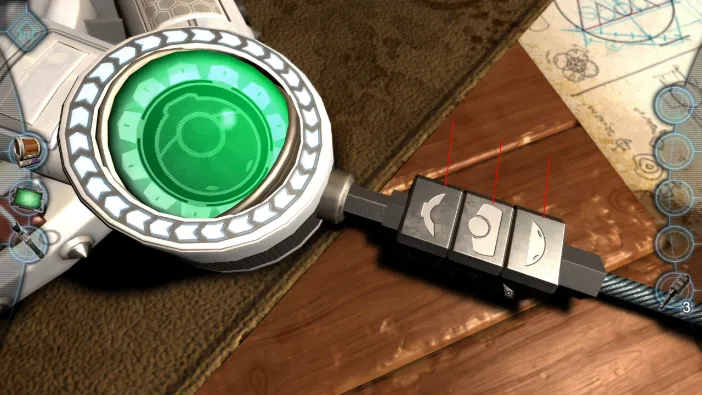
This will engage it, so now tap on the slider right next to this eye and move it to the next position to the left:
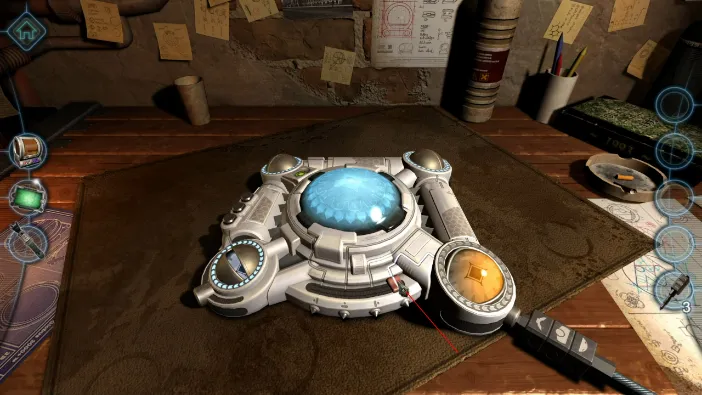
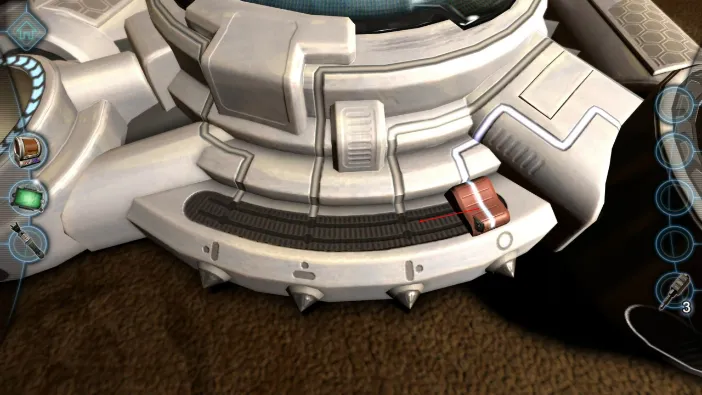
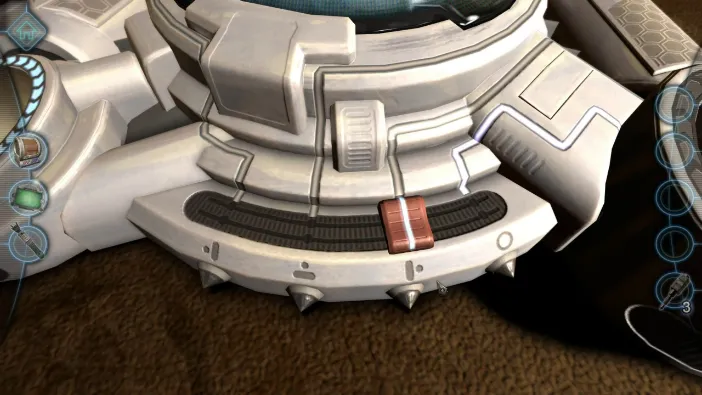
This will engage the compartment right next to the eye we just decoded:
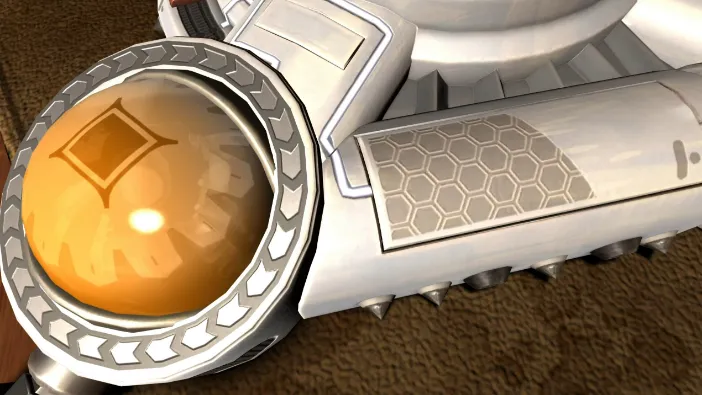
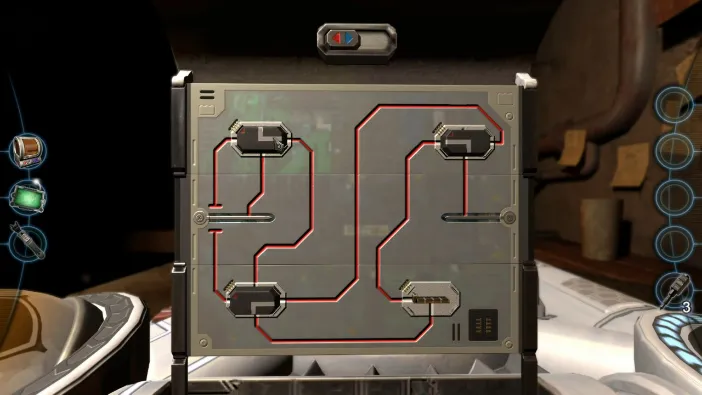
Tap on the semiconductors on it to pick the 3 of them up:
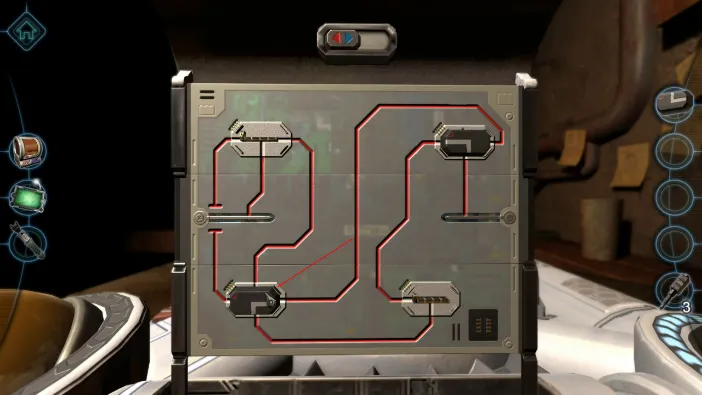
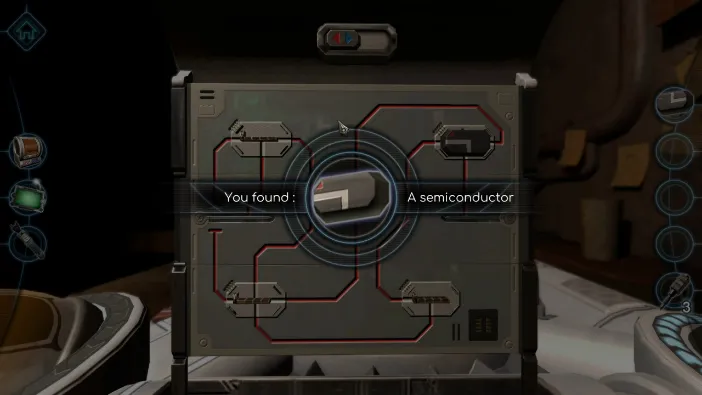
Now, make copies of the two you need, which are the L and the Г shaped ones:
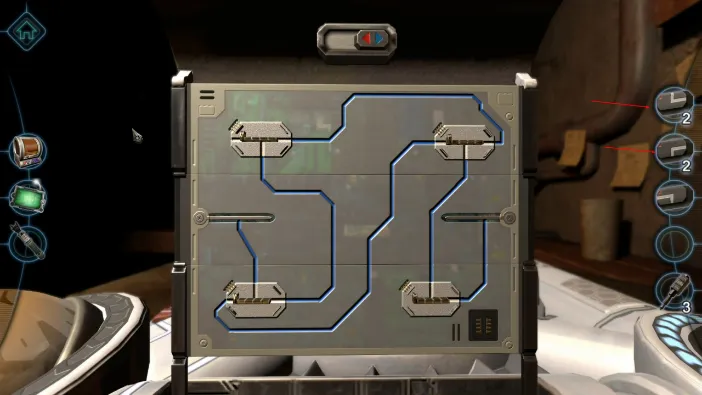
Now, you can put the correct ones back so that the circuitry works correctly:
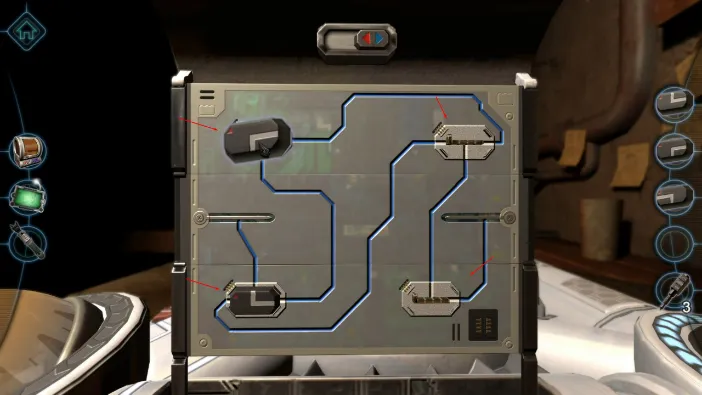
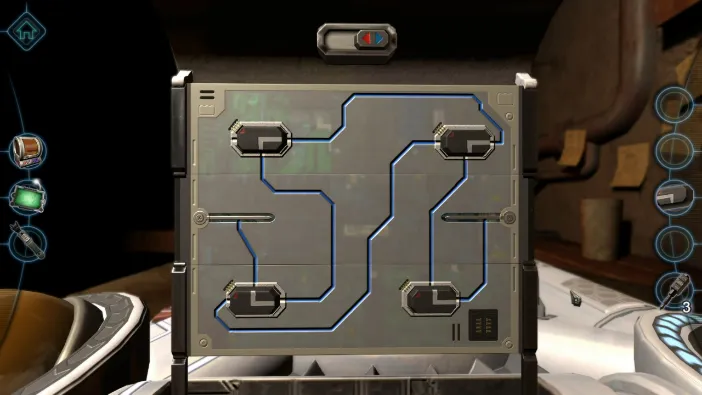
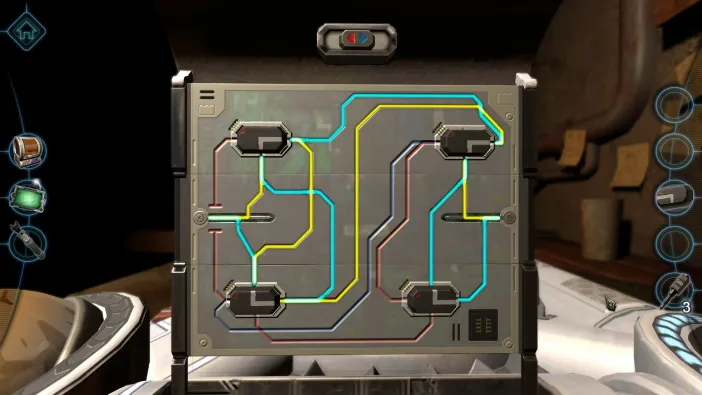
It will engage automatically and power up the next eye, so zoom in on it:
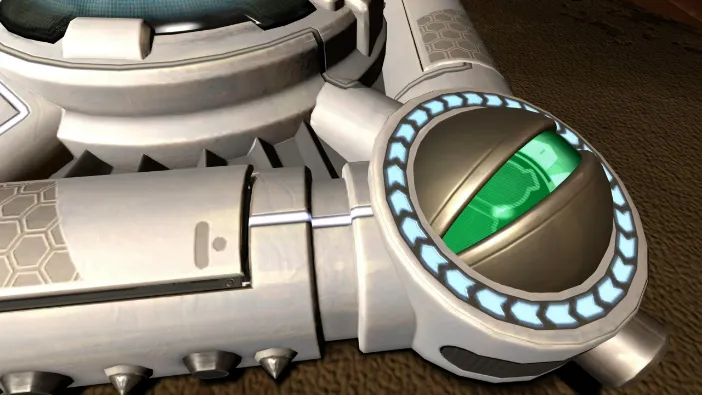
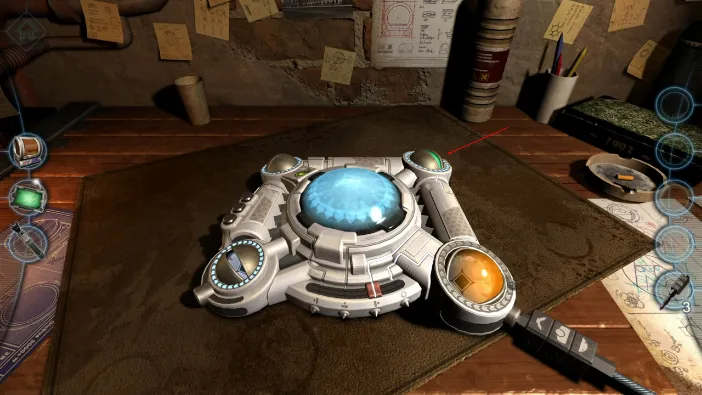
Again, slide the rim to open it wide and attach a cable to the rod that pops out:
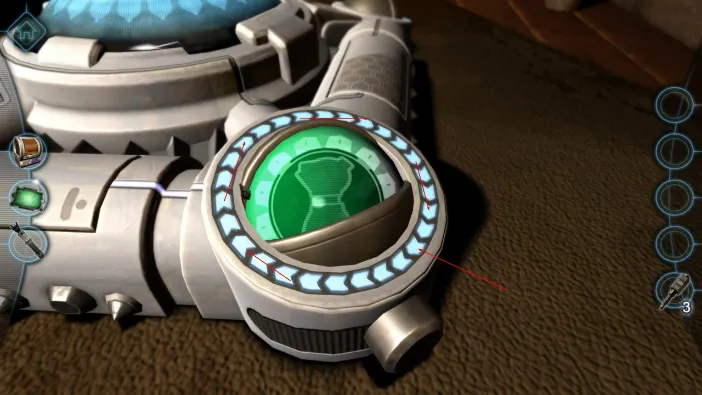
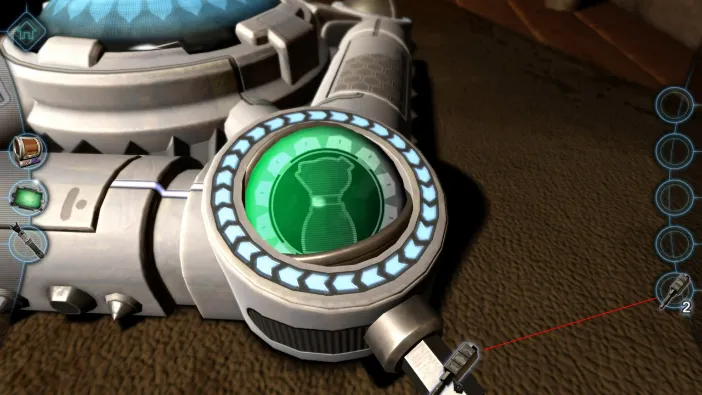
Match the symbols again with the ones inside of the eye:
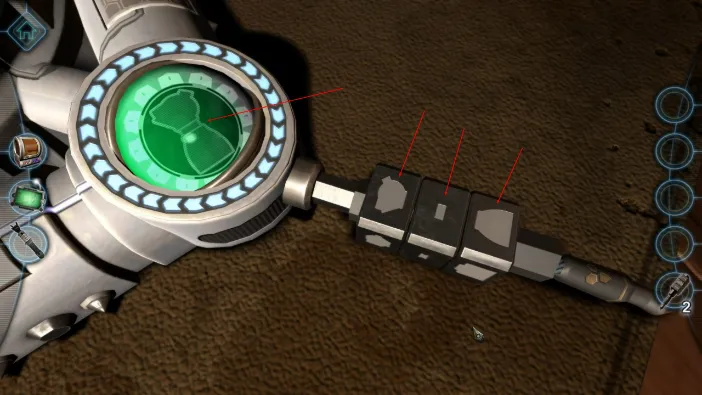
Once this one engages as well, tap on the bottom slider and move it the next position to the left:
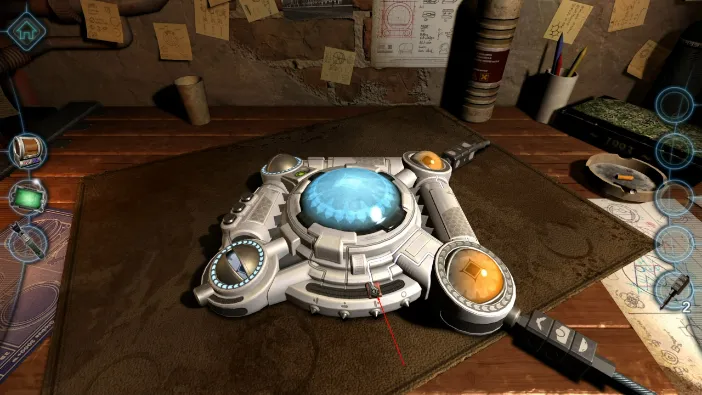
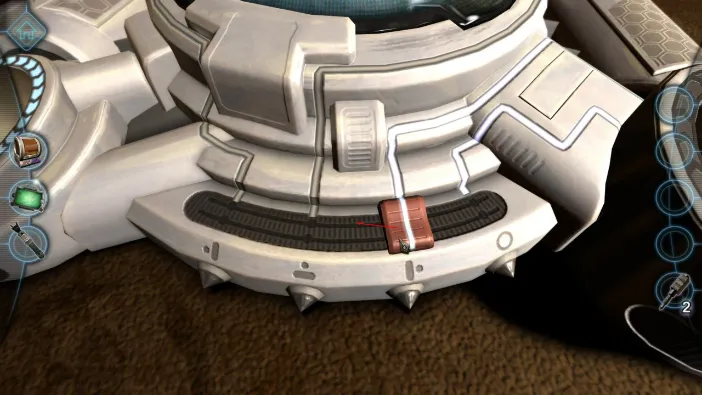
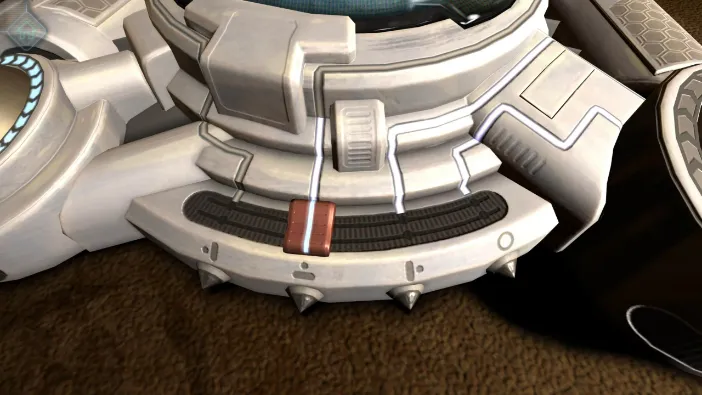
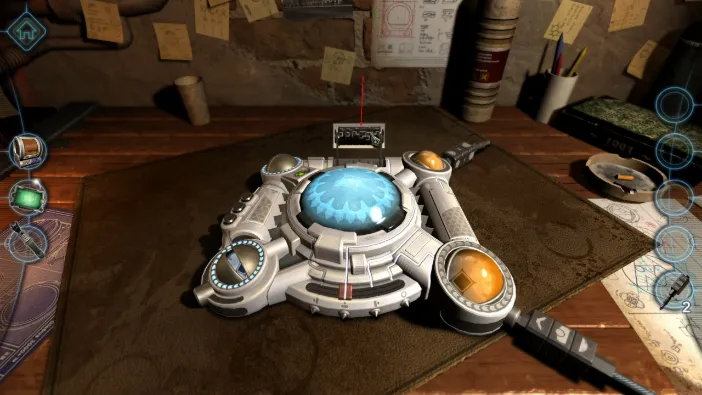
Tap on the new puzzle that pops up on the far side of the device to zoom on it. Then, turn the cylinders to create a path for the power to reach the third eye, like this:
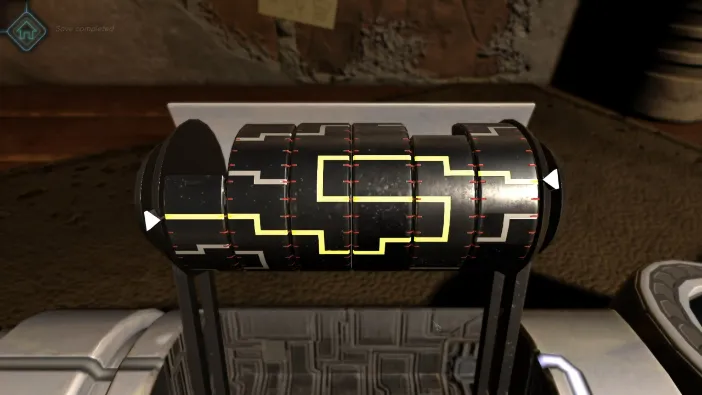
This will power the third eye up, so zoom in on it and again attach a cable once you open it wide:
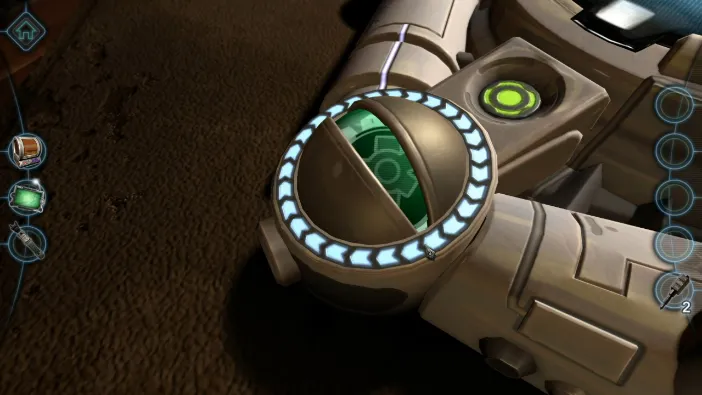
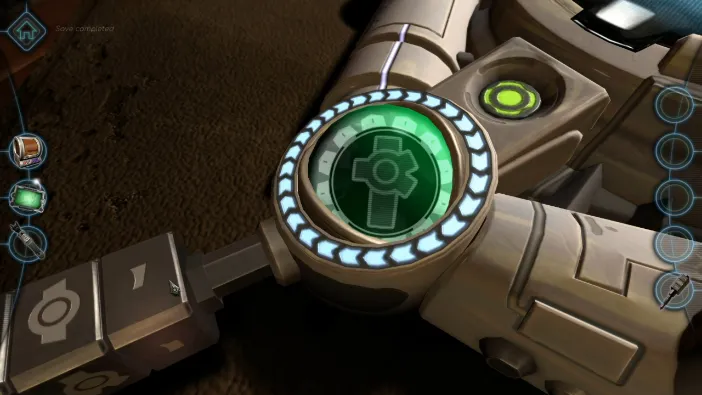
Match the symbols again with the ones in the eye:
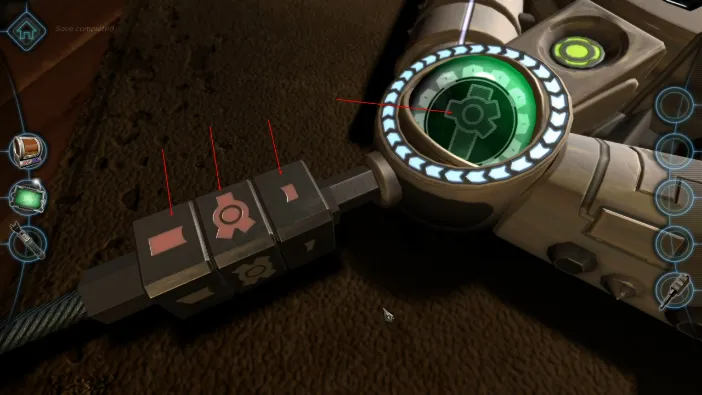
Again, go back to the slider and slide it to the fourth and final position:
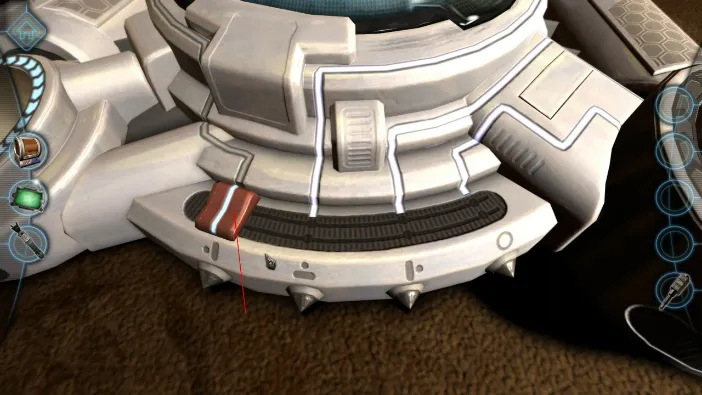
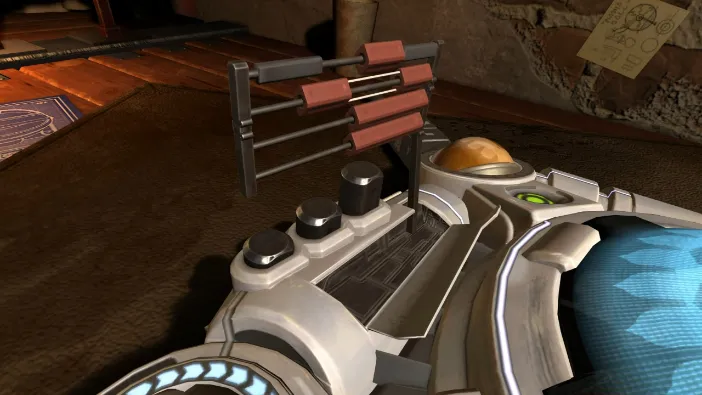
This will open another puzzle circuit, but you must first go in with your mini camera. Tap on the compartment lid below it to open it and then drag your camera onto it:
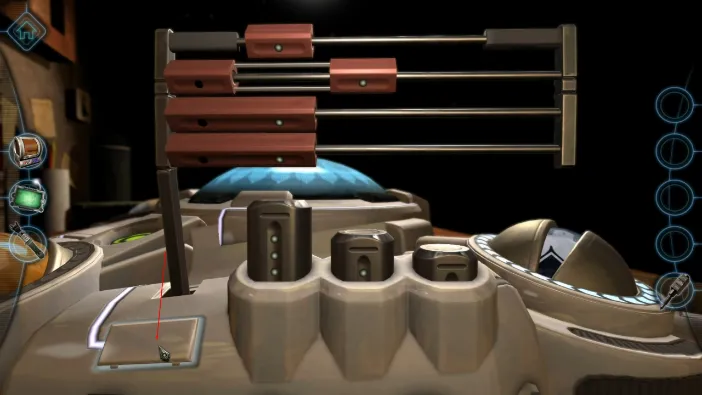
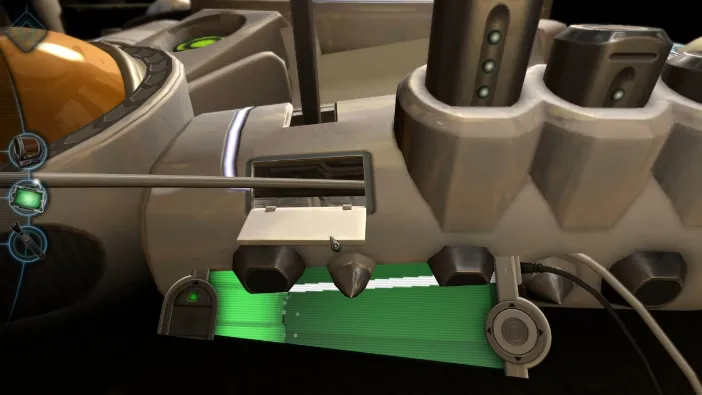
The controls are familiar to you from before. The goal here is to let the power beam go through the hexagonal holes, so slide the copper bars to adjust them, like this:
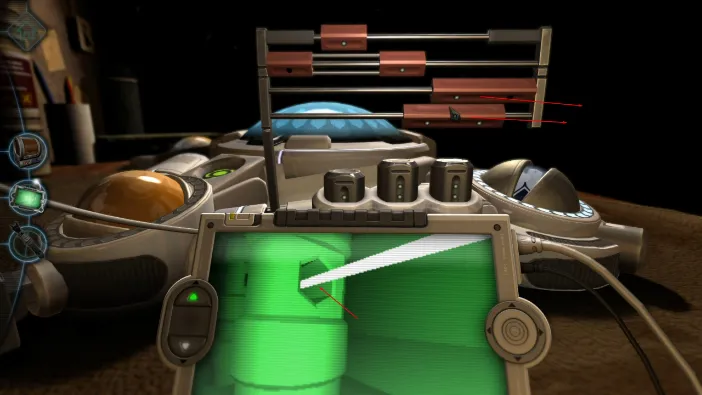
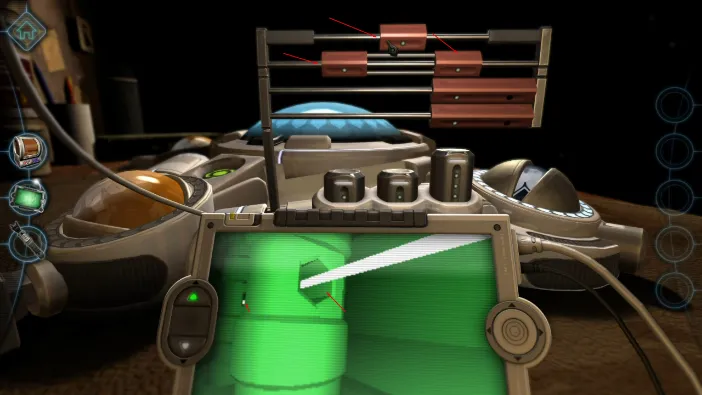
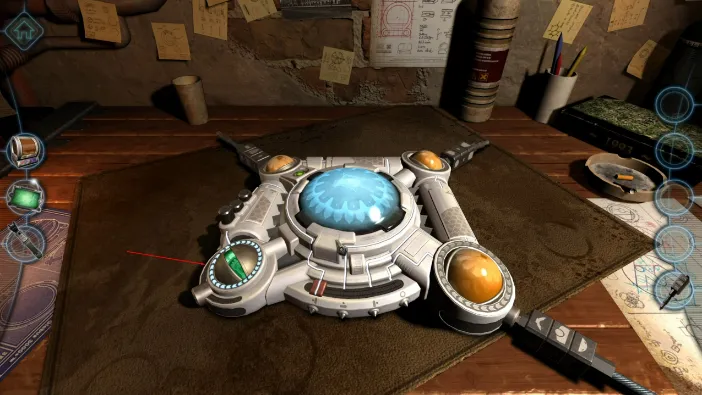
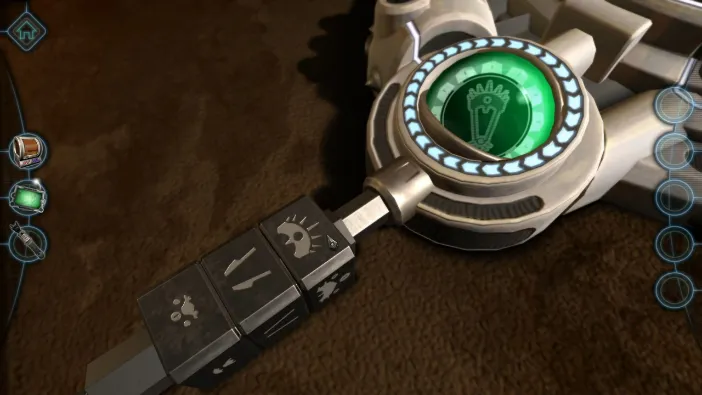
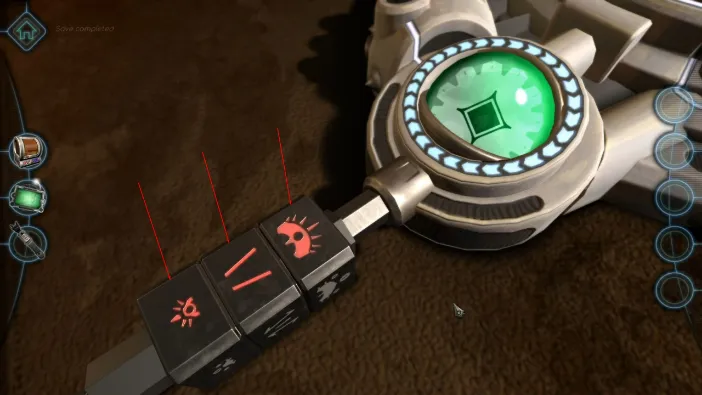
This will enable power to reach the fourth eye, so rinse and repeat as before:
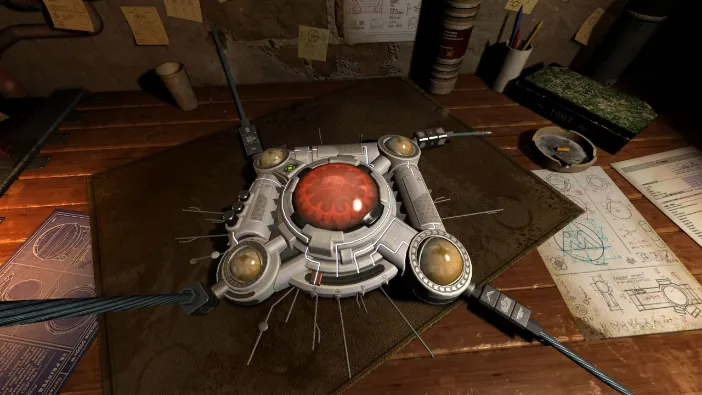
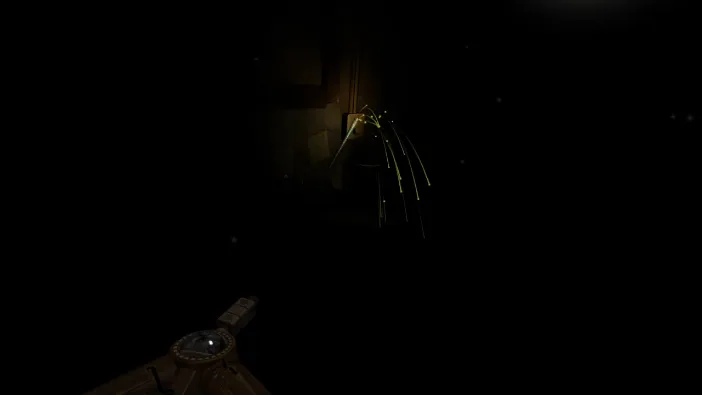
The device will cause a black out.
We will use the light from our mini camera to light our way through, so tap on the power socket on the wall where the device connected to. Drag the device cable from it to free it:
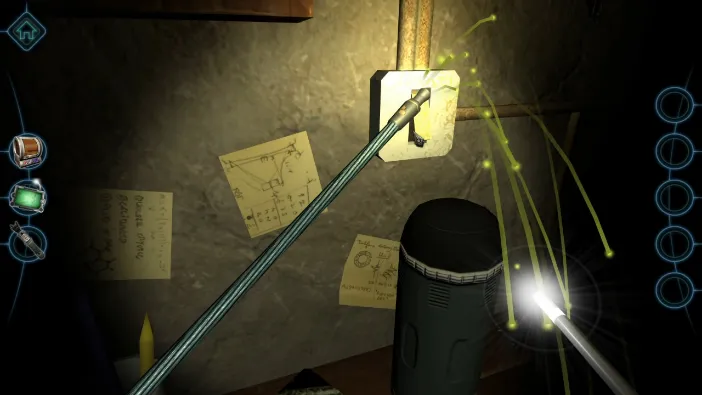
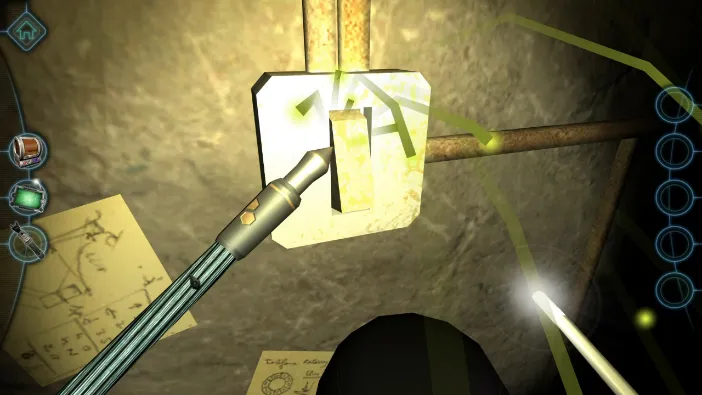
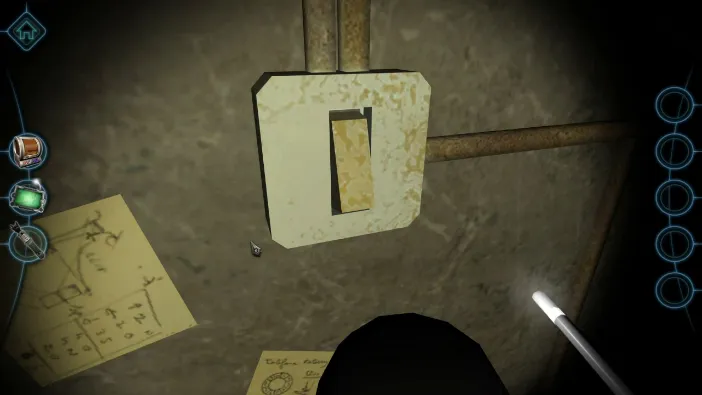
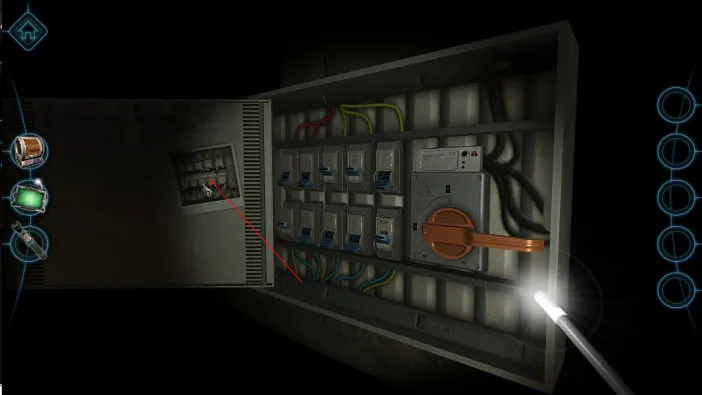
Next, turn around and go to the power box on the wall:
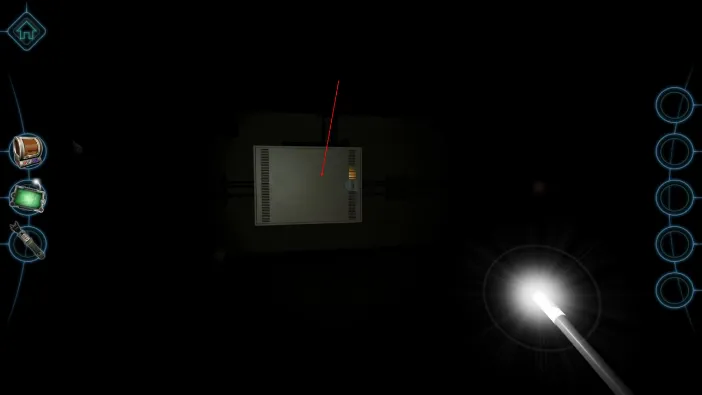
Drag the switch and turn it to open the door:
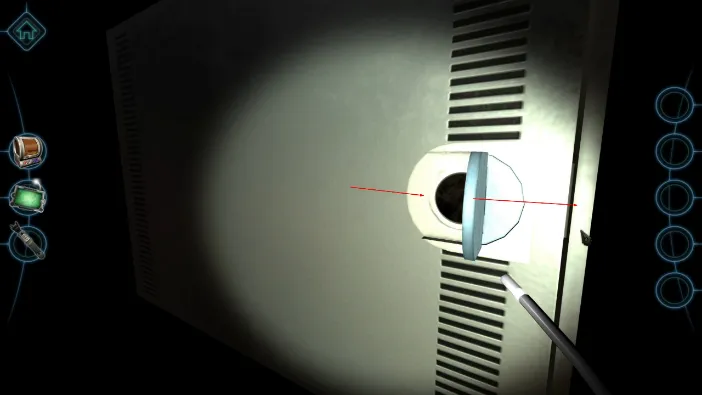
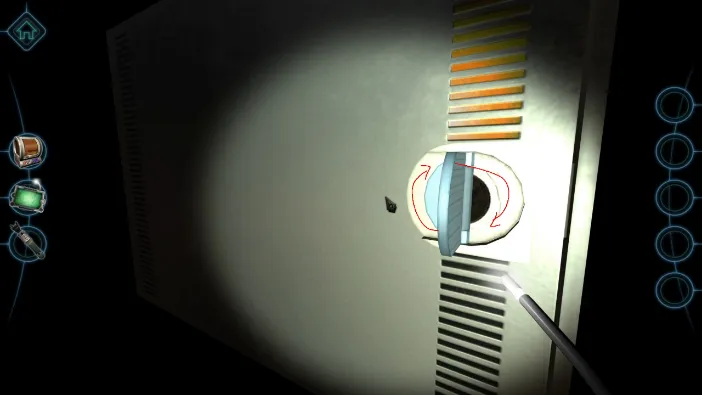
Tap on the photo on the inner side of the door:
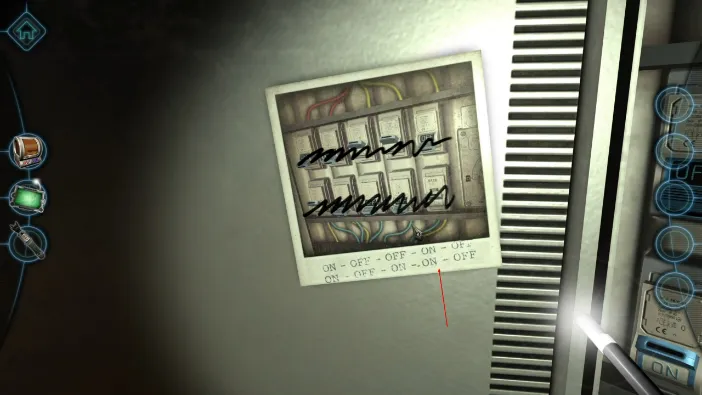
This shows you which fuses to turn on and which to turn off, so act accordingly. After you set them right, turn the copper handle down:
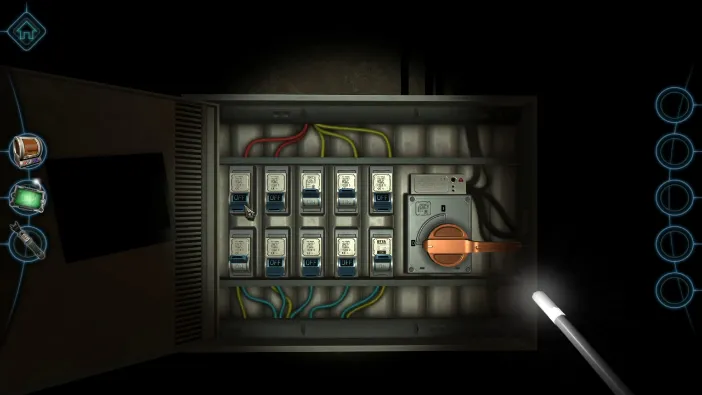
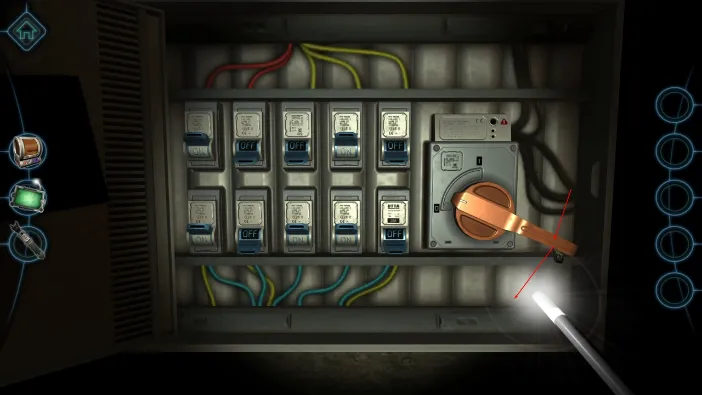
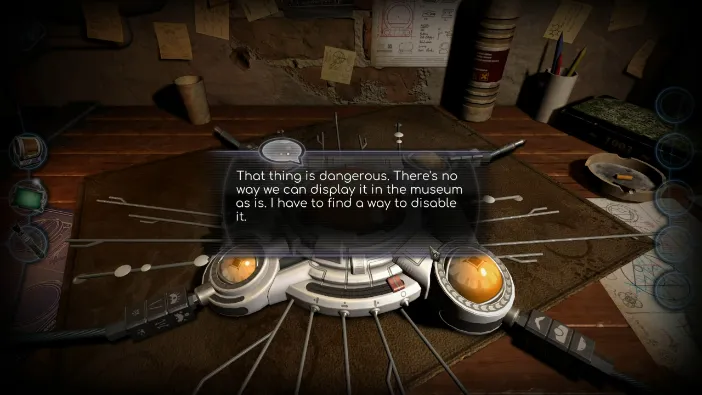
After the lights are back on, we will conclude that this “thing” is dangerous and it needs to be disabled before it is used for anything else. Now, on the main glass in the middle, tap the little symbols that each lead to its own eye, to disable the eye:
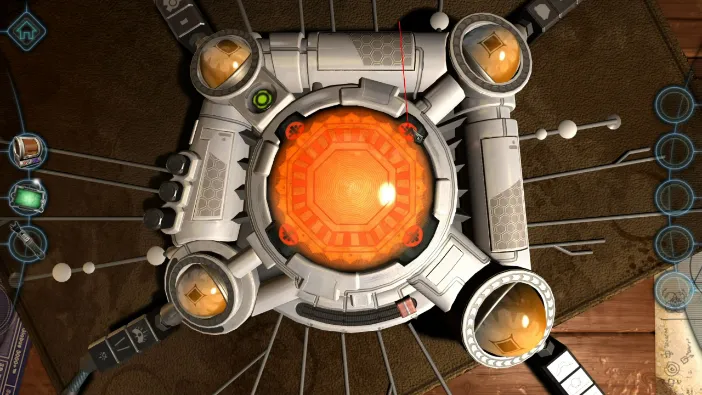
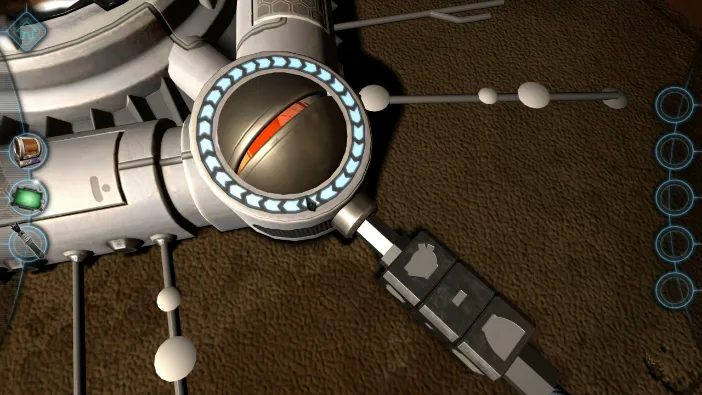
This will disable it, and now tap to zoom in on the eye and reverse everything we did to power it up. Scramble the combination on the cable, detach it, and close the lids:
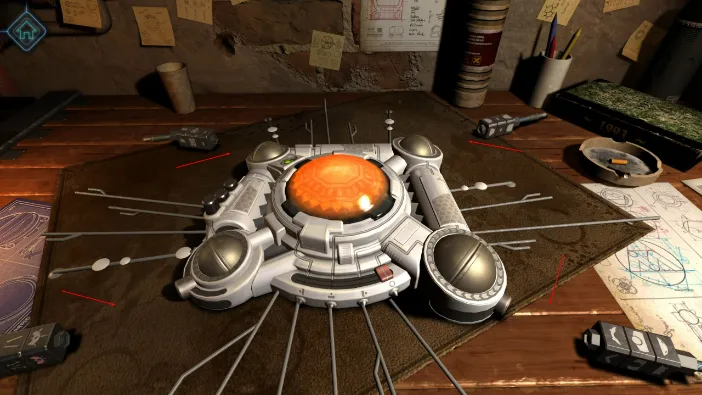
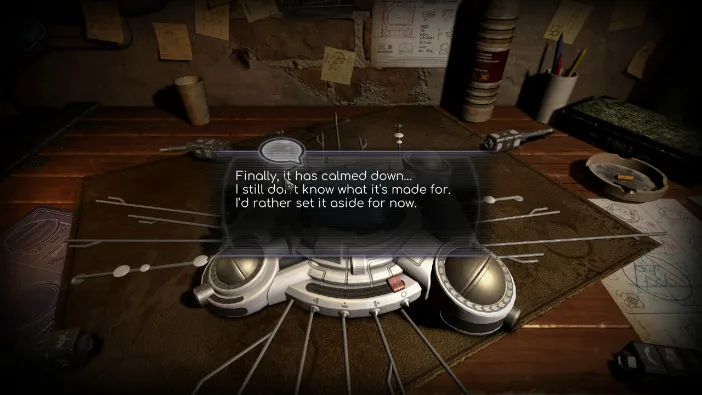
As you turn it off and set it aside, the chapter 7 is done.
