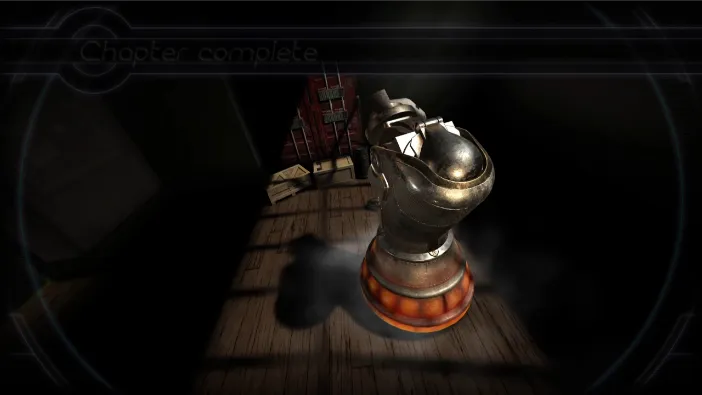
Machinika Museum – Chapter 6
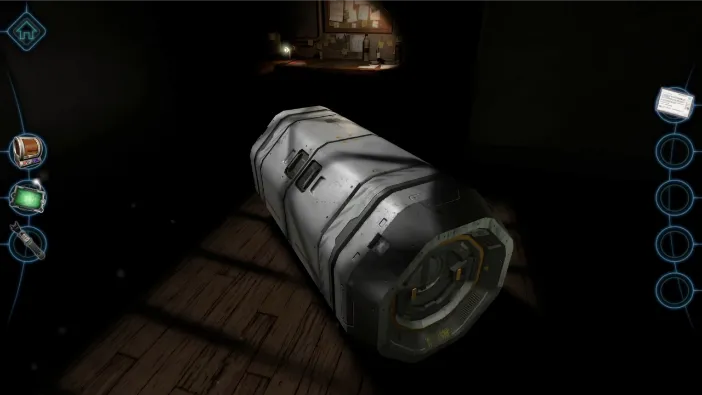
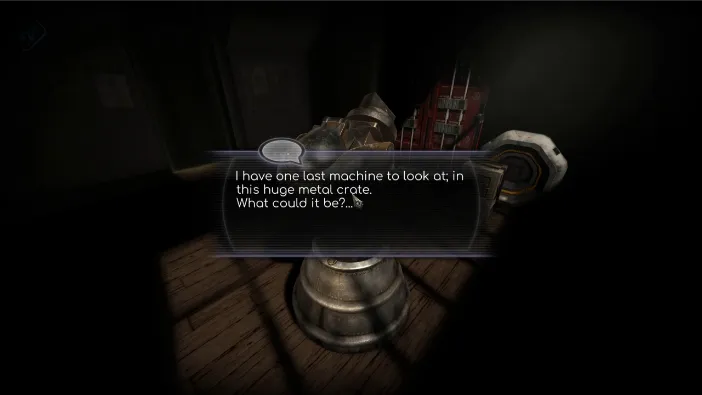
In chapter 6, we are starting with the large metal case:
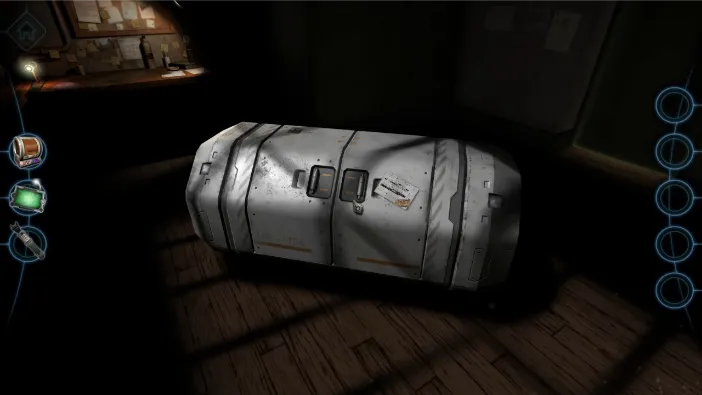
Again, tap the note first to read it:
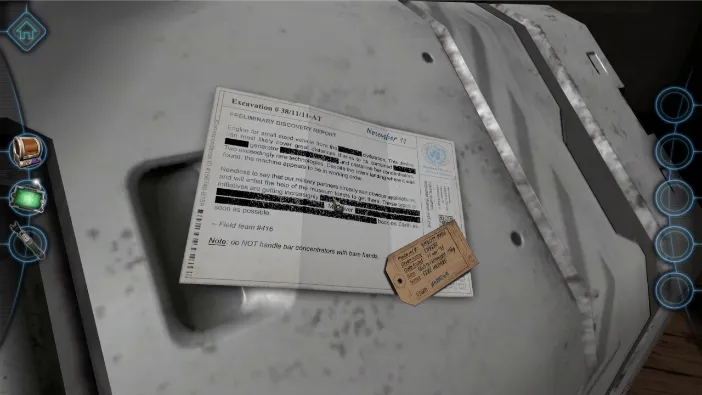
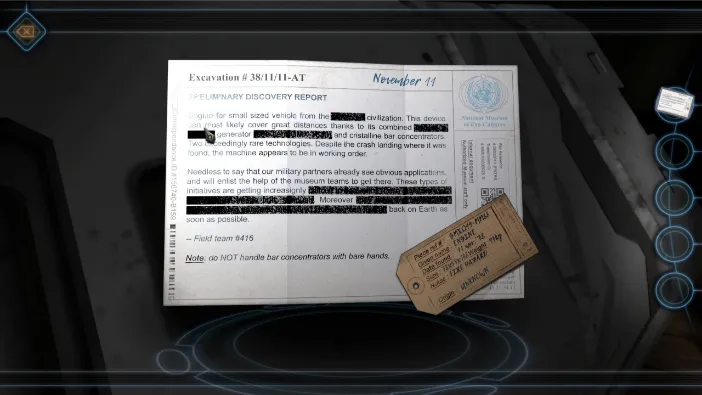
In the note, the other members of the team assume this is an engine for a small size vehicle from an alien civilization. According to their findings, it can be very powerful. It is our job to find the way to make it work, so start by zooming on the right side of the container:
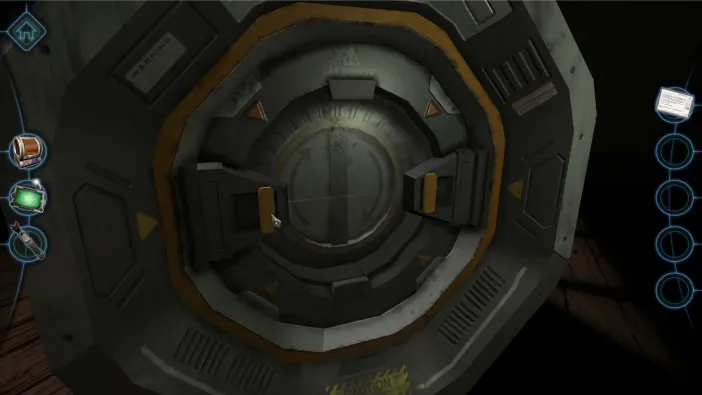
Drag the two yellow bars outward to open it:
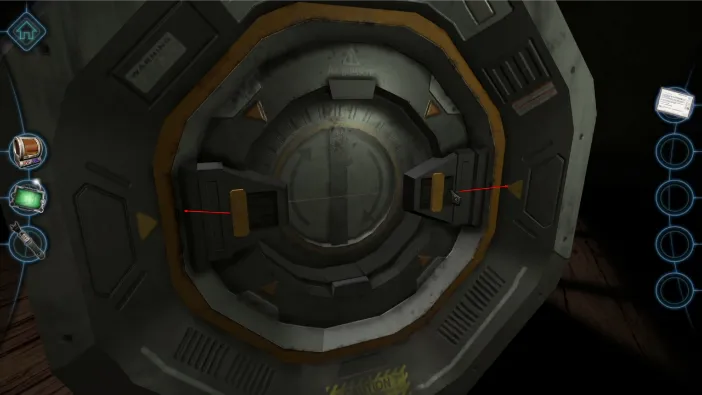
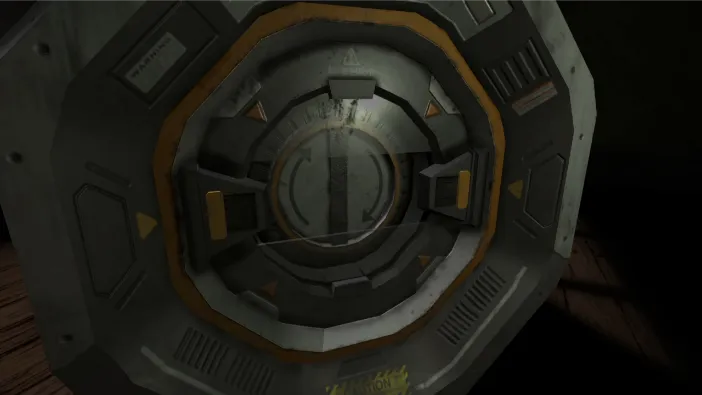
Once the steam clears and the big screw comes out, tap it to pick it up:
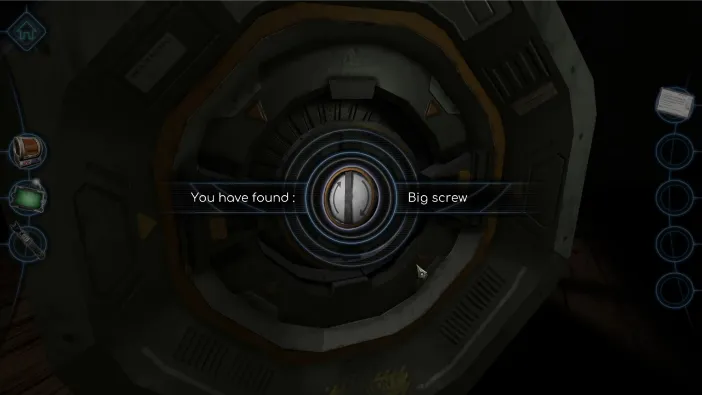
Now, go the other side of the case:
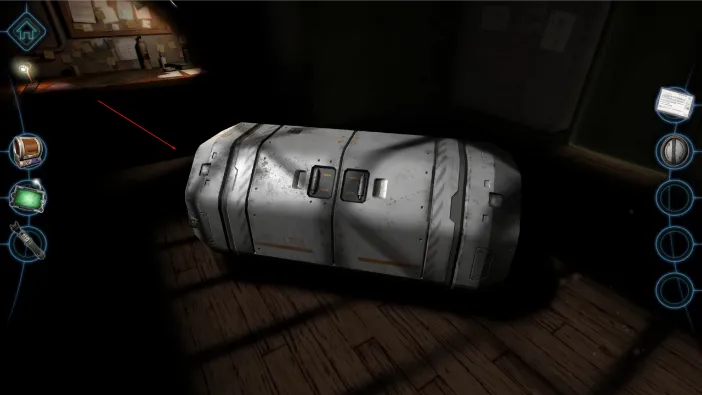
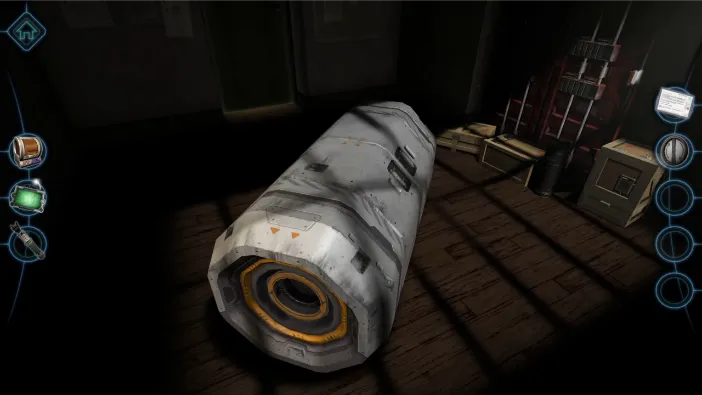
Put the big screw to the center of this valve and Open it the same as you did the first one:
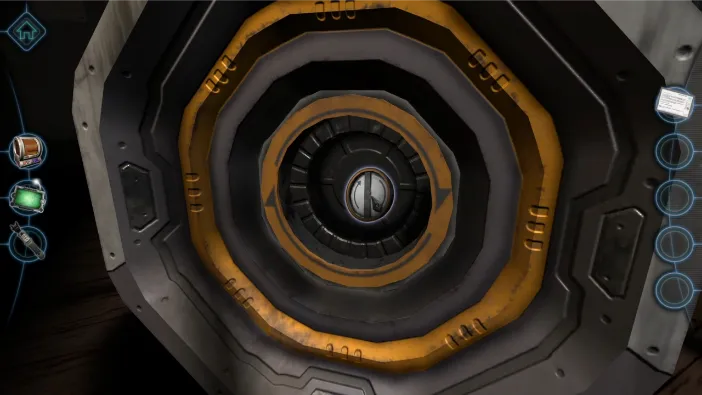
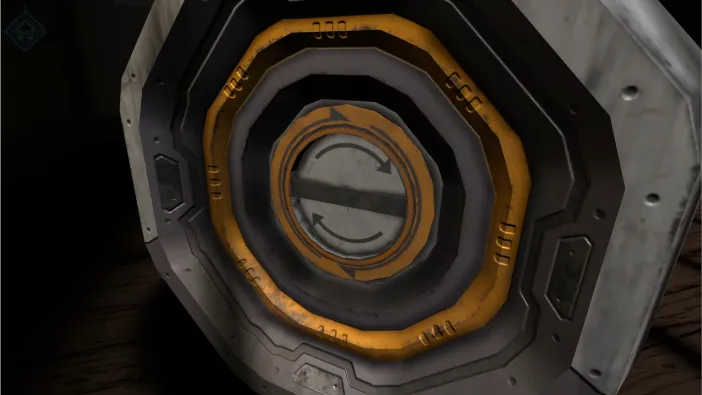
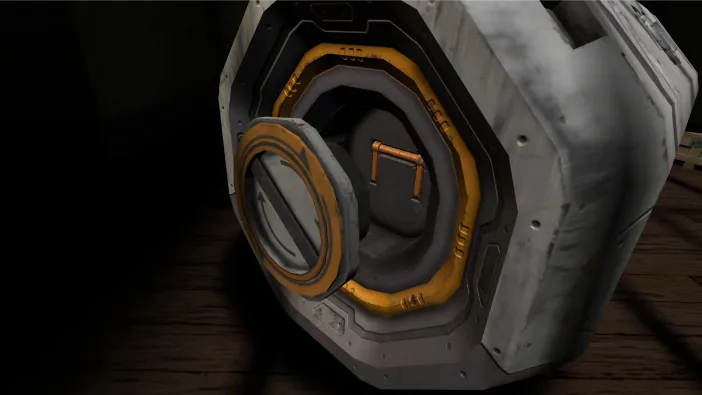
Now that it is open, tap on the handle to pick it up:
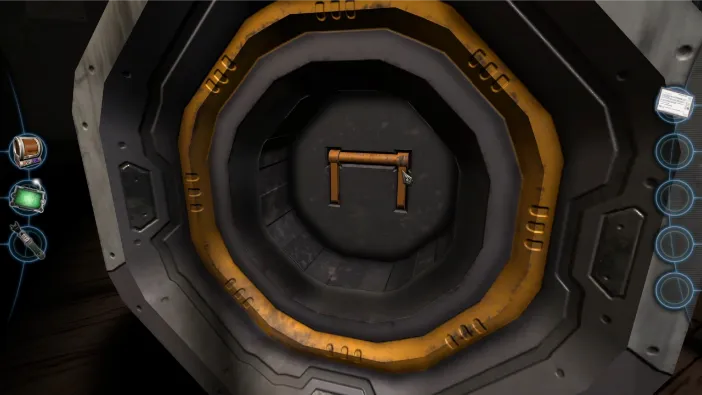
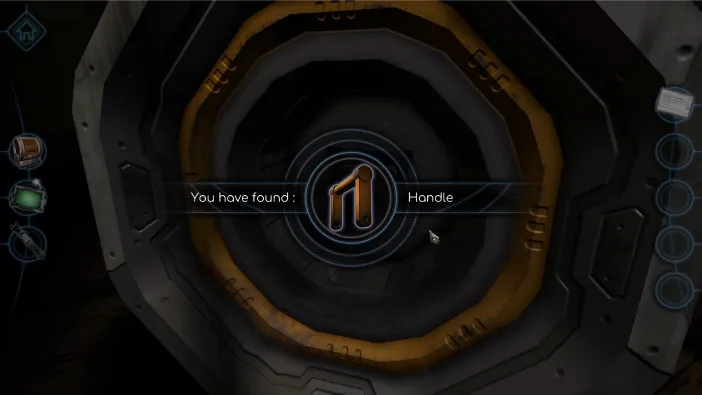
Now, go to the center lock of the crate and make a copy of the handle:
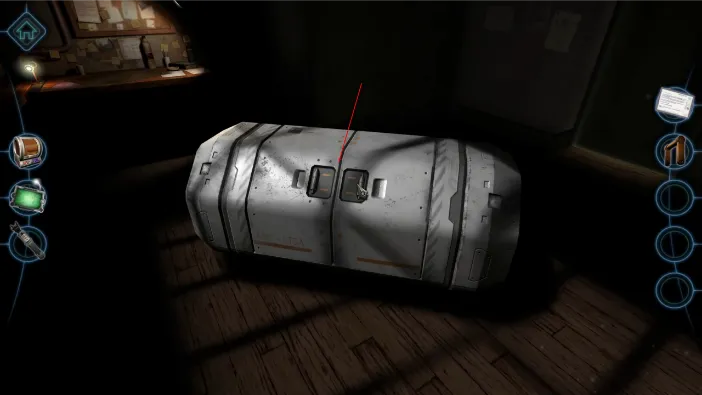
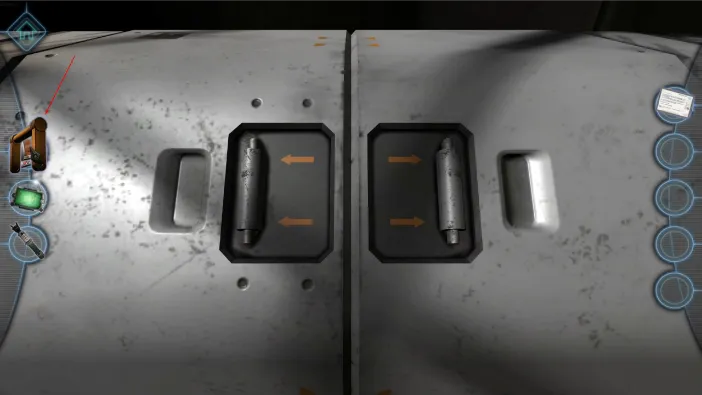
Put both of the handles to the slots where handles are missing, and then open the container:
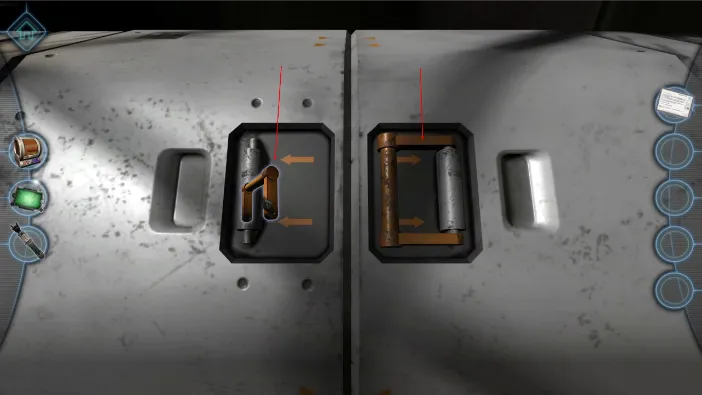
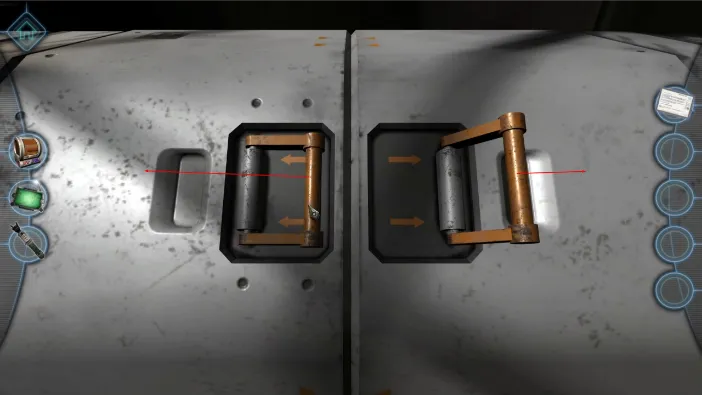
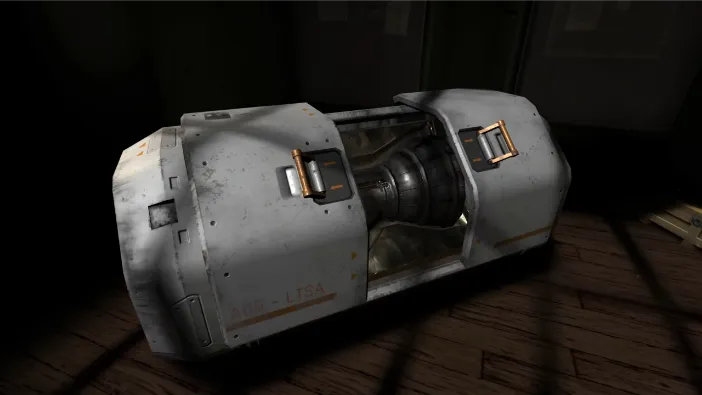
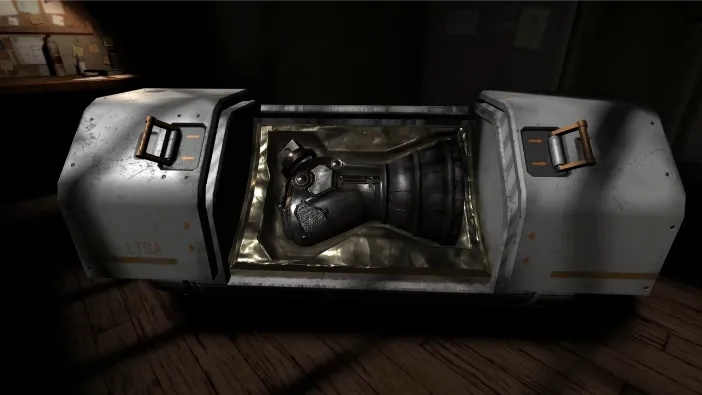
Now, the chapter officially starts, as it is always the case. The alien object will be placed automatically for you to start examination. Right from that perspective, tap on the small screw facing you:
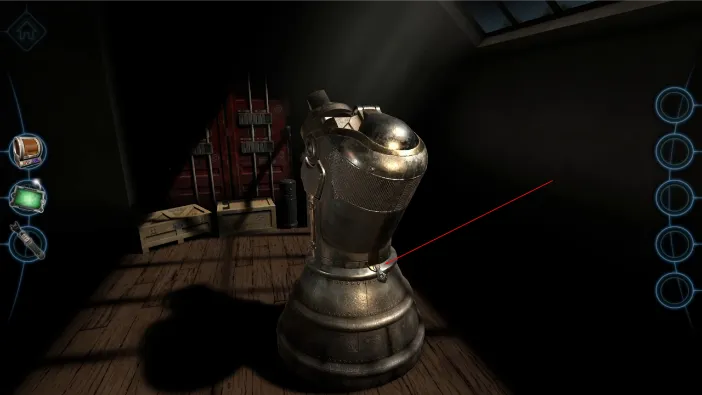
As before, use your screw from the left side of the inventory to open it:
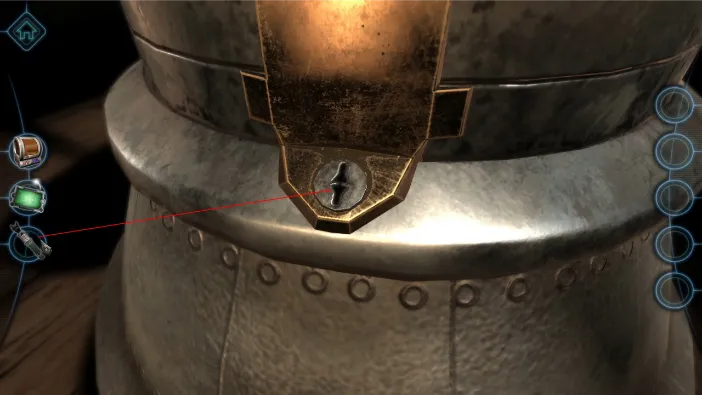
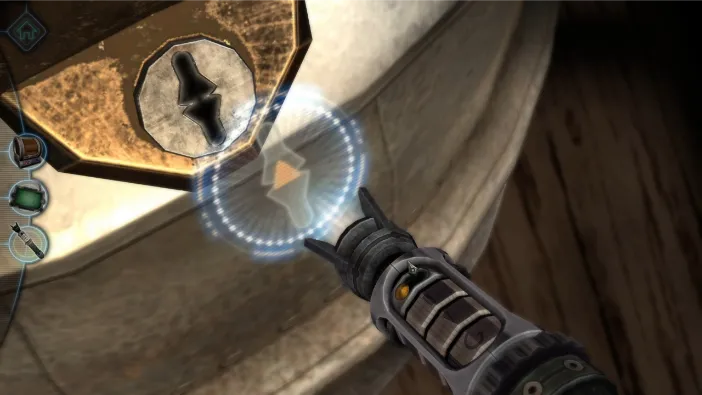
You should know how it works by now, so these are the symbols you need:
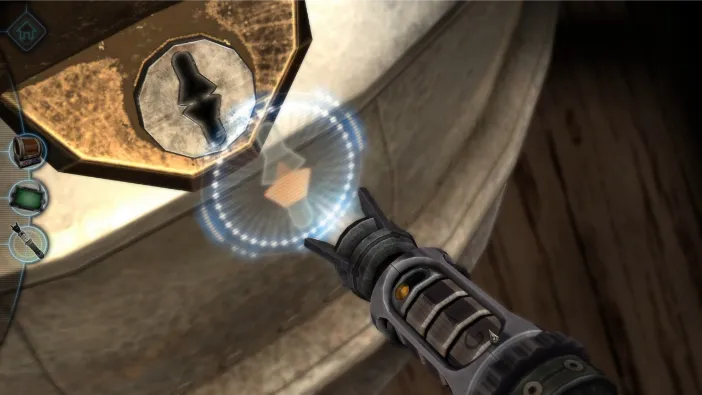
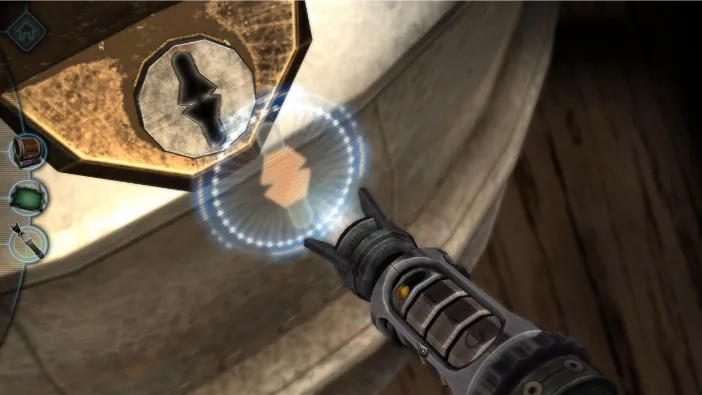
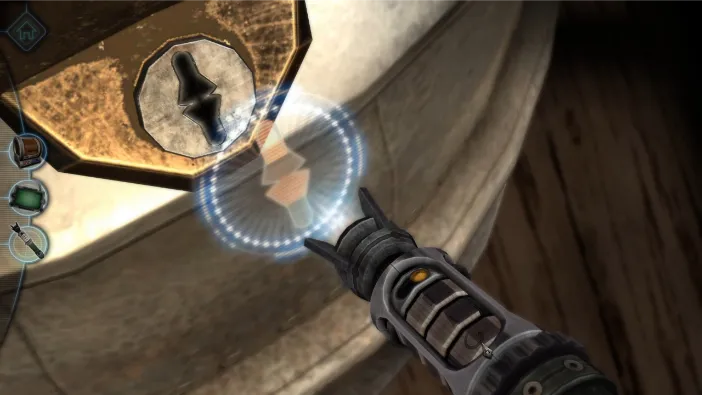
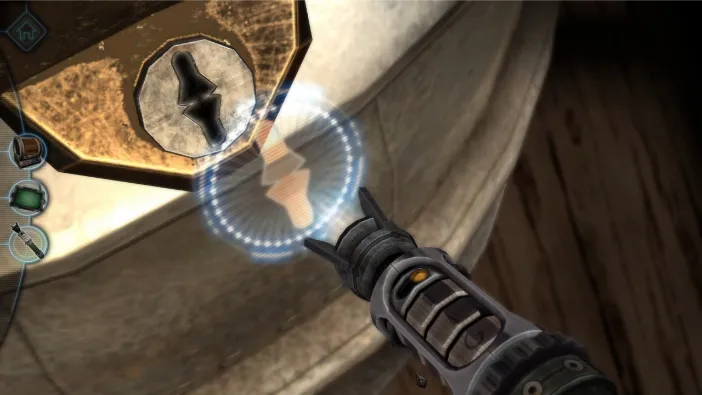
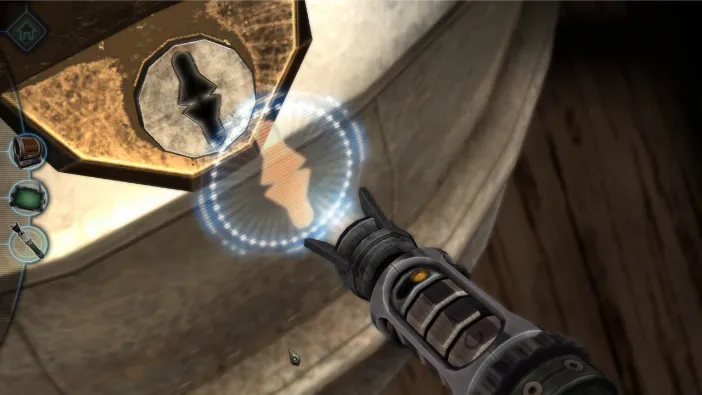
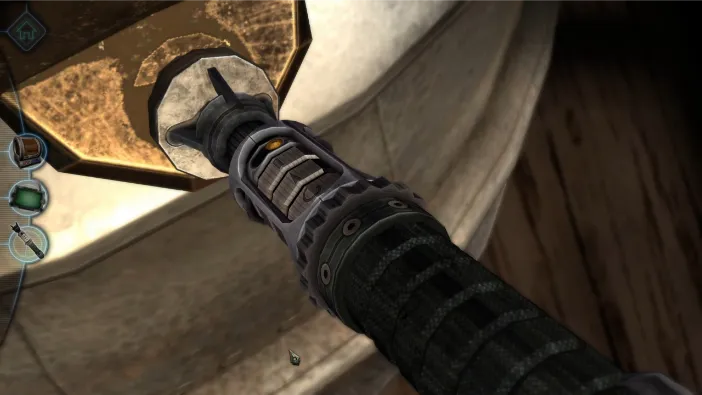
After the screw is removed, zoom out and turn your attention a little bit to the left, then zoom in on the side holsters of the object:
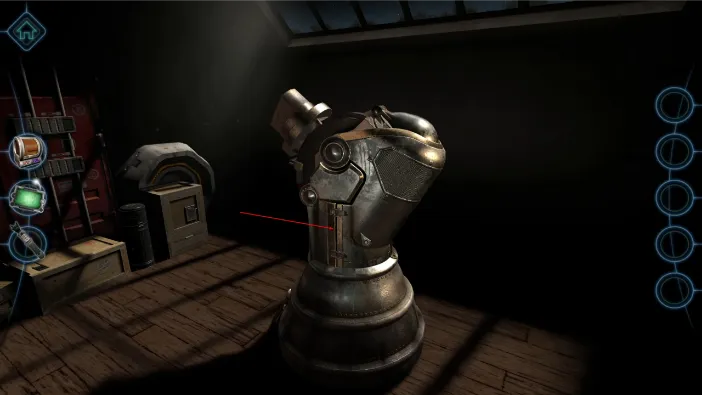
Tap both of the holsters to open them. There is nothing more you can do, just unfasten:
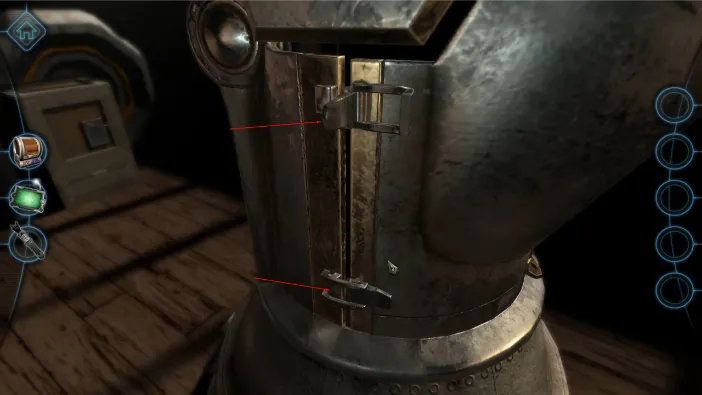
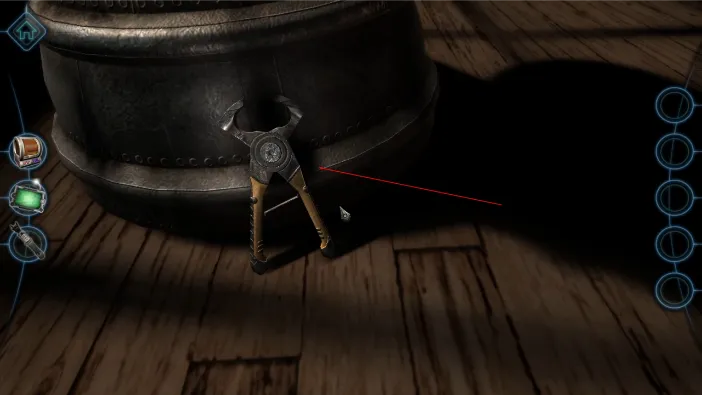
Now, turn a little bit more to the front side and zoom in on the pliers at the bottom of the object. Tap them to pick them up:
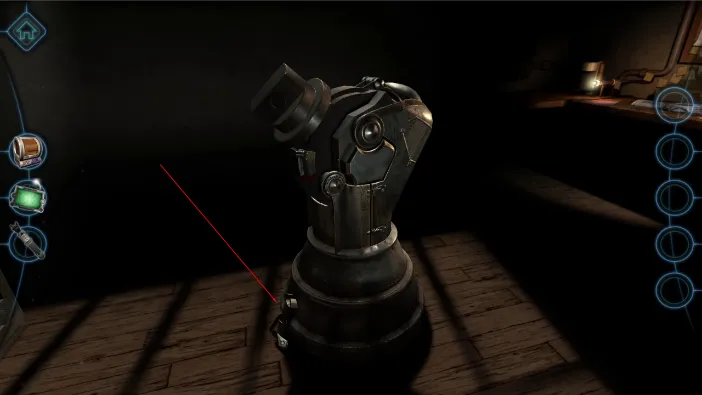
Now, go to the other side of the object to the same pair of holsters and open those as well:
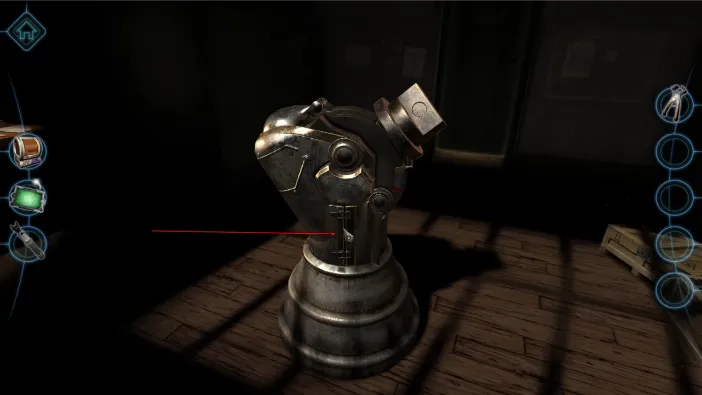
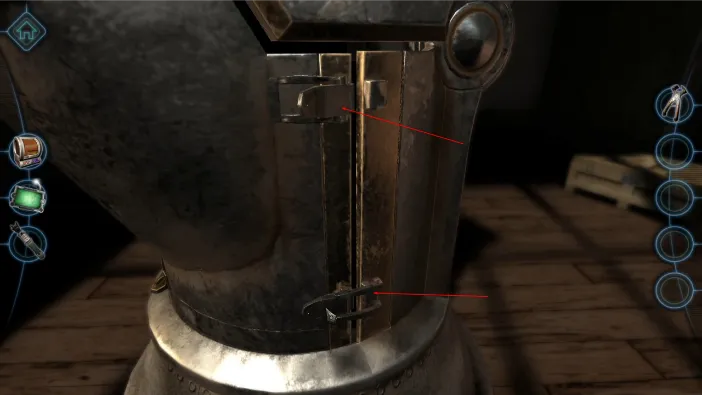
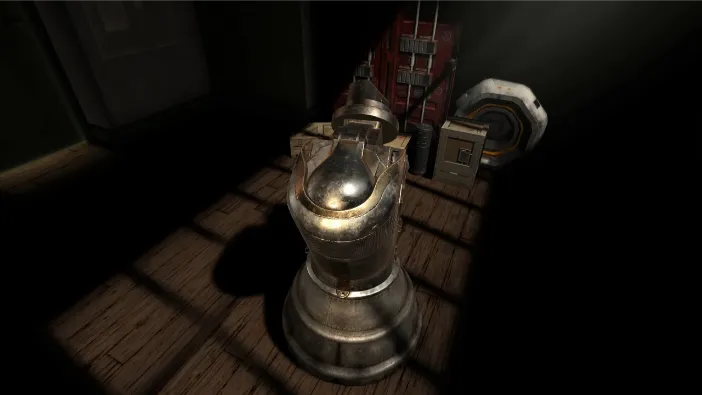
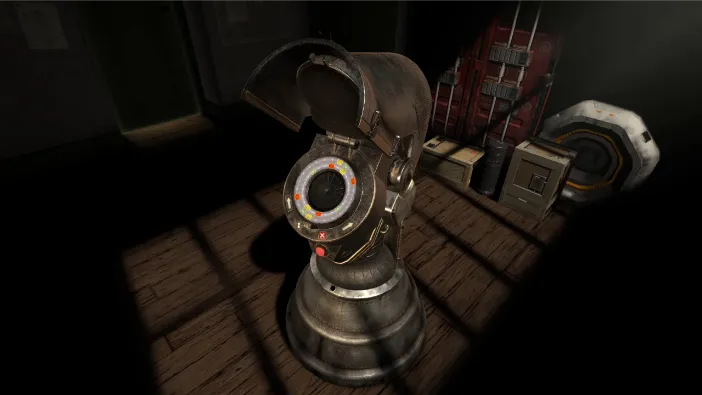
This will let us access the familiar puzzle with the colored symbols inside. Tap it to zoom in and solve it like this:
Starting position:
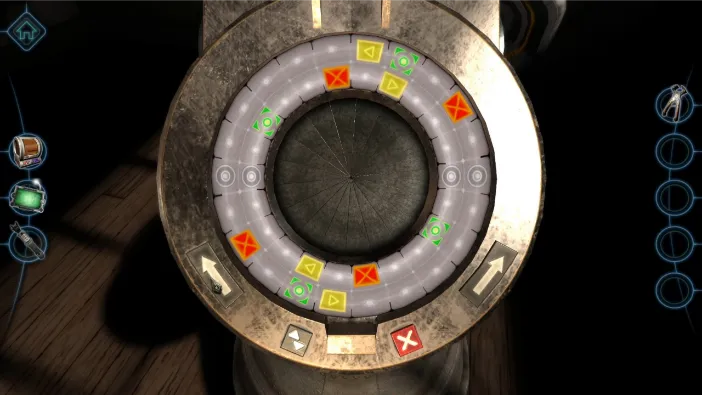
Turn to the left until you get this, then tap on the x:
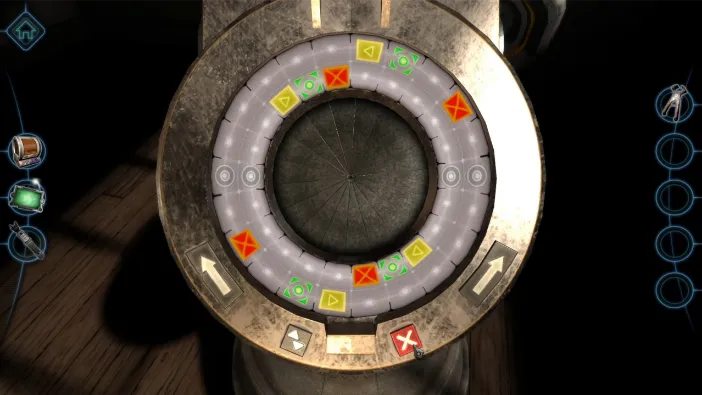
Then left again until you get this, and then x again:
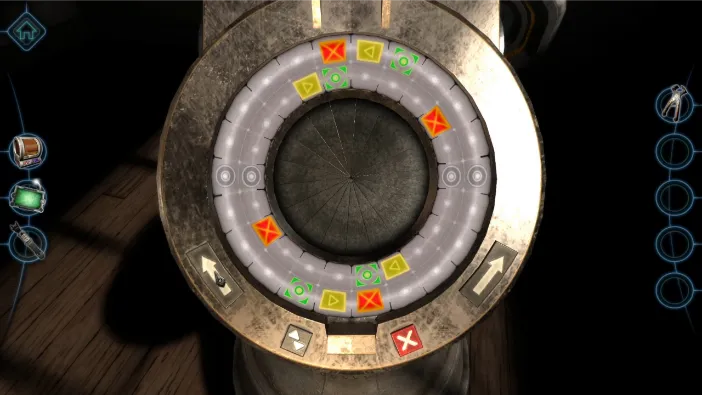
Left again until you get this:
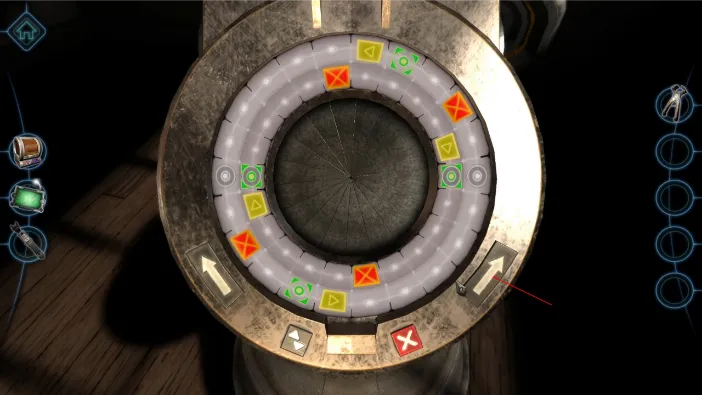
Then tap to turn it to right, to get this combination, and then x:
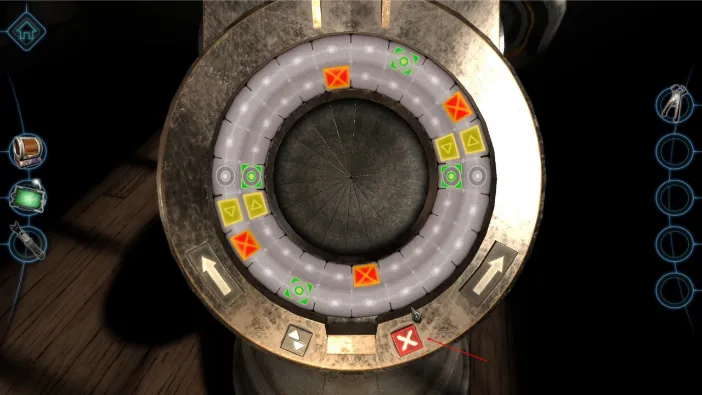
And, then right again until you get this and solve it:
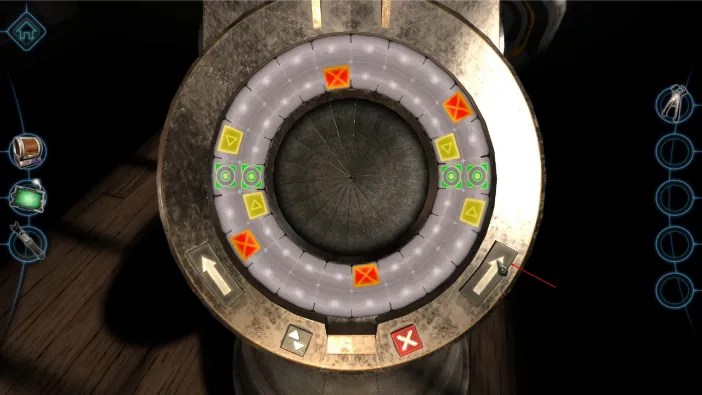
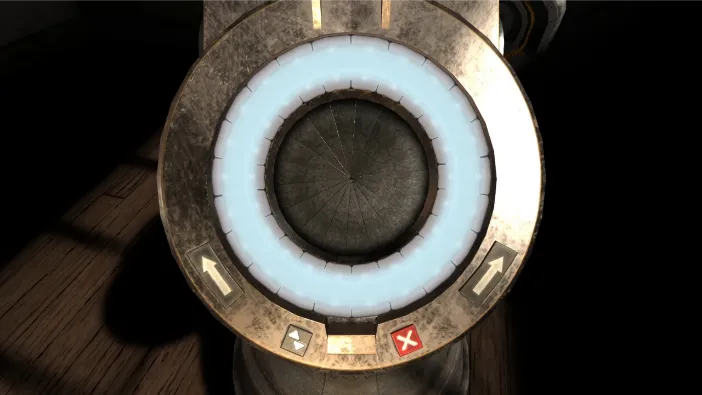
You will start hearing some strange noises and will automatically turn around to look for the source. Soon, you will notice that the cylindrical container, the one we opened before, is shaking and making the noise. Its top will fly open and the crystal will hover out of it:
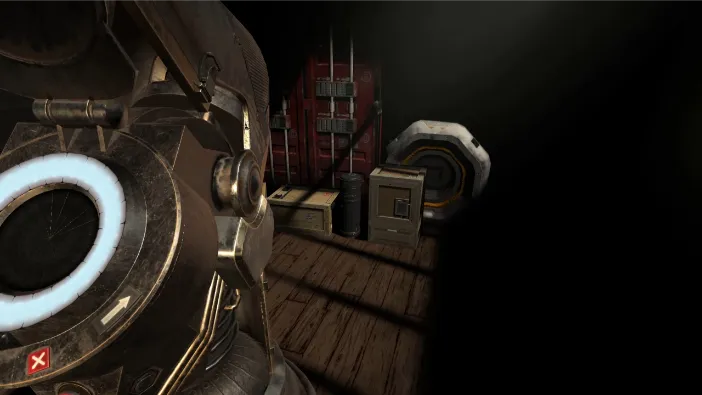
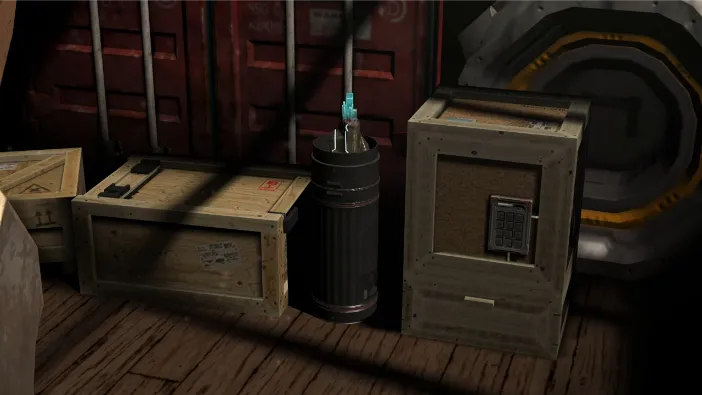
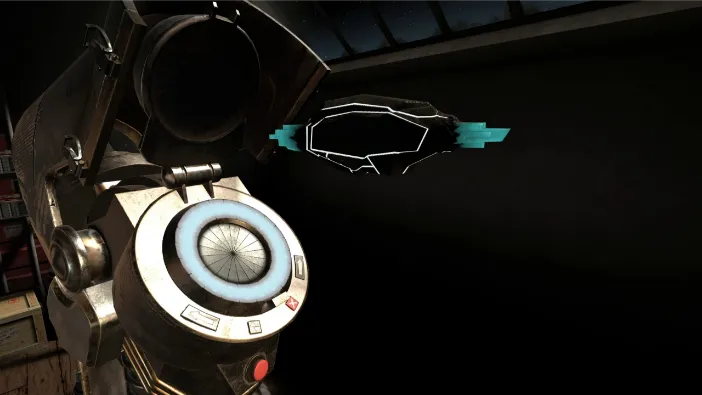
It will hover to this decide and automatically insert itself into the slot that opens for it:
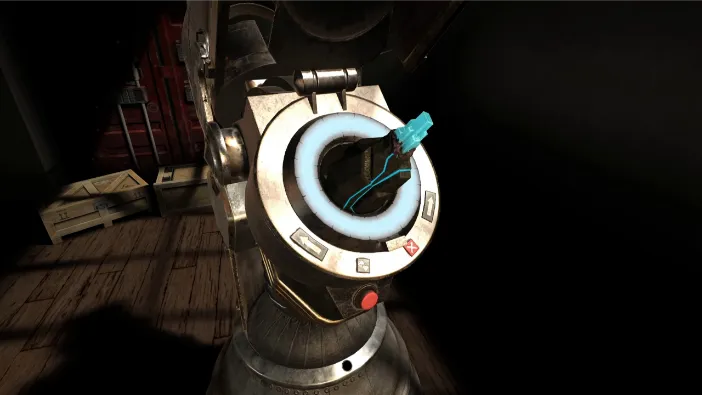
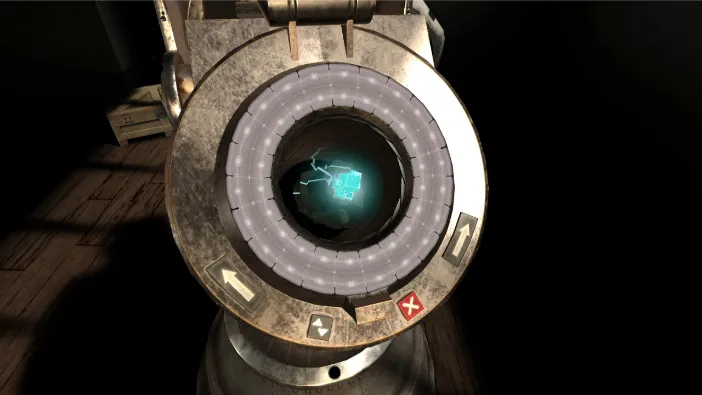
It will start spinning as if it is now powering up this device, while your attention will be pointed to the red button on the back of the device:
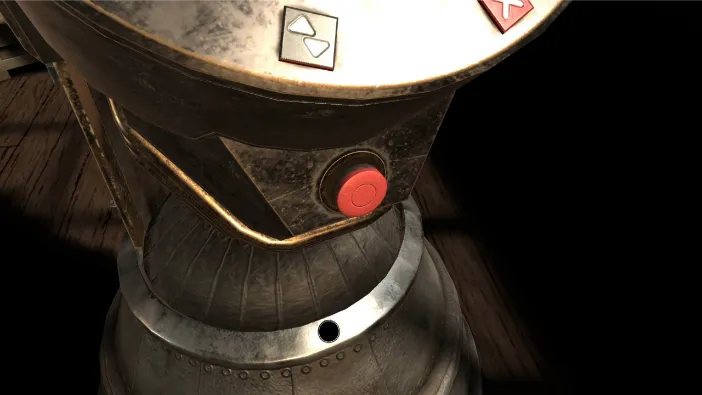
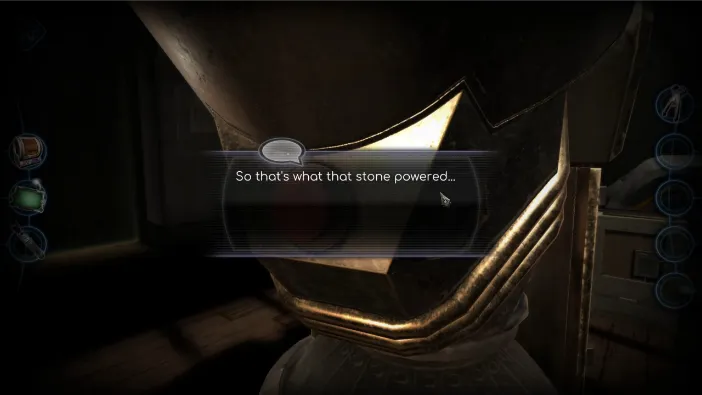
Tap on the button and you will engage the device, which will open up its side valves after a time, with steam coming out. Tap on the valves after they are open:
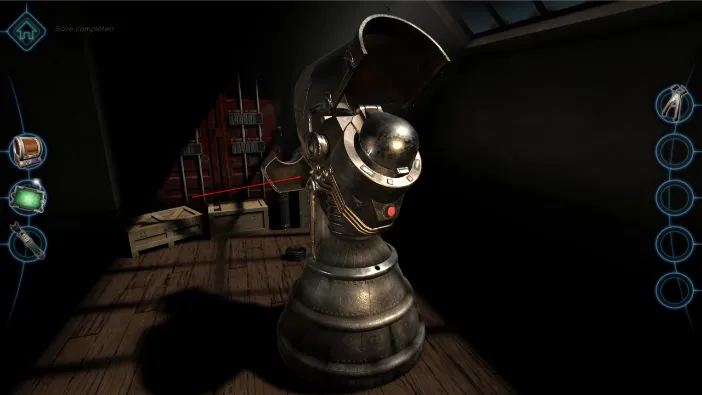
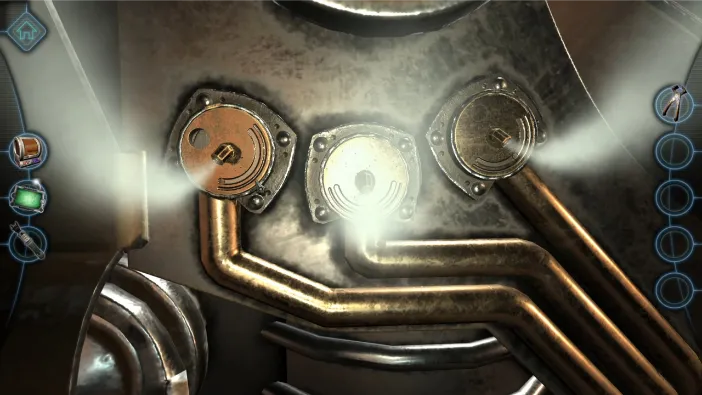
Drag the left valve to turn it and match the hole with the one under it, like this:
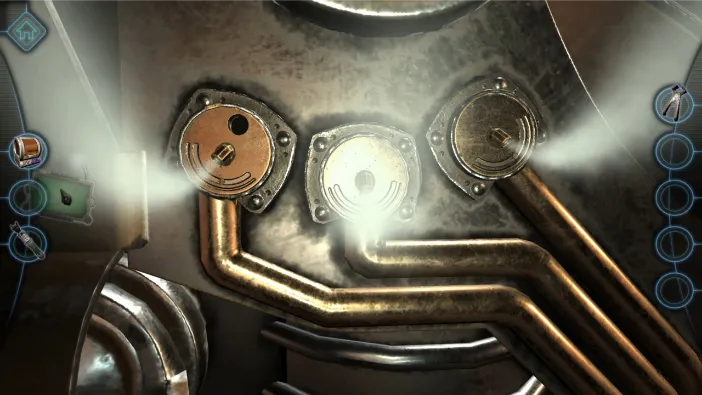
Then, use your mini camera on it:
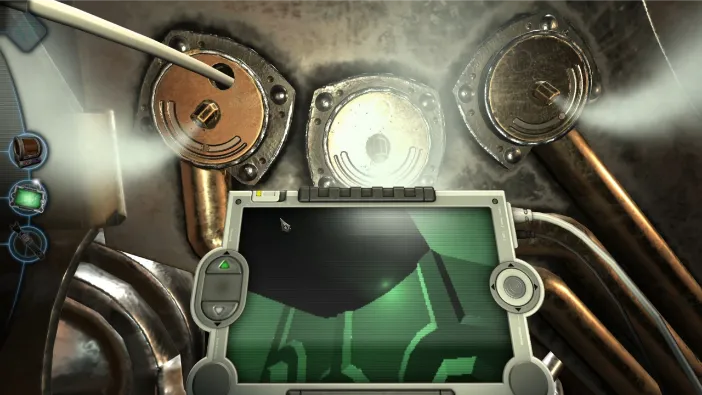
You should be familiar with the controls by now, so go turn to see the valves from the inside, like this:
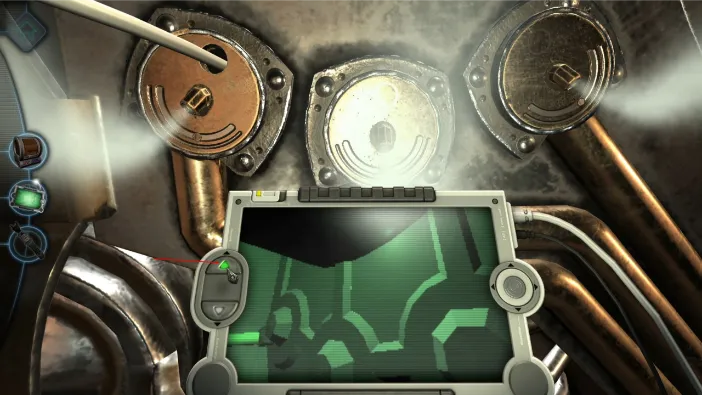
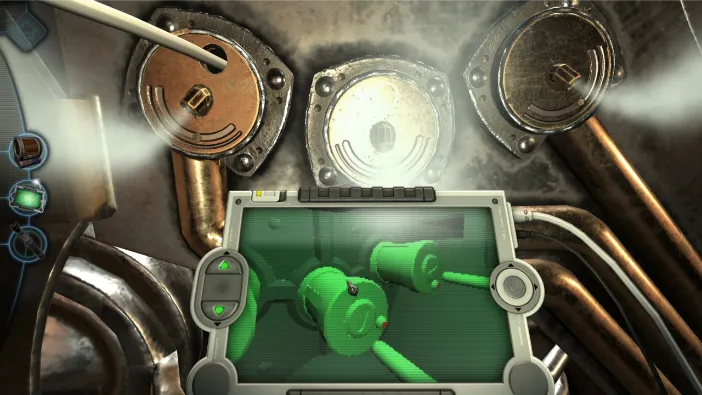
Now, while viewing the valves from the inside, turn them to align them to their steam pipes properly, like this:
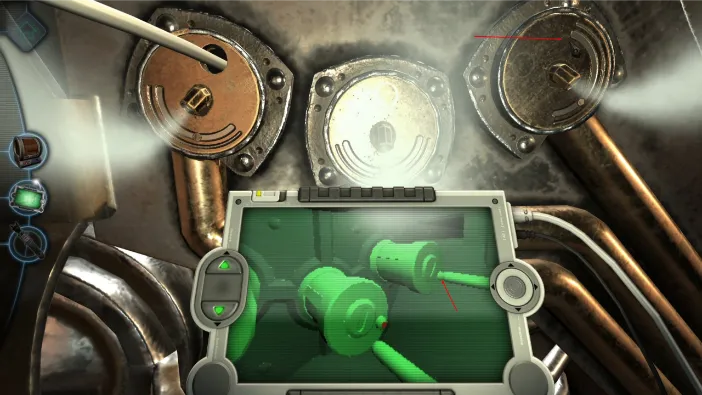
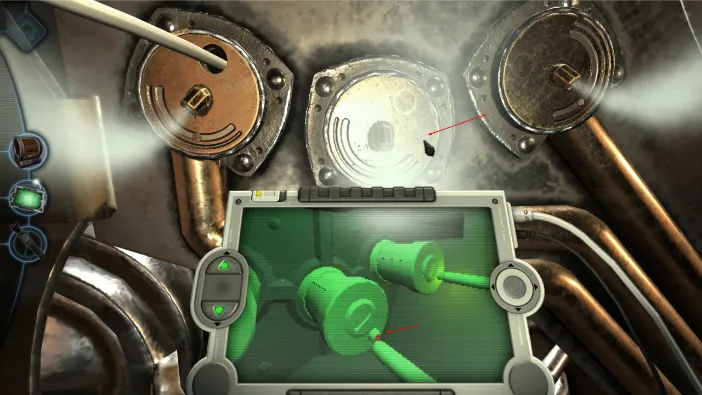
Set them up until both of the valves turn green:
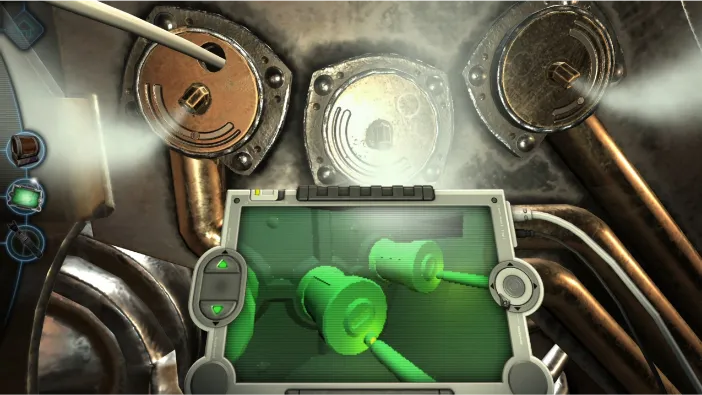
Now, pull the mini camera out and rotate the first one back into the position it was before you touched it:
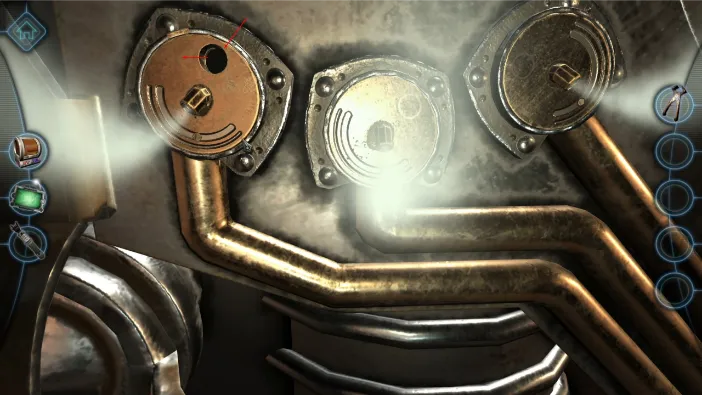
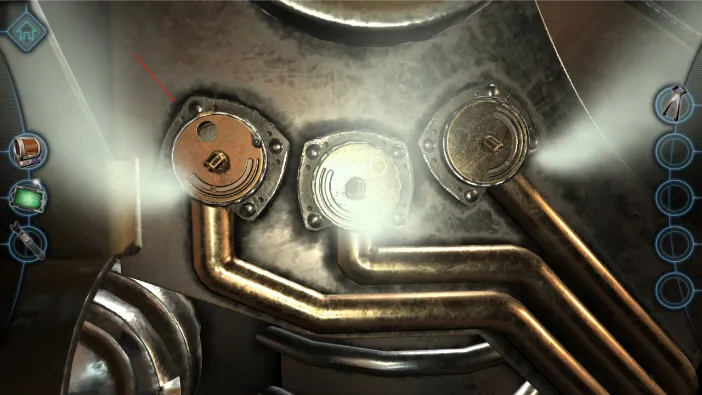
This will start the steam rolling through the pipes to the other side:
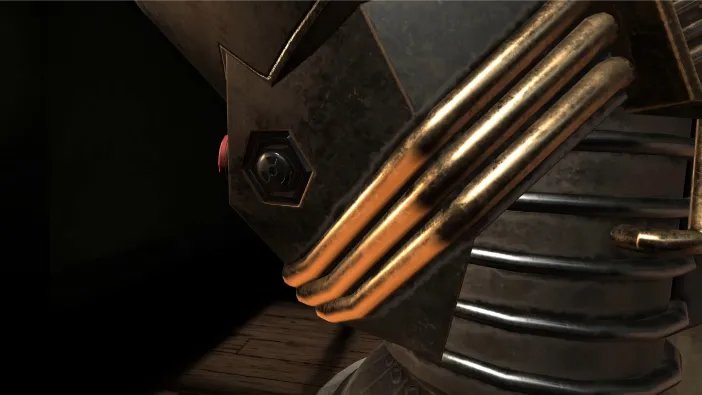
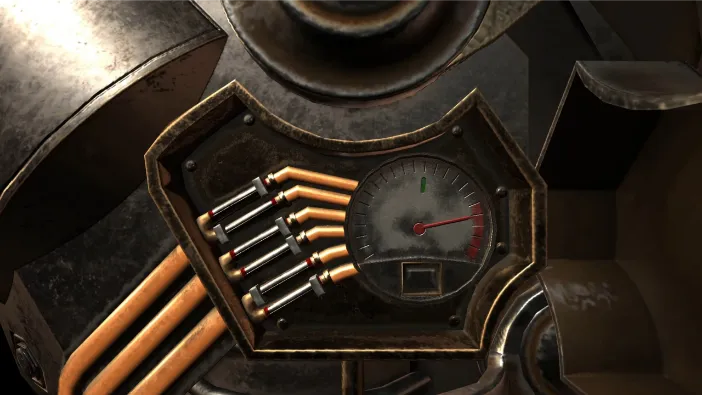
Now, tap on the pressure indicator to zoom in on it:
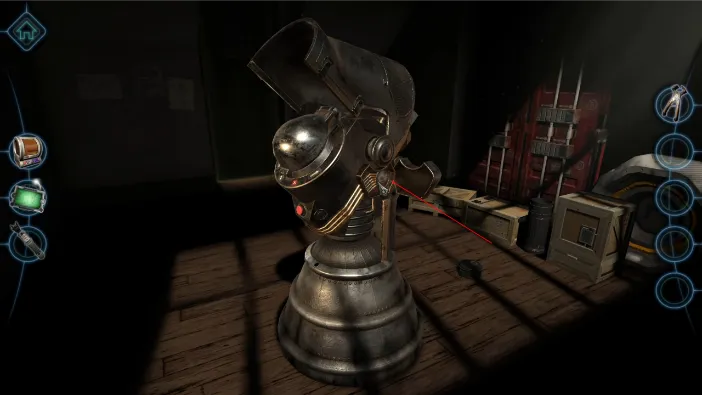
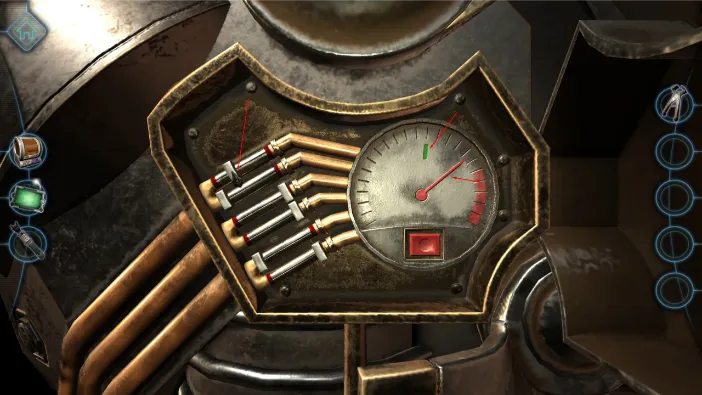
Now, the goal is to align the red handle on the indicator with the green marker by changing the pressure. We can do that by moving the bars on the various pressure piles. Move them to the position indicated below and once the handle is on green, tap the red button:
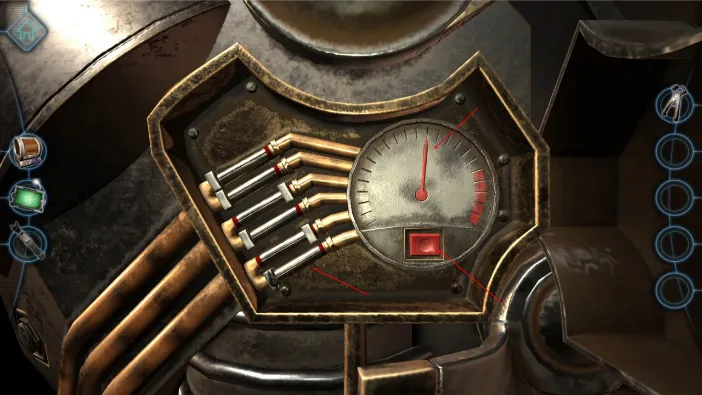
This will engage the machine further and you will need to tap the handle on its rear side to open it all the way:
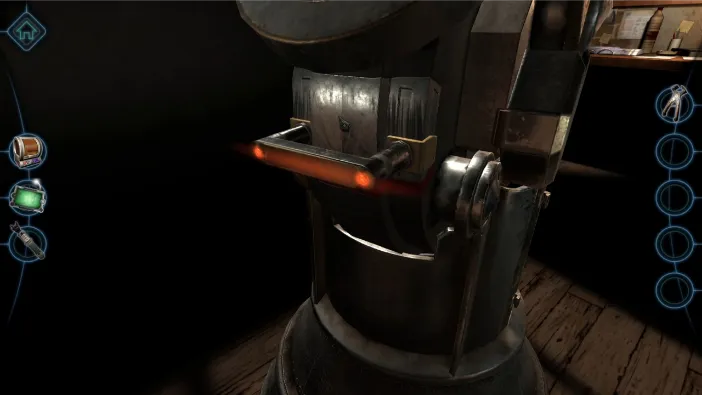
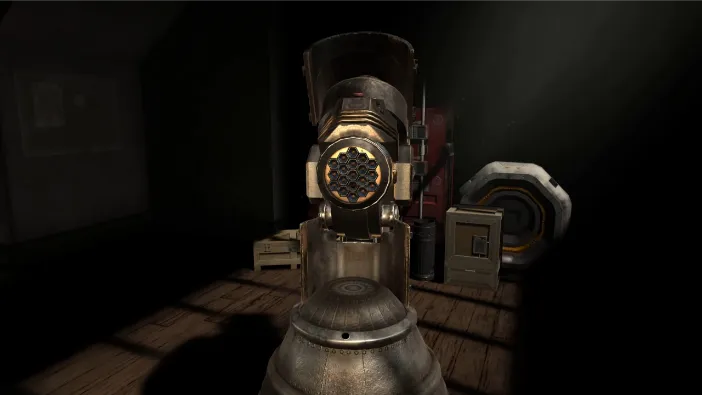
Once it opens, tap on the screw in the top portion:
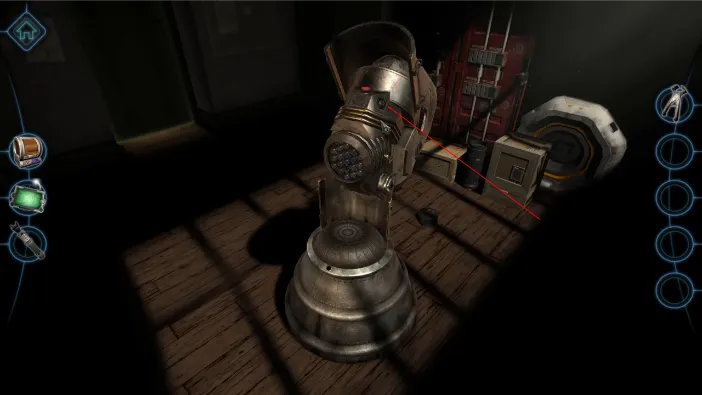
Drag your screw from the inventory on it to start working it, and align these symbols:
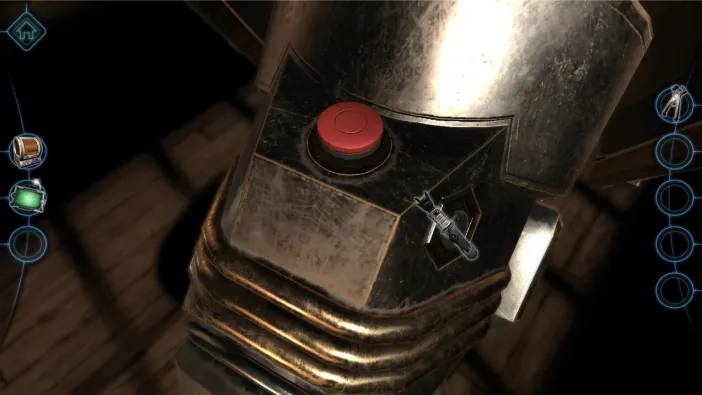
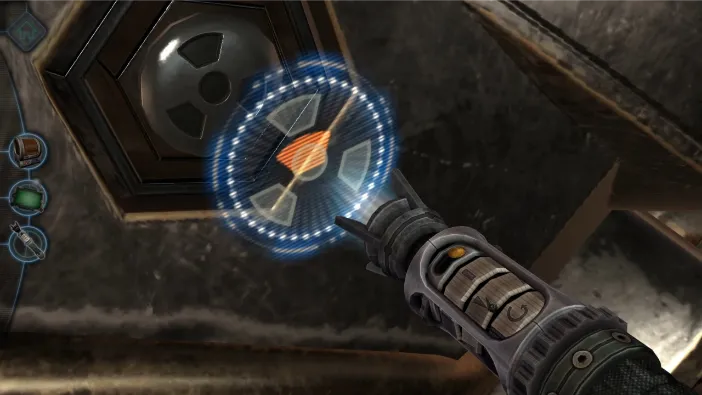
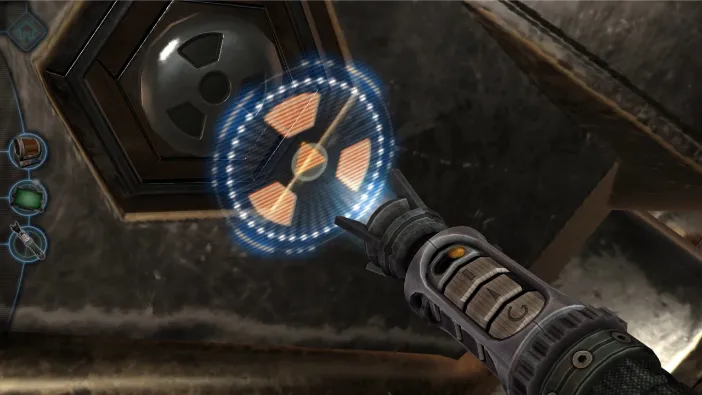
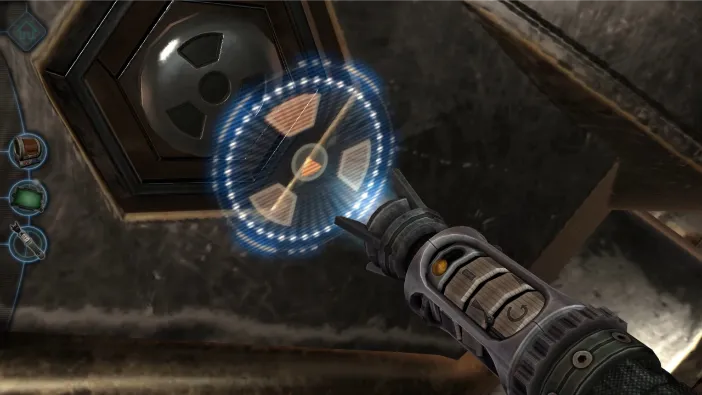
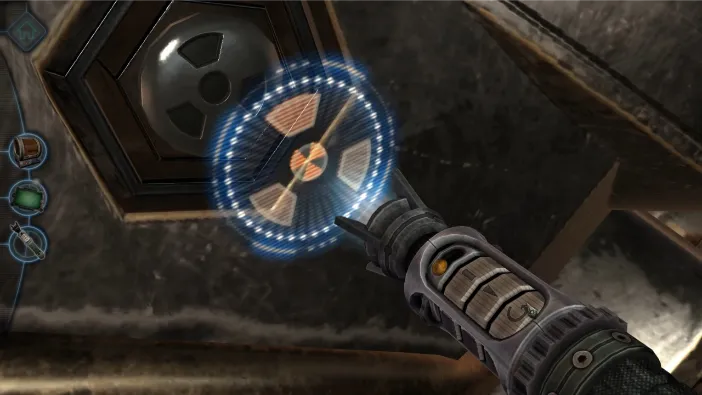
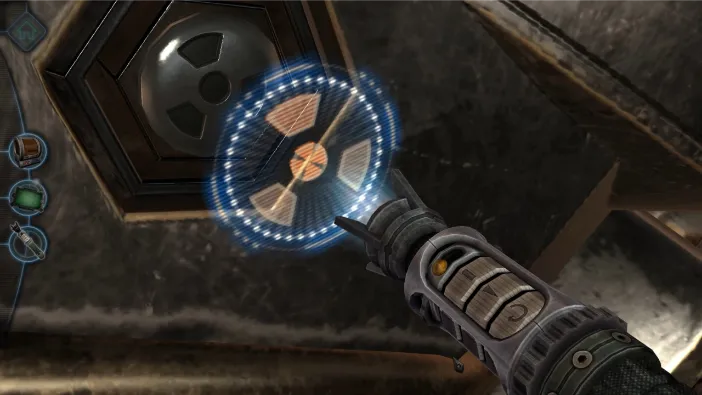
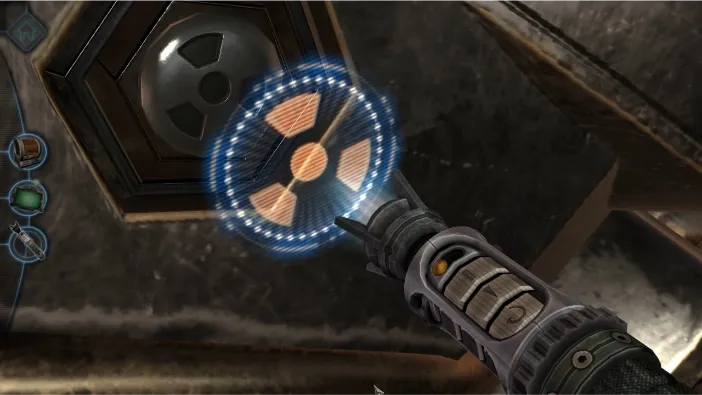
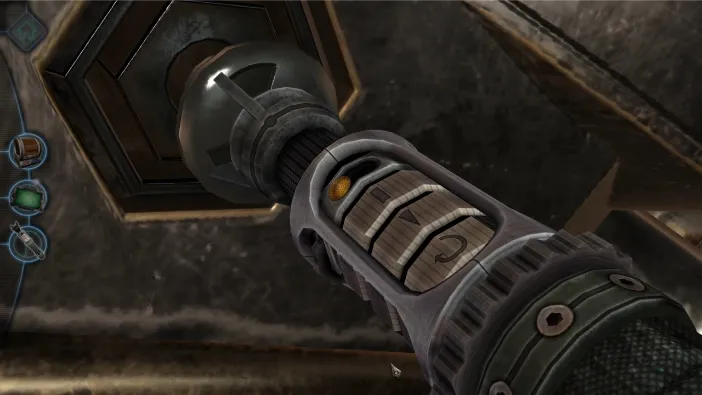
When the radioactive bar is loose, use the pliers on it from the inventory:
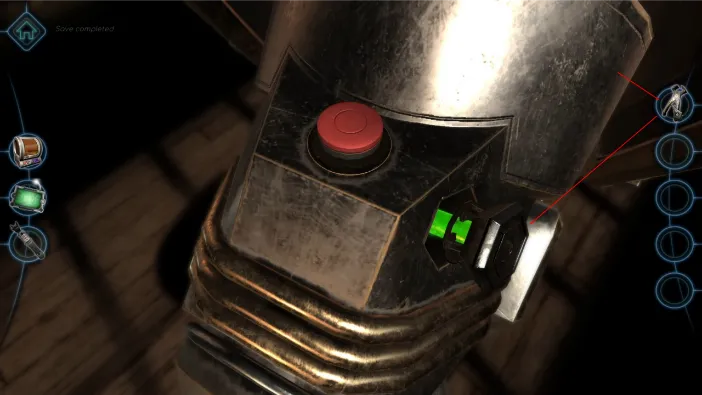
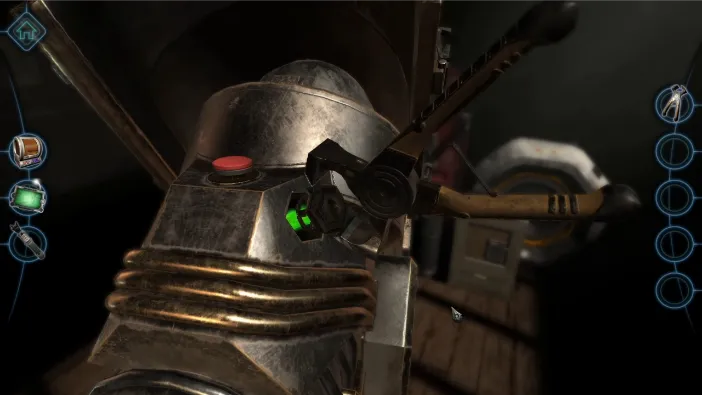
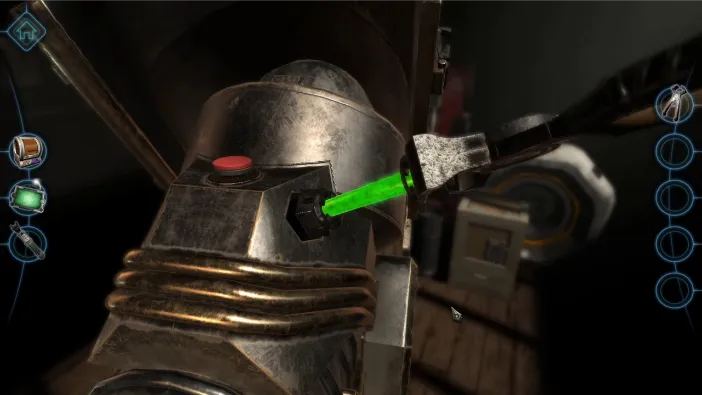
The radioactive bar will be picked up in your inventory now. So, zoom out and then tap on the middle part of this opened area of the device:
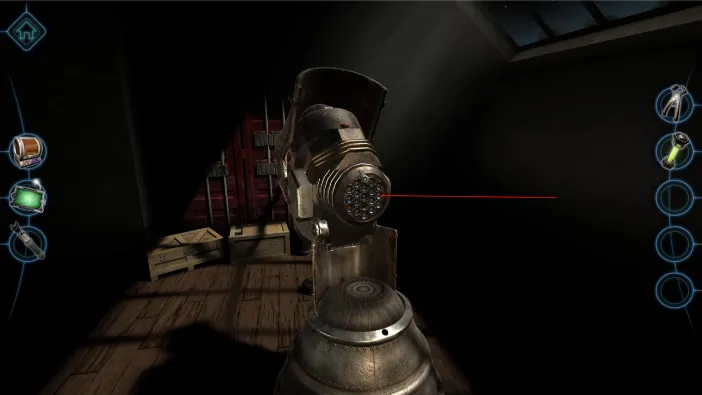
Use the pliers on the rod that looks darker than the rest:
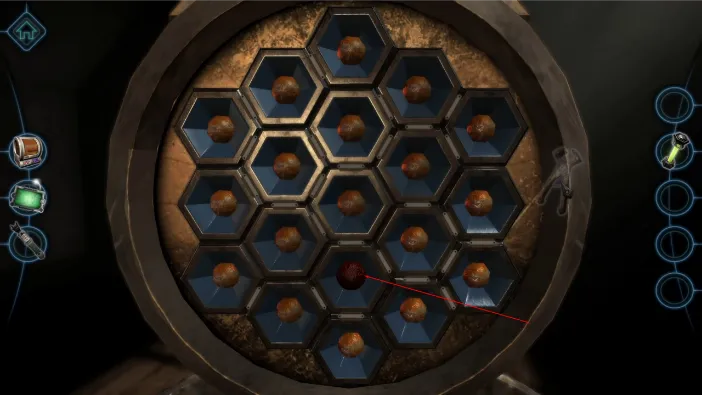
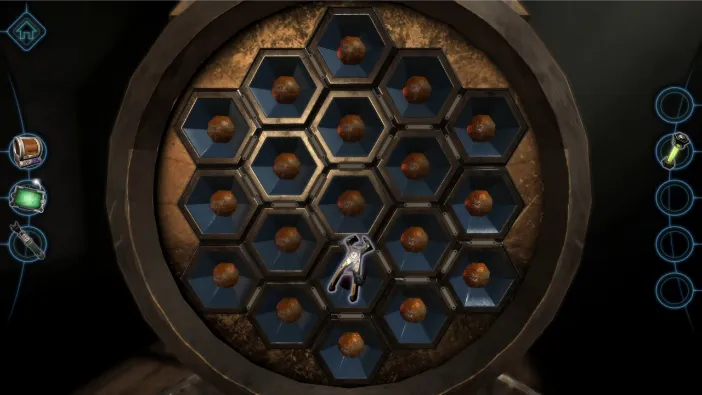
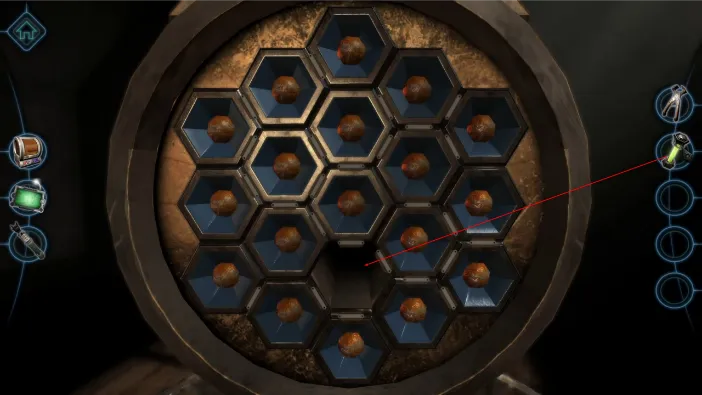
This will remove it, so now you can drag the radioactive bar from your inventory to it:
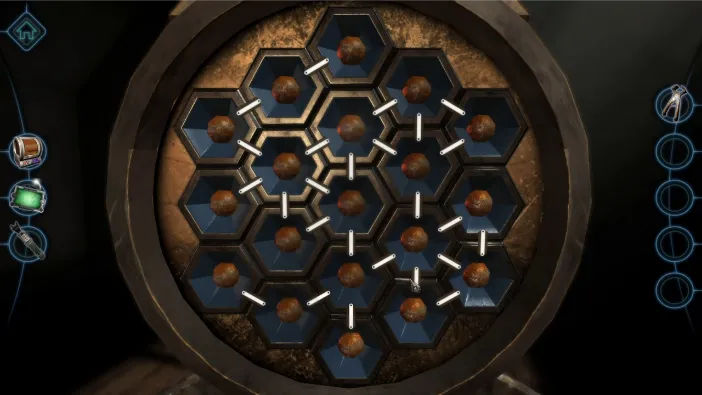
Now, we need to activate all the rods, but pressing one will only activate a few at the time. This is the correct sequence of the rods you need to tap:
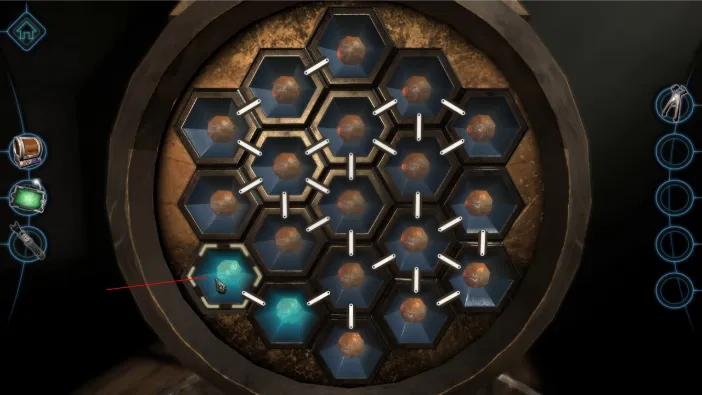
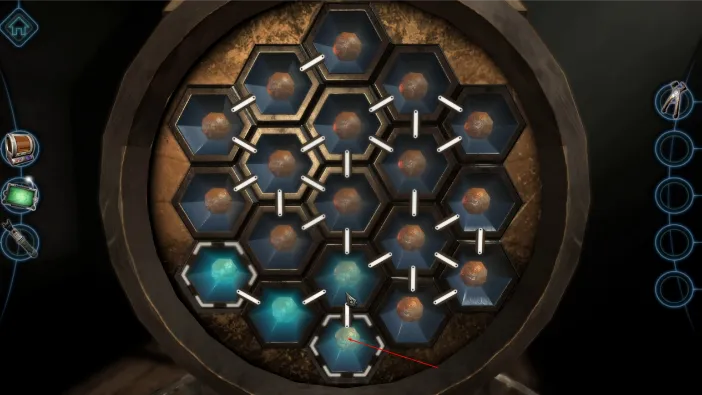
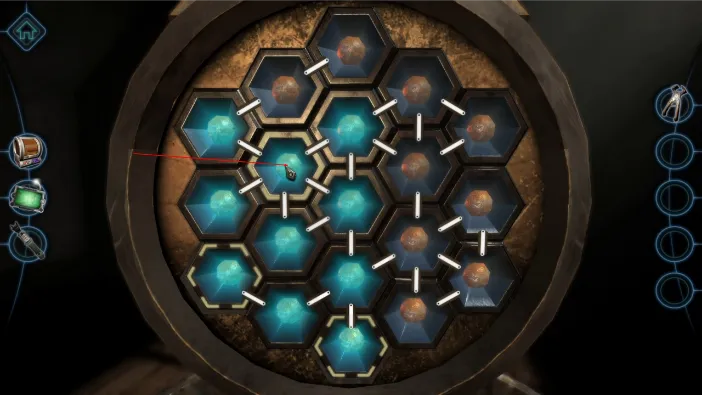
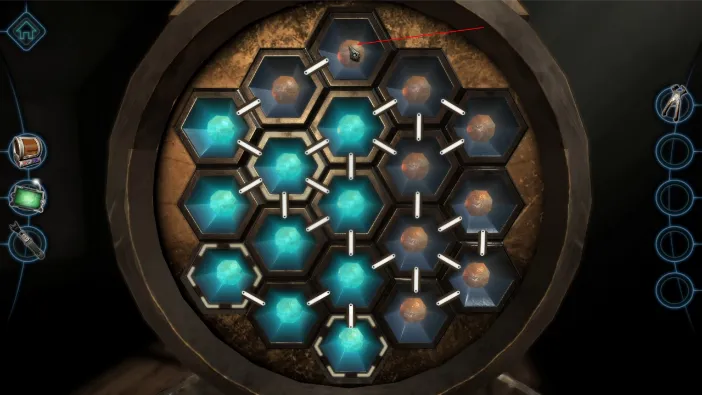
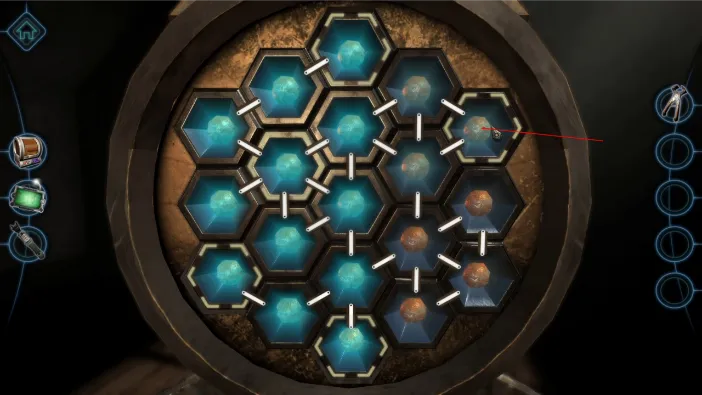
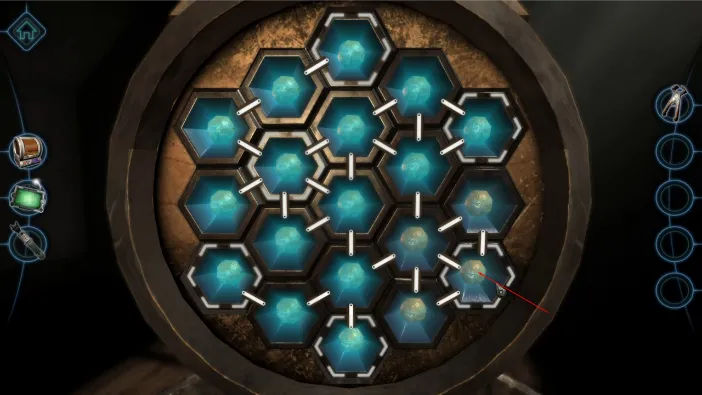
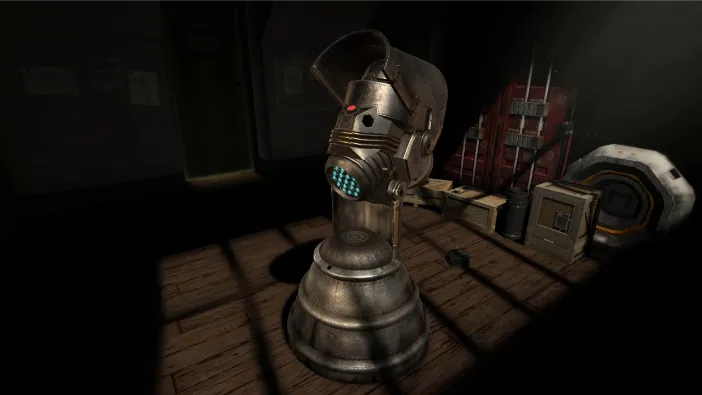
The device will now close up, and you will be pointed to the red button. Tap it now:
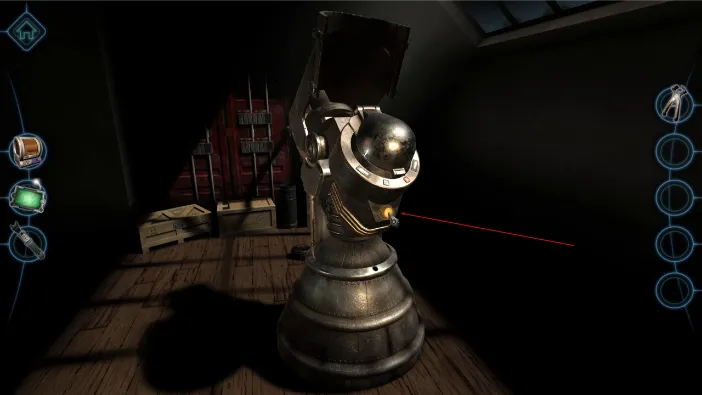
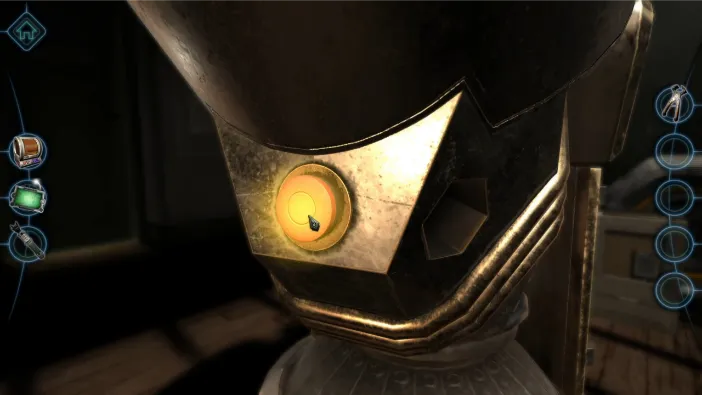
This will engage the machine in full and it will close up and start working:
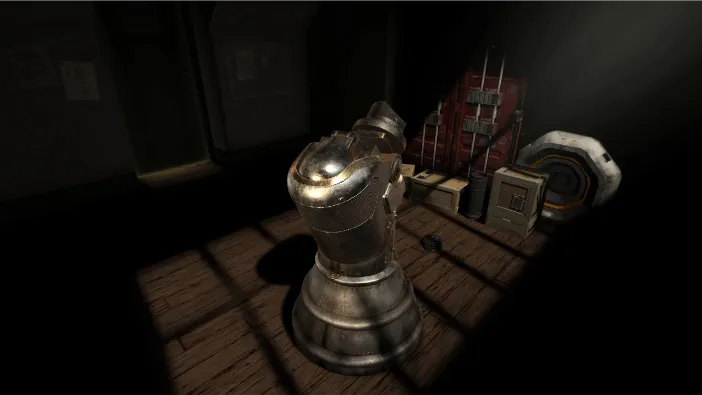
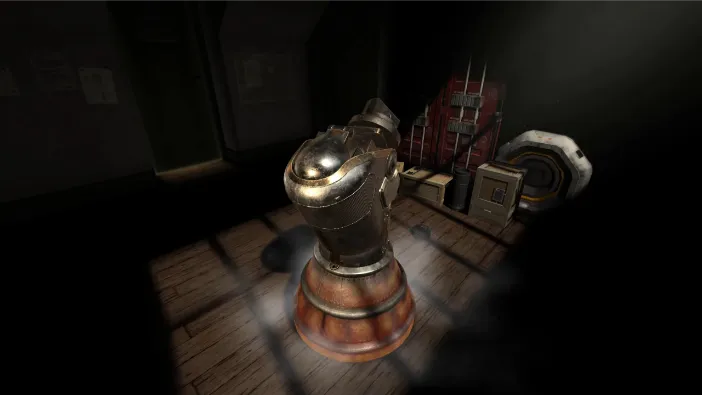
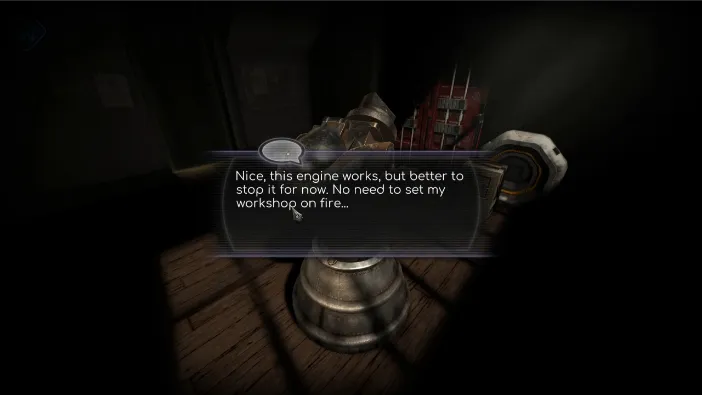
And, this marks the end of chapter 6 of Machinika Museum.
