Machinika Museum – Chapter 5
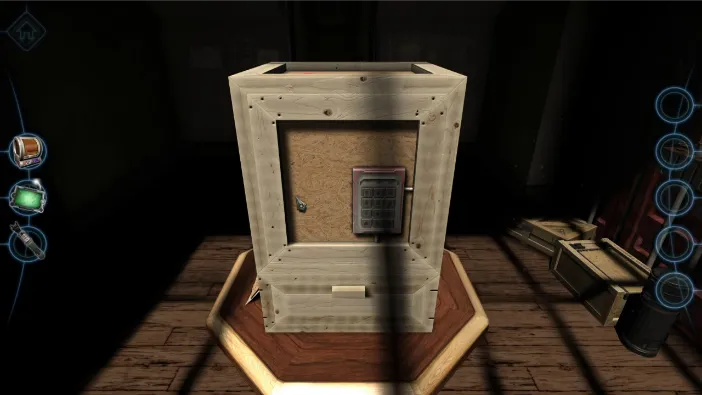
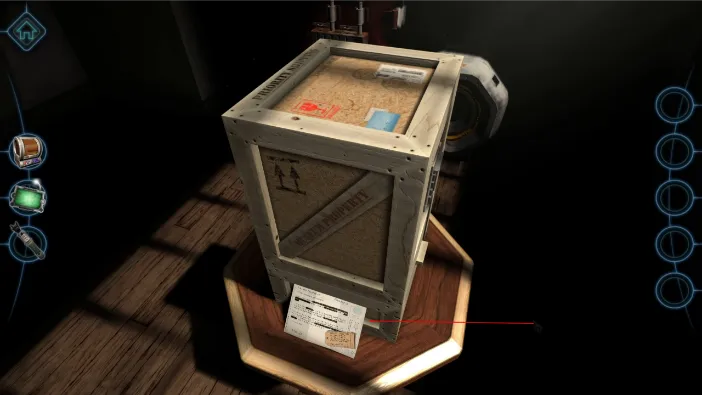
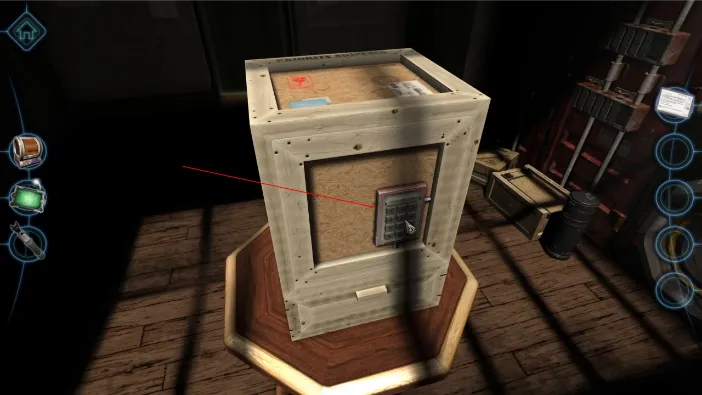
In Chapter 5 of Machinika Museum, we start with a new, unopened crate. It has an electronic code lock on it, but first we pick up a few things. Turn a bit to the left and read the note:
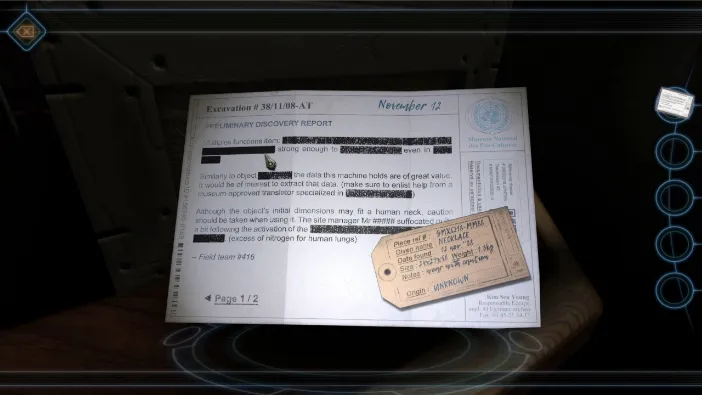
It says that extracting the data this object holds great value, but there is word of caution also. It seems to be some sort of a device that is mounted on a user’s neck, but it almost suffocated one team member who attempted it. Turn the message over before you close it and memorize the numbers:
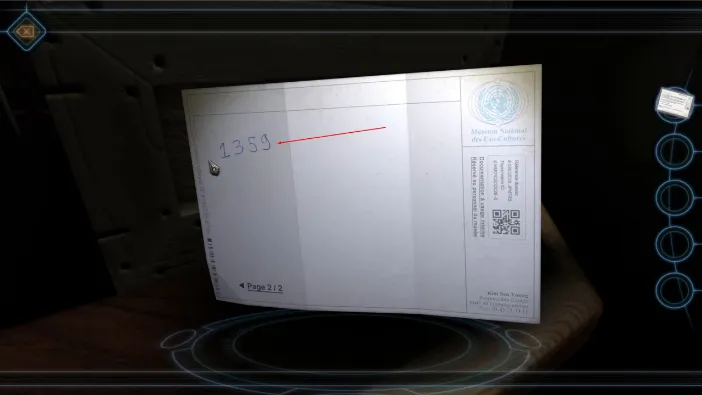
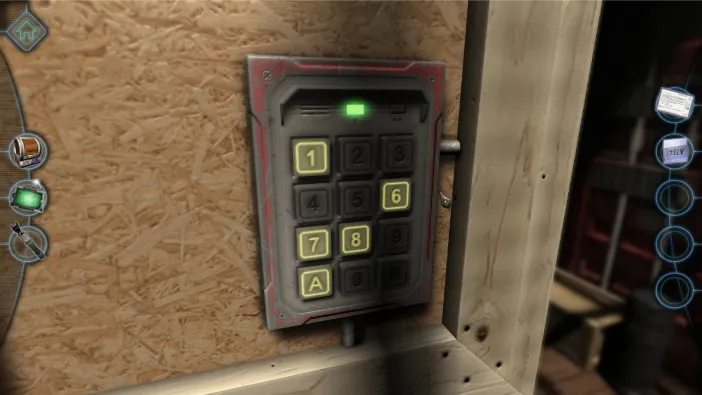
Now, zoom in on the electronic lock and input the numbers 1359, in that order:
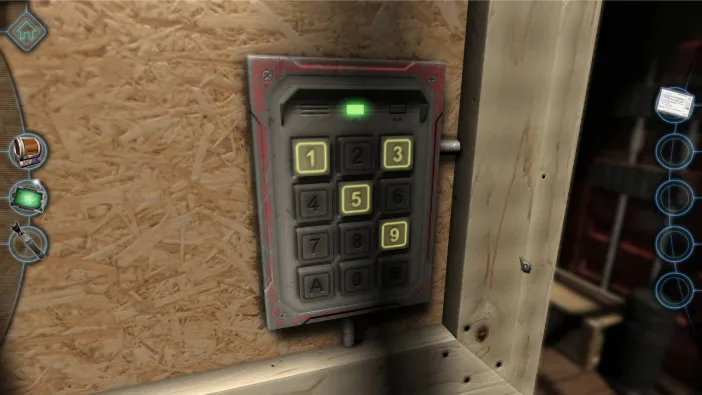
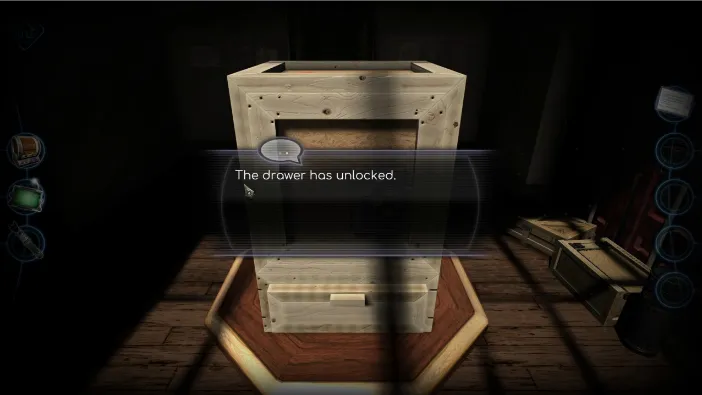
Drag the drawer that has unlocked to open it whole. It is empty:
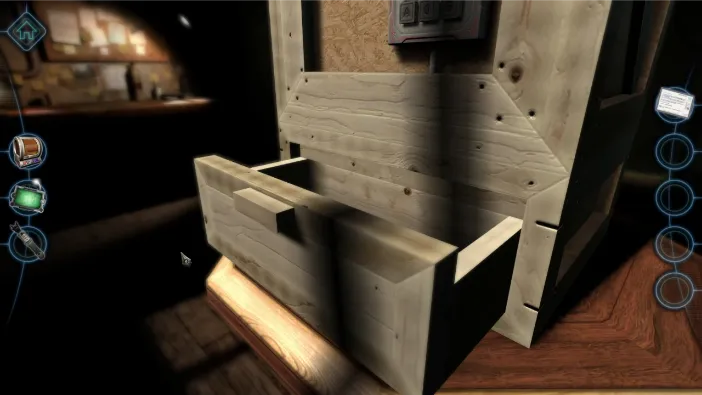
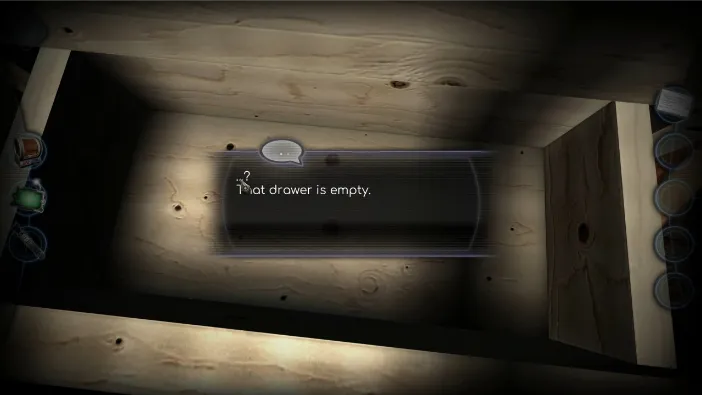
However, close it and push it all the way in and then go around the box on the other side:
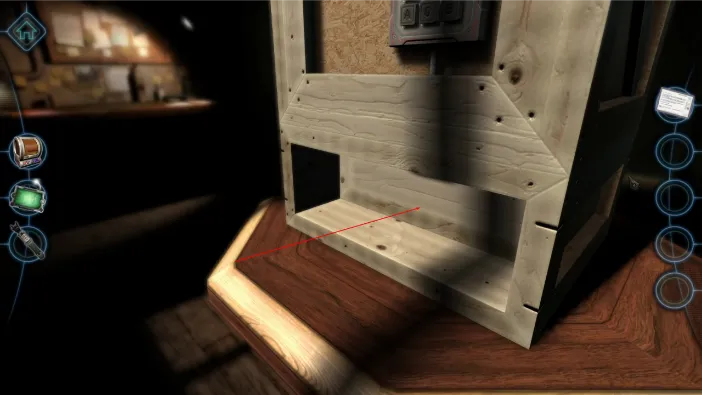
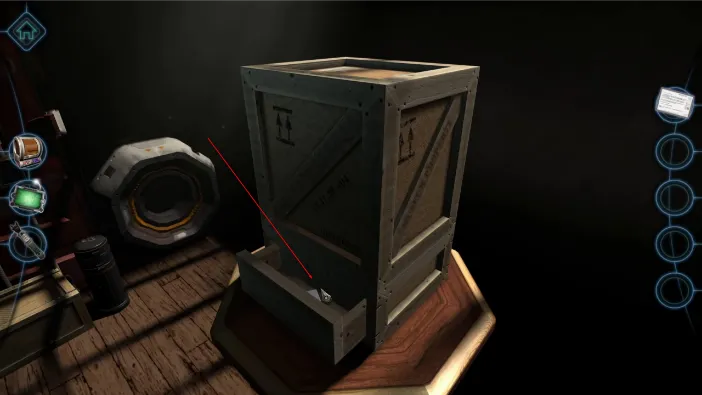
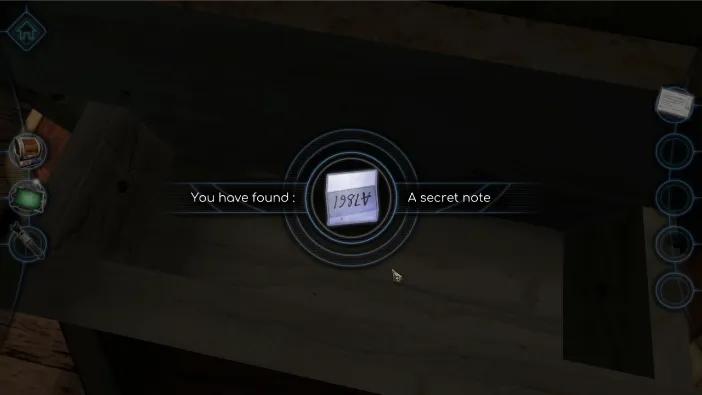
After you pick up the secret note, go back to the electronic lock console and tap the previously tapped buttons to turn them off and start over by entering the new combination from the secret note:
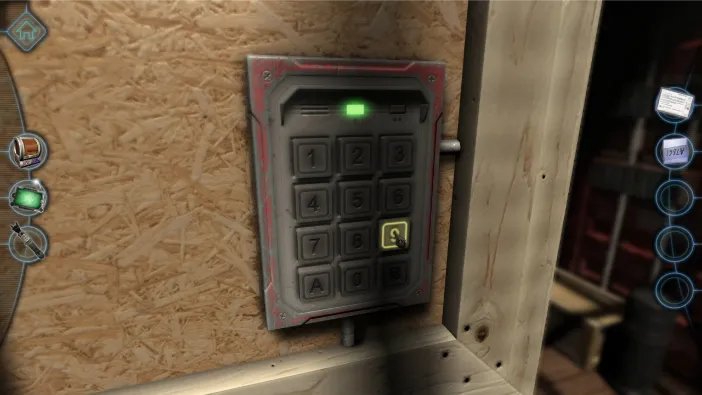
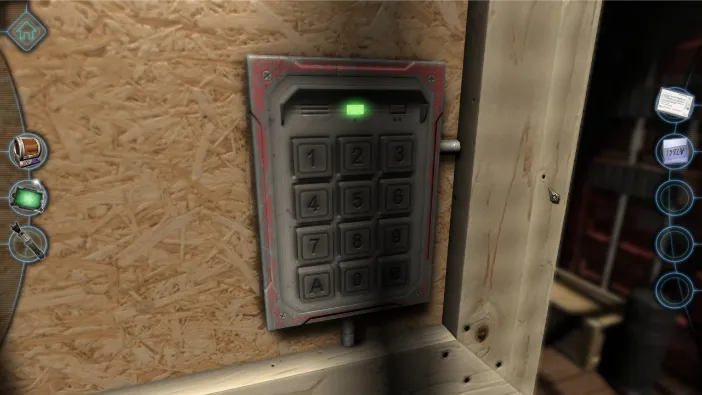
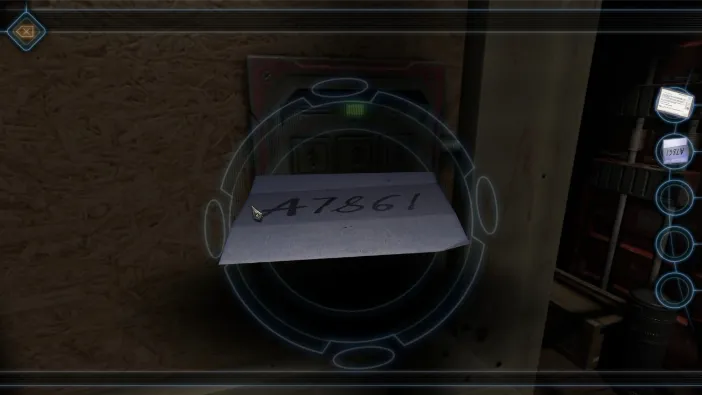
Turn the note over to see the combination and then enter A7861 into the console:
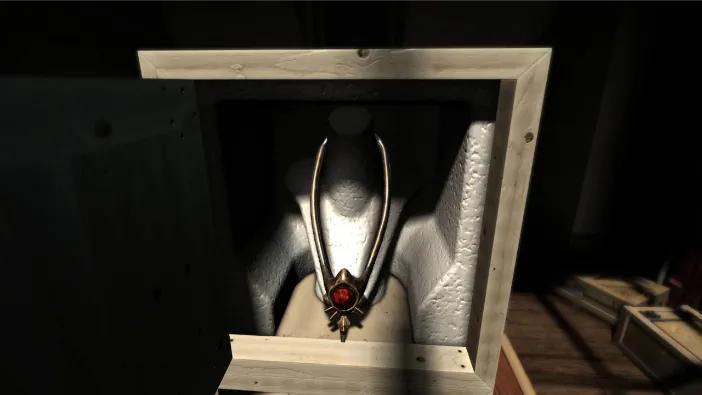
The object of our investigation is an alien collar of sorts. Once we start, it will be mounted in the anti-gravity field:
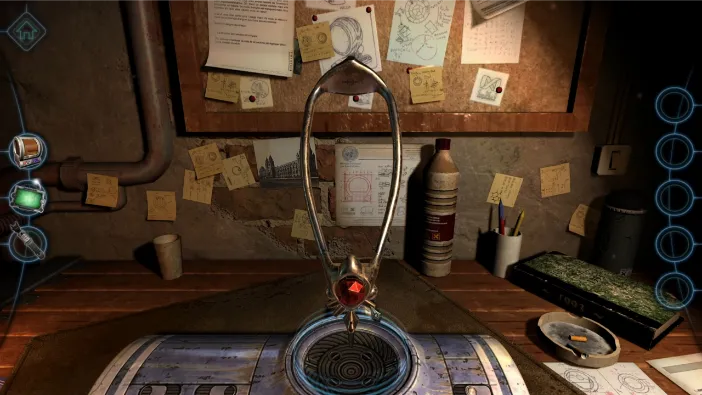
Zoom in on the bottom part of the collar and tap on the lone metallic piece:
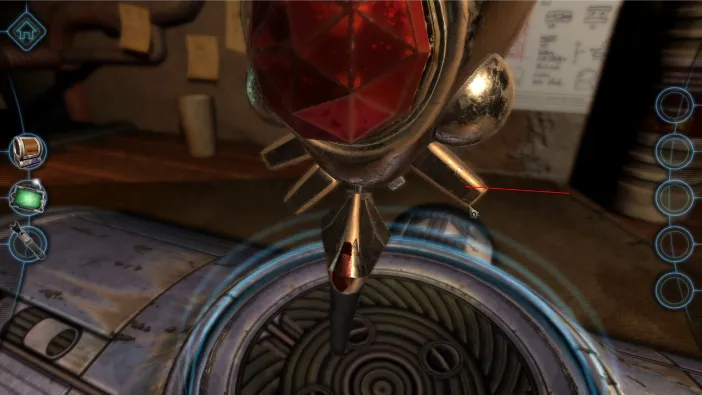
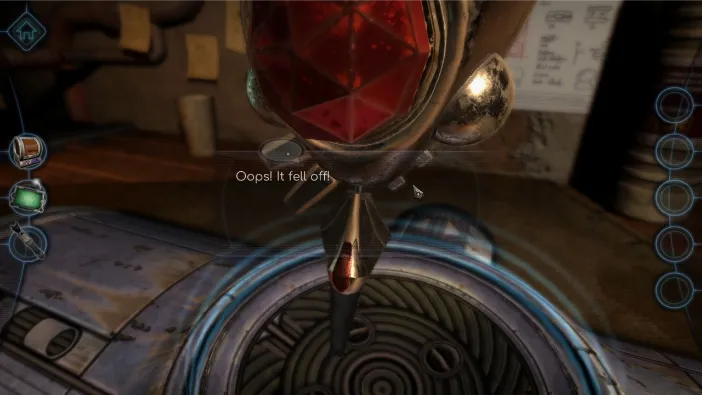
Drag the single metallic piece to the printer to make a copy and then reattach them both to the appropriate spots on the base of the collar:
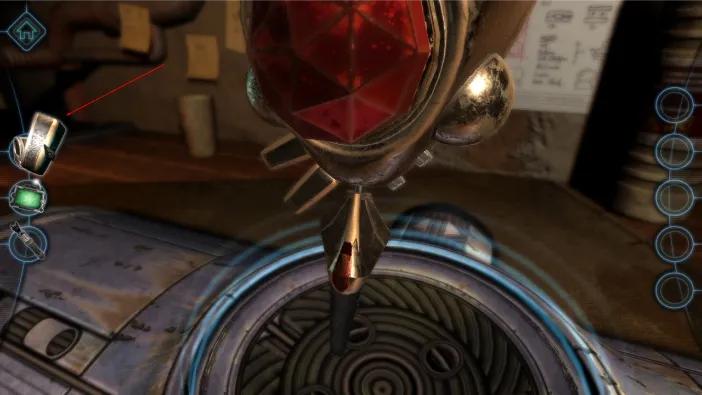
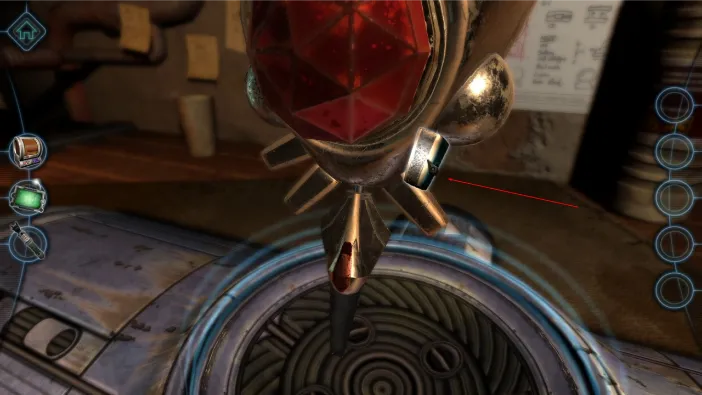
Now that they are attached, tap and pull all 4 of the pieces, like this:
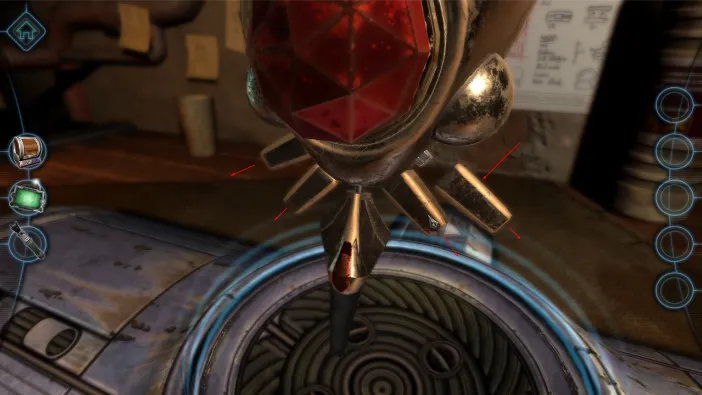
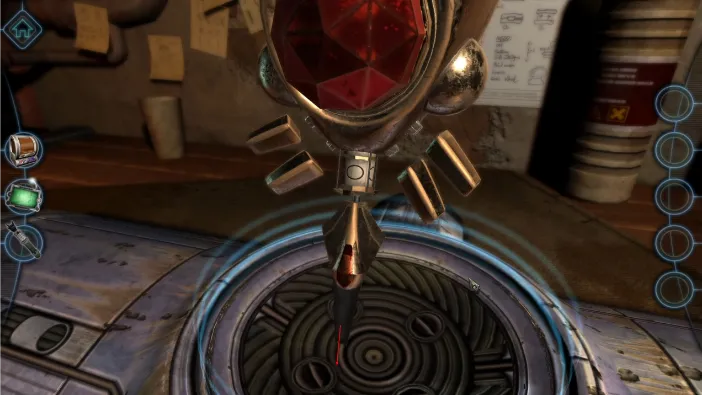
Now, pull the column that was released all the way out and tap it to pick it up in your inventory:
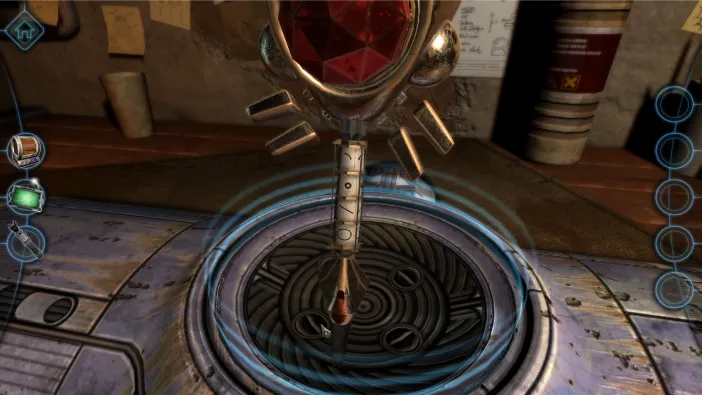
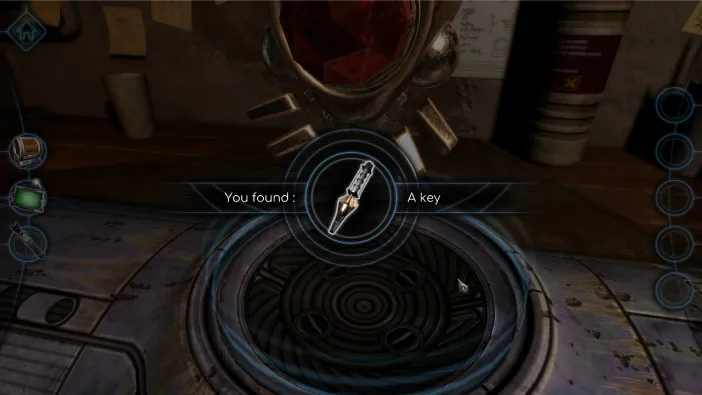
Now, tap on the large jewel to open the compartment behind it and pull it open:
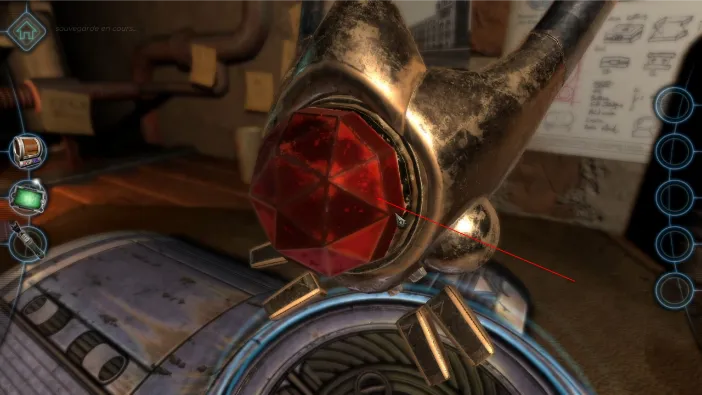
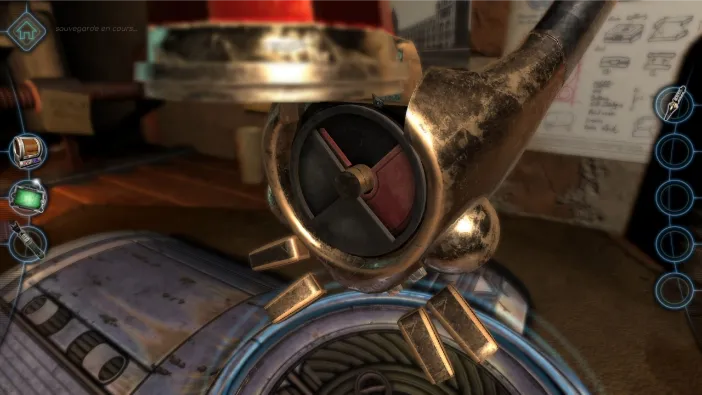
You’ll find a mechanism in side, where you need to pull the different layers to extract the disc, like this:
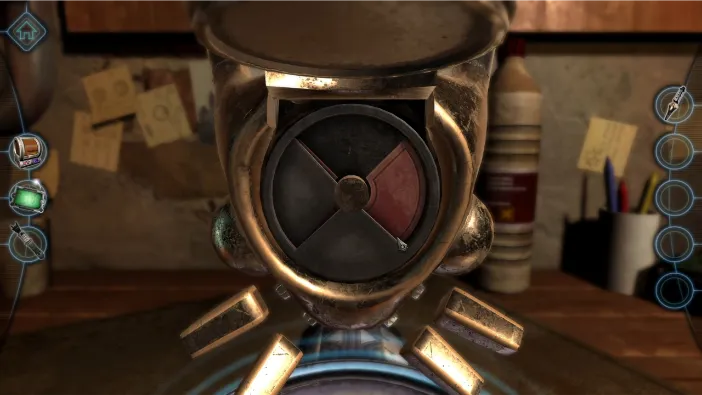
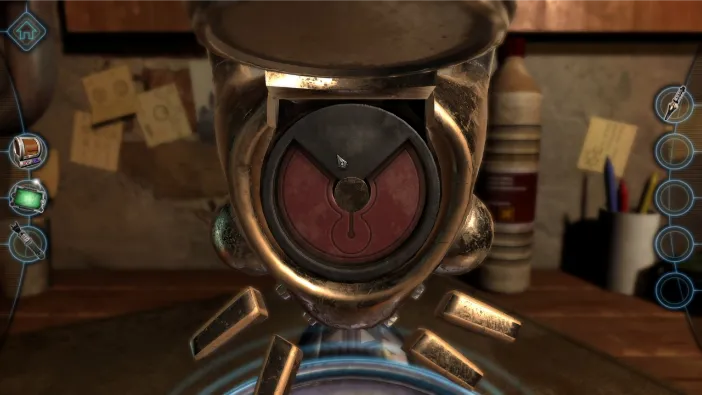
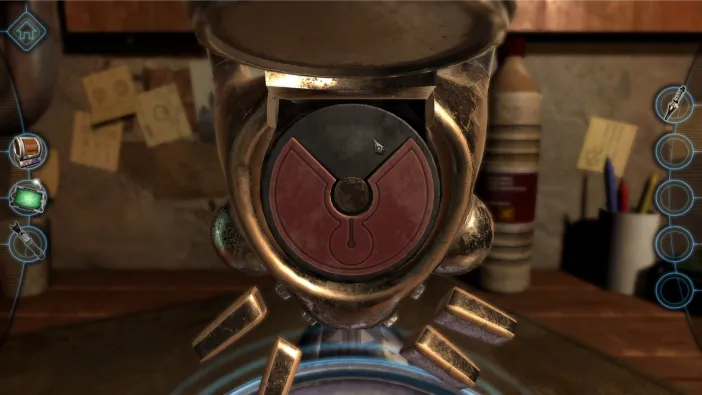
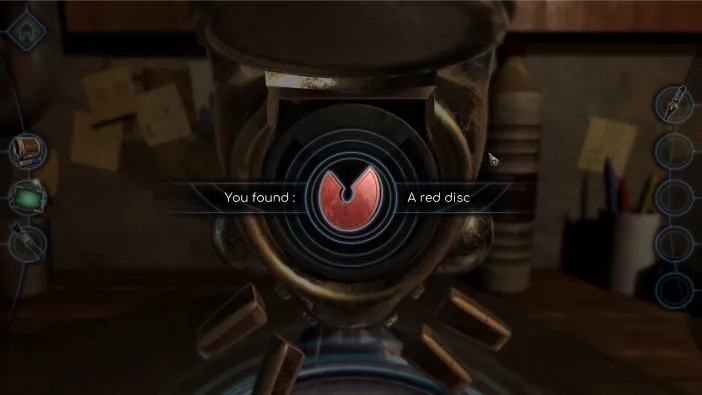
After picking up the disc, turn the collar to the rear side and tap on the rear side of the gem to open that compartment:
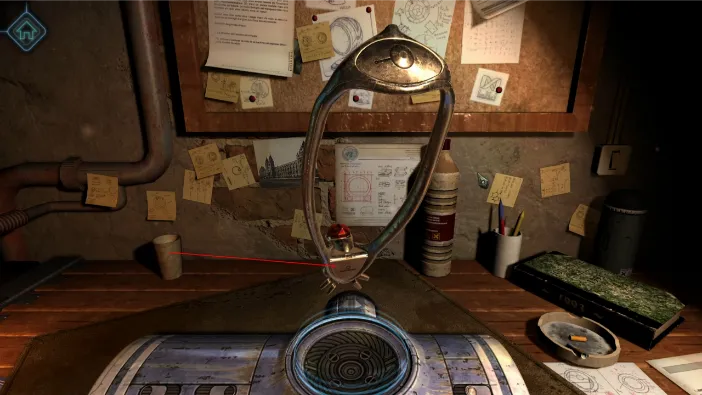
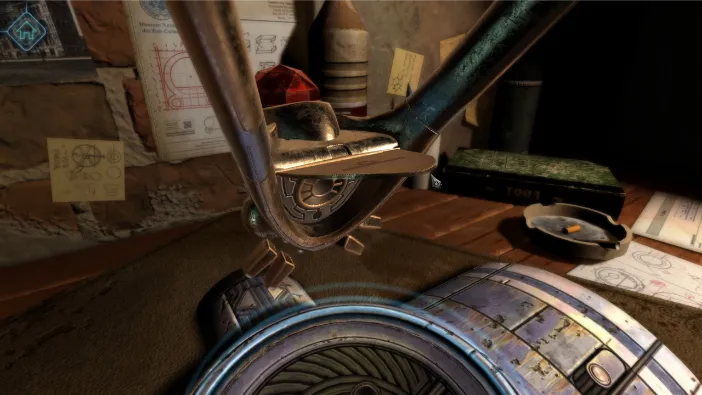
There is nothing to pick up there, but it is important that it is open. After that, zoom in on the top of the collar:
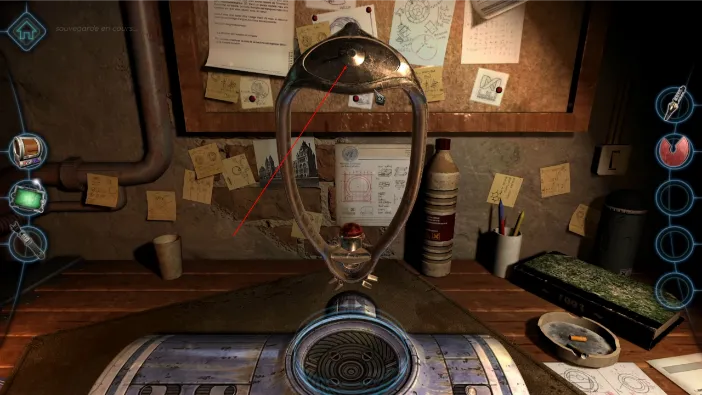
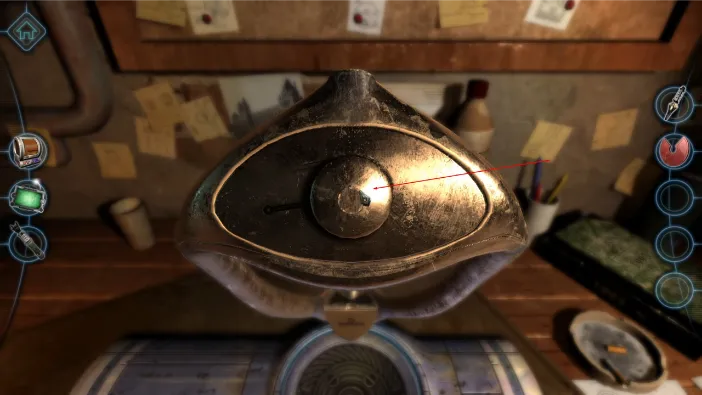
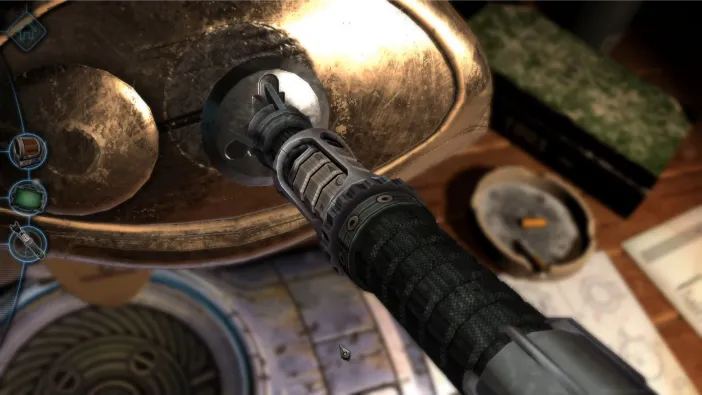
Tap on the center circle to open it and it will reveal another lock for your screwdriver. Drag it from the inventory on top of the lock to start unlocking:
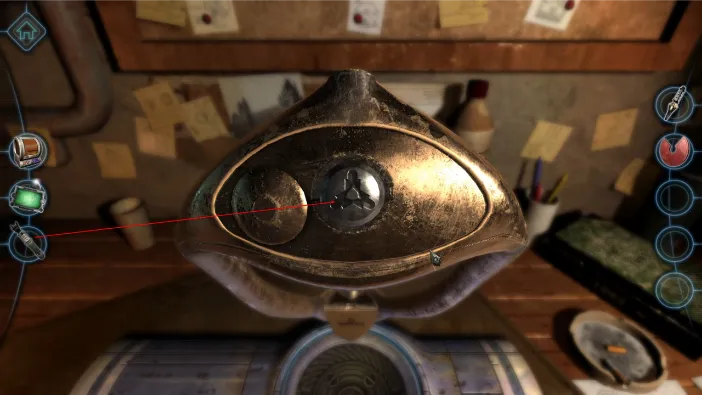
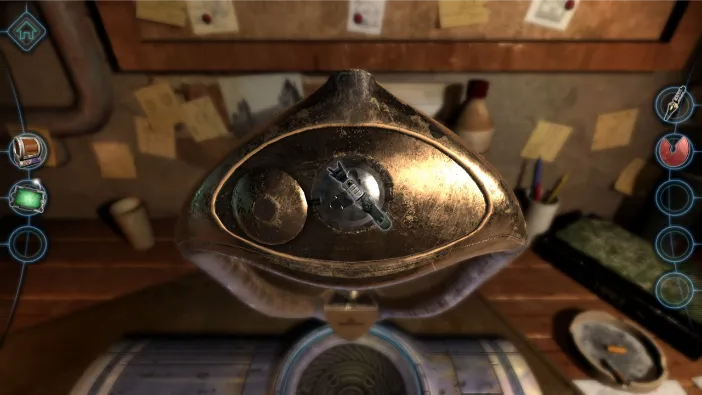
As before, it is important to get the right combination of symbols that match the opening on the collar screw. Here are the symbols:
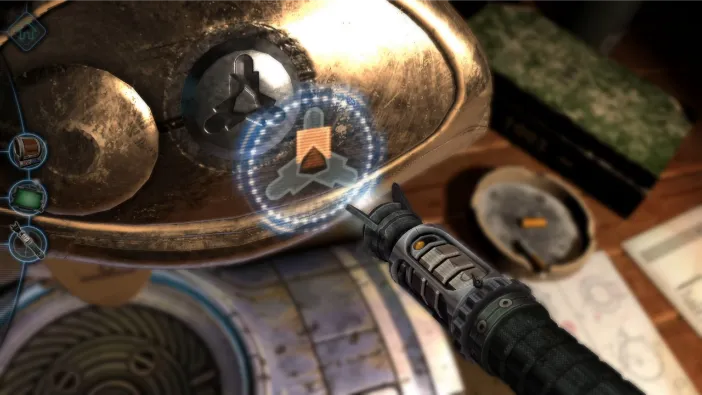
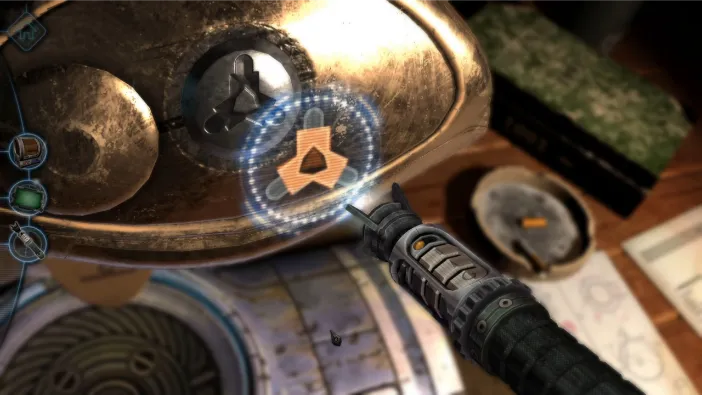
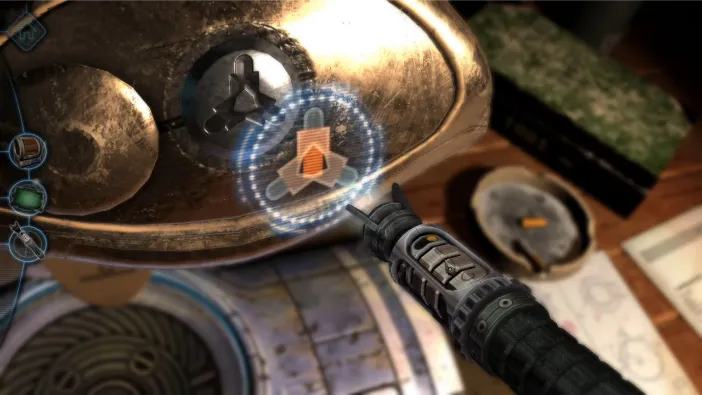
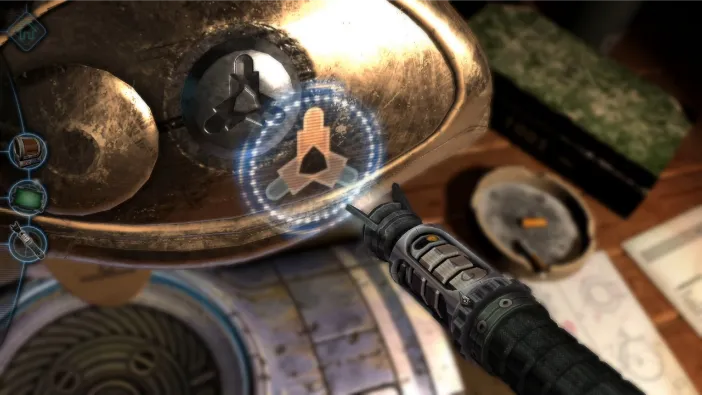
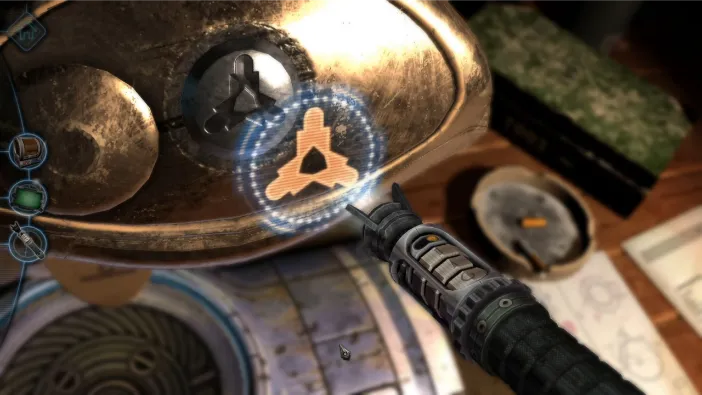
After the compartment is open, it will reveal an intricate colored puzzle lock. The goal is to align them all to get the top slice kind of fall into place. It might take some time, but here is how we did it:
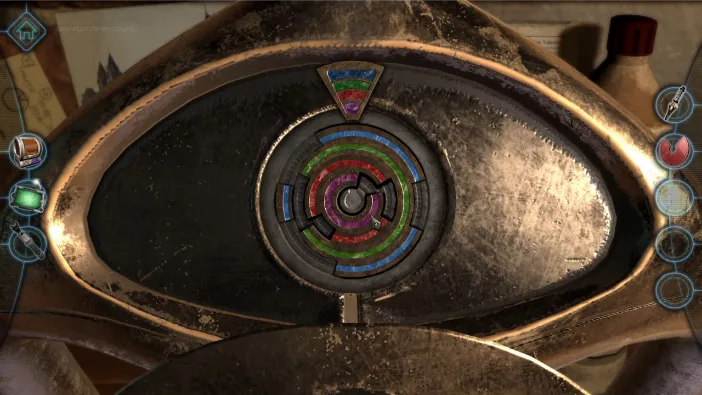
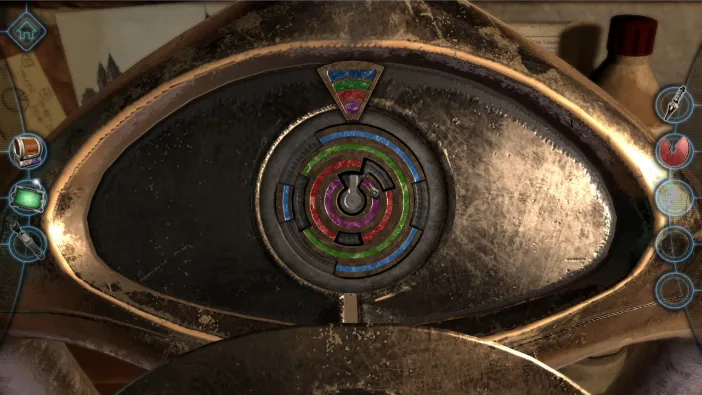
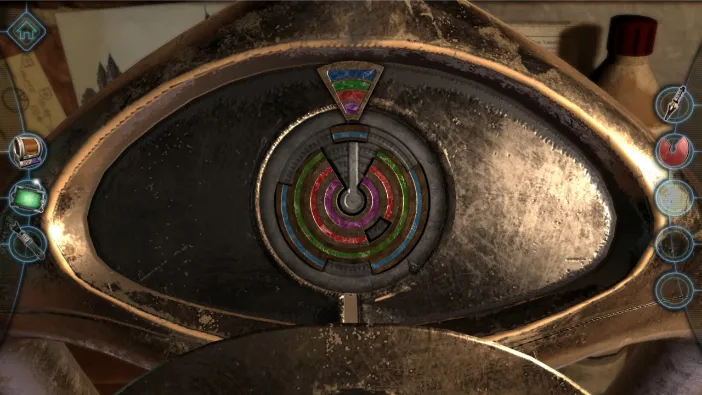
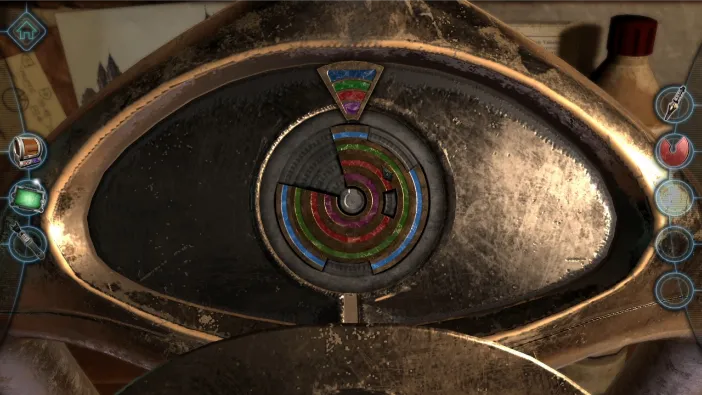
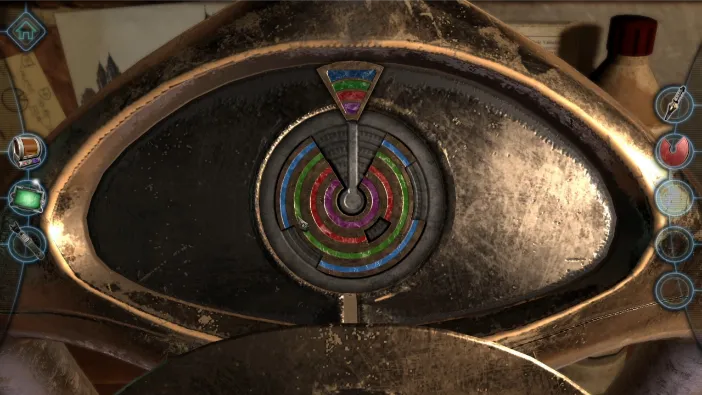
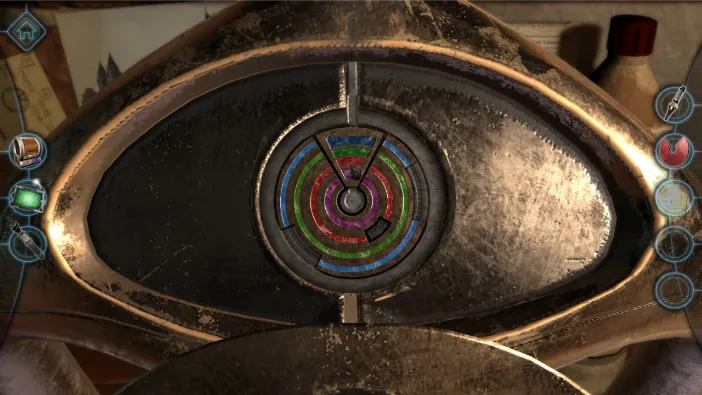
After you align the colored rings, the compartment below will open, so pick up the object there:
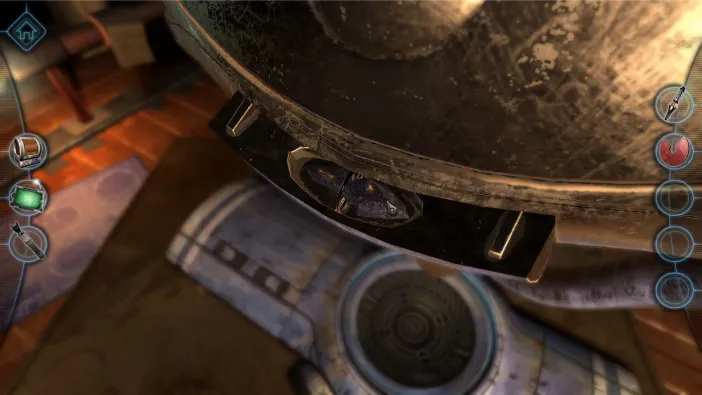
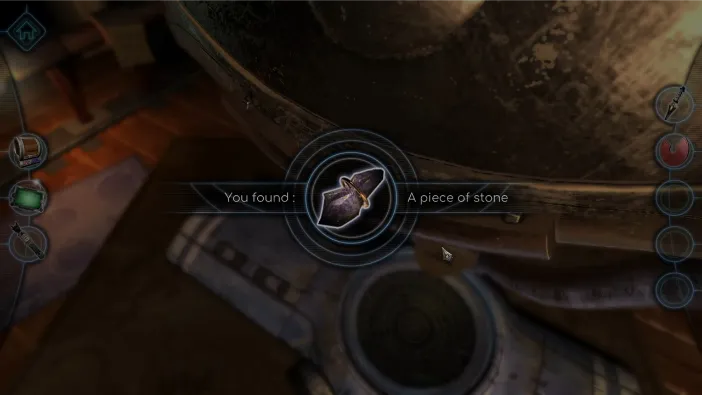
Now, go back down to the rear side of the collar’s gem, where this stone fits:
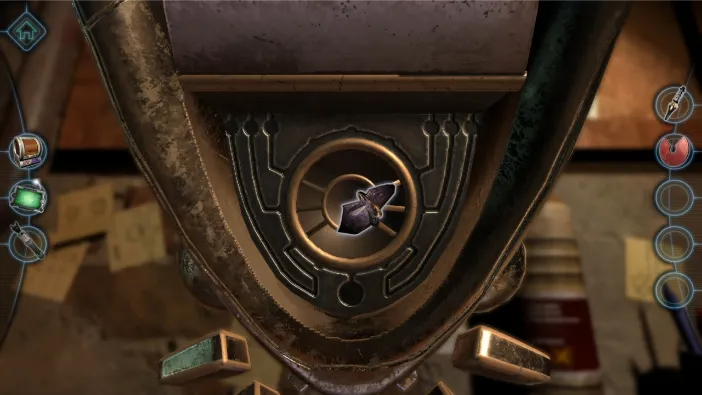
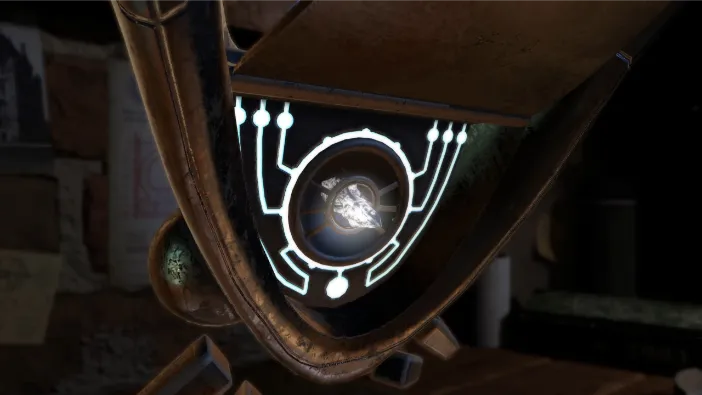
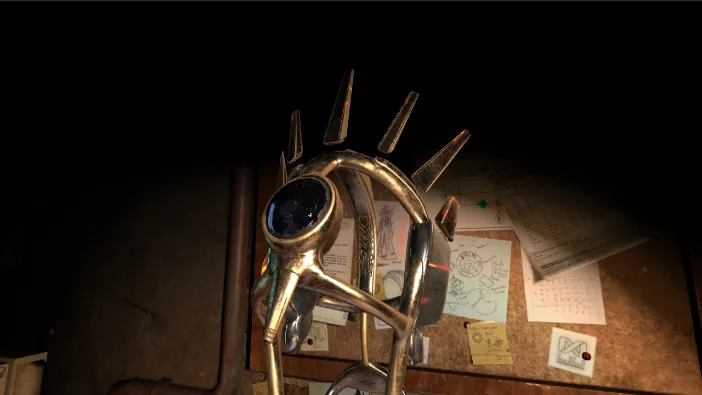
This will engage the collar and the top part, which resembles a helm of sorts, will be manifested. Once facing the large dark opal, tap on it to zoom on it and then tap it to open it:
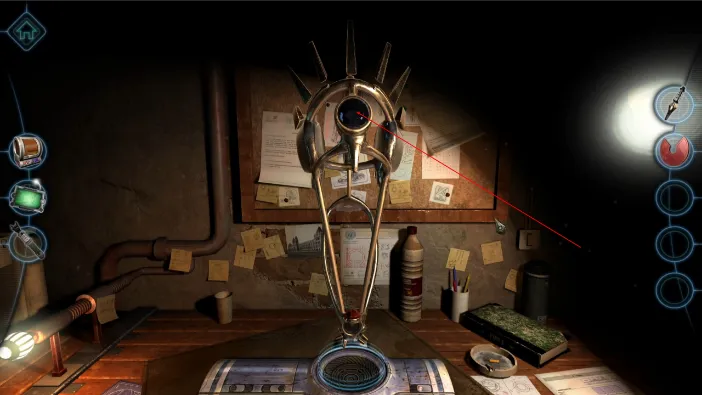
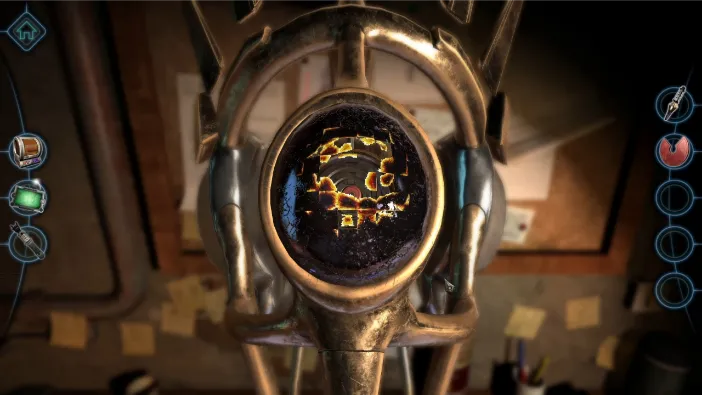
Once open, it is a spot where the red disc fits, so take it from your inventory and place it there:
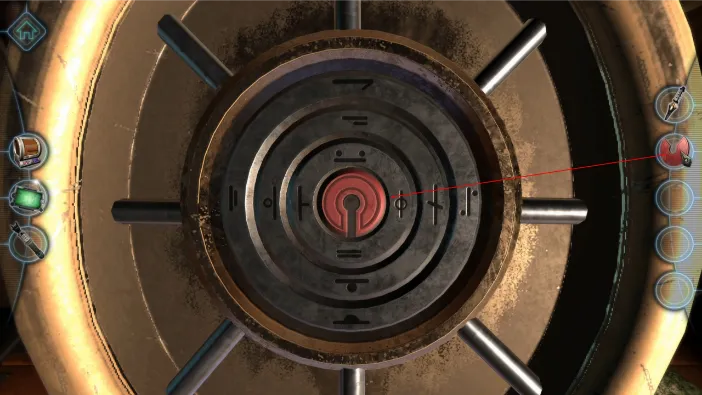
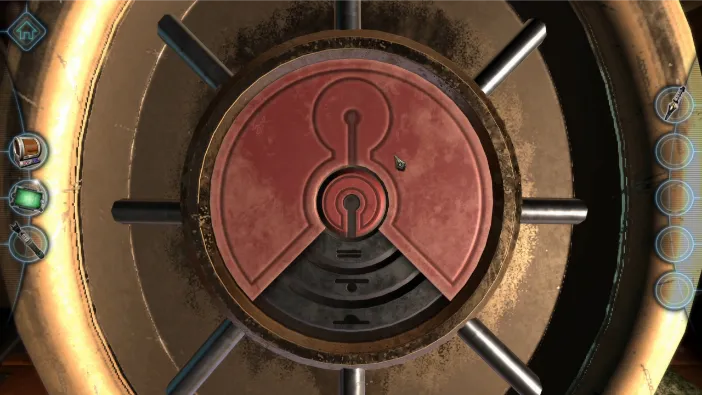
Now, drag the larger disc to turn it this way:
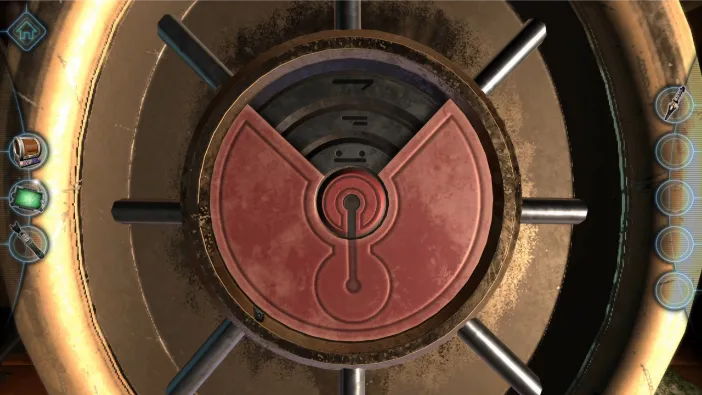
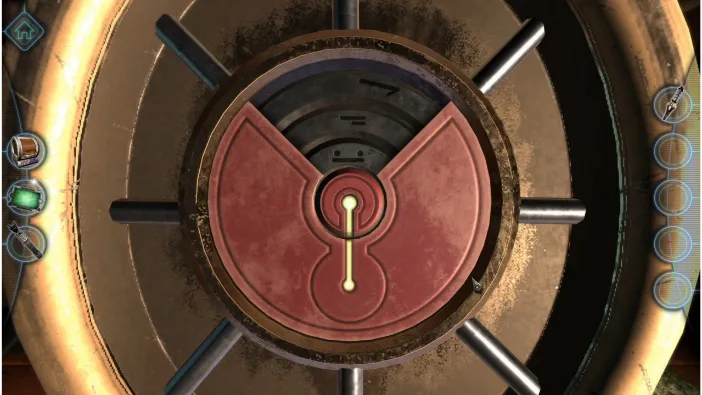
Once the 3 symbols click, turn them to get this combination:
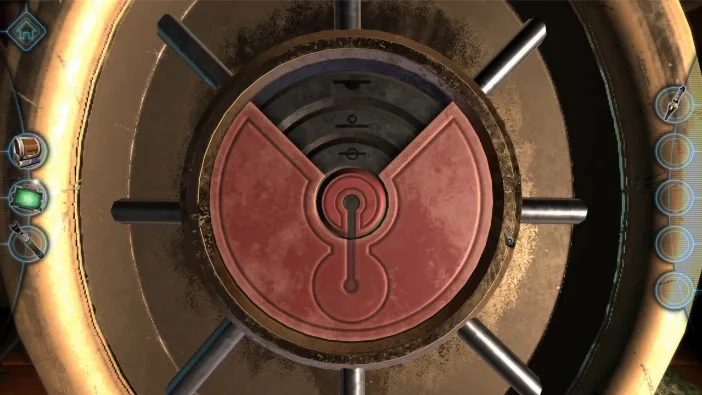
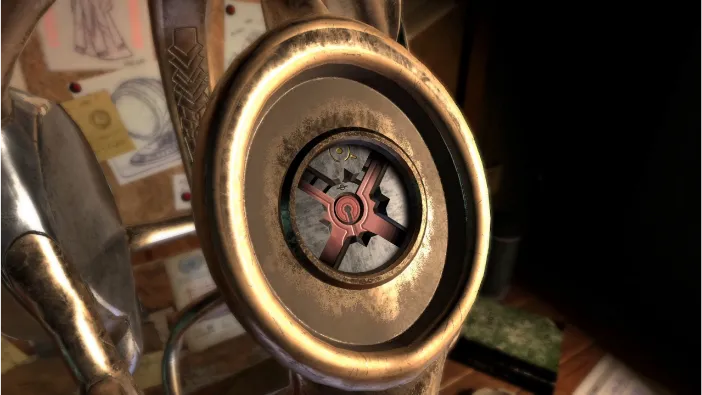
This will close the shaft and leave only a hole the shape of the Star of David. Now, take the object we plucked from the bottom of the collar, the one in your inventory, and put it in this hole:
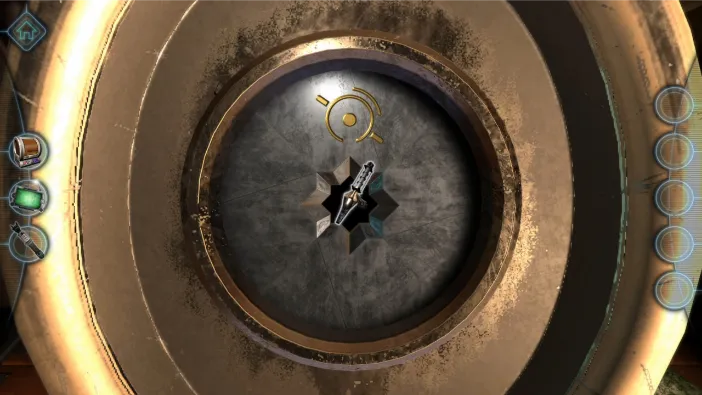
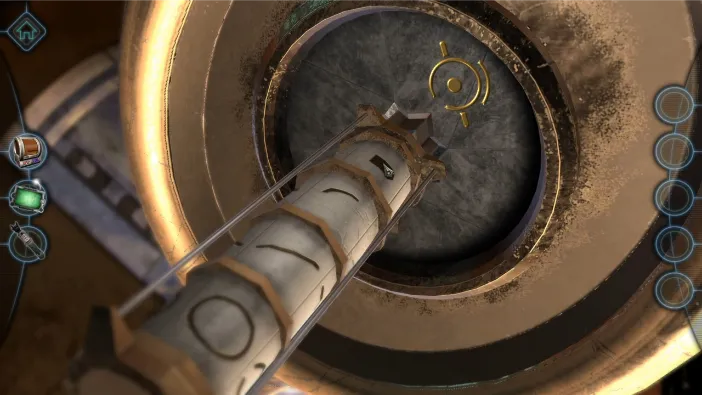
Now, turn the symbols on the cylindrical key to match the symbols on the shaft, which are these:
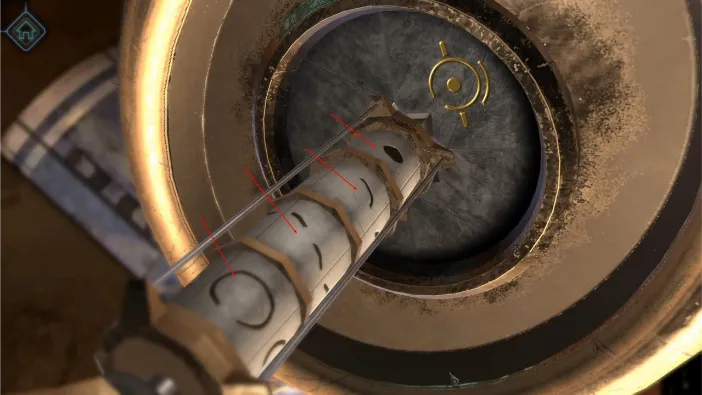
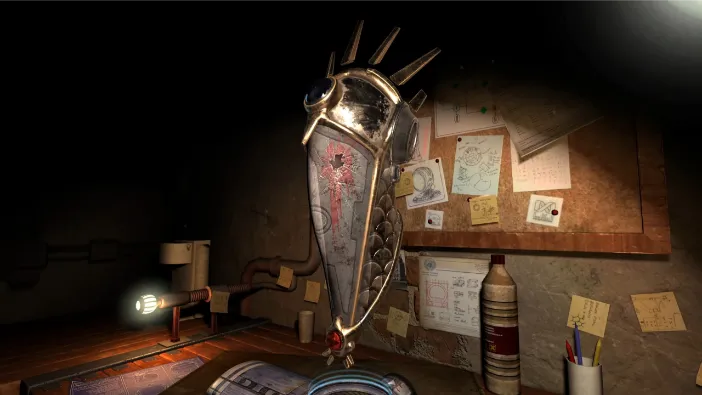
This will cause the full shape of the collar and help to manifest. Now, turn to the rear side and zoom in on the rear opening:
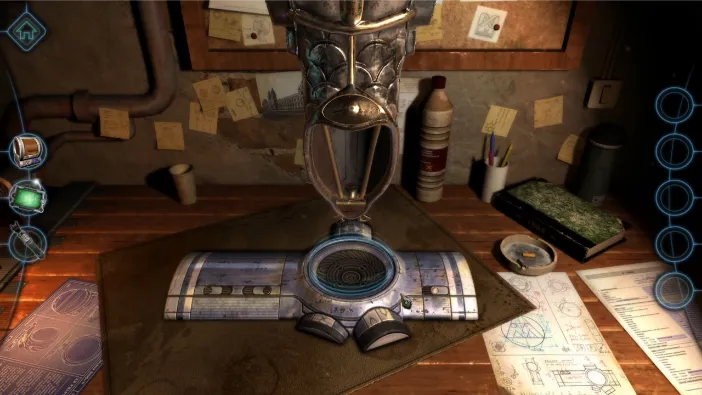
You will put the helmet on:
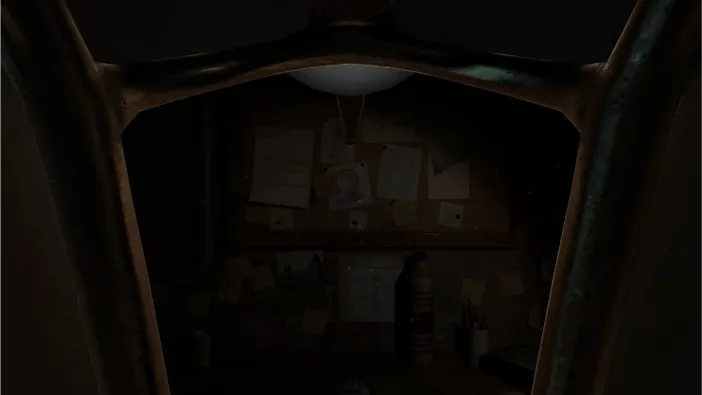
The interface will soon engage automatically:
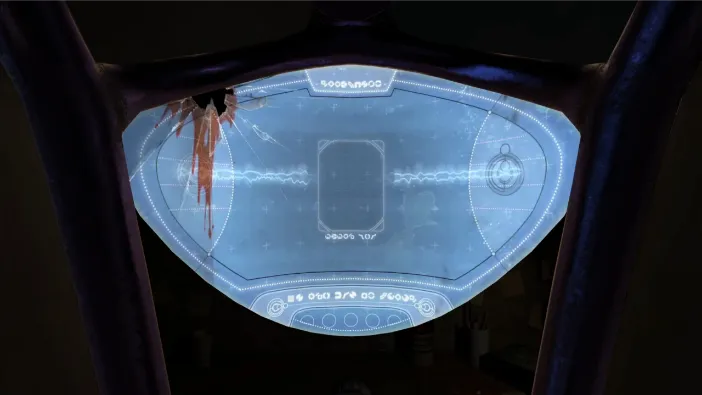
You will hear a sort of a message from an alien life form, which seems to be piloting the craft which parts we are analyzing. The alien is apparently in combat at the time the message is recorded. The craft is hit multiple times and finally destroyed, which marks the end of the message:
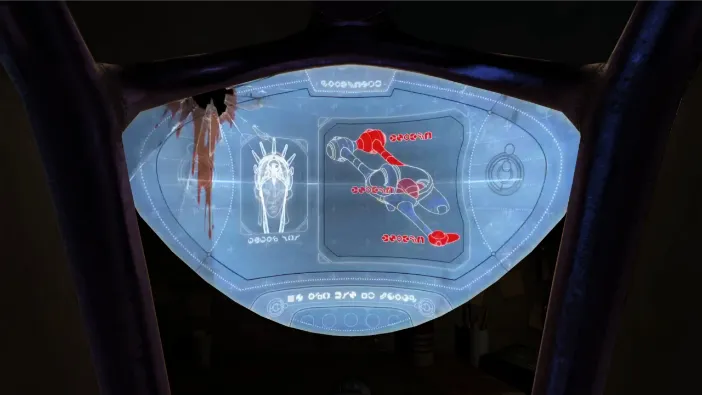
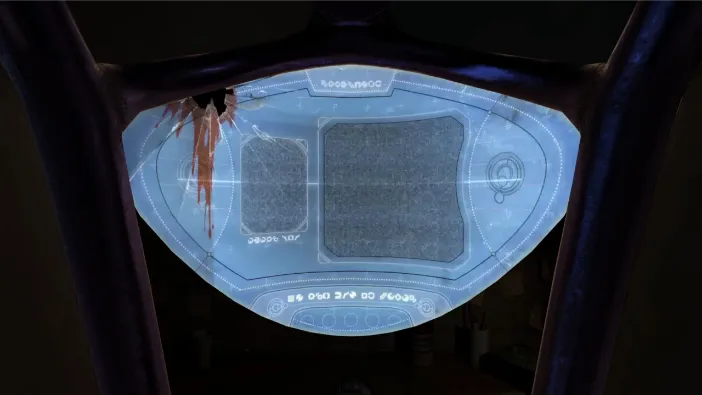
The alien appears to have been shot down by an unknown source. Once you remove the helmet, you will ponder on what you just saw for a moment…
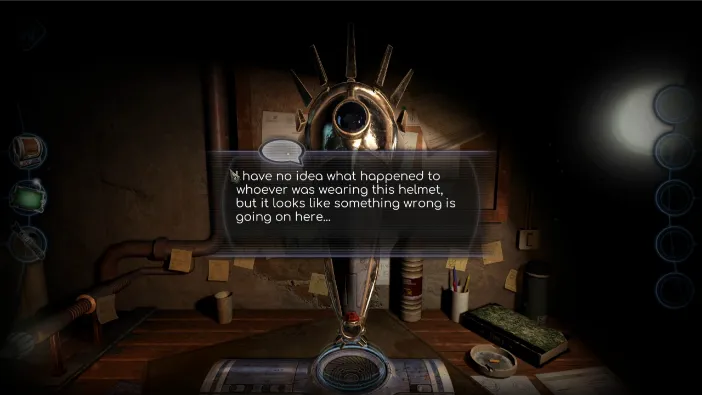
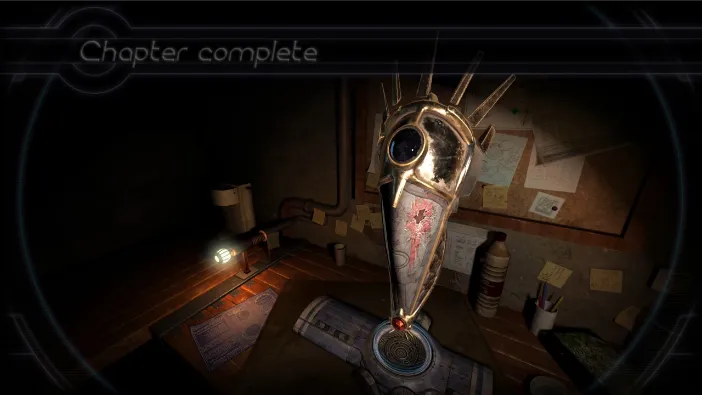
And, this marks the end of chapter 5.
