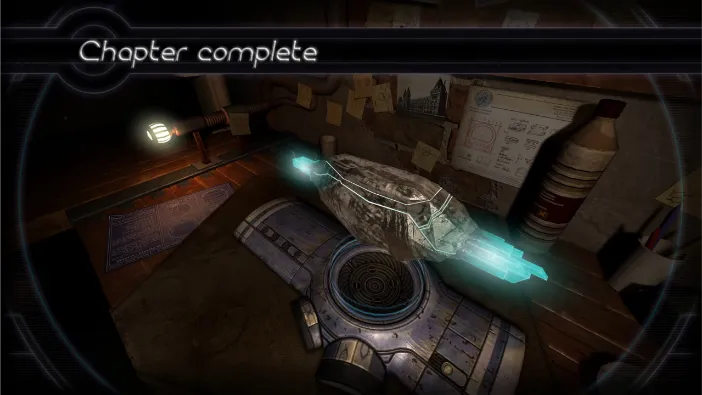
Machinika Museum – Chapter 4
In chapter 4, the object of our investigation is a smaller cylindrical container that is on the table. It comes with a familiar note.
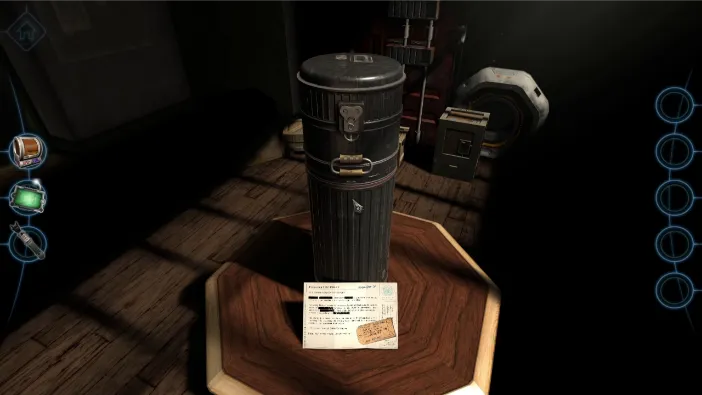
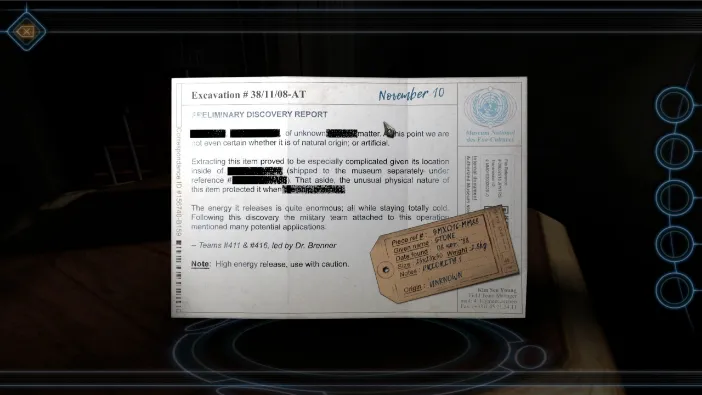
The note indicates that the object in the cylindrical container releases high amounts of energy. That it can withstand intense heat and that they are not even sure if it is of natural or artificial origin. To begin, turn to the back side of the container and zoom in on a little red button:
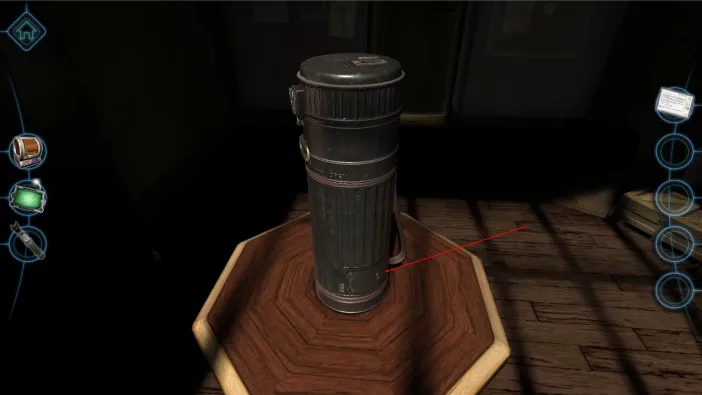
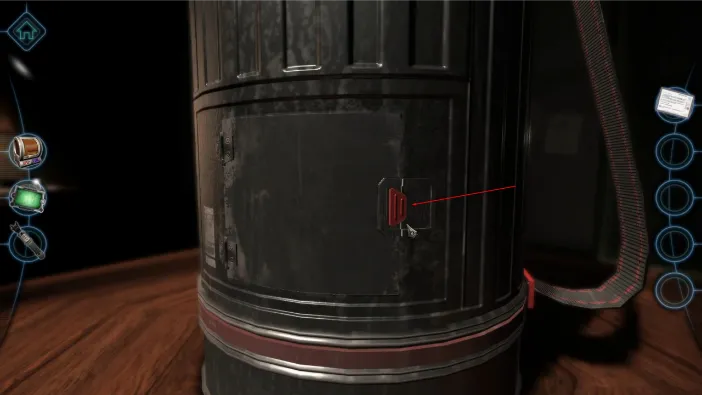
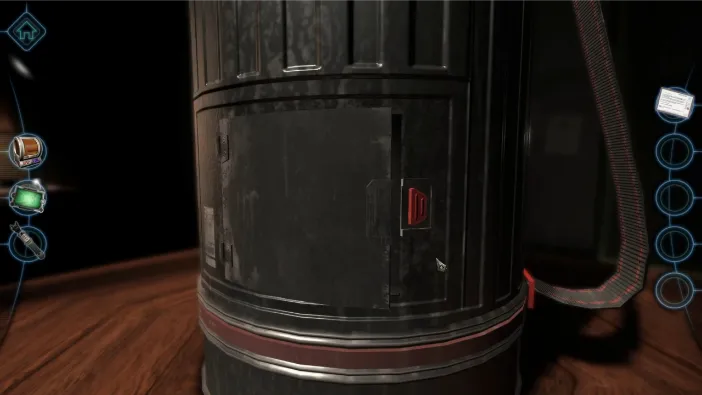
Tap and pull the button to the right to open the compartment:
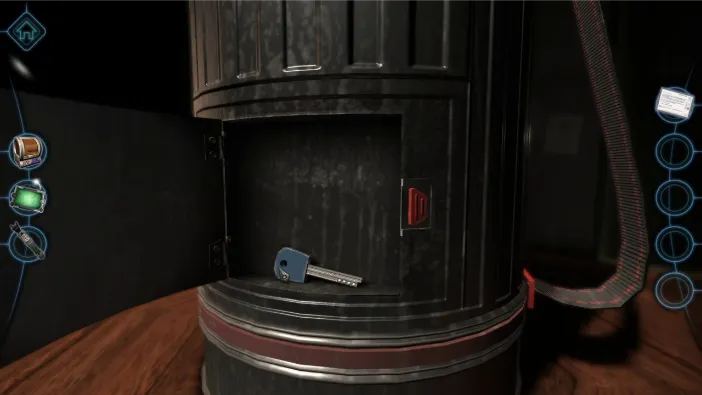
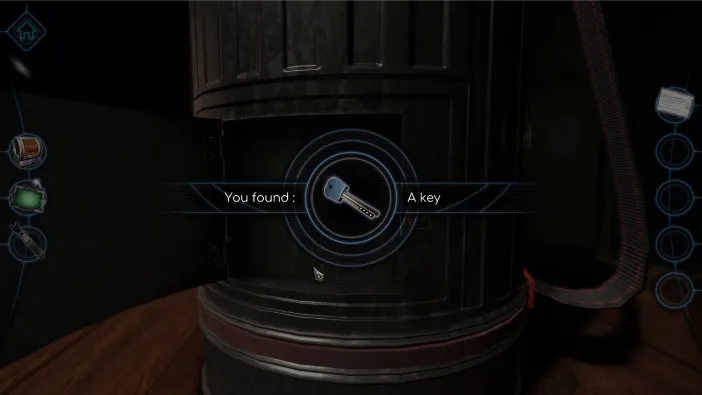
Now, zoom to the top of the cylinder, to the keyhole, and drag & drop this key onto the lock:
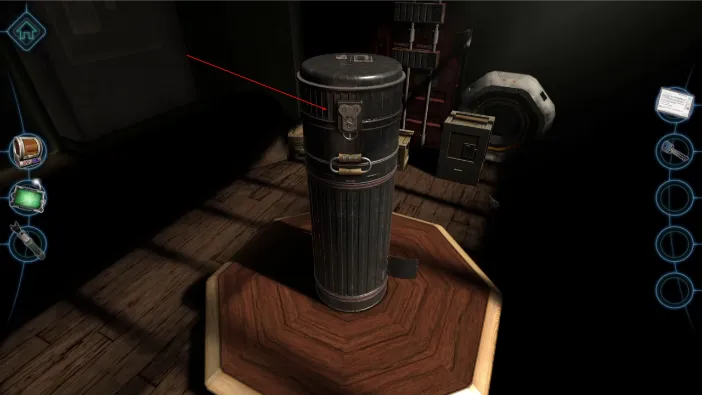
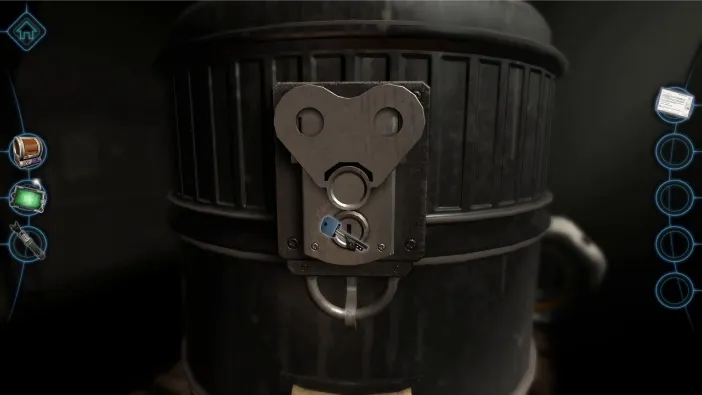
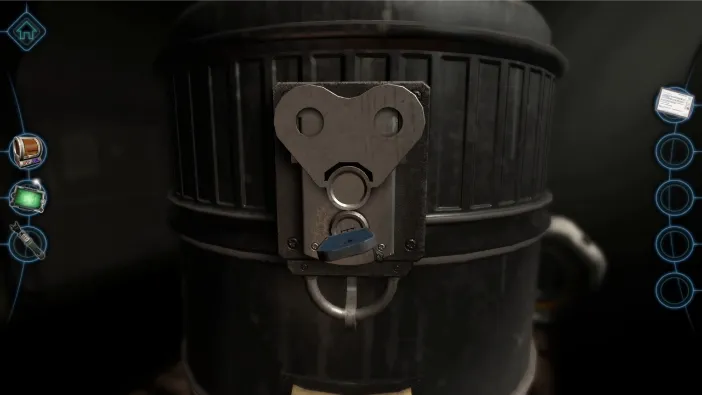
Drag the key to turn it and unlock. Then, when the butterfly handle is loose, turn it several times to the right side to open:
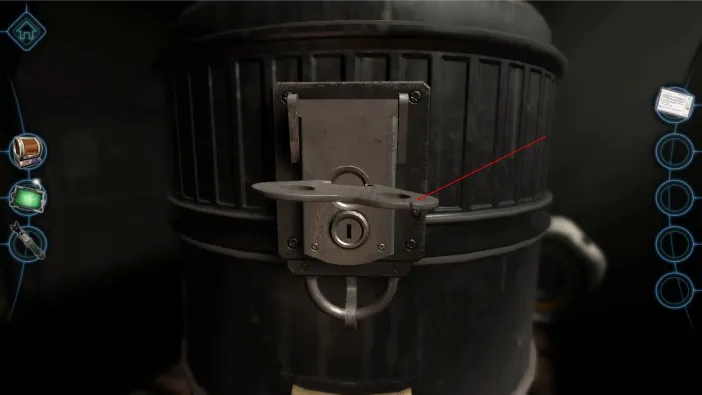
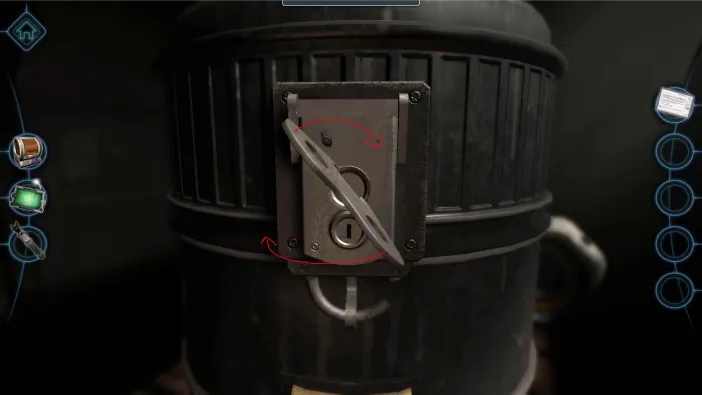
Then, once the cap is loose, turn it to the right to remove it:
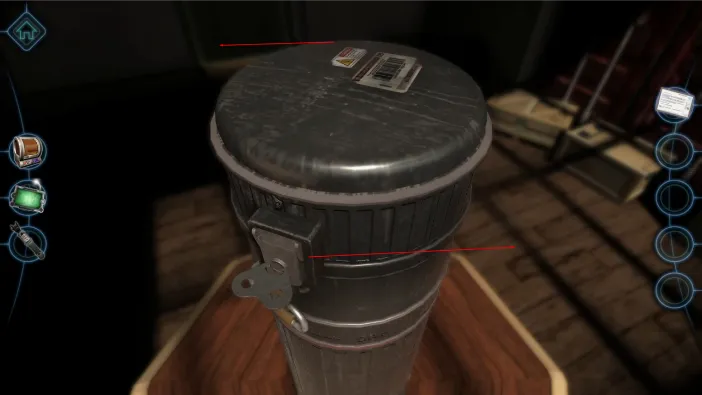
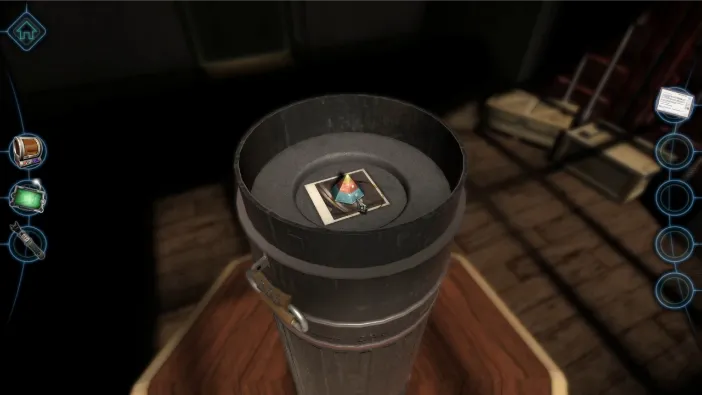
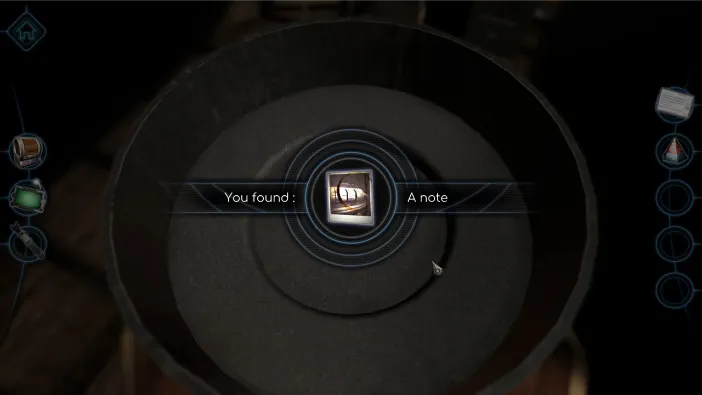
Pick up both the small pyramid and the note you find in there. The note is a photograph of the combination lock:
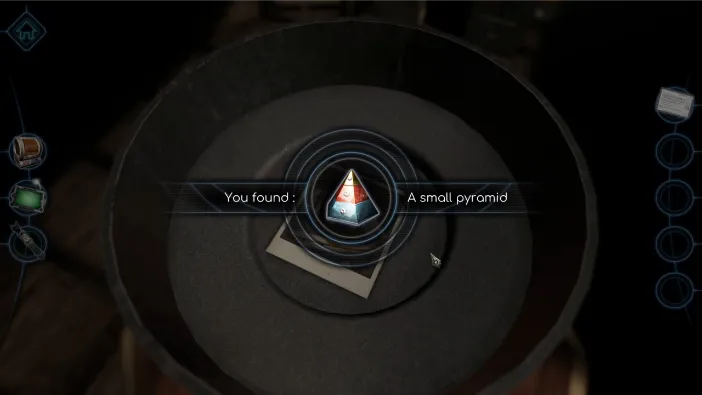
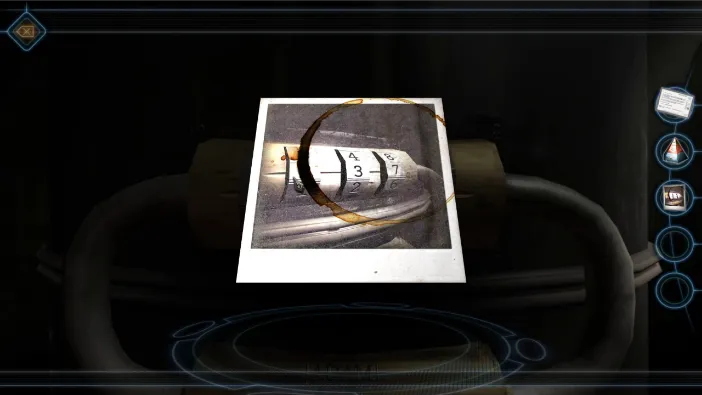
The first number is smudged, but you can clearly see the number before it, which is 1, so this means the first number for the lock combination is 2. Now, go to the lock and enter the numbers 2, 3, 7:
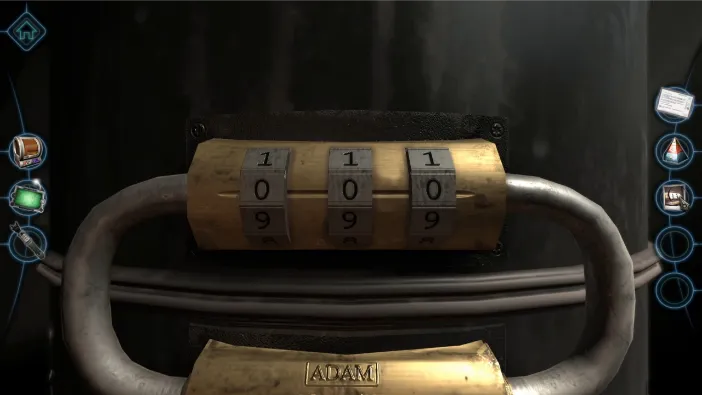
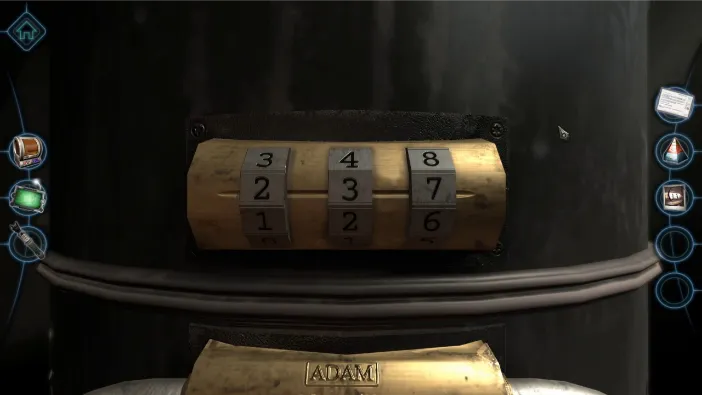
The top portion of the container will loosen now, but you have to turn it to open it:
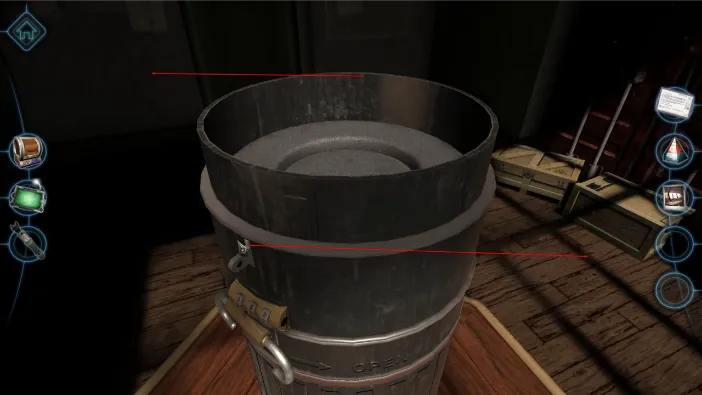
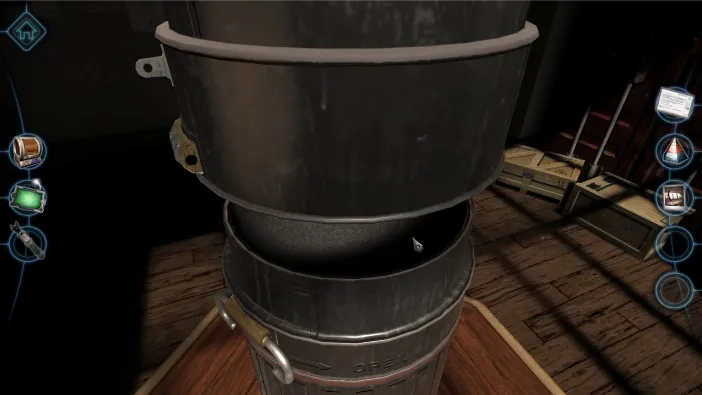
It will reveal a very intricate object inside, which is the one referred to in the note:
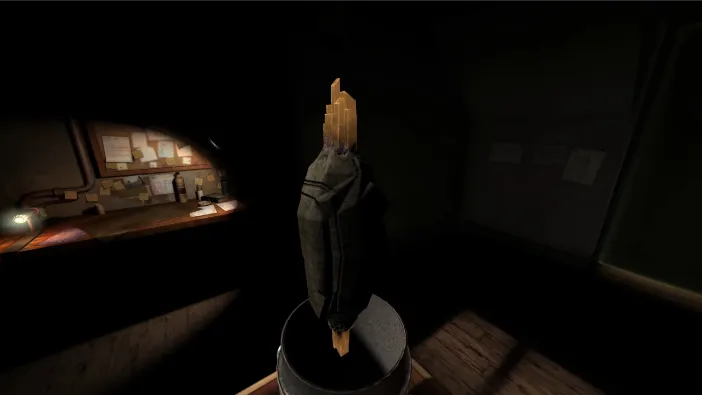
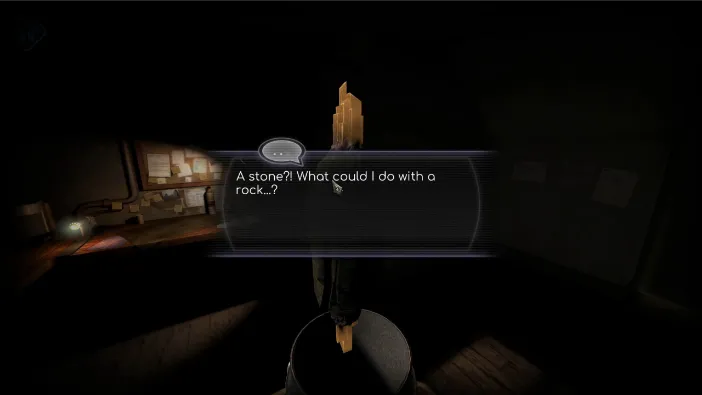
Now, the real work begins. We are back to the desk, where the anti-gravity device is. It is now holding the mysterious mineral rock.
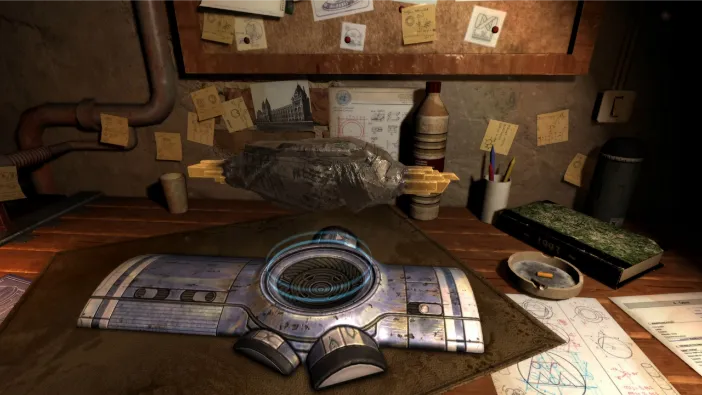
Drag and turn the stone to this side and tap on the little circle:
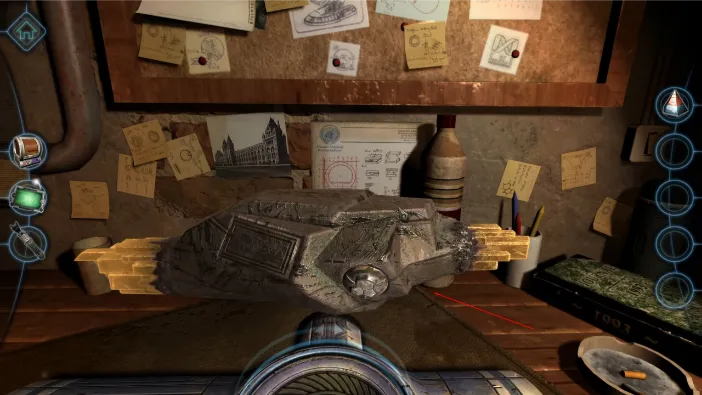
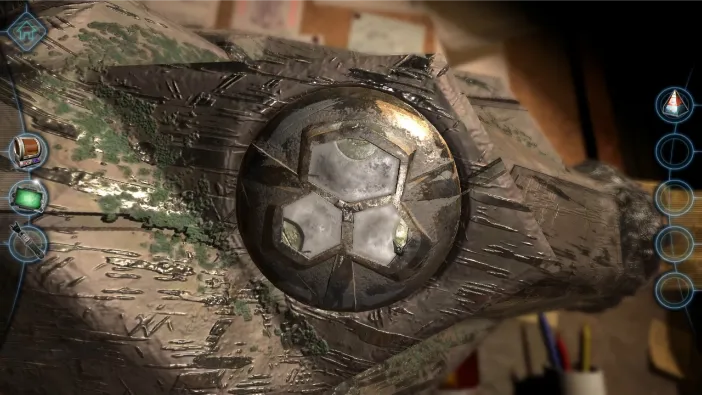
This seems to be a puzzle lock of sorts, so tap all the pentagonal fields until you get this shape:

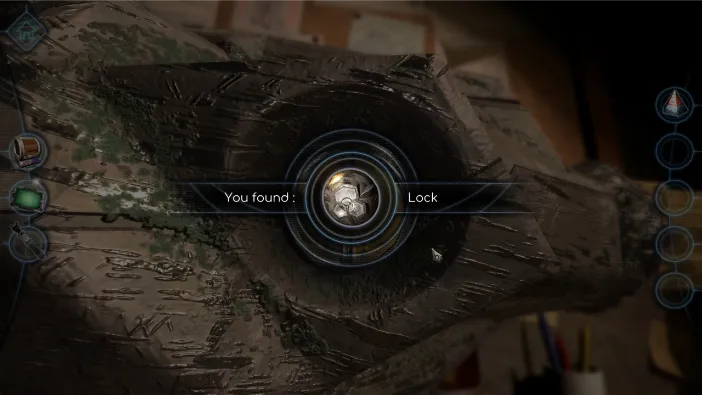
This lock will be picked up to your inventory. Now, tap on the right half of the yellow circle inside:
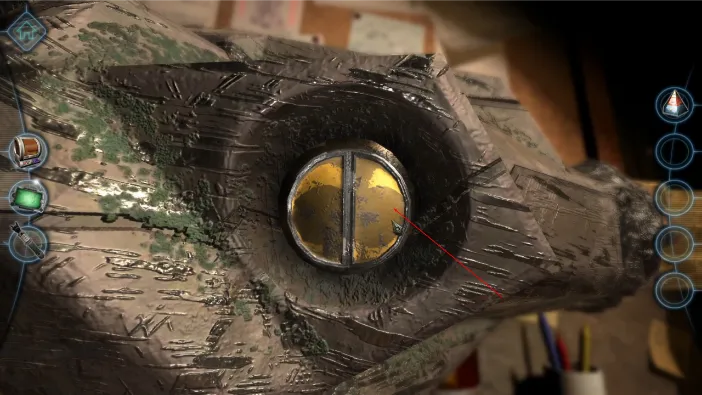
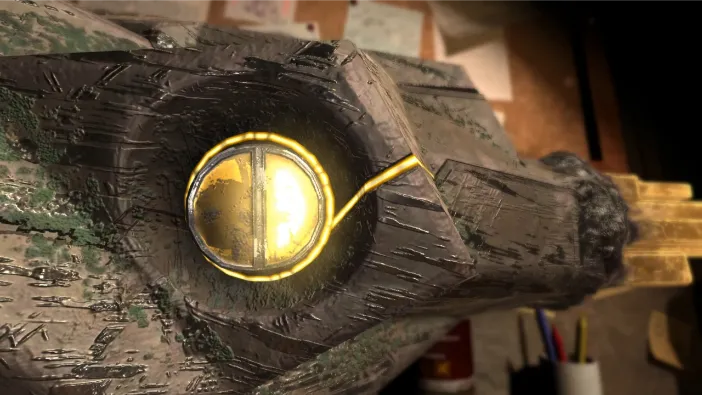
It will activate a mechanism which will detach the top yellow mineral-like part of the rock:
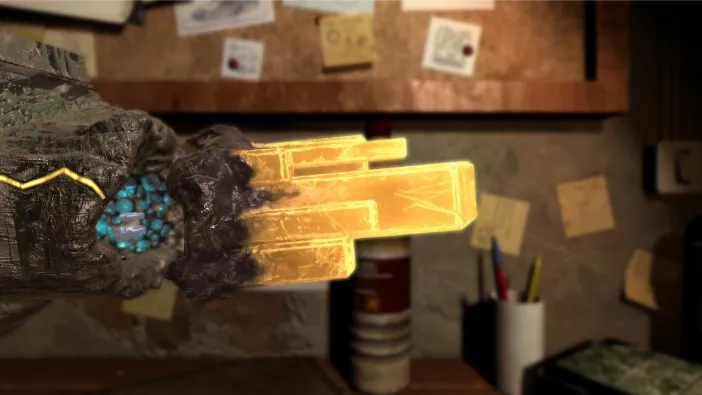
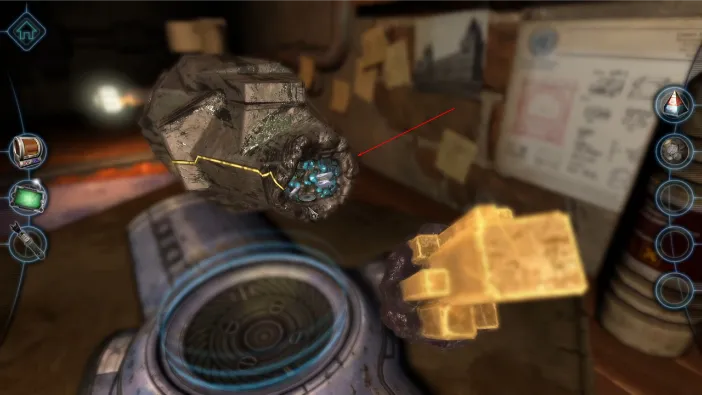
Now, tap on the interior of the rock to zoom in there:
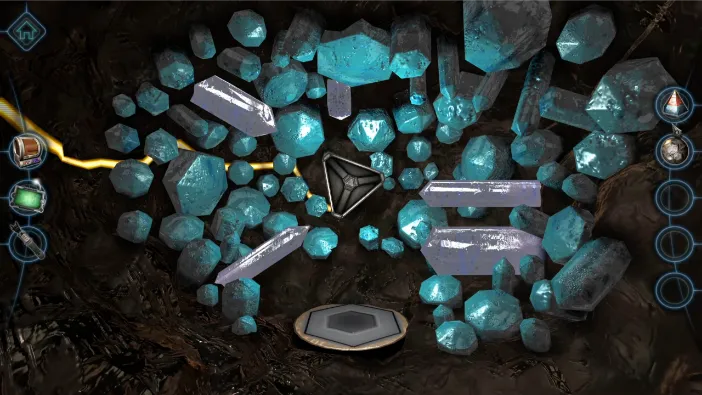
Now, drag the pyramid from your inventory and place it onto the circle on the bottom:
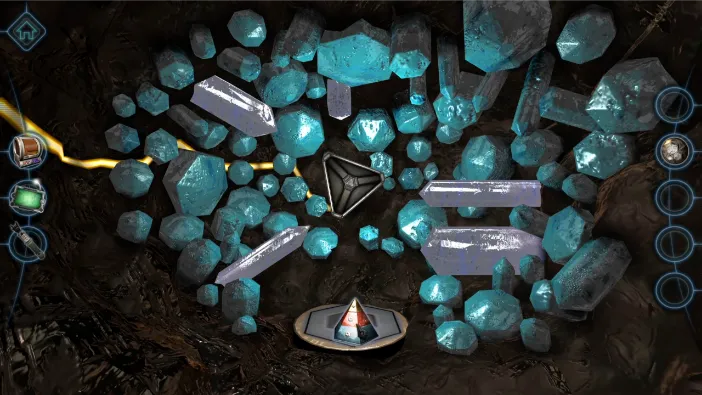
Now, you need to tap and rotate the 3 different levels of the pyramid and also to rotate the crystals so that all 3 sides of the other pyramid are lighted. Like this:
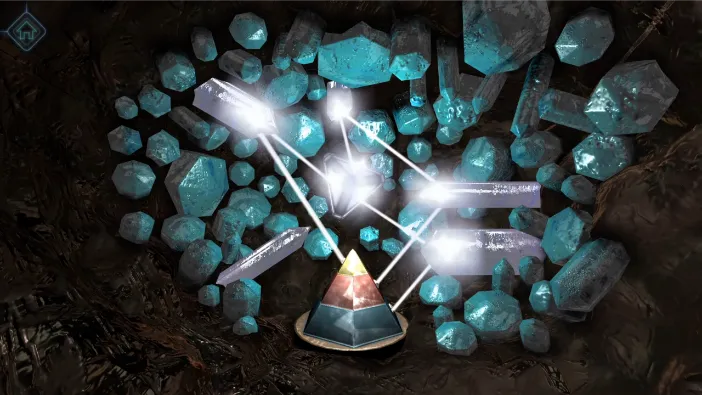
This will send light to the other side of the rock, which will reveal another sort of a console. Once this happens, go back to the yellow circular button you unlocked before:
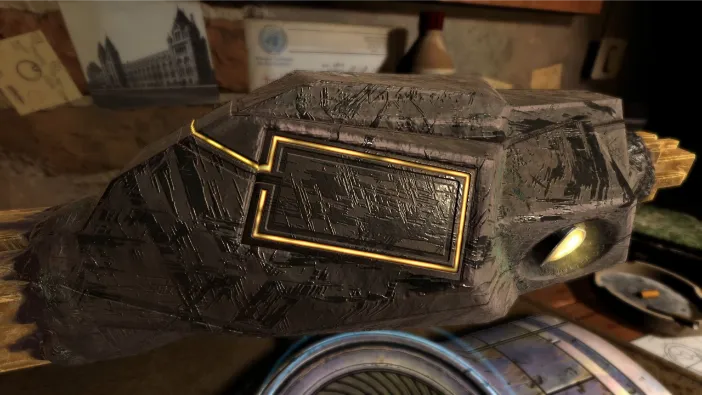
This time, push the other half of the circle to send the beam to the other end of the rock and open that side:
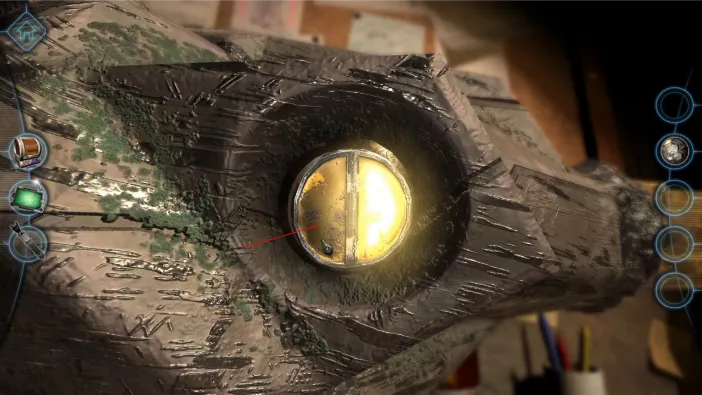
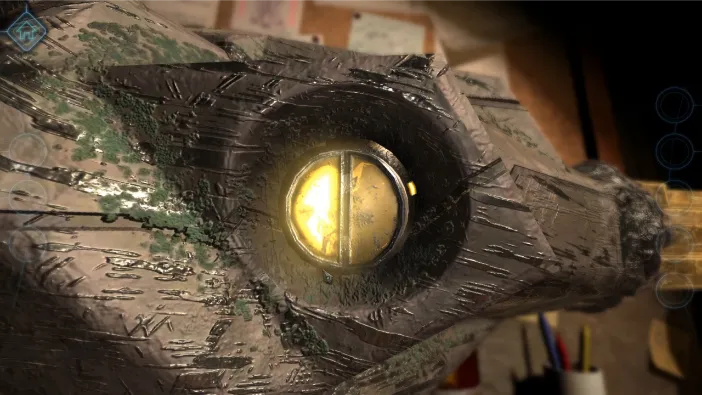
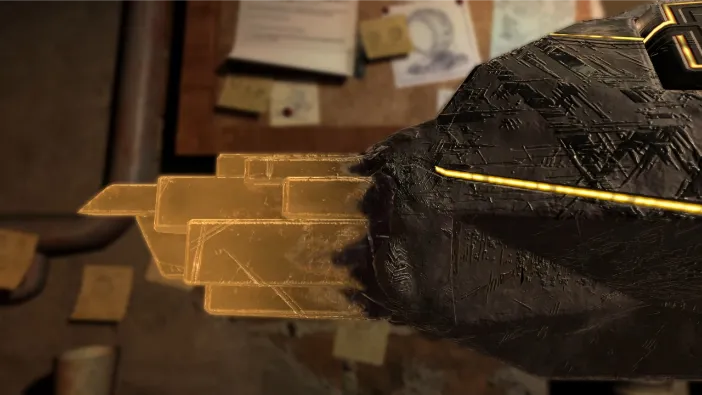
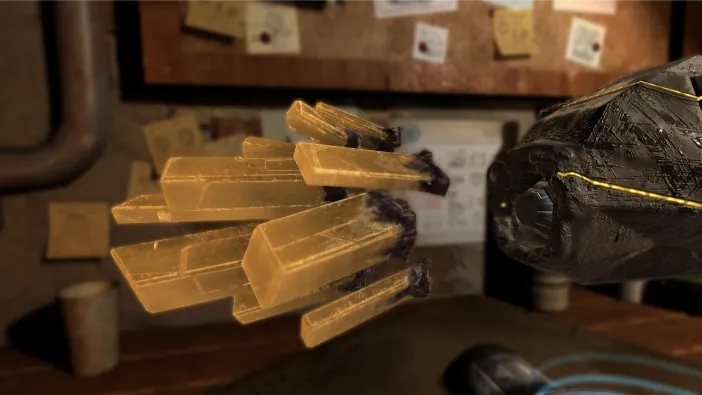
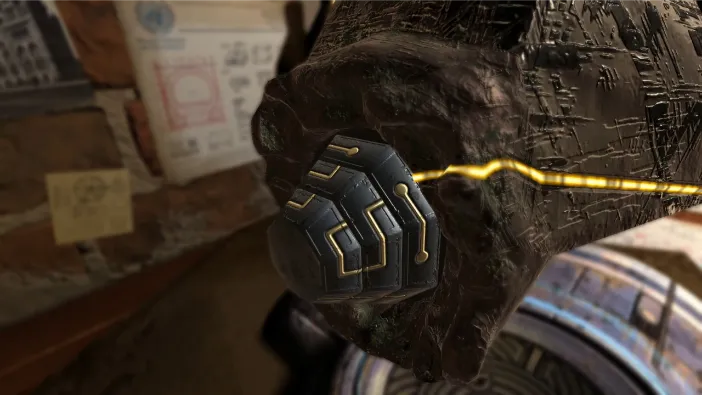
This will open yet another type of mechanism, which you need to align by rotating the 3 different levels to let the light reach the yellow dot:
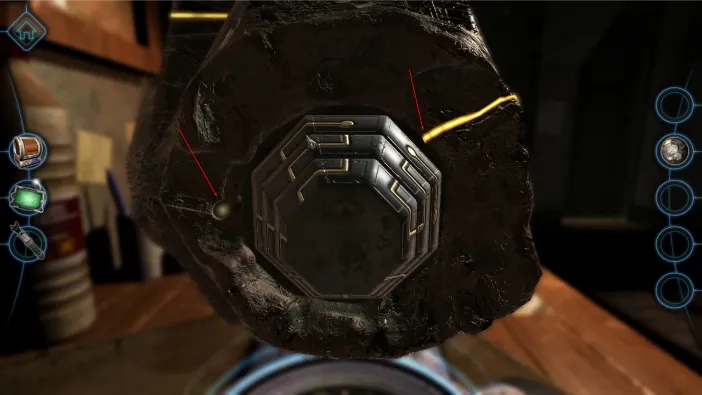
The end result looks like this:
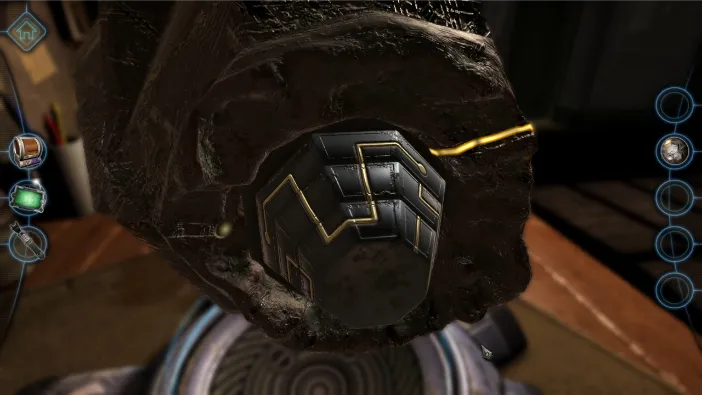
Once you align it, this end will close automatically and you will see the second light beam reach the console on the side of the rock. Zoom in on the console and tap it to open:
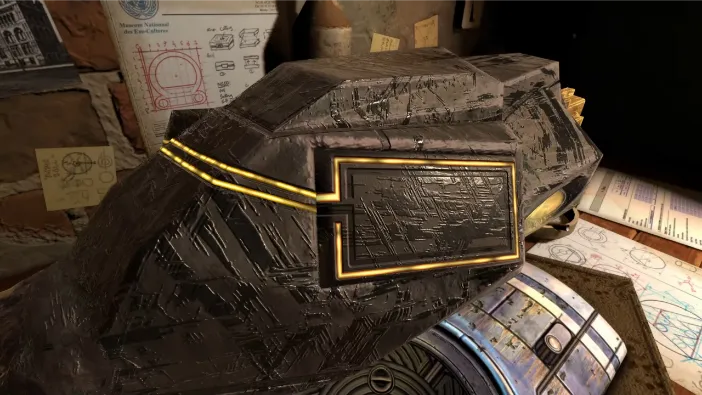
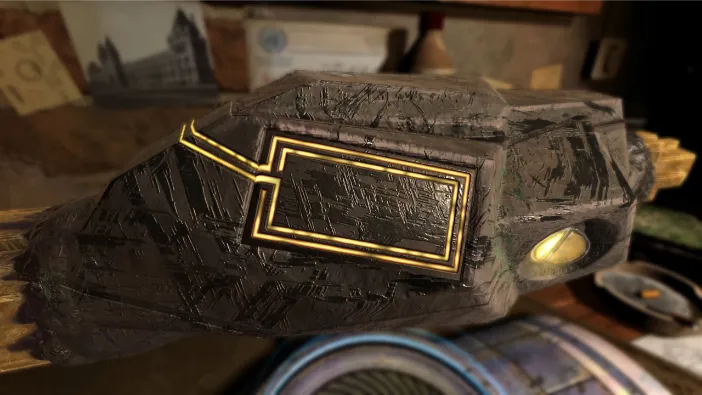
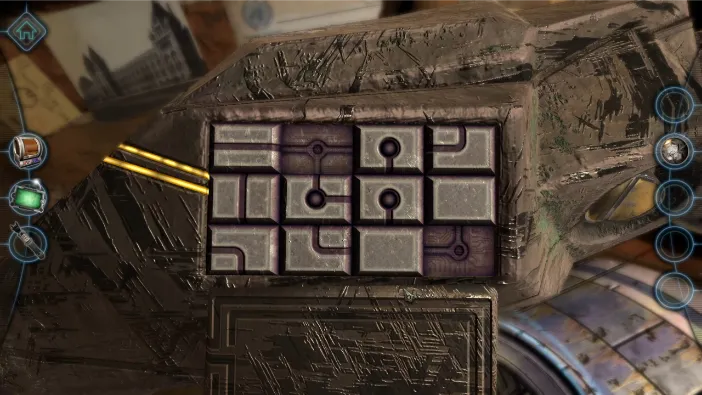
This puzzle again needs to provide the way for the light to pass through, and the solution is like so:
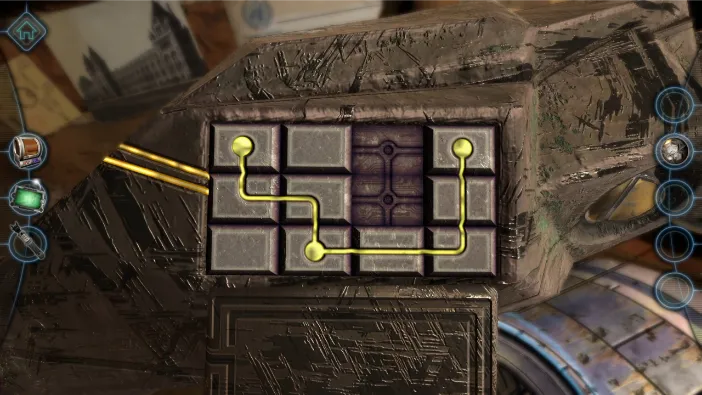
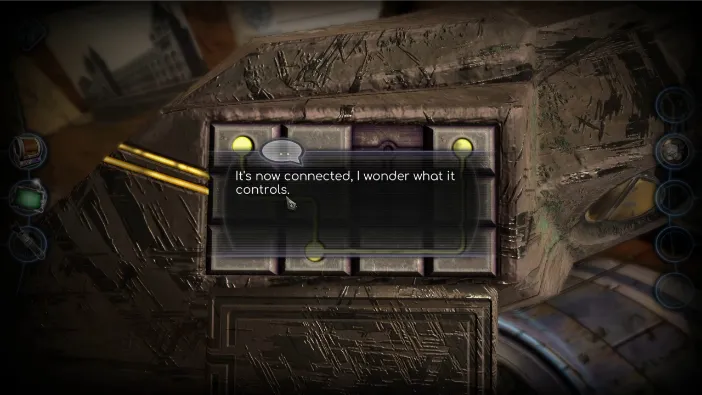
This will open the top side of the rock:
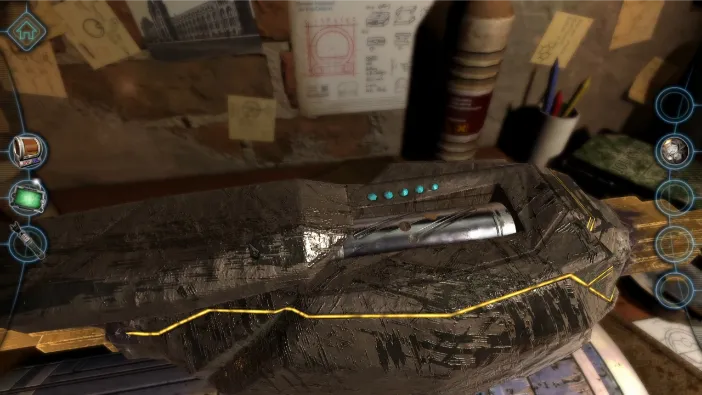
It will reveal a cylindrical metallic container which you first need to open. Do it by sliding the smaller dots to center the bigger dots on the diagonal line:
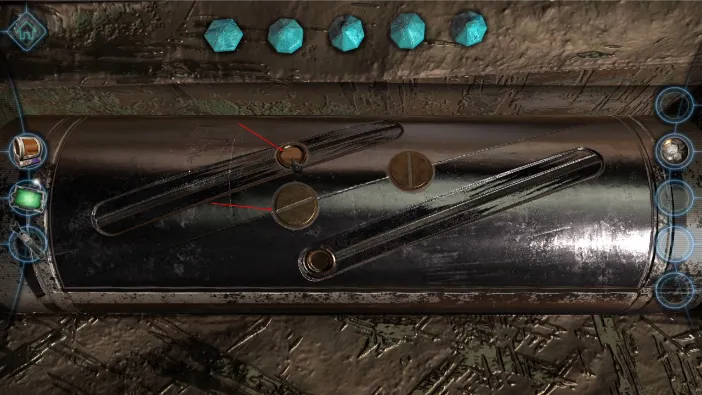
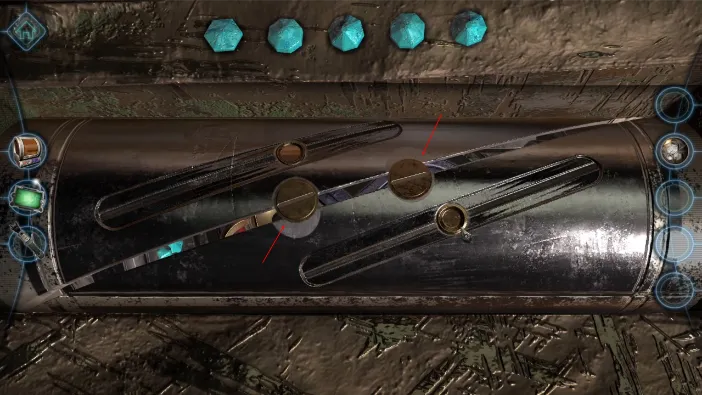
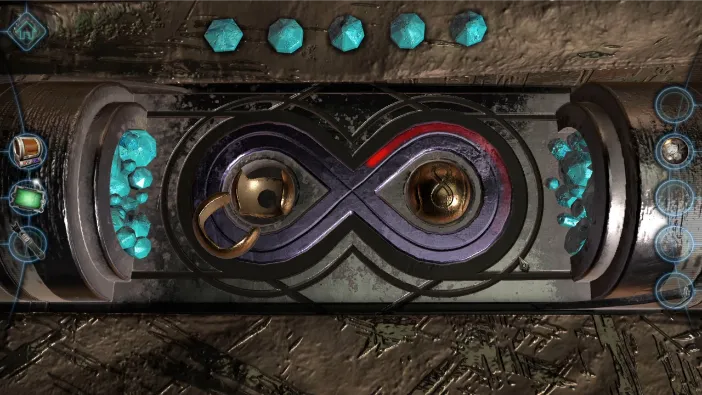
This will reveal several parts inside that you need to pick up – more accurately, two metallic balls, of which one is in a bad state. Pick them both up, then clone the good one, and put the two now good balls into the slots:
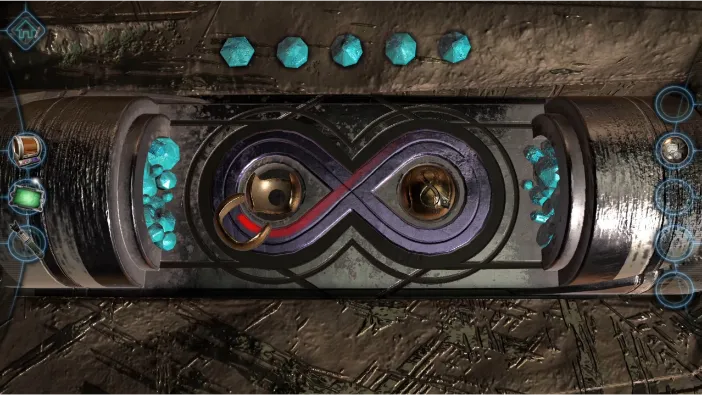
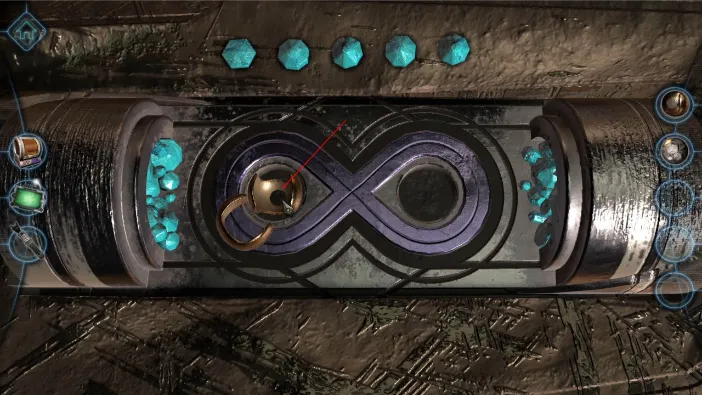
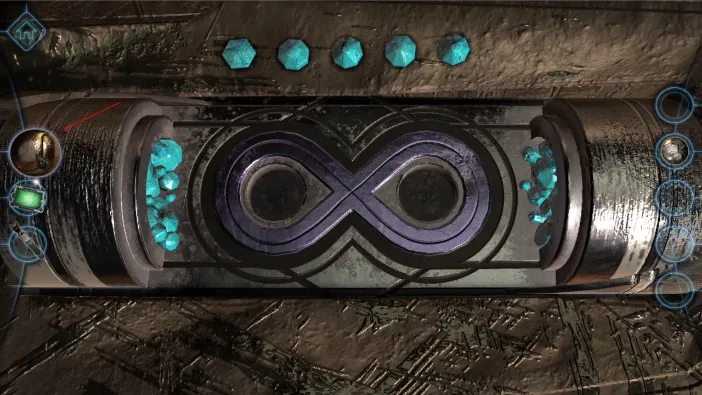
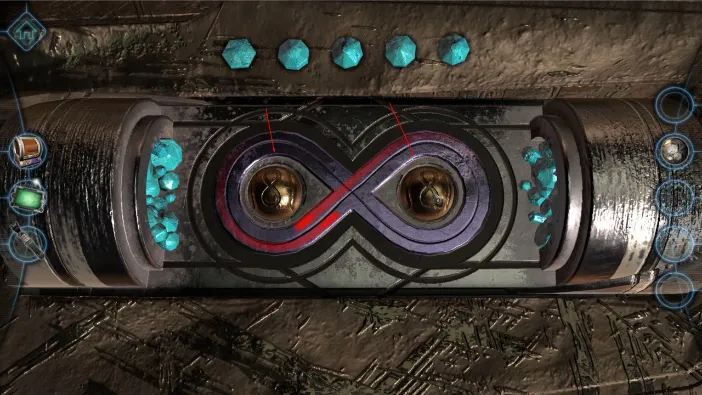
This will enable you to rotate both these balls, now in their slots, so drag them both to change the colors of the two moving beams. The order of the colors can be found on the back side of the key we took off of the rock:
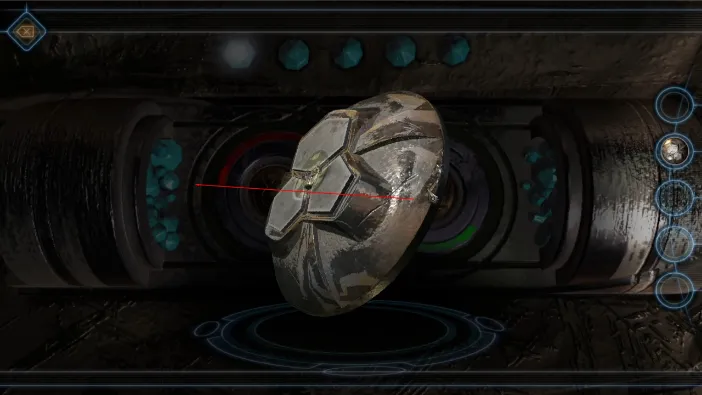
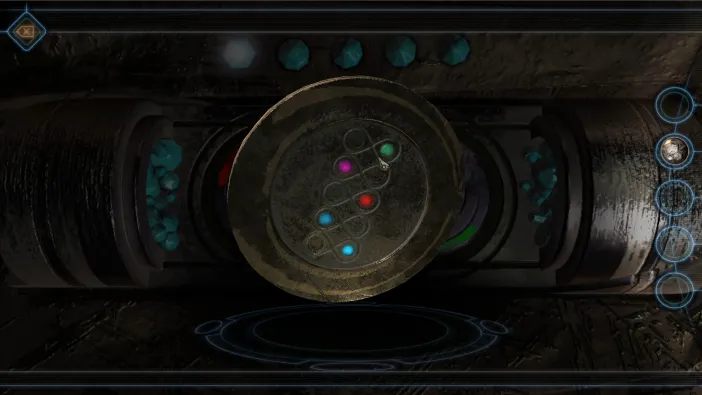
Rotate the balls to get the colors in this exact order, and the 5 jewels above will light up:
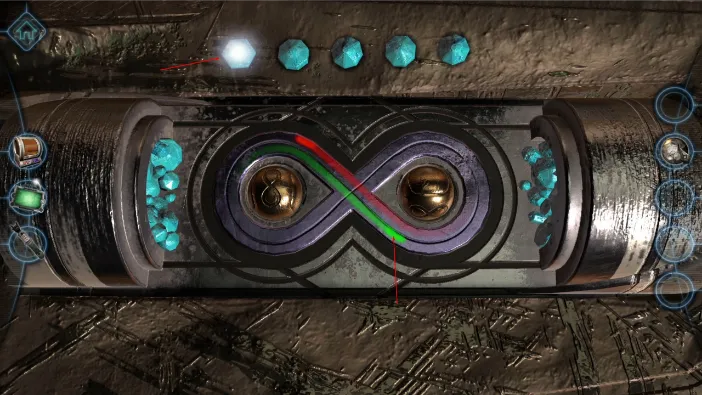
The order is Green, then the other one purple, then the first one red, then the other dark blue, and then the first one light blue:
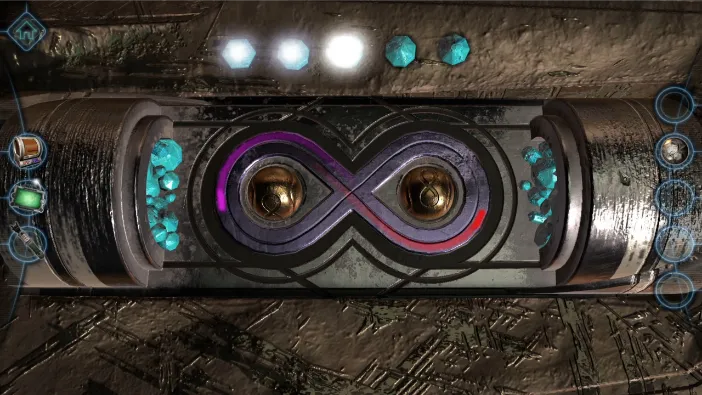
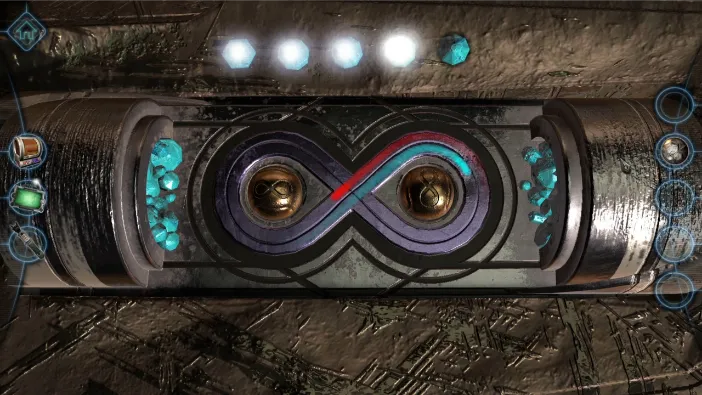
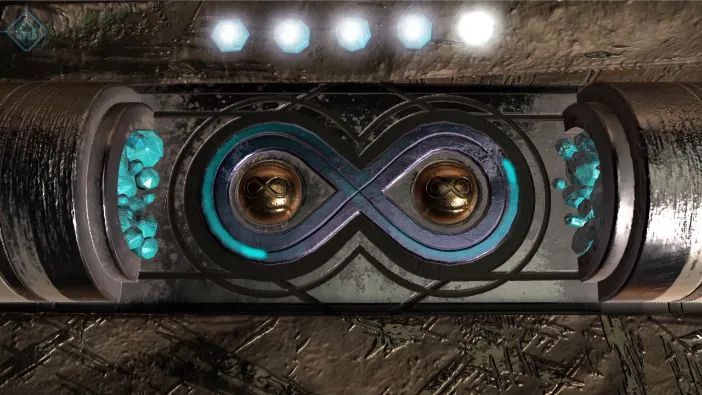
Once you solve this, the whole rock will engage, energize, and start vibrating:
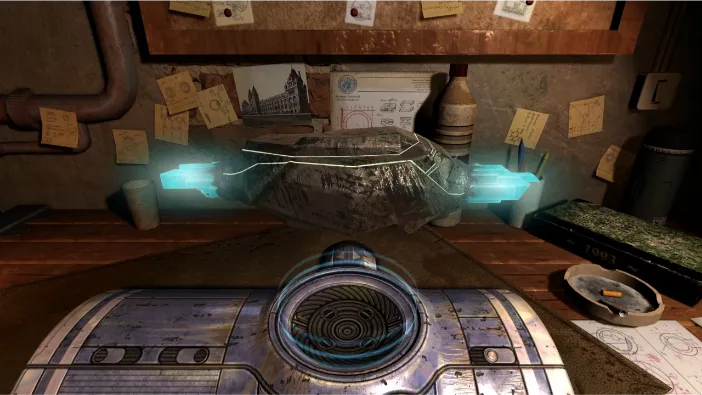
After it cools down, you will wonder what it powers up:
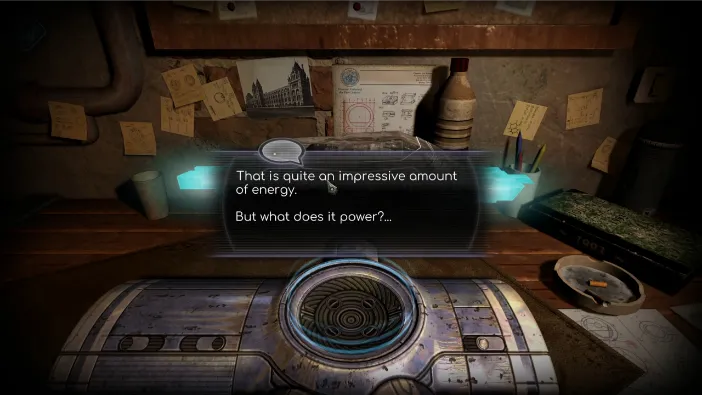
And, that is the end of chapter 4.
