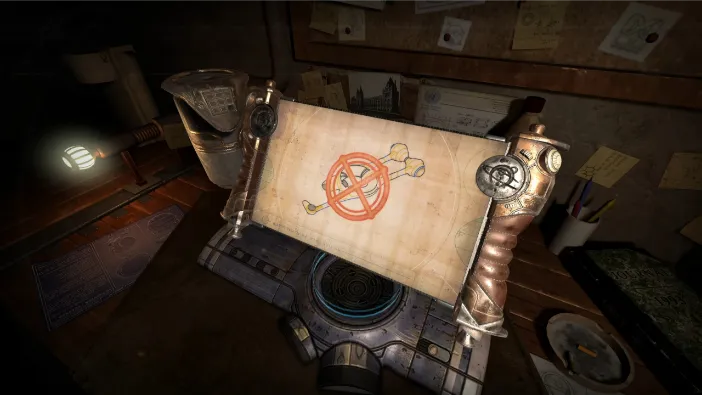
Machinika Museum – Chapter 3
In the third chapter, we go onto another box from the set. It is already on the desk and it starts with us diving in immediately.
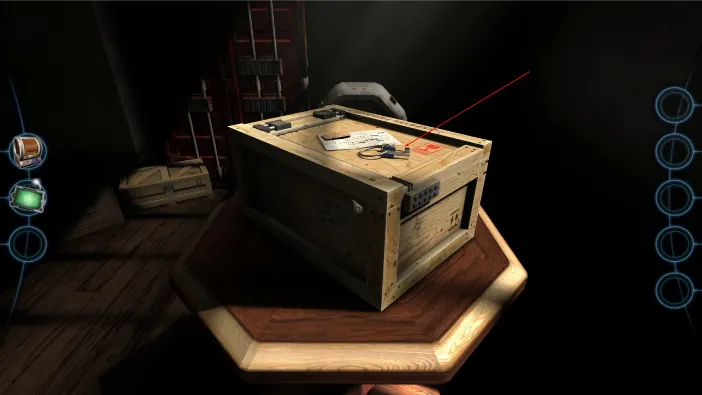
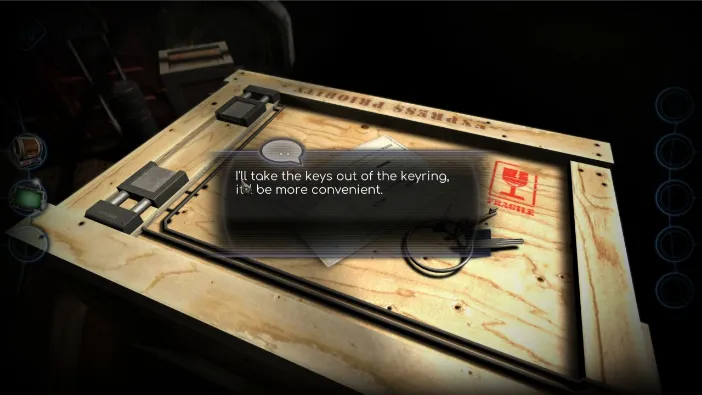
As you zoom in on the box, you will notice a note and the keys. When tapping the keys, you will automatically get this message about taking them out of the ring, for convenience. So, all 3 rings will be placed in your inventory separately. The note is from the field team, written in recognizable vague and encrypted style…
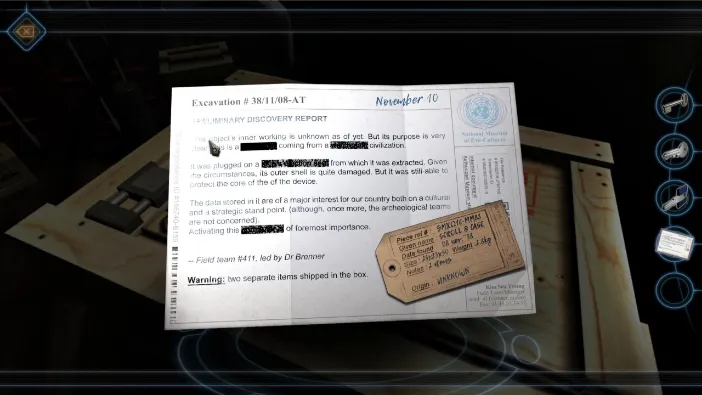
It appears that the object holds some kind of a data storage device and it is your goal to reach it. So, start by zooming out and rotating the view to the side of the box with a keyhole:
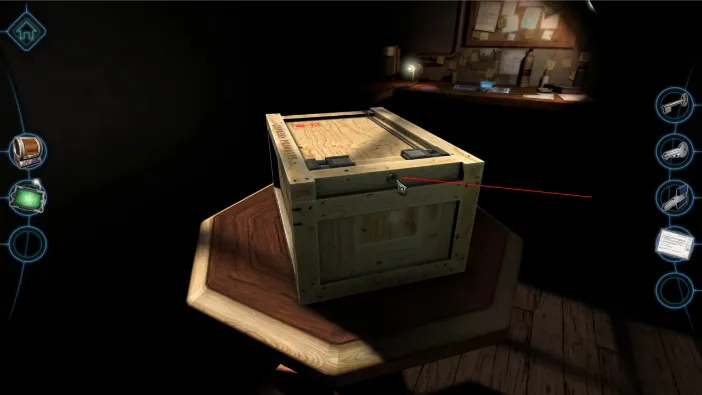
Insert the key from your inventory into it:
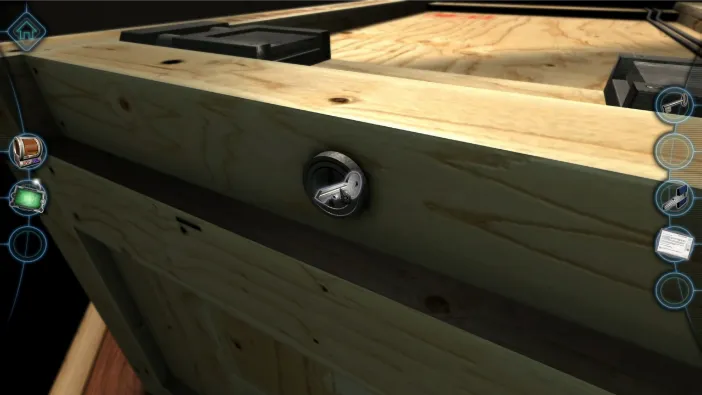
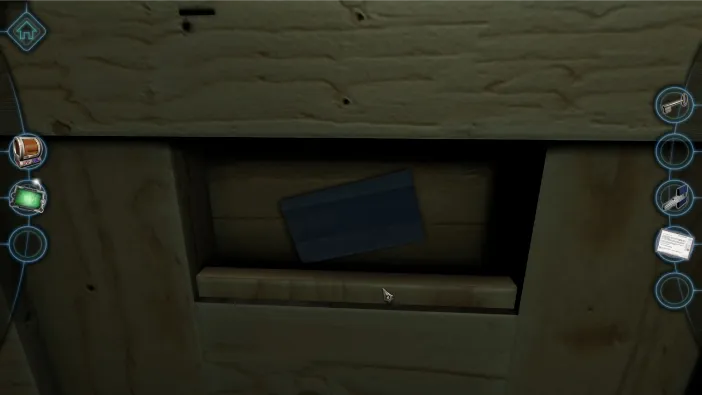
It will open a small compartment below which hides a note. Pick it up:
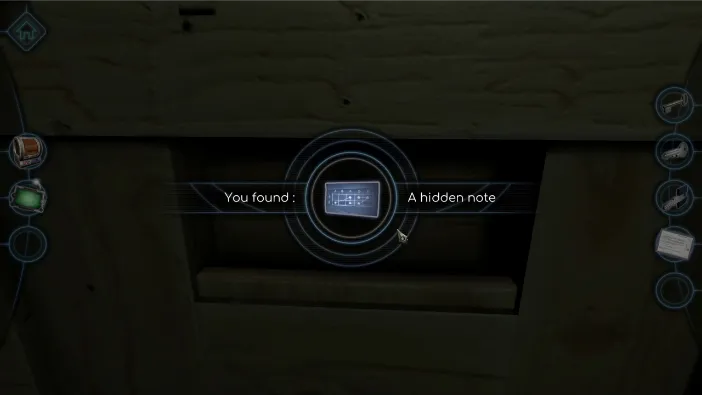
Now, rotate to the other side of the box, the one with the buttons, and zoom in on that. The note you just picked up holds the clue for which keys to press in which order:
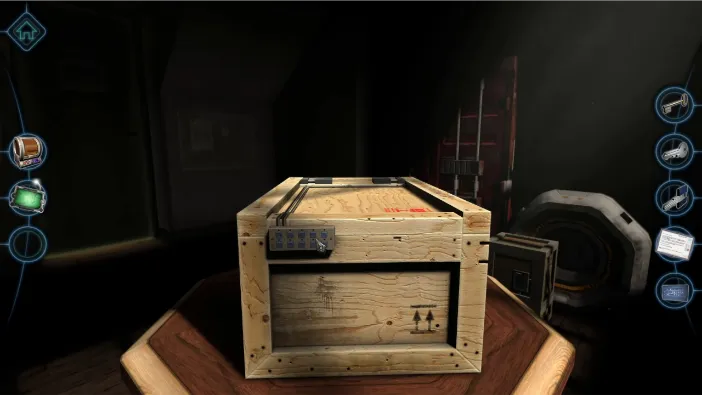
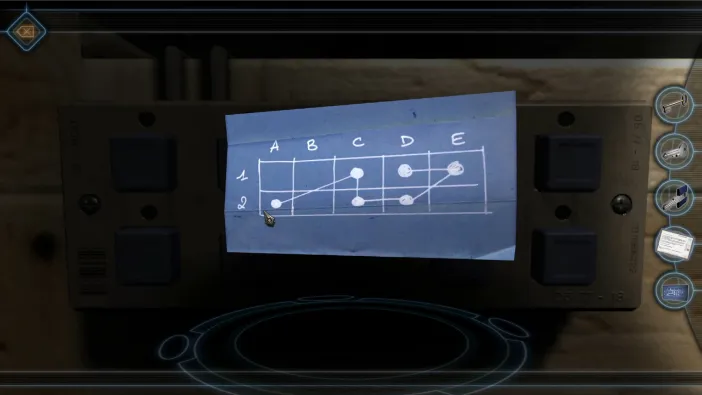
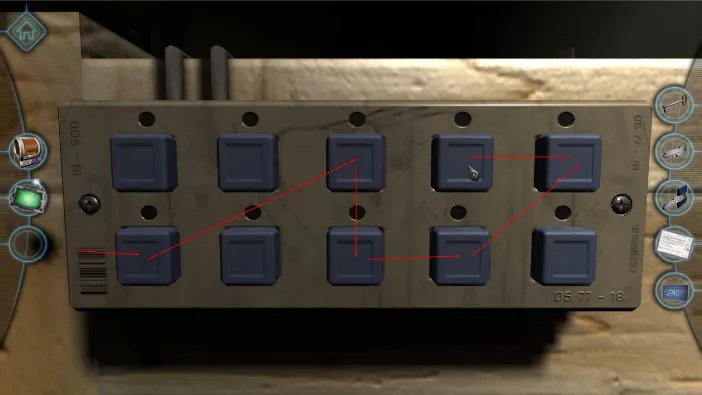
This will open the two keyholes on the top of the box and you need two angular keys, of which you only have one, so drop it into the printer to make a copy and then use them both to unlock it:
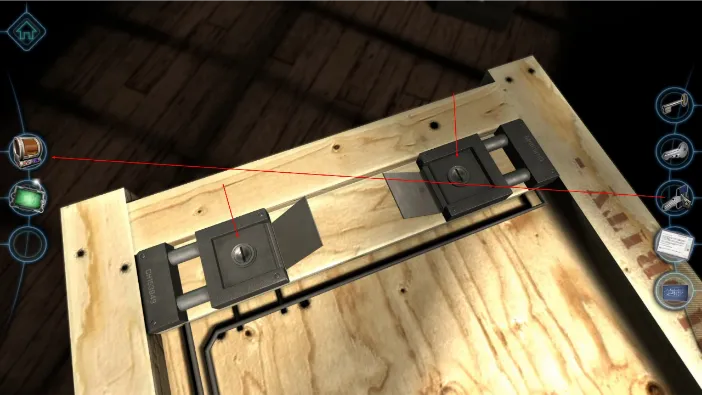
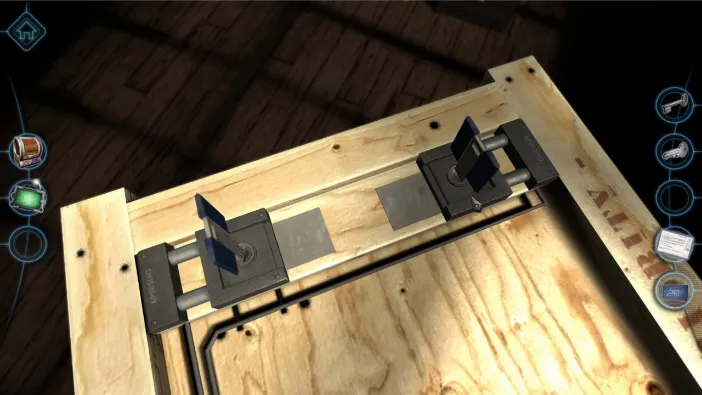
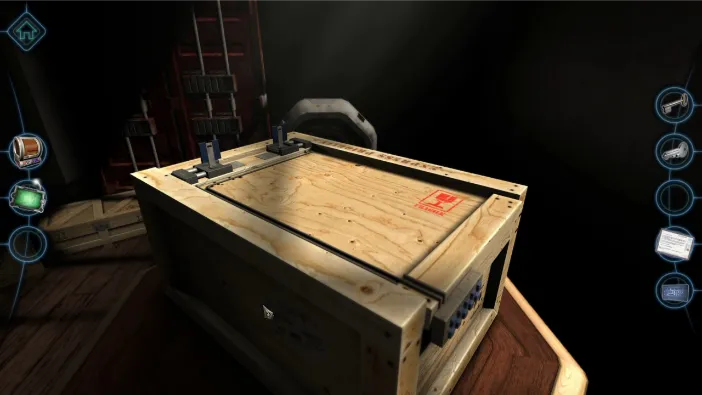
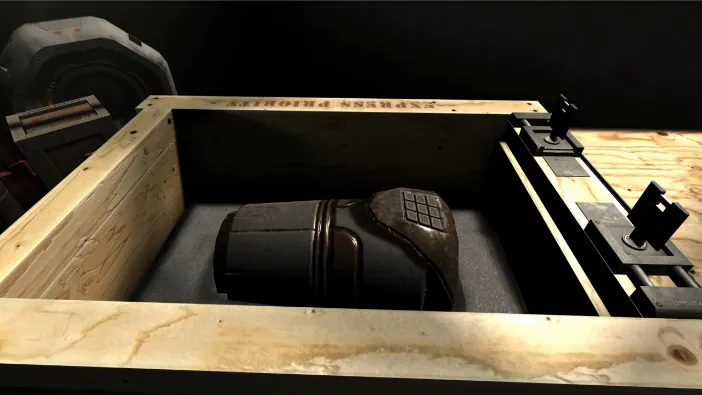
You’ve reached the object inside and now, the hard part begins as well as chapter 3, officially.
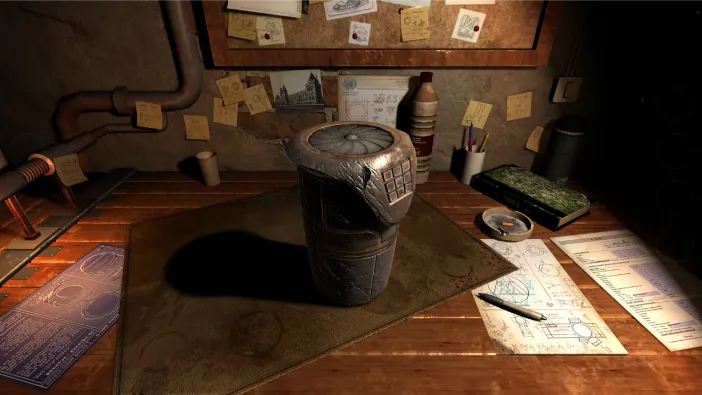
As you take the object to the desk and place it there for further examination, you can immediately pick up a few useful things. Primarily, pick up the pen right next to it:
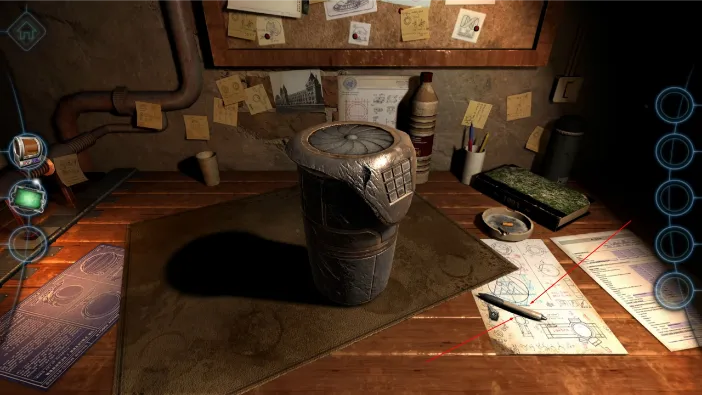
Next, zoom in on that little crack on the object itself. We are looking right at it, there are sparks shooting out of it occasionally:
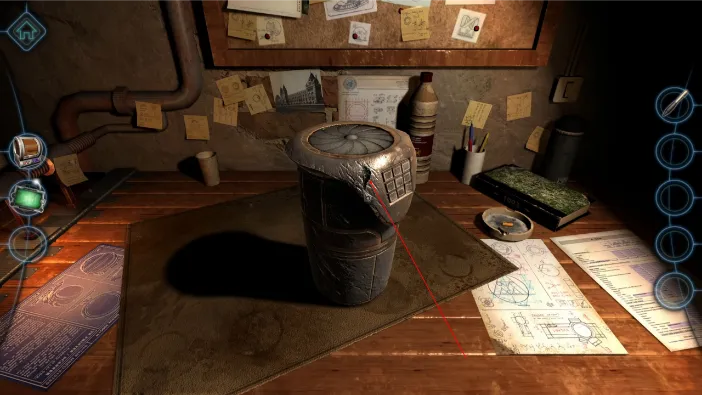
Zoom in on that and now pick up your mini camera from the left inventory, and drag it to the hole:
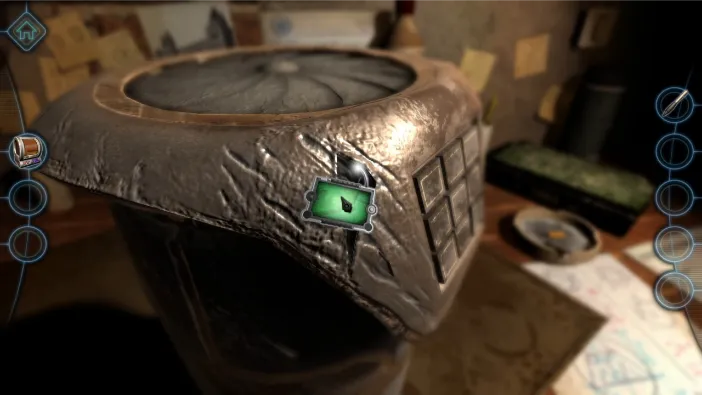
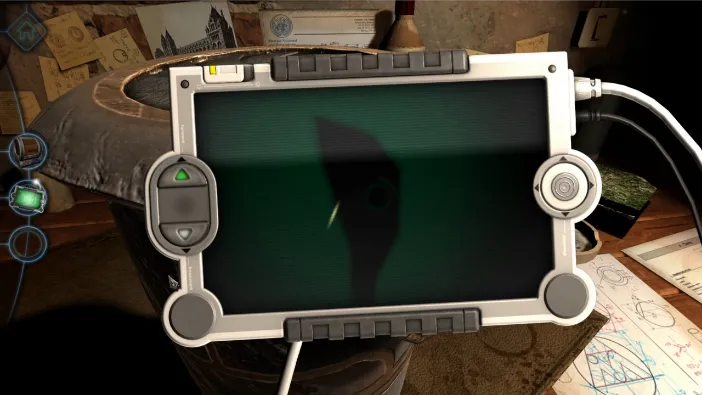
Using the now familiar camera controls, you can navigate through the interior of the object easily, like so:
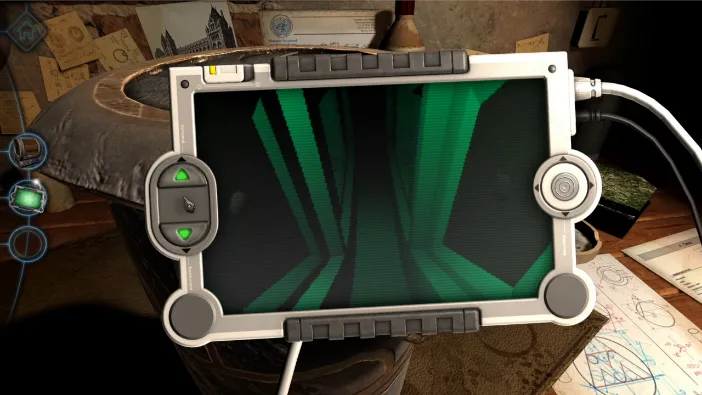
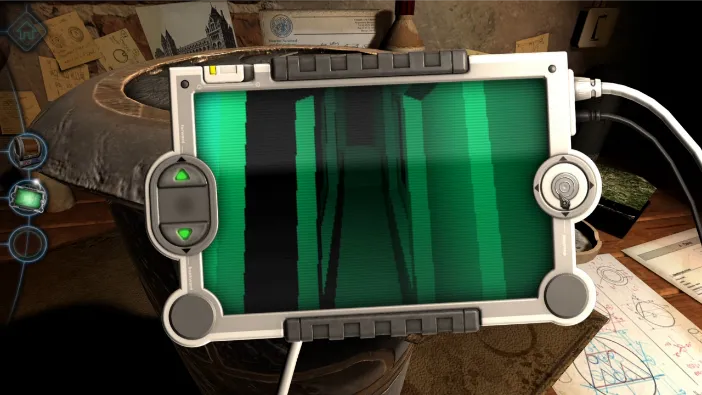
Go forward once and then turn the camera to the right:
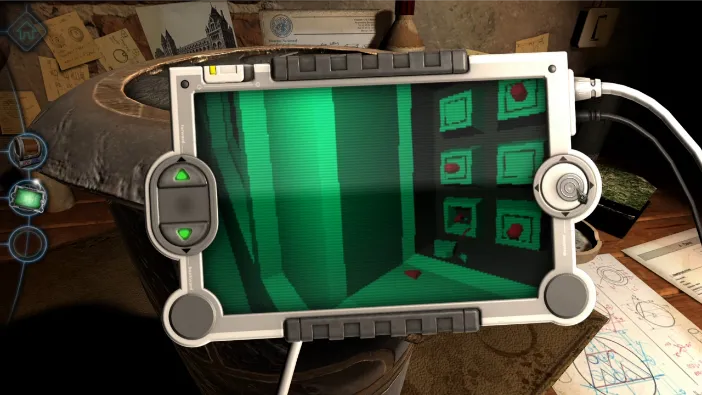
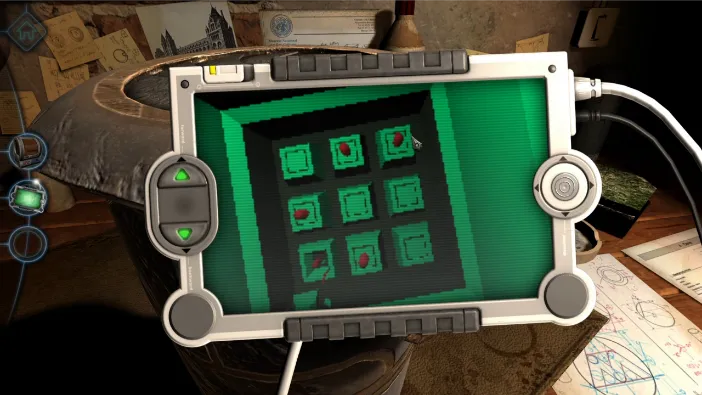
You will see a soft of a console with some red pins sticking out. It is important that you remember the positions of the red pins:
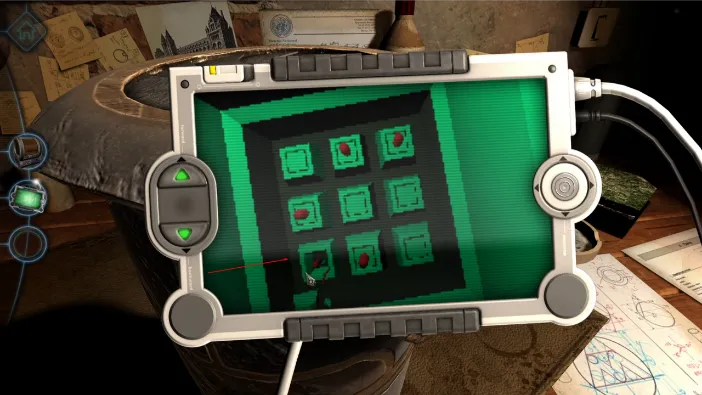
Now, turn the camera off and go to the front side of the object, where you will find a lock with the matching fields as this interior console:
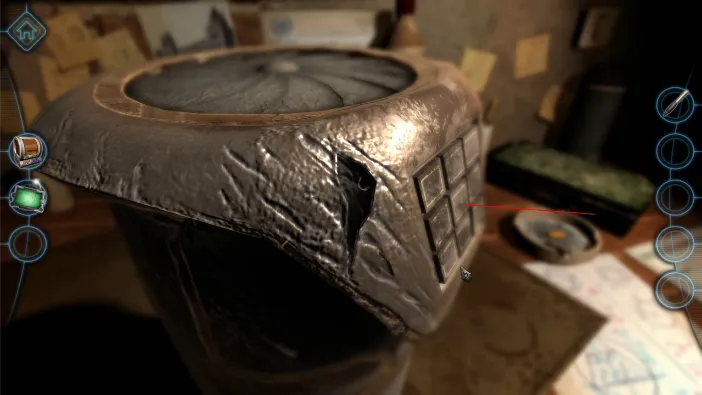
Activate the buttons in this order:
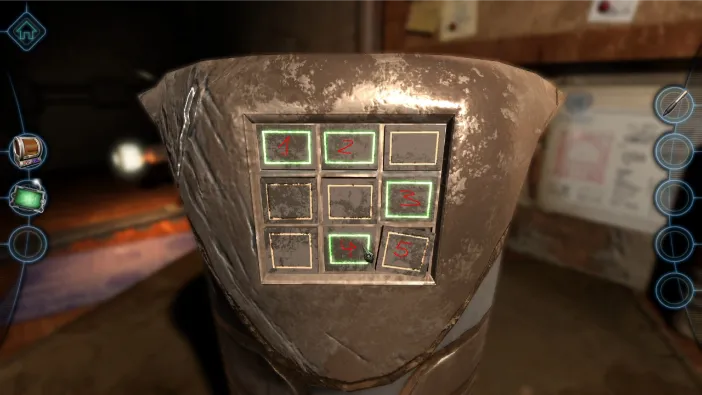
Once you get to #5, it will fall out. This is where the pen comes into play, as you will drag and drop it onto the hole where the button was:
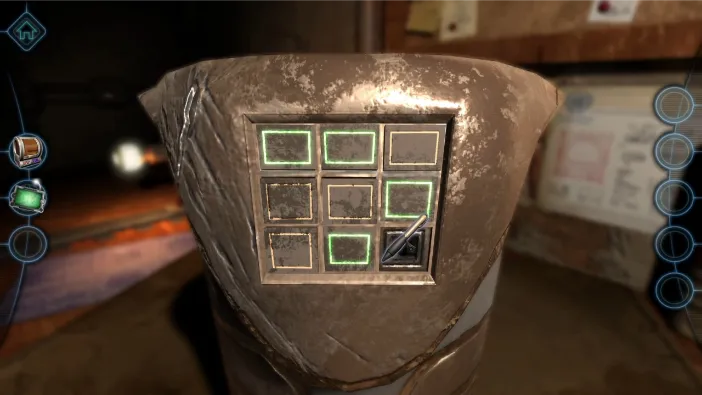
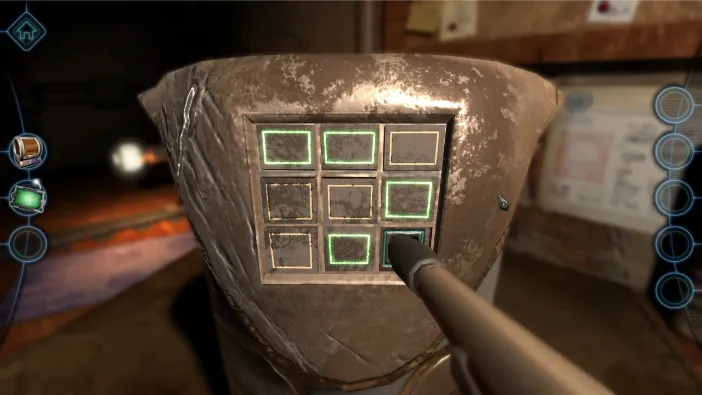
This will open the lid of the object:
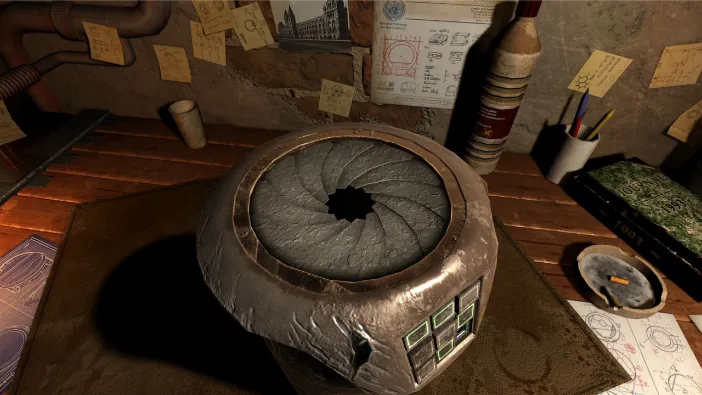
Out of the top opening will come out a super-advanced scroll, albeit locked:
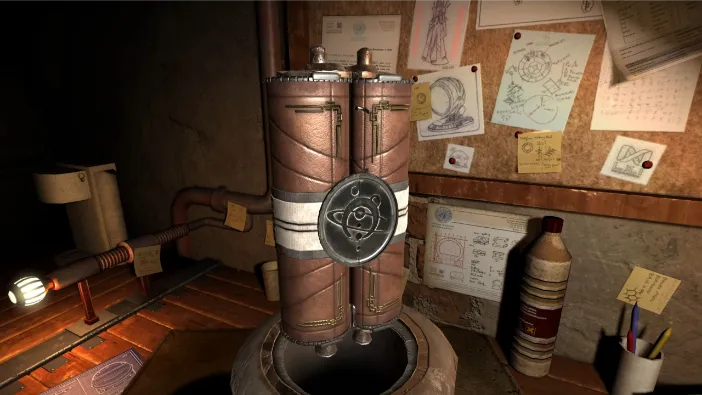
An idea of using the anti-gravity field to better examine it will automatically appear and that is what we will do:
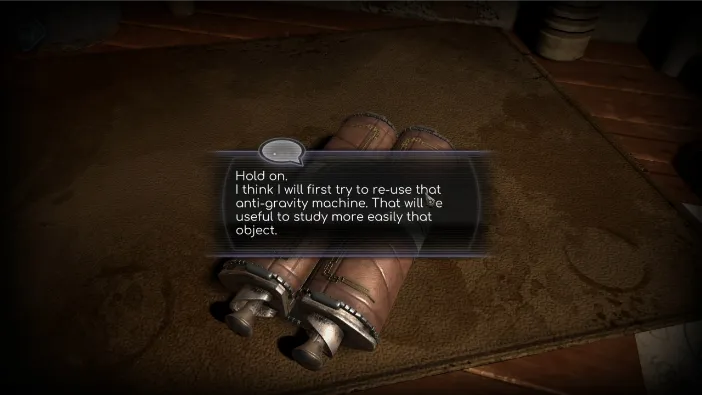
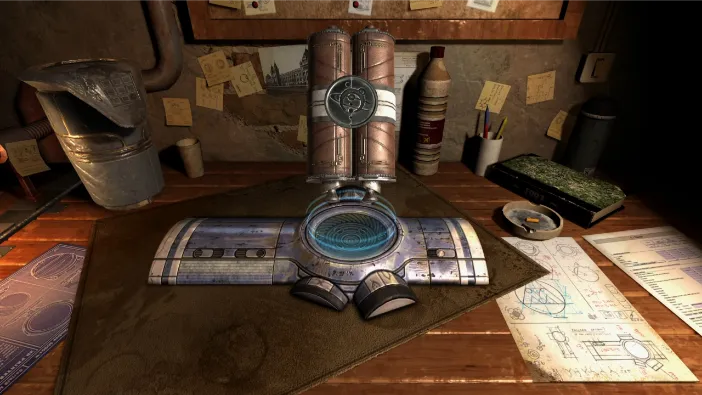
The object is automatically suspended in the anti-gravity field, as you can drag it to whichever side to rotate it. Turn it where the arrows suggest until you see this message:
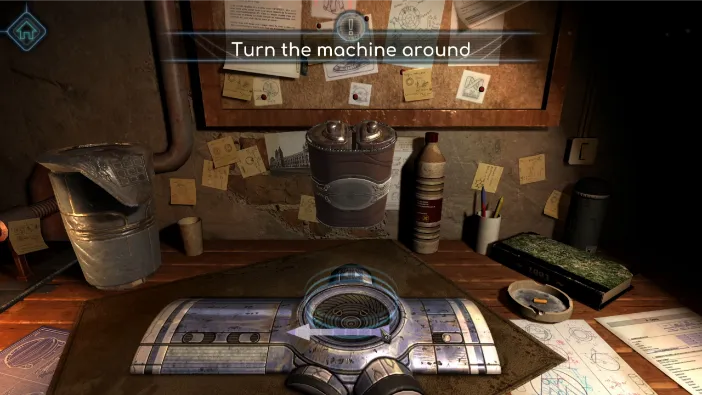
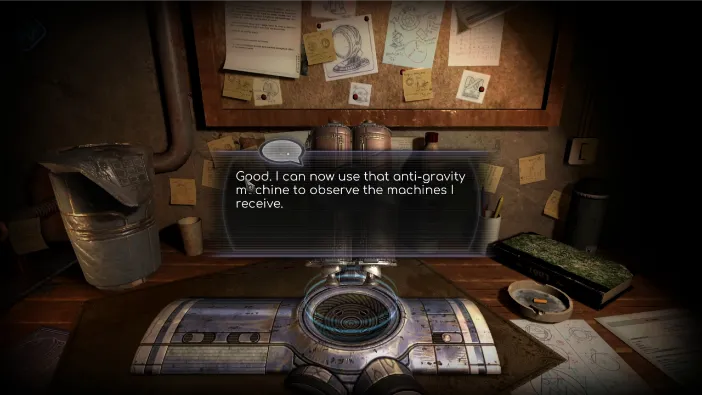
Now, tap on the very bottom of the object to zoom in on what appear to be handles:
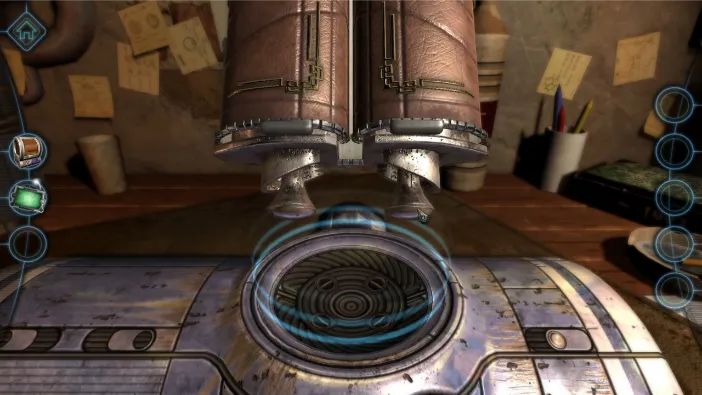
Drag and pull out the right one:
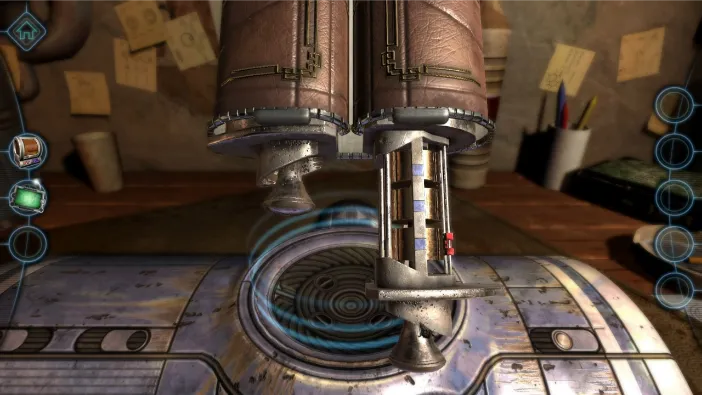
The goal is to align all 3 of the purple squares on the gold cylinders with the 3 purple squares on the metal indicator here. The red slider serves the purpose of blocking the rotation of one cylinder, so from a default position at start, roll it like this:
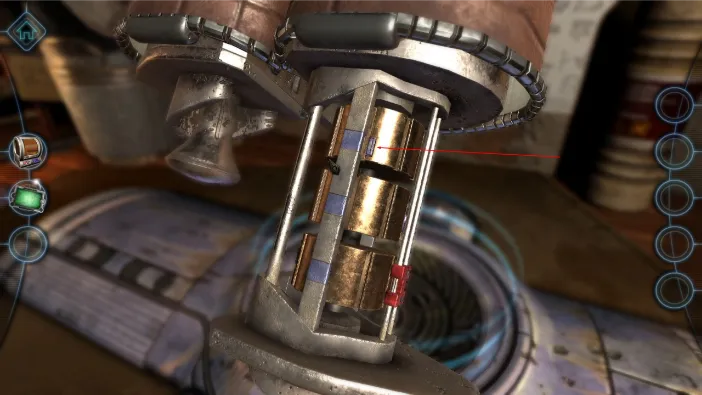
Roll the top cylinder’s square to match the square on the metal bar. Then, pull the red slider to the middle cylinder, to block it:
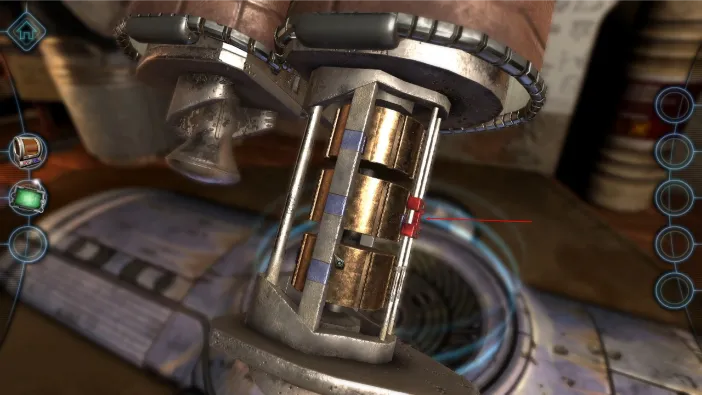
Now, roll the free cylinders to the right until the top purple square matches the middle cylinder:
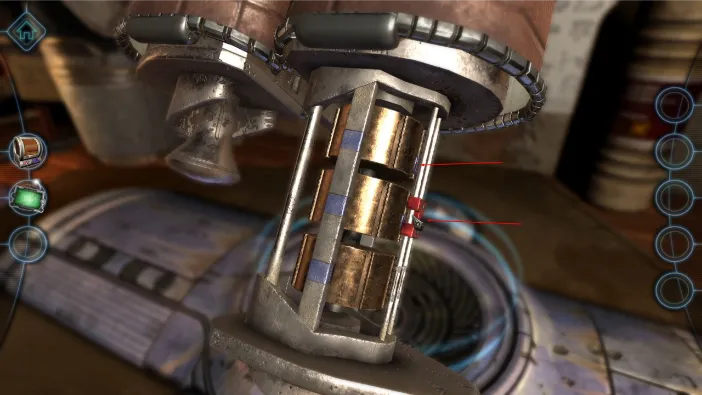
Now, move the red slider to the bottom cylinder:
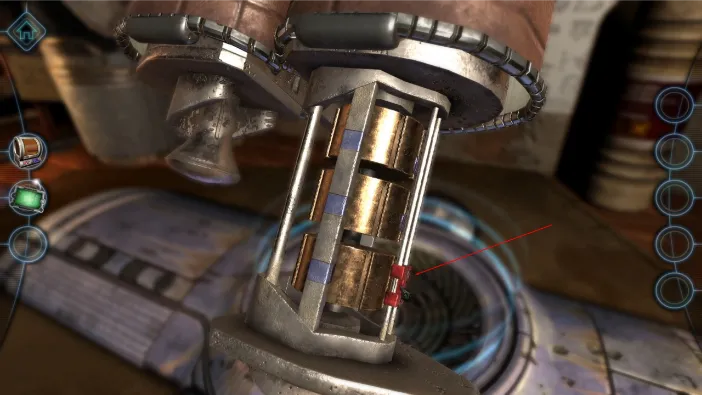
And, finally, rotate the two top free cylinders to the left to match all 3 squares with the squares on the bar:
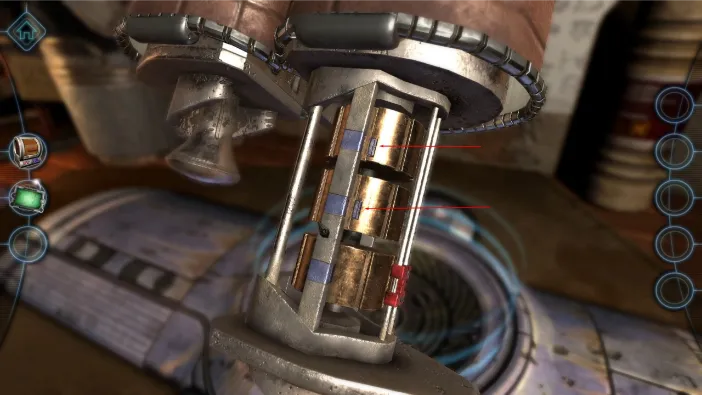
This will unlock it and the scroll will open automatically:
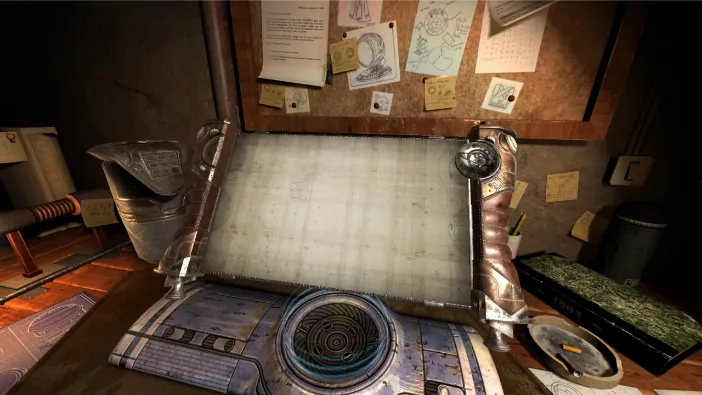
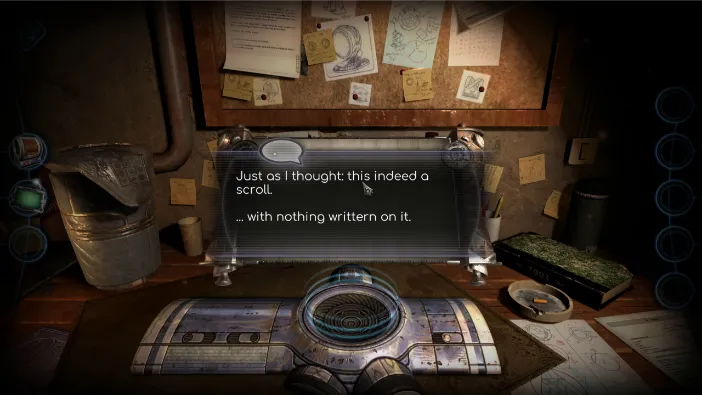
Your character jokes that this is exactly what was expected – an empty scroll. Rotate it to the right slightly and zoom in on the left bottom handle:
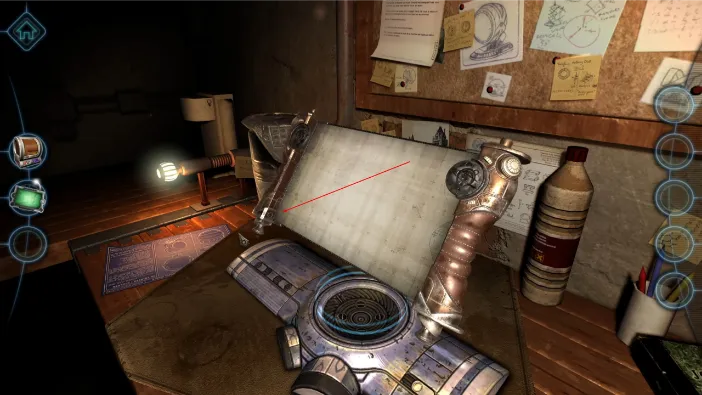
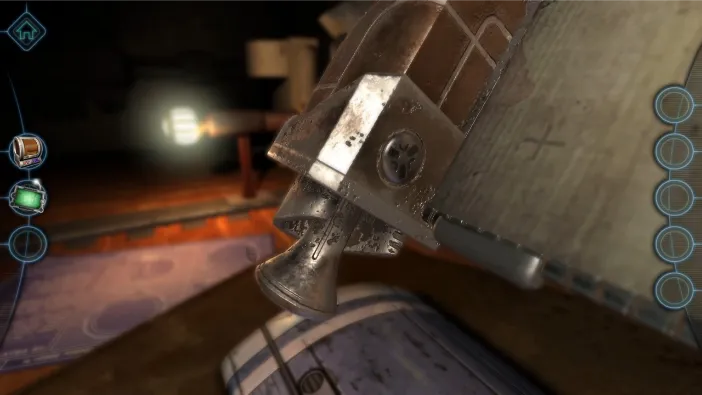
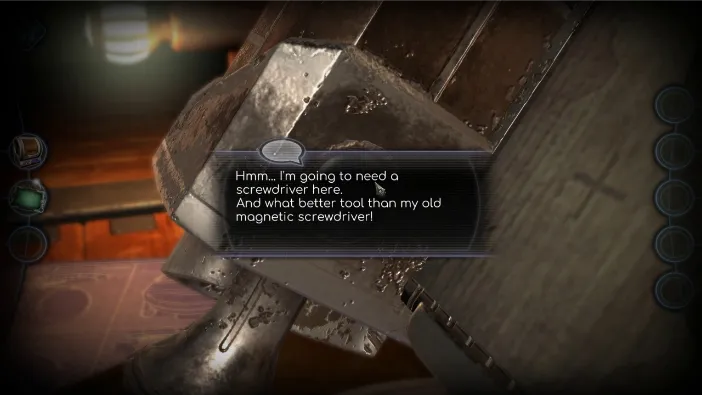
You will get a message about needing a screwdriver and this is the point where you get your third tool for the left screen side inventory, a peculiar screwdriver:
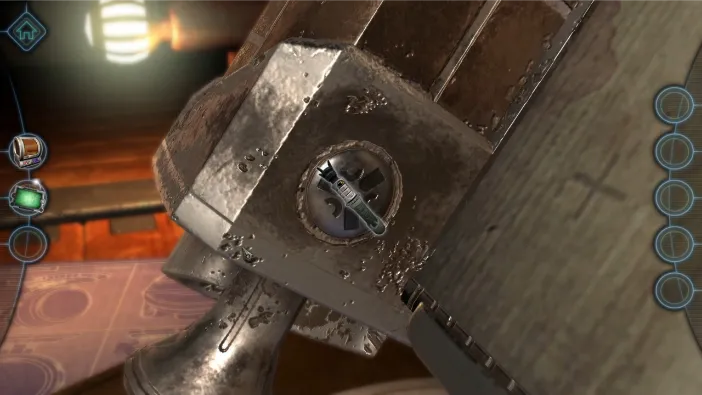
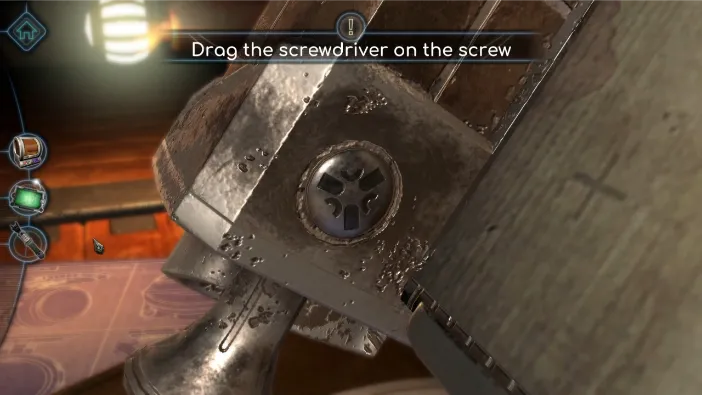
Drag it to the screw and you will see how this high-tech screwdriver works; you need to turn its switches to match the symbols on the particular screw you are trying to unlock. The top turner will cycle through shapes, the middle one will position it, and the bottom one will multiply it, something like this:
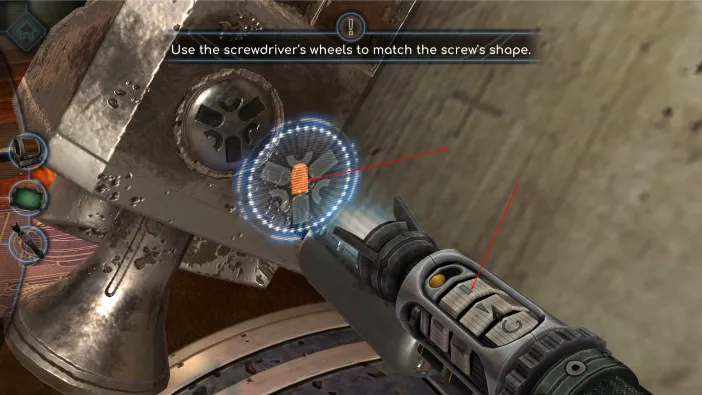
Now, turn the middle one until you position the symbol to the right slot:
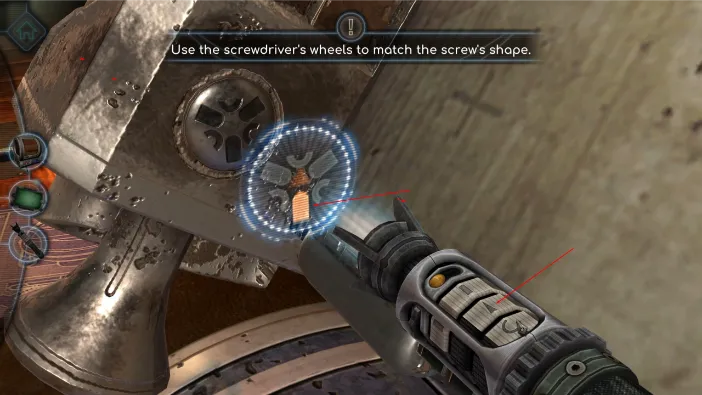
Now, turn the closest one to multiply it to match the first shape:
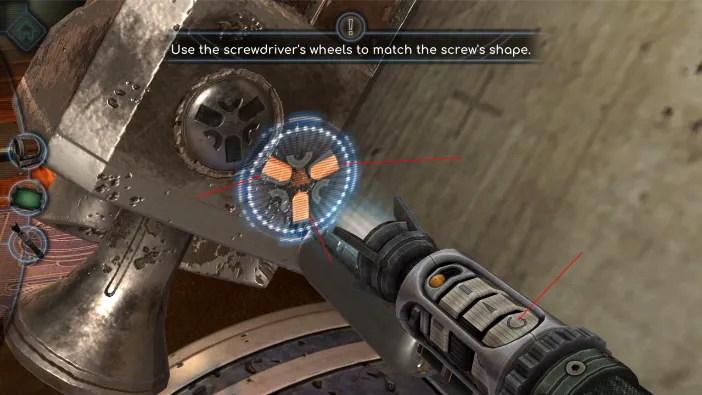
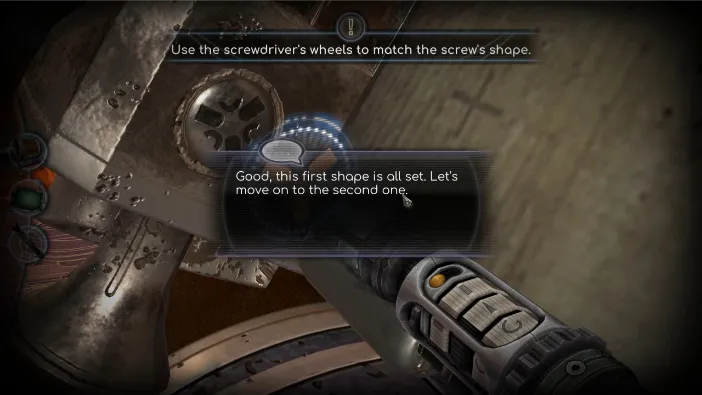
Now that you got the first shape set, tap the orange button on the top portion of the high-tech screwdriver, to switch to the secondary shape:
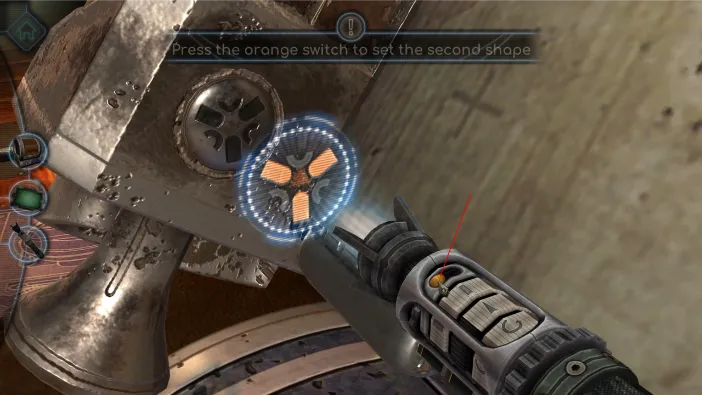
The procedure is the same, turn the top switch until you find the shape:
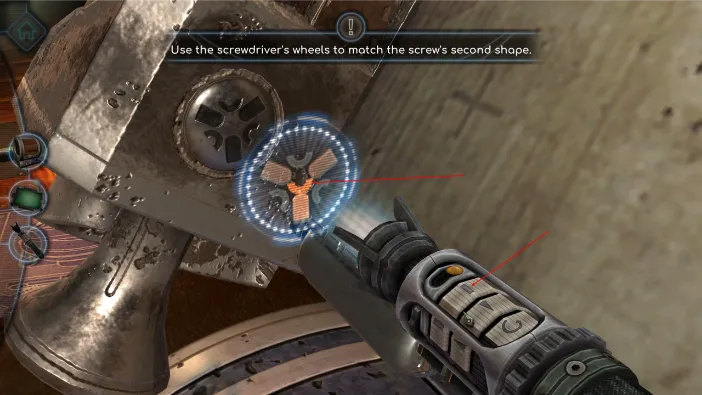
Now, the middle one to position it:
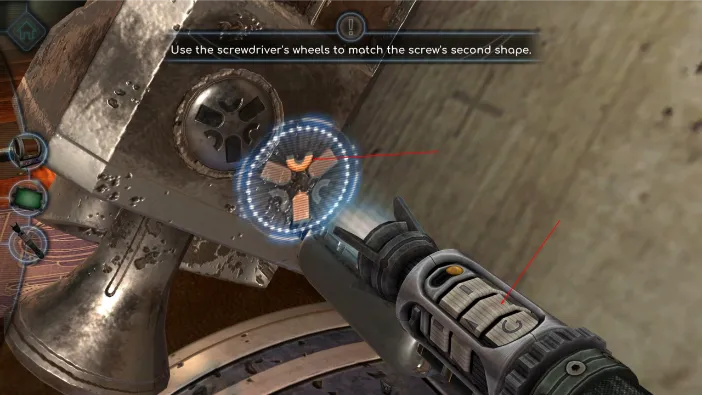
And, finally the third switch to multiply it and get the exact shape you need. The screw will automatically start working:
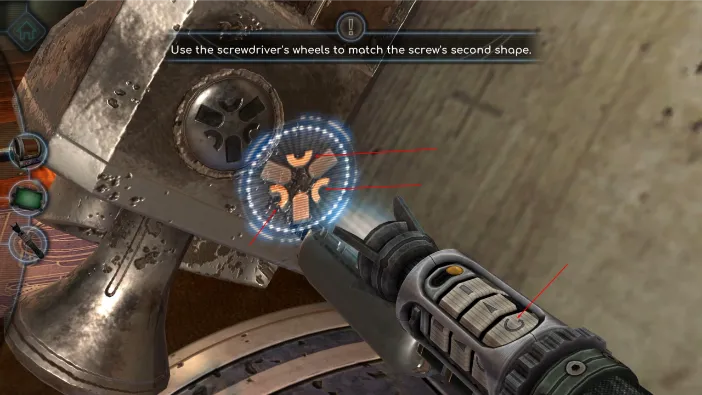
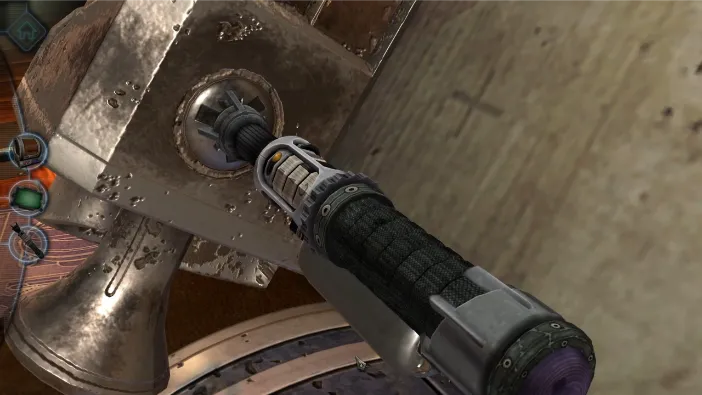
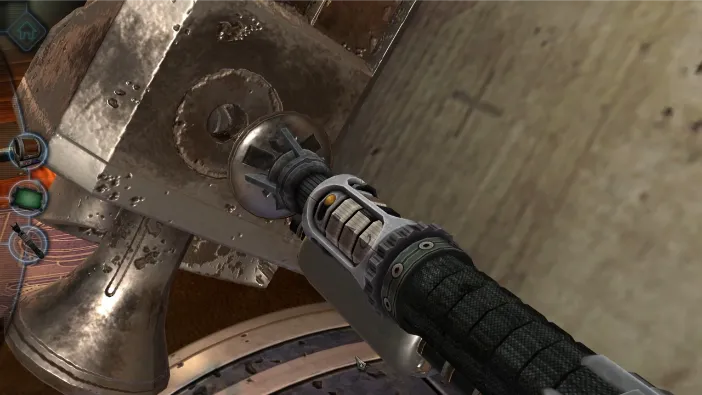
This will open the left handle, but you need to drag it to open it all the way and find a metallic ball inside it. Tap it to pick it up:
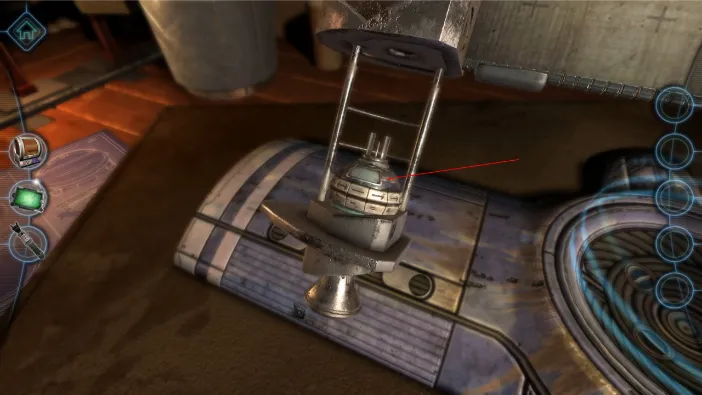
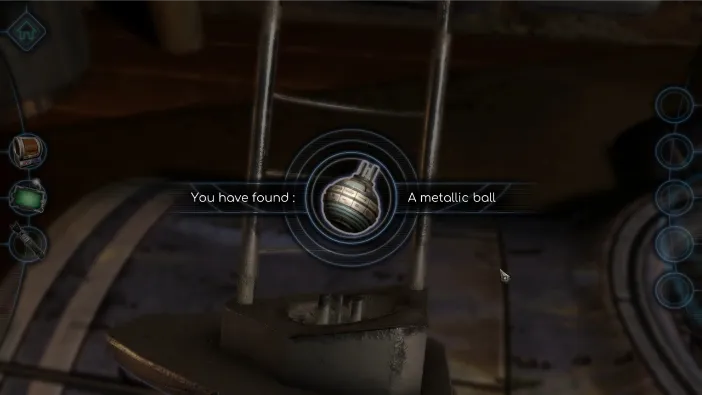
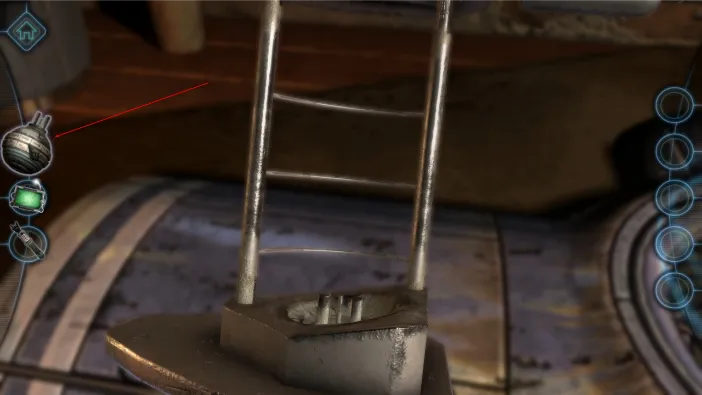
Now, immediately duplicate it in the printer:
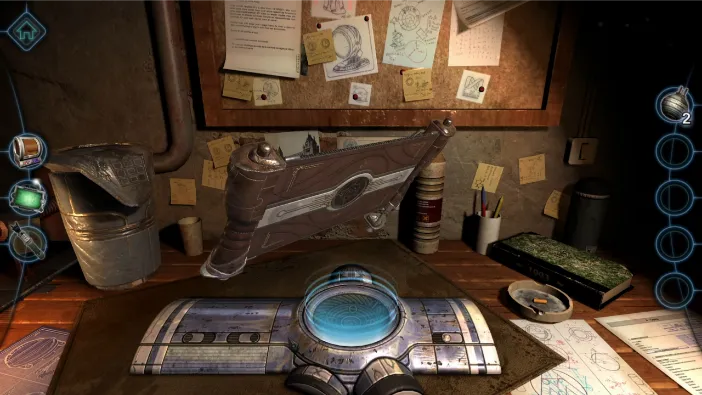
With two of these metallic balls, turn the scroll to its back side and tap there to zoom in:
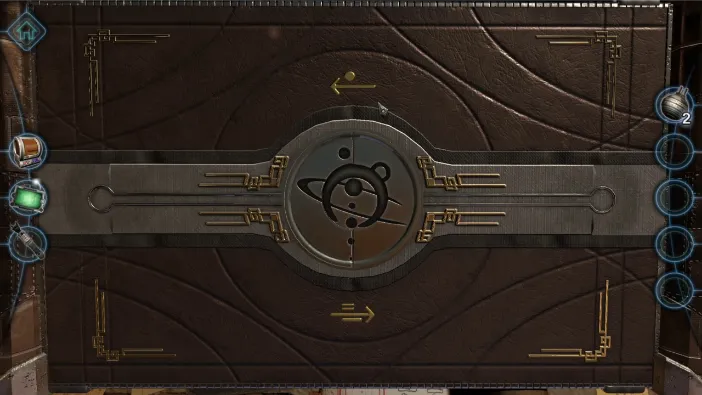
The arrow symbols are important to observe here:
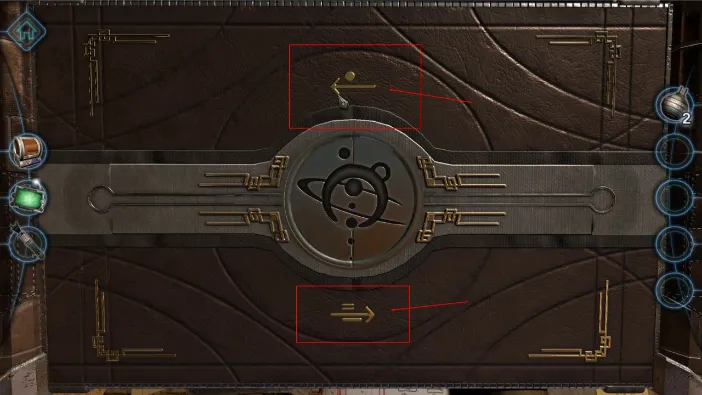
Now, zoom out and turn the scroll over again to face its front side. Add both of the metallic balls into the slot from which you pulled the first one out (the one with the retractable handle):
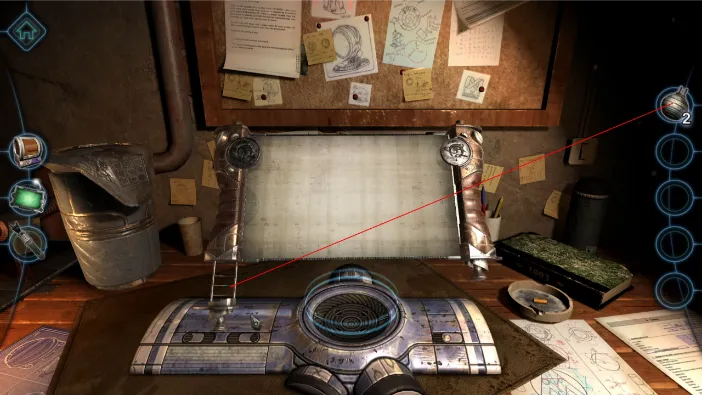
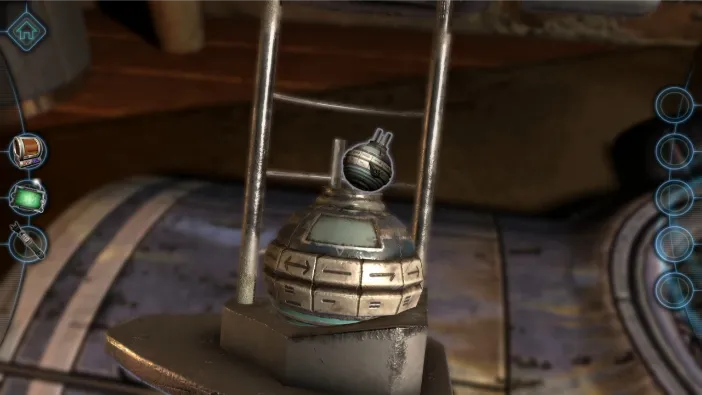
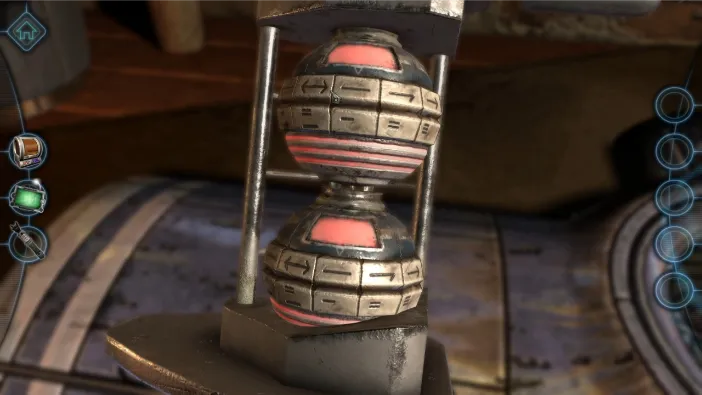
Once the balls are in place, they will engage and start glowing. But, now you need to rotate the symbols on them, according to the arrows observed previously. Turn both rings on both metallic balls until you get these symbols aligned:
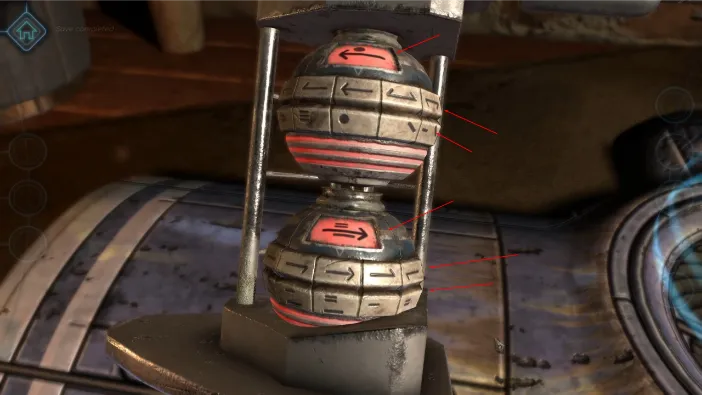
This will activate the scroll and data will appear on it automatically. Once it does, turn the scroll to the back side again:
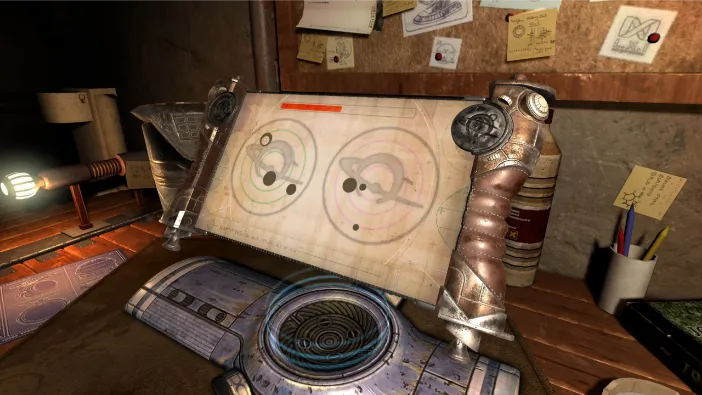
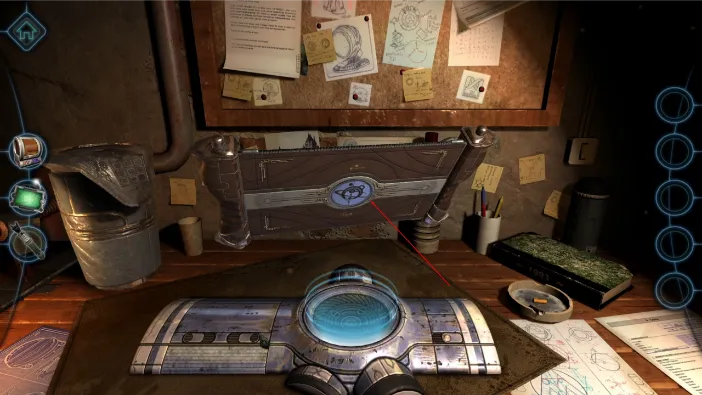
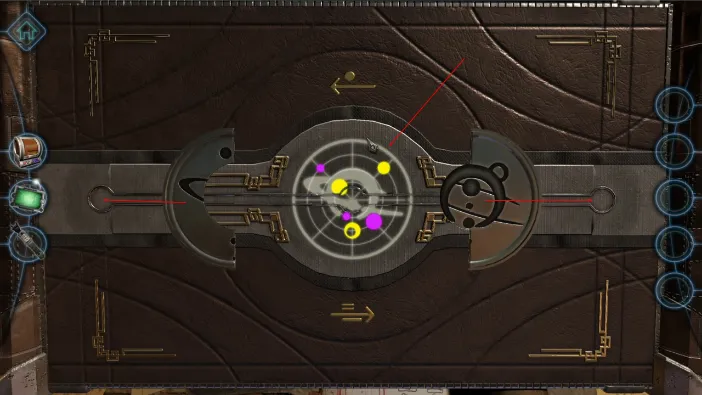
Now, zoom in and open the symbol on the back. Just drag both halves to the sides, like this:
Now, return to the front view and zoom in on the top left corner of the scroll:
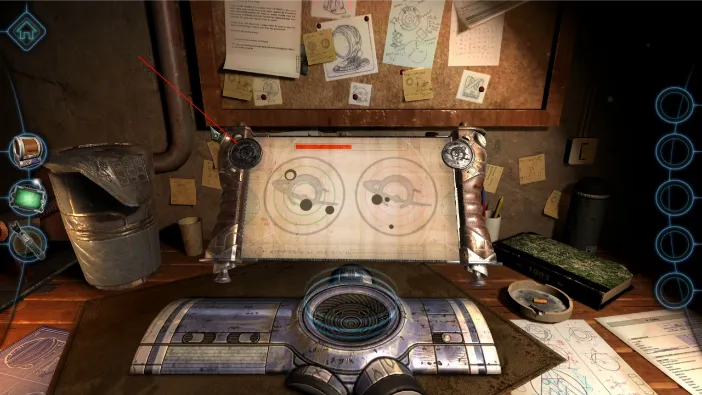
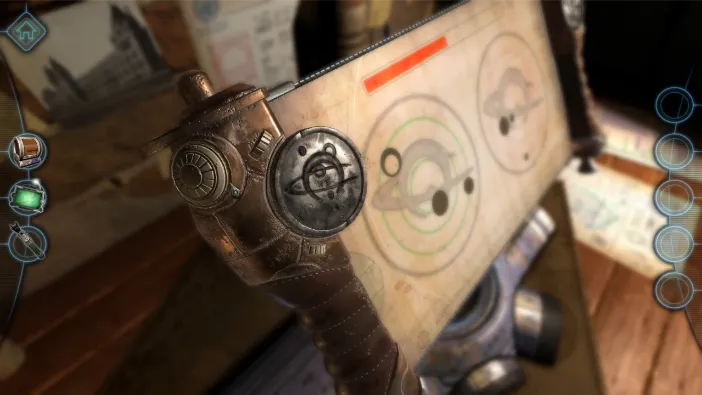
You will find a mechanism with 3 little turning switches there that controls the positioning of the closer drawing on the scroll. As you turn the switches, so do the drawings move:
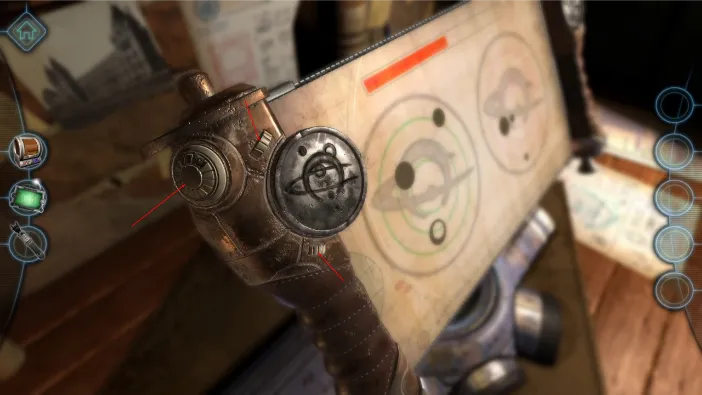
Turn until you get this positioning:
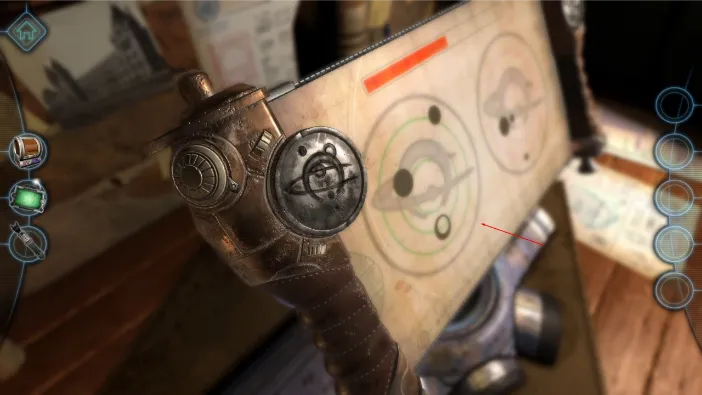
Now, go to the top right corner mechanism and turn the switches until you get this drawing (both drawings will flash the moment you set it correctly):
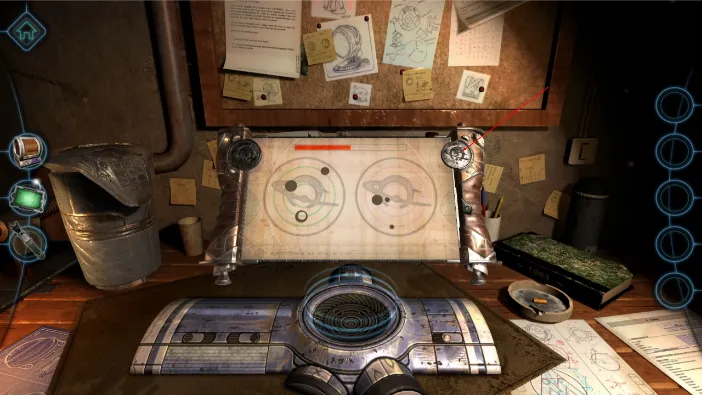
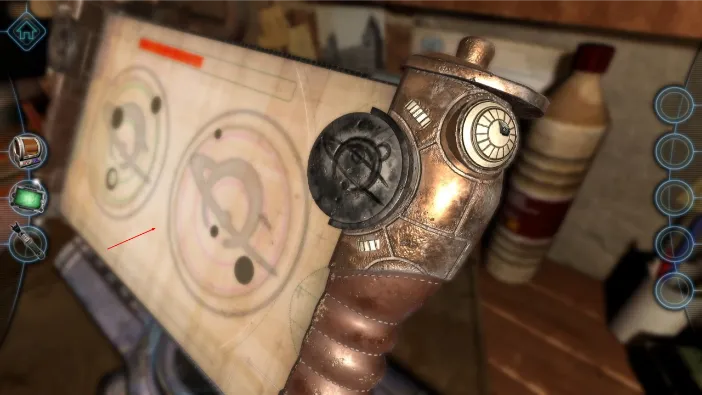
Now, both drawings will combine automatically on the screen, as the scroll data loads to 100%. Drag the green arrows to the right to engage it. The scroll data will start unveiling before you automatically:
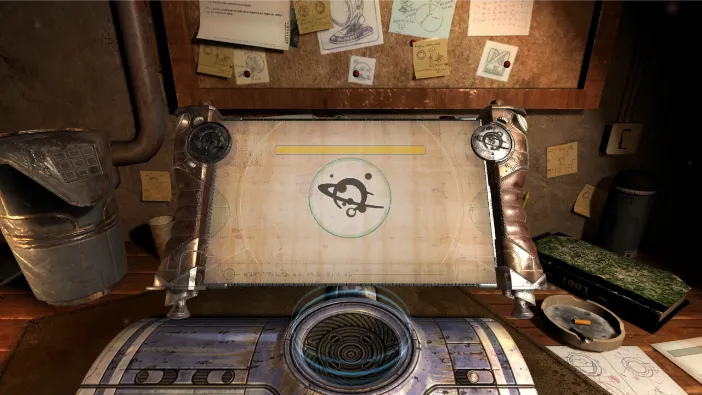
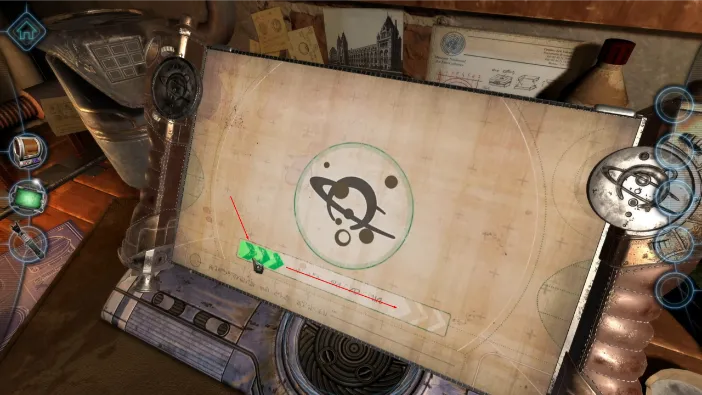
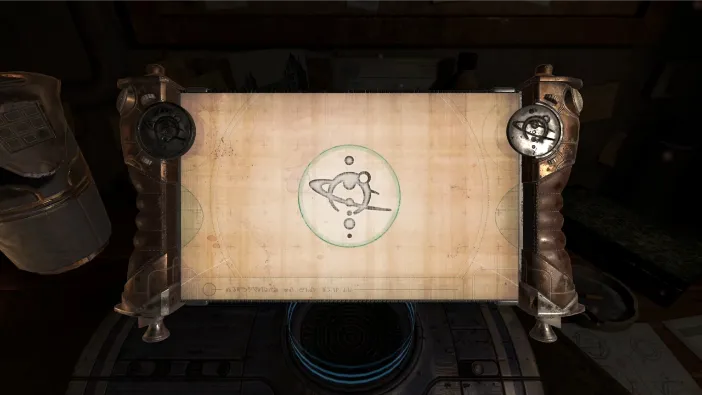
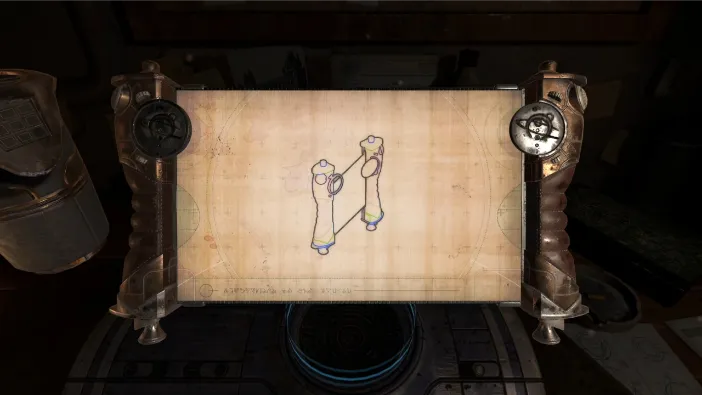
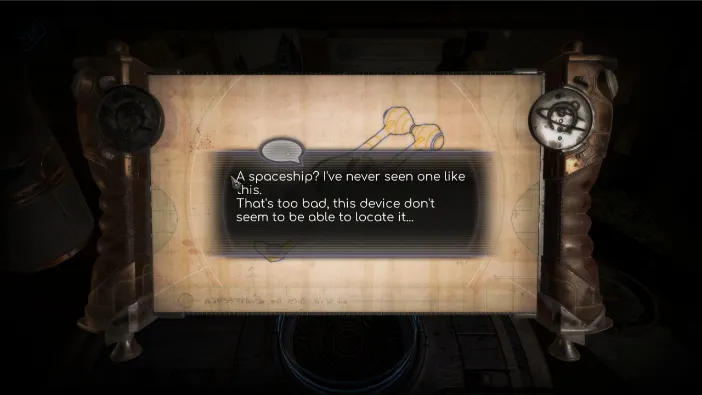
It will show you the how these parts work and that they are, in fact, a part of a spaceship:
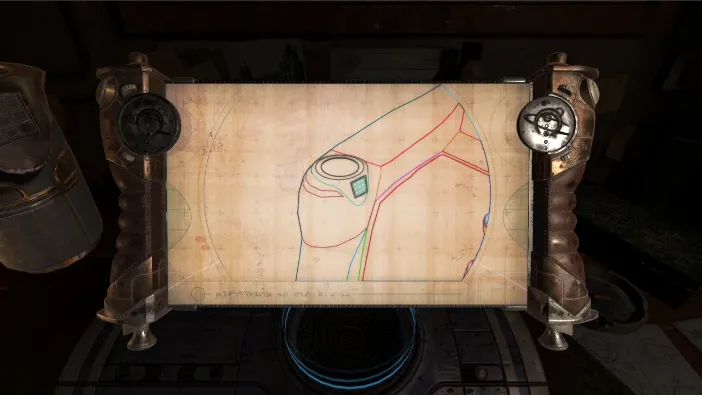
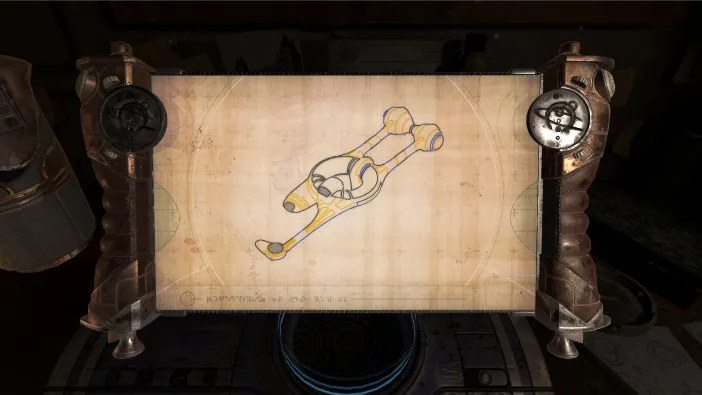
This concludes the third chapter
