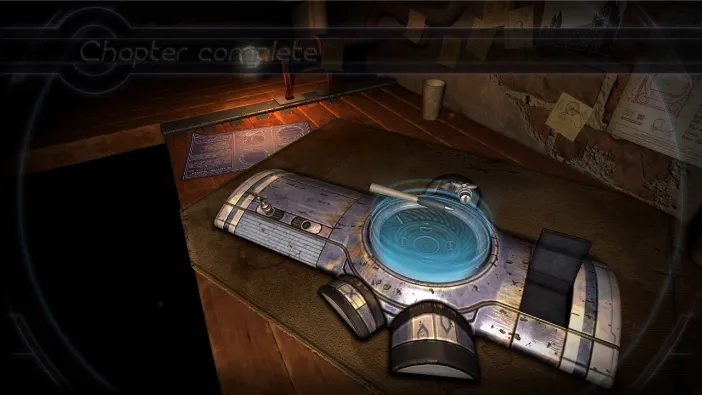
Machinika Museum – Chapter 2
The second chapter begins with the arrival of a new machine, found during a space exploration near Saturn. It comes in several parts and, as usual, with little explanation. Your superiors want you to make sense of it and find how it works, how the pieces fit together.
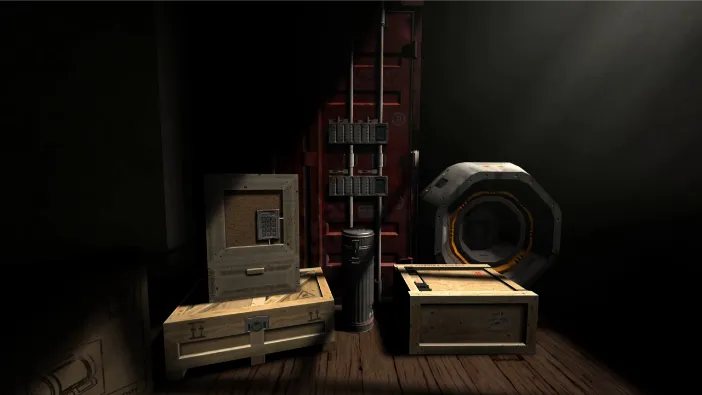
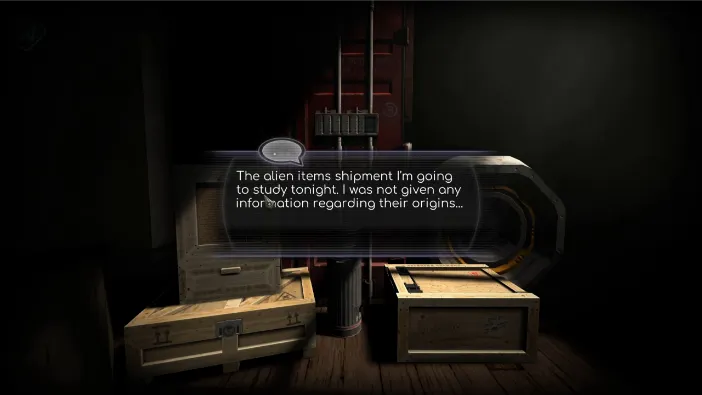
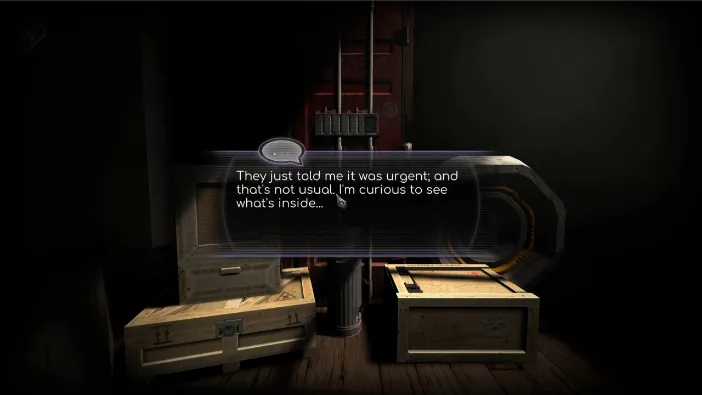
Tap away from the cargo and turn towards the wooden crate on the table next to you, with a note you should read, so tap on it to pick it up in your inventory:
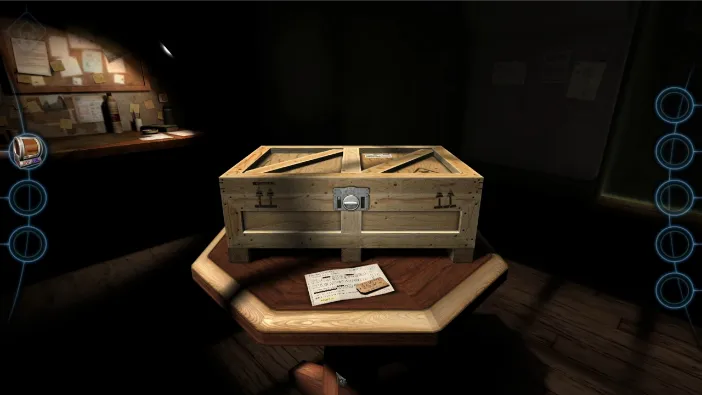
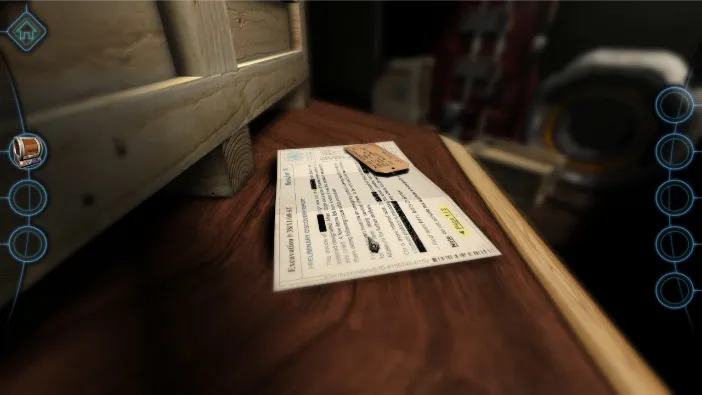
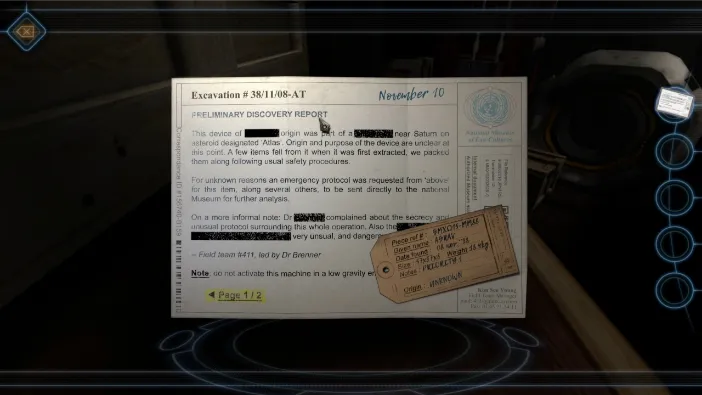
The note indicates that the unknown alien device was found on an asteroid called “Atlas” near Saturn. It separated in these few parts as the crew was extracting it. The note also contains a few words omitted, but that is nothing important for you.
Once you read it, turn it over to view the second page as it will indicate how to open the crate and where to find a hidden note. As well as the fact that you will need two metallic pins to open the lock:
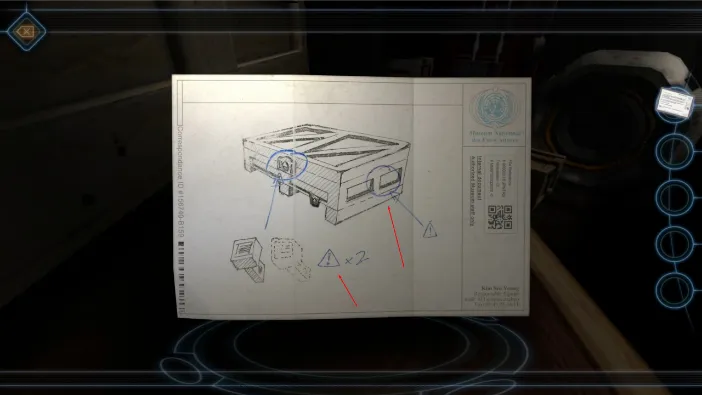
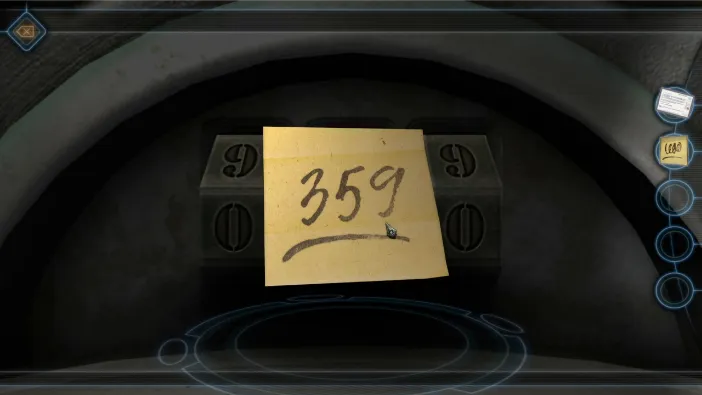
Now, close the note, turn to the side of the crate and tap there to zoom in. You will see a hidden note sticking out a bit in the place indicated in the message:
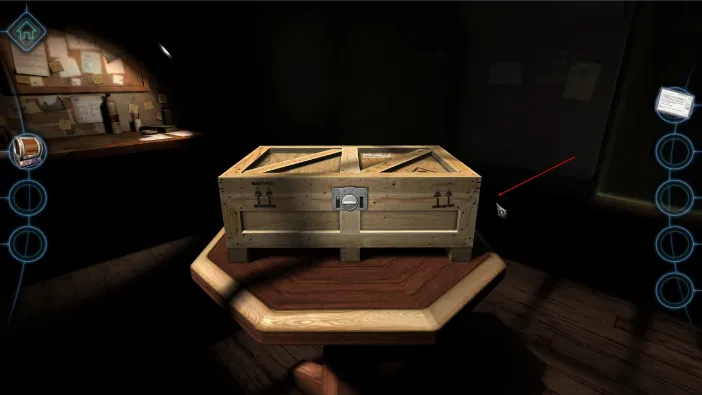
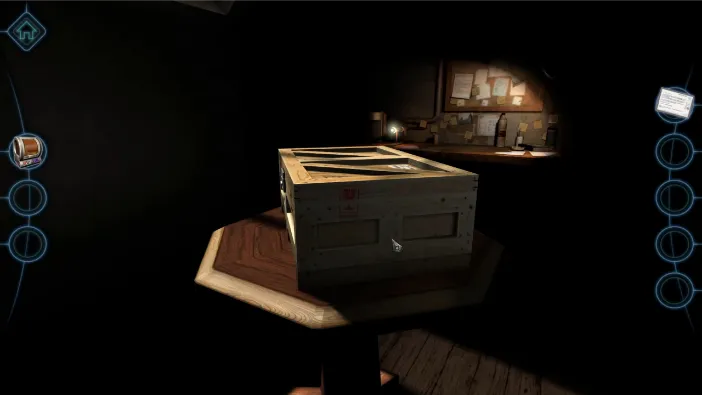
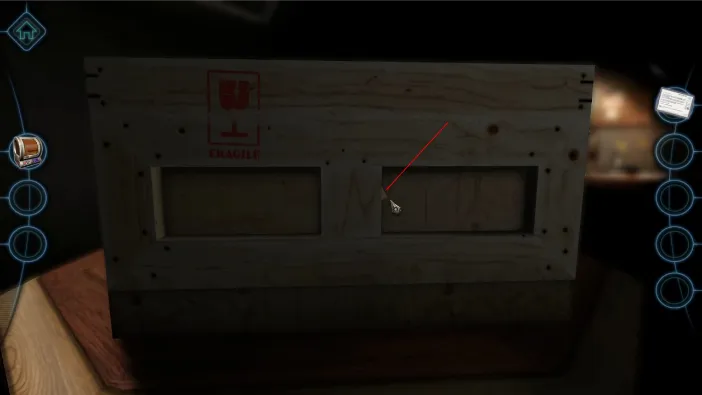
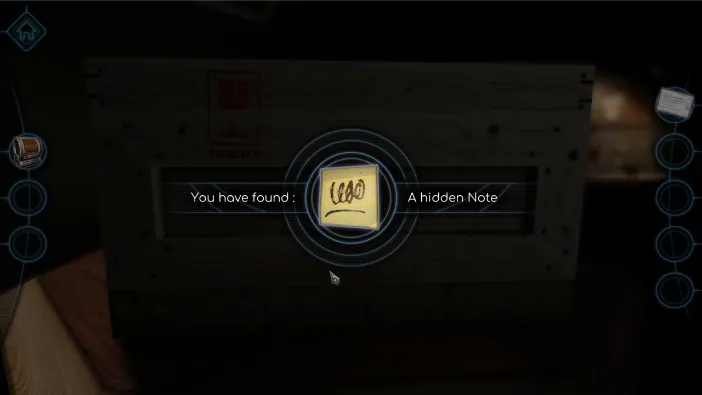
You will need the hidden note in a moment, but first go back to the front side of the crate and zoom in on the lock:
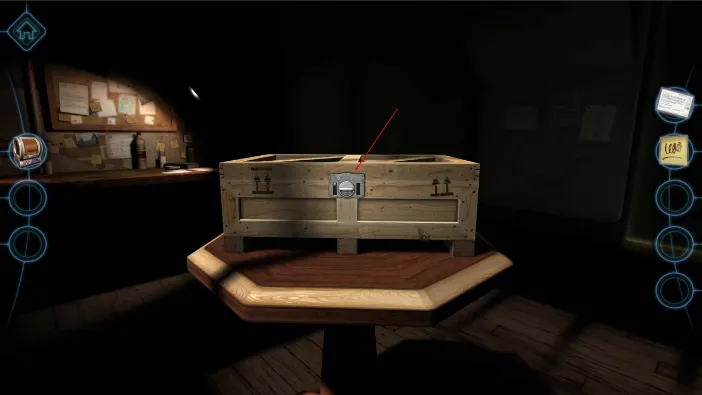
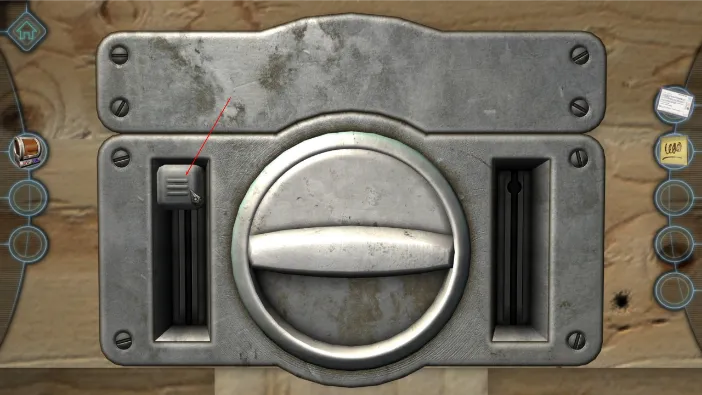
Tap on the already existing metallic pin on the left slide of the lock and there will be a note to self instructing you to duplicate it in the printer. So, take the pin from your inventory and drag and drop it to the printer on the left side of the screen”
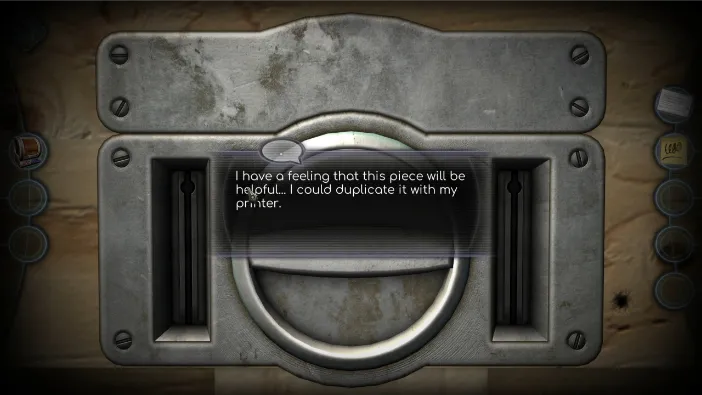
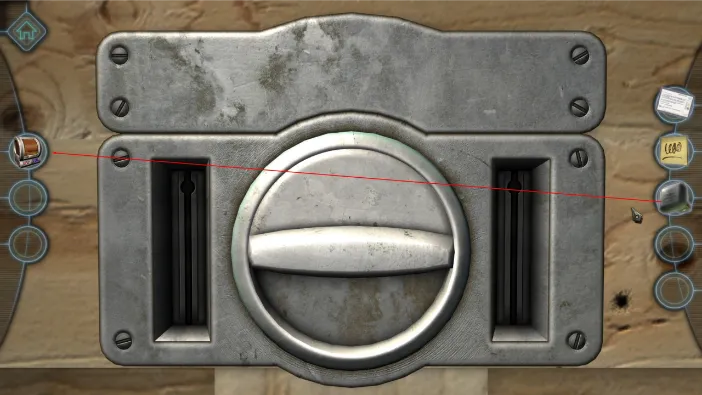
After you have two pins, put them both in the slides on both sides of the lock and then tap them to push them down. This will give you access to the combination lock:
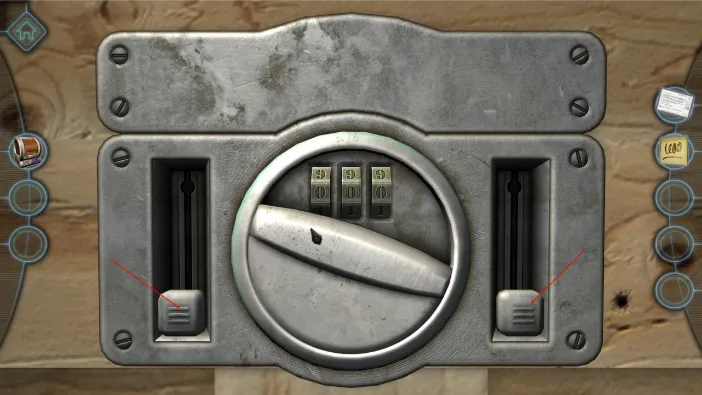
The combination to unlock it was on the hidden note from the side of the crate, so refer to it now if necessary:
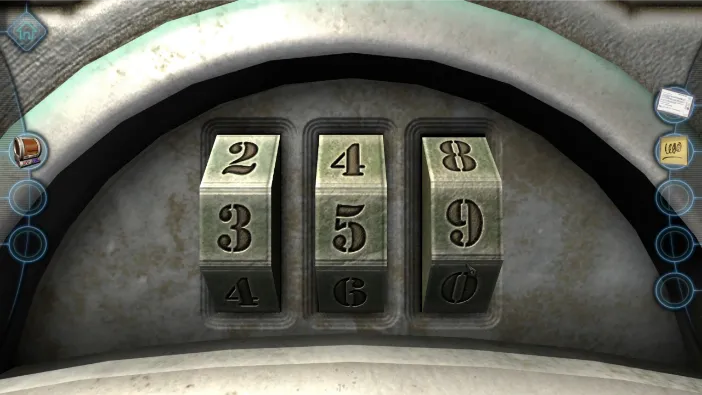
One you turn the right combination, the crate will open automatically, but you need to tap to get the lid up:
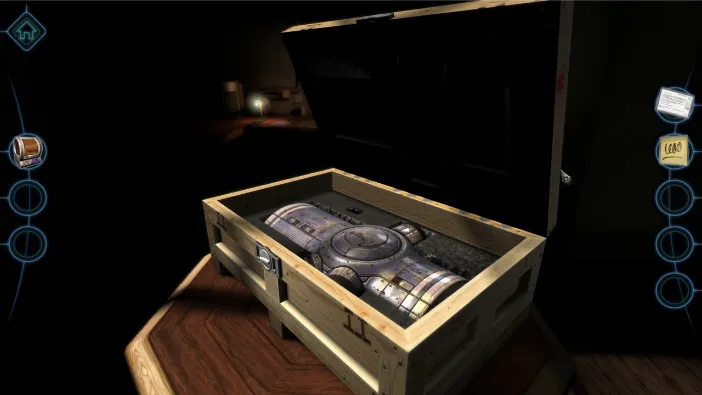
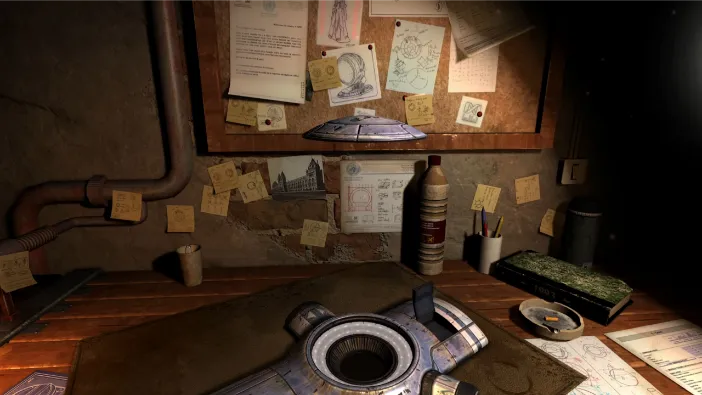
It will reveal a crucial part of the machine you are to figure out in this second chapter. This whole sequence up until now was a kind of a prelude to chapter 2, and not it officially begins with this new part on your desk.
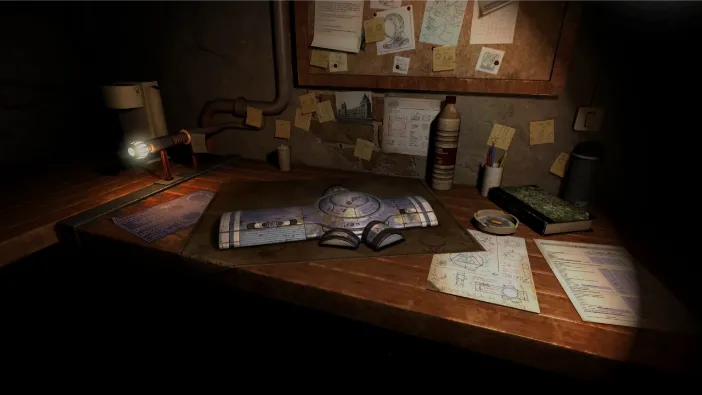
Once you are focused on it, tap the top of it to move it and reveal a purple conductor underneath it. Tap it to pick it up, you will need it:
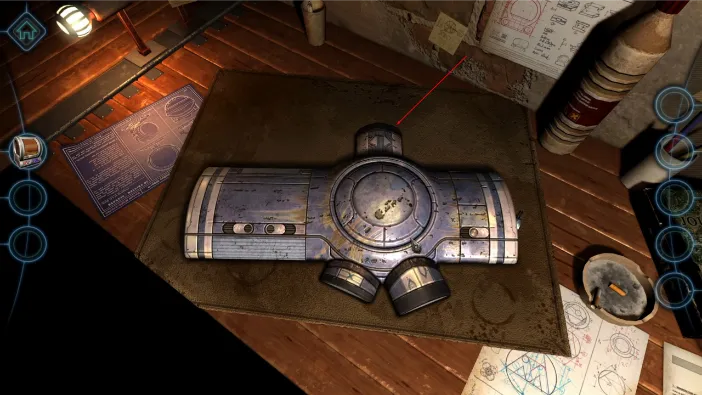
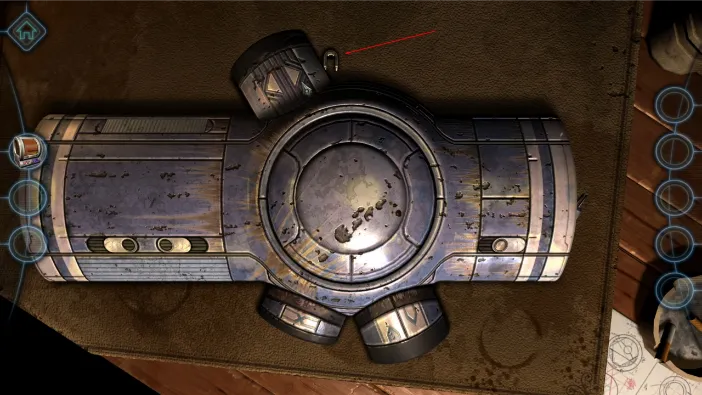
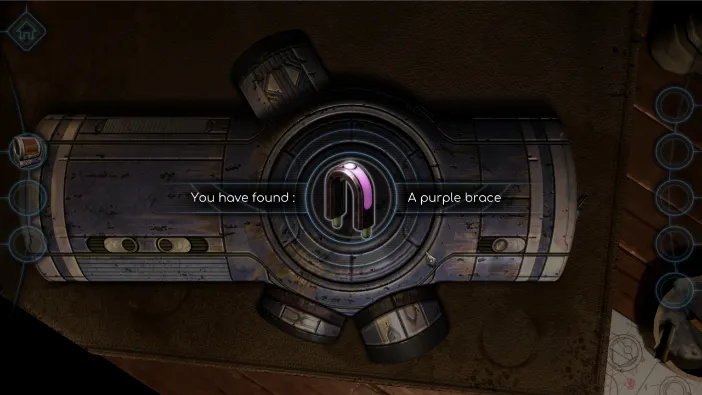
Next, tap on the little part that is sticking out underneath it, on the right side. It is a metallic object and you tap and pick it up as well:
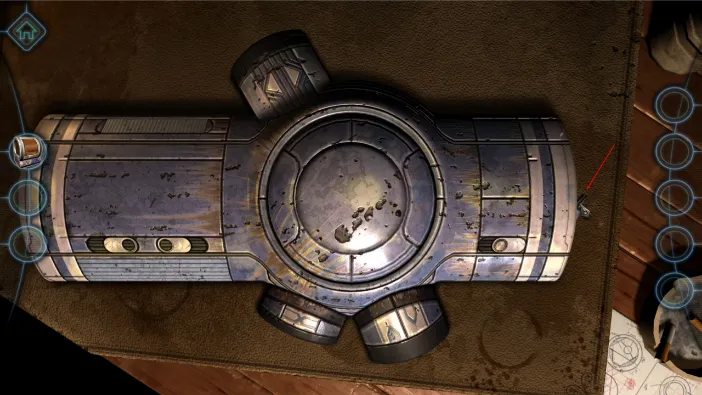
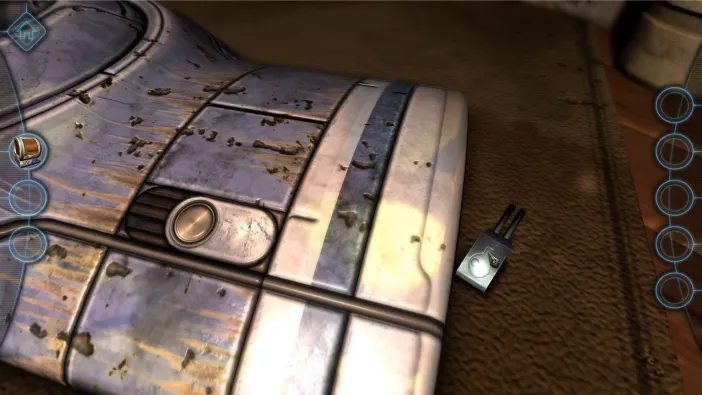
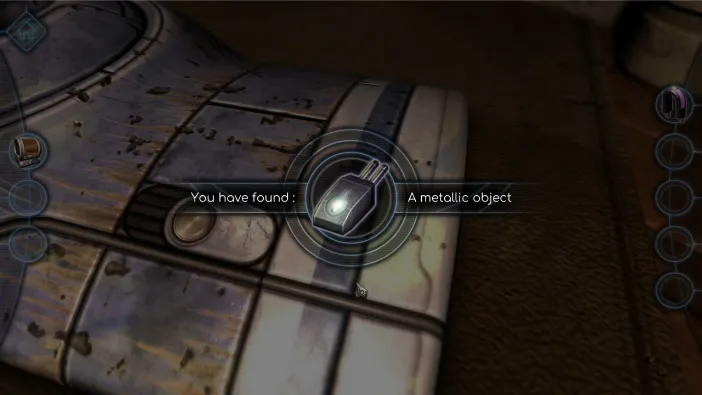
Then tap on the little switch, in this same screen, just left off of where you found the switch. The little knob on the item itself:
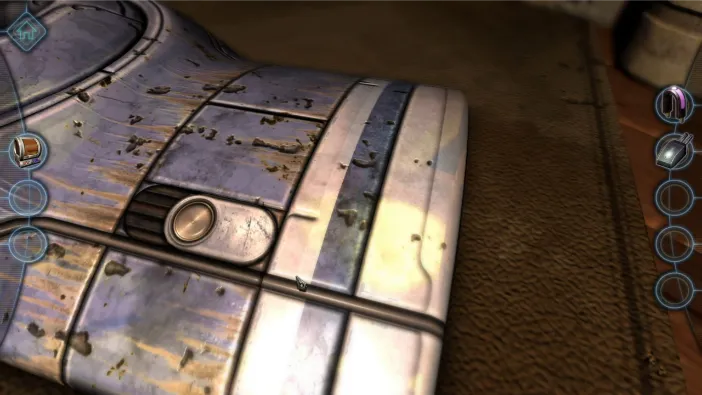
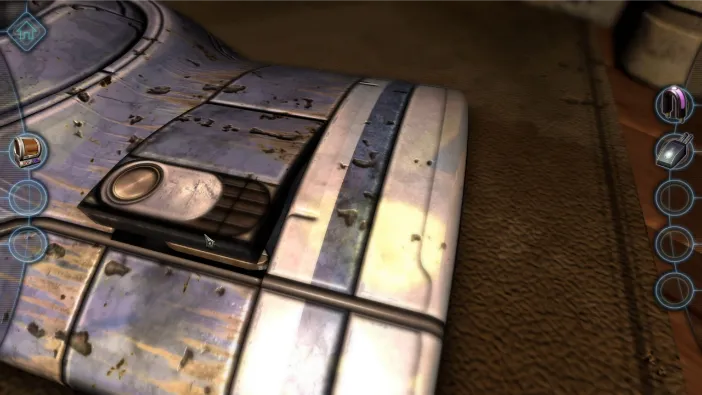
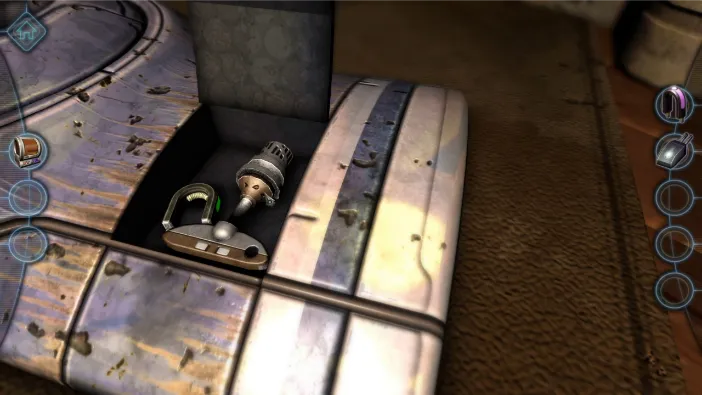
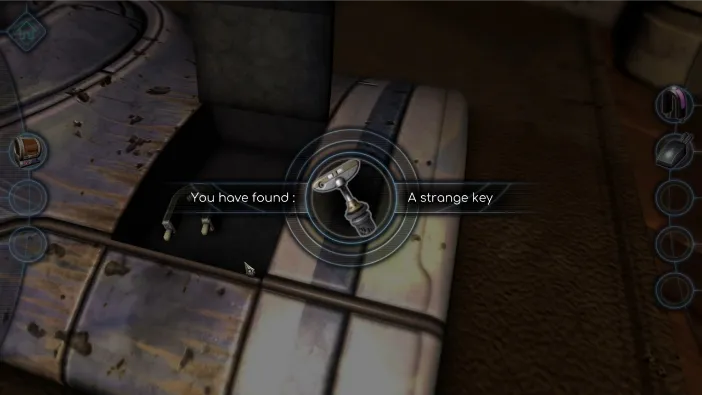
You will find a strange key and a green brace inside, so make sure you pick them all up. Now, duplicate the strange key and go to the other side of the object to open its other compartments:
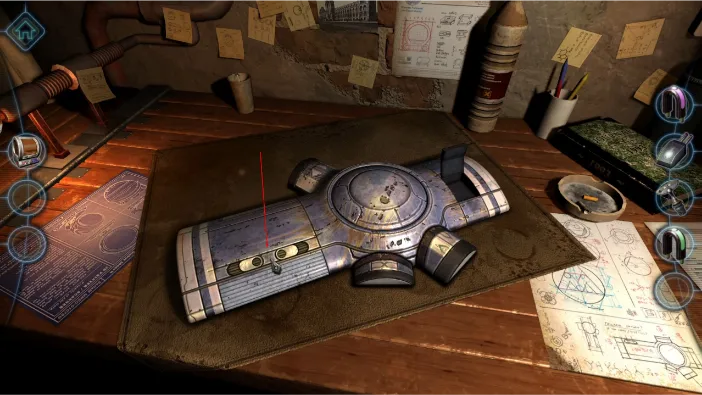
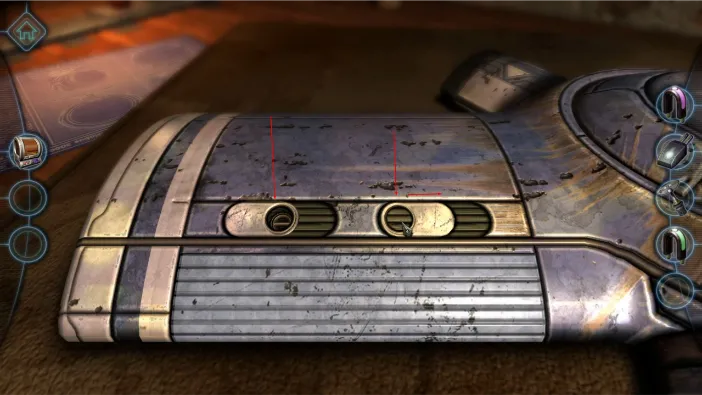
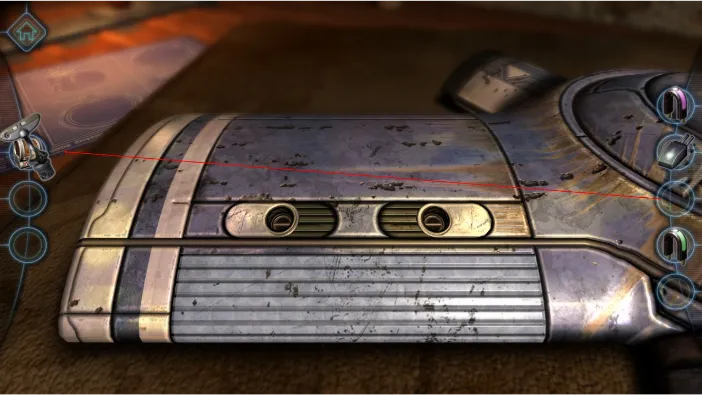
First, drag and drop your strange key into the printer on the left to duplicate it:
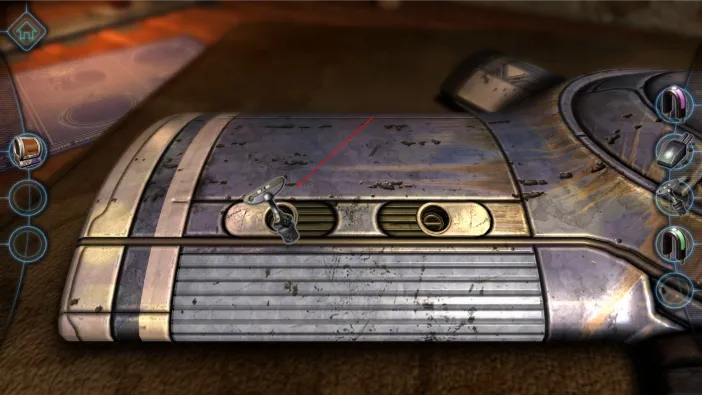
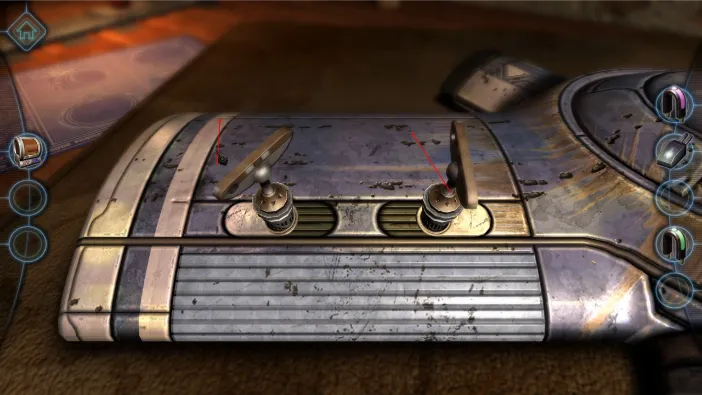
Next, drag the two knobs to opposite directions to open the keyholes and insert the two strange keys into them, and turn them both:
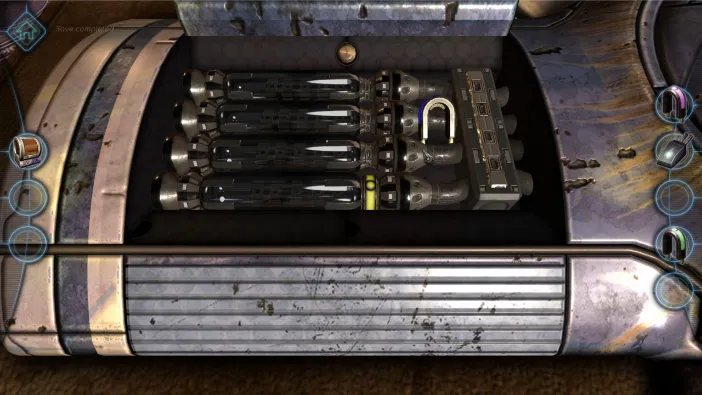
First, pick up the blue brace from this compartment:
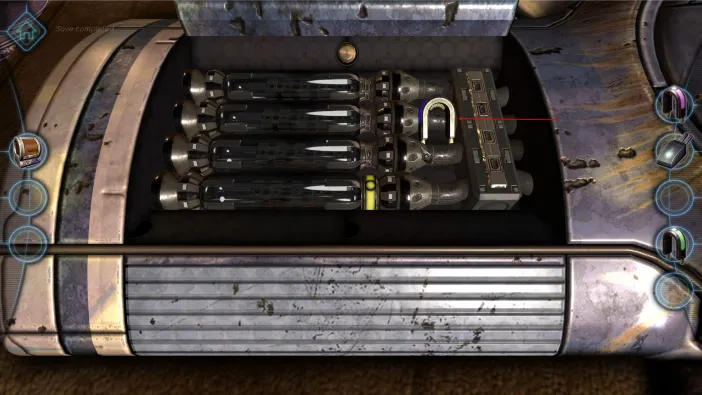
Next, tap the round button on the farther side of the compartment:
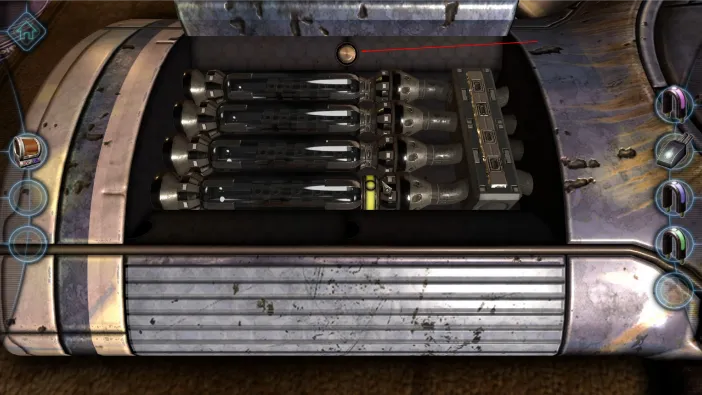
This will open the rear console with a puzzle combination:
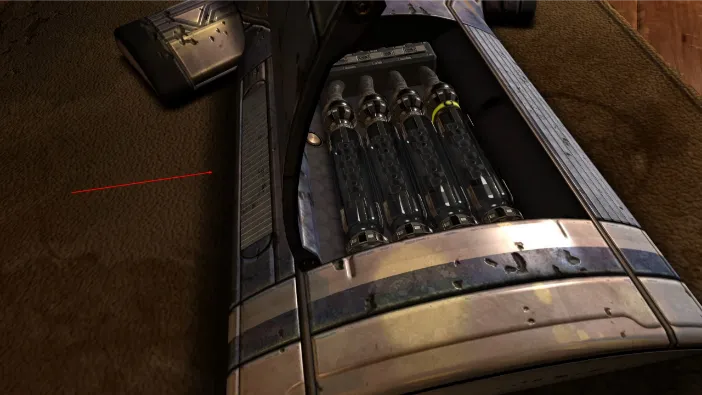
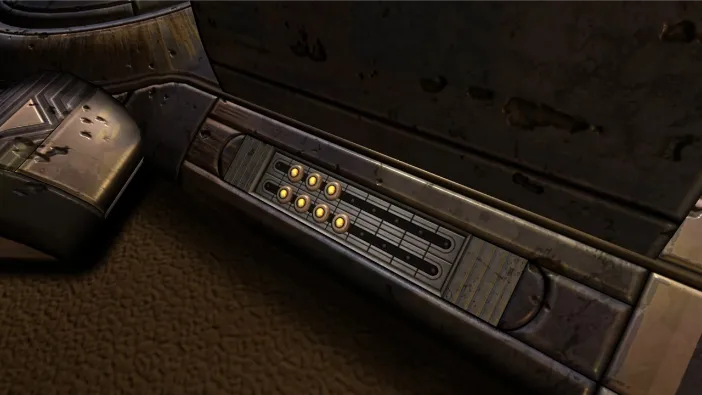
The console will come out automatically, but what you need to figure out is to move the screen a bit so you can see the top of it. So, tap and hold anywhere on the screen and move down so you can take a look at the top part of the device:
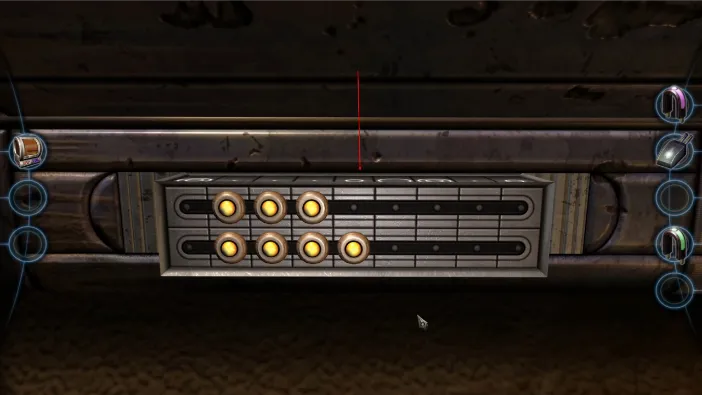
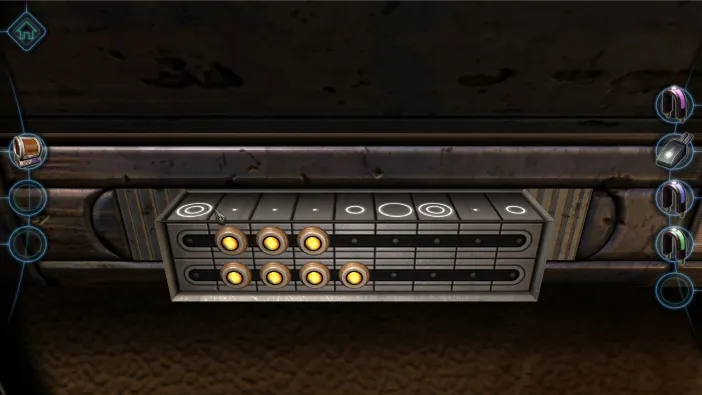
This puzzle shows you its own solution. You just have to figure it out. Basically, for every one circle in the instructions, you need to position one circular knob in that column. A large circle means top row, while the small circle means bottom row. And, where there are only dots, those columns need to remain empty, like this:
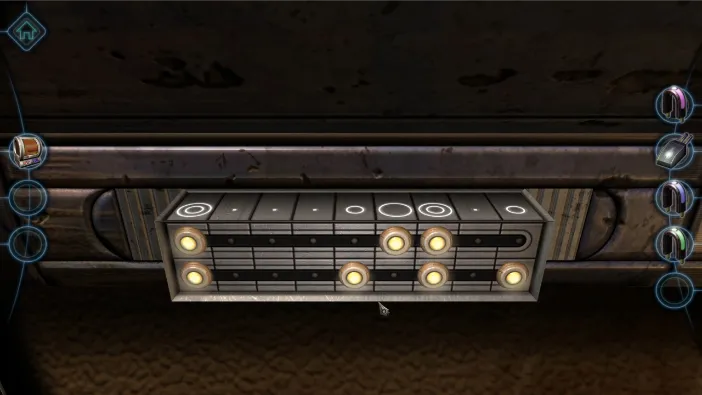
When you finish it, the puzzle console will retract automatically and your screen view will automatically go back to the large compartment. There, the glass cylinders will rearrange and start glowing, at which point another compartment below this one will open:
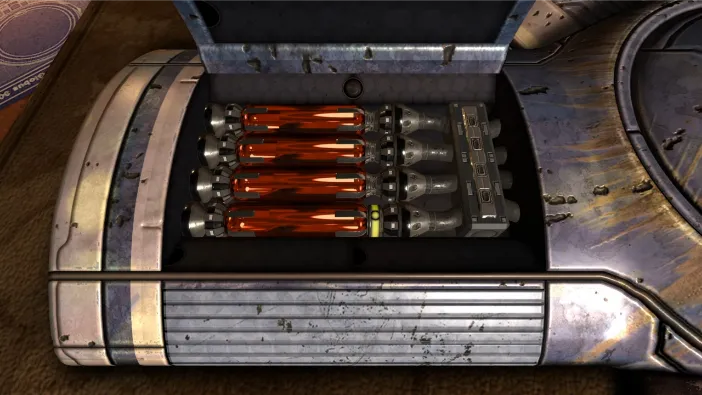
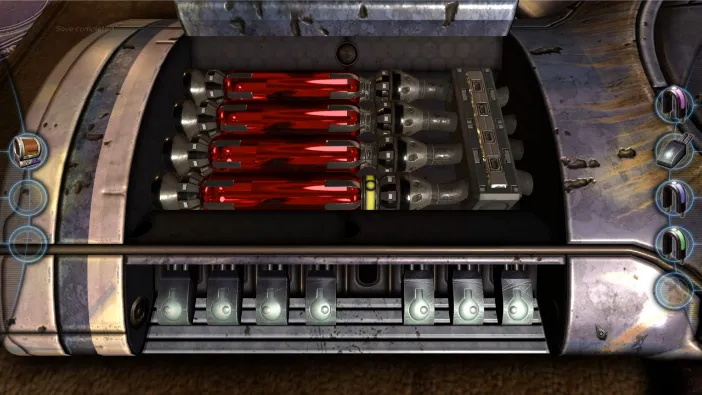
Now, this is where all those three differently colored connectors come into play, as you will put all three on the glass cylinders. One already has the yellow, and you will put your 3 like so:
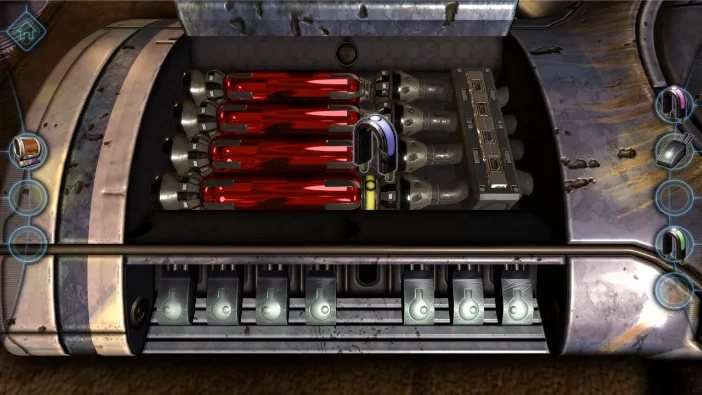
Screenshot_110
Next, take the metallic object from your inventory (the one with the two pins), and place it to the empty slot below:
Screenshot_111
It won’t fit. At this point, you will have a monologue pop up saying that you will now use your mini camera, because there is something wrong with the mechanism:
Screenshot_112
The mini camera will automatically be equipped in your inventory on the left-hand side of the screen:
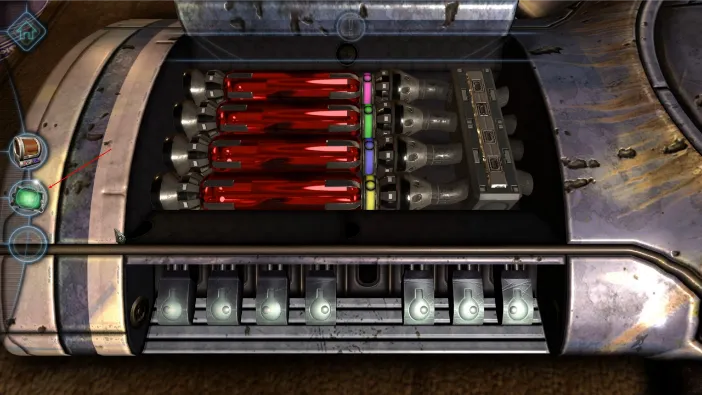
Just drag and drop it to the empty slot that the metallic part wouldn’t fit and the rest will happen automatically:
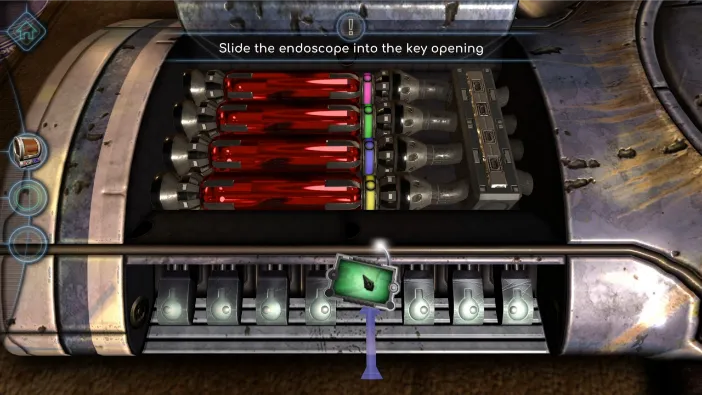
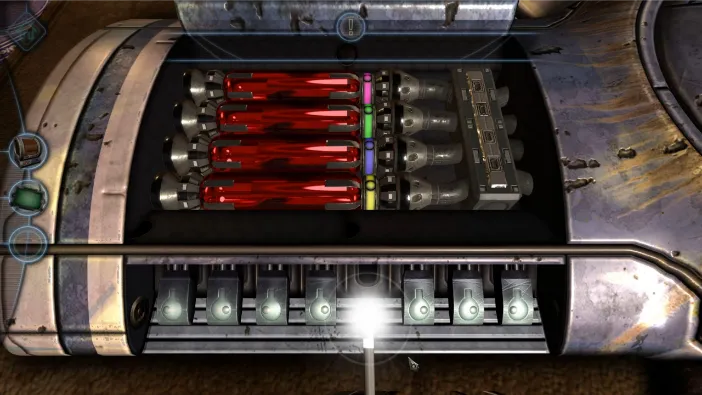
Once the camera is in, you will be able to control it through the screen interface:
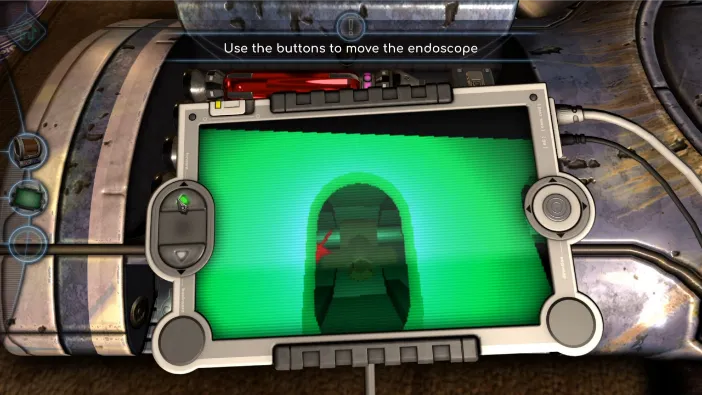
Pressing the top button on the left-hand side of the screen moves the camera forward, which is the first thing you should press:
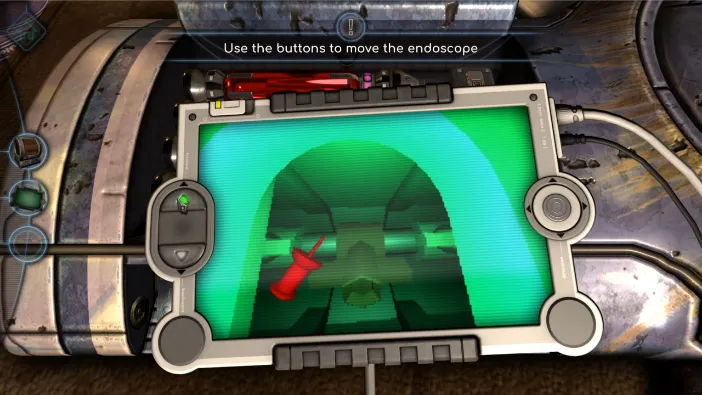
The mini camera will go into the lock mechanism and reveal the red pin that is blocking it. You need to press the adjacent key a few times to spring it from there and loosen the lock mechanism, like so:
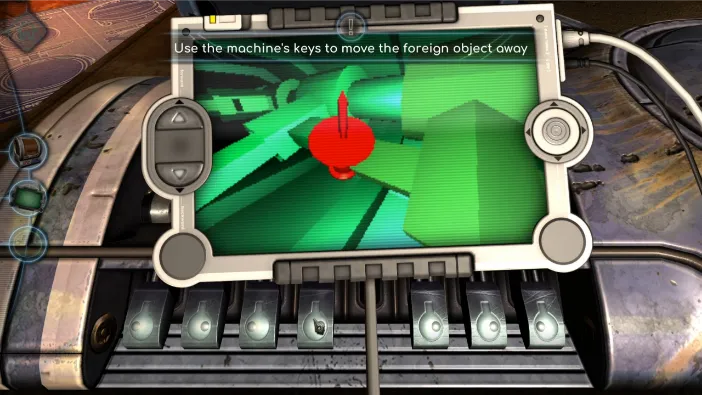
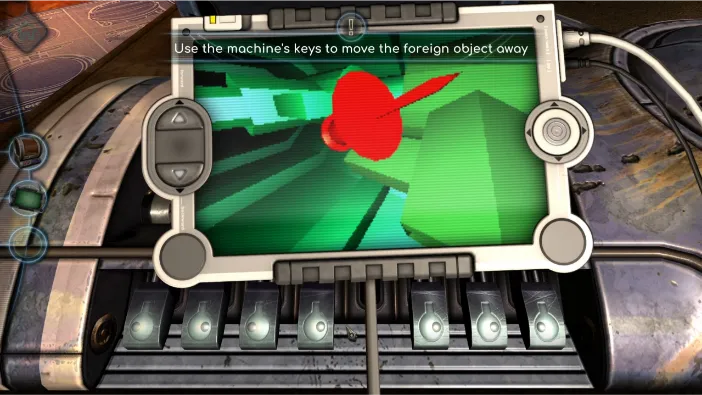
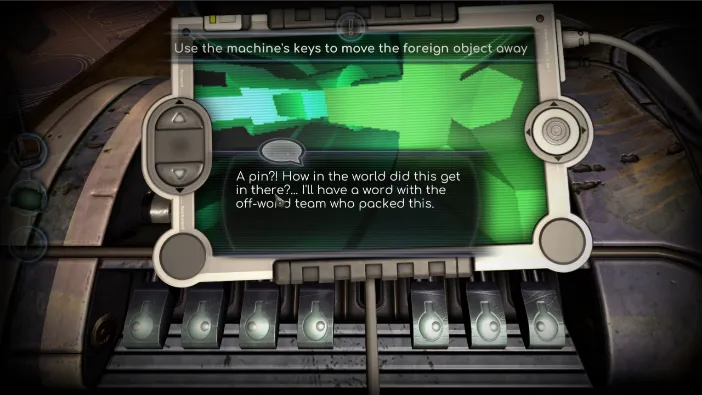
After you remove the mini cam, the pin will fall out on its own:
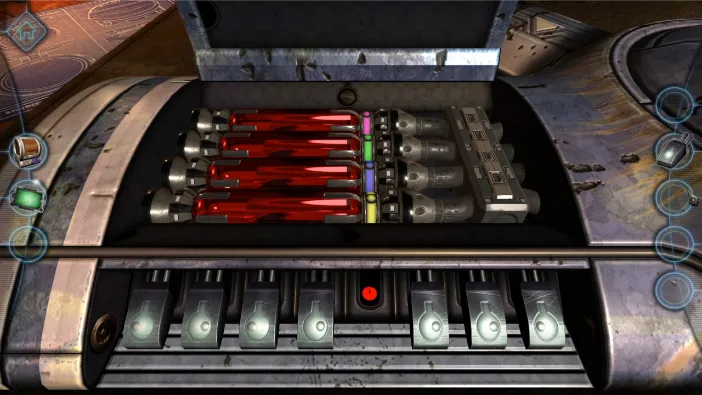
Now, the mechanism is fixed and you can once again put the metallic key in the empty spot:
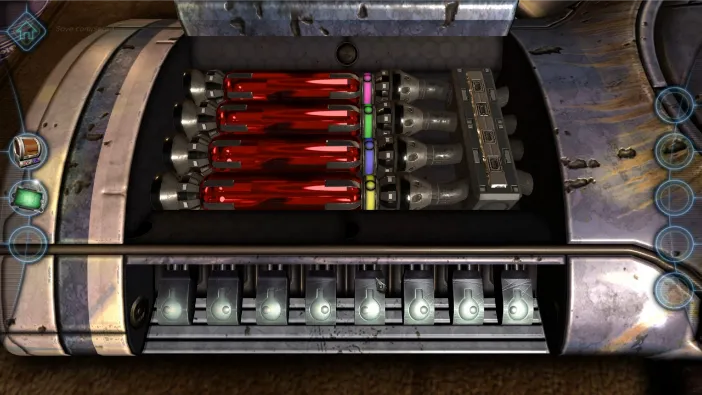
Now that you have all keys set, you can use them. What they do is control the glass cylinders above, make them loose in fact. A combination of two keys will loosen up a particular cylinder. Figuring out might take some time, while you can see the combinations on screens below. Also, once the cylinder is loose, you need to rotate it to change its color and match it with the color of the brass connector, like so:
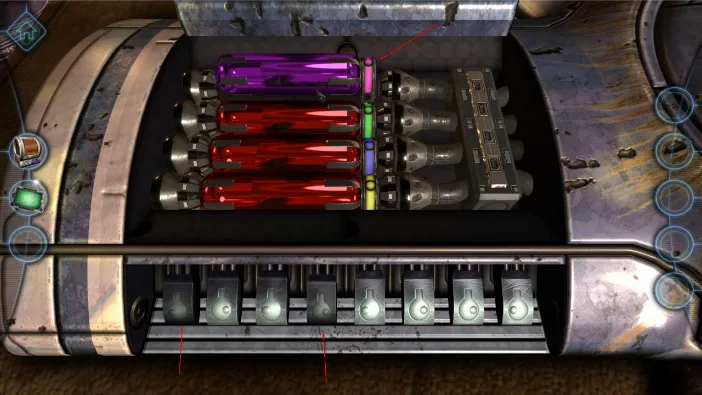
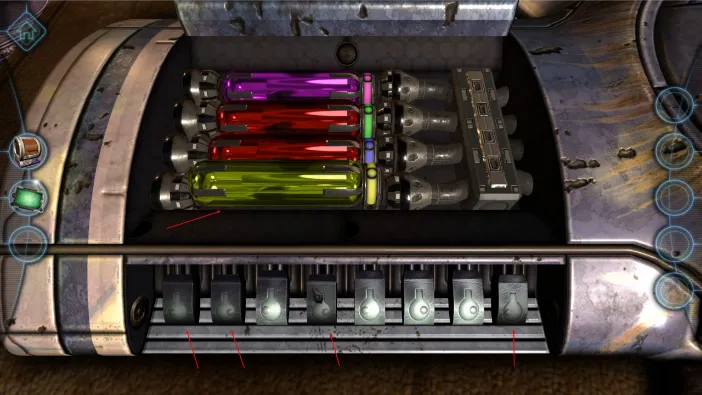
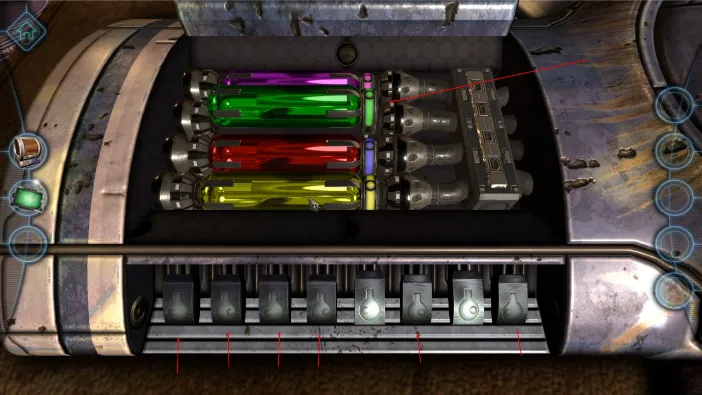
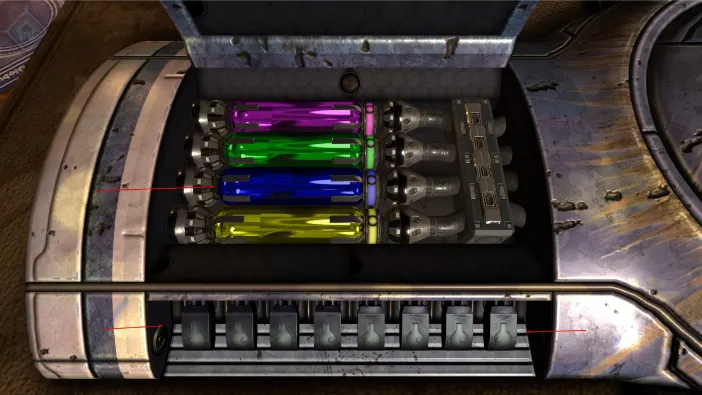
This will, at long last, activate this part and open the center chamber. The entire part will engage and it open automatically:
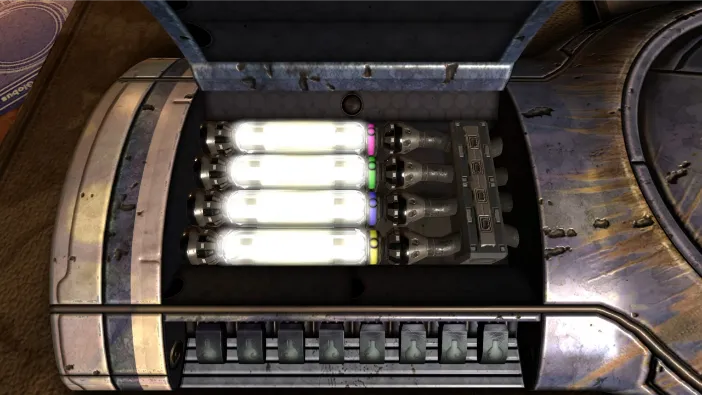
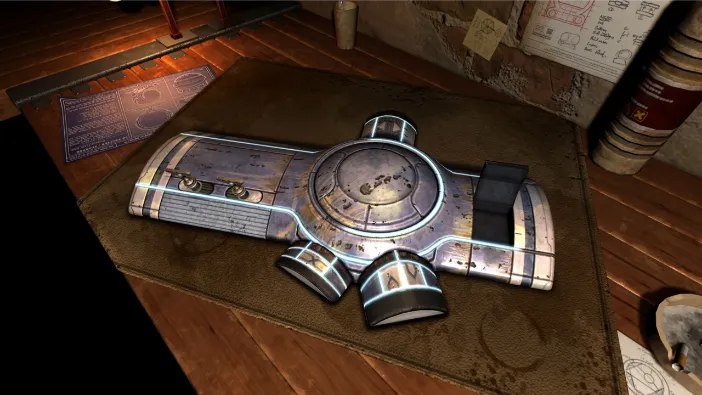
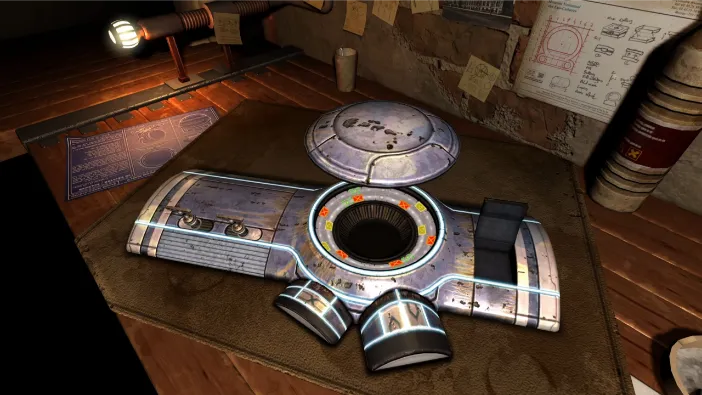
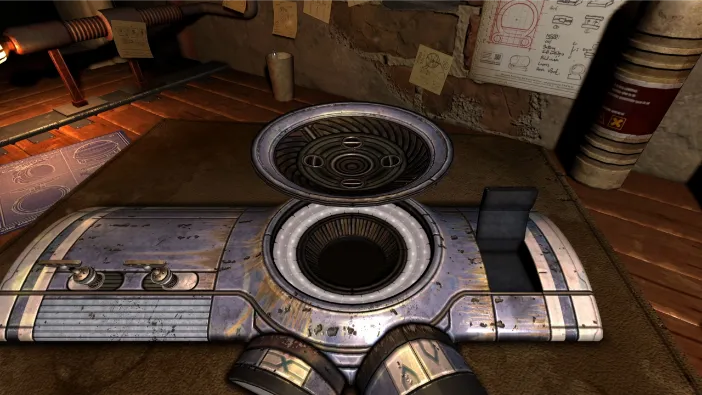
The top lid will fly open and it will reveal the hardest puzzle on this part so far:
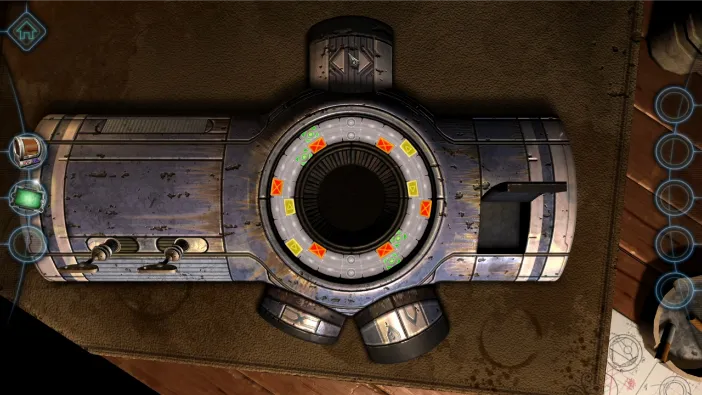
By moving the top knob (with the left & right arrows) left or tight, you will move the symbols in side of the hole. The two knobs on the bottom will control which color symbols you are moving currently:
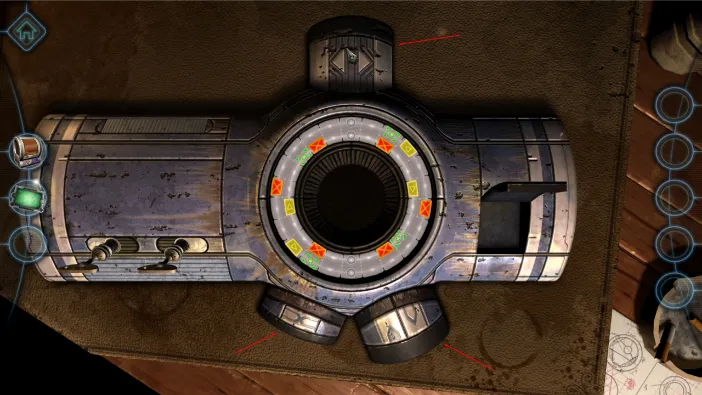
The goal is to align all the symbols with the barely visible symbols on embedded on the rim itself:
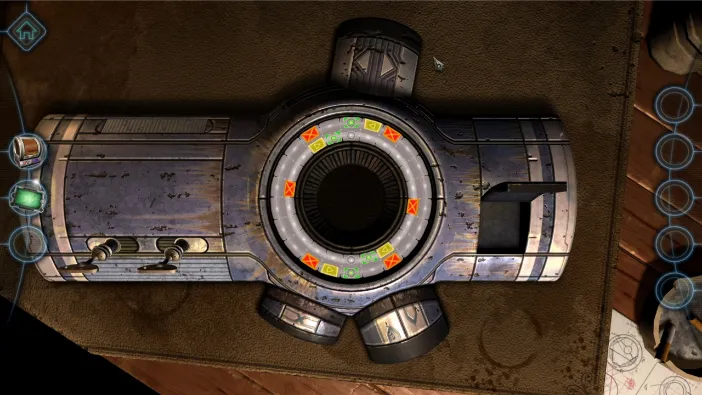
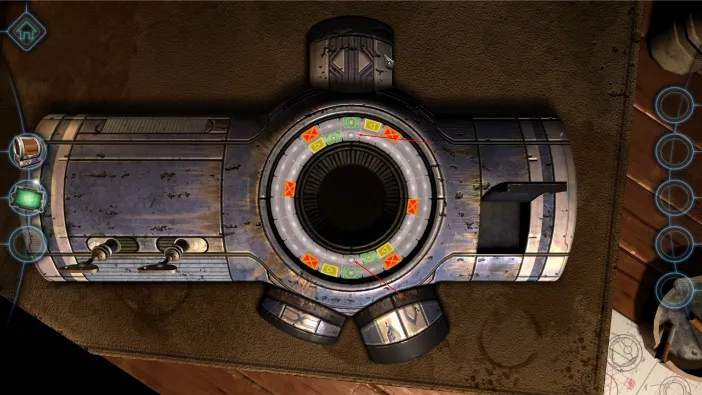
It could take you some time. But, from the default position of the puzzle, we pressed as follows:
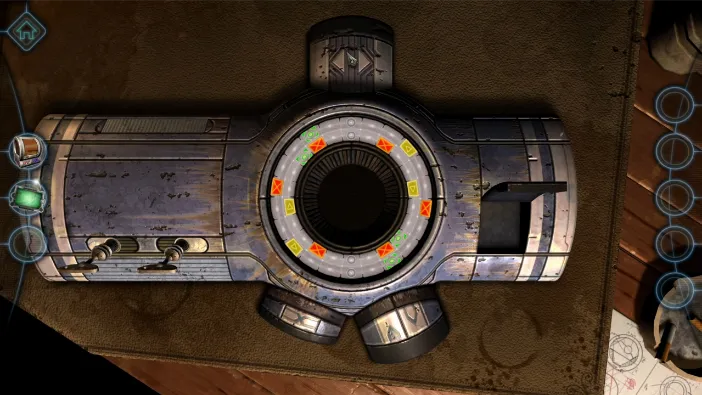
Top knob pushed six times towards the left:
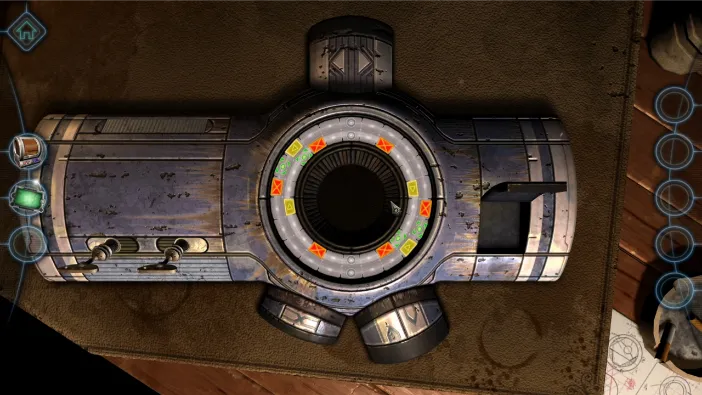
Then push the bottom left knob:
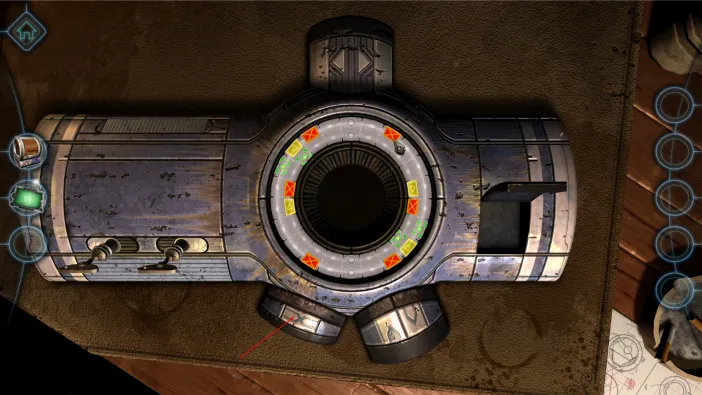
Then, top knob towards the left, but four times this time:
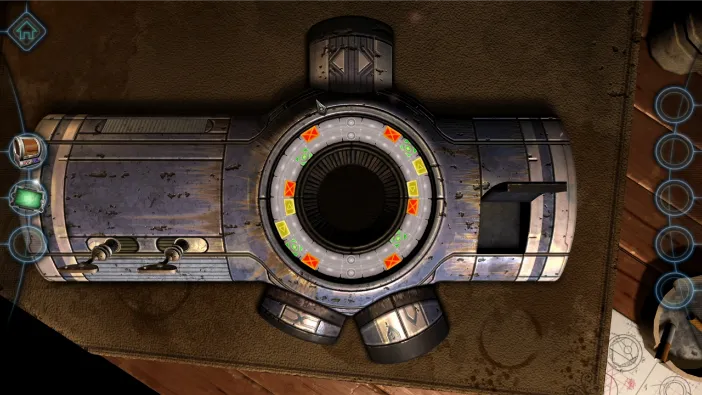
And, then bottom left knob again:
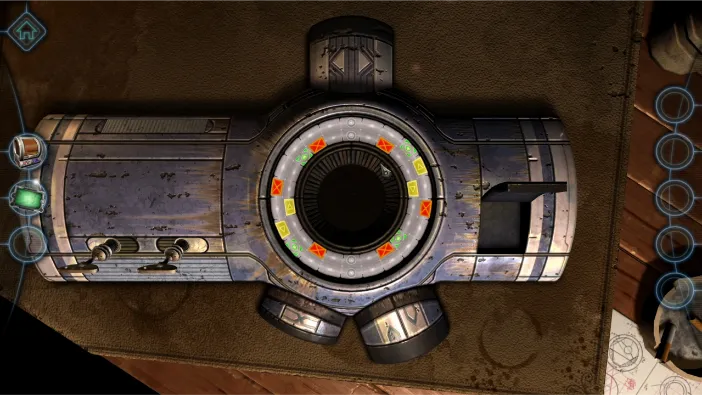
Then, top knob three times to the left and then two times to the right:
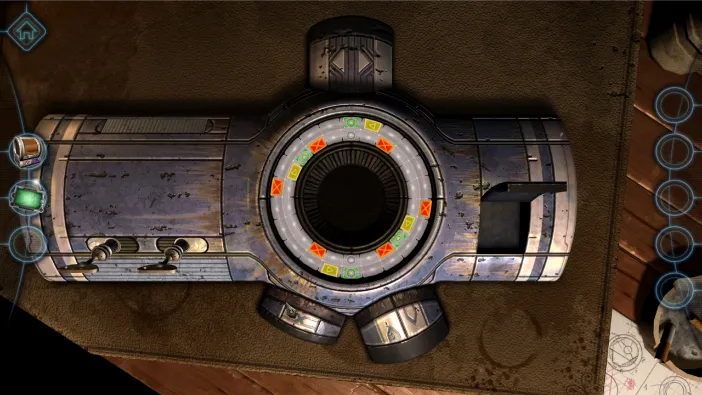
Then bottom left again:
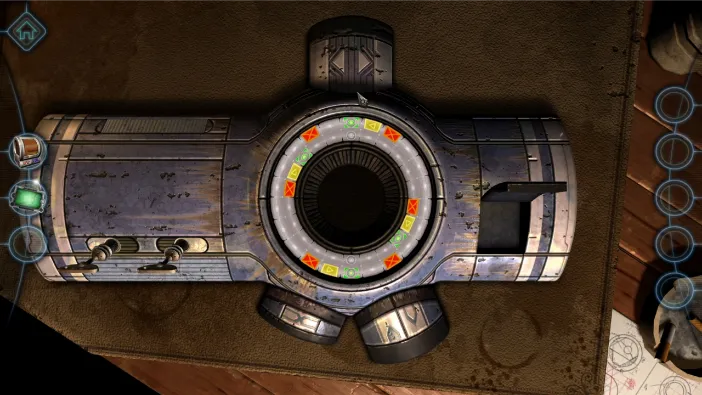
And, then top knob three times to the right and you’re done:
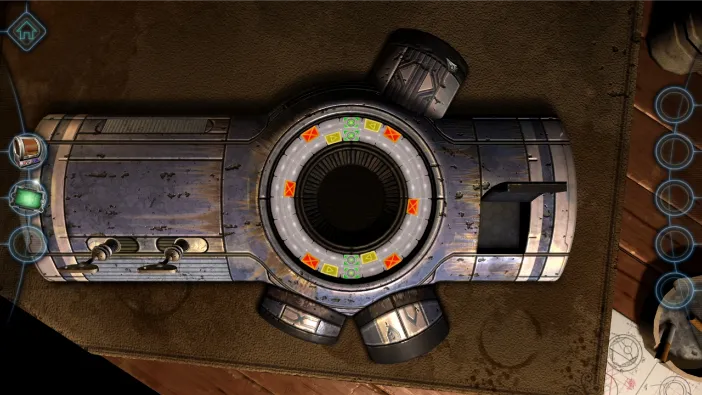
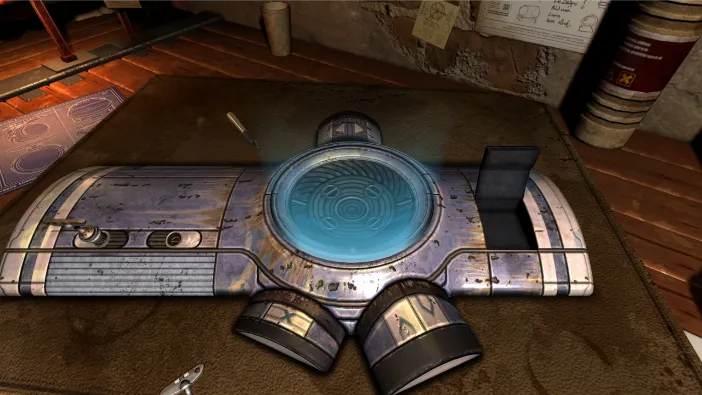
The top lid will hover automatically above the puzzle, change position, then turn and fix down on it to form an anti-gravity field of sorts. It will draw in your pen and one of the screws:
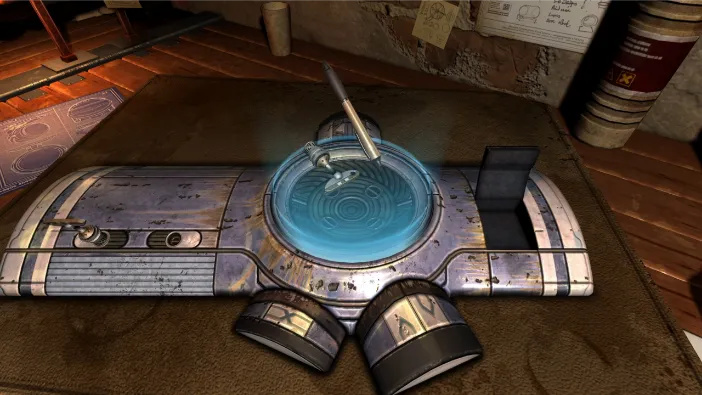
The field will rotate a few times and then a monologue will appear:
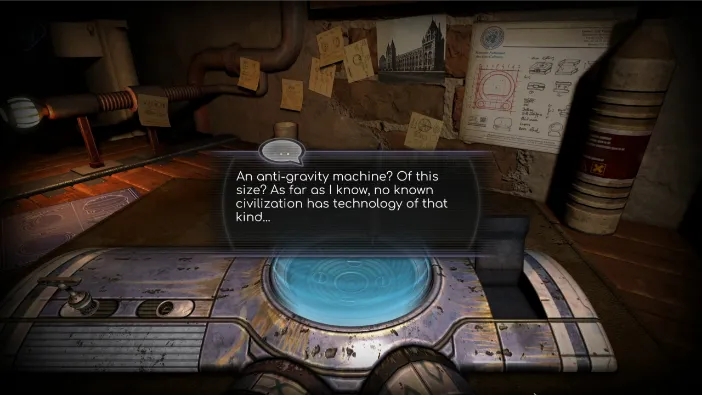
And, this will mark the end of chapter 2 of Machinika Museum:
