Machinika Museum – Chapter 1
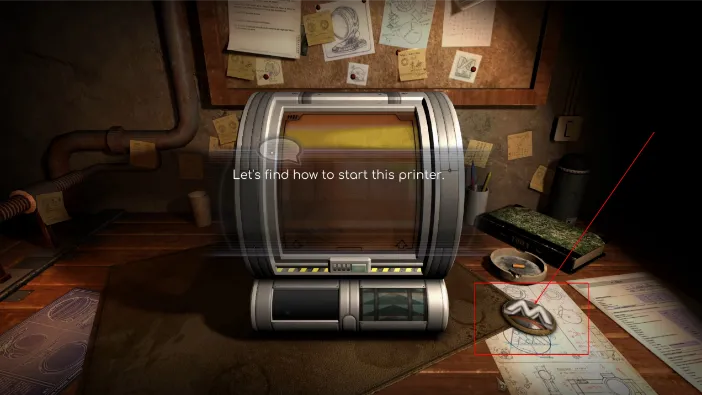
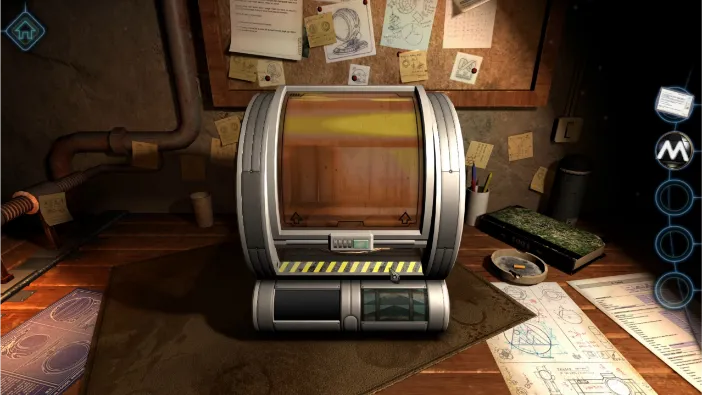
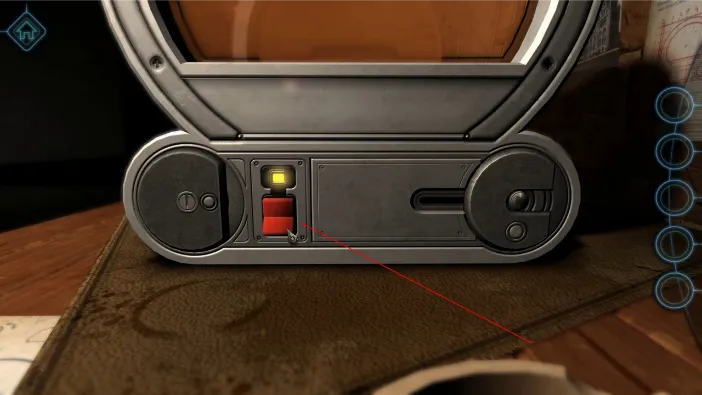
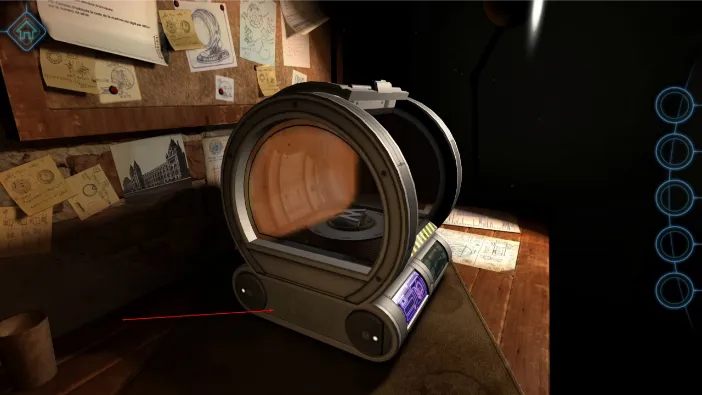
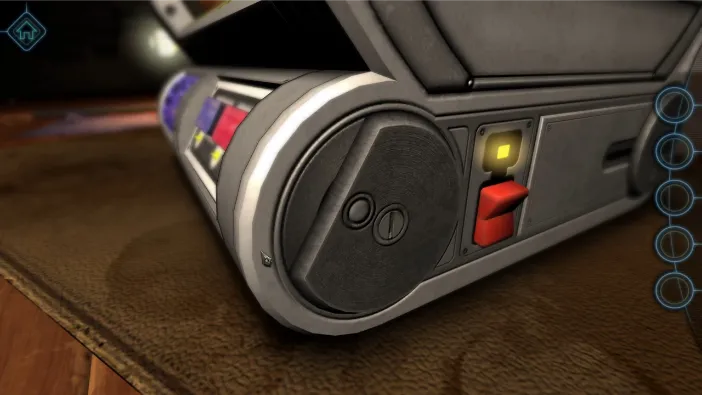
Your first task is to get familiar with the printer and find out how it works. First pick up t Museum Emblem that is on the desk right beside t printer. After that, tap on the printer and swipe to its right side, the one with the red switch on it, and zoom in on it.
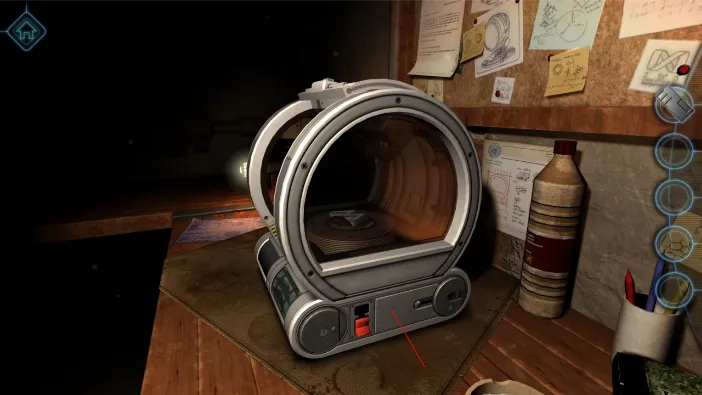
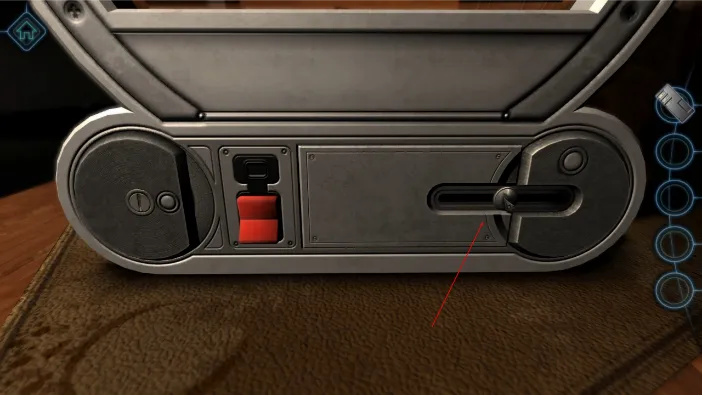
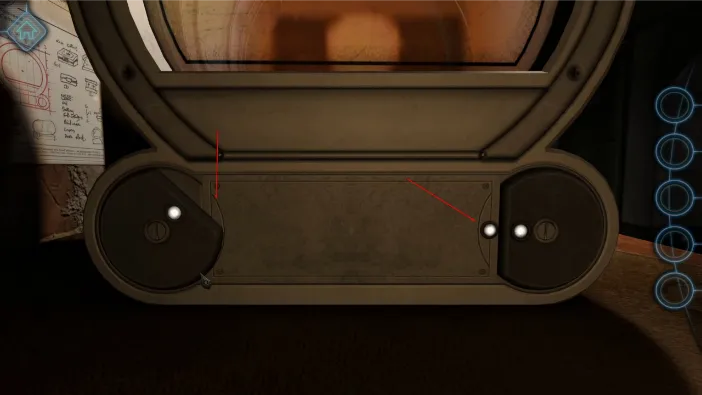
Drag and turn the right wheel to align the lock and open the compartment in the middle, like this:
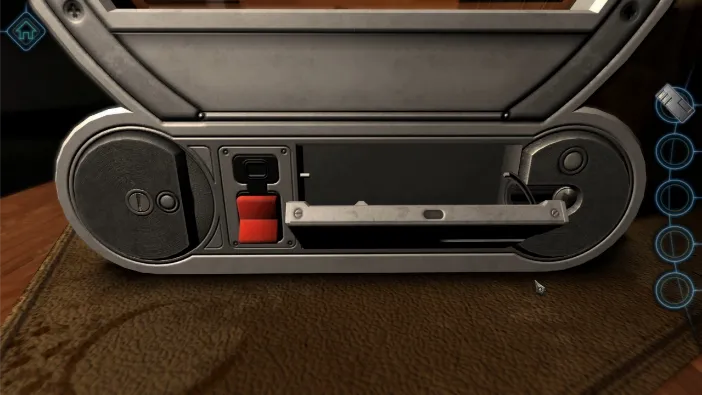
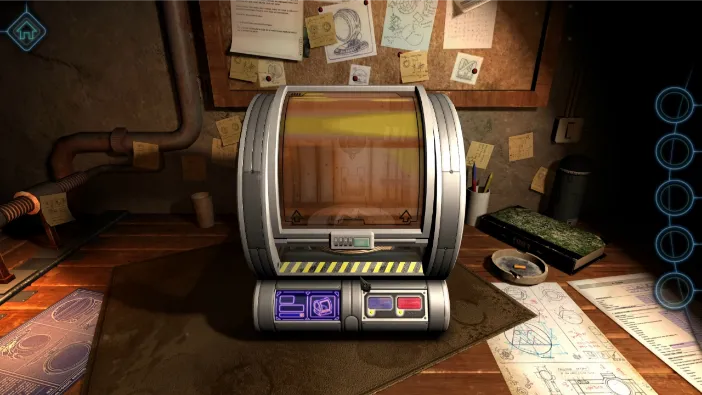
The compartment will open and you will find that it is empty. Leave it for now and zoom out. Turn the camera to face the printer on its front side and zoom in on the lock there.
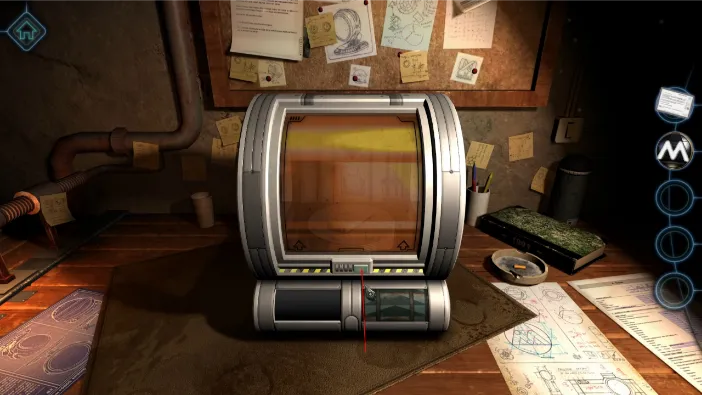
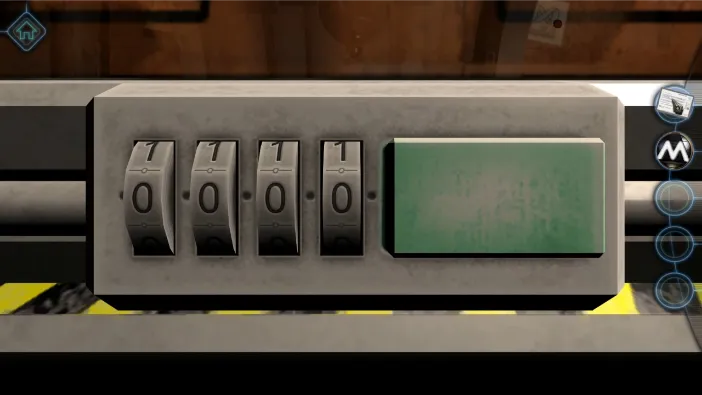
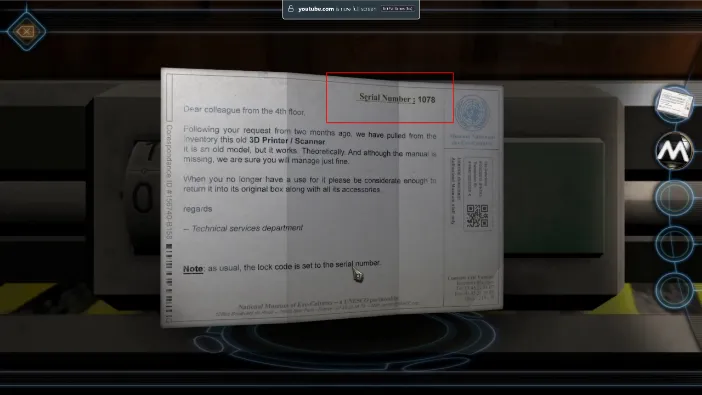
The combination to open it requires four digits. The serial number for the printer, included in the letter that came with it, is the combination you need. Turn the knobs and input.
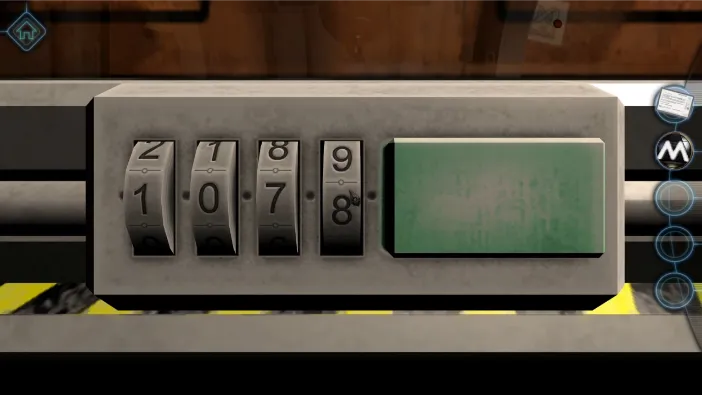
Once you set the correct combination, tap on the green button and the printer will open.
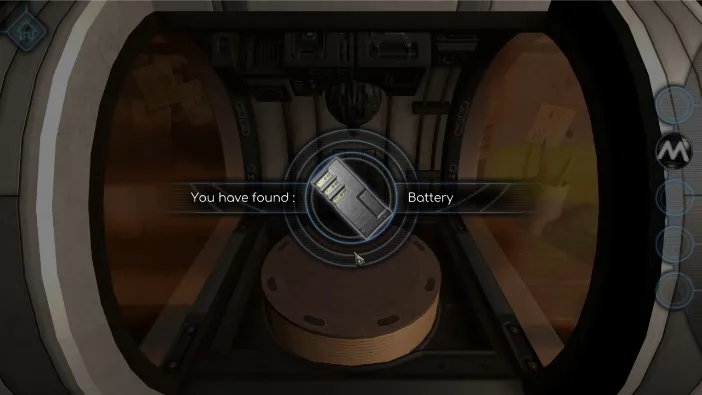
Tap and drag the lid upwards to open it and get the battery inside.
After taking the battery, put the Museum Emblem you found inside the printer. Drag and drop it from your inventoiry.
You now have the battery necessary to run the printer, so again go to the side where the battery compartment is. Tap on the battery in your inventory and drag it into the empty battery slot.

After you do that, close the compartment and tap on the red button on its left side:
This will turn it on, but the alert screen on the Printer will flicker, showing that you still need to do one more thing. You will be signaled that the printer needs ink, so turn it to its left side to access the ink compartment:
The compartment is opened easily, with turning both knobs to align the lights on the inside:

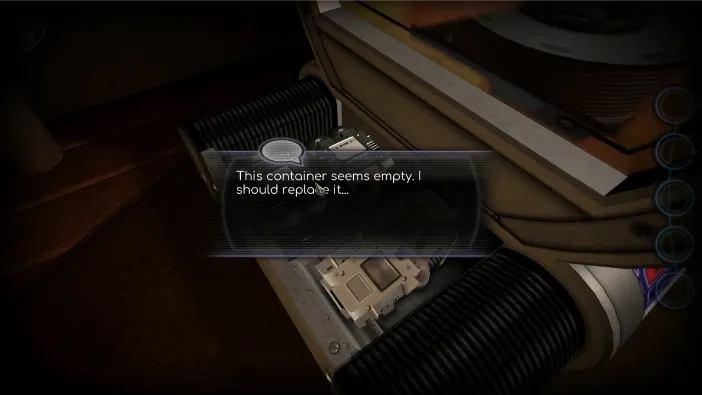
Once you unlock it, the compartment will open and you will access it.
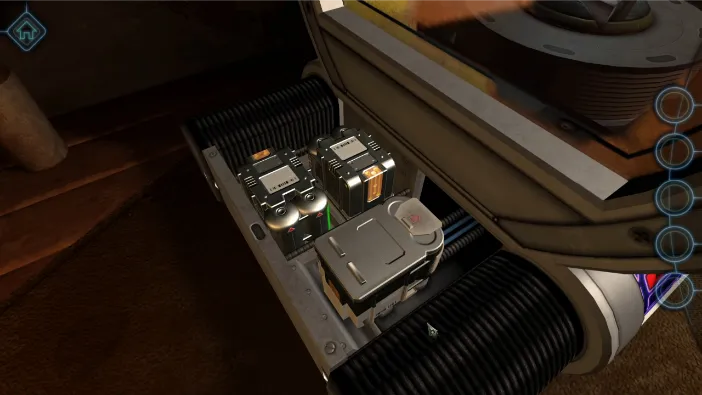
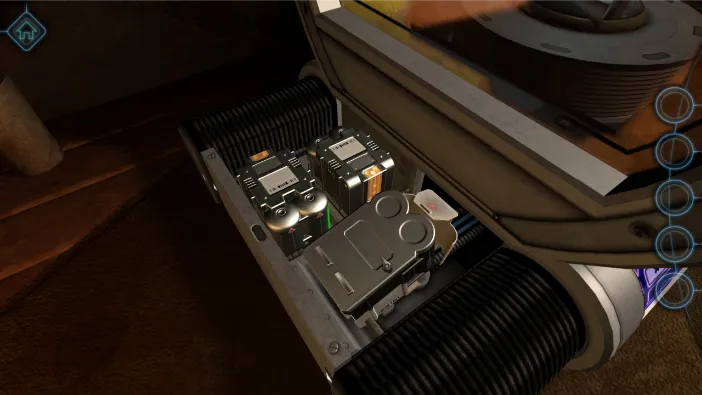
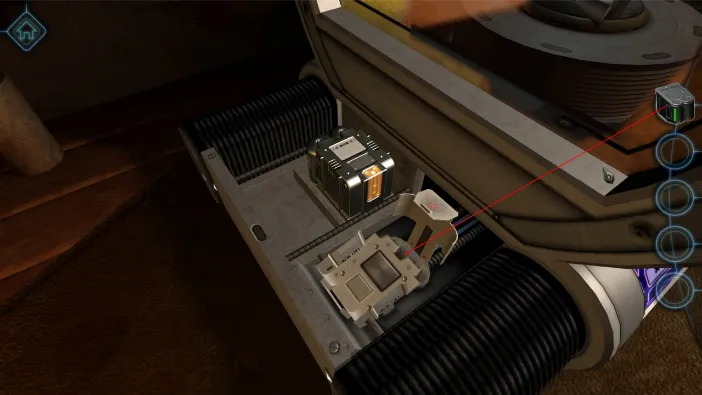
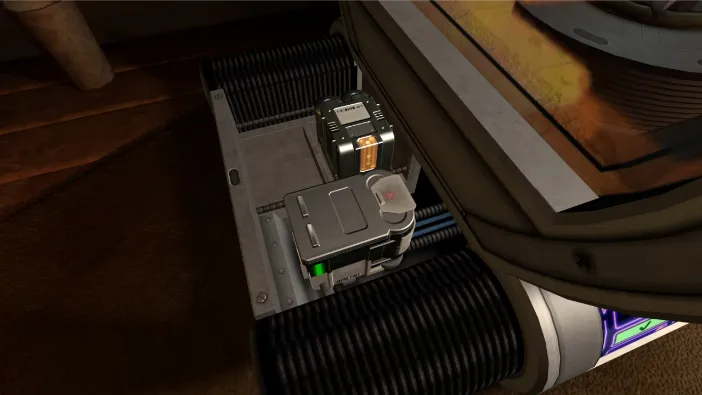
It has a slot for the ink container currently in use. The only problem is that it is empty. However, there is a spare one right next to it. All you need to do is to open the ink container holder, put out the empty one, and insert the full one. Just tap on the red arrow and pull it in its direction to open the holder:
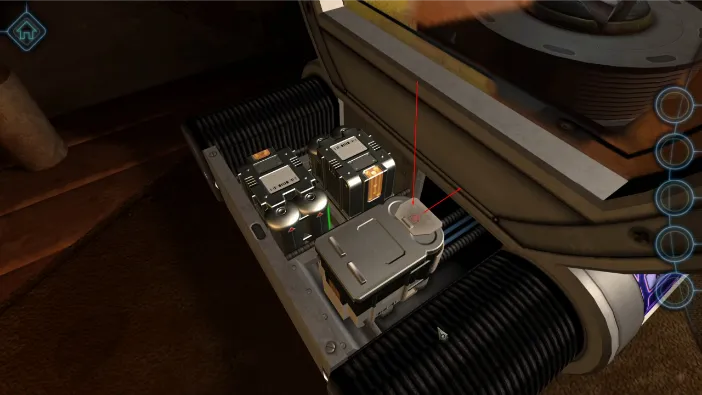
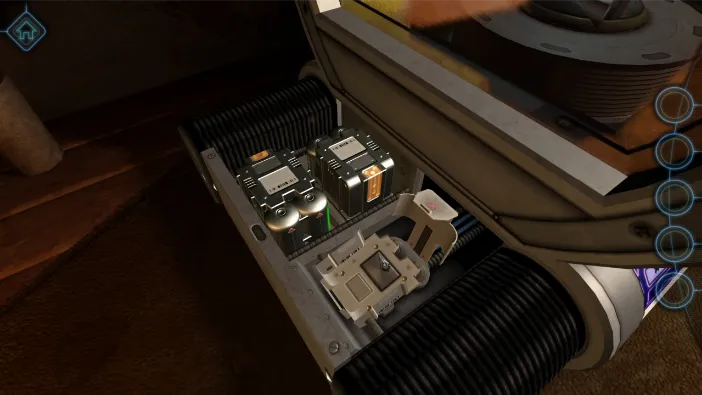
Then tap on the empty container in it to take it out:
Tap on the other container in the compartment to pick it up:
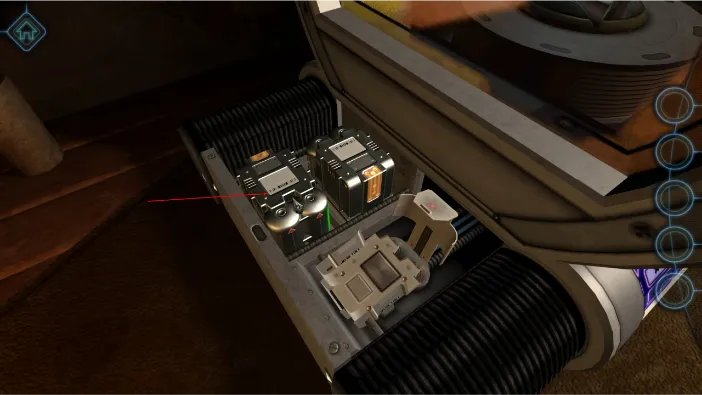
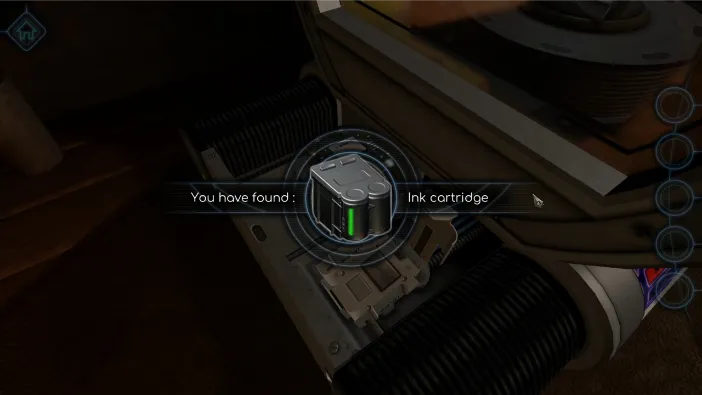
Now, drag and drop it from your inventory into the cartridge holder:
It will close automatically and the notification screen will now show that the printer has its supply of ink.

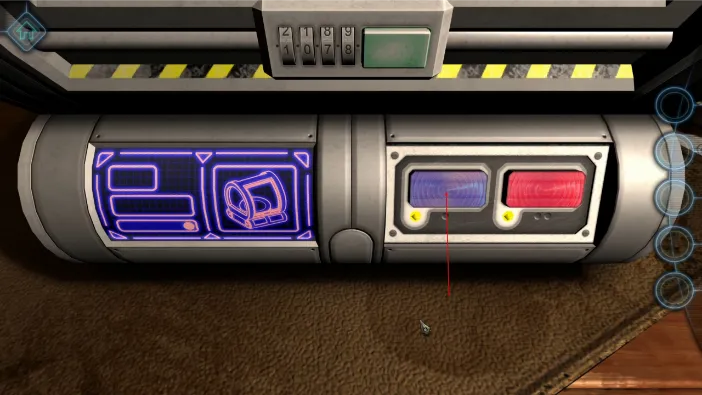
Now, you need to open the control interface, which is right next to the notification screen. Just rotate to the right side of the printer, and turn the round knob until you open its hatch:
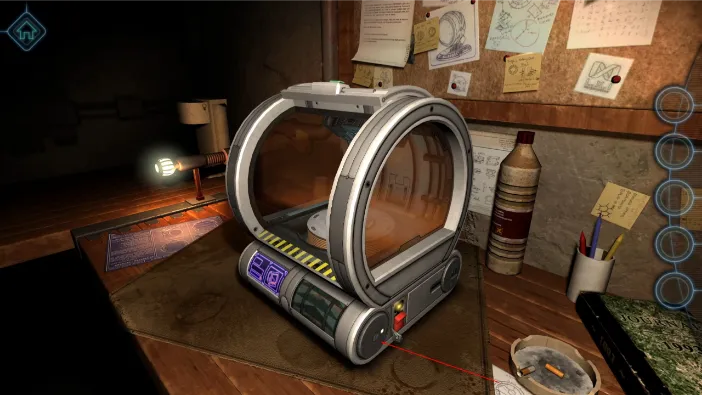
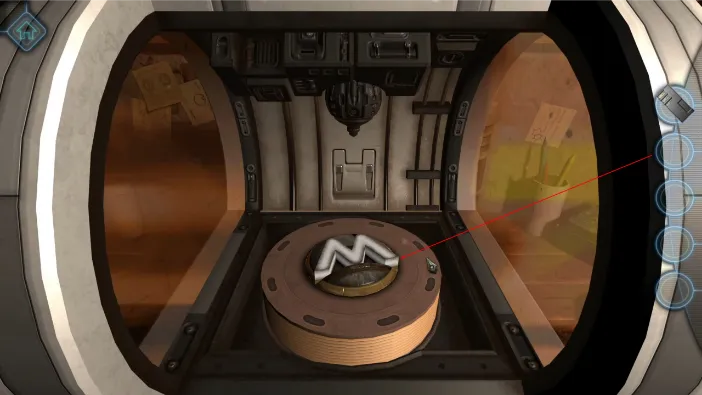
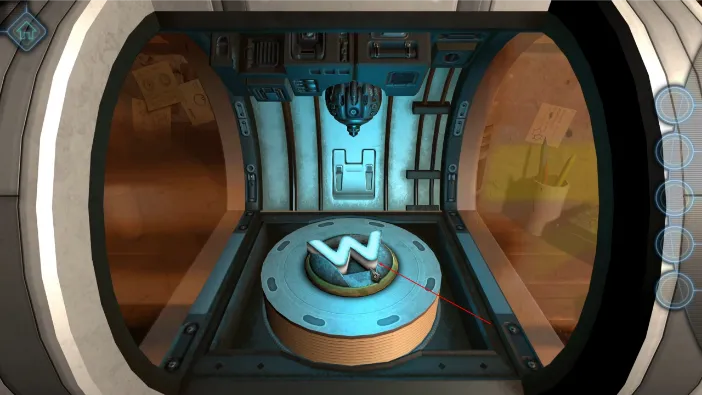
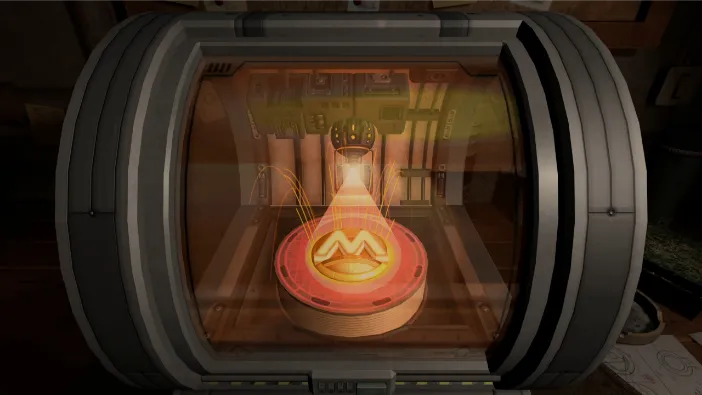
Now, close the printer’s lid and push the purple button for it to start scanning:

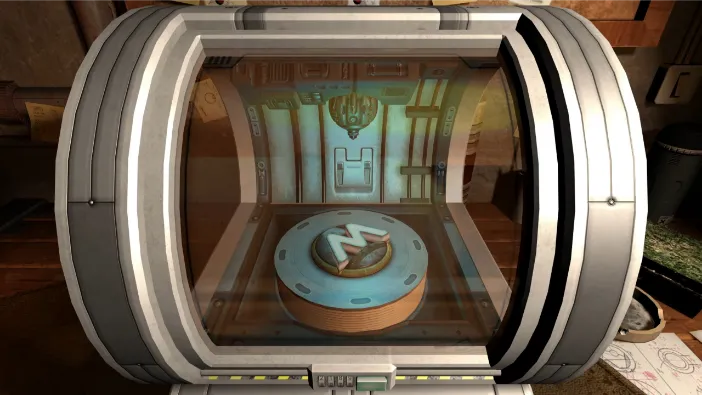
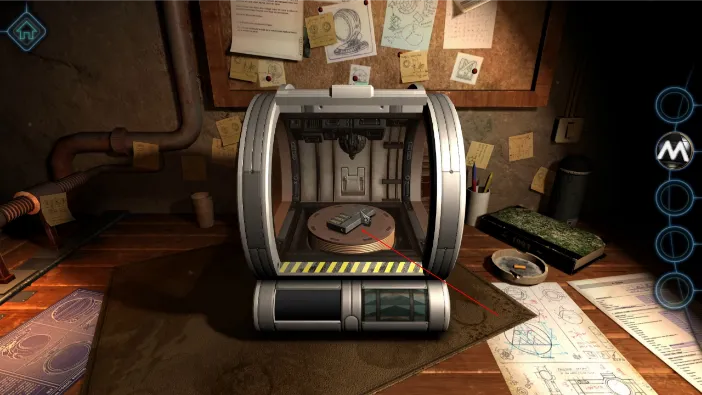
After the printer finishes its magic, the doors will unlock automatically. You just need to lift them up and pick up the Museum Emblem. Just tap on the scanning compartment and tap the emblem.

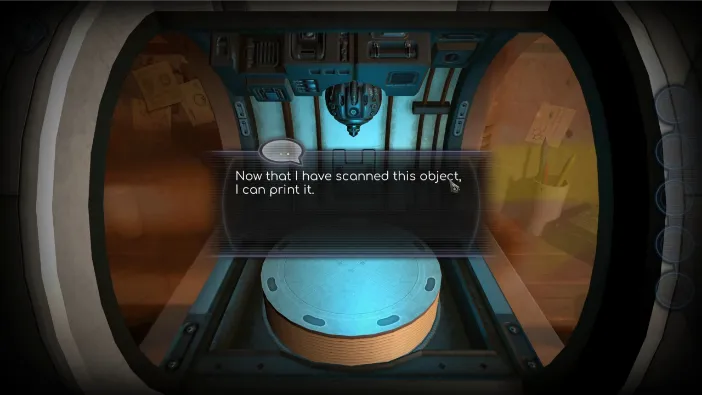
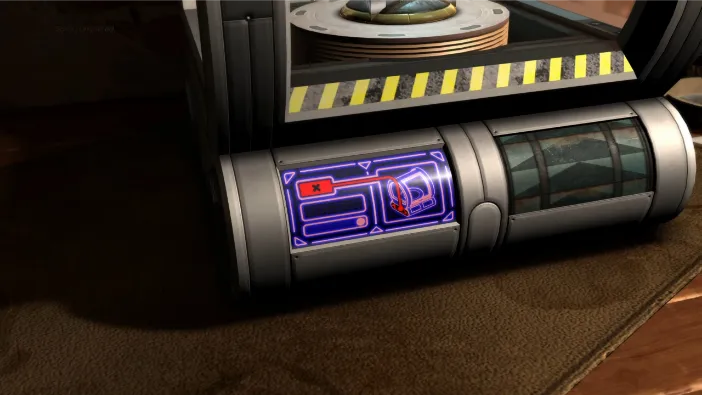
The printer now has the data necessary to print the object, which it will do after you close the hatch again and push the red button this time:
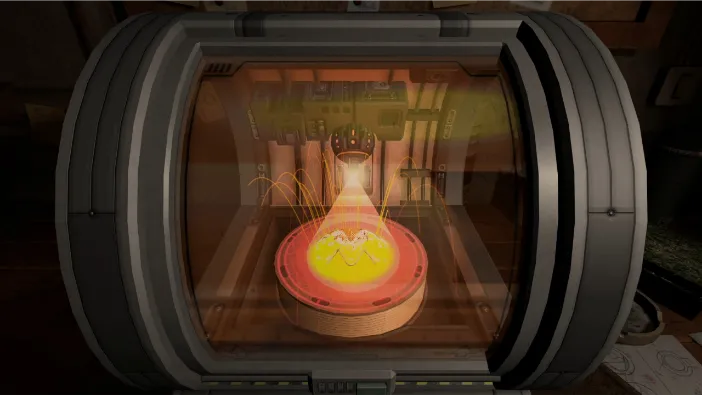
After it is done, the hatch will again open automatically. Lift it and pick up your copy of the emblem:
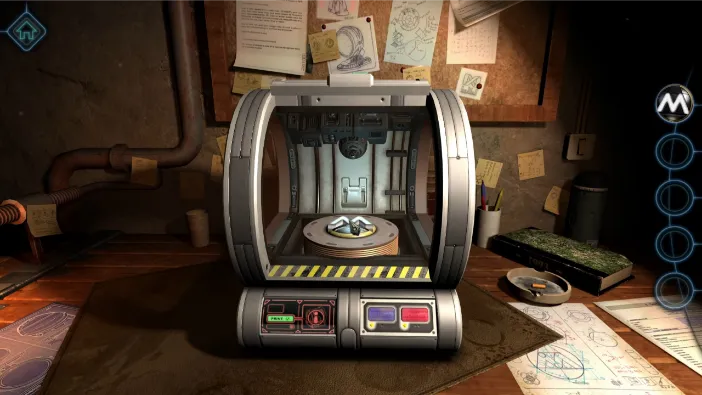
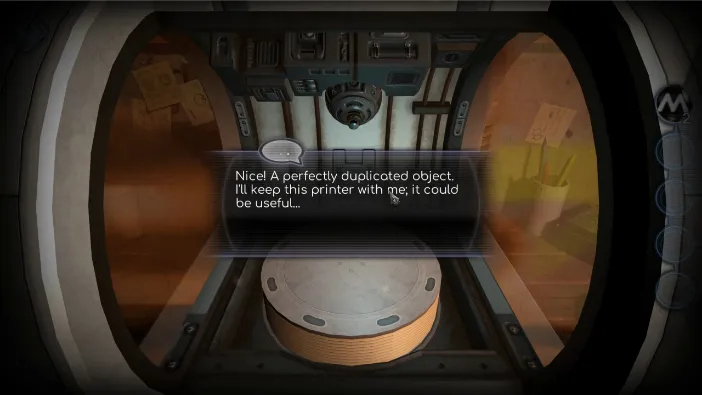
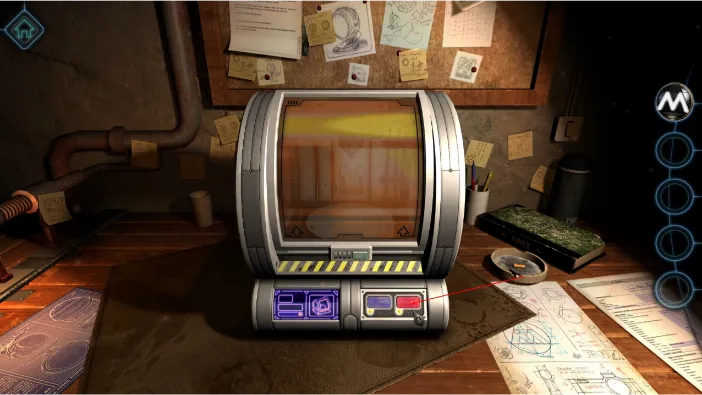
Once you are done with this, the printer will automatically become one of your tools, accessed from the left side of the screen:
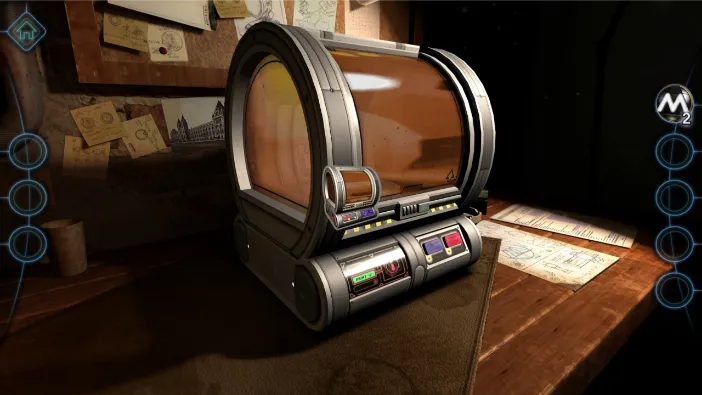

This ends the chapter 1 and you can proceed to the next one.