Haunted Laia | Part II
Hello everyone and welcome to Part 2 of our walkthrough for “Haunted Laia” an escape room game created by the Dark Dome. Haunted Laia is the fifth game in the series, and like the other games, the story is set in Hidden Town, which is filled with all kinds of mysteries. In this walkthrough, we will show you how to solve all the puzzles and finish the game.
NOTE: Some puzzles will CHANGE with each playthrough, but the logic behind solving the puzzles will always remain the SAME. For example, in one playthrough a code to open a safe could be 1234, and in another playthrough, the code could be 4321. However, you will always discover the numbers for the code at the same location and by using the same hints.
NOTE: At the end of the first part, we managed to raise the bridge. So, the second part of the walkthrough begins with Laia going across the bridge, and exploring the new, unknown area.
Tap on the other side to go across the bridge. This action will trigger a cutscene.
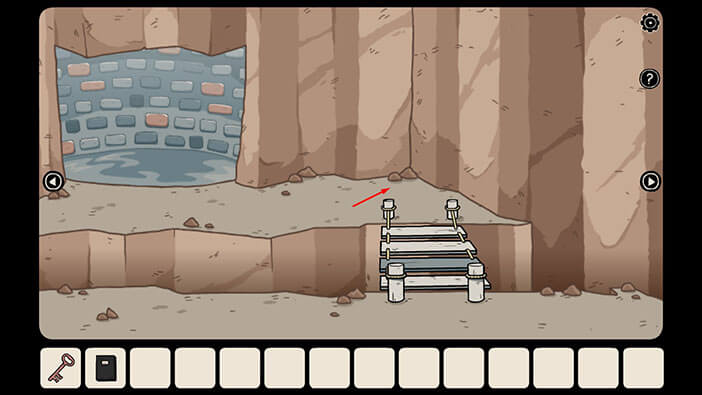
On the other side of the bridge, Laia will see a water tank. She was a bit curious (and probably thirsty from walking up and down the stairs), so she reached out toward the water. At this moment, she heard somebody yelling at her and warning her that the water is dangerous. Startled, Laia retracted her hand and turned around. She was very surprised when she saw her father and brother stand behind her.
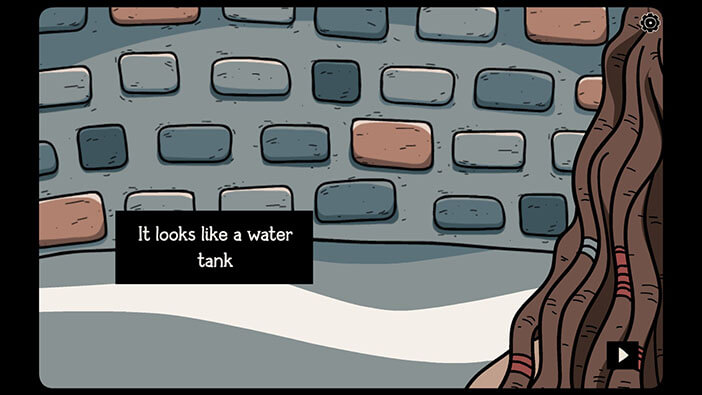
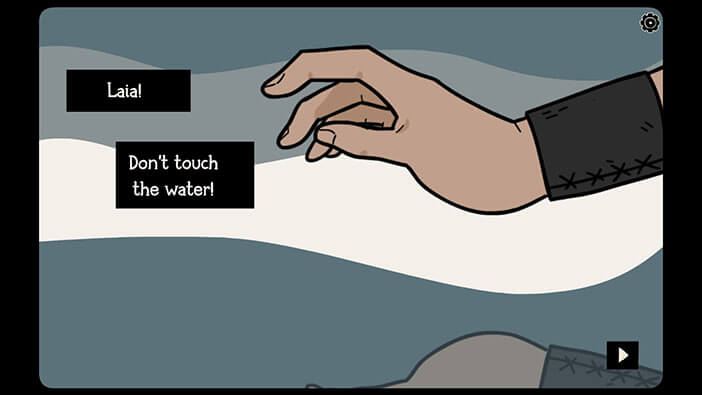
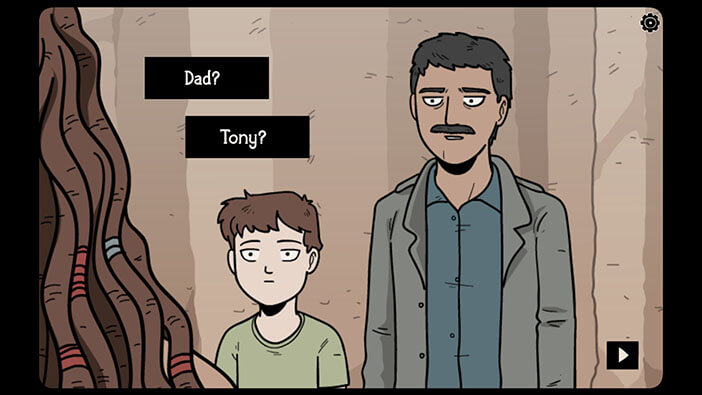
Laia was overjoyed since she was finally reunited with her family. She had a hunch that her family was still alive, and she decided to follow the map, which lead her to the cave entrance. It was a long shot, but she managed to find her brother and father. So, mission accomplished. She was ready to lead them out of the cave when her father told her the bad news.
The father explains that they can’t leave the cave, because they have been cursed by the water. The shadows kidnapped them and lead them to this cave. After that, the shadows forced them into the water and performed some kind of ritual. Ever since that moment, they have been cursed, and unable to leave the cave.
He also explains that they (her father and brother) will also become shadows when they come in contact with the sunlight. (So, I guess they could leave the cave at night and come back before the dawn? Food for thought).
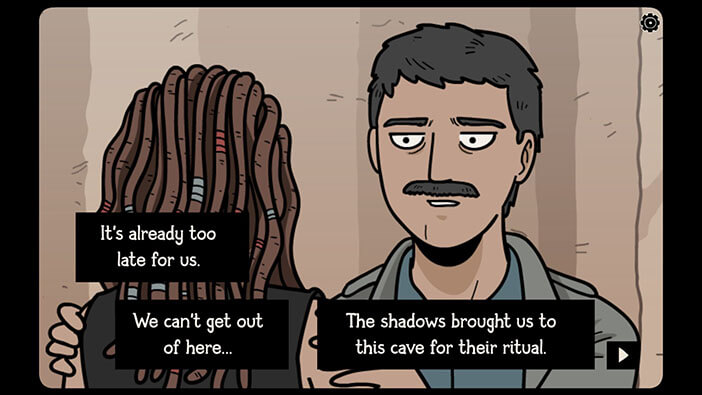
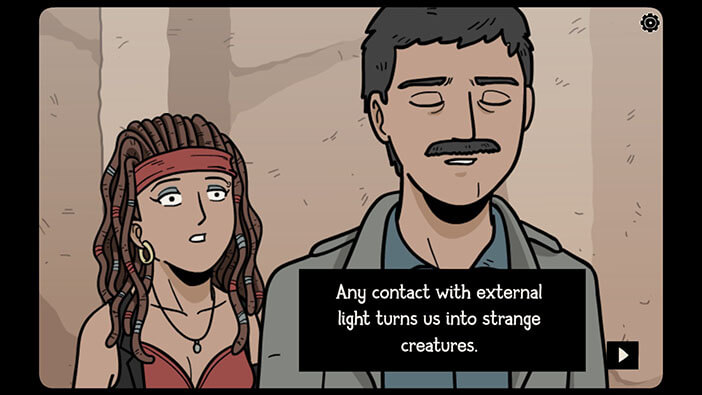
After hearing this, Laia remembered that she saw this ritual in the book.
But her father had other questions. He was very surprised to see Laia because they were trapped inside the cave for 3 years. So, he wondered, how did she manage to find them after so much time has passed.
Laia, lost in her thoughts, ignored his question. However, it seems that she figured out a way to help her brother and father and break the curse.
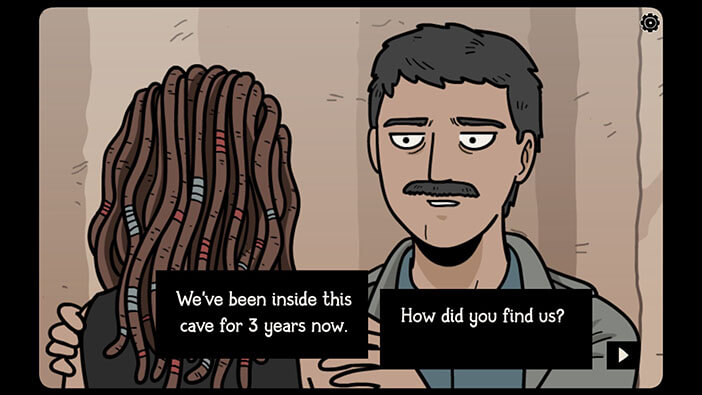
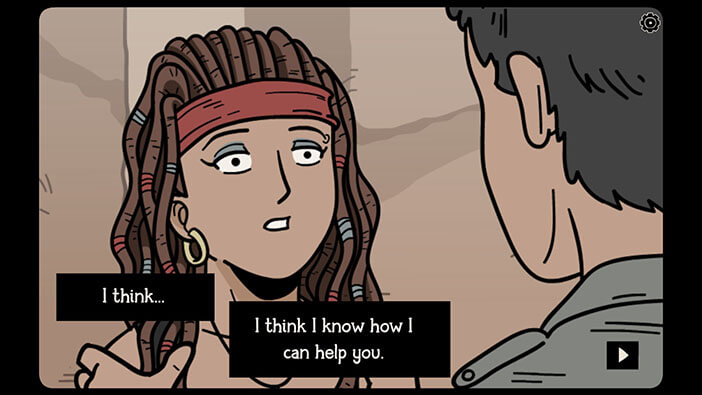
Laia starts recalling the events that happened 3 years ago.
So, this part of the story begins with Laura and her family moving into their new home in Hidden Town. While she was unpacking her things, Laura noticed a ghostly figure that flew behind her and hid behind the closet.
Well, it seems that Laura wasn’t afraid of this creature, because she decided to follow it and pushed the closet aside.
However, when she moved the closet, she discovered a hidden door.
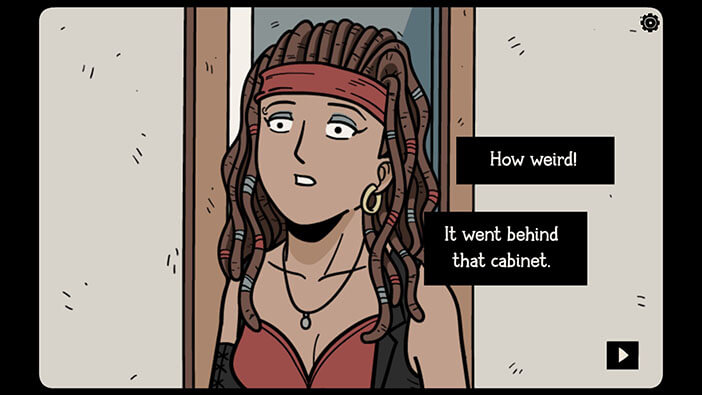
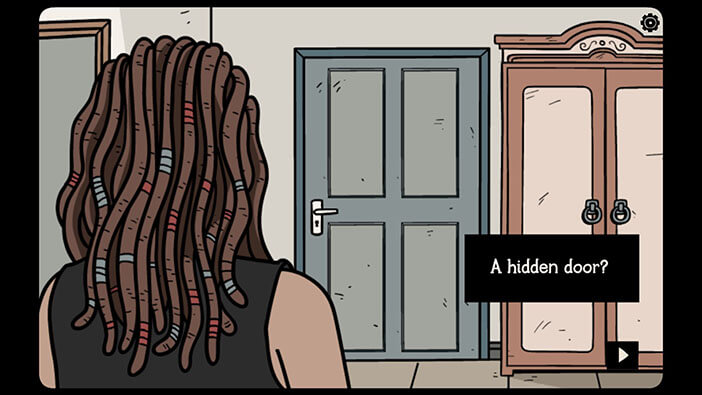
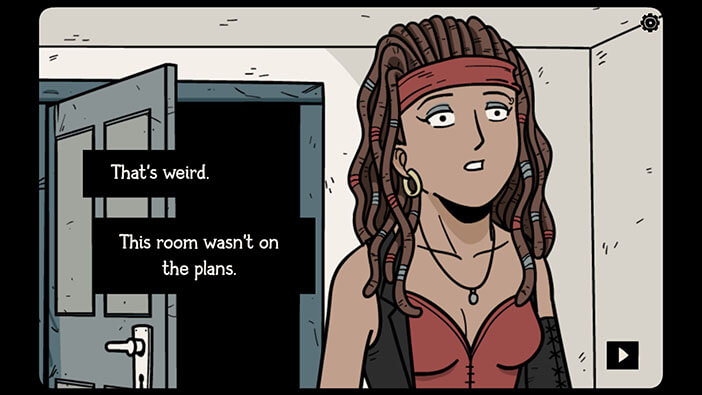
Laura was very surprised because the room behind this door shouldn’t exist. Well, the curiosity got the better of her, and she went in to explore this mysterious room.
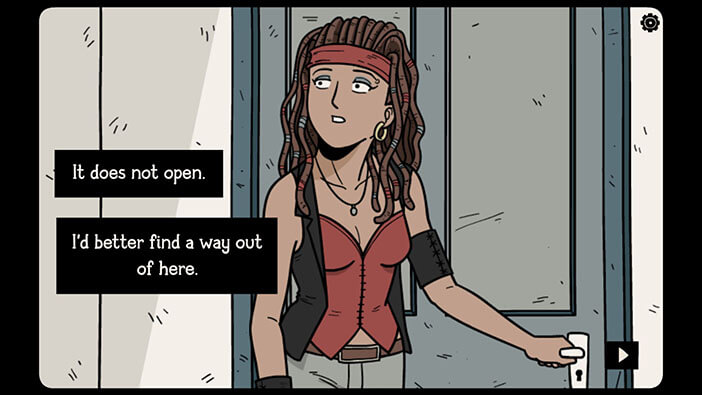
However, the door was suddenly slammed shut behind her, and she couldn’t open it, no matter how hard she tried.
Eventually, she gave up and decided to look for another way out…
Ok, at this point, we continue the adventure, and our main goal is to find a way out. Let’s explore the area and look for something that can help us to achieve this goal.
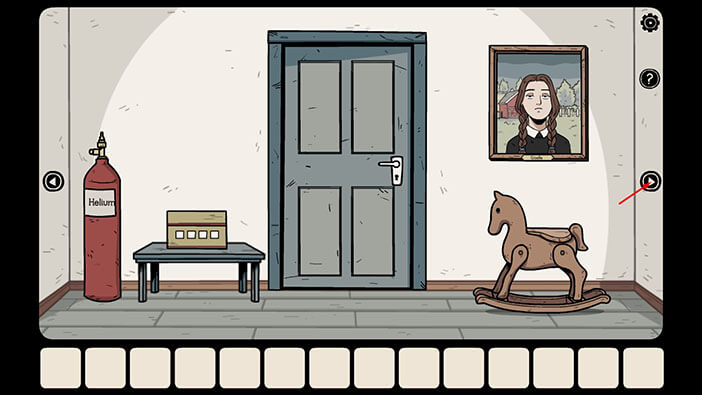
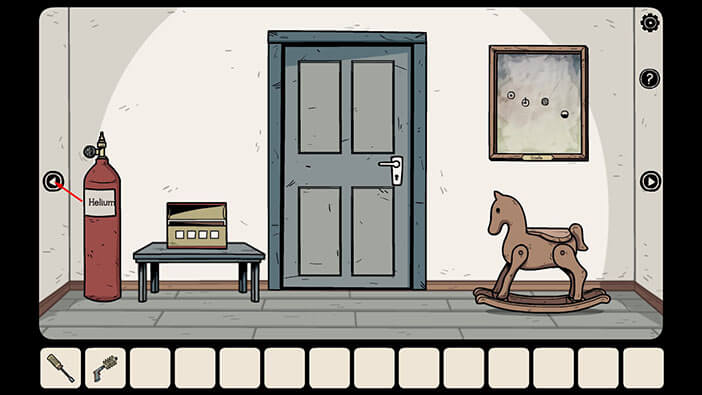
There are four points of interest in the first room. The helium bottle in the left corner, the box on the table on the left, the wooden horse on the right side of the room, and the portrait above it. Just take note of these objects, because we will get back to them, a bit later.
For now, let’s proceed to the room on the right.
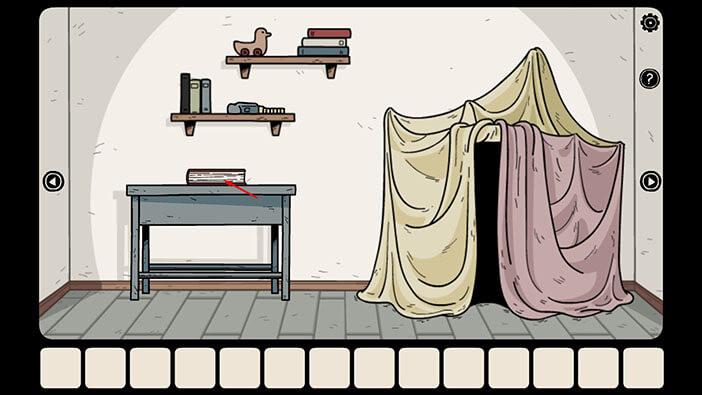
Tap on the book on the table to take a closer look at it, then tap on the arrow on the right to open the book.
On the first page, Laia will see a group of shadows, and they seem to be leading some, unknown person (probably their prisoner, who also seems to be hypnotized). Also, Laia noticed that the house in the picture looks exactly the same as her new house in Hidden Town.
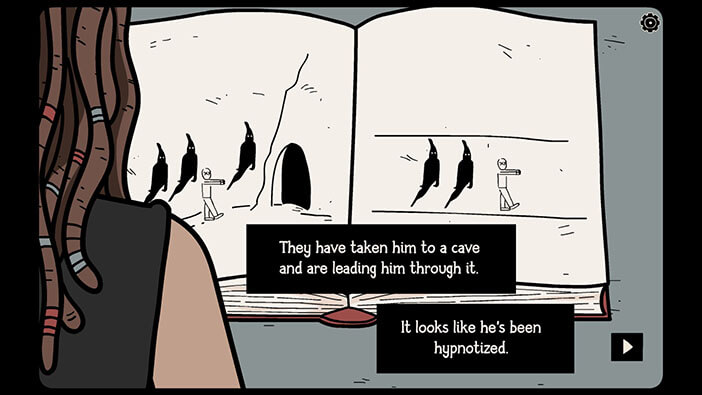
On the next page, we can see that the shadows are leading the man into a cave, and Laia also suggests that the man might be hypnotized.
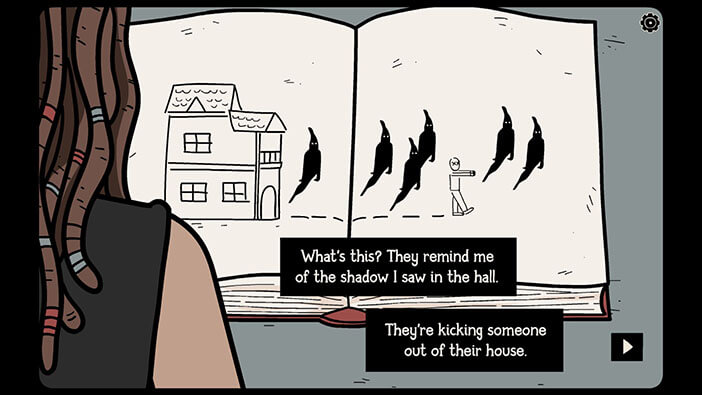
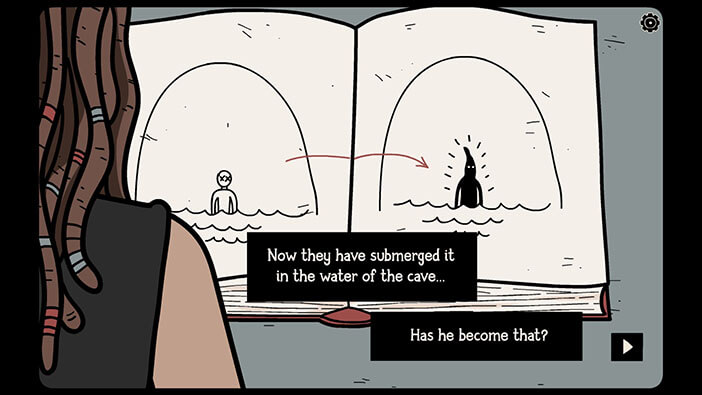
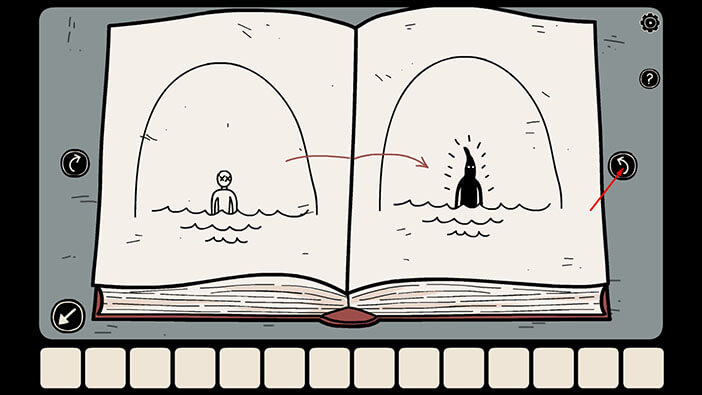
Next, we can see a man being submerged in the water on the left page, and him turning into one of the shadows on the right page.
Laia concluded that the shadows are kidnapping the residents of this home, and turning them into new shadows, by performing some strange ritual that involves the water in the cave. However, she still has no idea why the shadows are targeting this house, in particular.
Well, we know that the information on the drawing is true because that’s what happened to Laia’s brother and father. But, since we are exploring the events that happened three years ago, Laia thinks that she can still save her family from the grasp of evil shadows.
Tap on the arrow on the right to look at the next page.
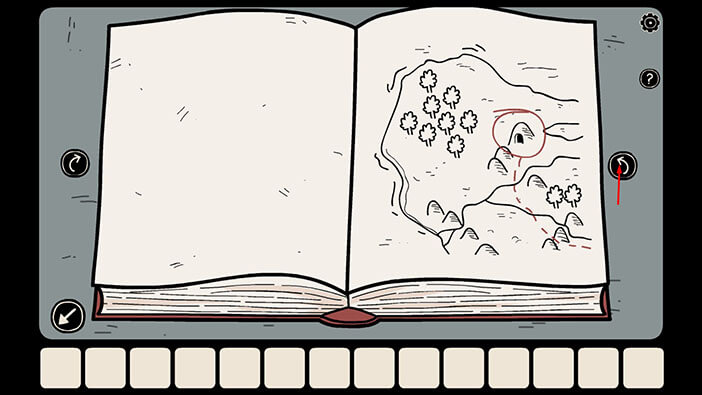
Here, we can see a map that shows the location of the cave entrance, and the surrounding area.
Let’s look at the next page.
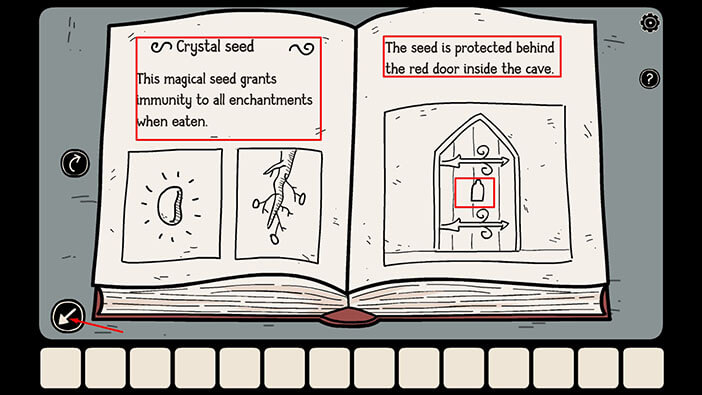
The text on the right is about something called “Crystal Seeds”.
“This magical seed grants immunity to all enchantments when eaten”.
Well, it says that the seed can grant immunity to enchantments when eaten, but can it reverse the process? If so, we might have just found the way to dispel the curse and free Laia’s father and brother.
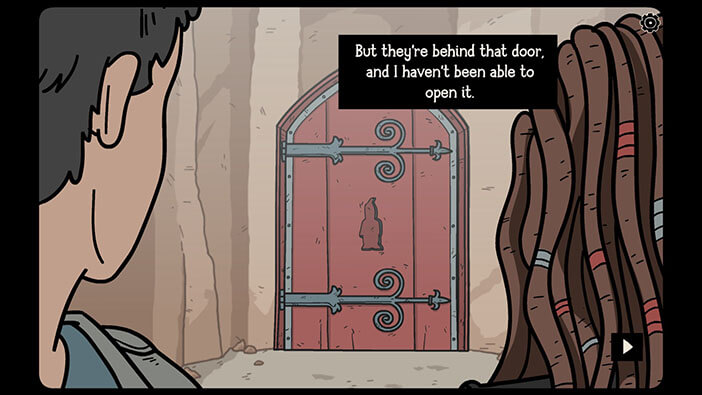
On the right side, we can see that the seed is locked behind the red door, inside the cave. If you pay attention to the carving in the middle of the door, you will notice that it somewhat looks like a ghostly figurine. We already saw this door during our adventure in the cave, so if we can find a way to open it, we will be able to get the seeds and cure Laia’s family.
Well, we are getting a bit too far ahead. Right now, we have to find a way out. Tap on the arrow in the lower-left corner to go back.
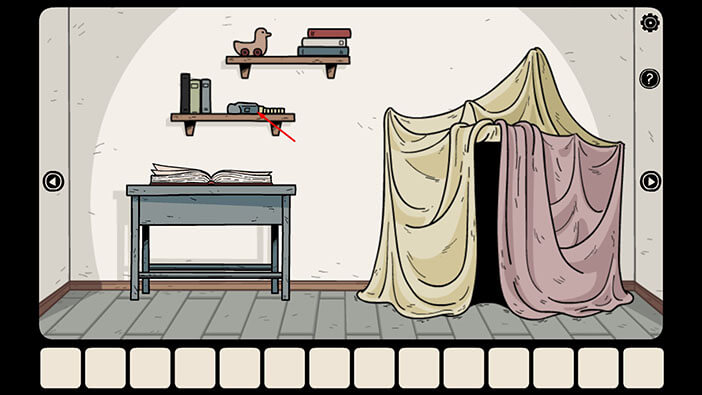
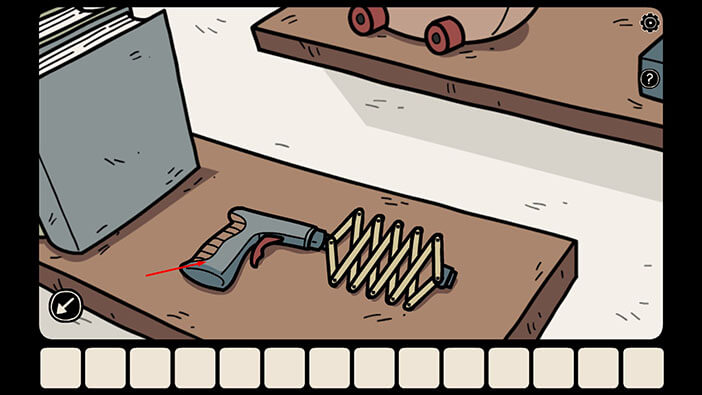
Tap on the lower bookshelf to take a closer look at it, then tap on the item on the bookshelf to pick it up. The “Incomplete extension clamp” will be added to your inventory.
Let’s check out the tent.
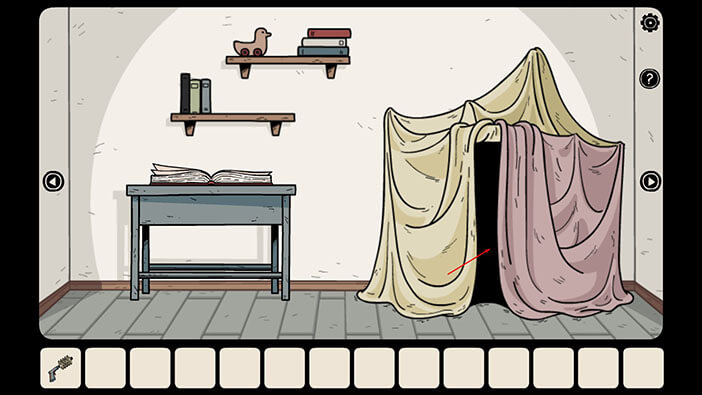
You will see an item partially hidden behind the white pillow. Tap on the pillow to take a closer look, then tap on the item to pick it up. The “Valve” will be added to your inventory.
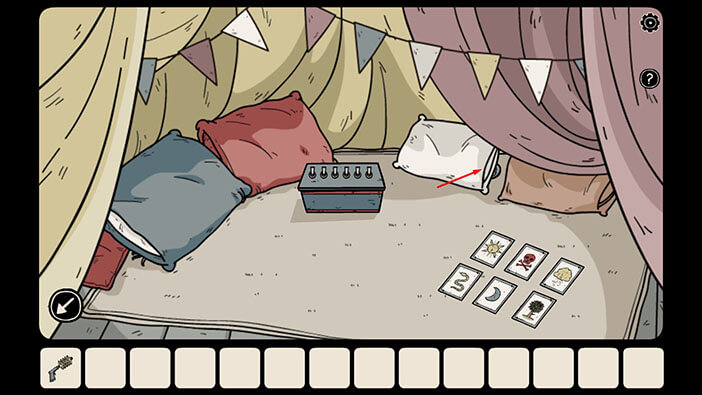
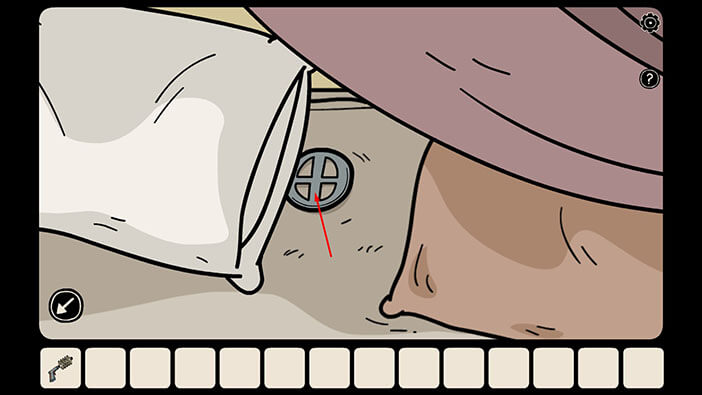
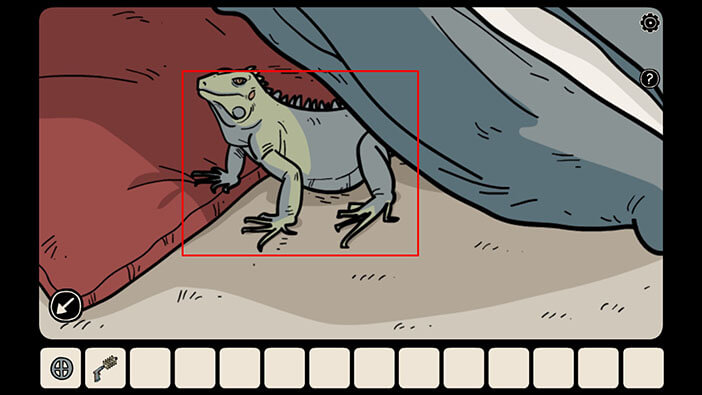
Also, if you pay attention to the left, you will notice a claw sticking out below the blue pillow. Tap on it to look behind the pillow and you will discover the fifth iguana.
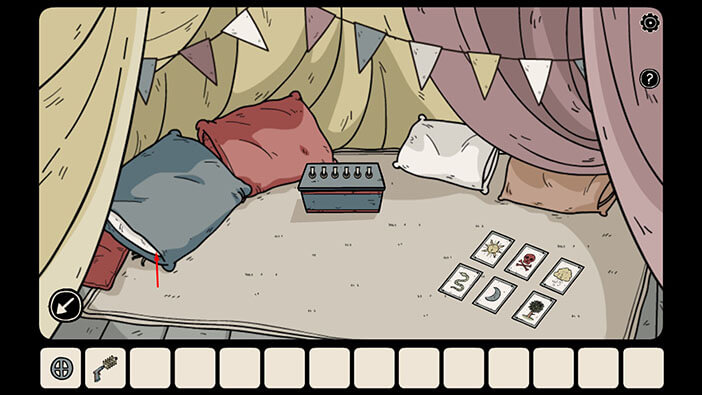
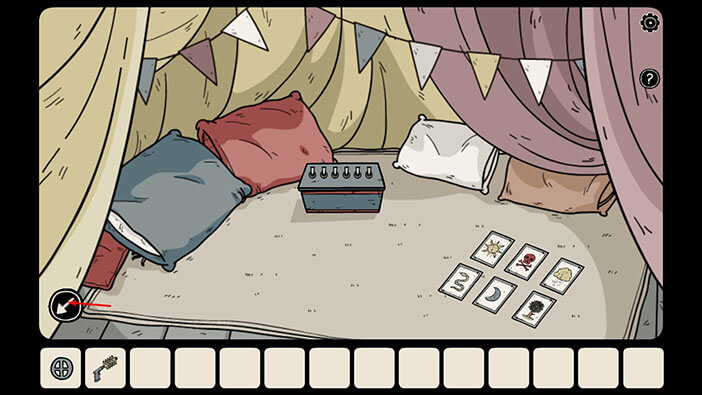
Before we leave the tent, take note of the cards on the right, and the box with switches. After that, tap on the arrow in the lower-left corner to go back.
Let’s go back to the previous room.

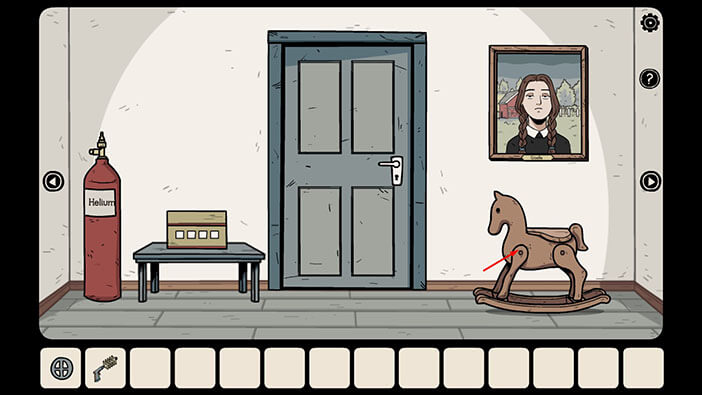
Tap on the wooden horse to take a closer look at it, then tap again to swing the horse.
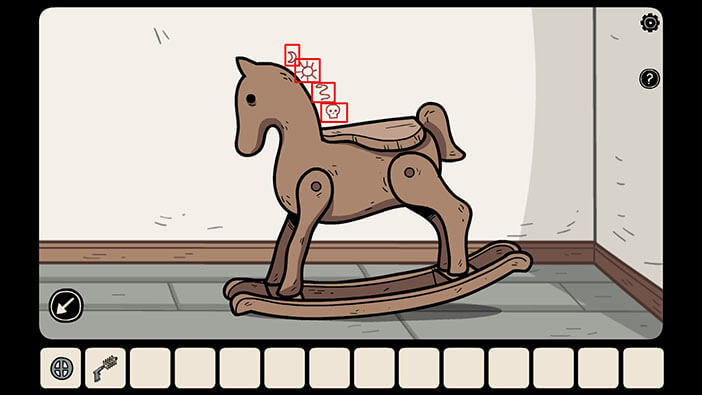
When the horse leans forward, you will see several symbols on the wall behind it. We should memorize/write down these symbols because they represent the hint for the next puzzle.
So, starting from top to bottom, we have
First symbol = Crescent Moon
Second Symbol = Sun
Third Symbol = Snake
Fourth Symbol = Skull
Well, we saw similar symbols on the cards when we explored the tent in the previous room. So, let’s go back.
NOTE: This is one randomized puzzle, so you might get different symbols on the wall behind the wooden horse.
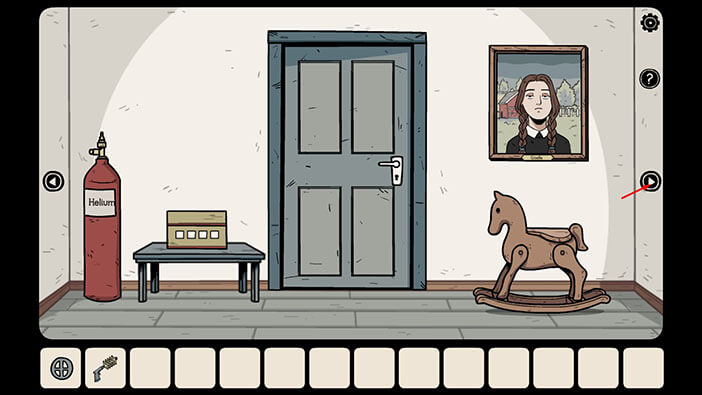
Go in into the tent.

Tap on the cards to examine them.
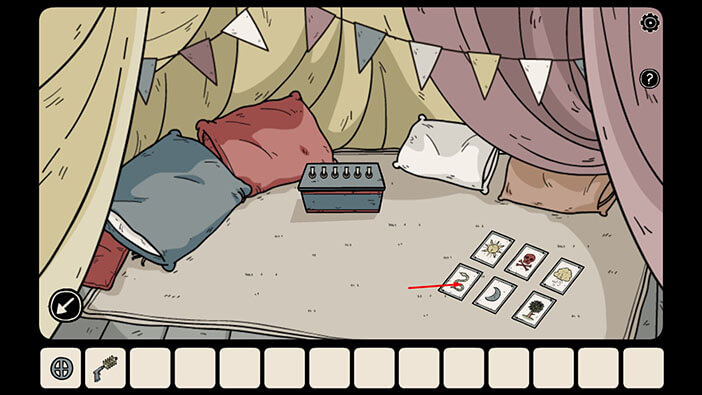
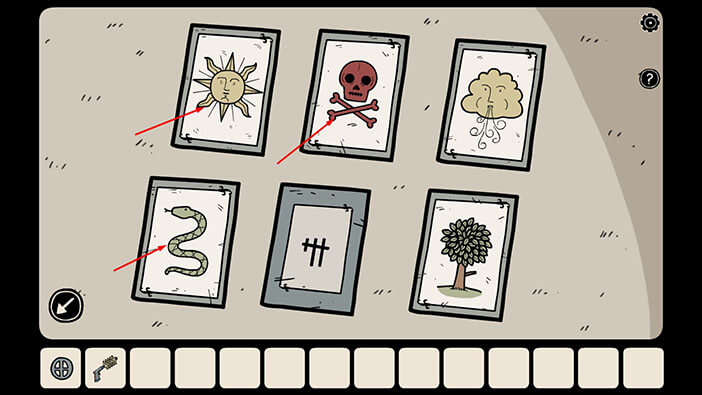
The first symbol on the wall was Crescent Moon, so let’s tap on the card with the Crescent Moon to flip it over.
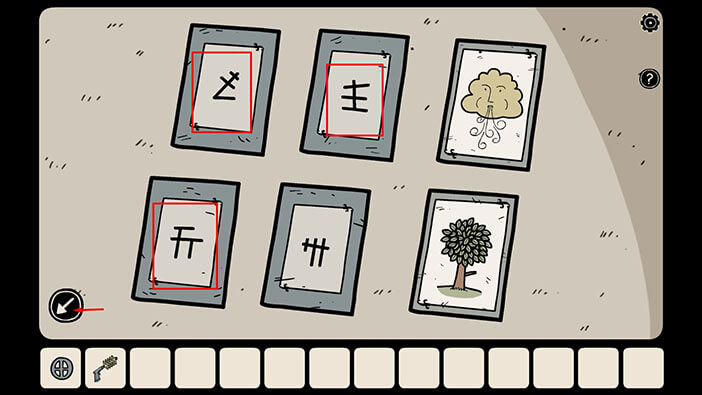
Memorize/write down the shape on the back of the card.
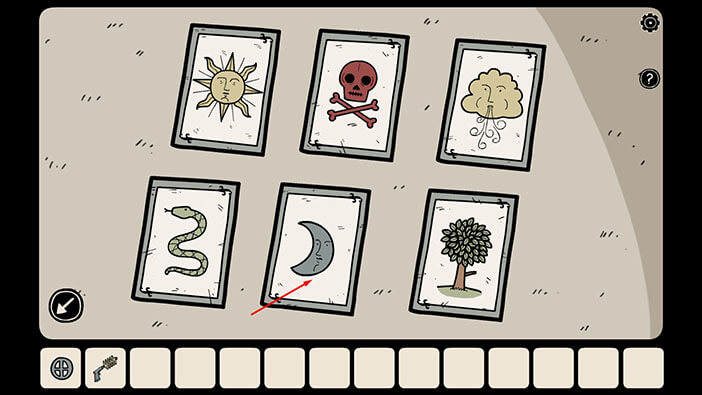
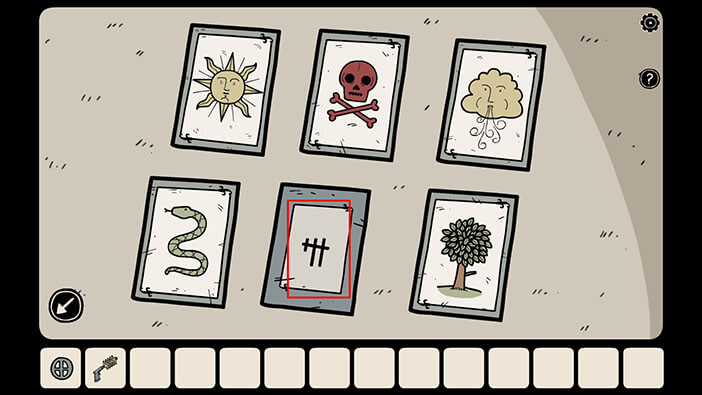
Let’s do the same thing with the other three cards. The other three symbols on the wall were Sun, Snake, and a Skull. So, let’s tap on the card with these symbols.
Memorize/write down the shapes on the back of the cards.
Once you’re done, tap on the arrow in the lower-left corner to go back.
Let’s go back to the room.
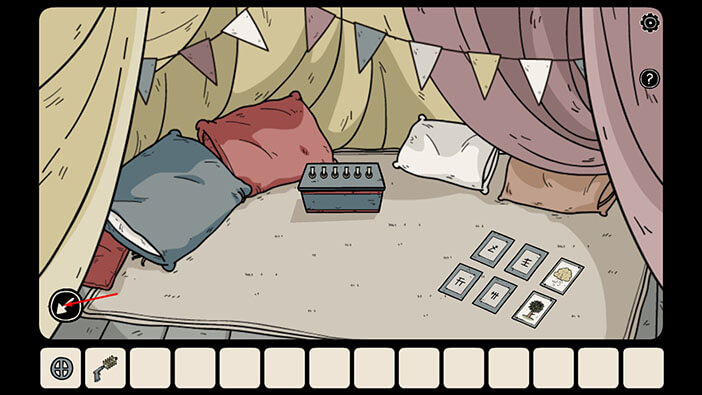
We should now go back to the room on the left.

Tap on the box on the small table to take a closer look at it.
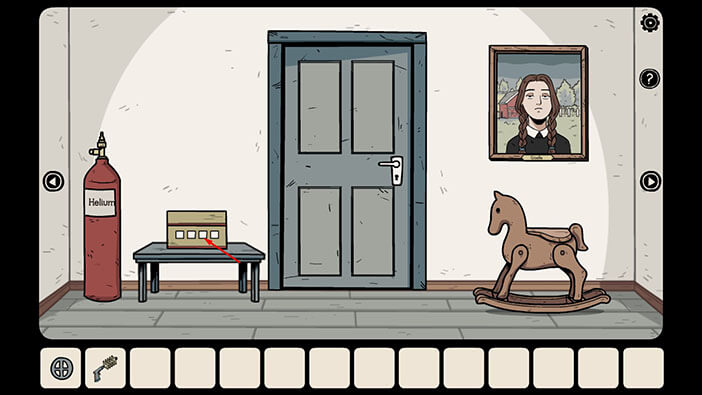
Well, we should now enter the symbols that we discovered on the back of the cards.
The first sign (left to right) = Sign on the back of the Crescent Moon card
The second sign = Sign on the back of the Sun card
The third sign = Sign on the back of the Snake card
The fourth sign = Sign on the back of the Skull card
NOTE: As I already mentioned, this is one of the randomized puzzles, so the symbols behind the wooden horse might be different in your game. If that’s the case, flip the cards that match the symbols in your game.
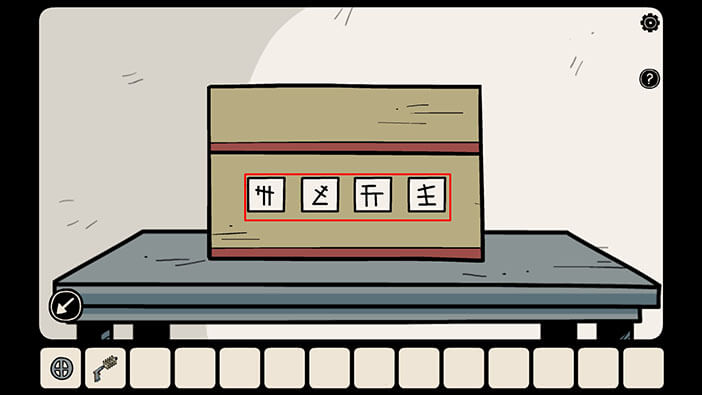
As soon as you enter the correct combination of signs, you will hear the clicking sound, and the box will open. Inside, you will find a “Ball of yarn” and a “Small Crank Handle”. Tap on these items to pick them up.
Once you’re done, tap on the arrow in the lower-left corner to go back.
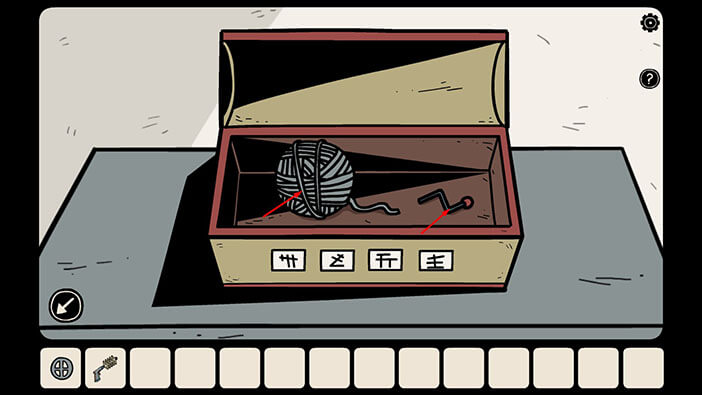
Let’s explore the first room on the left.
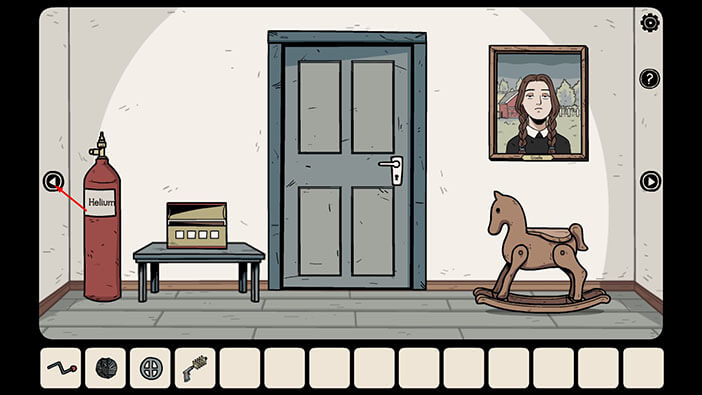
Tap twice on the box on the left side of the table to take a closer look at it.
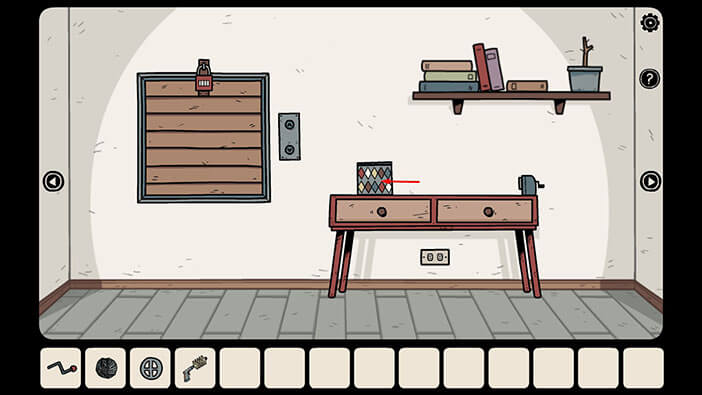
You will notice that there’s a circular, empty slot on the right side of the box. So, select the “Small Crank Handle” from the inventory and insert it into the empty slot.
After that, turn the handle by tapping on it.
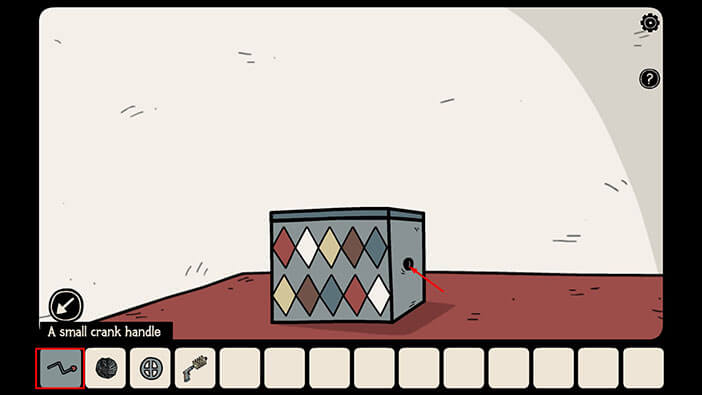
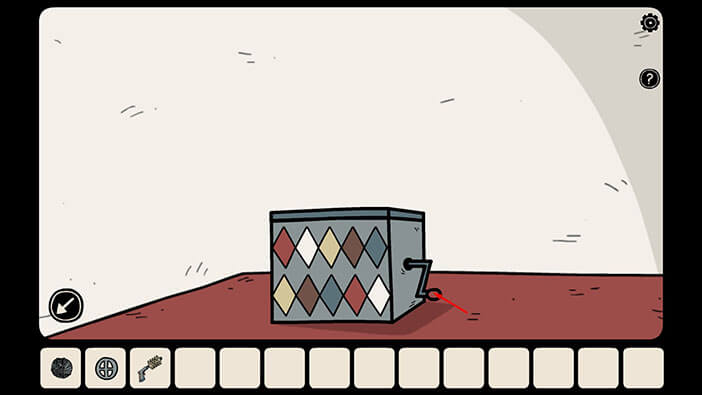
The music box will start playing some melody, and when it stops, the toy clown with the key will jump out of the box. Tap on the key to take it from the clown, and the “Black Key” will be added to your inventory.
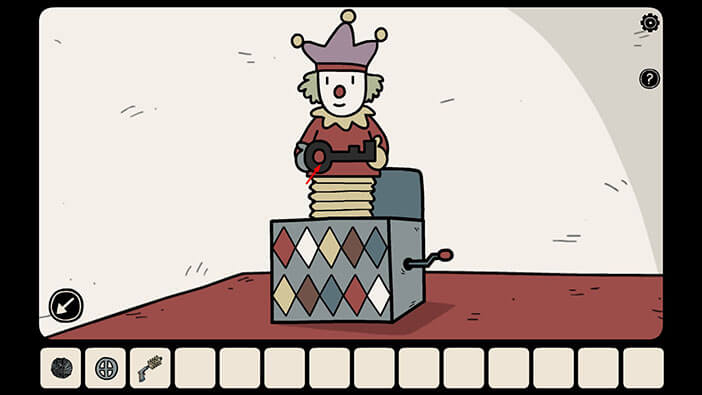
Next, tap on the drawer on the right to open it, and inside you will find a “Clip”. Tap on it to pick it up.
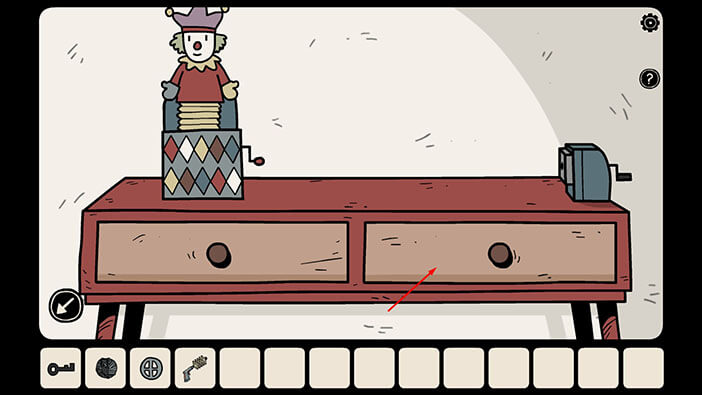
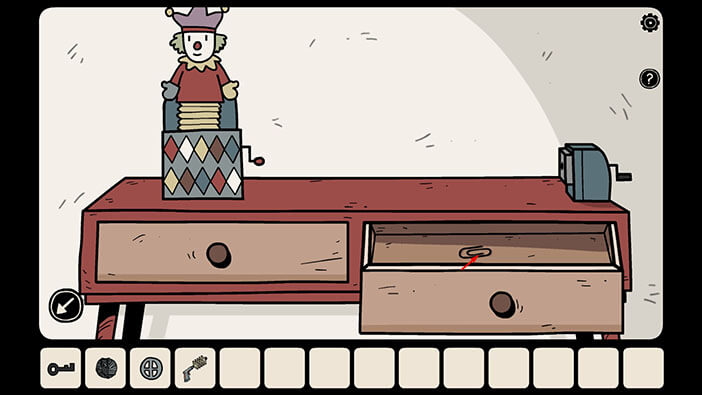
Next, tap on the pink book, located on the bookshelf in the top right corner. After that, tap on the piece of paper that is sticking out between the pages, to examine it.
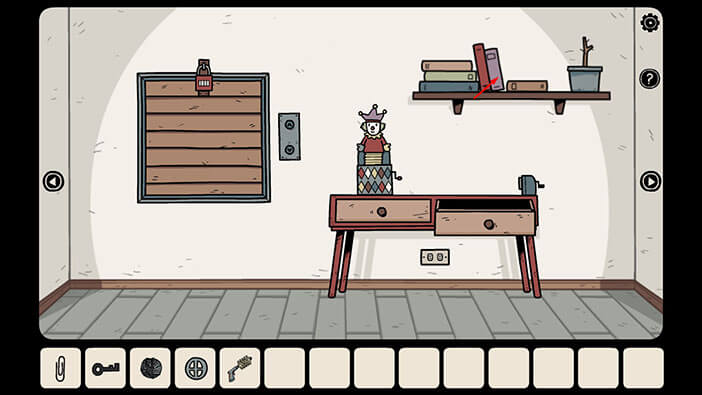
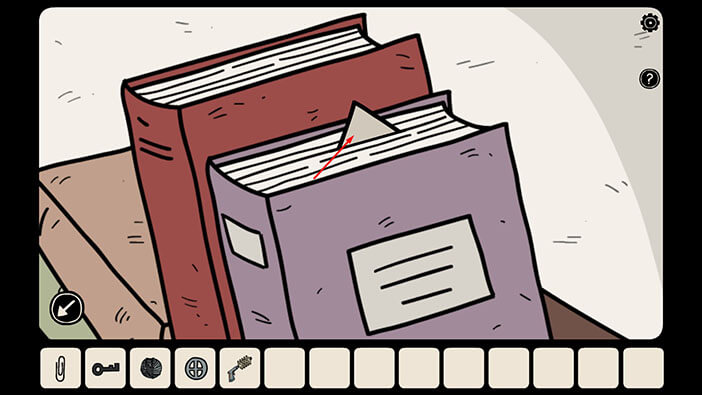
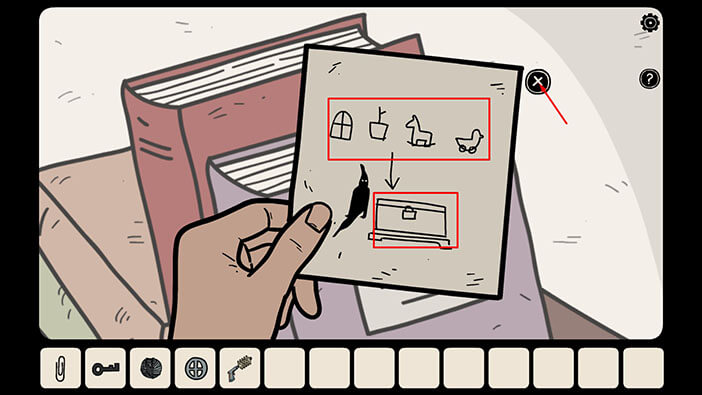
Here, we have another hint, but we won’t be able to use it until we ran into one of the puzzles that are further down the road. By looking at the hint, we can conclude that the objects in the rooms (the vase in this room, and the toy duck that we saw in the previous room) are a part of the puzzle that will allow us to open the large chest. Unfortunately, we can’t pick up this note, so we will have to come back to it once we need it. For now, just remember its approximate location.
Tap on the “X” button to put down the note, then tap on the arrow in the lower-left corner to go back.
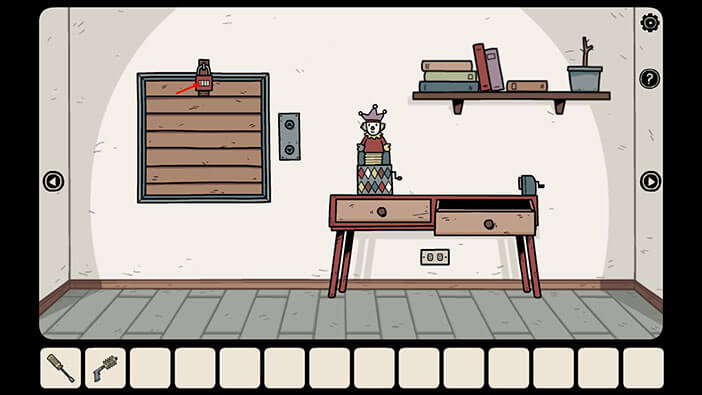
There are three more points of note in this room. A locked shutter on the left, a pencil sharper on the right side of the table, and an electrical outlet under the table. We will come back to them a bit late.
For now, let’s proceed into the next room on the left.
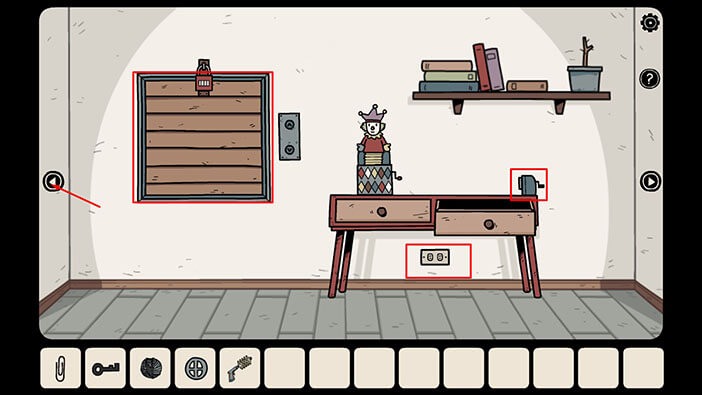
Tap on the cabinet on the right to take a closer look at it.
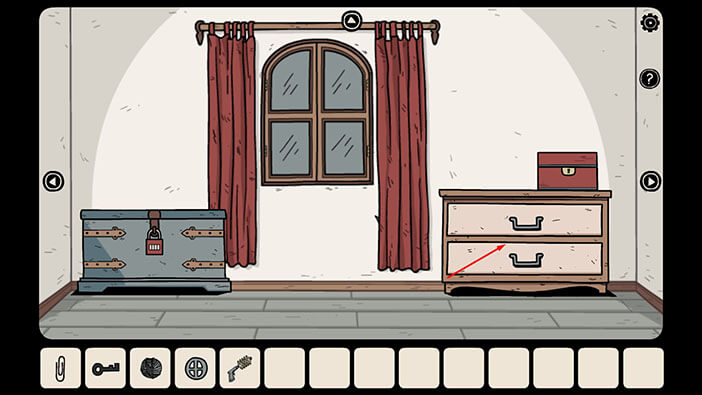
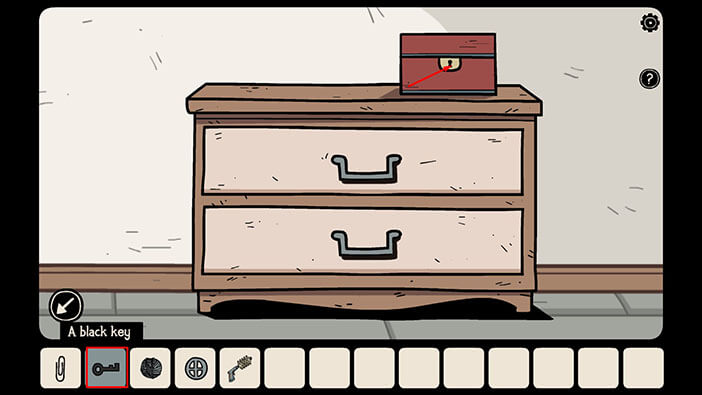
Select the “Black Key” from the inventory and use it to unlock the small, red chest on top of the cabinet.
After that, tap twice on the chest to open it and to look inside.
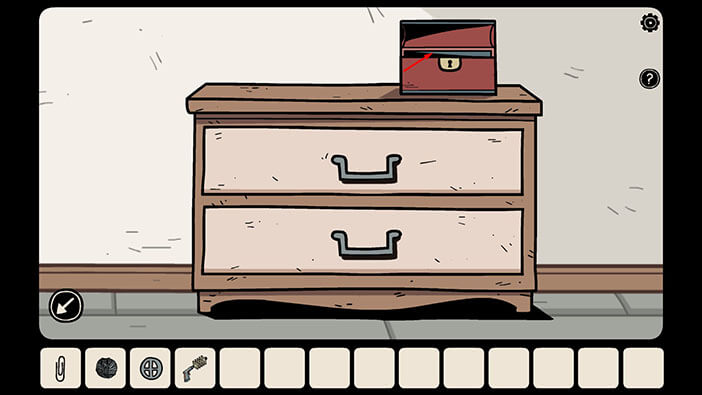
Inside the chest, you will find two items, the “Paint Thinner” and the “Deflated Balloon”. Tap on them to pick them up.
After that, tap on the arrow in the lower-left corner to go back.
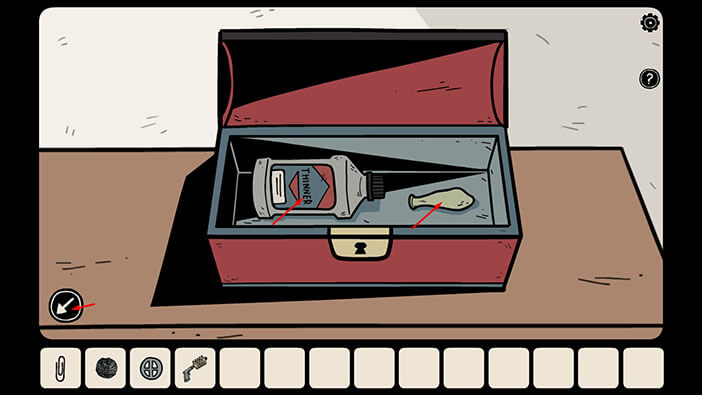
Well, we now have to tap on the cabinet, again, to start the interaction.
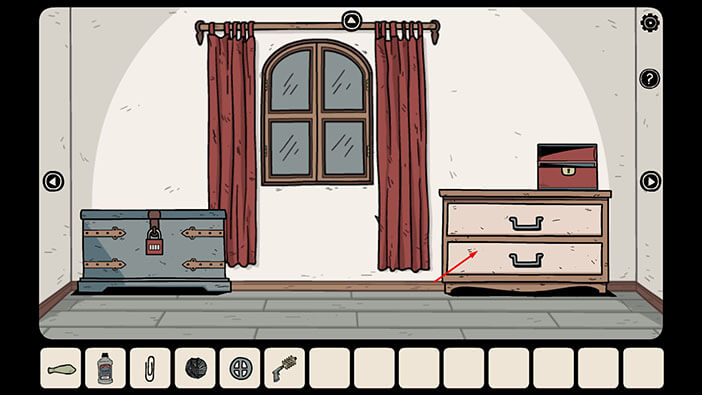
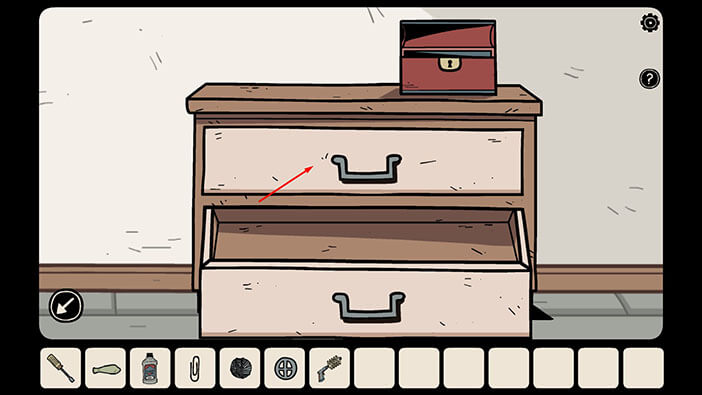
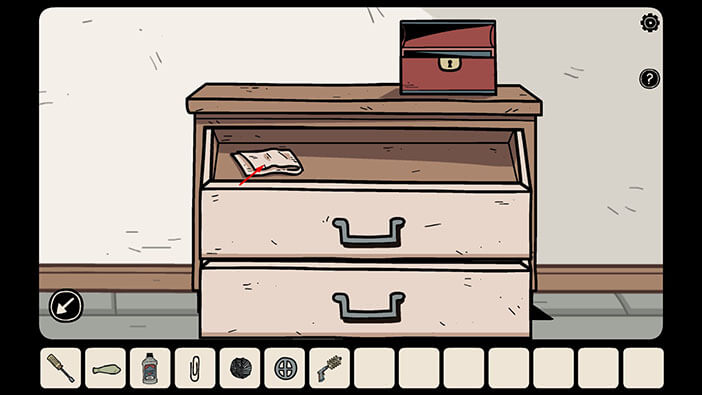
First, tap on the bottom drawer to open it. (if you first tap on the top drawer, it will block off the bottom drawer).
Inside you will find a “Screwdriver”. Tap on it to pick it up.
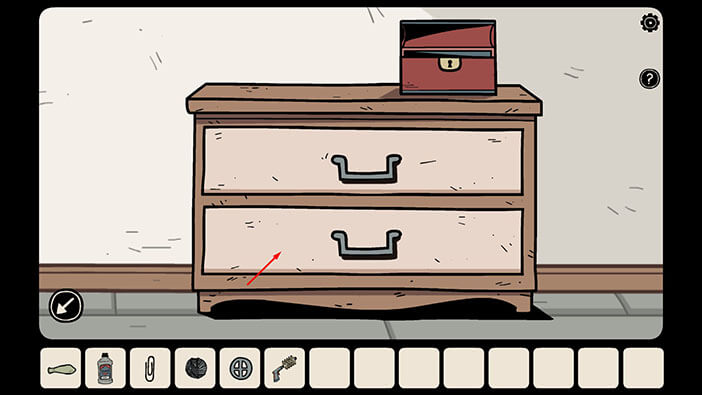
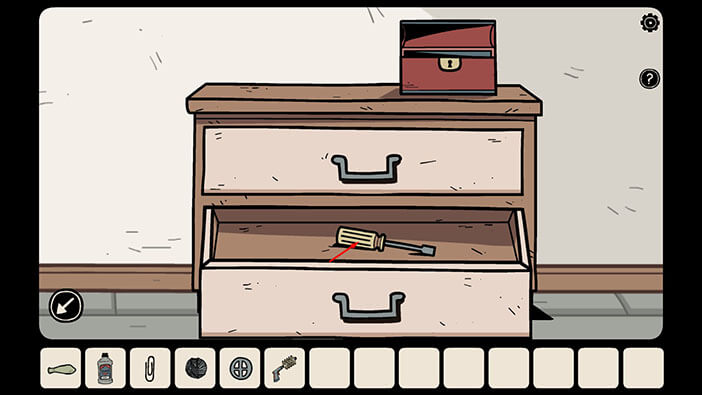
Next, tap on the top drawer to open it, and inside you will find the “Small Rag”. Tap on it to pick it up.
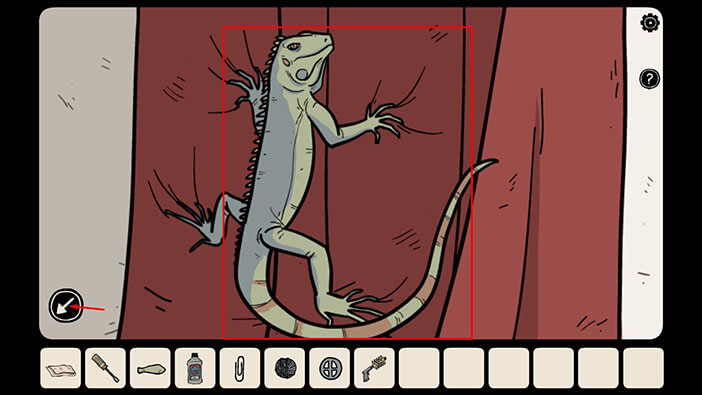
If you pay attention to the drapes on your right, you will notice a tail sticking out. Tap on the tail to look behind the drapes and you will find the sixth iguana.
After that, tap on the arrow in the lower-left corner to go back.

Next, tap on the “Up” arrow to take a look at the area above the window.
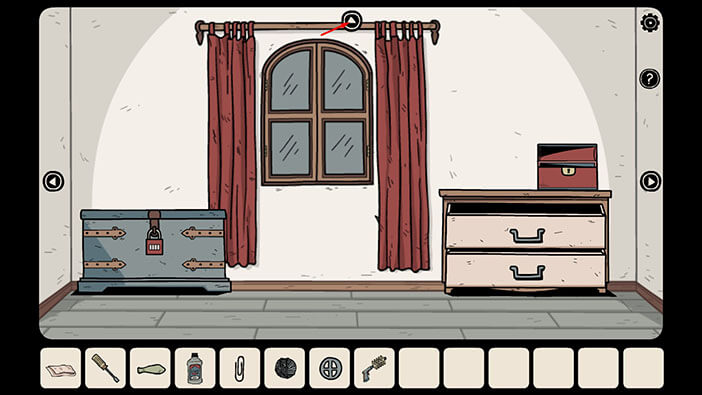
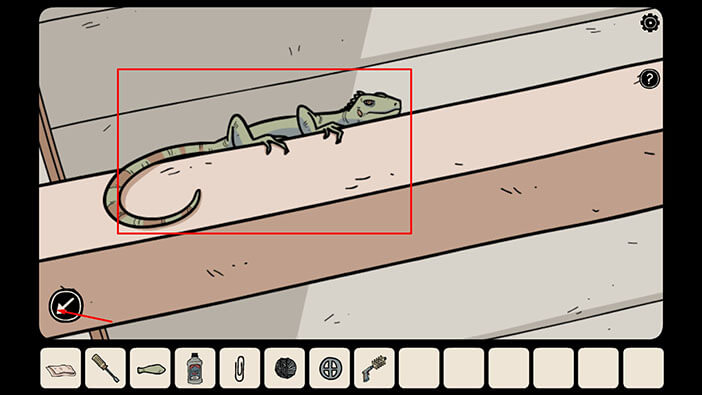
If you pay attention to the left side of the beam, you will notice another tip of the tail. Tap on it to take a closer look and you will find the seventh iguana. So, now we found 7 out of 10 iguanas. Not bad.
After that, tap on the arrow in the lower-left corner to go back.
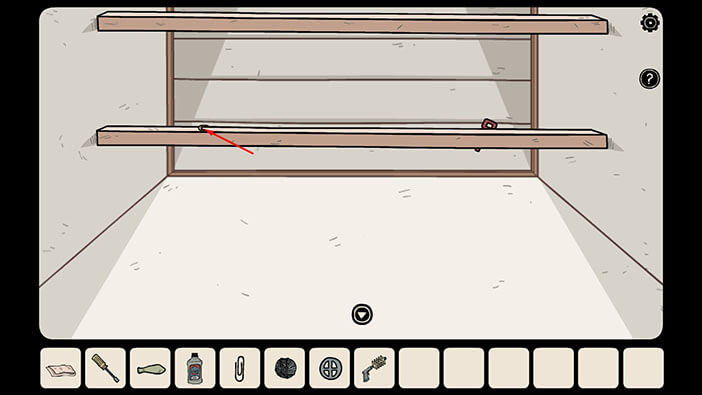
Also, on the right side of the beam, we can see a key. However, it’s too high up, and our character can’t reach it. So, we will have to figure out the way to get to the key.
Let’s go back.
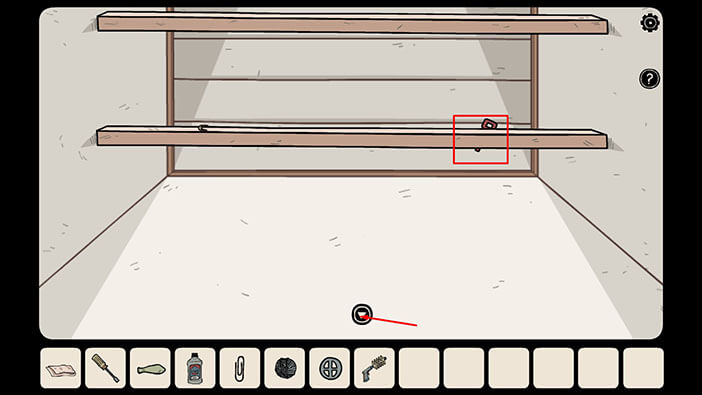
Another point of interest in this room is the large chest on the left. I think the previous hint (the note we couldn’t take) was referring to this chest.
Let’s go back to the first room. It’s the second one on the right.

Tap on the Helium tank to take a closer look at it.
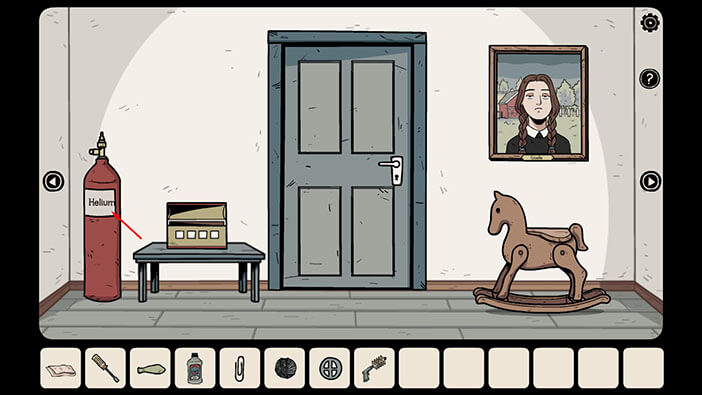
Select the “Deflated Balloon” from the inventory and place it on the top of the tank.
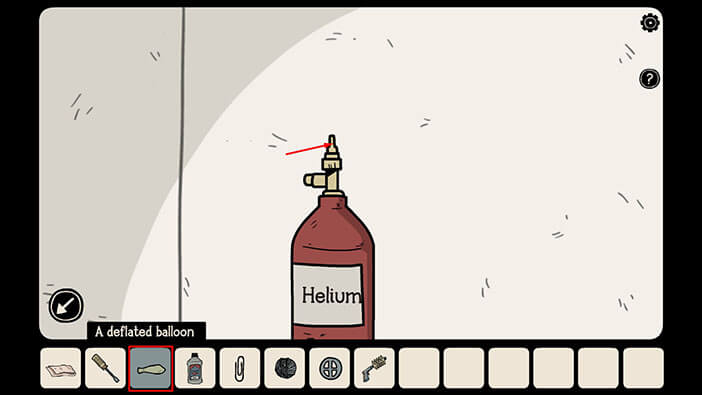
We can also see that the part on the left side of the tank is missing. So, select the “Valve” from the inventory and attach it to the empty slot.
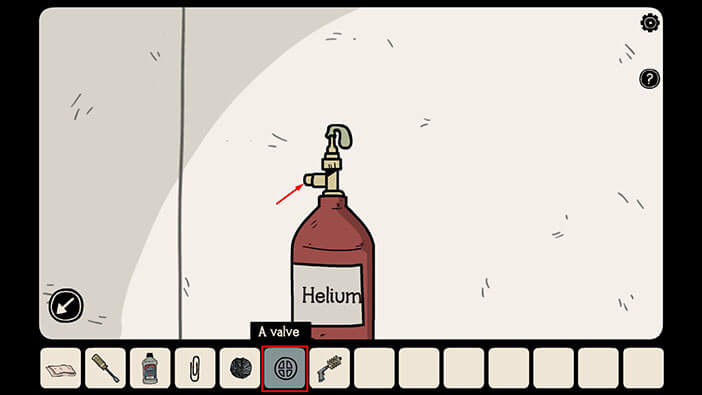
Next, tap on the valve to turn it. This will release the helium and inflate the balloon.
After that, tap on the balloon to pick it up and the “Inflated Balloon” will be added to your inventory.
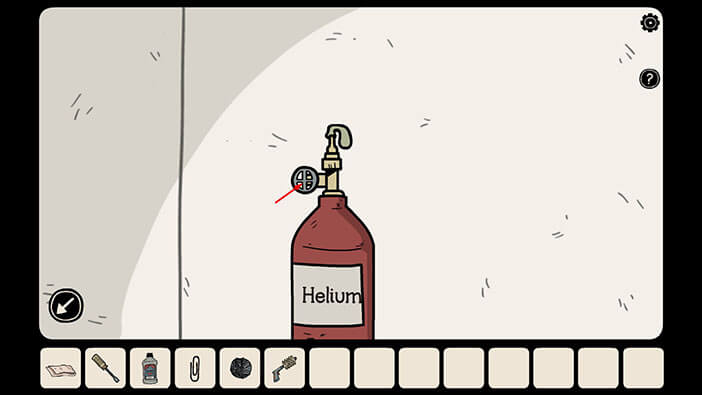
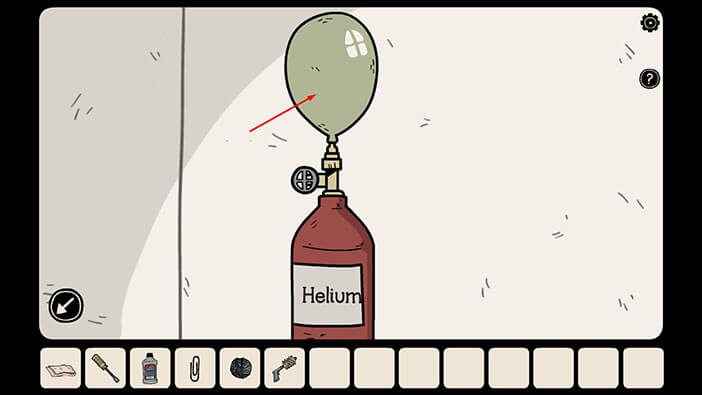
Next, select the “Ball of Yarn” from the inventory, then tap on the “Inflated Balloon” to combine the two items. Laia will tie a thread to the balloon, and “Balloon with String” will be added to your inventory.
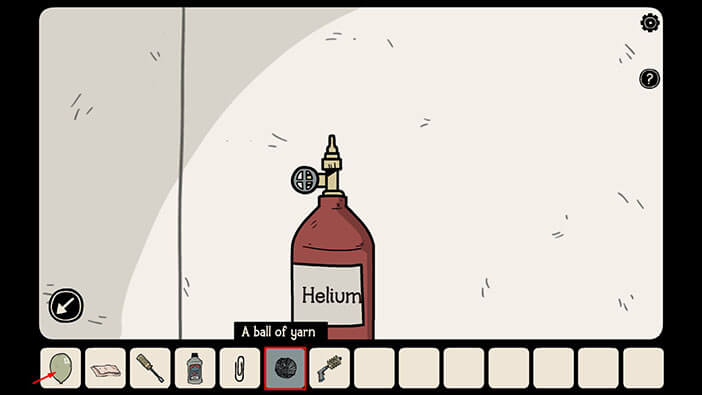
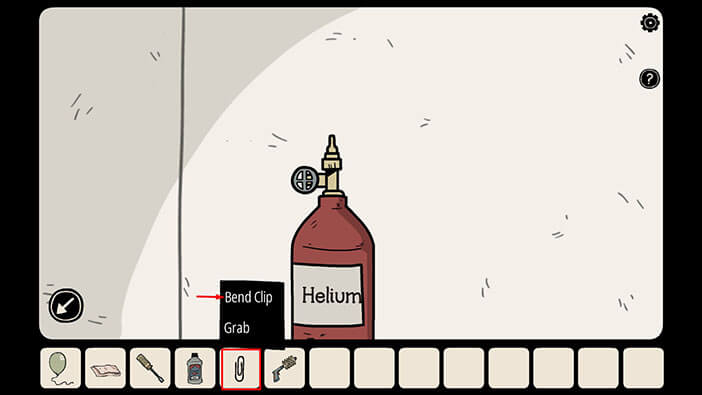
Next, tap on the “Clip” in your inventory to select it, and you will be presented with two options. “Bend the Clip” and “Grab”
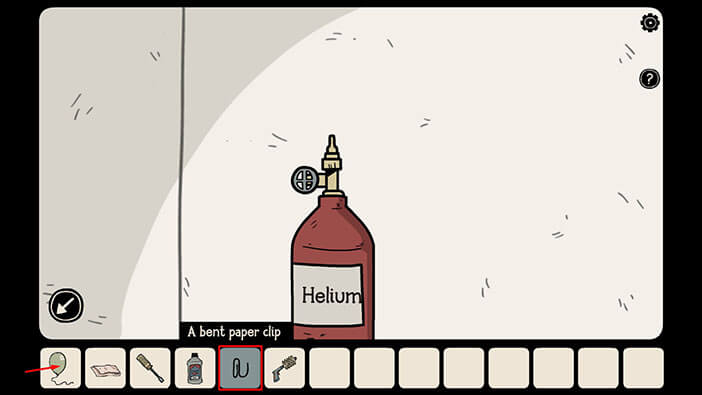
Tap on the first option, “Bend Clip” and the “Bent Paper Clip” will be added to your inventory.
Next, select the “Bent Paper Clip” from the inventory and tap on the “Balloon with String” to attach it. The “Balloon with a hook and a string attached” will be added to your inventory.
Ok, we can now try to reach the key on the beam, by releasing the balloon and trying to catch the key with a hook. Well, this is a long shot, and even if it succeeds, we still have to find a way to lower the balloon, but there are no other options.
So, let’s go back to the room with the large chest. It’s the second one on the left.
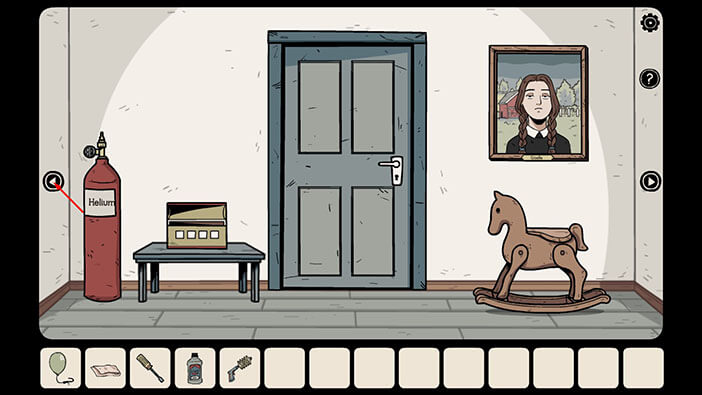
Tap on the “Up” arrow.
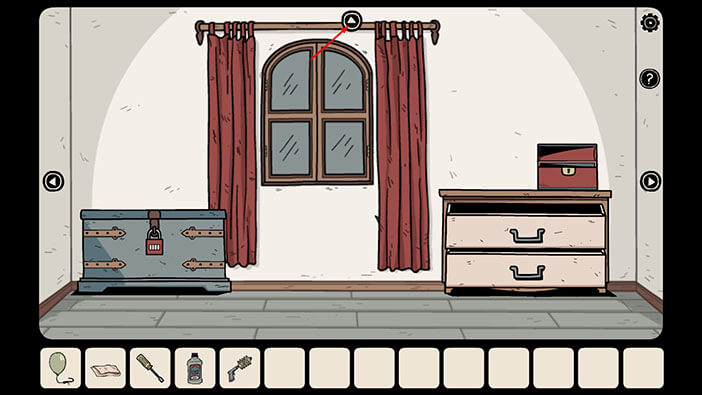
Select the “Balloon with a hook and a string attached” from the inventory and tap on the key.
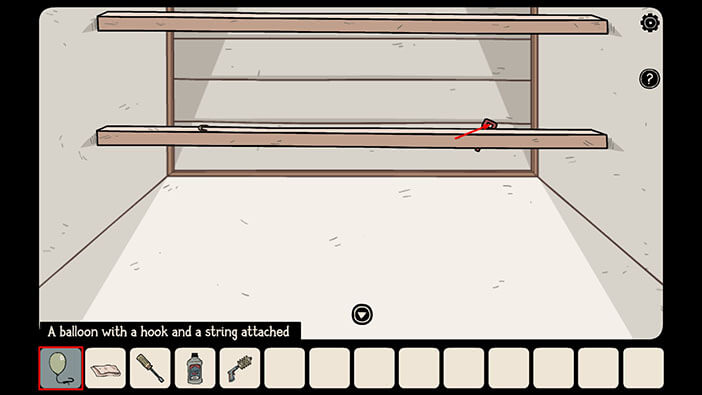
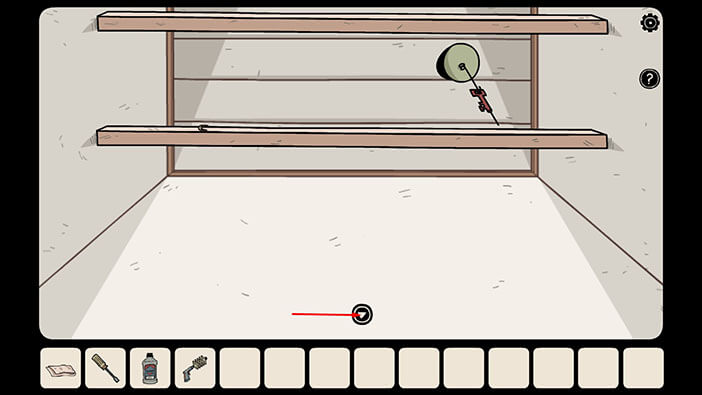
The balloon is filled with helium, so it will fly up, and we will manage to catch the key on the hook. However, we now have to find a way to lower the balloon.
Tap on the “Down” arrow to go back to the room.
Ok, let’s go back to the first room. It’s the second one on the right.

Tap on the portrait to take a closer look at it.
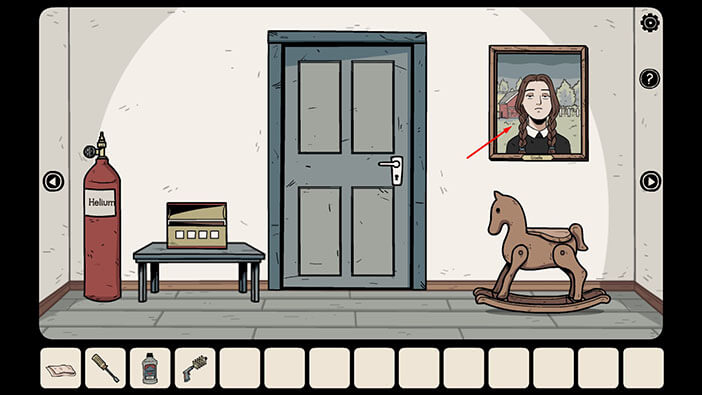
Select the “Paint Thinner” from the inventory and combine it with the “Small Rag”. The “Rag with Paint Thinner” will be added to your inventory.
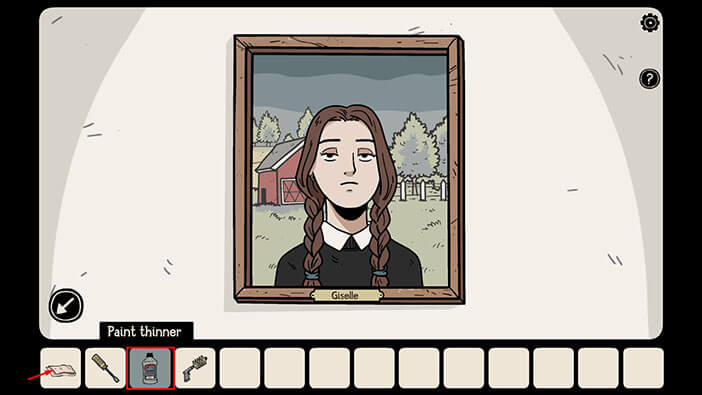
Select the “Rag with Paint Thinner” from the inventory and use it to remove the paint from the portrait.
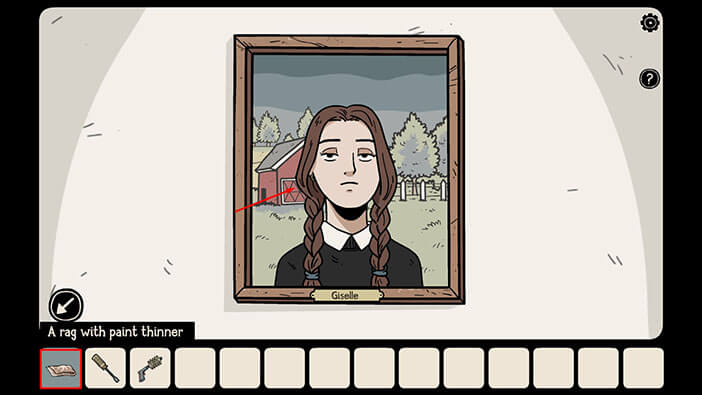
After Laia removed the paint, she discovered some strange symbols that were previously hidden beneath the portrait. Tap on the symbols to examine them.
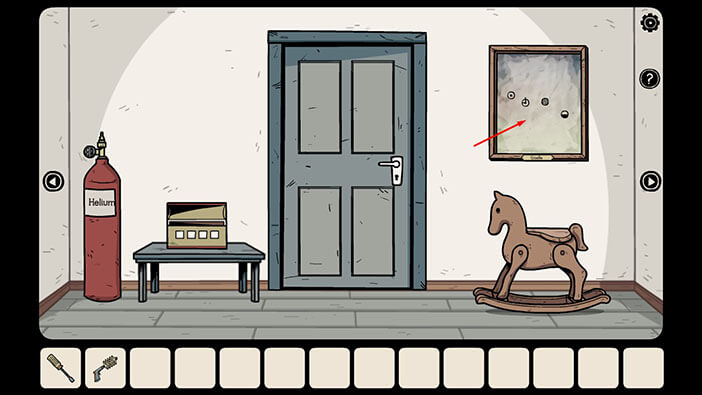
Here, we can see four different types of circles, and they represent a combination that will enable us to solve the next puzzle. So, let’s memorize/write down these symbols. Starting from left to right, we have
First symbol = Circle with a smaller circle in the middle
Second symbol = Circle, that looks like a clock, with clock hands at the 9 o’clock position
Third symbol = Circle with vertical stripes (bars)
Fourth symbol = Circle, with the black lower half
Once you’re done, tap on the arrow in the lower-left corner to go back.
NOTE: This is one of the randomized puzzles, so you might get the different types of circles on the portrait, in your game.
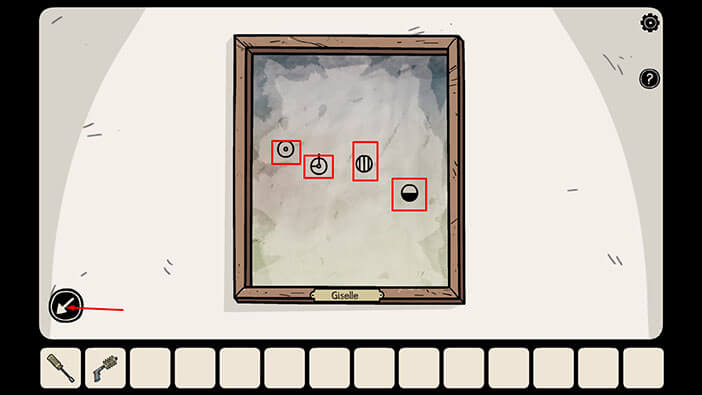
The Circular symbols that we discovered can be used to unlock the padlock on the elevator shutter located in the first room to the left. So, let’s go there.
Tap on the padlock to take a closer look at it, then tap again to start the interaction.
Enter the combination which we discovered by removing the portrait. It was,
First symbol = Circle with a smaller circle in the middle
Second symbol = Circle, that looks like a clock, with clock hands at the 9 o’clock position
Third symbol = Circle with vertical stripes (bars)
Fourth symbol = Circle, with the black lower half
NOTE: As I already mentioned, this is one of the randomized puzzles, so you might get the different types of circles on the portrait, in your game.
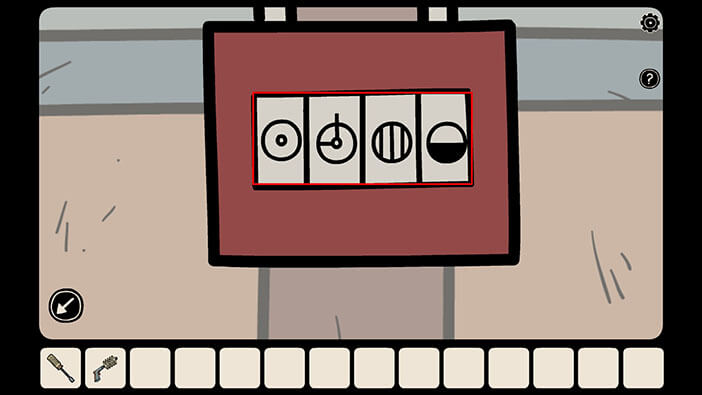
By entering the correct combination, you will lift the shutter.
Tap twice on the “Up” arrow to lift the elevator.
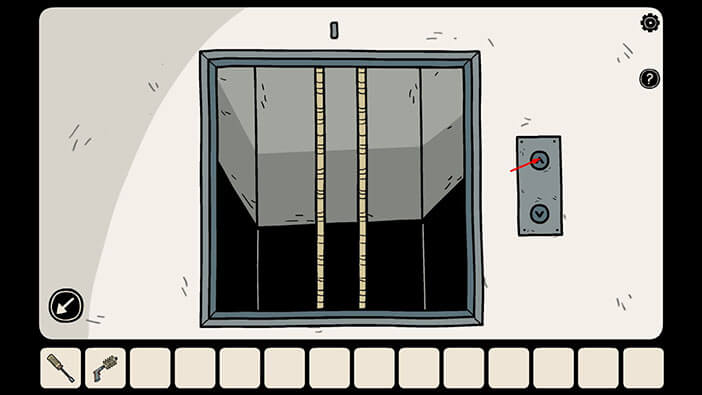
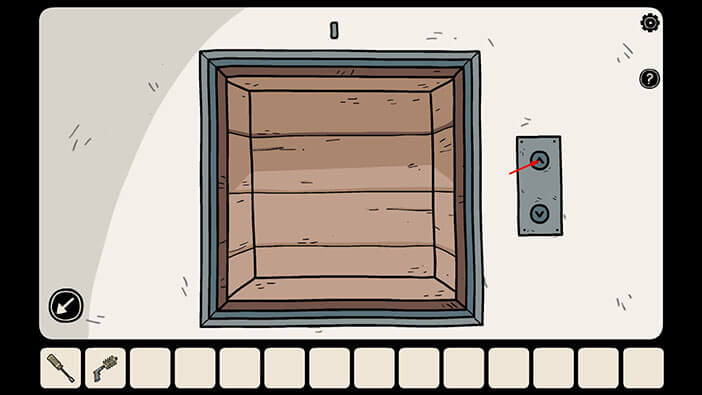
After that, look into the elevator shaft and at the bottom, you will see some objects. Well, looks like we will have to find a way to reach this item.
Tap on the arrow in the lower-left corner to go back.

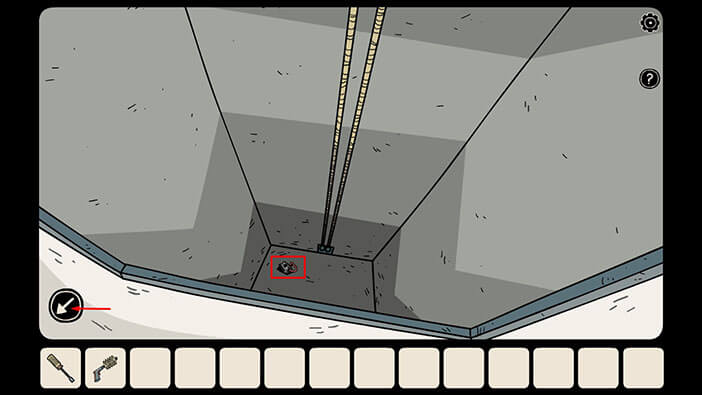
Next, tap on the bottom of the elevator to take a closer look at it.
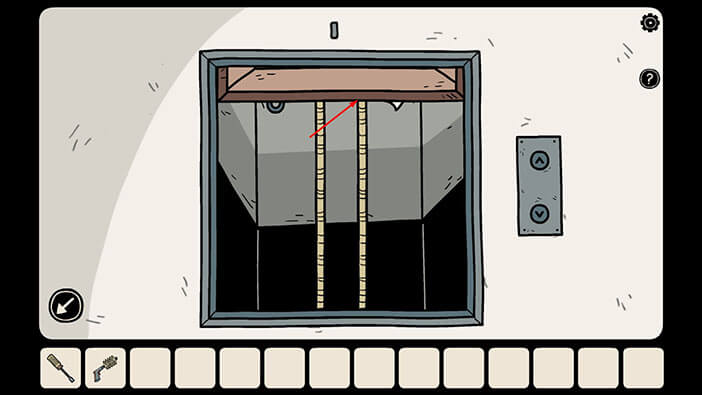
On the left side, we can see some kind of metal attachment.
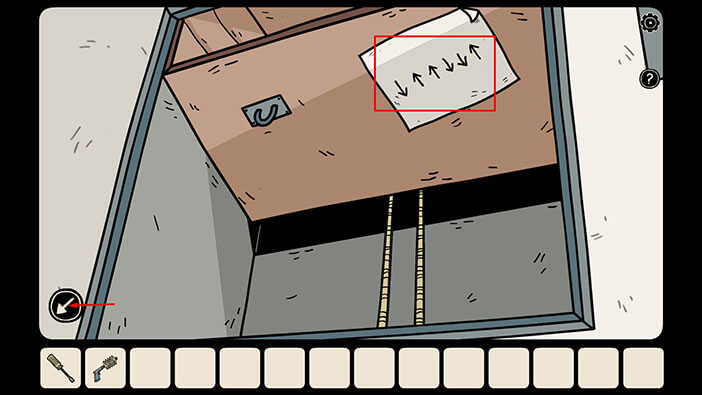
On the right side, we can see the note with up and down arrows. Let’s memorize/write down the sequence of the arrows. Starting from left to right, we have,
Down / Up / Up / Down / Down / Up
Once you’re done, tap on the button in the lower-left corner to go back.
NOTE: You might get a different sequence in your game because this is one of the randomized puzzles, which means that it changes every time you start a new game.
Let’s go back to the room with the tent. It’s the second one on the left.
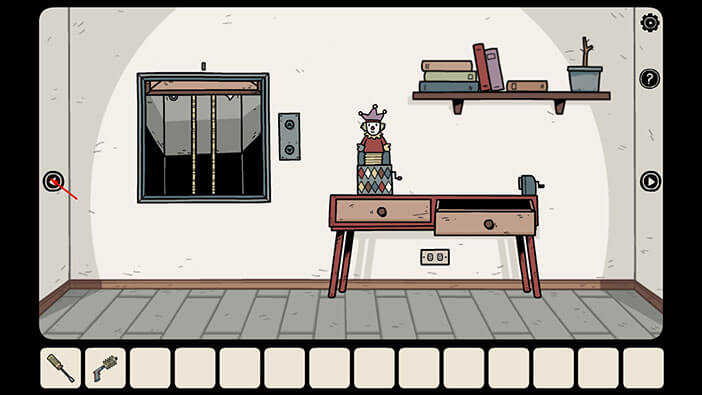
Go inside the tent.
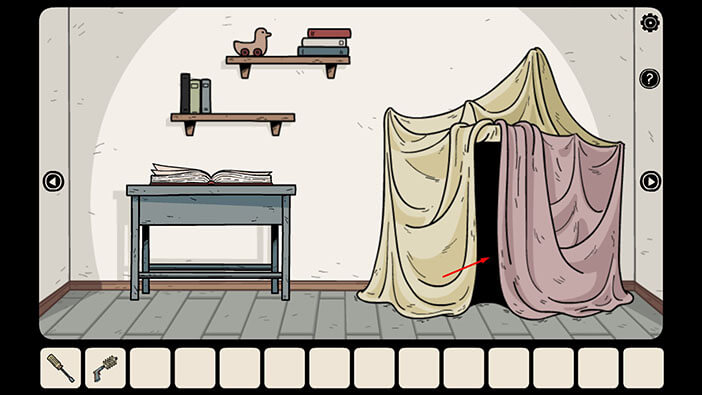
Tap on the box on the left to start the interaction.
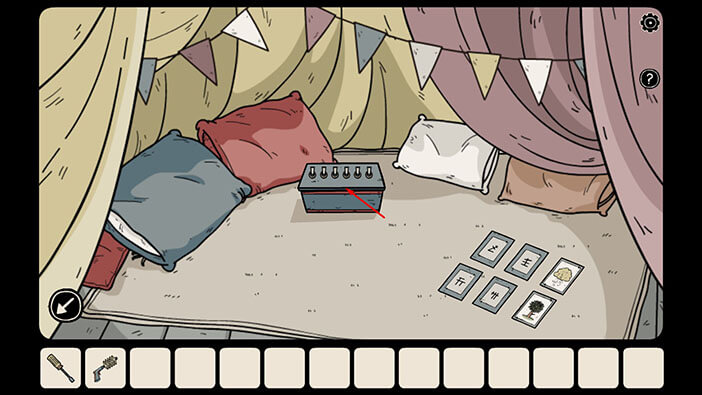
Here, we can see six switches and we should point them in the direction that matches the arrows that we saw on the drawing at the bottom of the elevator. By default, all switches are pointing up. We will set them to point,
Down / Up / Up / Down / Down / Up
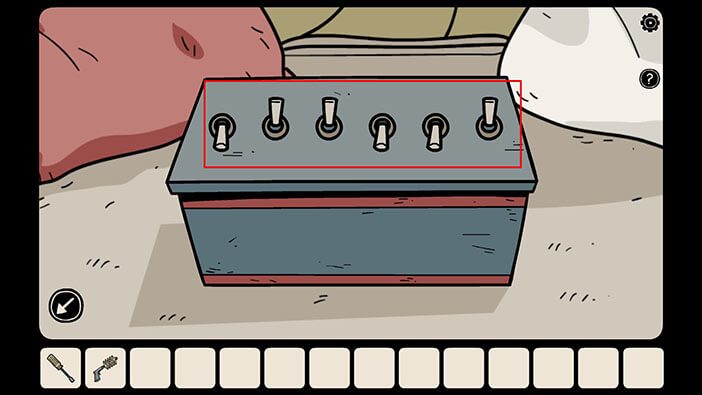
As soon as you enter the correct combination the box will open and inside you will find a “Large Hook” and a “The end of a gripper”. Tap on these items to pick them up.
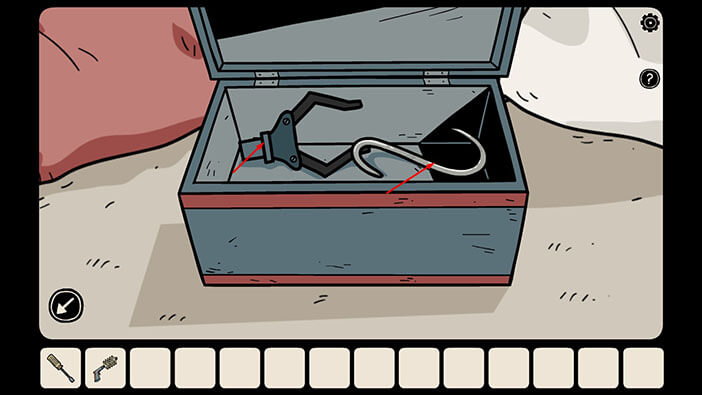
Let’s go back to the room.
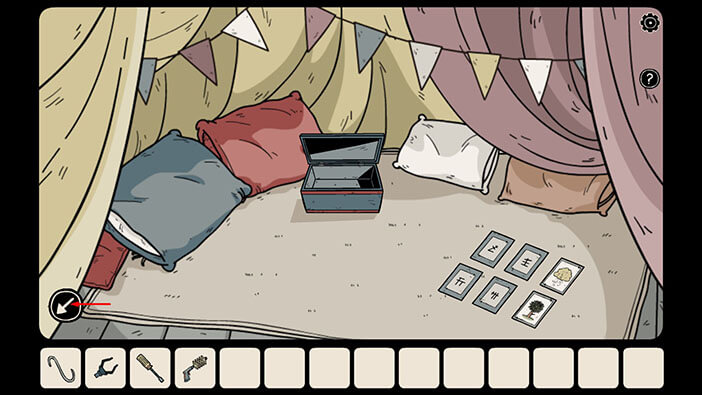
Select the “Incomplete Extension Clamp” from the inventory and combine it with “The end of a gripper”. The “Extension Clamp” will be added to your inventory.
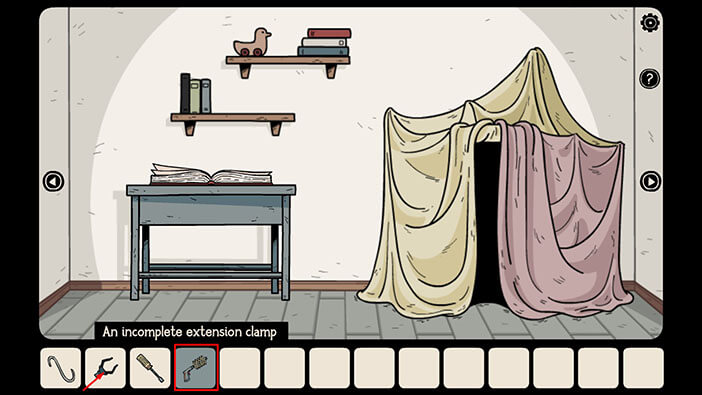
Let’s go back to the elevator room. It’s the second one on the right.

Tap on the outlet, below the table, to take a closer look at it.
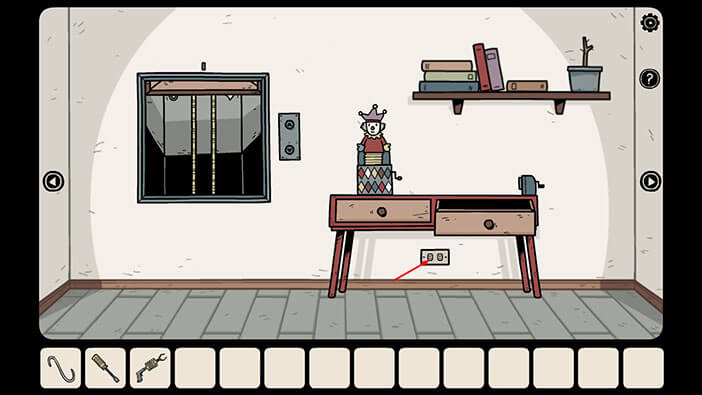
Select the “Screwdriver” from the inventory and use it to remove the screws.
After that, tap on the outlet to pull it out.
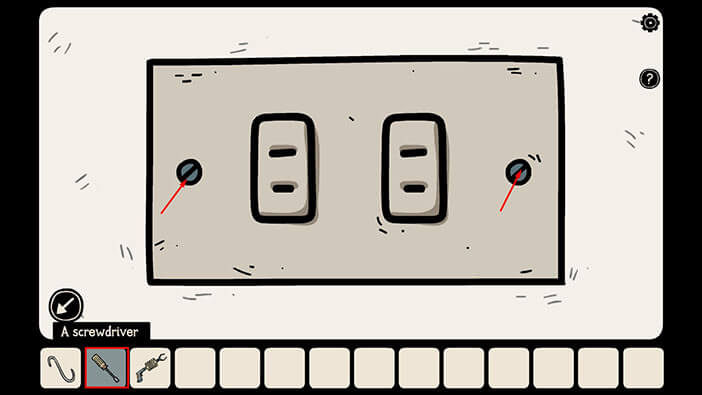
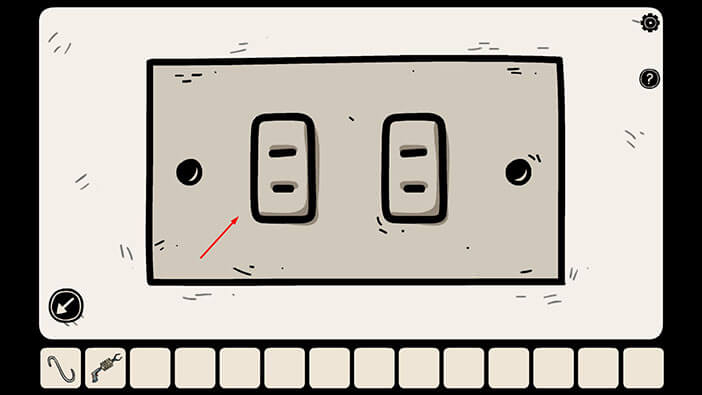
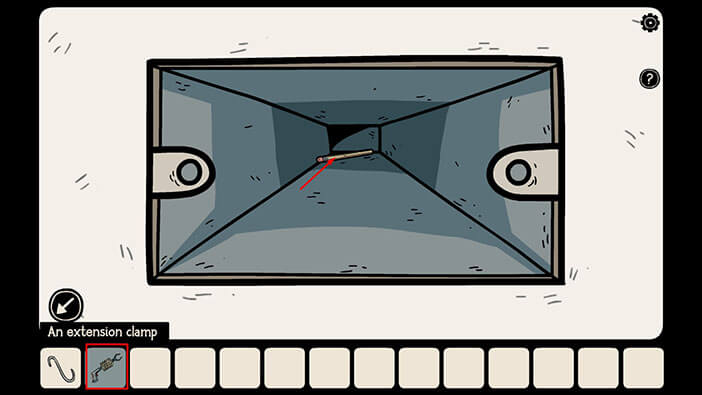
Deep inside the hole, you will see a pencil, and it is impossible to reach it by hand. So, select the “Extension Clamp” from the inventory and use it to reach the pencil.
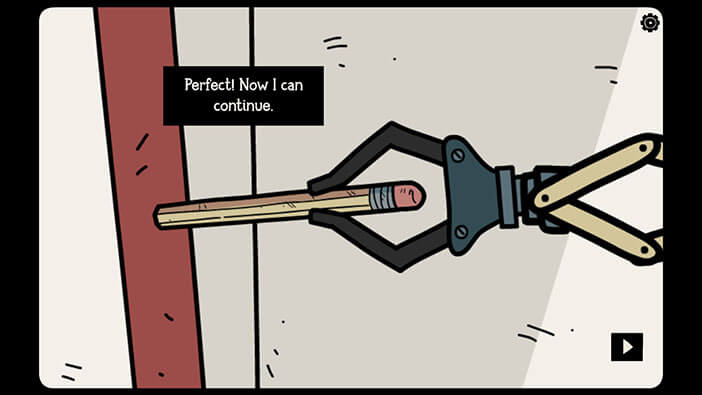
After a few tries, Laia will manage to grab the pencil (the “Unsharpened Pencil” will be added to your inventory).
Let’s go back to the elevator.

Select the “Large Hook” from the inventory and attach it to the slot on the left side of the elevator.
Once you’re done, tap on the button in the lower-left corner to go back.
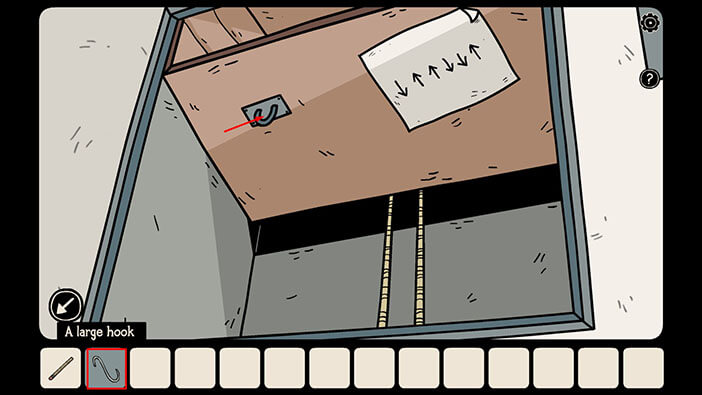
Ok, we will now try to grab the item on the bottom of the elevator shaft by lowering the elevator and catching the item with the hook. After that, we will raise the elevator and pick up the item. At least that’s the plan. Let’s go.
Tap twice on the “Down” arrow to lower the elevator all the way to the bottom.
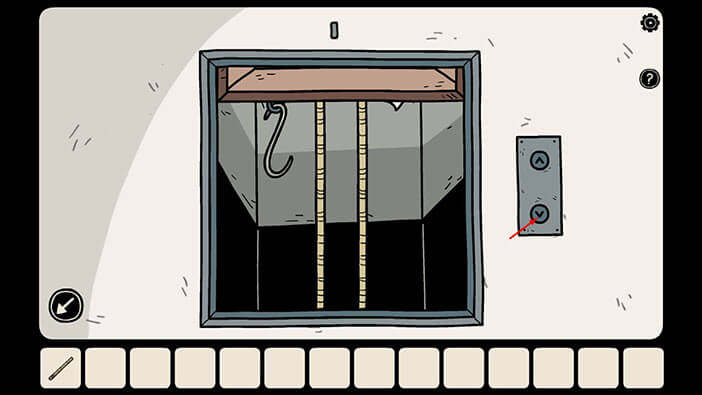
After that, tap twice on the “Up” arrow to raise the elevator all the way up.
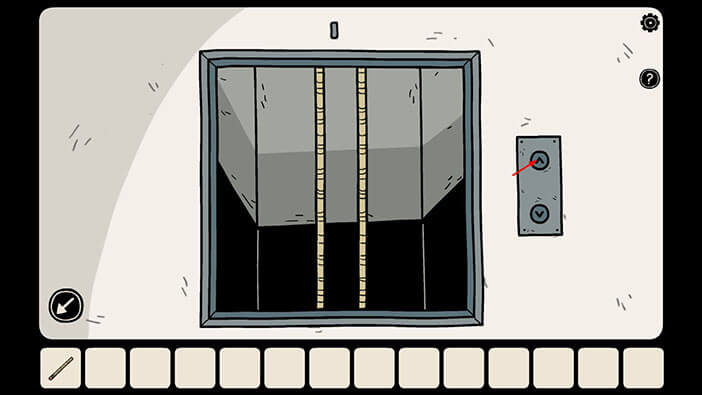
Tap on the item hanging from the hook to pick it up and the “Camera” will be added to your inventory.
After that, tap on the arrow in the lower-left corner to go back.
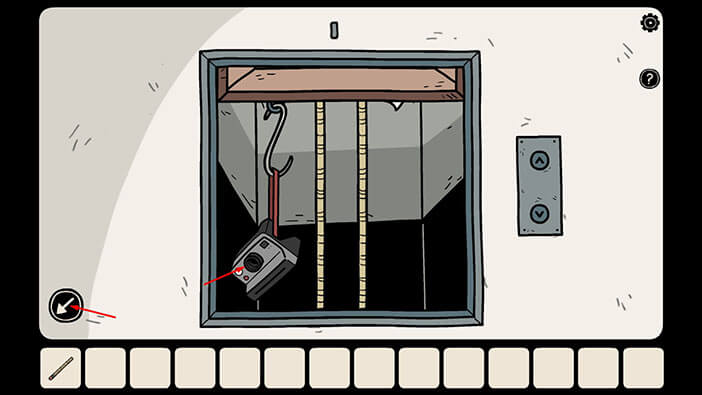
We can use the “Camera” to take a photo of the room, so let’s do that. Tap on the “Camera” in your inventory.
After that, tap on the red button in the lower right corner to take a photo.
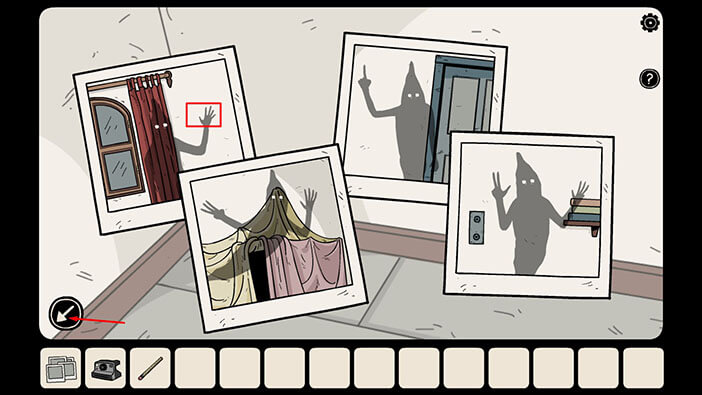
You will see a shadow with several raised fingers as if he’s trying to show you some number.

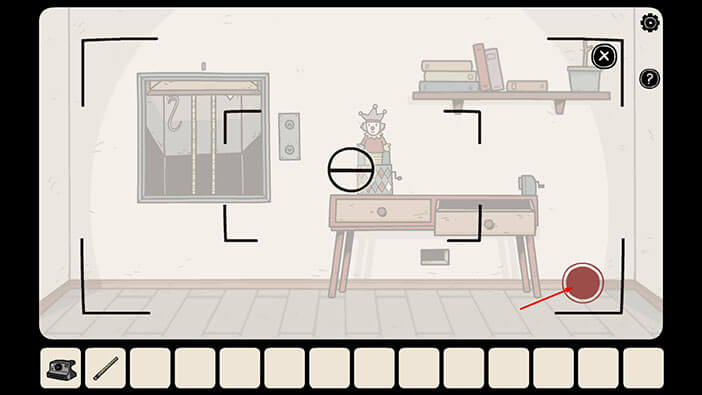
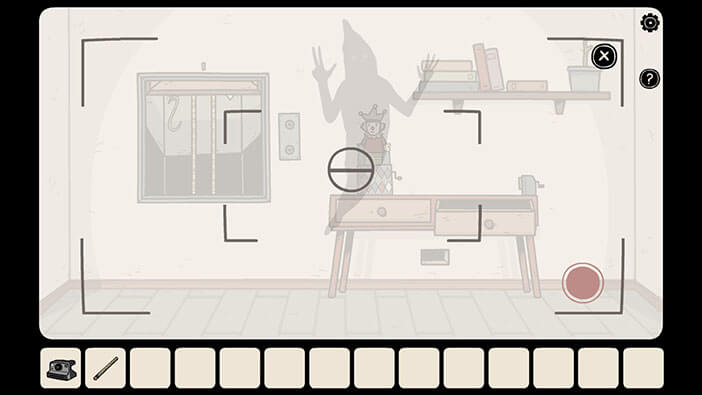
All photos will be added to the collection in your inventory and you can take another look at them whenever you want.
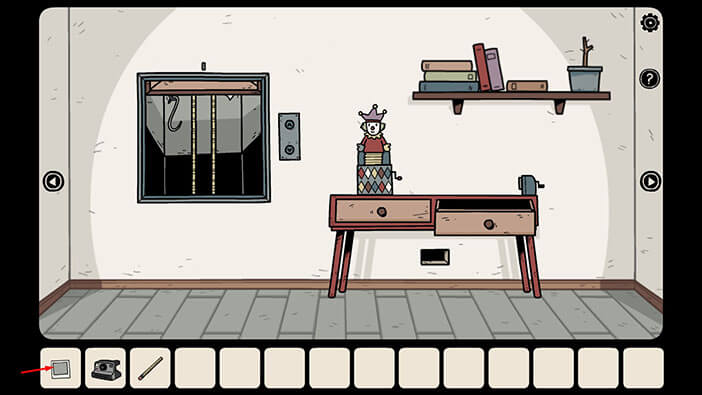
Ok, we should now take another look at the note with the clue which we found earlier.
So, tap on the purple book to take a closer look at it. Then tap on the note that is sticking out.
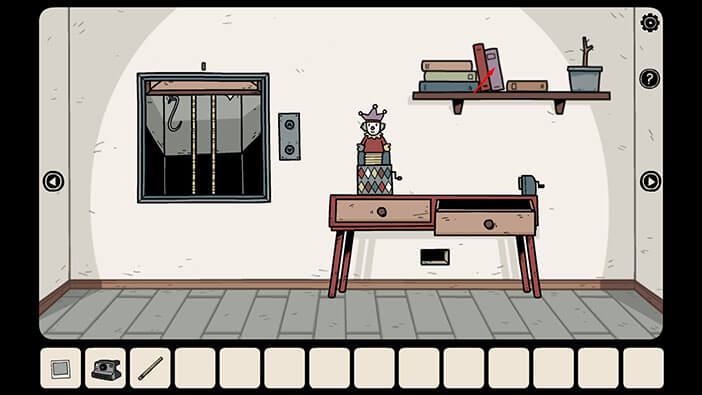
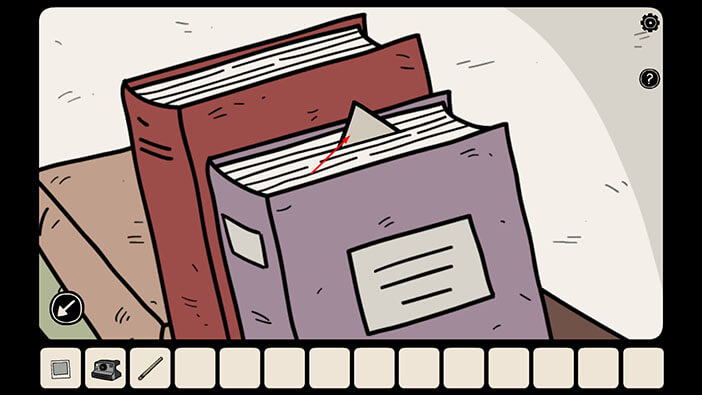
Well, this hint will be extremely helpful for solving the next puzzle. Here’s the deal. In every room, there is a shadow, and it is showing a certain number with its raised fingers. Ok, simple enough.
We can use these numbers to unlock the large, red chest that we saw earlier. But, here’s the catch. We don’t know the correct order of numbers, and that’s where this hint becomes important.
Looking at the note from left to right we can see, a window, a vase with a small plant, a horse, and a toy duck. Previously we saw these items in four different rooms. So, the order of items (rooms in which items are located) represents the order of photos.
With all that said, we should memorize/write down the order of the items on the note. Looking from left to right, we have
First = Window
Second = Vase with a small plant
Third = Wooden Horse
Fourth = Toy Duck
Once you’re done, tap on the “X” sign to put down the note.
NOTE: This is one of the randomized puzzles, so the order of the items on the note might be different in your game. However, you can still solve this puzzle by following the logic explained in this walkthrough.

If we take a look around the room, we will see a vase with a small plant on the right side of the bookshelf.
The vase with the small plant was in the second position on the note, so this is the second room.
Now, let’s take a look at the photo in our inventory.
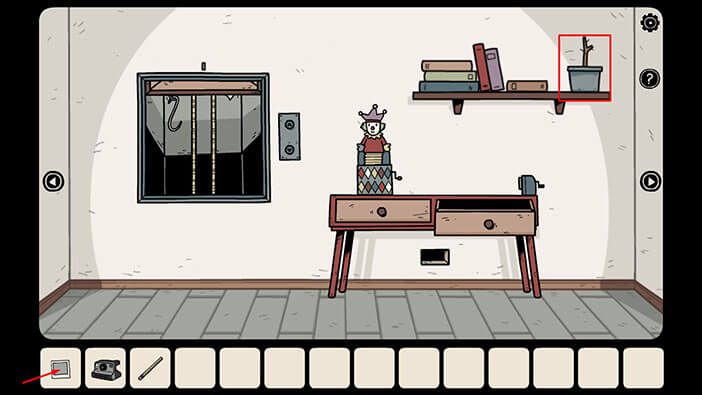
We can see that the shadow is showing the number seven (the pinky on its left hand is down). We already determined that this is the second room. So,
Second Number = 7
Memorize/write down this number, then tap on the arrow in the lower-left corner to go back.
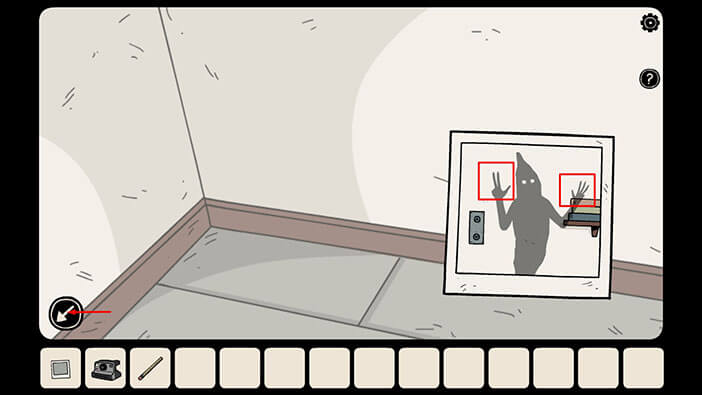
Let’s go to the next room on the right.
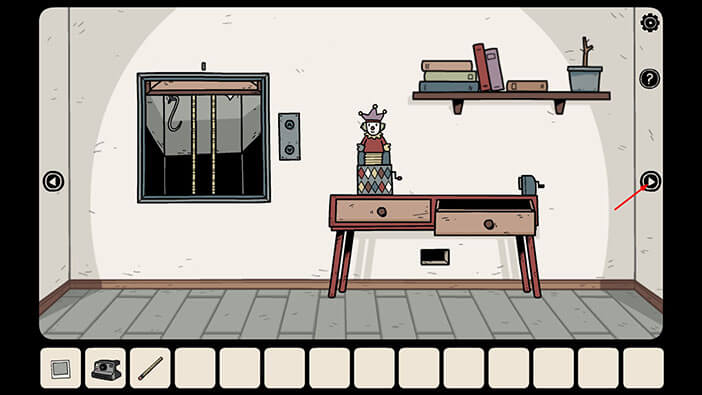
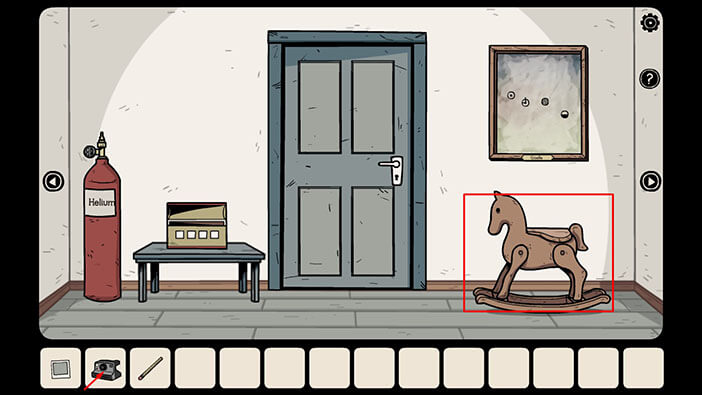
In this room, we can see the wooden horse.
The wooden horse was in the third position on the note, so this is the third room.
Let’s take a photo. First tap on the camera to select it, then tap on the red button to take a photo.
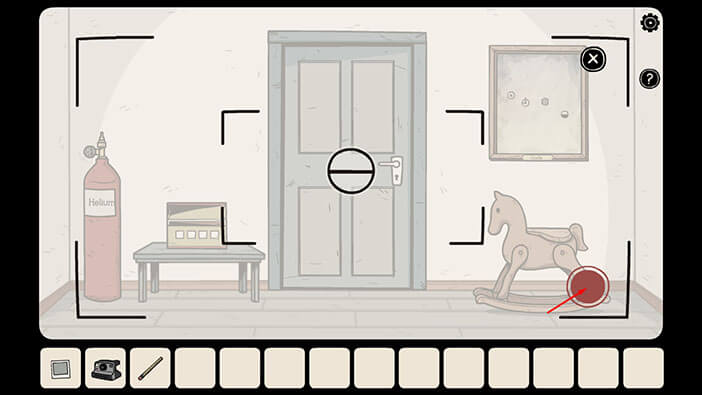
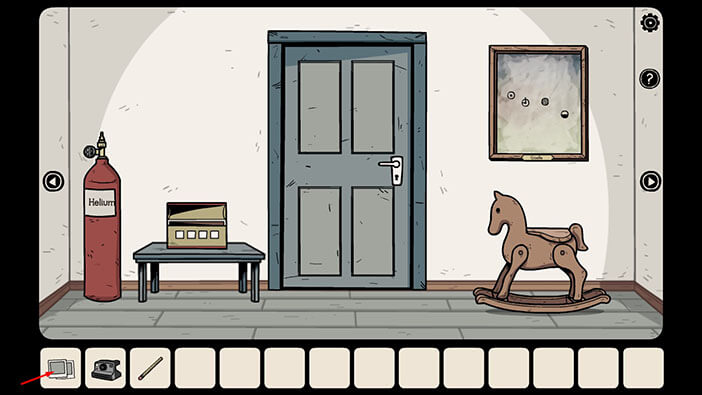
Now, let’s take a look at the photo in our inventory.
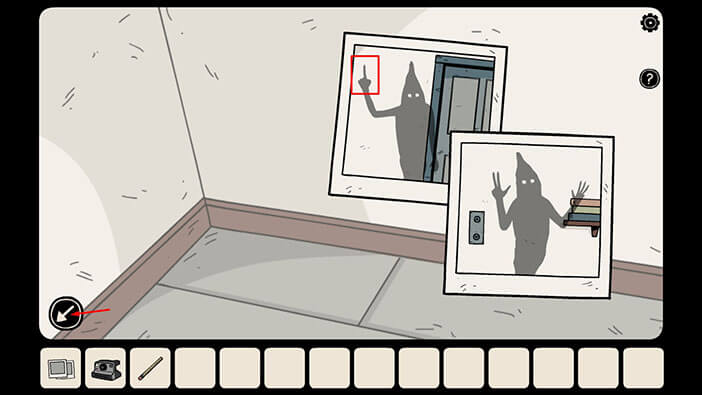
We can see that the shadow is showing number one. We already determined that this is the third room. So,
Third Number = 1
Memorize/write down this number, then tap on the arrow in the lower-left corner to go back.
Let’s go to the next room on the right.
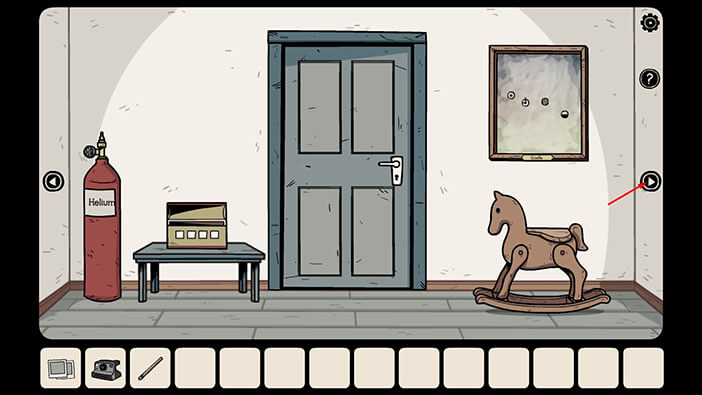
If you take a look around the room, you will see a toy duck on the top bookshelf.
The toy duck was in the fourth position on the note, so this is the fourth room.
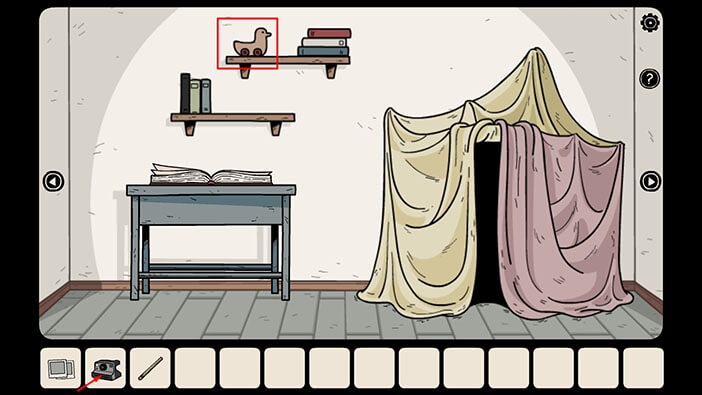
Let’s take a photo. First tap on the camera to select it, then tap on the red button to take a photo.
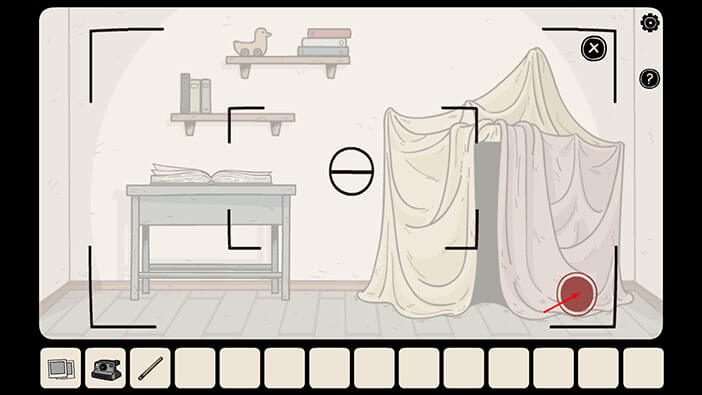
Now, let’s take a look at the photo in our inventory.
We can see that the shadow is showing the number eight. We already determined that this is the fourth room. So,
Fourth Number = 8
Memorize/write down this number, then tap on the arrow in the lower-left corner to go back.

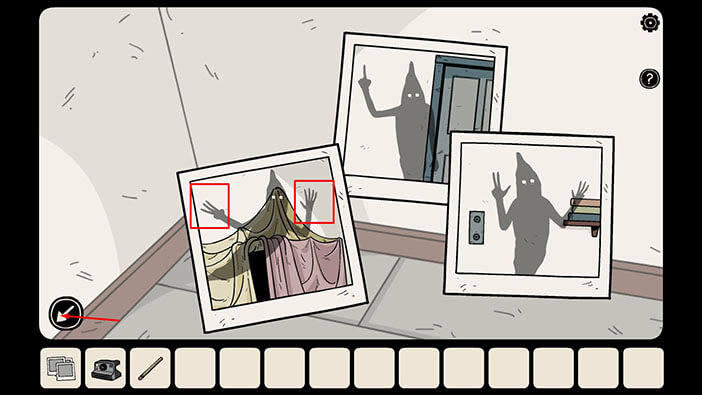
Let’s go to the next room on the right.
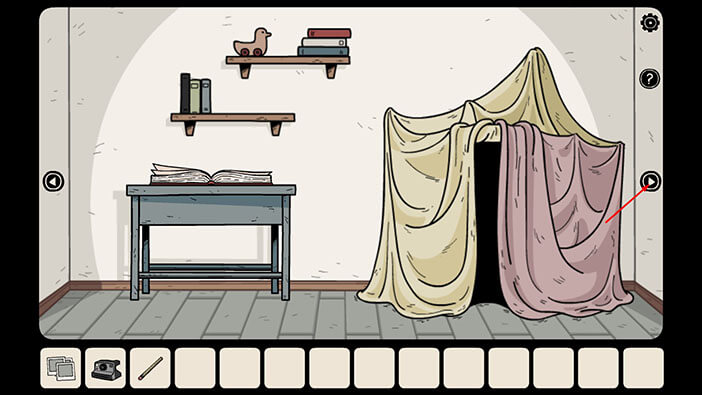
Well, there is a window in this room.
The window was in the first position on the note, so this is the first room.
Let’s take a photo. First tap on the camera to select it, then tap on the red button to take a photo.

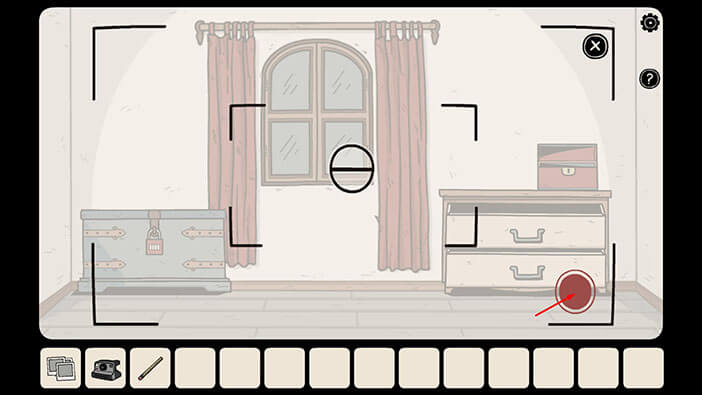
Now, let’s take a look at the photo in our inventory.
We can see that the shadow is showing the number five. We already determined that this is the first room. So,
First Number = 5
So, when we put everything together, we will get the code “5718”. Memorize/write down this code, then tap on the arrow in the lower-left corner to go back.
NOTE: As I already mentioned, this is one of the randomized puzzles, so the order of the items on the note might be different in your game. However, you can still solve this puzzle by following the logic explained in this walkthrough.
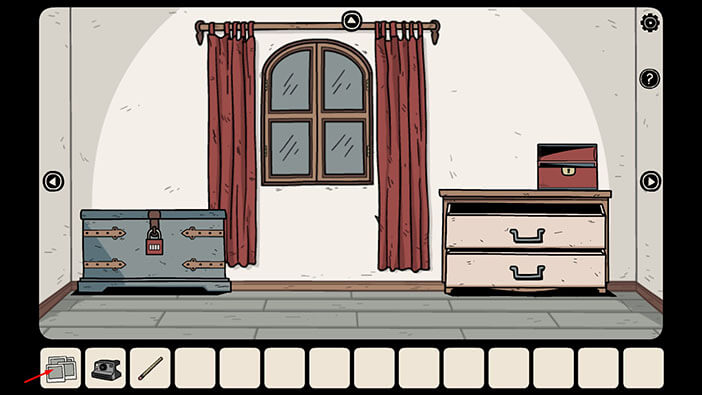
Tap on the code to take a closer look at it.

Enter the code using the Roman Numerals. V, VII, I, VIII.
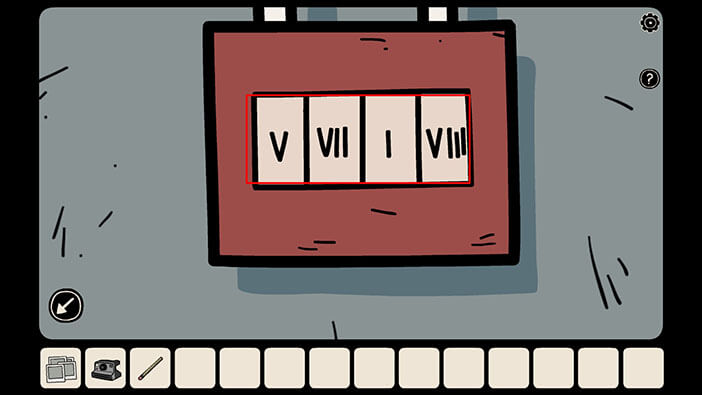
As soon as you enter the correct code, you will hear a clicking sound, indicating that the chest is unlocked.
Tap on the chest to open it, then tap again to look inside.

Inside the chest, you find a “Bow”. Tap on it to pick it up.
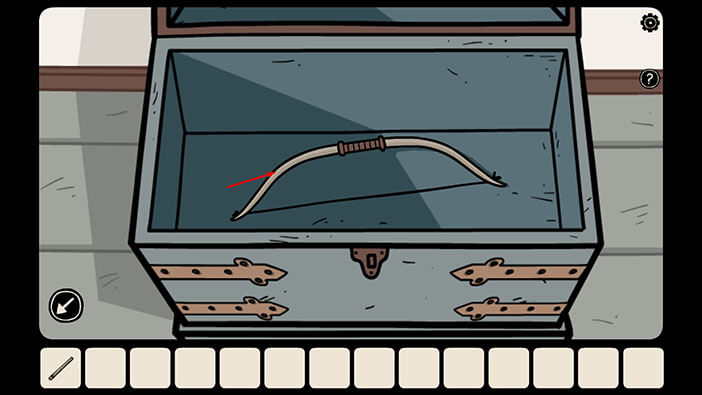
Ok, we found the bow, and now we have to craft an arrow out of the “Unsharpened pencil”. To do that, we will have to go to the first room on the right.
Later, we will use the bow and an improvised arrow to burst the helium balloon and get the key.

Tap twice on the pencil sharpener located on the right side of the table, to take a closer look.

Select the “Unsharpened Pencil” from the inventory and insert it into the empty slot.
After that, tap on the handle to sharpen the pencil.
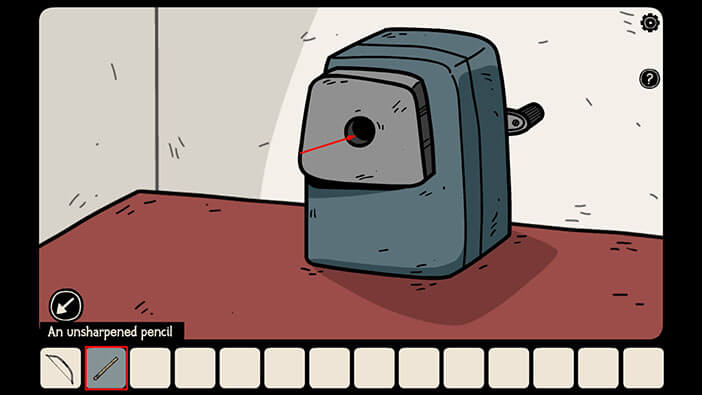
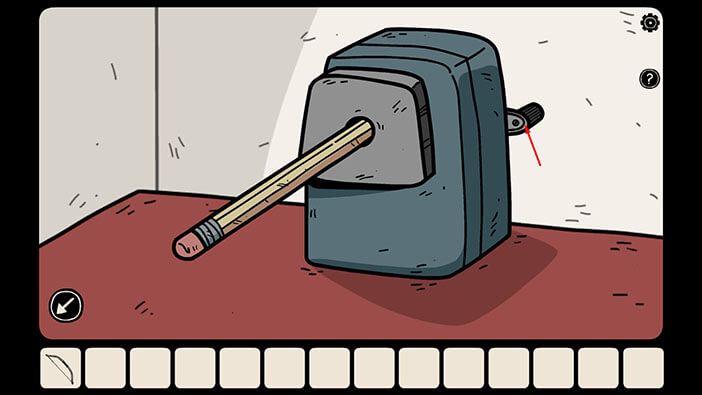
Finally, tap on the pencil to pick it up, and “Sharpened Pencil” will be added to your inventory.
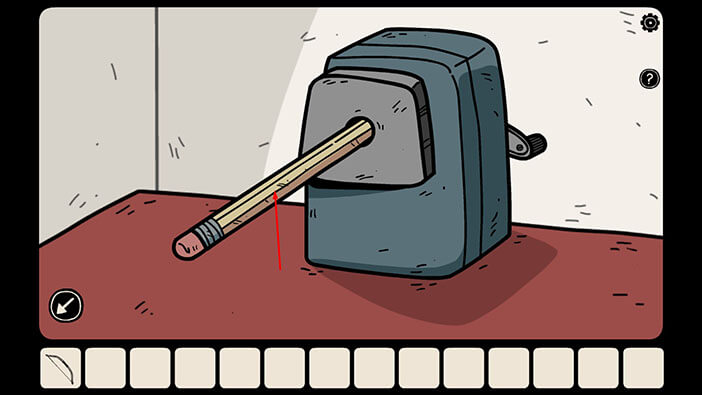
Next, select the “Bow” from the inventory and combine it with the “Sharpened Pencil”. The “Bow with the sharpened pencil” will be added to your inventory.
Once you’re done, tap on the arrow in the lower-left corner to go back.
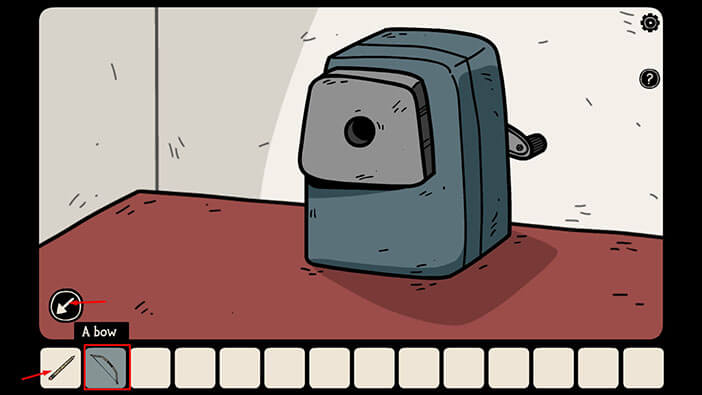
Let’s go back to the room with the large chest (it’s the first one on the left).

Tap on the “Up” arrow to look at the area above the window.

Select the “Bow with the sharpened pencil” from the inventory and use it to shoot the balloon.
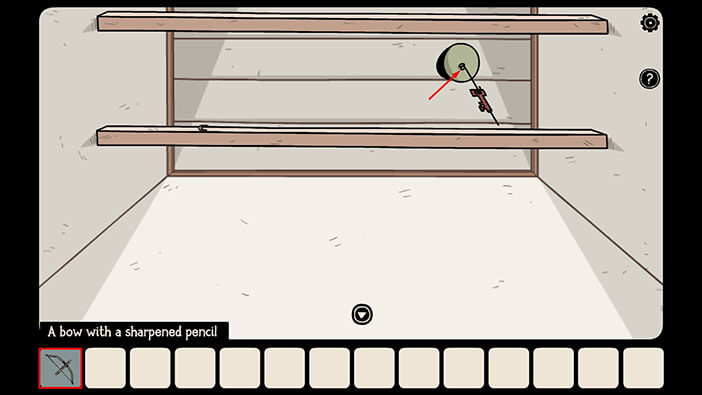
Laia’s aim was true, and she hit the balloon on her first try. The balloon will burst, and the key fell right into the hands of our character. “Red Key” will be added to your inventory.
Let’s go back to the first room. It’s the second one on the right.
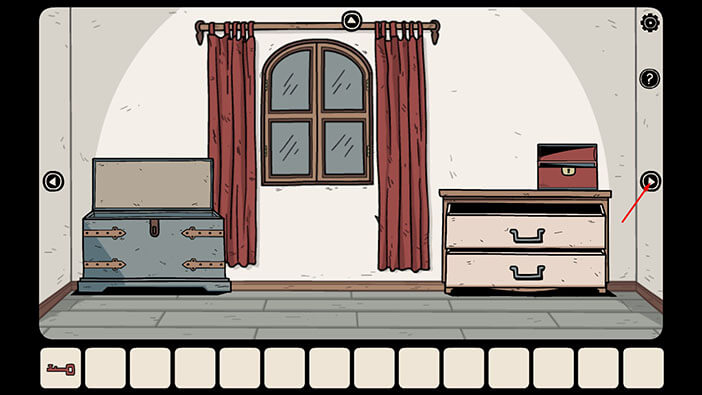
Select the “Red Key” from the inventory and use it to unlock the door.
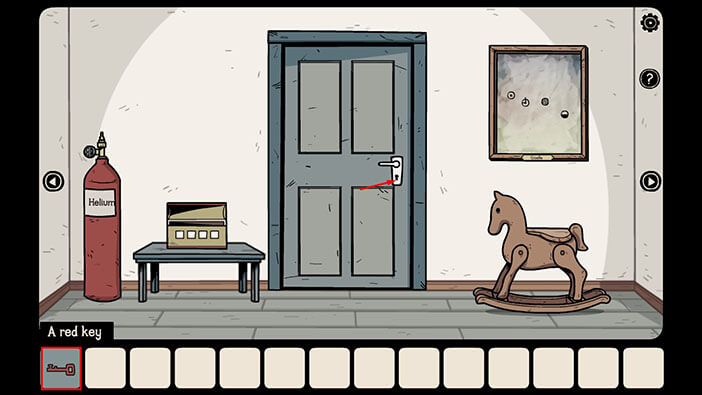
You will hear a clicking sound, indicating that the door is unlocked. Well, looks like we can finally leave this part of the house.
Tap on the door to open it, then tap again to go outside…
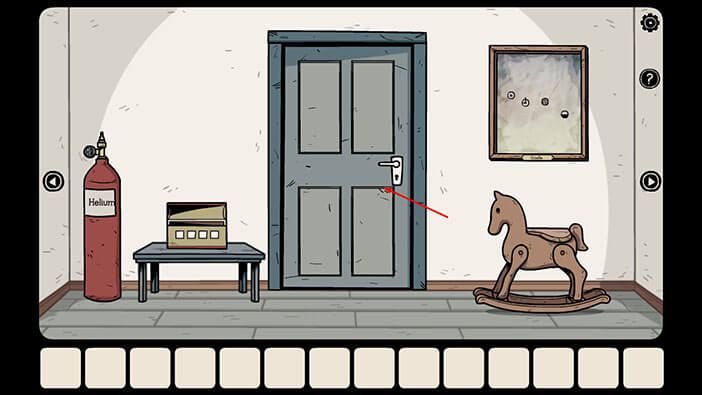
It looks like the time works differently in the room where Laia was captured. To her, it seemed that only a few hours have passed. But when she finally got outside, she realized that three years had passed.
Without hesitation, she immediately went looking for her brother and father. She presumed that they were captured by the shadows, and decided to follow the map to the cave entrance. Well, at this point, the story began, so we know the rest.
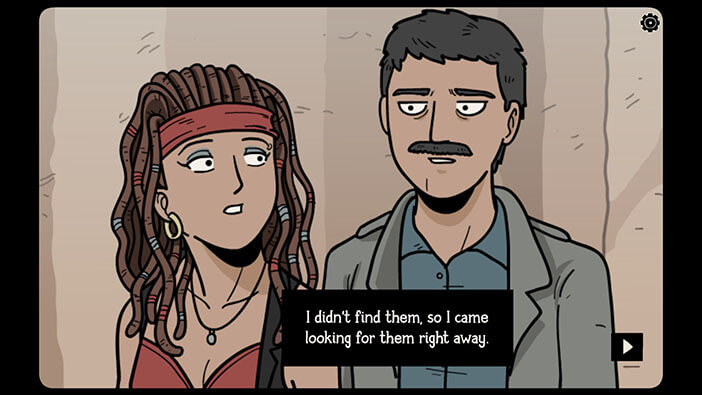
After informing her father about the previous events, Laia remembered that there was still hope, and she might be able to remove the curse from her family. She explained to her father that she found a mysterious book while she was locked in, and read about the magical seeds that could break the curse. Once they eat the seeds, the enchantment will be automatically dispelled. However, these magical seeds are locked behind the red door, deep inside the cave, and it seems that they will need a small statue of the shadow, in order to open it.
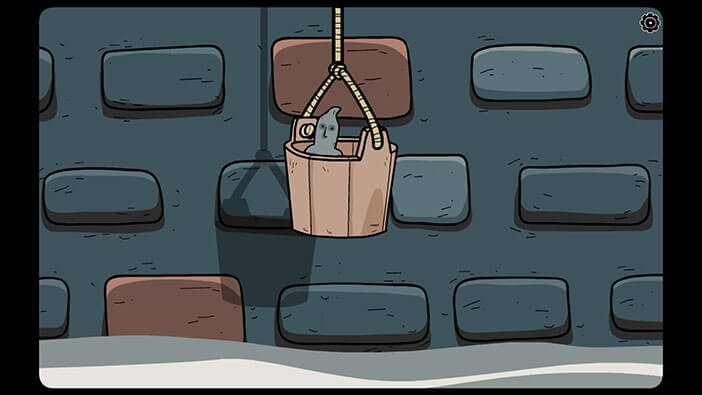
At this moment, somebody will lift a large rock that was located on top of the well. This person will also lower the bucket with a small, shadow figurine… So, if we can get the figurine, we should be able to open the door.
NOTE: We already saw this part of the game while playing the “Nowhere House” – the third game in the series. During this game, Adria (our character) lifted the large rock with the crane and lowered the bucket with the figurine in order to get the key.
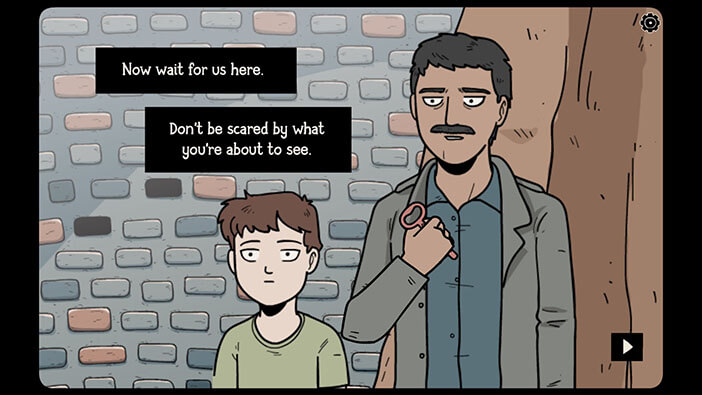
Laia’s father said that he knows how to get the figurine because he saw how the shadows did it. With that said, he urged Laia to give him the “Pink Key”.
So, select the “Pink Key” from the inventory and hand it over to Laia’s father. You can also see the note concerning this event in the “Black Book”.
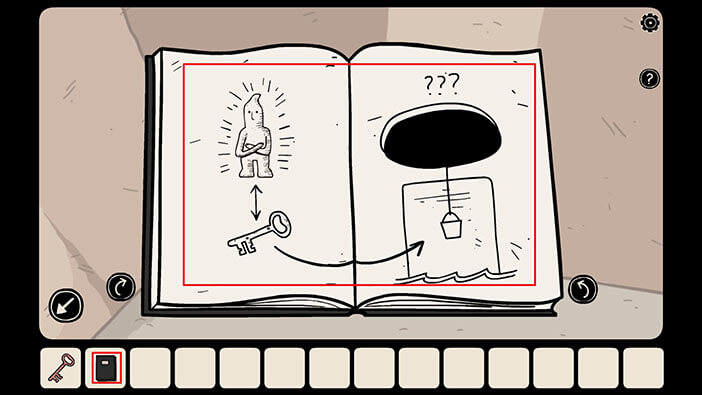
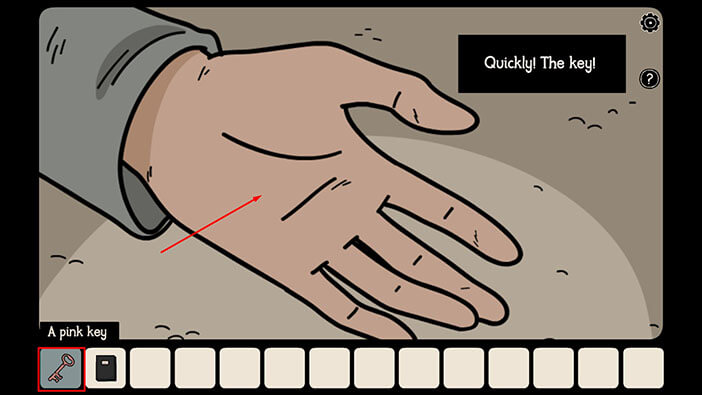
After she gave them the key, Laia’s father and brother went into the water but warned her to stay put and wait for them (because if she stepped into the water she would also fall under the effect of the curse). Besides that, her father also warned her to stay calm, because something very scary was about to happen.
Laia watched as her brother and father walked into the water until they were completely submerged. When they got to the bucket, they turned into the shadows. The larger white shadow was probably her father, while the smaller black shadow was probably her brother. Laia was shocked…
The shadows took the small figurine and placed the pink key into the bucket instead of it.
NOTE: During our “Nowhere House” playthrough, we also saw two shadows in the well, and they match this description. So, I am certain that we saw Laia’s father and brother. On a side note, I really like how different stories are interconnected with each other. Thumbs up to the developers!
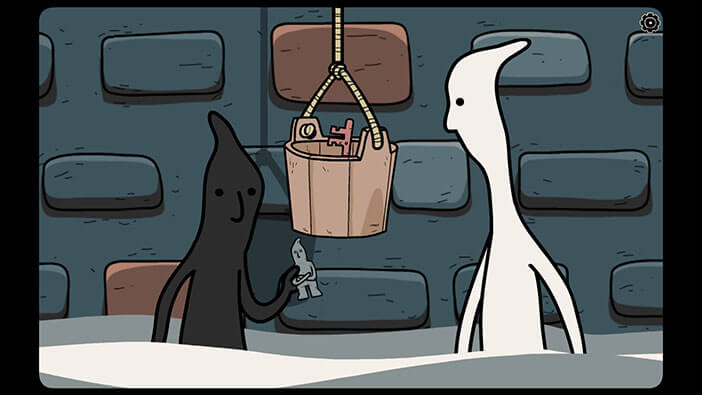
When Laia’s family left the cursed water, they turned back to their human form, and her father offered her the figurine. He also explained that the figurine can be used to open the door.
So, tap on the figurine to pick it up and the “Strange Idol” will be added to your inventory.
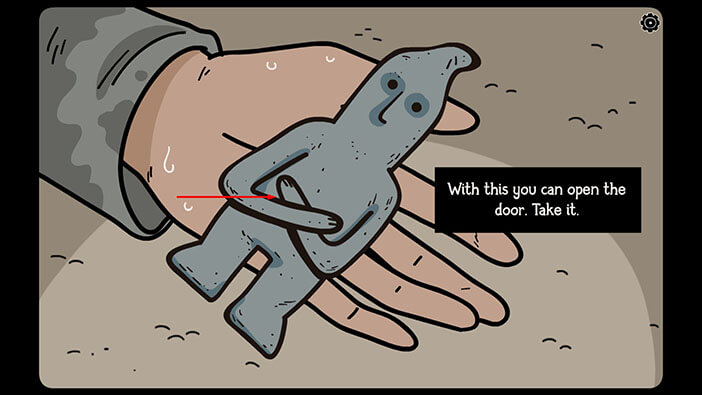
Laia will instruct them to stay put and wait for her. She intends to open the door and get the magical seeds. If she succeeds, she will be able to lift the curse from her family, and then they can finally leave this unholy cave.
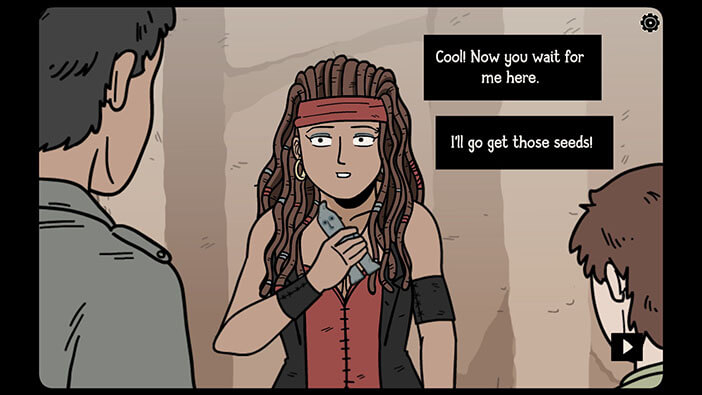
In the next scene, we will see Laia standing in front of the bridge.
However, we will have to end the second part of our walkthrough here. Join us in the third part of the walkthrough, in which we will finally unlock the red door, and look for magical seeds that can save Laia’s family.
Thank you for reading.