Haunted Laia | Part III
Hello everyone and welcome to Part 3 of our walkthrough for “Haunted Laia” an escape room game created by the Dark Dome. Haunted Laia is the fifth game in the series, and like the other games, the story is set in Hidden Town, which is filled with all kinds of mysteries. In this walkthrough, we will show you how to solve all the puzzles and finish the game.
NOTE: Some puzzles will CHANGE with each playthrough, but the logic behind solving the puzzles will always remain the SAME. For example, in one playthrough a code to open a safe could be 1234, and in another playthrough, the code could be 4321. However, you will always discover the numbers for the code at the same location and by using the same hints.
NOTE: At the end of the second part, Laia’s father and brother gave away the pink key in exchange for the “Strange Idol”. As we previously discussed, this exchange we already saw during our playthrough of the “Nowhere House” – the third game in the series. Laia’s father gave her the “Strange Idol” and our next task is to unlock the red door and look for the magical seeds.
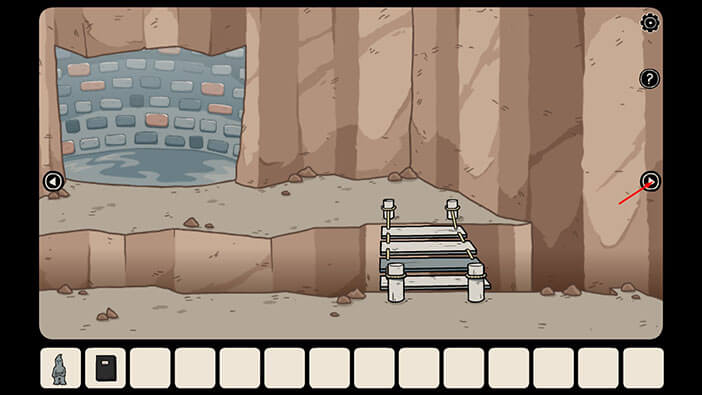
At the start of this part of the walkthrough, you will find yourself in front of the bridge.
Let’s go to the red door. It’s located in the second room on the right.
Select the “Strange Idol” from the inventory and place it into the empty slot on the door.
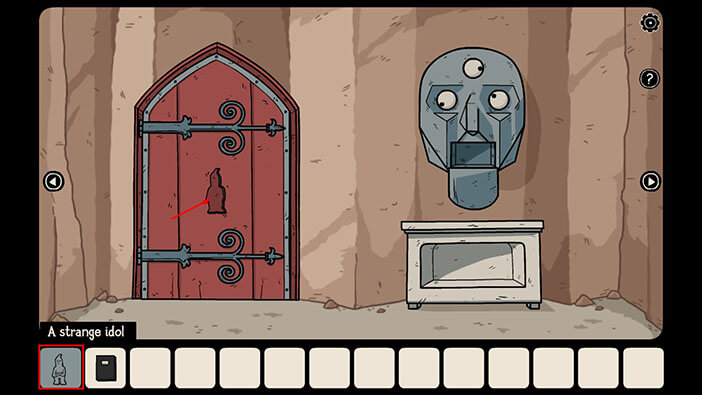
The door will automatically open, so tap on it to proceed into the next room.
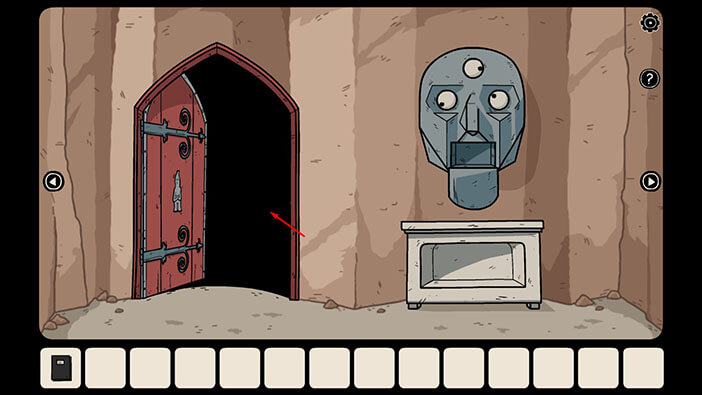
Unfortunately, as soon as Laia entered this room, the witch sneaked up behind her and knocked her out. When Laia woke up, she was tied to a chair.
Well, with this, we finished Laia’s recollection of the previous events, and now the story continues.
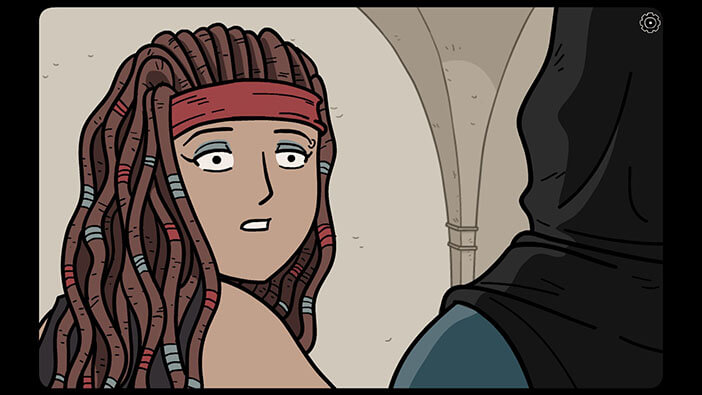
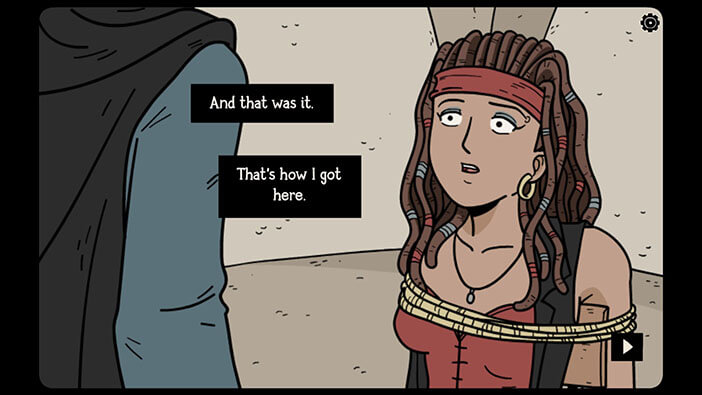
Well, after hearing Laia’s story, the witch decided that she can’t let her leave. Honestly, even if Laia didn’t know anything about the witch and this strange place, I doubt that she would be allowed to leave… I think that the witch only wanted to satisfy her curiosity by listening to Laia’s story.
With that said, the witch used a powerful spell to lock Laia inside the portrait. Yeah, we saw her use this spell before when we played the “Nowhere house”. In that game, several characters were captured inside their own portraits, and the witch could polymorph into them, whenever she felt like it.
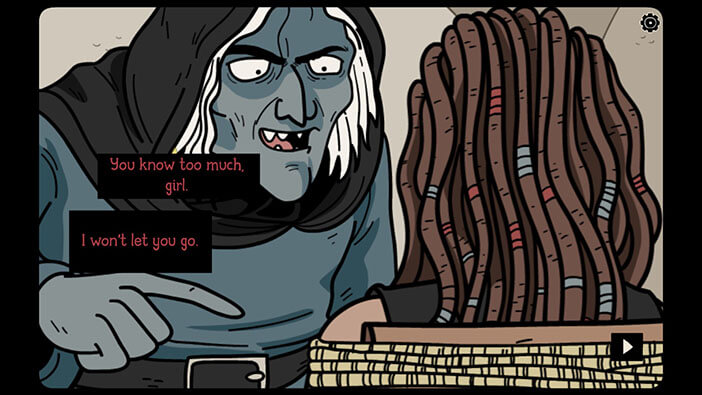
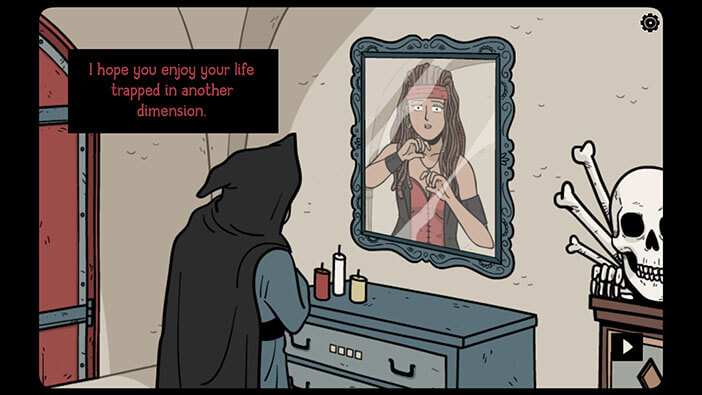
In the next scene, we see the witch changing into Laia… Well, at the end of the “Ghost Case” the fourth game in the series, we meet Laia, the mysterious shopkeeper/fortuneteller. At the very end of the game, we discovered that Laia was actually the witch.
We also discovered that the witch was collecting the Shamalu dolls, which contained the souls of the people she trapped. Our character in that game was detective Ren, and he handed her over the Shamalu doll which contained the soul of Frederick Nolsen, a serial killer and practitioner of the dark Shamalu magic. Ren had the best intentions, and he believed that Laia, who proved that she knows a thing or two about magic, would be the best person to safeguard the doll. Unfortunately, she didn’t know that Laia was actually a witch.
At the very end of the game, we saw the witch’s collection of the Shamalu dolls, and it included Laia, as well as the character from the “Nowhere House”.
With all that said, we already know that Laia won’t make it out of this cave since, as I already explained, we saw her soul trapped inside the Shamalu doll. Finally, the witch was impersonating Laia, which means that the soul of our character was trapped…
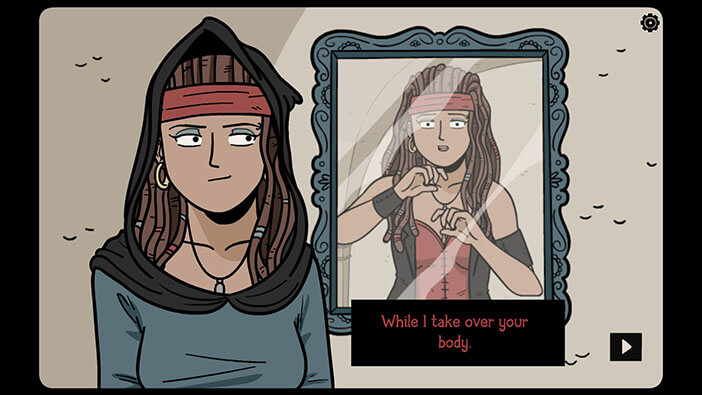
In the next scene, Laia will wake up in another dimension, trapped inside the portrait. But, her goal didn’t change. If she finds the magical seeds, she will be able to break this spell (since magical seeds can break any enchantment, Laia should be able to get out of the portrait), and free her brother and father.
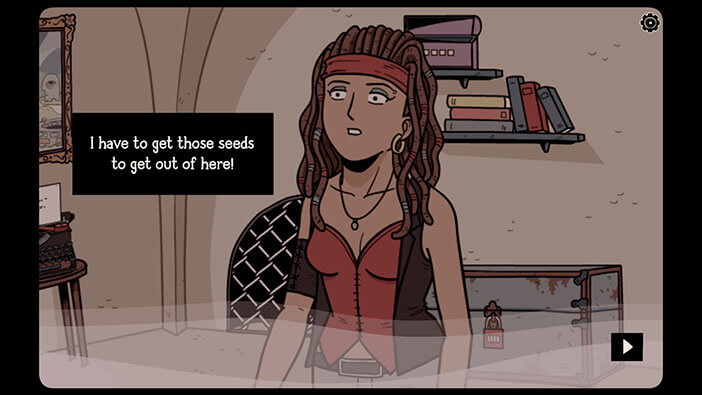
Ok, at this point the story continues. Select the “Cutting Pliers” from the inventory and use them to remove the wire from the hole in the wall.
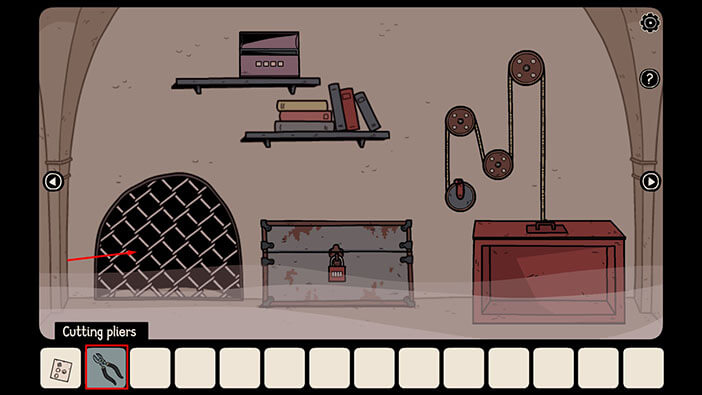
Tap on the hole in the wall to proceed into the next room.
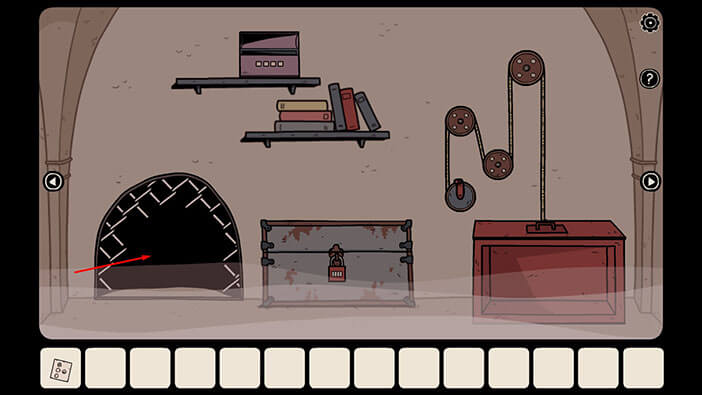
Ok, now we have a whole new area to explore.
Take note of the scale and the rocks with strange symbols. We will come back to them a bit later.
For now, let’s proceed into the next room on the right.
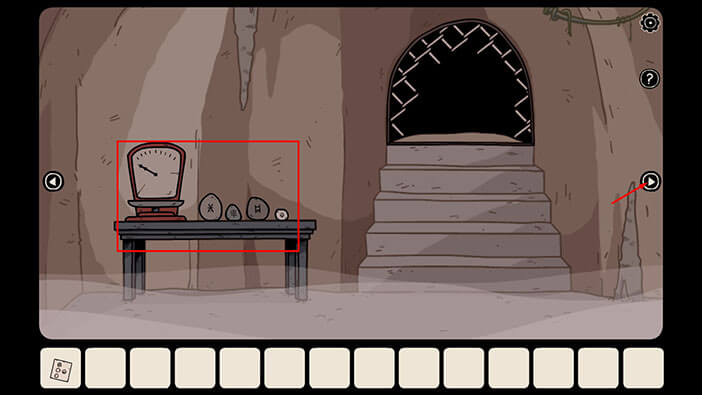
Tap on the stone on the left to pick it up, and the “White stone” will be added to your inventory.
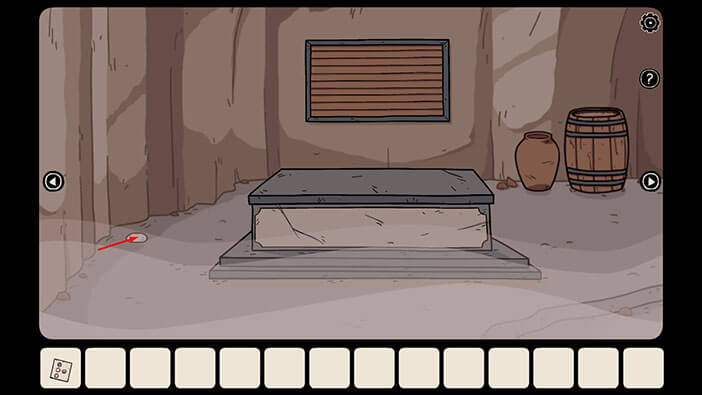
Next, tap on the shutter to start the interaction.
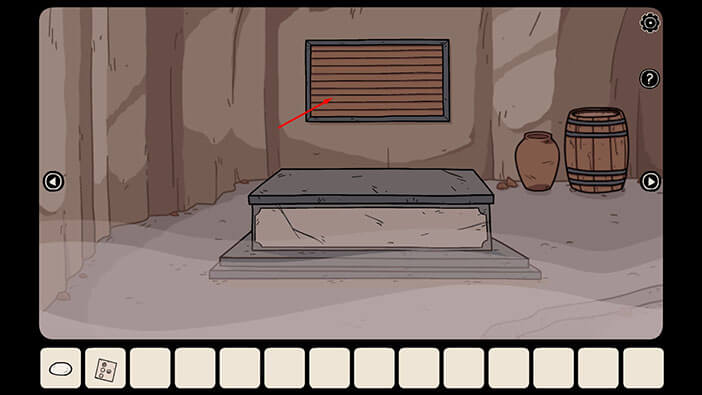
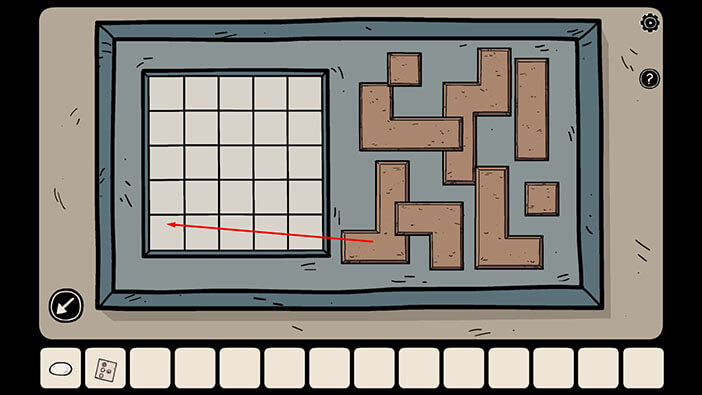
Here, we have another puzzle. This one is very straightforward, we just have to place all objects from the right into the 5×5 grid on the left. We will do this in several steps. Let’s begin.
Step 1
Drag the “J” shape and place it into the lower-left corner of the grid.
Step 2
Drag the “Z” shape and place it into the upper left corner of the grid.
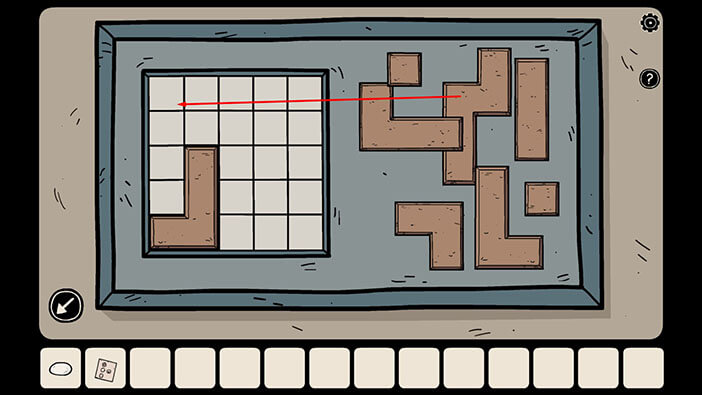
Step 3
Drag the small square shape and use it to fill the hole in the upper left corner of the grid.
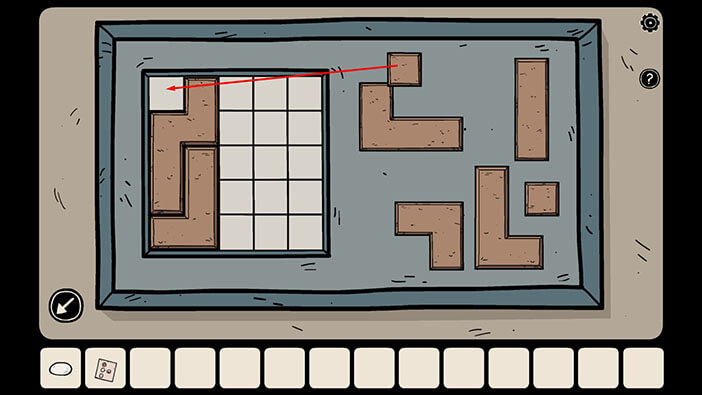
Step 4
Drag the “horizontal J” shape and place it into the lower right corner of the grid (next to the “J” shape)
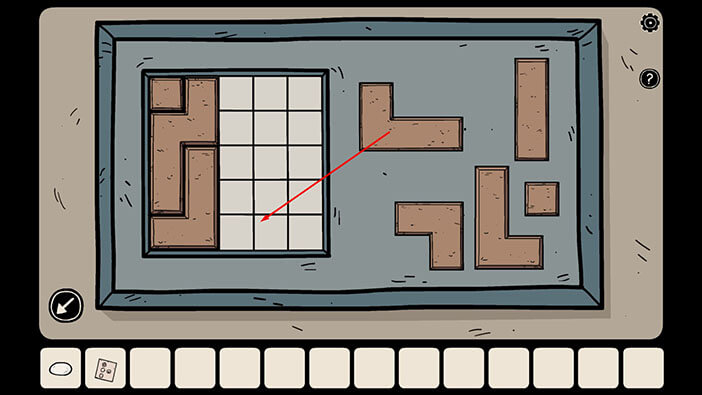
Step 5
Drag the “I” shape and use it to fill the three empty squares on the left side of the grid.
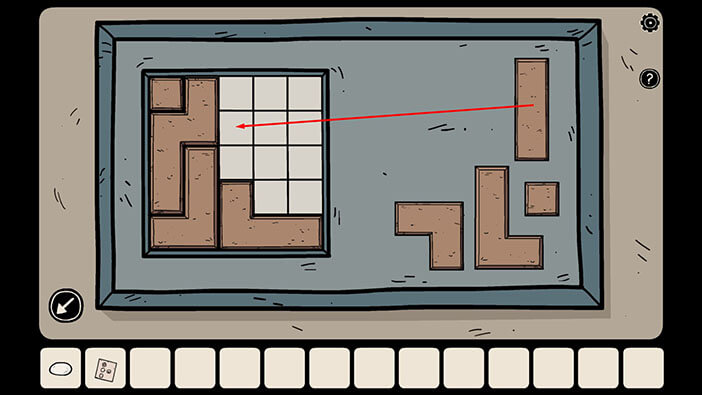
Step 6
Drag the “L” shape and place it on top of the horizontal “J” shape.
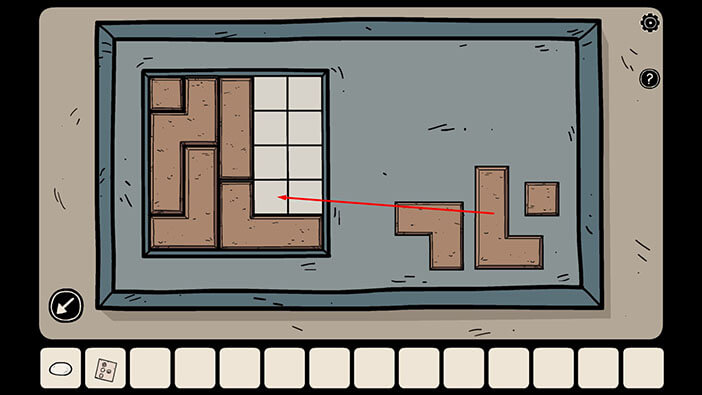
Step 7
Drag the last larger shape and place it into the upper right corner of the grid.
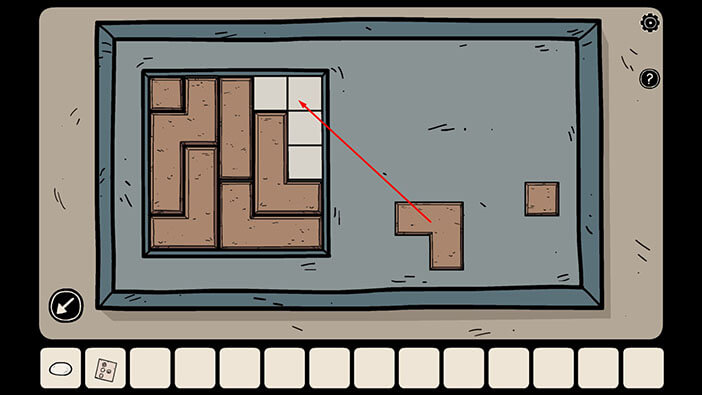
Step 8
Drag the small square and use it to fill the last hole on the grid.
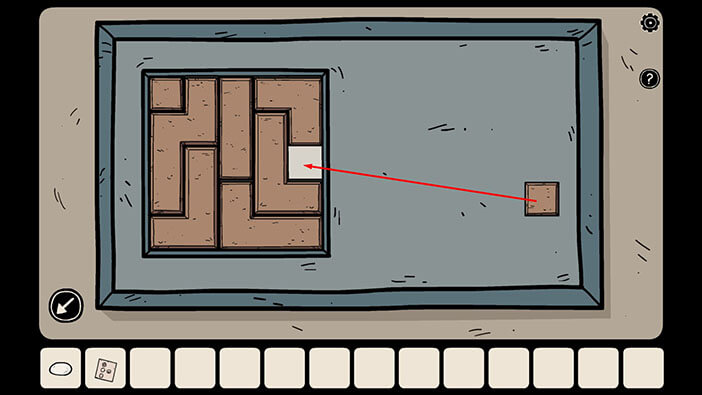
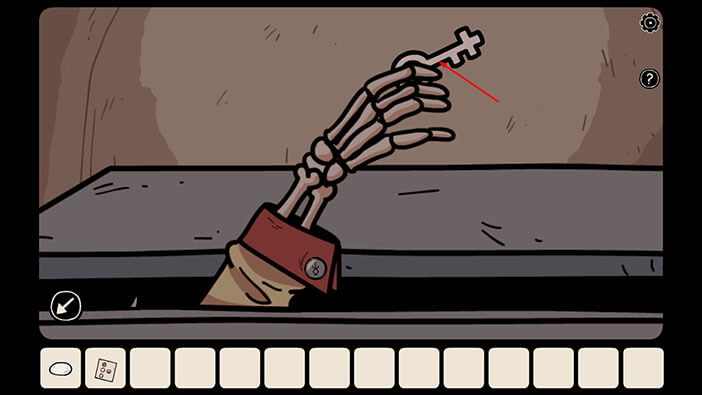
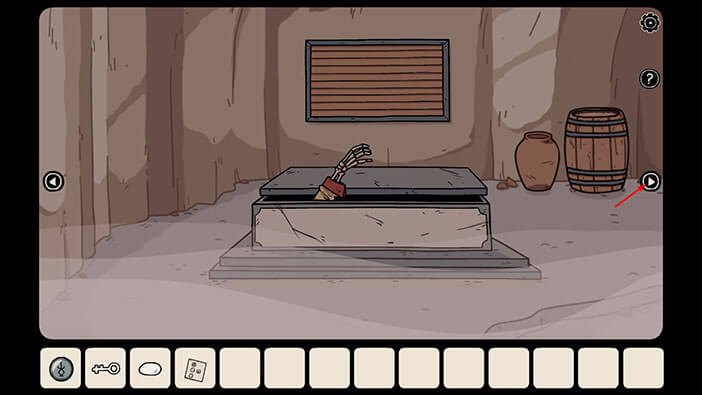
As soon as you solve the puzzle, the sarcophagus in front of your will open, and you will see an outstretched skeletal arm. Tap on it to take a closer look.
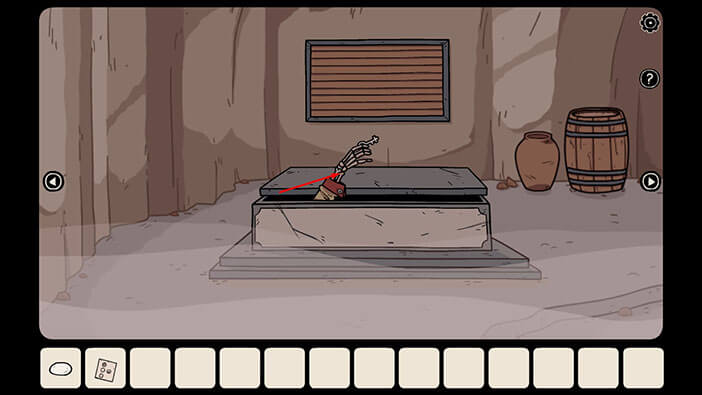
Tap on the key, and you will pick up the “White Key”.
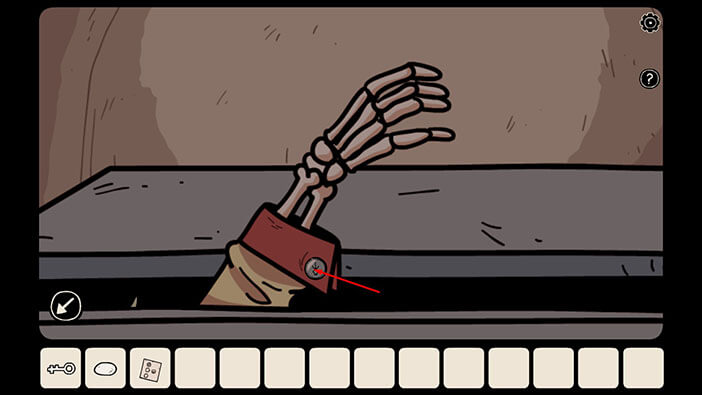
Next, tap on the cuff on the sleeve to pick it up and the “Token with the strange symbol” will be added to your inventory.
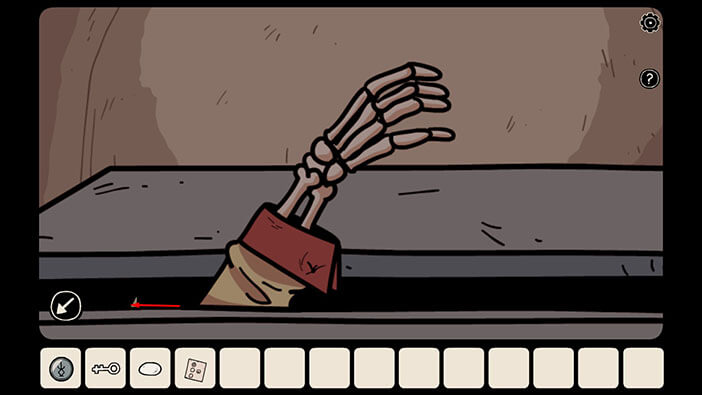
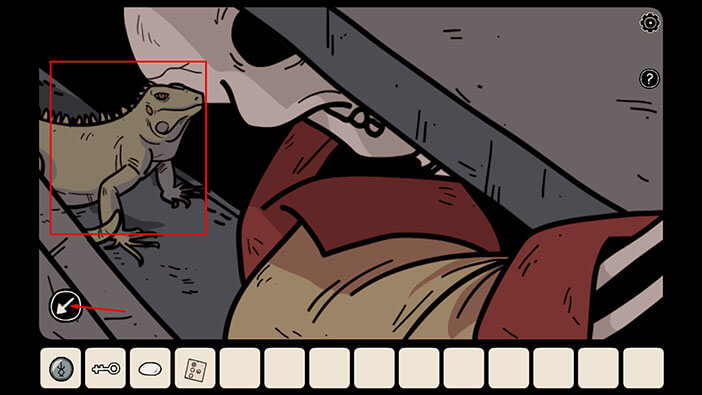
Next, if you look to the right of the arm, you will notice that the tail is sticking out of the sarcophagus. Tap on the tail to look into the sarcophagus, and you will find the eighth iguana. Well, that’s 8/10, so we almost found all of them.
After that, tap on the arrow in the lower-left corner to go back.
Let’s proceed to the next room on the right.
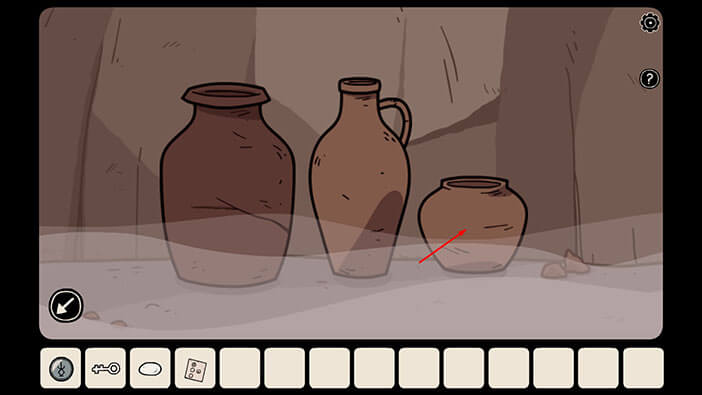
First, let’s take a closer look at the pottery on the left.
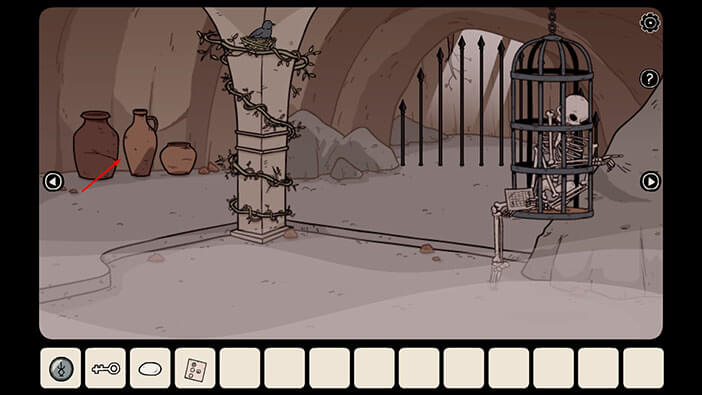
Tap on the jar on the left to look inside, and you will find the ninth iguana. That’s 9 out of 10, so we have to find only one more iguana.
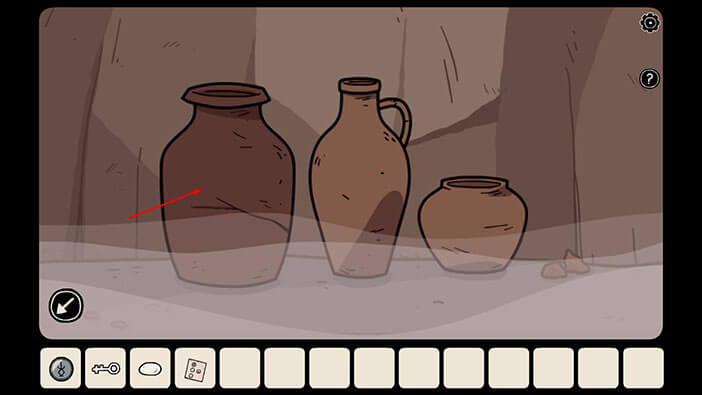
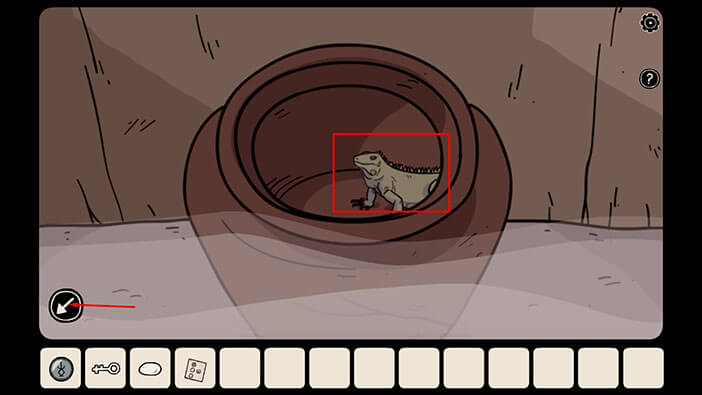
Next, tap on the jar on the right to look inside, and you will find another “Token with the strange symbol”. Tap on it to pick it up.
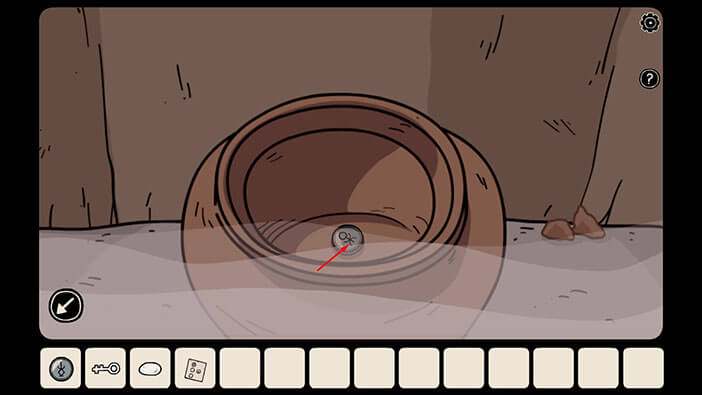
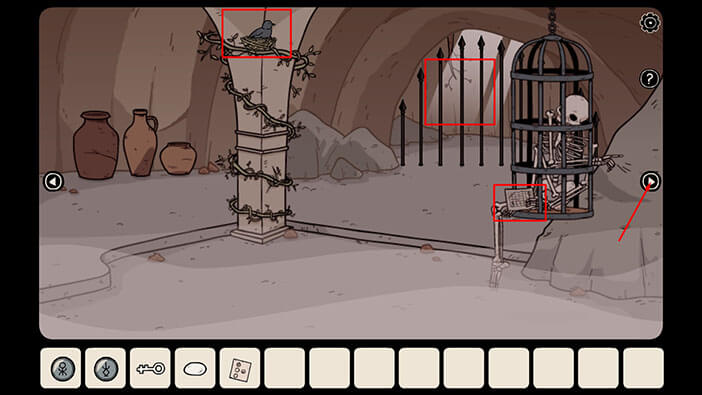
If you take a look around the room you will notice three more points of interest.
First, is the bird’s nest.
Second, is the note held by a caged skeleton.
Third, is the gate on the far wall. Beyond this gate we can also see the magical seeds, so we will have to find a way to lower the gate.
We will come back to all of this, a bit later. For now, tap on the arrow on the right to go to the next room.
Tap on the “White stone” to pick it up, and now you will have two stones.
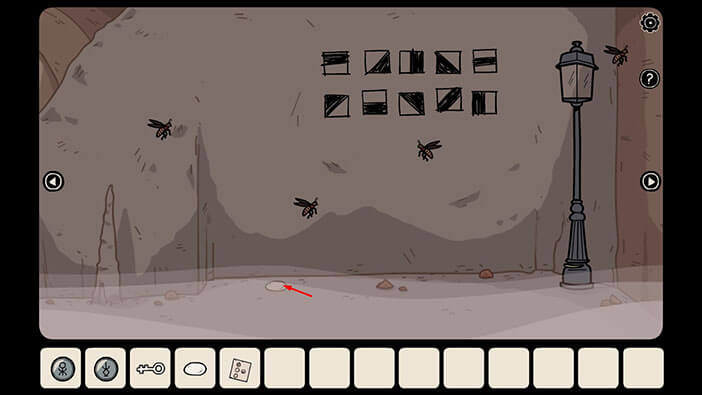
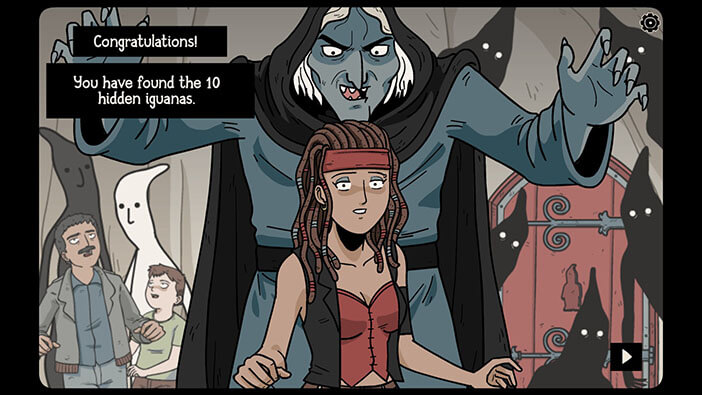
Next, if you take a closer look at the street lamp (although, a cave lamp would be more appropriate in this situation), you will notice a tail coiled around it. Tap on the tail to look behind the lamp, and you will find the tenth iguana. Well, that’s 10 out of 10, so we found all of them. Mission accomplished.
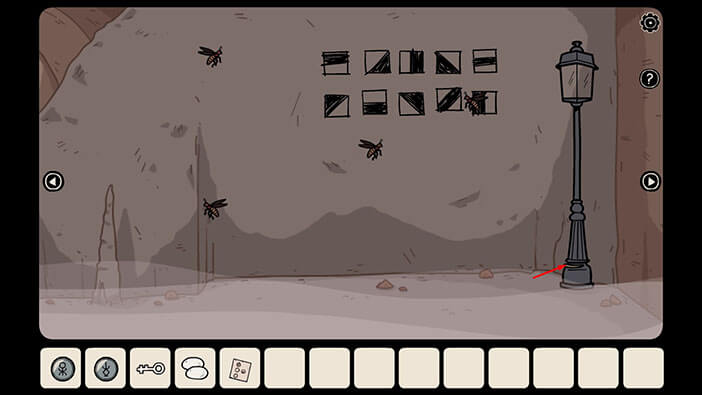
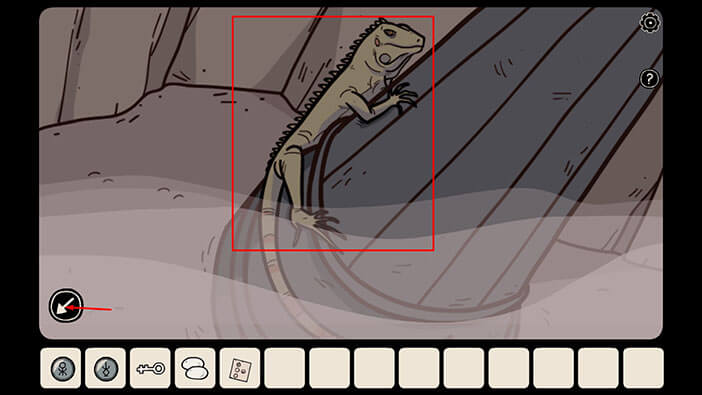
In this room, we have several points of interest. The street lamp, the square symbols on the wall, and the fireflies. Later, we will come back to it. For now, let’s proceed to the next room on the right.
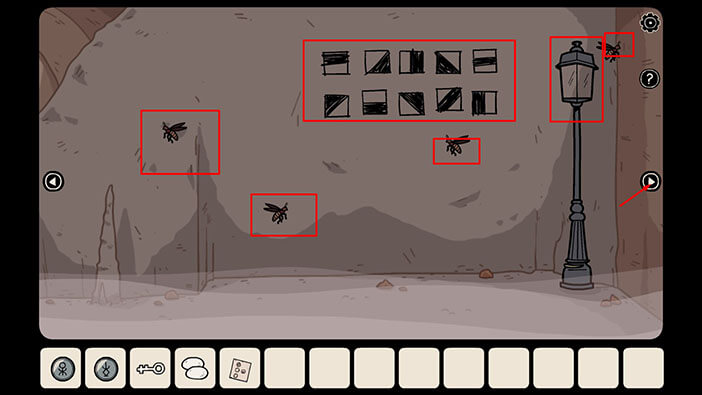
Ok, we are now back in the starting room. During our exploration of this area, we discovered a “White Key” and it can be used to unlock the cabinet in the other area, so let’s go there.
Tap on the hole in the wall to go back to the previous area.

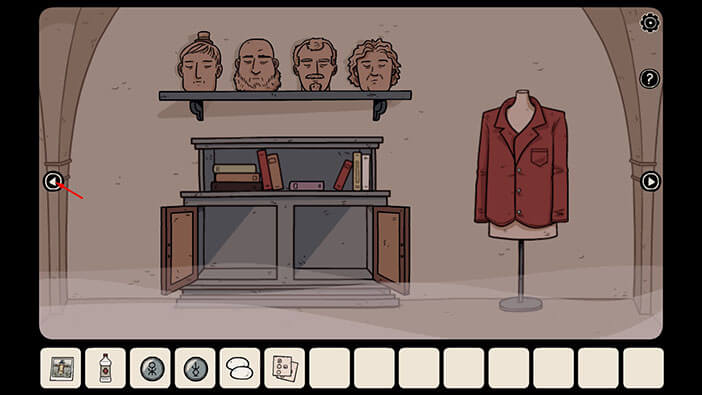
Let’s go to the first room on the right.
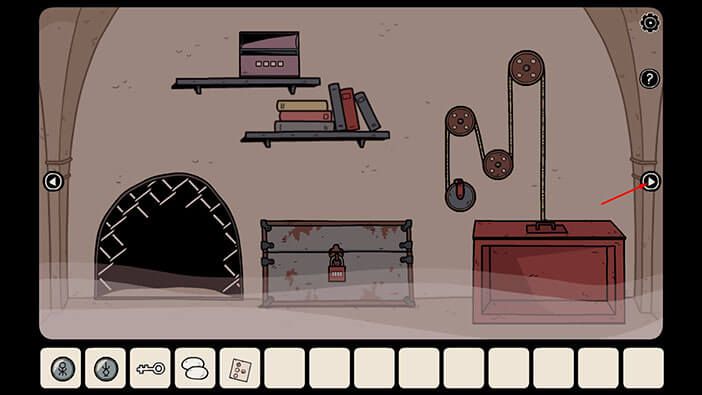
Tap on the left cabinet door to take a closer look at it.
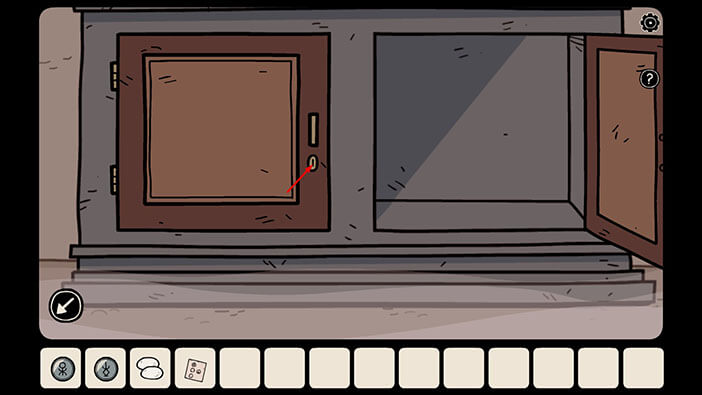
After that, select the “White Key” from the inventory and use it to unlock the cabinet door.
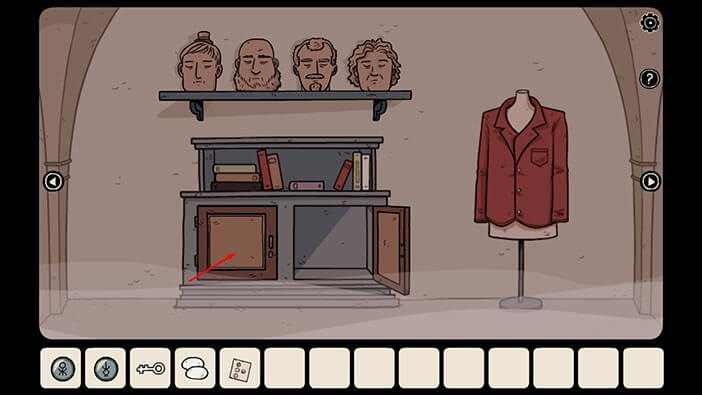
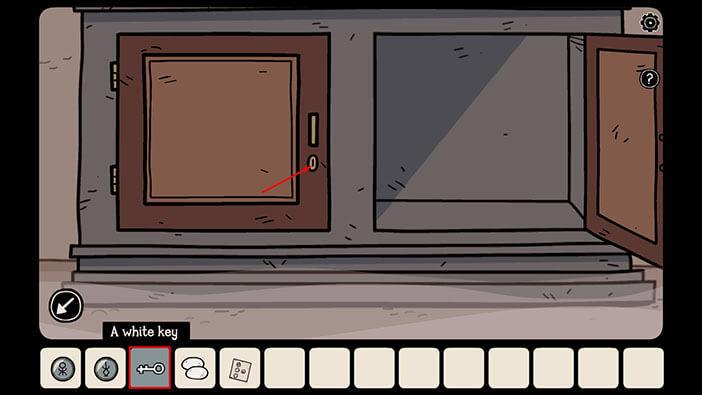
Tap on the cabinet door to open it, and inside you will find three items, a “Bottle of Cleaning Alcohol”, “Photo of a Scarecrow”, and another “Note with the hint”. Tap on these items to pick them up.
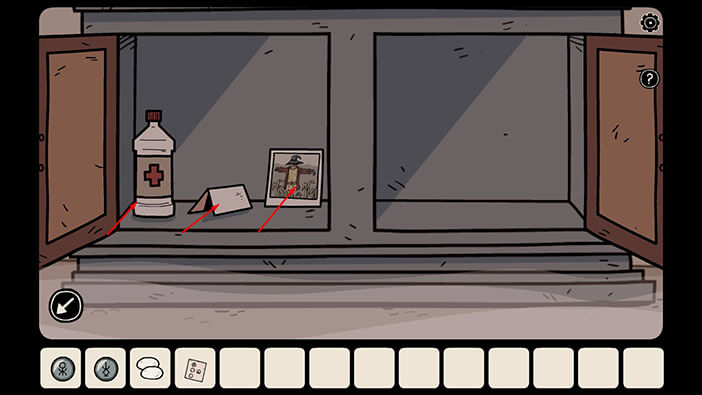
Ok, we should now go back to the room with the bird (and magical seeds) and use the photo of the scarecrow to scare away the bird. Let’s do that. Tap on the arrow on the left to go back to the previous room.
After that, tap on the hole in the wall to go to the next area.
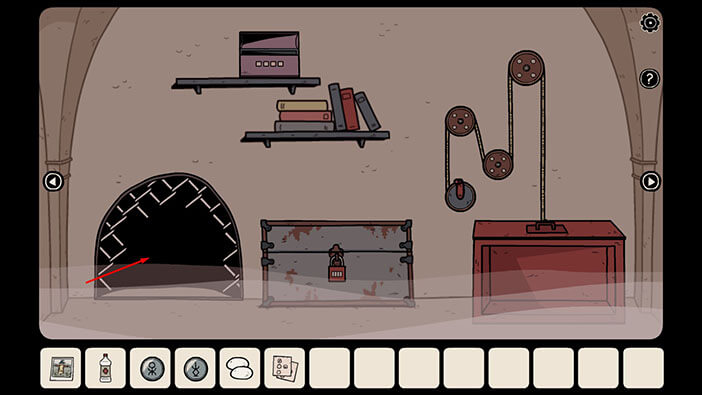
From there, go to the second room on the right.
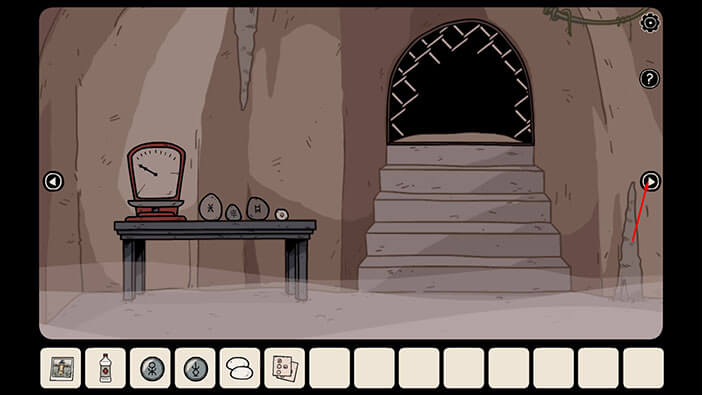
Tap on the bird to take a closer look at it.
After that, select the “Photo of a Scarecrow” and tap on the bird. Laia will pull out the scarecrow photo right in front of the bird’s head, and the terrified bird will fly away.
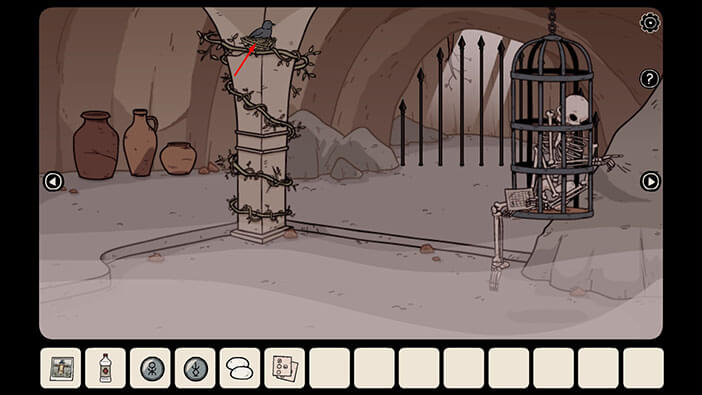
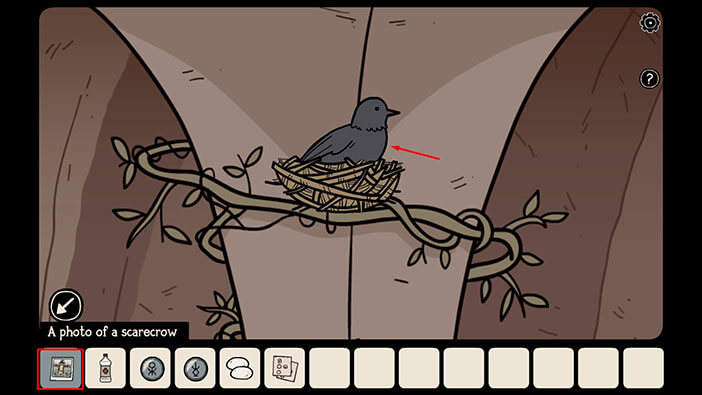
Next, tap on the empty nest to pick it up, and “Bird’s Nest” will be added to your inventory.
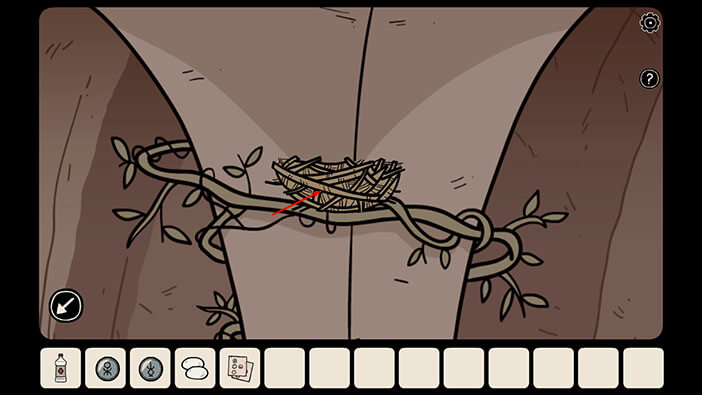
Ok, let’s go to the next room on the right.
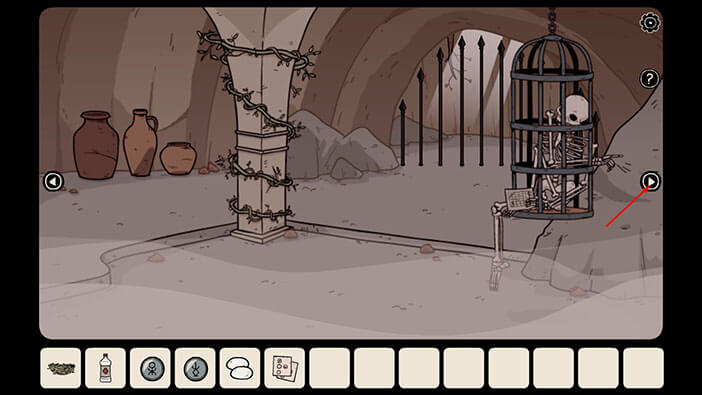
Tap on the lantern to take a closer look at it.
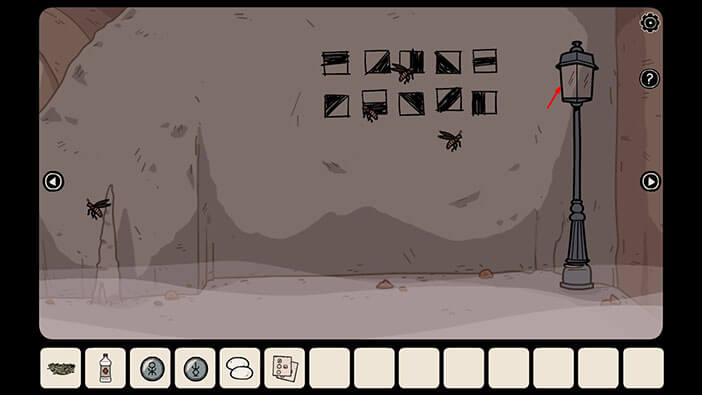
Ok, our next task is to start a fire inside the lantern, so let’s do that.
First, select the “Bird’s Nest” from the inventory and place it in the lantern.
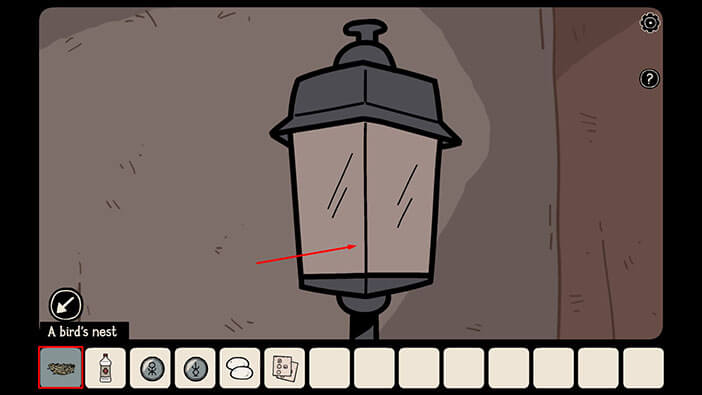
Next, select the “Bottle of Cleaning Alcohol” and tap on the bird’s nest. Laia will soak the nest with alcohol, and it will become highly flammable.
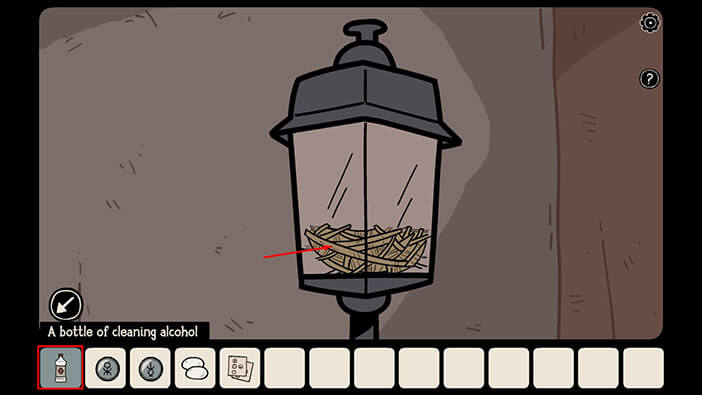
Finally, let’s start the fire. Select the “Two White Stones” from the inventory and tap on the bird’s nest. Laia will smash the stones against each other, creating a spark, and setting the nest on fire.
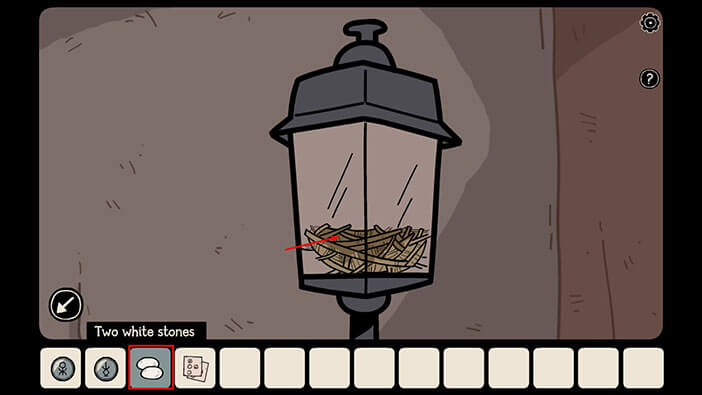
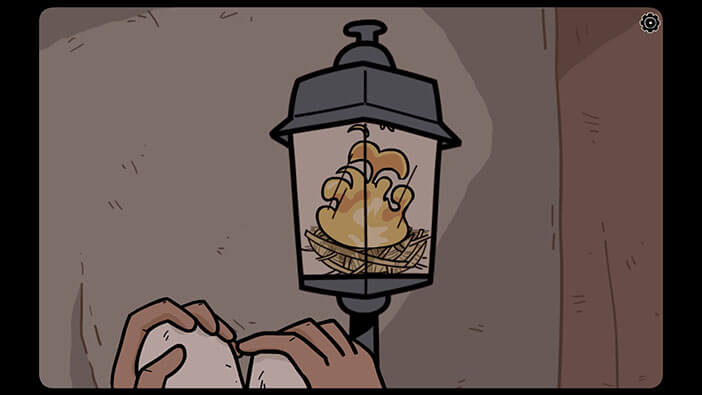
The fireflies will be drawn to the flames, and they will gather around the lantern. However, after some time, their back will change color, and they will fly onto the square symbols on the wall.
Each firefly will pick its own symbol.
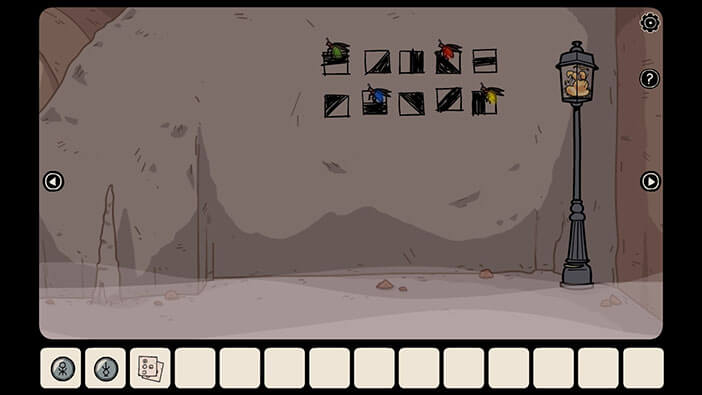
We should now memorize/write down the colors of the fireflies, and the symbol that they chose. This is very important because the combination of color and symbol represents the solution for the next puzzle. So, looking from left to right, we have,
Green = Horizontally split square, with the black upper half
Red = Diagonally split square, with black lower-left half
Blue = Horizontally split square, with the black lower half
Yellow = Vertically split square, with black, left half
Once you’re done, tap on the arrow on the right to go back to the previous room.
NOTE: This is one of the randomized puzzles, so the fireflies in your game might land on different symbols.
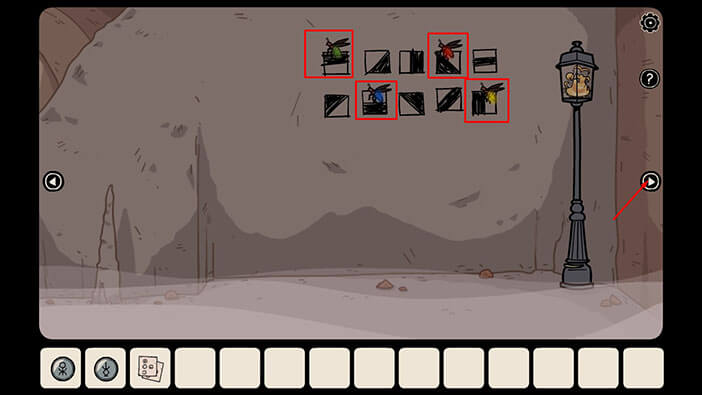
Let’s go through the hole in the wall, and into the previous area.
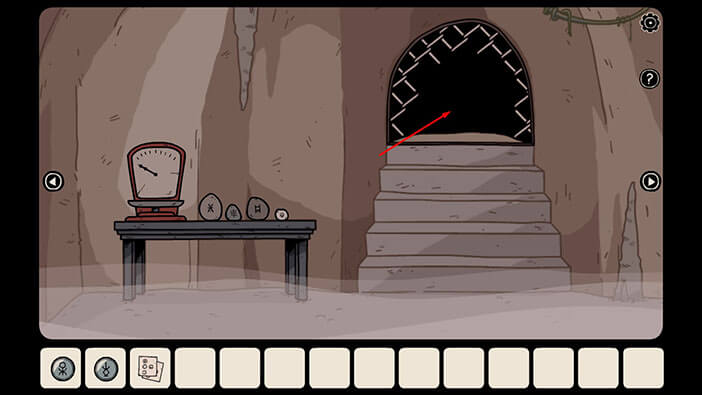
After that, go to the first room on the left.
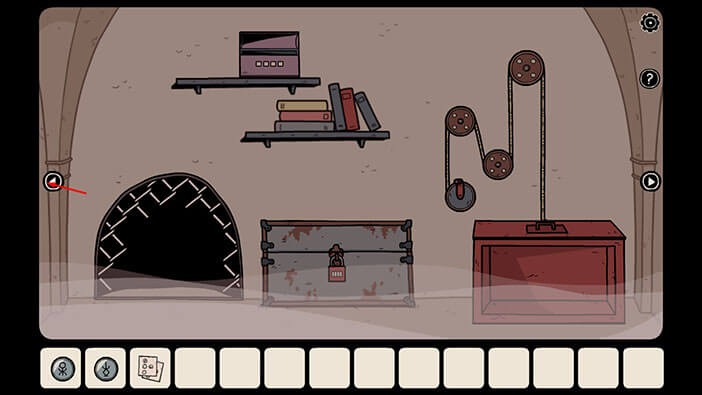
Tap twice on the top drawer of the cabinet on the left side of the room to take a closer look at it.
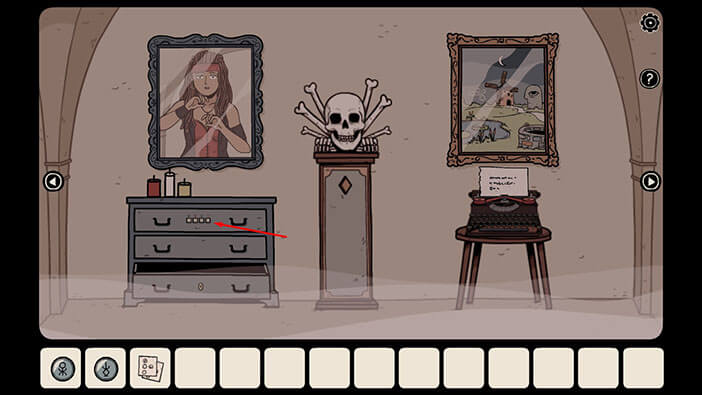
Ok, above the square shapes, we can see the same four colors that we saw on the fireflies, green, red, blue, and yellow. So, let’s change the symbols of the combination to match the symbols at which the fireflies landed. We had,
Green = Horizontally split square, with the black upper half
Red = Diagonally split square, with black lower-left half
Blue = Horizontally split square, with the black lower half
Yellow = Vertically split square, with black, left half
NOTE: As I already mentioned, this is one of the randomized puzzles, so the fireflies in your game might land on different symbols.
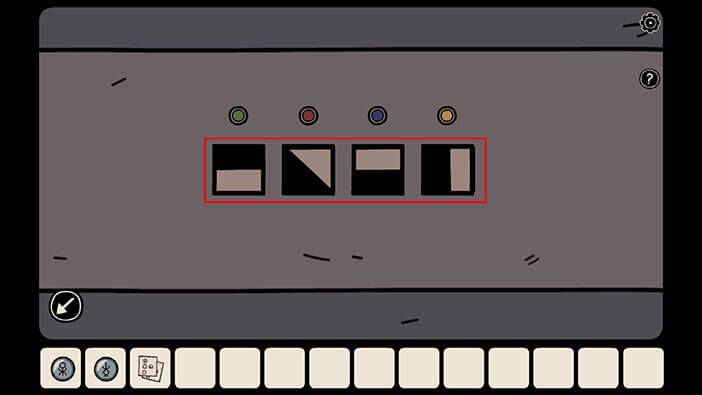
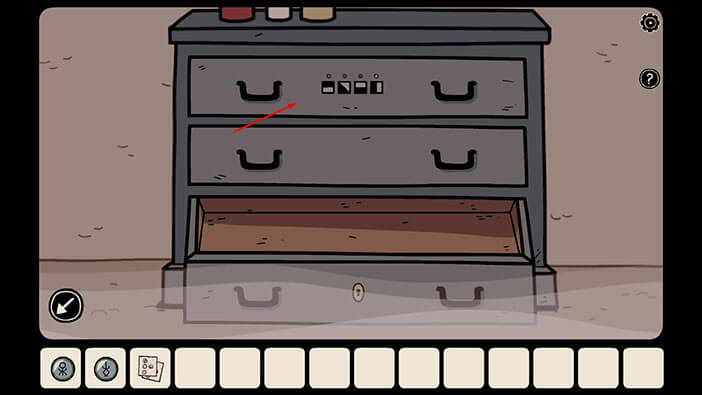
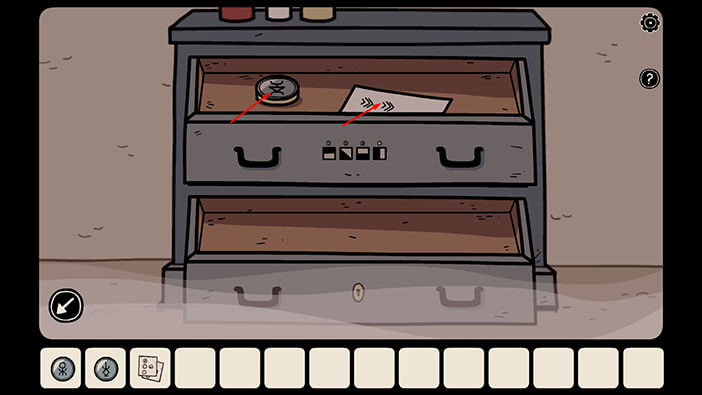
As soon as you enter the correct combination, you will hear a clicking sound indicating that the drawer is unlocked. Tap on the drawer to open it, and inside you will find another “Token with the strange symbol” and “Note with strange symbols”. Tap on them to pick them up.
Ok, let’s go back to the previous area.
To get there, go to the first room on the right, and then through the hole in the wall.
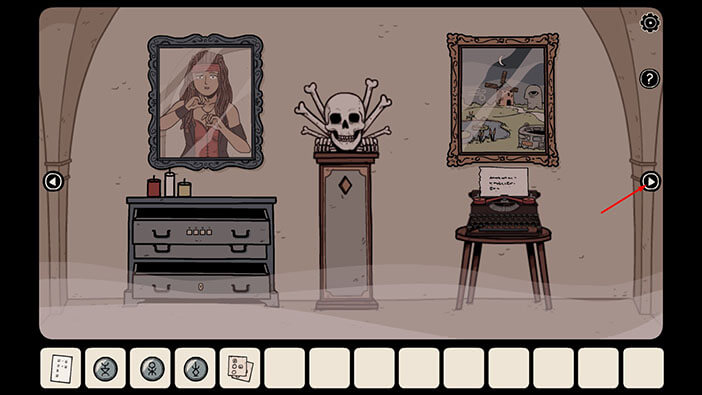
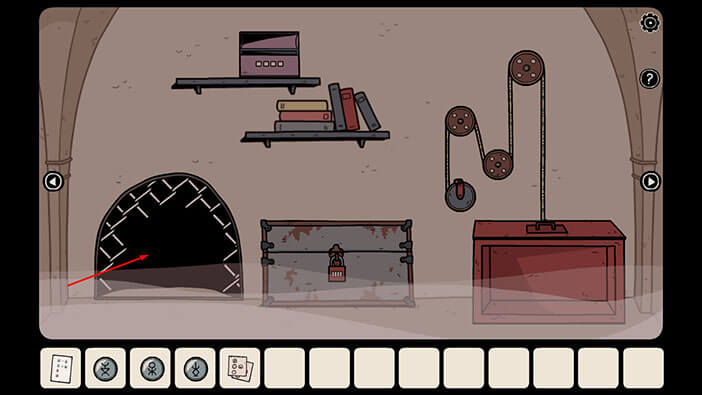
Tap on the stones on the table to take a closer look.
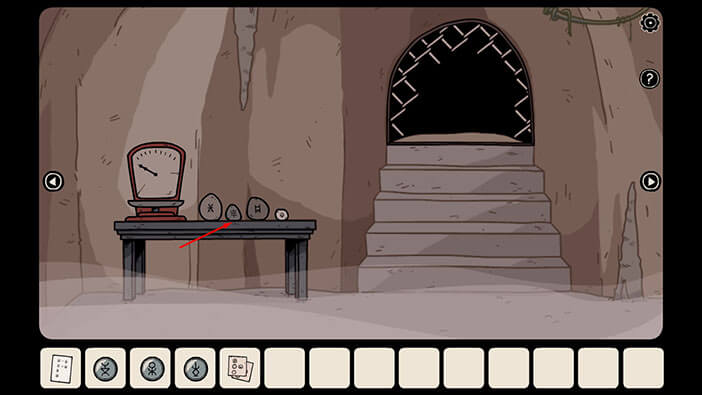
Pay attention to the symbols on the stones.
Looking from left to right, we have,
First Stone = “X” stone
Second Stone = “Thermometer” stone (to me, the symbol on the stone looks like the thermometer)
Third Stone = “Ladder” stone (to me, this symbol looks like a ladder)
Fourth Stone = “Down Arrows” stone
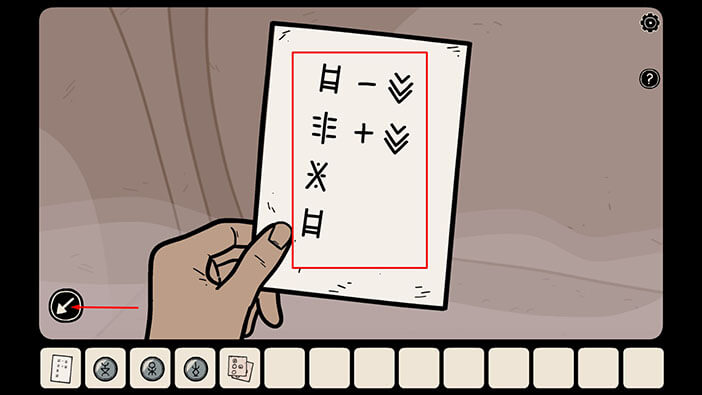
After that, tap on the note “Note with strange symbols” in your inventory to examine it.
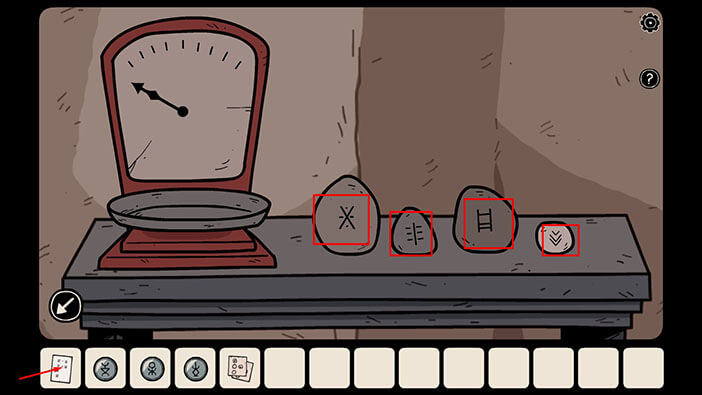
You will notice that the symbols on the stones match the symbols on the note.
Our next task is to weigh the stones on the scale and write down the value. After that, we will calculate (or write down these values) based on the calculation on the note.
First, let’s copy the instructions from the note, starting from top to bottom.
First Value = “Ladder” stone – “Down Arrows” stone
Second Value = “Thermometer” stone + “Down Arrows” stone
Third Value = “X” stone
Fourth Value = “Ladder” stone
Once you’re done, tap on the arrow in the lower-left corner to put down the note.
NOTE: The combination on the note will change every time you start a new game because this is one of the randomized puzzles. So, you might get a different combination in your game, but you can still solve the puzzle by following this walkthrough.
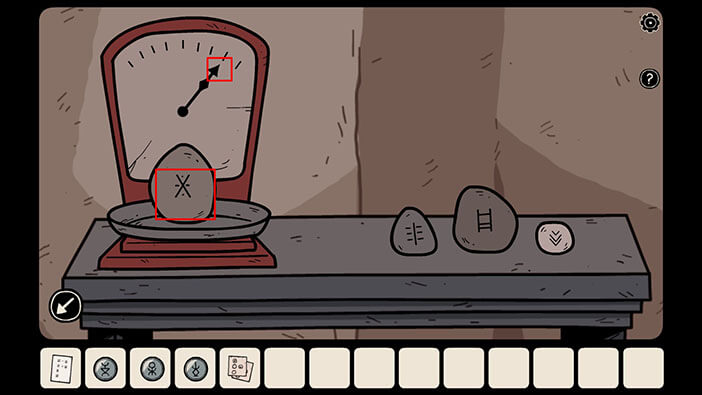
Ok, finally, we should weigh the stones. Let’s start. First, tap on the “X” stone to put it on the scale.
“X” stone weight = 8 units
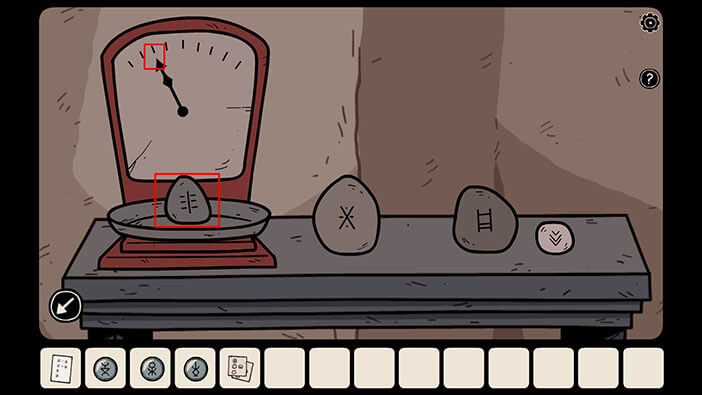
Next, we will weigh the “Thermometer” stone.
“Thermometer” stone weight = 3 units.
Next, we will weigh the “Ladder” stone.
“Ladder” stone weight = 6 units
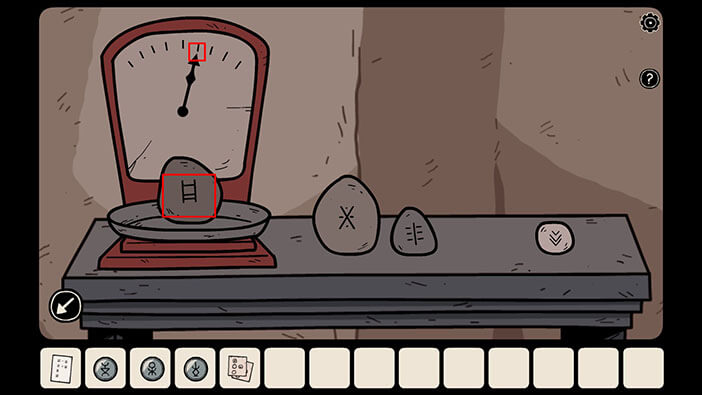
Lastly, we will weigh the “Down Arrows” stone.
“Down Arrows” stone weight = 2 units
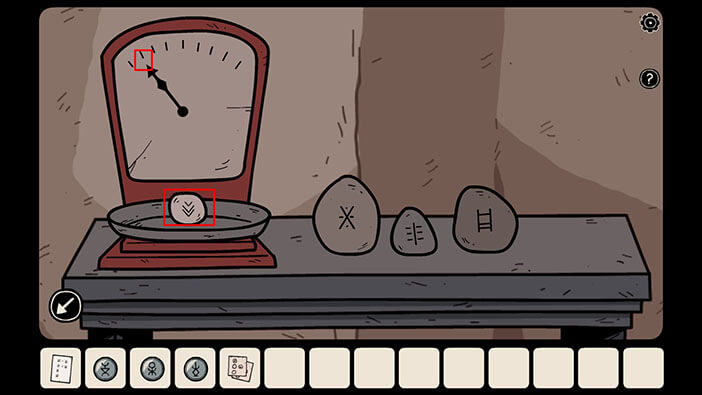
Ok, now let’s replace the stones on the note with their weight.
First Value = “Ladder” stone – “Down Arrows” stone
First Value = 6 – 2 = 4
Second Value = “Thermometer” stone + “Down Arrows” stone
Second Value = 3 + 2 = 5
Third Value = “X” stone = 8
Fourth Value = “Ladder” stone = 6
When we put it all together, we will get the number “4586” (first value, second value, third value, and fourth value).
Memorize/write down this number, then tap on the hole in the wall to go back to the first area.
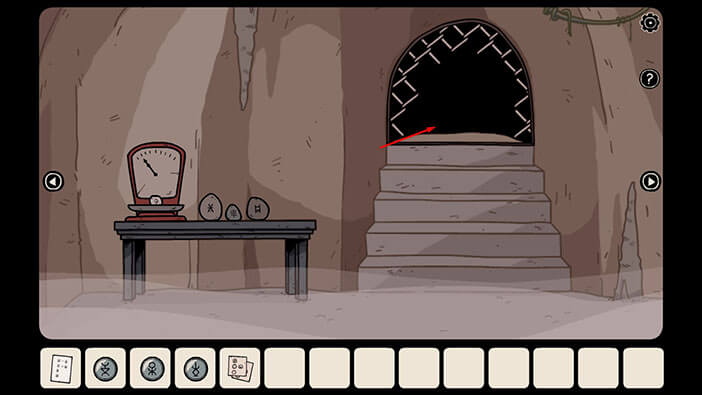
Tap on the red padlock to take a closer look at it.
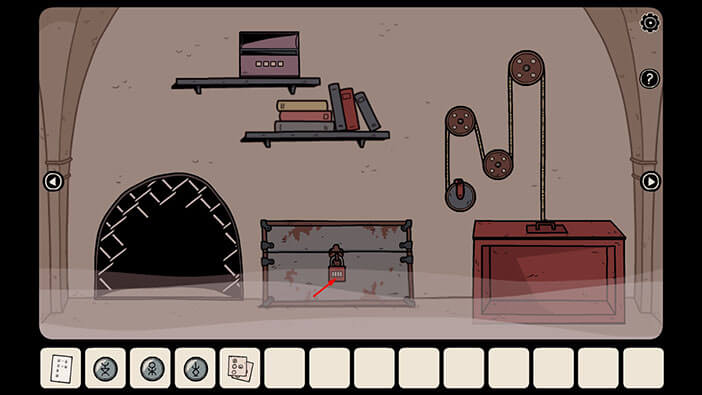
Enter the combination that we discovered by measuring the weight of the stones, and combining it with the instructions on the note.
So, enter the number “4586”.
NOTE: As I already mentioned, this is one of the randomized puzzles, and the instructions of the note might be different in your game. However, you can still find the correct solution by following the steps in this walkthrough.
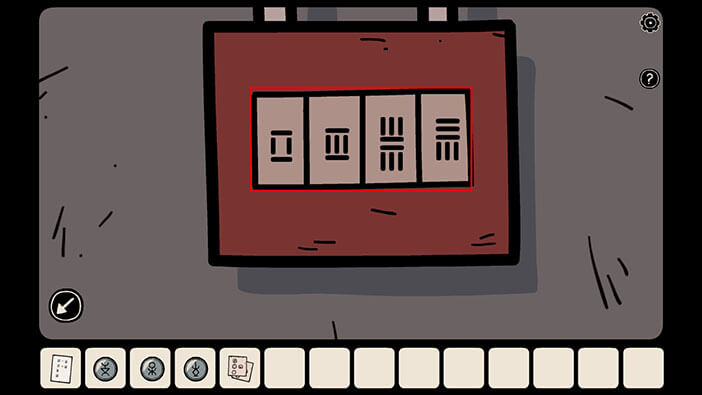
As soon as you enter the correct combination, the chest will open, and inside you will find a “Small Pickaxe” and another “Note with the hint” (the third one). Tap on these items to pick them up.
Once you’re done, tap on the arrow in the lower-left corner to go back.
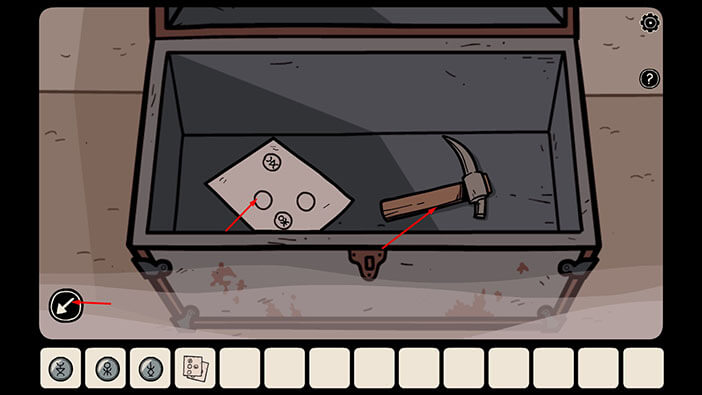
Can you guess our next step? Yeah, I think you can. We have to go back to the other area, again. At this rate, Laia will become a very capable athlete because she’s constantly running up and down the stairs, and crawling through the holes in the wall.
Tap on the hole in the wall to go back to the previous area…
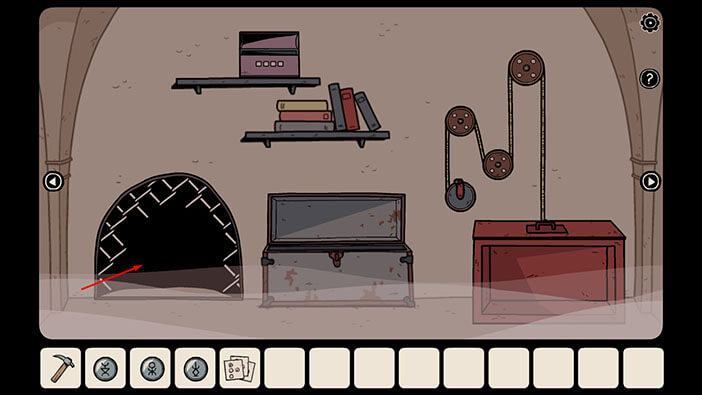
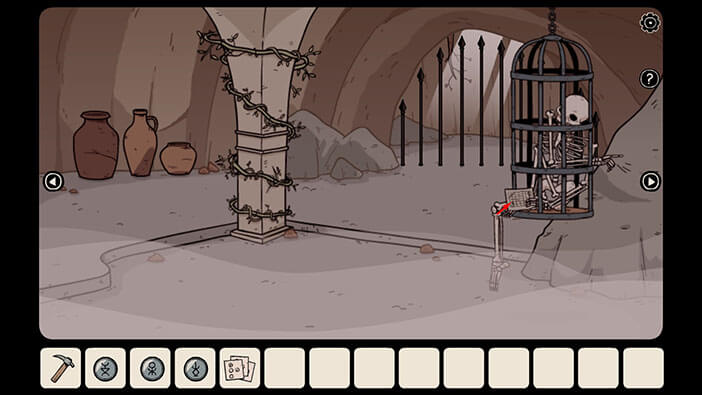
Once there, go to the second room on the right.

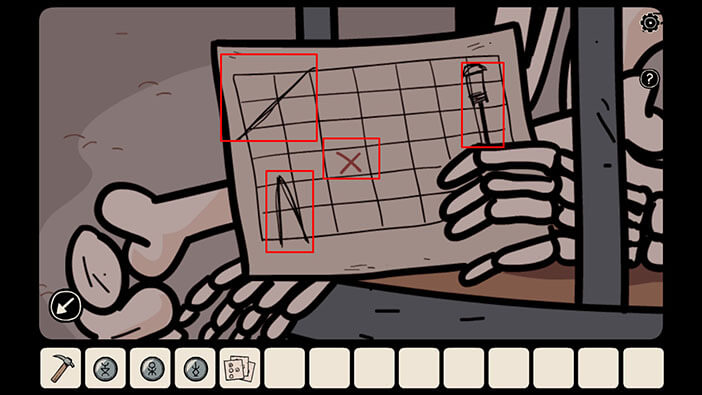
The skeleton is holding a note. Tap on it to take a closer look.
On the right side of the note, we can see the street lamp. On the left, we can see, presumably a ceiling in the upper left corner, and some spike in the lower-left corner. So, this crude map is clearly the representation of the room with the fireflies.
Also, somewhere between them, we can see the red “X” sign. Try to memorize the location of this sign.
Once you’re done, tap on the arrow in the lower-left corner to go back.
If you pay attention to the skeleton, you will notice that he is pointing with his other hand to the right. So, let’s go to the next room on the right.
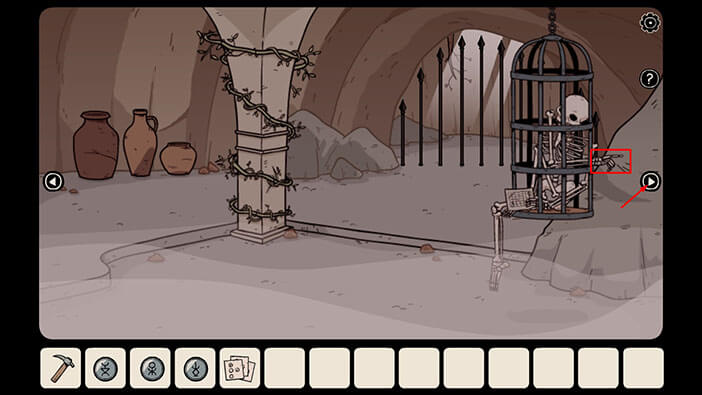
Ok, we are now in the “firefly room”. On the right, we can see the street lamp, and on the left, we can see a stalagmite (the spike that we saw on the map).
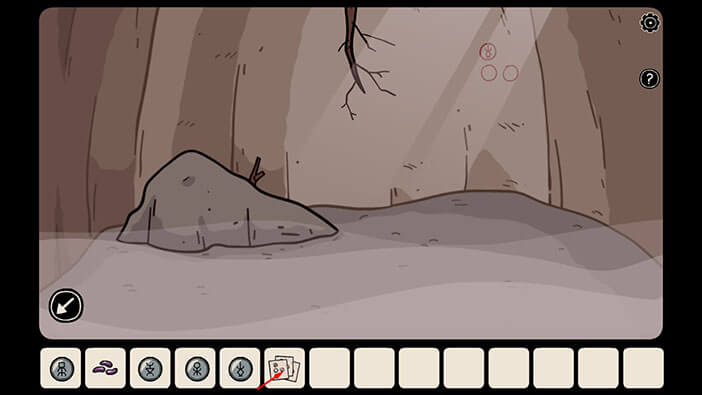
So, now we just have to determine the exact location of the “X” spot. Once you determine the approximate location, select the “Small Pickaxe” from the inventory and tap on it. You can also see this location in the image below.
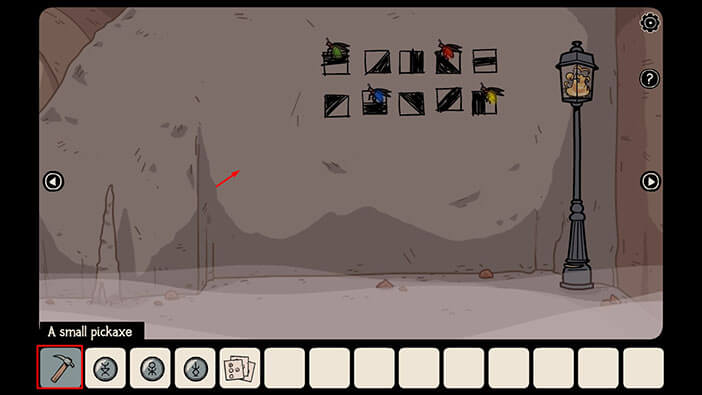
Laia will break the wall with the pickaxe, revealing some kind of a hidden crystal. Tap on it to pick it up and the “Red Diamond” will be added to your inventory.
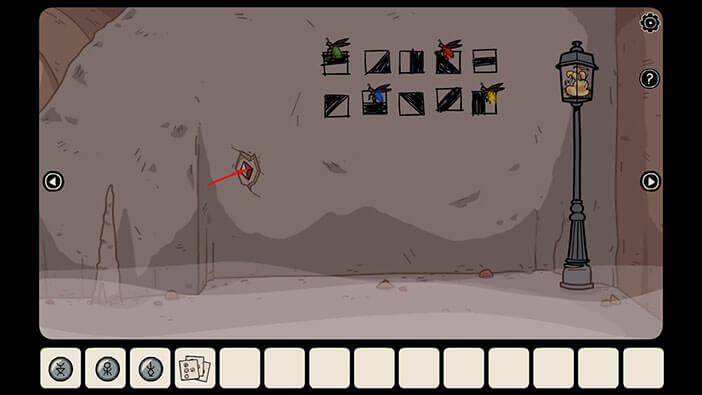
Now, we should go back to the first area. Tap on the arrow on the right, then tap on the hole in the wall.
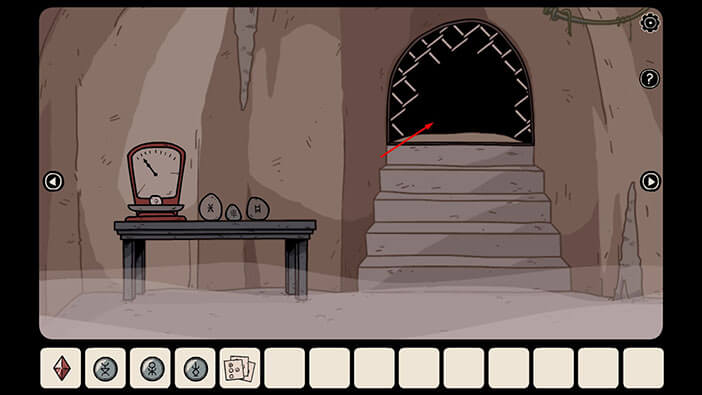
Let’s go to the first room on the left.
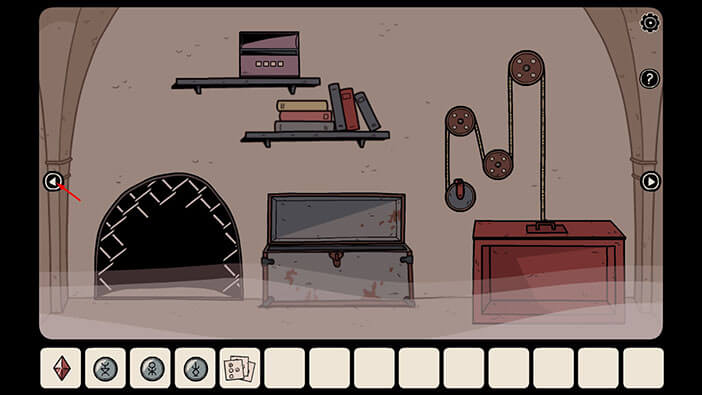
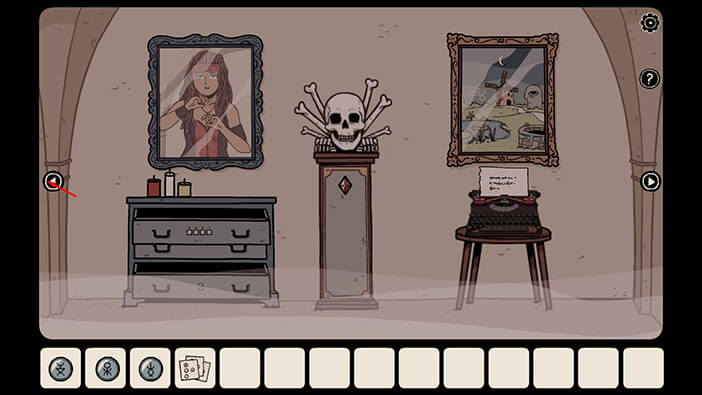
In this room, you will see a skull on the pillar. Below the skull, you will notice an empty slot, and its shape matches the shape of the “Red Diamond”. Let’s take a closer look at it.
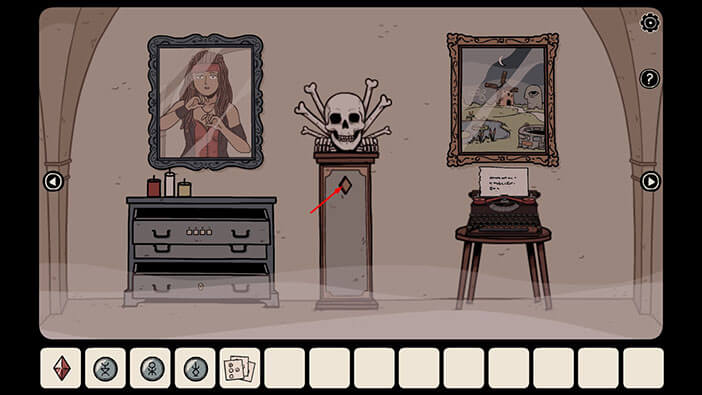
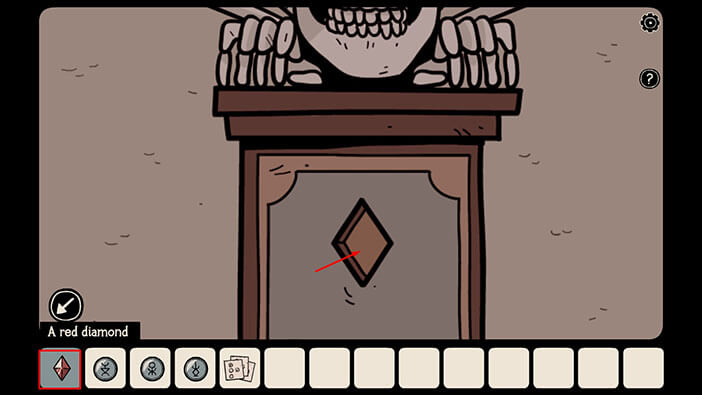
Select the “Red Diamond” from the inventory and insert it into the empty slot.
This will lower the bars in the other area (in the room with the caged skeleton).
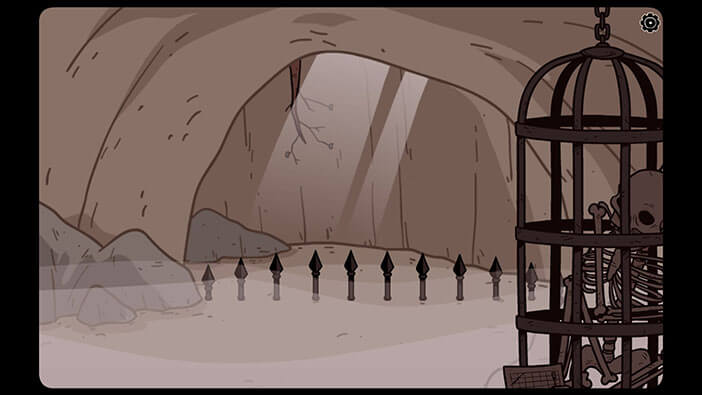
Before we go back to the other area, let’s quickly check out something in the first room on the left.
Next to the red door, you can see a four-by-three grid. Memorize its dimension because this will be very important for the next puzzle (and will potentially save us some time traveling back and forth).
Once you’re done, tap twice on the right arrow to go back to the first room.
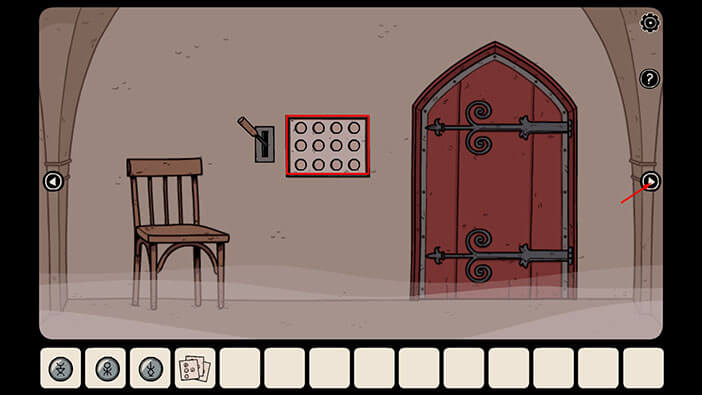
Tap on the hole in the wall to proceed to the next area.
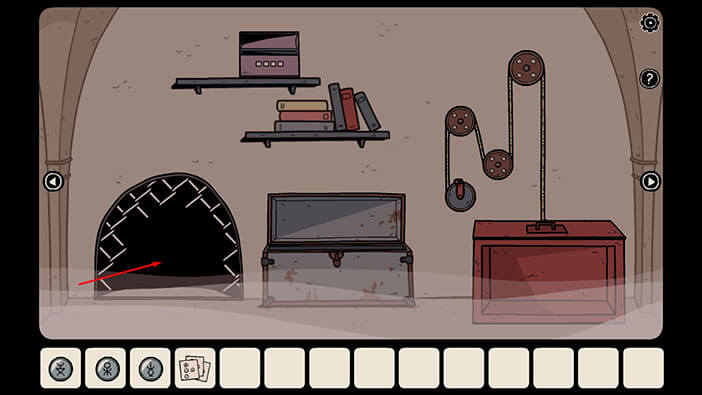
Let’s go to the second room on the right.
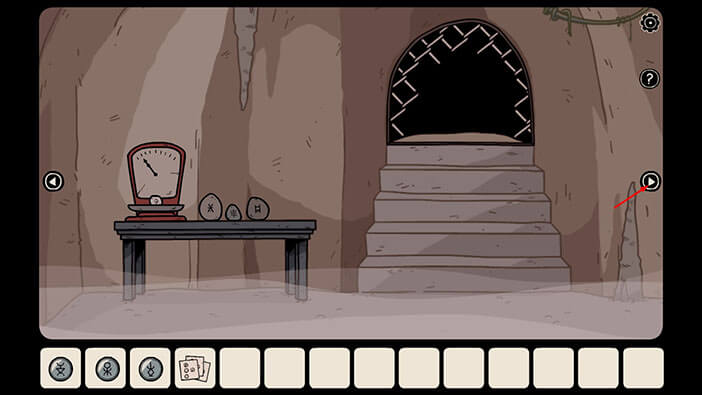
The gate is now lowered, so tap on the area behind the gate to take a closer look at it.
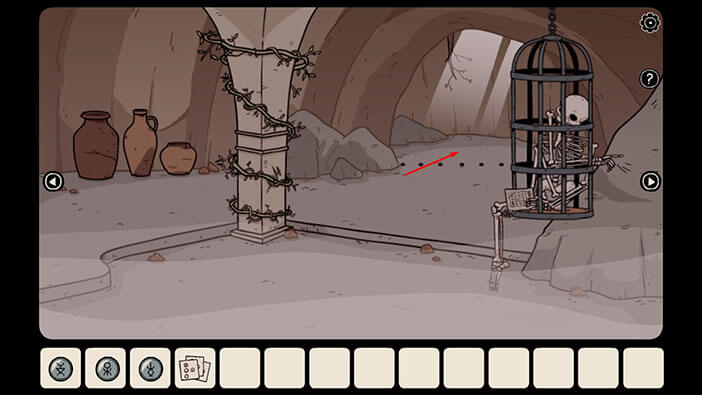
Well, looks like we finally found the magical seeds. Tap on the seeds to pick them up.
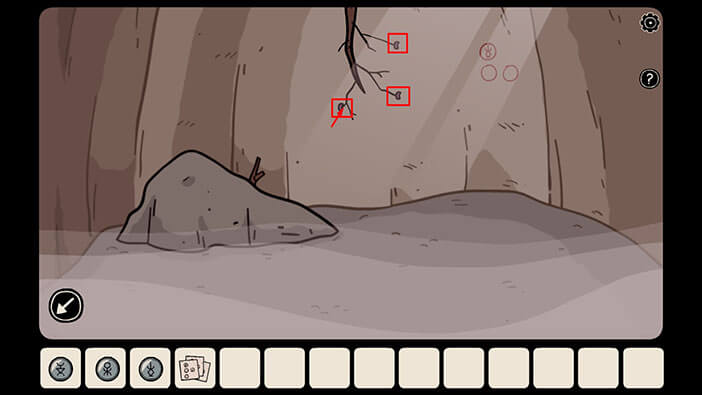
Only three seeds are growing on the tree. Laia will need two seeds in order to break the curse that was inflicted upon her father and brother. She also has to eat one seed in order to escape from the portrait, and come back to the real world. So, she has just enough, and can’t afford to lose even a single seed.
“Three Crystal Seeds” will be added to your inventory.
We found the seeds, but we still can’t just walk out of this nightmare, because there is still one more puzzle that we will have to solve.
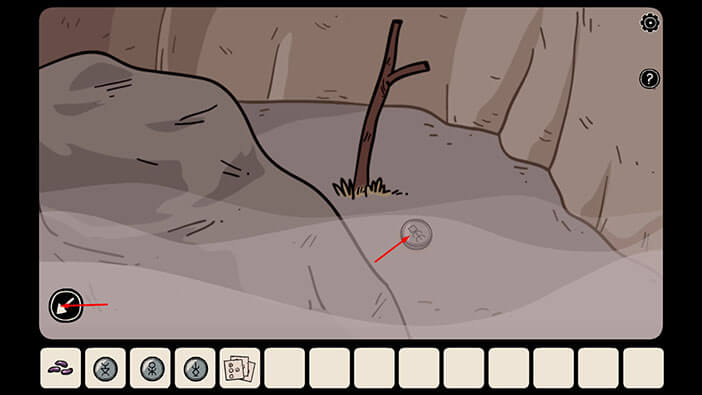
Tap on the small branch to take a look behind the rock, and you will find another “Token with the strange symbol”. Tap on it to pick it up, and you should have four tokens in your inventory.
After that, tap on the arrow in the lower-left corner to go back.
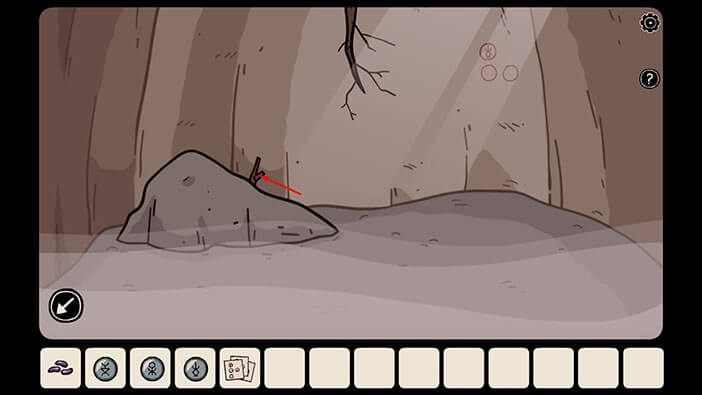
Next, tap on the drawing on the wall to take a closer look at it.
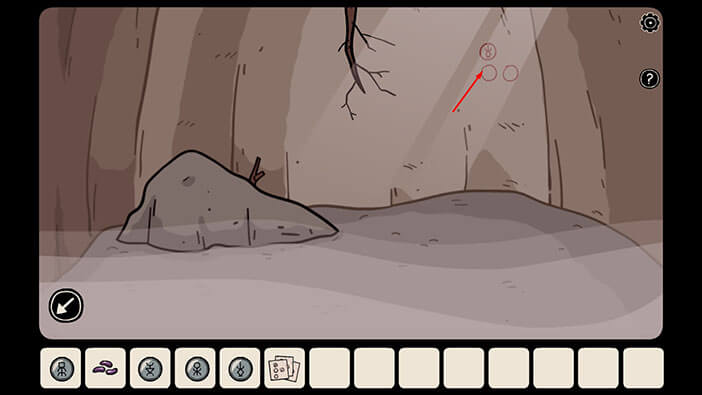
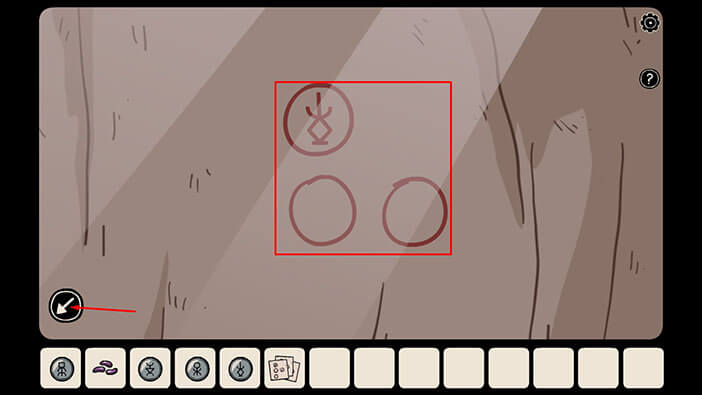
The purpose of the hint on the wall is to help us to determine the correct position of the tokens on the 4×3 grid that we saw earlier. We will go into this in more detail, very soon.
For now, let’s try to memorize/write down this hint. Here it goes.
In the top slot, we can see a symbol. Let’s call it the “Trident Symbol” from now on.
The slot below the “Trident symbol” should be empty.
The slot in the column to the right, and in the row below the “Trident symbol” should be empty, also.
Once you’re done tap on the arrow in the lower-left corner to go back.
Ok, as I previously mentioned, our next task is to determine the correct position of the tokens on the 4×3 grid that we saw earlier. This puzzle is somewhat complicated, but I will try to explain it to the best of my ability. Here we go.
First, tap on the “Three Notes with hints” in your inventory to examine them.
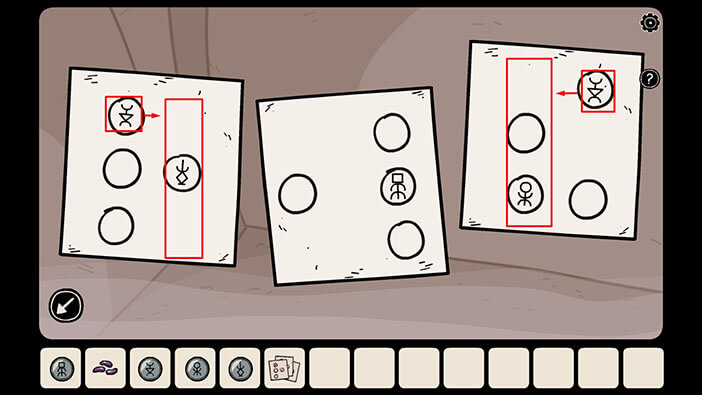
Ok, let’s start. First a reminder, the grid has 4 columns and 3 rows. Simple enough? Let’s go.
First, let’s focus on the note on the left. More specifically, at the symbol on the top.
Next, we should name this symbol. Let’s call it the “Reverse triangle symbol” from now on. Ok, easy enough.
You can also see the same, “Reverse triangle symbol” on the note on the right.
What else do we know for sure?
Well, we can easily determine that the column of the “Reverse triangle symbol” isn’t the first one (looking from left to right) nor the fourth one. Why? Because we can see that there’s a column on both the left and right sides of this symbol.
So, the column of this symbol has to be either second or third.
Well, let’s stop here, and call this our first conclusion.
NOTE: The symbols on the note might be different in your game because this is one of the randomized puzzles. However, you will still be able to solve it by applying the logic explained in this walkthrough.
Very well, our first conclusion is that the “Reverse triangle symbol” is somewhere in the middle, either in the second or in the third column.
The next part might sound complicated but it’s really simple if you figured out the first part.
Now, we will pay attention to the “Trident symbol” on the note on the left. We also saw this symbol on the wall, and we will use that information to determine the column of the “Reverse triangle symbol”.
So, what do we know about the “Trident symbol”? Well, we know that the slot below it should be empty. But more importantly, we know that there is another column to the right of this symbol because the slot to the right and below it should also be empty (to clarify, we know this from the hint on the wall).
But why is all that important?
Well, that means that there is another column to the right of the “Trident symbol”.
The “Trident symbol” is located in the first column to the right of the “Reverse triangle symbol”.
That means that THERE ARE TWO COLUMNS to the right of the “Reverse triangle symbol”.
We already determined that the “Reverse triangle symbol” is either in the second or in the third column (somewhere in the middle).
Now, we can safely conclude that the Triangle symbol is in the second column because there are two columns to the right of it (and there are four columns in total).
With this information, we can easily determine the correct position of the “Reverse triangle symbol”. So,
“Reverse triangle symbol” = Top slot in the second column.
Memorize/write down this information.
Well, let’s break down the position of each symbol, one by one.
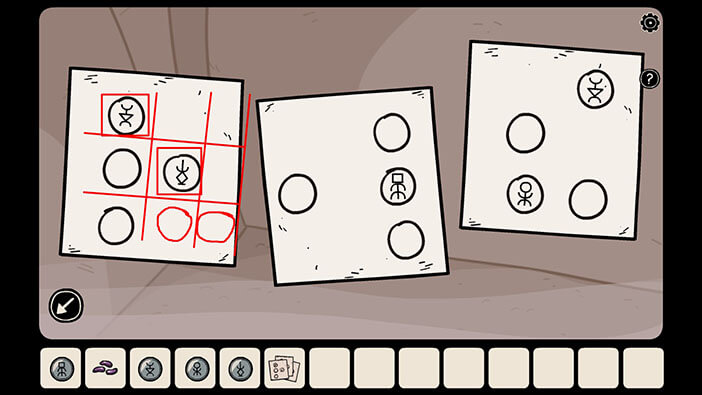
Now, we will determine the correct position of the “Trident symbol”.
Well, we know it is in the first column to the right of the “Reverse triangle symbol”, and we know that the “Reverse triangle symbol” is in the second column, so this one is obvious.
“Trident symbol” = Middle slot in the third column
Memorize/write down this information.
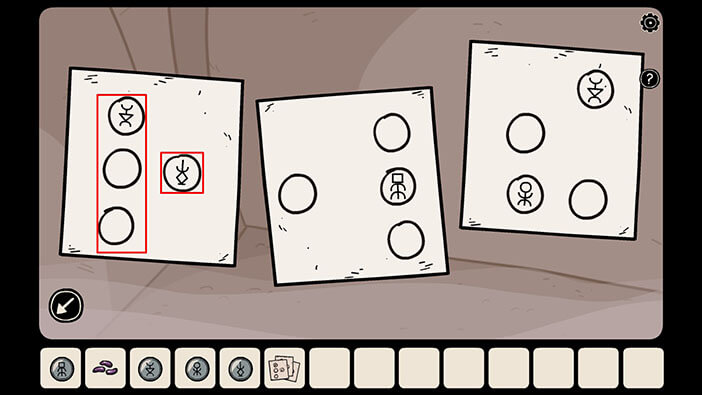
Ok, now let’s focus on the drawing on the right.
First, let’s name the symbol in the left column. Let’s call it, the “Happy Man Symbol” (because its arms are raised).
Now, we will determine the correct position of the “Happy Man Symbol”.
Well, we know it is in the first column to the left of the “Reverse triangle symbol”, and we know that the “Reverse triangle symbol” is in the second column, so this one is also obvious.
“Happy Man Symbol” = Bottom slot in the first column
Memorize/write down this information.
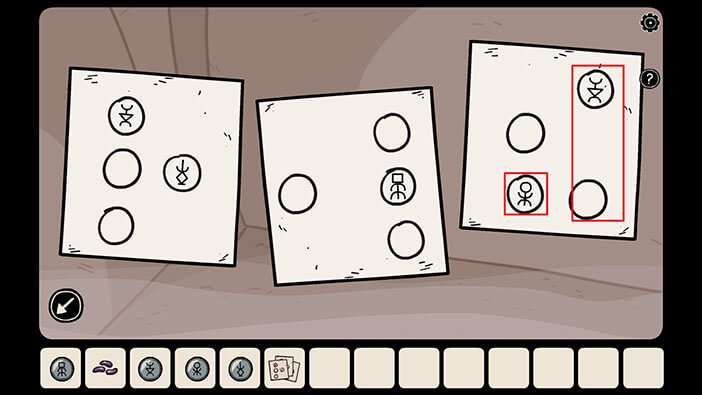
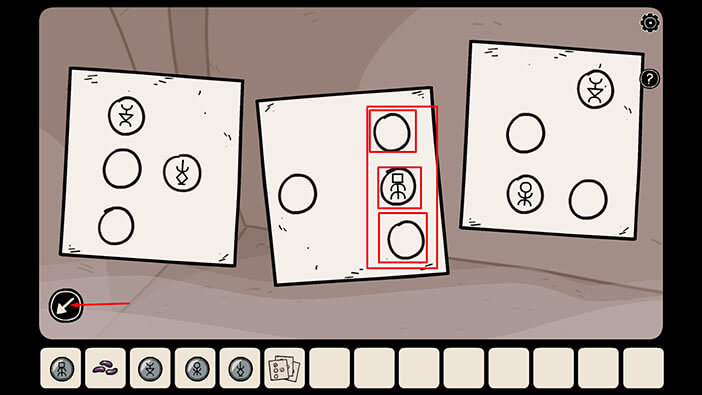
Lastly, we will focus on the drawing in the middle.
As before, let’s start by naming the symbol in the left column. Let’s call it, the “Sad Man Symbol” (because its arms are lowered).
Now, we will determine the correct position of the “Sad Man Symbol”.
Well, so far, we had three symbols, and each one of them had its own column (first, second, and third). So, there is only one column left, the fourth. We can also see that there are no other symbols in the “Sad Man’s” column, so he has to be in the fourth column.
“Sad Man Symbol” = middle slot in the fourth column
So, let’s arrange all this information from the first to fourth column (left to right)
“Happy Man Symbol” = Bottom slot in the first column
“Reverse triangle symbol” = Top slot in the second column.
“Trident symbol” = Middle slot in the third column
“Sad Man Symbol” = middle slot in the fourth column
Memorize/write down this information, because we will need it to solve the next puzzle. Besides that, you really don’t want to go through the process of determining the position of each symbol more than once, because it can be somewhat frustrating…
Once you’re done, tap on the arrow in the lower-left corner to put down the note.
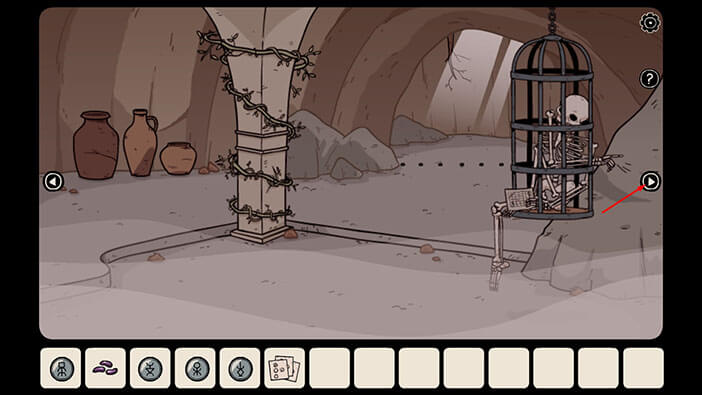
Ok, now let’s go back to the other area. Go to the second room on the right, then through the hole in the wall.

Next, go to the second room on the right.

Tap on the 4×3 grid to take a closer look at it.
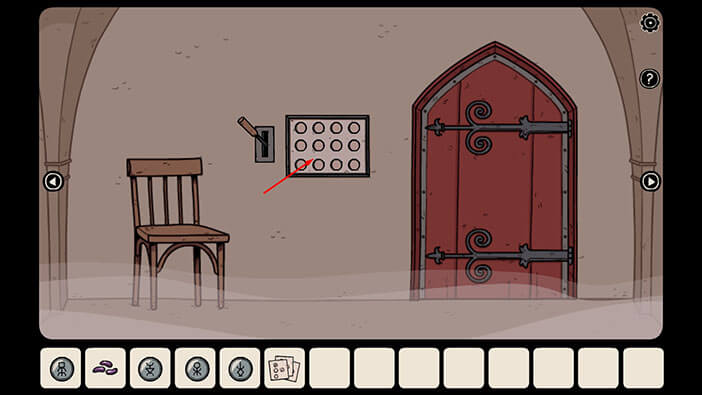
Well, we already determined the correct position for each token, so let’s just take them from the inventory and put them into the appropriate slot.
“Happy Man Symbol” = Bottom slot in the first column
“Reverse triangle symbol” = Top slot in the second column.
“Trident symbol” = Middle slot in the third column
“Sad Man Symbol” = middle slot in the fourth column
When you insert the symbols, tap on the lever on the left to pull it down.
NOTE: You can’t just copy/paste this solution, because this is one of the randomized puzzles, and the order of symbols might be different in your game. To determine the correct solution, go back and follow the steps (logic) that we described in this walkthrough.
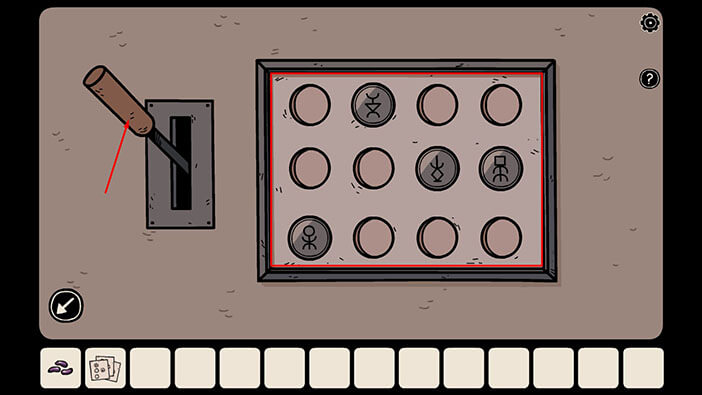
If you place the symbols in the correct position, the red door will open when you pull the lever.
Tap on the door to proceed.
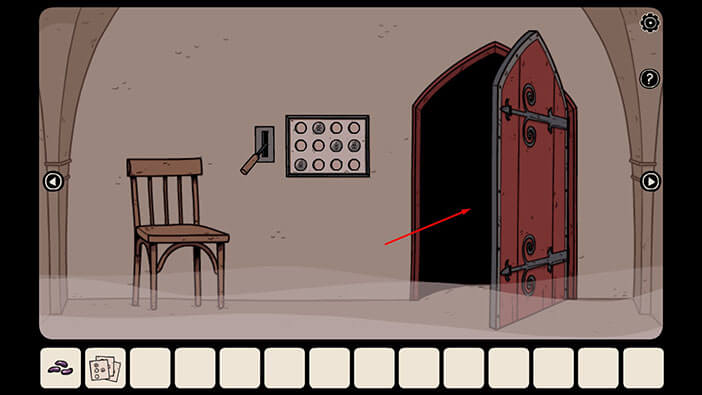
Laia will walk through the red door, and enter into the new room. At the back of this room, she will see her father and brother, looking at her from the other side of the mirror.
Laia ran to them, and inform them that she is trapped in another dimension. But, on the bright side, she found three “Crystal Seeds”, enough for all of them to escape from this cursed place.
She said to her father that she has to eat one “Crystal Seed” in order to break the spell and escape from this otherworldly dimension.
But, she was distracted while talking to her father, and didn’t notice the shadowy arm that was reaching for her ankles…
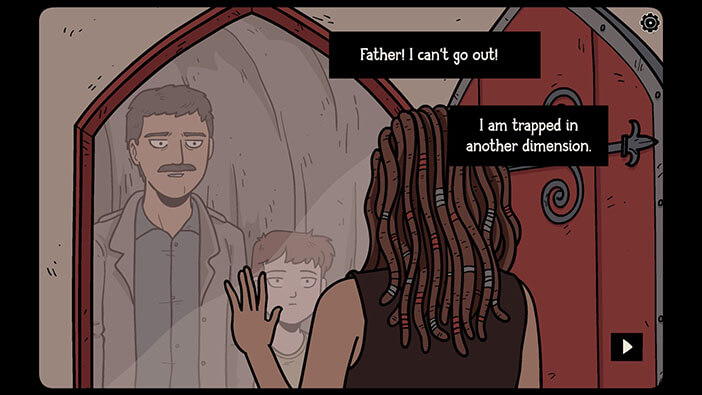
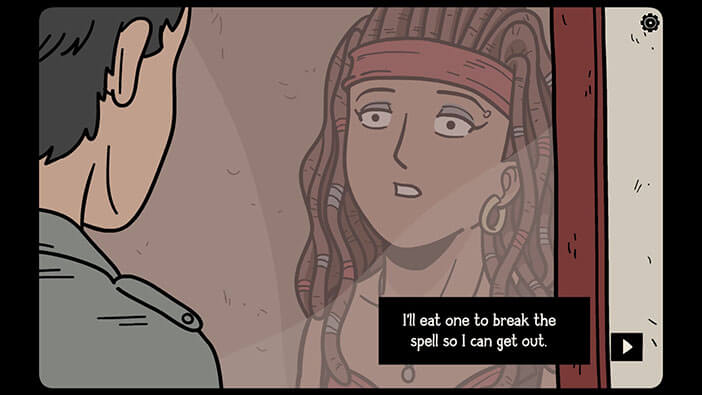
Laia brought the “Crystal Seed” to her mouth, and was about to eat it, and end this nightmare…
But, at that moment, the shadowy arm grabbed her ankle, and pulled her down…
Surprised and startled, Laia fell and dropped the seeds. However, she quickly regained her senses, jumped forward, and managed to catch two seeds before they hit the ground.
Unfortunately, the third “Crystal Seed” slammed into the ground and shattered into hundreds of pieces.
Laia and her family were terrified. The loss of the third seed meant that one of them will have to stay in the cave, possibly forever…
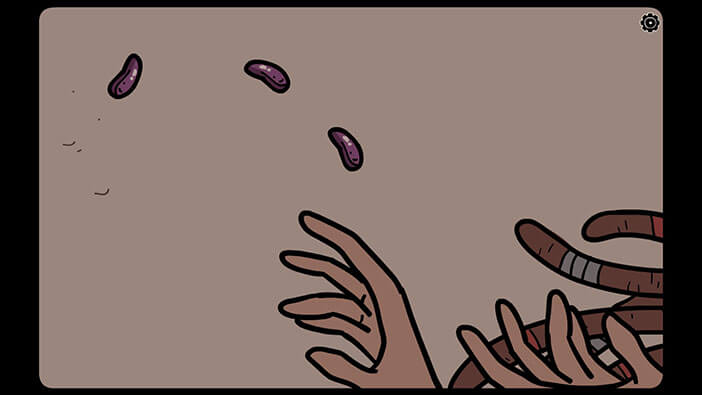
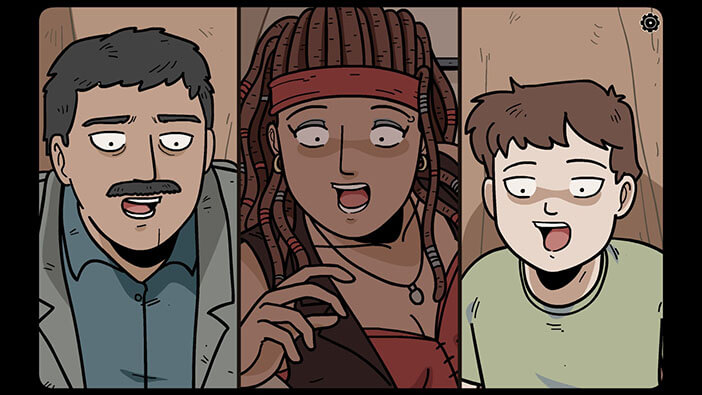
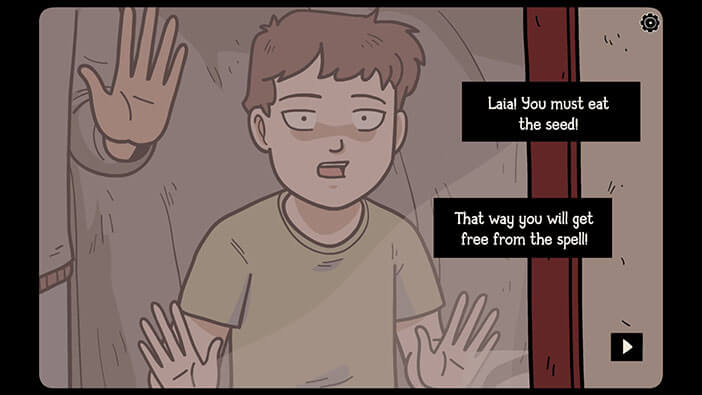
The darkness that grabbed Laia suddenly spread, and then it filled the entire room. Her brother yelled into the darkness, urging Laia to eat the seed because that was the only way for her to escape from this place.
But, Laia decided to be noble and placed the lives of her father and brother before her own. She grabbed the two remaining seeds and threw them through the mirror.
Luckily, her father managed to catch the seeds before they hit the ground. He immediately gave his son one “Crystal seed” and ordered him to eat it. The boy protested at first because he didn’t want to leave his sister behind, but, he quickly changed his mind and decided to trust in his father’s judgment.
Moments after that, the father also ate his “Crystal seed” and instructed his son to wait for him. Without any hesitation, the father went through the darkness in the mirror, in a desperate attempt to save his daughter.
Well, as a side note, the book mentioned that the “Crystal Seed” also grants immunity to magical effects for a short time, so the father should be ok.
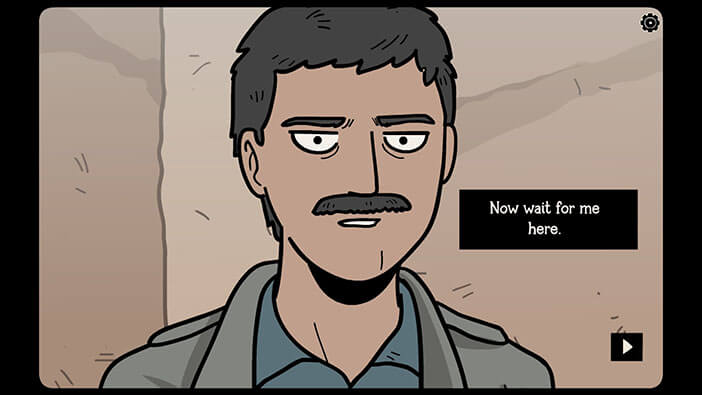
A few moments later, the father found Laia lying unconscious on the floor, and brought her back to the other side.
Everything seemed fine, and it looked like this story would have a happy ending. But…
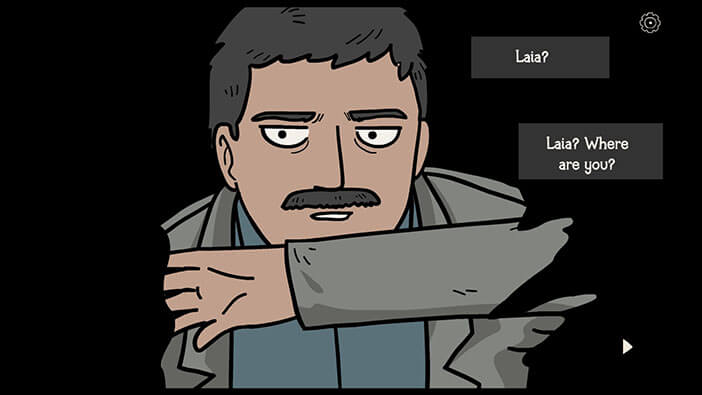
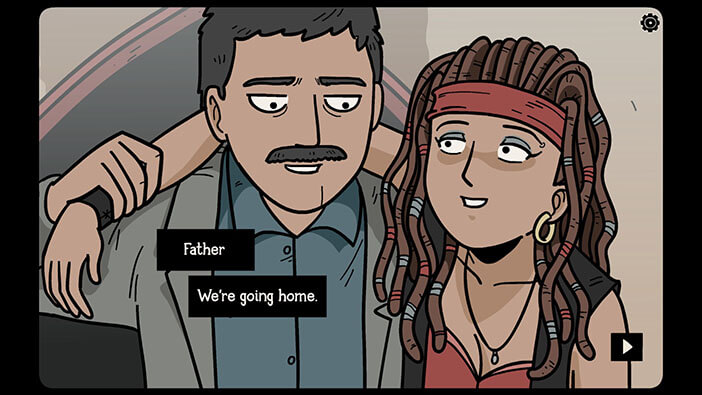
As soon as they left the cave, we could see Laia looking back with an evil grin on her face. The Laia who came through the mirror was actually the witch, and the real Laia was left alone in the darkness…
She was still trapped in the portrait, on the other side of the mirror…
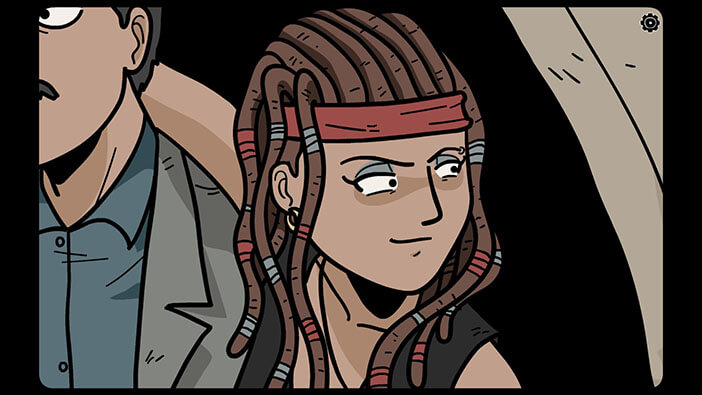
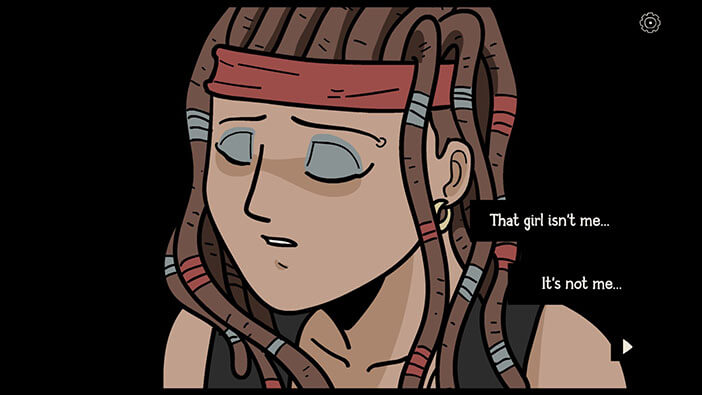
Ahem, well, on the bright side, we found all iguanas. Yeah, I know, that’s one hell of a silver lining.
Well, that brings us to the end of this adventure. If you’re interested in Escape Room games, check out our guides for the other games of this genre.
Thank you for reading.