Escape From The Shadows | Part 5
Hello everyone and welcome to Part 5 of our walkthrough for “Escape from the Shadows” an escape room game created by the Dark Dome. Escape from the Shadows is the seventh game in the series, and like the other games, the story is set in Hidden Town, which is filled with all kinds of mysteries. In this walkthrough, we will show you how to solve all the puzzles and finish the game.
NOTE: Some puzzles will CHANGE with each playthrough, but the logic behind solving the puzzles will always remain the SAME. For example, in one playthrough a code to open a safe could be 1234, and in another playthrough, the code could be 4321. However, you will always discover the numbers for the code at the same location and by using the same hints.
NOTE: In the fifth part of the story, we will continue Bastian’s and Laia’s story who were reunited and decide to explore the ruins in the distance.
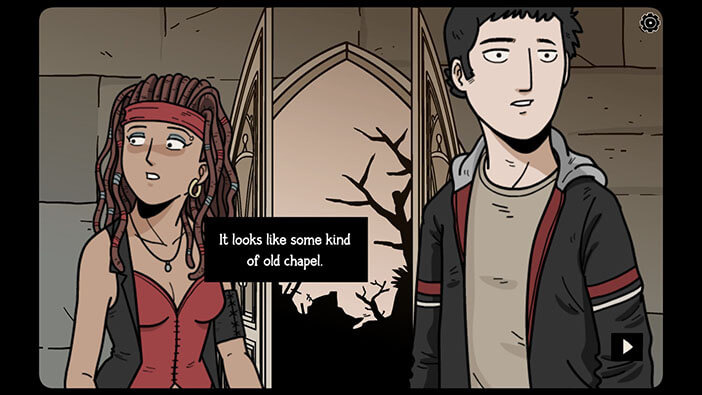
As soon as Bastian and Laia entered the chapel, the door closed behind them.
Let’s explore this room. You will start this chapter with the “Matchbox” in your inventory. Tap on the haystack in the corner on the left to take a closer look at it.
Tap on the haystack again and you will pick up a “Pile of straw”. After that, tap on the arrow in the lower left corner to go back.
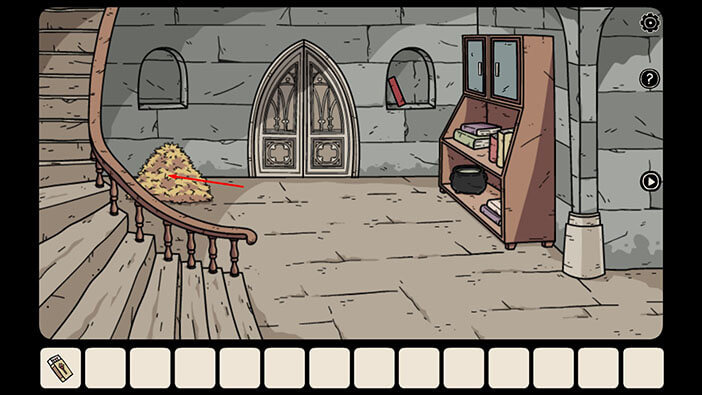
Next, in the small window located on the right side of the door, you will notice a red book. Tap on it to take a closer look.
After that, tap on the arrow in the lower right corner to open the book – this will activate a cutscene.
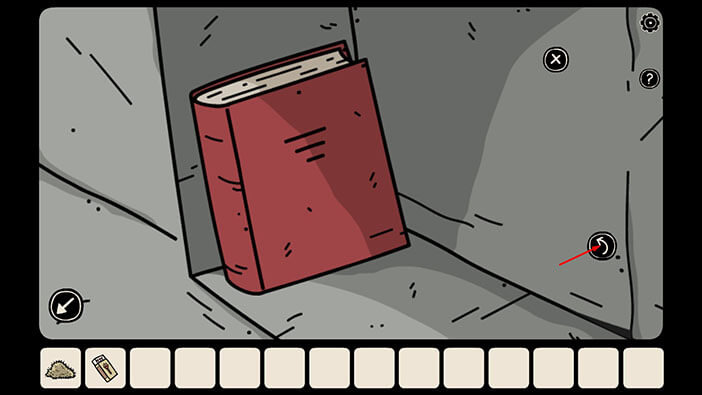
Bastian will open the book and he will discover that they can destroy the shadows with natural light. He also remembered that his brother talked about this, and said that natural light shouldn’t enter the world of shadows (Penumbra).
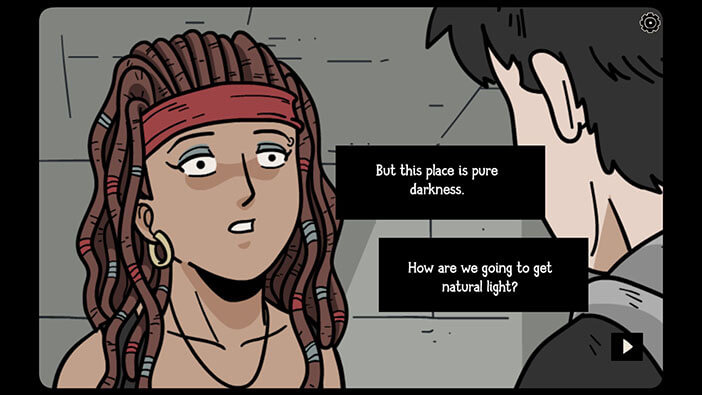
However, Laia said that Penumbra is a place of complete darkness, so she doubts that they will be able to find natural light in this place.
Bastian will point to a specific page in the book. On this page, we can see an artifact shaped like an eye. The artifact is called “Erduval’s Eye” and it contains natural light, and it can project it. So, our main task should be finding this artifact.
Tap on the “X” button to put down the book.
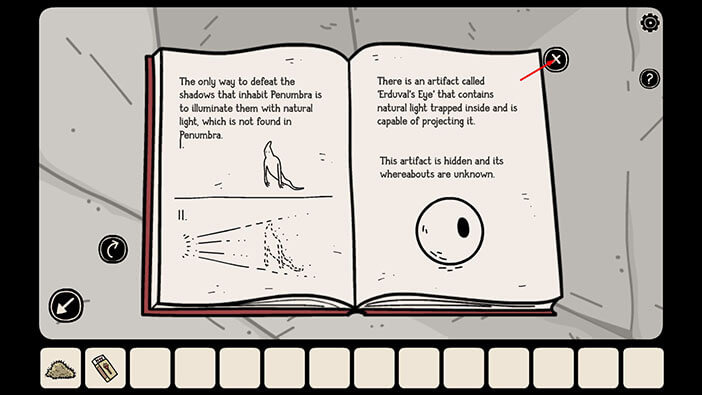
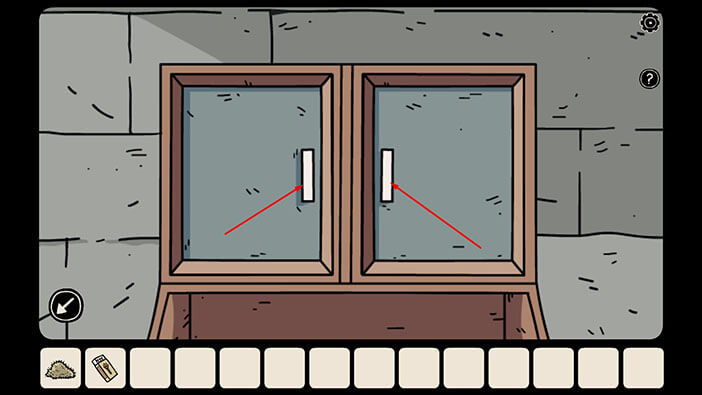
Next, tap on the cabinet on the right to take a closer look at it. After that, tap on both cabinet doors to open them.
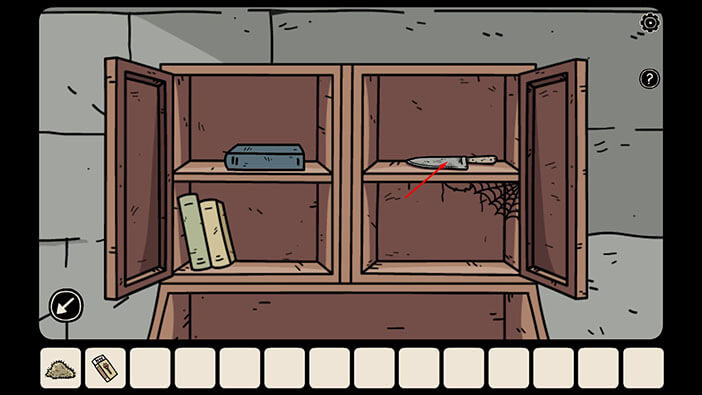
In the right part of the cabinet, you will find a “Knife” so tap on it to pick it up.
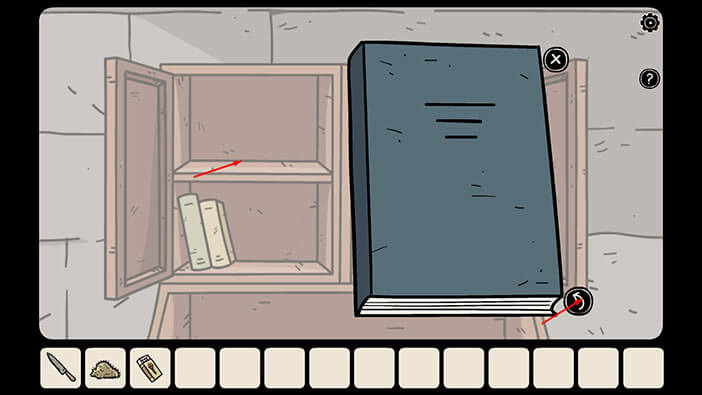
Next, in the left part of the cabinet, you will see a blue book so tap on it to take a closer look. After that, tap on the arrow in the lower right corner to open the book.
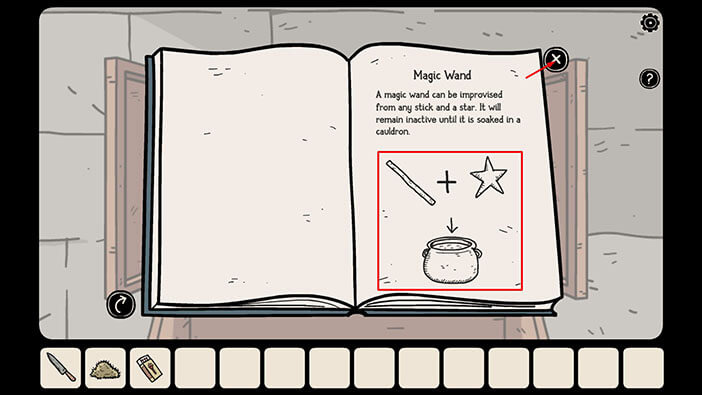
Here, we can see a recipe for crafting a magic wand. So, to create a magic wand we need to find a “Stick” and a “Star”. However, to activate its magical abilities, we have to soak the magic wand into the liquid in the cauldron.
This will be one of our next tasks. Tap on the “X” button to put down the book.
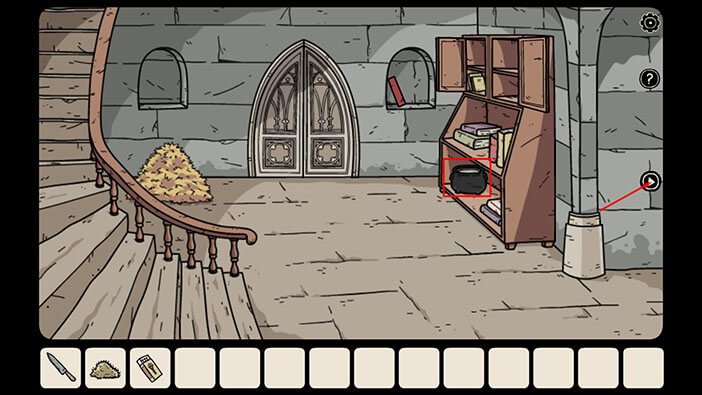
We can see a cauldron at the bottom shelf on the right, so once we assemble the magical wand we should go back to this room to activate it. However, we do not have either the stick or the star, so let’s tap on the arrow on the right to proceed to the next room.
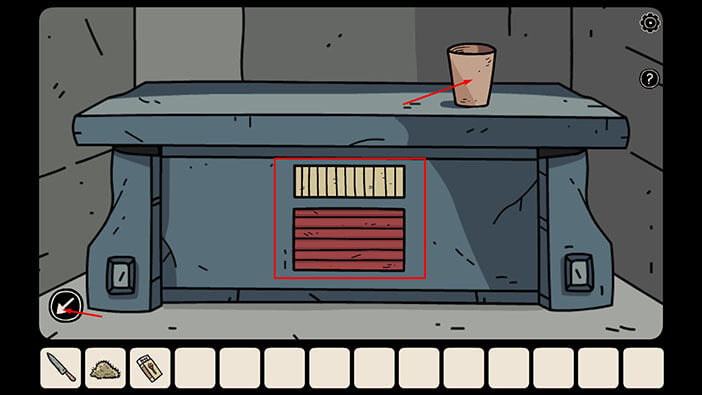
Tap on the glass on the blue chest to take a closer look at it. Tap on the “Glass” to pick it up. Here you will see two covers, yellow and red cover. We will come back to them a bit later in the walkthrough.
Once you’re done, tap on the arrow in the lower left corner to go back.
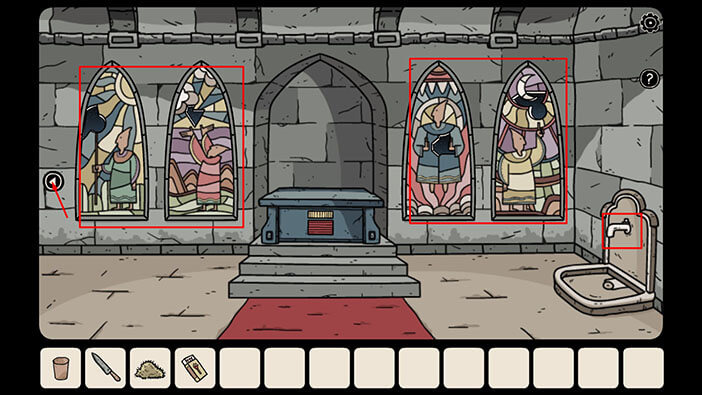
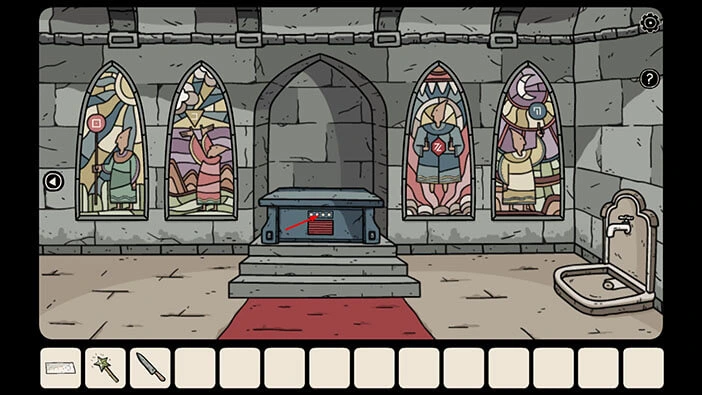
Here, you will also see four windows with mosaics. On the right, you will also see a faucet. We will come back to these items a bit later.
For now, let’s go back to the previous room.
Next, let’s tap on the stairs on the left to go to the next floor.
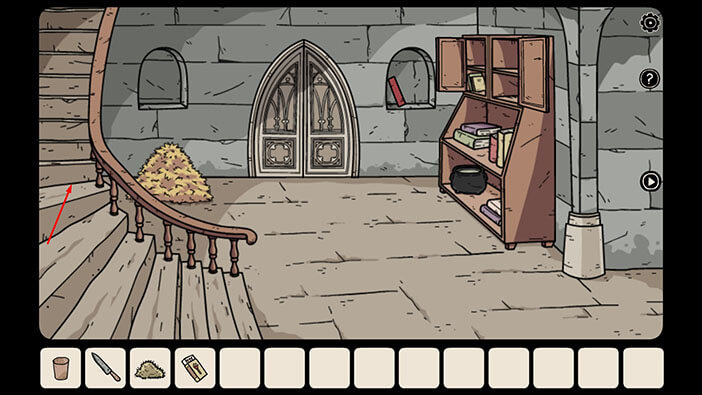
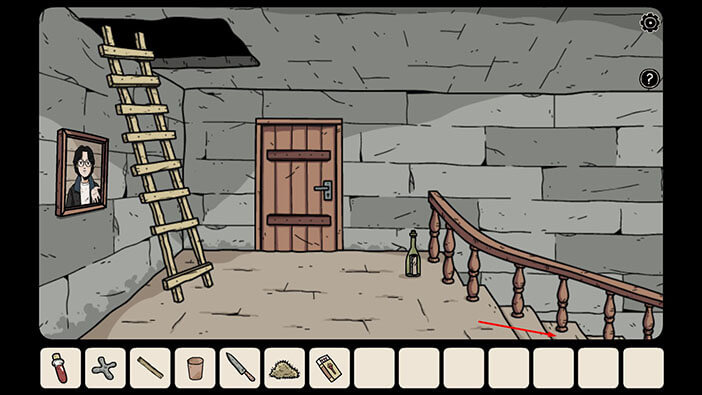
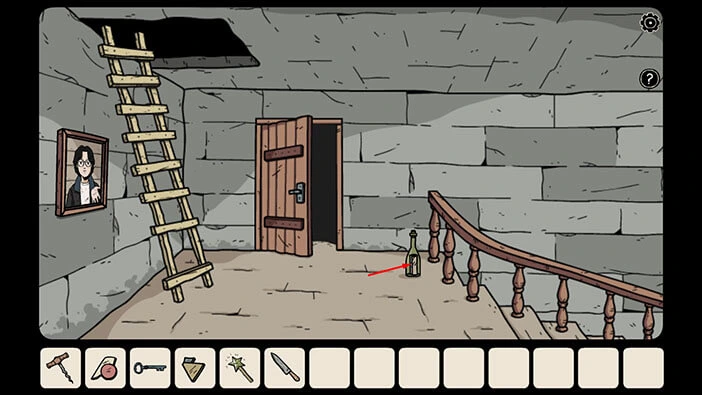
On the ground on the right, we can see a bottle with a message, but we will have to find a way to open the bottle before we can get to a message.
So, let’s tap on the picture on the left to take a closer look at it.
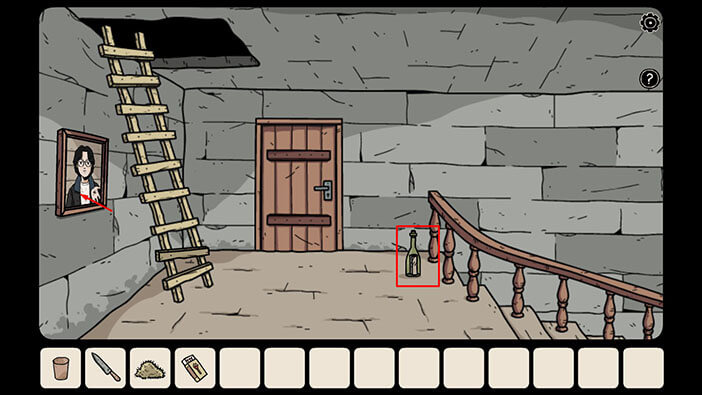
Here, we can see someone named “Dhavid” and he is holding a seed. Let’s tap on the “Seed” to pick it up, and you will activate a cutscene.
After that, tap on the arrow in the lower left corner to go back.
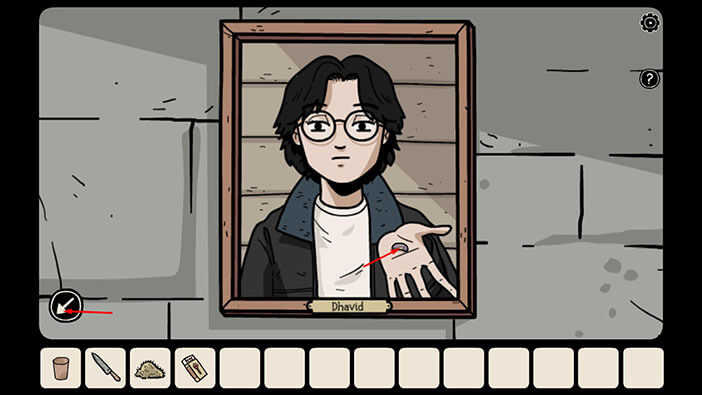
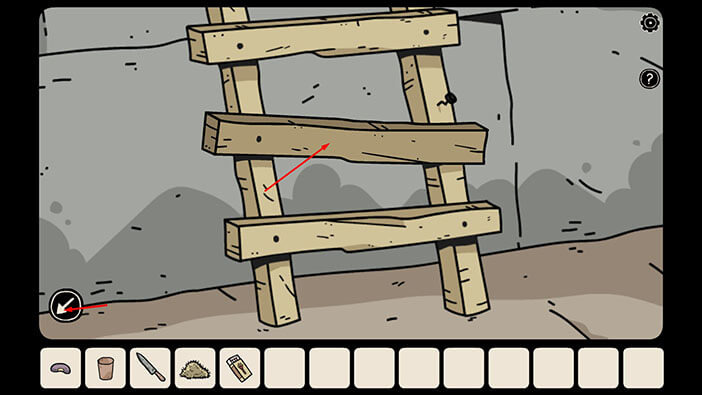
Next, tap on the lower part of the ladders to take a closer look at it.
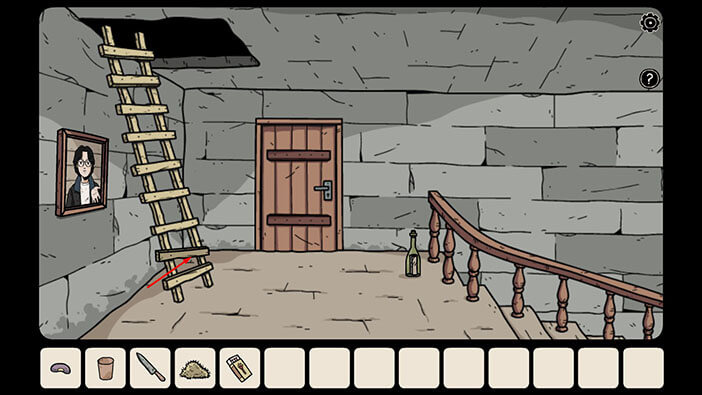
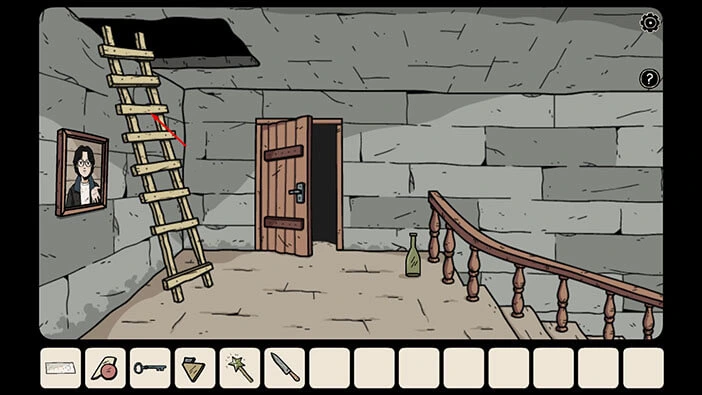
You will notice that the second ladder step is loose. So, tap on it to pick it up and a “Wooden stick” will be added to your inventory.
After that, tap on the arrow in the lower left corner to go back.
Let’s go to the attic and explore it. Tap on the hole in the ceiling (or the upper part of the ladder).
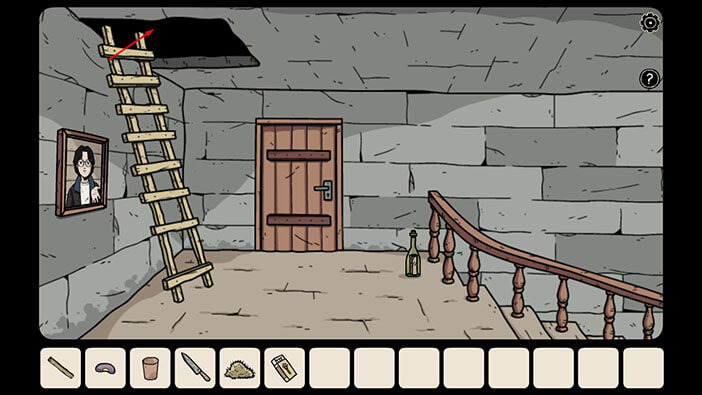
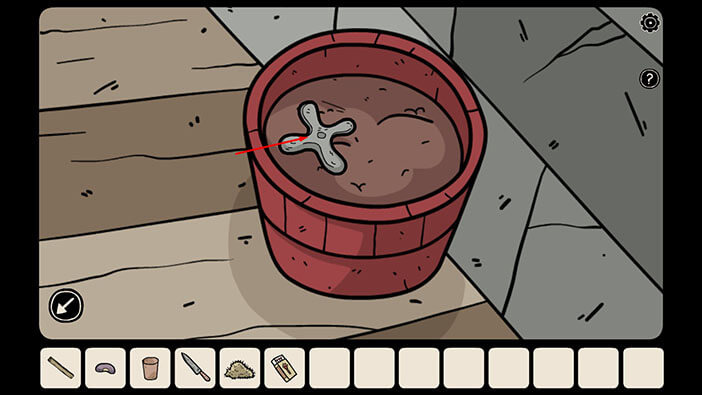
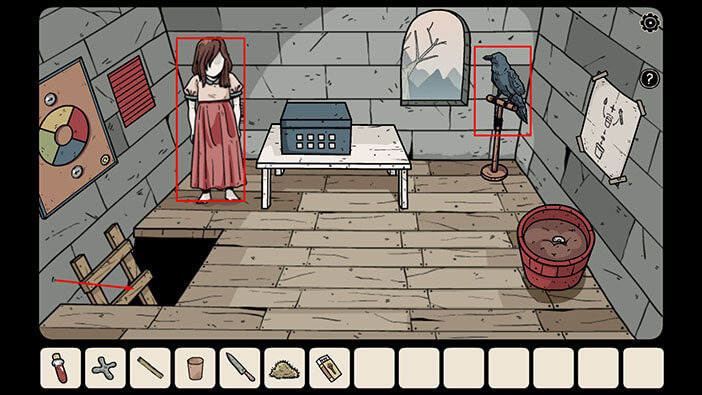
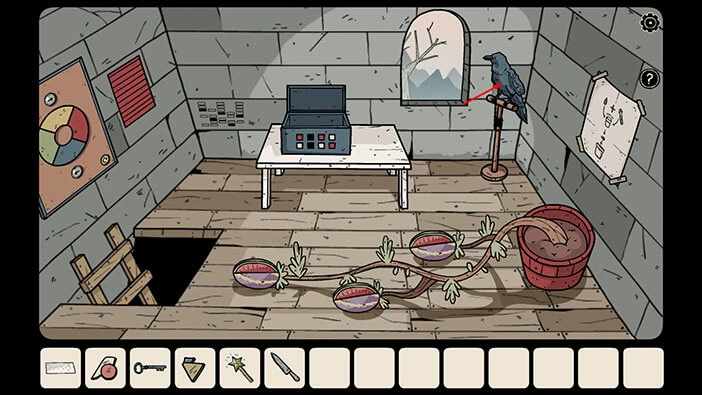
Let’s explore this room. Tap on the red bucket, filled with dirt, on the right to take a closer look at it.
Tap on the “Faucet” to pick it up.
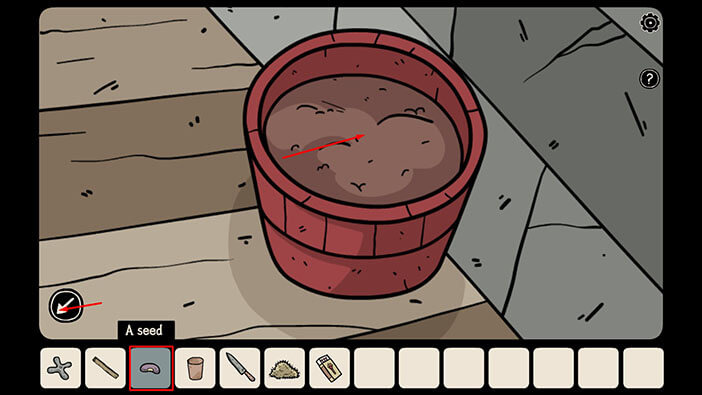
Before we go back, select the “Seed” from the inventory and put it into the bucket.
After that, tap on the arrow in the lower left corner to go back.
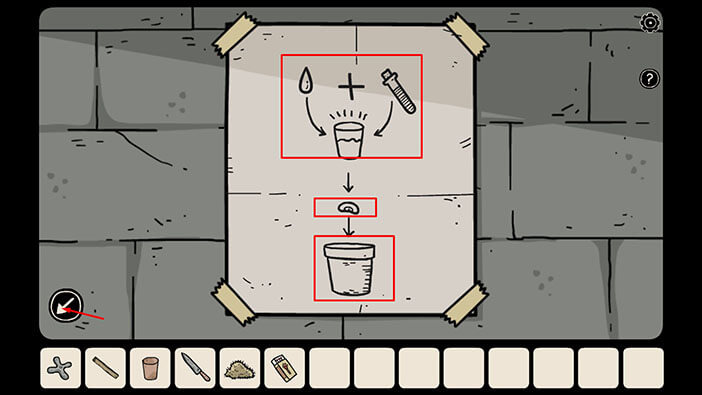
Next, tap on the note on the wall above the bucket to examine it. Here, we can see that we should combine some water with the liquid in the test tube. Once that’s done, we should pour this liquid on the seed, and the seed should be plated in the ground.
We will solve this problem very soon. For now, tap on the arrow in the lower left corner to go back.
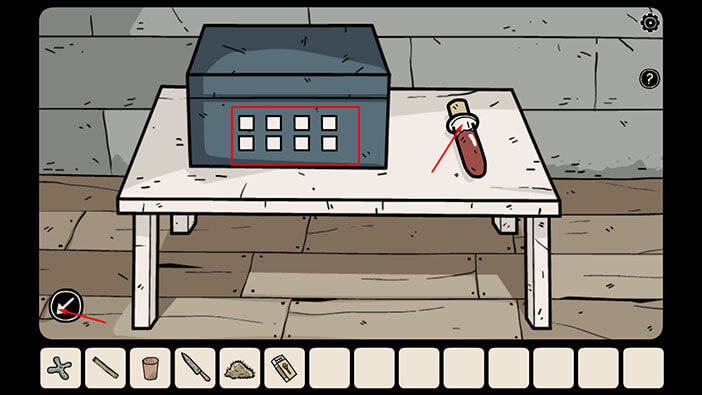
Next, tap on the test tube with the red liquid on the white table to take a closer look at it. After that, tap on it to pick it up and a “Container with a formula for growing vegetables” will be added to your inventory. Well, that makes sense. We can use the liquid to accelerate the growth of the plant.
Here, you will also notice the blue box with eight white squares (arranged in two rows). We will tackle this puzzle a bit later. Once you’re done, tap on the arrow in the lower left corner to go back.
In this room, we can also see a raven in the right corner and a large doll in the left corner. We will come back to these two items a bit later. For now, let’s tap on the ladder to go back to the second floor.
We should now go back to the second room on the bottom floor, and install the faucet. Let’s do that.
To get to this room, tap on the stairs to go back to the ground floor. After that, tap on the arrow on the right and you will reach your destination.
Tap on the faucet on the right to take a closer look at it.
You will notice the top part of the faucet is missing. So, select the “Faucet” from the inventory and install it in the empty slot.
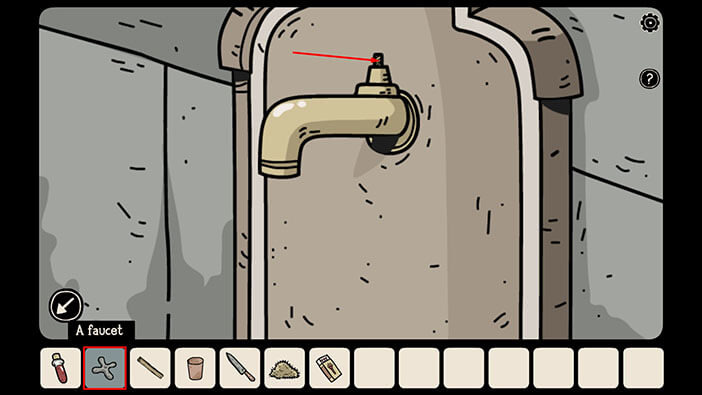
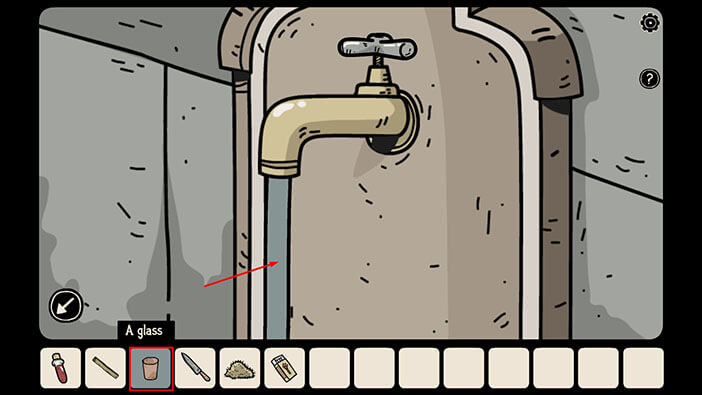
Next, tap on the faucet to turn on the water.
After that, select “Glass” from the inventory and fill it up with water. “Glass of water” will be added to your inventory.
Once you’re done, tap on the arrow in the lower left corner to go back.
Ok, we should now go back to the attic and accelerate the growth of the seed. To get to the attic, tap on the arrow on the left to go back to the first room.
Next, tap on the stairs to go to the second floor. Once you get there, tap on the upper part of the ladder to proceed to the attic.
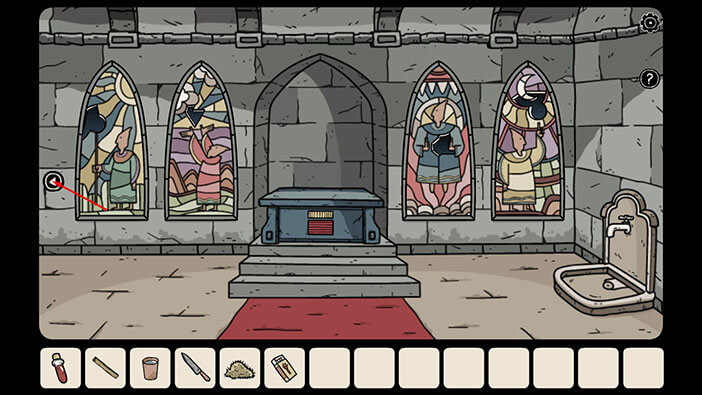
Tap on the red bucket to start the interaction.
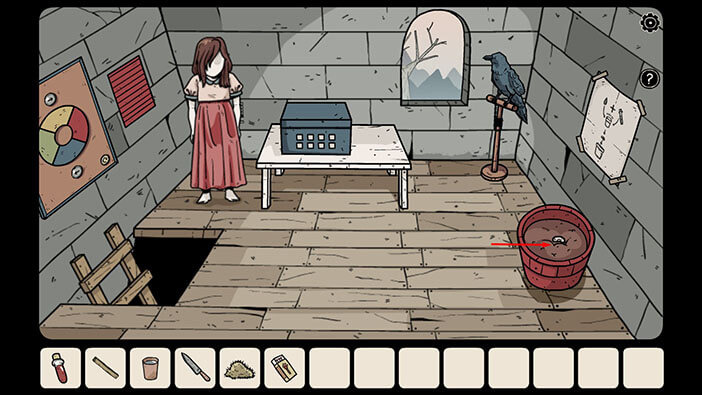
Next, select the “Container with a formula for growing vegetables” and combine it with the “Glass of water”. A “Cup of water and growth formula” will be added to your inventory.
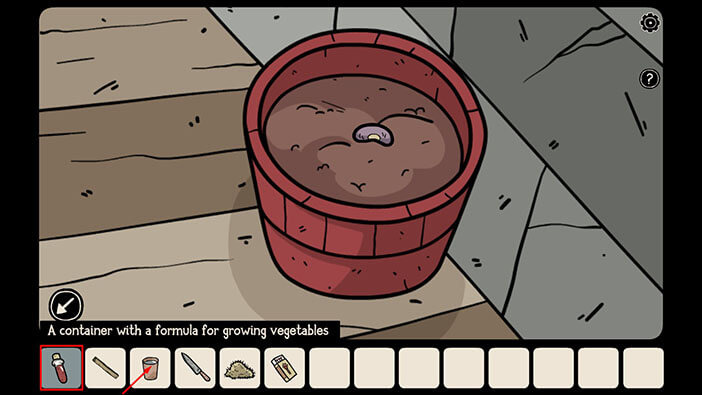
Lastly, select the “Cup of water and growth formula” from the inventory and tap on the seed in the bucket to start the interaction. This will trigger another cutscene, and there we will see the plant that grew rapidly and became really large.
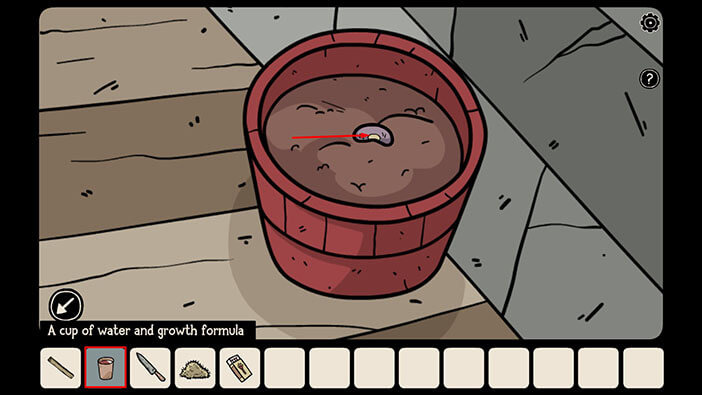
Once the plant reaches its full size, you will notice three melons. Let’s tap on the first melon (the one on the left) to take a closer look at it.
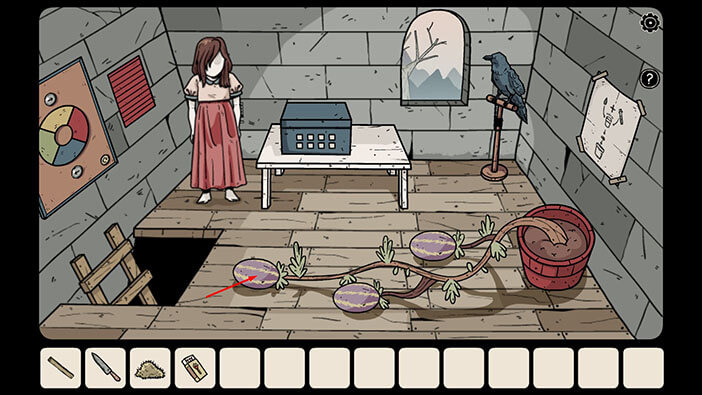
Select the “Knife” from the inventory and use it to cut open the melon.
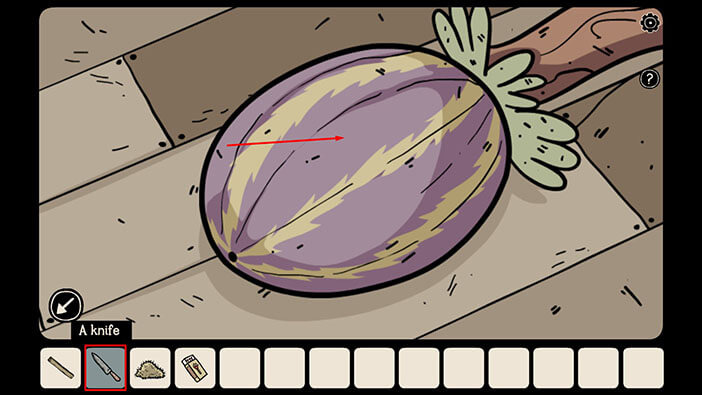
In the melon, you will find a “Star-shaped object” so tap on it to pick it up. After that, tap on the arrow in the lower left corner to go back.
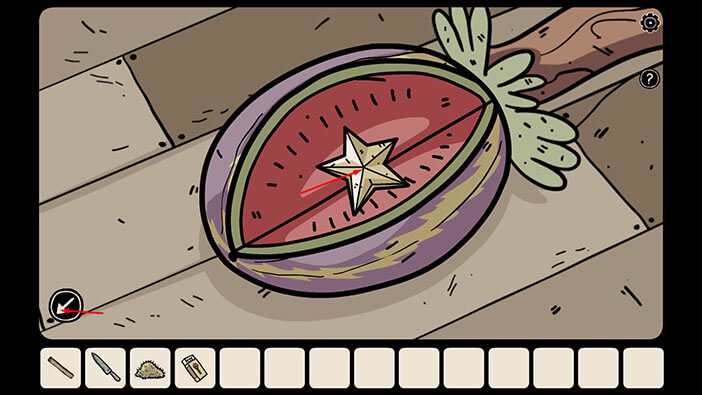
Next, tap on the melon in the middle to take a closer look at it.
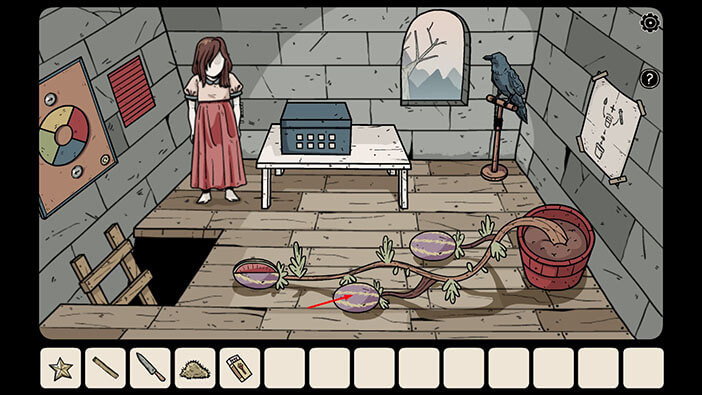
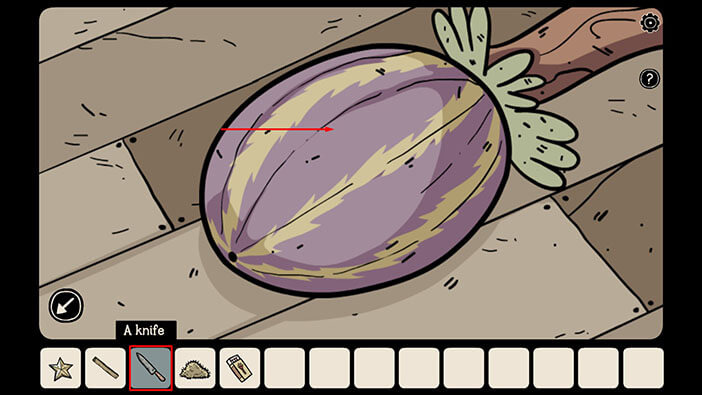
Let’s repeat the process. Select the “Knife” from the inventory and use it to cut open the melon.
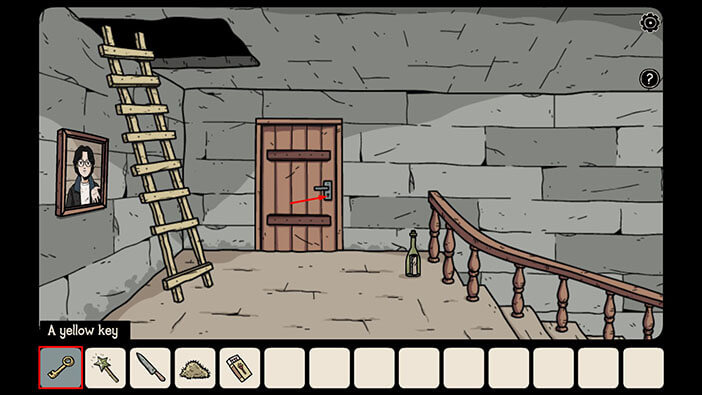
In the melon, you will find a “Yellow key” so tap on it to pick it up. After that, tap on the arrow in the lower left corner to go back.
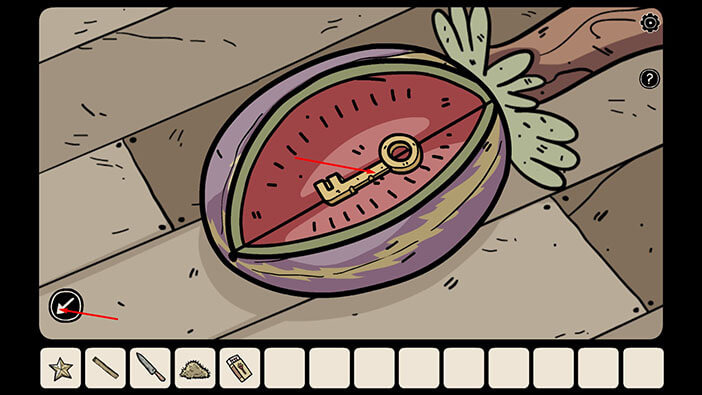
Lastly, let’s take a look at the melon on the right.
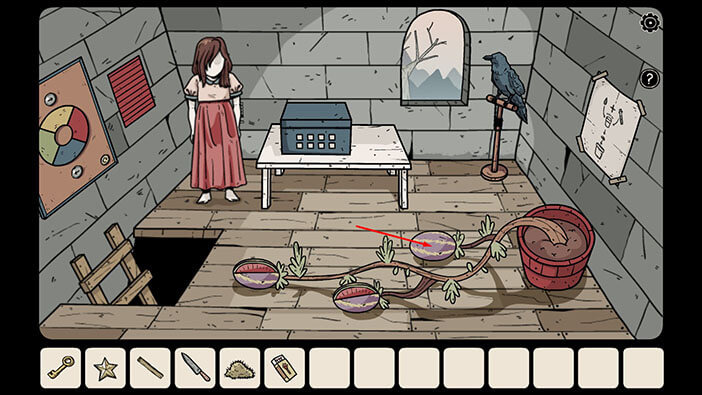
Again, select the “Knife” from the inventory and use it to cut open the melon.
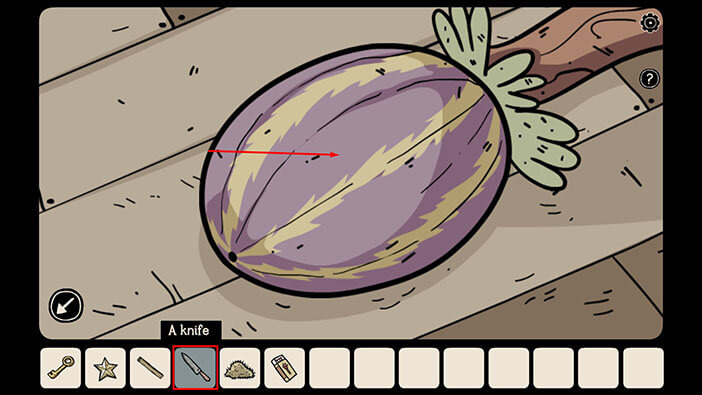
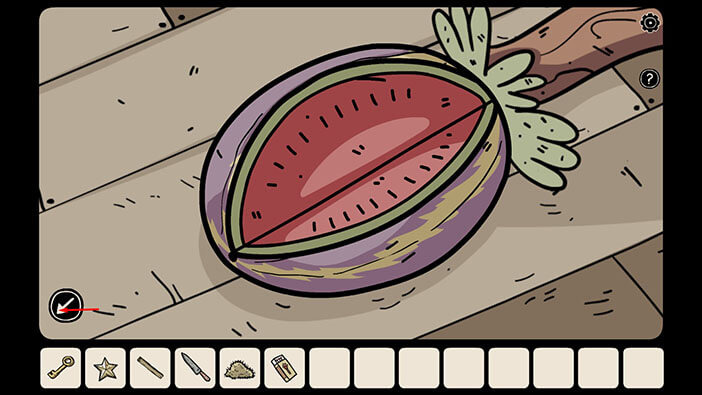
There is nothing inside this melon, so let’s tap on the arrow in the lower left corner to go back.
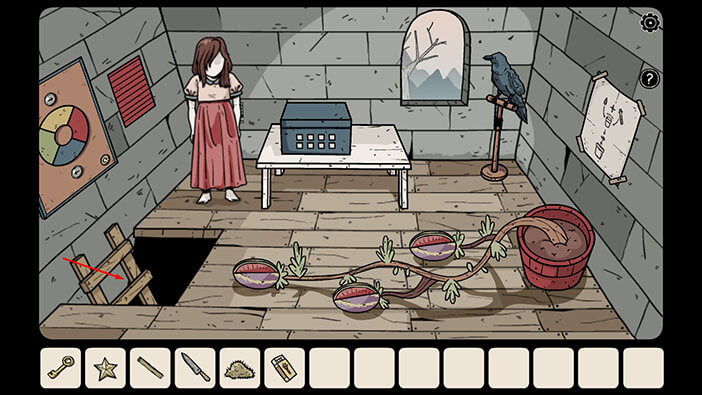
We now have a key that we can use to unlock the door in the room on the second floor. But, before we do that, let’s go back to the first room and activate the magic wand.
To get to the first room, tap on the ladders to go to the second floor. After that, tap on the stairs to go back to the first room.
Tap on the cauldron on the lower left shelf to take a closer look at it.
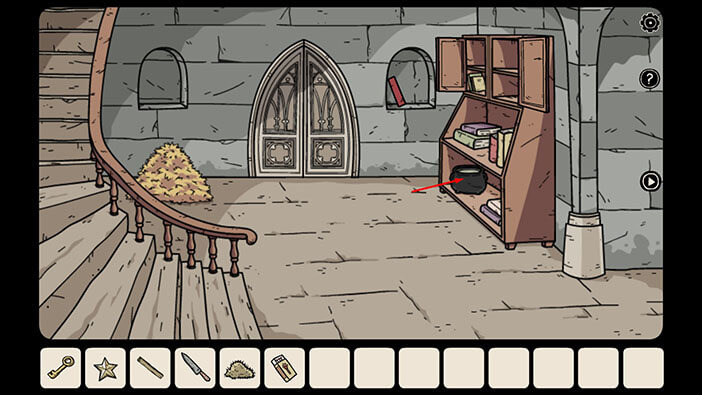
Next, select the “Star-shaped object” from the inventory and combine it with the “Stick”. An “Uncharged magic wand” will be added to your inventory.
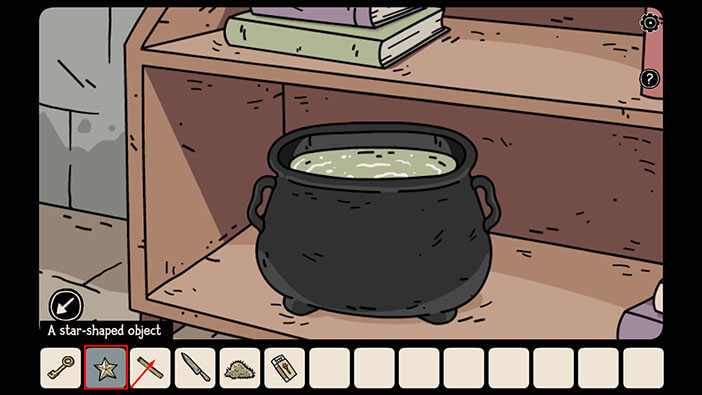
Next, we already saw in the book that we need to soak the magic wand into the fluid in the cauldron in order to activate it. So, let’s do that.
Select the “Uncharged magic wand” from the inventory and tap on the cauldron to activate it (charge it). This will activate a small cutscene.
Once you’re done, tap on the arrow in the lower left corner to go back.
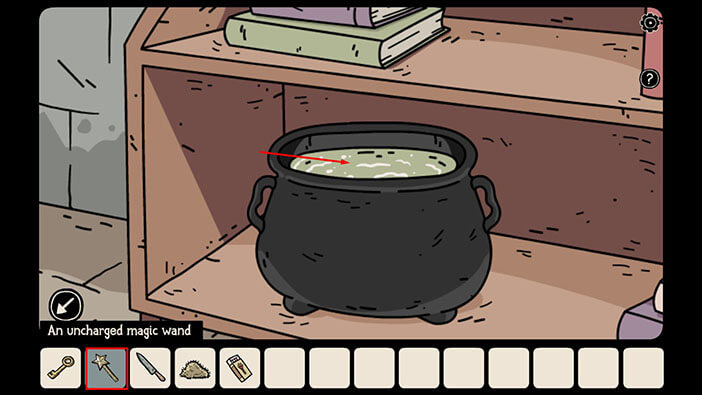
Ok, let’s go back to the second floor, and unlock the last door. Tap on the stairs on the left.
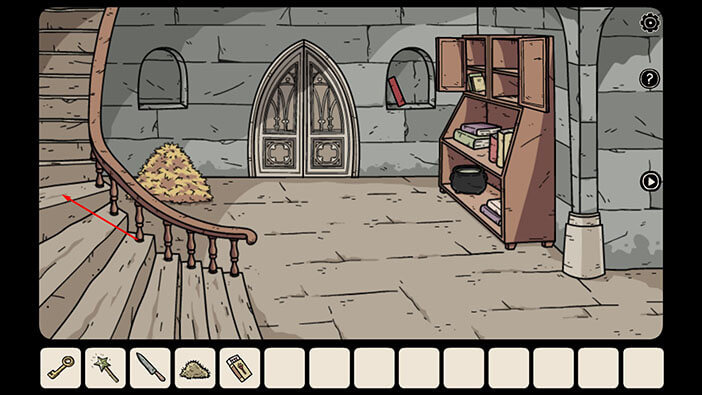
Next, select the “Yellow key” from the inventory and use it to unlock the door in front of you. After that, tap on the door to open it, and tap again to proceed to the next room.
Let’s explore this room. Tap on the window on the left to look outside.
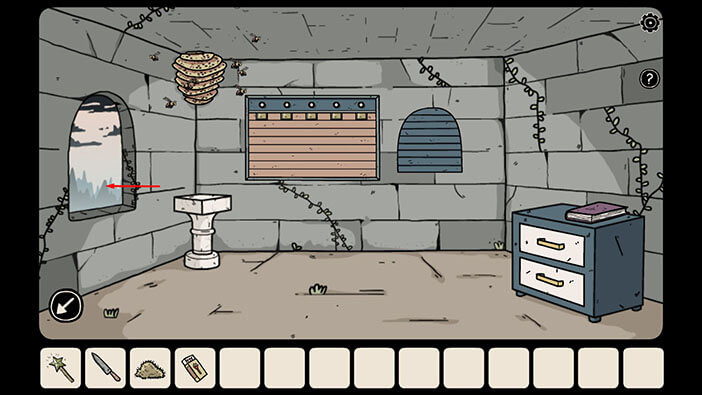
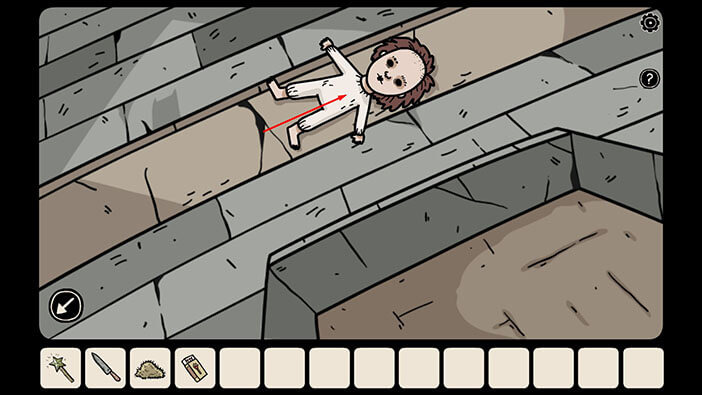
Here, we can see a “Girl doll” so tap on it to pick it up.
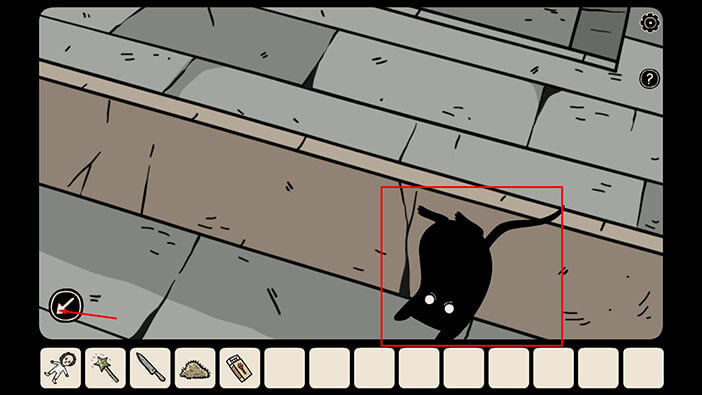
Before we go back, if you closely examine the wall you will notice a small shadow, and also it looks like the tail of a small animal is sticking out. Let’s tap on the shadow to take a closer look.
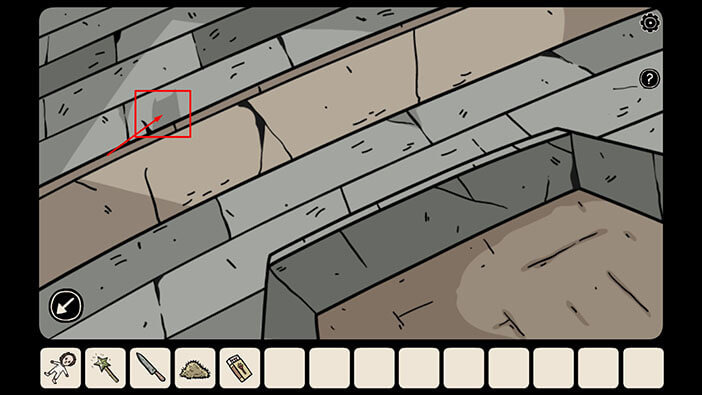
Here, you will find another shadow hamster. So far, we found nine out of ten, so there is only one shadow hamster left for us to find it.
Once you’re done, tap twice on the arrow in the lower left corner to go back to the room.
Next, tap on the cabinet on the left to take a closer look at it.
Tap on the bottom drawer to open it and inside you will find a “Piece of stained glass” so tap on it to pick it up.
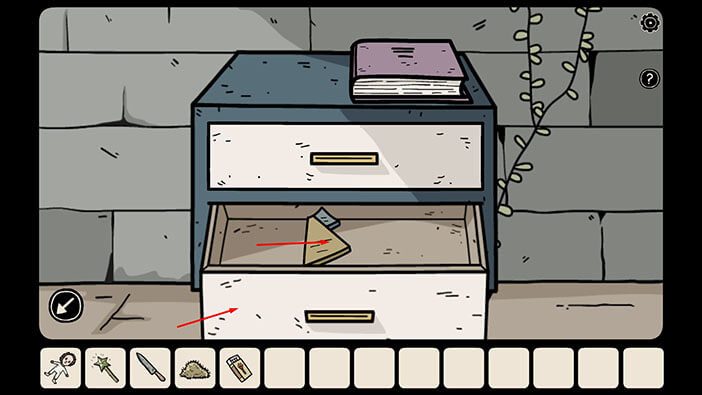
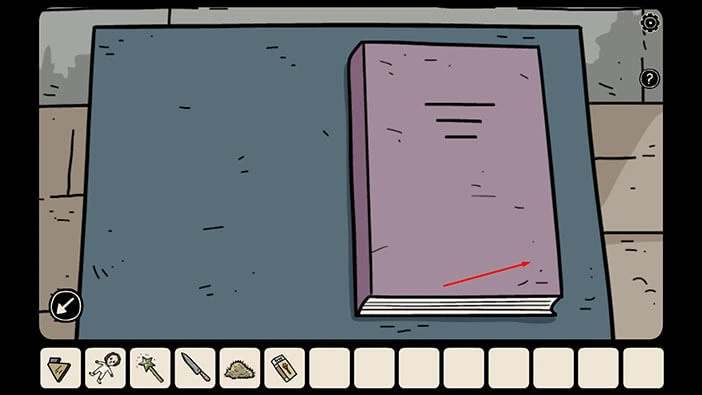
You will also notice a purple book on the cabinet. Tap on the book to take a closer look at it, and tap again to open it.
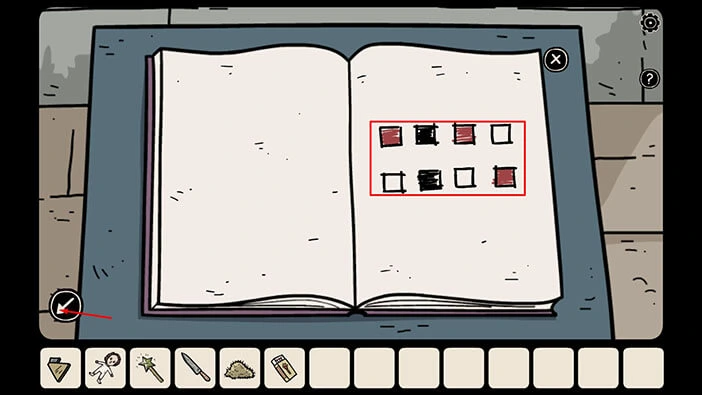
In the book, you will see eight squares, arranged in two rows, with four squares per row. Let’s memorize/write down the position of the black and red squares. Here, we have
Red = First square (left to right) in the top row
Black = Second square in the top row
Red = Third square in the top row
Black = Second square in the bottom row
Red = Fourth square in the bottom row
Once you’re done, tap twice on the arrow in the lower left corner to go back.
Previously, we saw eight squares arranged in two rows in the room in the attic. So, let’s go back to the attic and solve this puzzle.
Tap on the arrow in the lower left corner to go back to the previous room. After that, tap on the top part of the ladders to go to the attic.
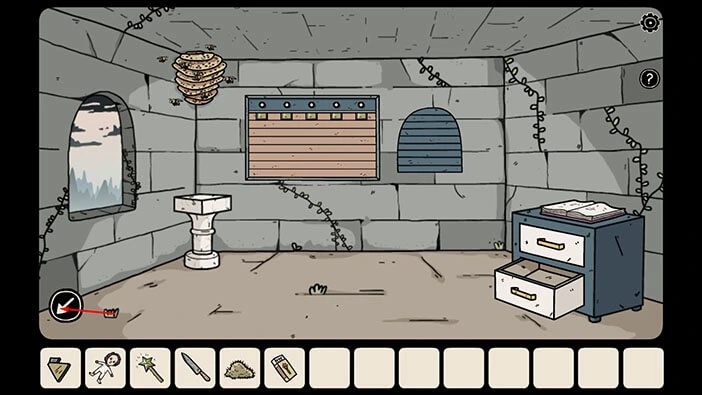
Tap twice on the blue box with eight white squares to start the interaction.
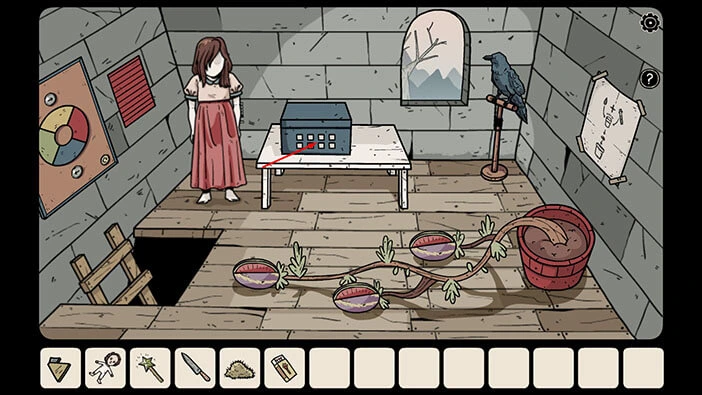
Next, let’s set the squares to the correct color (we saw the solution for this puzzle in the book on the second floor).
Tap once on the first square in the top row to set its color to Red.
Tap twice on the second square in the top row to set its color to Black.
Tap once on the third square in the top row to set its color to Red.
Tap twice on the second square in the bottom row to set its color to Black.
Tap once on the fourth square in the bottom row to set its color to Red.
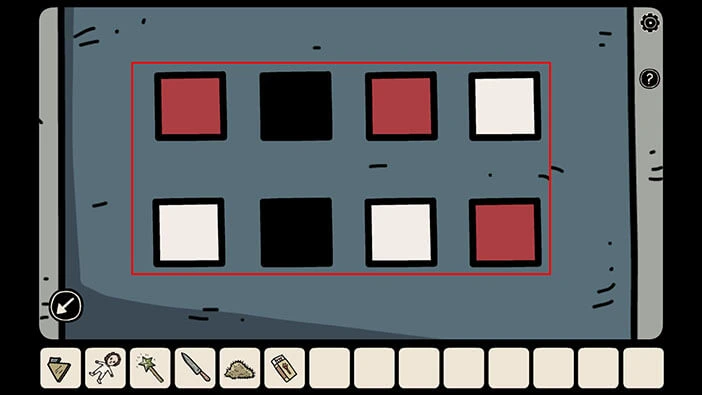
As soon as set the squares to the correct color the box will open and inside you will find a “Small dress”. Tap on it to pick it up.
After that, tap on the arrow in the lower left corner to go back.
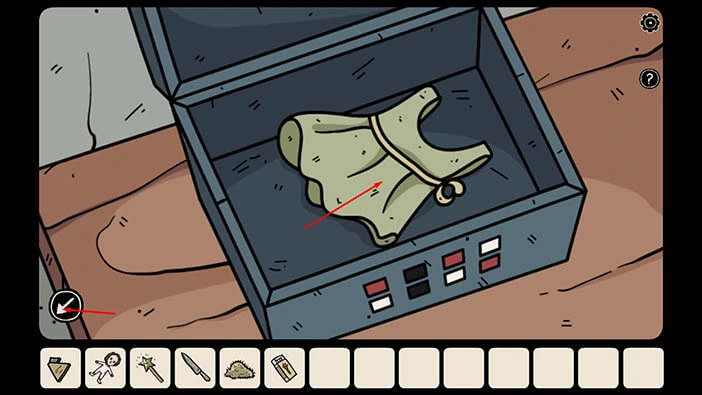
Next, select the “Small dress” from the inventory and put it on the “Girl doll”.
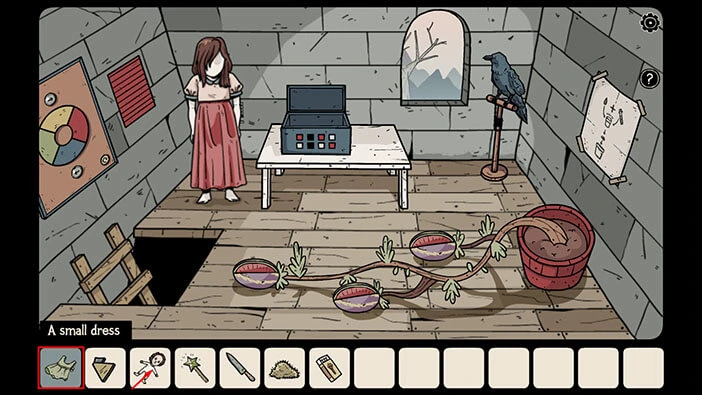
Next, select the “Girl doll” from the inventory and give it to the woman doll in the left corner of the room.
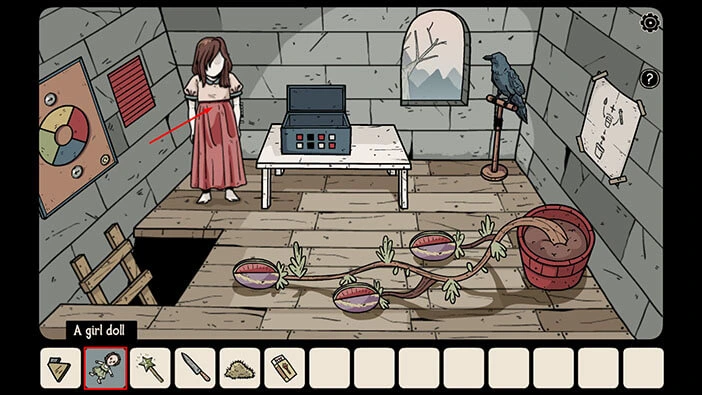
As soon as you give her the girl doll, the woman doll will offer you a key. Tap on it to pick it up, and a “Black key” will be added to your inventory.
Once you take the key, the woman doll will slowly vanish, so wait a few moments for this to happen.
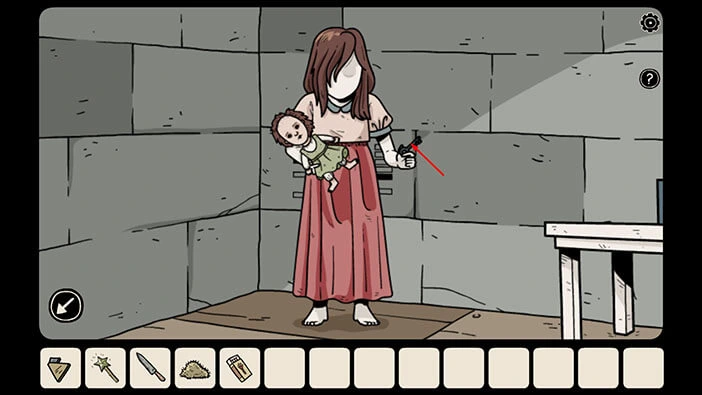
Once the woman doll is gone, we will see five columns on the wall, and in each column, there are eight rectangles. Also, we can see one black rectangle in each of the five columns. Let’s memorize/write down the position of the black rectangles because we will need this information for the next puzzle.
First (left to right) column = Third position (top to bottom)
Second column = Sixth position
Third column = Fourth position
Fourth column = Eighth position
Fifth column = Fifth position
Once you’re done, tap on the arrow in the lower left corner to go back.
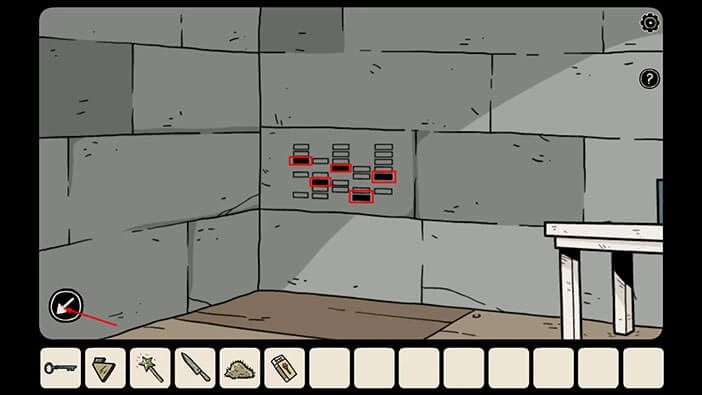
We can use this information (the position of the black rectangles) to solve the puzzle in the room on the second floor, so let’s do that.
Tap on the ladders to go back to the second floor. After that, tap on the door in front of you to proceed to the next room.
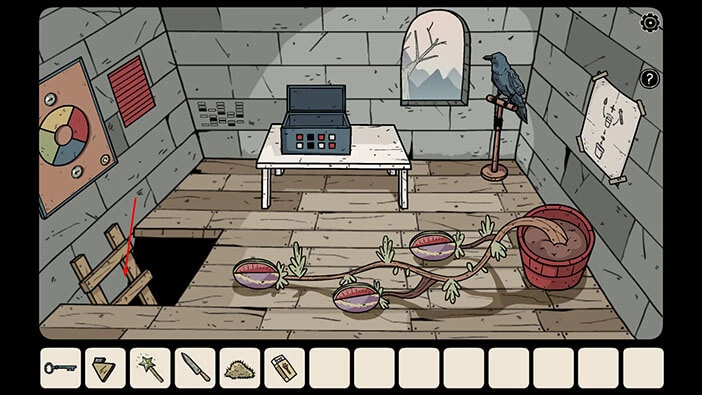
Tap on the brown board on the wall in front of you to start the interaction.
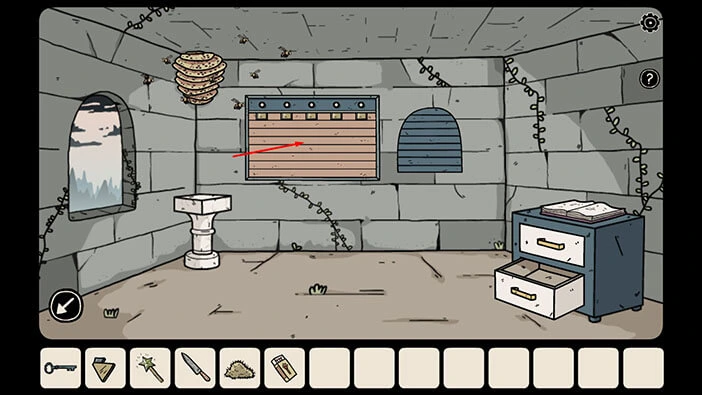
At the top of the board, you will see five buttons, and below each button, you will see a yellow rectangle. We can adjust the size of the rectangle by tapping on the button, and the size of the rectangle should match the position of the black rectangles that we saw on the wall in the attic.
So, let’s do that.
Tap twice on the first button (left to right) to extend the first rectangle to the third position.
Tap five times on the second button to extend the second rectangle to the sixth position.
Tap three times on the third button to extend the third rectangle to the fourth position.
Tap seven times on the fourth button to extend the fourth rectangle to the eighth position (full length).
Tap four times on the fifth button to extend the fifth rectangle to the fifth position.
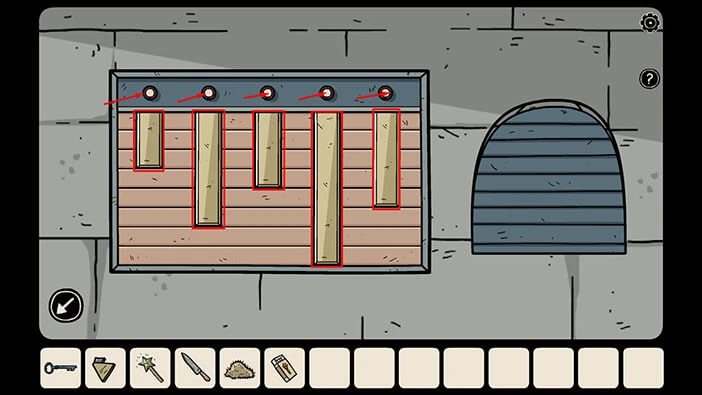
As soon as you set the rectangles to the correct size, the small compartment on the left will open, and inside you will find another “Piece of stained glass” and “Beekeeper gloves”. Tap on these two items to pick them up.
Once you’re done, tap on the arrow in the lower left corner to go back.
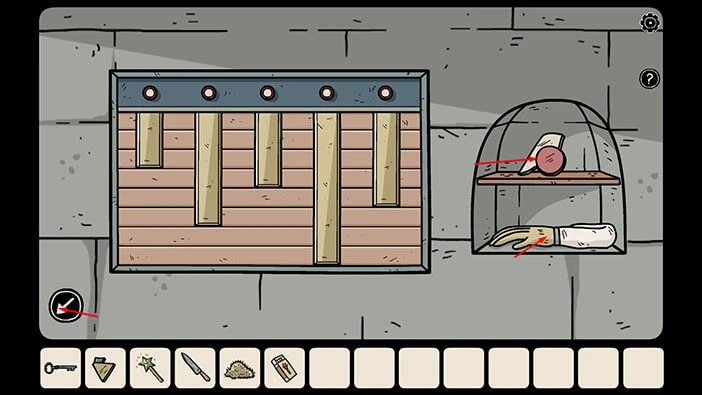
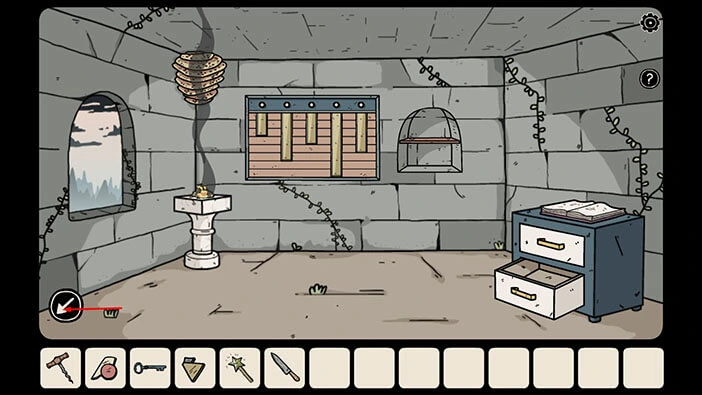
In the left corner of the room, we can see a large beehive, and bees are flying around it. We can start a fire below the hive and use smoke to get rid of the bees. Let’s do that.
Tap on the pedestal below the beehive to take a closer look at it.
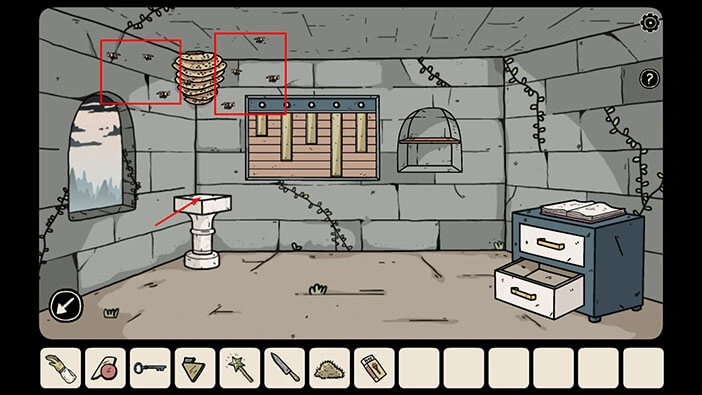
Select the “Pile of straw” from the inventory and put it in the slot on the pedestal.
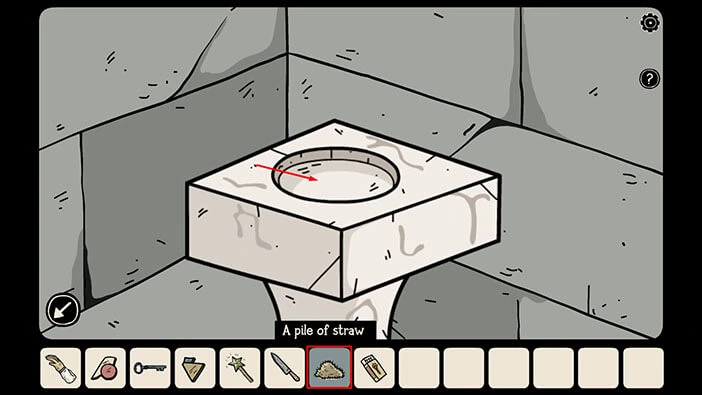
Next, select the “Matchbox” from the inventory and use it to start the fire by tapping on the pile of straw.
After that, tap on the arrow in the lower left corner to go back.
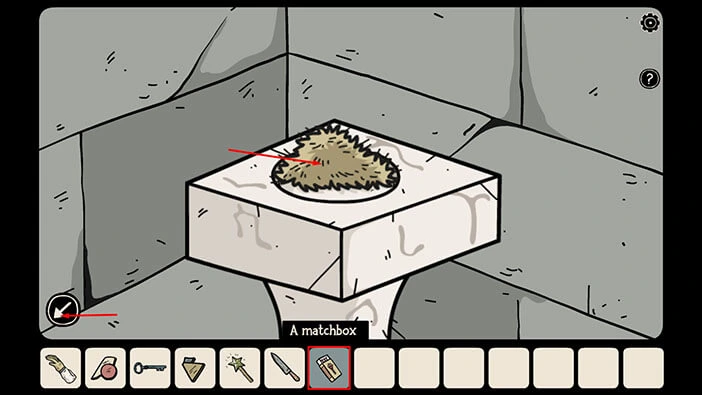
We can see that the bees are now gone, so we did manage to scare them away with smoke. Let’s tap on it to take a closer look.
However, we still can’t reach into the beehive with our bare hands. So, select “Beekeeper’s Gloves” from the inventory and tap on the beehive.
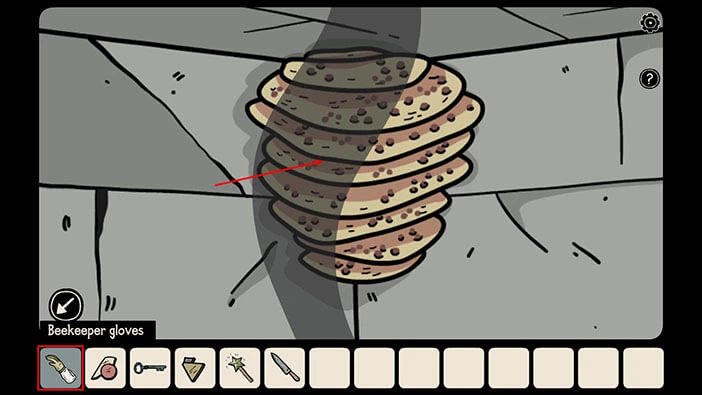
Laia will put on the glove, and reach into the beehive. Inside, she will find a “Corkscrew”.
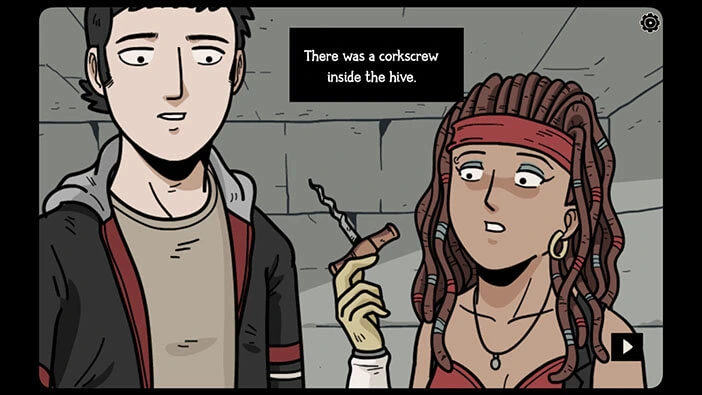
We can use the corkscrew to open the bottle with a note that we saw previously, so let’s do that. Tap on the arrow in the lower left corner to go back.
Tap on the bottle with a note, located on the right side of the floor, to take a closer look at it.
Select the “Corkscrew” from the inventory and use it to open the bottle. This will trigger another cutscene.
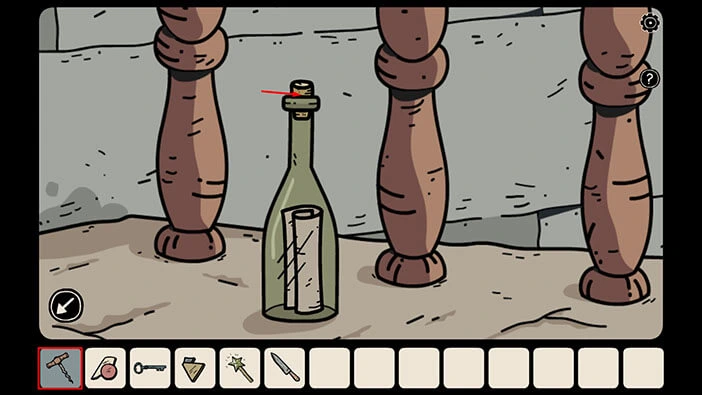
Bastian will use the corkscrew to open the bottle, and he will pull out a “Note with the hint”.
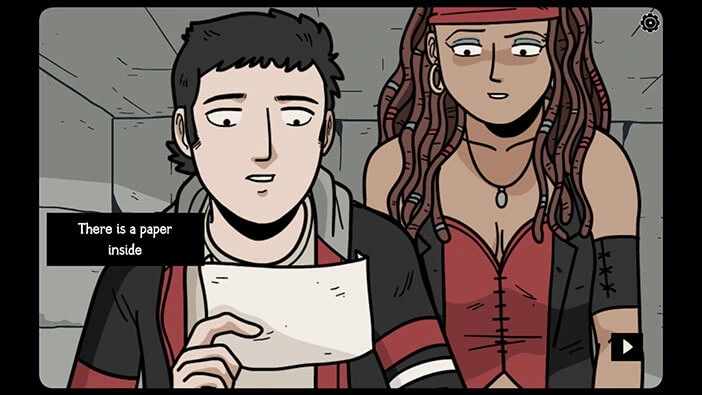
We have charged the magic wand, and we can use it to bring the petrified raven, which we saw in the attic, back to life. So, let’s do that.
Tap on the upper part of the ladders to go to the attic.
Next, tap on the petrified raven in the right corner to take a closer look at it.
Select the “Charged magic wand” from the inventory and tap on the raven to remove the curse. The raven will come back to life.
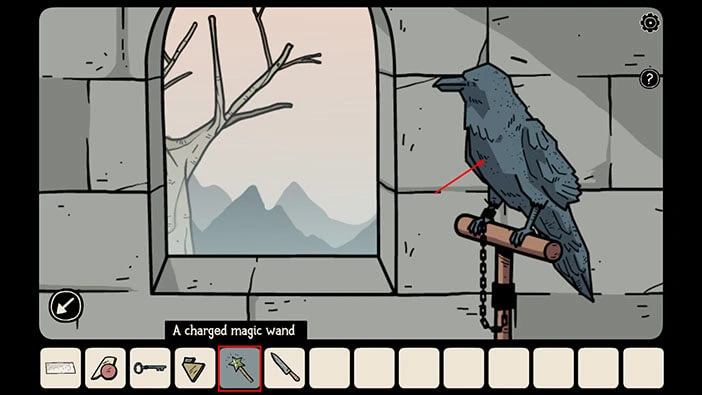
However, you will notice that the raven is still chained to the poll, so let’s set it free. Tap on the lock on the raven’s leg to take a closer look at it.
Select the “Black key” from the inventory use and tap on the lock to set the raven free.
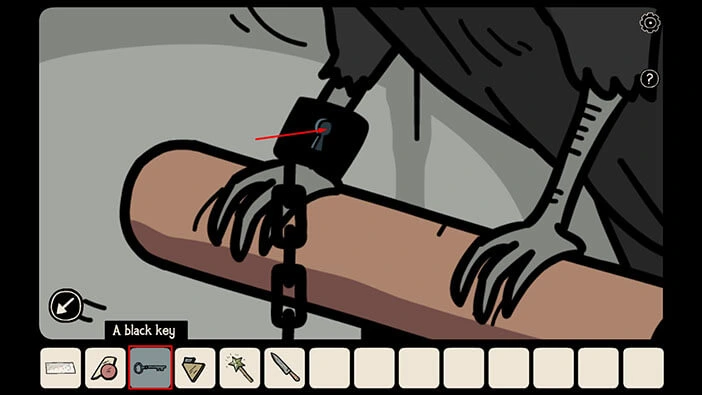
The raven will fly out of the window, and, he will thank you for freeing him by bringing you another “Piece of stained glass” from a nearby tree.
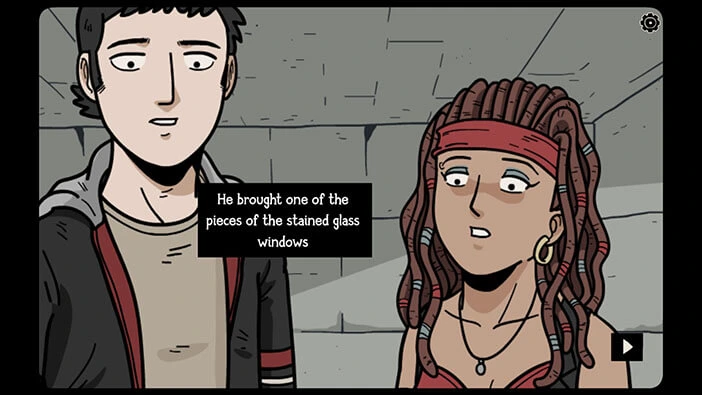
Tap on the “Piece of stained glass” on the window to pick it up. After that, tap on the window to look outside.
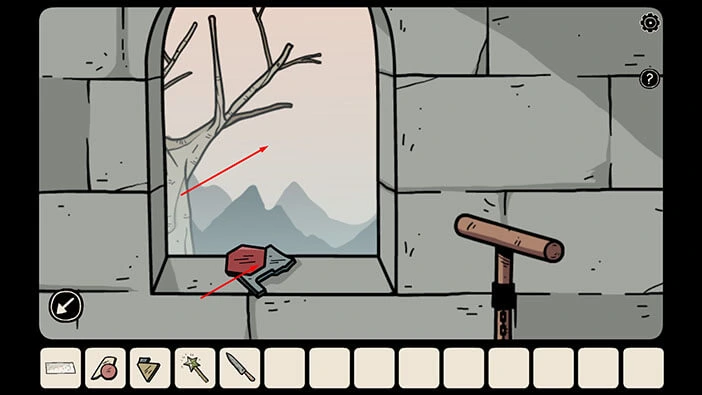
You will notice a wooden beam above the window. Tap on it to take a closer look.
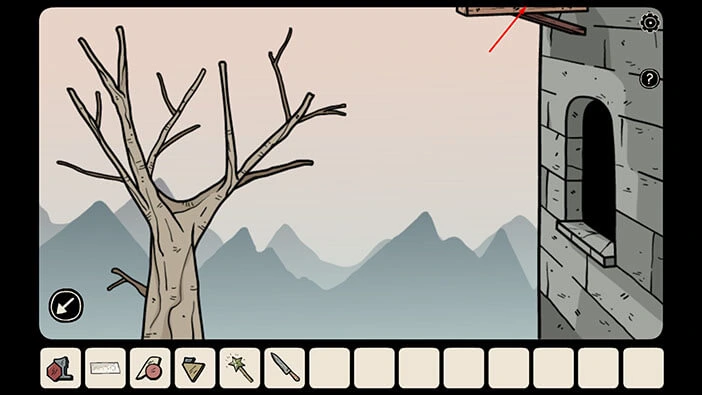
Here, you will find the last shadow hamster. So, we managed to find all ten of them.
Let’s go back. Tap twice on the arrow in the lower left corner to go back into the room.
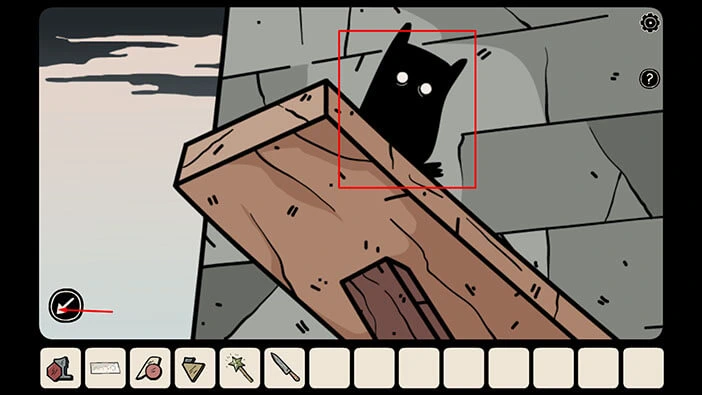
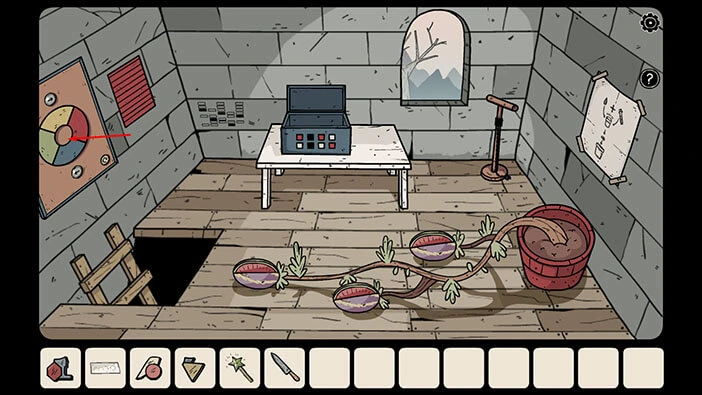
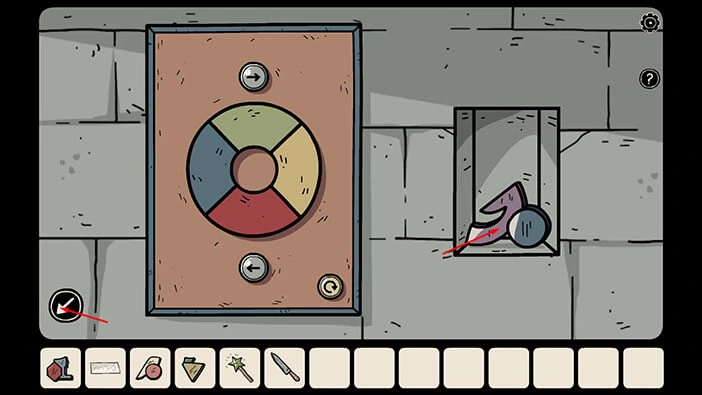
Next, tap on the multicolored circle on the left to take a closer look at it.
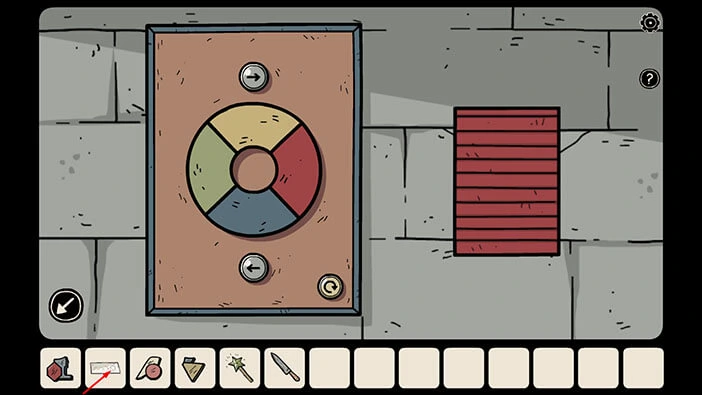
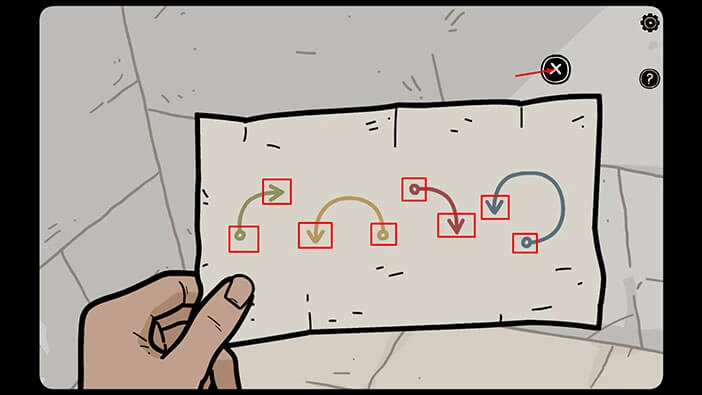
We can discover the solution to this puzzle if we take a look at the “Note with hint” in our inventory. So, let’s do that.
Here, we can see four arrows, green, yellow, red, and blue arrow. Let’s memorize/write down the start and end position of each arrow and its direction. So, we have
Green arrow (Right) = starts at 9 o’clock position, and goes to 12 o’clock position
Yellow arrow (Left) = starts at 3 o’clock position, and goes to 9 o’clock position
Red arrow (Right) = starts at 12 o’clock position, and goes to 3 o’clock position
Blue arrow (Left) = starts at 6 o’clock position, and goes to 9 o’clock position
Once you’re done, tap on the “X” button to put down the note.
We should use the information that we discovered by examining the “Note with hint” to solve this puzzle. We will do this in several steps. Let’s begin.
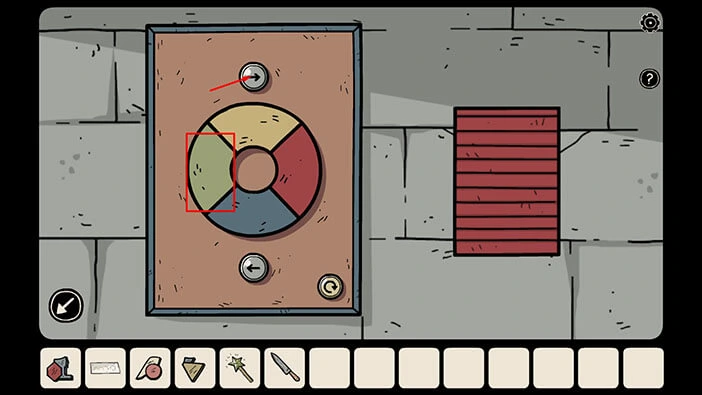
Step 1
We can see that the green part of the circle is one the right (9 o’clock) position, so let’s tap once on the “Right arrow” (above the circle) to rotate the green part to the 12 o’clock position.
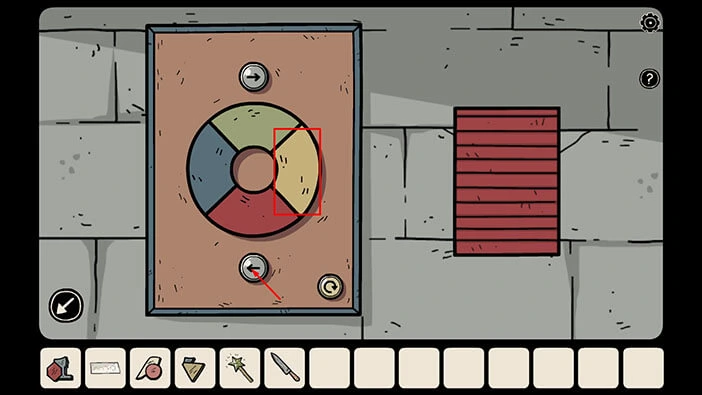
Step 2
The yellow part of the circle is at the 3 o’ position, so let’s tap twice on the “Left arrow” to rotate the yellow part to the 9 o’clock position.
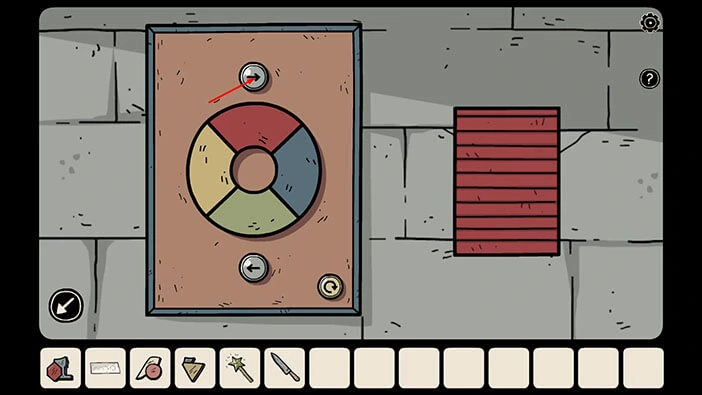
Step 3
The red part of the circle is at the 12 o’ position, so let’s tap once on the “Right arrow” to rotate the red part to the 3 o’clock position.
Step 4
The blue part of the circle is at the 6 o’ position, so let’s tap three times on the “Left arrow” to rotate the blue part to the 9 o’clock position.
NOTE: If you accidentally tap on the wrong arrow, you can reset the puzzle by tapping on the circular arrow located in the lower right corner of the board.
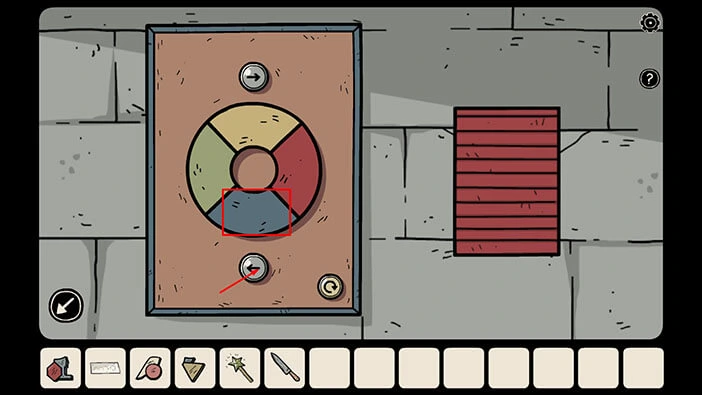
Once you complete the fourth step, you will unlock the compartment in the wall on the right, and it will be opened automatically. In the compartment you will find another “Piece of stained glass” so let’s tap on it to pick it up.
After that, tap on the arrow in the lower left corner to go back.
Ok, we now have 4 pieces of stained glass in our inventory and we can use them to assemble the window mosaics in the room on the first floor. So, let’s do that.
Tap on the ladders to go to the second floor. After that, tap on the stairs to go to the first floor. Lastly, tap on the arrow on the right to go to the room with four mosaics.
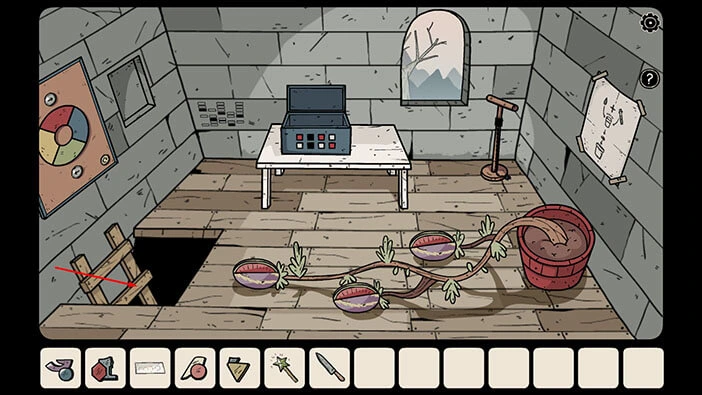
Let’s examine the windows with mosaics. We will start with the two windows on the left. Tap on them to take a closer look.
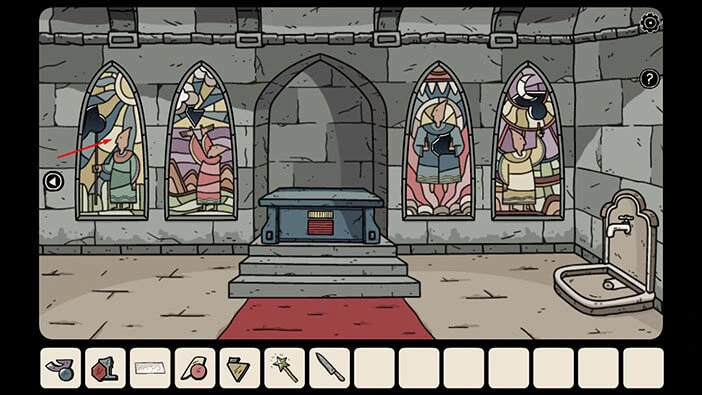
If we take a look at the window on the left, you will notice that one piece of the mosaics is missing. A part of this piece is of circular shape.
So, select the “Piece of stained” glass (with a pink circle) from the inventory and insert it into the empty slot on the mosaic on the left.
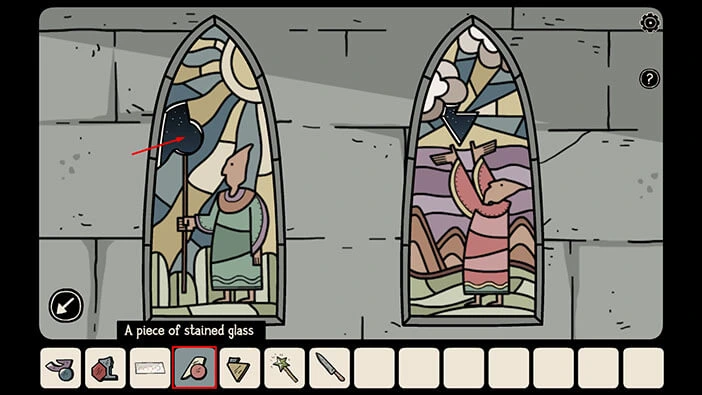
Let’s take a look at the window on the right. One piece of the mosaic is missing, and a part of this piece is shaped like a triangle.
So, select the “Piece of stained” glass (with yellow triangle) from the inventory and insert it into the empty slot on the mosaic on the right.
After that, tap on the arrow in the lower left corner to go back.
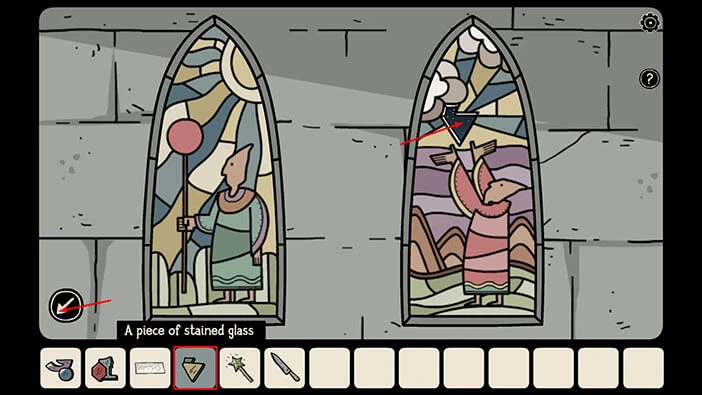
Next, let’s take a look at the windows on the right.
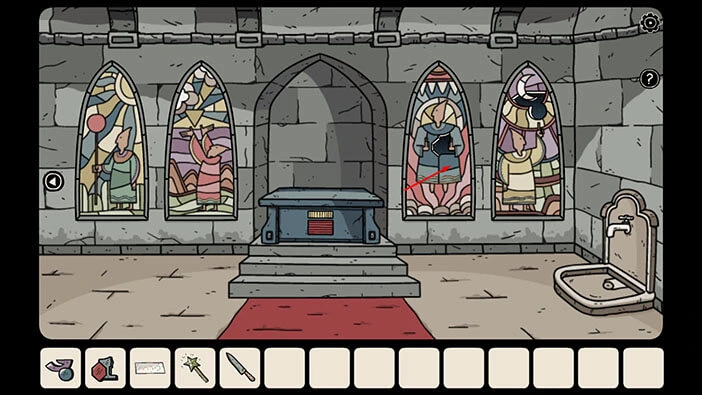
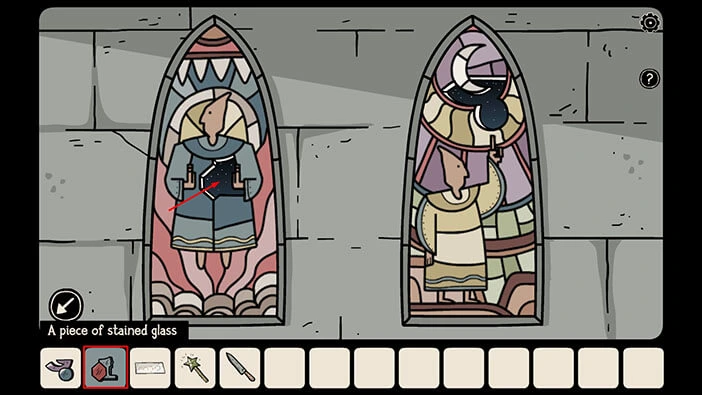
Let’s take a look at the window on the left. One piece of the mosaic is missing, and a part of this piece is shaped like a rhombus.
So, select the “Piece of stained” glass (with red rhombus) from the inventory and insert it into the empty slot on the mosaic on the left.
Next, let’s take a look at the window on the right. One piece of the mosaic is missing, and a part of this piece is shaped like a circle.
So, select the “Piece of stained” glass (with a blue circle) from the inventory and insert it into the empty slot on the mosaic on the right.
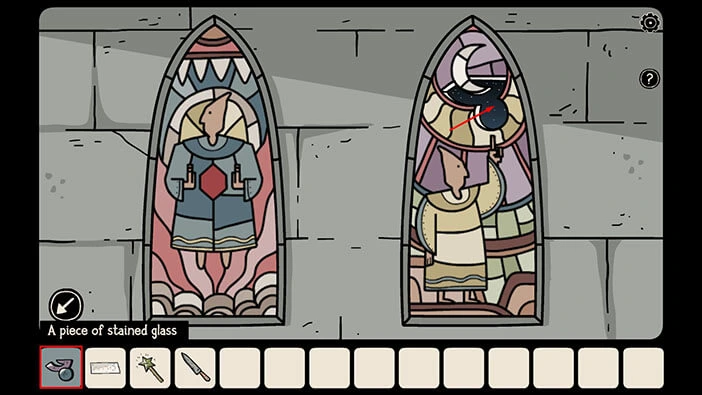
As soon as you insert the fourth piece, some symbols will appear on the mosaic pieces that we inserted. Also, the cover of the puzzle will open and you will notice that we will need four symbols to solve this puzzle.
So, let’s take a look at the symbols on the windows, starting with the two windows on the left.
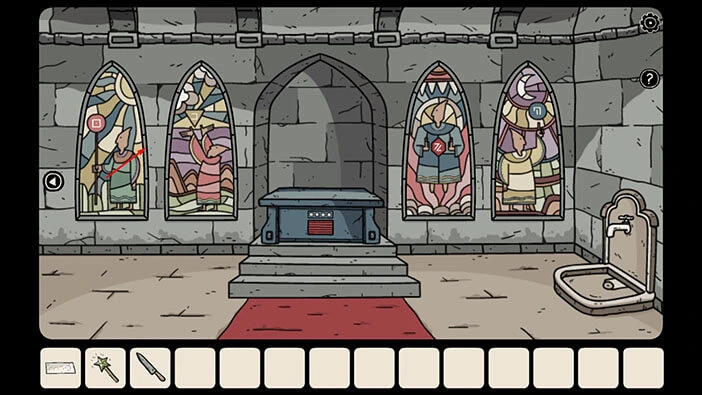
Let’s memorize/write down the symbols on the windows.
First symbol is located in the red circle.
Second symbol is located in the yellow triangle.
Once you’re done, tap on the arrow in the lower left corner to go back.
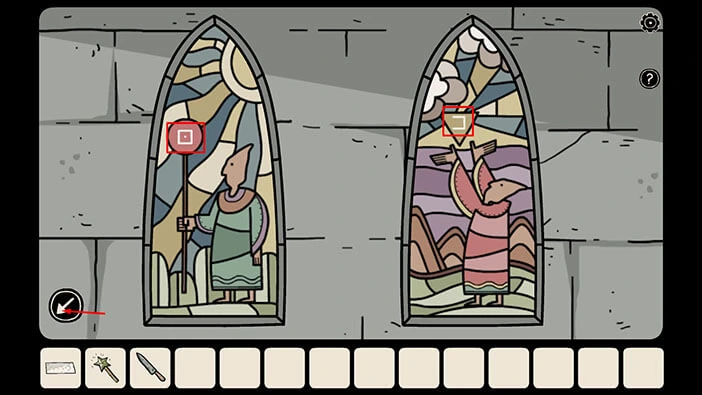
Next, let’s take a look at the symbols on the windows on the right.
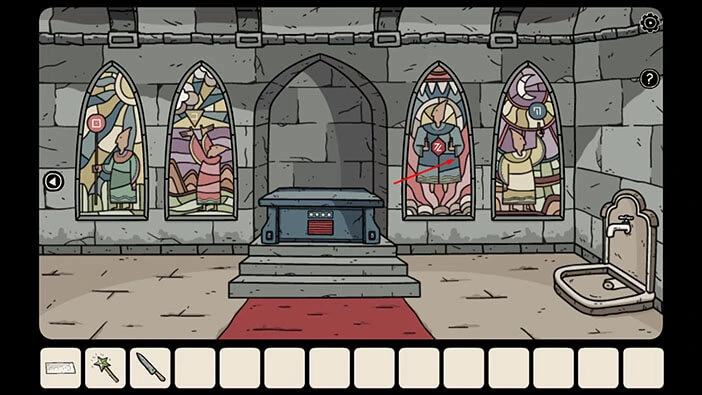
Let’s memorize/write down the symbols on the windows.
Third symbol is located in the red rhombus.
Fourth symbol is located in the blue circle.
Once you’re done, tap on the arrow in the lower left corner to go back.
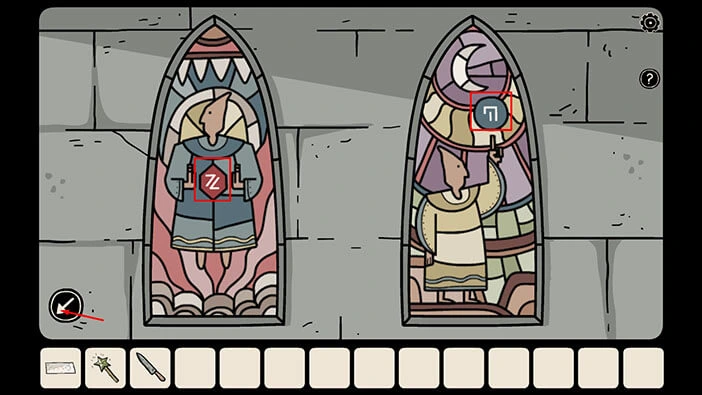
Next, let’s tap twice on the four squares located on the large chest in the middle of the room to take a closer look at the puzzle.
Enter the four symbols that we discovered on the pieces of mosaics.
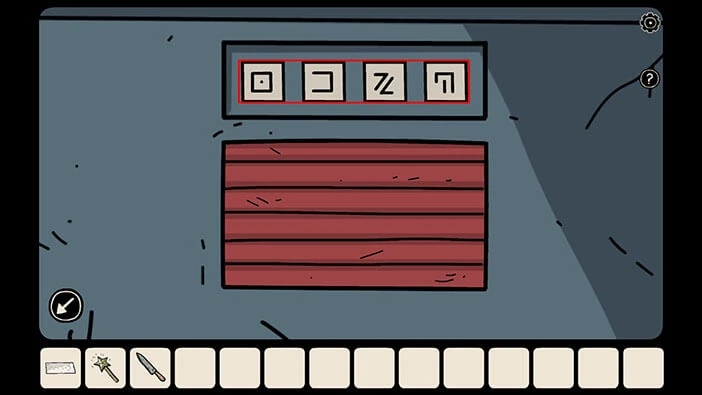
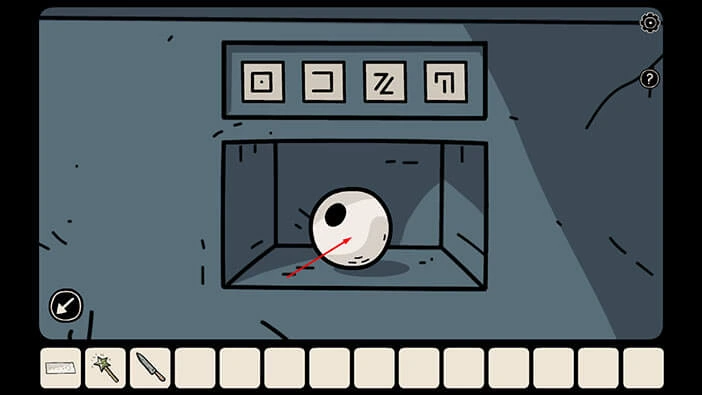
As soon as you enter the correct combination of symbols, the compartment below the squares will open, and inside you will find “Erduval’s Eye”, the artifact that can emit natural light. Well, this is what we have been searching for, so tap on it to pick it up.
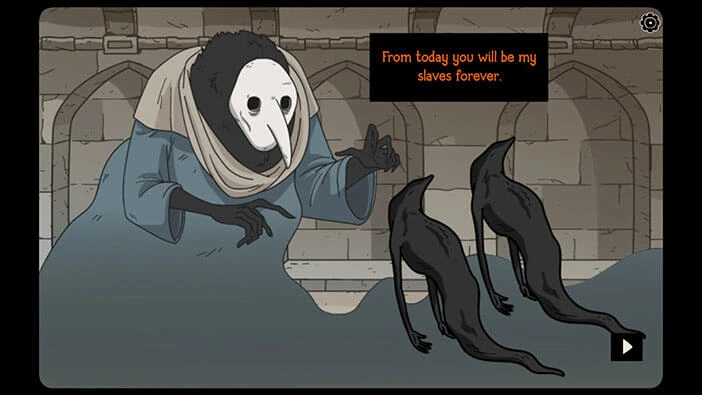
However, as soon as you pick up the “Erduval’s Eye” the demonic creature will appear behind Laia and Bastian. The demon said that they couldn’t escape and that they were out of time, meaning that he was now ready to turn them into his shadow slaves.
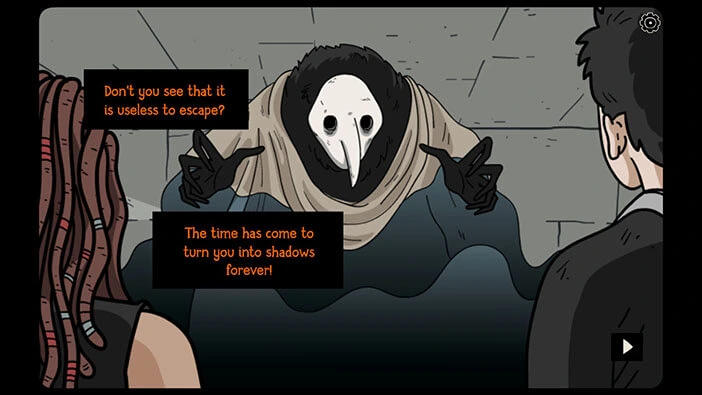
BAD ENDING
If you don’t react quickly, the demon will turn Bastian and Laia into shadows, and they will become his slaves for all eternity.
GOOD ENDING
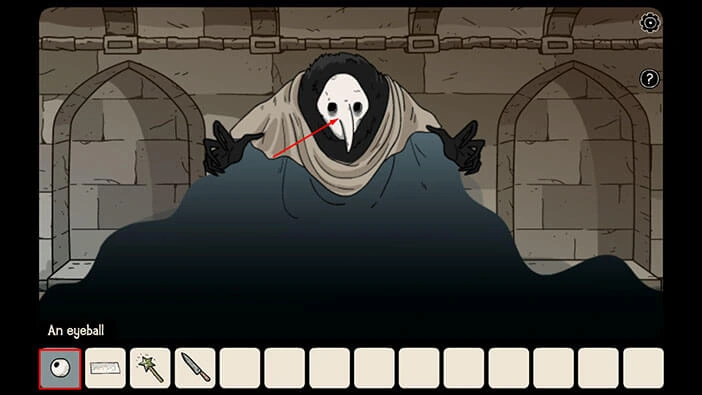
Quickly select the “Eyeball” (“Erduval’s Eye”) from the inventory and tap on the demon’s head.
Bastian will use the artifact to shoot a ray of natural light, which will knock down the demon, and in the process he will also knock off his mask.
The demon fell to his knees, and without his mask, Bastian and Laia saw that his actually human. Even more shockingly, Bastian recognized the demon and realized that he was actually his brother, Ezio. As a reminder, Bastian’s brother talked about shadows and a dark place, shortly before he died, or so Bastian believed.
Ezio will explain that he didn’t die, instead, he reached Penumbra, and it was his home from that day.
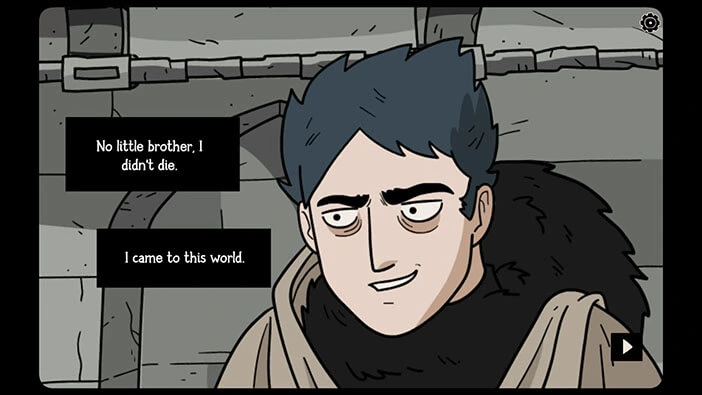
Bastian wants to know if his brother was the demon that cursed him in the cabin, many years ago. But, Ezio will quickly explain that the person behind the mask in the cabin all those years ago was actually their father. So, Bastian’s and Ezio’s father probably started this entire chain of events. Also, their father brought Ezio to Penumbra.
But, Ezio didn’t want to continue the conversation, instead, he raised his hand and was prepared to cast some dark spell on Bastian and Laia. He probably wanted to turn them into shadows.
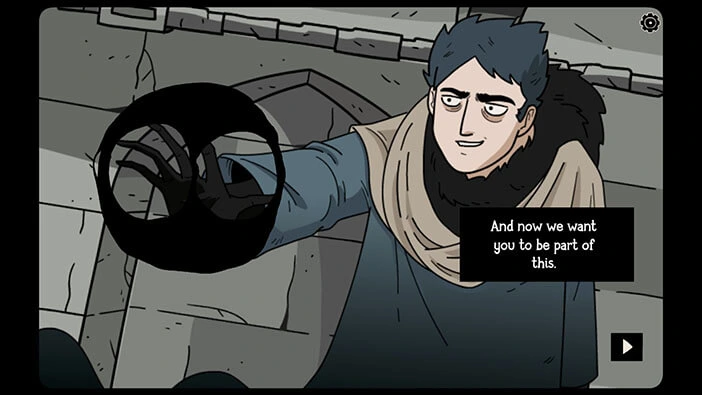
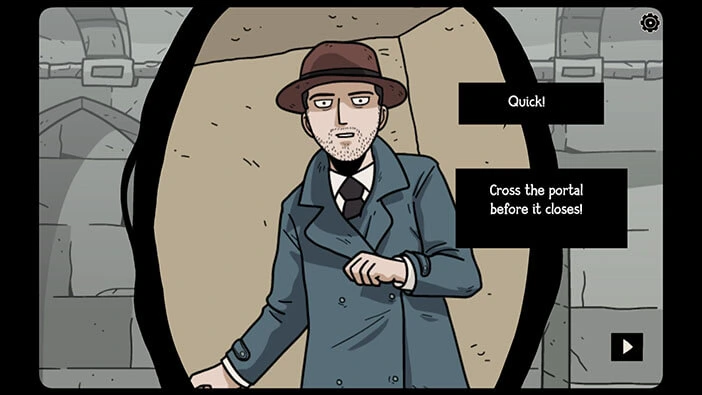
In the next scene, Detective Larsen opens the portal and he will see Bastian and Laia. He immediately realized that they were in grave danger, and urged them to run through the portal and come back to their world.
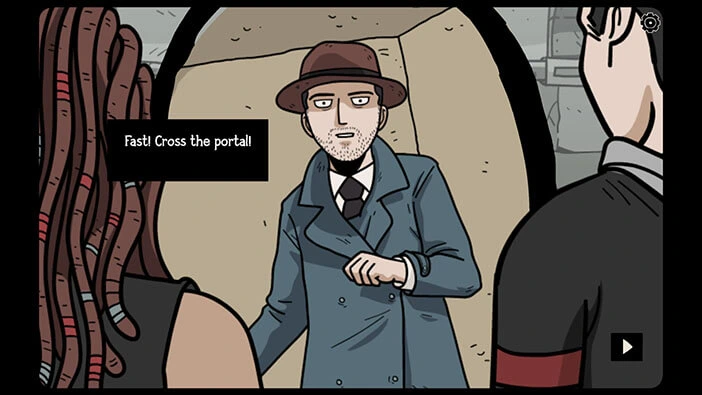
Ezio wanted to stop them, but Bastian used “Erduval’s Eye” again and shot him with the ray of natural light, knocking him down, once more.
They started running toward the portal, but the shadowy arms sprang from the ground and grabbed them.
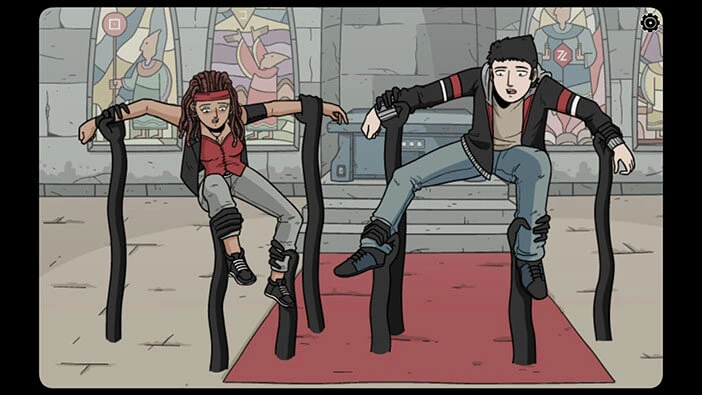
In the next scene, another demonic creature, or demonic shadow, will appear. This is probably Bastian’s and Ezio’s father. He won’t allow them to escape, and he is obviously much more powerful than Ezio. So, Bastian and Laia are in very big trouble.
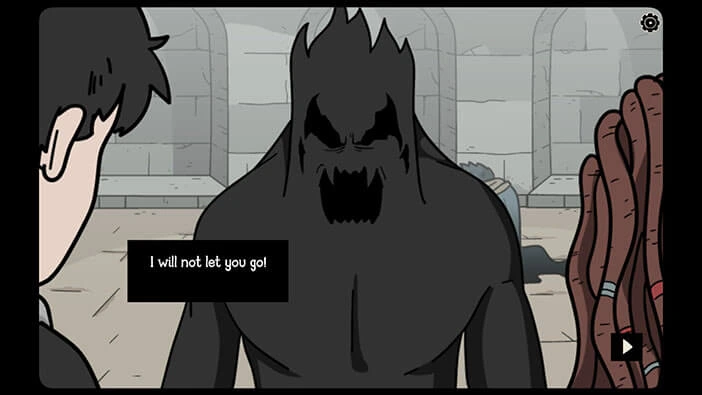
One of the shadowy arms will squeeze Bastian’s hand, and he will drop the “Erduval’s Eye”. The artifact will roll on the ground, and it will stop in front of Ezio, and he will pick it up.
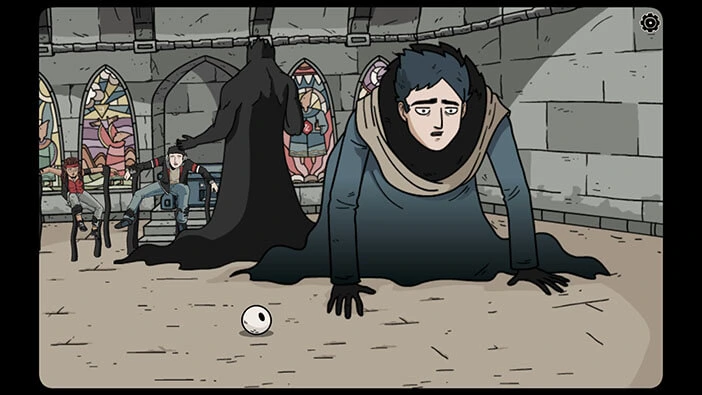
Ezio will slowly approach his father, and he will smile at Bastian. The brothers will look at each other in silence for several moments, but it looks like Ezio has switched sides. In the next scene, he grabs his father from behind, determined to end this madness.
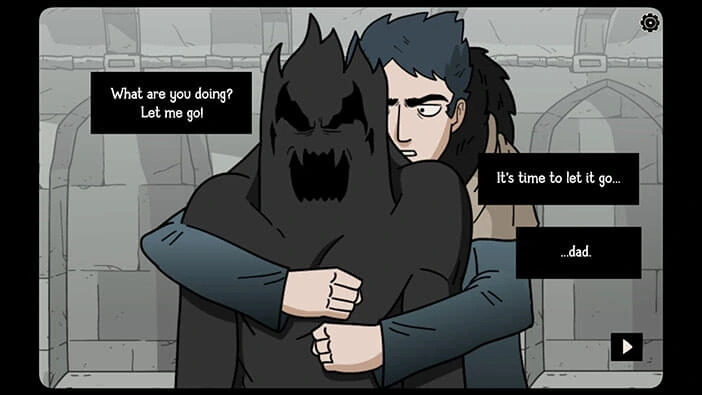
Ezio will squeeze “Erduval’s Eye” with all his might, and the artifact will break, releasing a huge blast of natural light, and destroying himself and his father in the process.
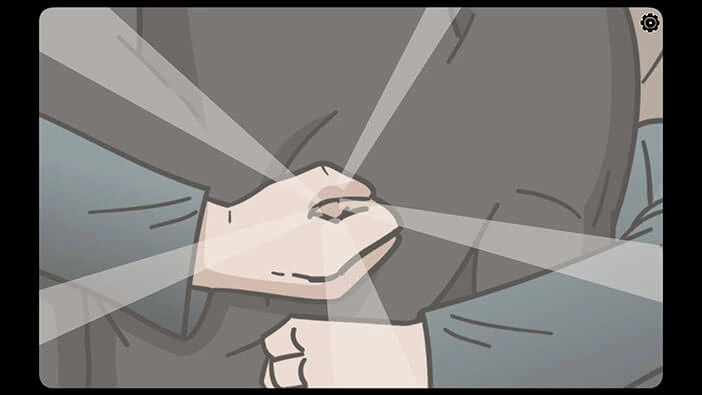
Bastian and Laia were shocked by this turn of events. However, Detective Larsen remained calm and urged them once more to run through the portal while it was still active.
Luckily, they managed to snap out of it and ran through the portal. They finally managed to return to their world.
We can see that Laia was reunited with her family.
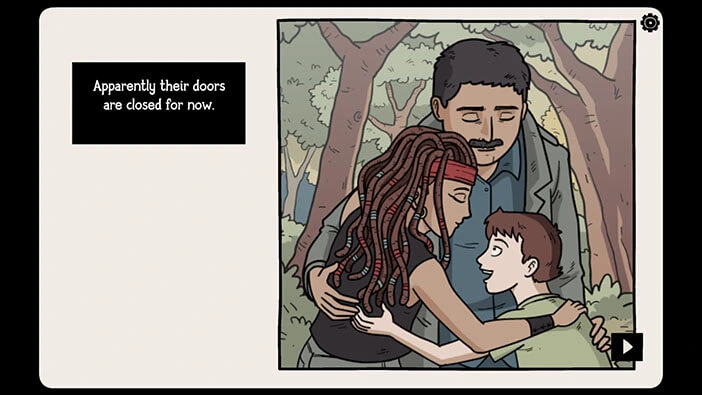
Detective Larsen hopes that all connections between Penumbra and his world are finally broken.
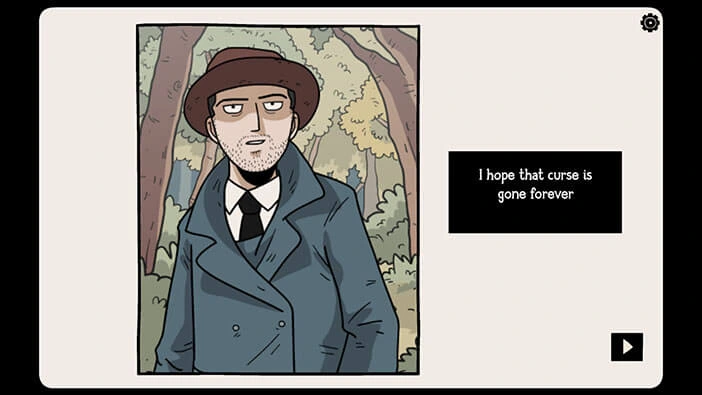
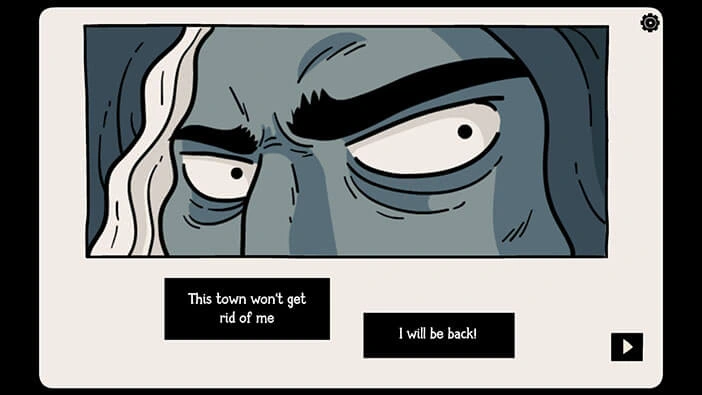
In the next scene, we can see a witch. With Laia back in the real world, the witch was transformed back to its original form. Well, since she lost her “disguise”, she was forced to leave Laia’s store and go into exile.
However, she vowed that she would come back to this town, and exact her revenge. So, I guess we will see a continuation of this story. I am also very curious about Froderick Nolsen. If the witch decides to take the voodoo doll that contains his spirit (why wouldn’t she?), she might be able to turn him into her ally or servant. Together, the two of them would be nearly unstoppable and would pose a great threat to the residents of Hidden Town.
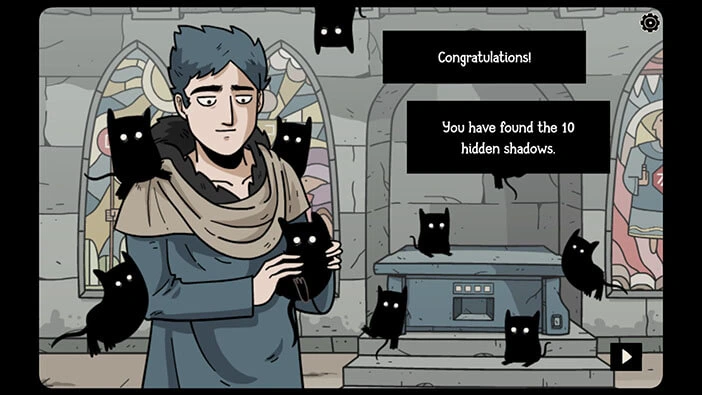
On the bright side, we managed to find all 10 shadow hamsters.
Well, that brings us to the end of this adventure. If you’re interested in Escape Room games, check out our guides for the other games of this genre.
Thank you for reading.