Escape From The Shadows | Premium Level
Hello everyone and welcome to Premium Level of our walkthrough for “Escape from the Shadows” an escape room game created by the Dark Dome. The Premium level is only available if you buy a full version of the game.
Escape from the Shadows is the seventh game in the series, and like the other games, the story is set in Hidden Town, which is filled with all kinds of mysteries. In this walkthrough, we will show you how to solve all the puzzles and finish the game.
NOTE: Some puzzles will CHANGE with each playthrough, but the logic behind solving the puzzles will always remain the SAME. For example, in one playthrough a code to open a safe could be 1234, and in another playthrough, the code could be 4321. However, you will always discover the numbers for the code at the same location and by using the same hints.
In the first scene, we can see Detective Larsen who got back to his office. He is writing the report, and when that’s done, he will close this case. He is very satisfied because he managed to save both Bastian and Laia. As a bonus, the witch was also forced to leave the Hidden Town (because her cover was broken) and with that, another potential threat was removed.
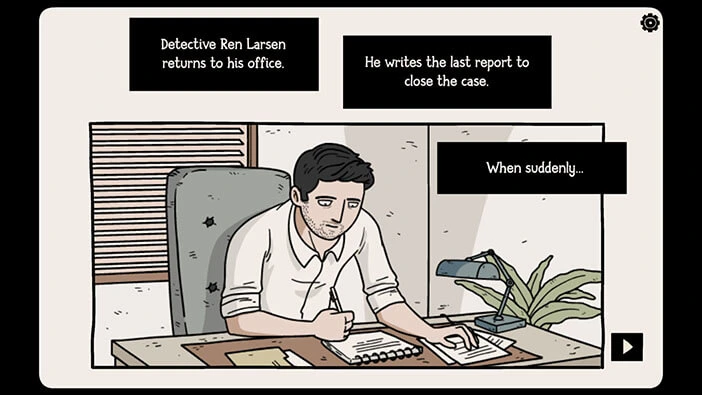
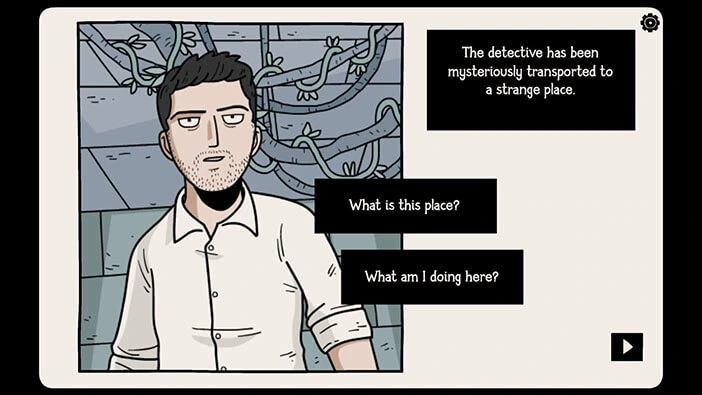
However, as Detective Larsen is reflecting on this case, a swarm of shadowy arms will appear all around him. Suddenly, Detective Larsen found himself in some strange place, probably in another dimension.
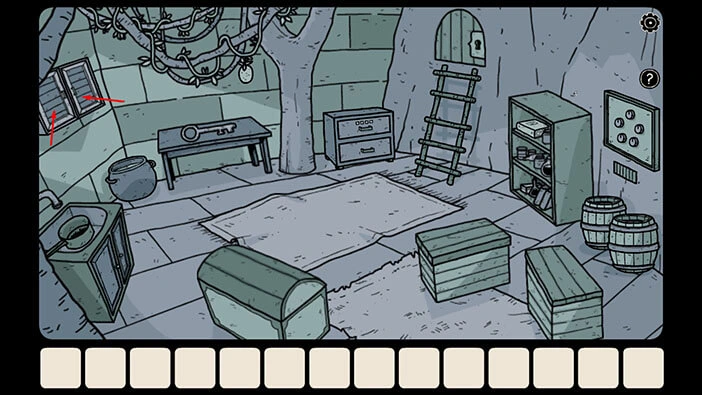
Ok, let’s explore this room, and find a way out. Tap on the wall cabinet on the left (above the cauldron) to take a closer look at it. After that, tap on both cabinet doors to open them.
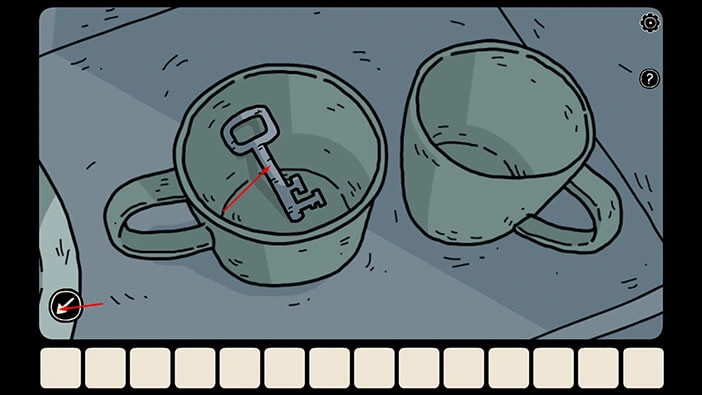
Tap on the top right part of the cabinet to examine it. In the glass on the left, you will find a “Small Key”. Tap on it to pick it up.
After that, tap twice on the arrow in the lower left corner to go back.
Next, tap on the box on the right to take a closer look at it, and tap again to open it.
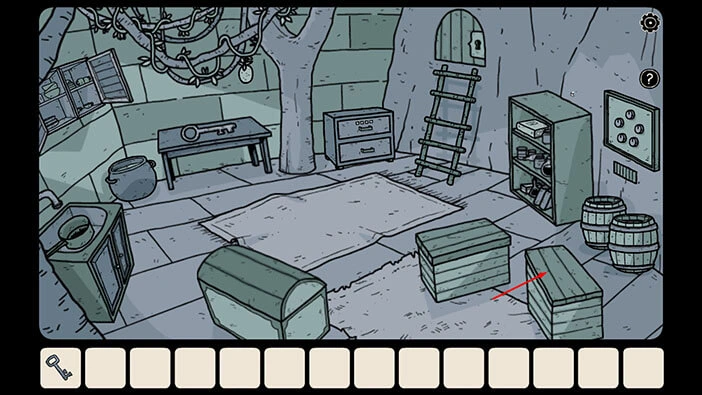
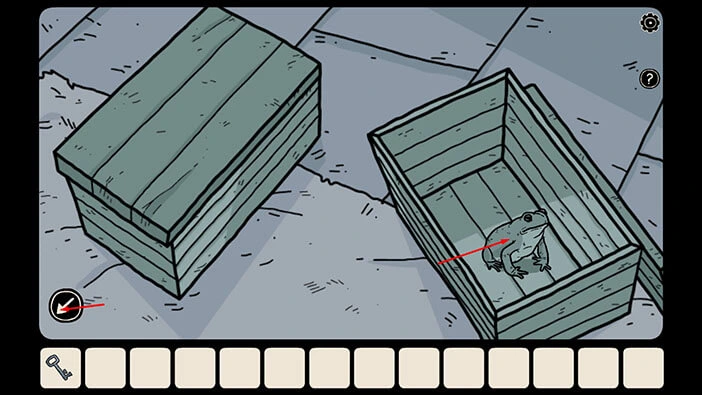
In the box you will find a “Frog” so tap on it to pick it up. After that, tap on the arrow in the lower left corner to go back.
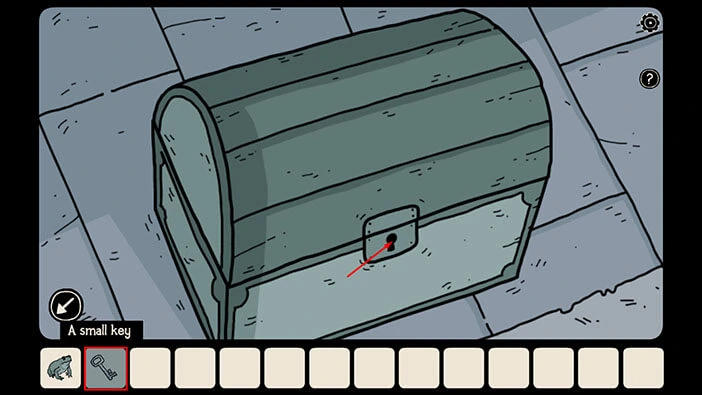
Next, tap on the large chest, located to the left of the two boxes, to take a closer look at it. After that, select the “Small Key” from the inventory and use it to unlock the chest.
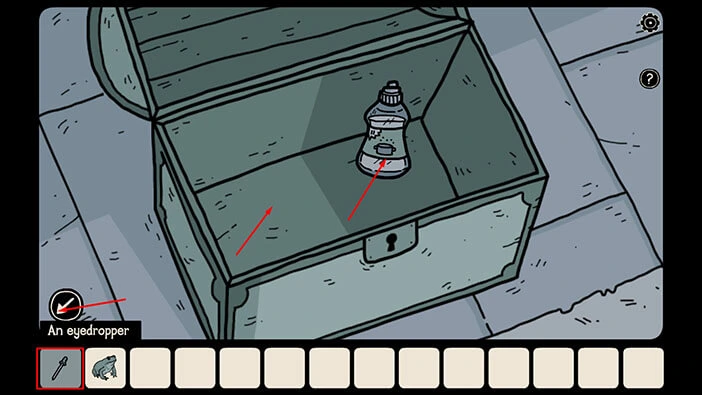
In the chest, you will find an “Eye dropper” and a “Bottle of liquid soap”. Tap on these two items to pick them up.
After that, tap on the arrow in the lower left corner to go back.
Next, tap on the shelf on the right to take a closer look at it. Here, you will see a fly and it is just buzzing around the top of the shelf.
So, select the “Frog” from the inventory and put it at the top of the shelf.
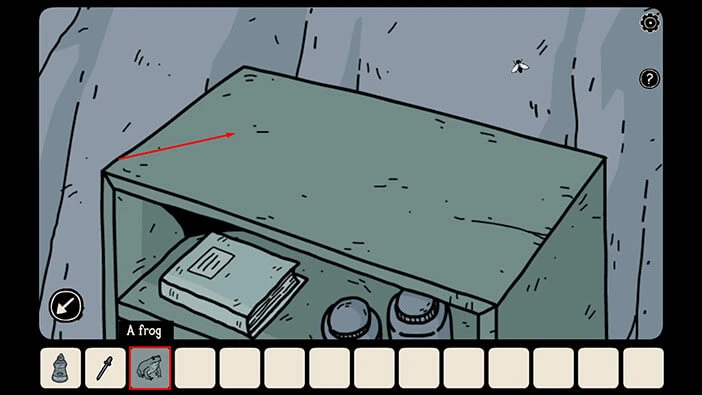
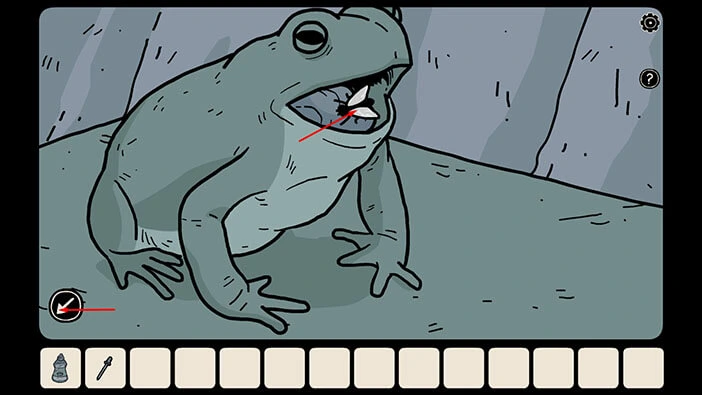
The frog will catch the fly with its tongue, so let’s tap on the frog to take a closer look at it, then tap on its mouth.
Inside the frog’s mouth, you will see a “Fly” so tap on it to pick it up.
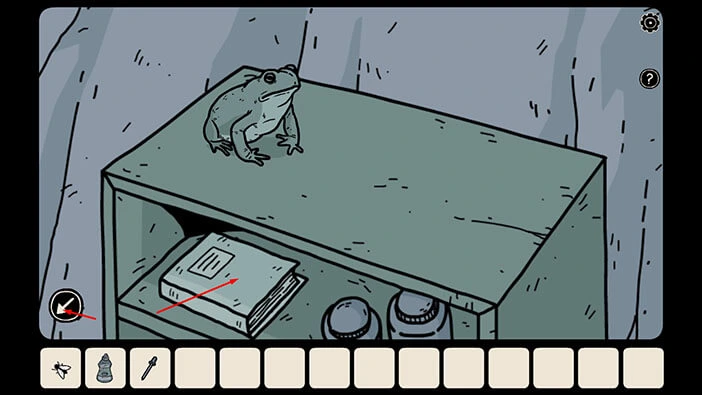
After that, tap once on the arrow in the lower left corner to go back.
On the shelf below the frog, you will notice a “Book”. Tap on it to pick it up.
After that, tap on the arrow in the lower left corner to go back.
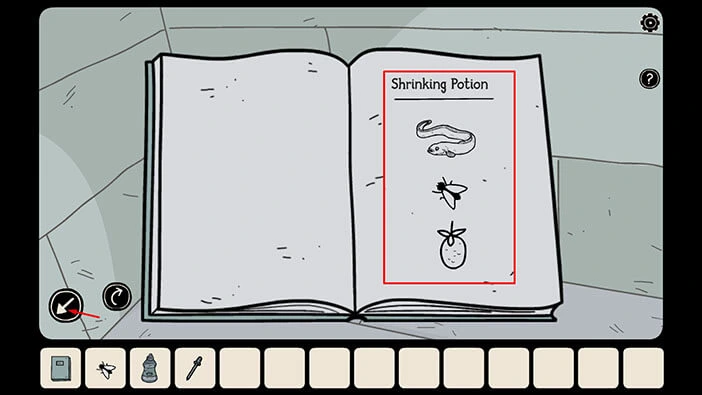
Tap on the “Book” in your inventory to examine it, then tap on the arrow on the right to open it.
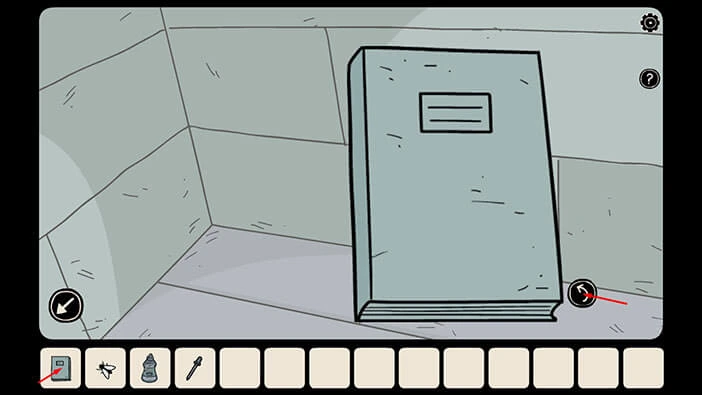
Here, we can see that we will need three ingredients in order to create a shrinking potion. These ingredients are an “Electric Eel”, a “Fly”, and a “Pineapple”.
When we have all three ingredients, we can use them to shrink the giant key that is located on the table, next to the cauldron.
Ok, we just discovered our main task. Tap on the arrow in the lower left corner to go back.
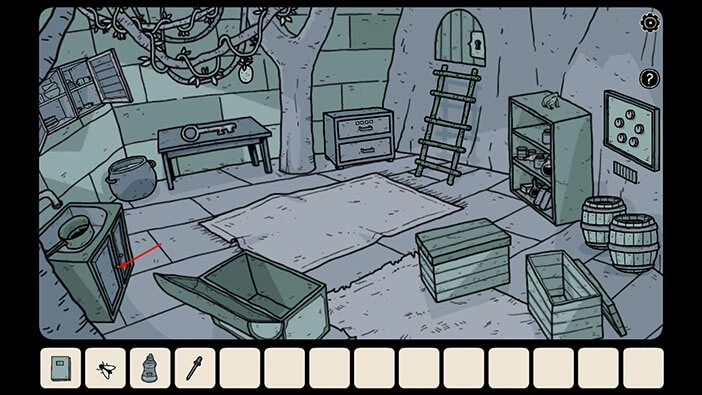
Next, tap on the cabinet below the sink to take a closer look at it.
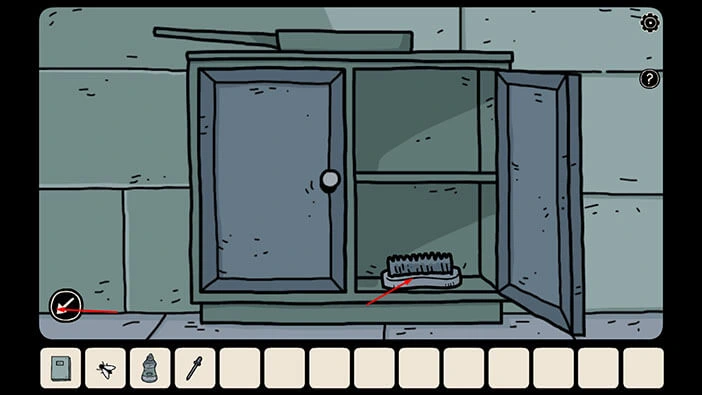
In the compartment on the right, you will find a “Brush”, so tap on it to pick it up. After that, tap on the arrow in the lower left corner to go back.
Next, tap on the dirty pan located in the sink on the left to take a closer look at it.
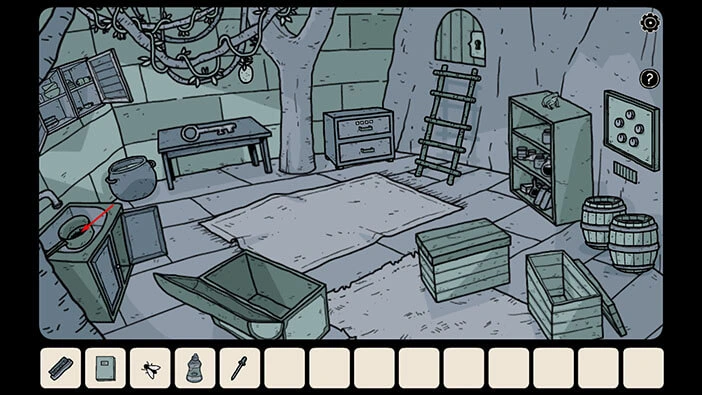
The pan is dirty, so let’s clean it. Select the “Bottle of liquid soap” and use it on the dirty pan.
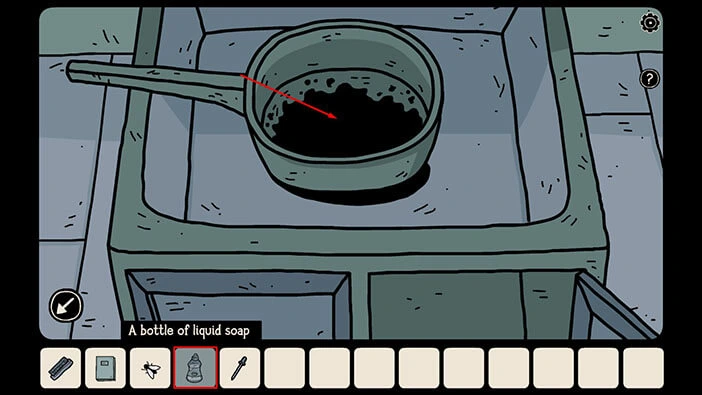
Next, select the “Brush” from the inventory and use it to clean the pan.
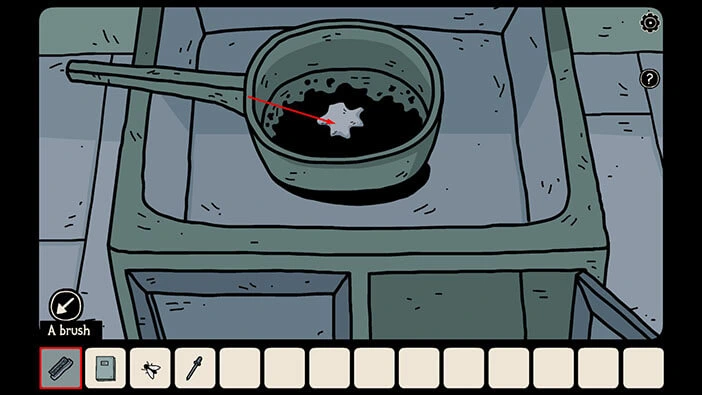
Once you clean the pan, you will see four symbols at the bottom. Memorize/write down these symbols because we will need them for the next puzzle.
Once you’re done, tap on the arrow in the lower left corner to go back.
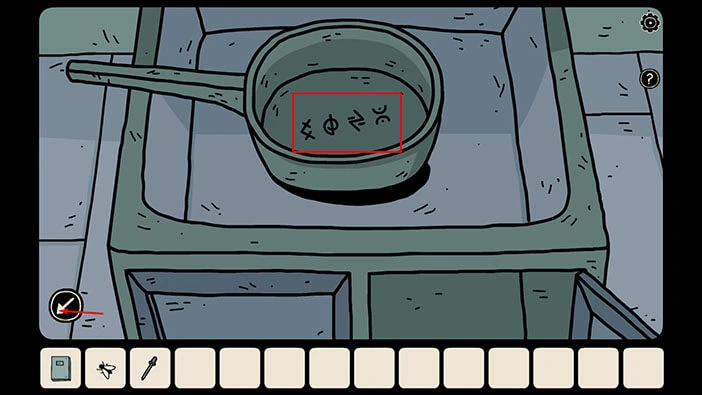
Next, tap on the top drawer of the cabinet located in the top right corner, to take a closer look. Tap again to start the interaction.

Let’s enter the four symbols that we discovered at the bottom of the pan.
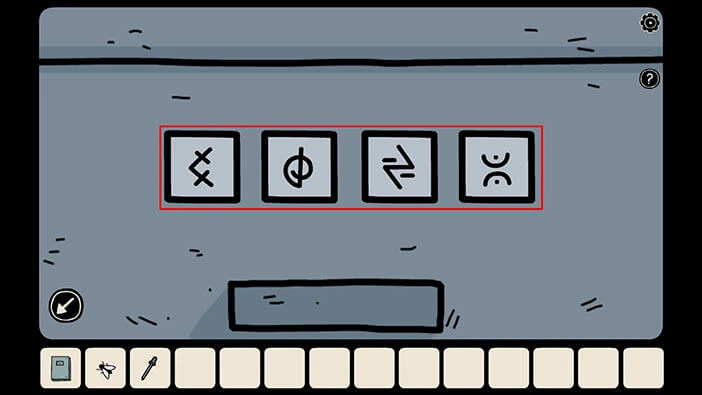
As soon as you enter the correct combination of symbols you will hear a clicking sound indicating that you unlocked the drawer, so tap on it to open it.
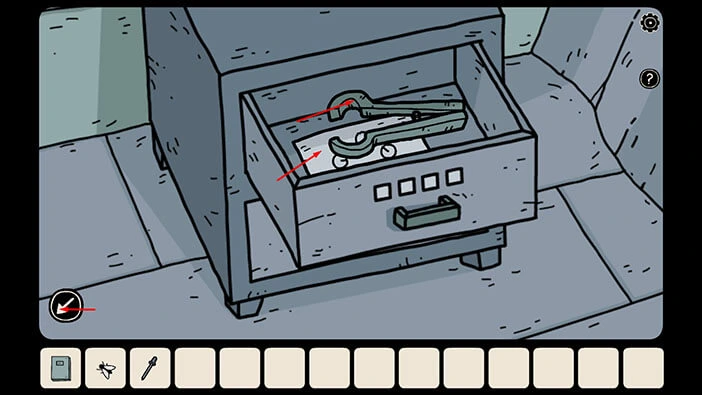
In the drawer, you will find a “Thong” and a “Note with the hint”. Tap on these two items to pick them up. After that, tap on the arrow in the lower left corner to go back.
Next, tap on the board with the five circles, located on the wall on the right (above the two barrels), to take a closer look at it.
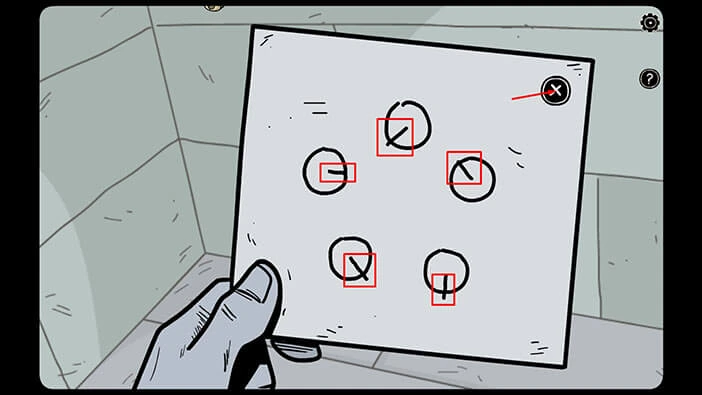
After that, tap on the “Note with hint” from the inventory to examine it.
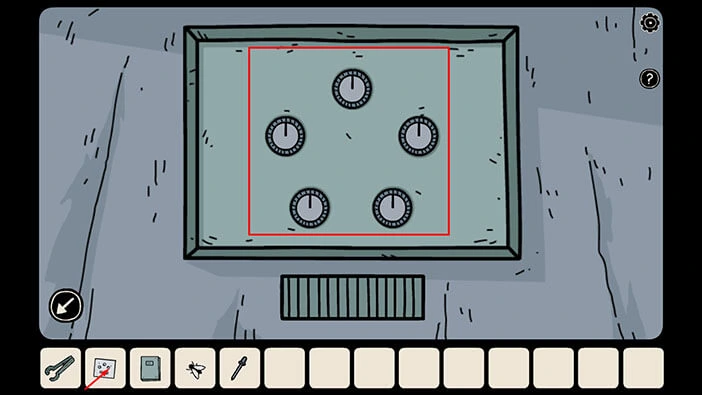
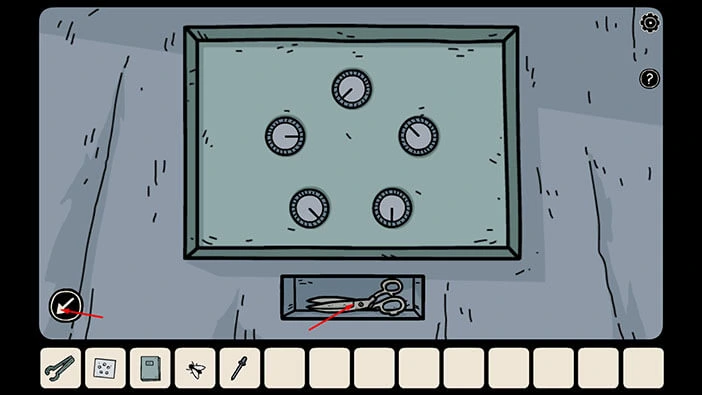
Here, we can see five circles, and the line on the circles represents the correct position of each circle. So, let’s memorize/write down these positions.
Top circle = Line is pointing Down and to the left
Left circle = Line is pointing to the Right
Right circle = Line is pointing Up and to the right
Bottom left circle = Line is pointing Down and to the right
Bottom right circle = Line is pointing Down
Once you’re done, tap on the “X” button to put down the note.
Let’s rotate the lines on the circles to the correct positions.
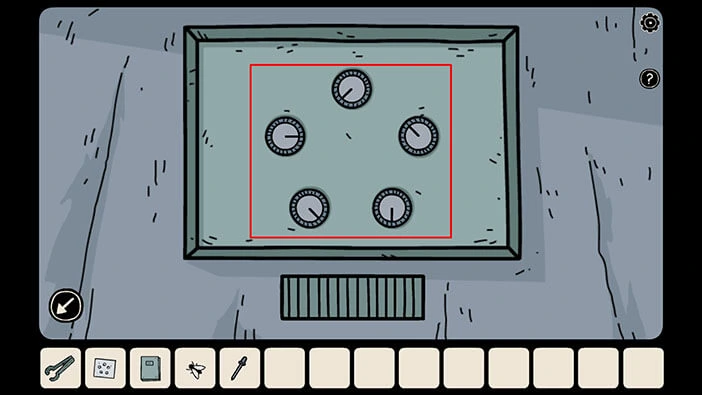
As soon as you rotate the circles to the correct positions, the compartment below them will open and you will find “Pair of scissors” so tap on it to pick it up.
After that, tap on the arrow in the lower left corner to go back.
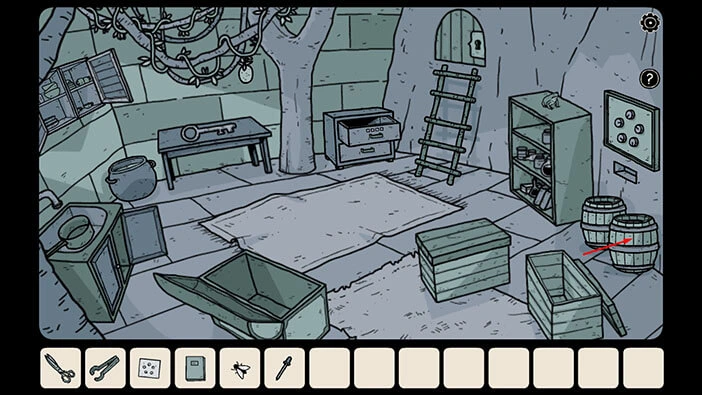
Previously, we found a “Thong” and we can use it to get the “Electric Eel” so let’s do that. Tap on the two barrels in the bottom right corner of the room, to look inside them.
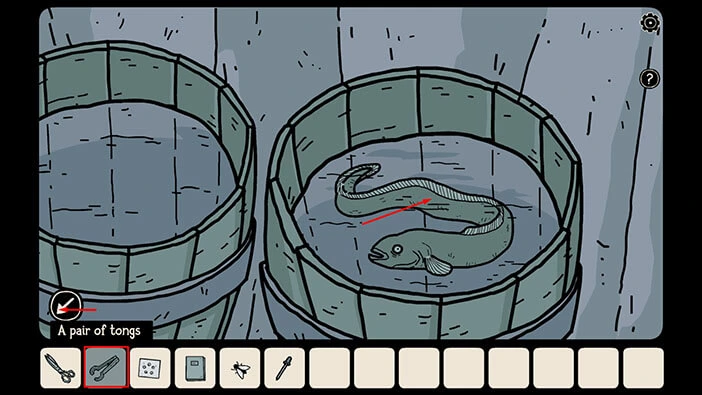
The barrel on the right is full of water, and we can see an “Electric Eel” inside. However, Detective Larsen can’t get the eel with his bare hands, because he would be electrocuted.
So, select the “Thong” from the inventory and use it to grab the “Electric Eel”. After that, tap on the arrow in the lower left corner to go back.
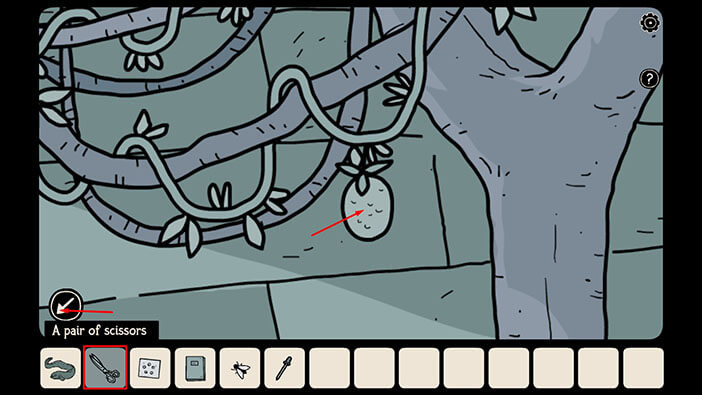
Next, we can use the “Pair of scissors” to get the “Pineapple”. Let’s do that.
If you take a look around the room, you will notice a pineapple, hanging from the tree (right above the table with the huge key). Tap on the pineapple to take a closer look.
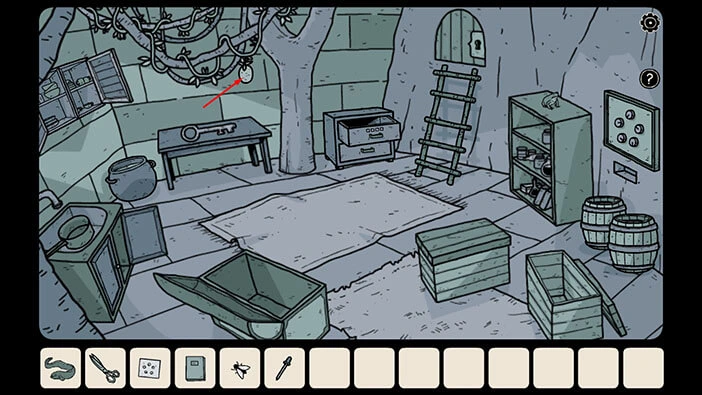
Select the “Pair of scissors” from the inventory and use it to get the pineapple.
After that, tap on the arrow in the lower left corner to go back.
Ok, we now have all three ingredients, so let’s craft a shrinking potion. Tap on the cauldron located in the top left corner of the room to start the interaction.
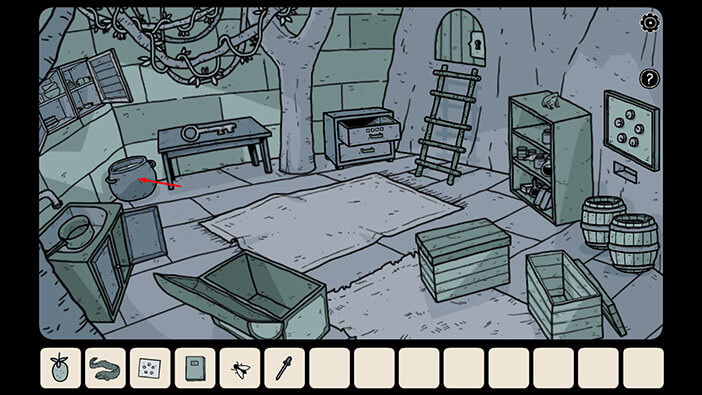
If you need a reminder, you can see the instructions for crafting the potion by tapping on the book in your inventory.
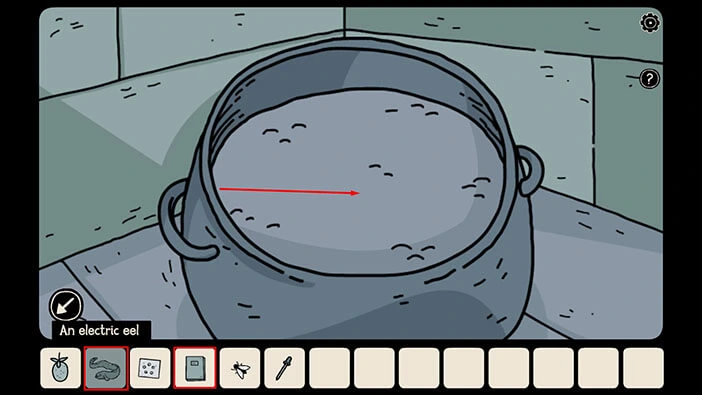
Let’s begin. Step 1
Select the “Electric Eel” from the inventory and put it into the cauldron.
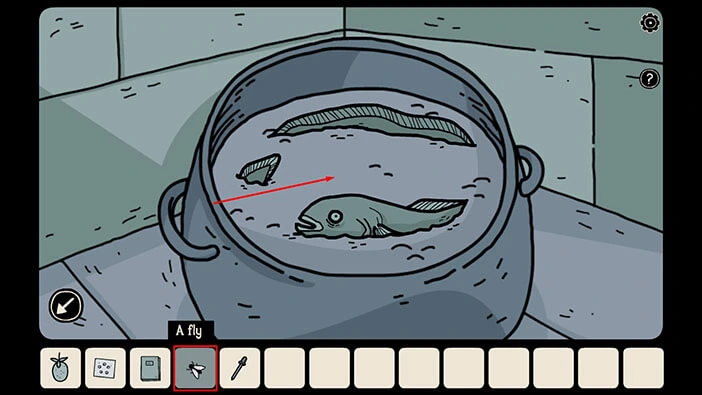
Step 2
Select the “Fly” from the inventory and put it into the cauldron.
Step 3
Lastly, select the “Pineapple” from the inventory and put it into the cauldron.
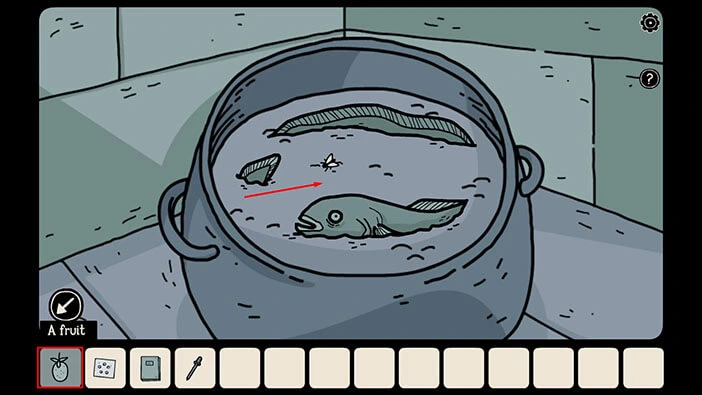
As soon as you put all three ingredients into the cauldron, the liquid in the cauldron will change color, and you will hear a specific sound (“success” sound) indicating that the potion is ready.
Select the “Eyedropper” from the inventory and use it to extract a bit of potion from the cauldron. A “Dropper with some potion” will be added to your inventory.
Once you’re done, tap on the arrow in the lower left corner to go back.
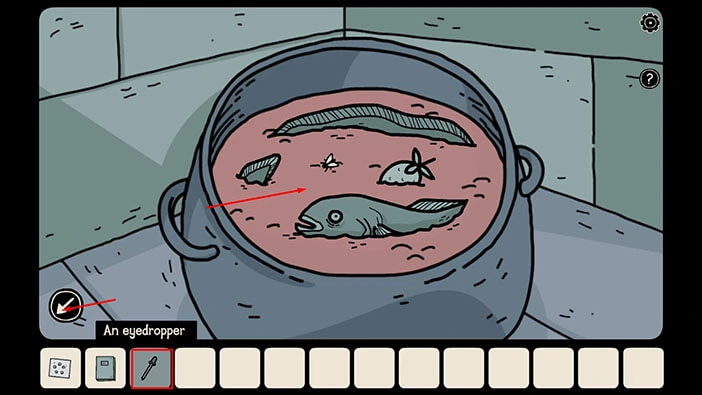
Tap on the huge key located on the table (just to the right of the cauldron) to take a closer look at it.

Select the “Dropper with some potion” from the inventory and use it on the key.
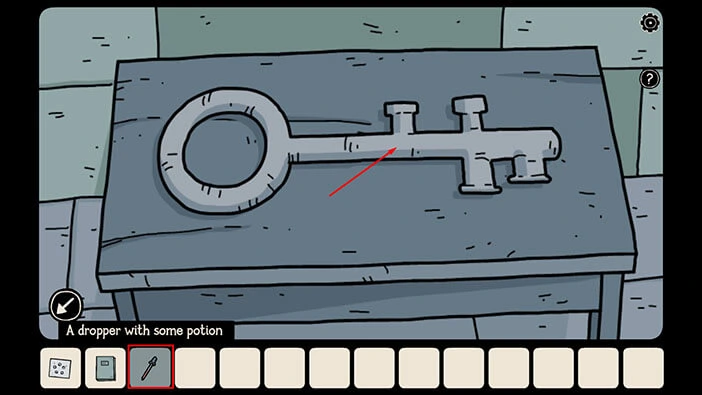
The key will shrink to its normal size, and our character can now use it to unlock the small door and escape from this strange place.
So, tap on the “Tiny key” to pick it up. After that, tap on the arrow in the lower left corner to go back.
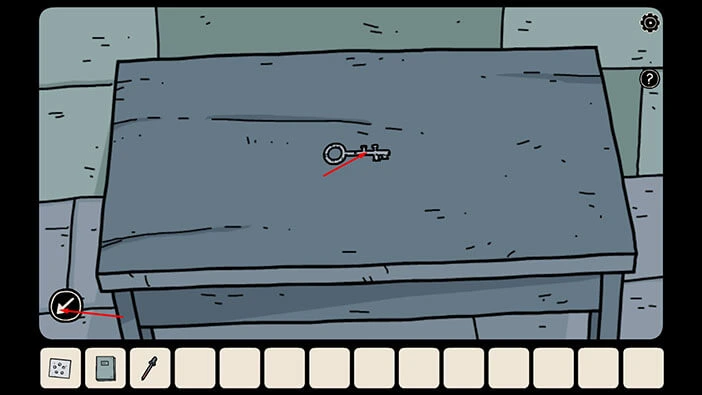
Tap on the small door on the right, located just above the ladder, to take a closer look.
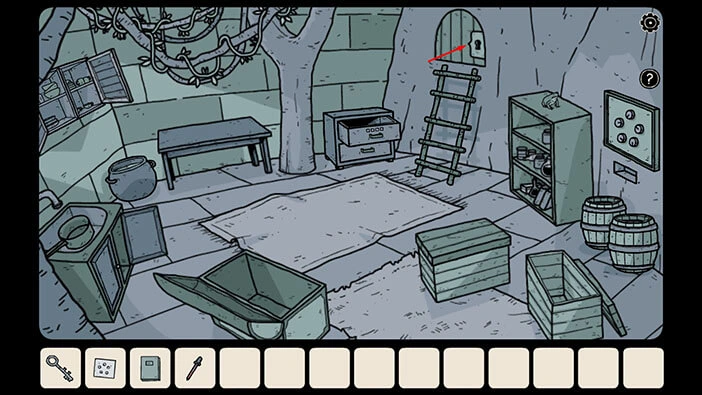
Select the “Tiny key” from the inventory and use it to unlock the door.
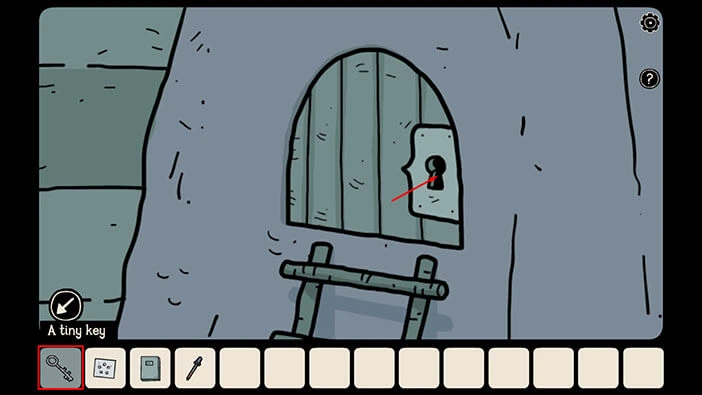
Tap on the door to open it, and tap again to look inside. This will activate the cutscene.
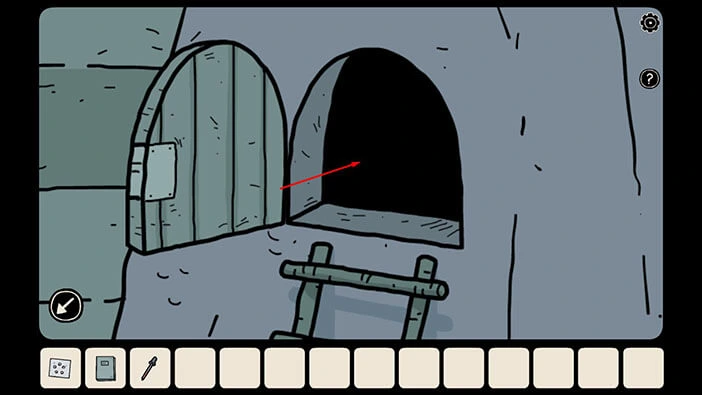
In the small compartment, behind the door, you will find a “Mask of the Shadow”. This is the mask that Ezio, Bastian’s brother, wore.
Detective Larsen wondered what would happen if he put on the mask. I don’t know, that seems like a bad idea.
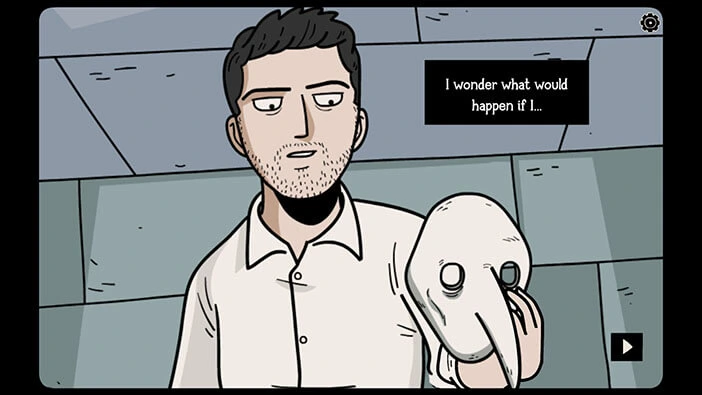
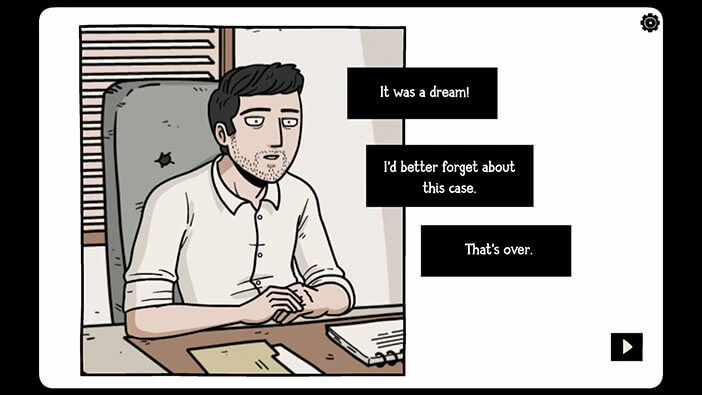
As soon as he put on the mask, Detective Larsen found himself back in his office. It seems that he fell asleep while he was writing the report. So, he concluded, that this was all just a bad dream.
Well, looks like this case really stressed out Detective Larsen. So, he decided to file it, forget about it, and head home to get some rest.
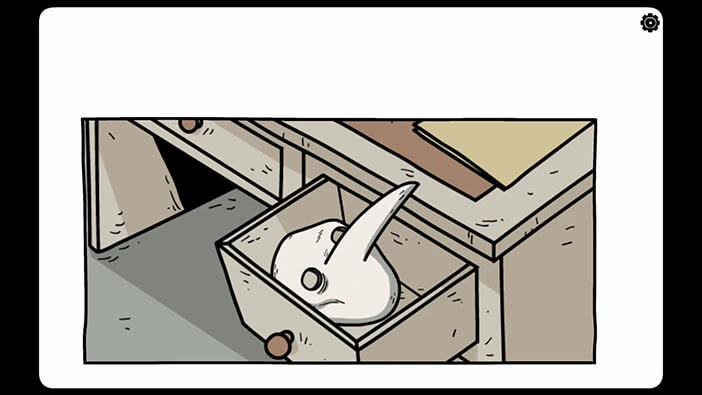
However, in the last scene, we can see a “Mask of the Shadow” in the drawer of his office desk. So, looks like he wasn’t dreaming. Maybe the “Mask of the Shadow” is a legendary artifact that has a will of its own, and is always looking for a new owner. As far as I understood, whoever wields this artifact has huge power, and this person will constantly look for more people to kidnap, drag into the Penumbra, and turn into shadow slaves.
Well, that would be an interesting idea for the next game in the series. One of the good characters (probably Detective Larsen) is corrupted and transformed into a Dark Lord. Or the same character wielding the powers of the “Mask of the Shadow” to fight the evil forces that are constantly attacking the “Hidden town”.
Well, that brings us to the end of the premium level. If you’re interested in Escape Room games, check out our guides for the other games of this genre.
Thank you for reading.