Escape From The Shadows | Part 3
Hello everyone and welcome to Part 3 of our walkthrough for “Escape from the Shadows” an escape room game created by the Dark Dome. Escape from the Shadows is the seventh game in the series, and like the other games, the story is set in Hidden Town, which is filled with all kinds of mysteries. In this walkthrough, we will show you how to solve all the puzzles and finish the game.
NOTE: Some puzzles will CHANGE with each playthrough, but the logic behind solving the puzzles will always remain the SAME. For example, in one playthrough a code to open a safe could be 1234, and in another playthrough, the code could be 4321. However, you will always discover the numbers for the code at the same location and by using the same hints.
NOTE: The third part of the walkthrough starts with Laia’s story, from the moment when she fell through the trapdoor. The third part of the walkthrough ends when Laia rejoins with Bastian (just before the continuation of Detective Larsen’s story).
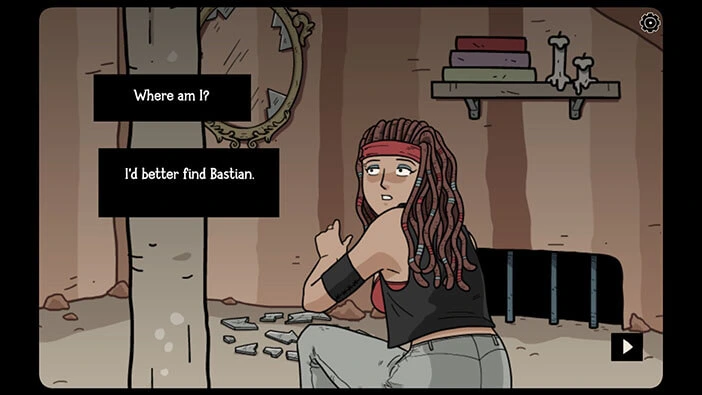
In the next scene, Laia falls through the trapdoor and finds herself in some strange room. She decided that the best course of action would be to look for Bastian.
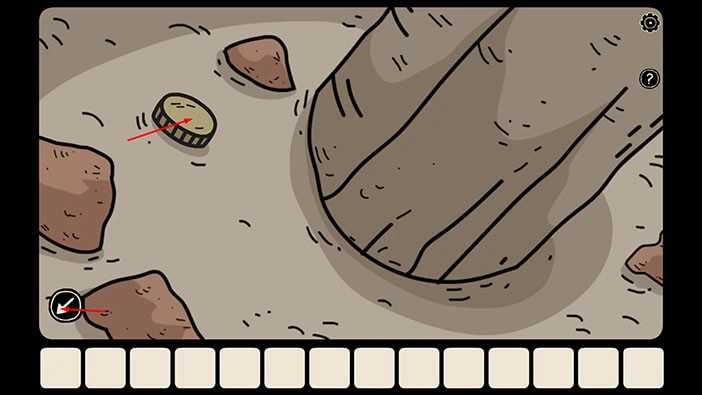
Let’s explore this room. On the ground, just to the left of the wooden column, you will notice a “Coin”. Tap on it to take a closer look, and tap again to pick it up.
After that, tap on the arrow in the lower left corner to go back.
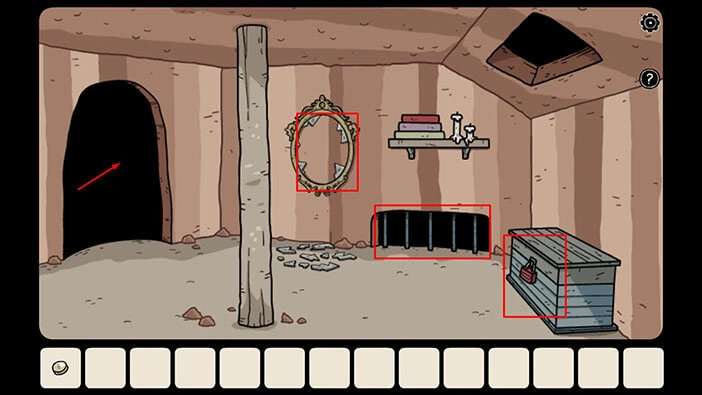
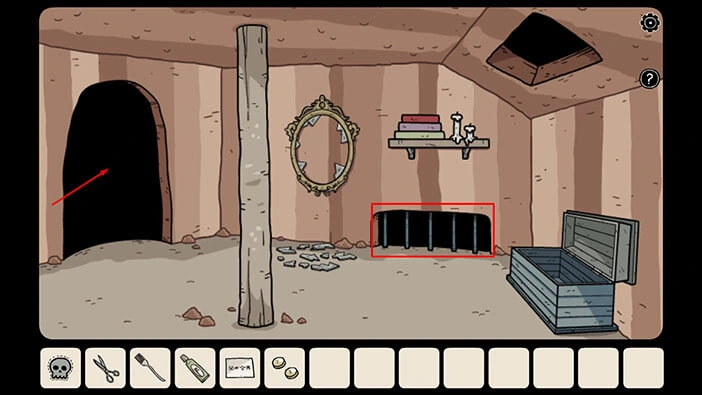
There are several more points of interest in this room. For, example the blue chest on the right, the metal bars below the wall shelf, and the broken mirror on the left. We will come back to these items a bit later in the walkthrough.
For now, tap on the doorway on the left to proceed to the next room.
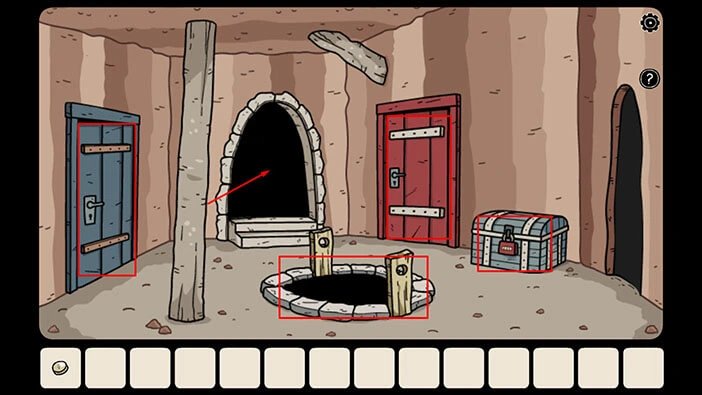
In this room, we also have several items that will become important later on. We have a large well in the middle of the room, another blue chest, and two doors, a blue door on the left and a red door on the right. We will come back to the red door shortly, and we will deal with the other problems later in the walkthrough.
For now, tap on the doorway in front of you to proceed to the next room.
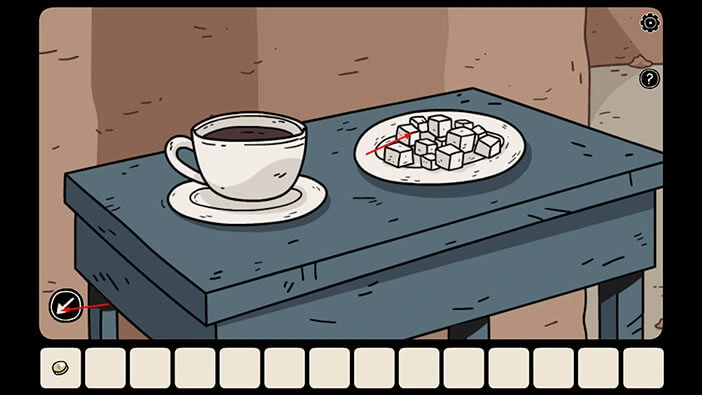
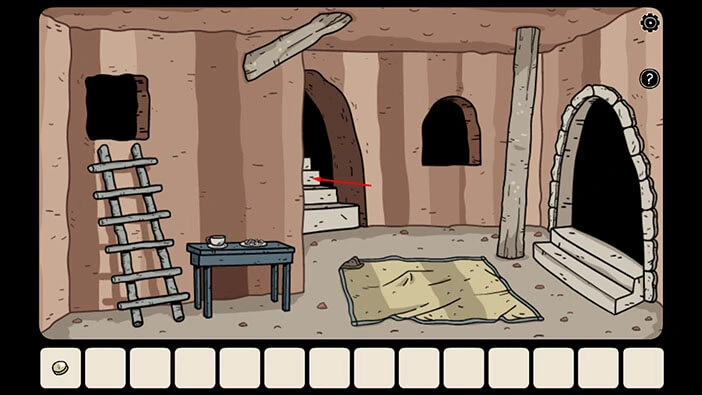
Tap on the blue table on the left to take a closer look at it. Here, we can see a pile of sugar cubes on the plate on the right. Tap on the “Sugar cube” to pick it up.
After that, tap on the arrow in the lower left corner to go back.
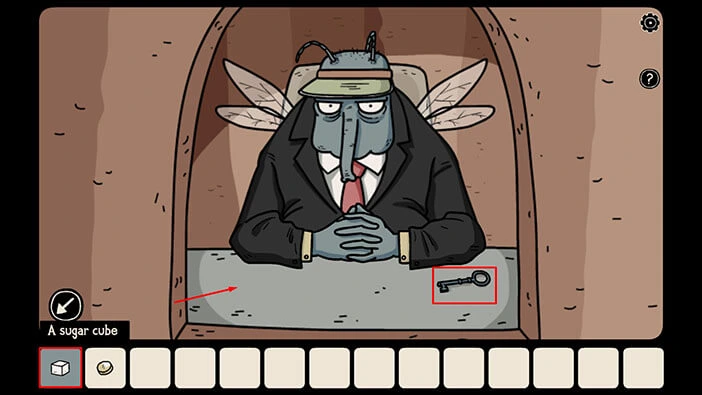
Next, tap on the window on the right to take a closer look at it. Here, we can see a humanoid fly, and it is an administrative worker. On the right, we can see a key but, in order to get it, we will have to find a way to distract the fly.
So, let’s select the sugar cube from the inventory and place it on the left side of the window.
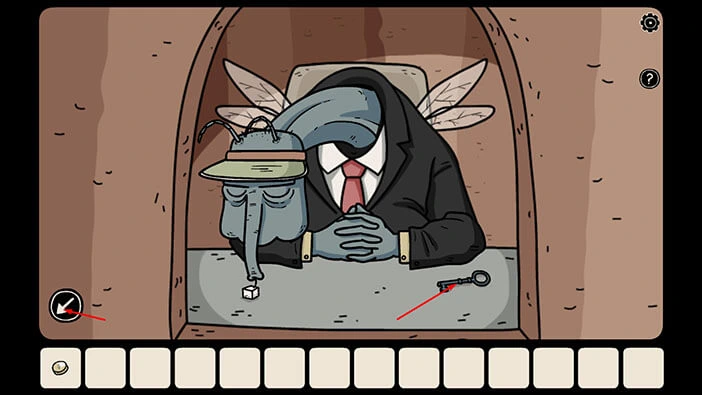
The fly will start sucking the sugar cube. So, let’s grab the key while it’s distracted. Tap on the “Old blue key” on the right to pick it up. This will trigger a short cutscene, and Laia will grab the key.
After the cutscene, tap on the arrow in the lower left corner to go back.
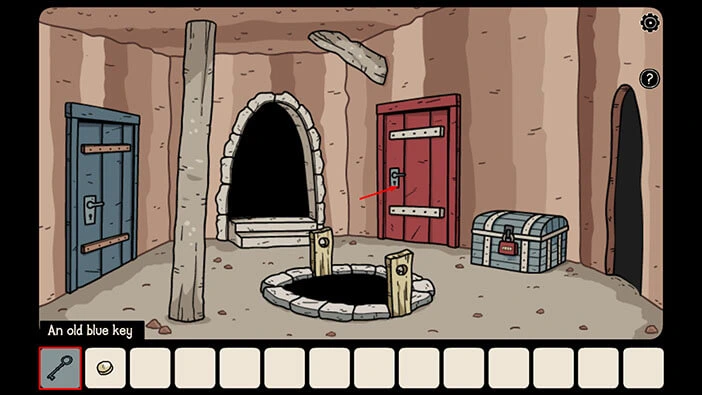
We can use the “Old blue key” to unlock the red door in the previous room (I would expect that the red key unlocks the red door).
So, let’s go back and open this door. Tap on the doorway on the right to go back to the previous room.

Select the “Old blue key” from the inventory and use it to unlock the red door on the right. After that, tap on the door to open it, and tap once more to proceed to the next room.
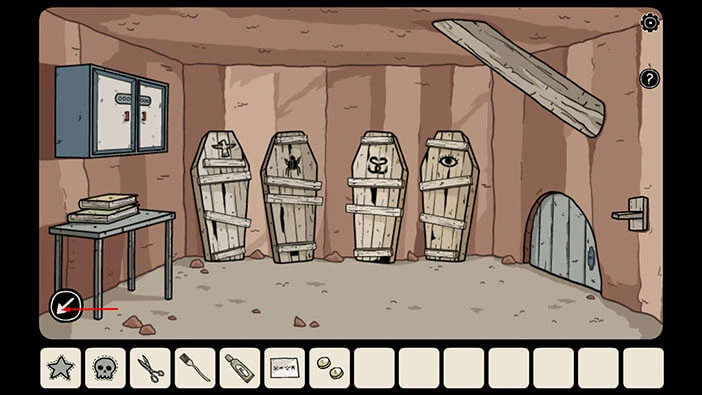
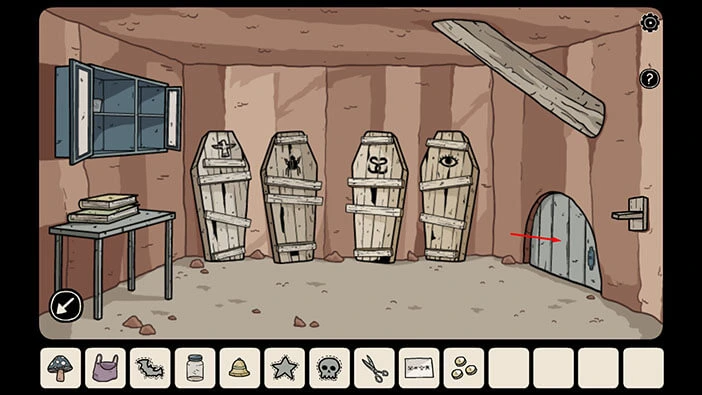
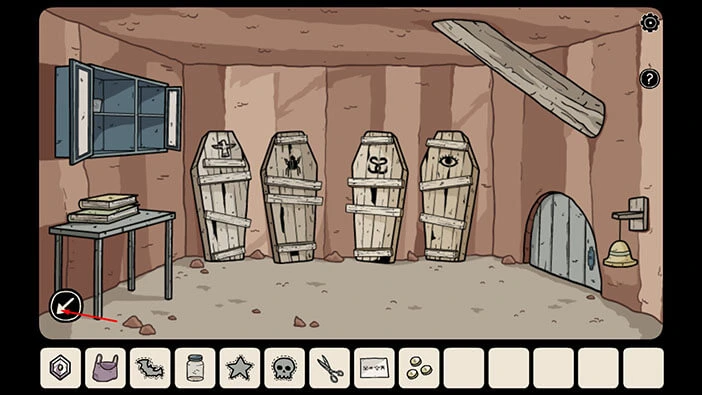
Here, we can see four coffins and each coffin is marked with a specific symbol. We will come back to the coffins in a moment.
For now, let’s tap on the arrow in the lower left corner to go back.
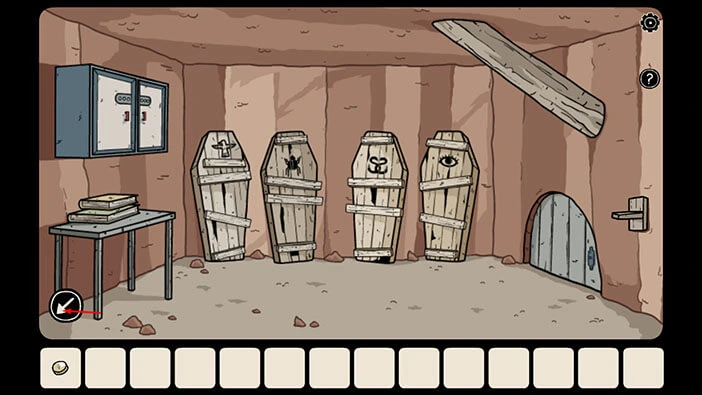
Tap on the doorway in front of you.
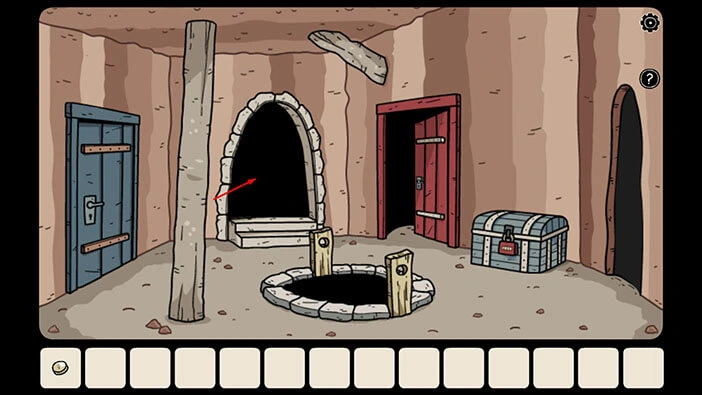
Next, tap on the stairs in front of you to proceed to the next room.
Here we can see two shadows armed with spears, and they are guarding the exit from this complex. They will stop you if you try to go past them. So, we will have to find a way to get rid of the guards. We will deal with this issue at the very end of this walkthrough.
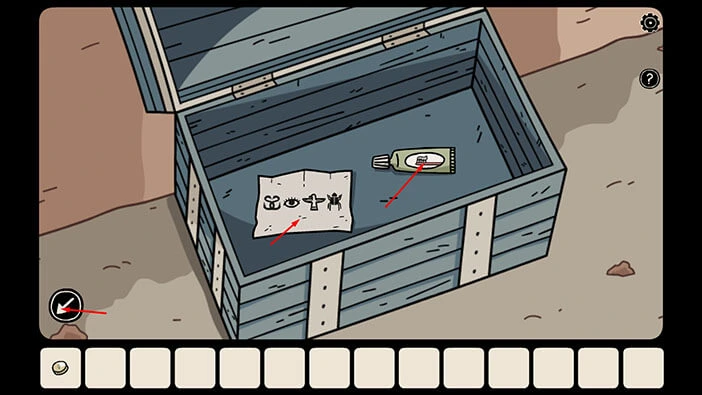
For now, tap on the blue chest on the left to take a closer look at it, and tap again to open it.
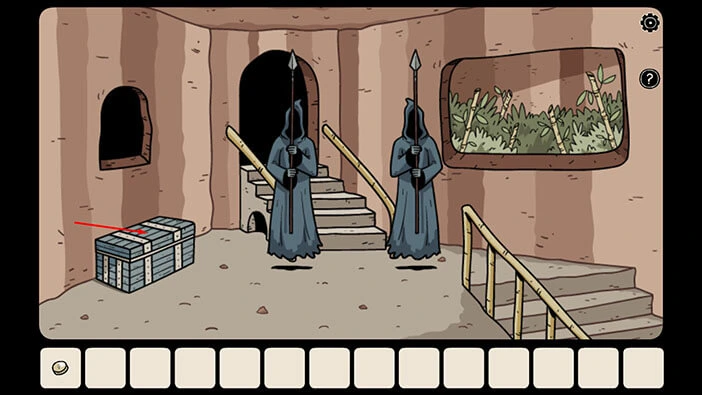
In the chest, you will find a “Note with symbols” and “Toothpaste”. Tap on them to pick them up. The four symbols on the note are the same as the four symbols that we saw on the coffins, and we will come back to that puzzle in a moment.
Tap on the arrow in the lower left corner to go back.
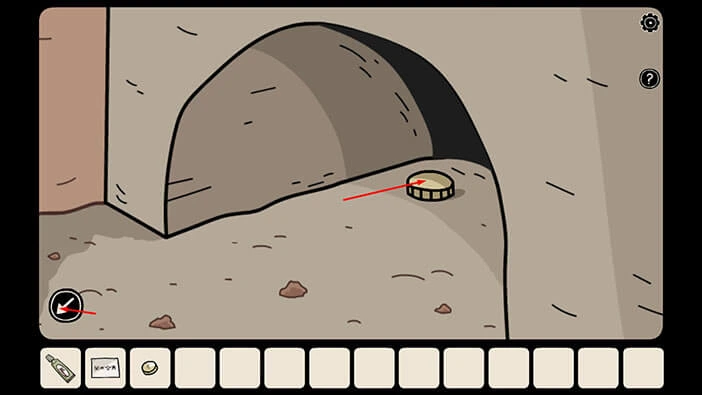
Before we go back to the room with the coffins, there is one more thing that we should do in this room. If you take a look at the stairs, behind the guards, you will notice a hole on the left side of the stairs. Tap on this hole to take a closer look at it.
Here, you will find another coin, so tap on it to pick it up. After that, tap on the arrow in the lower left corner to go back.
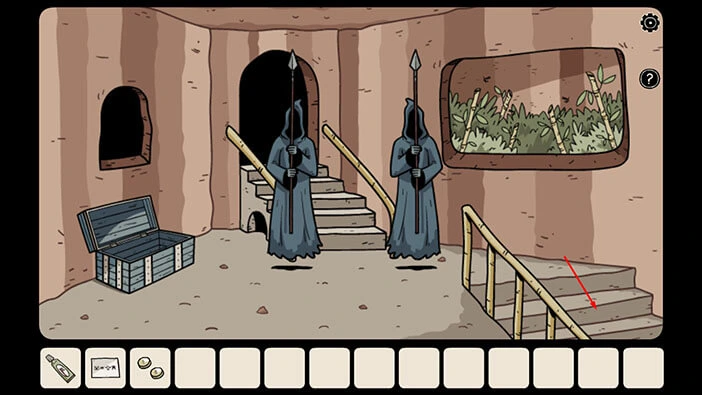
Let’s go back to the previous room. Tap on the stairs on the right (leading down).
Let’s go back to the room with coffins. Tap on the doorway on the right.
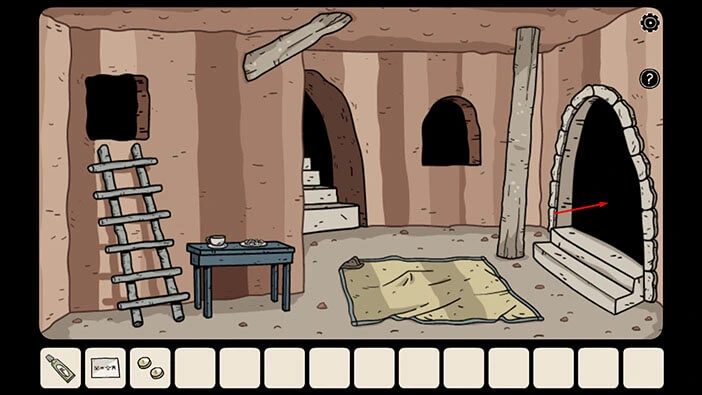
Next, tap on the red door on the right to proceed to the room with coffins.

Let’s tap on the note with symbols in our inventory and examine it.
Let’s memorize/write down the order of the symbols. Here, we have
First = Two snakes
Second = Eye
Third = Eagle
Fourth = Bug
Once you’re done, tap on the “X” button to lower the note.
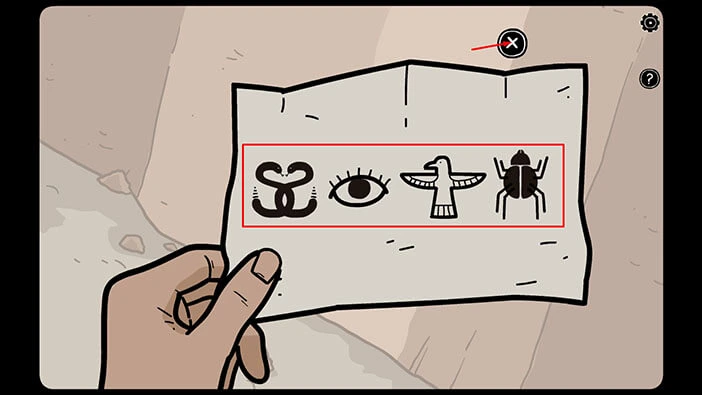
Let’s tap on the coffins in the same order as the symbols on the note. The first symbol was Two Snakes. So, let’s tap on the third coffin (left to right) marked with Two Snakes.
As soon as you tap on the coffin, you will hear two knocks from the inside of the coffin and it will shake two times. This is very important information because the number of knocks on the coffin represents the solution for the next puzzle. So, let’s memorize/write it down.
First number = 2
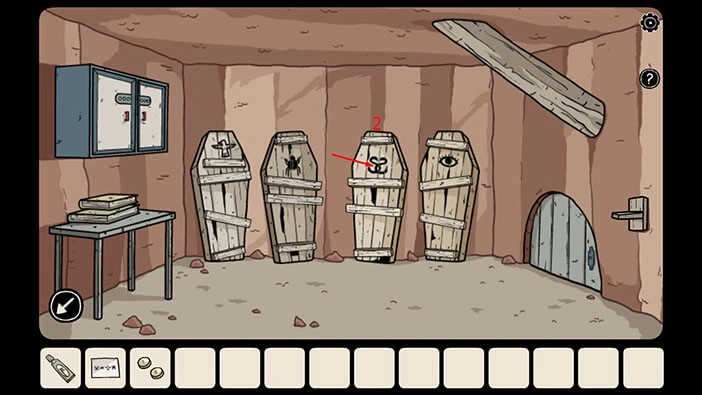
The second symbol was the “Eye”. So, let’s tap on the fourth coffin marked with an Eye symbol.
As soon as you tap on the coffin, you will hear five knocks from the inside of the coffin and it will shake five times. Let’s memorize/write down this information.
Second number = 5

The third symbol was the “Eagle”. So, let’s tap on the first coffin marked with the Eagle symbol.
As soon as you tap on the coffin, you will hear three knocks from the inside of the coffin and it will shake three times. Let’s memorize/write down this information.
Third number = 3

The fourth symbol was the “Bug”. So, let’s tap on the second coffin marked with the Bug symbol.
As soon as you tap on the coffin, you will hear four knocks from the inside of the coffin and it will shake four times. Let’s memorize/write down this information.
Fourth number = 4

When we put these numbers together, we will get the number “2534”. Memorize/write down this information because we can use it to unlock the blue chest in the first room. Let’s do that.
Tap on the arrow in the lower left corner to go back.
Next, tap on the doorway on the right to go back to the first room.
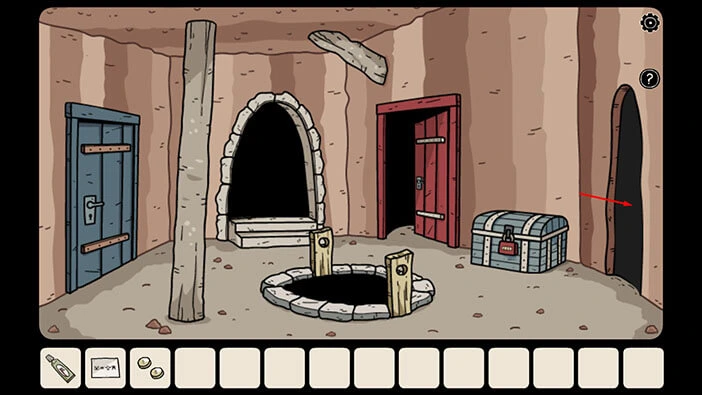
Tap on the padlock on the blue chest on the right to take a closer look at it. Enter the number that we discovered by examining the coffins (number “2534”). So, the solution would be
2 dots, 5 dots, 3 dots, 4 dots.
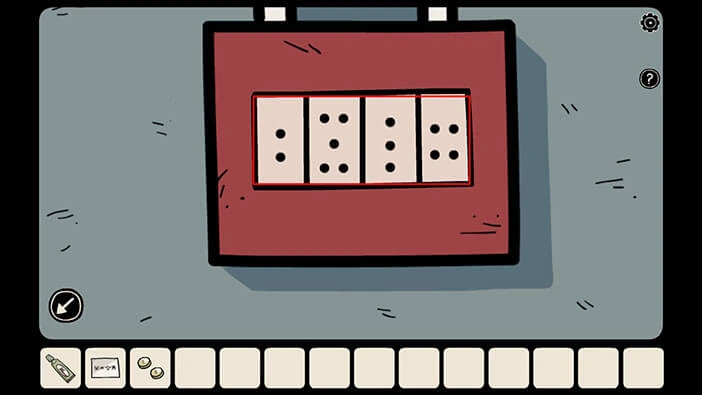
As soon as you enter the correct combination you will hear the clicking sound, and the chest will be opened automatically. Inside you will find a “Pair of scissors” and a “Fork”. Tap on them to pick them up.
After that, tap on the arrow in the lower left corner to go back.
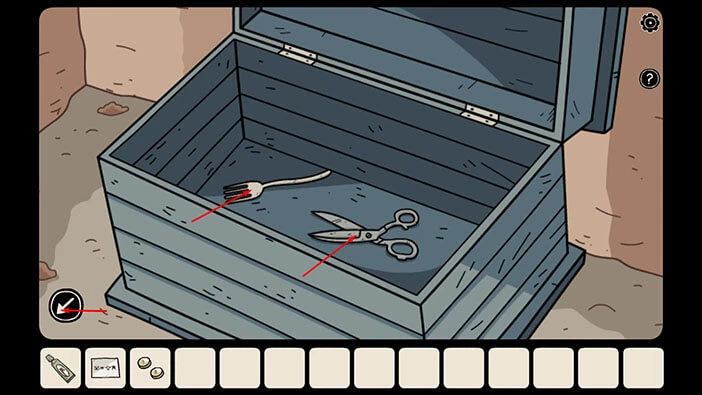
Next, tap on the books on the wall shelf to take a closer look at them. After that, tap on the red book to examine it, and tap on the arrow on the right to open it.
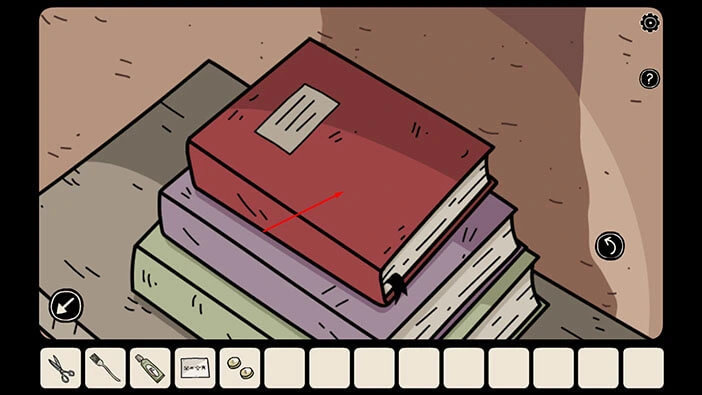
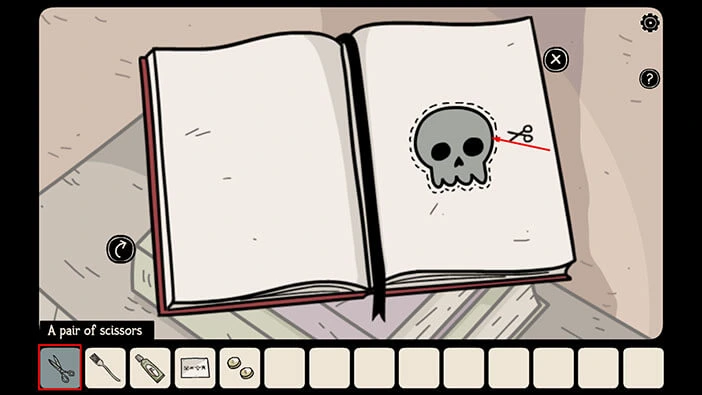
Here, we can see a picture of a skull, and the scissors are next to it. So, let’s select the “Pair of scissors” from the inventory and use them to cut out the picture of a skull.
A “Paper skull” will be added to your inventory. Tap on the “X” button to put down the book.
If you tap on the bars in this room, you will notice scissors, so we will need these cut-out pictures in order to solve this puzzle. In total, we will need four pictures, so we will come back to this problem a bit later.
For now, tap on the doorway on the left to proceed to the next room.
Next, tap on the red door on the right to proceed to the room with coffins.

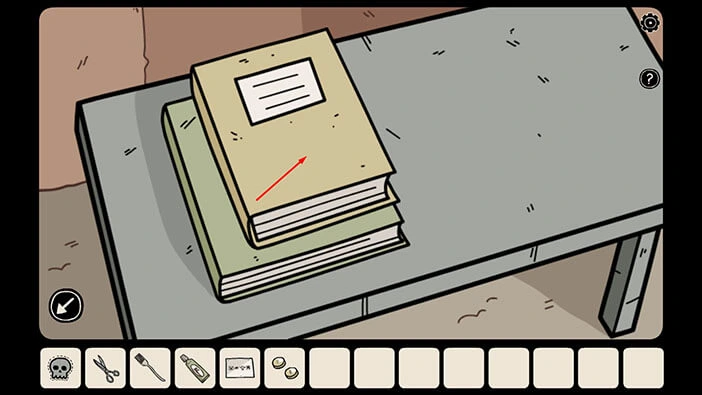
On the table on the right, we can also see two books. Tap on them to take a closer look. After that, tap on the yellow book to examine it, and tap on the arrow on the right to open it.
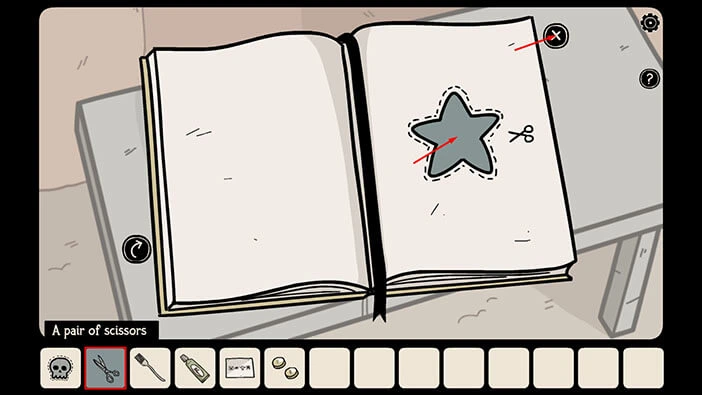
Here, we can see a picture of a “Star”. So, select the “Pair of scissors” from the inventory and use them to cut out the star. A “Paper star” will be added to your inventory.
After that, tap on the “X” button to put down the book.
Next, we should go to the last room, with the two shadow guards (we found a fork and we can use it for the next puzzle). So, let’s do that. Tap on the arrow in the lower left corner to go back.
After that, tap on the doorway in front of you to proceed to the next room. Lastly, tap on the stairs and you will reach the room with the two shadow guards.
Let’s tap on the small window on the left to take a look inside.
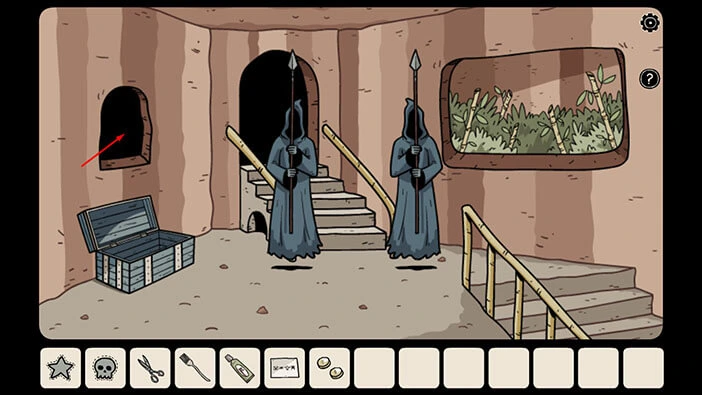
Here, we can see a large, red monster and it is bent down in the small “room”. The monster is holding a miniature plate with a small piece of cake.
Select the “Fork” from the inventory and give it to the monster.
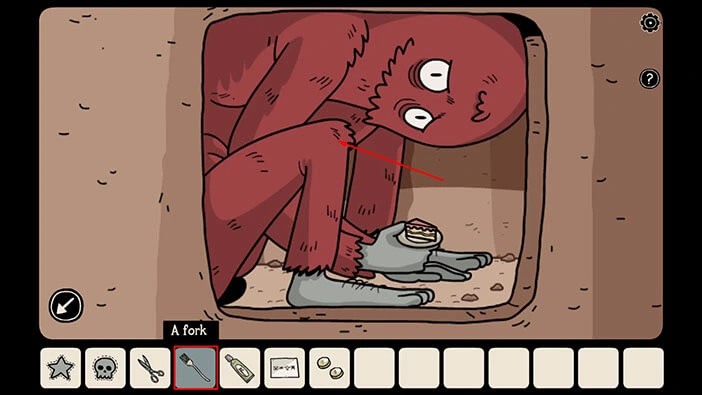
The monster will use the fork to eat the cake, and then it will point a finger toward the small plate. Let’s tap on the plate to take a closer look at it.
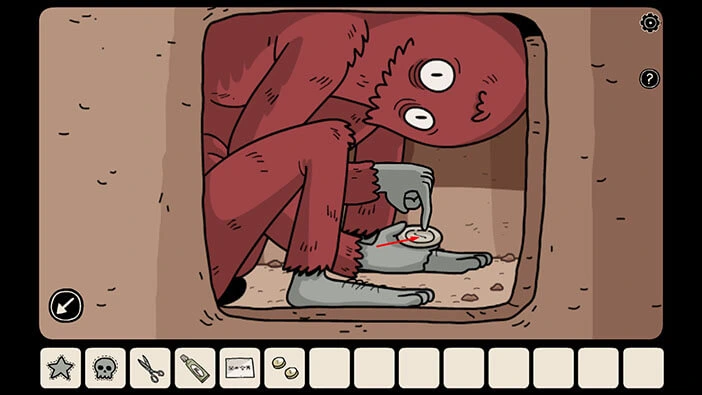
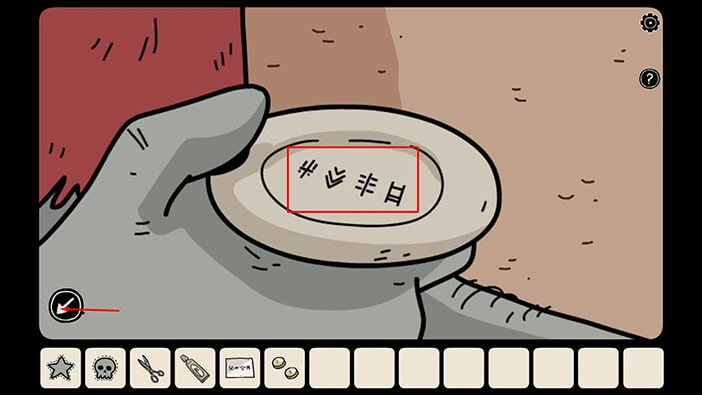
We can see four symbols carved into a plate, so let’s memorize/write down these symbols because we will need them to open the blue chest in the second room (the room with the large well).
Once you’re done, tap on the arrow in the lower left corner to go back.
Let’s go back to the second room. To get there, tap on the stairs on the right to go back to the previous room. Next, tap on the doorway on the right and you will reach the second room.

Tap on the padlock on the blue chest on the right to start the interaction.
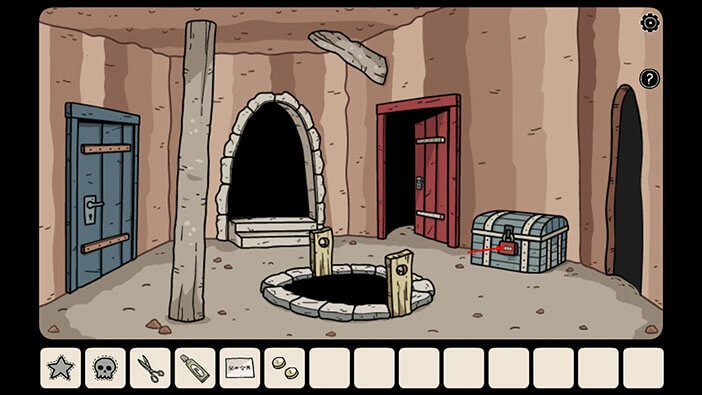
Enter the four symbols that we discovered on a plate.
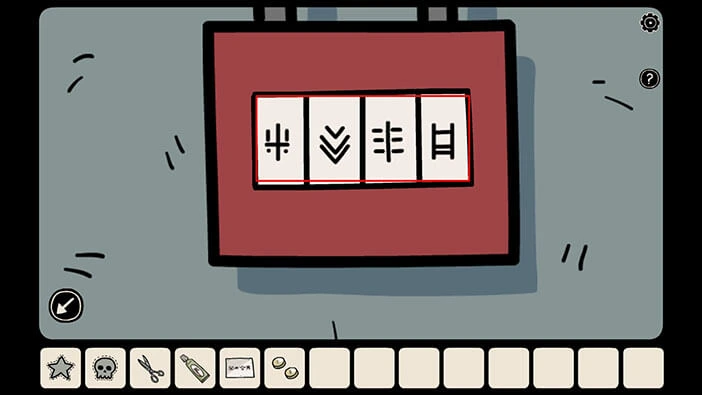
As soon as you enter the correct symbols you will hear a clicking sound and the chest will automatically open. Inside you will find a “Bone-colored key” and a “Bell”. Tap on these items to pick them up.
After that, tap on the arrow in the lower left corner to go back.
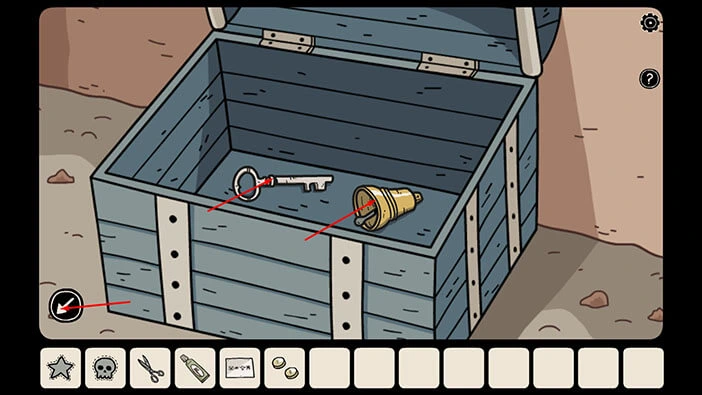
Select the “Bone-colored key” from the inventory and use it to unlock the blue door on the left. After that, tap on the blue door to open it and tap again to proceed to the next room.
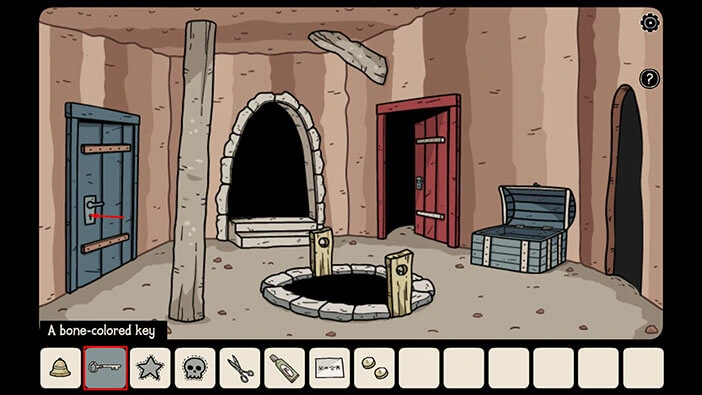
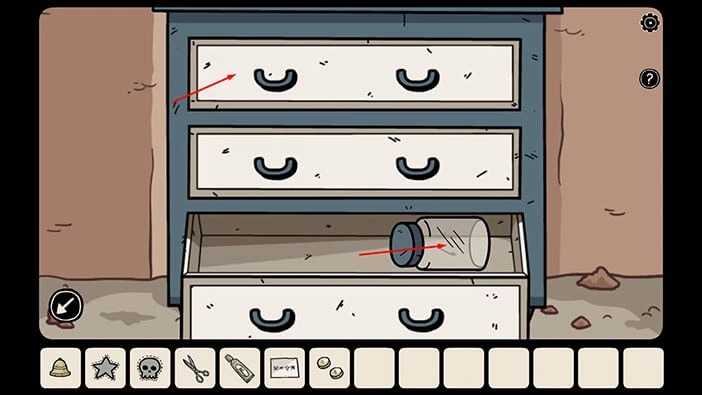
Tap on the cabinet on the left take a closer look at it, then tap on the bottom drawer to open it. Inside you will find a “Jar” so let’s tap on it to pick it up.
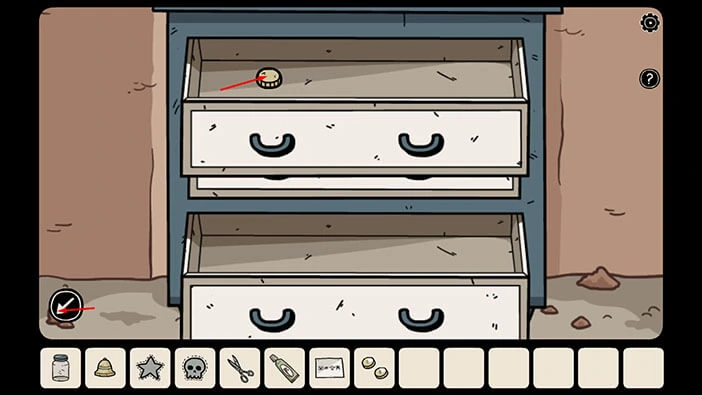
Once you’re done, tap on the top drawer to open it.
In the top drawer, you will find another coin (third coin) so let’s tap on it to pick it up. After that, tap on the arrow in the lower left corner to go back.
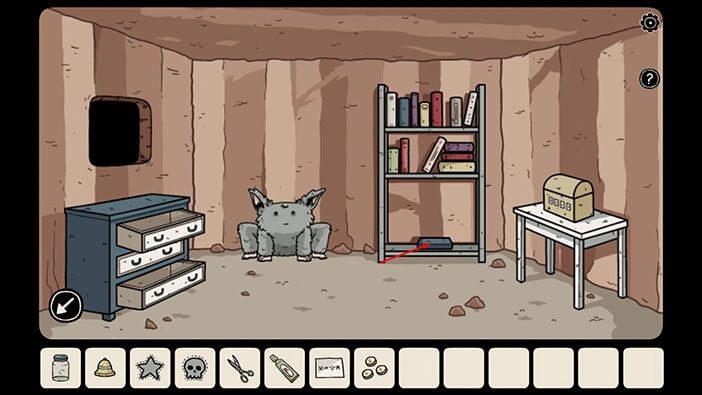
Next, tap on the blue book on the bottom shelf to take a closer look at it.
Tap on the blue book again to examine it, then tap on the arrow on the right to open the book.
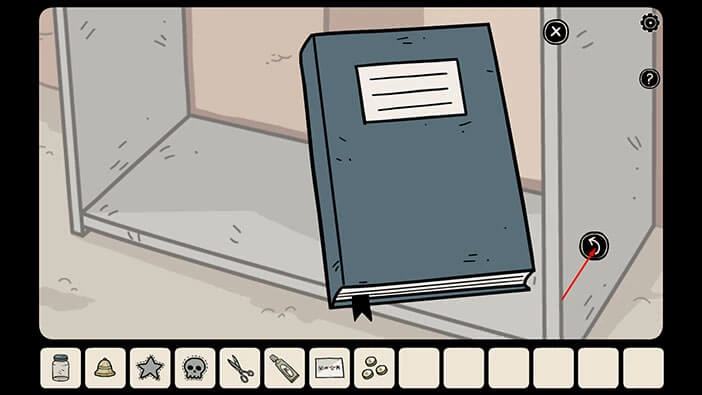
Select the “Pair of scissors” from the inventory and use them to cut out the bat. “Paper bat” will be added to your inventory.
After that, tap on the “X” button to put down the book.
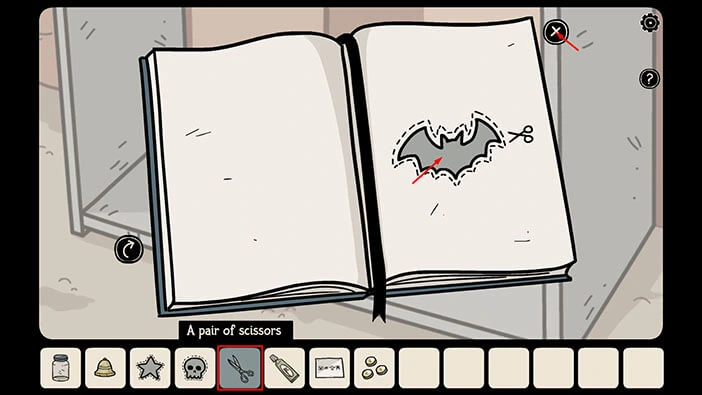
Next, let’s tap on the top shelf to take a closer look at the book.
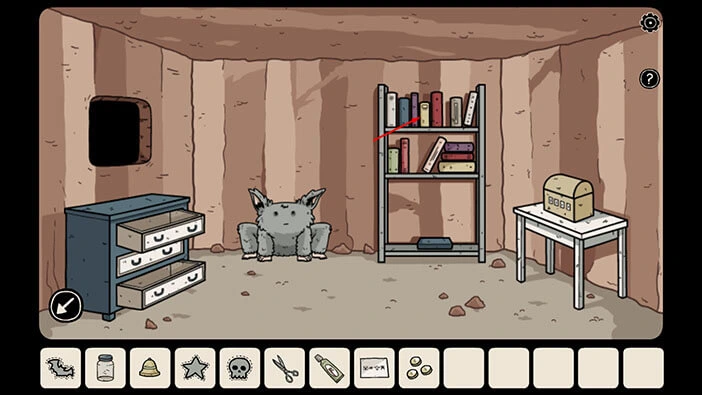
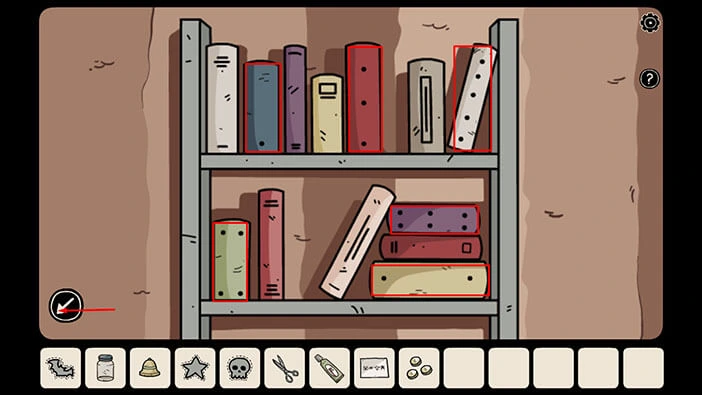
You will notice that most books have a certain number of dots. Let’s memorize/write down this information because we will need it for the next puzzle.
Blue book = 1 dot
Yellow book = 2 dots
Red book = 3 dots
Green book = 4 dots
White book = 5 dots
Purple book = 6 dots
Once you’re done, tap on the arrow in the lower left corner to go back.
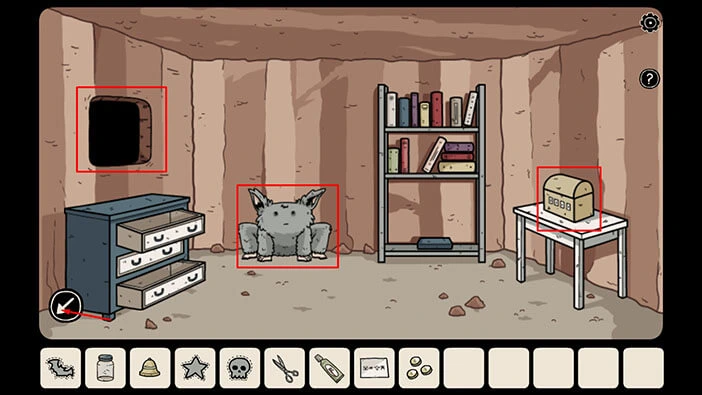
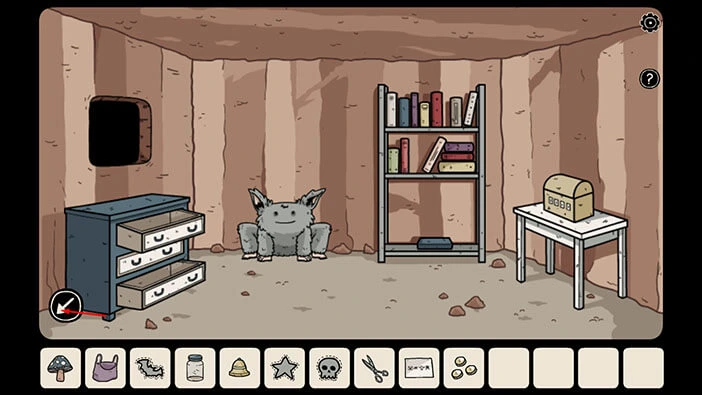
There are 3 more points of interest in this room. A small monster with dirty teeth in the left corner of the room, a small window on the left, and a small chest on the table on the right. We will come back to them later in this walkthrough.
For now, tap on the arrow in the lower left corner to go back.
We can use the information that we discovered by examining the book to unlock the cabinet in the room with coffins. So, let’s go there. Tap on the red door on the right to proceed.
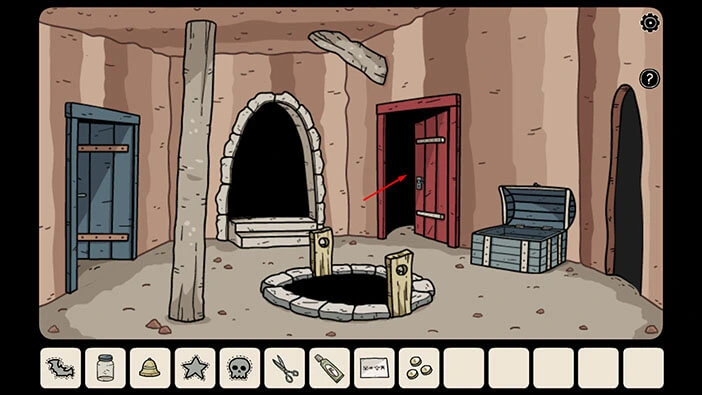
Tap on the wall cabinet on the left to take a closer look at it, and tap again to start the interaction.
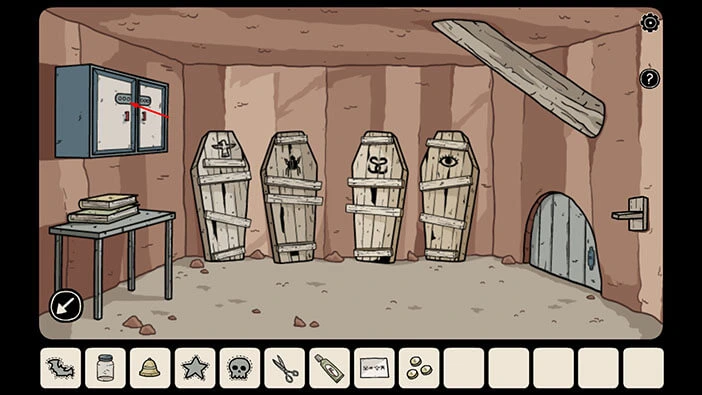
Here, we can see six yellow circles. So, to unlock this cabinet we will need a combination of six colors. We already discovered this information by examining the books. As a reminder, we had,
Blue book = 1 dot
Yellow book = 2 dots
Red book = 3 dots
Green book = 4 dots
White book = 5 dots
Purple book = 6 dots
The number of dots on the book represents the order of the book (color). So, the solution should be Blue/Yellow/Red/Green/White/Purple. Enter this combination of colors.
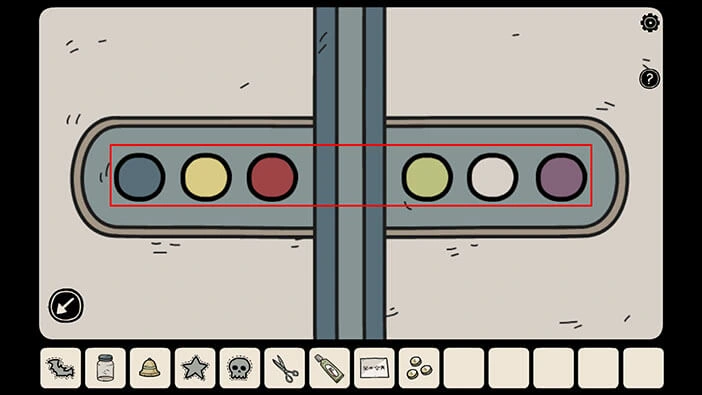
As soon as you enter the correct combination of colors you will hear a clicking sound, indicating that the cabinet is now unlocked. Let’s tap on both cabinet doors to open them.
In the cabinet, you will find a “Toothbrush” and a “Bag”. Tap on them to pick them up.
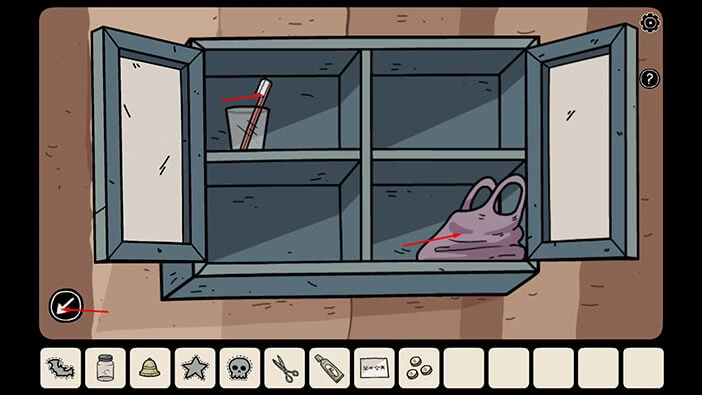
We should go back to the room with a small monster that had dirty teeth, and we can use the toothbrush that we just found to clean its teeth. Let’s do that.
Tap on the arrow in the lower left corner to go back. After that, tap on the blue door on the left to proceed to the next room.
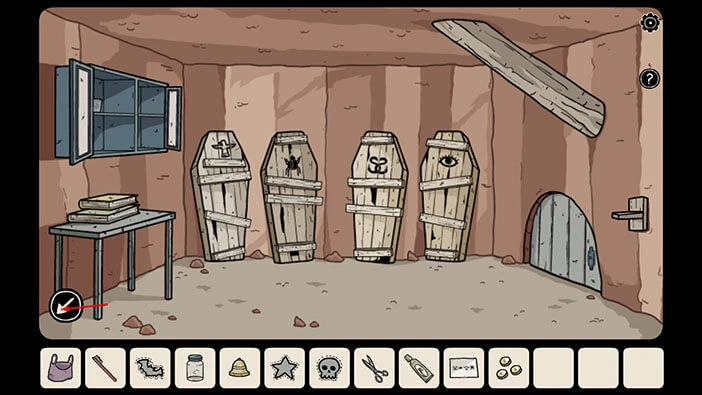
Tap on the small monster to take a closer look at it.
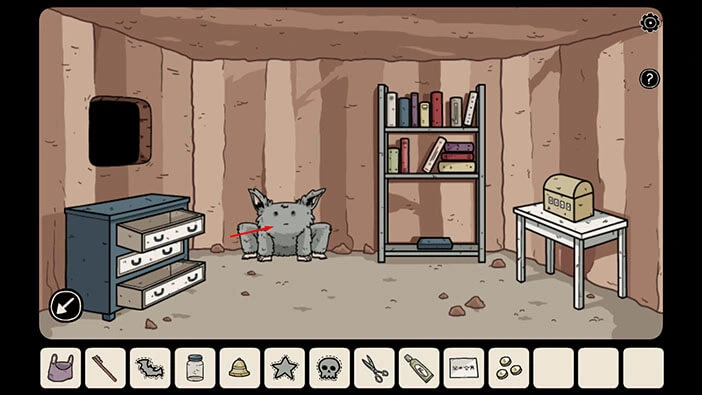
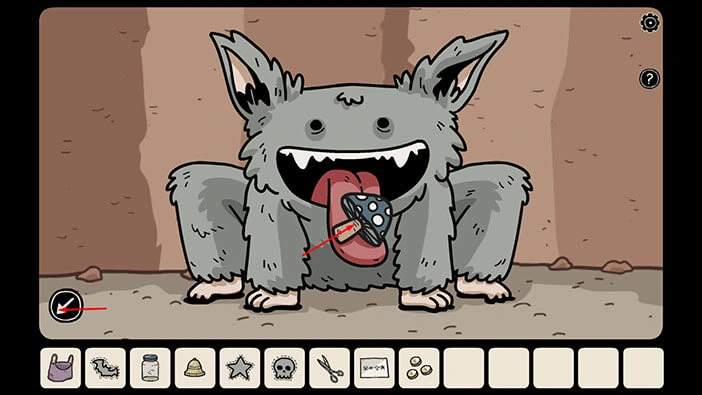
If you tap on the monster, it will open its mouth and you will see that it has very dirty teeth. So, select the “Toothbrush” from the inventory, then tap on the “Toothpaste” to combine these two items. A “Toothbrush with toothpaste” will be added to your inventory.
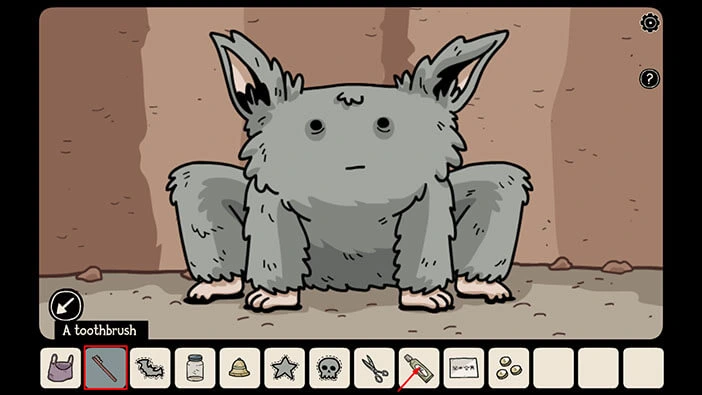
Next, select the “Toothbrush with toothpaste” from the inventory and tap on the monster’s mouth to brush its teeth.
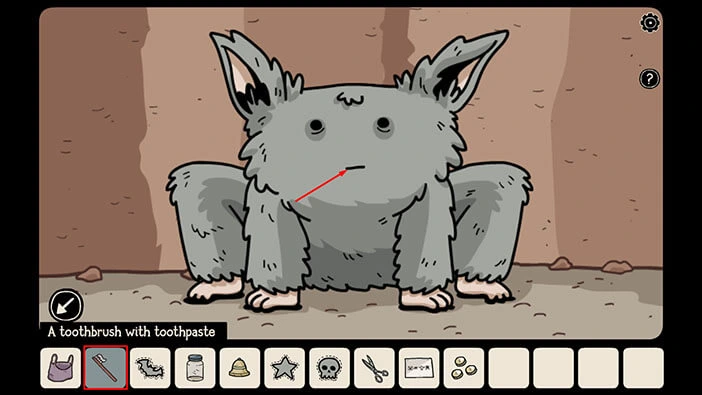
After you brush its teeth, the monster will stick out its tongue and it will offer you a “Mushroom”. Tap on it to pick it up.
After that, tap on the arrow in the lower left corner to go back.
Let’s go back to the room with the coffins because we can now solve another puzzle in that room.
Tap on the arrow in the lower left corner to go back. After that, tap on the red door on the right to proceed to the room with coffins.
Tap on the small door on the right to take a closer look at it.
We can see that something is missing from the string on the right. So, select the “Bell” from the inventory and attach it to the string.
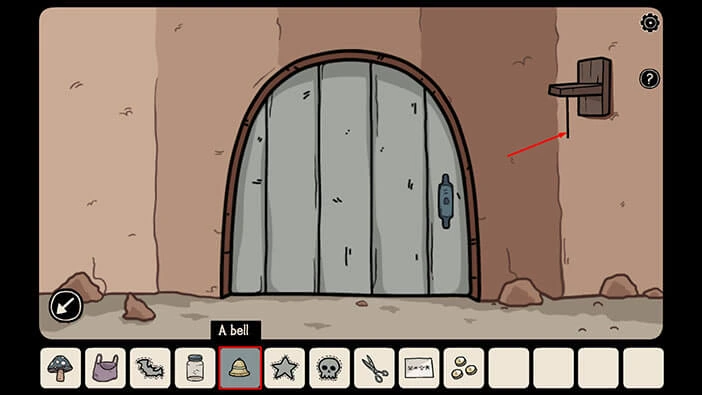
Let’s tap on the bell.
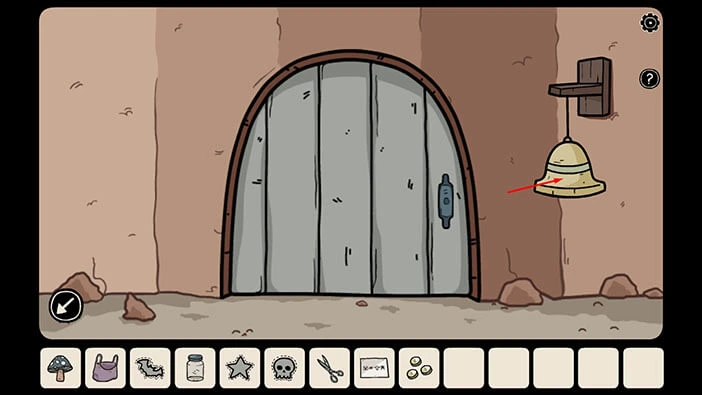
A few moments after you ring the doorbell, a goblin cook will appear and he will ask for a mushroom.
So, select the “Mushroom” from the inventory and give it to the goblin.
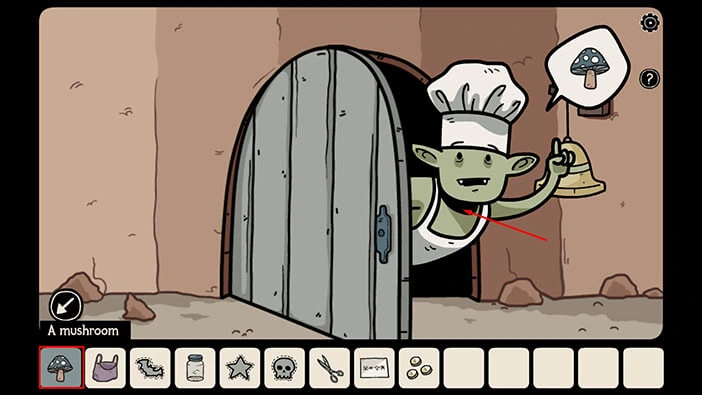
Goblin will go back into his house and, after a few moments, he will come back with the diamond. Tap on the “Small diamond” to pick it up.
The goblin will wave at you, and he will go back inside. Tap on the arrow in the lower left corner to go back.
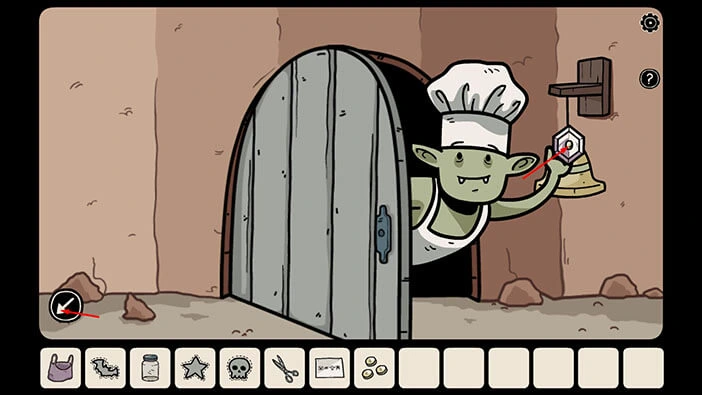
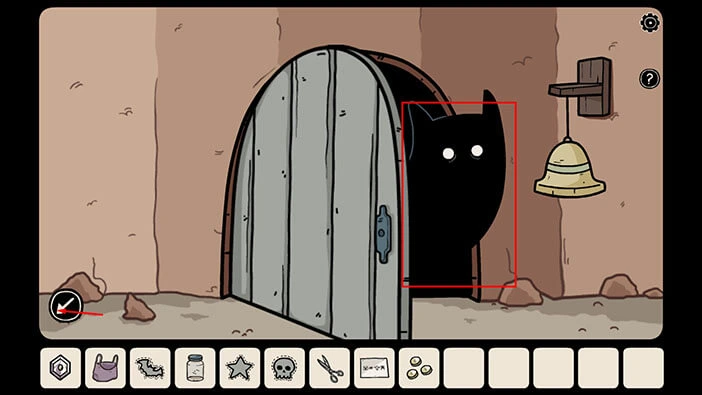
Actually, I forgot something. Let’s go back to the door, and ring the doorbell once more.

This time, a shadow hamster will appear. This is the fifth shadow hamster that we found so far. So, we found 5 out of 10.
Tap on the arrow in the lower left corner to go back.
We can use the diamond to reassemble the mirror in the first room, so let’s go there. Tap on the arrow in the lower left corner to go back. After that, tap on the doorway on the right.
Tap on the broken mirror to take a closer look at it. At the top of the mirror, you will notice an empty slot shaped like a diamond. So, select the “Small diamond” from the inventory and insert it into the empty slot.
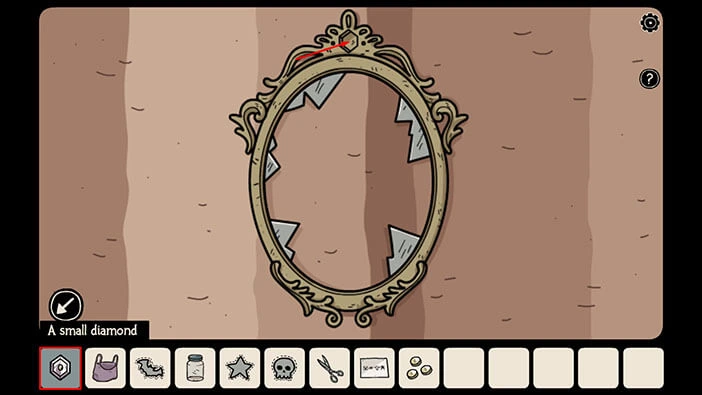
You will trigger a small cutscene as soon as you insert the diamond. In short, you will reassemble the mirror.
Tap on the mirror to take a closer look at it and, unexpectedly, you will be transferred into a secret room.
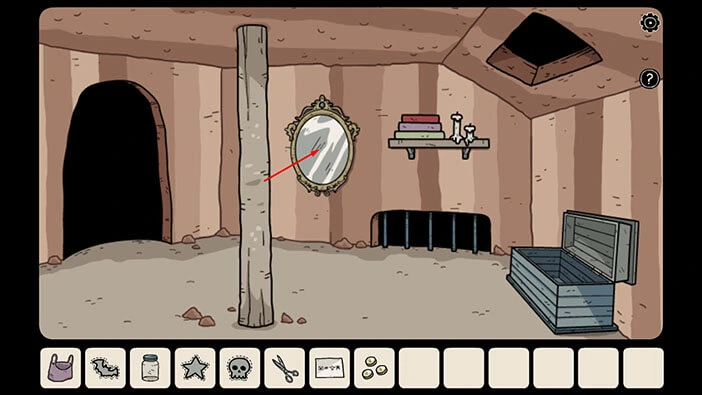
Tap on the cabinet on the right to take a closer look at it, then tap on both cabinet doors to open them.
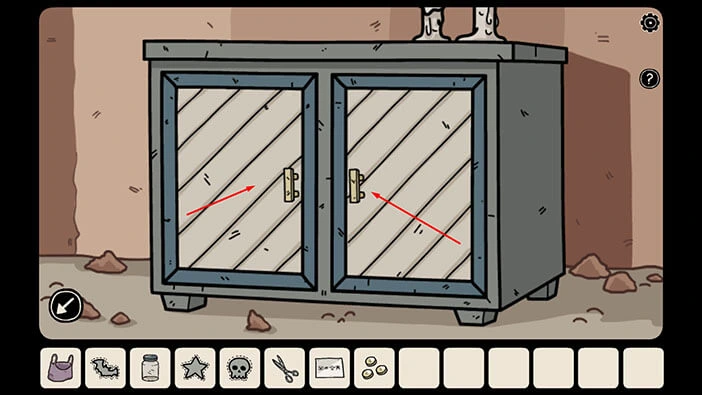
On the left side of the cabinet you will find a “Rope” so let’s tap on it to pick it up. After that, tap on the arrow in the lower left corner to go back.
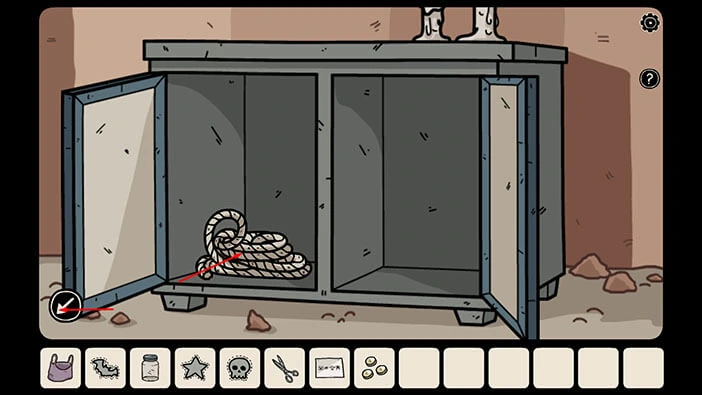
Next, tap on the green book on the left to take a closer look at it.
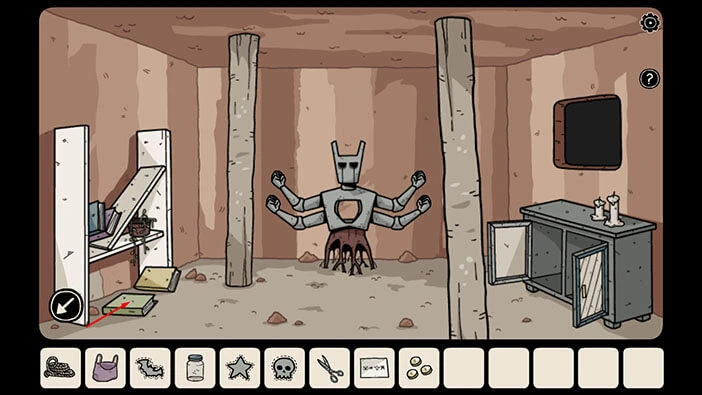
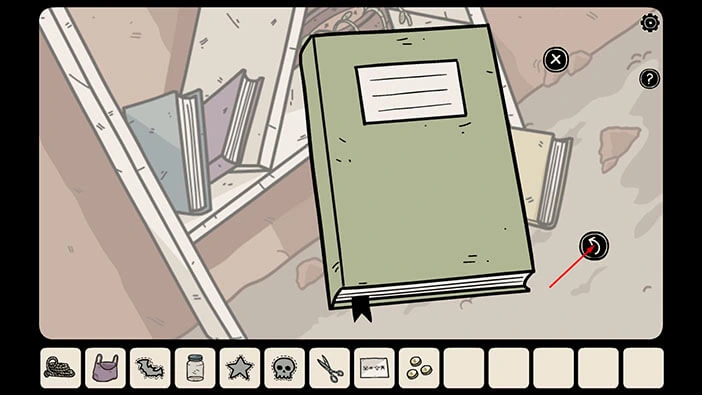
Tap on the book to examine it, then tap on the arrow on the right to open the book.
Select the “Pair of scissors” from the inventory and use it to cut out the picture. A “Paper flask” will be added to your inventory.
After that, tap on the “X” button to put down the book.
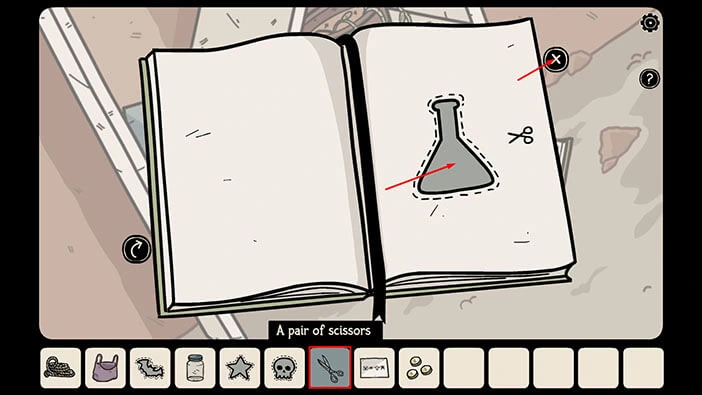
In this room, we also have a statue with an empty slot in the middle of its chest and a small window on the right. We will come back to that a bit later in the walkthrough.
For now, tap on the arrow in the lower left corner to go back to the first room.
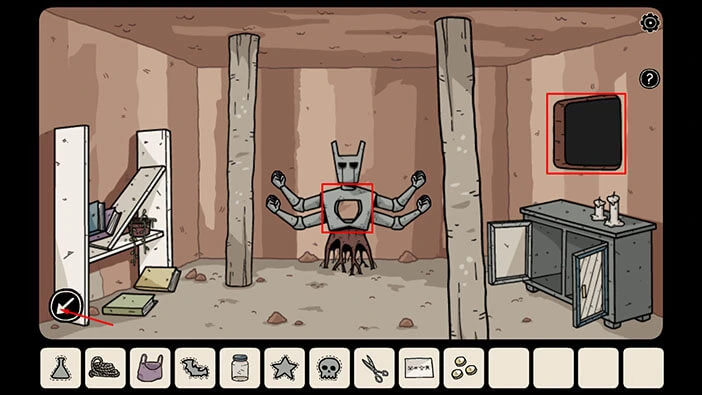
Next, tap on the bars below the wall shelf, to take a closer look at it.
Select all pictures that we cut out from the books (one by one) and give them to the mysterious person behind the bars.
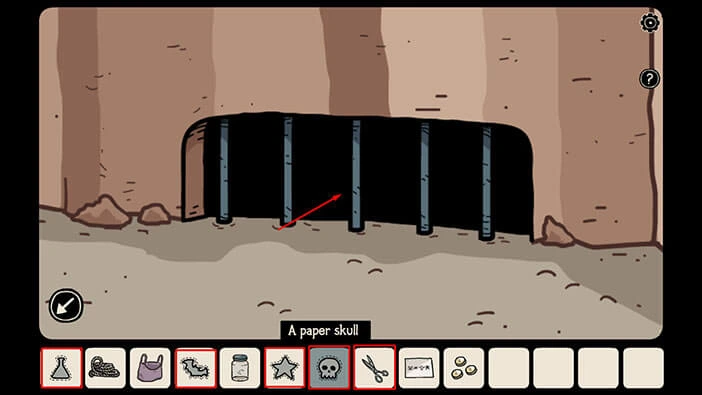
The mysterious person will write down a certain number on each picture, before returning them.
After that, this person will write something on the wall.
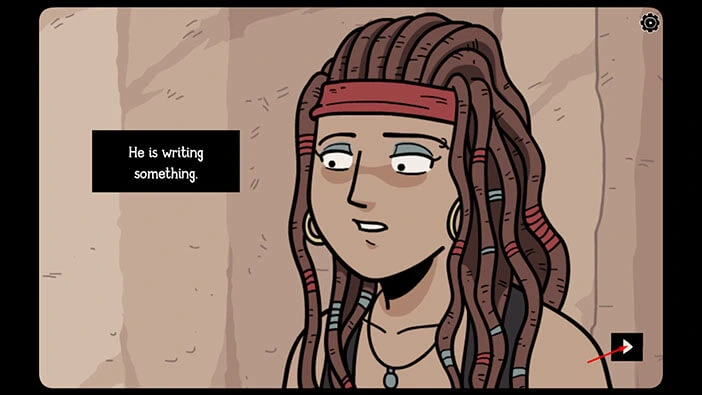
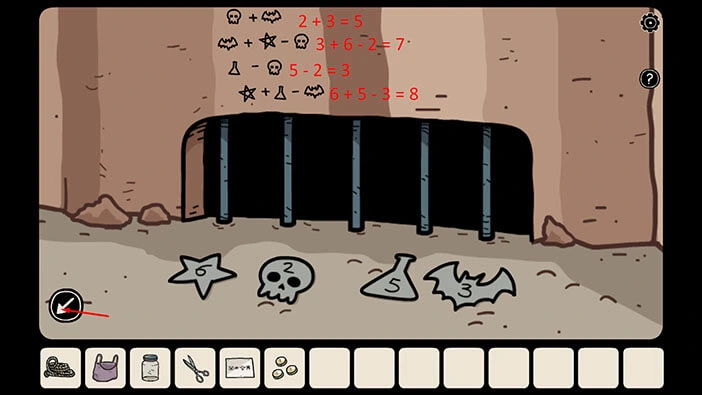
Ok, the mysterious person wrote down a simple equation on the wall. We can also see that each picture has a certain value. So, let’s calculate.
First number = Skull + Bat = 2 +3 = 5
Second number = Bat + Star – Skull = 3 + 6 – 2= 7
Third number = Flask – Skull = 5 – 2 = 3
Fourth number = Star + Flask – Bat = 6 + 5 – 3 = 8
Memorize/write down these numbers because we will need this information for the next puzzle. After that, tap on the arrow in the lower left corner to go back.
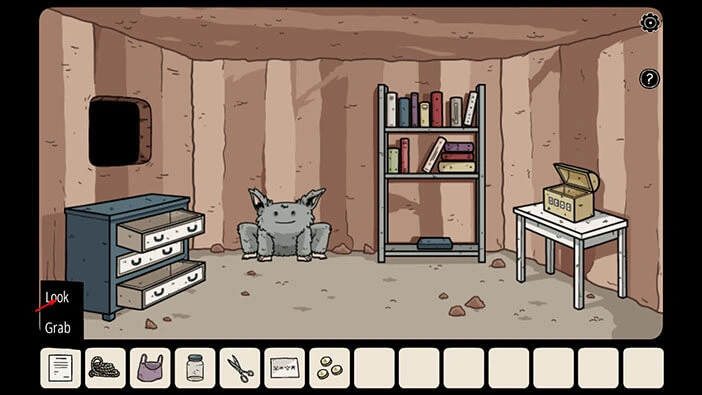
We can use the numbers that we discovered to unlock the small chest located in the room with the small monster (we brushed its teeth). Let’s go there. Tap on the doorway on the left to proceed to the next room. After that, tap on the blue door on the left to proceed to the room with the small monster.
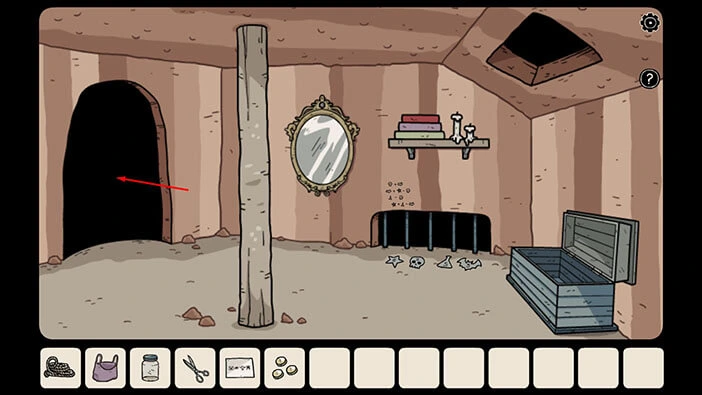
You will notice a small chest on the table on the left. Tap on it to take a closer look.

It should be pretty obvious that the numbers are represented by the number of lines (number 1 = 1 line, etc). So, let’s enter the four numbers that we discovered in the first room. We had, “5738”.
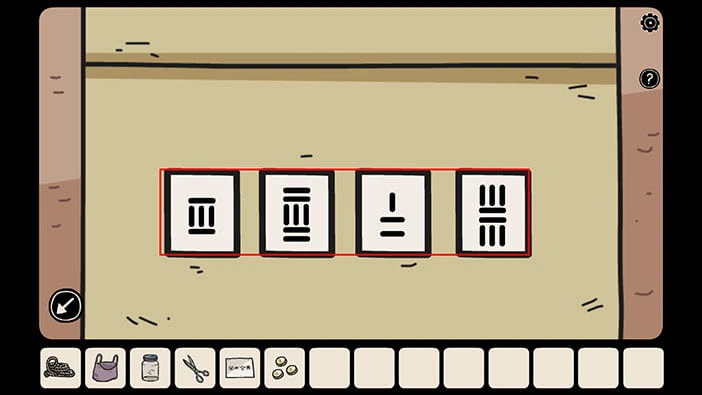
As soon as you enter the correct numbers, you will hear the clicking sound and the chest will automatically open. Inside you will find “Exit Authorization”, so tap on it to pick it up.
After that, tap on the arrow in the lower left corner to go back.
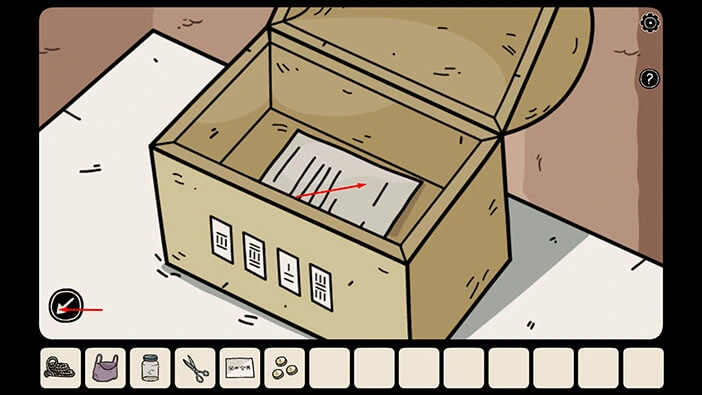
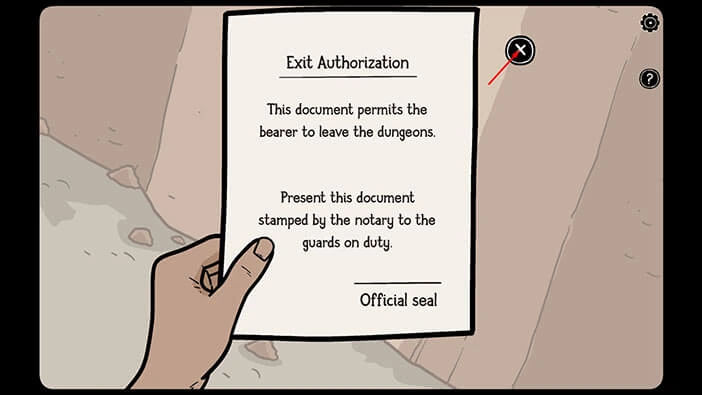
Let’s take a look at the “Exit Authorization” document. Tap on the “Exit Authorization” in the inventory to select it, then tap on the “Look” option.
Well, if you read the document you will notice that this document has to be stamped by the notary in order for it to be valid. Once the document is valid, we can show it to the guards (two shadows armed with spears) and they will let us pass. So, now we know what we have to do in order to leave this dungeon.
Tap on the “X” button to put down this document.
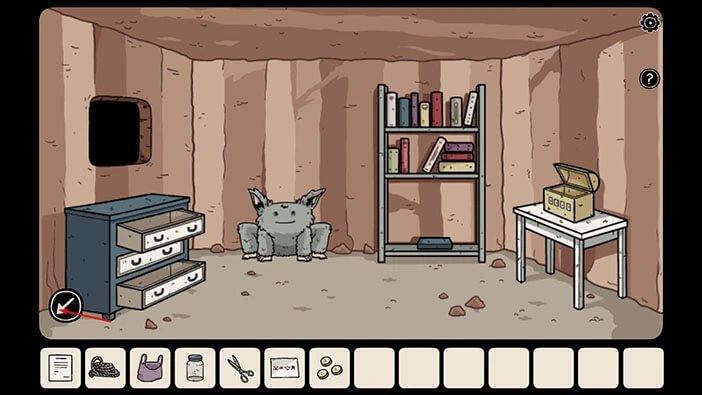
Let’s go back to the previous room. Tap on the arrow in the lower left corner.
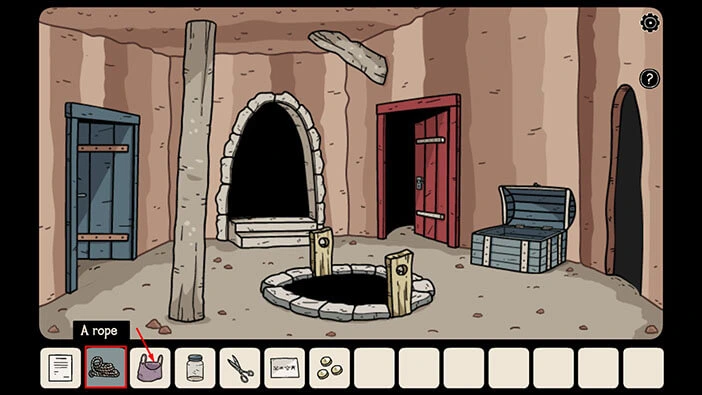
Next, let’s select the “Rope” from the inventory, then tap on the “Bag” to combine these two items. You will create a “Bag tied with rope”.
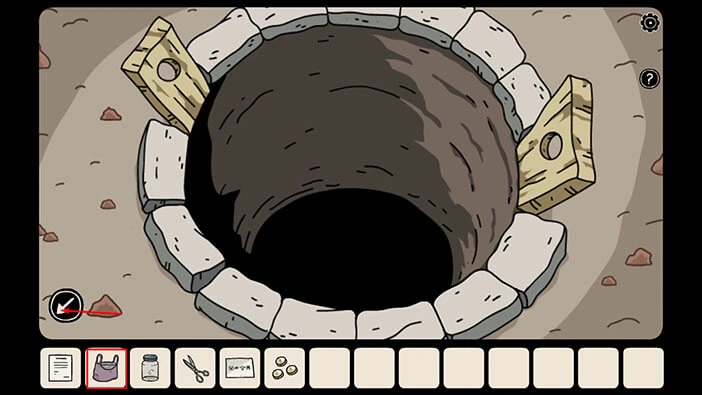
We can use the “Bag tied with rope” to get the water from the bottom of the well, so let’s do that. Select the “Bag tied with rope” from the inventory and tap on the large well in the middle of the room.
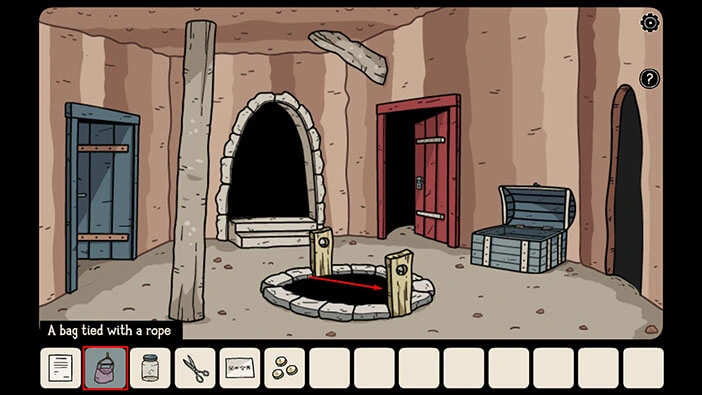
Laia will lower the bag into the well, and she will pull it out after several moments. “Bag with water” will be added to your inventory.
Tap on the arrow in the lower left corner to go back.
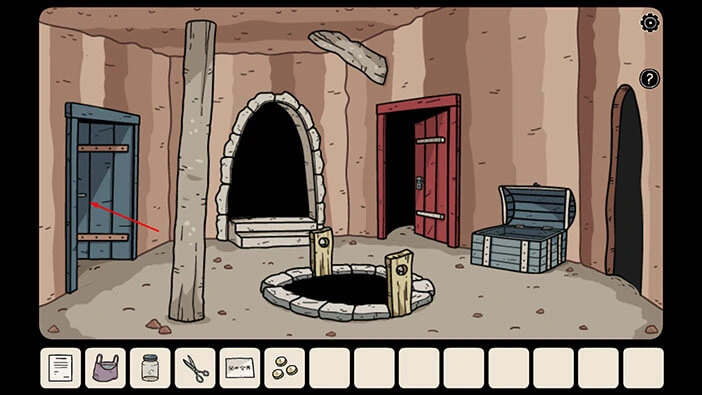
Let’s go back into the room with the small monster. Tap on the blue door on the left to proceed.
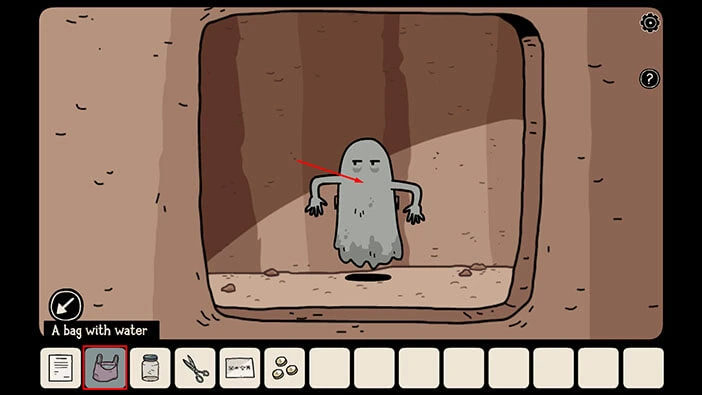
Tap on the small window on the left to look inside.

If you look through the window, you will see a ghost, and it will ask for water. So, select the “Bag with water” from the inventory and give it to the ghost.
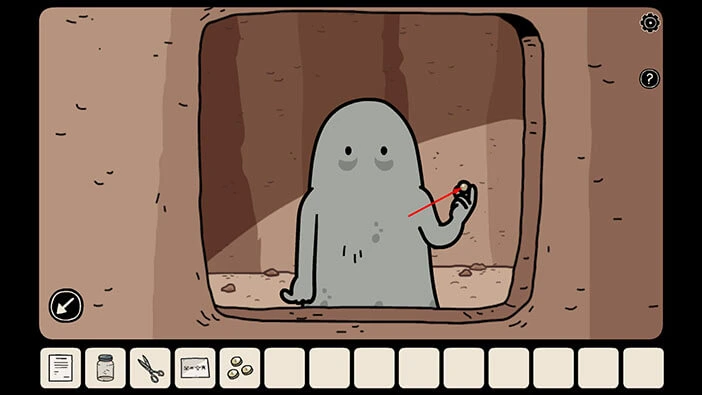
The ghost will drink the water, and it will offer you a “Glowing ball” as a reward. Tap on the “Glowing ball” to pick it up.
When you take the glowing ball, the ghost will move aside, and you will see a drawing of four squares on the wall (this drawing was previously hidden behind the ghost). The inside of each square is different, so let’s memorize/write down this information because it represents the solution for the next puzzle.
Looking from left to right, we have
First square = Diagonal line from the bottom left to the top right corner of the square
Second square = One horizontal line
Third square = Bottom right half of the circle is black
Fourth square = Bottom half of the circle is black
Once you’re done, tap on the arrow in the lower left corner to go back.
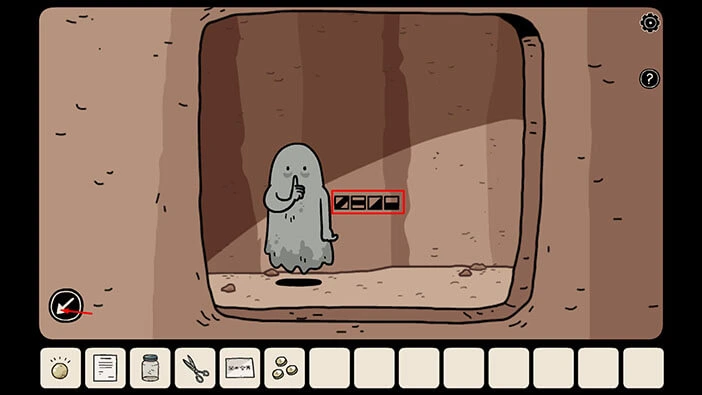
We can use this information to unlock the padlock on the hidden hatch. Let’s do that.
Tap on the arrow in the lower left corner to go back. After that, tap on the doorway in front of you to proceed to the next room.

Tap on the carpet on the floor to move it aside, and you will discover a locked hatch.
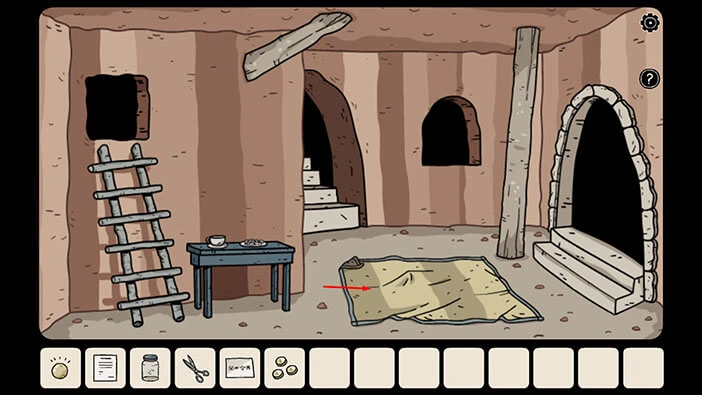
Tap on the padlock on the hatch to take a closer look at it, and tap again to start the interaction.
Enter the symbols that we discovered on the wall behind the ghost. We had,
First square = Diagonal line from the bottom left to the top right corner of the square
Second square = One horizontal line
Third square = Bottom right half of the circle is black
Fourth square = Bottom half of the circle is black
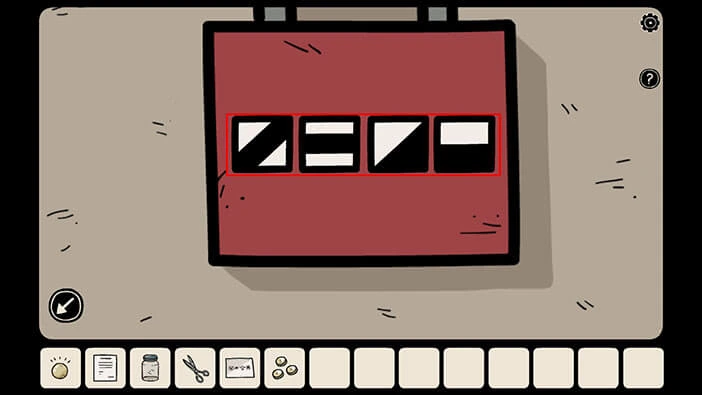
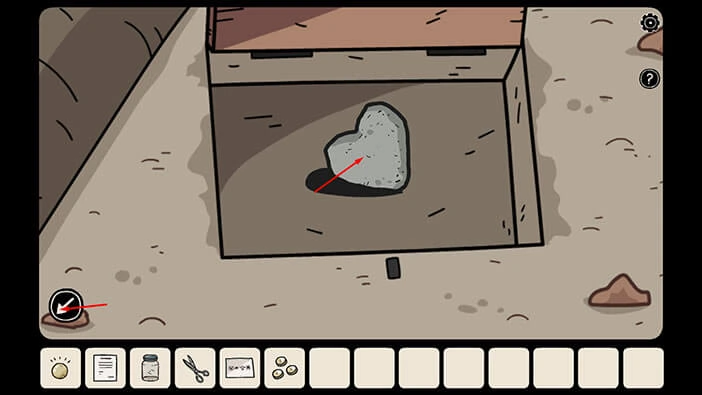
As soon as you enter the correct combination you will hear the clicking sound, and you will remove the padlock. Tap on the hatch to lift it up.
In the small compartment under the hatch, you will see a “Hearth shaped stone”. Tap on it to pick it up.
After that, tap on the arrow in the lower left corner to go back.
Now, we should go back to the secret room behind the mirror. To get there, tap on the doorway on the right and you will get to the second room. From there, tap on the doorway on the right, and you will reach the first room (the room with the mirror).
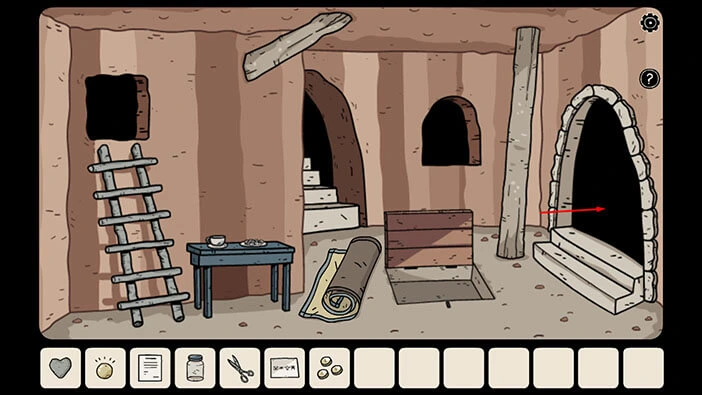
Tap on the mirror to proceed to the secret room.
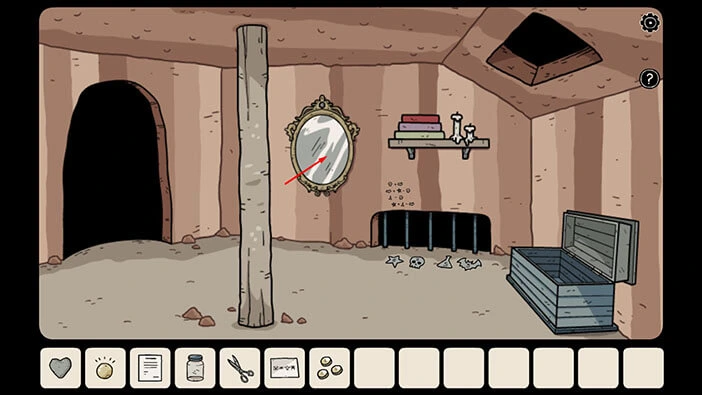
Select the “Hearth-shaped stone” and insert it into the empty slot in the chest of the statue.
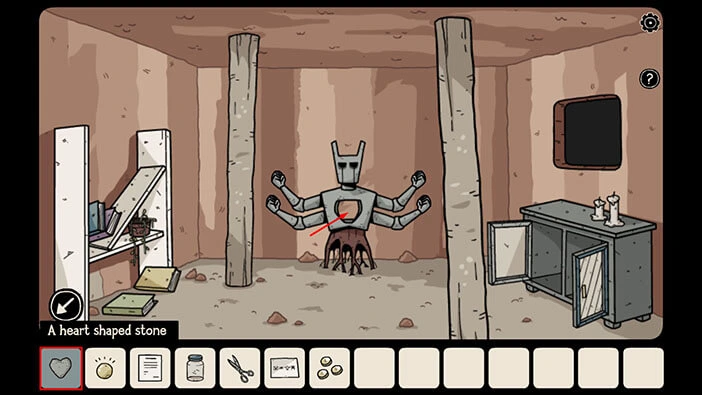
The statute will open its hands, with palms up. Tap on the upper hand on the right, and you will notice a “Coin” in the hand. Tap on it to pick it up.
After that, tap on the arrow in the lower left corner to go back.
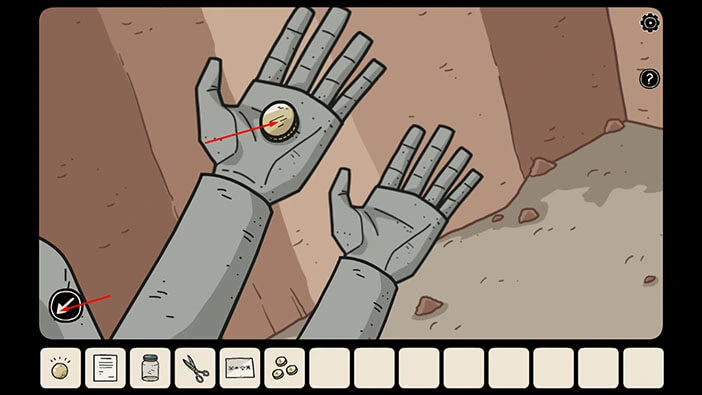
We have four coins, and we can use them to solve the puzzle in the room with the hidden hatch. To get there, tap on the arrow in the lower left corner to go back to the first room.
Next, tap on the doorway on the left to proceed to the second room. After that, tap on the doorway in front of you to proceed to the room with the hidden hatch.
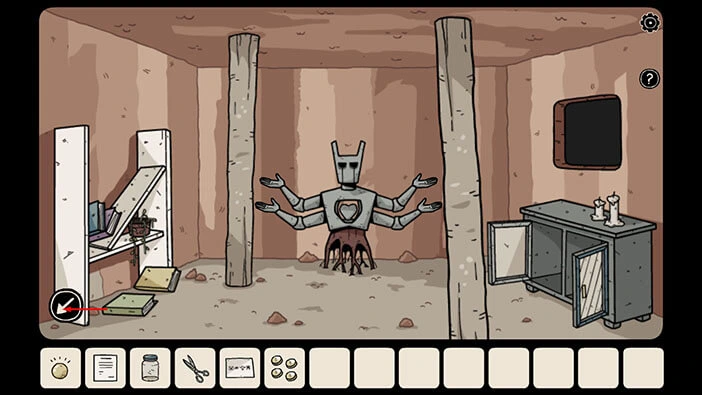
Tap on the window on the left above the ladder to take a look inside.

You will see a shadowy figure, and if you tap on it, it will ask for four coins. So, select the “Four coins” from the inventory and give them to the shadowy figure.
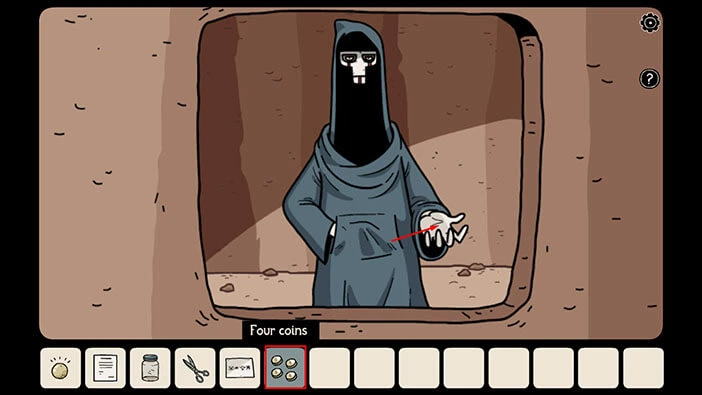
The shadowy figure will take the coins, and it will offer you a “Rubber stump” in return, so let’s tap on it to pick it up.
After that, tap on the arrow in the lower left corner to go back.
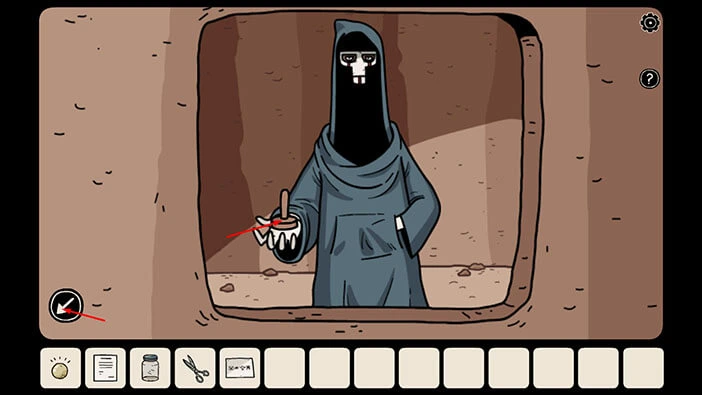
Next, we should go to the room with the two shadow guards. Tap on the doorway in front of you to go to this room.
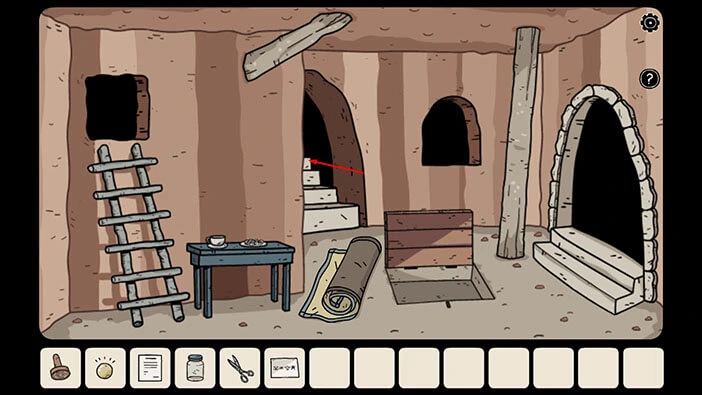
Next, tap on the large window on the right to take a closer look.
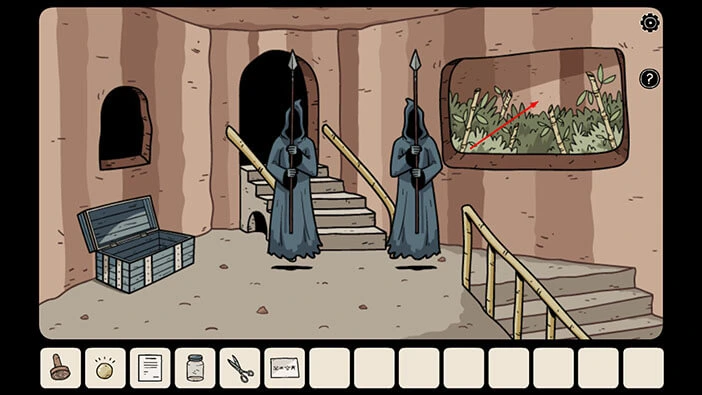
Select the “Jar” from the inventory and put it on the window.
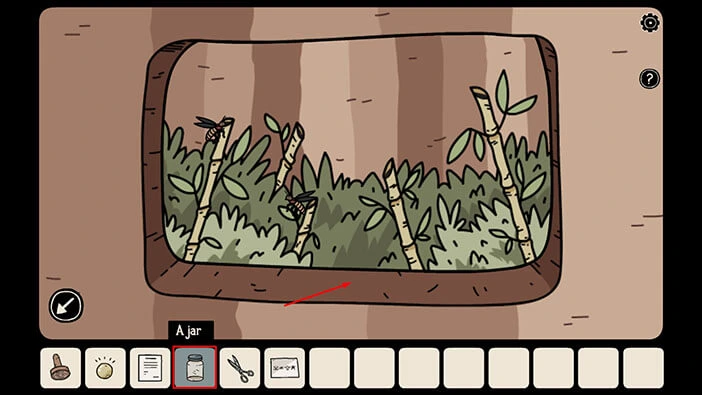
Next, select the “Glowing ball” from the inventory, and put it in the jar. We will use the glowing ball to lure the insect into the jar.
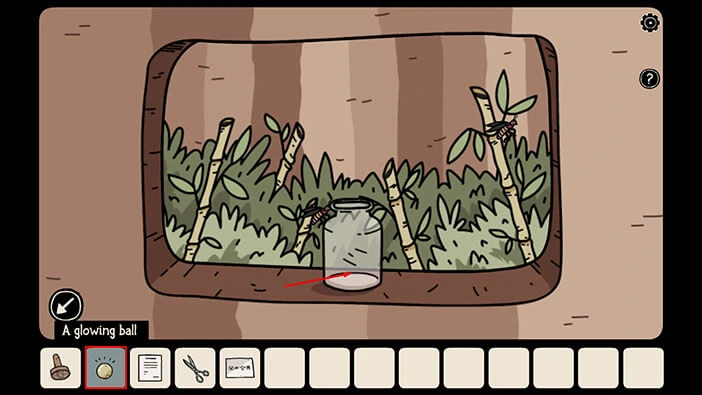
Laia will automatically pick up “Jar with an insect”. Now, we should go back to the secret room located behind the mirror in the first room. To get there, tap on the stairs on the right to go back to the previous room.
Next, tap on the doorway on the right and you will reach the second room (a room with a large well). From there, tap on the doorway on the right and you will reach the first room.
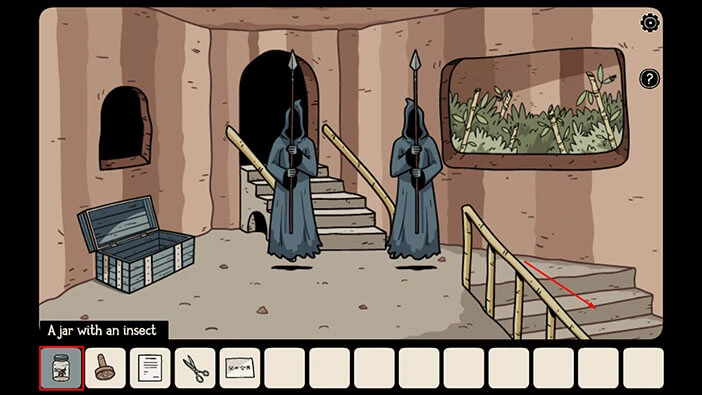
Tap on the mirror to proceed to the secret room.
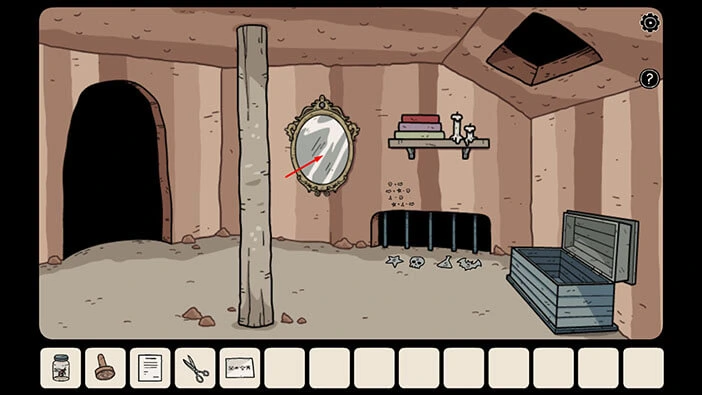
Tap on the window on the right to look inside.
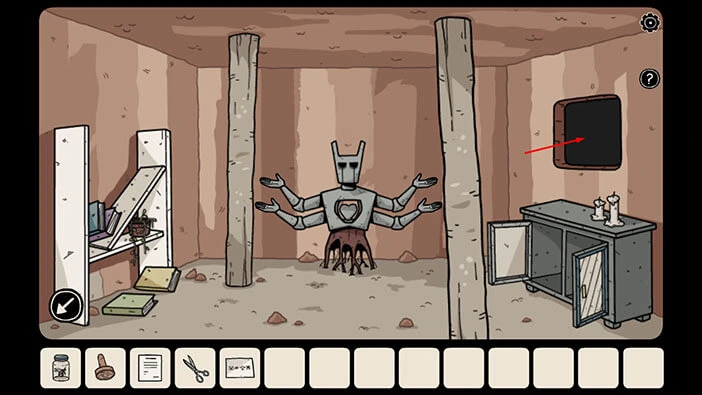
Here, we can see a raven, and if you tap on it, it will ask you to bring him the insect. So, let’s select “Jar with an insect” from the inventory and give it to the raven.
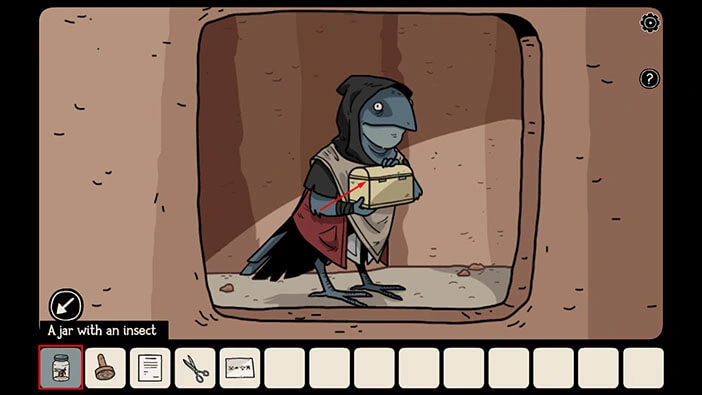
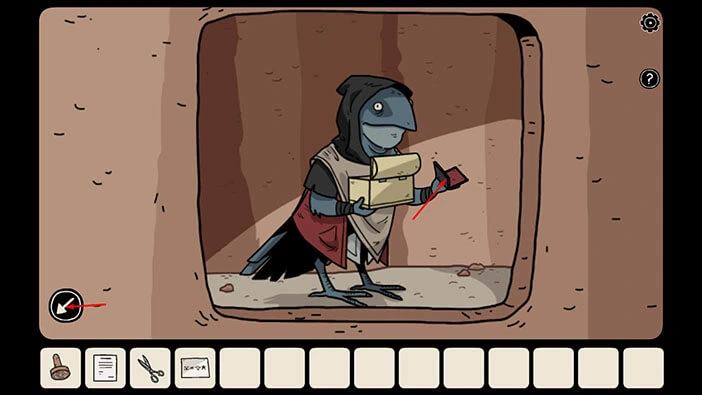
The raven will take the jar, and it will shake it a few times. Several moments later he will offer you an “Inkpad”. Tap on it to pick it up.
After that, tap on the arrow in the lower left corner to go back.
We now have all the necessary items to validate our “Exit Authorization” so let’s go to the room with the notary. To get there, tap on the arrow on the left to go back to the first room.
Next, tap on the doorway on the left to go to the second room (the room with a large well). From there, we should tap on the doorway in front of us, to go to the room with the notary.
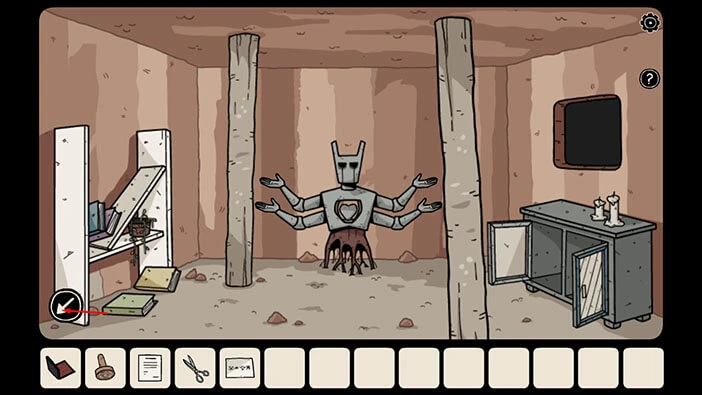
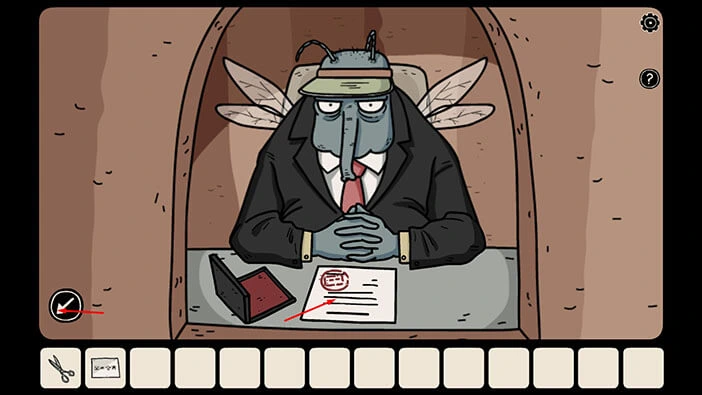
Tap on the window on the right to approach the notary.

Select the “Exit Authorization” from the inventory, and tap on the “Grab” option. Next, tap on the desk in front of the notary to put down the “Exit Authorization”.
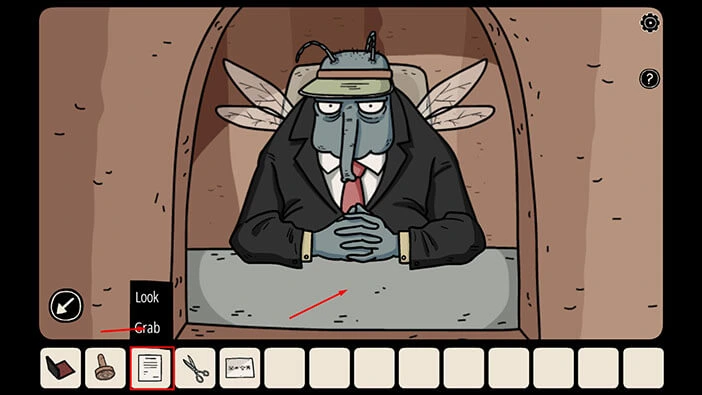
Next, select the “Rubber stamp” from the inventory and put it on the desk, just to the left of the “Exit Authorization”.
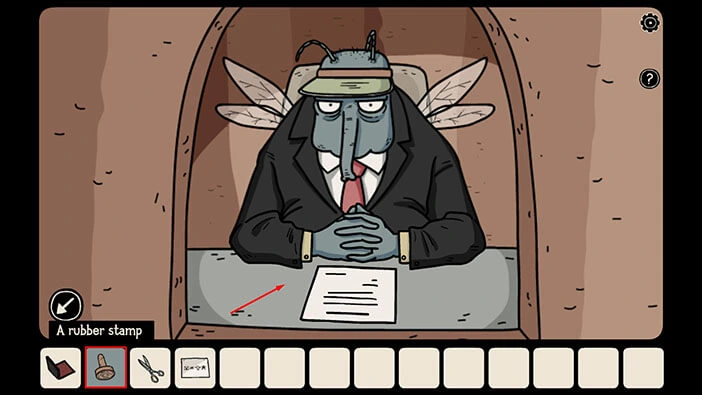
Lastly, select the “Inkpad” from the inventory and put it next to the “Rubber stamp”.
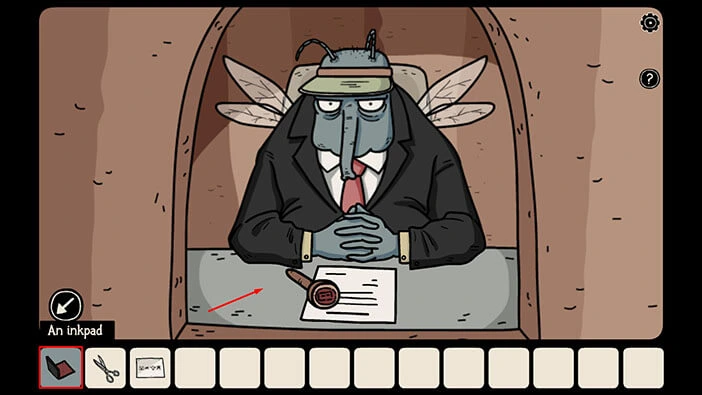
The notary will stamp the document, so let’s tap on it to pick it up. “Exit Authorization with Official Seal” will be added to your inventory.
After that, tap on the arrow in the lower left corner to go back.
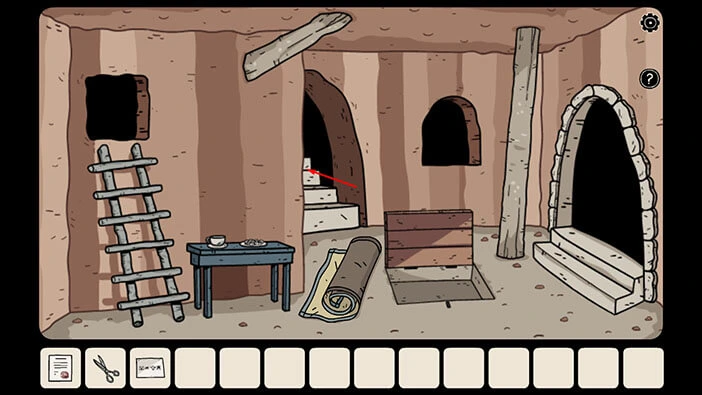
Tap on the stairs in front of you to proceed to the room with shadow guards.
Let’s get rid of the guards. Select the “Exit Authorization with Official Seal” from the inventory and tap on the “Grab” option. After that, tap on the shadow guards to give them the document.
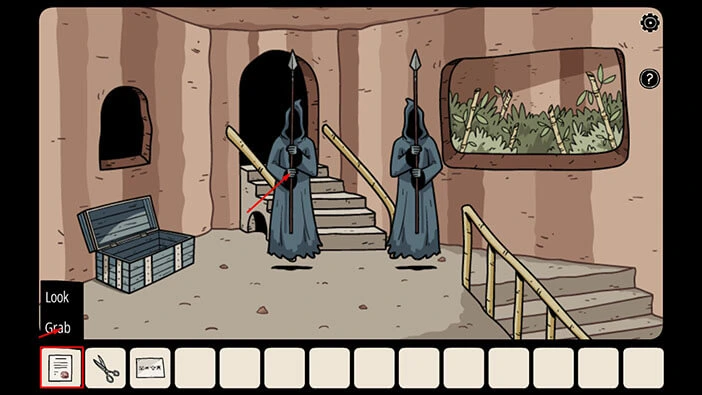
The guards will disappear, and we can now proceed to the next room. Tap on the doorway in front of you.
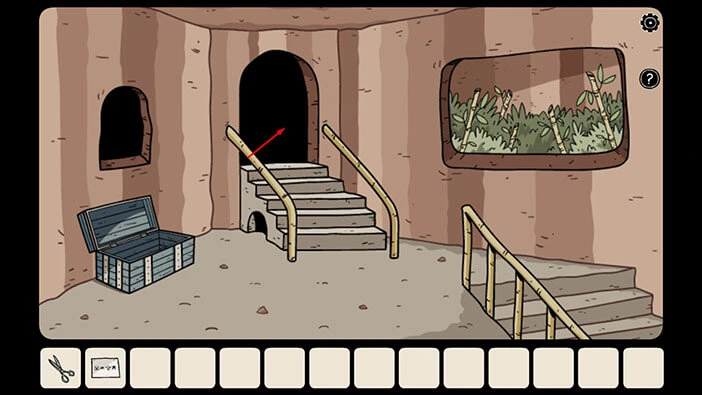
Tap on the column on the right to look behind it.
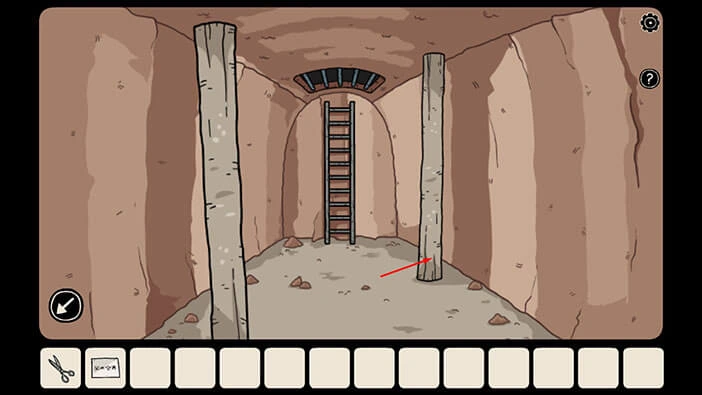
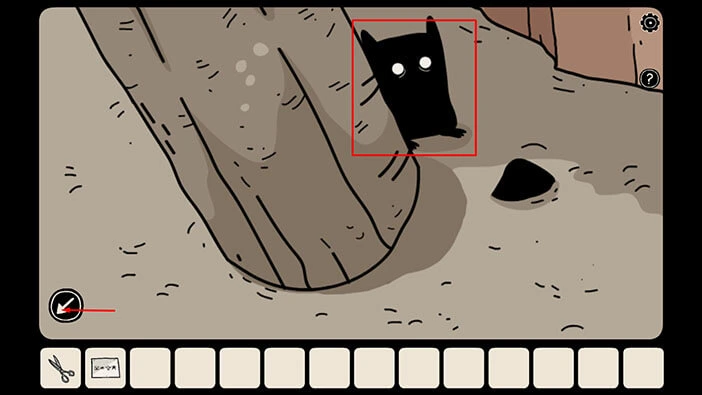
Here, you will find another shadow hamster. So far, we have found six out of ten.
Tap on the arrow in the lower left corner to go back.
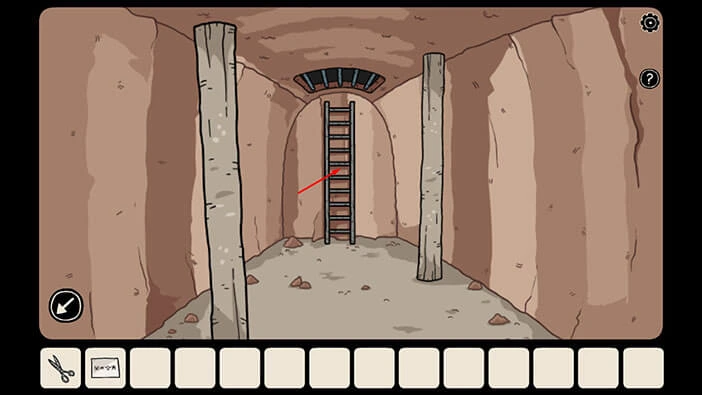
Tap on the ladder to climb up to the surface.
As soon as Laia reached the surface, she heard Bastian screaming.
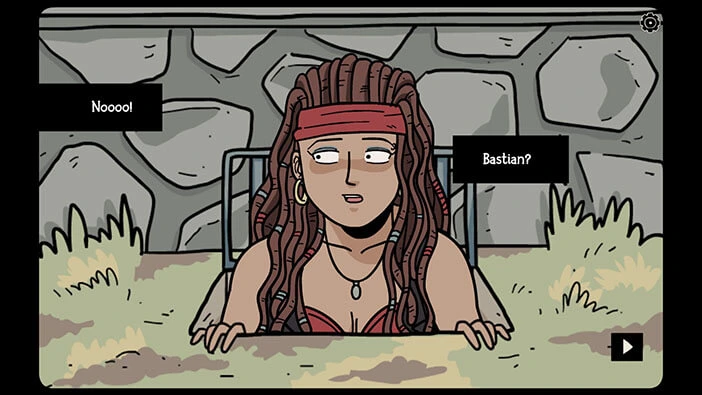
Bastian is terrified, because the demon is behind him, and he can’t escape. The demon is ready to enslave Bastian and turn him into a shadow.
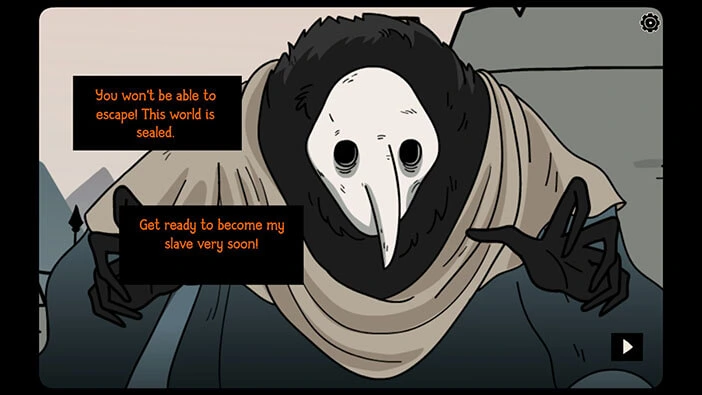
But, at this moment, the demon disappeared. It seems that it was teleported somewhere. I have a feeling that Detective Ren Larsen somehow managed to disrupt the demon’s plans.
With the demon gone, Bastian went through the wooden gate, and he met Laia on the other side.
After a brief talk, they noticed some ruins in the distance, and decided to explore them, hoping to find a portal that would lead them back to their world…
We will have to end the third part of our walkthrough here. Join us in the fourth part of the walkthrough, in which we will explore the continuation of Detective Larsen’s story.
Thank you for reading.