Escape From The Shadows | Part 2
Hello everyone and welcome to Part 2 of our walkthrough for “Escape from the Shadows” an escape room game created by the Dark Dome. Escape from the Shadows is the seventh game in the series, and like the other games, the story is set in Hidden Town, which is filled with all kinds of mysteries. In this walkthrough, we will show you how to solve all the puzzles and finish the game.
NOTE: Some puzzles will CHANGE with each playthrough, but the logic behind solving the puzzles will always remain the SAME. For example, in one playthrough a code to open a safe could be 1234, and in another playthrough, the code could be 4321. However, you will always discover the numbers for the code at the same location and by using the same hints.
NOTE: The second part of the walkthrough starts with Bastian and Laia in the Penumbra. The second part of the walkthrough follows the entire Bastian’s story. The third part of the walkthrough begins at the beginning of Laia’s story.
In the next scene, we can see that Bastian and Laia are in Penumbra together. Laia explained that she was trapped in Penumbra 3 days ago by an evil witch who took her body.
The witch is now impersonating Laia in our world, and Laia is concerned about the safety of her friends and family because the witch could easily trick them and harm them.
She is determined to escape from Penumbra and will do everything in her power to achieve this goal.
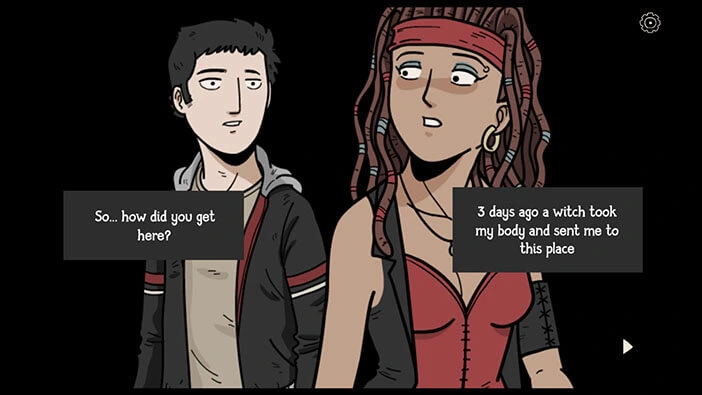
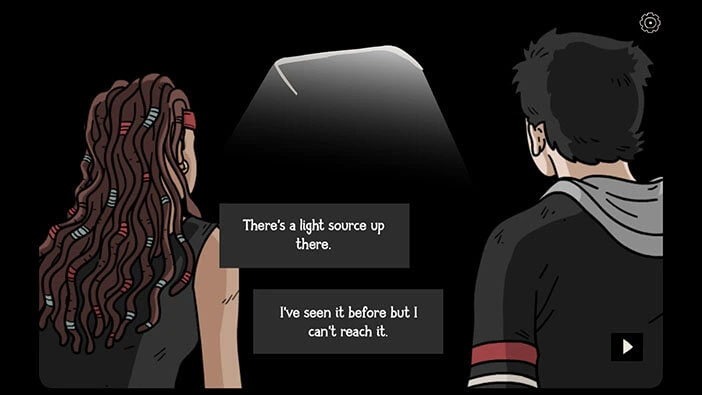
They looked around the room and noticed a ray of light coming through a hatch in the ceiling. Laia couldn’t reach this hatch, so she climbed on the Bastian shoulders.
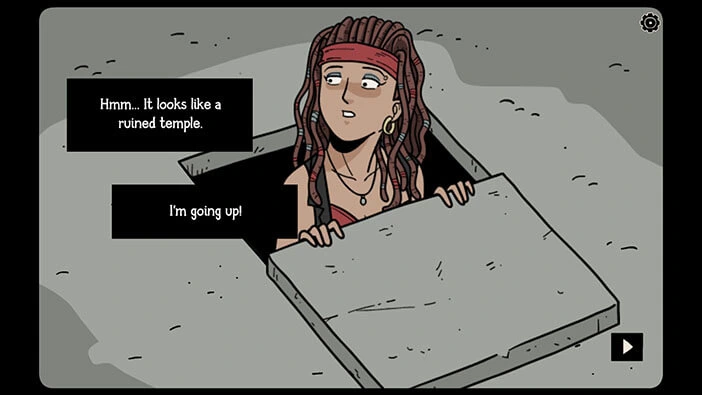
When she climbed out of the hatch, she saw an ancient temple. Next, she reached down and pulled Bastian out of the hole.
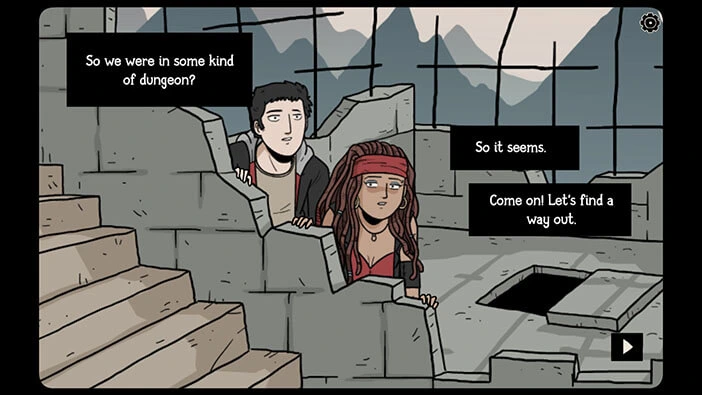
After looking around for a few moments, Bastian and Laia concluded that they were in some kind of a dungeon. They decided to explore the dungeon and look for a way out because that was their only hope for escape.
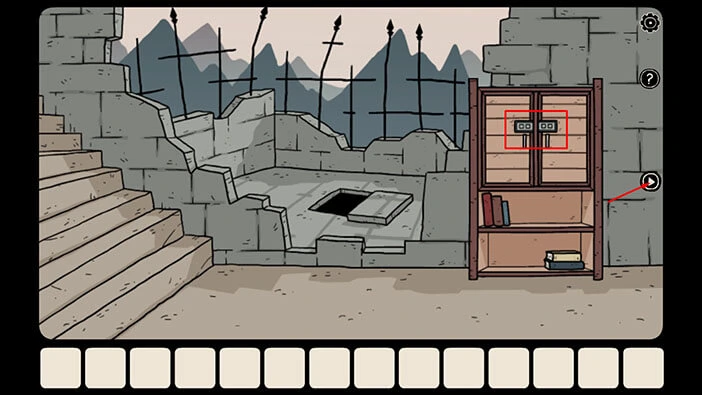
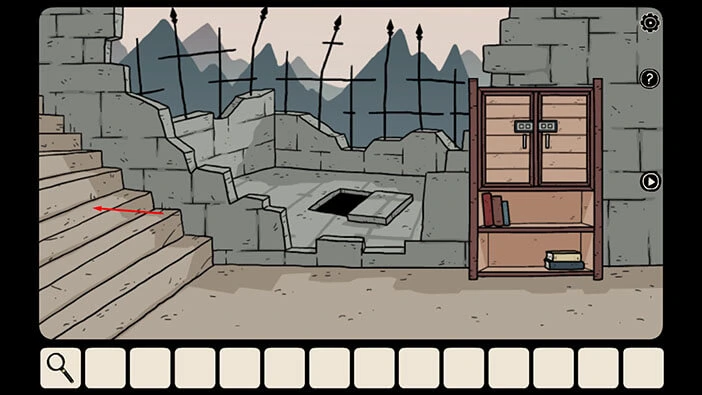
The cabinet in front of us is locked, and we will need to discover a password of four symbols to unlock it. We will come back to this later in the walkthrough.
For now, tap on the arrow on the right to proceed to the next room.
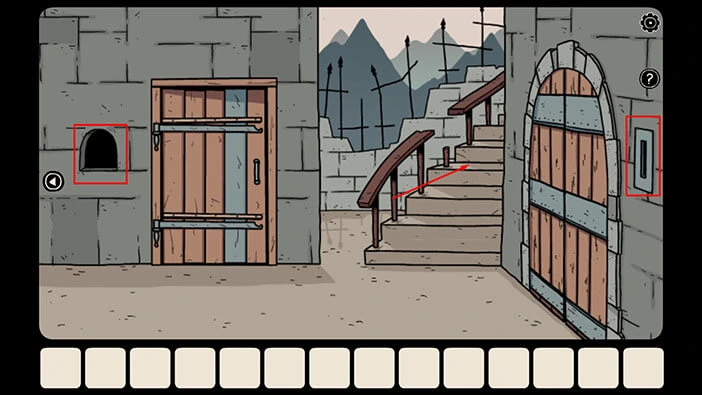
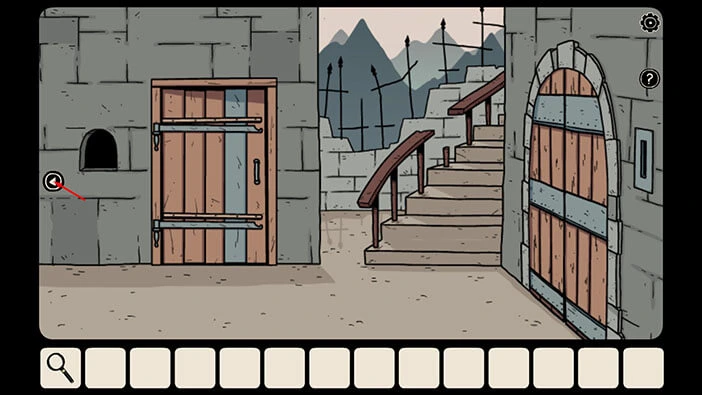
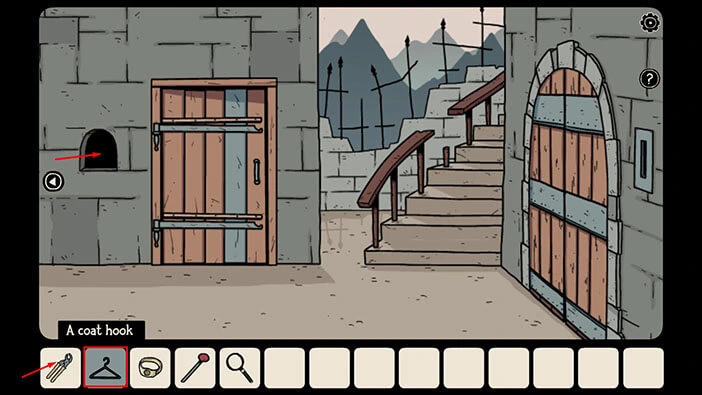
The door on the left is barred from the other side, and we can also see a window to the left of the door. So, we will have to find a long hook or something similar and reach out through the window in order to unlock this door (the window is too small for Bastian and Laia to squeeze through it). We will come back to this problem later in this walkthrough.
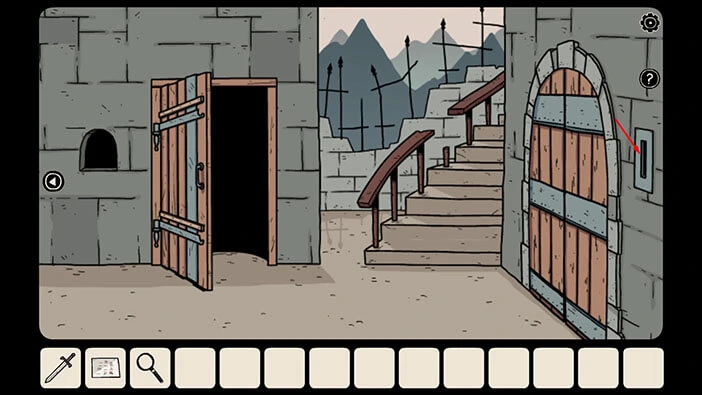
The door on the right is also locked, and we will need some kind of a lever to open it (there is an empty slot next to the door). We will also come back to this problem later in the walkthrough.
For now, tap on the stairs to proceed to the next area.
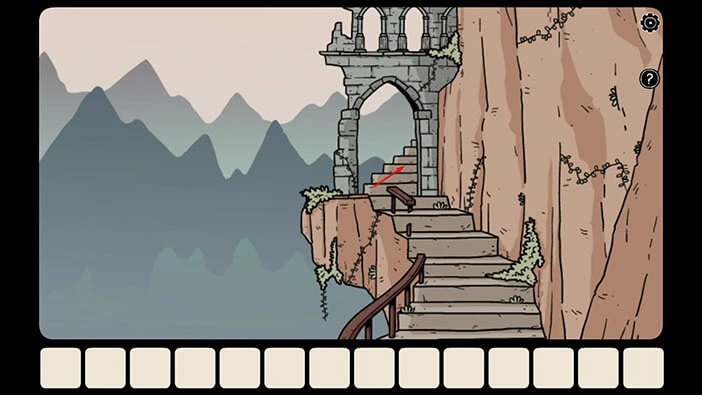
Tap on the stairs again to proceed.
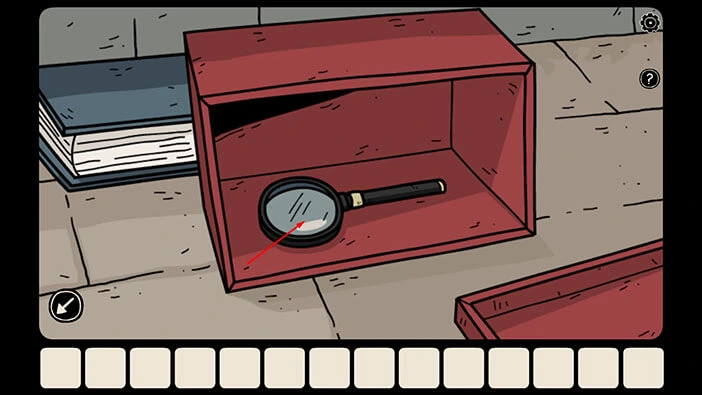
There is something inside the open, red box on the ground, so let’s tap on the box to take a closer look at it.
You will find a “Magnifying glass” in the red box, so tap on it to pick it up. After that, tap on the arrow in the lower left corner to go back.
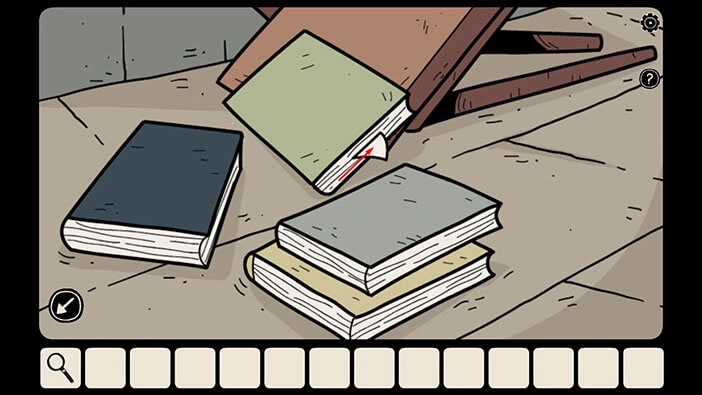
On the left side, you will notice a broken bench, and on the left side of the bench, we can see a green book. It looks like some kind of note is sticking out of the book, so let’s tap on the book to take a closer look at it.
After that, tap on the note to take a closer look at it.
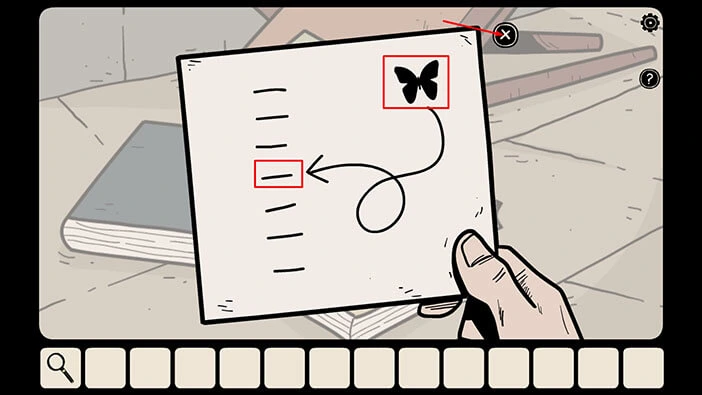
Here, we can see a butterfly and the arrow is pointing from the butterfly to the fourth line, looking from top to bottom. Let’s memorize/write down this information because we will need it much later in the walkthrough. So,
Butterfly = Fourth line
Once you’re done, tap on the “X” button to put down the note. After that, tap on the arrow in the lower left corner to go back.
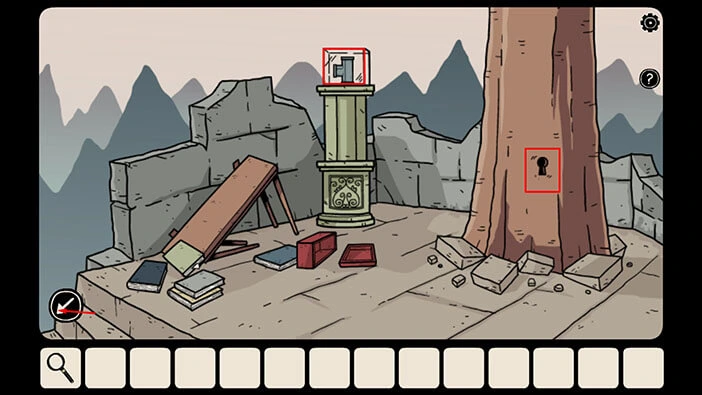
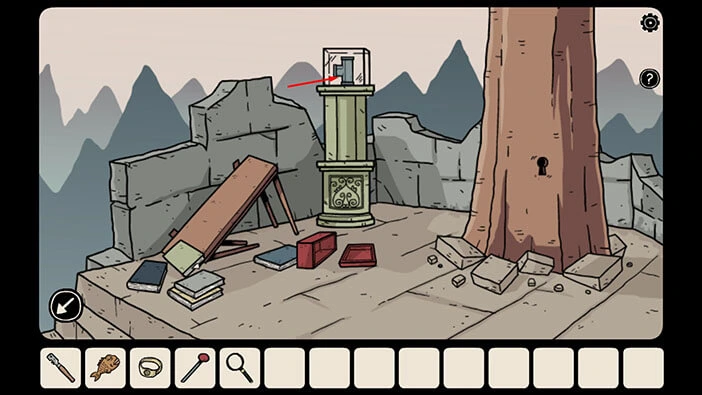
For now, we are finished with this area. Before we proceed, just take note of the keyhole on the tree on the right, and the pipe on the pillar because these two items will be important later in the walkthrough.
Once you’re done, tap on the arrow on the left to go back then tap on the lower part of the stairs to go back to the ground level.
Tap on the arrow on the left to go back to the previous area.
Next, tap on the area on the left and we will explore a new area.
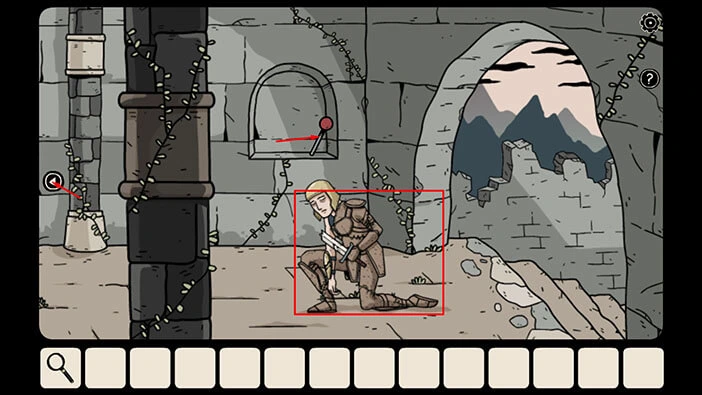
If you tap on the soldier with the broken sword, he will ask for water. Unfortunately, we don’t have any water to give him, at the moment.
In the wall behind the soldier, you will notice an open space with an item inside it. Tap on this compartment in the wall to take a closer look at it, and tap again to pick up the item. A “Lever” will be added to your inventory.
Once you’re done tap on the arrow on the left to proceed to the next area.
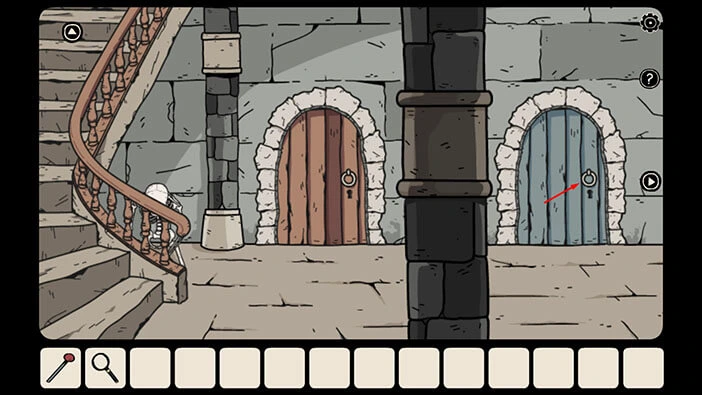
Tap on the blue door on the right to open it, and tap again to proceed to the next room.
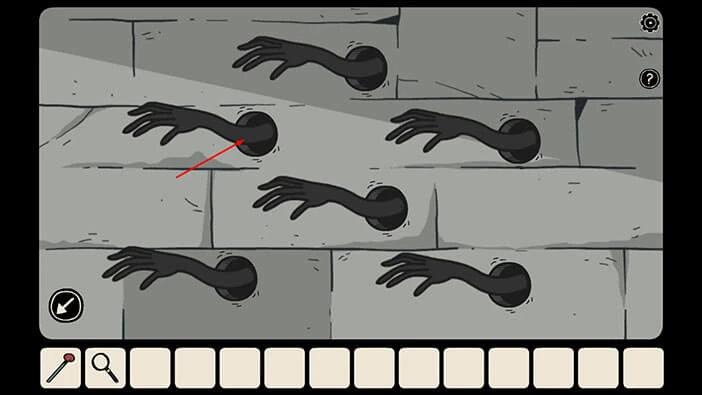
You will immediately notice six shadowy arms reaching out of the wall. Tap on these arms to take a closer look at them.
Here, we have another, simple puzzle. Our task is to tap on the arms in a certain order. If you tap on the correct arm, it will pull back into the hole in the wall. If you tap on the wrong arm, you will reset the puzzle (all arms will return to their original position).
We will do this puzzle in several steps. Let’s begin.
Step 1
Tap on the arm in the top left corner and it will be pulled into the hole in the wall.
Step 2
Tap on the arm in the middle and it will be pulled into the hole in the wall.
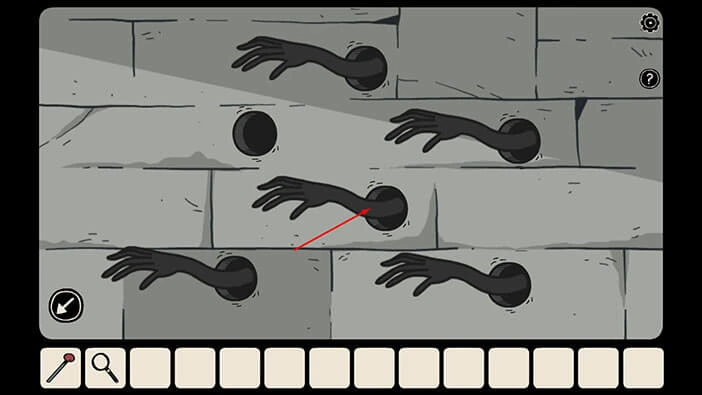
Step 3
Tap on the arm in the bottom right corner and it will be pulled into the hole in the wall.
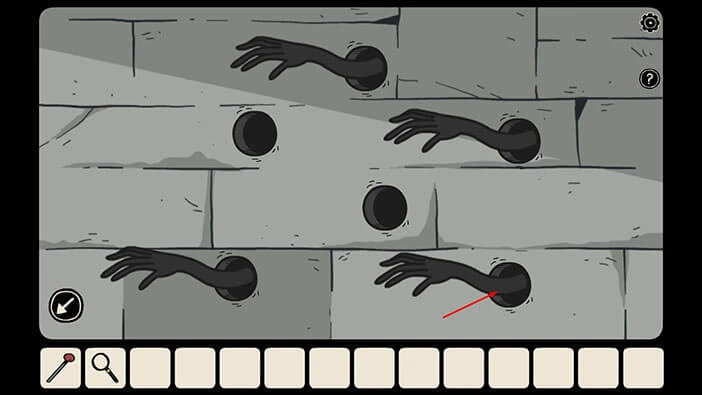
Step 4
Tap on the arm in the top right corner and it will be pulled into the hole in the wall.
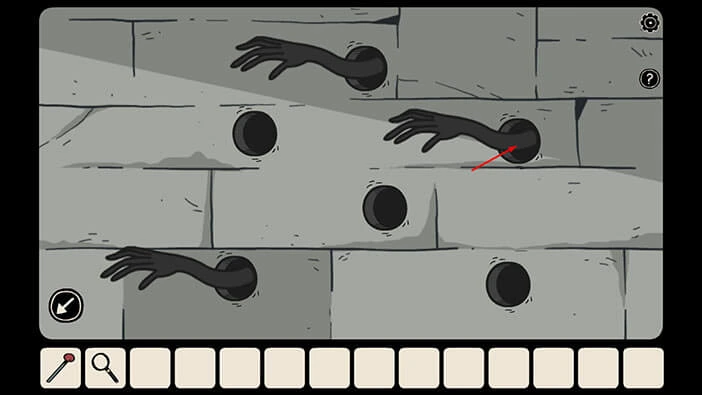
Step 5
Tap on the arm in the bottom left corner and it will be pulled into the hole in the wall.
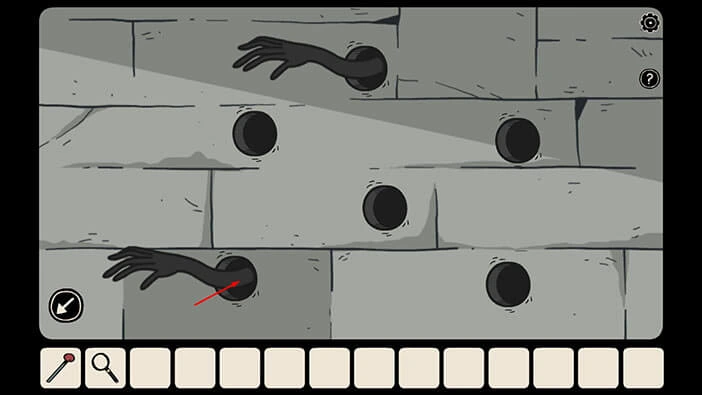
Step 6
Lastly, tap on the arm at the top and it will be pulled into the hole in the wall.
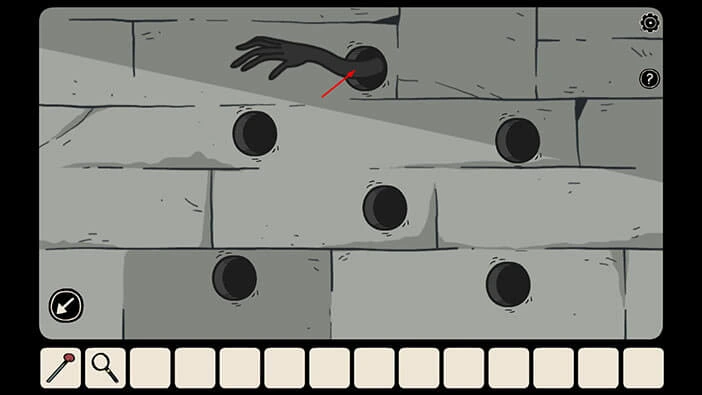
As soon as you solve the puzzle, and all six arms retract into the holes in the wall, another arm will reach out from the wall, and will open the chest located below the six arms.
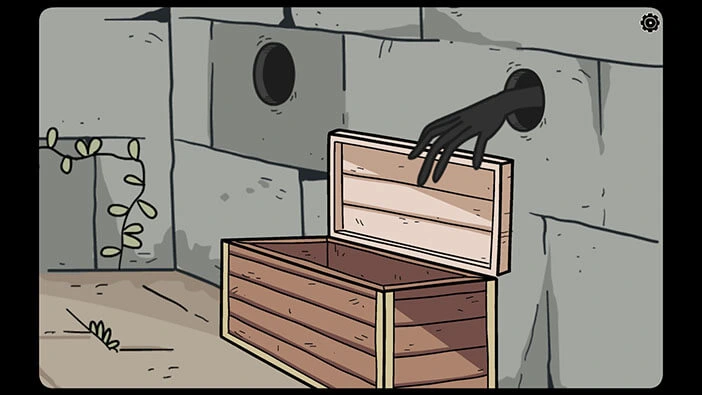
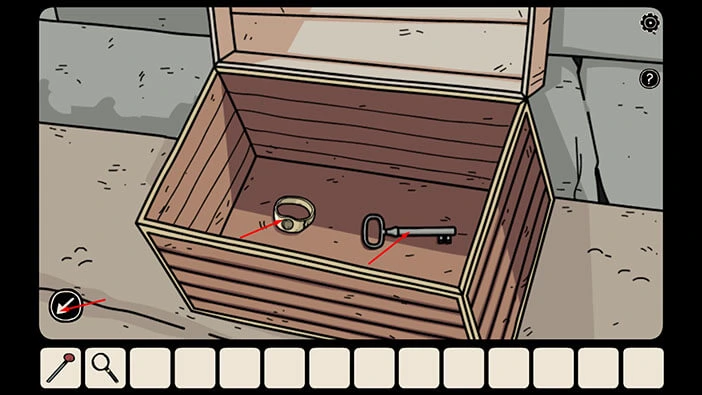
In the chest, you will find a “Ring without a gem” and an “Old key”. Tap on these two items to pick them up.
After that, tap on the arrow in the lower left corner to go back.
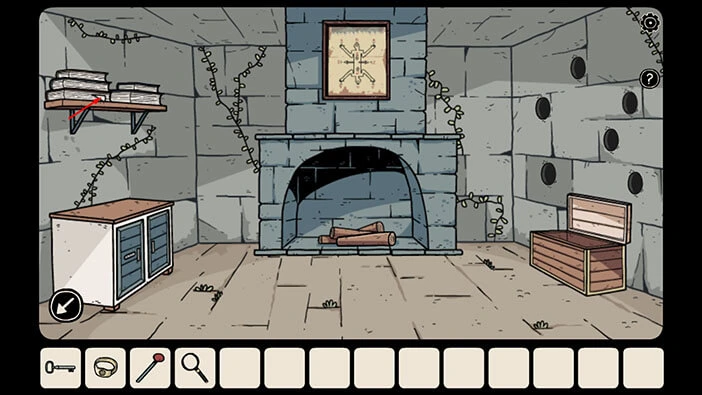
Next, if you take a look at the wall shelf on the left, you will notice several books. You will also notice a note sticking out of the bottom book on the left side of the shelf. Tap on this book to take a closer look at it.
After that, tap on the note to take a closer look at it.
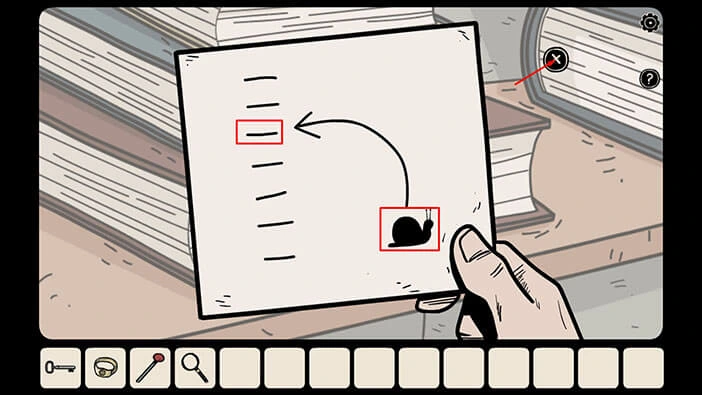
Like the previous note in the book, here we can see an animal (snail) and the arrow is pointing at its position on the left (Third line). Let’s memorize/write down this information because we will need it later. So,
Snail = Third line
Once you’re done, tap on the “X” button to put down the note.
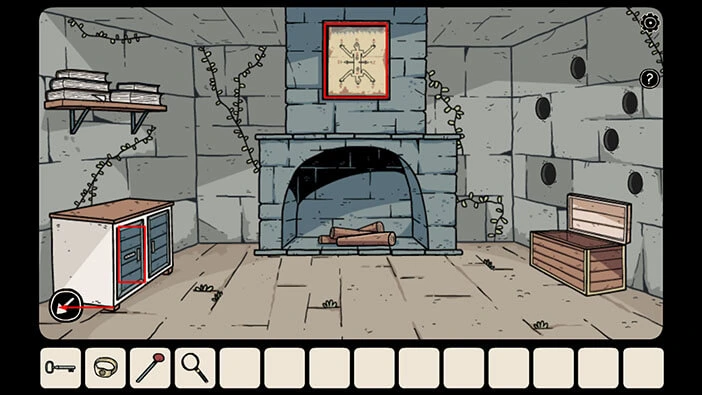
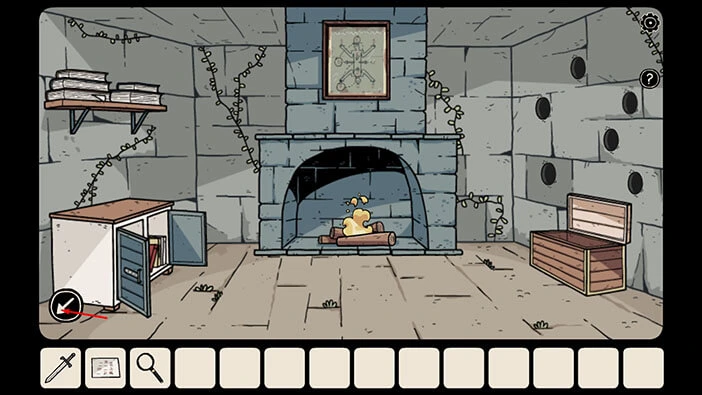
In this room, we also have a cabinet that is locked by a password of four symbols, and a picture above the fireplace represents another puzzle. We will come back to this later in the walkthrough.
For now, tap on the arrow in the lower left corner to go back, outside.
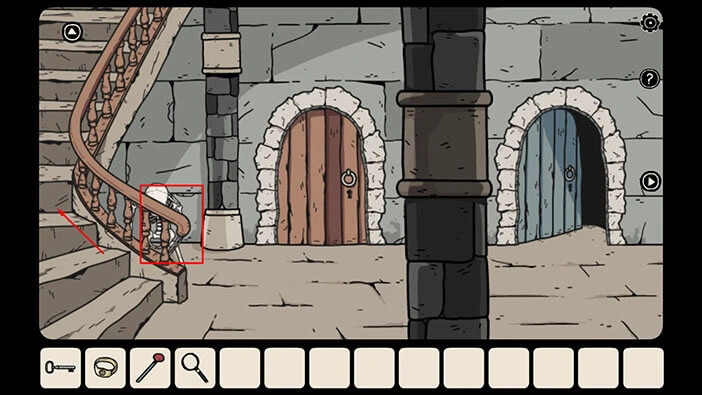
Below the stairs, we can see a skeleton holding a key. We will come back to it later.
For now, tap on the stairs on the left to proceed to the next area.
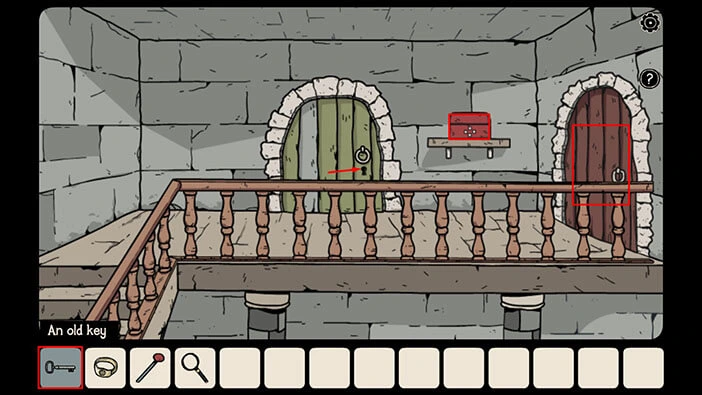
On the right, we have a brown door, and this door is protected by some kind of magic barrier (tapping on it will trigger a cutscene). So, we can’t open it, right now. On the wall shelf between the two doors, we can see a red box, and this box is locked with a combination of four symbols. We will come back to it later in this walkthrough.
The green door in front of you is also locked, but we already have the key that can open this door. So, select the “Old key” from the inventory and use it to unlock the green door. After that, tap on the door to open it, and tap again to proceed to the next room.
Here, you will immediately notice four shadowy arms sticking out from the books. But, first, let’s take a look at the box on the bottom shelf on the left.
Tap on the box again examine it, and tap once more to open it.
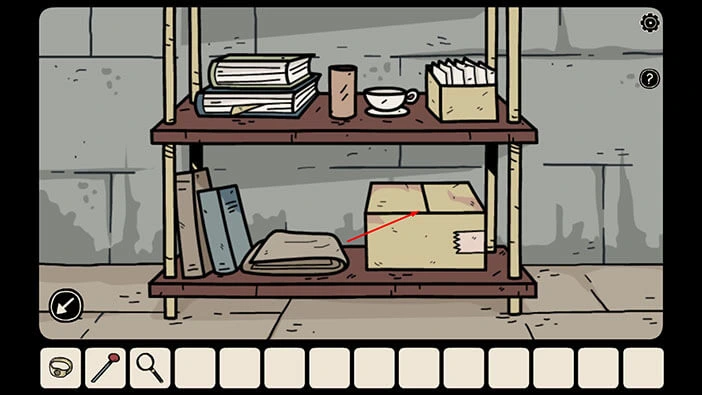
In the box, you will find the third out of ten shadowy hamsters. Let’s go back. Tap on the arrow in the lower left corner.
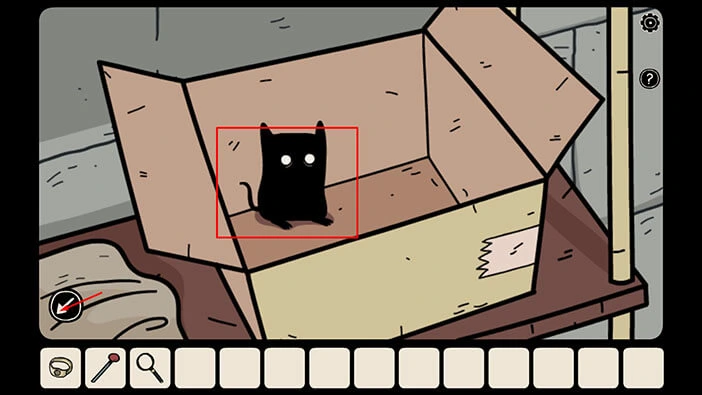
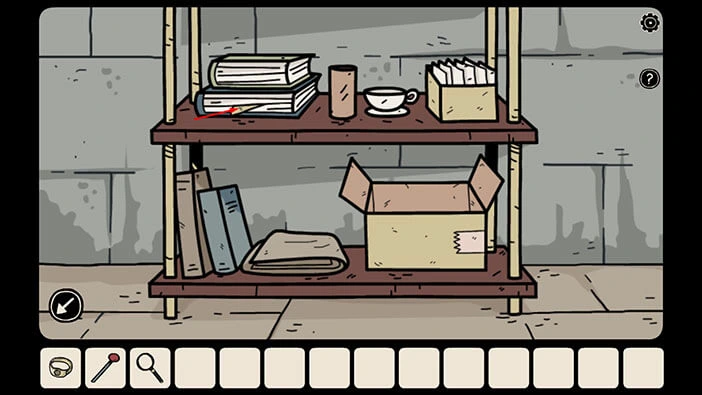
Next, we can also see a note sticking out of the blue book on the middle shelf. Tap on this book to take a closer look at it, then tap on the note to examine it.
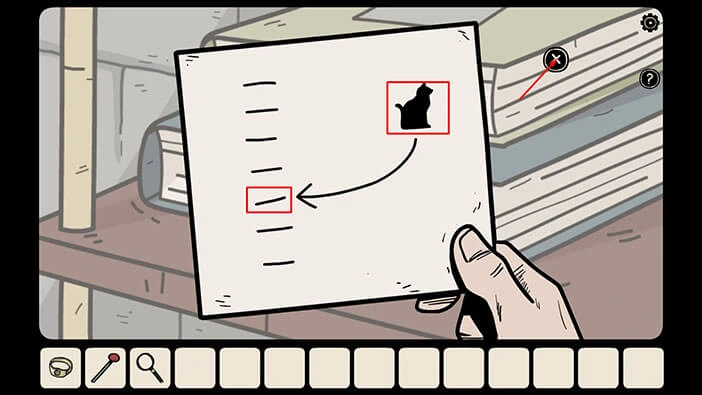
Like the previous note in the book, here we can see an animal (cat) and the arrow is pointing at its position on the left (Fifth line). Let’s memorize/write down this information because we will need it later. So,
Cat = Fifth line
Once you’re done, tap on the “X” button to put down the note.
Next, tap on the “Coat hook” located on the top shelf to take a closer look at it, and tap again to pick it up.
After that, tap on the arrow in the lower left corner to go back.
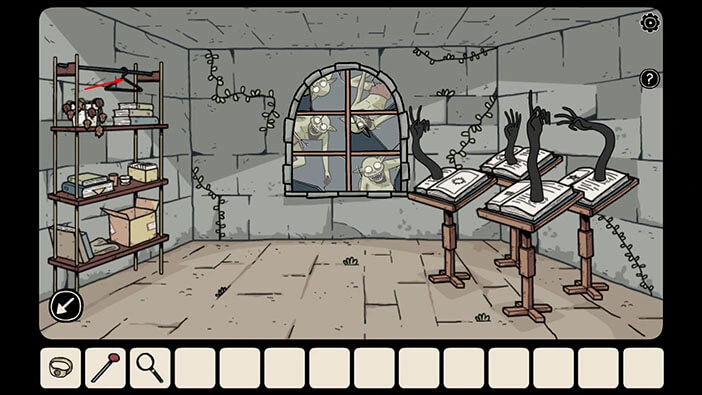
Next, let’s tap on the shadowy arms on the right to take a closer at them.
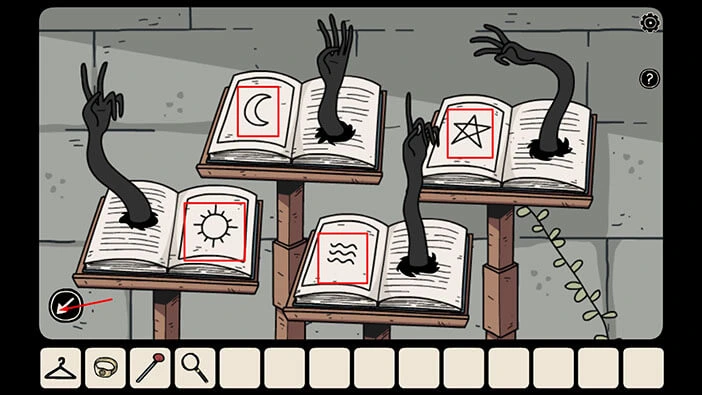
We can see that each book has a specific symbol, and the arms coming out of the books have one, two, three, or four fingers raised. The number of the raised finger(s) represents the chronological order of the symbols. So, let’s memorize/write down this information because we will need these symbols to unlock the cabinet located in the first area.
The First symbol (one finger) = Waves
The Second symbol (two fingers) = Sun
The Third symbol (three fingers) = Star
The Fourth symbol (four fingers) = Crescent moon
Once you’re done, tap on the arrow in the lower left corner to go back.
You probably noticed the goblins around the window. We will come back to them shortly after we solve the next two or three puzzles. For now, tap on the arrow in the lower left corner to exit this room.
Ok, let’s go back to the first room. To get there, first tap on the stairs to go to the ground floor. Second, tap on the arrow on the right.
We are now in the room with the kneeling soldier who holds the broken sword. So, let’s tap on the stairs on the right.
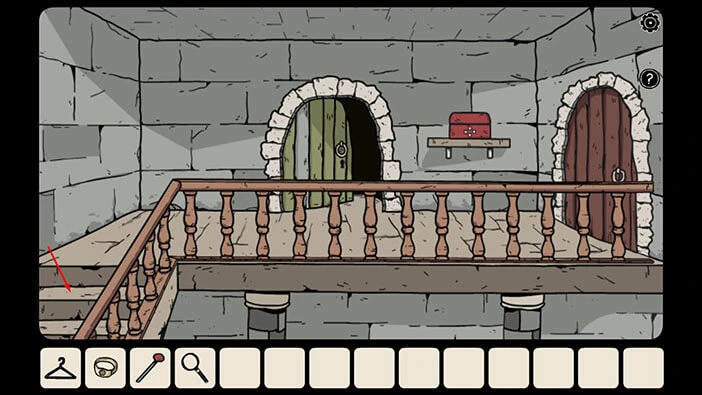
Ok, we are now in the first area. Tap on the cabinet to take a closer look at it, and tap again to start the interaction.
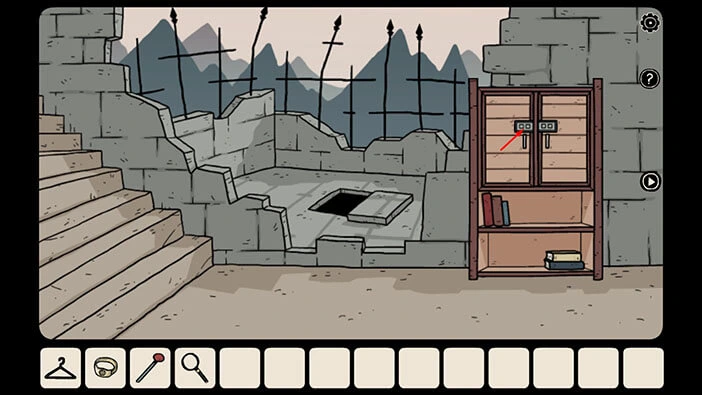
Let’s enter the four symbols that we discovered (book with shadowy arms). We had,
The First symbol = Waves
The Second symbol = Sun
The Third symbol = Star
The Fourth symbol = Crescent moon
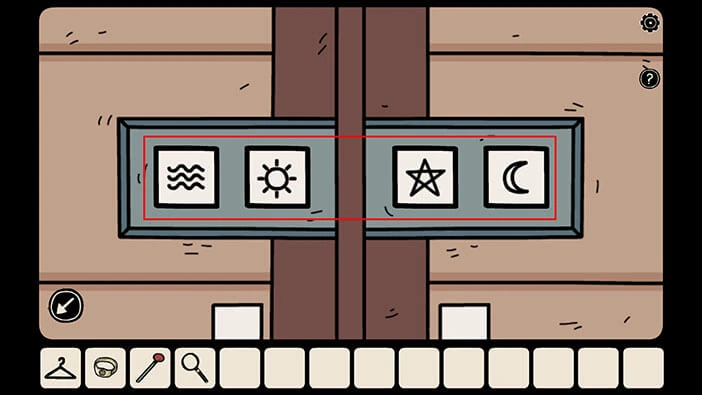
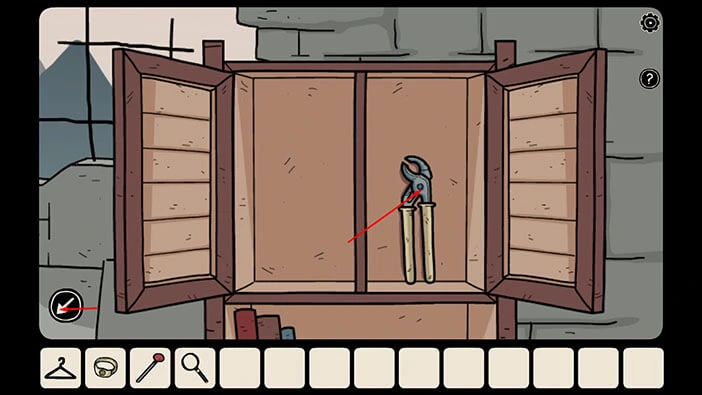
As soon as you enter the correct combination of symbols you will hear a clicking sound, indicating that the cabinet is unlocked. Tap on both cabinet doors to open them.
In the compartment on the right you will find a “Pair of Pliers”. Tap on it to pick it up. After that, tap on the arrow in the lower left corner to go back.
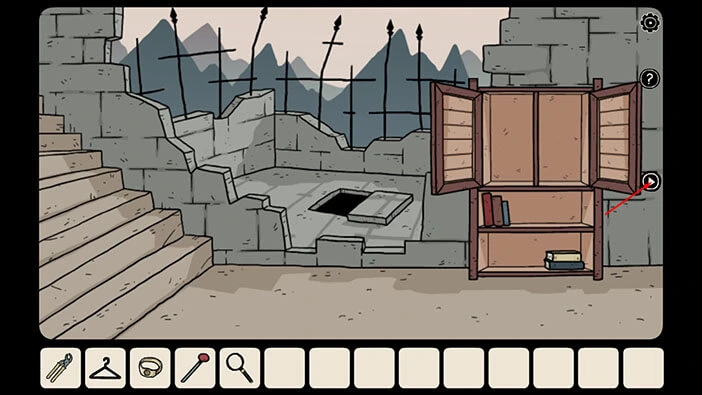
We can now open the barred door in the first area on the right so let’s do that. Tap on the arrow on the right to proceed to the next area.
Select the “Coat hook” from the inventory and tap on the “Pair of pliers” to combine the two items. You will craft a “Hook”.
After that, tap on the small window on the left side of the barred door to take a look inside.
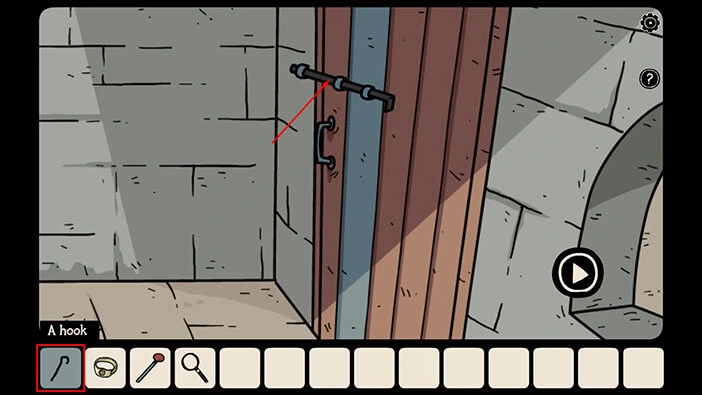
Select the “Hook” from the inventory and use it to unlock the door from the inside.
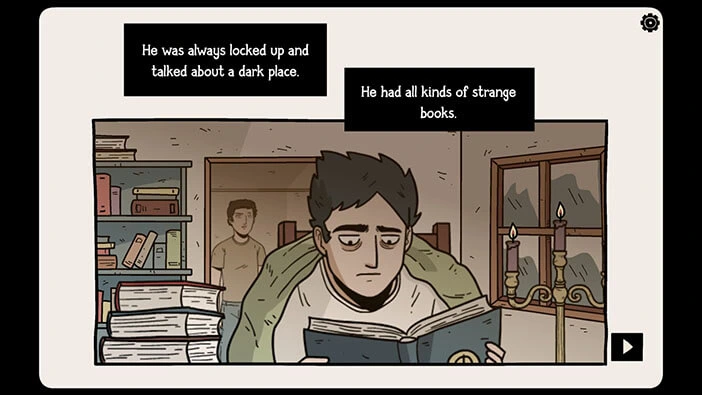
As soon as you unlock the barred door, you will trigger a cutscene. Bastian remembered that his brother had a lot of strange books, and he often talked to Bastian about a dark place. Bastian just realized that the place in his brother’s stories has a lot of similarities with “Penumbra”.
Later, his brother became obsessed with the place from the stories and died shortly after that. So, Bastian thinks that his brother might have talked about “Penumbra”, the place in which Bastian and Laia are stuck right now.
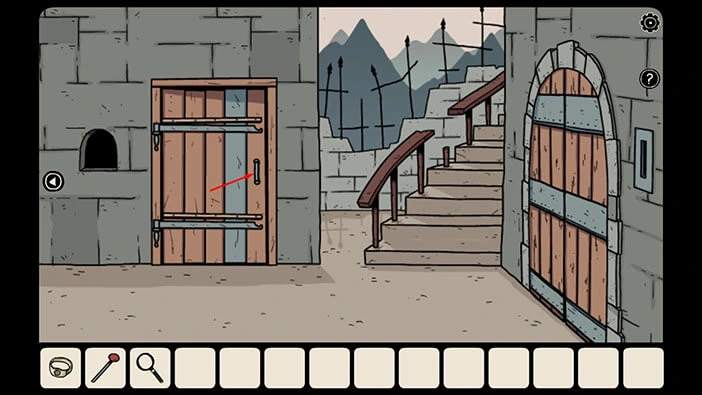
Tap on the door to open it and tap again to proceed inside.
Let’s explore this room. First, tap on the blue book located at the top of the pile of books to take a closer look at it.
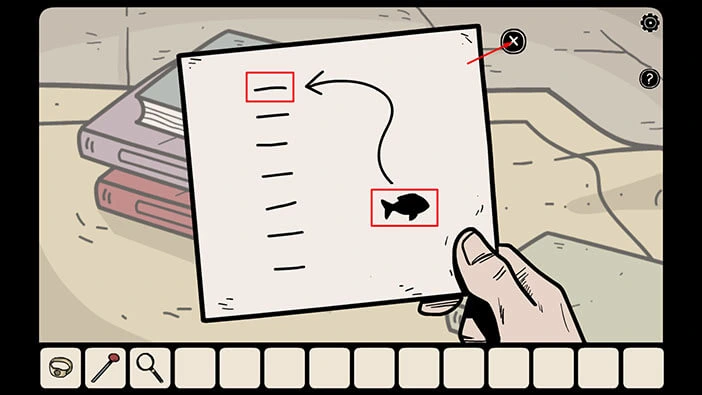
You will notice a note sticking out of the book. Tap on the note to examine it.
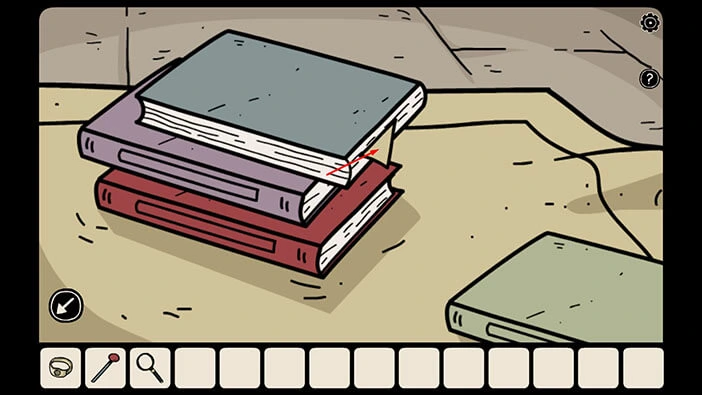
Like the previous notes in the book, here we can see an animal (fish) and the arrow is pointing at its position on the left (First line). Let’s memorize/write down this information because we will need it for the next puzzle. So,
Fish = First line
Once you’re done, tap on the “X” button to put down the note. After that, tap on the arrow in the lower left corner to go back.
Next, let’s tap on the wooden board on the right wall to take a closer look at it.
Here, we can see four animals and a vertical bar with lines. The number of lines and the type of animals are the same as on the four notes that we found scattered throughout the world. So, since we already found all four notes, let’s set the animals on the board in the correct position (line). As a reminder, we had (looking from top to bottom)
Snail = Third line
Cat = Fifth line
Fish = First line
Butterfly = Fourth line
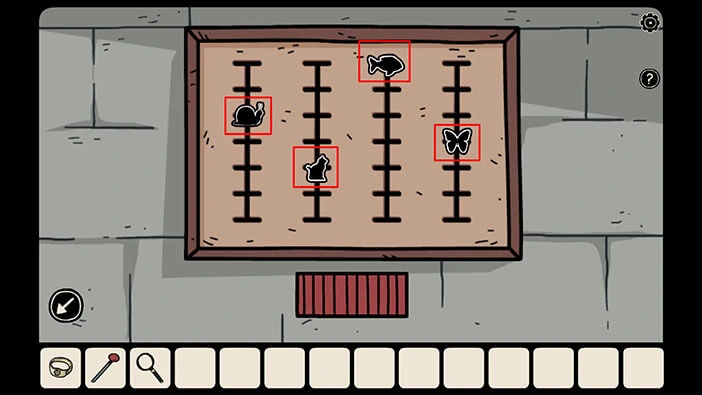
As soon as you place the statues of animals in the correct position, a small compartment below the wooden board will open and inside you will find a “Chicken leg”. Tap on it to pick it up.
After that, tap on the arrow in the lower left corner to go back.
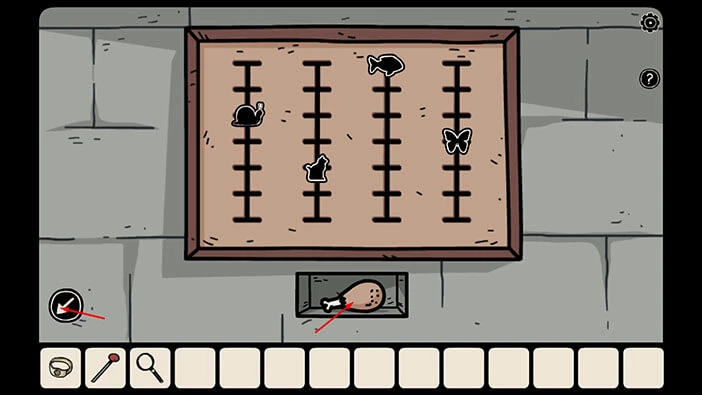
Ok, we should now go back to the room with goblins on the window, and feed them with the “Chicken leg”. Before we do that, just pay attention to the pipes on the wall, because we will come back to this puzzle a bit later in the walkthrough.
For now, tap on the arrow in the lower left corner to go back, outside.
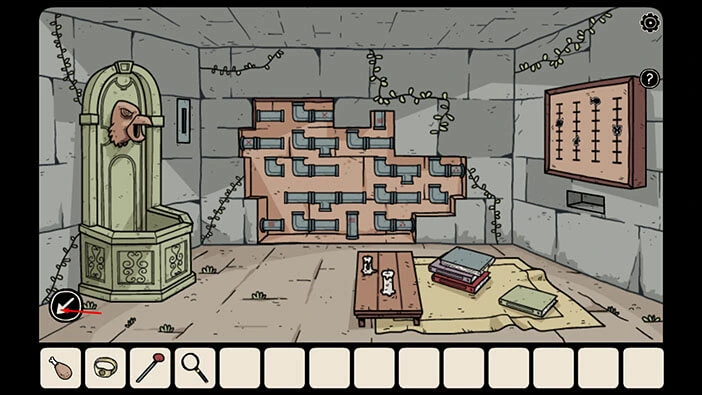
Let’s go to the room with the goblins on the window. To get there, we should first tap on the arrow on the left to go back to the first area. From the first area, we should tap on the stairs on the left and we will reach the area with the kneeling soldier.
Next, we should tap on the arrow on the left, and we will get to the area with the two doors. From there, we should tap on the stairs on the left.
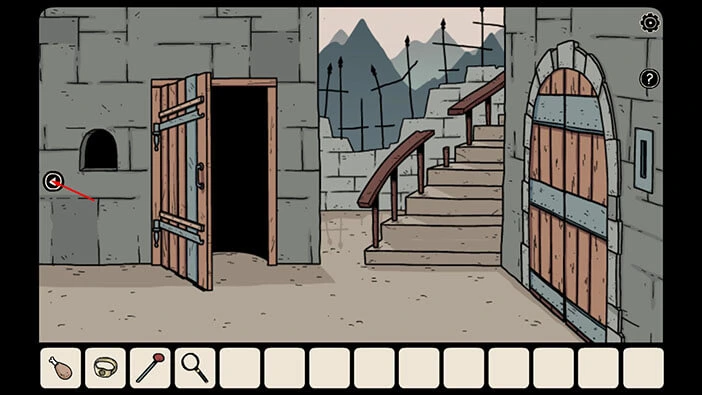
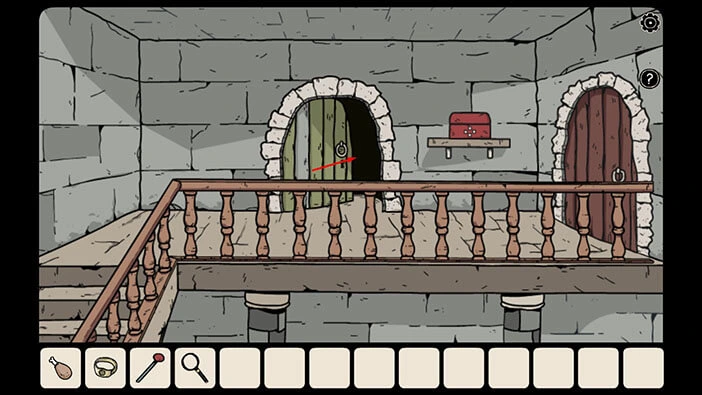
We will reach the green door, so tap on it to proceed to the room with goblins on the window.
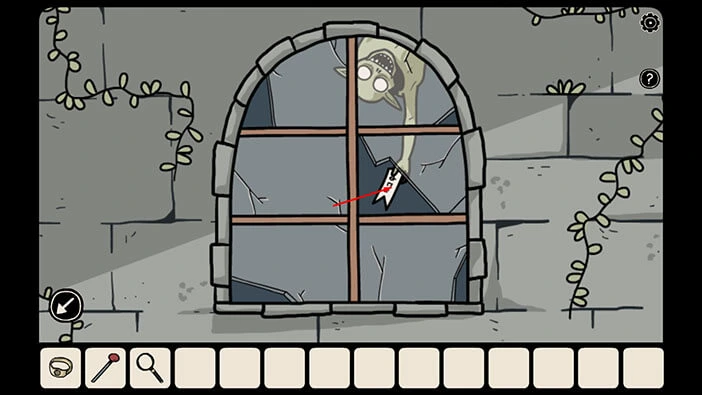
Tap on the window to take a closer look at the goblins. Select the “Chicken leg” from the inventory and tap on the window to give the leg to goblins.
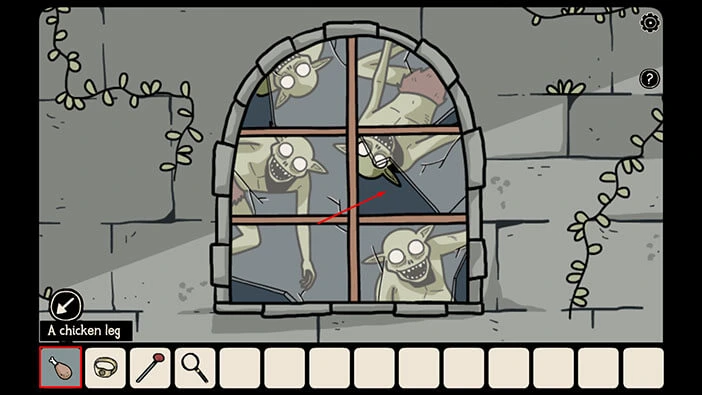
The goblins will leave, probably to eat the chicken leg. A few moments later, one of the goblins will return and he will offer you “Magic Spell to open doors” as a sign of his gratitude.
Tap on the “Magic Spell to open doors” to take it.
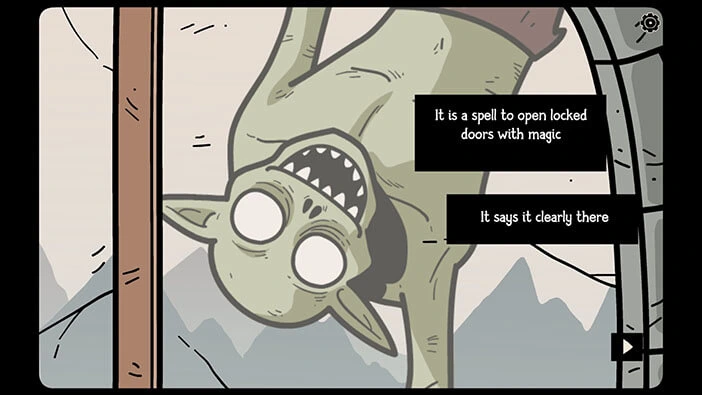
Here, we will have a short cutscene. Laia looked at the note, but she couldn’t understand the strange symbols.
The goblin explained that the note represents a spell that can be used to open the door that is protected by the magical barrier.
Well, the door protected by the magical barrier is just outside of this room, so let’s go out and see if this spell will work.
Tap on the arrow in the lower left corner to go outside.
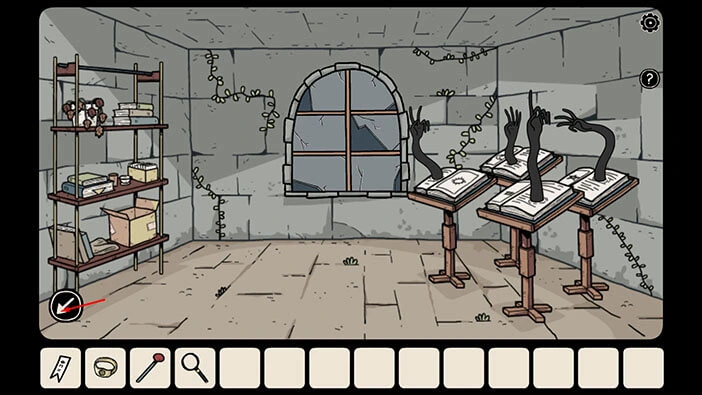
If you tap on the brown door on the right, a cutscene will trigger, and the magical barrier will prevent Bastian and Laia from opening the door.
Let’s break this magical barrier. Select the “Magic Spell to open doors” from the inventory and then tap on the brown door on the right.
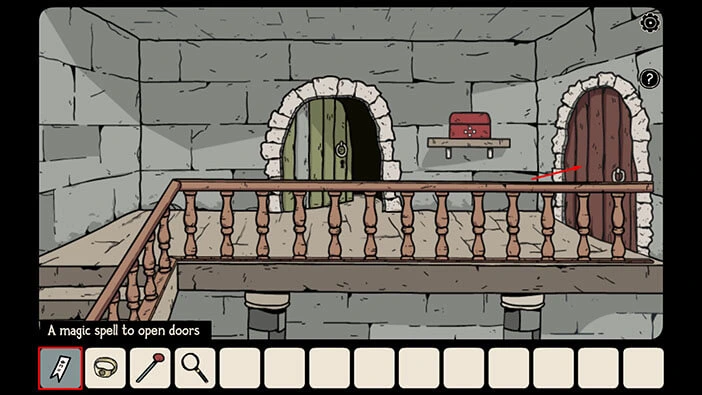
The goblin’s “Magic Spell to open doors” actually worked. It removed the magical barrier and the door is now open.
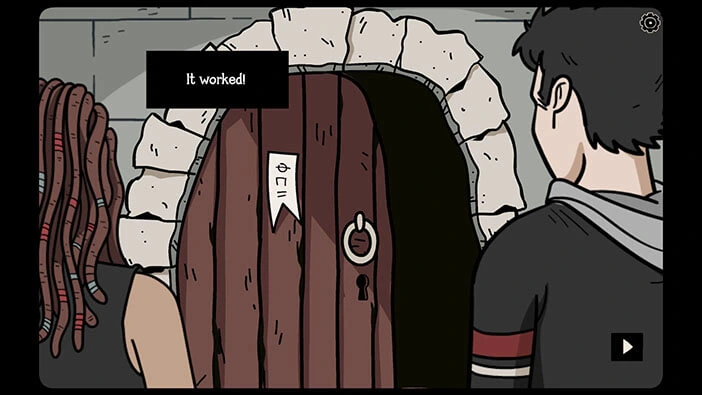
Tap on the door that we just “unlocked” and you will trigger another cutscene.
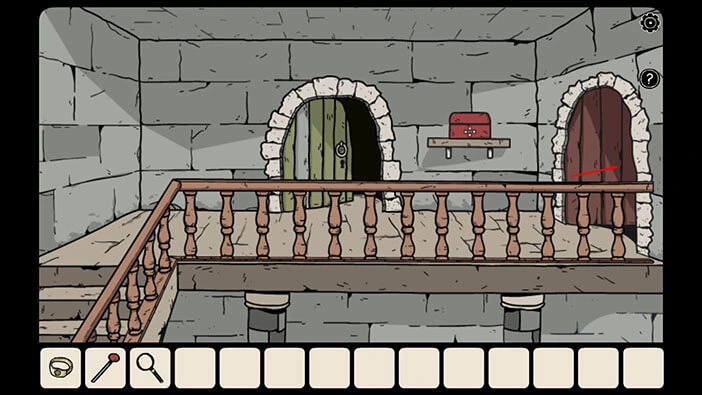
Bastian will step forward toward the door but at that moment, the trapdoor under Laia’s feet will open and she will fall down, into the hole.
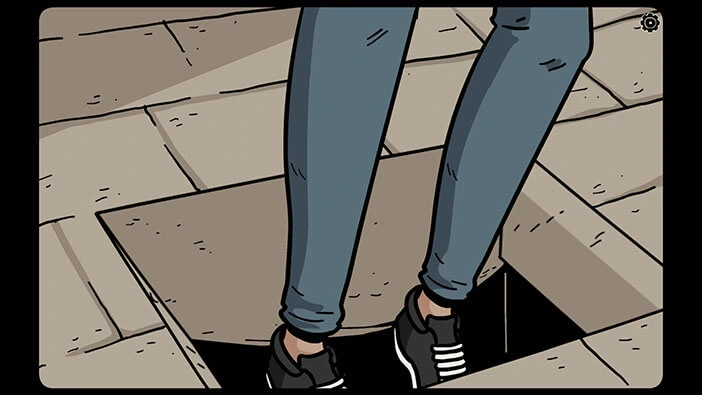
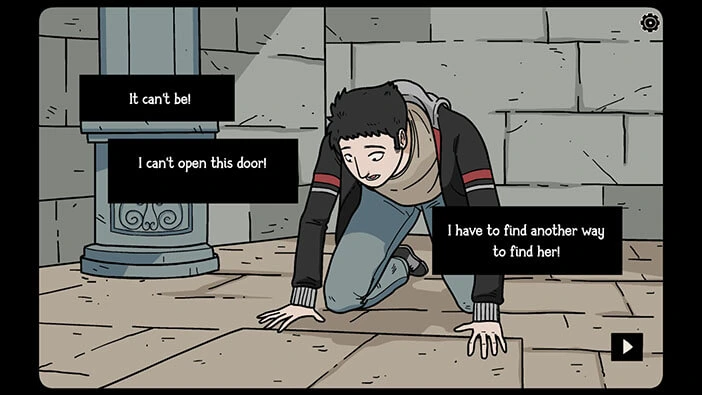
A few moments later, the trapdoor will close. Bastian desperately tried to open the door but to no avail. He quickly realized that he would have to find another way to rescue Laia.
In the next scene, a huge, pink bird will land in front of Bastian.
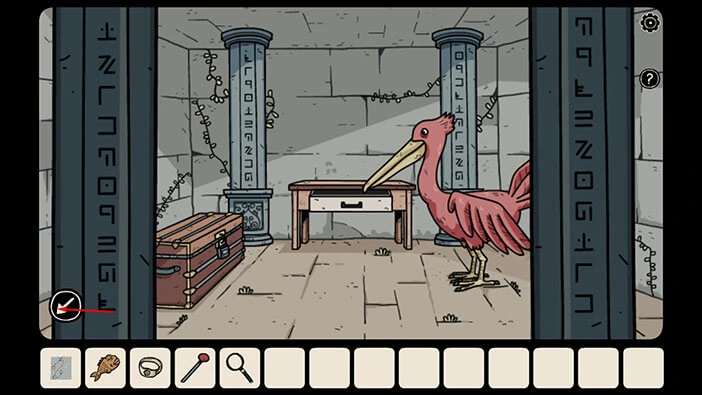
We are now in the room that is located behind the “magical door” (Bastian went through the door). Tap on the pink bird to start the interaction.
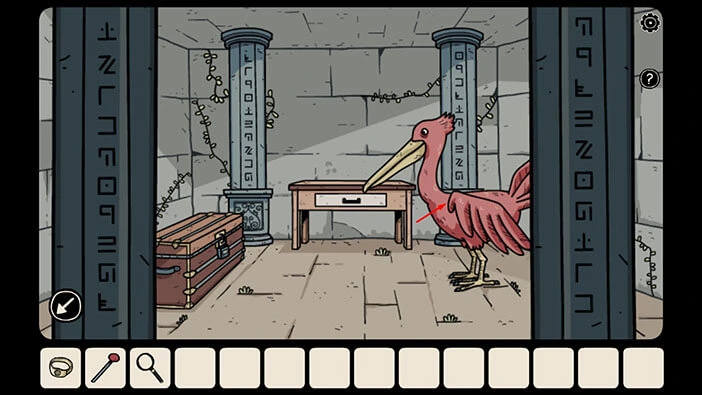
The bird will spit out a “Fish” so let’s tap on the “Fish” to pick it up.
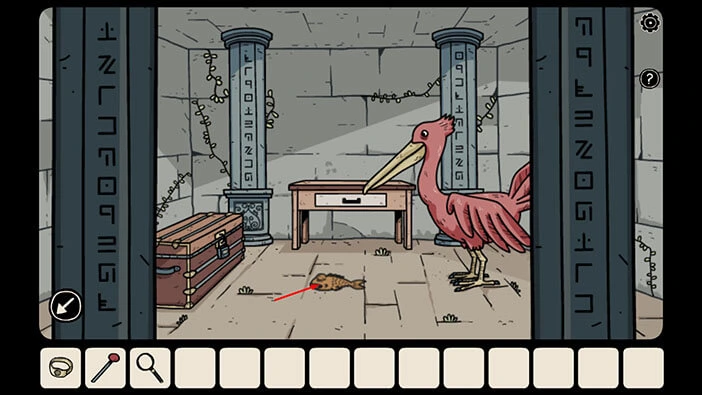
The chest on the left is locked, and we will have to find a combination of the four symbols in order to unlock it.
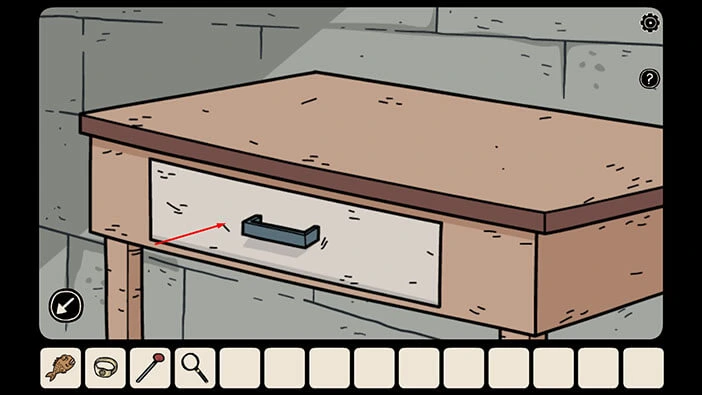
Next, tap on the table in front of you to take a closer look at it, then tap on the drawer to open it.
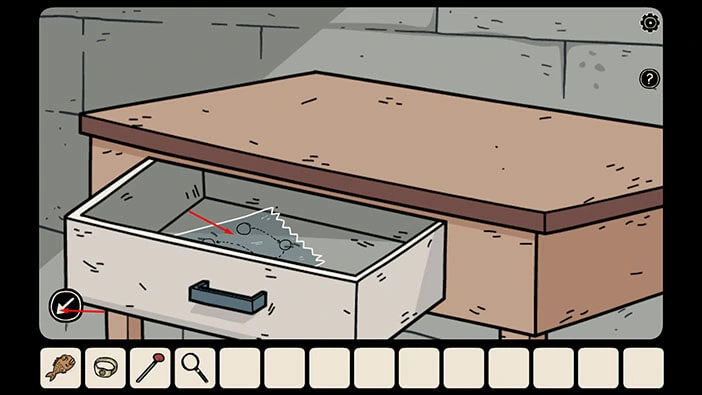
In the drawer, you will find a “Piece of the translucent map”. Tap on it to pick it up.
After that, tap on the arrow in the lower left corner to go back.
We should now go back to the room with the blue door. Tap on the arrow in the lower left corner to go back.
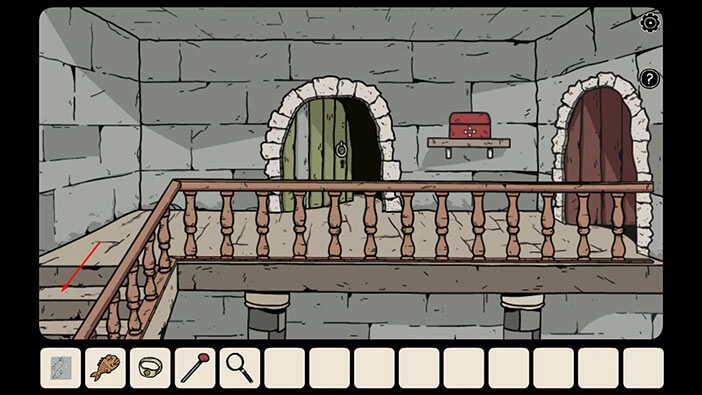
Next, tap on the stairs on the left to go to the ground floor.
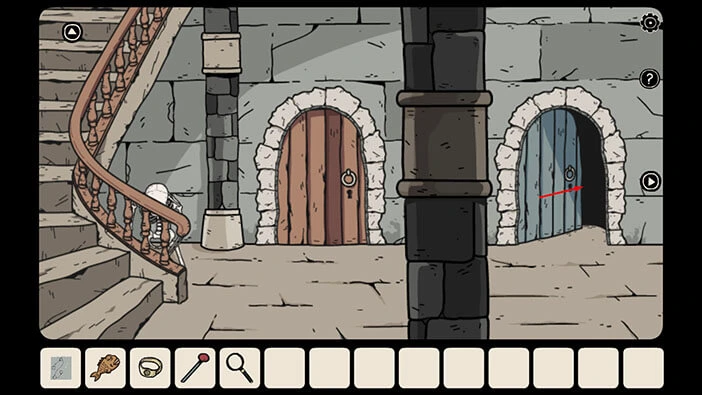
Tap on the blue door on the right to proceed inside.
Tap on the picture above the fireplace to take a closer look at it.
Next, tap on the “Piece of translucent map” in the inventory, and select the “Grab” option.
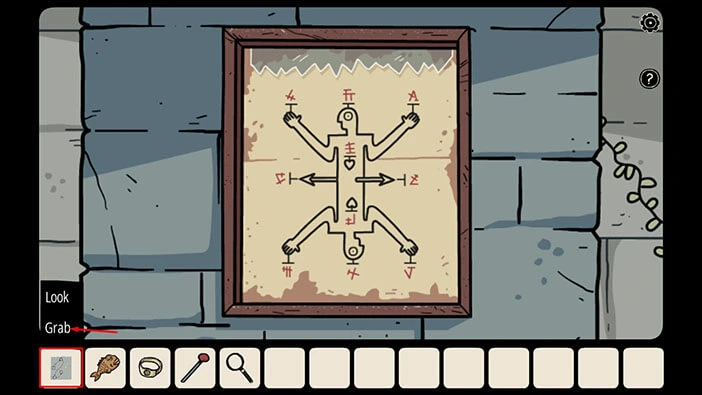
Next, tap on the picture and our character will place a “Piece of translucent map” over it.
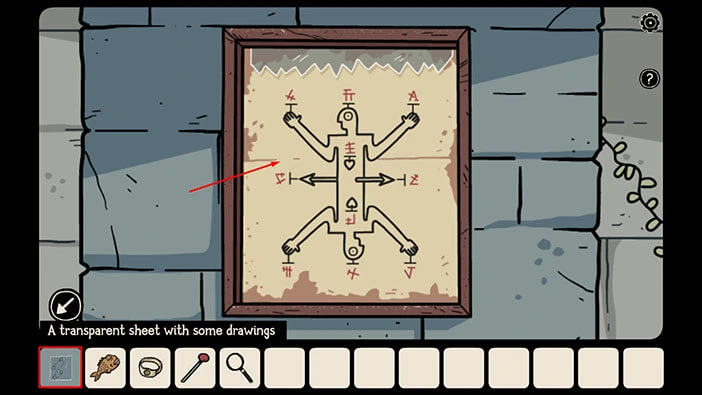
Now, we can see that four symbols are marked when viewed over the map. We can also see that arrows are connecting these symbols. If we follow the arrows we can determine the correct order of the symbols. So, let’s write down these symbols and their chronological order.
The first symbol is marked on the left
The second symbol is marked at the top (above the head)
The third symbol is marked in the lower left corner
The fourth symbol is located at the bottom (slightly above the bottom head)
Once you’re done, tap on the arrow in the lower left corner to go back.
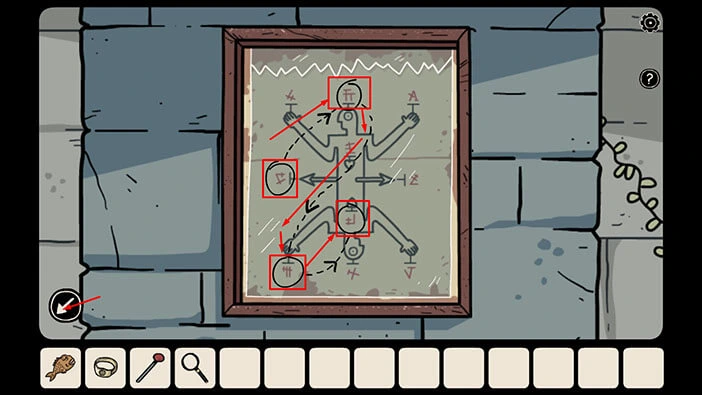
Next, tap on the cabinet on the left to take a closer look at it, and tap again to start the interaction.
We can use the four symbols that we discovered to unlock this cabinet. So, let’s do that. Enter the four symbols that we discovered in the picture.
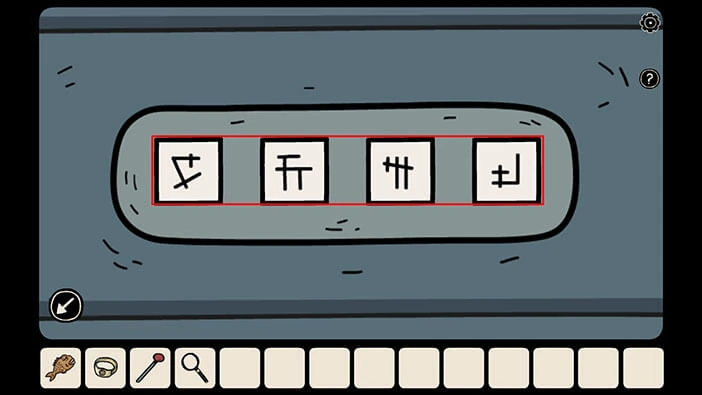
As soon as you enter the correct symbols, you will hear the clicking sound indicating that the cabinet is now unlocked. Tap on both cabinet doors to open them.
In the left compartment of the cabinet, you will a “Glass cutter”. Tap on it to pick it up. After that, tap on the arrow in the lower left corner to go back.
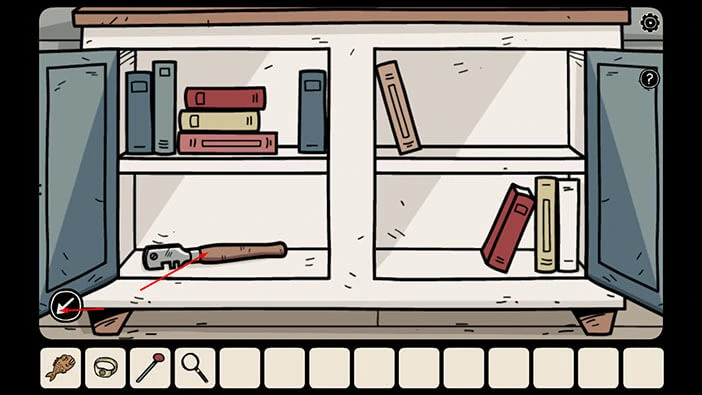
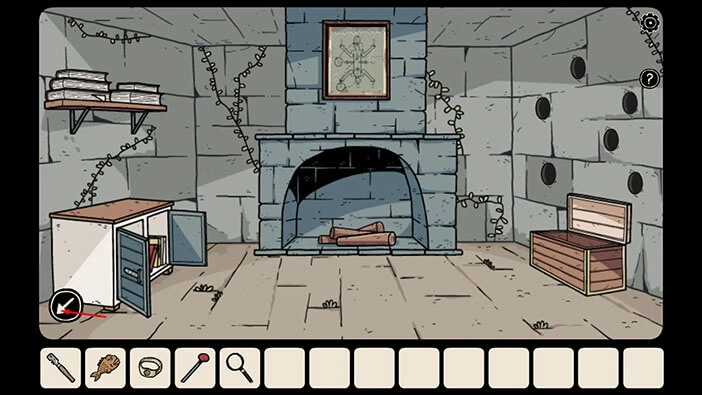
Ok, we can use the glass cutter to cut the glass cube and get the pipe inside it. The glass cube was located in one of the first areas, the one that also had a tree with a keyhole. So, let’s go there.
Tap on the arrow in the lower left corner to go back, outside.
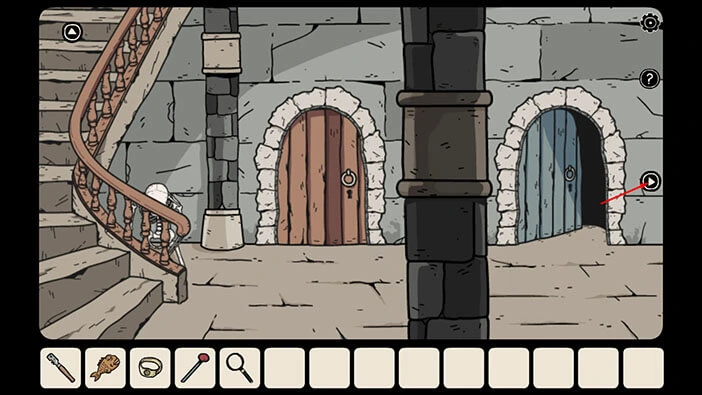
Let’s go to the area with the glass cube and the tree with a keyhole. Tap on the arrow on the right to go to the room with the kneeling soldier. From there, tap on the stairs on the right and you will be back in the first area.
From the first area, tap on the arrow on the right and you will get to the area with the two doors (here, we unlocked the barred door through the window). Next, tap on the stairs on the right, and you will get halfway up the stairs. Tap on the upper part of the stairs (archway) and you will get to the top (our destination).
Tap on the glass cube on the pillar to take a closer look at it.
Select the “Glass cutter” from the inventory and use it to cut open the glass cube.
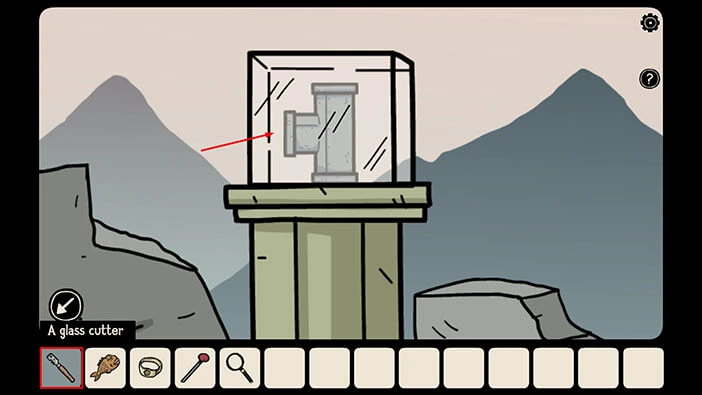
Our character will cut a round hole in the glass cube, so tap on the “Pipe” in the cube to pick it up.
After that, tap on the arrow in the lower left corner to go back.
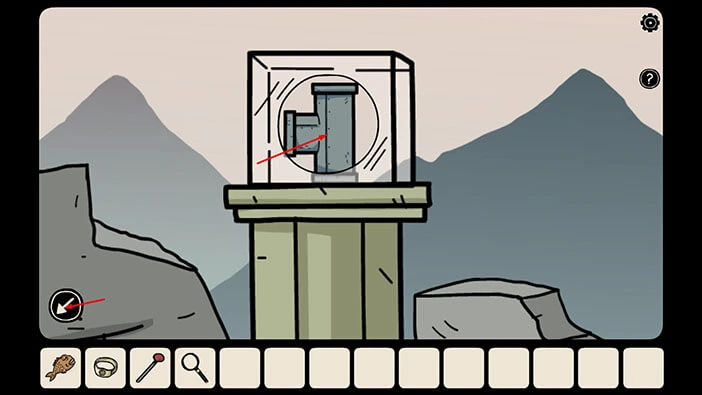
We can use the “Pipe” to solve the puzzle with pipes on the wall that we saw previously. This puzzle was located behind the door that we opened through the window. To get to this room, tap on the arrow in the lower left corner to go back. After that, tap on the bottom part of the stairs to go back to the ground level.
Lastly, tap on the open door on the left and you will reach your destination.
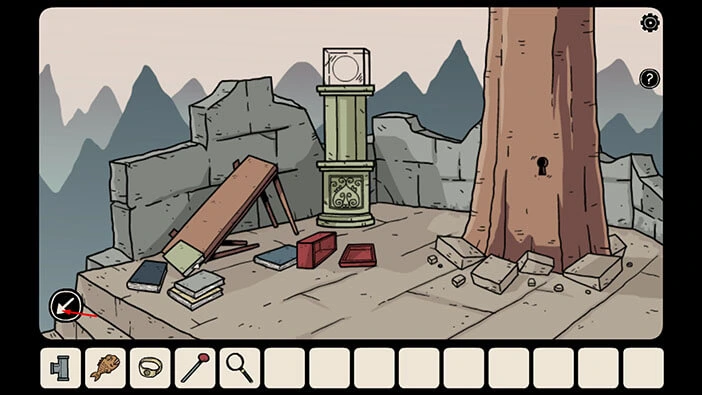
Tap on the pipes on the wall to take a closer look.
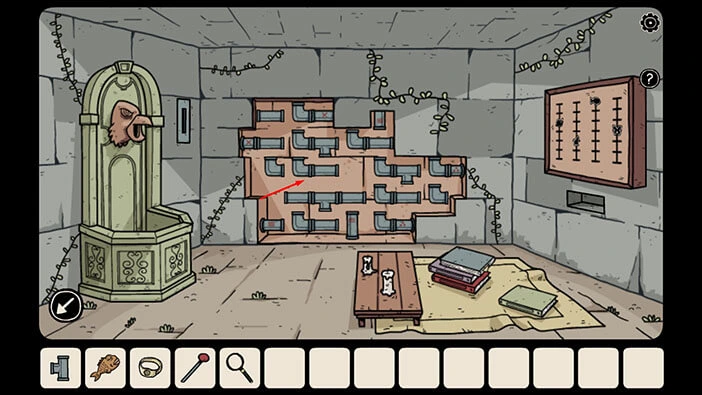
Let’s solve this puzzle. Select the “Pipe” from the inventory and put it into the empty space in the middle of the wall.
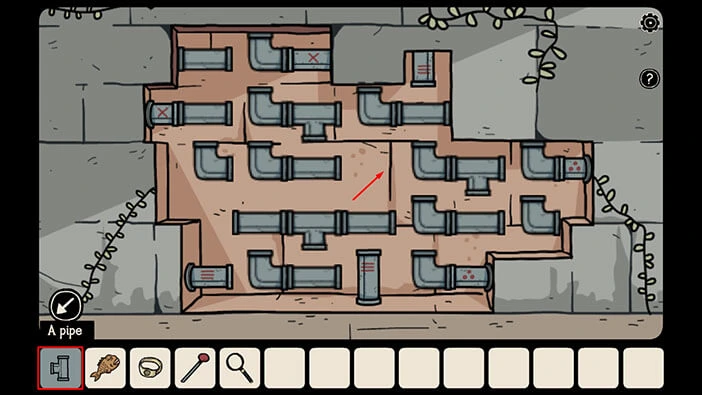
Before we begin, let’s examine the pipes on the wall. In the top left corner, we can see two pipes marked with an “X”. In the lower right corner, we can see two pipes marked with the “three dots”. Lastly, we can also see three pipes marked with “three horizontal lines”. Our task is to connect the pipes that are marked with the same symbol. We can rotate the unmarked pipes to achieve this goal.
We will do this puzzle in several steps. Let’s begin.
Step 1
If you take a look at the pipes you will notice that they are arranged in five rows. So, let’s tap three times on the second unmarked pipe in the second row.

Step 2
Tap once on the second unmarked pipe in the first row. We have now connected the two pipes marked with the “X” symbol.
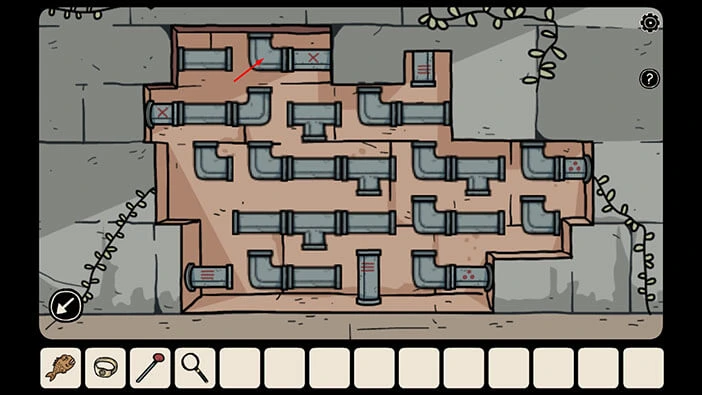
Step 3
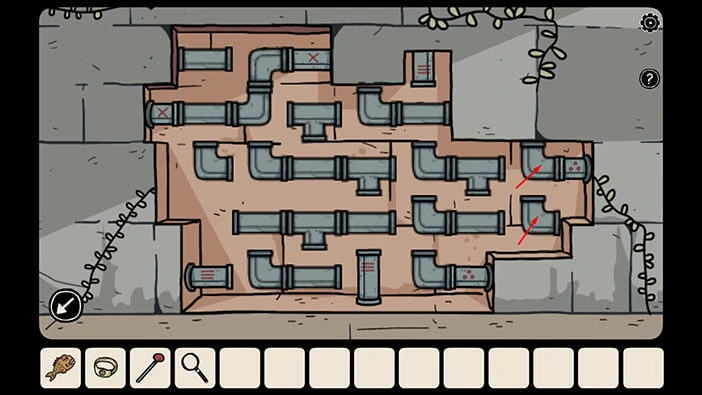
Tap once on the seventh unmarked pipe in the third row. After that, tap three times on the sixth unmarked pipe in the fourth row.
Step 4
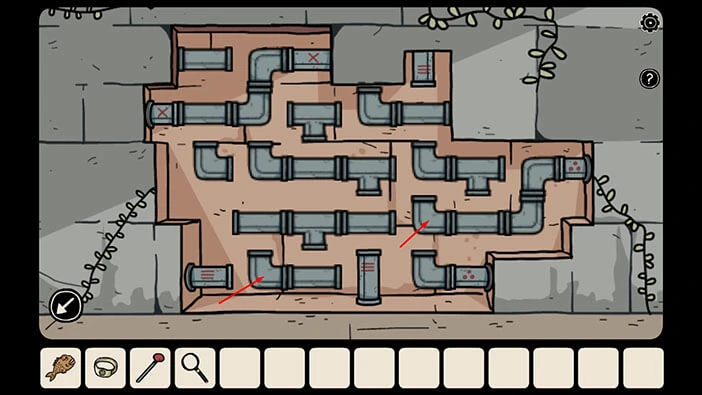
Tap once on the fourth unmarked pipe in the fourth row. After that, tap three times on the first unmarked pipe in the fifth row (you will connect the two pipes marked with “three dots”).
Step 5
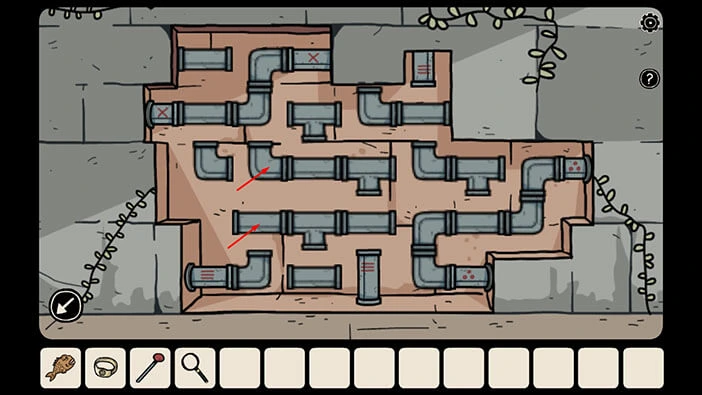
Tap once on the first unmarked pipe in the fourth row. After that, tap once on the second unmarked pipe in the third row.
Step 6
Tap once on the fourth unmarked pipe in the third row. After that, tap once on the fifth unmarked pipe in the second row.

Step 7
Tap once on the fifth unmarked pipe in the second row. After that, tap three times on the fifth unmarked pipe in the third row.
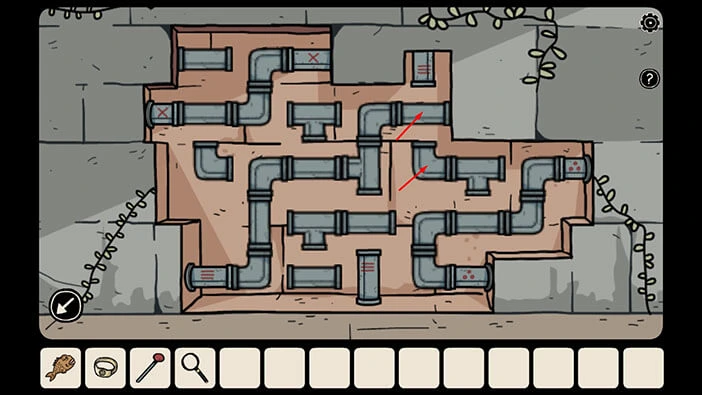
Step 8
Tap three times on the fourth unmarked pipe in the third row. After that, tap once on the third unmarked pipe in the fourth row. With this step, you will connect the three pipes marked with the “three lines” and you will solve this puzzle.
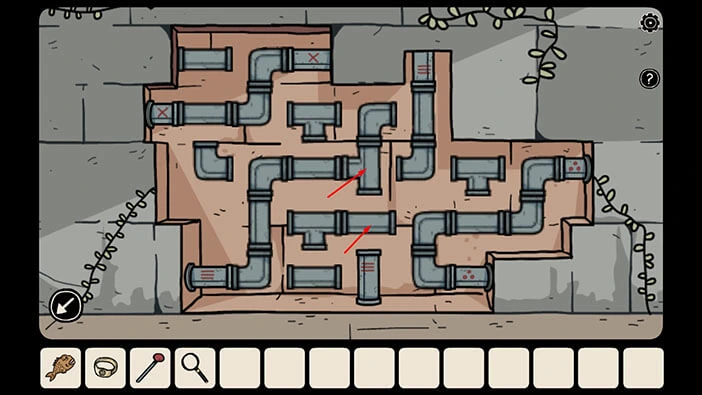
As soon as you connect the pipes you will trigger the cutscene. Bastian will say that the water is now flowing but there is still more to do.
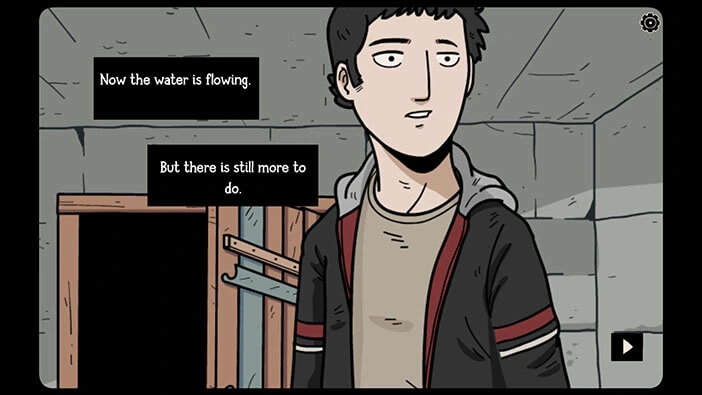
Next, tap on the empty slot on the wall, located to the right of the fountain. Select the “Lever” from the inventory and insert it into the empty slot.
After that, tap on the lever to activate it.
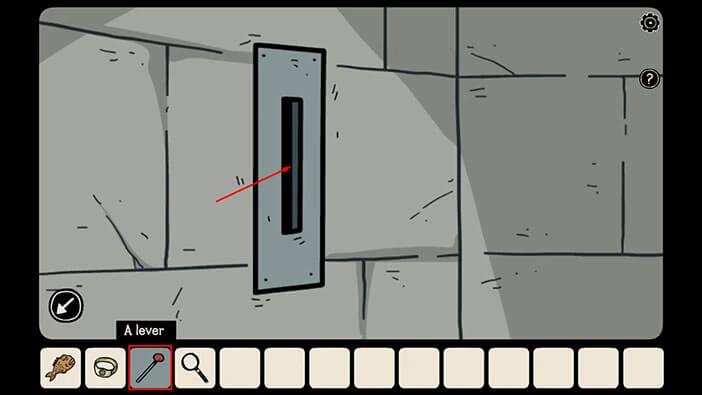
The water will start flowing out of the hawk head statue, and it will fill the fountain. Let’s tap on the fountain to take a closer look at it.
Select the “Fish” from the inventory and put it into the water.
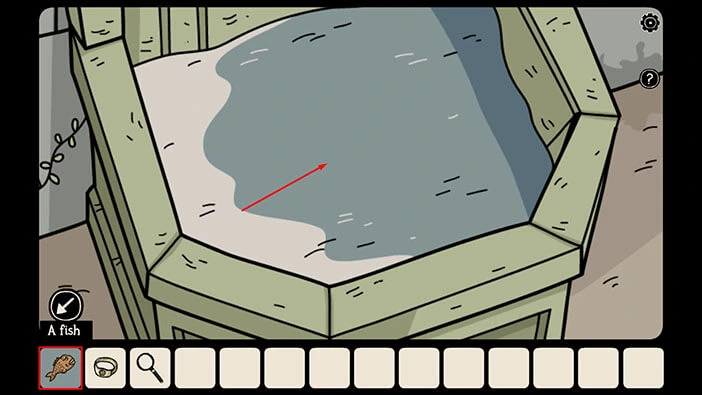
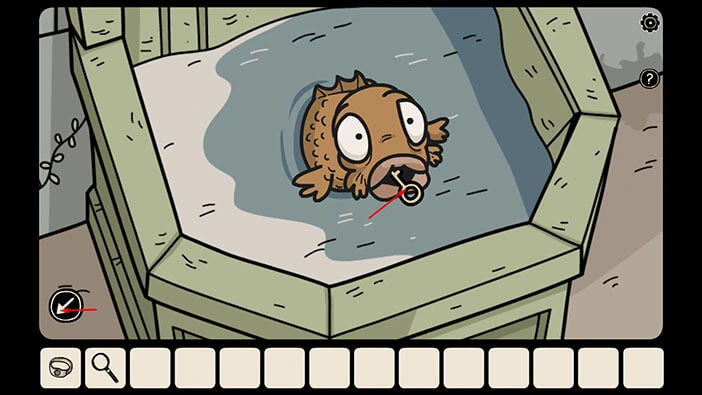
As soon as you put it into water, the fish will come to life, and it will begin to swim around the fountain. A few moments later, the fish will come to the surface, with a key in its mouth (your reward for saving it).
Tap on the “White key” in the fish’s mouth to pick it up. After that, tap on the arrow in the lower left corner to go back.
We can use the “White key” that we got from the fish to unlock the secret compartment inside the tree (the tree with the keyhole). So, let’s go to the area with the tree with the keyhole.
Tap on the arrow in the lower left corner to go back, outside. Next, tap on the stairs on the right to proceed. After that, tap on the archway to proceed to the top.
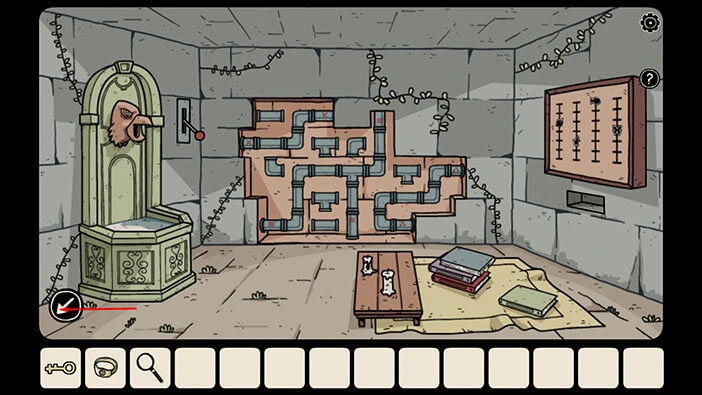
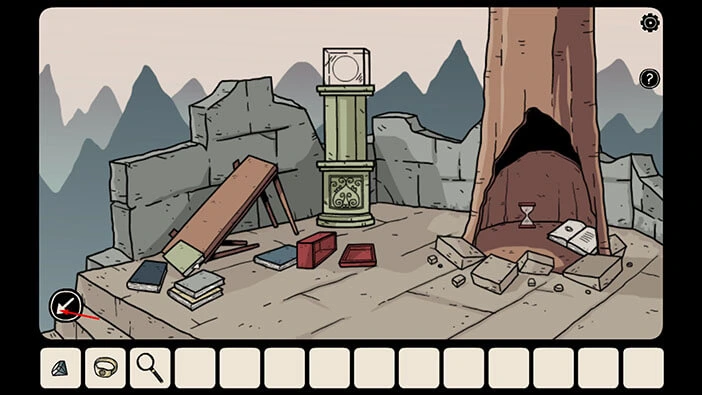
We have now reached our destination, so let’s tap on the tree with the keyhole to take a closer look at it.
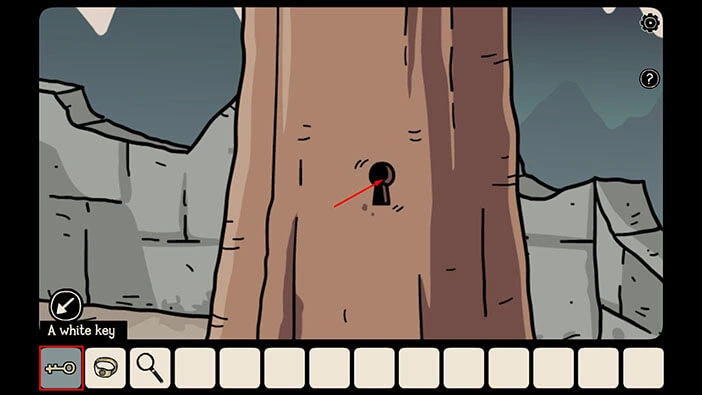
Select the “White key” from the inventory and insert it into the keyhole.
The secret compartment in the tree will open, so tap on it to take a closer look.
In the tree, you will find a “Small diamond” on the left, so tap on it to pick it up. To the right of the diamond, you will see an hourglass. We will come back to it a bit later in this walkthrough. For now, just take note of it.
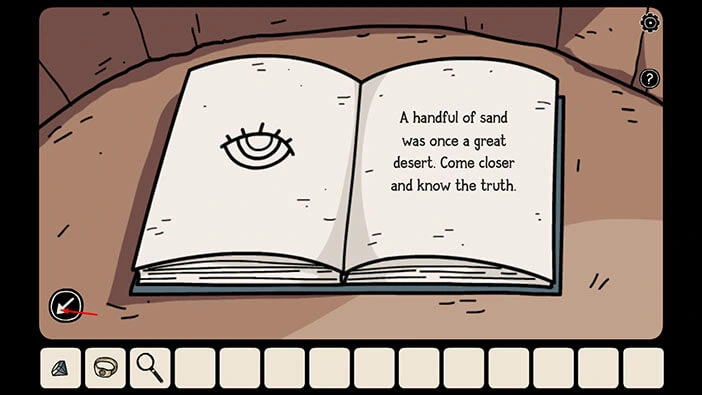
Once you take the diamond, tap on the book on the right to take a closer look at it.

“A handful of sand was once a great desert. Come closer and know the truth.” Interesting text. It will become important a bit later.
For now, tap once on the arrow on the left to step away from the book.
If you take a look at the left side of the tree, you will notice a red arrow and it is pointing up. Tap on this arrow.
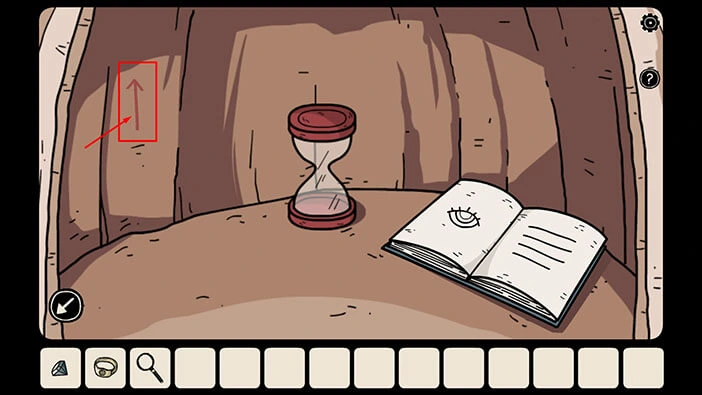
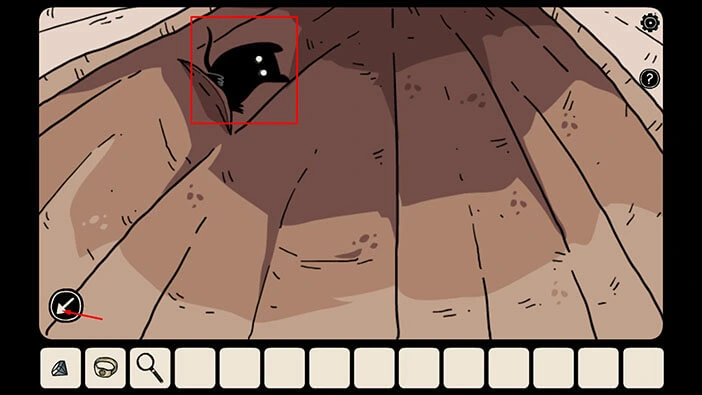
Here you will find another “shadow hamster”. So far, we found four out of 10 hamsters.
Tap twice on the arrow in the lower left corner to go back.
We should now go back to the area with the skeleton. To get there, tap on the arrow in the lower left corner, after that, tap on the lower part of the stairs and you will reach the area with the door that we unlocked through the window.
From there, tap on the arrow on the left and you will reach the first area. Next, tap on the stairs on the left and you will reach the area with the kneeling soldier.
From the area with the kneeling soldier, tap on the arrow on the left to proceed to the next room, and you will reach your destination.
Here, we can see a skeleton, sitting behind the stairs. Tap on the skeleton to take a closer look at it.
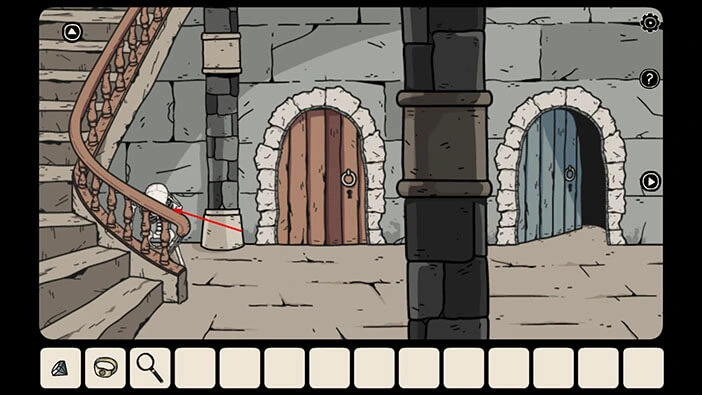
We can see that the skeleton is holding a key, but his index finger is straight. So, select the “Small diamond” from the inventory, then tap on the “Ring without a gem” to combine the two items. A “Ring with diamond” will be added to your inventory.
Once you’re done, tap on the skeleton’s hand to start the interaction.
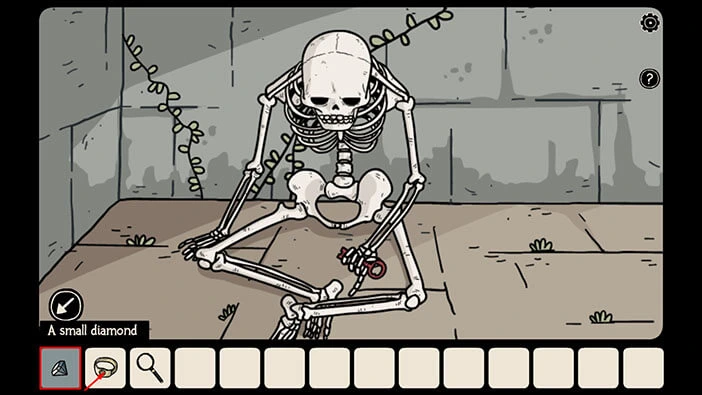
Next, tap on the “Ring with diamond” from the inventory, and select the “Grab” option. After that, tap on the skeleton’s index finger and our character will put the ring on it.
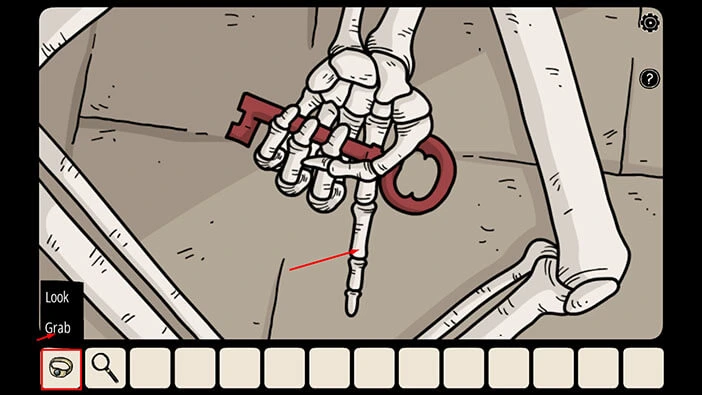
The skeleton will open his hand, as soon as you put the ring on his finger, offering us a key that it was previously holding tightly. Tap on the “Pink key” to pick it up.
After that, tap on the arrow in the lower left corner to go back.
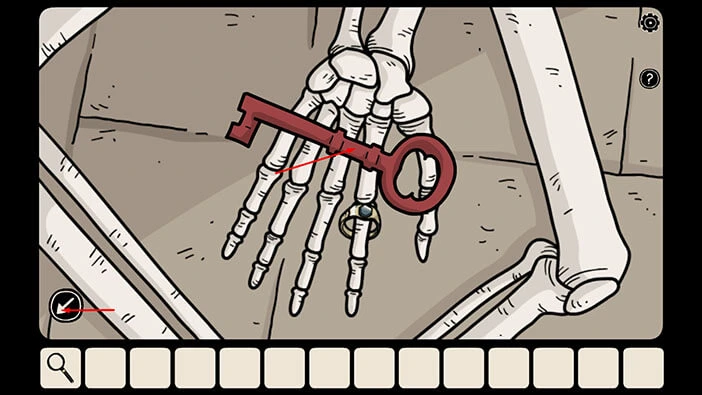
Next, select the “Pink key” from the inventory and use it to unlock the door on the left. After that, tap on the door to open it, and tap again to proceed inside.
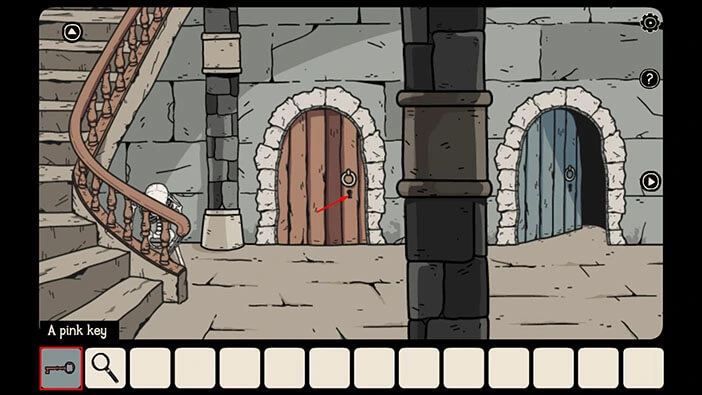
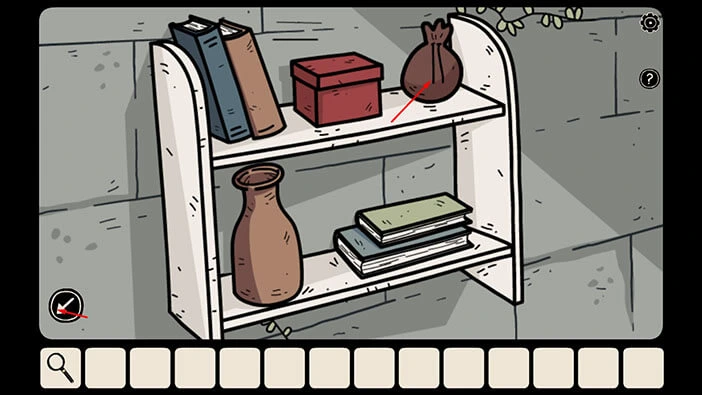
Let’s explore this room. Tap on the wall shelf on the left to take a closer look at it. On the right side of the top shelf you will find a “Small leather pouch” so tap on it to pick it up.
After that, tap on the arrow in the lower left corner to go back.
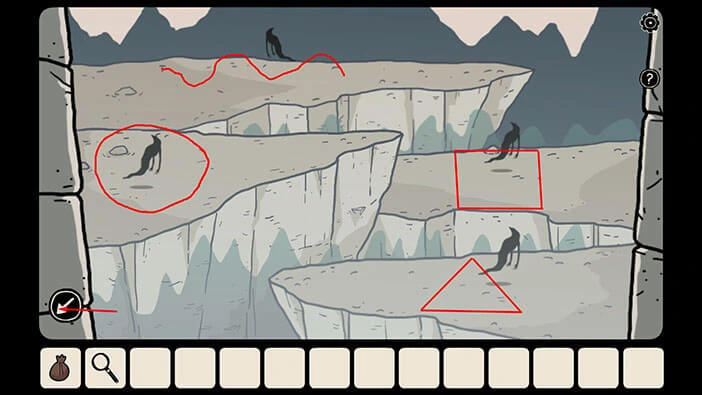
Next, tap on the window to take a look outside. Here, we can see four shadows, and they are just moving around. These shadows might seem unimportant, but their movement patterns actually represent the solution for the next patterns. So, let’s memorize/write down the movement patterns of the shadows.
Shadow at the top = Wave line
Shadow at the left = Circle
Shadow at the right = Square
Shadow at the bottom = Triangle
Once you’re done, tap on the arrow in the lower left corner to go back.
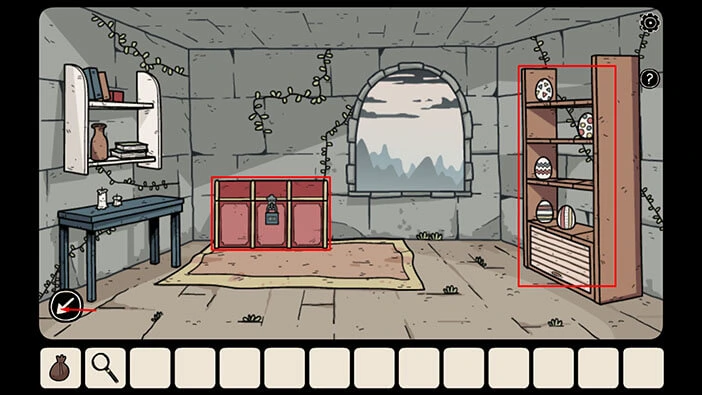
In this room, there are two more important items. The locked red chest in the top left corner, and the shelf with eggs on the right. We will come back to them a bit later in the walkthrough.
For now, tap on the arrow in the lower left corner to go back.
We wrote down the patterns of movement of the four shadows, and we can use this information to unlock the chest upstairs.
So, let’s tap on the stairs on the left.
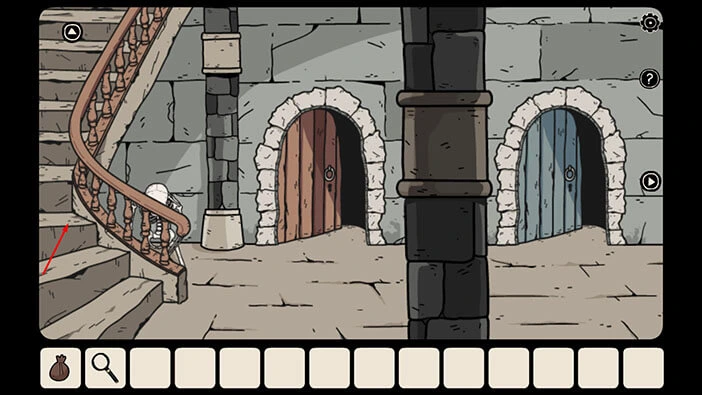
Tap on the red box on the shelf on the right to start the interaction, and enter the four symbols that we discovered by observing the movement of the shadows. We had,
Shadow at the top = Wave line
Shadow at the left = Circle
Shadow at the right = Square
Shadow at the bottom = Triangle
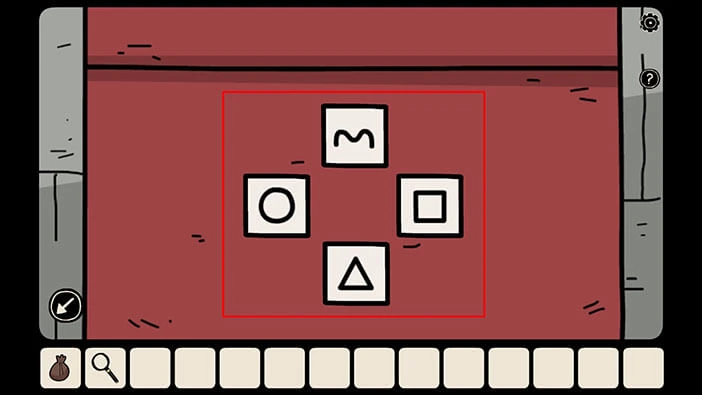
As soon as you enter the correct symbols, you will hear a clicking sound and the chest will open. Inside you will find a “Glass” so let’s tap on it to pick it up.
After that, tap on the arrow in the lower left corner to go back.
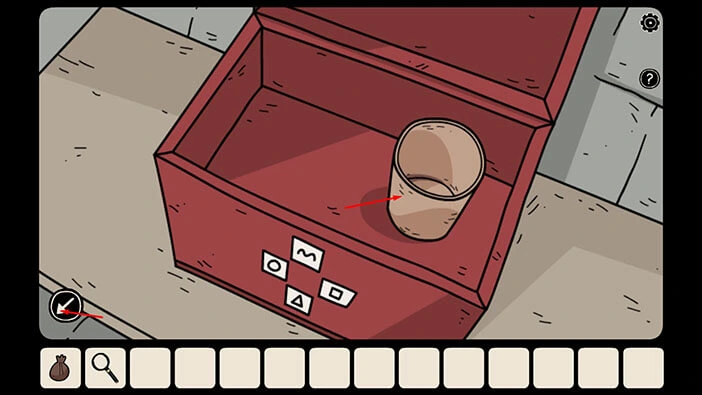
Ok, we can now fill the glass with water and give it to the kneeling soldier with the broken sword (he previously asked for water). So, first, we should go back to the room with the fountain (and pipes) to fill the glass with water. Let’s do that.
Tap on the stairs on the left. After that, tap on the arrow on the right to go back to the area with the kneeling soldier. From there, tap on the stairs on the right to go back to the first area.
Next, tap on the arrow on the right to proceed to the area with the (previously) barred door that we opened through the window. Lastly, tap on this door and you will reach our destination.
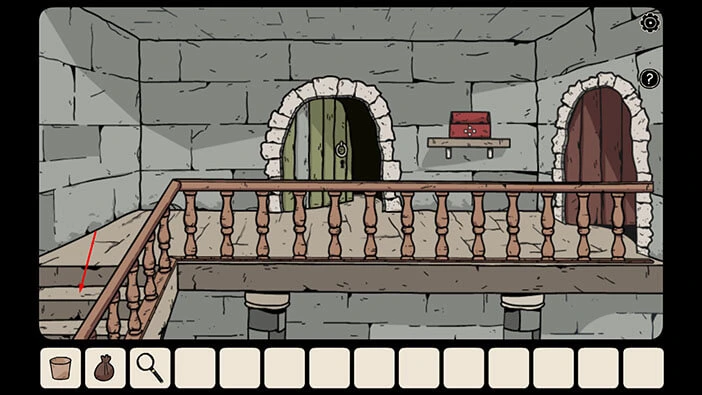
Tap on the fountain on the left to take a closer look at it.
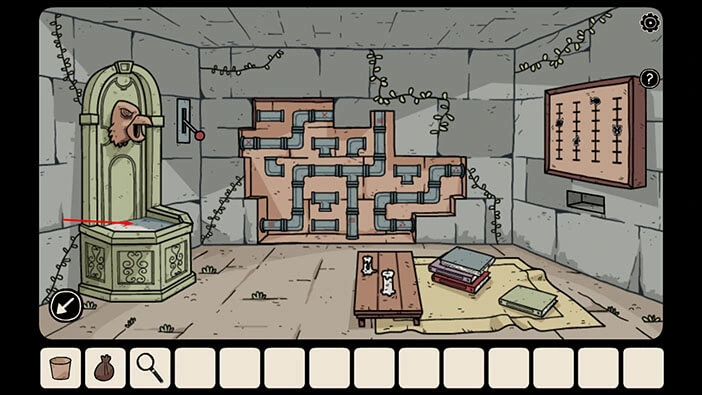
Select the “Glass” from the inventory and tap on the fountain to fill the glass with water. “Glass of water” will be added to your inventory.
Once you’re done, tap on the arrow in the lower left corner to go back.
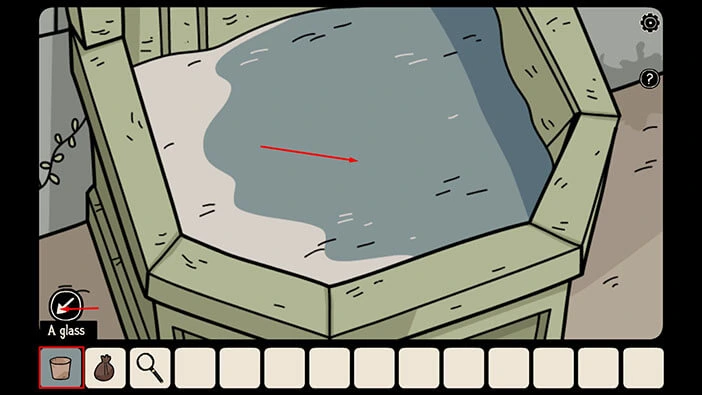
Ok, we should now go back to the area with the kneeling soldier. To get there, first tap on the arrow in the lower left corner to go back, outside. After that, tap on the arrow on the left to go back to the first area.
Next, tap on the stairs on the left and you will reach the area with the kneeling soldier.

Tap on the soldier to take a closer look at it.
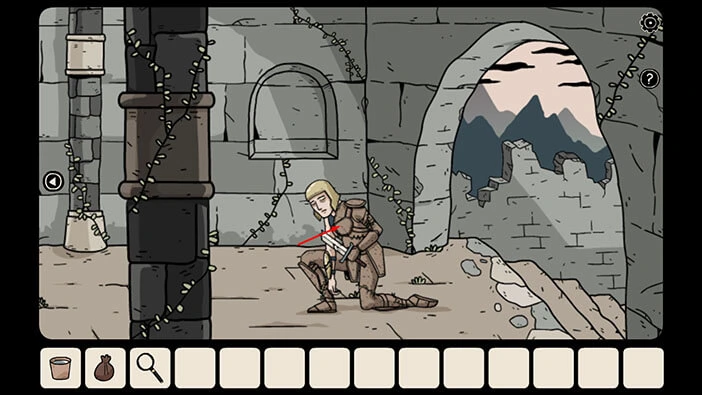
Select the “Glass of water” from the inventory and give it to the soldier. This will trigger a cutscene.
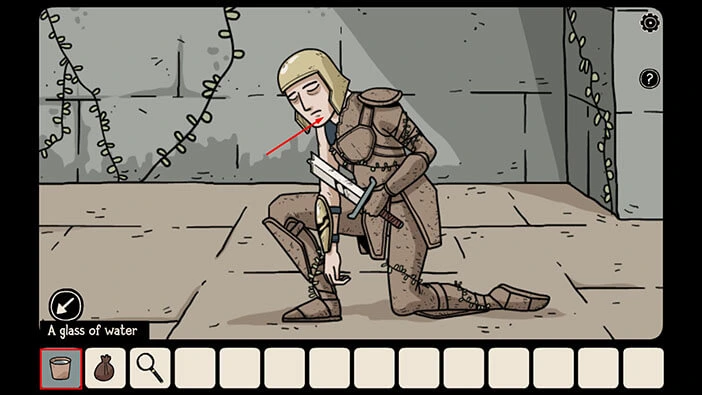
The soldier will quickly drink the water, but instead of getting better, he will start to turn into sand.
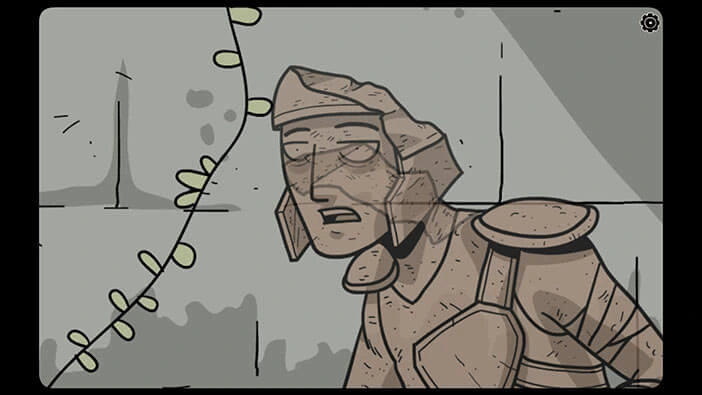
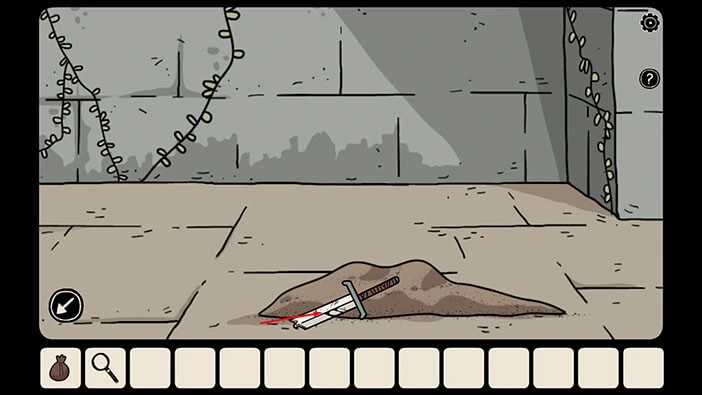
After the cutscene, we will see that the soldier has completely turned into a pile of sand. So, let’s tap on the “Hilt of the broken sword” to pick it up.
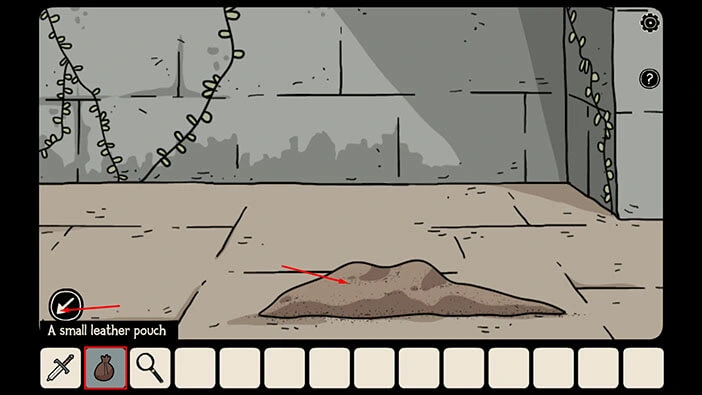
There is one more thing that we can do here. Select the “Small leather pouch” from the inventory and fill it up with sand. A “Pouch with sand” will be added to your inventory.
Once you’re done, tap on the arrow in the lower left corner to go back.
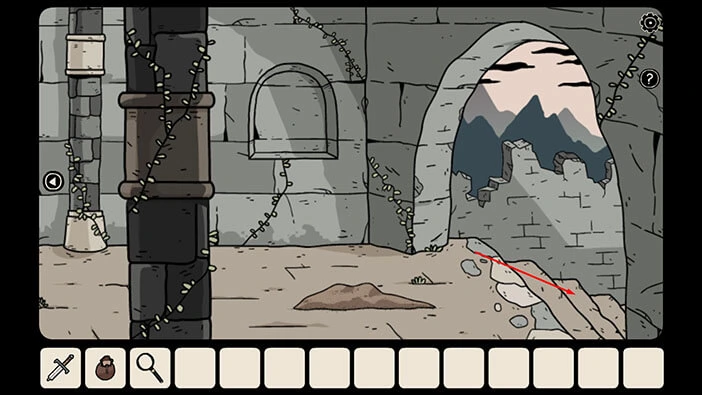
We should now go back to the area with the “unlocked” tree, and pour the sand into the hourglass. Let’s do that.
To get to the area with the “unlocked” tree, first, tap on the stairs on the right to go to the first area. From there, tap on the arrow on the right and you will get to the area with the door that we unlocked through the window.
From there, tap on the stairs on the right, and then tap on the archway to get to the top.
Tap on the tree on the right to take a look inside.
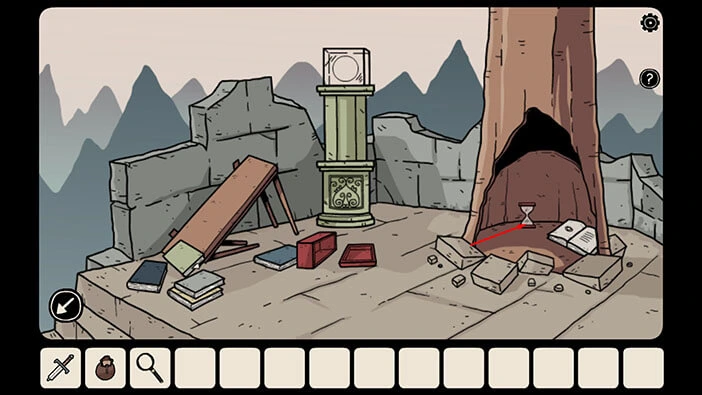
Select the “Pouch with sand” from the inventory and tap on the hourglass. Bastian will pour the sand into the hourglass.
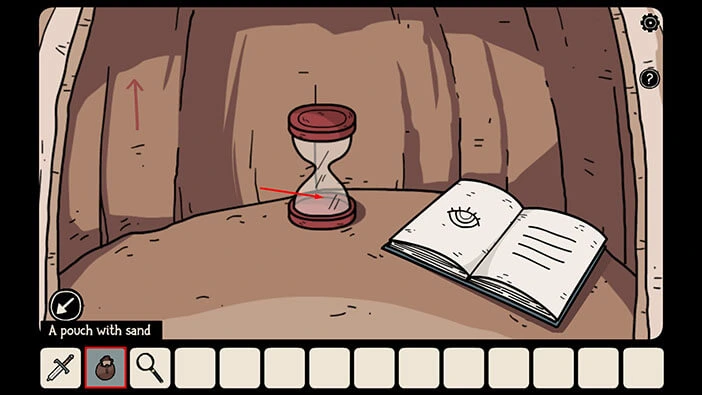
In the book on the right, we saw a text “A handful of sand was once a great desert. Come closer and know the truth.” I mentioned that this text will be important later in the walkthrough, and now is that moment.
So, let’s select the “Magnifying glass” from the inventory and tap twice on the hourglass to examine it.

Here, you will see four symbols. Let’s memorize/write down these symbols because they represent the solution for the next puzzle. So, we have (looking from left to right)
First symbol = Circle with the vertical line drawn through its center
Second symbol = Similar to the number four
Third symbol = Hourglass
Fourth symbol = Cyrillic letter “ђ”
Once you’re done, tap on the arrow in the lower left corner to go back.
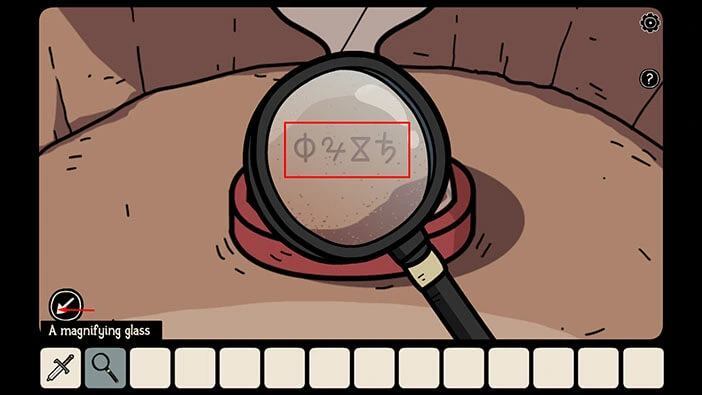
We can use these four symbols to unlock the large red chest that we saw in the room with the window (when we looked through this window we saw four shadows).
So, let’s get to this room. Tap on the arrow in the lower left corner to go back, then tap on the bottom part of the stairs to get to the ground level. After that, tap on the arrow on the left to go back to the first area.
From there, tap on the stairs on the left and you will reach the room with the pile of sand (previously, there was a kneeling soldier in this room). Next, tap on the arrow on the left to proceed to the next area.
You will reach the area with the two doors, the blue door, and the red door. Tap on the red door (on the left) to proceed inside, and you will reach your destination.

Tap on the padlock on the large, red, chest to take a closer look at it.
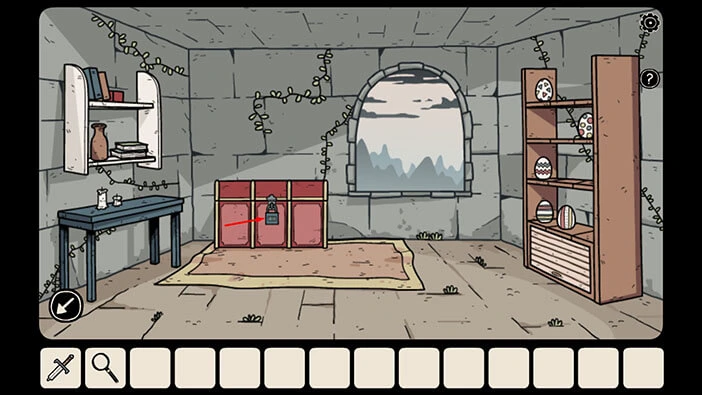
Enter the four symbols that we discovered by examining the sand in the hourglass. We had,
First symbol = Circle with the vertical line drawn through its center
Second symbol = Similar to the number four
Third symbol = Hourglass
Fourth symbol = Cyrillic letter “ђ”
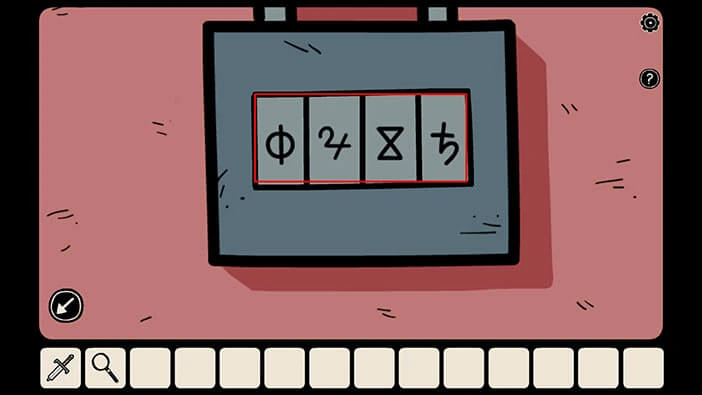
As soon as you enter the correct combination of symbols you will hear the clicking sound and the chest will be opened automatically.
In the chest, you will find a “Birdseed” so tap on it to pick it up. After that, tap on the arrow in the lower left corner to go back.
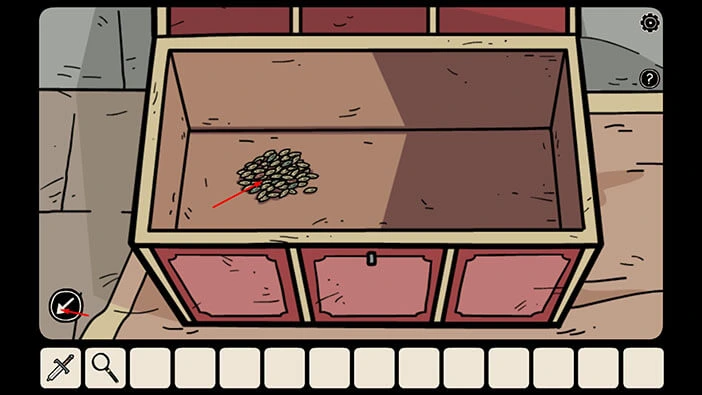
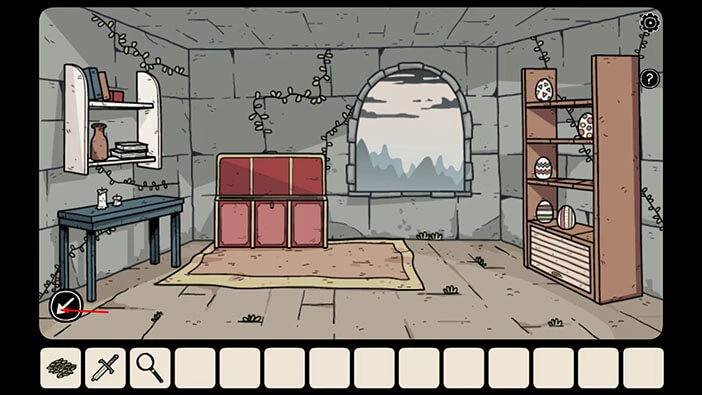
We should now go back to the room with the huge, pink bird and feed it with the “Birdseed” (this is the room located behind the “magical” door).
Let’s go there. Tap on the arrow in the lower left corner to go back, outside. Next, tap on the stairs on the left. After that, tap on the red door on the right and you will reach the room with the huge bird.
Select the “Birdseed” from the inventory and give it to the bird. This will trigger a cutscene.
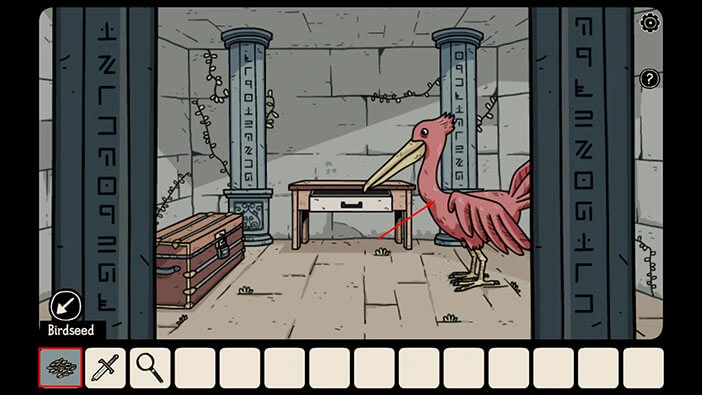
Several important things will happen during the cutscene. The bird will eat the seed and shortly after that, it will lay an egg. Next, it will decide to fly away, and in the process, it will destroy part of the ceiling in this room.
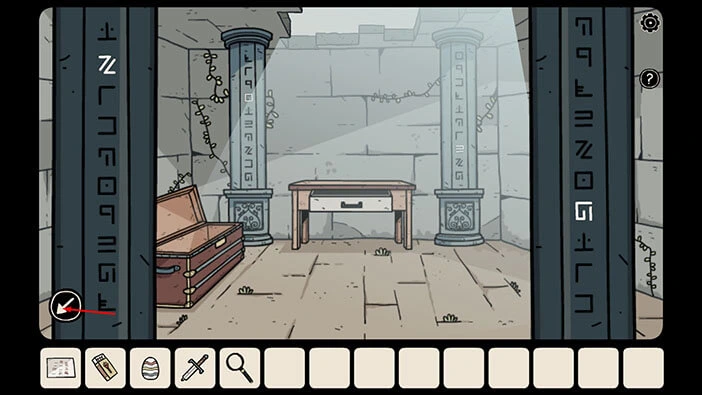
A ray of light will enter the room, and some of the symbols on the columns will begin to glow.
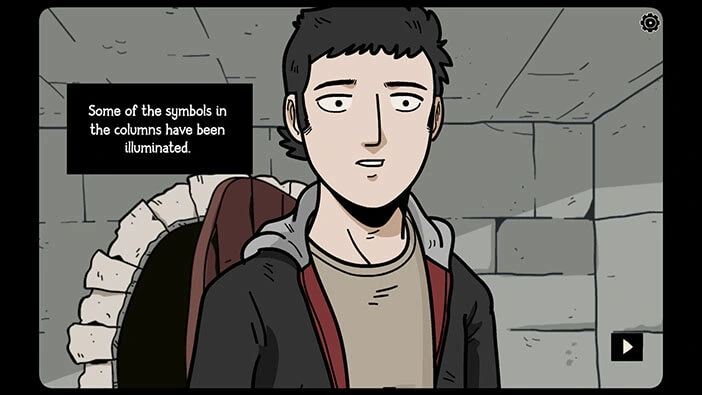
Tap on the “Large egg” on the right to pick it up.
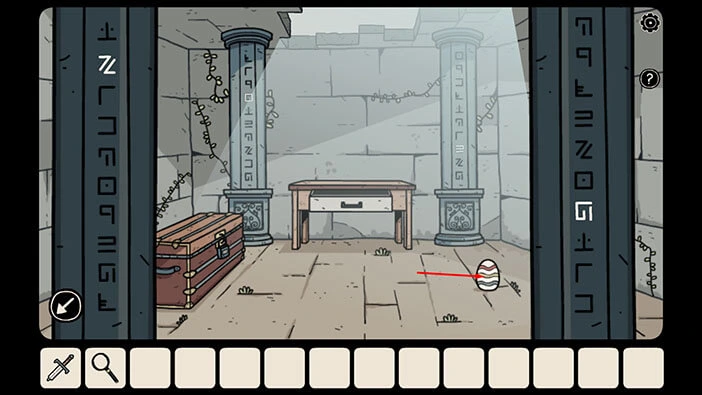
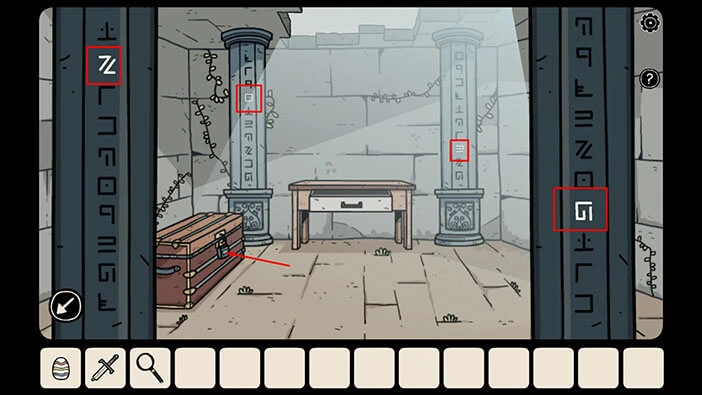
Next, let’s take a look at the symbols on the columns because they represent the password for the large chest located on the left side of this room. So, let’s memorize/write down these symbols starting from left to right.
First symbol is on the pillar on the left.
Second symbol is on the pillar at the back of the room, and on the left side.
Third symbol is on the pillar at the back of the room, and on the right side.
Fourth symbol is on the pillar on the right.
Once you’re done, tap on the padlock on the chest on the left to start the interaction.
Enter the glowing symbols that we saw on the columns.
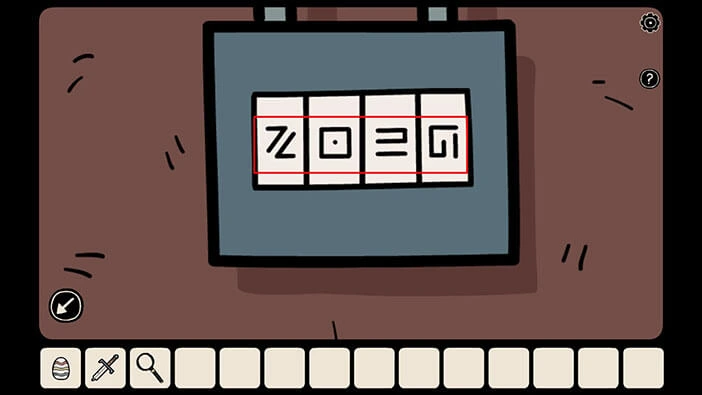
As soon as you enter the correct combination of symbols, you will hear the clicking sound and the chest will open. Inside you will find a “Matchbox” and a “Note with hint”. Tap on them to pick them up.
After that, tap on the arrow in the lower left corner to go back.
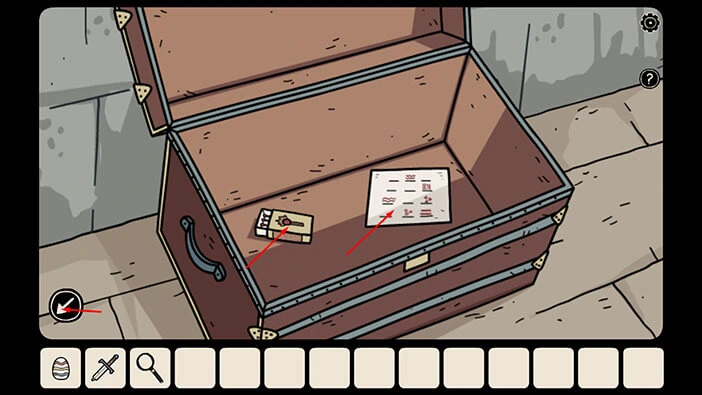
We found the “Large Egg” and the “Note with Hint” represents the correct position of the eggs on the shelf. So, we should now go back to the room with the shelf with eggs and solve that puzzle (this is also the room with a window through which we saw four shadows). Let’s do that.
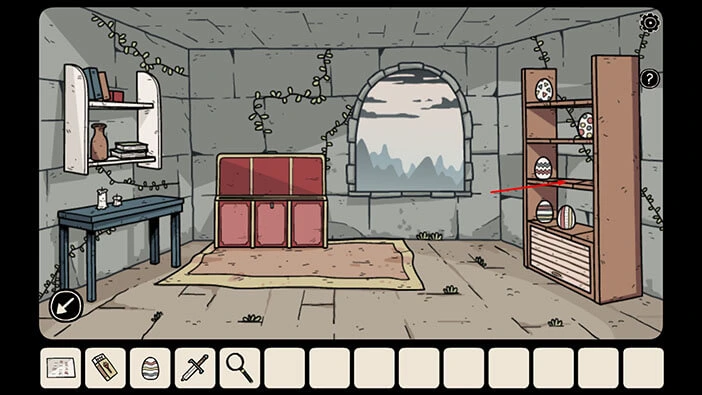
To get to this room, tap on the arrow in the lower left corner to go back. After that, tap on the stairs on the left.
Lastly, tap on the red door on the left to get to your destination.
Tap on the shelf with eggs on the right to take a closer look at it.
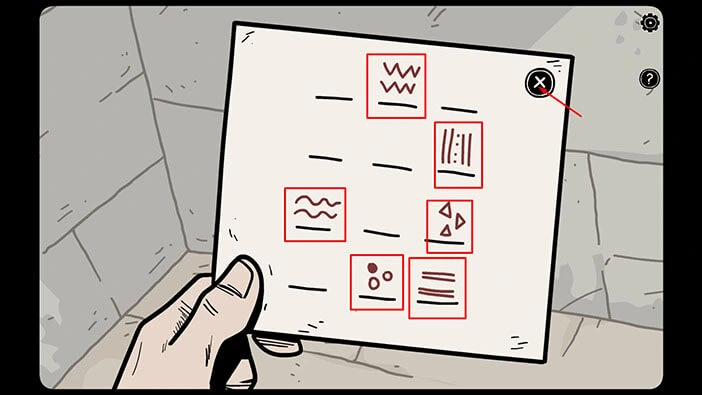
Let’s take a look at the “Note with Hint” in our inventory and examine it.
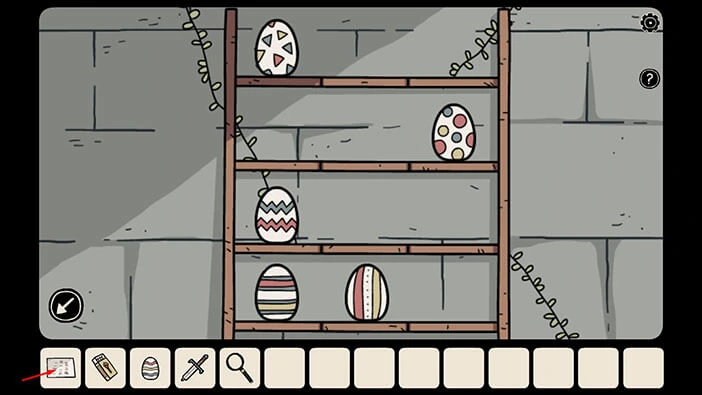
Here, we can see six symbols arranged in four rows, and there are three slots in each row. So, these rows represent the shelf. The symbols on the note are the same as the symbols on the eggs. There are currently five eggs on the shelf, but we found the sixth egg, so we got that covered. With that said, let’s memorize/write down the position of each symbol on the note. We have,
Jagged wavy line = Second slot (left to right) in the first row (top to bottom)
Vertical lines and dots in the middle = Third slot in the second row
Wavy line = First slot in the third row
Triangles = Third slot in the third row
Circles = Second slot in the fourth row
Horizontal lines = Third slot in the fourth row
Once you’re done, tap on the “X” button to put down the note.
Before we start to move the eggs into the correct positions, we should put the eggs in our inventory on the shelf. The “Large egg” in our inventory has wavy lines, and it should be placed into the first slot in the third row. However, this slot is already occupied.
So, select the “Large egg” in your inventory and place it into the second slot in the third row.
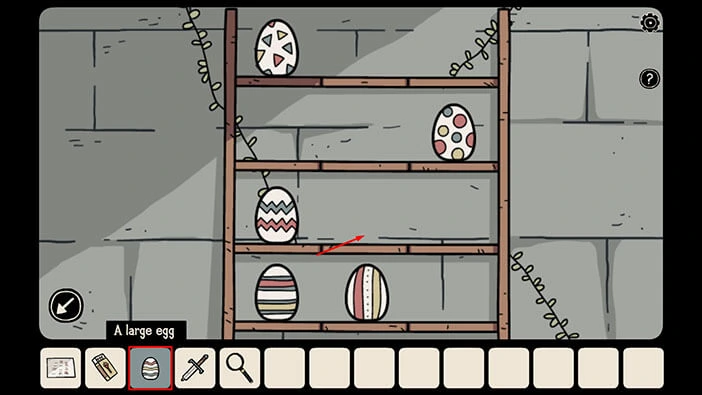
Let’s place the eggs into the correct slots. We will do this in several steps. Let’s begin.
Step 1
Select the egg with the Jagged wavy line and place it into the second slot in the first row.
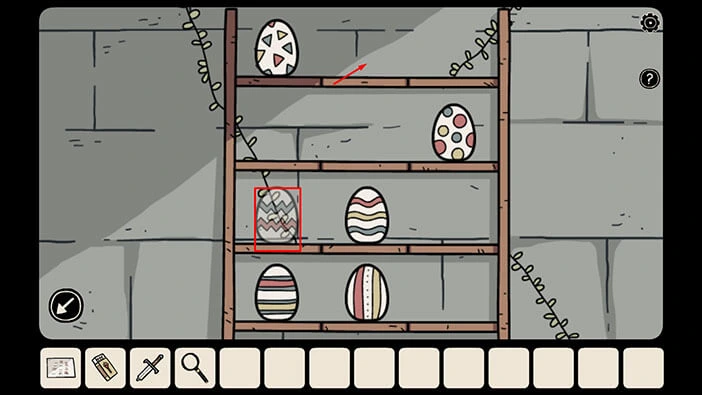
Step 2
Select the egg with a Wavy line and place it into the first slot in the third row.
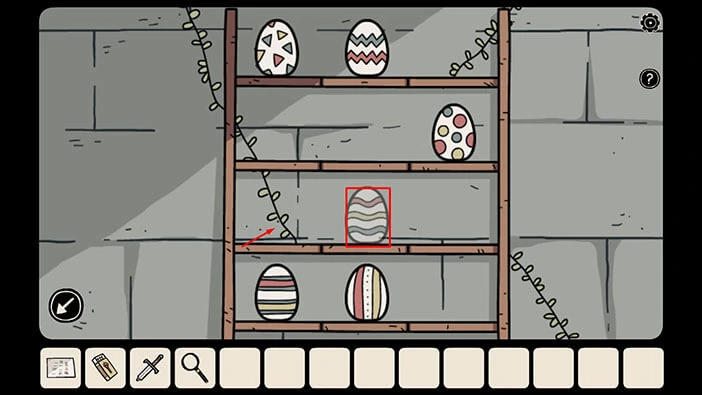
Step 3
Select the egg with Triangles and place it into the third slot in the third row.
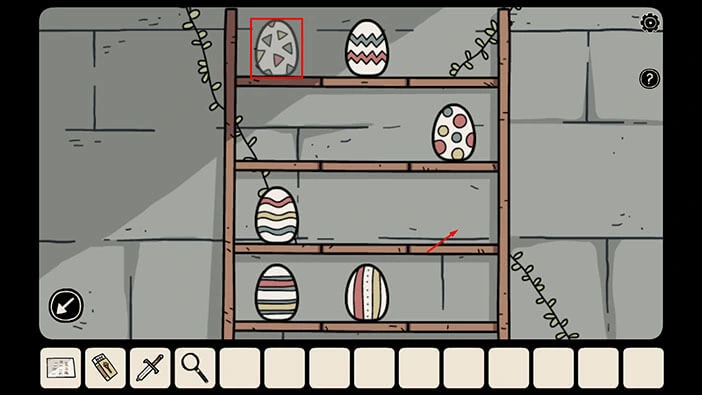
Step 4
Select the egg with Horizontal lines and place it into the third slot in the fourth row.
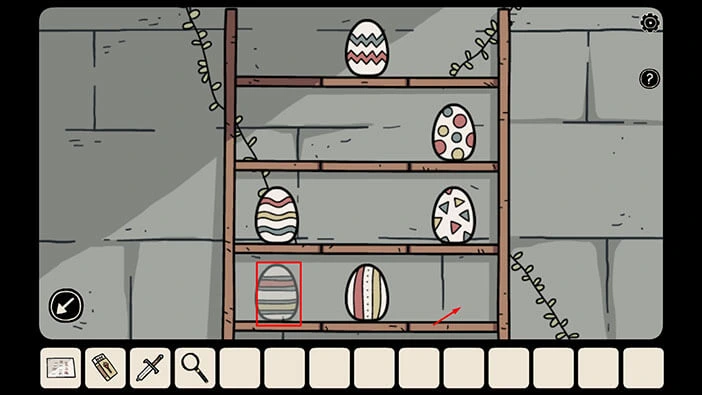
Step 5
The last two eggs are “blocking” each other, so let’s move one of them. Let’s select the egg with Circles, and move it one slot to the left.
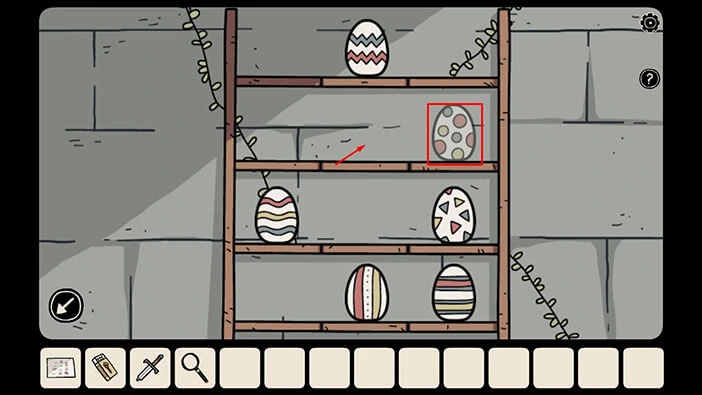
Step 6
Select the egg with Vertical lines and dots in the middle and place it into the third slot in the second row.
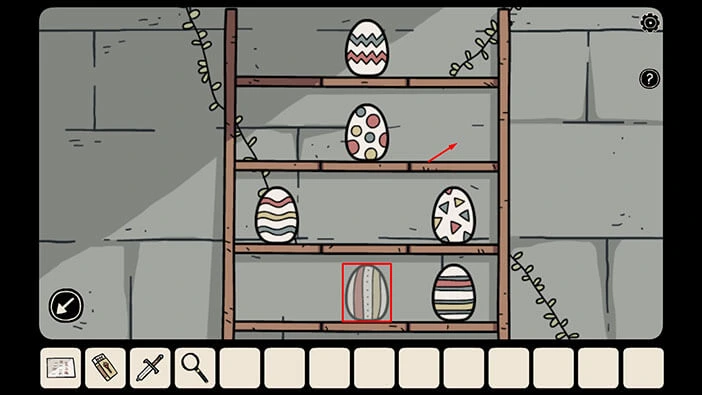
Step 7
Lastly, select the egg with Circles and place it into the second slot in the fourth row.
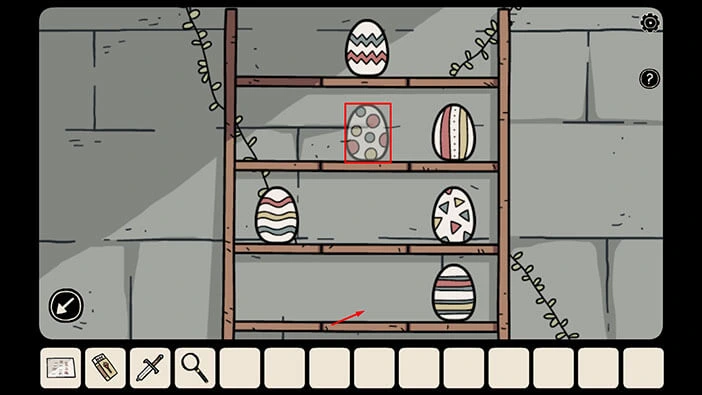
With the last step, you will place all the eggs into the correct slots, and the secret compartment under the shelf will open. Inside you will find a “Piece of broken sword” so let’s tap on it to pick it up.
After that, tap on the arrow in the lower left corner to go back.
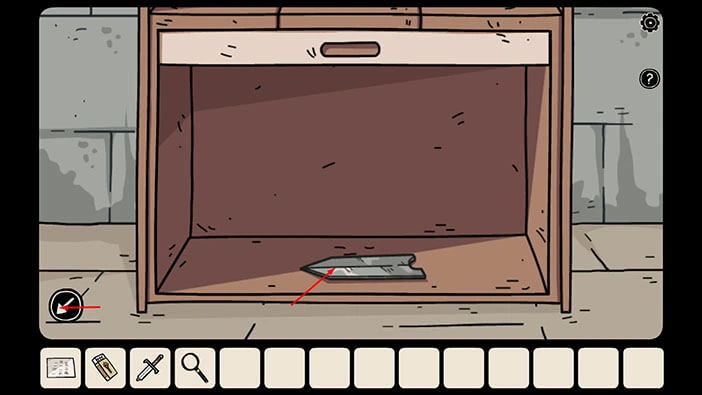
We should now go back to the room with the fireplace and reforge the sword. Tap on the arrow in the lower left corner to go back, outside.
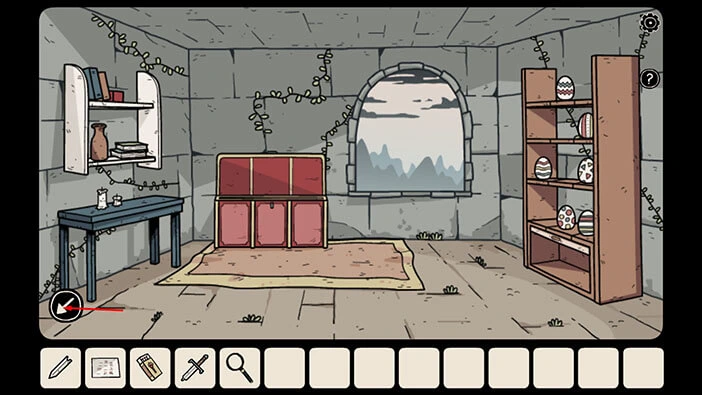
Next, tap on the blue door on the right to proceed to the room with the fireplace.
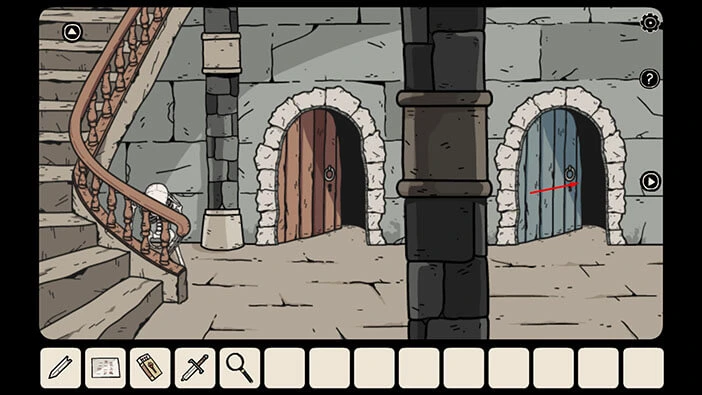
Tap on the fireplace to take a closer look at it. Select the “Matchbox” from the inventory and use it to start the fire.
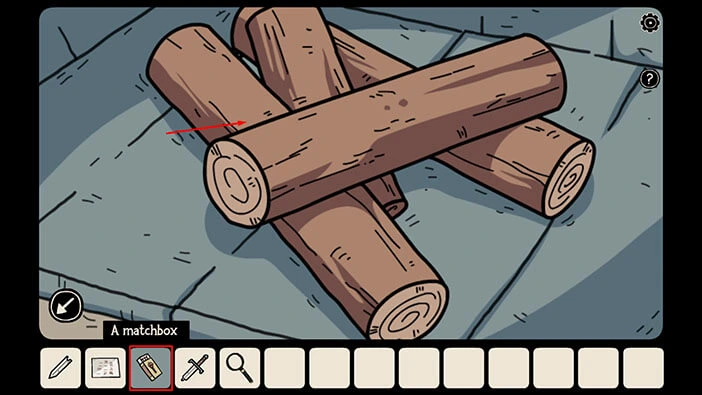
Next, select the “Piece of Broken Sword” in your inventory, then tap on the “Hilt of Broken Sword” to combine these two items. “Two pieces of sword” will be added to your inventory.
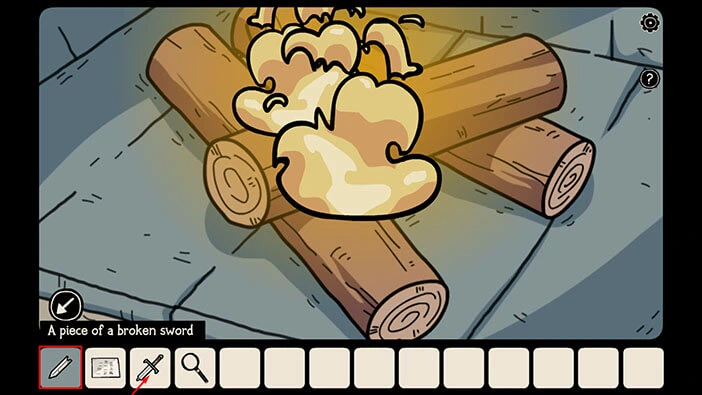
Lastly, select the “Two pieces of sword” from the inventory and tap on the fire to reforge the sword.
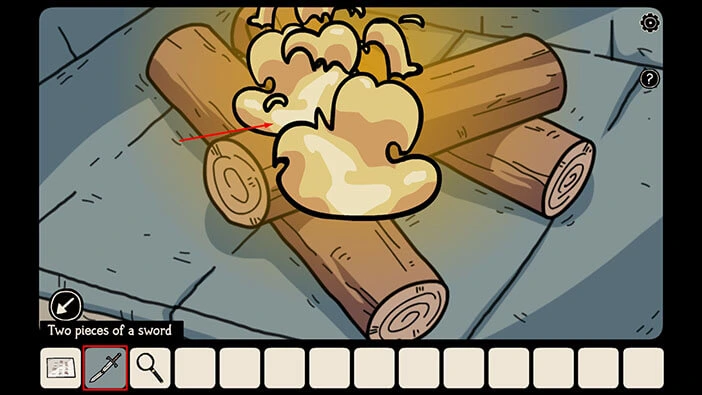
Instead of “Two pieces of the sword”, a “Sword” will be added to your inventory.
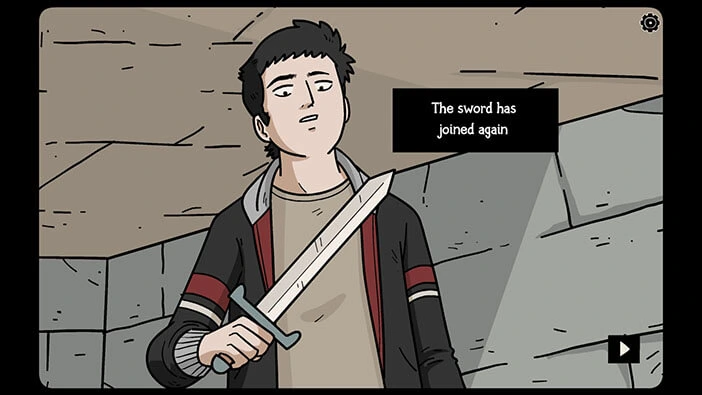
We should now go back to the area with two doors, and use the sword as a lever to open the locked door. Let’s do that.
Tap on the arrow in the lower left corner to go back. After that, tap on the arrow on the right to go back to the area with the pile of sand. Next, tap on the stairs on the right to go back to the first area. Lastly, tap on the arrow on the right to proceed to our destination.
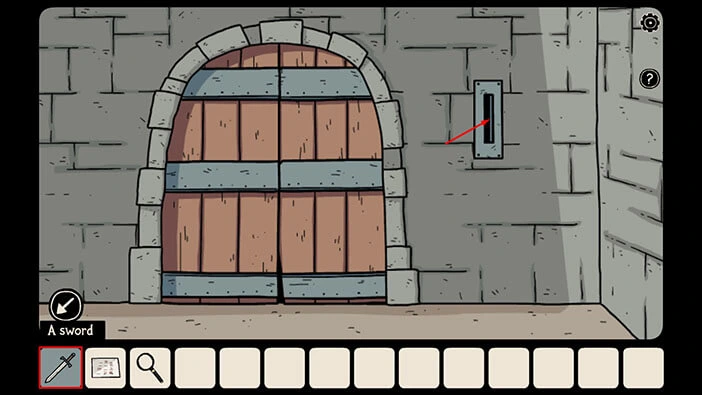
Tap on the slot next to the door on the right to take a closer look at it.
Select the “Sword” from the inventory and insert it into the slot on the right. After that, tap on the sword and Bastian will use it as a lever to open the door.
Tap on the door to proceed, and you will trigger a cutscene.
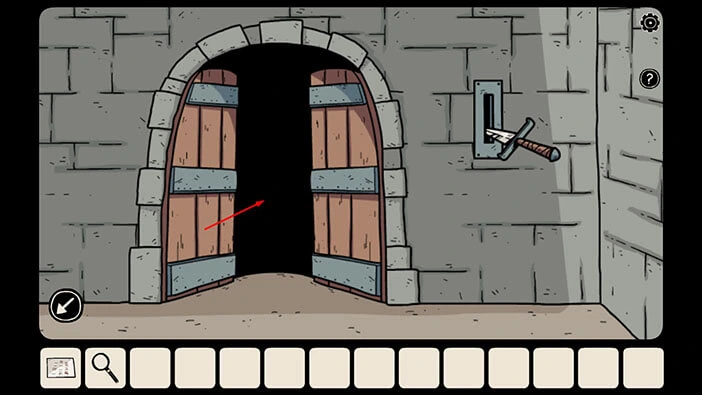
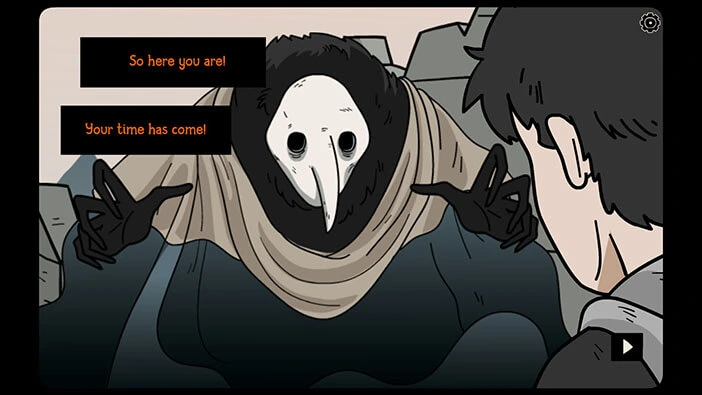
The Demon from the previous part of the game, “Another Shadow” will appear behind our character. When he was a kid, Bastian accidentally stumbled upon the lair of this demon. The demon cursed him and came back to collect his prize when Bastian was already a grown man.
The demon will say that Bastian time has come, and that’s the end of Bastian’s story.
We will have to end the second part of our walkthrough here. Join us in the third part of the walkthrough, in which we will explore Laia’s story in the Penumbra.
Thank you for reading.