Escape From The Shadows | Part 1
Hello everyone and welcome to Part 1 of our walkthrough for “Escape from the Shadows” an escape room game created by the Dark Dome. Escape from the Shadows is the seventh game in the series, and like the other games, the story is set in Hidden Town, which is filled with all kinds of mysteries. In this walkthrough, we will show you how to solve all the puzzles and finish the game.
NOTE: Some puzzles will CHANGE with each playthrough, but the logic behind solving the puzzles will always remain the SAME. For example, in one playthrough a code to open a safe could be 1234, and in another playthrough, the code could be 4321. However, you will always discover the numbers for the code at the same location and by using the same hints.
NOTE: The first part of the walkthrough follows Detective Larsen’s story, and ends when he assembles the map. The second part of the walkthrough starts with Bastian and Carissa in the Penumbra.
The game begins in front of Detective Ren Larsen’s office. Carissa came to ask for his help. She believes that there is still hope for her beloved Bastian.
Detective Ren Larsen was the main character in the “Ghost Case” game, which was the fourth game in the series. In that game, he stopped Frederick Nolsen, a villain who used dark magic to prolong his existence.
Detective Larsen finally stopped him by trapping his spirit inside the voodoo doll. Later, he gave the doll to Laia, a shopkeeper (well, he actually gave it to the witch who took Laia’s form). Well, back then, I said that this could have serious consequences in the future because the witch could potentially free Frederick imprisoned in the doll, and use him to achieve her own goals.
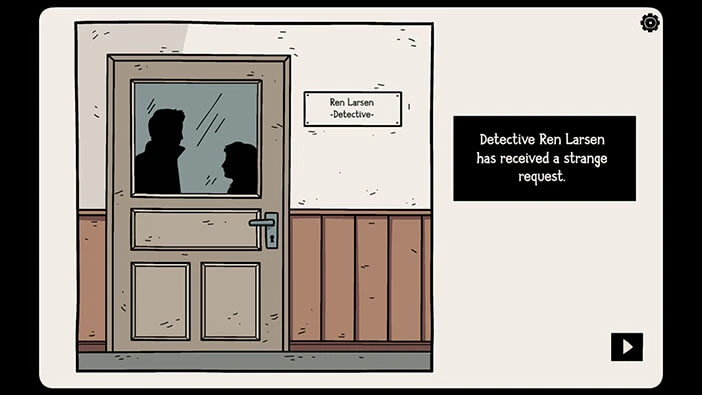
Carissa explained the situation to Larsen. Bastian was kidnapped by the shadows from the other dimension. Any other detective would laugh at Carissa after hearing this but, fortunately for her, Detective Ren Larsen already encountered the supernatural beings. So, he patiently listened to her story.
She informed him that she had very limited information. First, Bastian was cursed in the cabin in the woods when he was a child. However, she doesn’t know the location of the cabin. (We visited this cabin when we played as (young) Bastian in the fourth game in the series.
Besides that, she only knows that he is now in the dark dimension called “Penumbra”. But she doesn’t know anything else about this dark dimension.
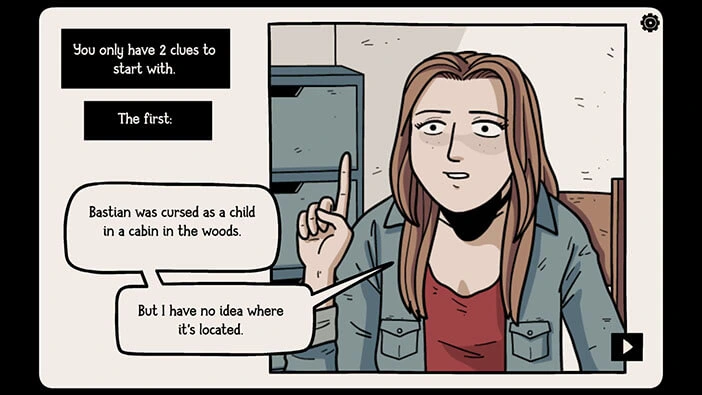
Detective Larsen is certain that they have to get Bastian out of the Penumbra quickly because otherwise, he will become one of the shadows.
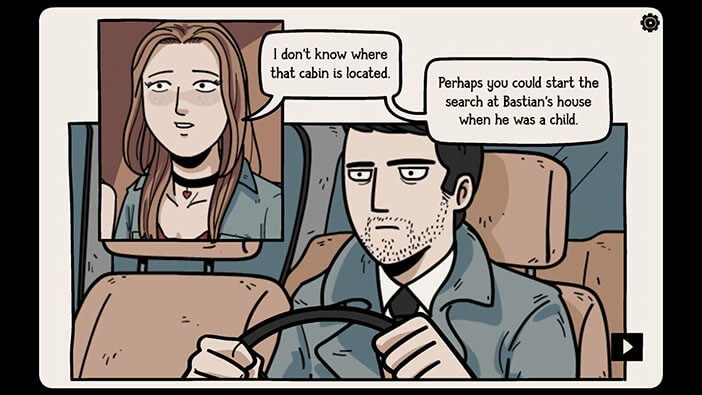
With that said, Detective Larsen immediately sat in his car and went to the house in which Bastian grew up.
The house was abandoned for some time, but, Detective Larsen believes that he should be able to find some clues in there. Most likely, he hopes to discover the location of the cabin that Bastian visited when he was a young boy.
With that hope, the detective went inside the house and began the investigation.
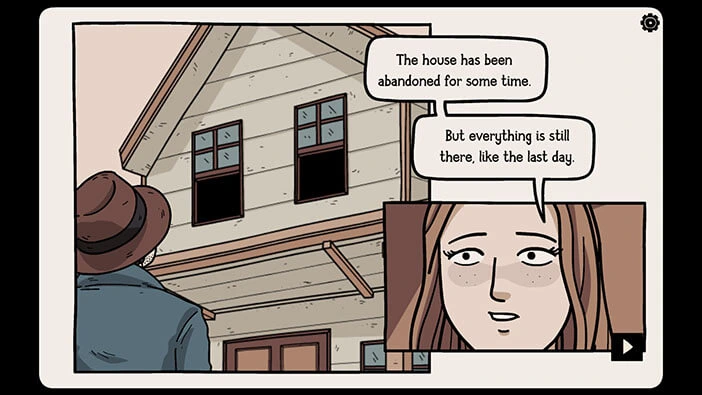
We are now in the Bastian’s childhood home, so let’s begin the investigation.
In this room, you will notice a pink box on the table on the left and a chessboard on the table in front of you. We will come back to these two items a bit later in the walkthrough.
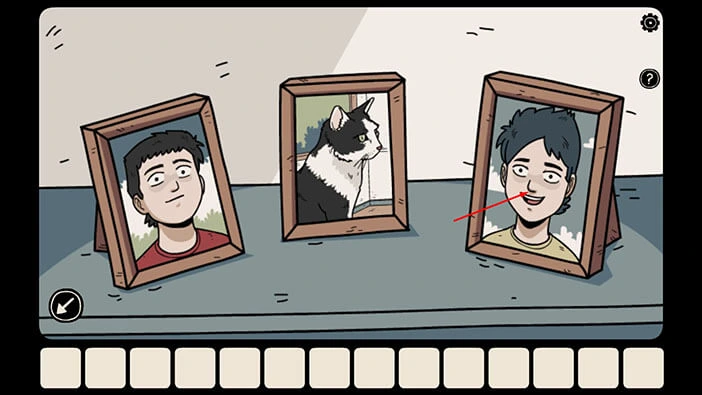
For now, tap on the three pictures on the table on the right to take a closer look at them.
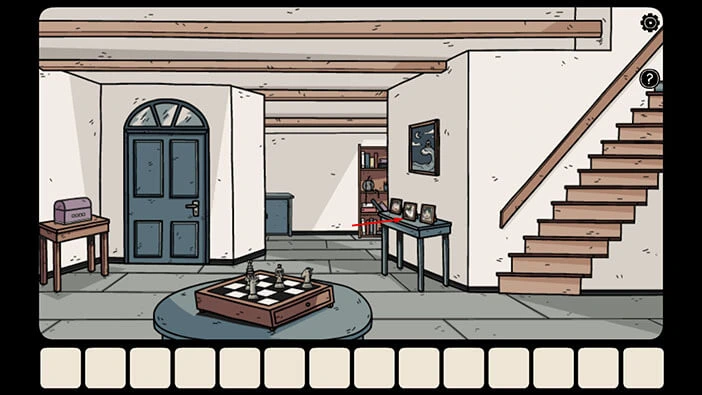
Tap twice on the picture on the right to pick it up and look at its backside.
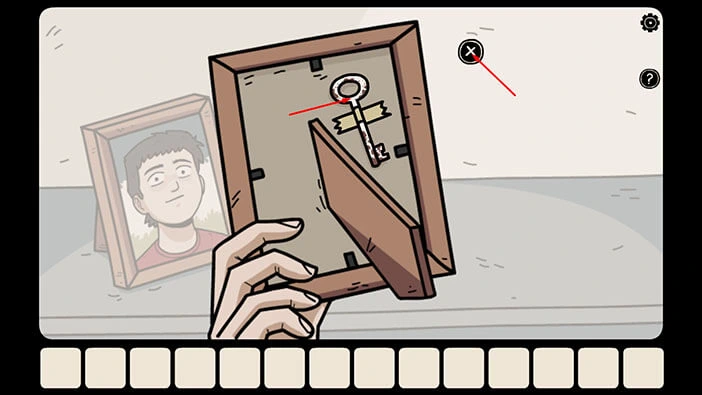
You will find a key attached to the back of the picture. Tap on it to pick it up and “Rusty key” will be added to your inventory. After that, tap on the “X” button to put down the picture.
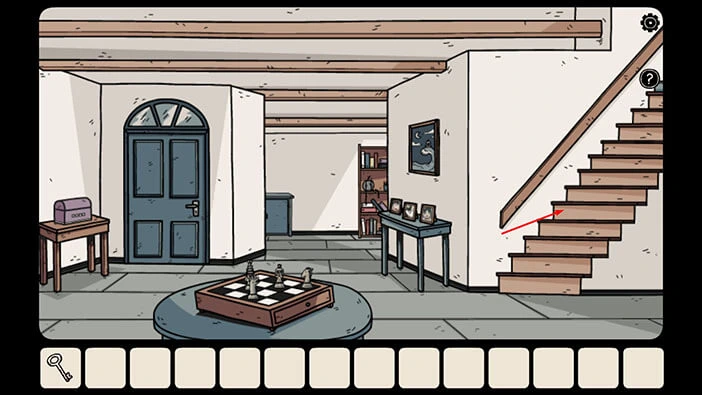
For now, we are done in this room. Let’s go upstairs and see what we can find out. Tap on the stairs to go to the second floor.
There are several important items in this room, like the red box on the shelf on the left, and the bowl on the table on the right. But, for now, we are not interested in this room, so let’s tap on the arrow on the right to proceed to the next room.
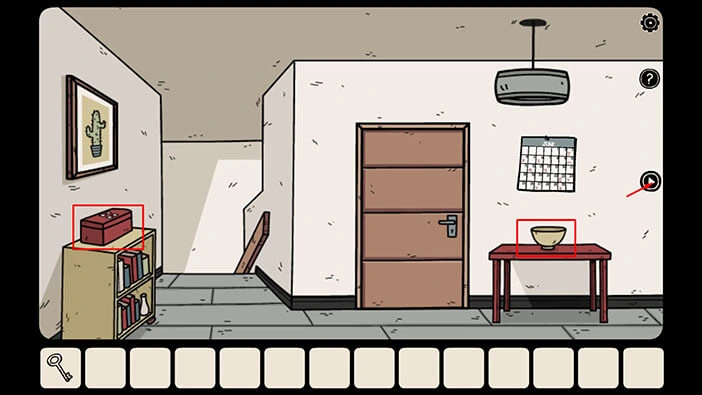
Next, tap on the yellow box on the shelf on the left to take a closer look at it, and tap again to open the box.
Inside, you will find a “Mobile device charger” so let’s tap on it to pick it up. After that, tap on the arrow in the lower left corner to go back.
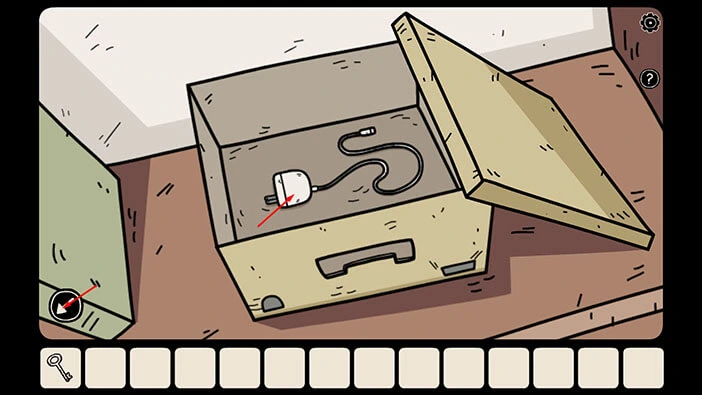
Next, tap on the table on the right to take a closer look at it, then tap on the yellow notebook to examine it.
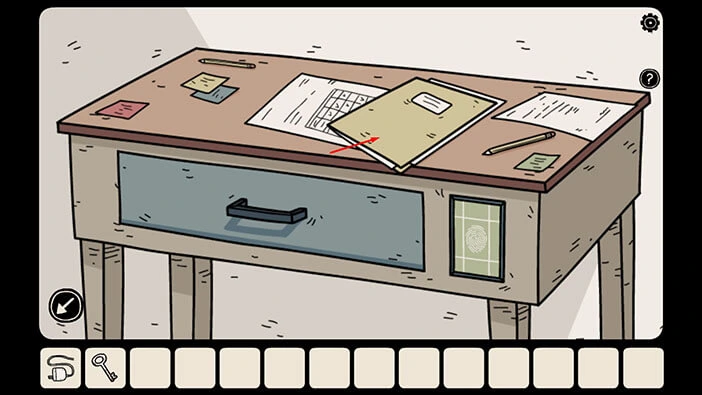
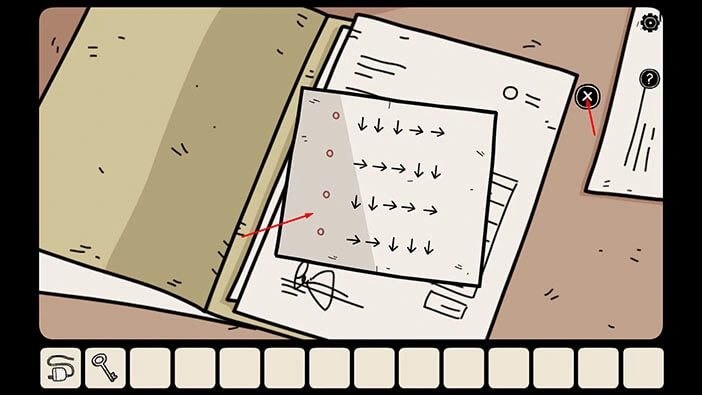
Tap on the notebook to open it, and you will find a “Note with arrows”. Tap on it to pick it up. After that, tap on the “X” button to close the notebook.
Next, tap on the wall shelf above the table to take a closer look at it. Here, you will find “Scotch tape” so tap on it to pick it up. After that, tap on the arrow in the lower left corner to go back.
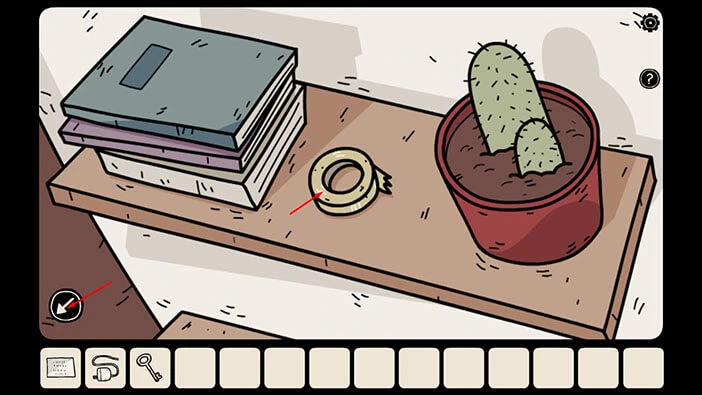
Let’s go back to the first room. To get there, tap on the arrow on the left, then tap on the stairs to go back to the first floor.
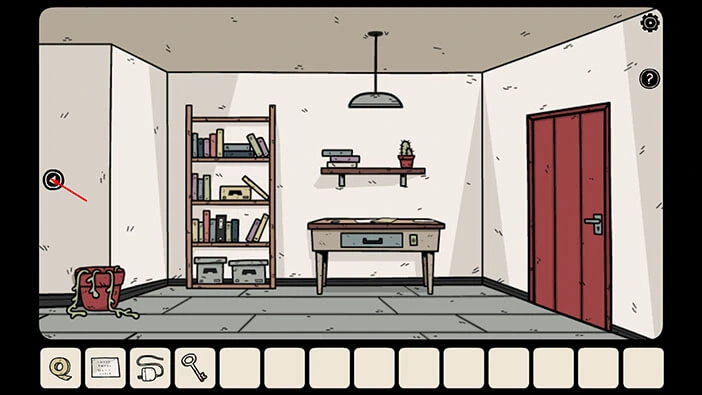
Ok, let’s explore the other part of the room on the ground floor. Tap on the empty space in front of you.
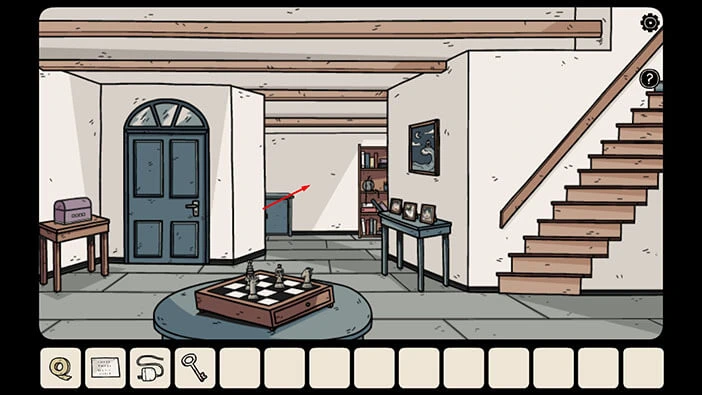
As soon as you enter into this room, Detective Larsen will hear footsteps. He looked around the room, but couldn’t see anyone.
Let’s explore this room. Tap on the outlet located below the blue desk on the left to take a closer look at it.
Let’s, select the “Mobile device charger” from the inventory and plug it into the outlet and our character will automatically connect it with the device on the table. After that, tap on the device on the table to examine it.
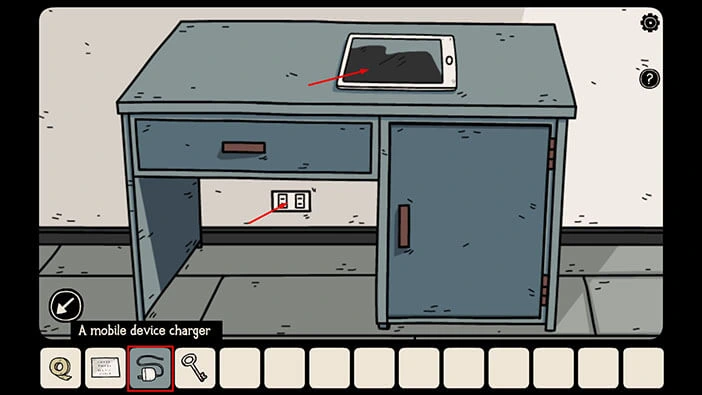
Here, we can see four empty slots at the top of the device screen and four arrows on the right side of the screen.
So, let’s tap on the “Note with arrows” in our inventory to examine it.
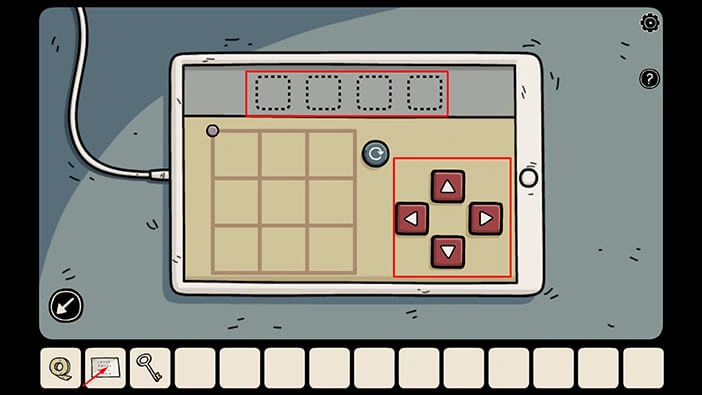
Here, we can see five arrows per row, arranged in four rows. Let’s memorize/write down the arrows in the top arrow.
Here, we have,
Three down arrows, and two right arrows.
Once you’re down, tap on the “X” button to put down the note.
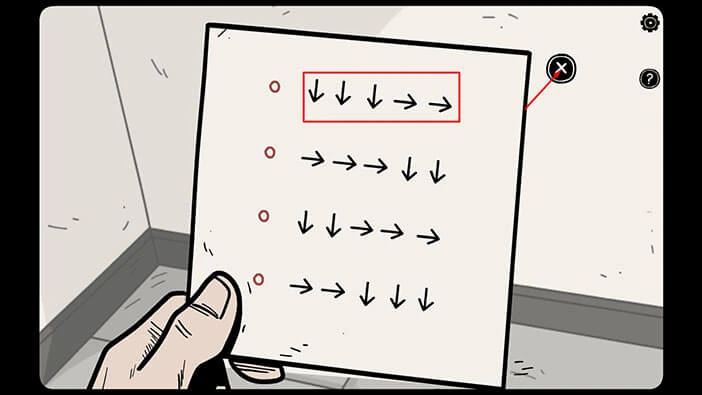
Ok, let’s tap on the arrows that we saw in the first row of the note. So, tap three times on the “Down arrow” then tap two times on the “Right arrow”.
As you press on the arrows, the purple dot in the top left corner of the grid will move in the direction of the arrows.
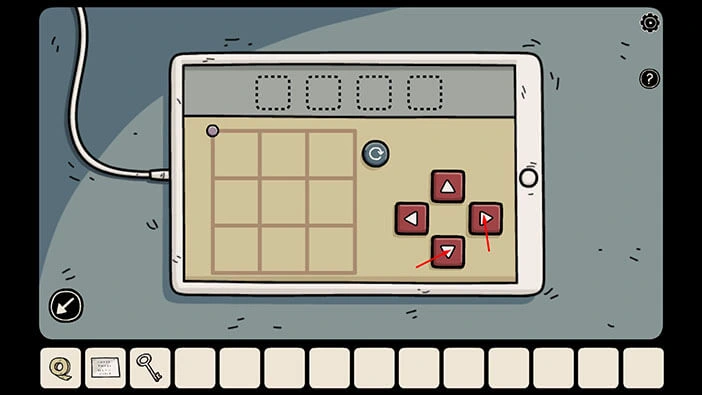
Once you press five times on the arrows, the grid on the left will reset, and the first symbol will appear in the slot at the top of the screen. Write down this symbol because we will need it for the next puzzle.
Once you’re done, tap on the “Note with arrows” in your inventory to take a look at the second set of arrows.
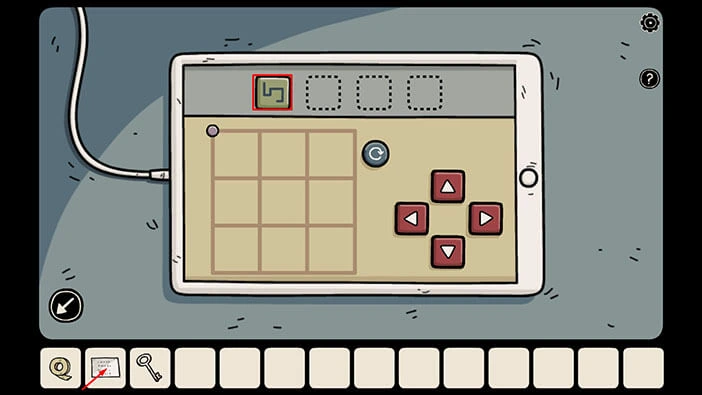
In the second row, we have,
Three right arrows, and two down arrows. Memorize/write down this information.
Once you’re down, tap on the “X” button to put down the note.
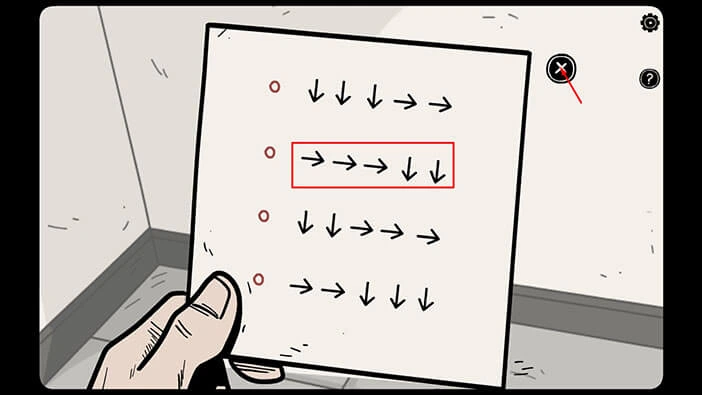
Let’s tap on the arrows that we saw in the second row of the note. So, tap three times on the “Right arrow” then tap two times on the “Down arrow”.
As you press on the arrows, the purple dot in the top left corner of the grid will move in the direction of the arrows.
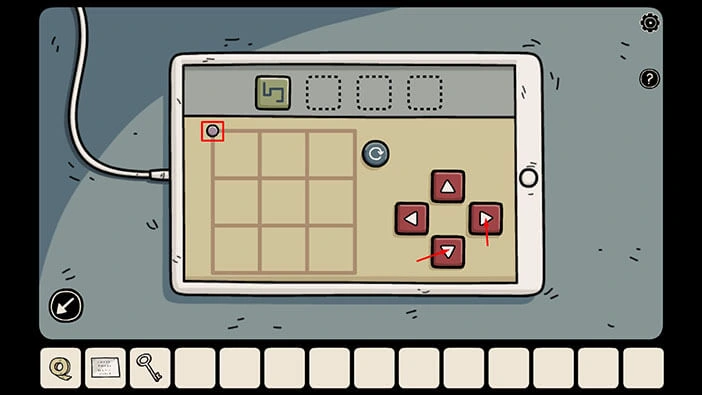
Once you press five times on the arrows, the grid on the left will reset, and the second symbol will appear in the slot at the top of the screen. Write down this symbol because we will need it for the next puzzle.
Once you’re done, tap on the “Note with arrows” in your inventory to take a look at the third set of arrows.
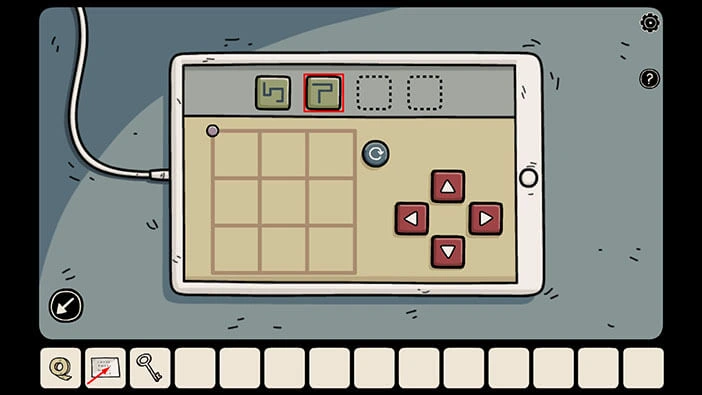
In the third row, we have,
Two down arrows, and three right arrows. Memorize/write down this information.
Once you’re down, tap on the “X” button to put down the note.
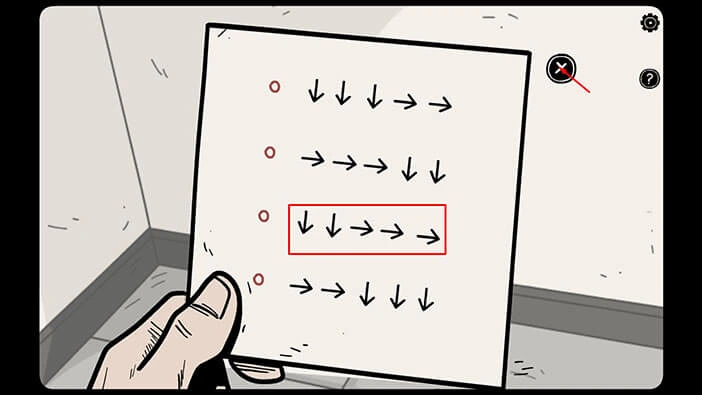
Let’s tap on the arrows that we saw in the third row of the note. So, tap two times on the “Down arrow” and then three times on the “Right arrow”.
As you press on the arrows, the purple dot in the top left corner of the grid will move in the direction of the arrows.
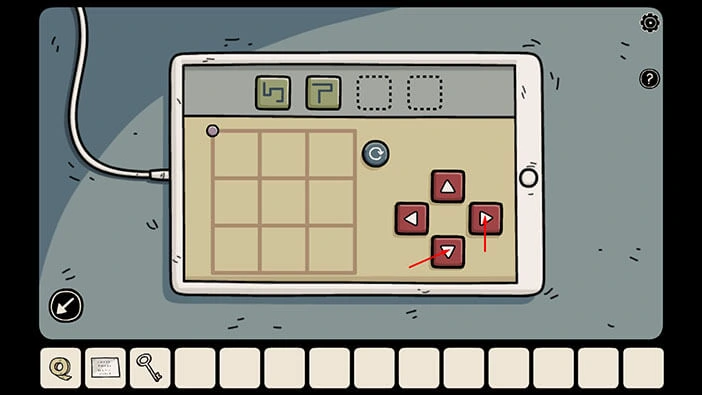
Once you press five times on the arrows, the grid on the left will reset, and the third symbol will appear in the slot at the top of the screen. Write down this symbol because we will need it for the next puzzle.
Once you’re done, tap on the “Note with arrows” in your inventory to take a look at the fourth set of arrows.
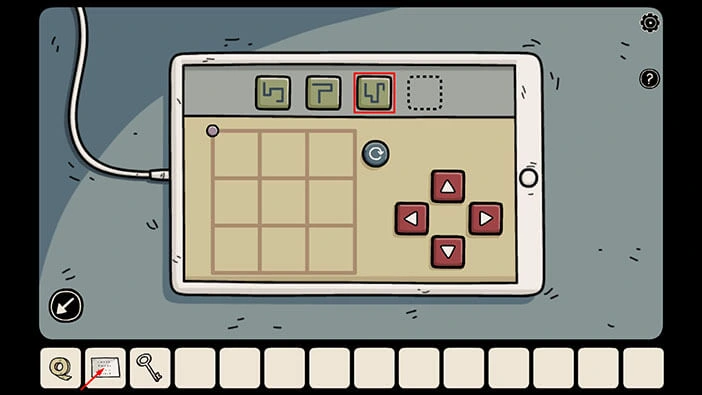
In the fourth row, we have,
Two right arrows, and three down arrows. Memorize/write down this information.
Once you’re down, tap on the “X” button to put down the note.
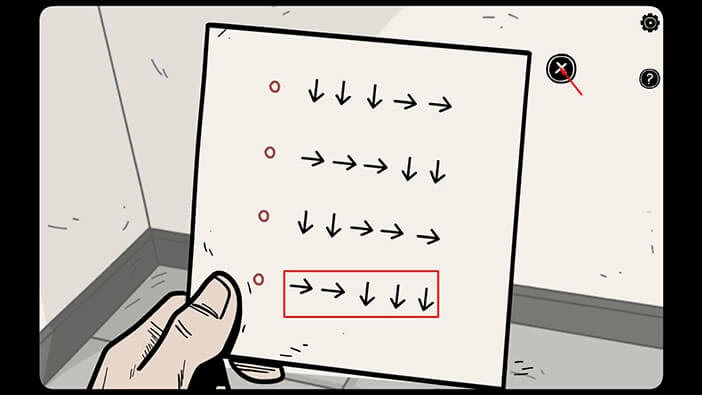
Let’s tap on the arrows that we saw in the fourth row of the note. So, tap two times on the “Right arrow” and then three times on the “Down arrow”.
As you press on the arrows, the purple dot in the top left corner of the grid will move in the direction of the arrows.
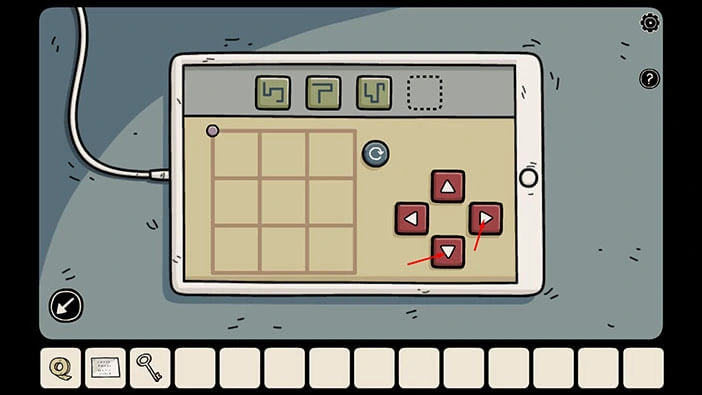
Once you press five times on the arrows, the grid on the left will reset, and the fourth and the last symbol will appear in the slot at the top of the screen. Write down this symbol because we will need it for the next puzzle.
Once you’re done, tap on the arrow in the lower left corner to go back.
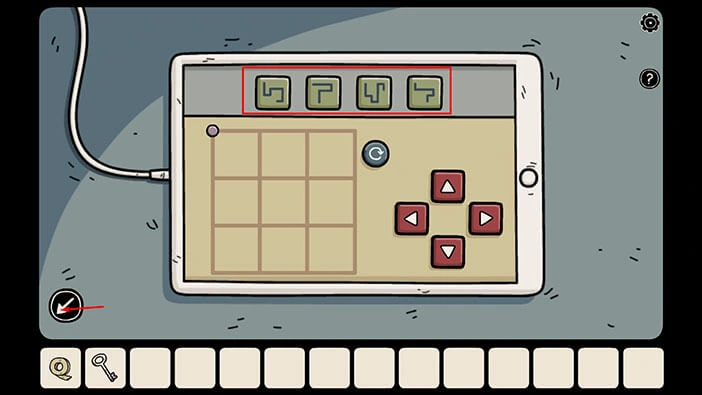
Let’s go back to the previous room and use the symbols that we discovered to unlock the purple chest. Tap on the arrow in the lower left corner.
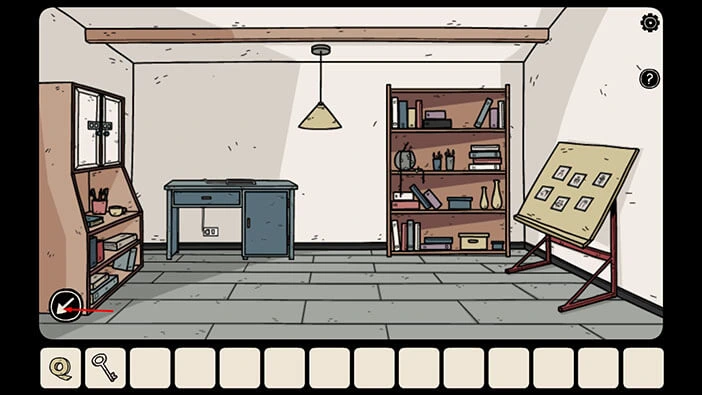
Tap on the small purple box chest located on the table on the left to take a closer look at it.
Enter the four symbols that we discovered by solving the previous puzzle.
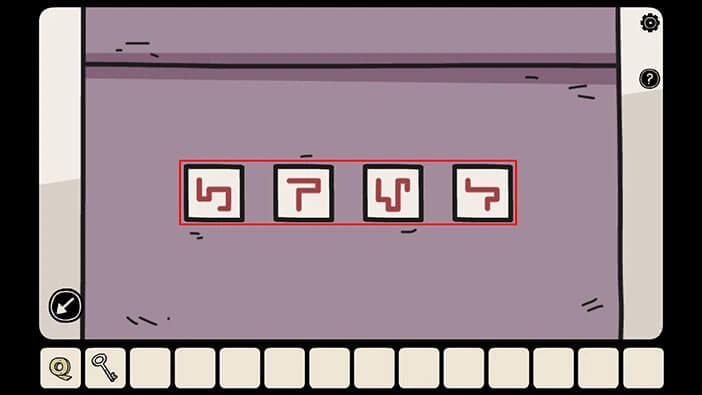
When you enter the correct symbols, you will hear a clicking sound, and the box will open. There are two items inside the box. Tap on them to pick them up and a “Blue key” and a “Latex glove” will be added to your inventory.
After that, tap on the arrow in the lower left corner to go back.
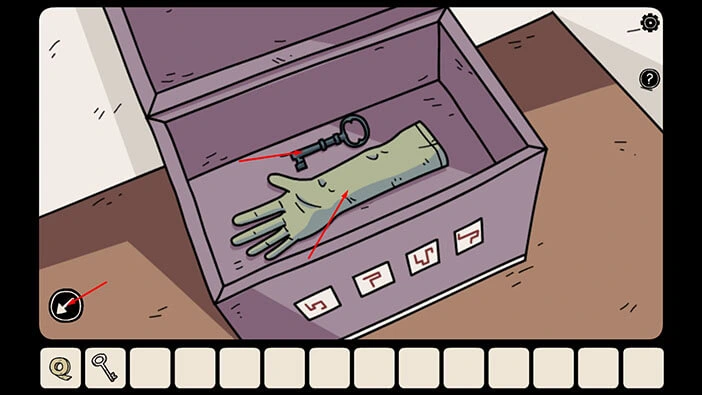
We can use this key to unlock the door that we saw in the first room upstairs, so let’s do that. Tap on the stairs.
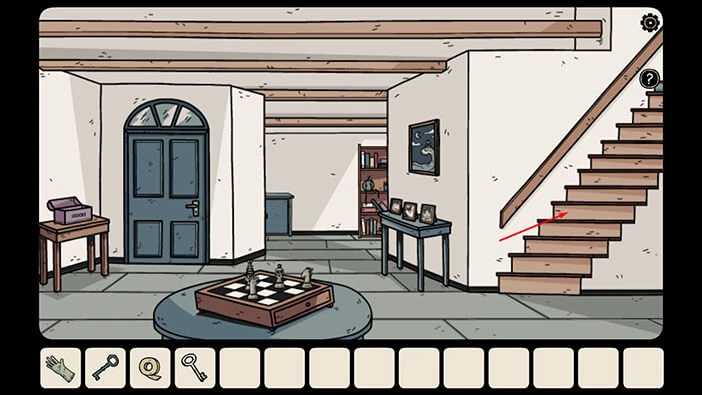
Select the “Blue key” from the inventory and use it to unlock the door. After that, tap on the door to open it and tap again to proceed to the next room.
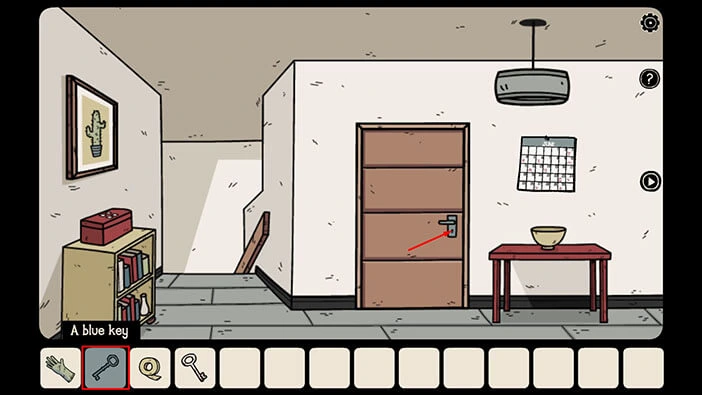
Next, tap on the closet to open it and tap again to look inside.
Here, we can see three pieces of clothes, blue, red, and green. Let’s count the number of knots on each piece of cloth because we will need this information for the next puzzle (we only need the color of each piece of cloth).
Blue = 3 knots
Red = 1 knot
Green = 4 knots
Once you’re done, tap on the arrow in the lower left corner to go back.
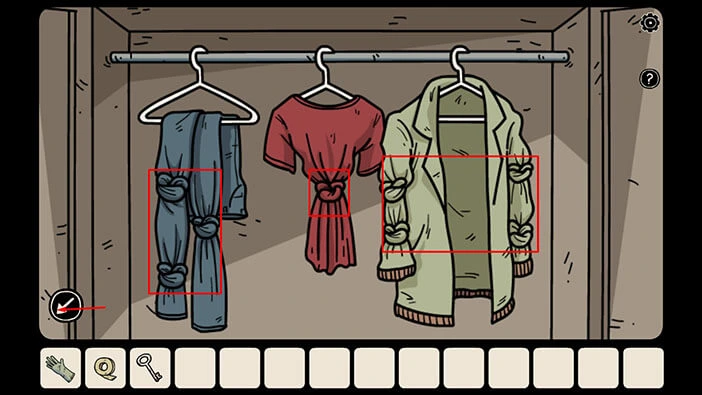
If you take a look at the purple curtain on the left, you will also notice five knots. So, let’s also memorize/write down this information.
Purple = 5 knots
Once you’re done, tap on the small safe located on the wall shelf on the left to take a closer look at it.
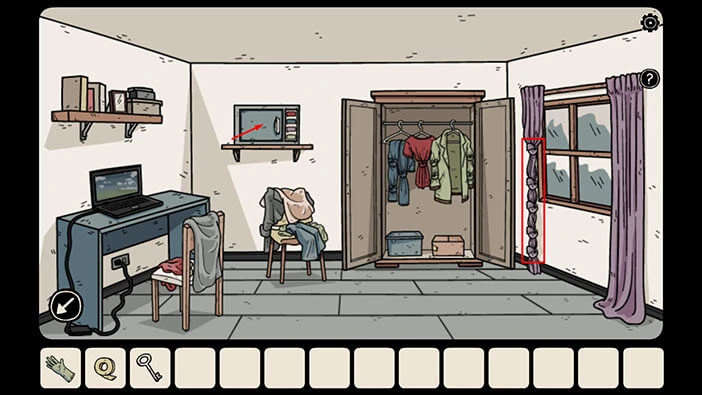
Here, we can see four slots on the right, and these slots are red, blue, purple, and green – the same colors that we saw on clothes plus the curtain. Currently, there is one dot in each slot. So, let’s set the number of dots in the slot to match the number of knots on pieces of clothes and curtains of the same color. So, we had
Red = 1 dot
Blue = 3 dots
Purple = 5 dots
Green = 4 dots
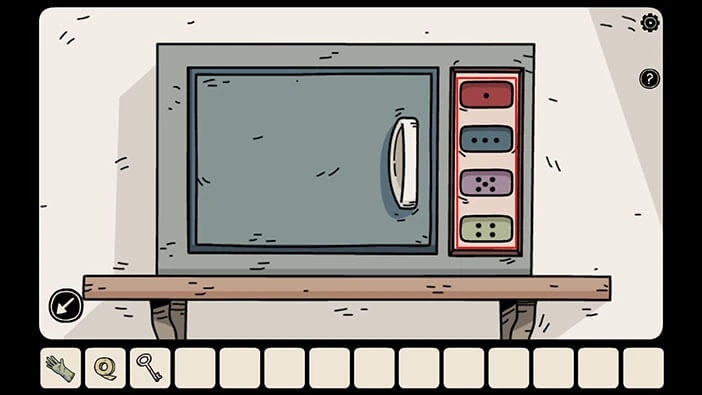
As soon as you enter the correct number of dots the safe will open and you will find an “External hard drive”. Tap on it to pick it up.
After that, tap on the arrow in the lower left corner to go back.
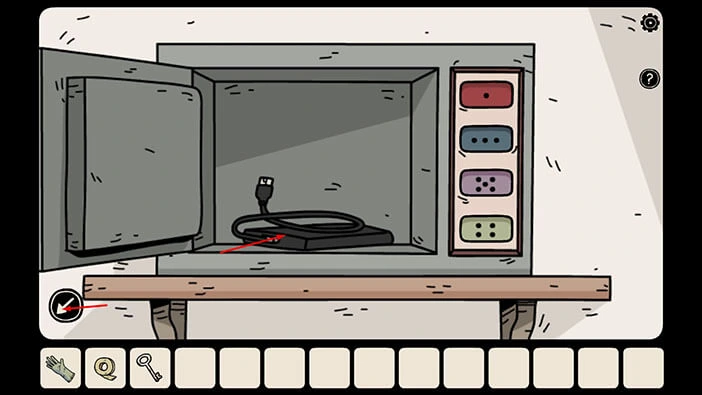
Next, tap on the lower part of the curtain without the knots to take a closer look at it, and tap again to look behind the curtain.
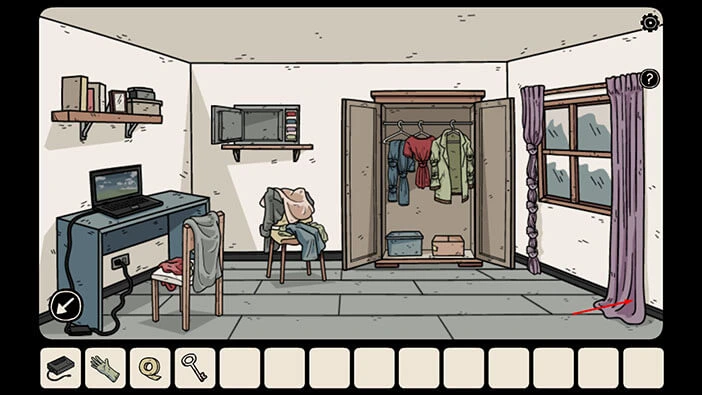
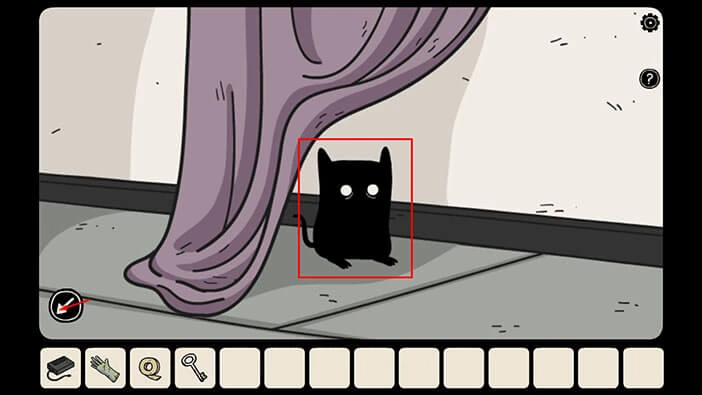
Here, you will find the first “Shadow Hamster”. There are 10 of this little animals hidden throughout the game, and we will try to find all of them. You can check how many hamsters you found so far by tapping on the “Settings” button in the upper right corner.
Once you’re done, tap on the arrow in the lower left corner to go back.
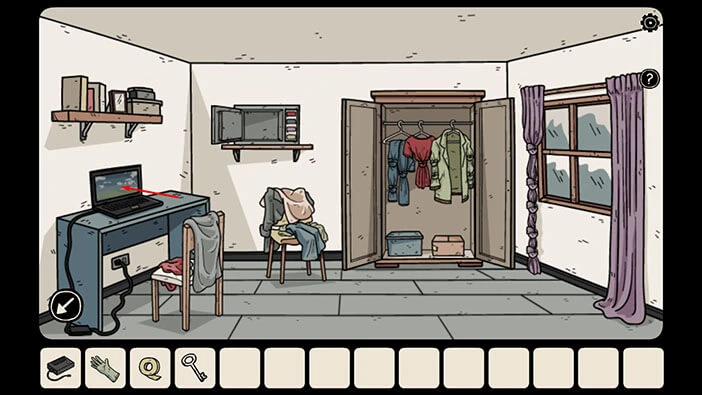
Next, tap on the laptop on the left to start the interaction.
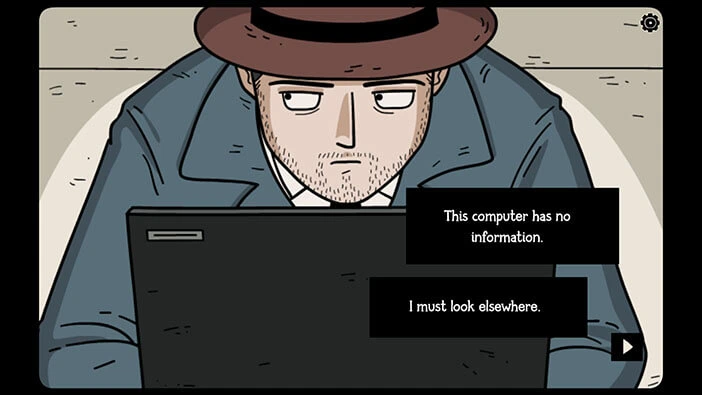
This action will activate the short cutscene. Our character will say that there is no information on the laptop. But, we already have the “External hard drive”, and we want to check its content.
So, let’s select the “External hard drive” from the inventory and plug it into the laptop.
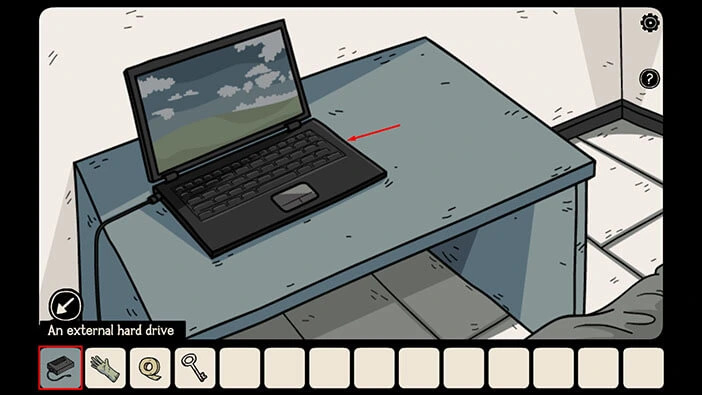
Tap on the laptop to start the interaction. Now, we can see that four folders have appeared on the laptop screen.
Let’s tap on the folder in the upper left corner to see its content.
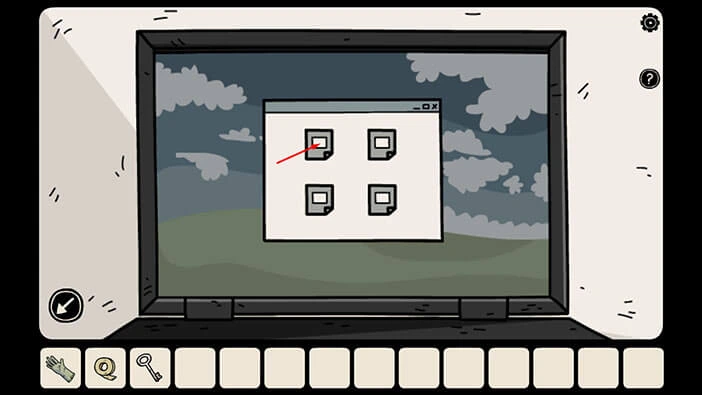
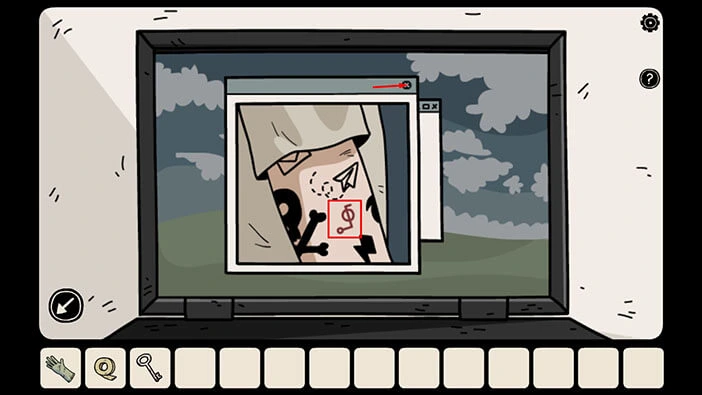
Here, we can see the photo of an arm with several tattoos, mostly black, but one of them is red. Memorize/write down the shape of the red tattoo because we will need this information for the next puzzle.
Once you’re done, tap on the “X” button to close this folder.
Next, let’s tap on the folder in the upper right corner to see its content.
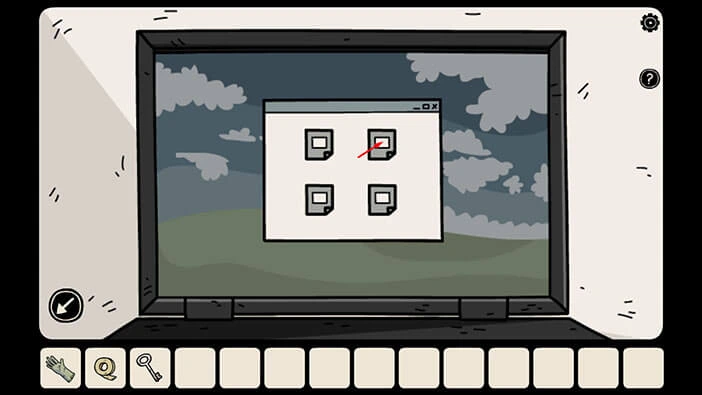
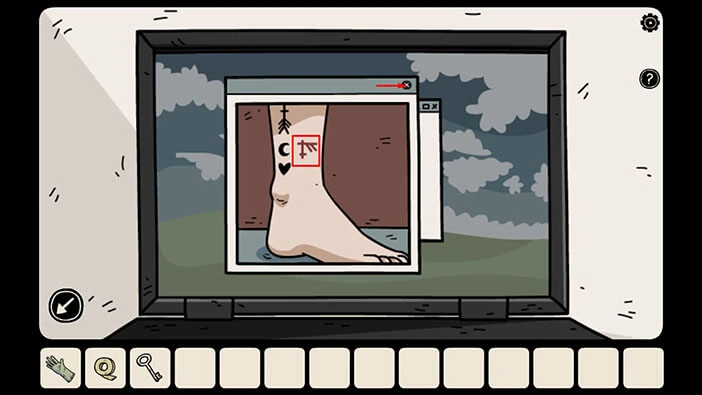
Here, we can see the photo of a leg with several tattoos. Memorize/write down the shape of the red tattoo because we will need this information for the next puzzle.
Once you’re done, tap on the “X” button to close this folder.
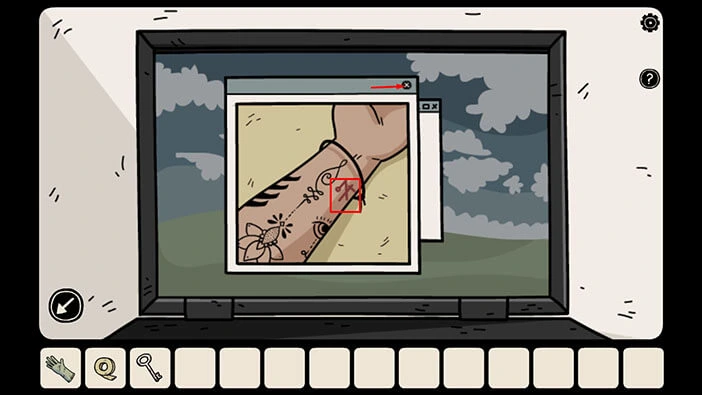
Next, let’s tap on the folder in the bottom left corner to see its content.
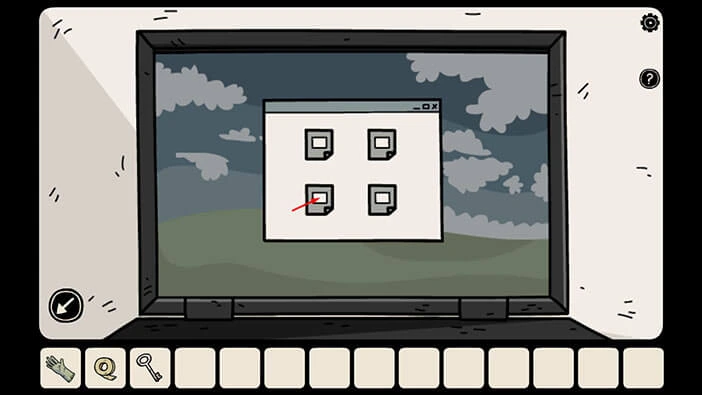
Here, we can see the photo of an arm with several tattoos. Memorize/write down the shape of the red tattoo because we will need this information for the next puzzle.
Once you’re done, tap on the “X” button to close this folder.
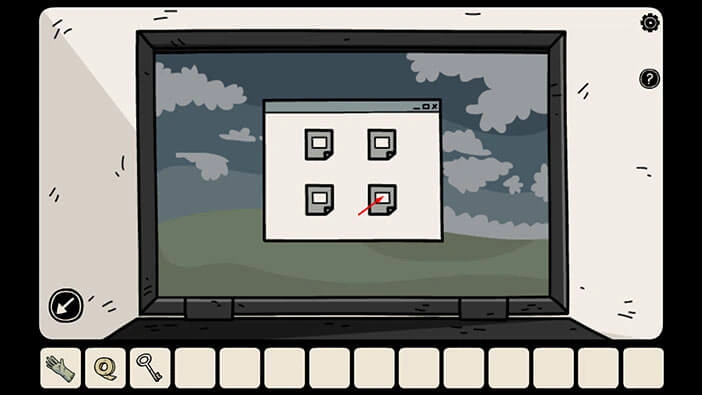
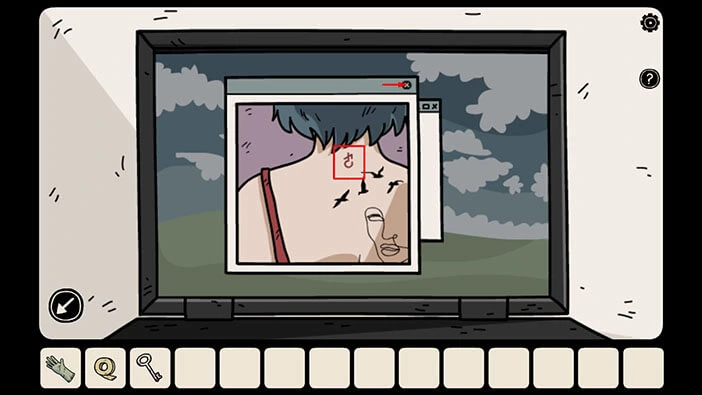
Let’s look at the last folder. Tap on the folder in the bottom right corner to see its content.
Here, we can see the photo of a back with several tattoos. Memorize/write down the shape of the red tattoo because we will need this information for the next puzzle.
Once you’re done, tap on the “X” button to close this folder. After that, tap on the arrow in the lower left corner to go back.
Let’s go back to the previous room. Tap on the arrow in the lower left corner.
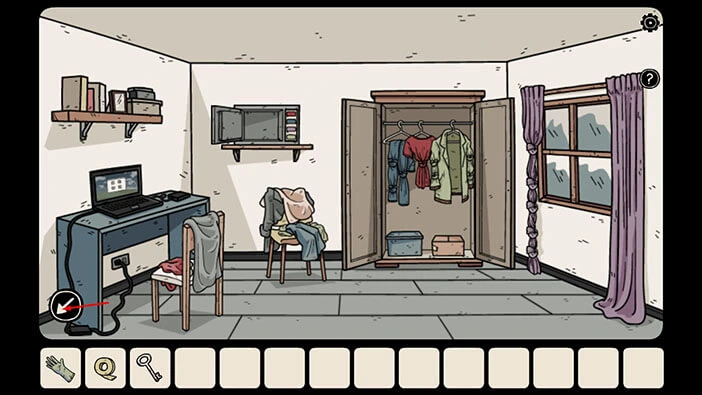
Next, tap on the red box on the table on the left to start the interaction.
Let’s enter the symbols that we discovered by examining the folders on the laptop.
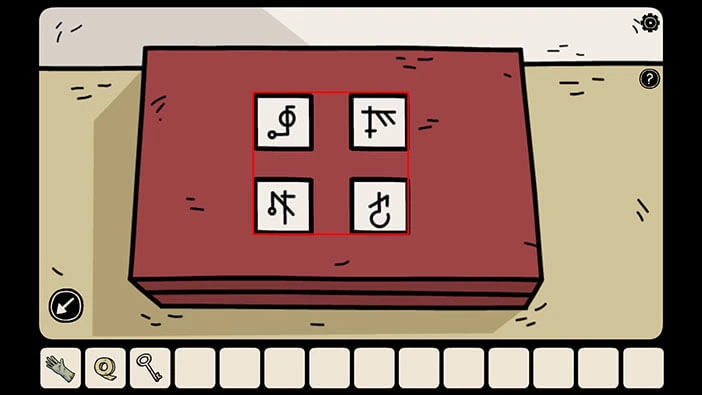
As soon as you enter the correct symbols you will hear the clicking sound and the box will open, and you will find “Acid to remove the rust”. So, tap on it to pick it up. We will use this bottle to remove the rust from the “Rusty key”.
Once you’re done, tap on the arrow in the lower left corner to go back.
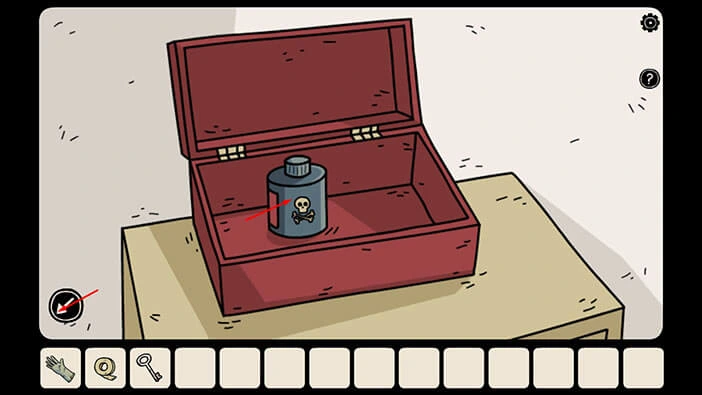
Next, tap on the bowl located on the red table on the right to take a closer look at it.
Let’s remove the rust from the “Rusty key” so that we can use it. Select the “Rusty key” from the inventory and put it into the empty bowl.
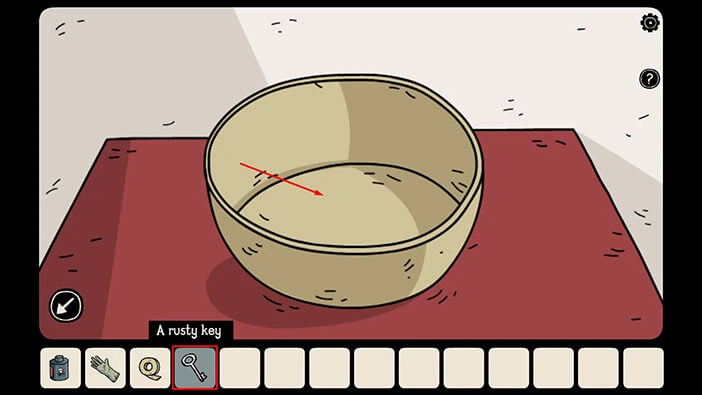
Next, select “Acid to remove the rust” from the inventory and pour it into the bowl with the key.
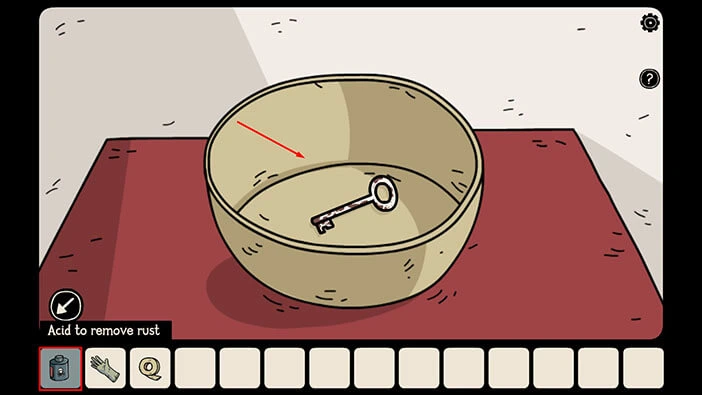
A few moments later, you will see that the key has floated up to the surface, and the rust was probably removed. However, our character won’t reach into the acid with his bare hands to reach the key.
So, let’s select the “Latex glove” from the inventory and use it to pick up the key. The rust was removed, and the “White key” will be added to your inventory.
Once you’re done, tap on the arrow in the lower left corner to go back.
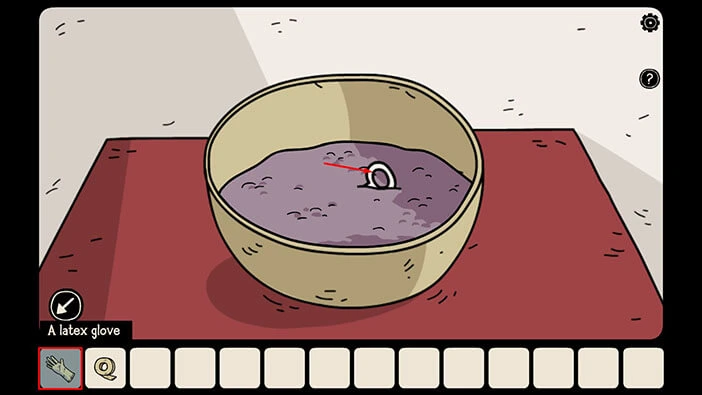
We can now use the “White key” to unlock the next door and gain access to the new room, so let’s do that. Tap on the arrow on the right to proceed to the next room.
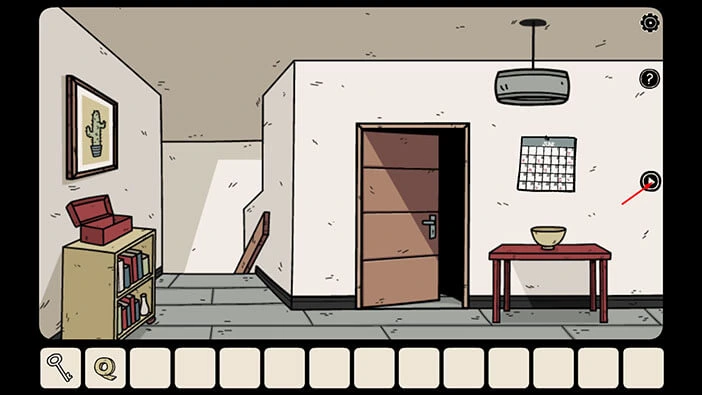
Select the “White key” from the inventory and use it to unlock the red door on the right. After that, tap twice on the door to open it and proceed to the next room.
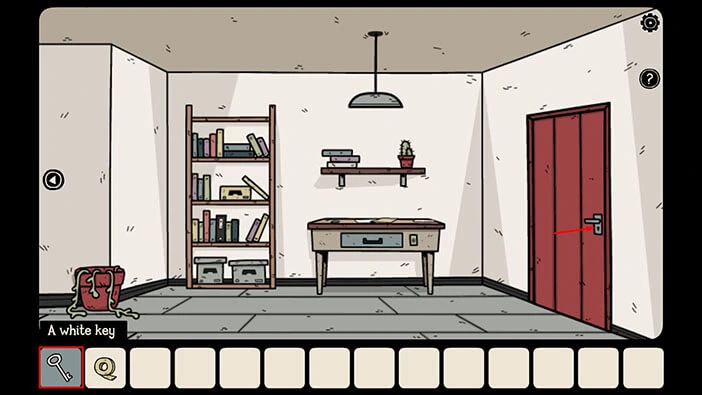
Next, tap on the red cabinet on the left to take a closer look at it. After that, tap on the bottom drawer to open it.
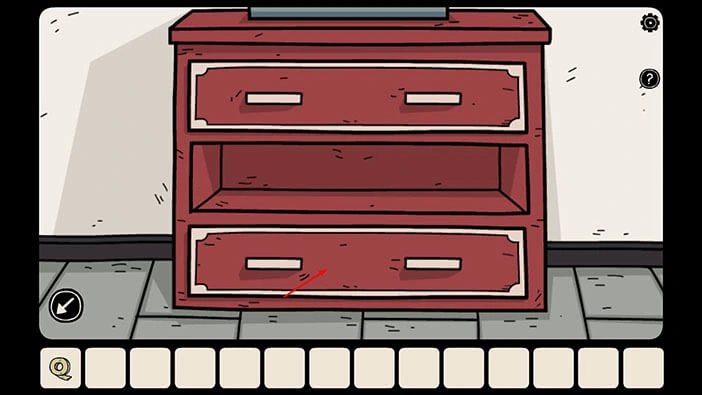
You will find a “Note with the four symbols” in the bottom drawer, so let’s tap on it to pick it up. After that, tap on the arrow in the lower left corner to go back.
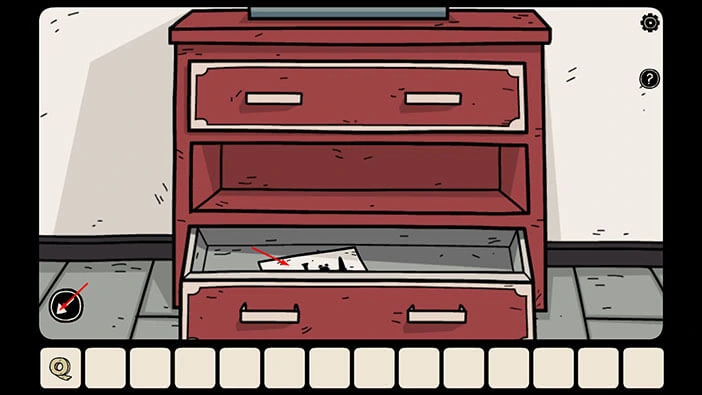
Next, tap on the book on the wooden table located next to the door to take a closer at it. The book is titled “Witches” so let’s open it and see what we can discover.
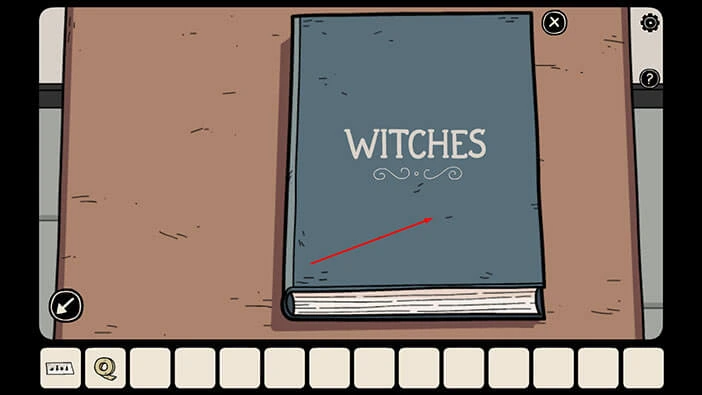
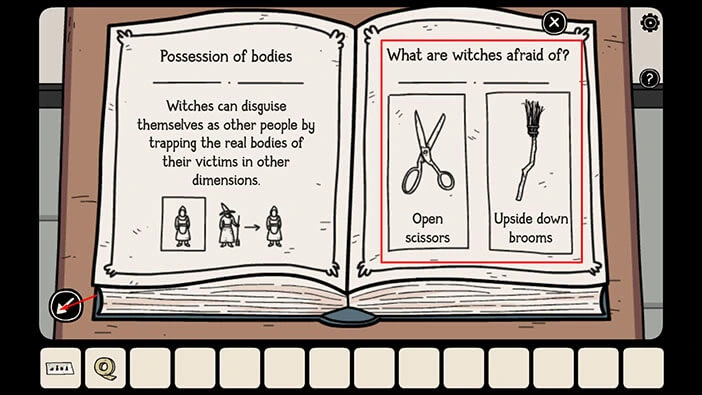
On the left side, we can see the text “Witches can disguise themselves as other people by trapping the real bodies of their victims in other dimensions”. We already know that, but now, our character is also aware of this information. If you recall, previously, when we played the fifth game in the series “Haunted Laia” the witch used this power to trap Laia in the other dimension and take over her identity. As I previously mentioned, Detective Ren Larsen interacted with the “fake” Laia and gave her a voodoo doll which contains the spirit of Frederick Nolsen.
On the right side, we can discover something new, and interesting. Apparently, witches are afraid of “Open scissors” and “Upside down brooms”. I wonder if this information is correct. If it is, we could possibly force the witch to free Laia and other prisoners (when we played as Laia, we also met three or four other characters that were trapped by the witch inside the portraits).
Let’s get back to our investigation. Tap on the arrow in the lower left corner to go back.
Let’s proceed to the next room. Tap on the right side of the room.
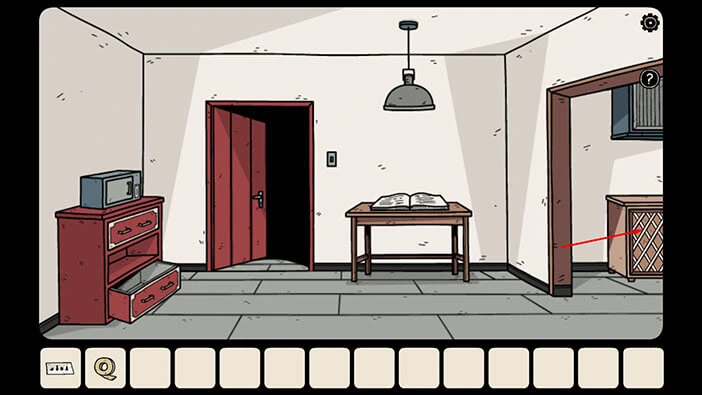
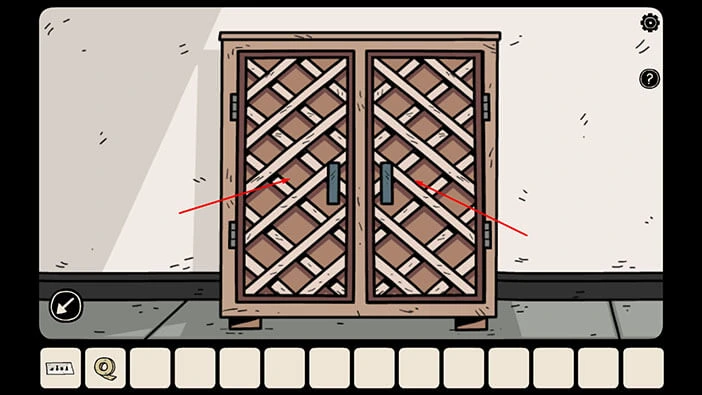
Let’s explore this room. Tap on the cabinet on the left to take a closer look at it.
After that, tap on both cabinet doors to open them.
On the left side of the cabinet you will find a “Blue book” so tap on it to pick it up. After that, tap on the arrow in the lower left corner to go back.
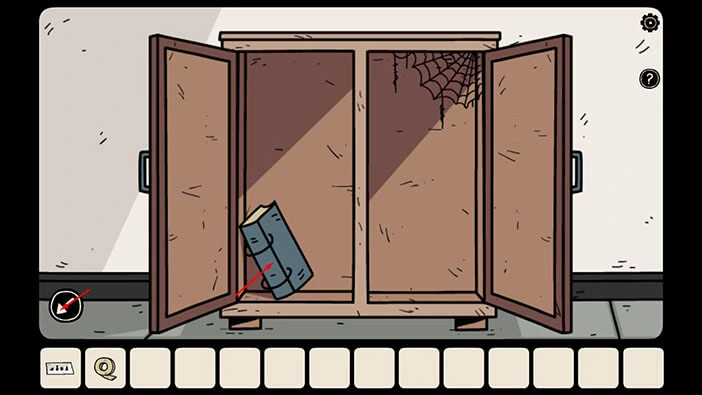
There are some interesting photos in the “Blue Book” that we can use to solve the next puzzle, but we will use them a bit later. Before we take a look at these pictures, let’s go back to the first room on the second floor.
To get there, tap on the left side of the screen to go back to the previous room.
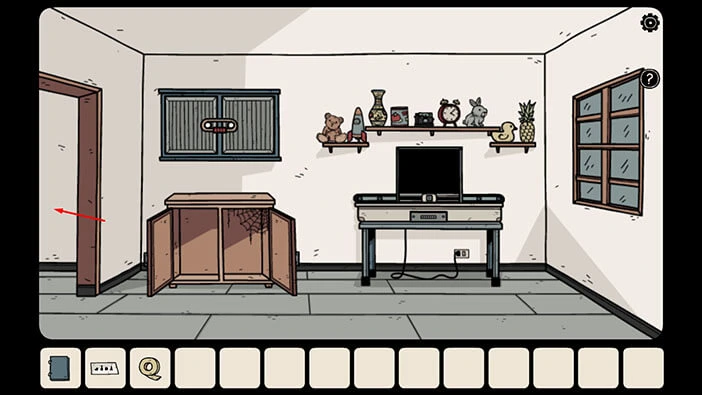
Next, tap on the red door to go to the next room.
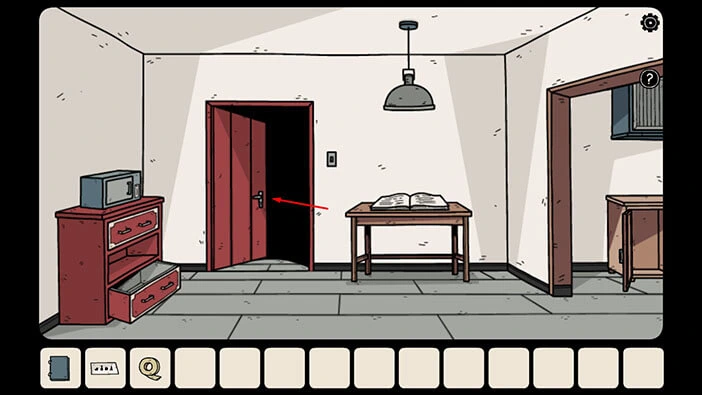
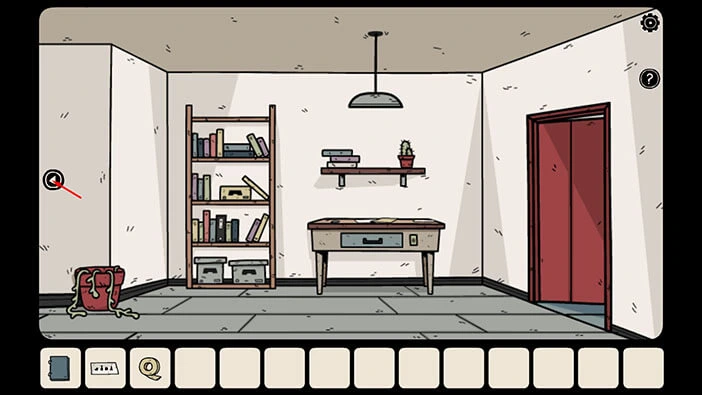
Lastly, tap on the arrow on the left to go back to the first room on the second floor.
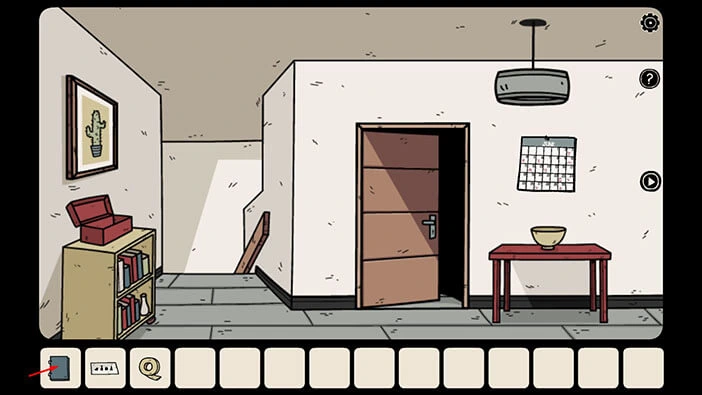
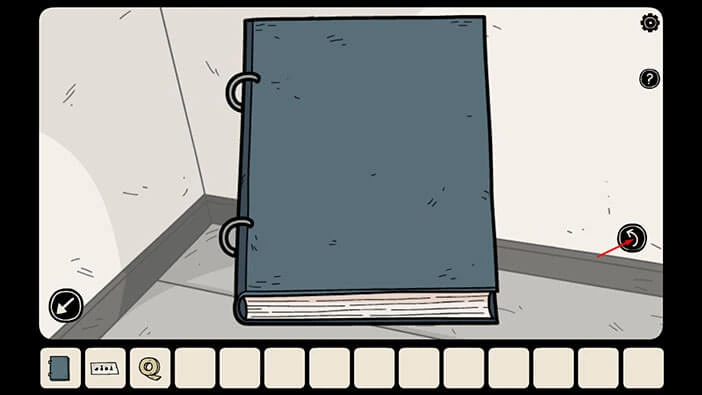
Ok, let’s tap on the “Blue book” in our inventory to take examine it.
Tap on the arrow on the right to open the book.
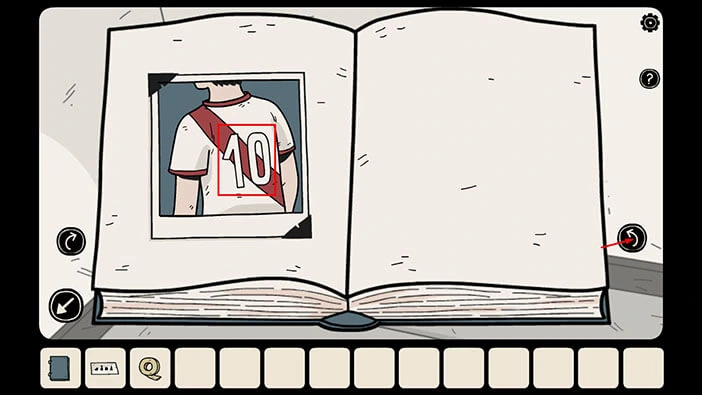
In the first picture, we can see a man in a football dress with the number 10. Let’s memorize/write down this number because we will need this information for the next puzzle. So,
First number = 10
After that, tap on the arrow on the right to take a look at the next page.
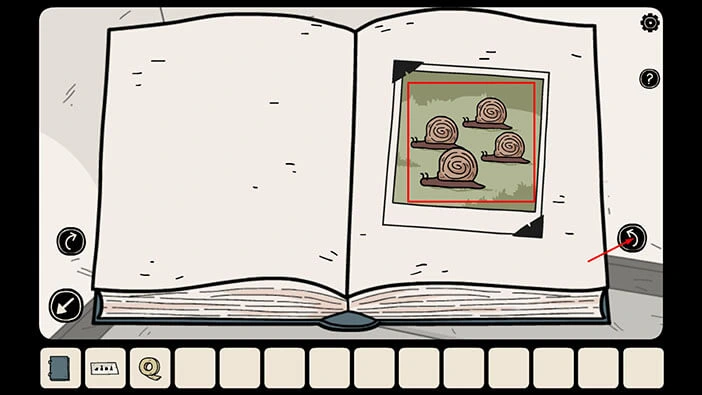
In the second picture, we can see four snails. Let’s memorize/write down this number. So,
Second number = 4
After that, tap on the arrow on the right to take a look at the next page.
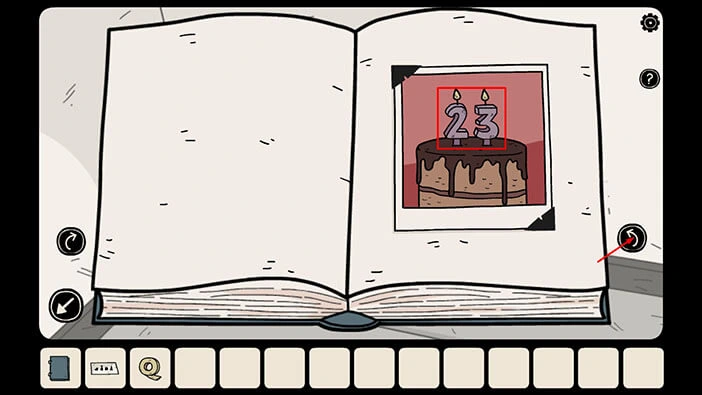
In the third picture, we can see a birthdate cake with the number 23. Let’s memorize/write down this number. So,
Third number = 23
After that, tap on the arrow on the right to take a look at the next page.
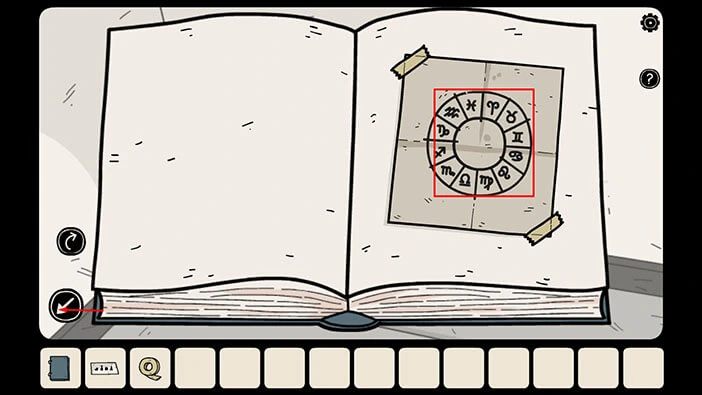
In the fourth and last picture, we can see 12 zodiac signs. Let’s memorize/write down this. So,
Fourth number = 12
After that, tap on the arrow in the lower left corner to go back.
Ok, let’s use the information that we discovered. Tap on the calendar next to the door to take a closer look at it.
The numbers that we previously discovered were 10, 4, 23, 12. If you look at the calendar, you will notice a different symbol below each of these numbers. So, we should memorize/write down the symbols below each number (and the order of the symbols) because we will need this information for the next puzzle. The order of the numbers was
First number = 10
Second number = 4
Third number = 23
Fourth number = 12
Once you’re done, tap on the arrow in the lower left corner to go back.
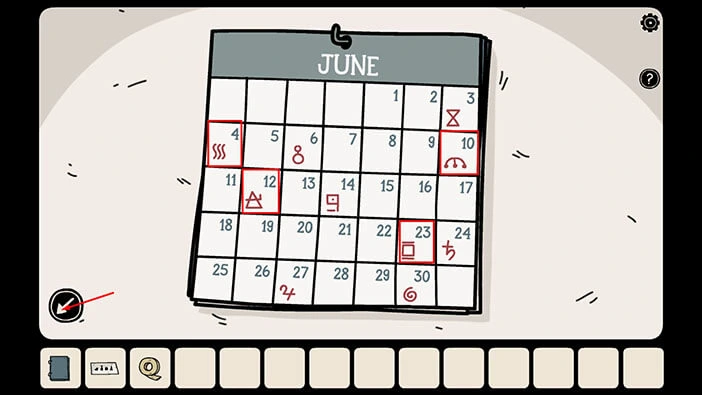
Ok, we will use these symbols to unlock the cabinet located on the first floor. So, let’s tap on the stairs.
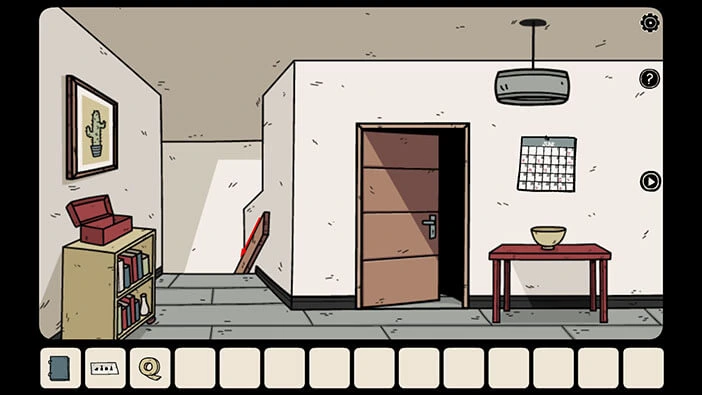
Tap on the space between the two rooms to proceed to the next room.
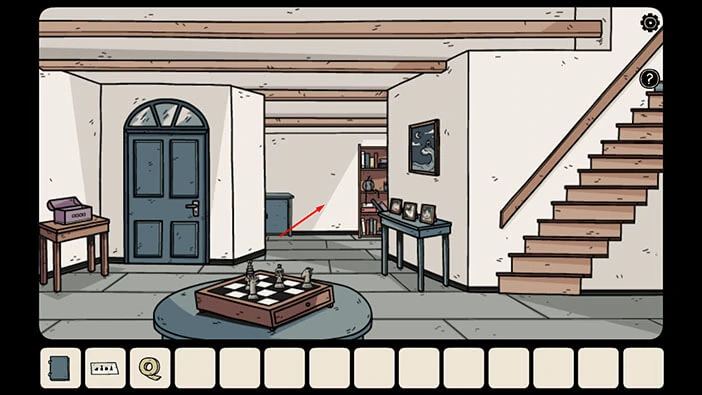
As soon as you enter this room, our character will hear footsteps, again. We will deal with this mystery a bit later. For now, tap on the white cabinet on the left to take a closer look at it, and tap again to start the interaction.
Let’s enter the symbols that we discovered by solving the “calendar” puzzle.
The first symbol is the symbol that was under the number 10.
The second symbol is the symbol that was under the number 4.
The third symbol is the symbol that was under the number 23.
The fourth symbol is the symbol that was under the number 12.
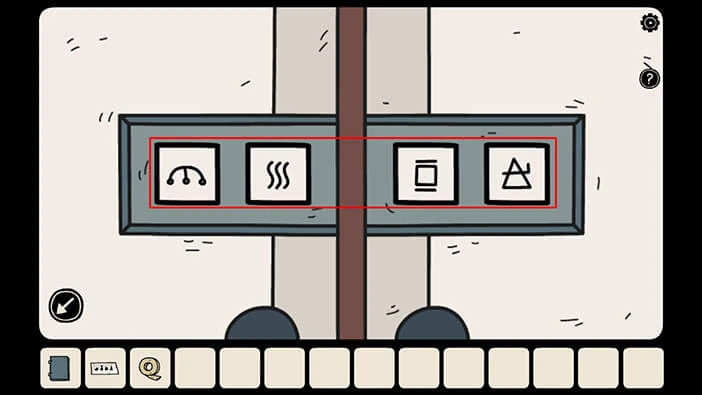
As soon as you enter the correct symbols you will hear the clicking sound, indicating that the cabinet is now unlocked. Tap on both cabinet doors to open them and inside you will find a “Wrench” and a “Small figurine”. Tap on these items to pick them up.
After that, tap on the arrow in the lower left corner to go back.
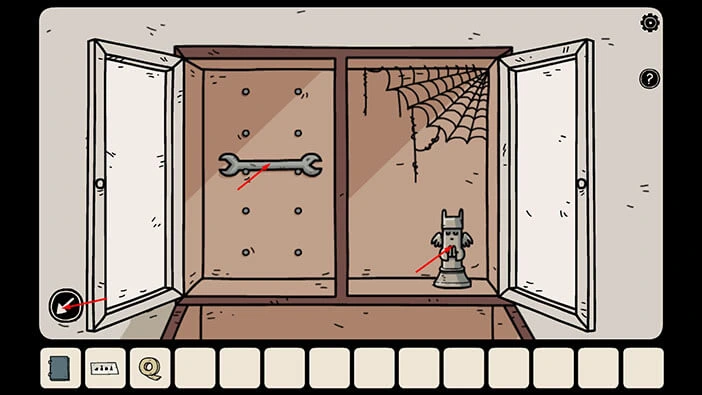
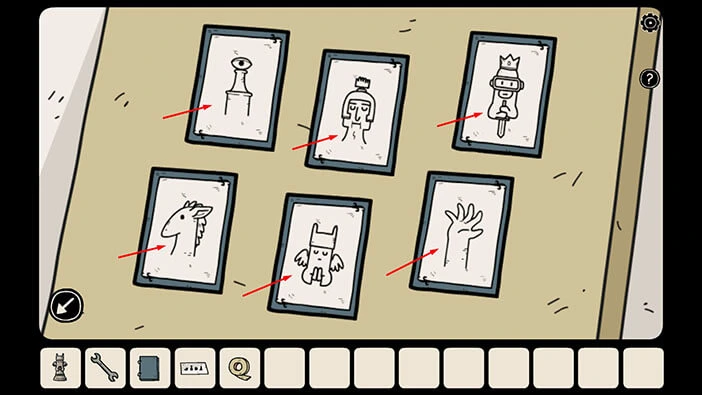
Next, let’s tap on the yellow board on the left to take a closer look at it.
Here, we can see six pictures and there is one figurine on each picture. Let’s memorize/write down the figurines in the pictures.
First picture (left to right) = “Eye” figurine
Second picture = “Woman” figurine
Third picture = “King/diver” figurine
Fourth picture = “Horse” figurine
Fifth picture = “Angel” figurine
Sixth picture = “Arm” figurine
Once you’re done, tap on each picture to look at its backside.
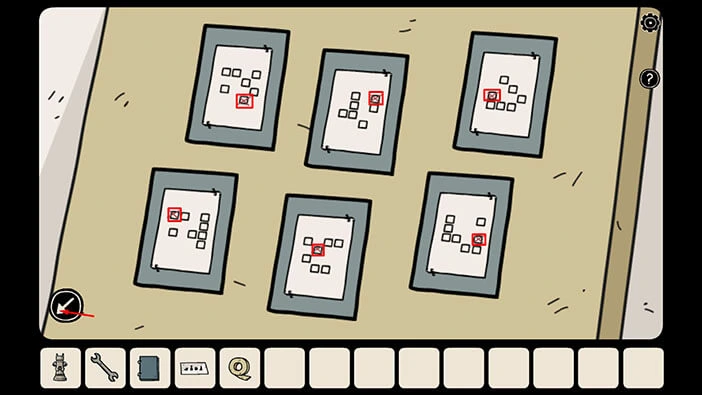
If you take a look at the squares on the back of the picture, we can conclude that they are arranged in four by four grid. You will also notice that one square on each grid is marked with the red “X”. Our next task is to memorize/write down the position of the marked square for each figurine because we will need this information for the next puzzle. Let’s do that.
“Eye” figurine = Third square in the fourth row
“Woman” figurine = Fourth square in the first row
“King/diver” figurine = First square in the third row
“Horse” figurine = First square in the first row
“Angel” figurine = Second square in the second row
“Arm” figurine = Fourth square in the third row
Once you’re done, tap on the arrow in the lower left corner to go back.
Let’s go back to the previous room. Tap on the arrow in the lower left corner.
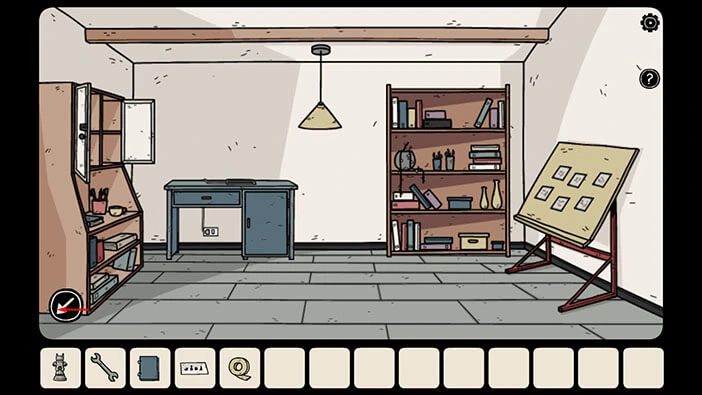
Tap on the chessboard to take a closer look at it. There are 5 figurines on the chessboard, and there should be six of them. So, select the “Small figurine” from the inventory and place it on the chessboard. Let’s place it on the second square in the fourth row.
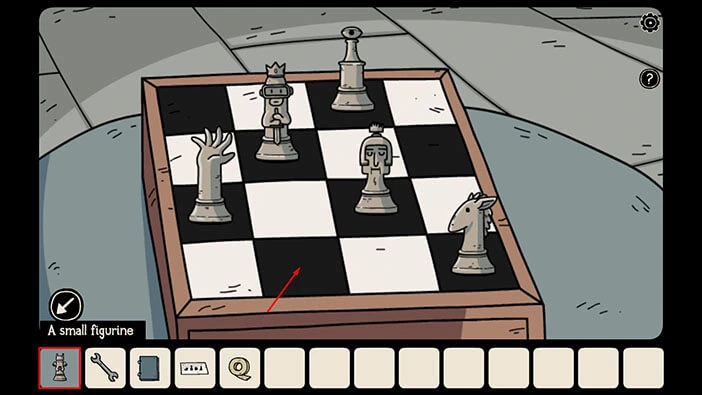
You will probably notice that the figurines on the chessboard are the same as the figurines that we saw in the pictures. Our next task is to place the figurines on the chessboard into the positions that we saw in the pictures. We will do this in several steps. Let’s begin.
Step 1
In the pictures, the “Eye” figurine was in the third square in the fourth row. So, select the “Eye” figurine (currently located on the third square in the first row) and place it on the third square in the fourth row.
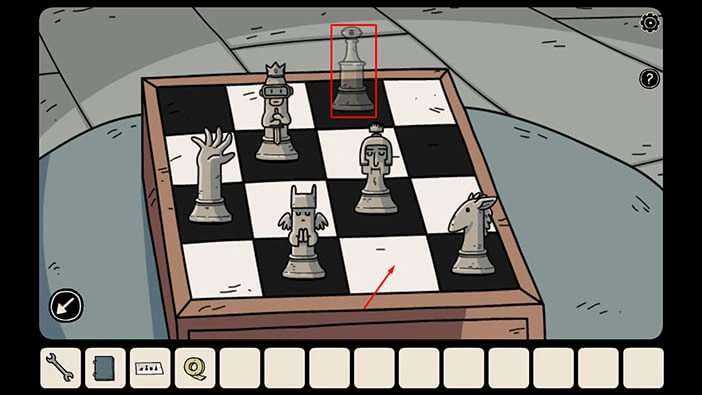
Step 2
In the pictures, the “Woman” figurine was in the fourth square in the first row. So, select the “Woman” figurine (currently located on the third square in the third row) and place it on the fourth square in the first row.
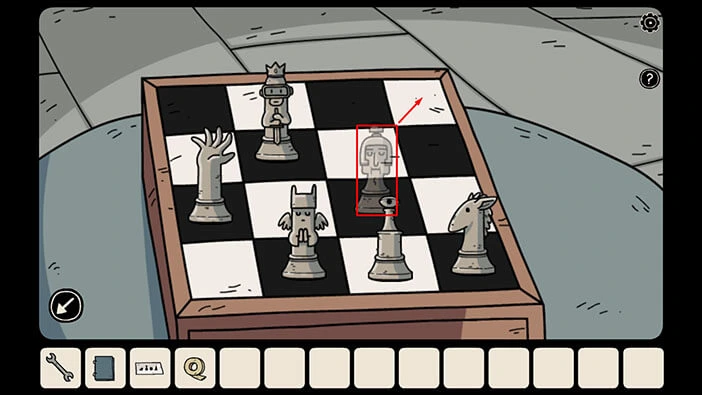
Step 3
The “King/diver” figurine should be placed on the first square in the third row, but the “Arm” figurine is currently in this position. So, let’s set the “Arm” figurine first.
In the pictures, the “Arm” figurine was in the fourth square in the third row. So, select the “Arm” figurine and place it on the fourth square in the third row.
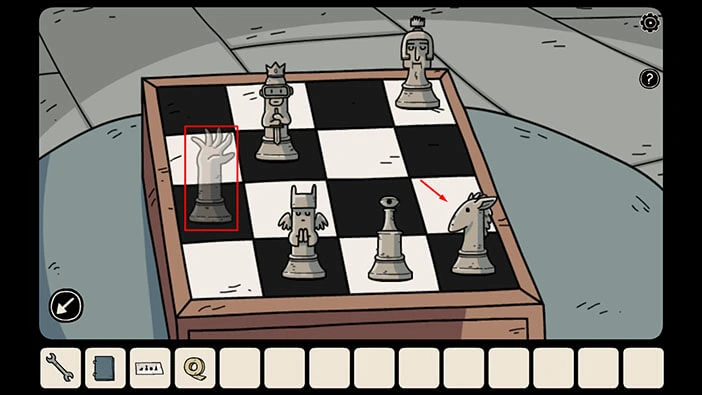
Step 4
Ok, we can now set the “King/diver” figurine into the correct position. So, select the “King/diver” figurine (currently located on the second square in the second row) and place it on the first square in the third row.
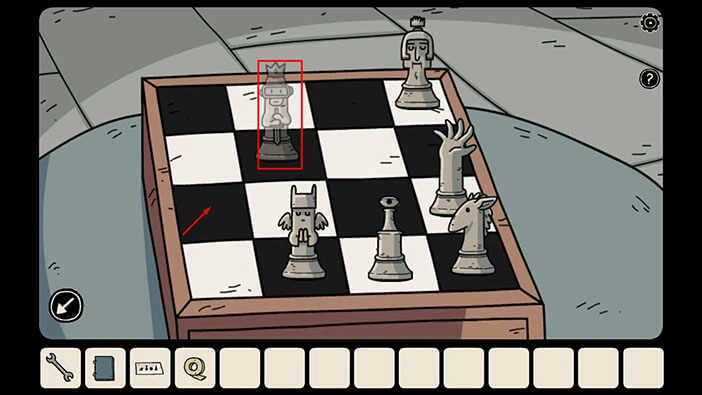
Step 5
In the pictures, the “Horse” figurine was in the first square in the first row. So, select the “Horse” figurine (currently located on the fourth square in the fourth row) and place it on the first square in the first row.
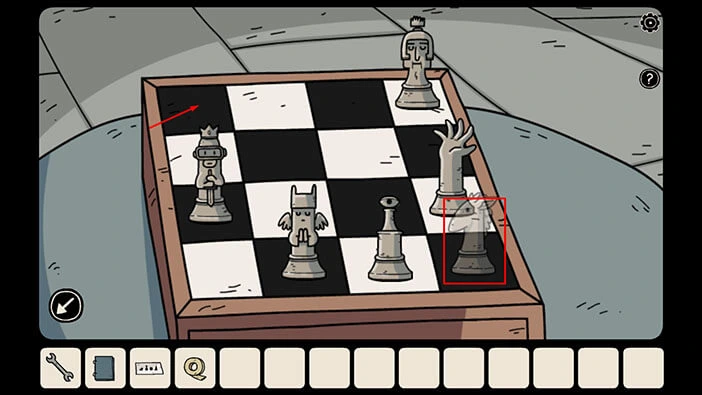
Step 6
In the pictures, the “Angel” figurine was in the second square in the second row. So, select the “Angel” figurine (currently located on the second square in the fourth row) and place it on the second square in the second row.
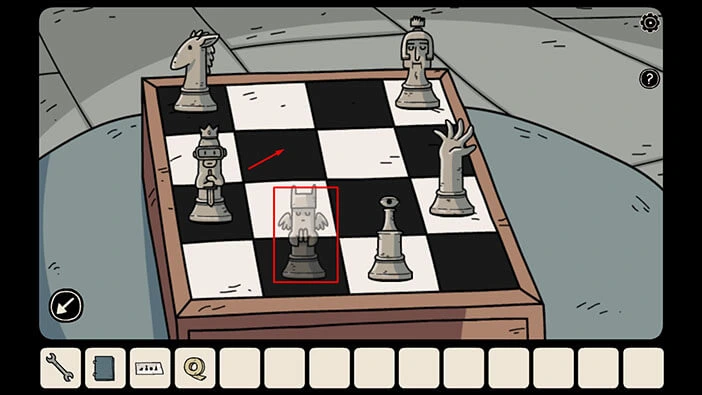
As soon as you place all six figurines into the correct positions, the secret compartment below the chessboard will open, and you will find a “Large battery”. Tap on it to pick it up.
After that, tap on the arrow in the lower left corner to go back.
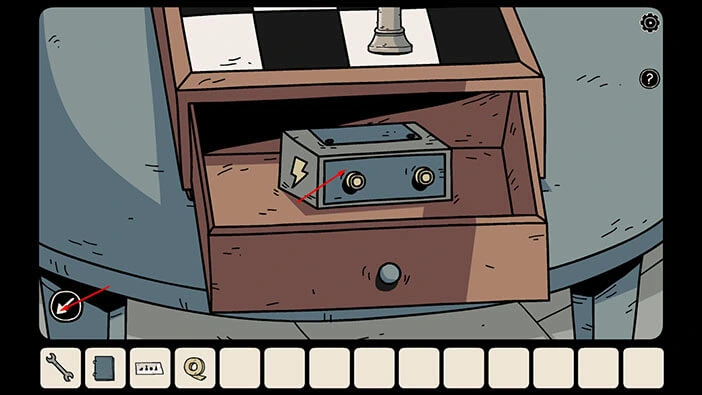
We should now go back to the second floor, and power up the X-ray machine with the “Large battery”. So, let’s do that. Tap on the stairs.
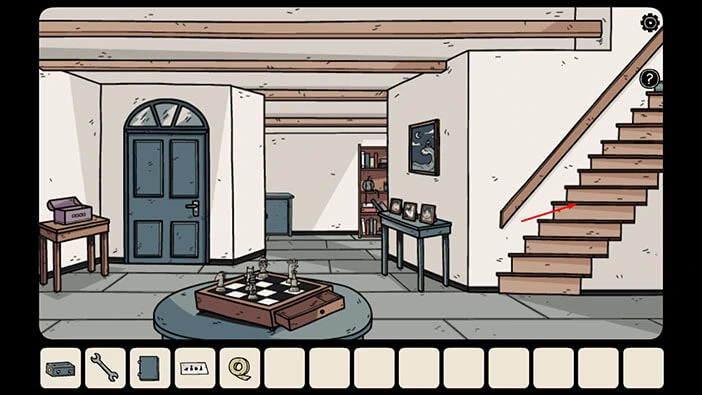
We are now in the first room on the second floor. From there, we should go to the next room on the right. After that, we should go to through the red door on the right.
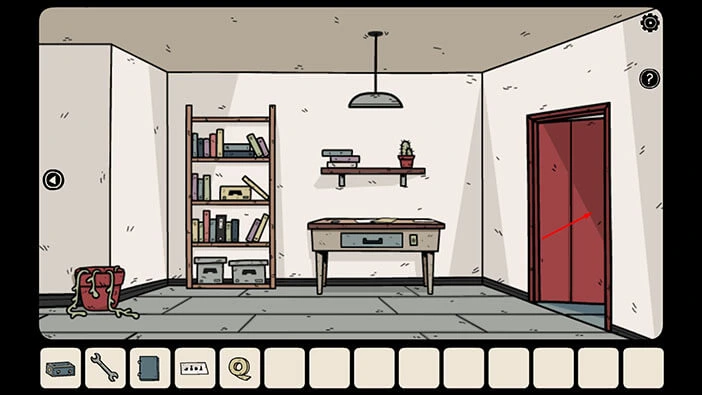
From this room, we should go to the next room on the right.
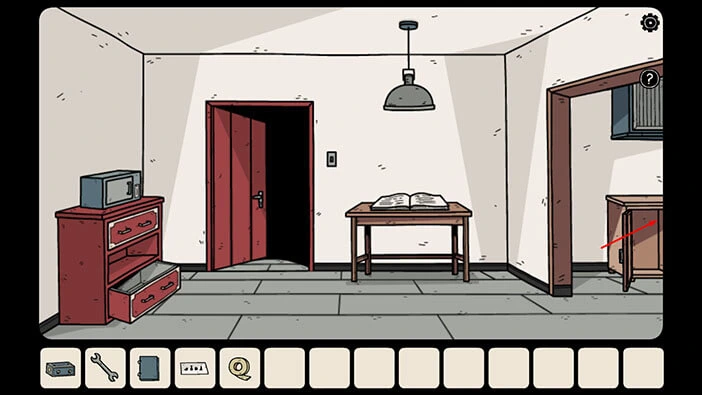
Tap on the X-ray machine to take a closer look at it. After that, tap on the lower part of the machine (below the screen) to start the interaction.
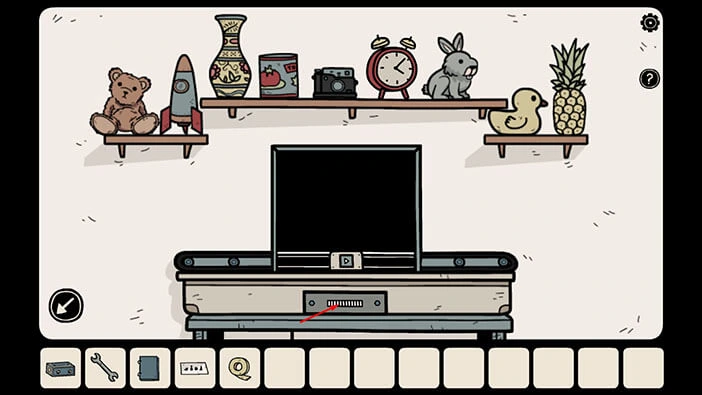
Before we can connect the battery to the machine, we must first remove the front part of the machine. Let’s do that. Select the “Wrench” from the inventory and use it to remove the two screws.
After that, tap on the cover to remove it.
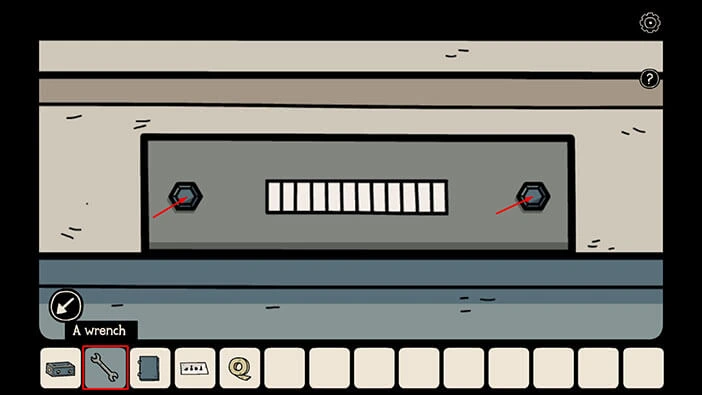
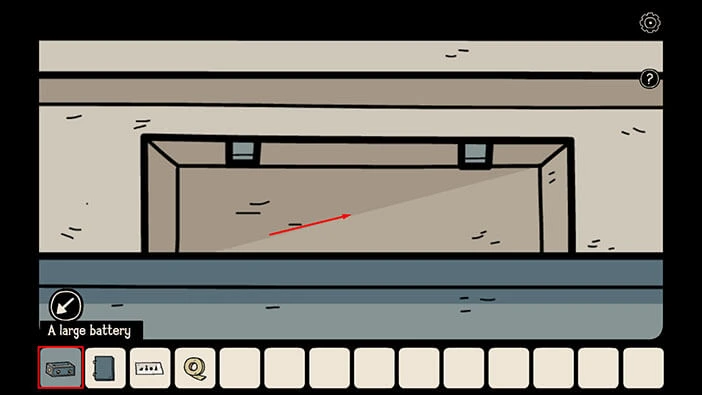
Next, select the “Large battery” from the inventory and insert it into the empty slot. Our character will automatically reattach the cover on the machine.
After that, tap on the arrow in the lower left corner to go back.
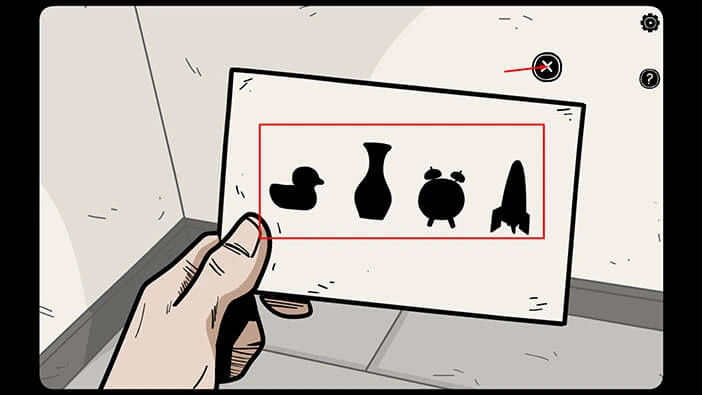
Tap on the “Note with pictures” in your inventory to examine it.
Here, we can see four items, a “Duck”, a “Vase”, a “Clock”, and a “Rocket”. Memorize/write down the order of these items.
Once you’re done, tap on the “X” button to put down the note.
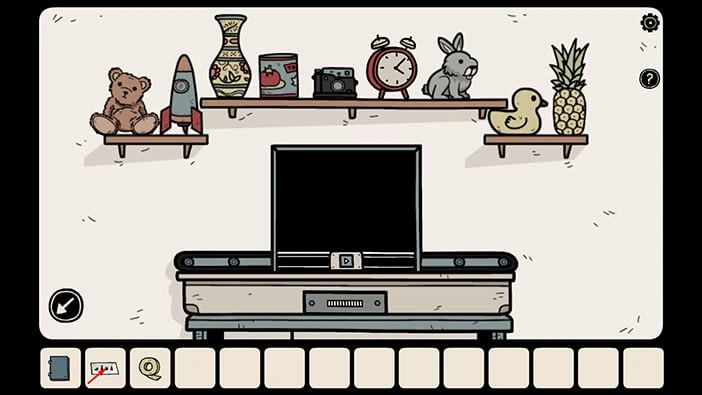
If you take a look at the shelves above the display screen, you will notice all four items that we saw on the note.
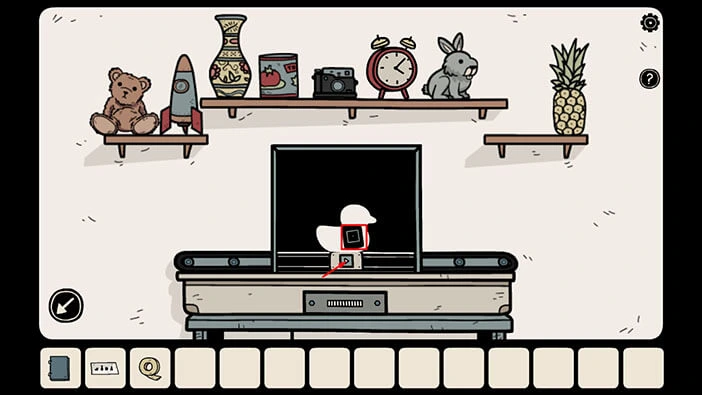
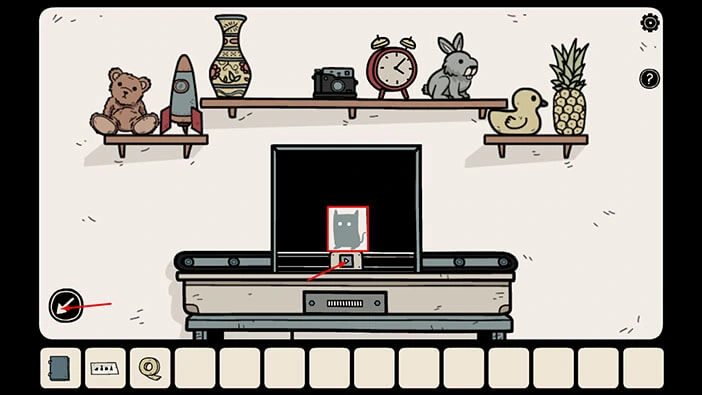
So, let’s tap on the “Duck” (first item), and our character will place it to the left of the display screen. After that, tap on the “Play” button, located at the bottom of the display screen.
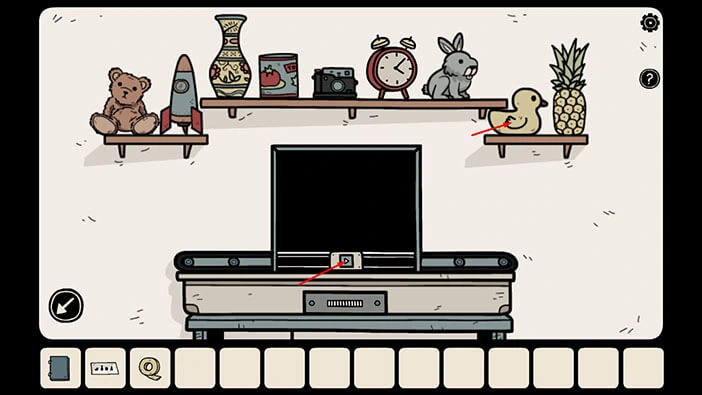
Well, under the X-ray, some symbol (square) will appear on the duck. Memorize/write down this symbol. After that, tap on the “Play” button again – the duck will slide to the right, and then our character will return it to its original position on the shelf.
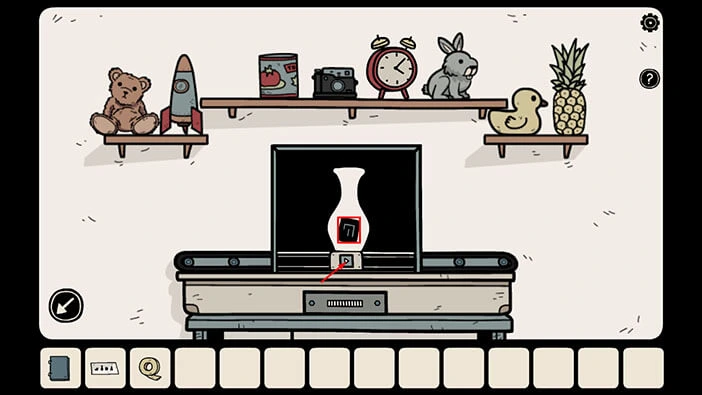
Next, let’s tap on the “Vase” (second item), and our character will place it to the left of the display screen. After that, tap on the “Play” button, located at the bottom of the display screen.
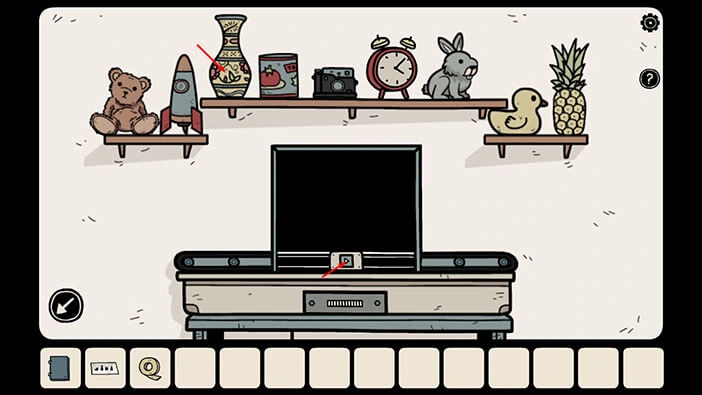
Under the X-ray, a symbol will appear on the vase. Memorize/write down this symbol. After that, tap on the “Play” button again – the vase will slide to the right, and then our character will return it to its original position on the shelf.
Next, let’s tap on the “Clock” (third item), and our character will place it to the left of the display screen. After that, tap on the “Play” button, located at the bottom of the display screen.
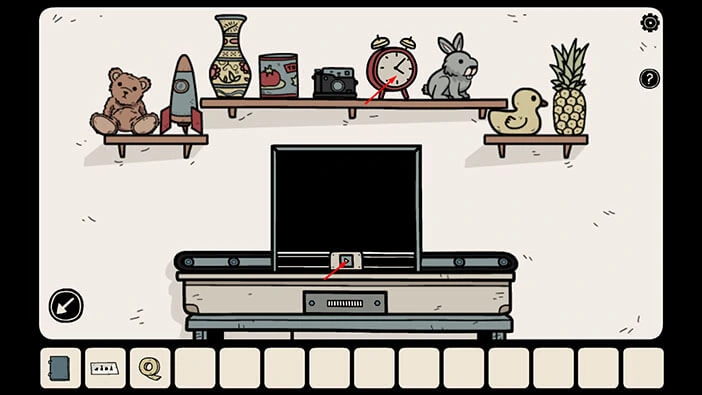
Under the X-ray, a symbol will appear on the clock. Memorize/write down this symbol. After that, tap on the “Play” button again – the clock will slide to the right, and then our character will return it to its original position on the shelf.
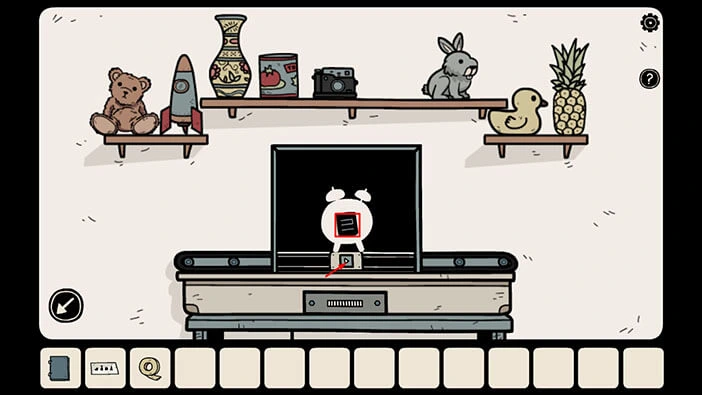
Next, let’s tap on the “Rocket” (fourth item), and our character will place it to the left of the display screen. After that, tap on the “Play” button, located at the bottom of the display screen.
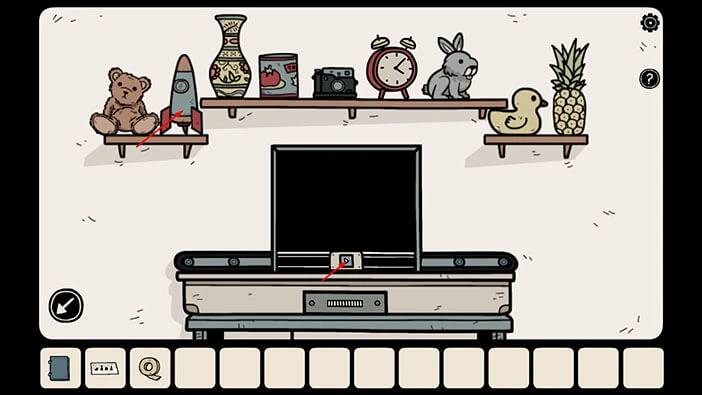
Under the X-ray, a symbol will appear on the rocket. Memorize/write down this symbol. After that, tap on the “Play” button again – the rocket will slide to the right, and then our character will return it to its original position on the shelf.
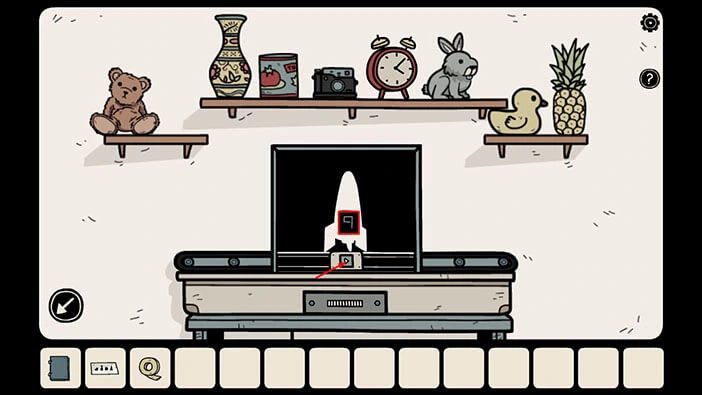
We checked all four items but, before we proceed, let’s tap on the “Canned Tomato” on the shelf to place it to the left side of the screen. After that, tap on the “Play” button to look at the can under X-ray.
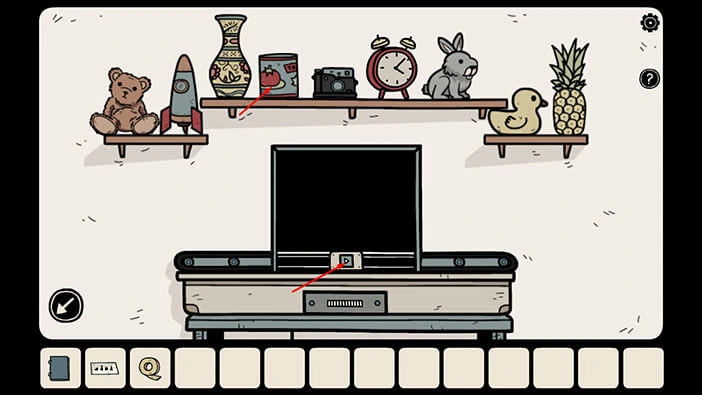
Under the X-ray, we will discover the second “Shadow hamster” hidden in the can. So, now we found two out of ten shadow hamsters. Tap on the “Play” button, located at the bottom of the display screen.
After that, tap on the arrow in the lower left corner to go back.
We have discovered the four symbols, so let’s use them to unlock the wall cabinet in this room. Tap on the wall cabinet in the top left corner to take a closer look at it.
Enter the four symbols that we discovered by using the X-ray machine.
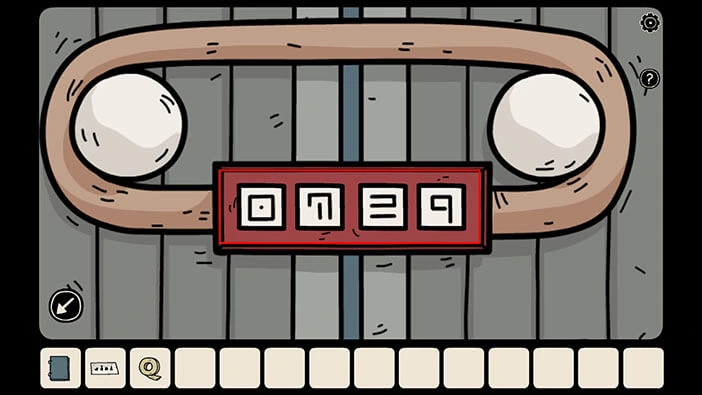
As soon as you enter the correct combination of symbols, you will hear the clicking sound, and the lock on the cabinet will disappear. So, let’s tap on both cabinet doors to open them.
In the cabinet, you will find a “Sandpaper” and a “Bag of flour”. Tap on these items to pick them. After that, tap on the arrow in the lower left corner to go back.
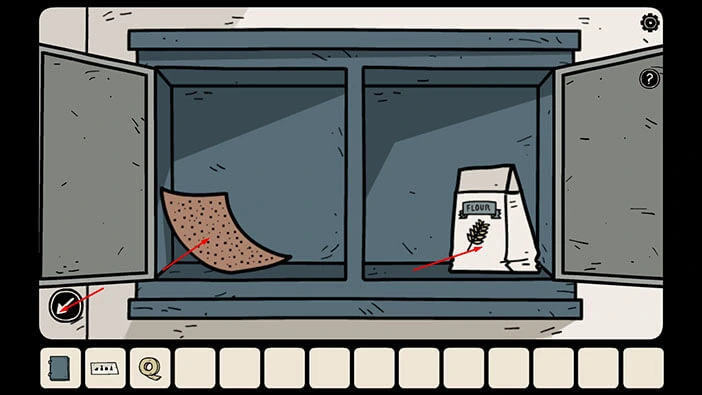
We can now use the “Bag of flour” to try to discover the footsteps that we previously heard on the floor below. Let’s do that.
Tap on the doorway on the left to go back to the previous room.
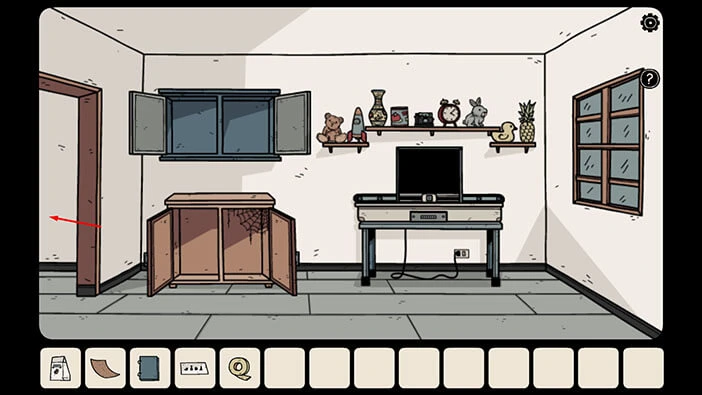
Next, tap on the red door to go to the next room.
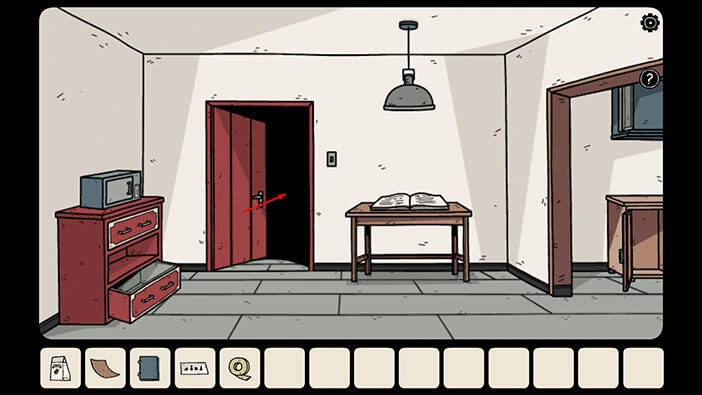
Tap on the arrow on the left to go to the first room on the second floor. After that, tap on the stairs to go back to the first floor.
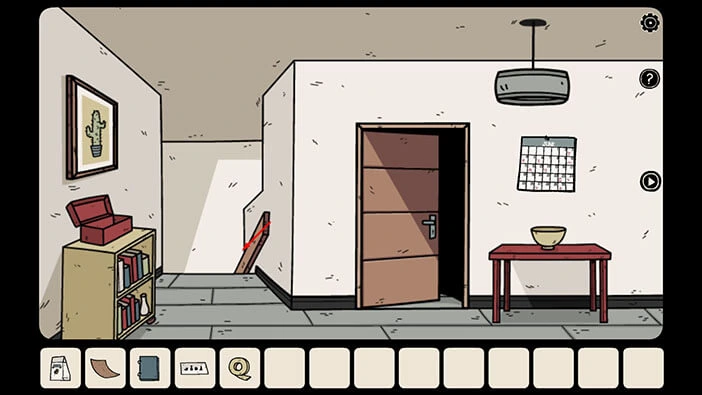
Tap on the empty space between the two walls to proceed to the next room.
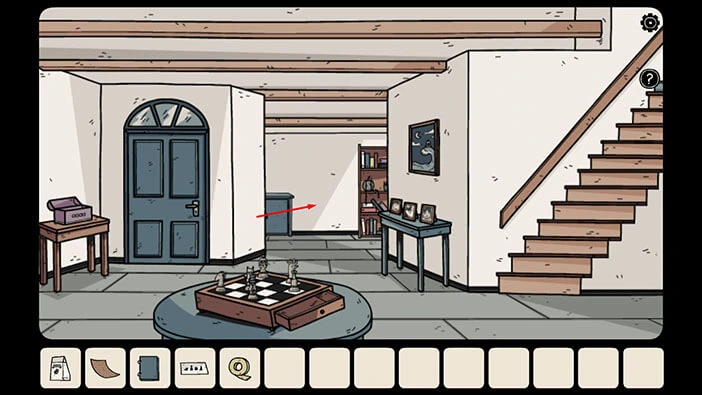
As soon as our character entered this room, he heard footsteps again. Let’s try to discover the footsteps. Select the “Bag of flour” from the inventory, then tap on the ground in front of you.
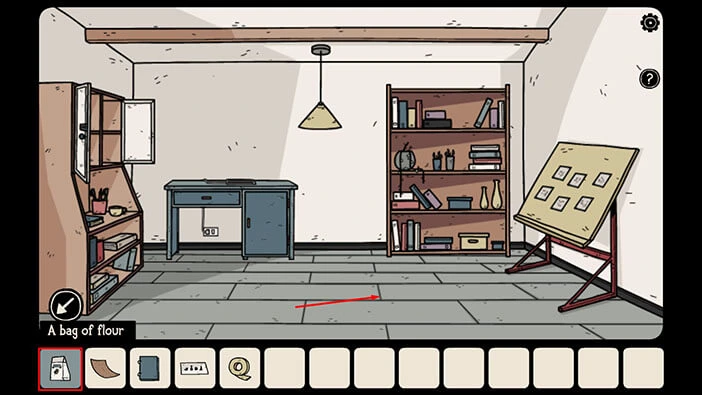
As soon as you do that, you will trigger a short cutscene. Our character will pour some flour on the ground, and then he will wait for footsteps to appear.
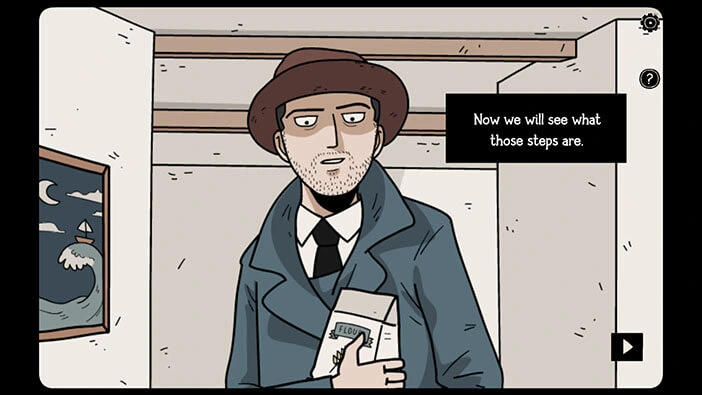
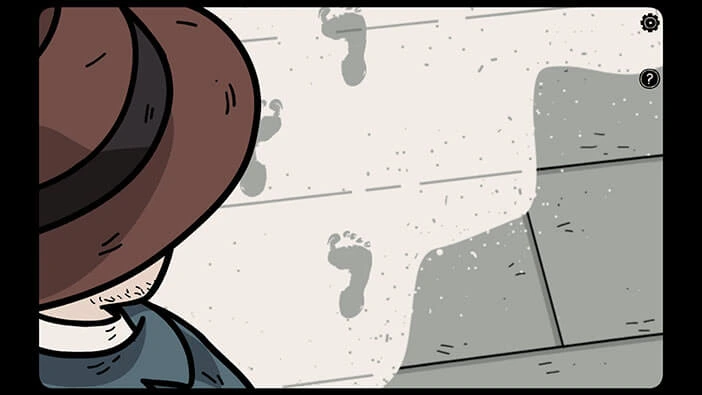
Several moments later footsteps will appear, and the trail leads behind the bookcase.
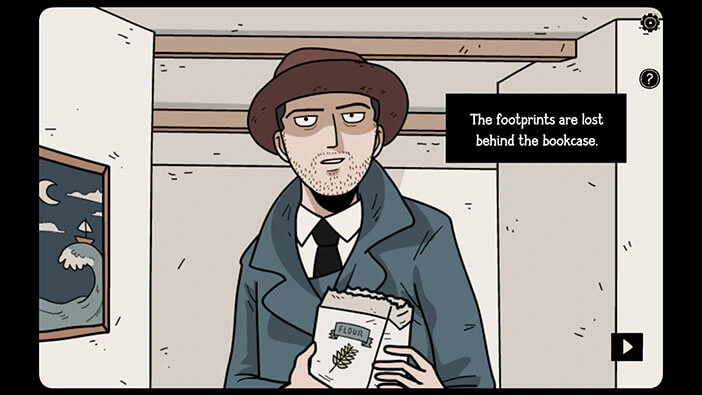
Our character will push the bookcase to the side, revealing a hidden passage behind it.
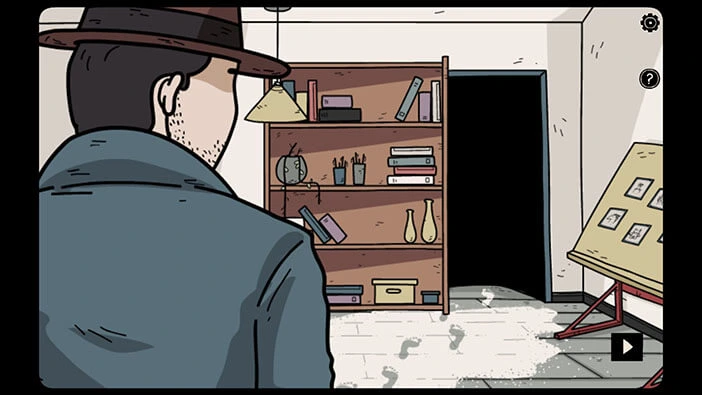
Tap on the hidden passage to proceed to the “secret room”.
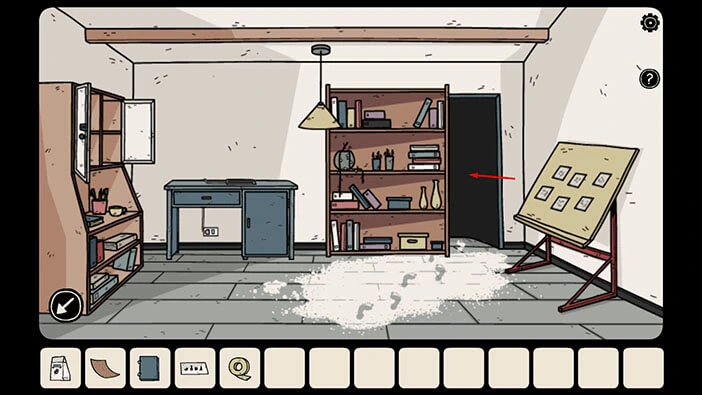
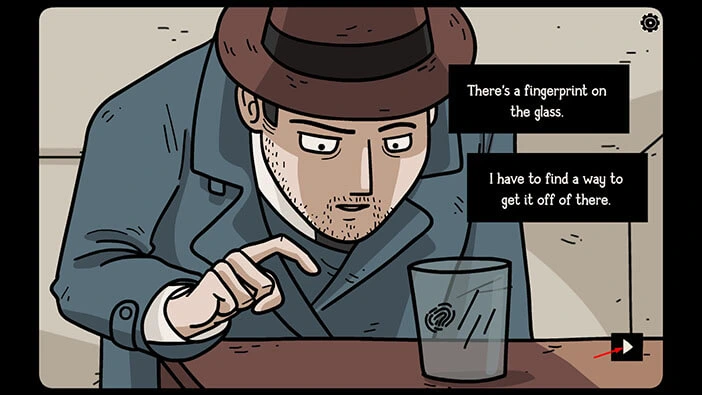
Let’s explore this room. Tap on the glass located on the table on the right and our character will notice a fingerprint on the glass. Now, we have to find a way to get this fingerprint.
Next, tap on the lines on the wall (above the vacuum cleaner) to take a closer look at them.
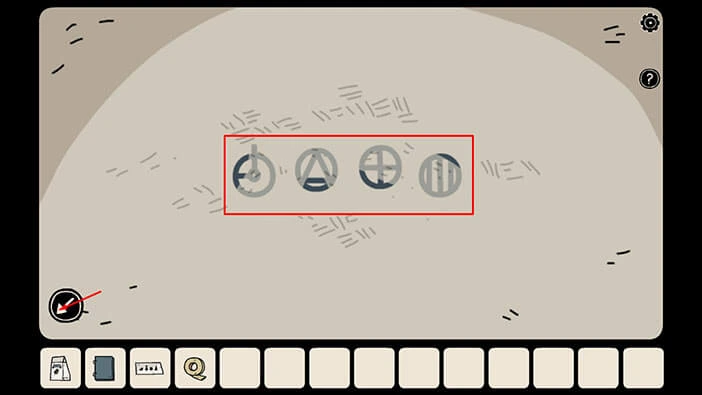
Here, you will see parts of the several symbols, and our task is to discover these symbols. Let’s do that.
Select the “Sandpaper” from the inventory and use it on the parts of the symbols.
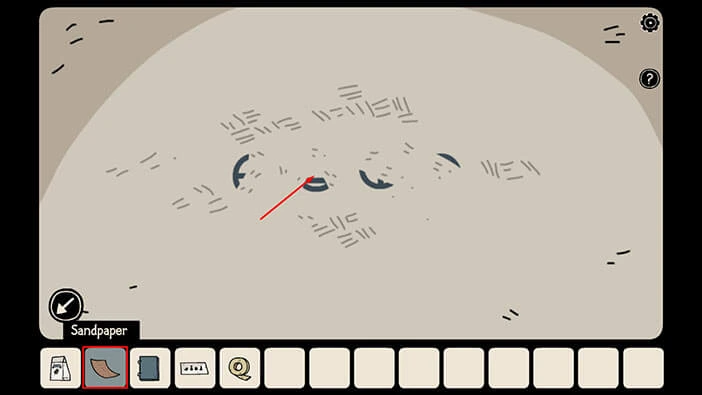
We used the “Sandpaper” to remove a thin layer of the wall, and we can now clearly see all four symbols. Memorize/write down these symbols because they represent the solution for the next puzzle.
Once you’re done, tap on the arrow in the lower left corner to go back.
Next, tap on the bottom part of the blue cabinet on the left to take a closer look at it, and tap again to start the interaction.
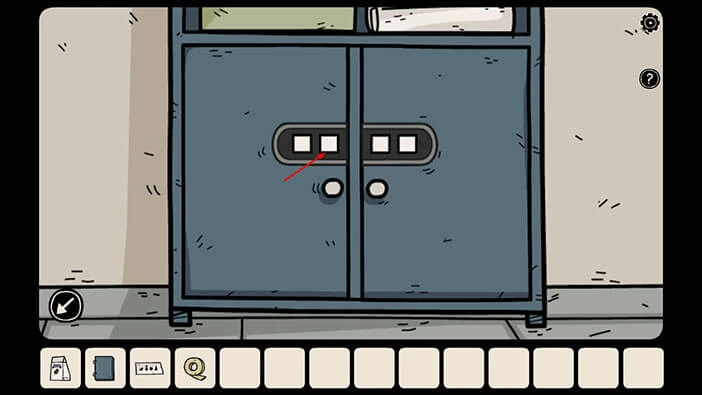
Enter the four symbols that we discovered on the wall.
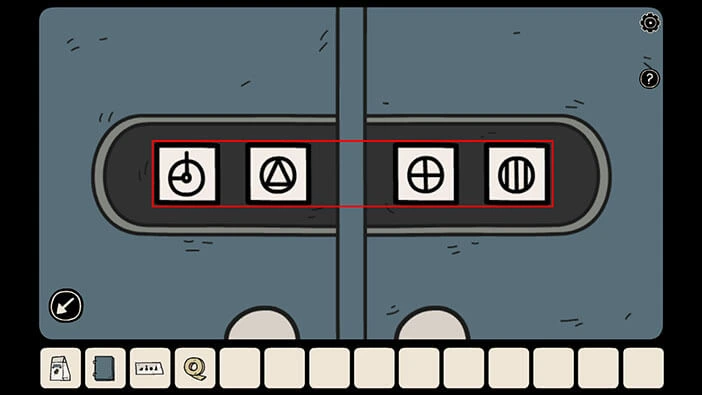
As soon as you enter the correct symbols, you will hear the clicking sound indicating that the cabinet is now unlocked. Tap on both cabinet doors to open them.
In the cabinet, you will find a “Paintbrush” and a “Blade cutter”. Tap on these two items to pick them (tap on the largest paintbrush).
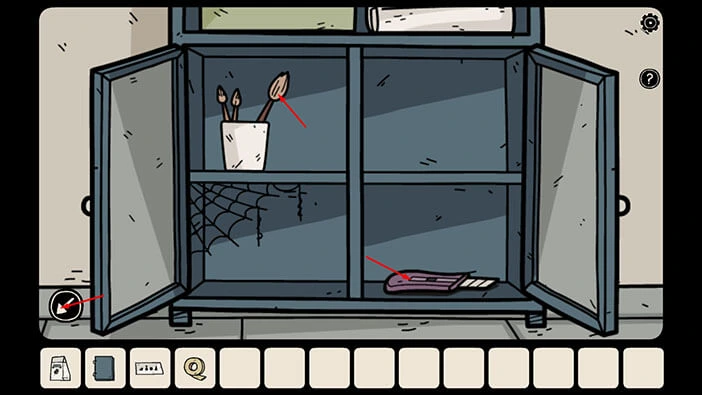
We can use the paintbrush and scotch tape to get the fingerprint. However, first, we have to dip the paintbrush into the flour. Let’s do that.
Select the “Paintbrush” in your inventory and then tap on the “Bag of flour”. A “Paintbrush with flour on it” will be added to your inventory.
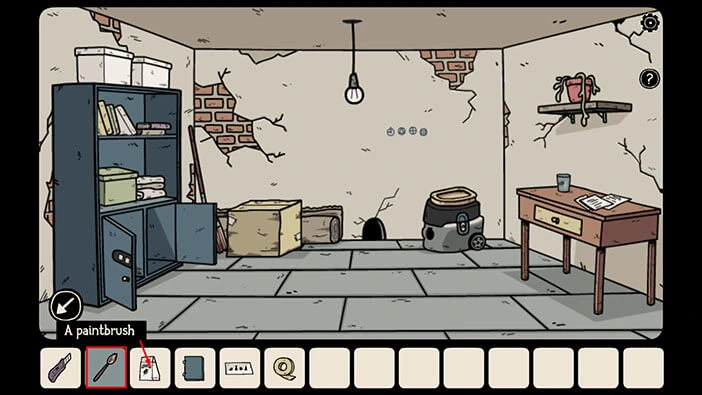
Tap on the glass on the table on the right. Select the “Paintbrush with flour on it” and tap on the glass to start the interaction.
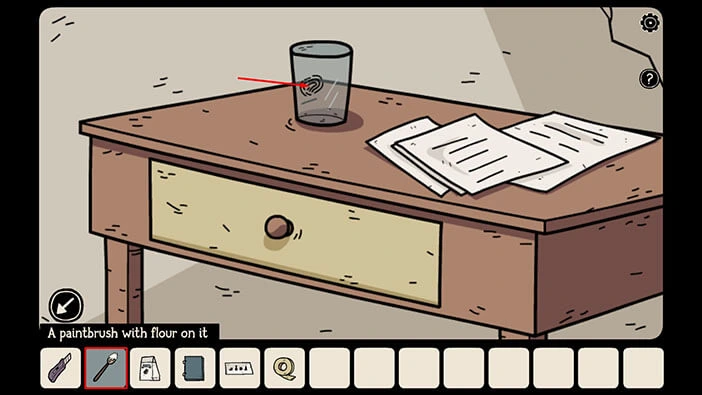
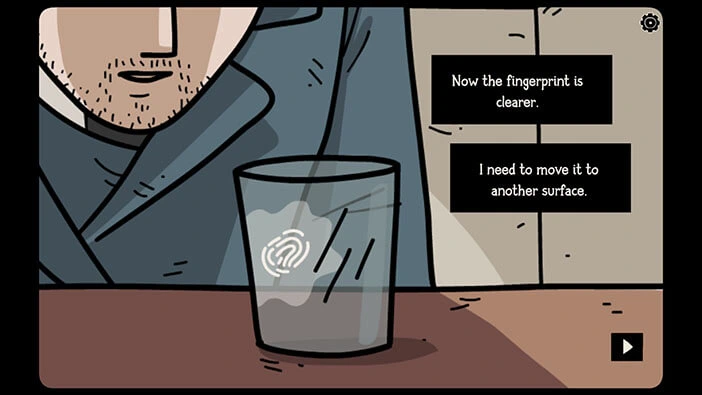
After applying some flour to the glass, the fingerprint is now clearly visible. We just have to move it to some other object, and we can use the scotch tape for that purpose.
Let’s tap again on the glass. Select the “Scotch tape” from the inventory and tap on the glass.
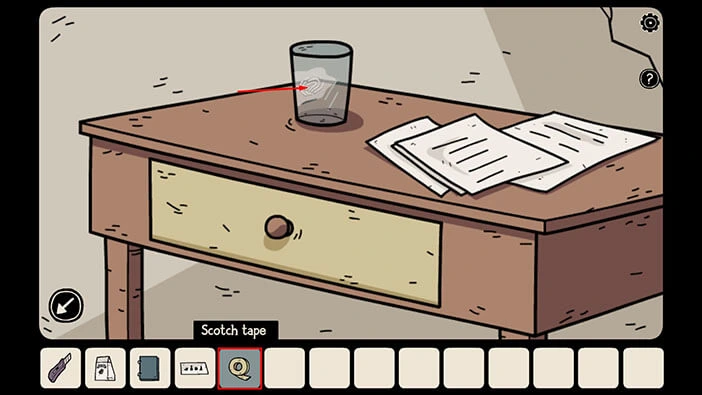
Our character will use the “Scotch tape” to “copy” the fingerprint from the glass.
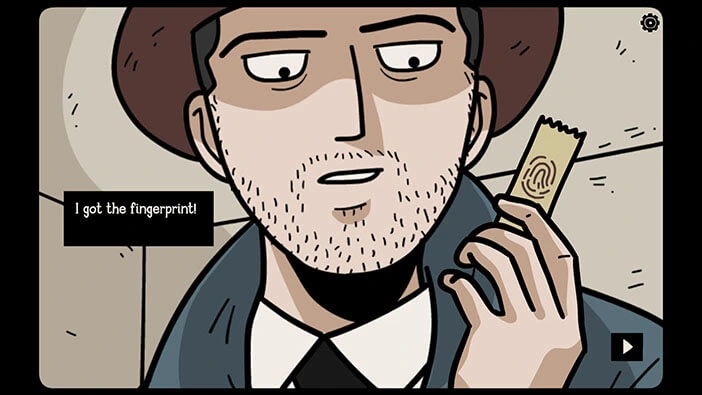
Ok, we now have the fingerprint. We can use this fingerprint to unlock the drawer on the table located in the second room upstairs. So, let’s go to this room.
Tap twice on the arrow in the lower left corner to go back to the first room.
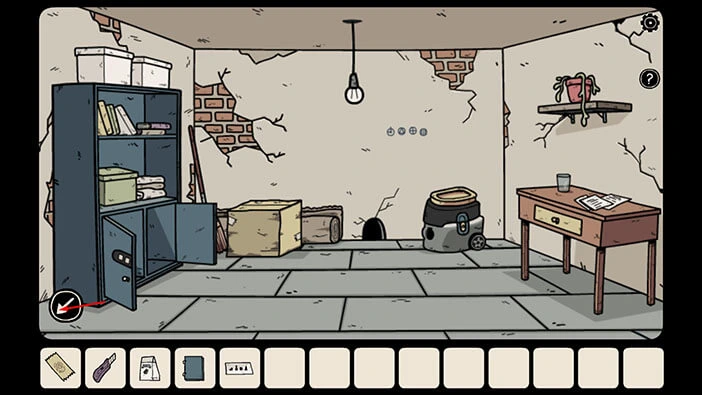
Next, tap on the staircase to go to the second floor.
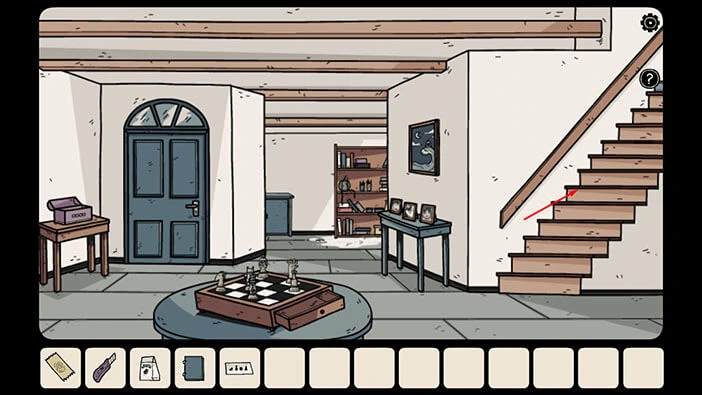
Tap on the arrow on the right to go to the next room.
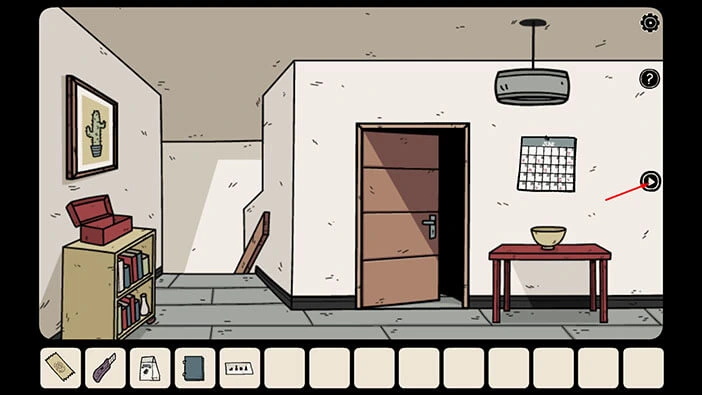
Ok, we reached our destination. Tap on the table to take a closer look at it.
On the right side of the table, we can see a display screen for a fingerprint. So, select the “Piece of scotch tap with a fingerprint on it” from the inventory then tap on the display screen.
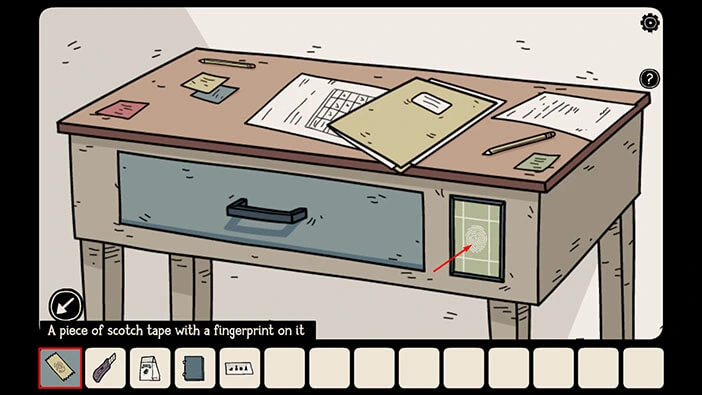
As soon you place the fingerprint on the display screen you will hear the clicking sound, indicating that the drawer is now unlocked. Tap on the drawer to open it.
In the drawer you will find a “Vacuum hose” so let’s tap on it to pick it up. After that, tap on the arrow in the lower left corner to go back.
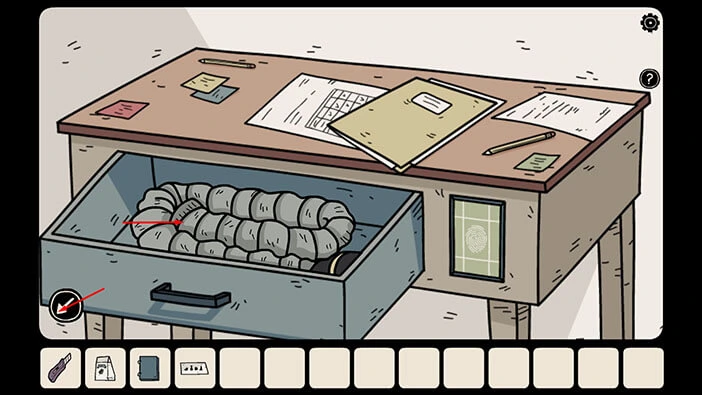
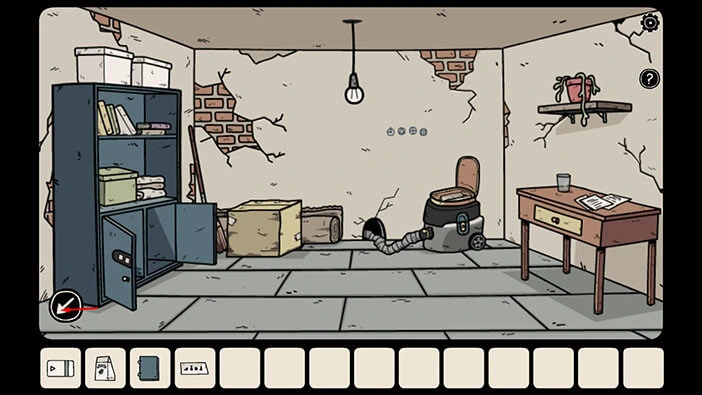
Ok, we should now go back to the secret room, and attach the “Vacuum hose” to the vacuum cleaner. Let’s do that. You probably already know how to get to the secret room, but here is the quick reminder.
Tap on the arrow on the left to go back to the first room on the second floor. After that, tap on the stairs to go back to the first floor. You will now reach the first room. Tap on the empty space between the two walls to go to the next room. Lastly, tap on the hidden passage (behind the bookcase) to go to the secret room.
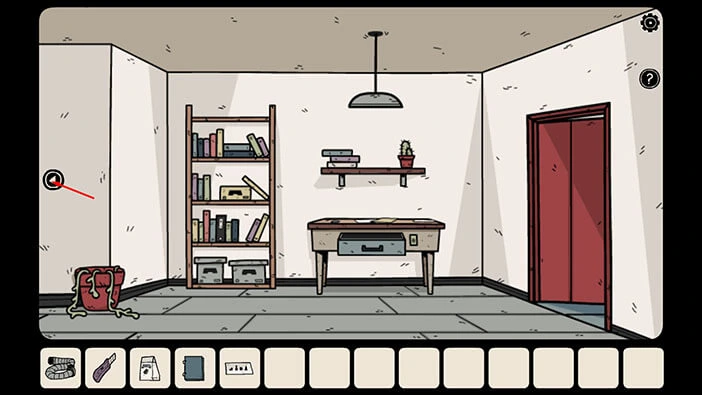
We are now in the secret room located behind the bookcase. Tap on the vacuum cleaner to take a closer look at it.
Select the “Vacuum hose” from the inventory and insert it into the empty slot on the vacuum cleaner.
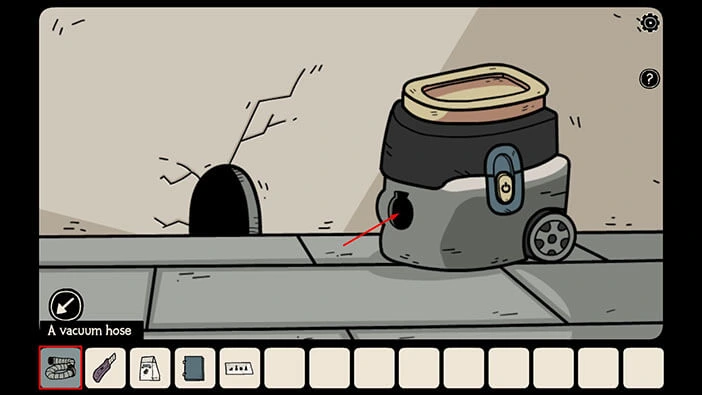
Tap on the “Vacuum hose” to insert it into the mouse hole (small hole in the wall). After that, tap on the “Power button” on the vacuum cleaner to turn it on.
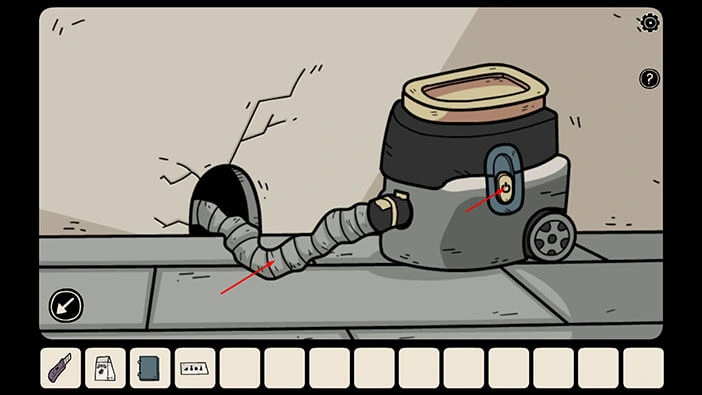
Our character thinks that there is something in the vacuum bag.
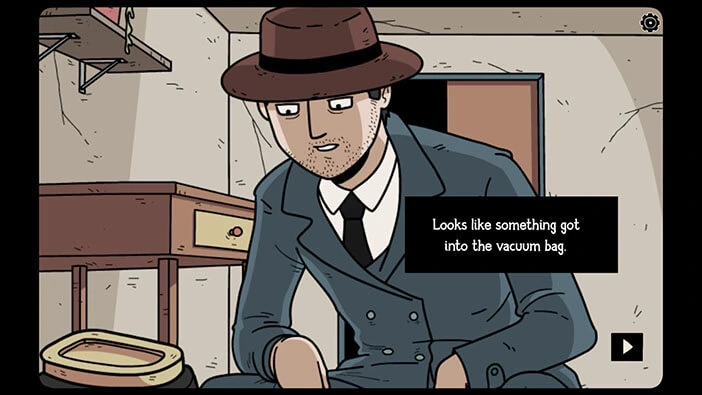
Let’s see what’s inside. Tap on the vacuum bag to take a closer look at it.
Select the “Blade cutter” from the inventory and use it to cut open the bag (I don’t know why our character couldn’t just use the zipper).
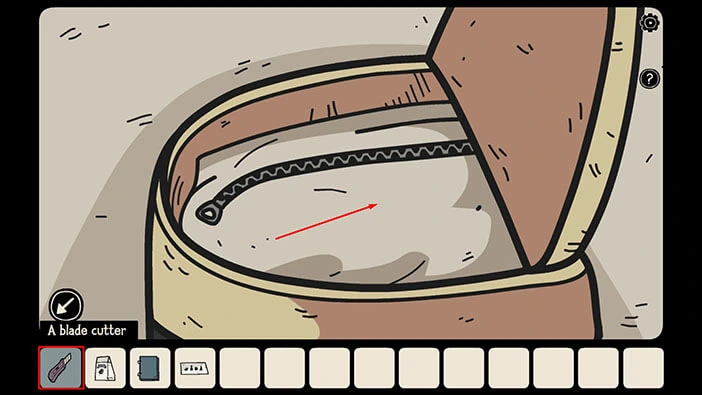
In the bag, you will find a “Magnetic card” so let’s tap on it to pick it up. After that, tap on the arrow in the lower left corner to go back.
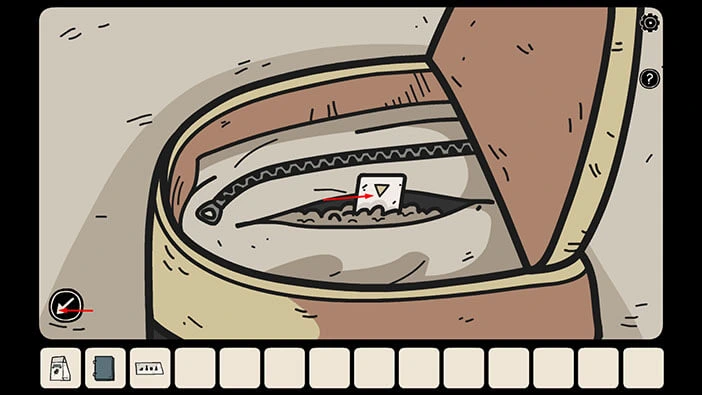
We can use the “Magnetic card” to open the safe in one of the rooms upstairs so let’s do that. To get to the second floor, tap twice on the arrow on the left to go back to the first room. After that, tap on the stairs to go to the second floor.
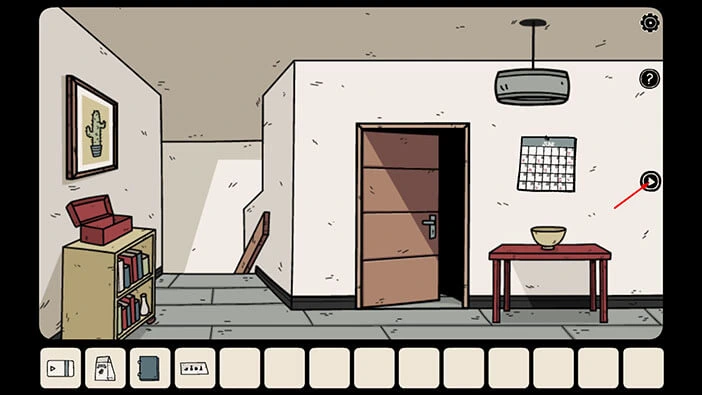
Once you get to the second floor, tap on the arrow on the right to go to the next room.
After that, tap on the red door on the right and you will reach your destination.
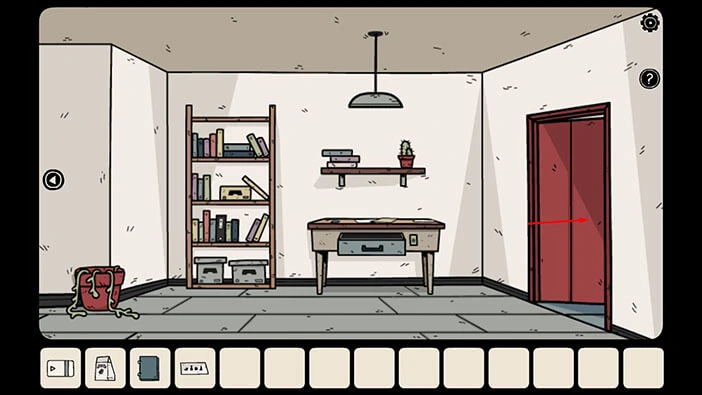
Tap on the small safe located on the red cabinet on the left to take a closer look at it.
Select the “Magnetic card” from the inventory and insert it into the slot on the left.
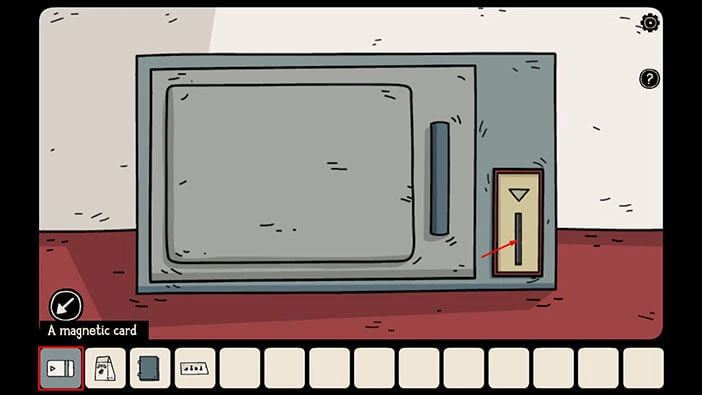
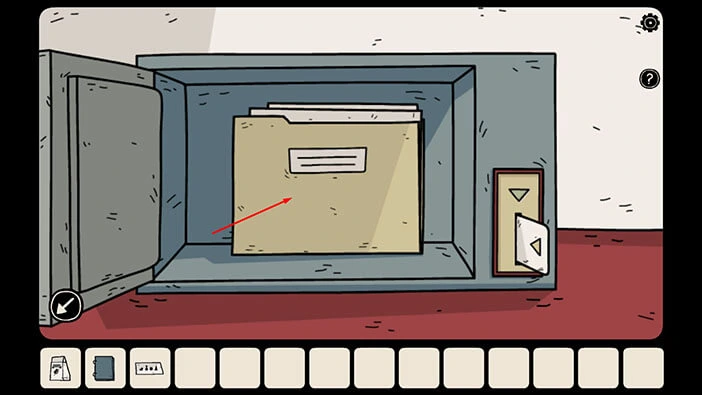
As soon as you insert the “Magnetic card” the safe door will open and inside you will find a “Folder with documents”. Tap on it to pick it up, and you will trigger a cutscene.
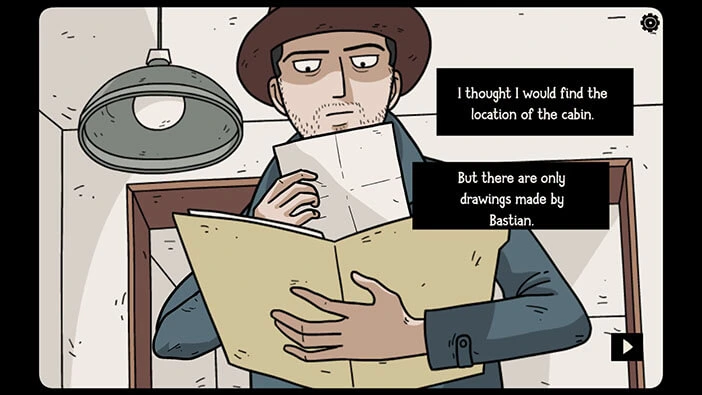
Detective Ren Larsen hoped to discover the location of the cabin by going through the files but, instead, he only found Bastian’s drawings. He also saw one paper with the word “Penumbra” written several times.
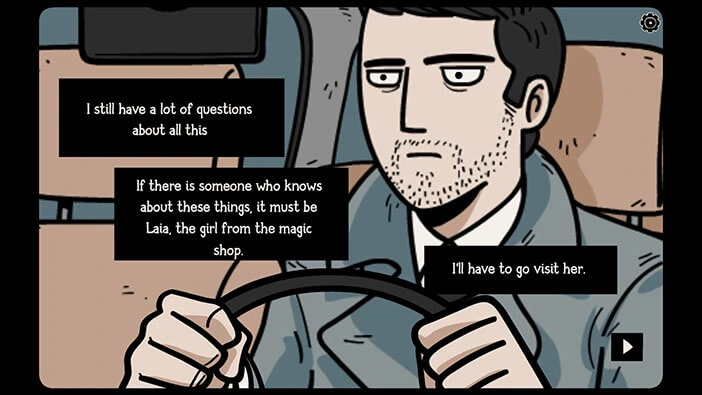
In the next scene, we can see Detective Larsen in a car. He has a lot of unanswered questions, and he thinks that Laia, who runs the magic shop, might have answers to some of his questions. So, he decided to go to her shop and ask for her help.
Upon arriving at the magic shop, Laia greeted Detective Larsen, and she seemed willing to answer his questions. So, let’s see what we can find out.
Let’s tap on the first question “What is Penumbra?”
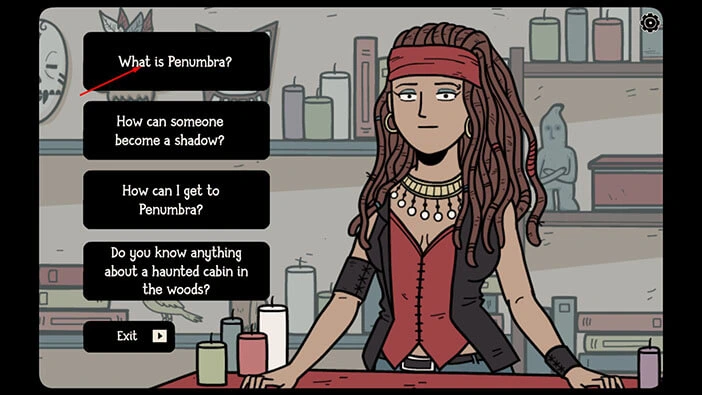
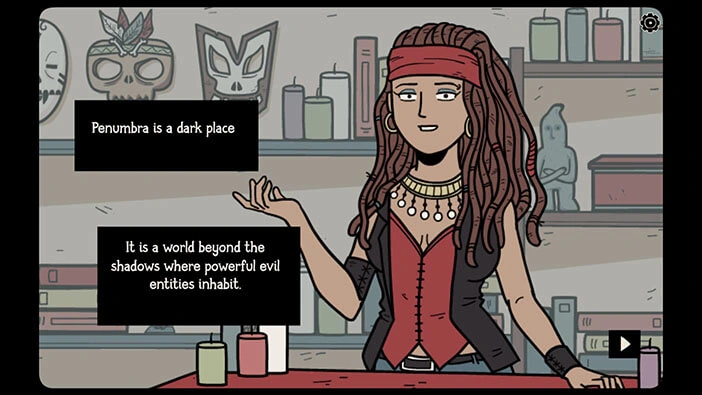
Well, she explained that Penumbra is some dark, shadowy world, and home of powerful evil beings. Well, we already know that.
Second question. “How can someone become a shadow?”
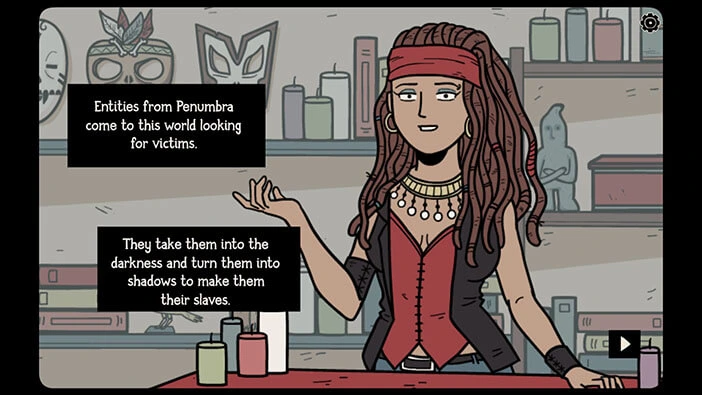
Well, we already know this too. The evil beings from Penumbra come to this world and kidnap humans. They then drag them to Penumbra and turn them into shadows. (I think we discovered this information for the first time during the “Haunted Laia” (the fifth game in the series) when we descended into the well.)
Third question. “How can I get to Penumbra?”
Well, the first sentence isn’t exactly correct, if I am not mistaken. Human beings can enter and exit Penumbra, but only the most powerful creatures from this dark world can open the portal between the two worlds.
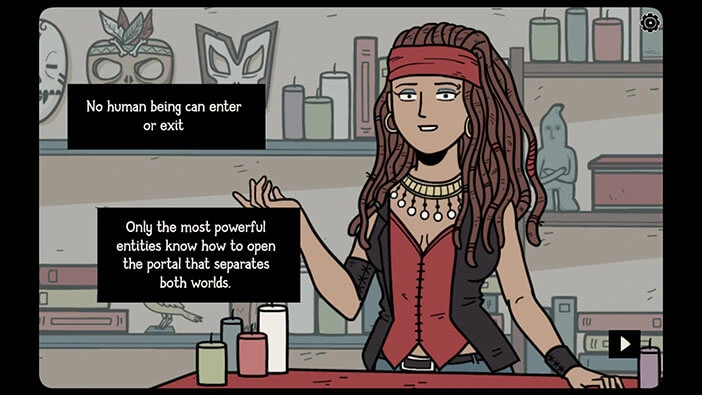
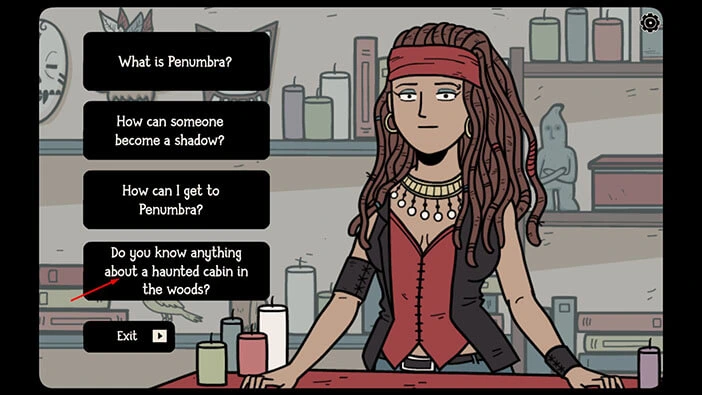
Fourth question. “Do you know anything about the haunted cabin in the woods?”
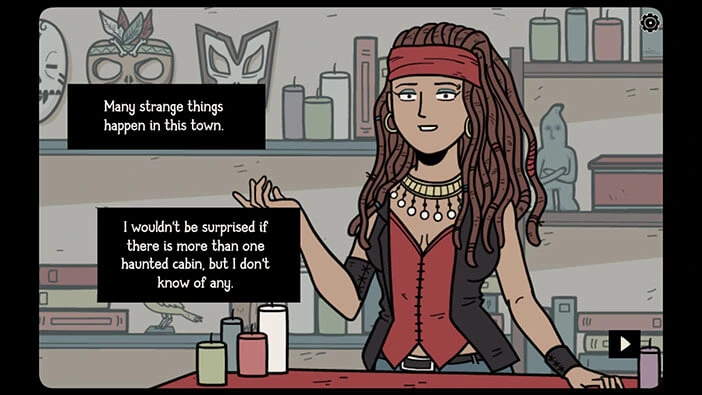
She believes that there is more than one haunted cabin, but she doesn’t know the location of any of them. Well, she is lying here about not knowing the location, but telling the truth about multiple haunted cabins. The woman in front of us is a witch disguised as Laia, and her cabin is one of those haunted places.
Well, that’s all. At least Detective Larsen now knows that evil creatures kidnap humans to turn them into shadows. But, we didn’t discover any clues that could help us with the investigation.
Let’s tap on the “Exit” button.
Detective Larsen thanked Laia for her help and decided to leave. As he was leaving he raised his hand to wave, but then the sleeve on his coat slipped down, revealing a tattoo of the open scissors on his forearm. Laia was terrified when she saw the tattoo. So, Detective Larsen should be smart enough to conclude that Laia is a witch.
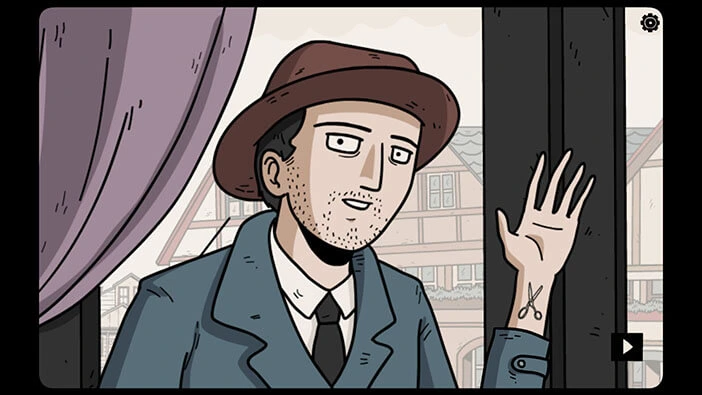
In the next scene, Detective Larsen went back to his car. He remembered the text that he saw in the book – the witches can take the bodies of other people and lock them into another dimension. They are also afraid of the open scissors. So, Laia’s reaction should trigger his suspicion.
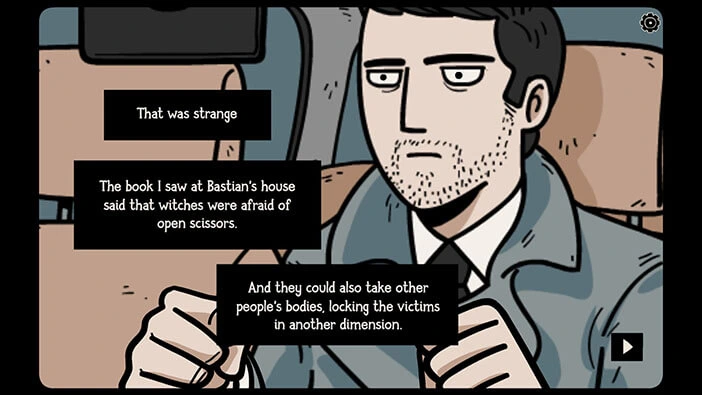
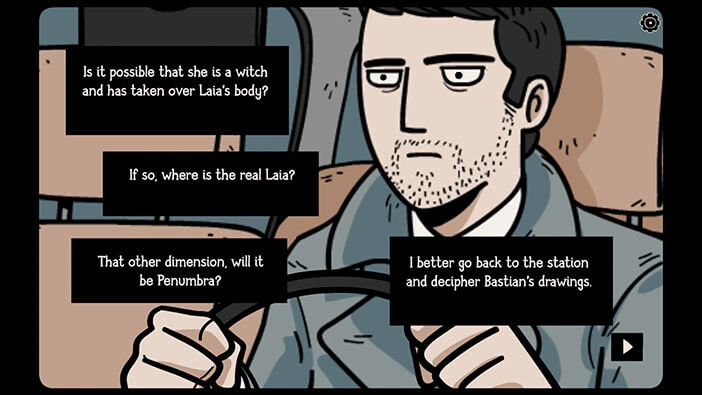
Well, Detective Bastian came to the conclusion that Laia in the store might be a witch (good job devs for creating a smart character). It would be even better if Detective Larsen realized that he is in big trouble if Laia really is a witch because he left her the doll with Frederick Nolsen’s spirit for safekeeping. Maybe he’ll remember that detail later during this investigation.
Detective Larsen had his suspicions about Laia, but he had to continue the investigation. So, he decided to head to the police station and try to decipher Bastian’s drawings.
Let’s take a look at Bastian’s drawing. Here we can see 12 pieces of map, arranged in four by four grid. Our task is to rearrange the pieces and assemble the map. We will do this puzzle in several steps. Let’s begin.
Step 1
Select the first piece of the map in the second row, and swap its position with the third piece of the map in the third row.
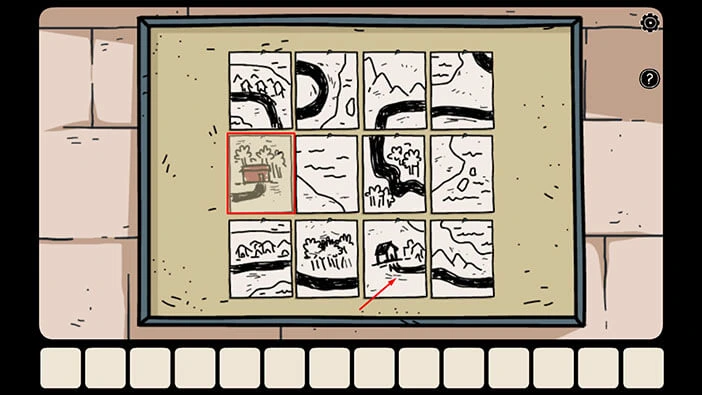
Step 2
Select the third piece of the map in the second row, and swap its position with the first piece of the map in the third row.
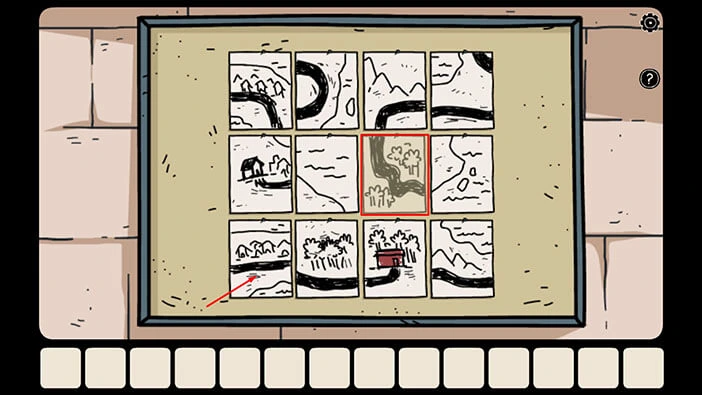
Step 3
Select the third piece of the map in the first row, and swap its position with the first piece of the map in the second row.
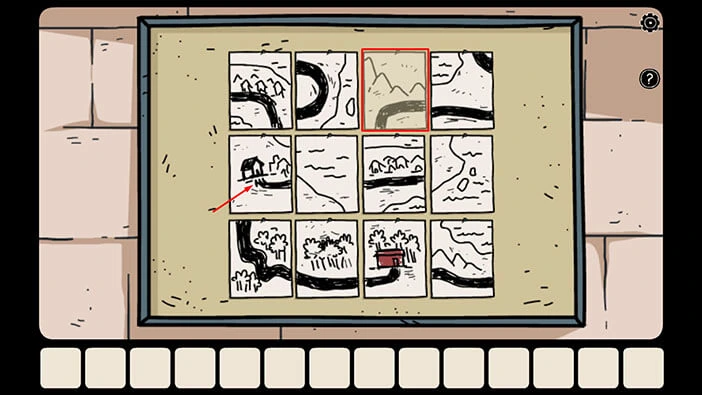
Step 4
Select the fourth piece of the map in the first row, and swap its position with the second piece of the map in the second row.
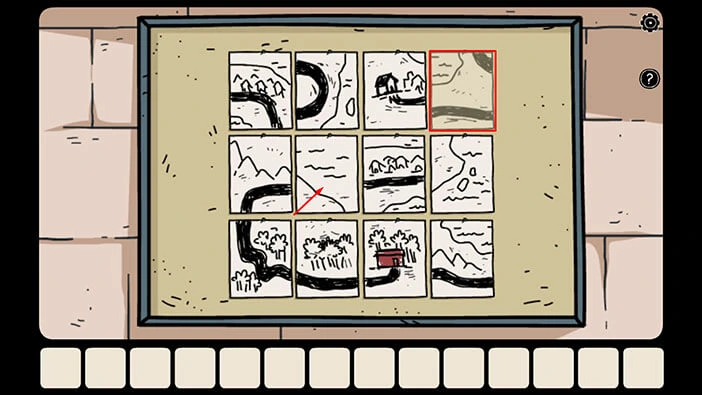
Step 5
Select the third piece of the map in the second row, and swap its position with the second piece of the map in the second row.
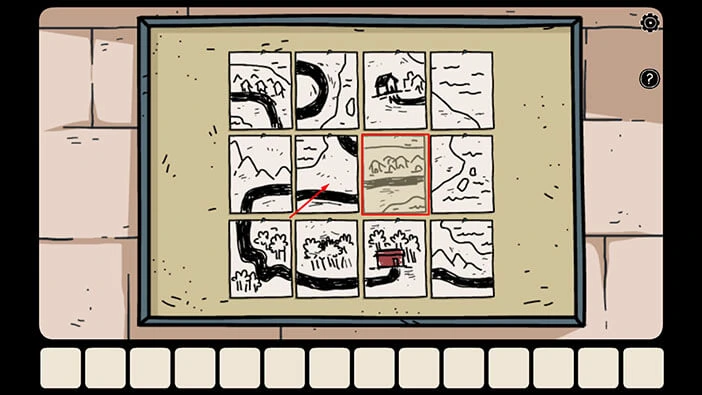
Step 6
Select the fourth piece of the map in the third row, and swap its position with the second piece of the map in the second row.
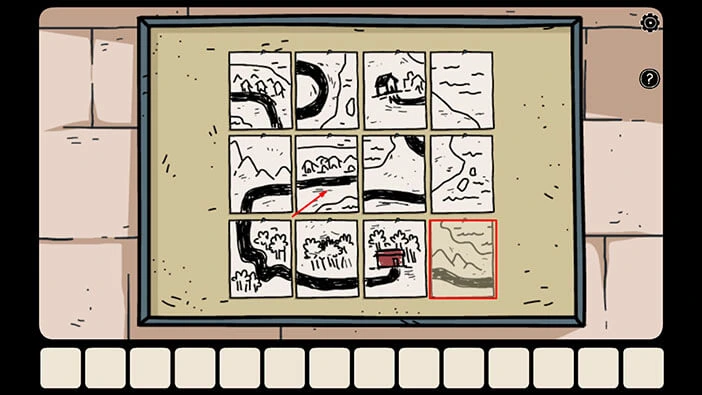
Step 7
Select the second piece of the map in the first row, and swap its position with the fourth piece of the map in the second row.
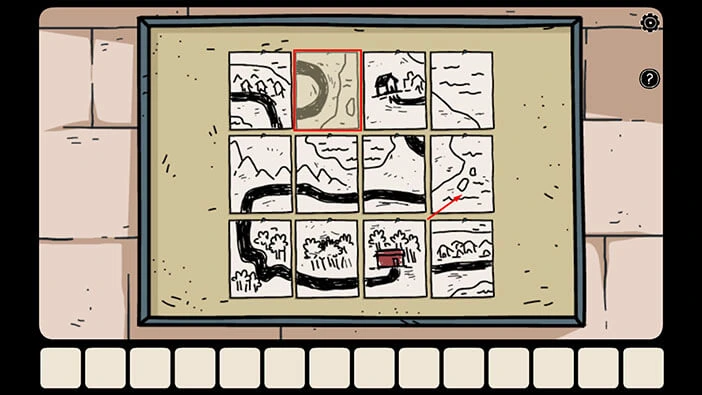
Step 8
Select the fourth piece of the map in the third row, and swap its position with the second piece of the map in the first row.
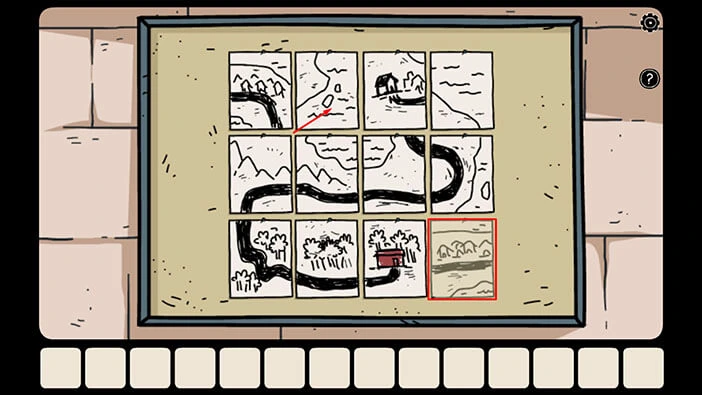
Step 9
Select the first piece of the map in the first row, and swap its position with the third piece of the map in the first row. With this last step, you will assemble the map.
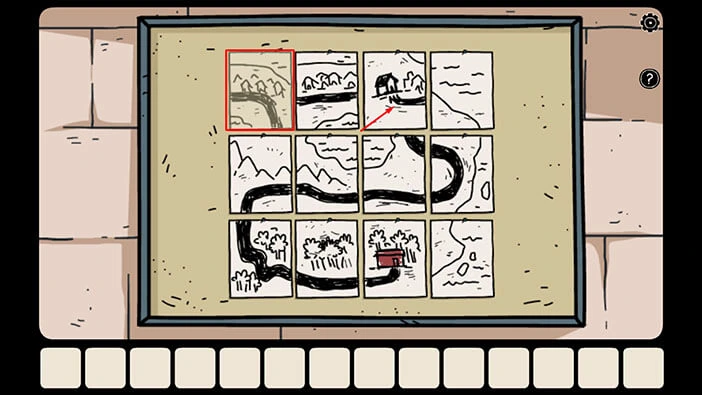
When he looked at the map, Detective Ren Larsen concluded that he knew the location of the cabin.
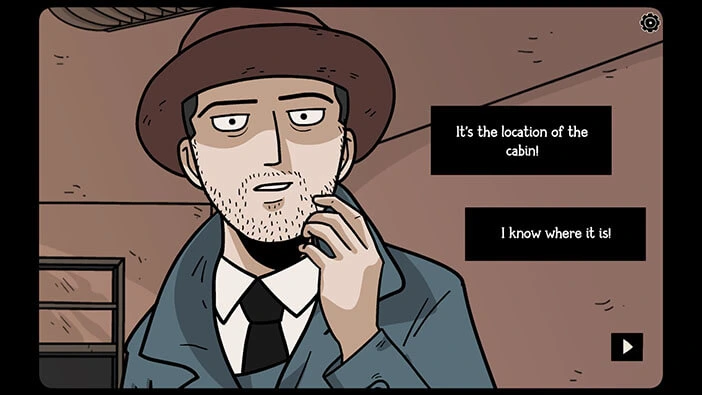
The Detective hopes that he will be able to find something in the cabin that could enable him to bring back Bastian.
He also thinks that Bastian and Laia might be trapped together in the Penumbra.
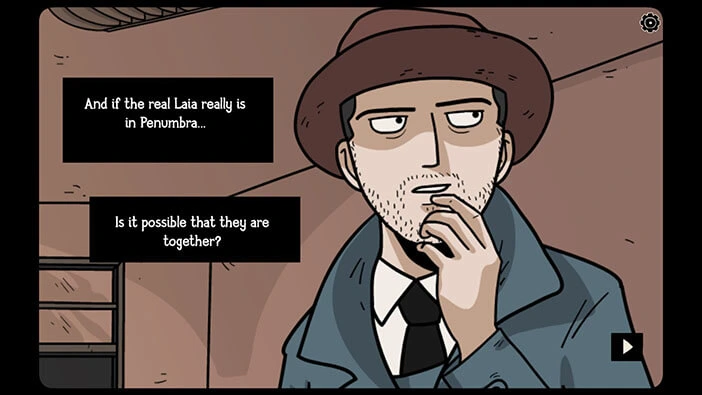
We will have to end the first part of our walkthrough here. Join us in the second part of the walkthrough, in which we will explore the story of Bastian and Laia in the Penumbra.
Thank you for reading.