Dream Life Chapter 2 Levels 11-15
Level 11
Hello and welcome to our walkthrough for the game Escape Room Adventure – Dream Life Mystery 2021. This is level 11 in Chapter 2. In the previous level, we were in another house.
We first came to the yard, in front of the house. There we had to find a way to open the door. After that, we came to the opportunity to enter the house. Outside, the house looks perfect.
The last word of the building. But inside is another story. The house is deserted, full of cobwebs and cracks on the wall.
We have to be persistent and find out where Edward’s family is. Let’s do it with dignity. Let’s go without fear and with a lot of luck! Good luck! Let us begin.
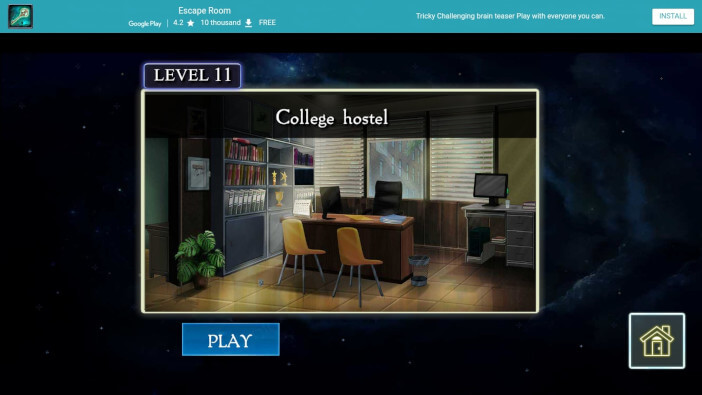
Level 11 begins with Edward’s observation. He says that so many things ruining his subconscious mind. As a result of that, Edward stands in front of his college, where he pursued his education.
He wants to find a bag his father which consists of some business files. Suddenly, he remembers that he kept that bag in his hostel.
He has to find the key to his hostel room. The objective has two parts. One is to find student details.
The second part is to find the key. Edward is in a very strange situation. Lifeworks so well that you have to adapt to change. We want to be that mitigating circumstance for you to adjust to.
Edward deserved help because he was looking for her at the moment. Everybody deserves help if that person just asks for it. Good luck!
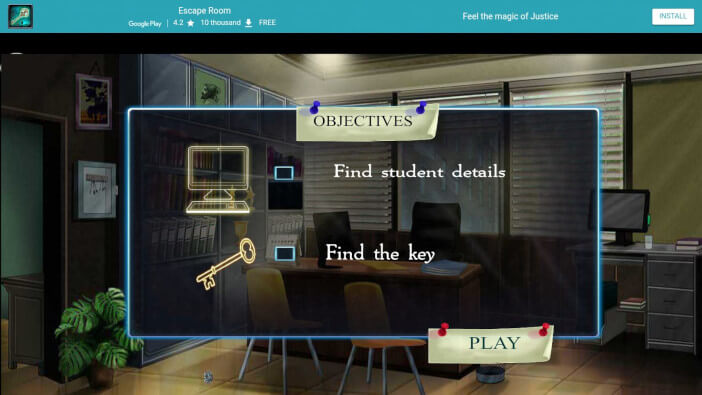
Level 11 has a name. The name is “College Hostel”. That means we are in this location and do not intend to leave until we get what we want. Look at the desk.
There is a piece of paper. Save this item. Place the paper in a large frame. This is a prerequisite to seeing this item in more detail.
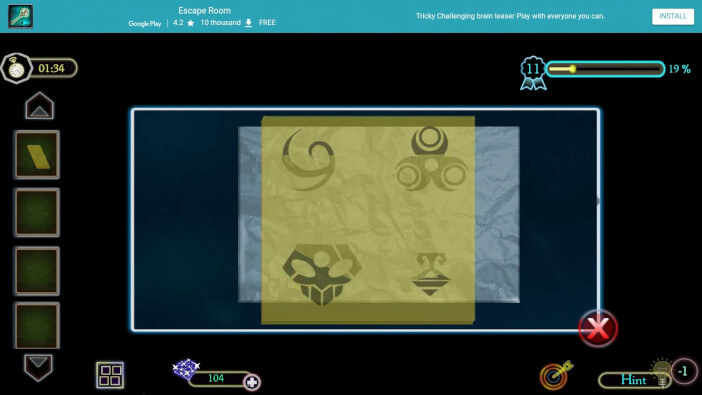
The signs that we have to remember are drawn on the paper. Or at least remember that something is drawn on paper because we should go back and look in more detail. There is another piece of paper on the office floor.
This paper is crumpled, but that is not a problem for us. Like money, this crumpled paper has the same value whether it is flat or wrinkled. Place the paper in a large frame. Click on the paper and open it.
Place the yellow paper in a large frame. And straighten the crumpled paper and transfer it to the yellow paper. The overlap of these two papers brings us to one important part. It is the formation of complete characters that serve as a cipher.
We look at the closet that is located in the left part of the room. The shelf, which is placed in the window, contains several books that are arranged in bad order. Since the books are numbered, let’s look at the numbers.
The goal is to arrange the books so that the numbers are from number 1 to number 10. We will do this by clicking. After successfully stacking the books, one of the compartments under the books is unlocked.
This is where we are asked to enter one item into a free slot. We will find this subject in a book. In the first part of the closet, there is a shelf with several books arranged in a row. And only one book is placed horizontally.
We take a horizontal book and place it in a close-up. Click on the book and open it. Take an object that is classified as a mask. Let’s save this item and immediately place it in an empty slot.
Click on the set mask and open one secret compartment. Then many things are resolved. Let’s take the scroll that is placed inside. Place the scroll in close-up.
Click on the scroll and open it. You can see the numbers from 1 to 4 arranged in a circular flow.
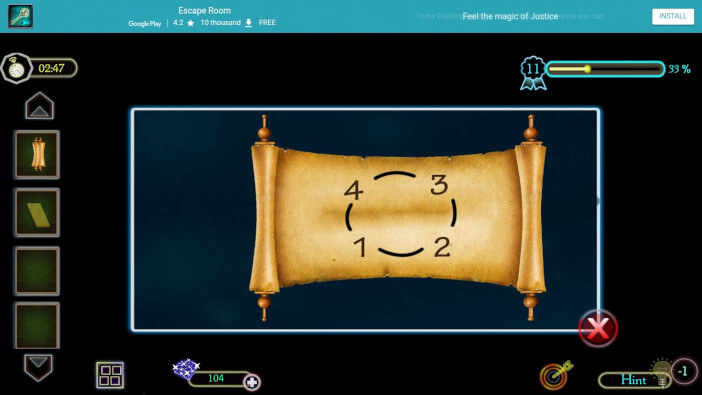
In this order, we focus on the sketches on two-layer paper that we placed in a large frame. Looking at the numbers on the scroll, determine the numbers for the characters drawn on the paper.
This is the order we use to enter the part of the closet where the code is required. At the top of the closet is a drawer that requires a code in the form of signs.
Based on the order of the characters from the paper and the scroll, enter the characters in this part of the closet. After that, this drawer is unlocked.
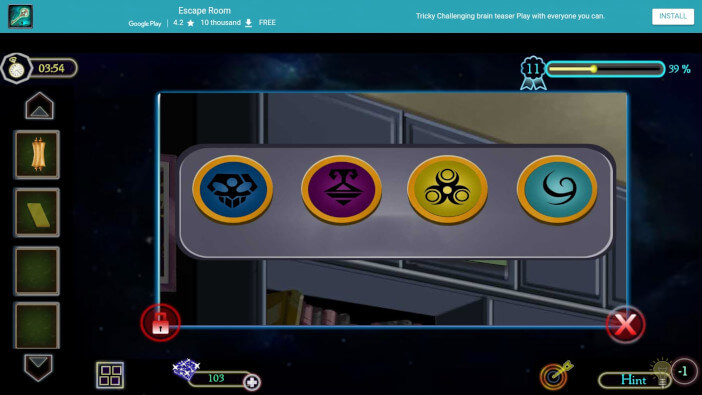
Take the key stored in this compartment. In the lower-left corner of this closet is a slightly larger door. Unlock the door with the key.
There is a new puzzle game. Now comes the testing of our brain. You have two points. Both points have their trajectory and their mechanism.
Of course, our goal is simple. We move the points so that the paths of the wheels are outlined. Some paths have two directions and that is understandable and acceptable for us. We can get the wheel back.
When you go through every path that is offered to you, the game will show you that you have successfully solved every problem. There is a book in the safe. Save this book. Place the book in close-up.
Click on the book and open it. The middle of the book consists of two sheets. A four-digit number is written on both sheets. The number is 7 8 9 6. Remember this combination because entering these numbers is the next destination.
We go to the eastern part of the room. There is a work desk and a desktop computer. Click on the monitor and turn on this device. Like any modern computer, a code is required.
The code is 7 8 9 6. Use the touchscreen option to enter 7 8 9 6 and unlock the computer. With this, we managed to achieve half of the goal. That is to find student details.

Let’s move to another room. Click on the two arrows pointing to the right. They are located on the right side of the screen. The new room is a private office.
Next to the front door is a globe. We have had this situation before in previous levels. This time we have a clear goal. The goal is to click on the globe, as in the previous level.
After that, the globe opens. Paper in crumpled format can be seen inside. Place the paper in a large frame. Here you can click to develop the paper so that you can see one piece of information.
Four letters of which two letters have been crossed out. It is important to pay attention to this detail. And now comes the puzzle solution. It doesn’t happen that in chapter 1 we have a puzzle. And in chapter 2 we have almost every level. It happens to us for the first time that we have two puzzle games on one level.
There is a closet in the left corner of the room. The upper door is locked. They open by solving this game.
The rules of the game are simple. Each corner of the star has its slot. But not every slot has a power outlet. The cables are placed in only a few slots that are on the star.
Our goal is to move points from one slot to another by moving along the free path. And so let’s move to those slots so that each point is in the slot where the power cable is connected.
After these moves, the game gives us a sign that we have successfully solved everything. This is proof that we are as ingenious as expected.
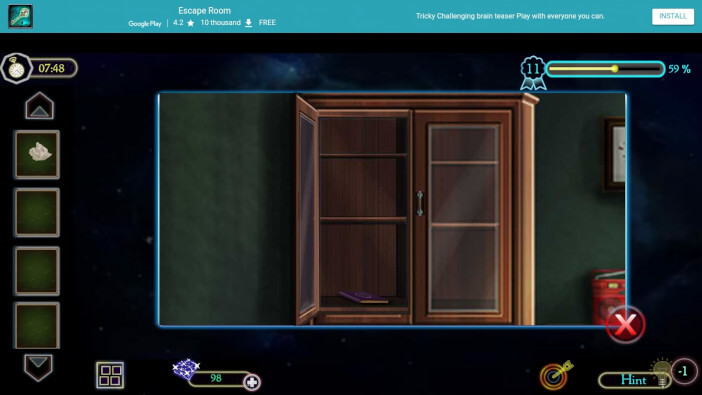
Behind the closet door is a book. Take this book because it is the only item placed inside. Looking at the book as a unique item, we will get nothing in return.
But put this book in close-up, and you get something new. Click on a book to open it and then something new happens.
You get a list similar to a list of crumpled paper. Only this time the other two letters were crossed out. That is an important detail. Based on paper and letters that are not crossed out and books where we have letters that are not crossed out, we get a new word.
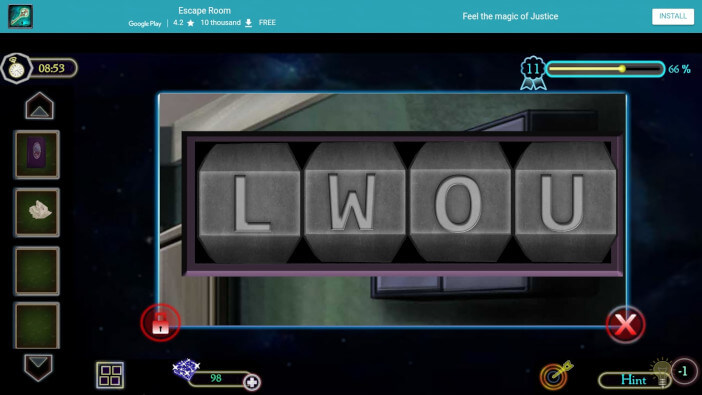
A word made up of uncrossed letters is clear. The word is L W O U. We put this word in one drawer. The drawer is on the wall. East wall of the room. Here we enter the letters from the word L W O U.
We open the drawer and take one item. It’s a printer. Unbelievable, but that’s the item we need at the moment.
On the floor in this room, next to the front door, is a gift box. It is a gift we will preserve. There is a knife on the sofa that is folded. Use a knife to cut the decorative ribbon that holds the gift tied.
Click on the box and open it. There is a cassette inside. Now comes the best part. We go back to the past when this technology was used. Place the printer in close-up.
Click to open the compartment where the cassette is placed. Insert a cassette and close. Click on the PLAY option to rotate the bar around the mechanism and thus release the contents.
The printer will show the time. The time now is 18:24. Enter this number in the glass door next to the exit door. They are installed on the wall. Here the door is locked with a code.
And they unlock in the same way. Enter the numbers 1 8 2 4 and unlock this door. Take the key and complete this level.
Level 11 is complete. We wanted to do it in the best possible way. And that’s with a lot of styles and an explosive effect. When we go back and look at what we did, it is no wonder that we have reached the point where we are wondering about everything.
We upgrade ourselves both as a person and as a detective. And that is the quality of an advanced being who is not afraid of change. We look at our whole life as a series of new and challenging situations.
That is how we will continue. Man learns while he is alive and then art remains. The fact is that we are artists because we go through each level like a hot knife through butter.
Some moments are such that they give us a difficult period, but even that has been overcome. Puzzle games are our frequent guests and we have to come to terms with the fact that they will visit us on almost every level.
Sometimes twice a level. All this is compensated by our intellect. Follow our walkthrough and find out what awaits us in level 12. Have a nice day. Thank you for reading.
Level 12
Hello and welcome to our walkthrough for the game Escape Room Adventure – Dream Life Mystery 2021. This is level 12 in Chapter 2. In the previous level, we came to one office again. It is an office that represents only one part of the whole level.
There was no problem until we got to one puzzle game. We are used to having a few puzzle games. We are used to having one puzzle game on one level.
This time it was different. Challenges increase and brain intensity increases. In level 11 we had two puzzle games. It was proof that the game recognized that we were immune and that it had to give us a bigger and stronger kick.
But that didn’t affect us. We have shown that we are extremely strong. Not only did we have two rooms on level 11, but we also had two puzzle games. We solved each one in the best possible edition.
We got the answers we were looking for and move on. Level 12 is called “Edward’s room”. We are now at home. That’s a great thing because we can finally release the brakes.
Home ground is home ground. Plus Edward is at the helm. Good luck! Let us begin.
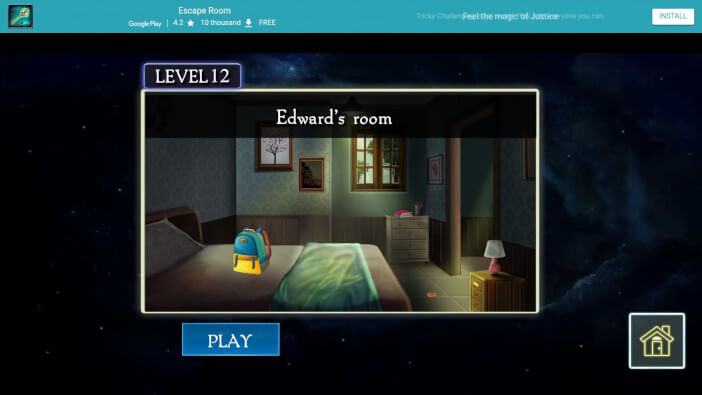
Level 12 has begun. The opening scene is when Edward comes to his room. He unlocks the door and enters the room. That’s the beginning.
But every beginning has its end. Every journey has its end. The very fact that the first thing we see in the room is the boy’s backpack and the bed where Edward sleeps.
That’s enough for us to know that all of this is one big opportunity to reveal something that’s kept in Edward’s private information section as well. We look at details from the past, but we do not see them.
Now, something will be clear to us. Clear as a sunny day. We will NOT keep you in suspense. Let’s go aggressive and full of energy. The battle continues and the war is not over.
We have declared war on extinction with ignorance. It’s a big battle. Good luck!
We’re starting now. There is a school backpack on the bed. Take a closer look at this student equipment. Click on the backpack and save it.
Like any bag or item that has a certain volume, we look at what’s inside. Click on the backpack and inside you can take one item.
It’s a small box. Save this item. Place the box in close-up. And that is something we are well aware of. Knowing that we have often been challenged by some enigma, we will endure it even now.
The box is unlocked so we have to solve some enigma. The enigma is solvable. The goal is to click the buttons on the sides, and circles. And in what order? Well based on the lines and connections that connect the fields and circles.
It’s a bit complicated but just looking at the path from the number to the circle, shows you what you can click in a particular. Click those circles that go from 1 to 10. But how do we know which ones?
Well very easy. See which line connects a certain circle with the number 1. So go from 1 to 10 and solve this puzzle. When we solve this enigma, the screen changes our appearance.
Congratulations will appear that you have solved the enigma and how the prize you can take the tape. This is the item we need for later. There is another strip under our bed. Save this tape as well.
Only this tape is a different color. Across from the bed is a bedside table. That table has several drawers. One drawer is locked with a combination of characters. We can find these signs on the tapes we have preserved.
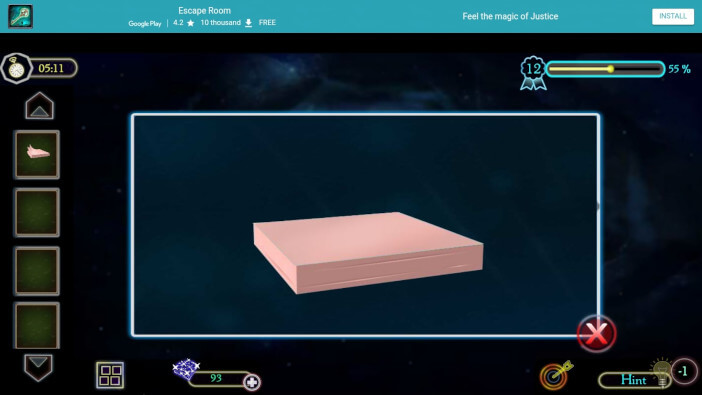
Each bar has two characters. By combining these two strips, we get four characters. It’s a drawer combination. We have shown you the picture so that you do not have problems with combining.
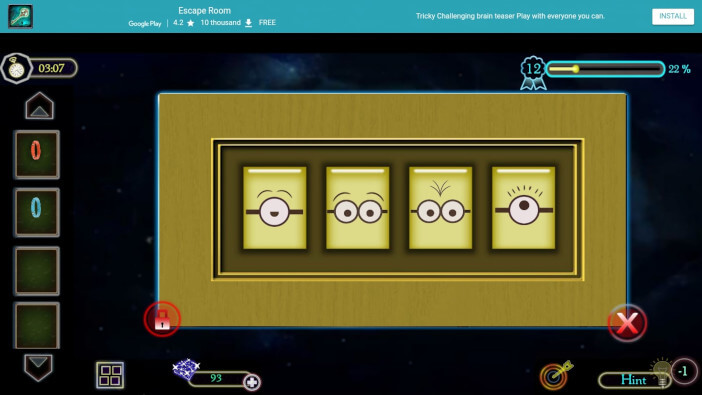
Inside the drawer is a book. This book is important because it provides us with certain information. A book, marked with the letter U is opened with a click.
Place in a close-up first. Click to open the book and you have several pieces of paper inside. Save each item.
We would not be perfect if we did not do the job to the end. Place each part of the image in a close-up and compose it so that you have a clear image.
The picture is beautiful but the background of the picture is not. The inscription TITANIC is a reminder of a tragic story that happened more than 100 years ago. Remember the colors that adorn the letters of the word TITANIC.
Each letter has its color. And that is important because we have to compile a code. A code is a combination of four colors and four letters that are associated with that color. Enter the code in the safe located above the bedside table.
The code is I T C A. This is the code we made from the required colors. These colors are related to the letters in the word TITANIC. As a reward, you get several tools for using daily repairs.
We’ll just save the screwdriver. We need it because we have to remove the screws. The screws are placed behind the image. Look at the wall. The wall on the left side of the window.
The lower and lower pictures show the screws. Download an image that is full of darker colors. Click to download the image. Behind the picture are four screws. Use a screwdriver to remove the screws.
And now it’s time for a new enigma. Strange but true. Already another puzzle game in a short time.
When you get to this image by rotating, click again. The goal of this game is to place two dots, blue and red, as shown in the picture above.
No problem if you know how to handle this. We have shortened you as much as possible. Rotation is performed only on internal points.
External points are points that rotate in a circle. The secret door opens, and the secret barrier is visible. There is a sticky note in the cavity of the wall.
Save this item. With a few clicks, take one sticky note and save. Then do it one more time. Because you must have all the sticky notes with you. After this move, move to another room.
The room is on the right side of the screen. Click on the aisle and go to the right room. Right next to the door is a trash can. There is another sticky note in the bucket.
Save this item as well. Next to the large picture on the wall is a printed group of signs. One character has a sticky note.
The other three don’t. Apply the three sticky notes we have on the wall. That is the next step. Each sticky note has its color.
This is an important detail because we remember the colors. Colors and signs above sticky notes.
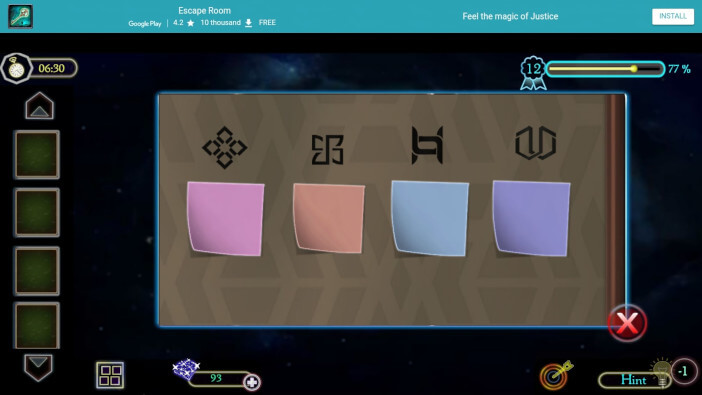
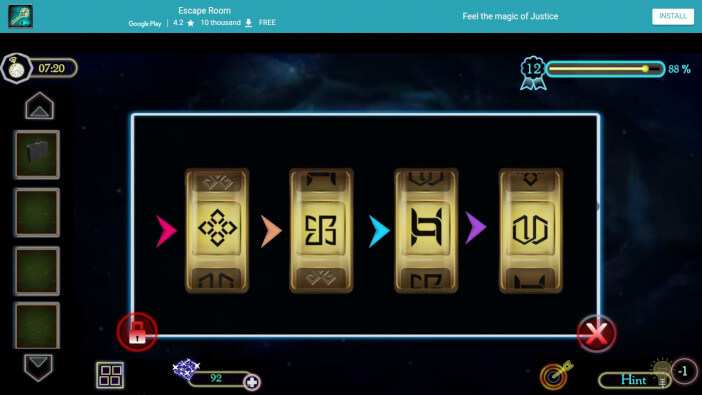
Take the suitcase located on the floor in front of the bed. This suitcase is placed horizontally.
Then click on the suitcase to get a better view of the character on the suitcase. It is a combination that is revealed with the help of sticky notes.
Each slot on the suitcase has its color. And based on the characters above the sticky notes on the wall, enter the characters in the suitcase. The right combination unlocks this item and opens it.
After unlocking the suitcase, take the file. Place the fillets in a large frame. Click on the file and open it. Inside is a paper that has the word B L O C K written on the bottom of the sheet.
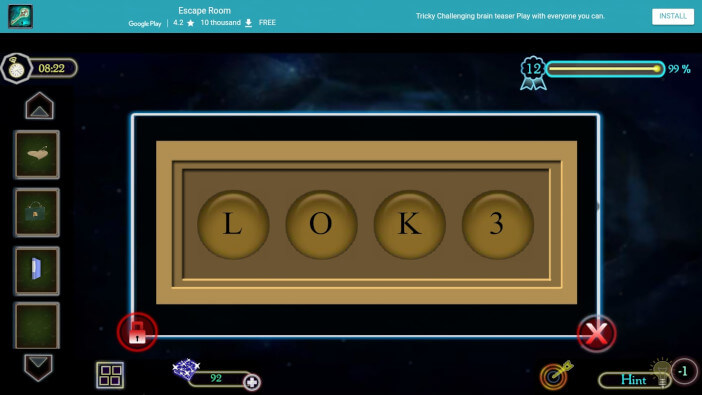
The line L O K is underlined. Remember that detail. There is a key on the desk that has a heart-shaped pendant. Save this item. Click on the pendant to see in more detail what it says.
The number 3 is written. Take the purse that is on the bed. This bearing is specific in that it has a pouch that asks for a code. The code is created from a combination of data that is hidden both on paper and a key ring.
The code is L O K 3. After entering the code, you unlock the case. Take the invitation and you will solve the whole level 12.
Stage 12 is successfully solved. An invitation has been found and now we can easily go to level 13. Follow our walkthrough and find out what Edward has to do before he gets his share of paradise, or the answers he is looking for. Have a nice day. Thank you for reading.
Level 13
Hello and welcome to our walkthrough for the game Escape Room Adventure – Dream Life Mystery 2021. This is level 13 in Chapter 2. In the previous level, we stood in Edward’s room.
We had a lot of difficulties because in the first few seconds we got a new puzzle game. That is the difficulty that has befallen us. But we were up to the task. We were perfect.
We have solved this difficulty because it takes effort and something much more than luck to solve this. Another puzzle game hit us in another room. The second room was on the right of level 12.
We looked at every detail in the room and solved it in the best possible way. Level 13 is called the Secret Room. This is the level where we go to a secret room that was prepared for us as a gift because we have done everything perfectly so far.
Let’s go without fear because this is the level to rest. Enjoy. Good luck! Let us begin.
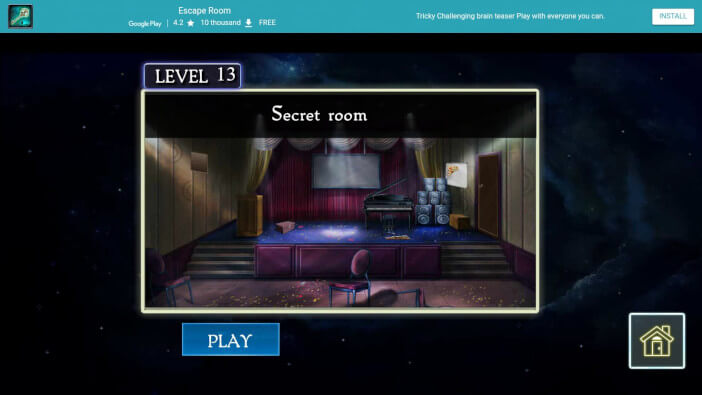
The level began with Edward standing in a room where several musical instruments are located. He calls the gentleman who works here.
There is no reaction so far. The organizer answers and asks Edward what he wants from him. Edward is a person who wants honest answers.
He asked the organizer to explain and provide the names of the participants who were present there when the previous Art Festival was organized. The reason is that Edward lost his bag. He lost his bag during the organization of this festival.
Certain essential data and items were in that bag and it would be a fantastic thing if the organizer would help our young Edward find his bag. But as for the organizers, the point is clear.
If he wants to find his bag, he has to find a remote in this room. Here are all the details that Edward needs and that we need. The reason is that we manage Edward’s life and head.
He needs help. The first part is to open the door. The second part is to verify the details.
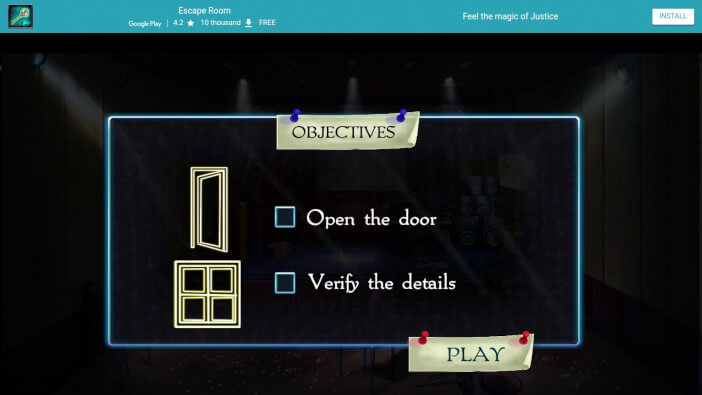
We are in a large room. We know what our goal is. So, let’s start from the beginning. There is one box on the left part of the stage. The box is placed on the floor.
Take this item. Place the box in a close-up. Click to open the lid. Inside is the liver. Save this item as well. We can’t win right now.
But we can slowly and without haste at this level. Just looking at the chair in front of the piano, we can do a lot. Take the paper that is placed next to the shelf on the floor. Place this piece of paper in the part where the poster is located.
The bulletin board on which the poster is attached is located in the right part of the stage, behind the speakers. Click on the poster and you will see that part of the poster is placed on the board.
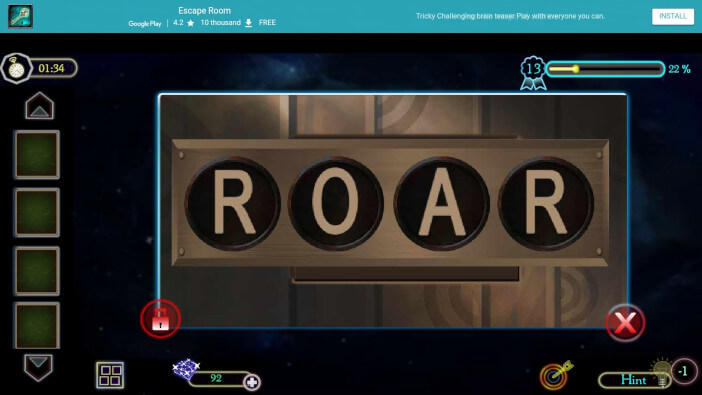
The other part is in my possession. Enter part of the poster to get the whole poster. You will see that something has been crossed out. RETRO PARTY is written in capital letters.
But those letters that are not crossed out are R O A R. That could be our code. Go to the left side of the room. There is one board and a slot. Insert the liver into the empty slot.
This is where a particular mechanism is triggered. Enter the letters on the board. The letters are R O A R. After that, this secret barrier opens.
There is a music note in the secret compartment behind the board. We have to save this item. Place music notes in close-up. You can then read the notes that have been printed.
But we need an open music note. That is important to us for now. Go to the piano. The piano is good but it is an old version. It’s not like a harpsichord but it’s a piano. Place the music notes on the wooden part where the notes are placed.
After that, your camera will be focused on piano races. Click on the three races that are marked for you. One race is marked. After that, you will be marked for the second and third races.
Clicking on those three races brings you to open a secret piano compartment. There is something new inside this barrier. These are iron keys. And those are the keys that lead you to another room. But that’s not the end. Level 13 is still going on.
We just did something good and that is that we successfully solved the first part of the objective. Let’s go to the other room. It is a place where other musical instruments are hidden.
Besides, we have to be skilled and look for some extra things. In the right part of the new room, there is a partition. This partition is mounted on the wall. Click to open the door and you have a new item inside. It’s a button.
Save this item. But this button will not be in our possession for long. We have to be skilled. We are looking at an amplifier that is placed on the floor. One button is seen here missing.
The empty slot is currently filled with this button and clicks on that button to get a specific result. Click and you will see the numbers 18 24. These are the numbers we need to remember.
To the right of the room is a new piano. We believe that the piano is a spare and that they serve in case the primary piano breaks down. But we are not interested in that.
We ask for a briefcase under the piano. Put 1 8 2 4 in your briefcase so we can take the contents of this elegant bag. The only thing we’re going to take is a screwdriver. All on the condition that we unlocked the briefcase.
There is a speaker in front of the drums. Take this item. Place it in a close-up. The part where the network that emits sound is removed. We take it off with a screwdriver. The four screws that hold the speaker and the metal mesh are removed with a screwdriver.
We need a magnet on the back of the part we removed from the speakers. And while we’re on the floor, let’s get the scissors. Scissors are easy to find. They are located in the middle of the room.
The central part of the floor of this room is so visible that we can’t paint it. We look straight at the scissors we will take. There is a cymbal in the right part of the room. Below is the paper.
Lots of paper. Save this item or this group of paper. Now comes the very important part. Place the paper in a large frame. Take scissors and cut the rope that holds this paper together. We need a rope.
Save this item. In front of the drums is a musical instrument. That is an important detail. Now we have to walk to the left part of the room. We have to get a saxophone lying on the floor.
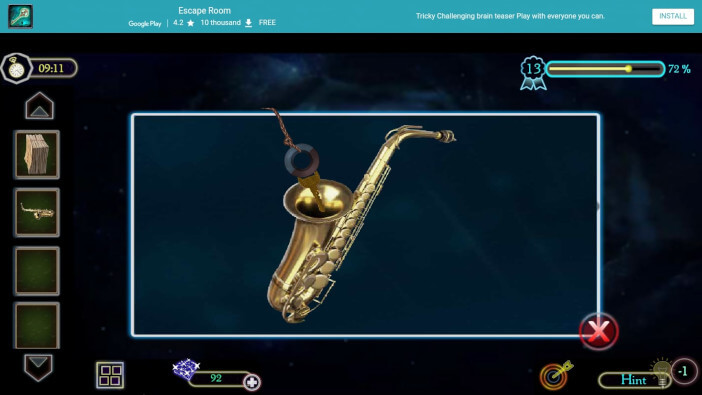
There is something hidden in the saxophone. Place the saxophone in close-up. Place a magnet next to the saxophone. Tie the magnet with a rope. Insert the saxophone into the hole and take the key.
Let the physics do its thing and let the key catch on the magnet. Save the key.
We need a key to unlock the drawer. The drawer is located in the right part of the room. We go here and there but that is not a problem for us because our goal is clearer and more careful than walking.
Put the key in the drawer and open this part of the closet. There is a remote inside. That is the subject we are looking for. Let’s go back to the previous room. Behind the piano is a screen for film projection.
Use the remote to turn on the projector and see some of the images shown to you. The pictures show the faces of the people who participated in the festival. Only this time it can be seen that Edward and another girl have similar bags.
Maybe she can explain to us what this is about. The organizer is kind enough to wait for you in his office and to slowly explain everything to you. Maybe we get some information very quickly.
This is a milestone that we are already looking for on several levels. It is an opportunity for us to take one big step because we will get concrete things. Go further, level 14 is right around the corner.
Follow our walkthrough and find out what awaits us in level 14. The information we receive can be crucial. Have a nice day. Thank you for reading.
Level 14
Hello and welcome to our walkthrough for the game Escape Room Adventure – Dream Life Mystery 2021. This is level 14 in Chapter 2. In the previous level, we were in a secret room. The secret room consists of two rooms.
The first room was decorated with a piano. It is probably the stage where festivals or concerts take place. Only one musical instrument was here and only one task was assigned to this room.
The goal was to find the key that unlocks another room. And in the other room is another story. There are spare tools. It is a spare room where other instruments that are not used are kept.
An organizer is a person who takes care of all the events in these two rooms. We asked his help to find some people who were at the festival. That way we could get some information about ourselves.
Edward is a person who happened to be in the wrong place at the wrong time and the information we need to find is hidden somewhere out there. We will do our best to find the people who were at the festival.
Then we can focus on further flows. Enjoy. Good luck! Let us begin.
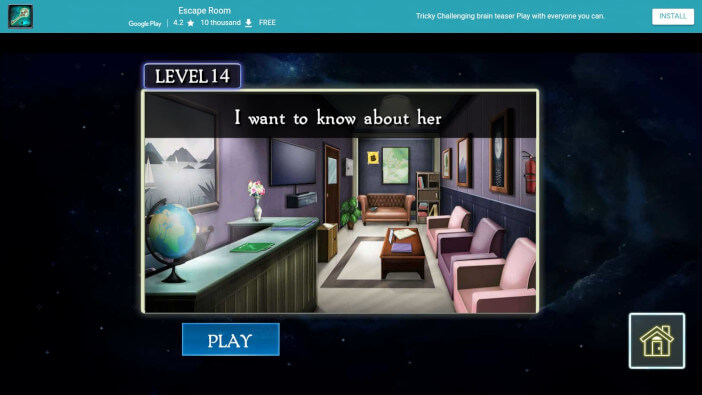
Level 14 is called “I want to know about her”. It is an indicator that we are interested in one specific person.
The level begins with Edward introducing himself, saying his name, and saying that the organizer told him to come to his office and report there when he found the details he wanted in the secret room.
The organizer has got the laptop in the office room. Log in and get the details which you asked him for. This means that we are now in a position to do something to be able to talk to the organizer.
This level has two parts. The first part is to open the door. The second part is to reveal the details. We don’t have help from the organizers either, but that doesn’t mean you don’t have our help.
We are here for you. Let’s move aggressively and decisively. Good luck!
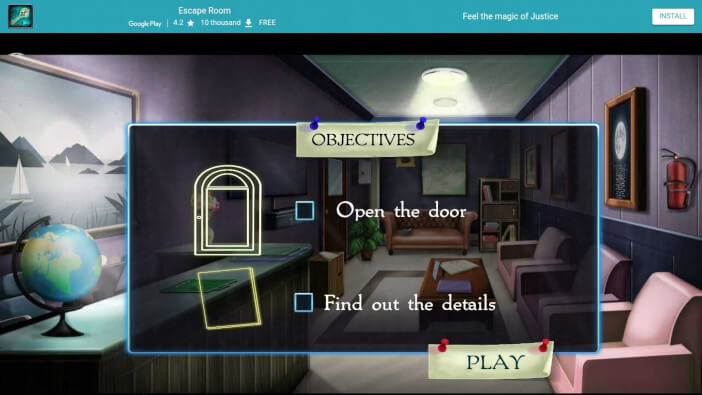
There is one file on the reception desk. The file is green. Save this file. Just move two steps back. Here you can see that the table is set as in the waiting room.
A few magazines and chairs that would serve you to wait your turn for a meeting. But that is not a problem at the moment.
All you need is a photo frame on the table. That’s the only item. Click on Photo Frame and you will see one detail. The motto of successful people was written. Moto voice Positive Mind Positive Life.
Only while everything is written in pale color, the word MIND is written in strong color. So strong a color that it is visible to us. We will do that now. The word MIND is a word we remember and it is a CODE that is entered into a small closet next to the reception.
Just below the TV is where we enter the word MIND. Remote control found. Let’s save this device. The reason is that this remote control has its function. We look straight at the end wall.
There is a sofa. It is a place where more people can sit. But this time we will just walk to the sofa and take the box. We open the box with one click and take the key that is hidden inside.
We’ll use that key to unlock one drawer. The drawer is located to the right of the sofa. There is a shelf with several compartments, but we only need a drawer in the upper right corner.
There is something hidden inside that we need. It’s a book. Place the book in close-up immediately. Click to open the book and inside is the data. It says the number 28. That’s what this part is about.
But before we can move on and discover new things and use the data we have, we need to solve one puzzle. That puzzle is under the unlocked drawer. Part of the closet, central part. In the right corner of the room, next to the sofa.

We are now at a crossroads at this level. We learned to fight new puzzle games but that is now becoming commonplace. Let’s learn to accept that as a normal situation.
The object of this game is to use the click to change the places of the characters so that each character comes below its slot. The slot is drawn with characters such as the characters on these buttons.
By moving the buttons and changing the place, we get a combination such that each button is placed below its sign. That is the goal and that is how this enigma is solved.
Now that we have opened this compartment, take the notes that are preserved inside. White notes. Just one click is enough to open this note. In the middle of the note is a piece of paper drawn with a crown.
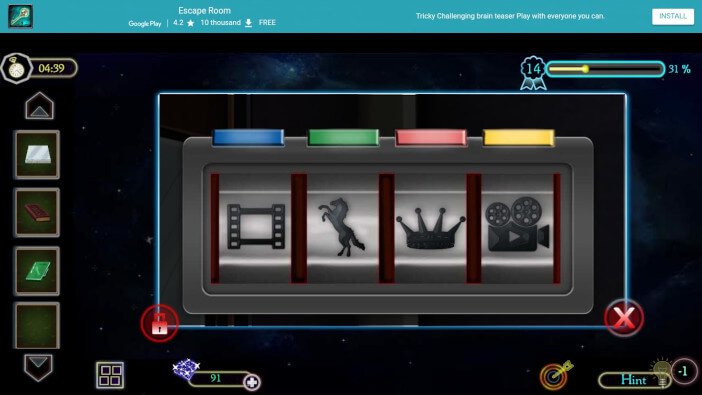
The crown is a detail we remember. If you haven’t noticed, in addition to the crown in the notes, we have three more signs. These are the sign of the film strip on the TV when we turn it on with the remote control.
Another sign is the sign of the film cameo that is glued above the sofa. The third sign is the sign of the horse that is on the green fillet. All four characters have a color that adorns their background.
And that is the code that we need. On the right side of the front door, in the left part of the room, there is a metal door. That door is protected by a code. A cipher is a combination of characters we find on things we have collected.
See how we did it and do it yourself. We hope you enjoy it as much as we do.
Behind an iron door is a card. Save this item. It is a card that shows someone’s identity. But of the four numbers on the card, two have been crossed out.
Numbers 3 and 1 are uncrossed. This is a new code. That is, it is part of the new code. Remembering the book and the number 2 8, we just connect these two two-digit numbers. The new code is 3 1 2 8. Enter these numbers in the drawer below the TV.
The drawer hides some content like every previous drawer we had. The content is clear. That is the key we must preserve. The key we received unlocks the door next to the TV, in the left part of the room.
We unlock the door and move on to the second part of level 14. The second part of level 14 is the office. So far we have been in the waiting room and now we are in the office.
There is a ball on the corner of the office desk. That ball presses a piece of paper that is not on the table. And that desk is a real office desk. Click on the ball to move to the side.
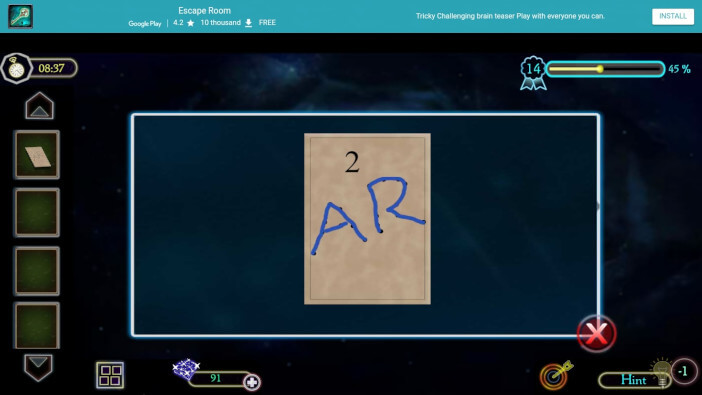
Click on the paper to save it. Save paper that says number 2. Load the paper in a large frame. You will see points that are not connected and should be connected. Next to the points is number 2.
Let’s remember these details. At the right end of the table, let’s extend a little further, there is one box. Let’s save this item as well. Immediately after storage, place the box in a large frame.
Click on the lid of the box to remove it. Then take the only item out of the box. It’s a pen. Save this item and discard the box. You don’t need it anymore.
Using the pen we found, take this item and connect the dots on the paper. This gives you two letters. The letters are A R. The paper as such is preserved.
Now we have to look at the background of the office. Next to the window, on the right, is a small closet. That closet has one item we need. The red coffee cup is there. Save this item.
Place the salt in a large frame and you will see that all the letters are written. The letters are S K. From the paper we have the letters A R. Since on the paper where the letters A R are, there is the number 2.
This means that in the newly formed digit, A and R are in second place. While S and K are in the first place. The new code is S K A R. Enter S K A R in the closet placed in the very corner of this room.
On the left side of the window. There is one box in the drawer. The box is extremely complicated to lock. That is our biggest problem. And here are the opportunities for a new enigma.
The goal of this enigma is to arrange the bars in such positions that it can be seen at the bottom of the screen that all the characters are read. When the sign is red, it means that the bar is in place.
Here’s what the final shape of these strips should look like. We’ve just shown you what it looks like one-click before the final shape. All you have to do is move the preview bar one click to the right. It’s the second bar at the bottom.
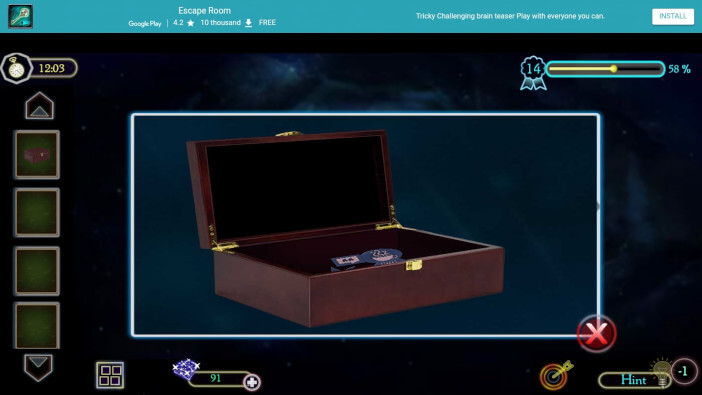
The box opens. That was the goal. Save the button. But since there is not just one button but four pieces, take all four. Each button has a sign that is drawn on them.
The left part of the wall has one part which is shown in the form of four empty slots. That’s where we insert these buttons. This means that you can see which shape has a certain number.
That needs to be remembered. The numbers are from 1 to 4. Enter these buttons in the drawer located on the right side of the window, in the right part of the office. Enter these characters (quotes, file, floppy disc, coffee cup).
The drawer opens and you can take blue notes. And now we take a laptop and a printer from the office desk. That is the primary goal at the moment because we will need it for the last step.
Click on the notes. There is a code. The code is 2 3 N 1 1 X. Now place the laptop in a close-up. Attach the printer to the laptop. Then click on the laptop and open it. There you can see one window.
This window shows that the laptop is locked. This means that a code is required. Now comes the interesting part. With the click you have, you can click on each character and enter 2 3 N 1 1 X.
This is how you enter the code and unlock the laptop. Click on the PRINT option and you will receive a paper with printed data via the printer. Her name is Jane Doe. The paper also contains the address, telephone number, fax number, and street number.
Everything is on paper and that is why we have to move on, we are moving towards this person. Thus, the whole level 14 is solved.
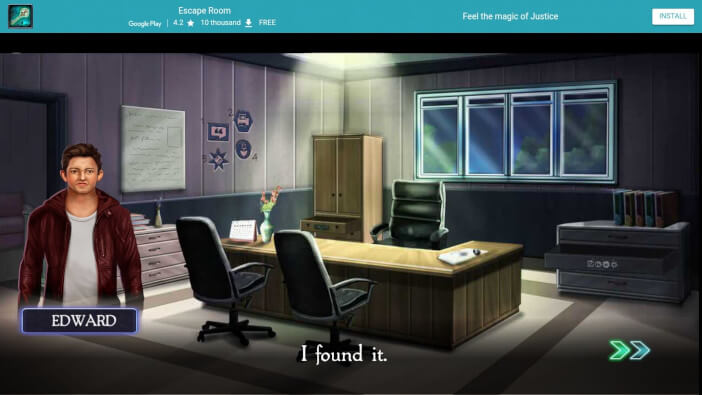
Edward found what he wanted. He thanked the organizer and that is very important to him. You have wishes from the organizers to succeed and for all this to one day be a very important lesson to you that you should never trust others but yourself.
Follow our walkthrough and find out what awaits you in level 15. We wish you a lot of success. Have a nice day. Thank you for reading.
Level 15
Hello and welcome to our walkthrough for the game Escape Room Adventure – Dream Life Mystery 2021. This is level 15 in Chapter 2. In the previous level, we were at the organizer’s office.
Before the office, we were in the waiting room where the reception is located. This period is important because we had to find the key that unlocks the office and we had to find some items that helped us enter the second part of level 14.
We came to the office as an invited person. We received advice from the organizers to find a way to get a paper with the address written on it. This is the address where a certain Jane Doe lives.
A person who can provide us with certain information about Edward and his past. Things got serious the moment we got the paper. We got on the printer what we found on the laptop.
And so we went on. Level 15 has a name as well as a story written by the famous Arthur Conan Doyle. The name is “The adventure of the empty house”. Alluring name as it will be level 15 alluring. Move on. Good luck! Let us begin.
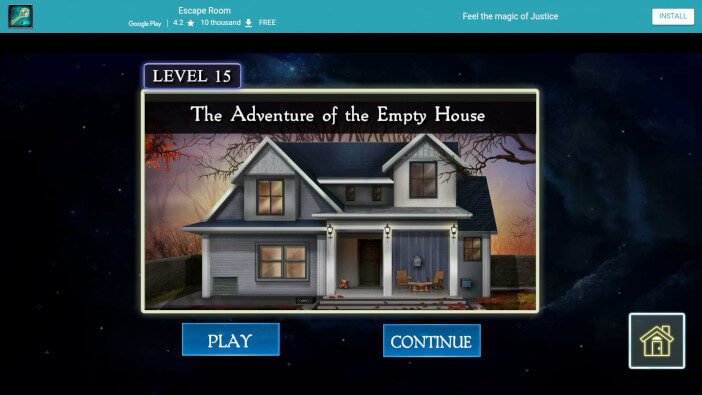
Edward is standing in front of the house. Thus begins this level 15. The house seems to him to be empty and abandoned. But this house looks in far worse condition than any previous one. Appearance can deceive.
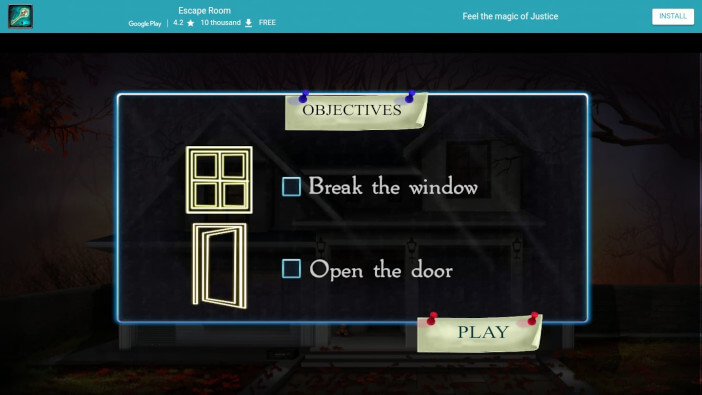
The door is locked, Edward says. The only way for our protagonist to enter the house is to enter through a window. The goal is simple. It consists of two parts. The first part is to break the window.
The other part is to open the window. That is our goal and we must respect it. We start from the beginning and we hope you are ready. Good luck!
We’re looking straight at the house. Look at the left side of the house. In the lower-left corner of the house is a small garage. Click on the door to open this garage and take the ladder.
The ladder is packed so that it can stand in a small place. But that is not a problem for us. Just save the ladder. Place the ladder in a close-up. Then click on the ladder to spread and lengthen it.
Keep such elongated ladders in your possession. Look at the place where the garden furniture is. This is where we play the next puzzle game. We need to get paper from the glasshouse that keeps the keys.
Take the paper but solve the puzzle game first. This is a classic memory game. The goal is to find the same eye color, that is, a pair that matches the same eye color.
After that, you get congratulations that the puzzle game has been solved and that you can take the paper. Keep the paper in your possession. Place the paper in a large frame.
Then click to see the printed content. The content is simple. You will see the number 4 3 1 2. Each number has its color. That is an important detail that we should remember.
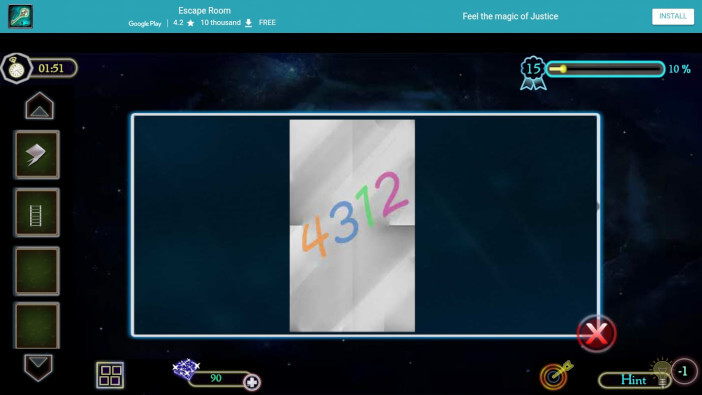
Now that we have memorized these details, let’s walk to the corner by the door. There is a toy on the doorstep that is like a bear. Save this item. It is important because we have to see what this toy is for. It has four buttons on it.
Each button is a different color. He has the number 1 on the forehead of the toy. It is a sign. But our goal is to click every button on the toy. Since the buttons on the toy have the same colors as the numbers 4 3 1 2 on the paper.
This means that you click the yellow color first. Click on the yellow color four times. Click each color as many times as the numbers are printed. For example, first, click the yellow color four times.
And so on, the next color is clicked three times. Then one click on the next color and finally, the last color double click. After that, the number 47 appears on the bear’s carcass. Since it has the number 1 on the bear’s head.
This means that the number 47 is the first two-digit number in the next combination. But there is time for that. Move on. There are three things in garden furniture. It is two chairs and one table.
There is only one item on the table. There is nothing on the chairs. Which means we’re taking a card from one table. On the front page of this card, there is the number 2 and the two-digit number 32.
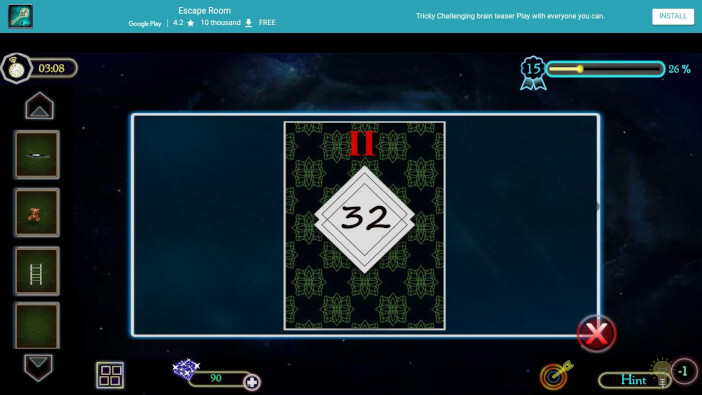
We are now looking at the full screen. Wide frame. We’re looking straight at the house. The window on the far right is our orientation. There is a cafe next to the window. There is one object hidden there.
But we have to unlock the safe. If you remember, we had number 47 on a bear carcass. And at the head of the bear was number 1. Now we have number 2 on the card and number 32. That means that number 47 goes first.
The number 32 goes the second place. And we get the final number, which is the number 4 7 3 2. That is the correct combination. The perfect combination. We unlock the safe and take the clue paper.
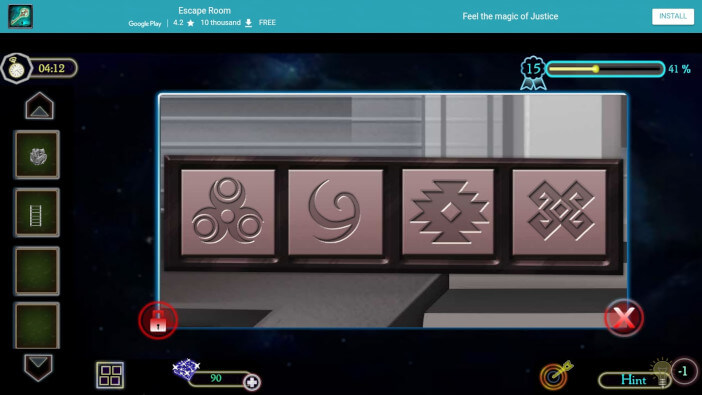
Click to place clue paper in close-up. After that, you get a sketch for a new code and combination. This is the order in which certain characters are entered into a dial. It is these signs that we put in the suitcase.
The suitcase is placed in front of the house in the left part of the yard. It is placed horizontally. Enter these characters so you can unlock the suitcase. Take the hammer. It’s our tool to break the window.
Now just to tell you right away, place the ladder where the suitcase is. These ladders take you upstairs. The upstairs window must be broken. And we break with a hammer. Thus we realize the first part of the objective. It’s to break a window.
We are in a room. Something very demanding awaits us here. Expect this to be a room where we do some interesting things. Above the sofa is a picture. It is a picture that has four dots.
Each point has its color. Let’s remember this. We enter these colors in the image that is placed on the right side of the broken window. Just see the image with a click. But click again to get a close-up.
And the game will show you a slot to input these colors. Enter colors (red, green, pink, yellow). The picture moves and you get a secret barrier. There is a clue paper. Take clue paper and place it in a close-up.
Then click to get the paper stretched. There is new information on paper. It is written A B E L V. It is a new code. Move on. The edge of the table hides a new toy. The edge of the table faces the door.
Take a Russian toy that is specific to North Asian countries. Russia is the homeland of such toys. Place the toy in close-up. It is an opportunity to enter the code in the toy and open this toy.
The code is A B E L V. Enter this code and open the babushka. There is a key inside. This is an item we will save. There is a bedside table in front of the exit door.
A small bedside table that has a lamp on it. But we need a drawer that is an integral part of this bedside table. Lock the drawer with a wrench and take the box. And now comes the interesting part.
The box is opened by solving this enigma. The enigma is to put together a picture from a mosaic of parts. Move each part of the image to get a clear picture as a whole.
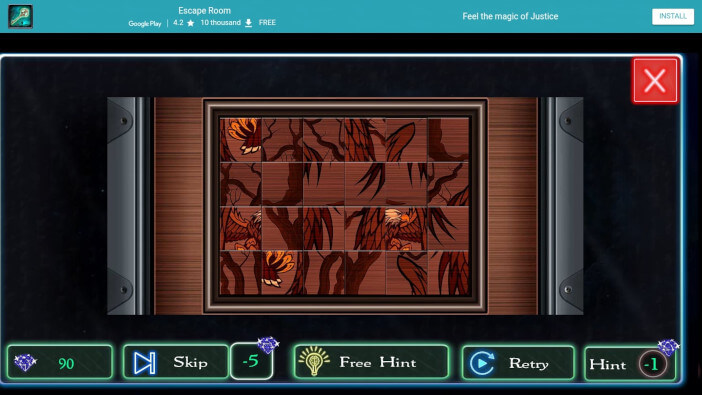
One important notice of this game is that parts of the picture change by one place in all four directions. No skipping fields when changing places with parts. The eagle is the final image.
A beautiful bald eagle that offers us only one thing. The reward is great. These are chess pieces. All four chess pieces are preserved at this time. And what would happen in a chess player’s life if he has figures but no chessboard?
Now we will take the chessboard from the table next to the sofa. Place pieces in all four corners of the chessboard. The moment this is resolved, you will see that the field below each figure has been colored.
This means that the colors are compared to the letters that are closest to those fields. In short, the new code is A K L S. Enter this code in the drawer next to the broken window. Enter A K L S in the drawer and open it.
Inside is a file that we will save. Place the fillets in a large frame. A combination of dots and numbers is written on the title page. It says 12.45. I know that means how many hours we need to set.
But where do we set it up? The answer is above the sofa. The wall clock installed above the sofa is unlocked by entering 12.45. We enter with the help of hands. Next to the wall clock, on the right side, there are buttons.
The upper button adjusts the hour hand, the lower button adjusts the minute hand. Set 12.45 on the wall clock and open the door where the artificial coward bird usually comes out. Take the key hidden there.
This is how level 15 is completed. Level 16 is just around the corner. Follow our walkthrough and find out what awaits us in the next levels that promise us a great intensity of fun and tension. Have a nice day. Thank you for reading.