Beyond the Room | Part II
Hello everyone and welcome to Part 2 of our walkthrough for “Beyond the Room” an escape room game created by the Dark Dome. Beyond the Room is the eighth game in the series, and like the other games, the story is set in Hidden Town, which is filled with all kinds of mysteries. In this walkthrough, we will show you how to solve all the puzzles and finish the game.
NOTE: Some puzzles will CHANGE with each playthrough, but the logic behind solving the puzzles will always remain the SAME. For example, in one playthrough a code to open a safe could be 1234, and in another playthrough, the code could be 4321. However, you will always discover the numbers for the code at the same location and by using the same hints.
NOTE: At the end of the first part, our character woke up from his nightmare, and decided to help the girl from his dream. She is trapped in the building across the street and she asks for his help. In the second part of the walkthrough, we will explore the first floor of the building.
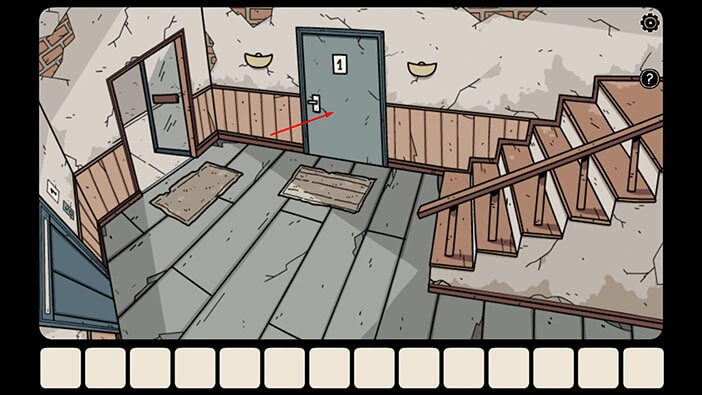
Let’s explore the first floor. Tap on the door to open it and tap again to proceed to the next room.
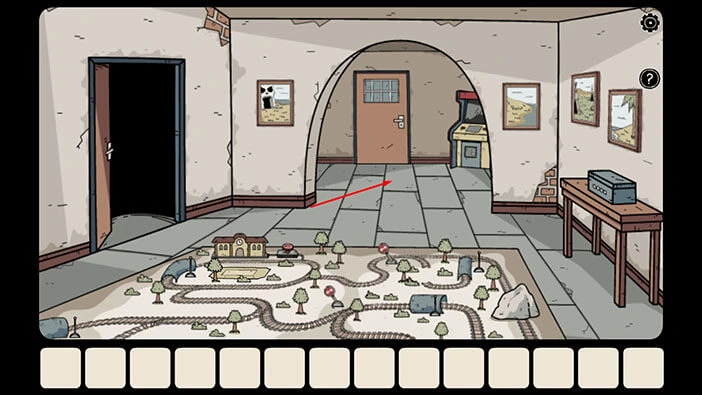
Let’s tap on the doorway to proceed to the next part of the room.
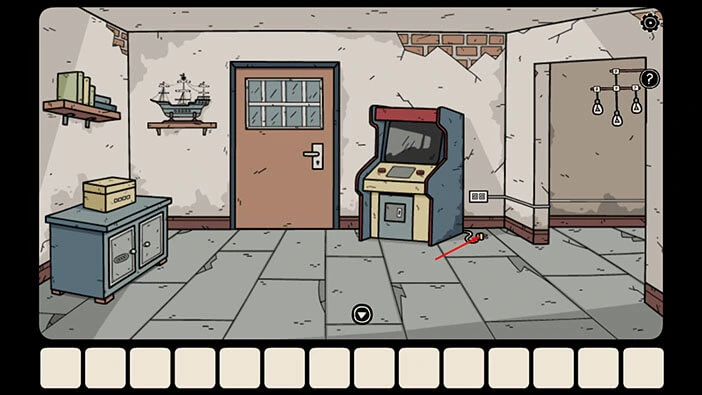
Let’s tap on the cable next to the arcade machine to take a closer look at it.
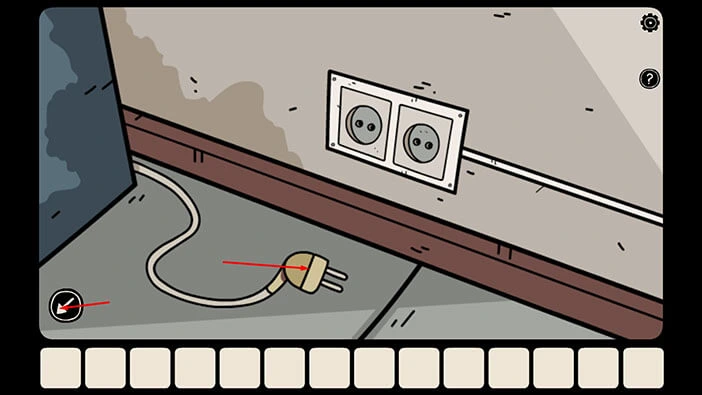
Tap on the cable again to plug it into the outlet and you will discover that there is no power. We will have to come back to this problem a bit later.
For now, let’s tap on the arrow in the bottom left corner of the screen to go back.
Next, tap on the door in front of you to open it, and tap again to proceed outside.
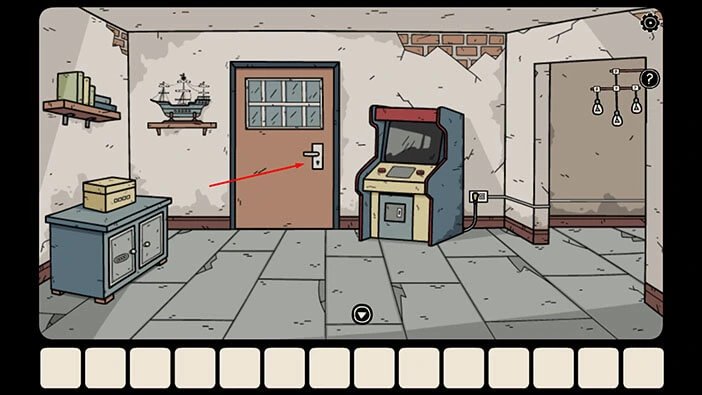
On the top shelf on the right, you will notice a can. Let’s tap on it to take a closer look at it, and tap again to open it.
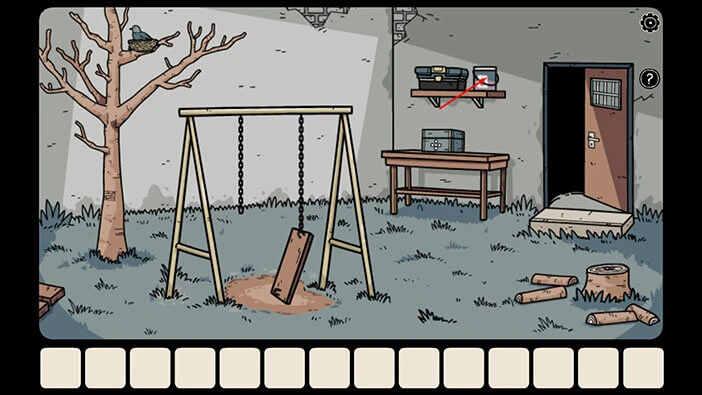
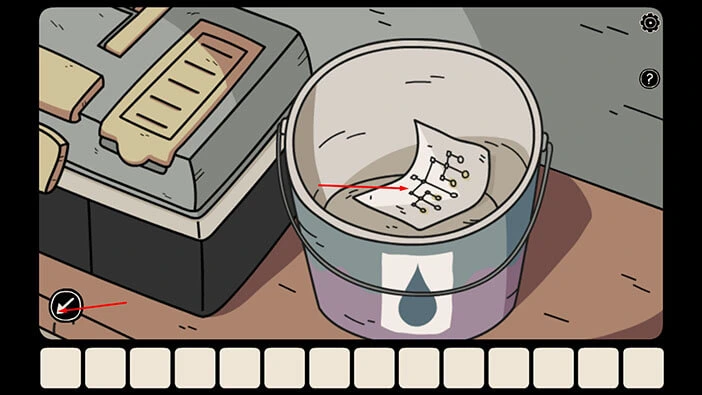
In the can, you will find a “Note with a hint”. Let’s tap on it to pick it up.
After that, tap on the arrow in the lower-left corner of the screen to go back.
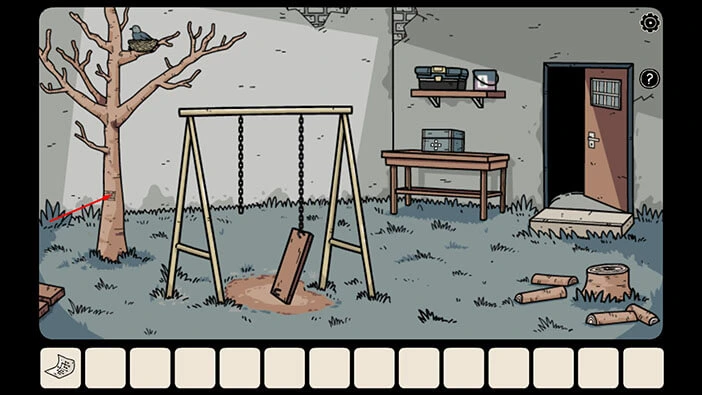
Let’s continue. Tap on the drawing on the tree to take a closer look at it.
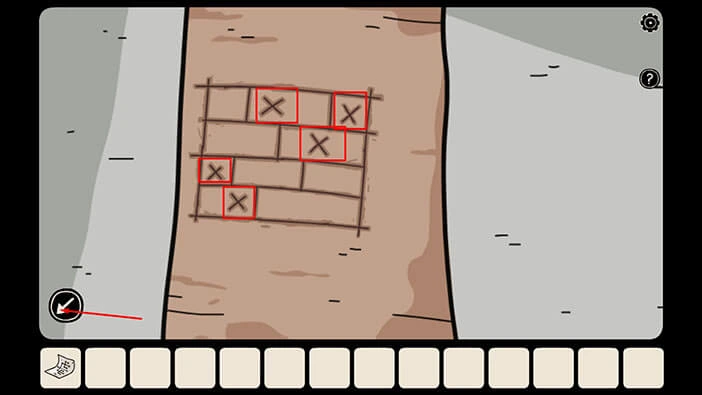
Here, we can see a drawing of the bricks, and you will notice that some of the bricks are marked with the “X” symbol. Let’s memorize/write down the bricks marked with “X” because we will need this information to solve the next puzzle. So, we have,
The second brick is in the first row, the third brick is in the first row, the second brick is in the second row, the first brick is in the third row, and the first brick is in the fourth row.
Once you’re done, tap on the arrow in the lower-left corner of the screen to go back.
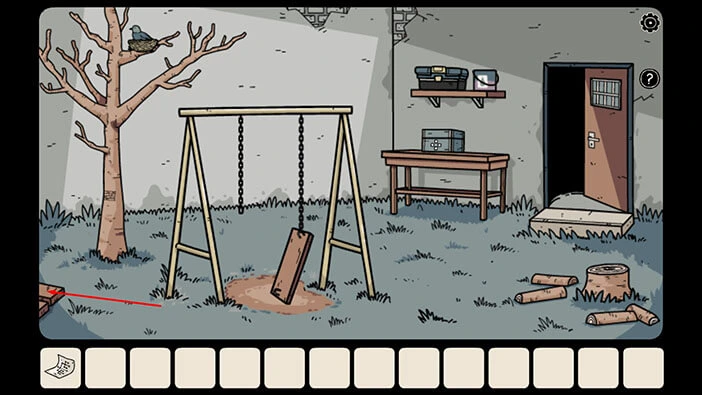
In the bottom left corner of the screen, you will see a wooden board on the ground. Let’s tap on it to take a closer look and tap again to move it aside.
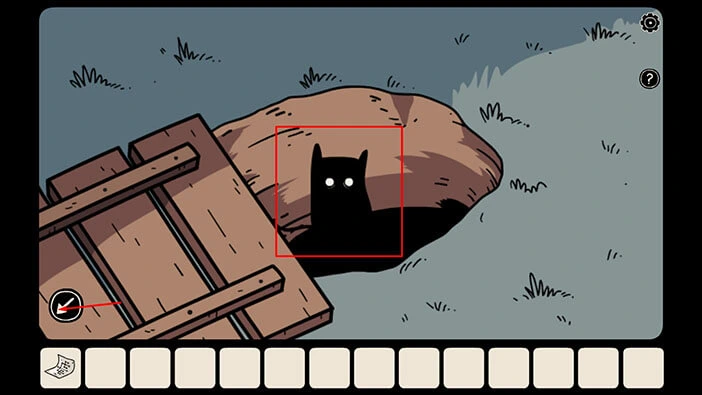
Here, you will find the first “Shadowy hamster”. There are 10 of these “Shadowy hamsters” hidden throughout the game and in this walkthrough, we will find all of them.
Let’s go back. Tap on the arrow in the lower-left corner of the screen to go back.
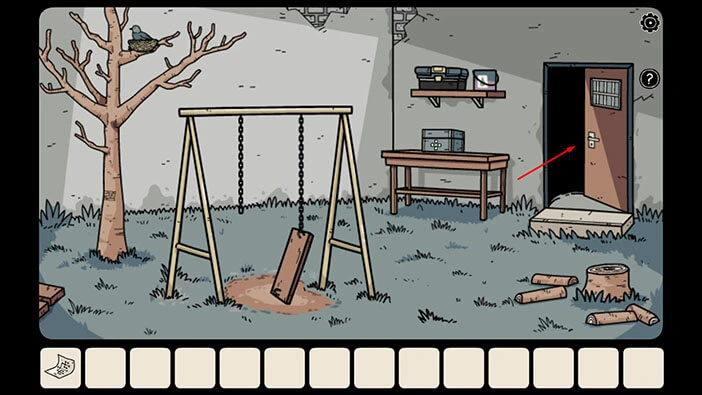
That’s it for the backyard. Let’s tap on the door to go back into the building.
On the shelf, just to the left of the door, you will notice a wooden ship. Let’s tap on it to take a closer look at it, and tap again to examine it.
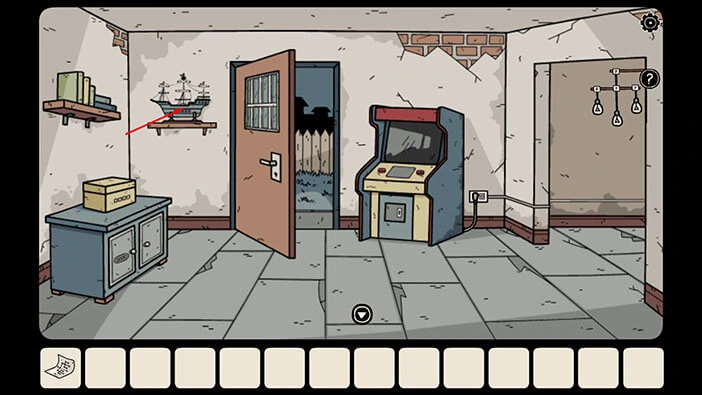
Here, you will find bricks arranged in the same pattern as the drawing that we saw on the tree. So, let’s tap on the bricks marked with the “X” symbol. We had,
The second brick is in the first row, the third brick is in the first row, the second brick is in the second row, the first brick is in the third row, and the first brick is in the fourth row.
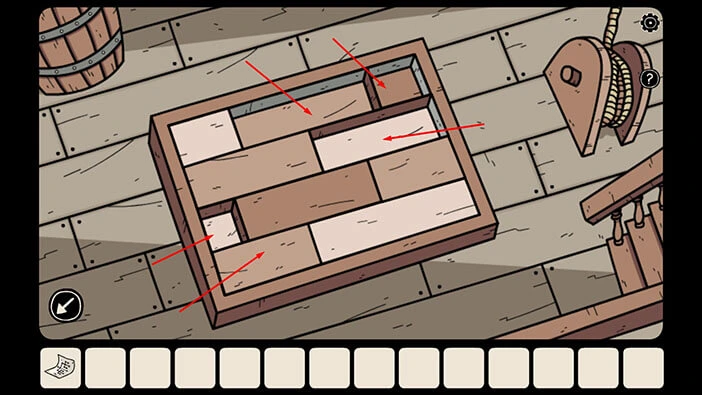
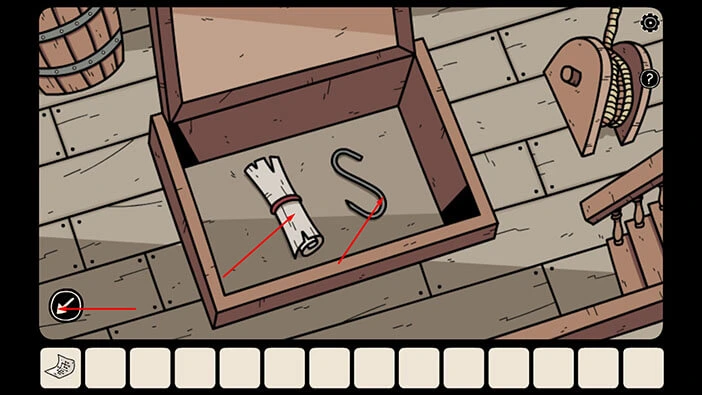
You will unlock the wooden chest, as soon as you tap on the correct bricks. In the chest, you will find a “Metal hook” and a “Map”. Let’s tap on these two items to pick them up.
After that, tap on the arrow in the bottom left corner of the screen to go back.
Let’s go back to the previous room. Tap on the arrow at the bottom of the screen.
Let’s examine the “Map” in our inventory.
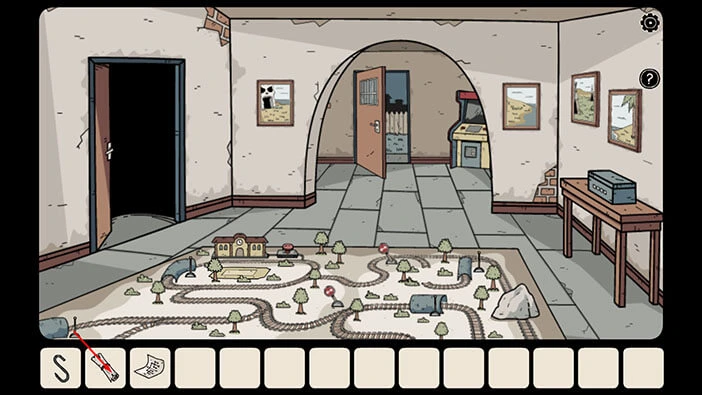
Here, we can see the ship and the path that it should travel. Let’s write the points on the path because this information represents the hint for the next puzzle.
The first point = an island with a skull
The second point = an island with a palm
The third point = an island with a village
The fourth point = a sea snake
Once you’re done, tap on the arrow in the bottom left corner of the screen to go back.
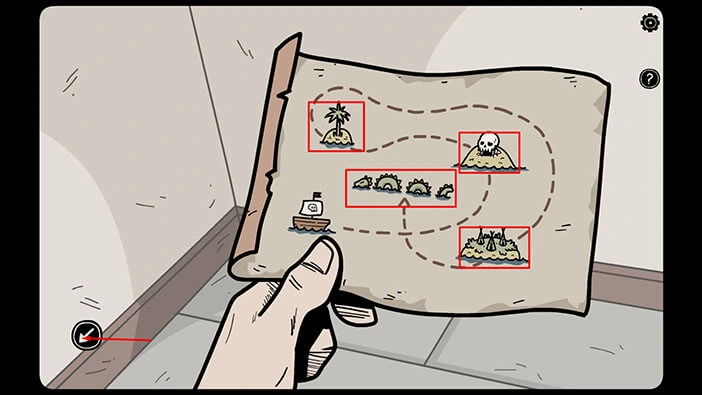
If you take a look around the room, you will notice four pictures on the wall. In these pictures, we can see the four points that we saw on the map.
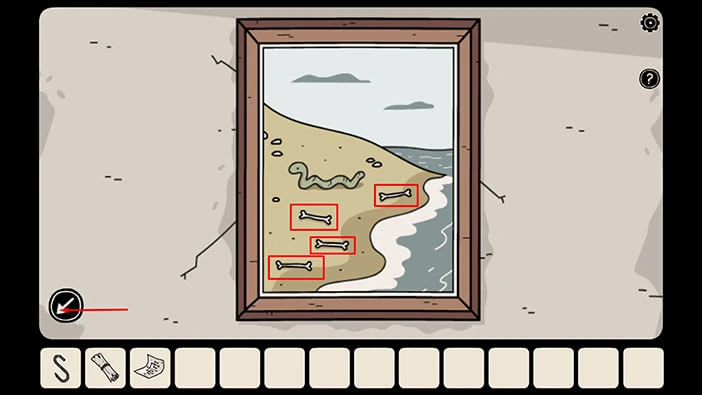
The first point was an island with a skull. You will notice this picture on the wall on the left (just to the left of the doorway). Let’s tap on it to take a closer look.
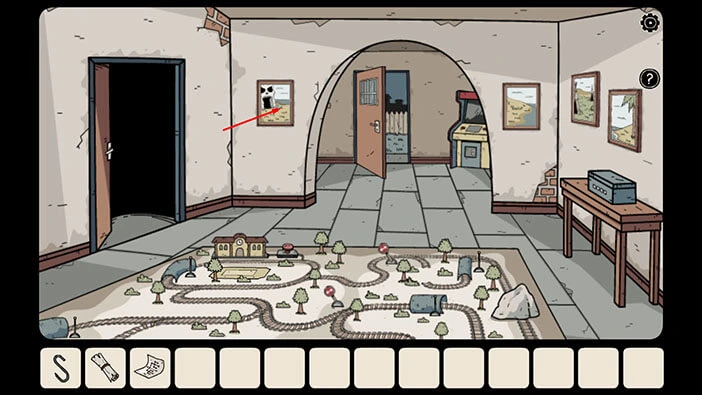
Here, we can see eight bones. Let’s memorize/write down this information.
The first number = 8 (because the island with a skull was the first point on the map).
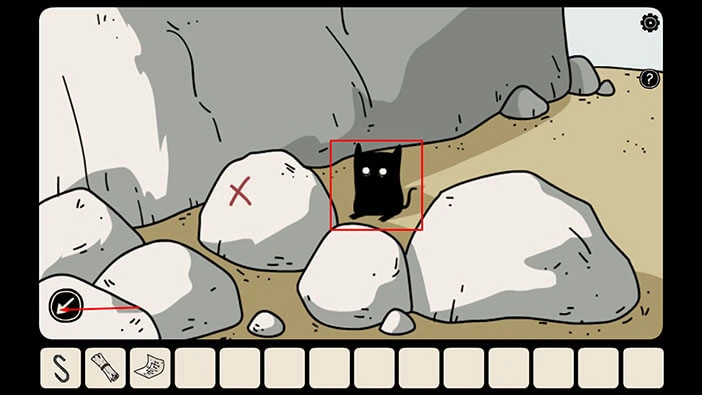
Before we proceed, let’s take a look at the stones in the picture. On the stone at the top of the pile, you will notice an “X” symbol. Let’s tap on it to examine it.
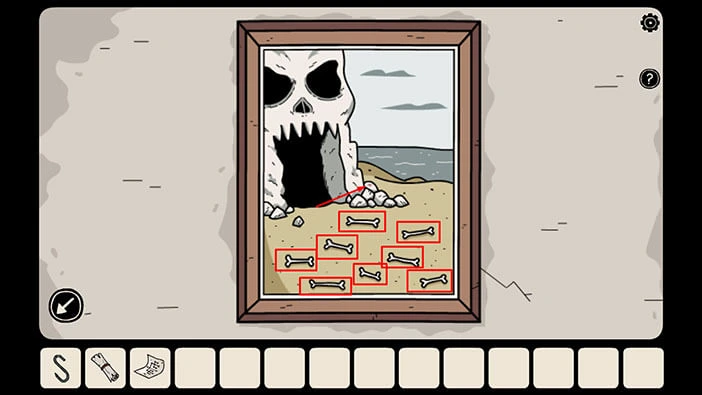
Behind the rocks, you will discover the second “Shadowy hamster”. Let’s go back. Tap on the arrow in the bottom left corner of the screen to go back.
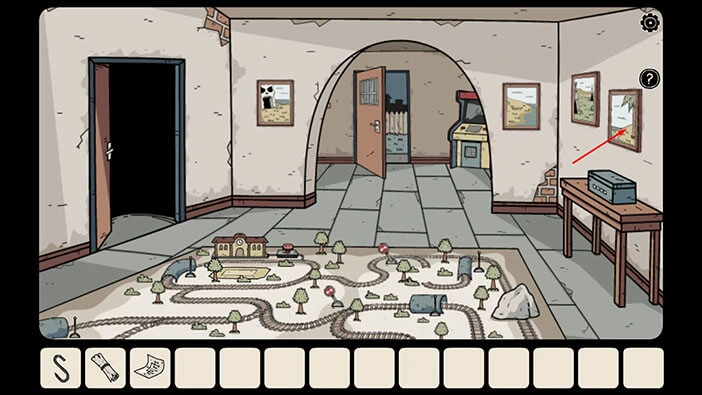
Next, let’s take a look at the second point, the island with a palm. In the first picture on the right, we can see an island with a palm. Let’s tap on this picture to take a closer look at it.
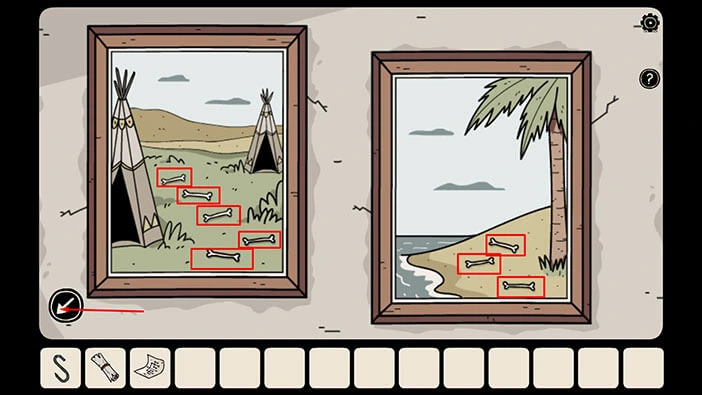
In the picture on the right, we can see an island with a palm, and this is our second picture. In this picture, we can see three bones. So,
The second number = 3
In the picture on the left, we can see an island with a village, and this is our third picture. In this picture, we can see five bones. So,
The third number = 5
Let’s memorize/write down these numbers. Once you’re done, tap on the arrow in the bottom left corner of the screen to go back.
Let’s tap on the last picture to take a closer look at it.
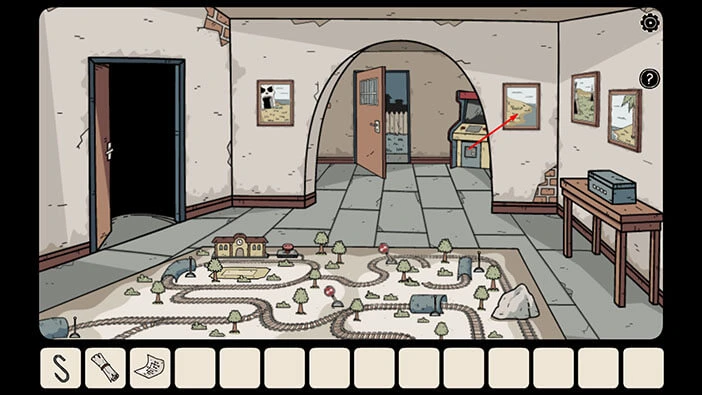
Here, we can see a sea snake. In this picture, we can see four bones. So,
Fourth number = 4
When we put it all together, we will get the number “8354”. Let’s memorize/write down this information. Once you’re done, tap on the arrow in the bottom left corner of the screen to go back.
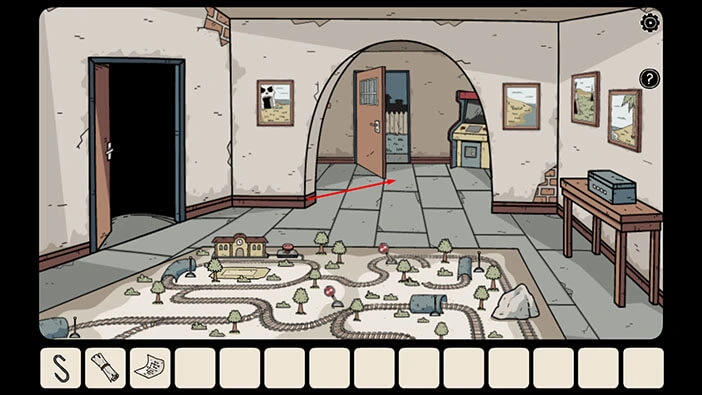
We can use the number that we discovered to unlock the cabinet in the other part of the room. So, let’s tap on the doorway to proceed to the next part of the room.
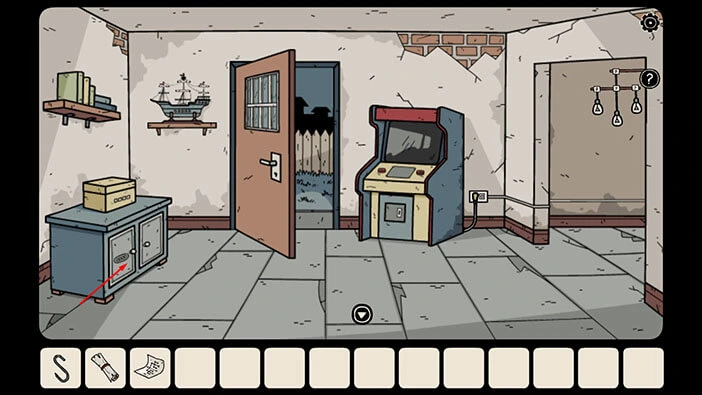
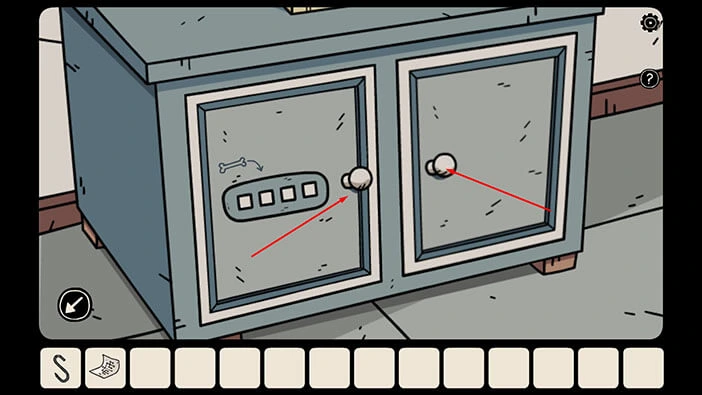
Tap on the cabinet on the left to take a closer look at it, then tap on the cabinet door on the left to start the interaction.
Here, we can see four slots, and above them, we can see a bone (this is a hint, indicating that we should enter the number of bones that we discovered in the pictures).
So, let’s enter the number “8354”.
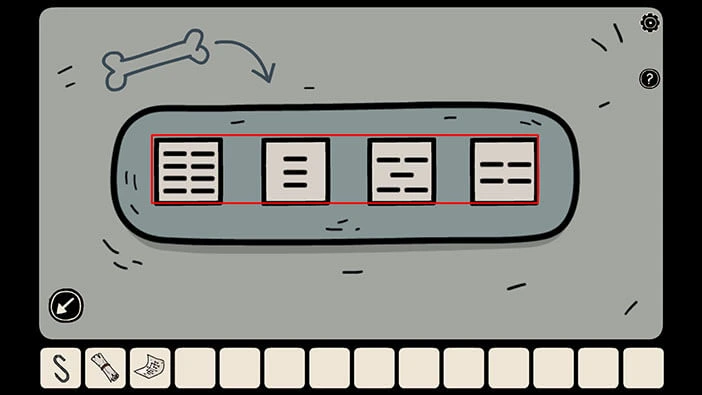
You will hear a clicking sound, indicating that we have unlocked the door. Let’s what’s inside. Tap on both cabinet doors to open them.
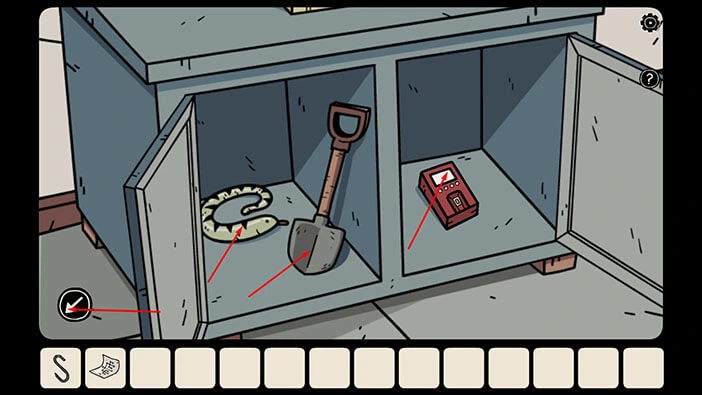
In the cabinet, you will find a “Rubber Snake”, a “Shovel”, and a “Fingerprint scanner”. Let’s tap on these three items to pick them up.
Once you’re done, tap on the arrow in the bottom left corner of the screen to go back.
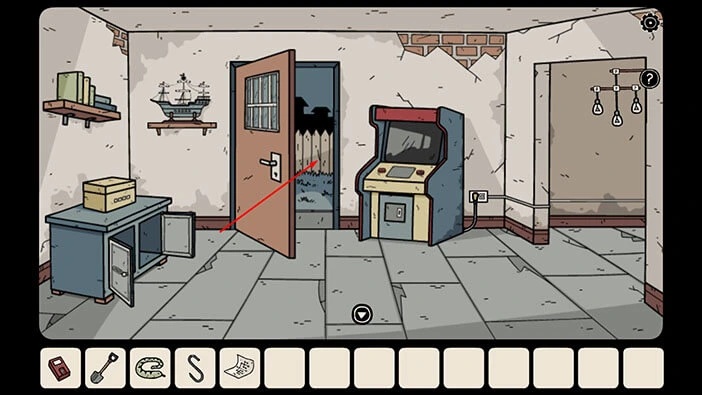
Let’s proceed. Tap on the door to go to the backyard.
Let’s repair the children’s swing. Select the “Metal hook” from the inventory then tap on the swing to repair it.
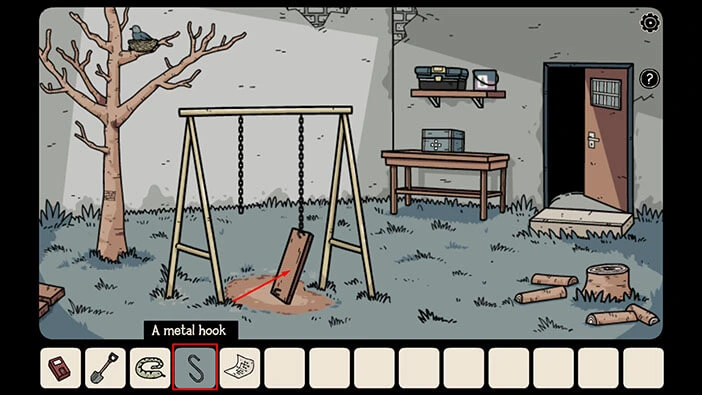
A ghost of a boy will appear on the swing, and it will point at the spot on the ground.
So, select the “Shovel” from the inventory and use it to dig at this spot.
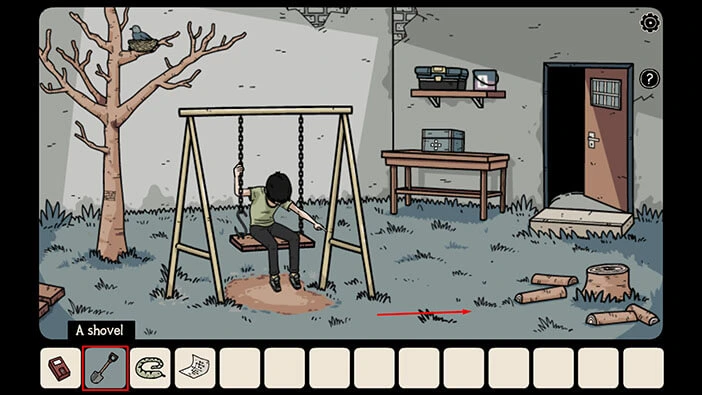
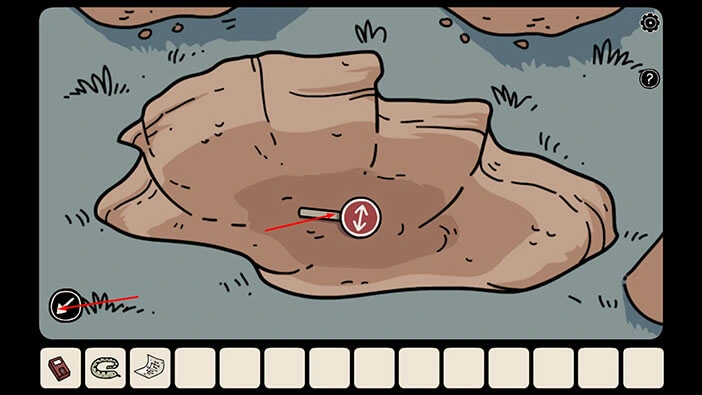
Let’s tap on the hole in the ground to look inside.
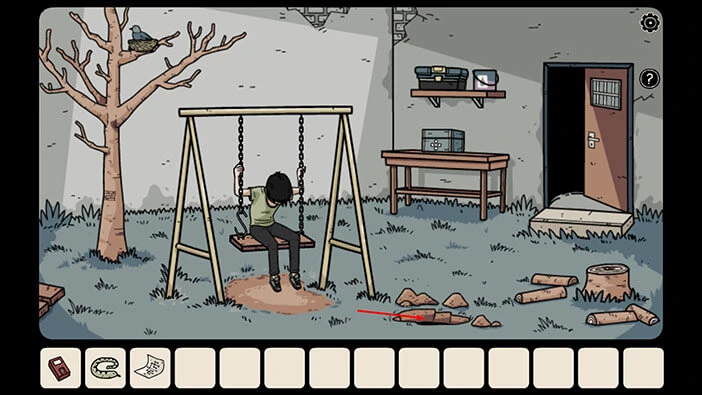
In the hole, you will find a “Railroad switcher for electric toy trains”. Let’s tap on it to pick it up.
After that, tap on the arrow in the bottom left corner of the screen to go back.
Next, if you take a look at the tree, you will notice a bird’s nest. Let’s tap on it to take a closer look.
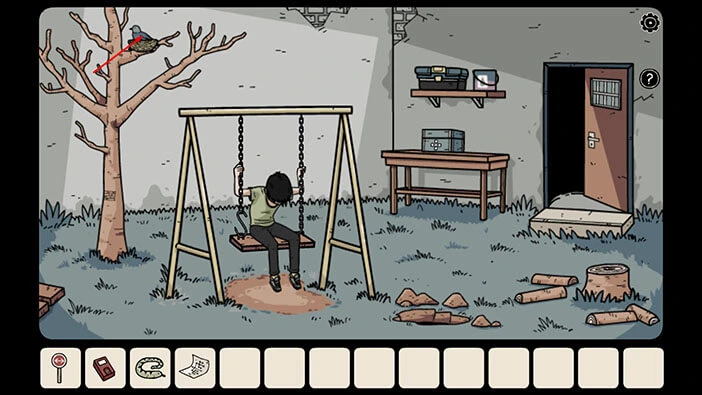
Next, select the “Rubber Snake” from the inventory and place it on the branch. You will scare the bird, and it will fly away.
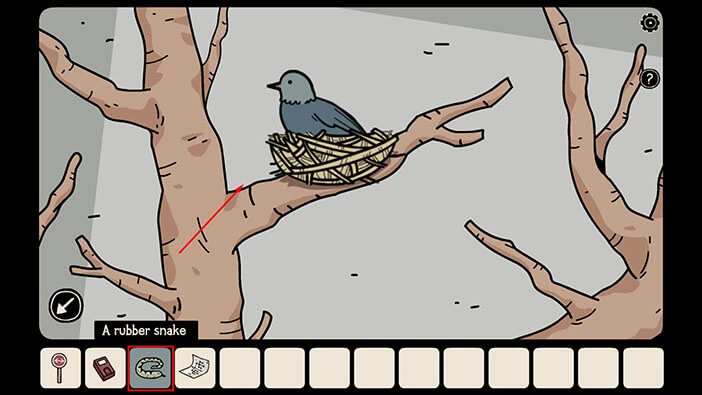
With the bird gone, we can take a look inside the nest. So, let’s do that.
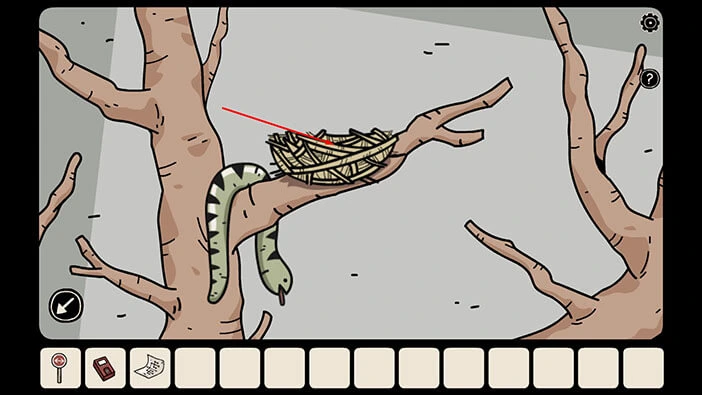
In the nest, you will find a “Grey key” and a “Note with symbols”. Let’s tap on these two items to pick them up.
Once you’re done, tap on the arrow in the bottom left corner of the screen to go back.
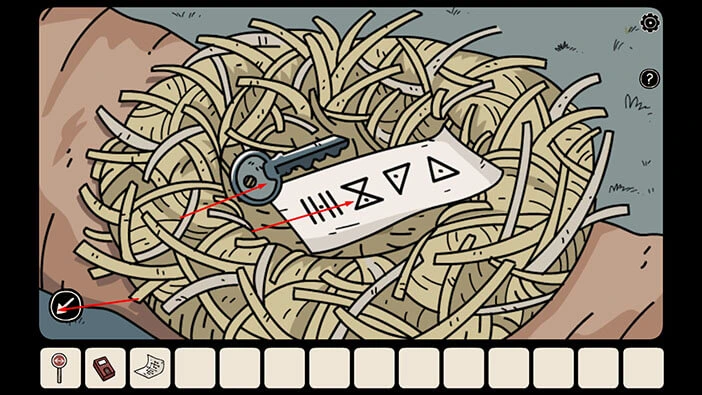
We can use the “Hint with symbols” to unlock one of the drawers in the building. Let’s do that.
Tap on the door to proceed inside.
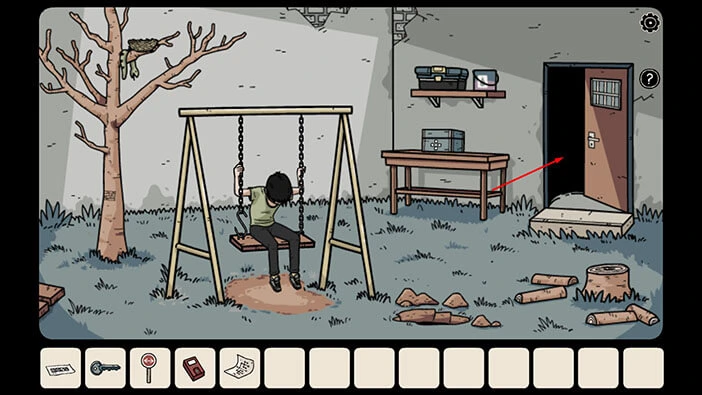
Next, tap on the doorway on the right to proceed to the next room.
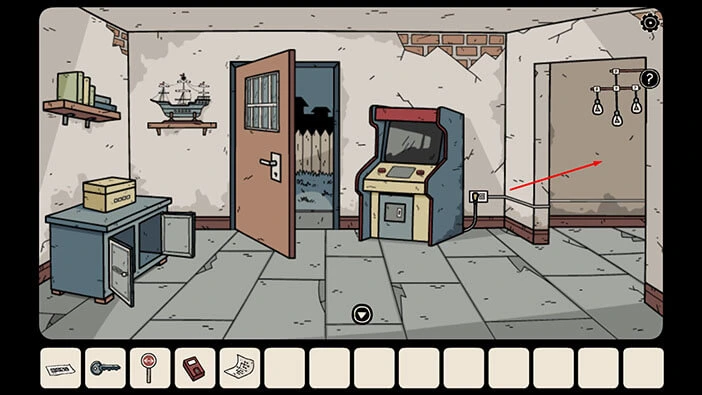
Here, you will notice a cabinet with three drawers. Let’s tap on the top drawer to take a closer look at it and tap again to examine it.
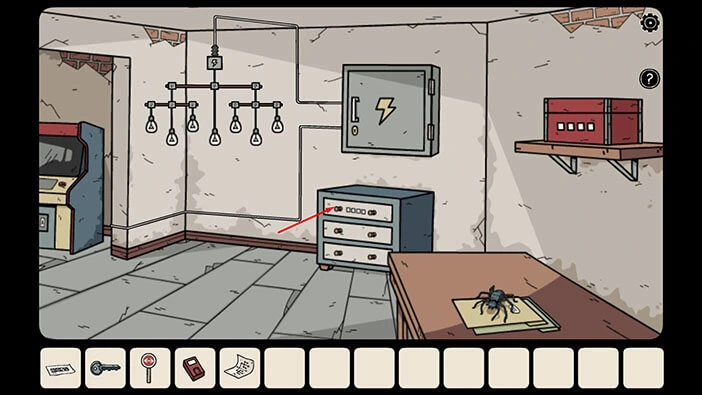
We will need a combination of four symbols in order to unlock this drawer. Let’s tap on the “Hint with symbols” in our inventory to examine it.
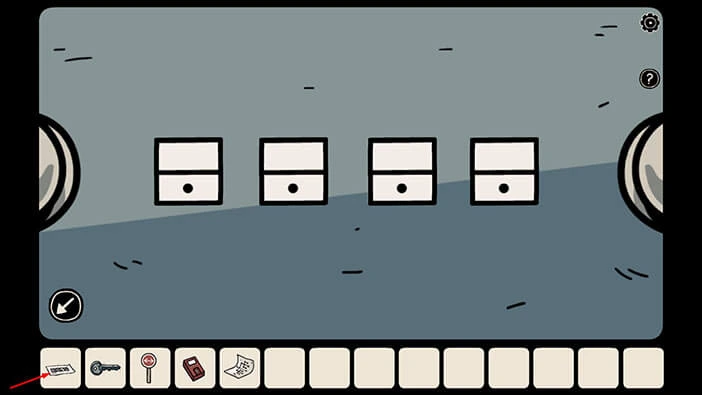
Here, you will see four symbols. Let’s memorize/write down these symbols because we will need them to unlock the drawer.
Once you’re done, tap on the arrow in the bottom left corner of the screen to go back.
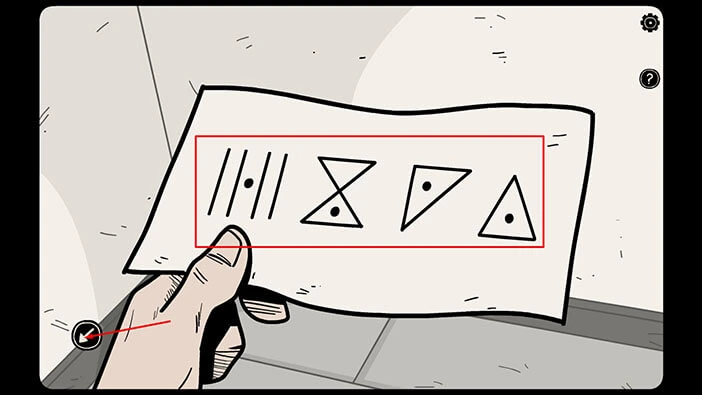
Let’s enter the symbols that we saw in the hint.
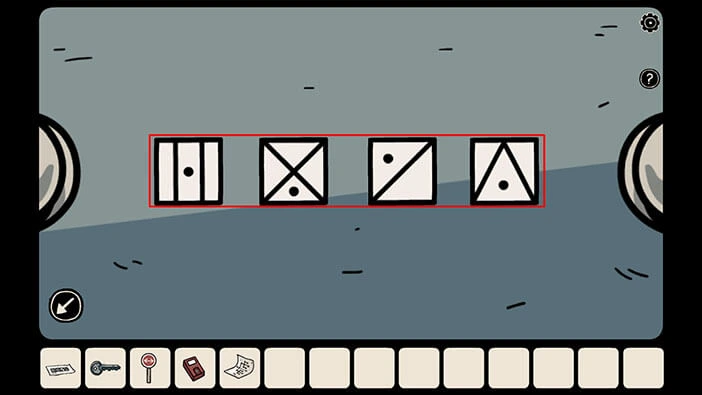
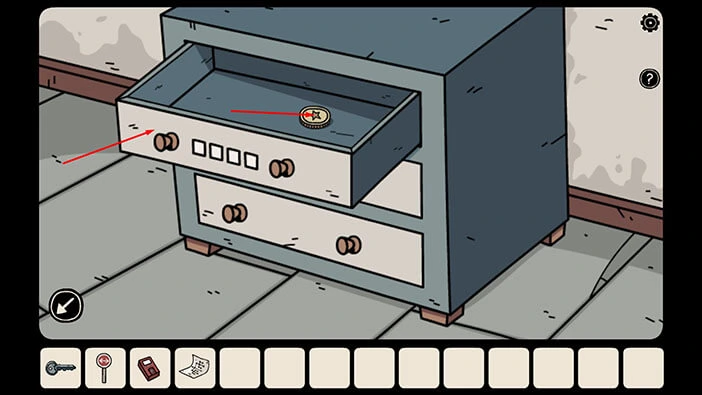
You will hear the clicking sound, indicating that we unlocked the top drawer. Let’s tap on it to open it. In the top drawer, you will find a “Token for an arcade machine”. Tap on it to pick it up.
After that, tap on the top drawer again to close it.
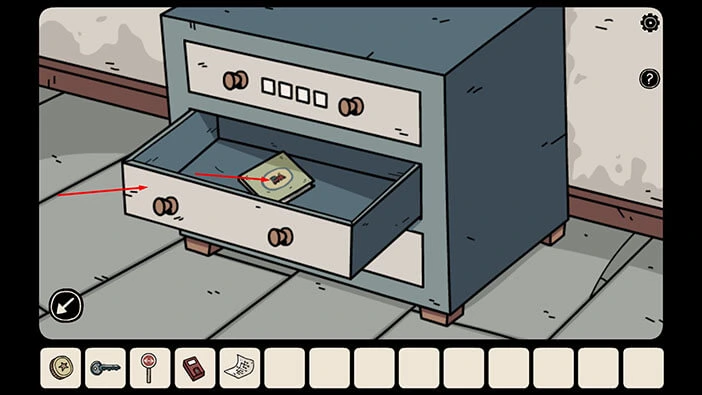
Next, let’s tap on the middle drawer to open it. Inside you will find a “Toy book”. Let’s tap on it to pick it up.
After that, tap on the middle drawer again to close it.
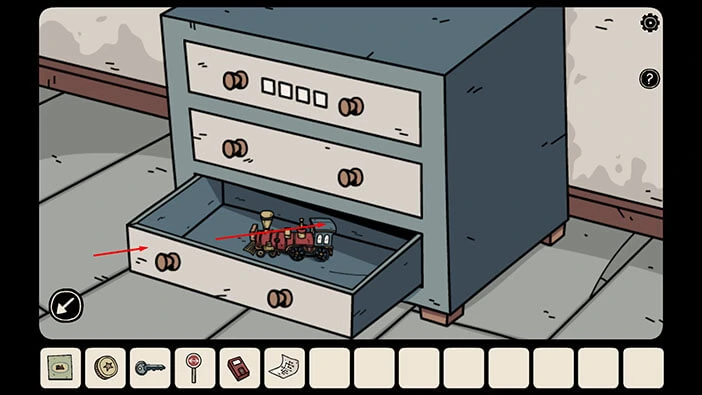
Lastly, let’s tap on the bottom drawer to open it. Inside you will find a “Toy train engine”. Let’s tap on it to pick it up.
After that, tap on the bottom drawer again to close it. Let’s go back. Tap on the arrow in the bottom left corner of the screen.
Next, let’s tap on the power box to take a closer look at it.
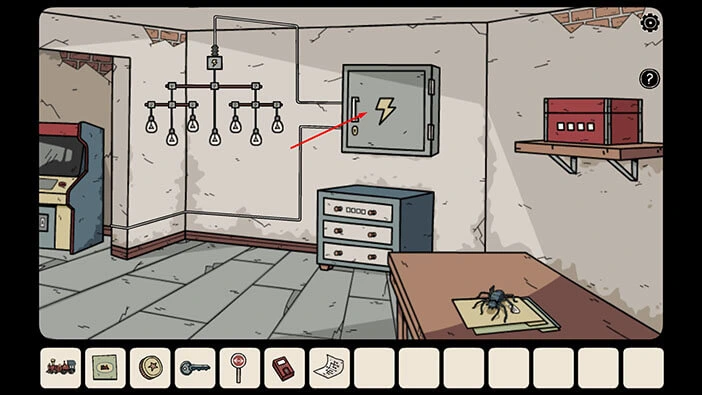
Select the “Grey key” from the inventory and use it to unlock the box. After that, tap on the box to open it.
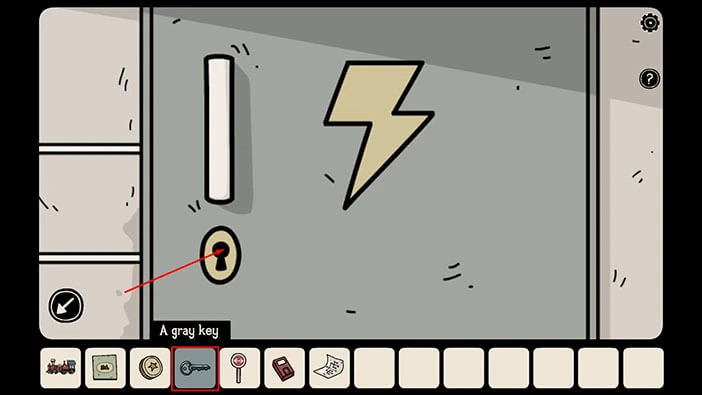
Our next task is to turn on the specific light bulbs. Let’s take a look at the “Note with hint” in our inventory to discover the correct light bulbs.
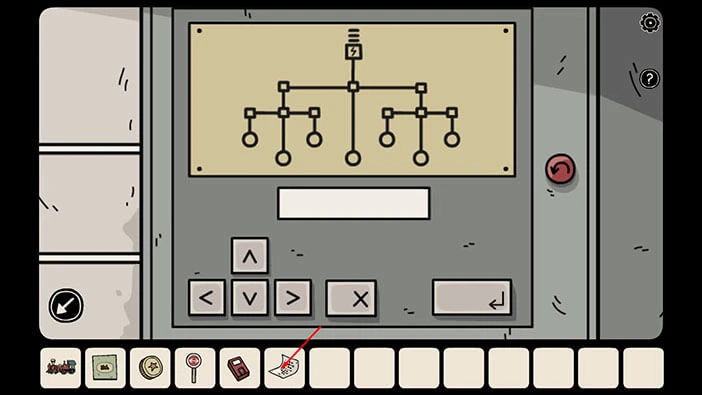
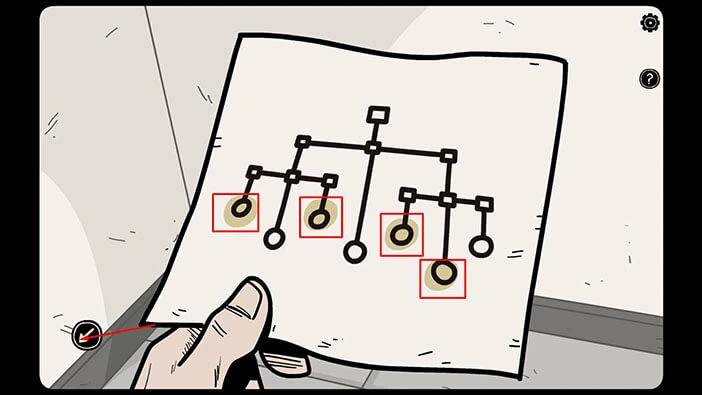
So, let’s memorize/write down the position of the four marked light bulbs. Here, we have,
The left light bulb on the left tree.
The right light bulb on the left tree.
The left light bulb on the right tree.
The middle light bulb on the right tree.
Once you’re done, tap on the arrow in the bottom left corner of the screen to go back.
Ok, our next task is to power up the four light bulbs that we discovered by looking at the hint. Our starting point is the node with the electricity symbol at the top of the map. We can “lead” the electricity from this point to the light bulb by tapping on the arrows. We will do this puzzle in several steps. Let’s begin.
Step 1
Let’s tap on the down arrow, left arrow, down arrow, left arrow, and down arrow. Once you’re done, tap on the “Enter” to confirm.
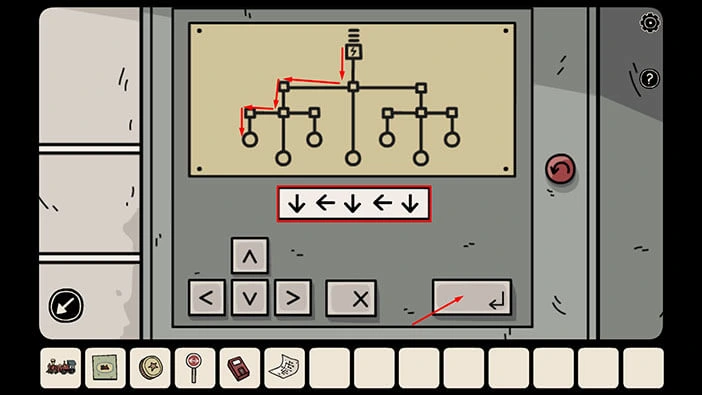
Step 2
Let’s tap on the down arrow, left arrow, down arrow, right arrow, and down arrow. Once you’re done, tap on the “Enter” to confirm.
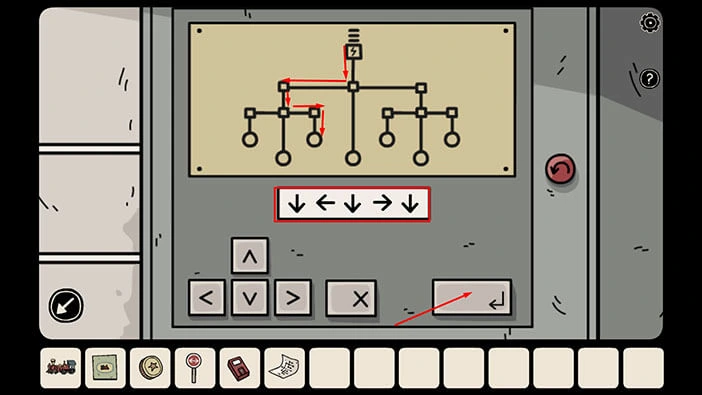
Step 3
Let’s tap on the down arrow, right arrow, down arrow, left arrow, and down arrow. Once you’re done, tap on the “Enter” to confirm.
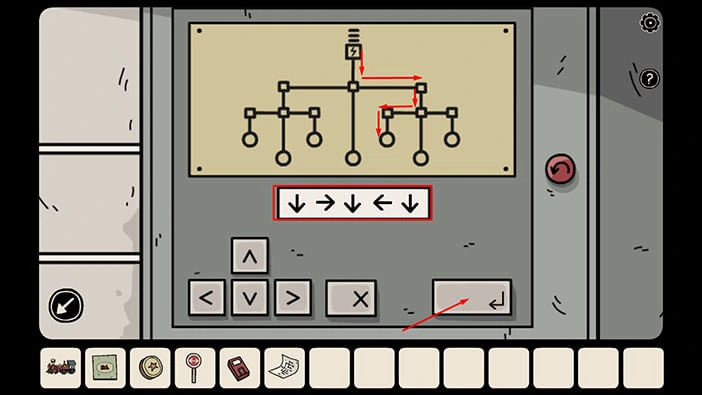
Step 4
Let’s tap on the down arrow, right arrow, down arrow, and down arrow. Once you’re done, tap on the “Enter” to confirm.
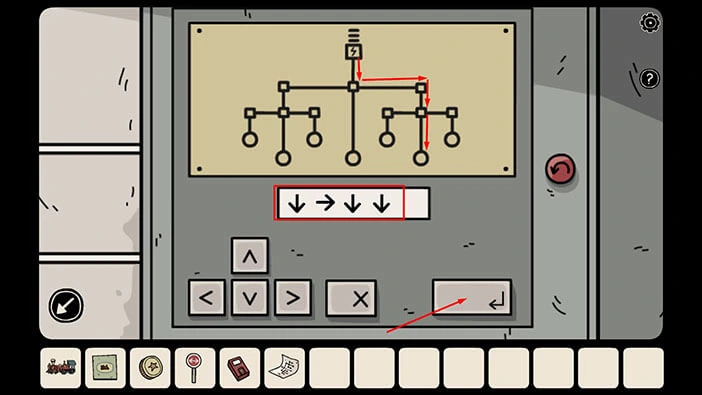
With that, we will restore the power, and we can now use the arcade machine.
Ok, let’s go to the room with the arcade machine. Tap on the doorway on the left.
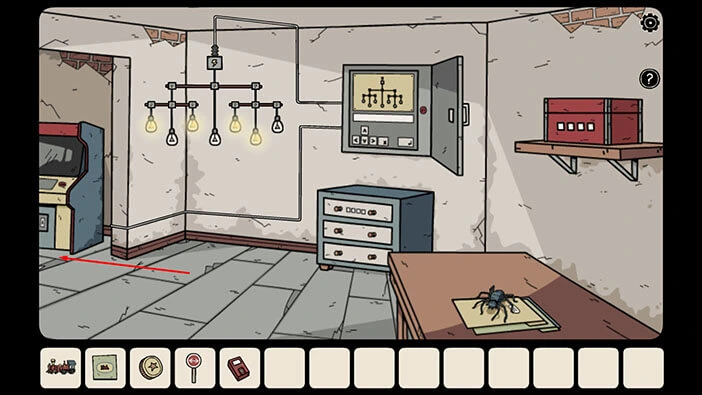
Next, tap on the bottom part of the arcade machine to take a closer look at it.
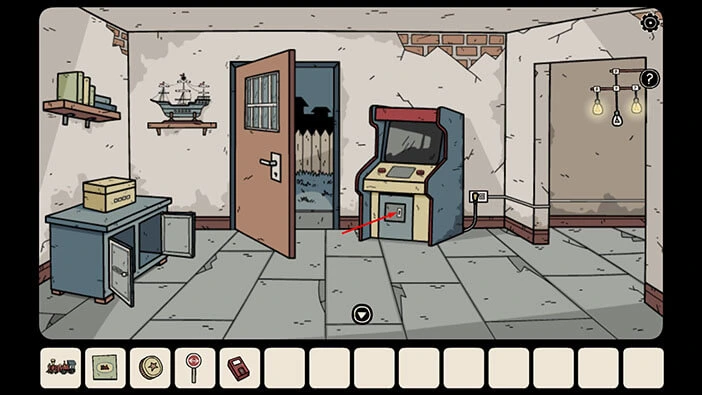
Select the “Token for an arcade machine” from the inventory and insert it into the slot.
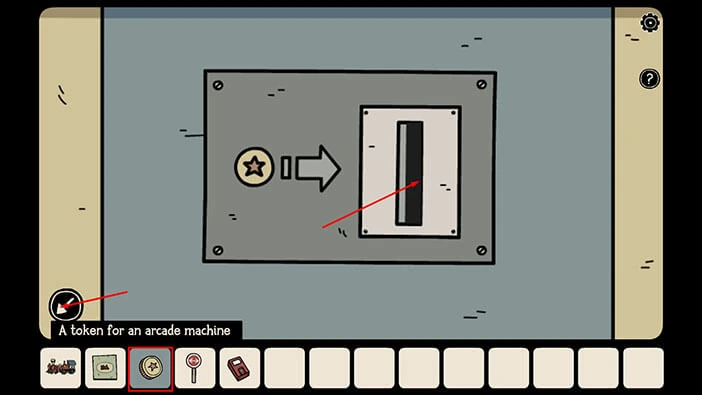
Let’s tap on the “Start” button to play the minigame.
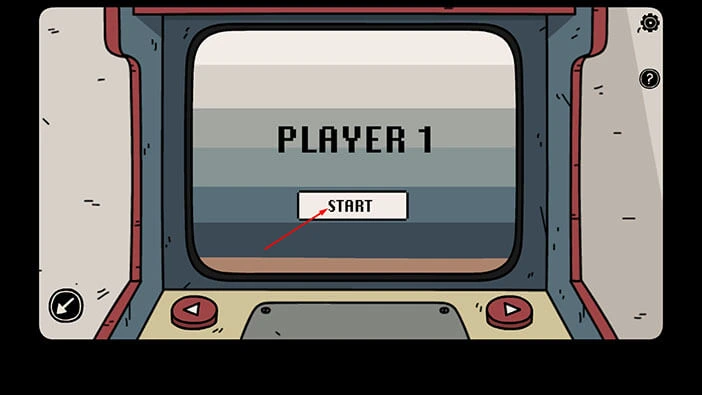
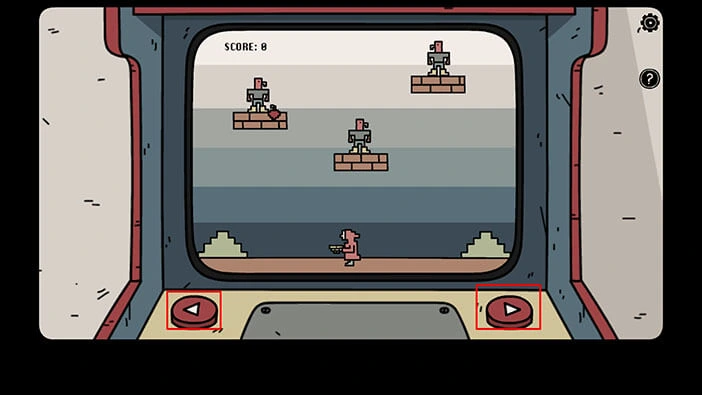
Use the left/right arrow to pick up the apples before they fall to the ground.
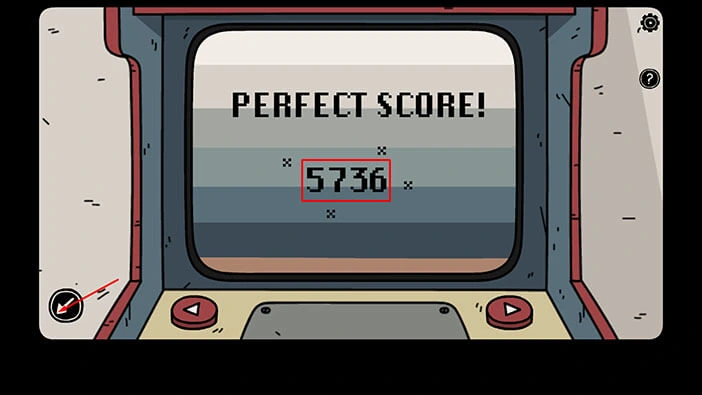
Once you complete the minigame, you will get the “Perfect Score 5736”. Let’s memorize/write down the number “5736” because we will need it for the next puzzle.
Once you’re done, tap on the arrow in the lower-left corner of the screen to go back.
Next, let’s tap on the yellow box on the left to take a closer look at it.
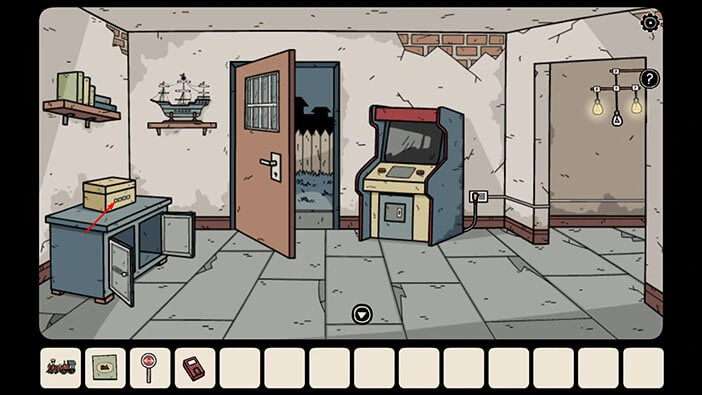
Let’s enter the number “5736” that we discovered by playing the minigame (you can see the drawing of the arcade machine above the slots).
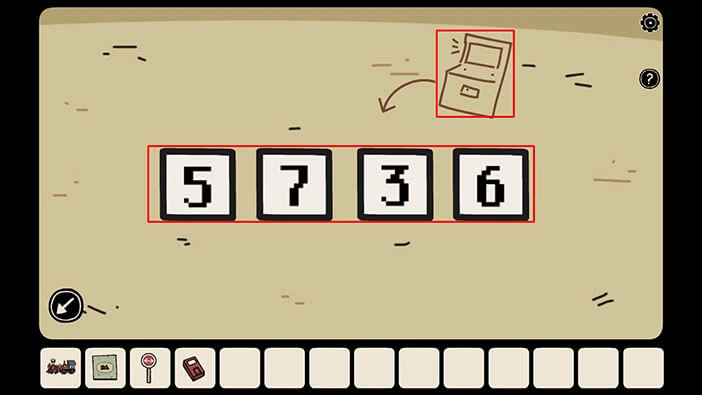
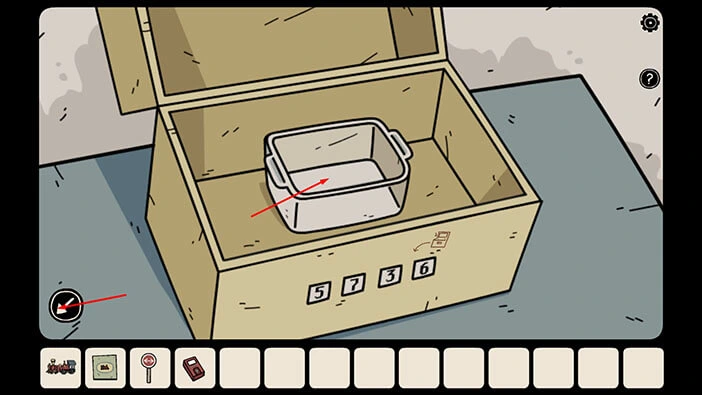
With that, you will open the box, and inside you will find a “Plastic container”. Tap on it to pick it up.
After that, tap on the arrow in the lower-left corner of the screen to go back.
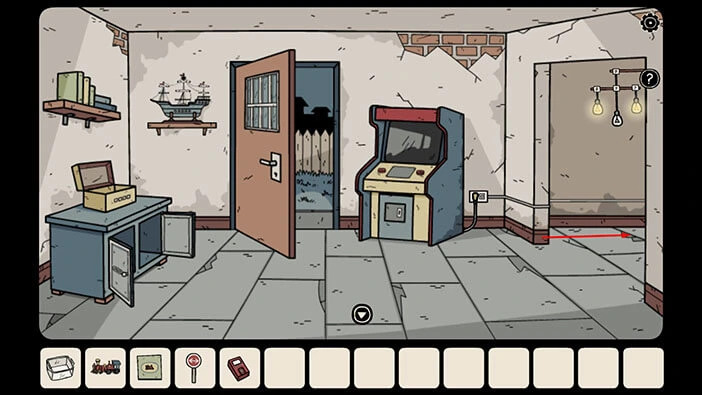
Let’s go back to the room with the light bulbs. Let’s tap on the room on the right.
On the table on the right, you will see a large spider. Let’s tap on it to take a closer look.
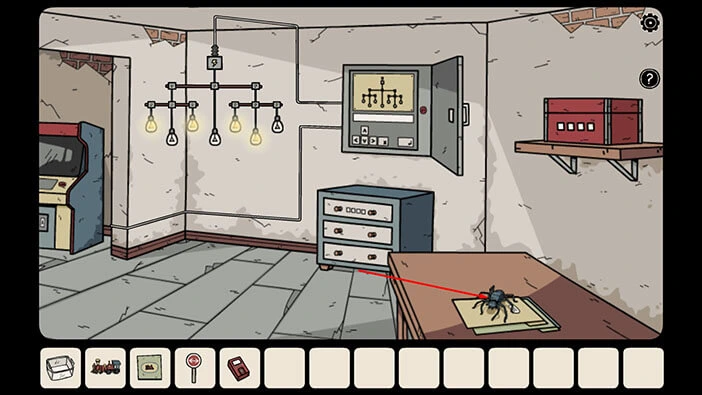
You will notice that the spider is standing on top of the files, and we will have to find a way to remove it.
Select the “Container” from the inventory and tap on the spider to trap it.
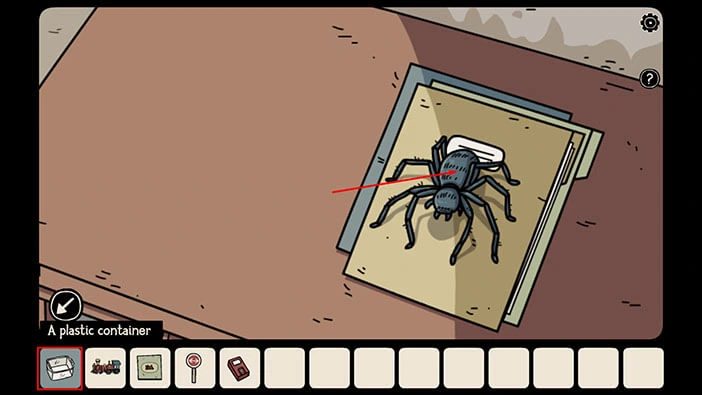
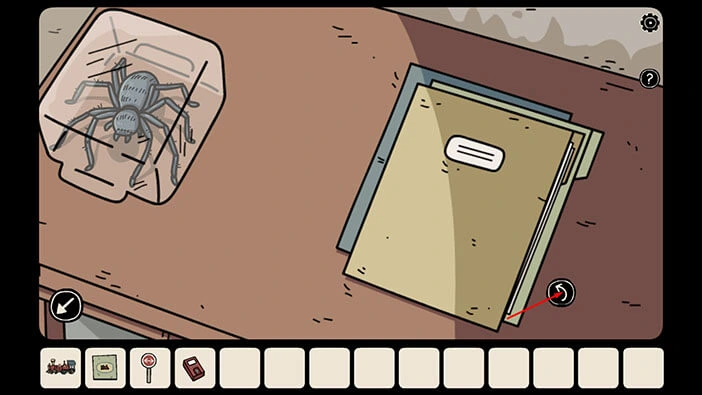
Our character will move the trapped spider aside, and we will gain access to the files. However, at this moment, a shadow will move behind our character.
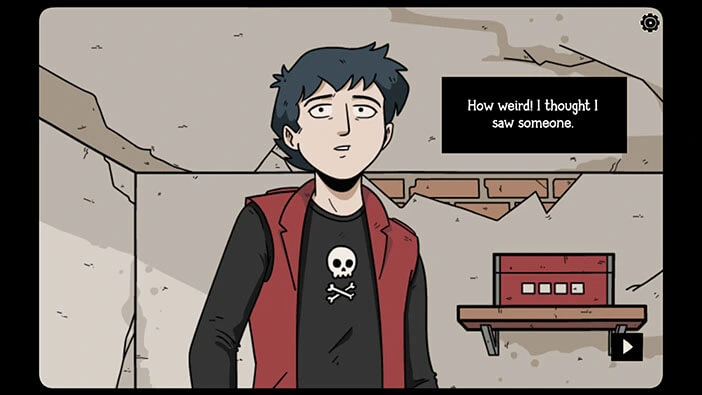
Let’s tap on the arrow on the right to open the files.
In the bottom right corner of the file, we can see a symbol that contains three circles. Let’s memorize/write down this symbol (circles are located at the bottom, top-right, and top-left).
Once you’re done, select the “Fingerprint scanner” from the inventory and use it on the fingerprint located in the top right corner of the file.
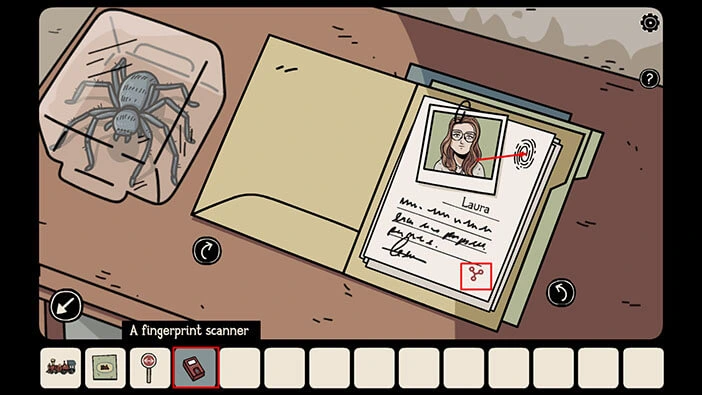
A symbol will appear on the screen. We can see a circle, and the bottom part of the circle is black. So, the previous symbol and this one are connected. Let’s memorize/write down this information.
The first symbol with three circles (bottom, top-right, and top-left) = circle with black bottom half
Once you’re done, tap on the arrow on the left to put down the scanner.
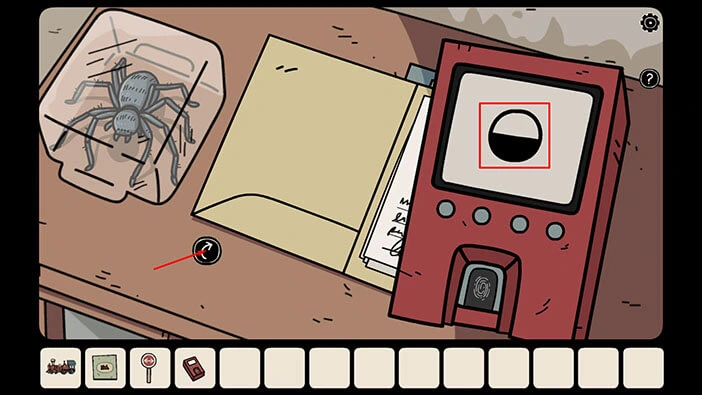
Let’s take a look at the next page. Tap on the arrow on the right.
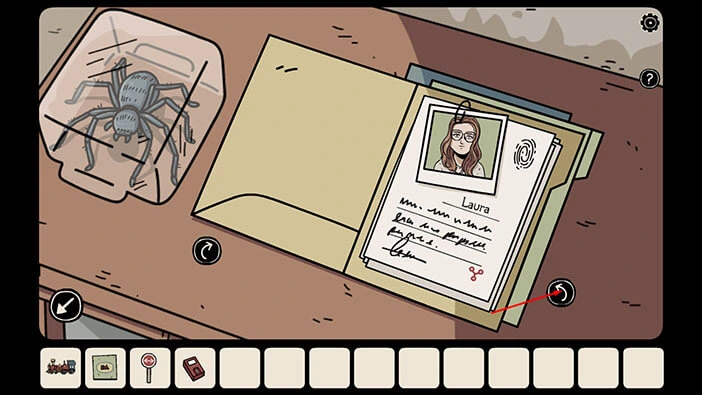
In the bottom right corner of the file, we can see a symbol that contains three circles. Let’s memorize/write down this symbol (circles are located at the top-left, bottom-left, and right side).
Once you’re done, select the “Fingerprint scanner” from the inventory and use it on the fingerprint located in the top right corner of the file.
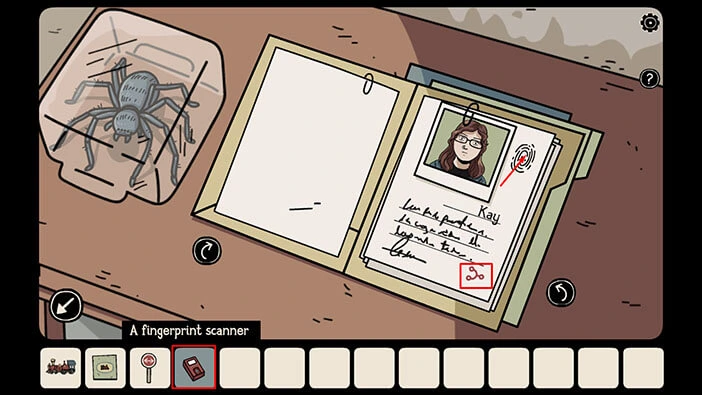
A symbol will appear on the screen. We can see a circle, and two lines (one pointing at 9 o’clock and the other pointing at 12 o’clock). So, the previous symbol and this one are connected. Let’s memorize/write down this information.
The second symbol with three circles (the top-left, bottom-left, and right side) = circle with two lines (one pointing at 9 o’clock and the other pointing at 12 o’clock).
Once you’re done, tap on the arrow on the left to put down the scanner.
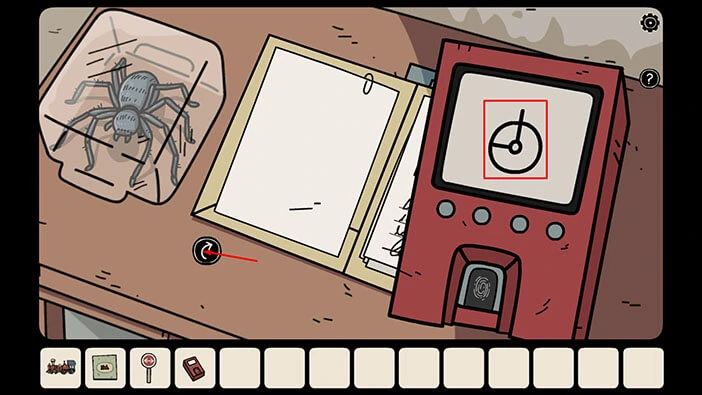
Let’s take a look at the next page. Tap on the arrow on the right.
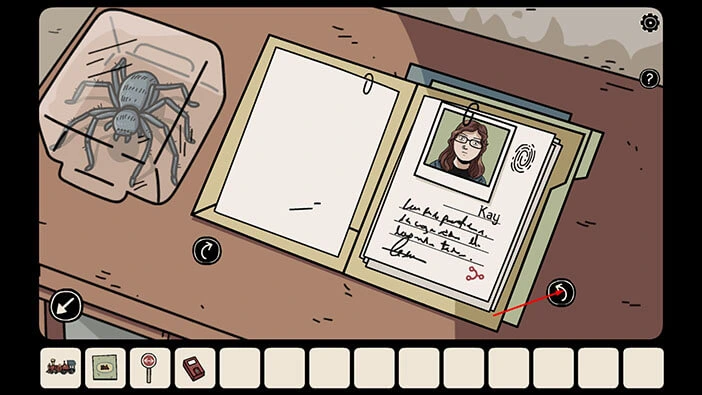
In the bottom right corner of the file, we can see a symbol that contains three circles. Let’s memorize/write down this symbol (circles are located at the left, right, and top).
Once you’re done, select the “Fingerprint scanner” from the inventory and use it on the fingerprint located in the top right corner of the file.
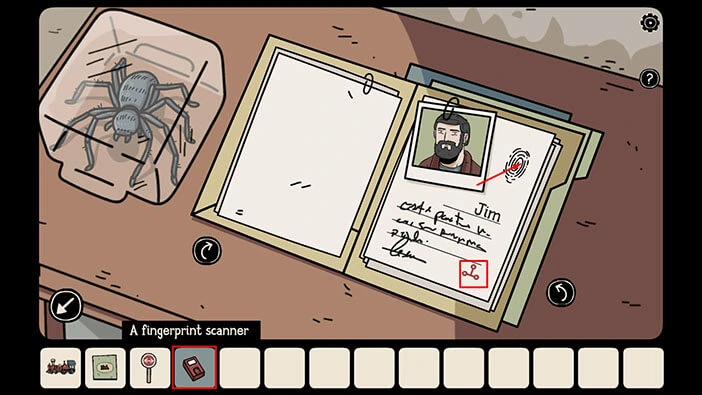
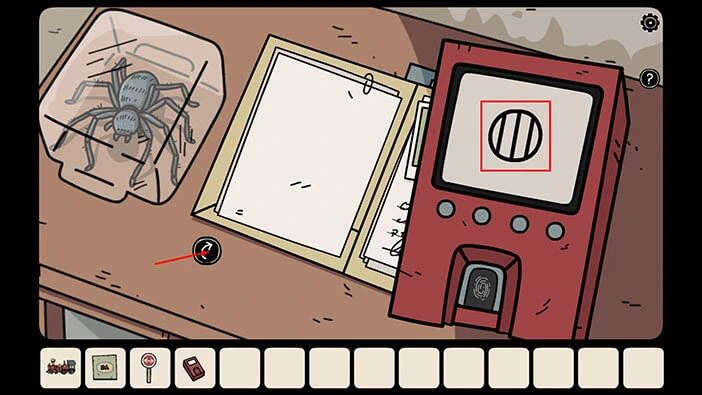
A symbol will appear on the screen. We can see a circle with three vertical lines. So, the previous symbol and this one are connected. Let’s memorize/write down this information.
The third symbol with three circles (left, right, and top) = a circle with three vertical lines.
Once you’re done, tap on the arrow on the left to put down the scanner.
Let’s take a look at the next page. Tap on the arrow on the right.
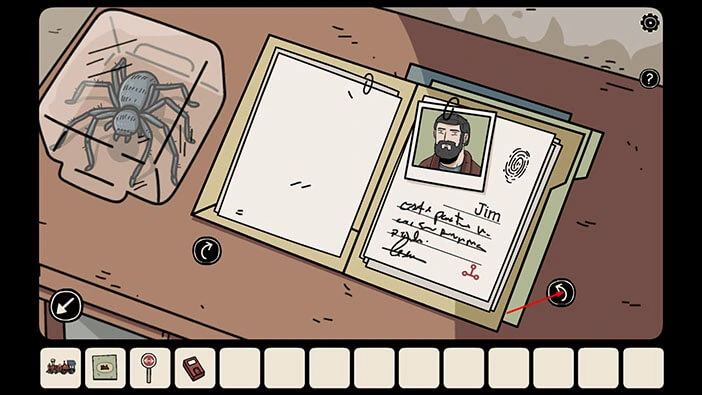
In the bottom right corner of the file, we can see a symbol that contains three circles. Let’s memorize/write down this symbol (circles are located at the left, top-right, and bottom-right).
Once you’re done, select the “Fingerprint scanner” from the inventory and use it on the fingerprint located in the top right corner of the file.
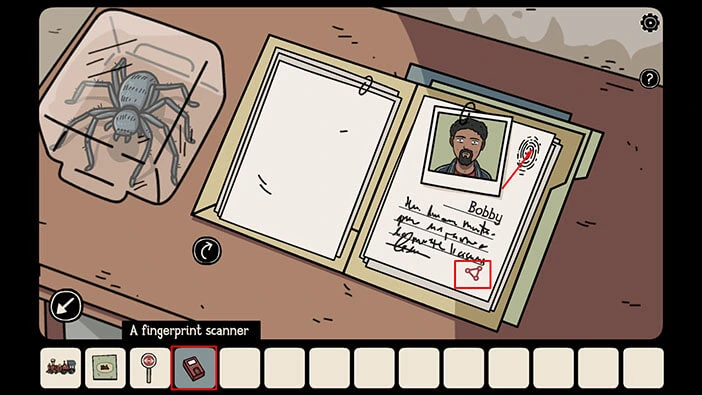
A symbol will appear on the screen. We can see a circle with a triangle inside. So, the previous symbol and this one are connected. Let’s memorize/write down this information.
The fourth symbol with three circles (left, top-right, and bottom-right) = a circle with a triangle inside.
Once you’re done, tap on the arrow on the left to put down the scanner.
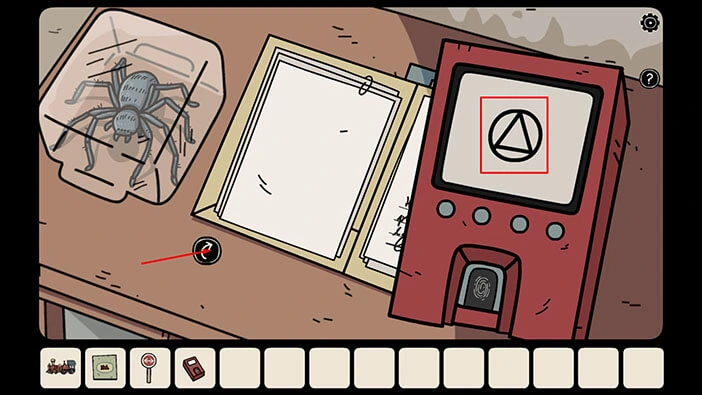
We can use the information that we gathered to unlock the red box, located in this room. Let’s do that. Tap on the arrow in the bottom left corner of the screen to go back.
On the shelf on the right, you will notice a red box. Let’s tap on it to take a closer look.
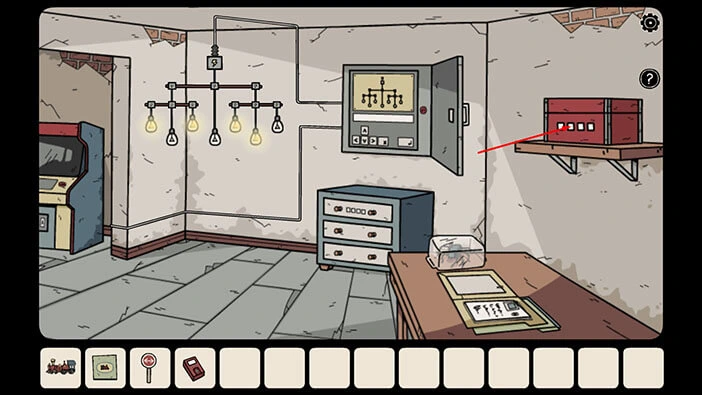
Above the four slots, we can see the four symbols that we saw in the bottom right corner of the files. So, let’s enter the symbols that are connected with the symbols above the slots.
The first slot (three circles = left, right, and top) = a circle with three vertical lines
The second slot (three circles = bottom, top-right, and top-left) = circle with black bottom half
The third slot (three circles = left, top-right, and bottom-right) = a circle with a triangle inside.
The fourth slot (three circles = the top-left, bottom-left, and right side) = circle with two lines (one pointing at 9 o’clock and the other pointing at 12 o’clock).
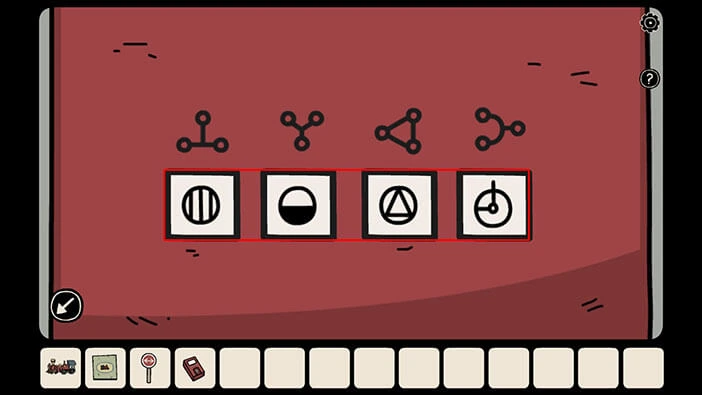
You will unlock the box as soon as you enter the correct symbols. In the box, you will find a “Hammer” and a “Miniature ship rudder”. Let’s tap on these two items to pick them up.
After that, tap on the arrow in the bottom left corner of the screen to go back.
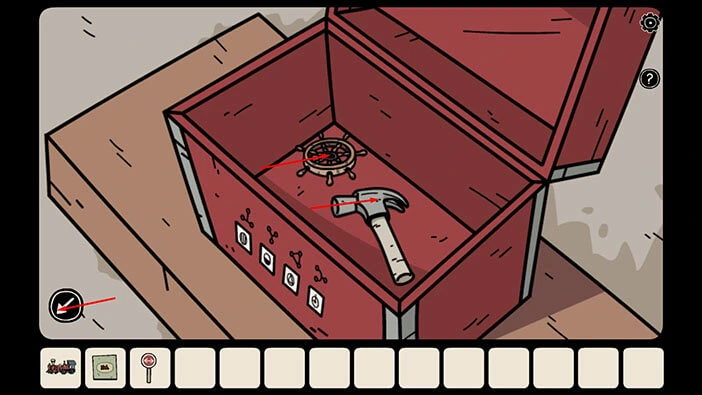
If you recall, we previously saw a toy ship, and it was missing a rudder. So, let’s assemble it. Let’s tap on the doorway on the left to proceed to the next room.
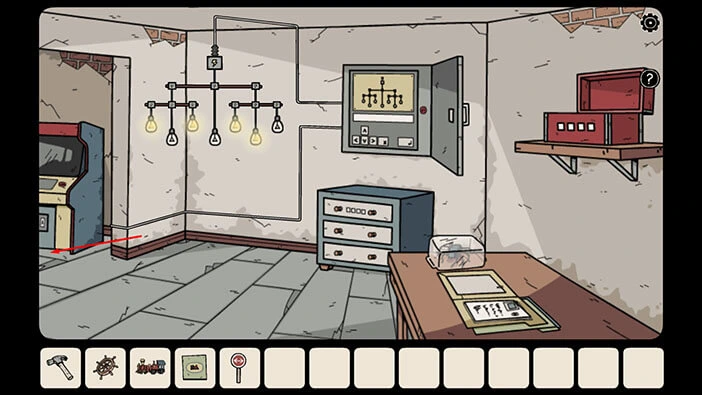
Let’s tap on the toy ship to take a closer look at it and tap again to examine it.
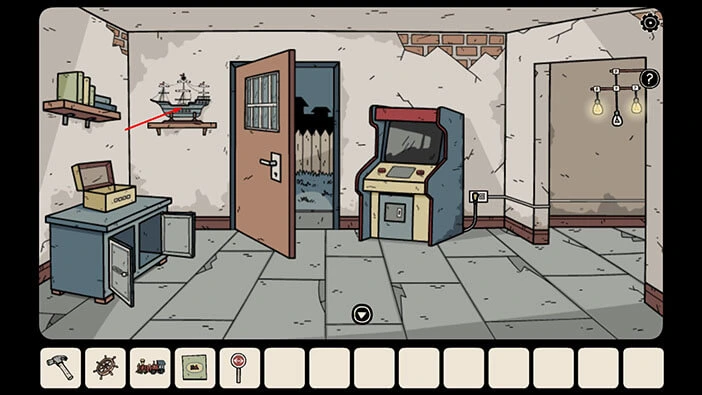
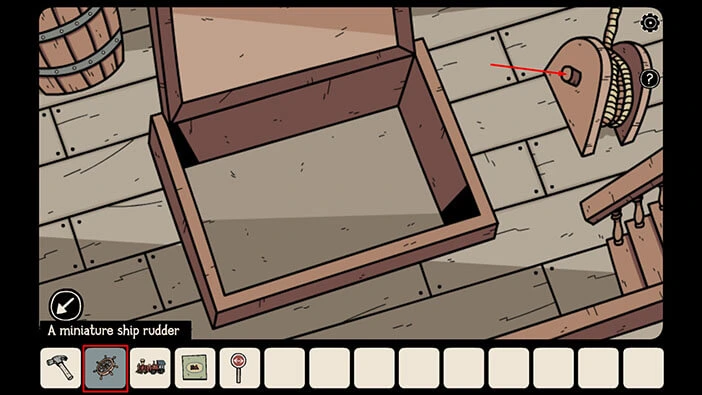
Select the “Miniature ship rudder” from the inventory and attach it to the slot on the right and tap again to activate it.
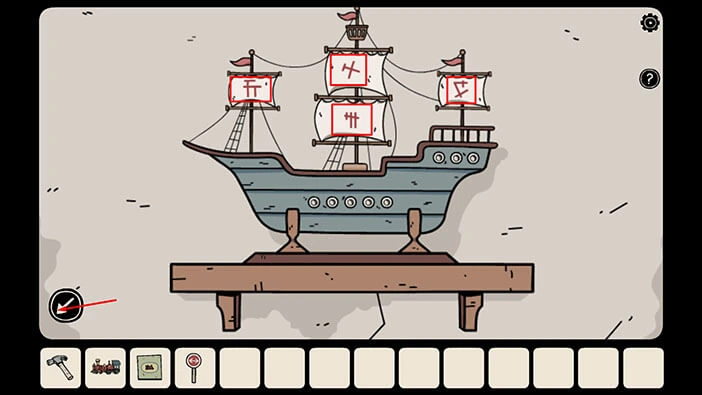
The ship will raise the sails, and we can see four symbols on them. Let’s memorize/write down these symbols and their positions. We can see a symbol on the sail on the left, the sail at the top, the sail at the bottom, and the sail on the right.
Once you’re done, tap on the arrow in the bottom left corner of the screen to go back.
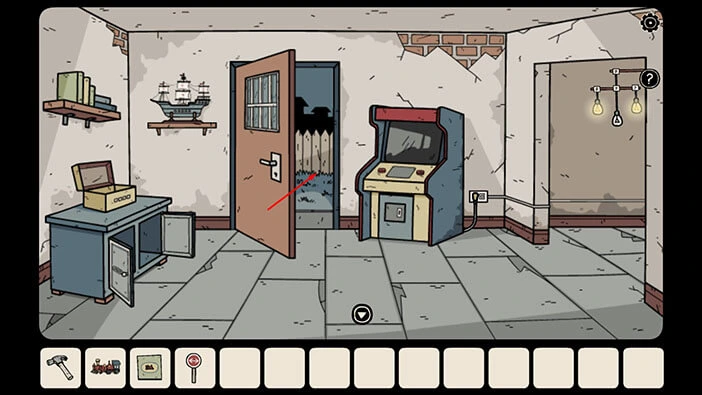
We can use this information to unlock the box in the backyard, so let’s do that. Tap on the door to proceed outside.
On the table on the right, you will notice a blue box. Let’s tap on it to take a closer look.
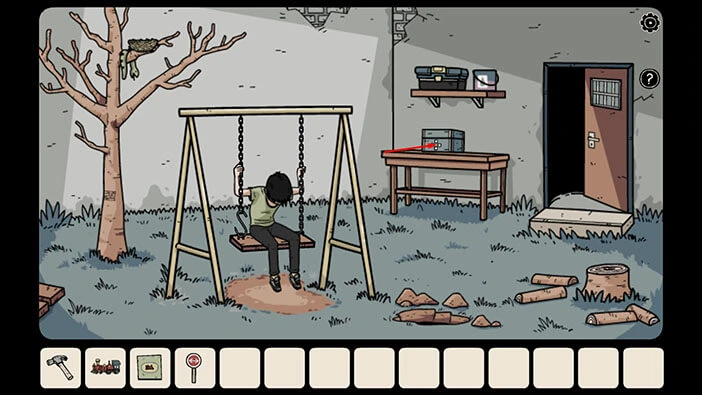
Let’s enter the symbols that we discovered by examining the ship sails.
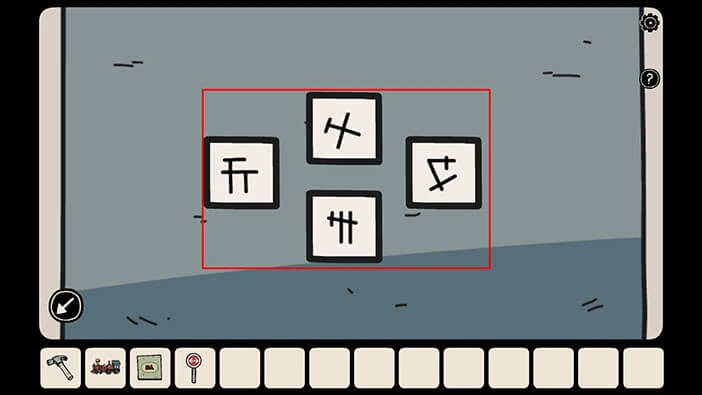
In the box, you will find a “Piece of rail for an electric toy train”. Let’s tap on it to pick it up. After that, tap on the arrow in the bottom left corner of the screen to go back.
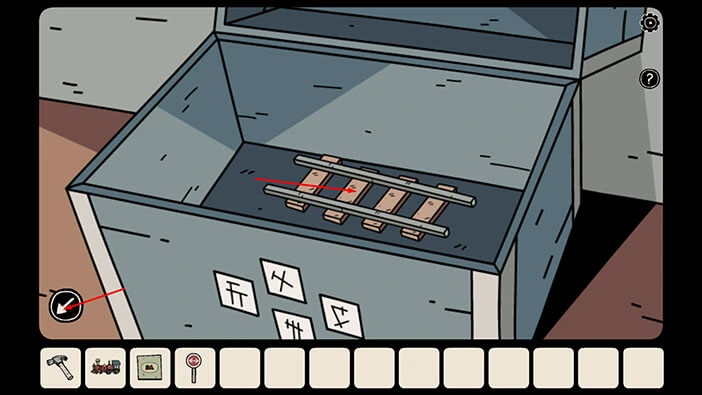
With the “Piece of rail for an electric toy train”, a “Toy train engine”, a “Railroad switcher for electric toy trains” and a “Toy train manual” we can solve the toy train puzzle. Let’s do that.
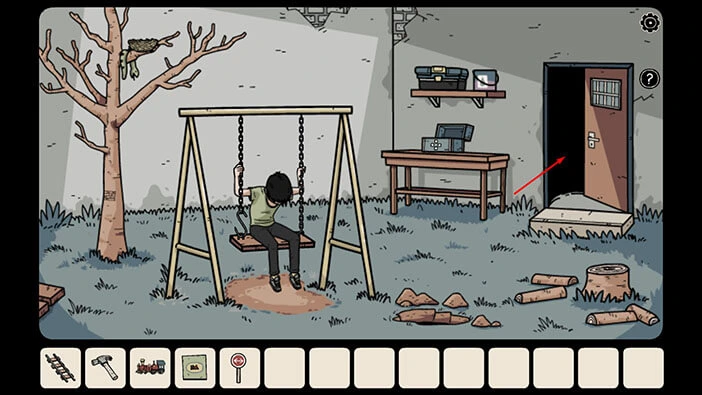
To get to the room with the toy train, tap on the door to go back, inside. After that, tap on the arrow at the bottom.
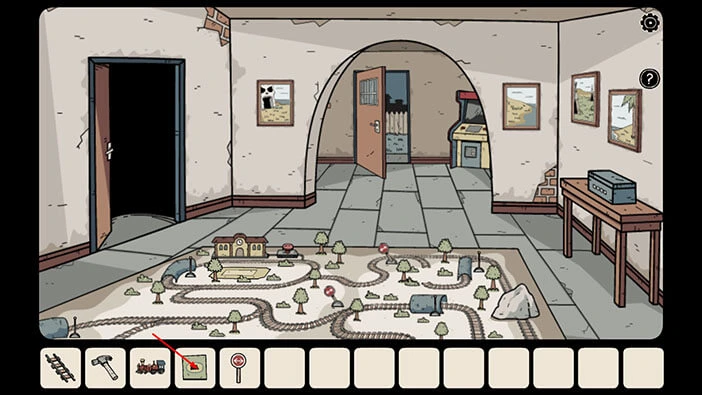
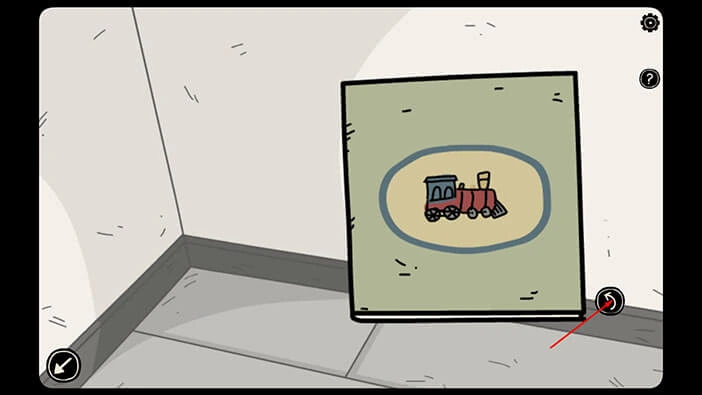
Let’s tap on the “Toy train manual” to examine it.
Tap on the arrow on the right to open the manual.
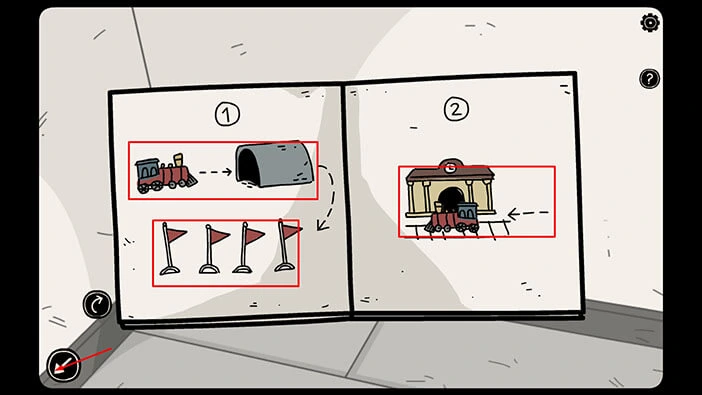
In the picture on the left, we can see a train going through the tunnel and, after that, we can see four raised flags. In the picture on the right, we can see the train arriving at the station.
So, our task is to raise the flags by driving the train through the four tunnels. Once that’s done, we should lead the train to the station. Let’s do that.
Tap on the arrow in the bottom left corner of the screen to go back.
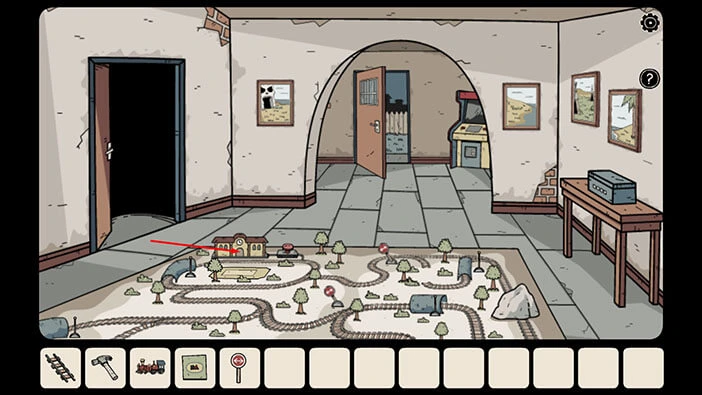
Let’s tap on the train station to take a closer look at it.
Select the “Toy train engine” from the inventory and place it in front of the station.
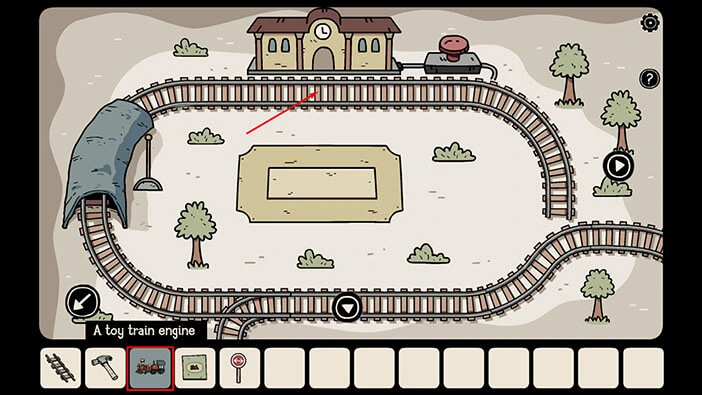
Let’s take a look at the train tracks. Tap on the arrow on the right.
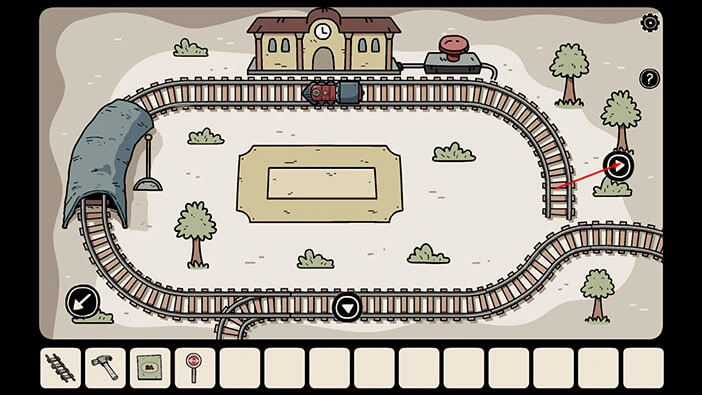
Here, we can see that part of the track is missing. So, let’s select the “Piece of rail for an electric toy train” and attach it to the rail.
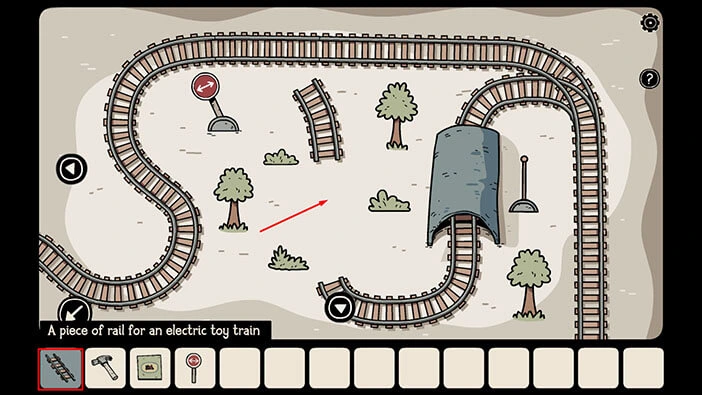
Next, let’s tap on the arrow at the bottom.
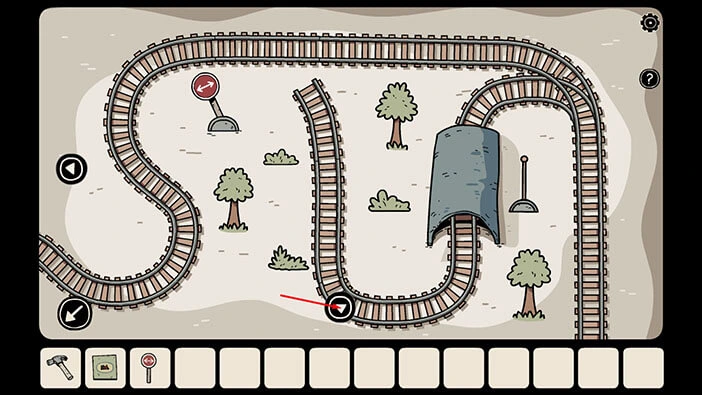
On the right side of the track, we can see a stone. So, let’s select the “Hammer” from the inventory and use it to smash the stone.
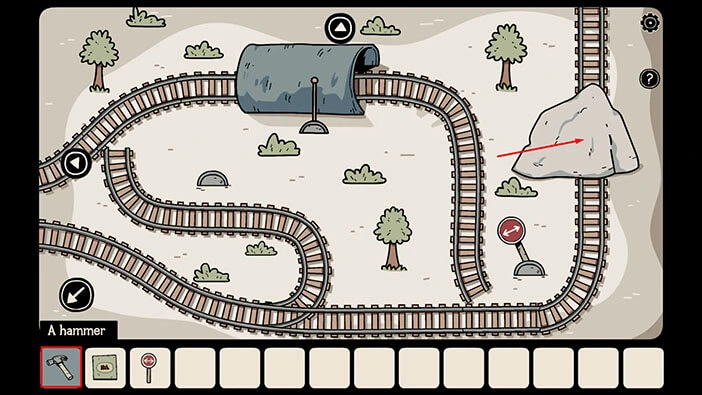
Next, select the “Railroad switcher for electric toy trains” and insert it into the empty slot.
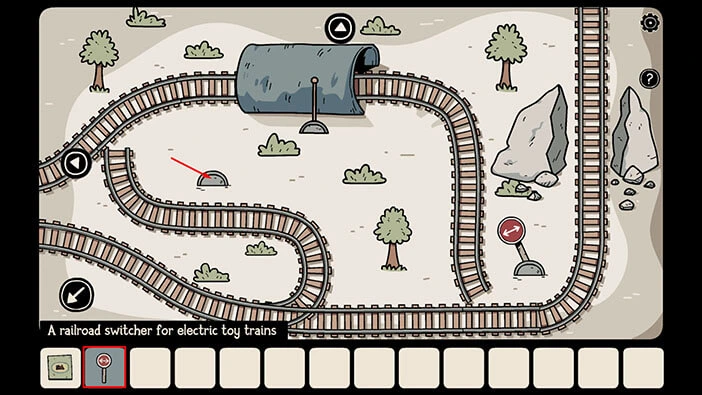
Let’s go back to the train station. Tap on the arrow at the top, then tap on the arrow on the left.
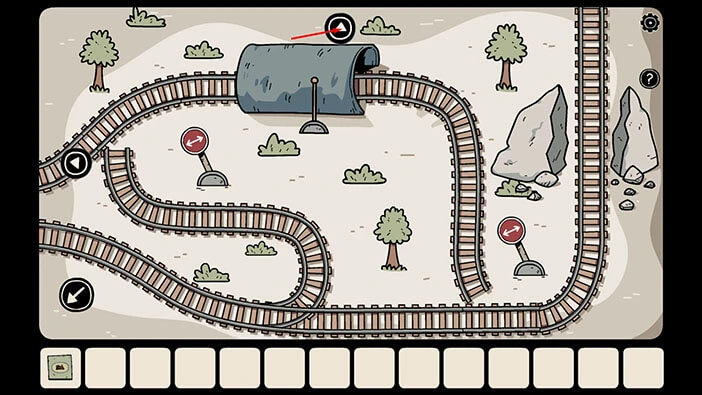
Our next task is to create a path for the train and lead it through the four tunnels. Every time the train goes through the tunnel, you will raise a flag, and the goal is to raise four flags (we saw that in the toy train manual). Lastly, once we raise four flags, we should lead the train back to the station.
So, let’s create the path for the train. We will do this in several steps. Let’s begin.
Step 1
The train will go through the tunnel and it will proceed to the right. So, this part on the track is ok. Let’s take a look at the next part of the track. Tap on the arrow on the right.
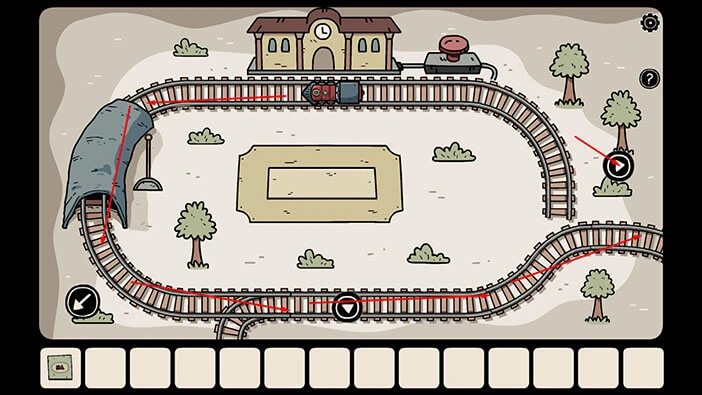
Step 2
The track here is broken, so let’s tap on the switcher to connect the tracks. The train will now go through the tunnel, and it will raise the second flag (you can see the flag pole next to the tunnel).
Let’s proceed. Tap on the arrow at the bottom to take a look at the next part of the track.
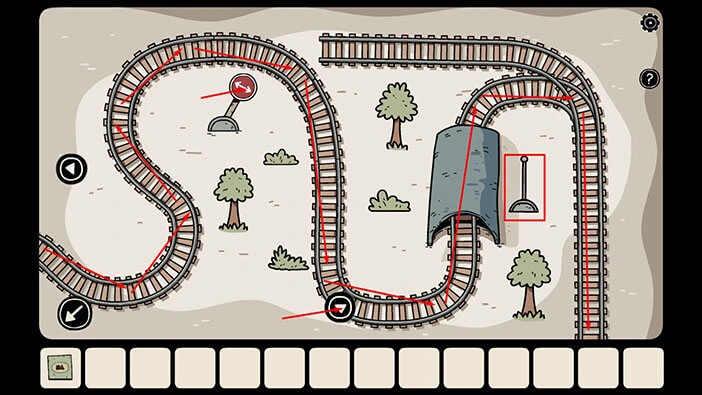
Step 3
The track here is broken, so let’s tap on the two switchers to connect the tracks. The train will now go through the tunnel, and it will raise the third flag.
Let’s proceed. Tap on the arrow on the left to take a look at the next part of the track.
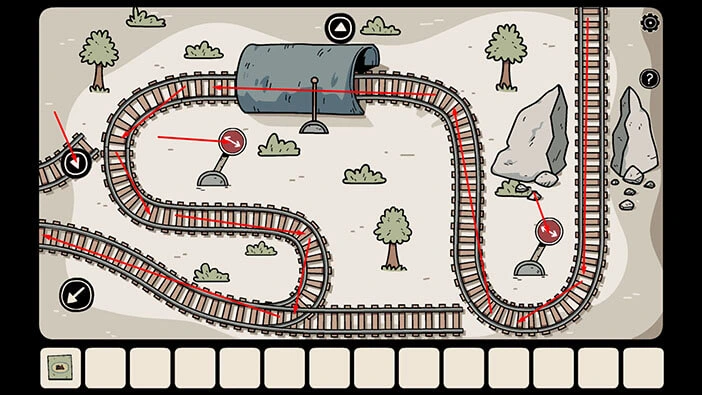
Step 4
The track here is broken, so let’s tap on the switcher to connect the tracks. The train will now go through the tunnel, and it will raise the second flag (you can see the flag pole next to the tunnel).
Let’s proceed. Tap on the arrow at the top to take a look at the next part of the track.
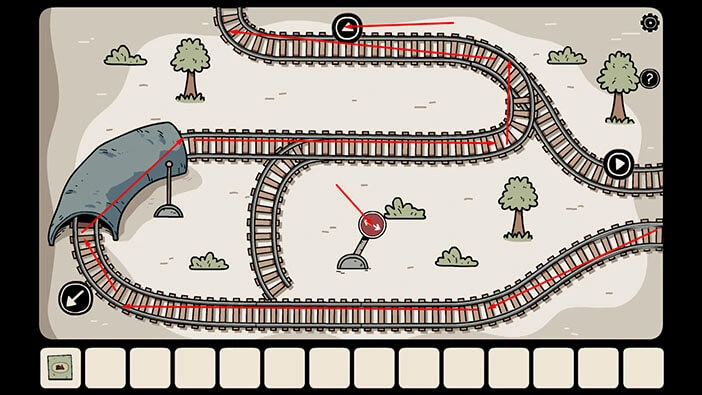
Ok, let’s tap on the red button (located next to the station) to start the train.
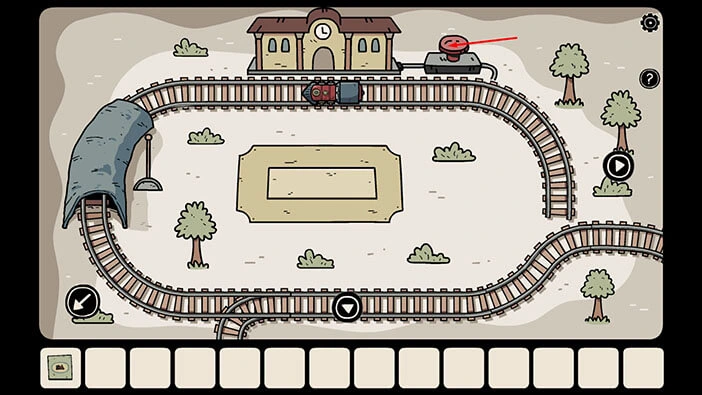
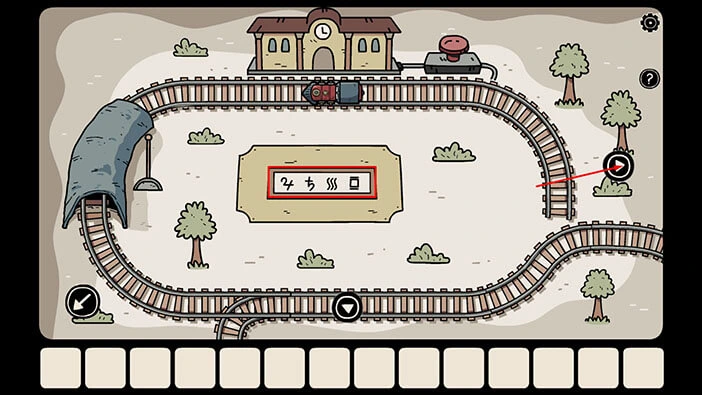
The train will go through the four tunnels and will raise a flag every time it goes through the tunnel. It will then come back to the station, and once it stops, the secret compartment will open and you will discover a hint with four symbols. Let’s memorize/write down these four symbols.
The first symbol = number 4
The second symbol = Cyrillic letter “Ђ”
The third symbol = vertical waves
The fourth symbol = square with two horizontal lines
We can use these symbols to unlock the blue box, located in this room. However, we can also find the third “Shadowy hamster” hidden in the third tunnel.
So, let’s look for the hamster before we proceed to the box. Tap on the arrow on the right.
Next, tap on the arrow at the bottom of the screen.
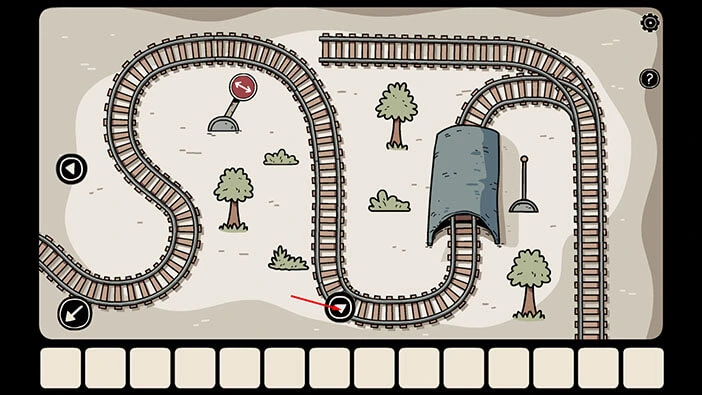
This is the third tunnel, so let’s tap on it to look inside.
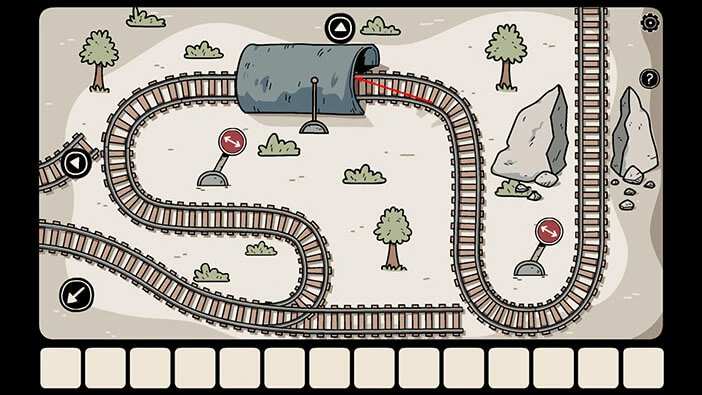
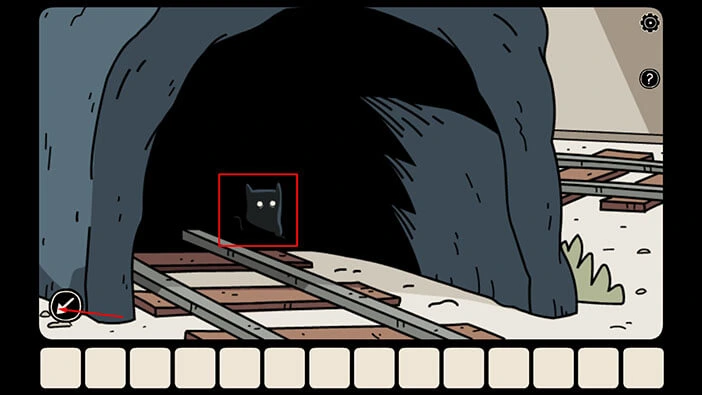
In the tunnel, you will find the third “Shadowy hamster”. Let’s tap on the arrow in the bottom left corner of the screen to go back.
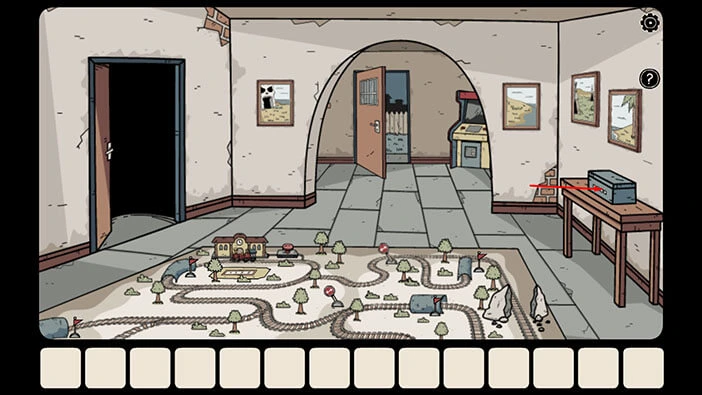
We can use the symbols that we discovered to unlock the blue box, located on the table on the left. So, let’s tap on this box to take a closer look at it.
Let’s enter the four symbols that we saw previously. We had,
The first symbol = number 4
The second symbol = Cyrillic letter “Ђ”
The third symbol = vertical waves
The fourth symbol = square with two horizontal lines
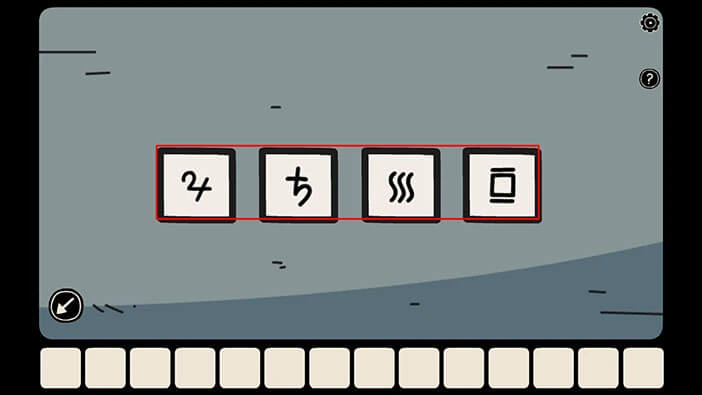
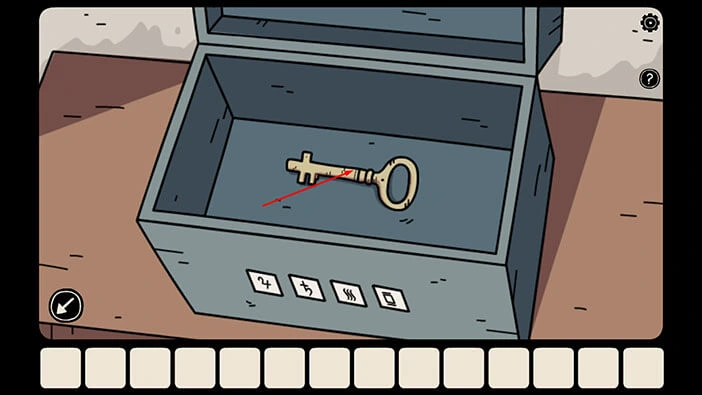
Once you enter the correct symbols, you will hear the clicking sound and the box will open. In the box, you will find a “White key” (Key to the second floor). Let’s tap on it to pick it up. This will trigger a cutscene.
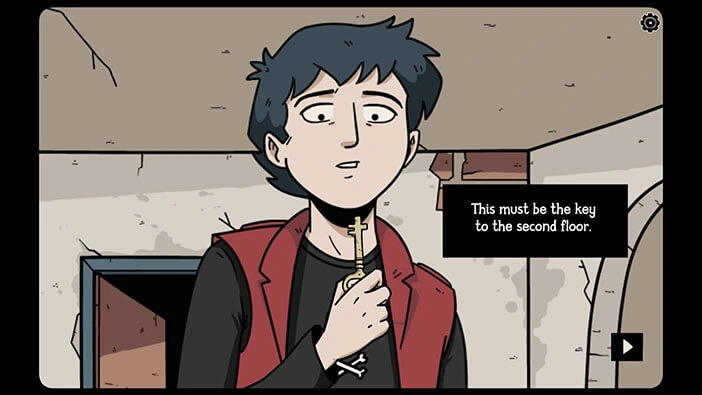
We will have to end the second part of our walkthrough here. Join us in the third part of the walkthrough, in which we will explore the second floor of the creepy abandoned building.
Thank you for reading.