Beyond the Room | Part I
Hello everyone and welcome to Part 1 of our walkthrough for “Beyond the Room” an escape room game created by the Dark Dome. Beyond the Room is the eighth game in the series, and like the other games, the story is set in Hidden Town, which is filled with all kinds of mysteries. In this walkthrough, we will show you how to solve all the puzzles and finish the game.
NOTE: Some puzzles will CHANGE with each playthrough, but the logic behind solving the puzzles will always remain the SAME. For example, in one playthrough a code to open a safe could be 1234, and in another playthrough, the code could be 4321. However, you will always discover the numbers for the code at the same location and by using the same hints.
At the beginning of the story, we see an abandoned building with a shady past. It is rumored that dark rituals were performed in this building, and several murders happened over the years. Because of that, nobody wants to live in this building. Our character lives across the street from this building. He always wanted to go in and explore it, but he was too scared to step inside. Strangely, he’s been having nightmares about this building, over and over again.
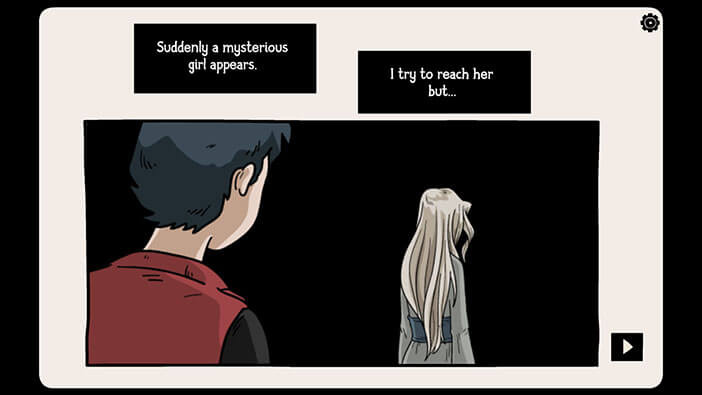
In his dream, he was in one of the rooms in the abandoned building and saw a strange girl there. However, whenever he mustered the courage to approach her, she would vanish into thin air as soon as he touched her.
After that, he would reappear in the same room, not knowing what to do next. At this point, our walkthrough begins. So, in the first part of the walkthrough, we will explore this dream.
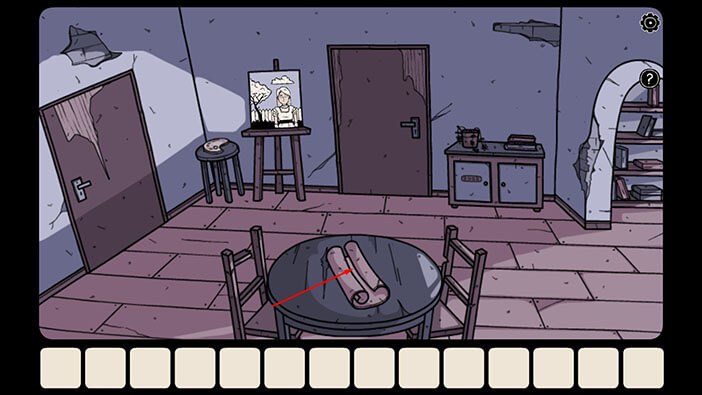
Let’s tap on the scroll on the table to take a closer look at it and tap again to examine it.
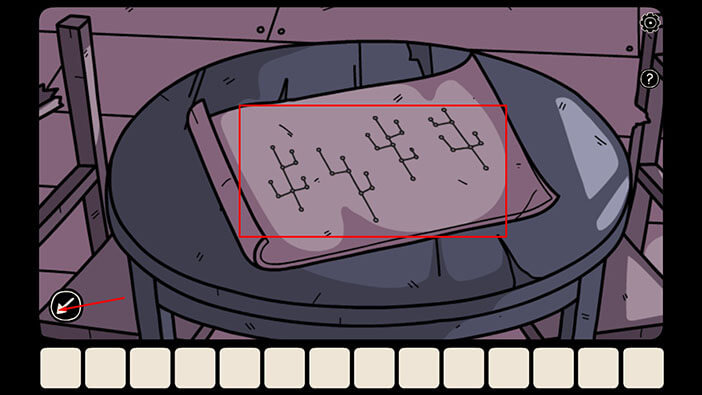
Here, we can see four “trees” with nodes. Let’s memorize/write down the shape of each tree because this information represents the hint for the next puzzle.
Once you’re done, tap on the arrow in the bottom left corner of the screen to go back.
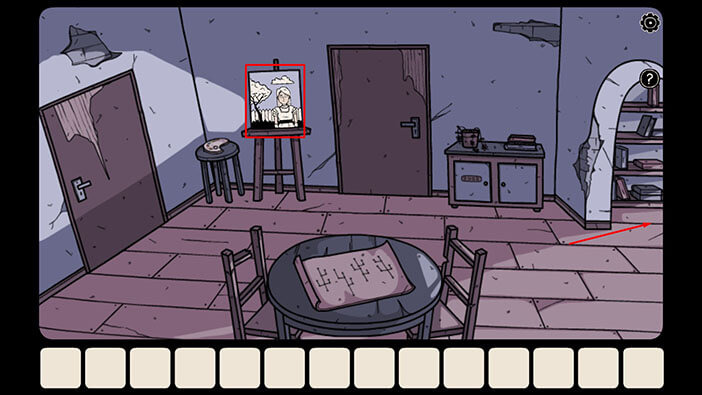
In the top left corner of the room, you will notice a picture. We will come back to it a bit later in the walkthrough. For now, let’s tap on the doorway on the right to proceed to the next room.
In this room, you will notice four Cacti and their shape is similar to the drawing that we saw in in the previous room.
Let’s tap on them to take a closer look.
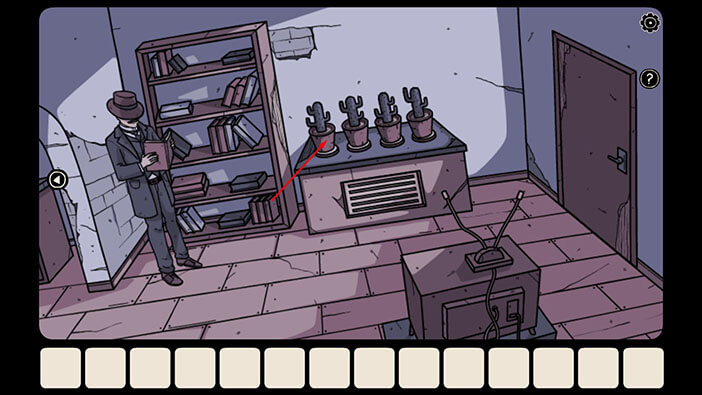
Our next task is very straightforward. The shapes of the Cacti should match the drawing that we saw in the previous room. So, let’s rearrange them. We will do this puzzle in several steps. Let’s begin.
Step 1
Select the third cactus, then tap on the first cactus to swap their position.
Step 2
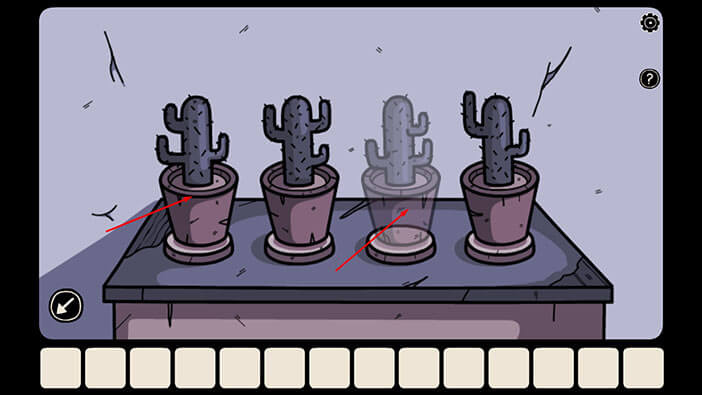
Select the fourth cactus, then tap on the second cactus to swap their position.
Step 3
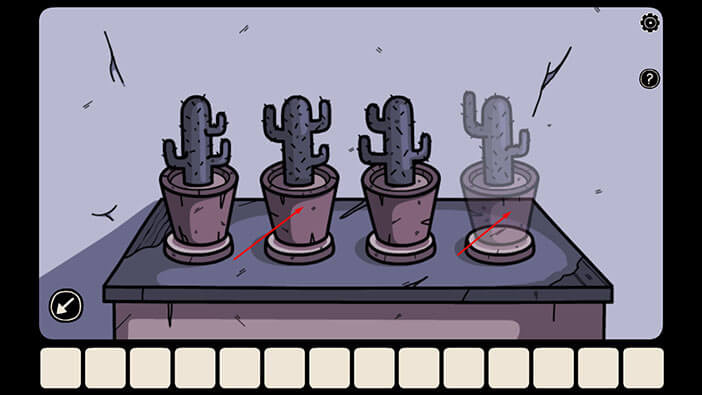
Select the third cactus, then tap on the fourth cactus to swap their position. With that, you will solve this puzzle.
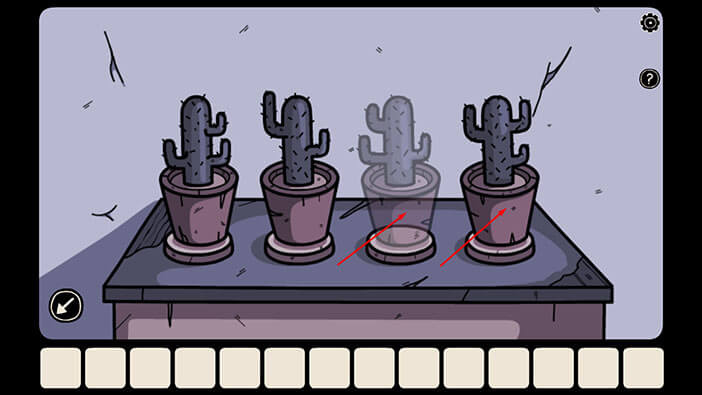
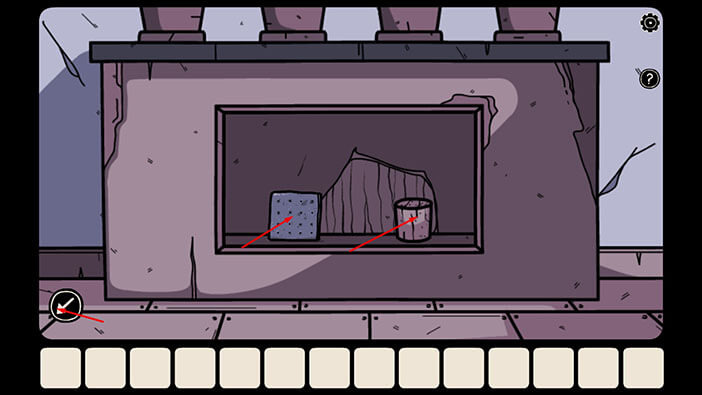
The compartment below the cacti will open and inside you will find a “Large cork” and a “Large cracker”. Let’s tap on these two items to pick them up.
After that, tap on the arrow in the bottom left corner of the screen to go back.
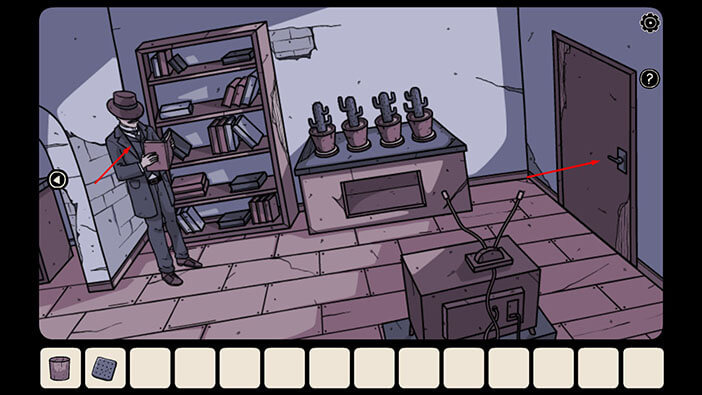
If you tap on the man on the left, he will tell you that he lost his reading glasses. We will come back to him once we find his glasses.
For now, let’s tap on the door on the right to open it, and tap again to proceed to the next room.
Once you enter the room, you will trigger a cutscene. In this room, our character will again find the strange girl. However, just like before, she vanished as soon as he touched her.
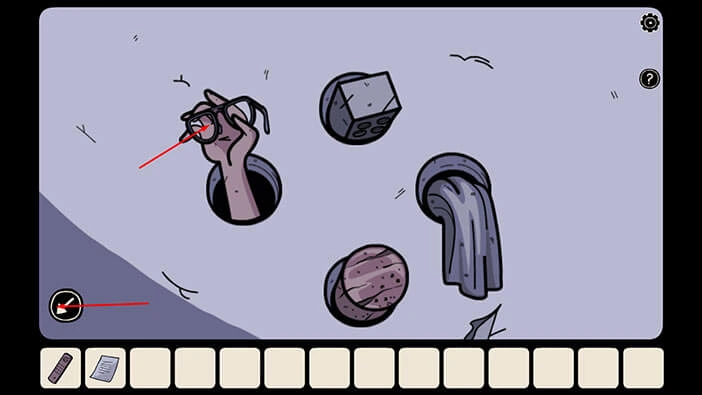
On the left side of the wall, we can see a hand holding the glasses. Here, we can also see four holes. If we try to take the glasses, the hand will just move to one of the other holes. So, in order to take the glasses, we will have to find a way to block the other three holes.
With that said, let’s tap on the parrot on the right to take a closer look at it, and tap again to start the interaction.
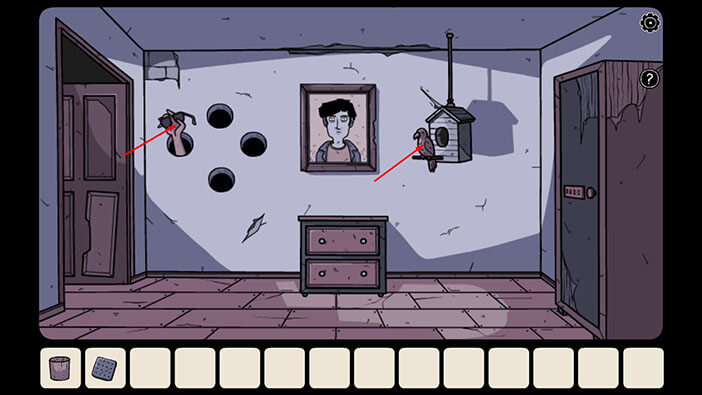
The parrot will say that it is willing to share some secrets with you if you feed it.
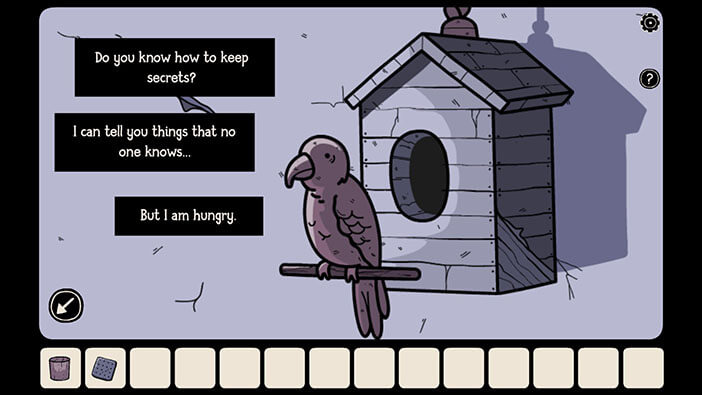
So, select the “Large cracker” from the inventory and give it to the parrot.
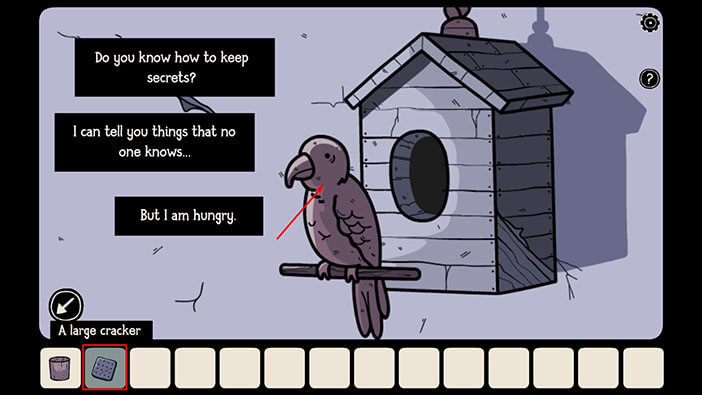
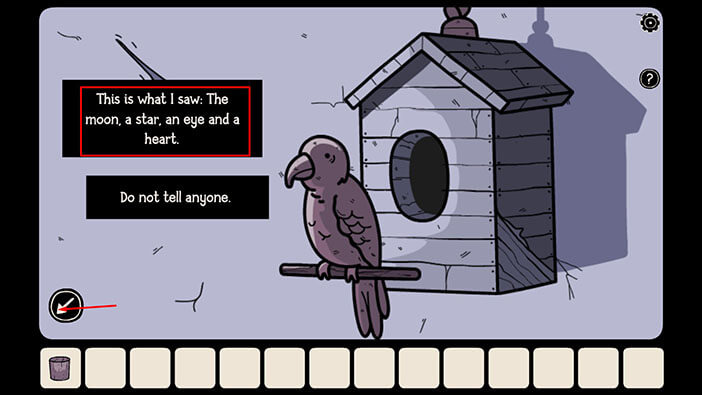
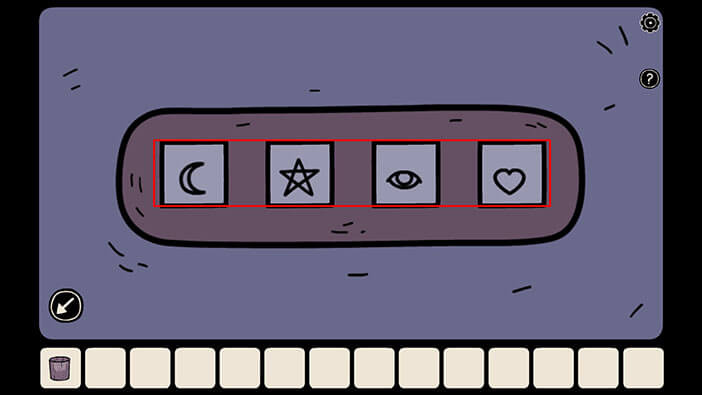
The parrot saw “The moon, a star, an eye, and a heart”. Let’s memorize/write down this information because we will need it for the next puzzles (we can use it to unlock the cabinet in the first room).
Once you’re done, tap on the arrow in the bottom left corner of the screen to go back.
Let’s go back to the first room. Tap on the door on the left to go back to the previous room, then tap on the doorway on the left to go back to the first room.
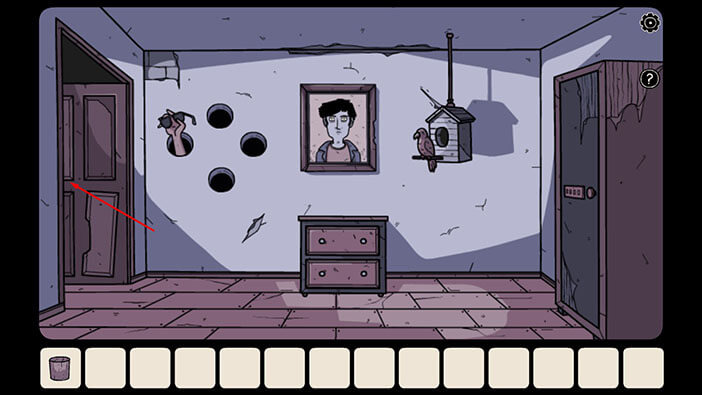
Next, let’s tap on the cabinet located just to the right side of the door to take a closer look at it, and tap again to start the interaction.
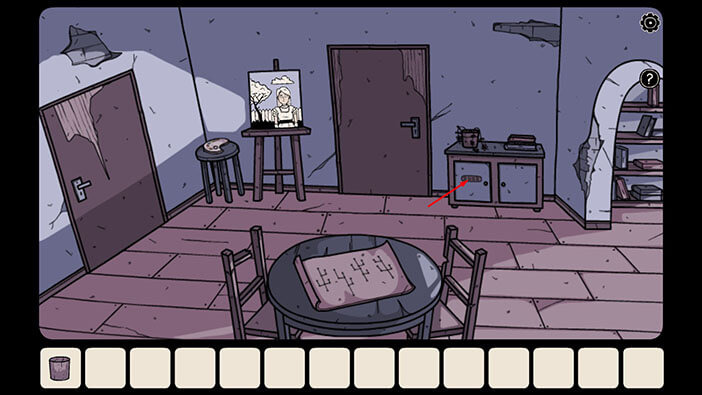
Let’s enter the symbols that the parrot told us. We had, “the moon, a star, an eye, and a heart”.
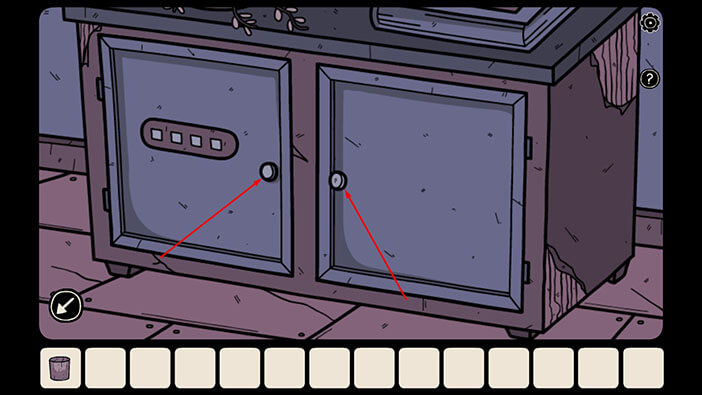
You will hear a clicking sound, indicating that we unlocked the cabinet. So, let’s tap on both cabinet doors to open them.
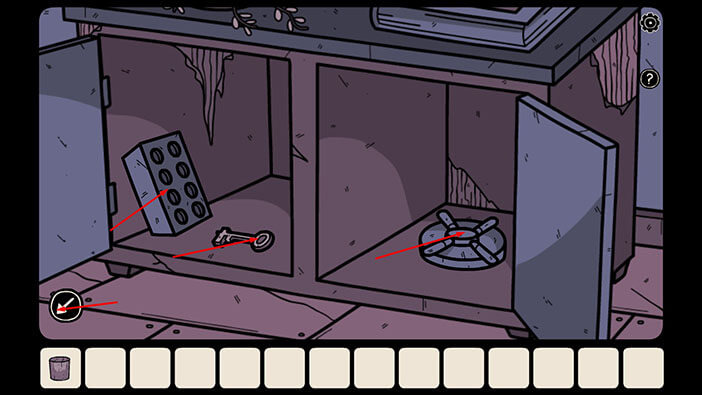
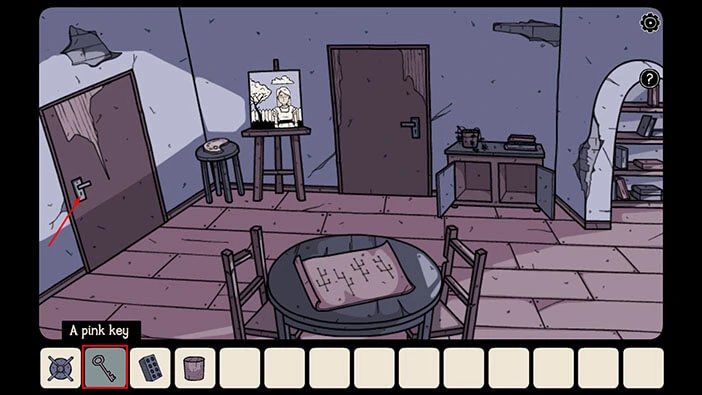
In the cabinet, you will find three items, a “Brick”, a “Pink key”, and a “Safe box handle wheel”. Let’s tap on these items to pick them up.
Once you’re done, tap on the arrow in the bottom left corner of the screen to go back.
Select the “Pink key” from the inventory and use it to unlock the door on the left. After that, tap on the door to open it and tap again to proceed to the next room.
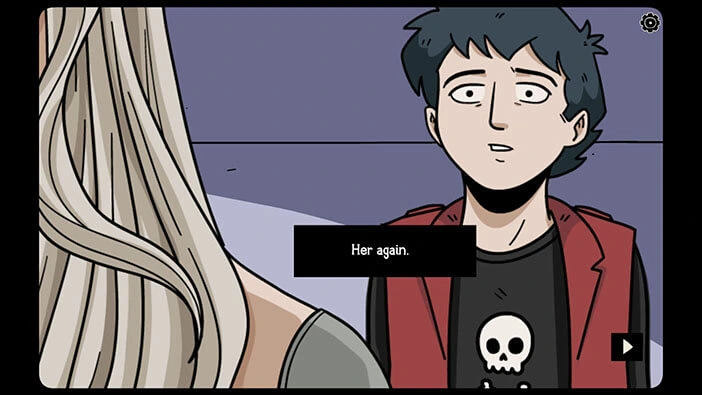
As soon as you enter the room, you will trigger another cutscene. You will see the strange girl again, but she will disappear when our character tries to touch her.
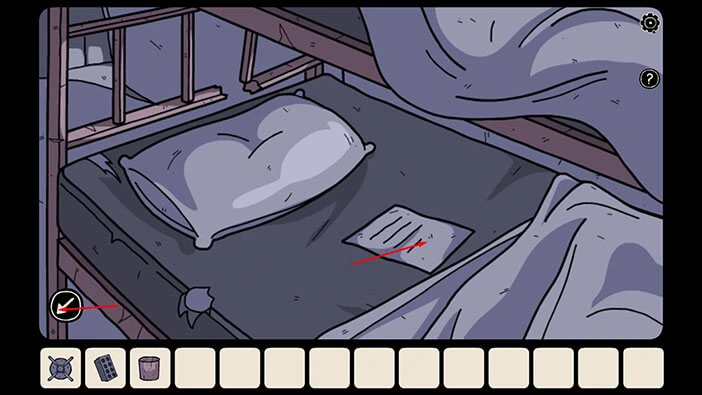
Let’s tap on the bottom bed to take a closer look at it, and tap again to move the sheet.

Under the sheet, you will find a “Note”. Let’s tap on it to pick it up. After that, tap on the arrow in the bottom left corner of the screen to go back.
Next, let’s tap on the safe to take a closer look at it.
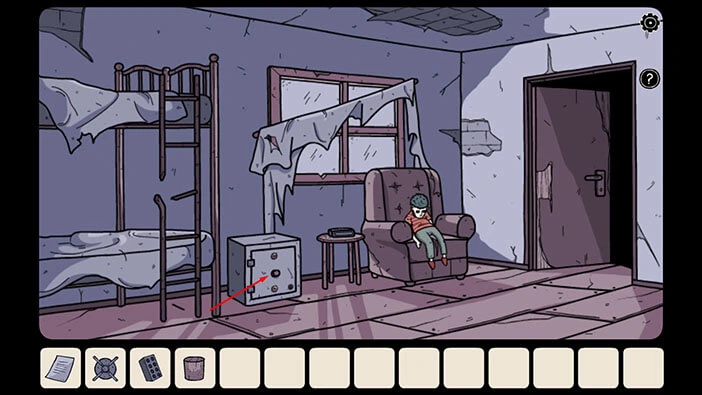
Select the “Safe box handle wheel” from the inventory and insert it into the empty slot.
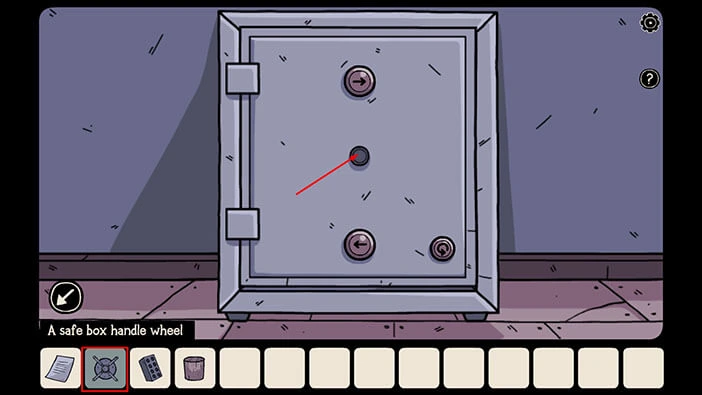
You will notice left and right arrows on the safe. In order to open the safe, we will have to tap on the arrows in the correct order. So, let’s come back to it because once we discovered how to open the safe.
For now, tap on the arrow in the bottom left corner of the screen to go back.
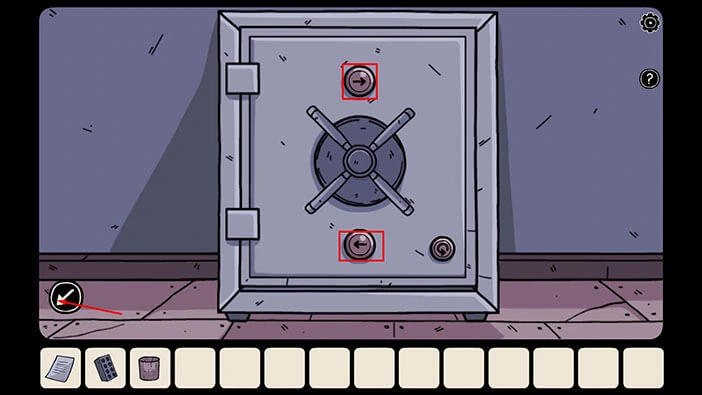
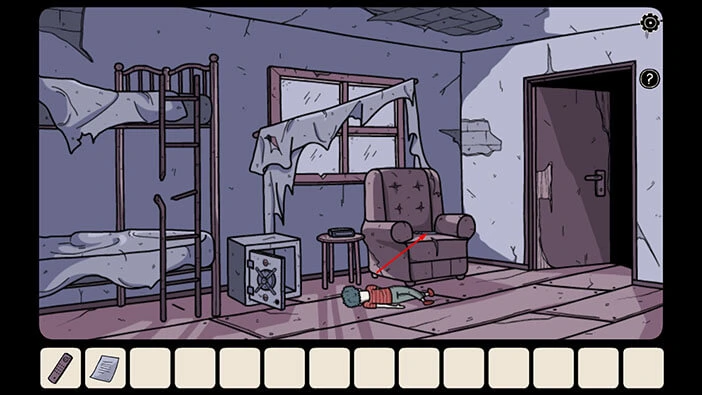
On the armchair on the right, we can see a creepy doll. We will come back to it a bit later in the walkthrough. For now, let’s look for a way to open the safe.
Tap on the door on the right to go back to the first room.
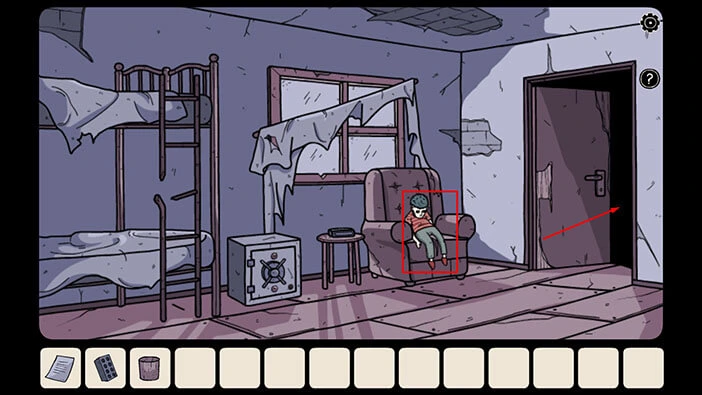
Let’s proceed to the second room on the right.
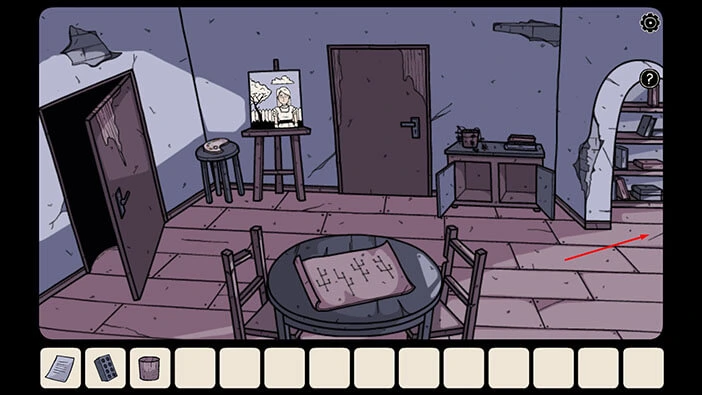
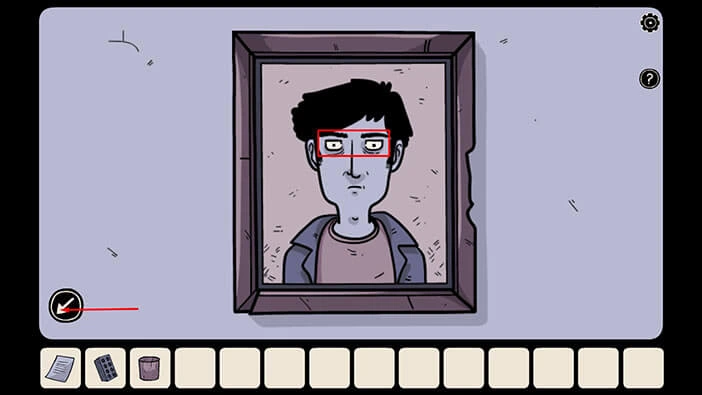
Next, let’s tap on the picture on the wall to take a closer look at it, then tap on the eyes to start the interaction.
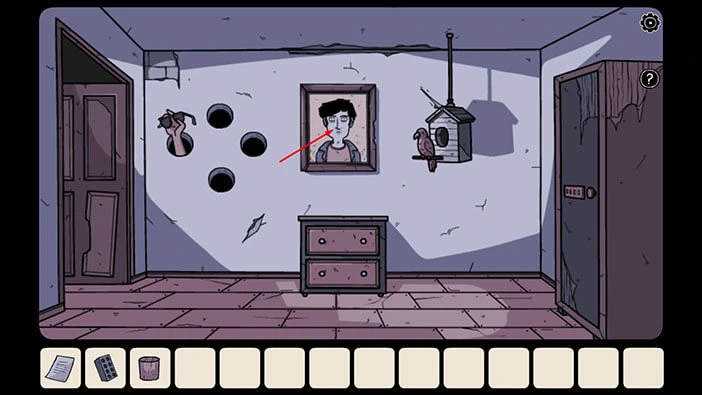
The eyes on the portrait will move left/right, and our task is to memorize/write down this movement because we will need this information to open the safe. So, here we have
Left, Right, Left, Right, Left, Left, Right.
Once you’re done, tap on the arrow in the bottom left corner of the screen to go back.
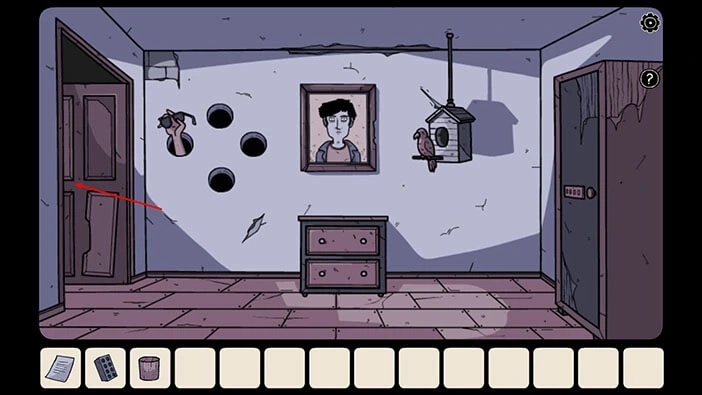
Let’s go back to the third room on the left (the room with the safe).
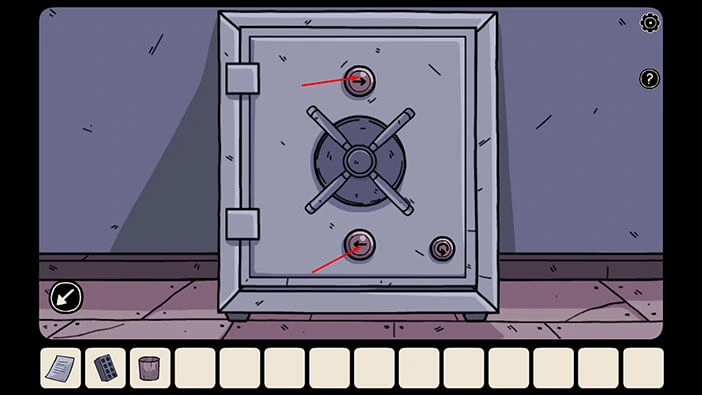
Let’s tap on the safe again to take a closer look at it.

We discovered the correct pattern for opening the safe by examining the movement of the eyes on the portrait. So, let’s tap on the arrows in the order that we discovered. We had,
Left, Right, Left, Right, Left, Left, Right.
In the safe, you will find a “TV remote control”. Let’s tap on it to pick it up.
After that, tap on the arrow in the bottom left corner of the screen to go back.
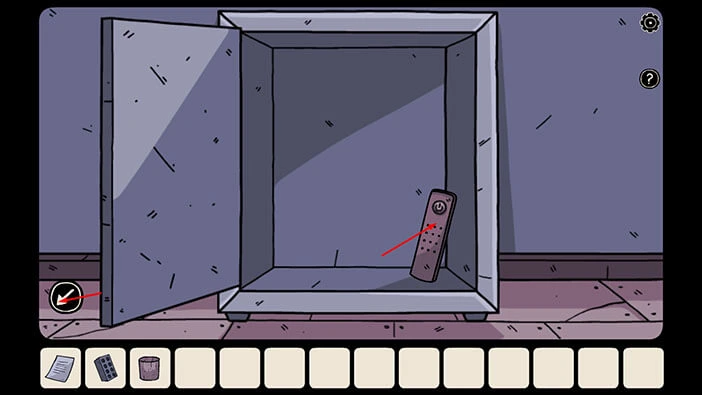
Ok, let’s go back to the room with the TV. It is the second one on the right.
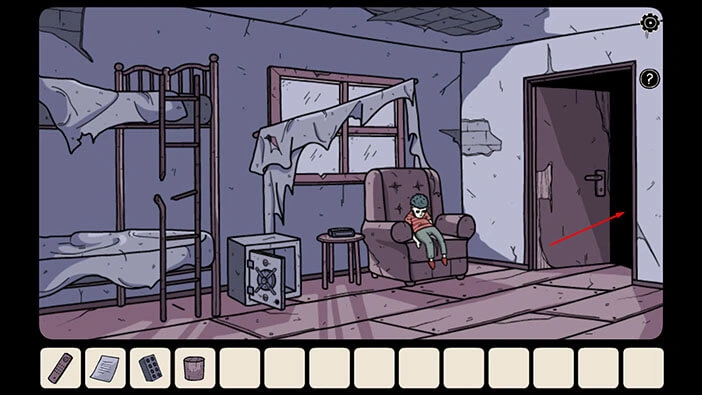
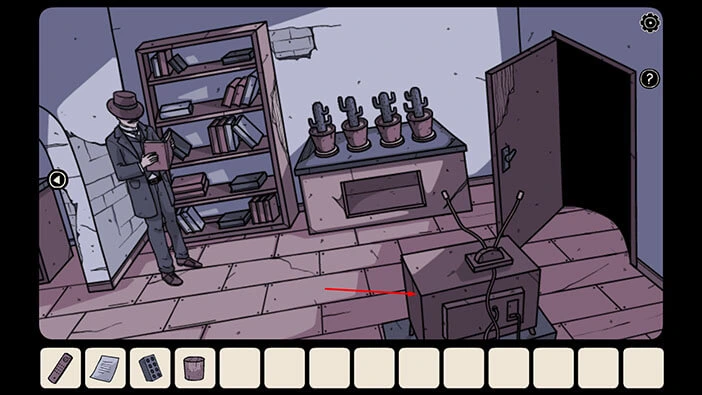
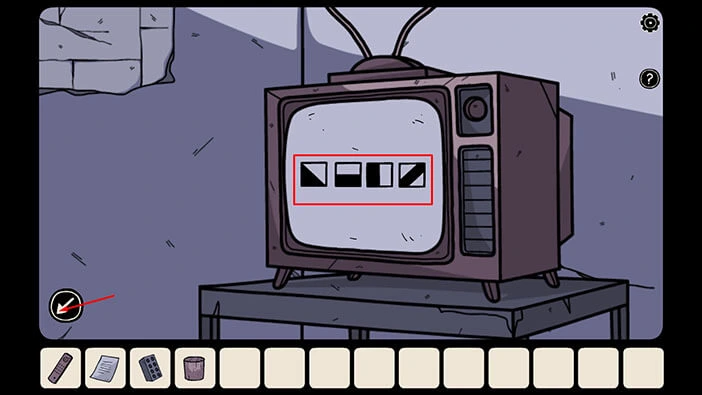
Let’s tap on the TV to take a closer look at it.
Select the “TV remote control” from the inventory and use it to turn on the TV.
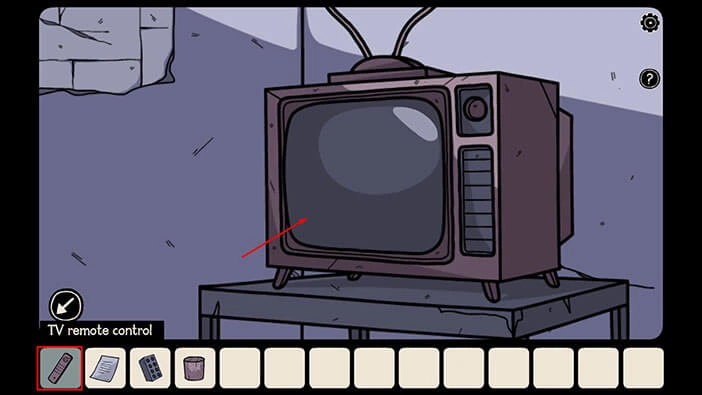
Here, you will discover the hint for the next puzzle. Let’s memorize/write down the black parts of the four squares.
First square = the triangle in the bottom left side of the square is black
Second square = bottom half of the square is black
Third square = the left half of the square is black
Fourth square = diagonal line is black
We can use this information to unlock the cabinet in the first room on the right.
Once you’re done, tap on the arrow in the bottom left corner of the screen to go back.
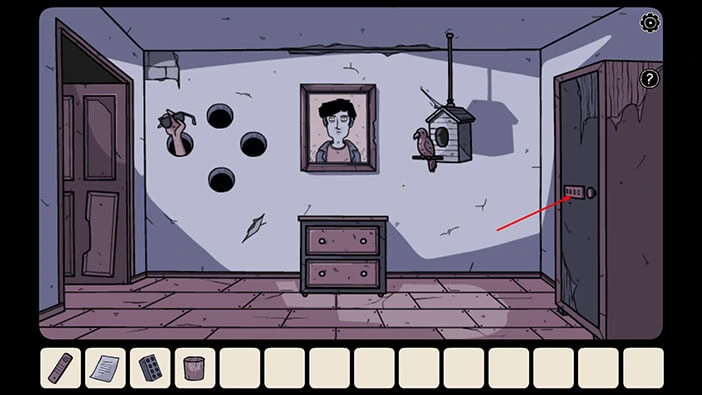
Let’s tap on the door on the right to proceed to the next room.
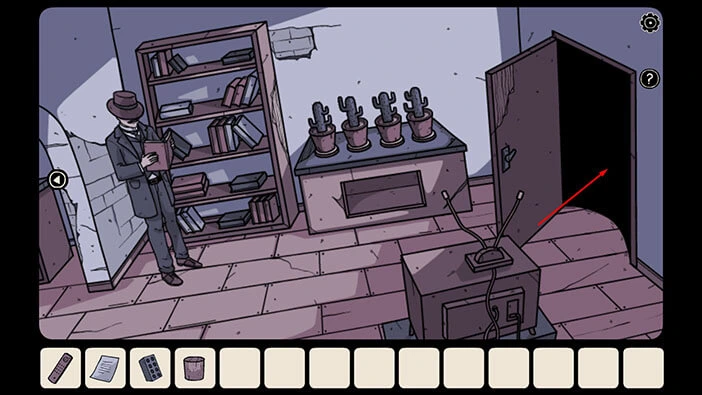
Let’s tap on the large cabinet on the right to take a closer look at it.
Let’s enter the combination of the squares that we saw on the TV. There, we saw
First square = the triangle in the bottom left side of the square is black
Second square = bottom half of the square is black
Third square = the left half of the square is black
Fourth square = diagonal line is black
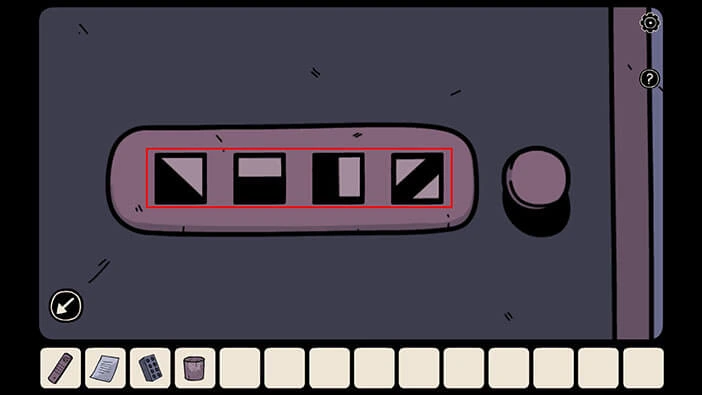
Next, let’s tap on the cabinet to look inside.
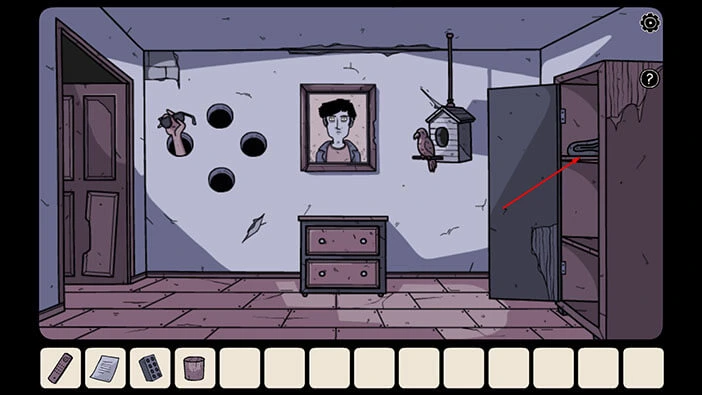
In the cabinet, you will find a “Blanket”. Let’s tap on it to pick it up. After that, tap on the arrow in the bottom left corner of the screen to go back.
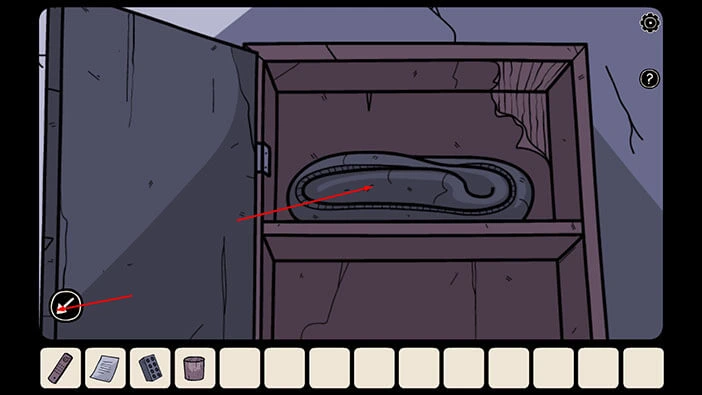
We can now block all three holes in the wall, so let’s do that. Tap on the wall to take a closer look at it.
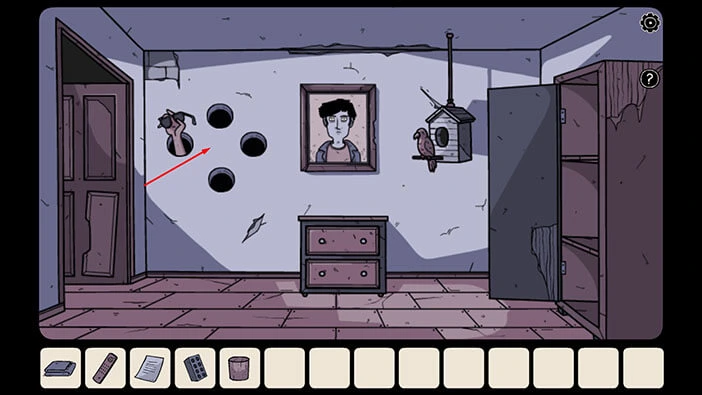
Select the “Large cork”, a “Brick”, and a “Blanket” from the inventory and use them to block the holes in the walls.
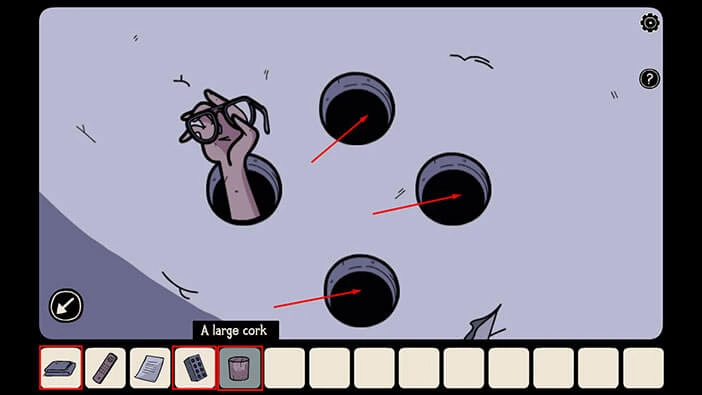
We blocked all the holes and the hand has nowhere to run. So, let’s tap on the “Some glasses” to pick them up.
After that, tap on the arrow in the bottom left corner of the screen to go back.
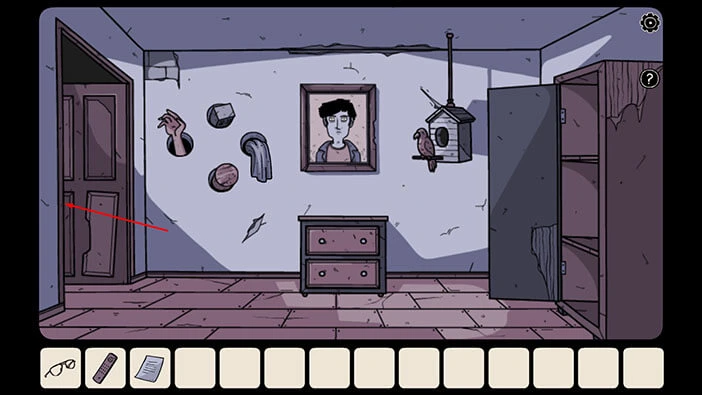
We should now go back to the previous room, and give old man the glasses that we just found. So, let’s tap on the door on the left to go back to the previous room.
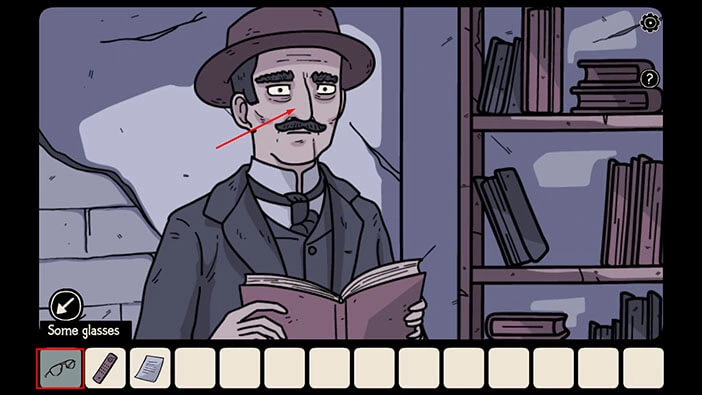
Let’s tap on the old man to take a closer look at him.

Select the “Some glasses” from the inventory and give them to the old man.
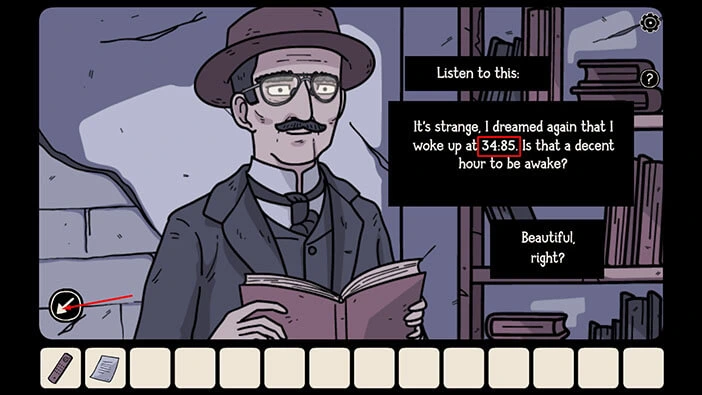
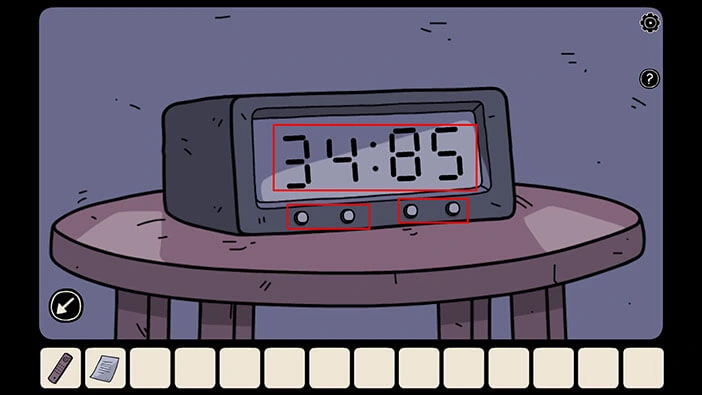
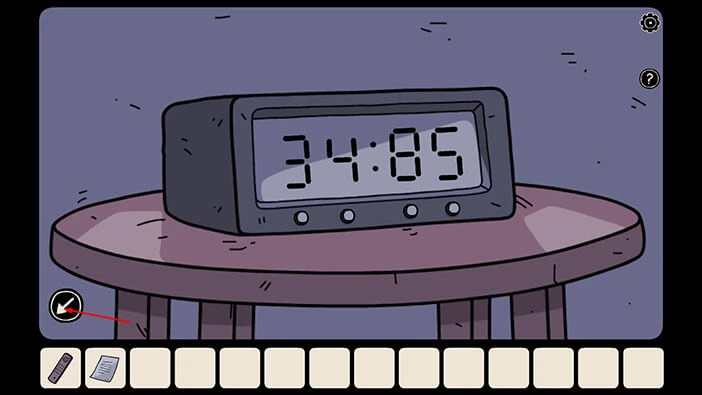
Let’s memorize/write down the time “34:85” because it represents a hint for the next puzzle.
Once you’re done, tap on the arrow in the bottom left corner of the screen to go back.
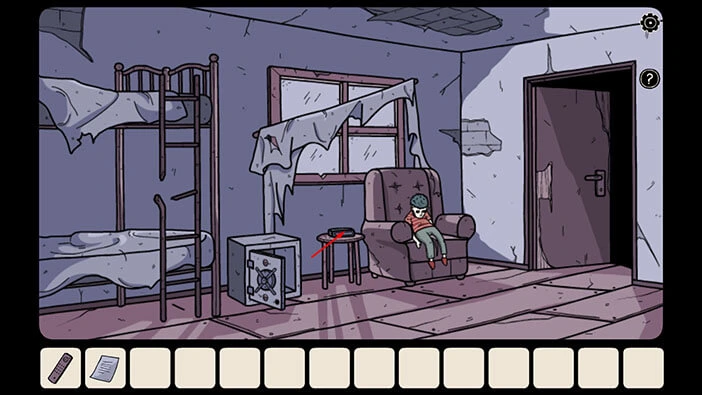
We should now go back to the second room on the left and set the alarm clock. Let’s do that.
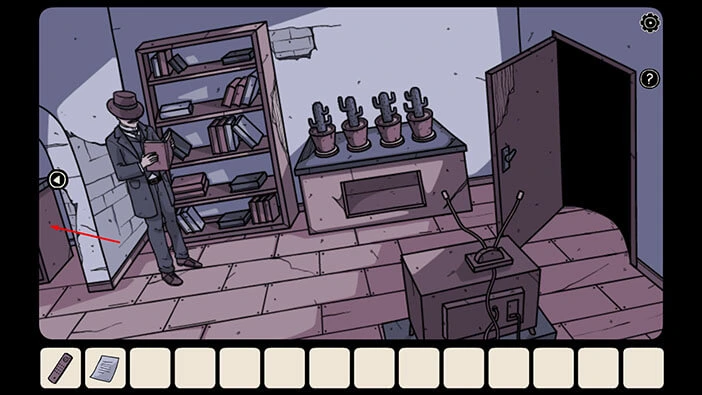
On the small table, next to the couch, you will notice a clock. Let’s tap on it to take a closer look.
Next, we should use the four buttons to set the alarm clock to “34:85”.
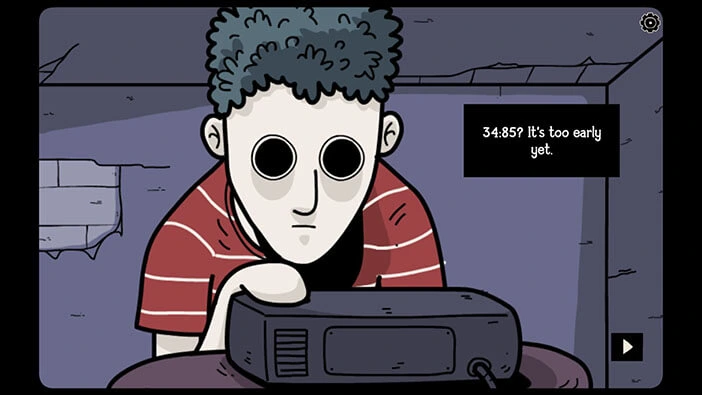
The creepy doll will get up from the armchair and it will walk to the clock. However, it thinks that it is too early, so it will turn off the alarm and drop to the ground.
Let’s tap on the arrow in the bottom left corner of the screen to go back.
The doll is no longer in the armchair, so let’s tap on it to take a closer look.
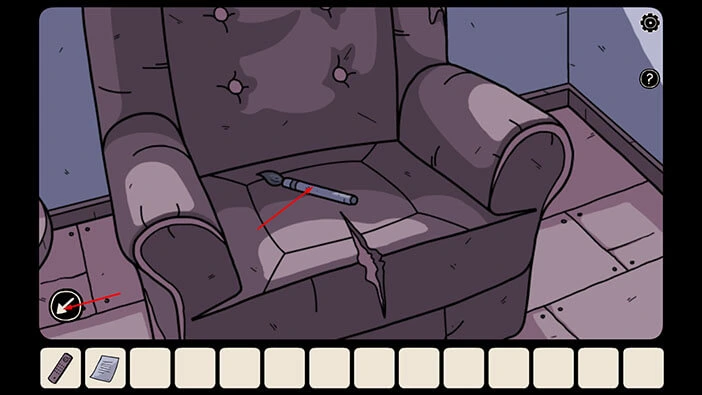
Here, you will find an “Art paintbrush”. Let’s tap on it to pick it up.
After that, tap on the arrow in the bottom left corner of the screen to go back.
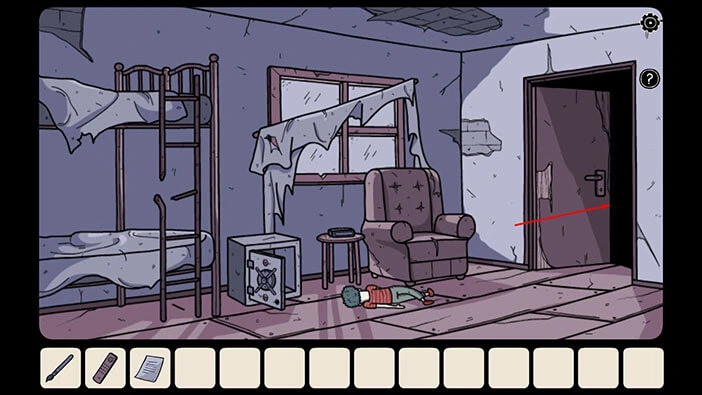
Let’s go back to the first room. Tap on the door on the right.
Let’s tap on the picture on the left to take a closer look at it.
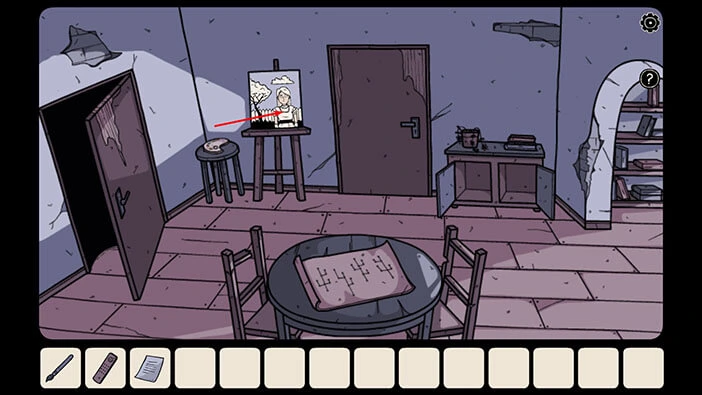
We found the “Art paintbrush” and we can use it to paint the picture. However, before we do that, let’s take a look at the note with a hint in our inventory.
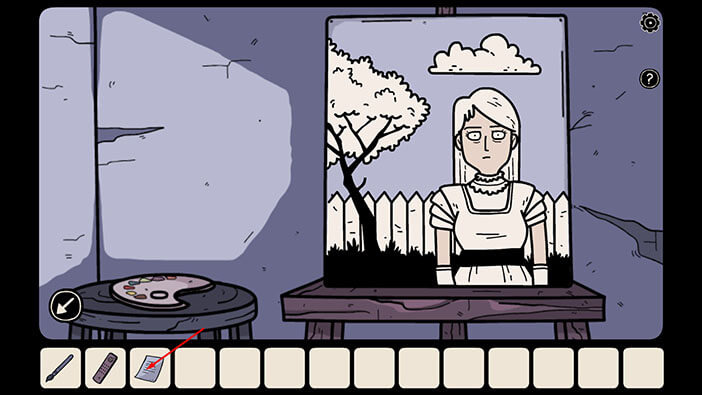
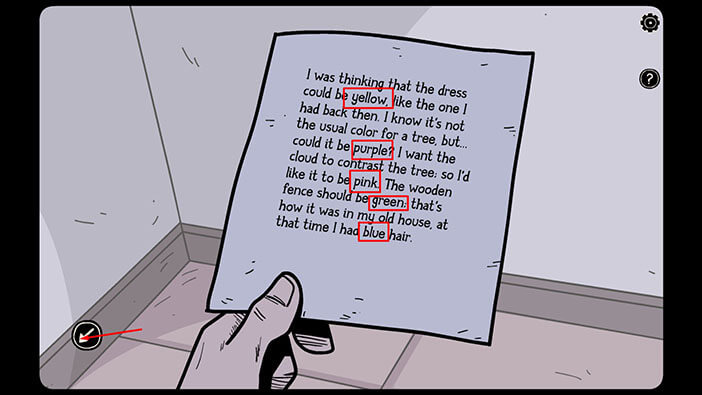
Here, we can discover the correct color for the items in the picture. So, let’s memorize/write down this information.
Dress should be yellow.
The tree should be purple.
The clouds should be pink.
The wooden fence should be green.
The hair should be blue.
Once you’re done, tap on the arrow in the bottom left corner of the screen to go back.
Next, let’s tap on the color palette board to pick it up. After that, select the “Art paintbrush” from the inventory and tap on the color palette to start the interaction.
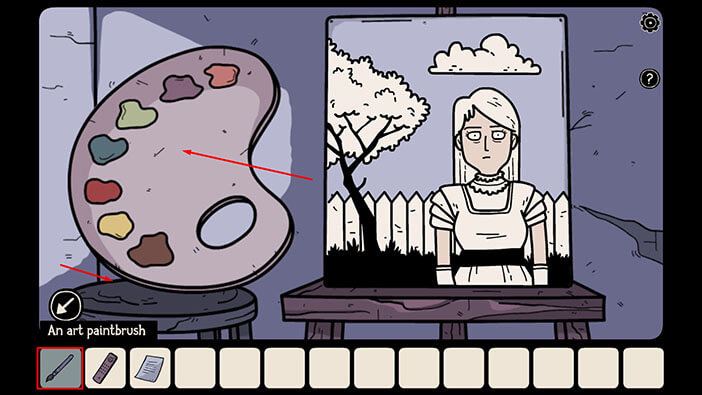
Let’s paint the picture. We will do this task in several steps. Let’s begin.
Step 1
Select the yellow color, then tap on the dress to paint it yellow.
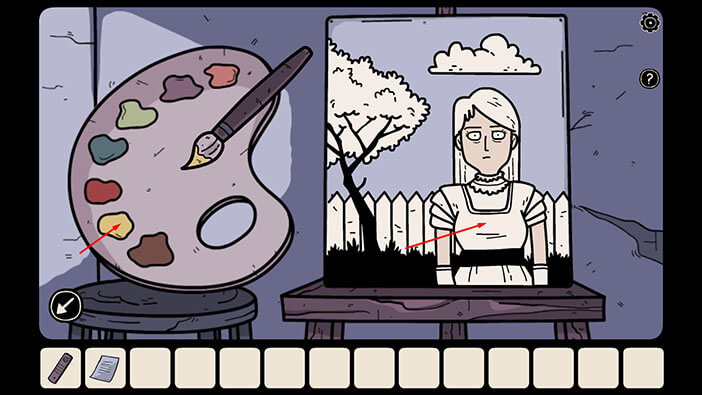
Step 2
Select the purple color, then tap on the tree to paint it purple.
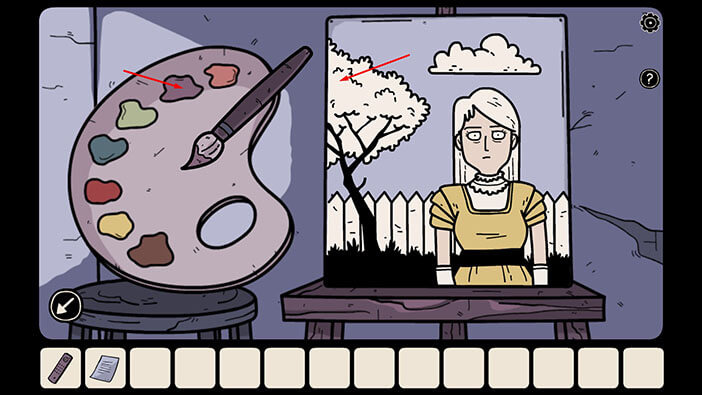
Step 3
Select the pink color, then tap on the clouds to paint them purple.
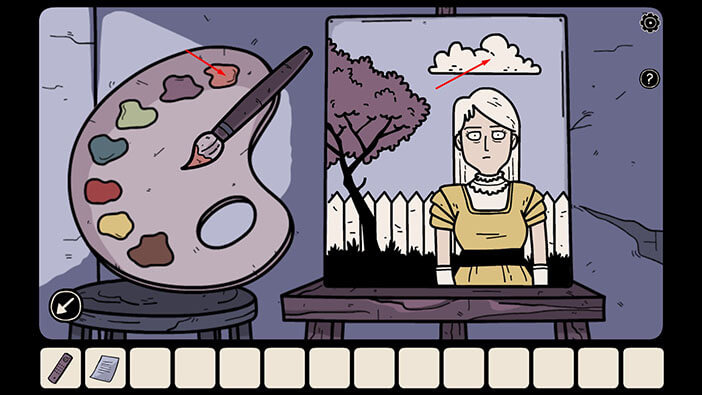
Step 4
Select the green color, then tap on the fence to paint it green.
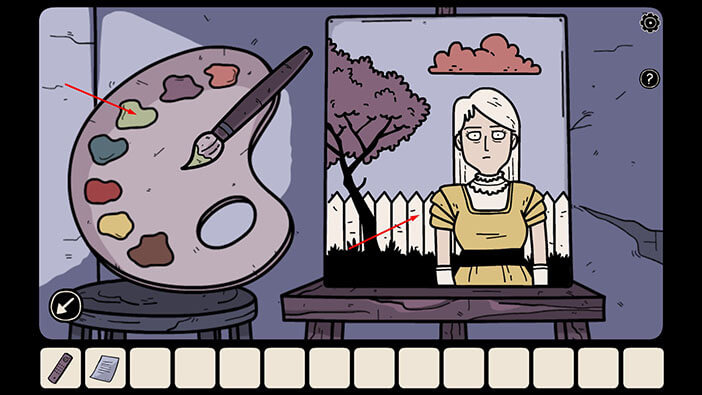
Step 5
Select the blue color, then tap on the hair to paint it blue.
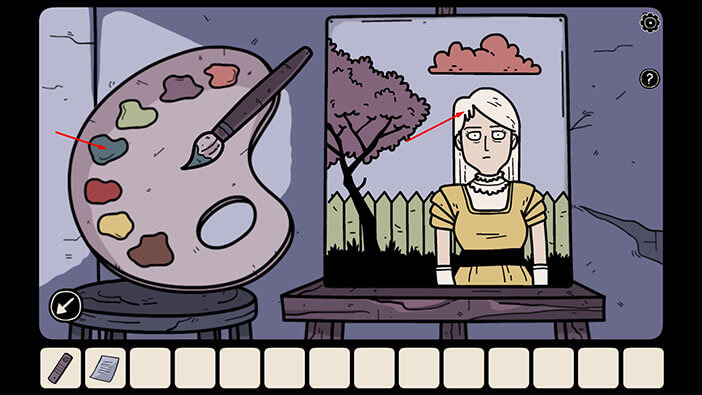
The girl in the picture will offer you a “Key”. Let’s tap on it to pick it up.
After that, tap on the arrow in the bottom left corner of the screen to go back.
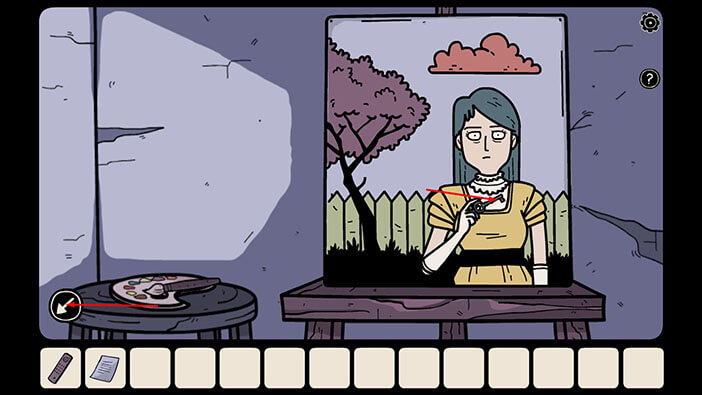
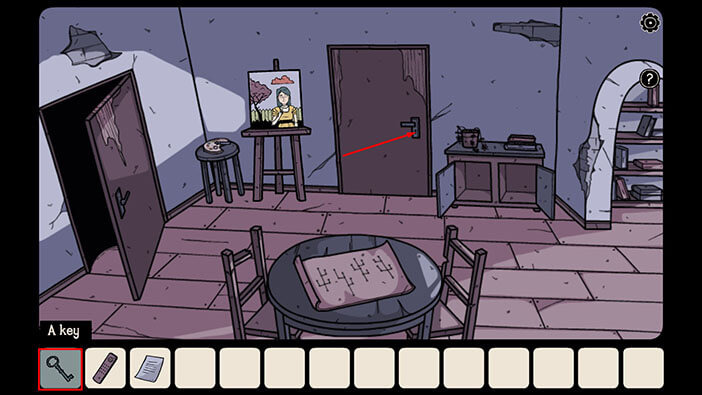
Select the “Key” from the inventory and use it to unlock the last door in this room. After that, tap on the door to open it, and tap again to proceed to the next room.
At the end of the dream, he will see the girl again. However, this time, she won’t disappear once we touch her. No, she will turn around and look at our character, and he will notice that her face is completely dark.
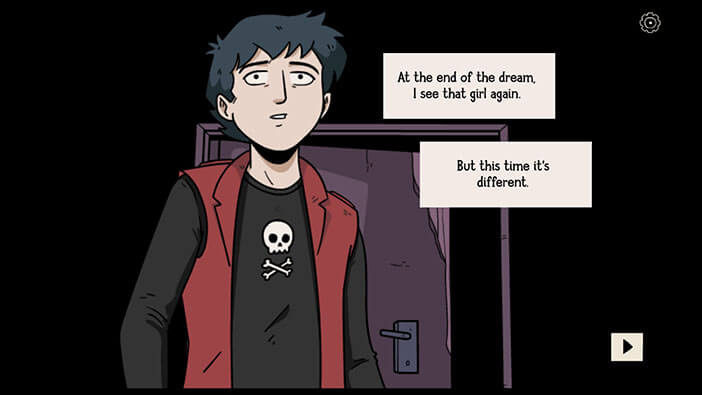
At this point in the dream, our character woke up. He looked at the abandoned building across the street and saw a “Help” sign on the window.
So, he decided to go into the abandoned building and save the girl from his dream.
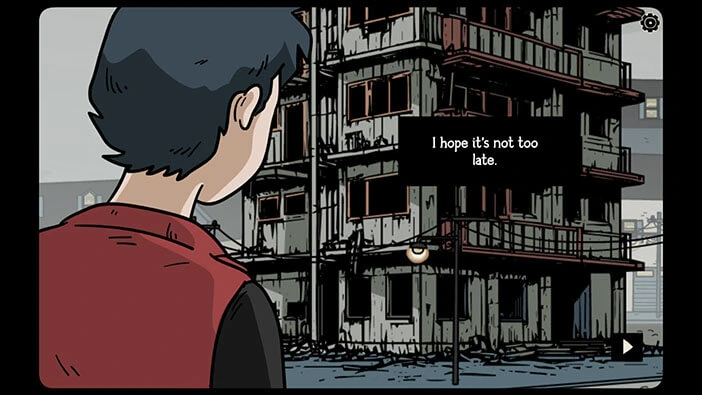
We will have to end the first part of our walkthrough here. Join us in the second part of the walkthrough, in which we will explore the creepy abandoned building.
Thank you for reading.