Artifact Seekers Walkthrough | “Viking Village”
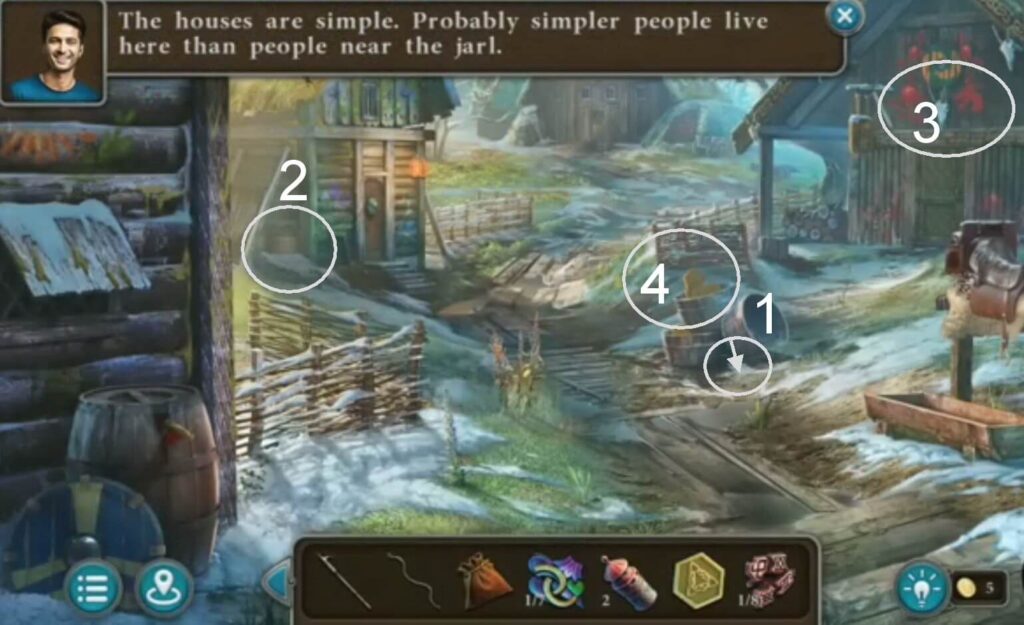
Welcome to the walkthrough of Artifact Seekers, an adventure game in the hidden object genre created by Five-BN. This walkthrough will show you how to solve all the puzzles and finish the game in the third chapter, “Viking Village”.
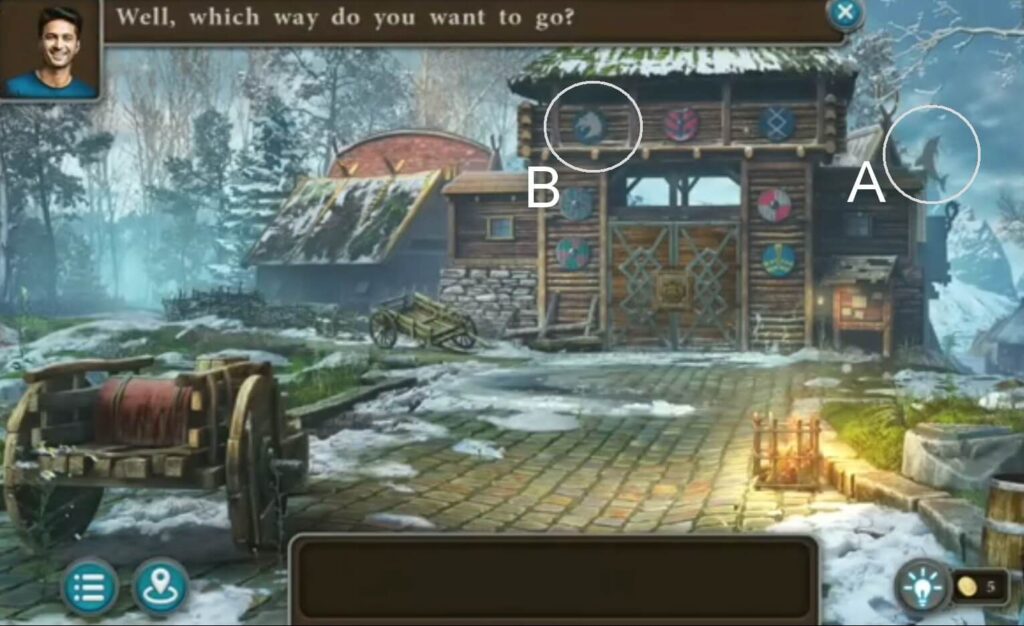
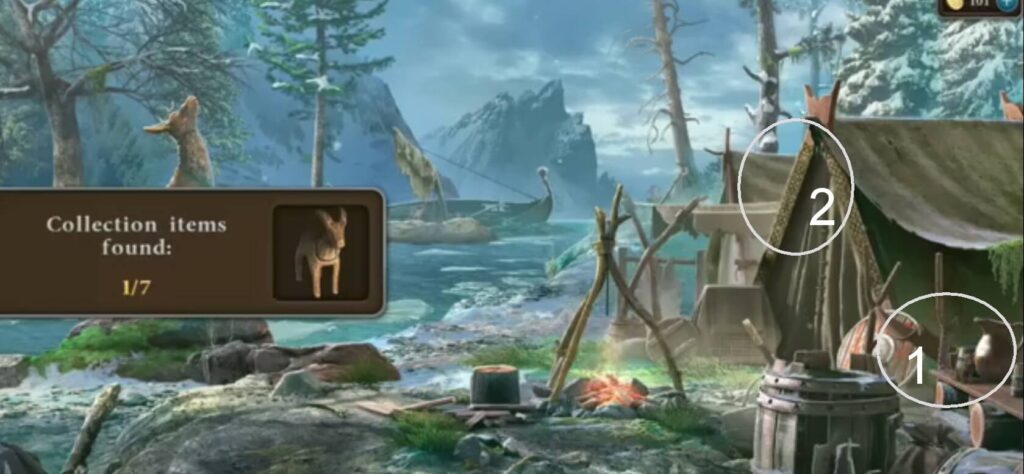
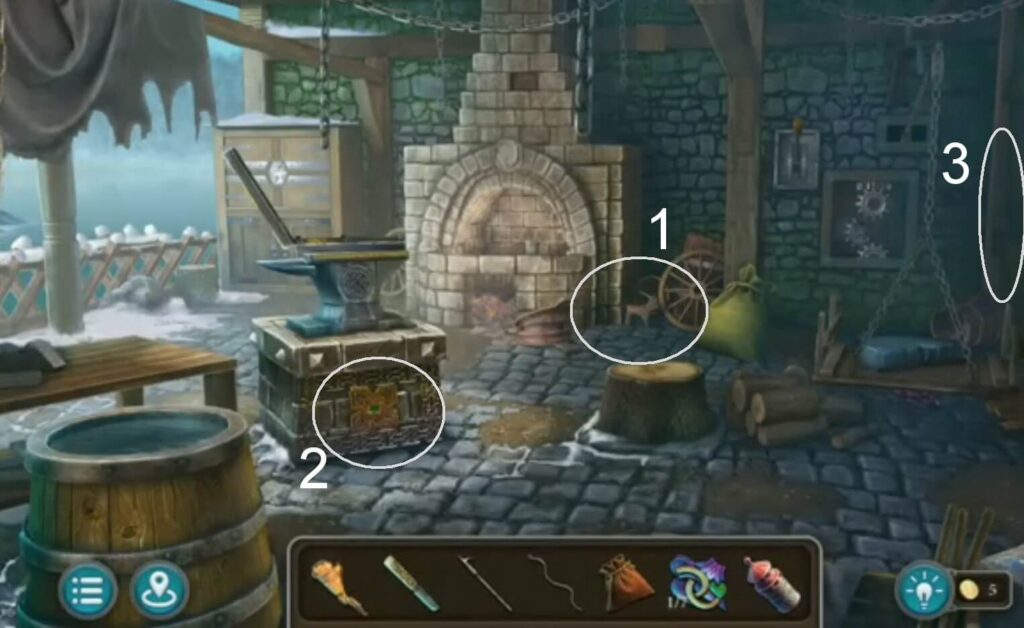
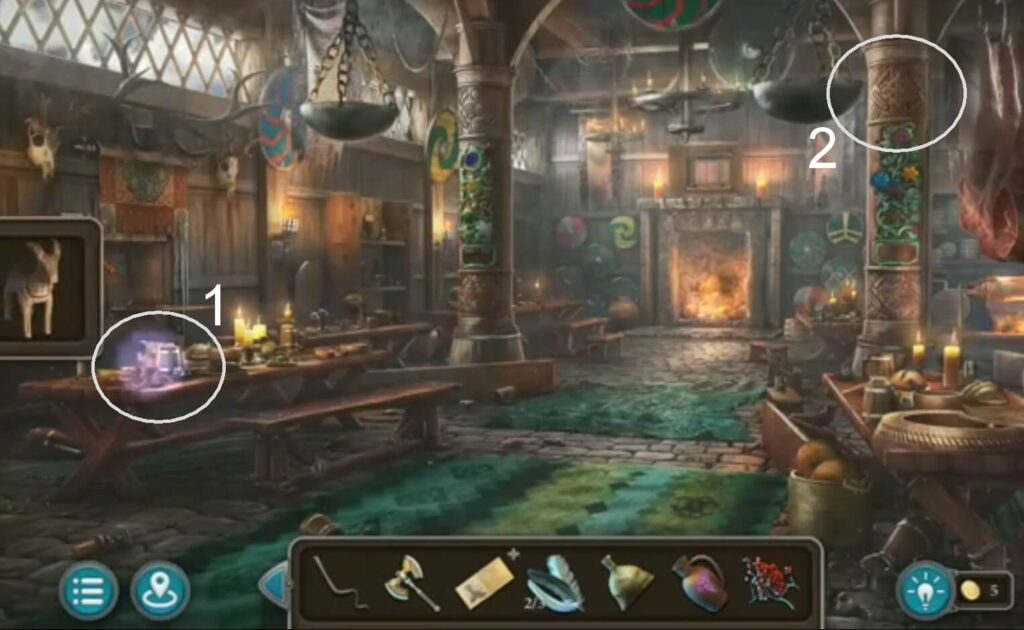
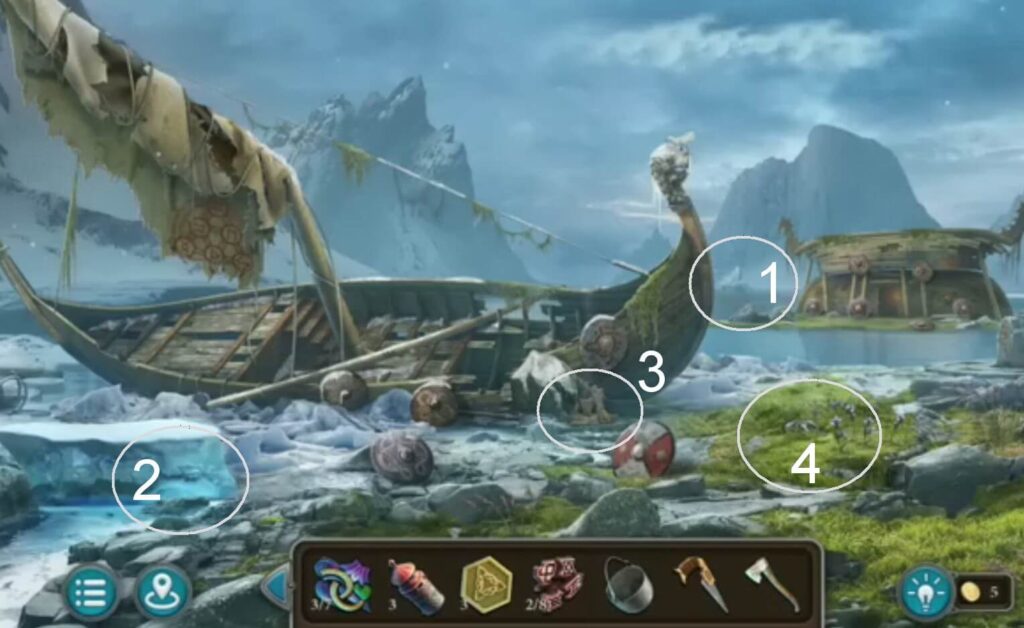
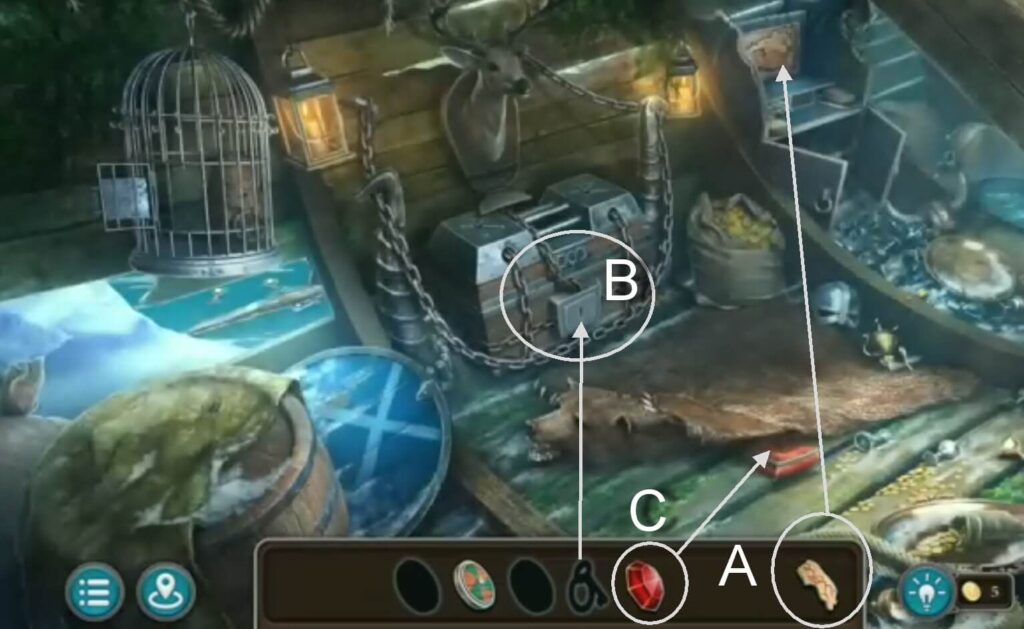
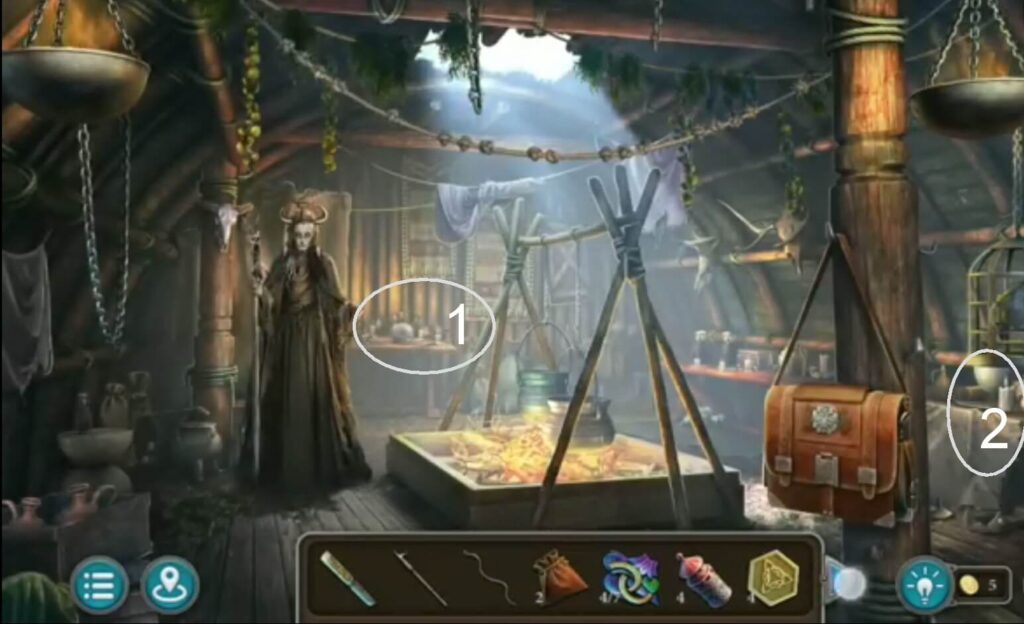
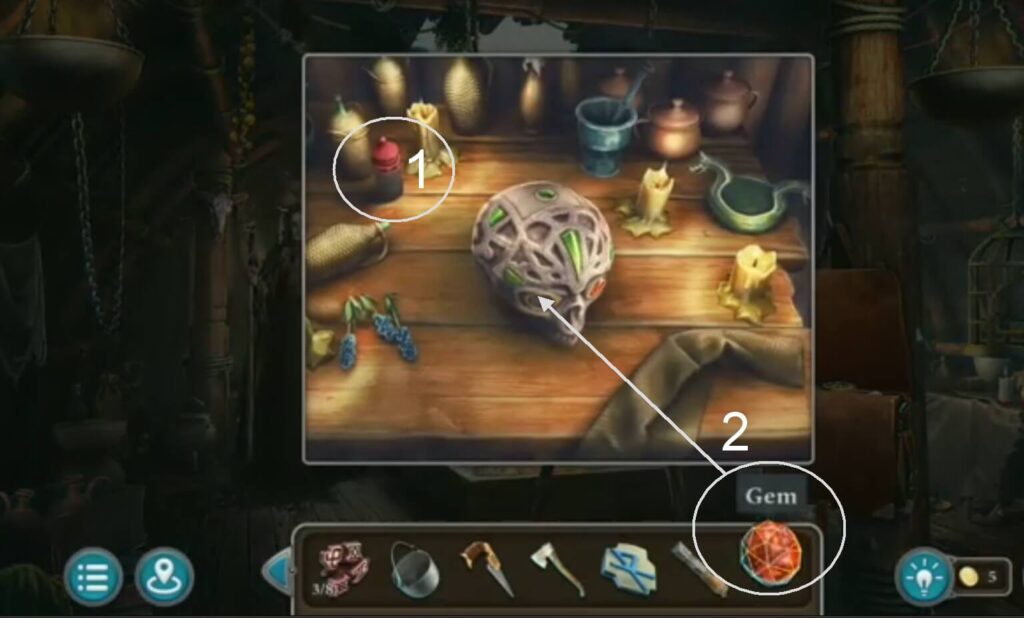
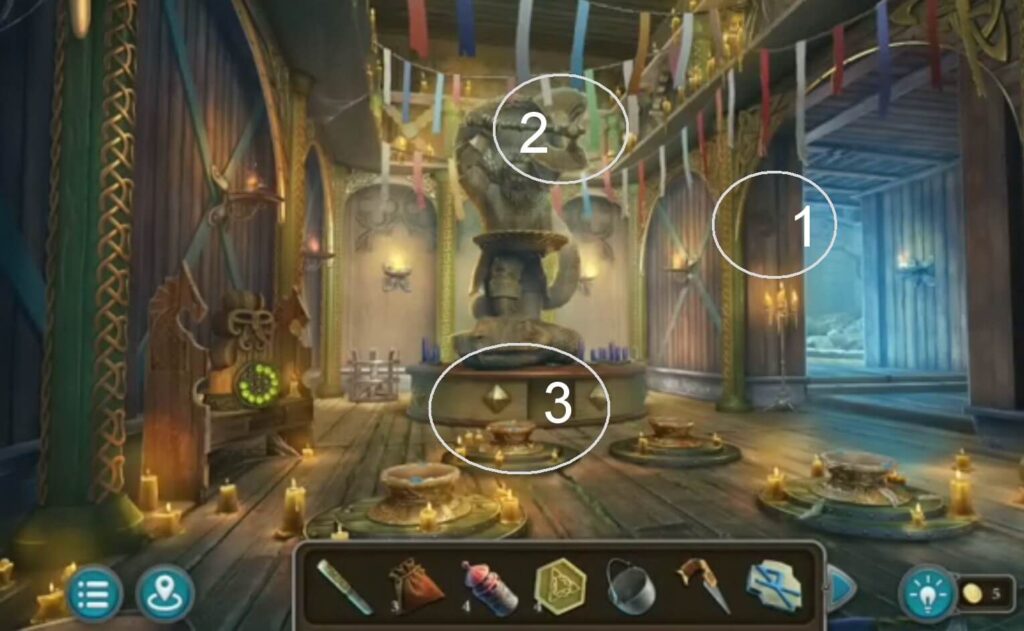
A) A morphing object
B) A collection item
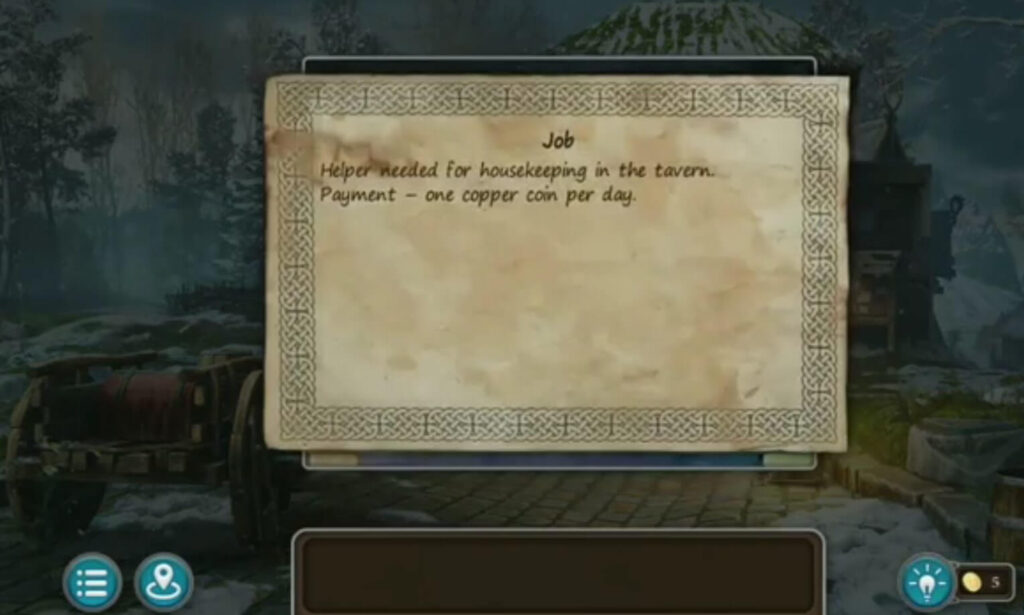
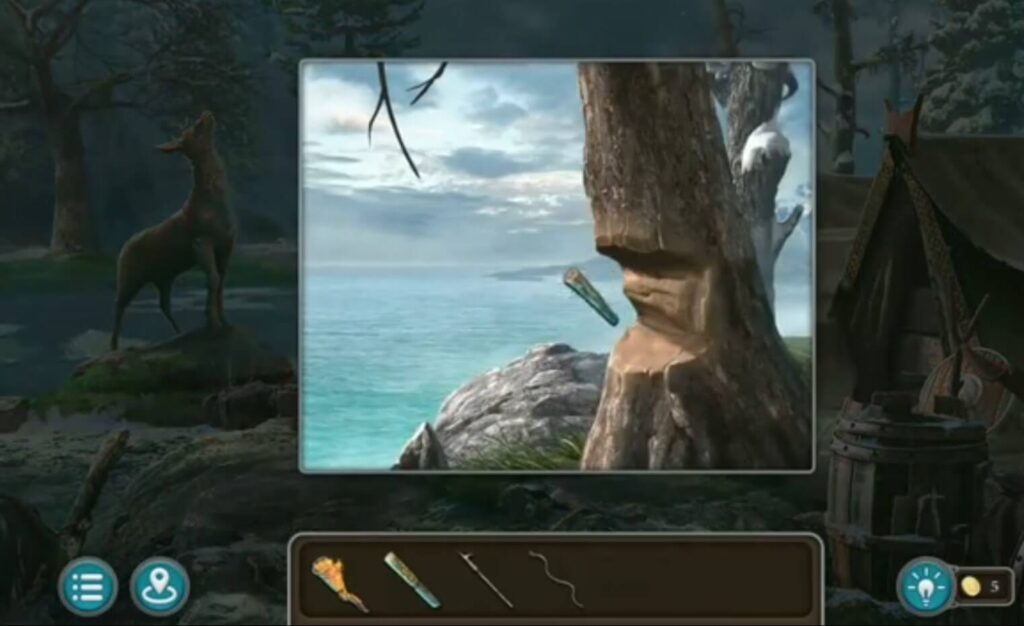
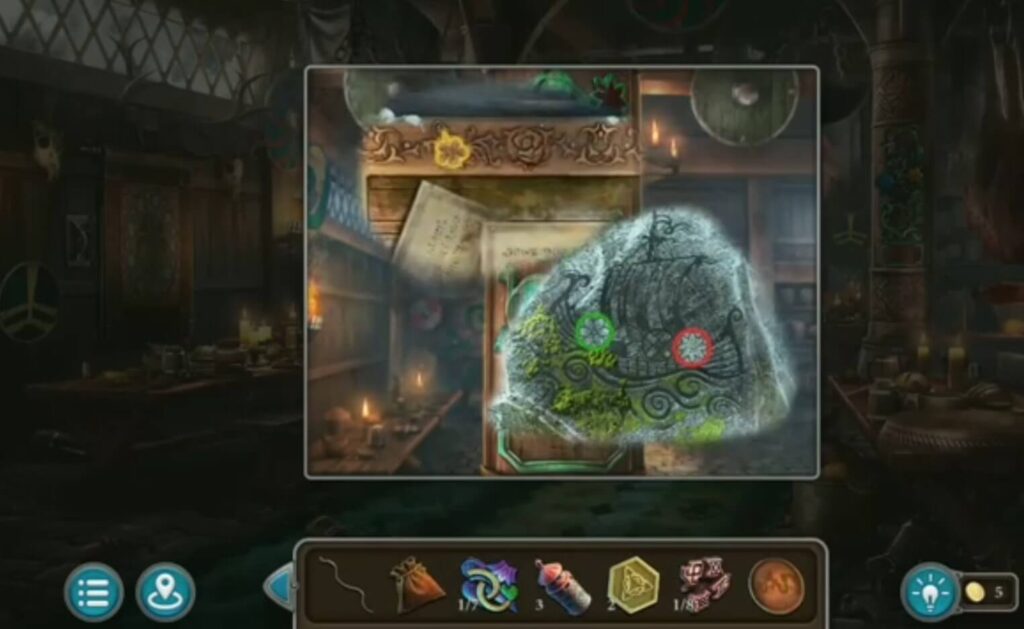
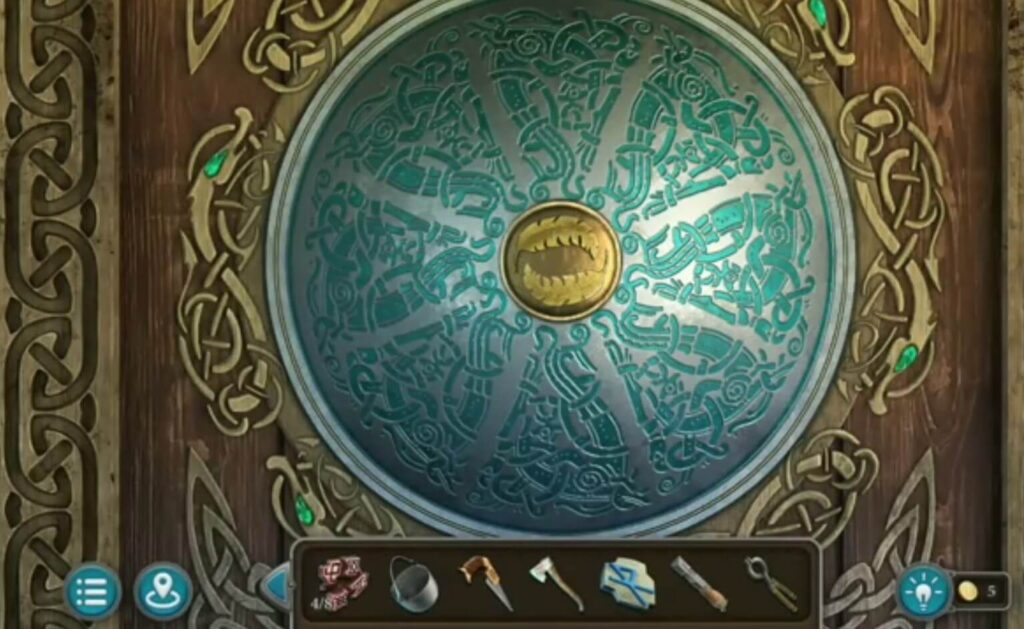
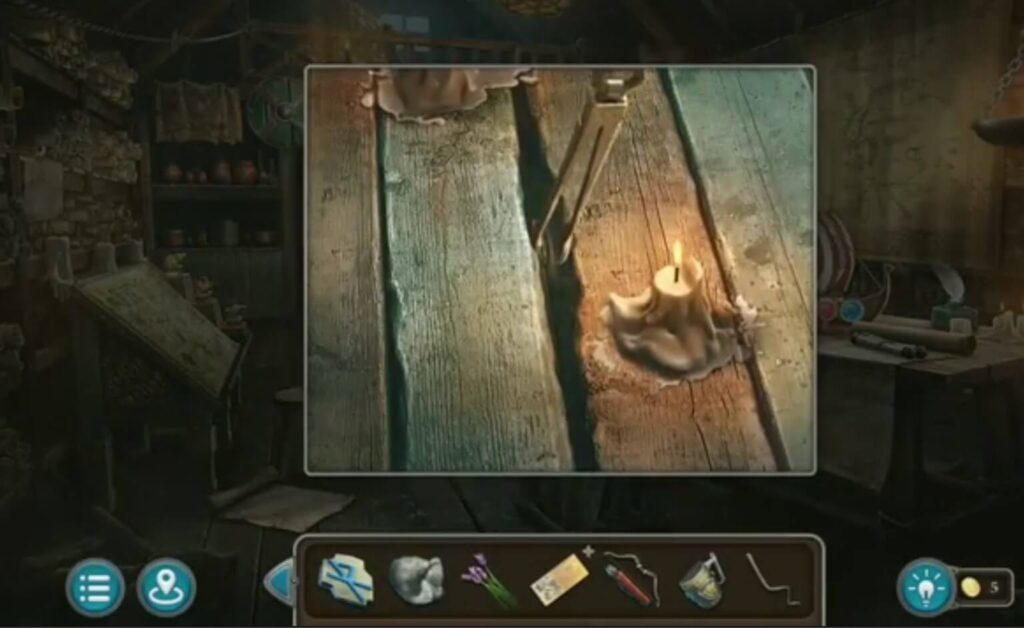
Click on the piece of paper, an inscription will appear.
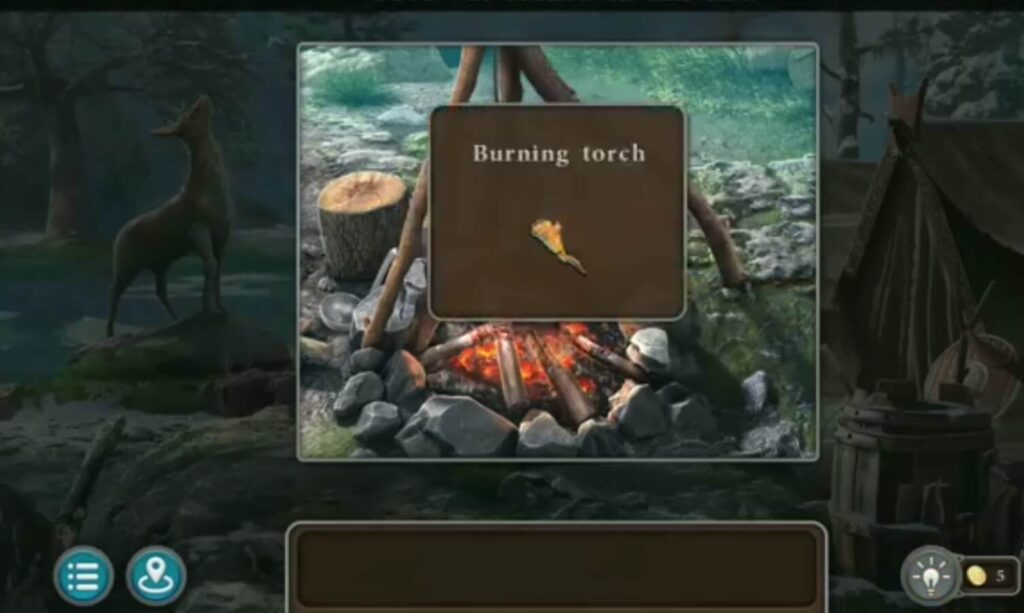
Take a burning torch.
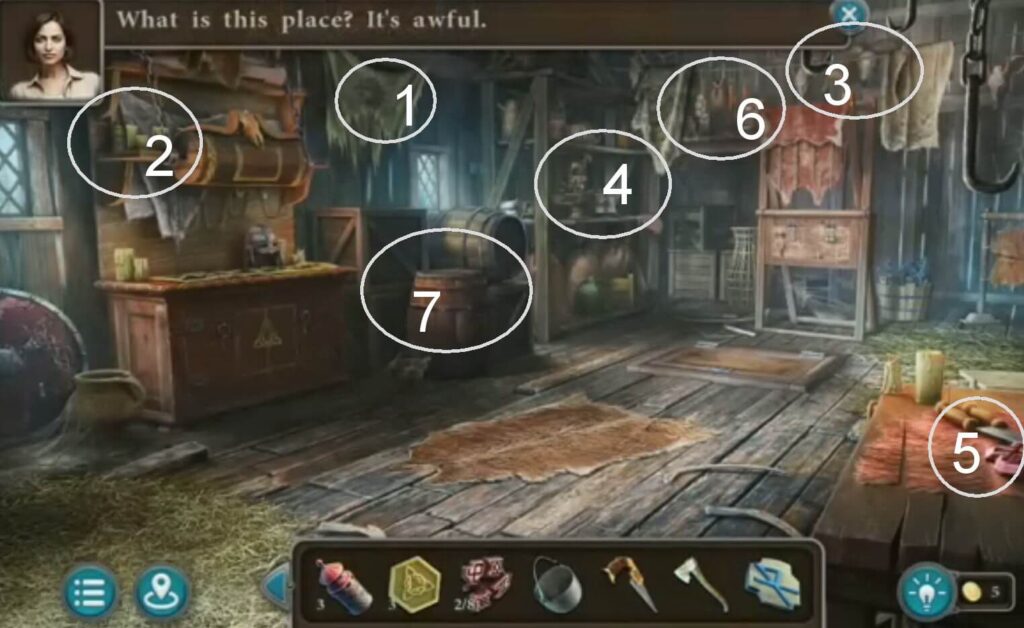
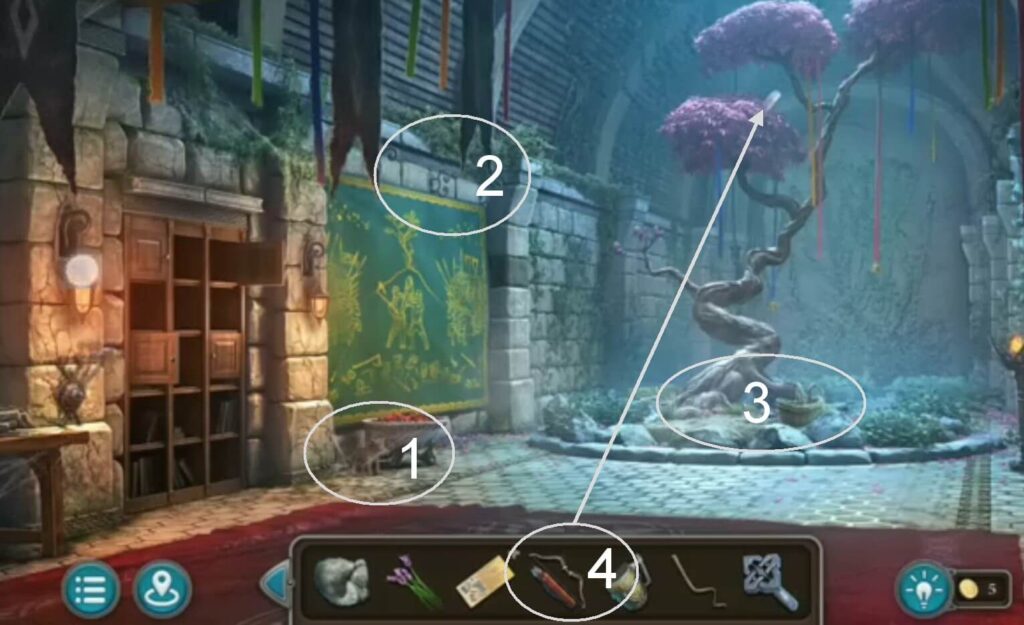
- A collection item
- A morphing object
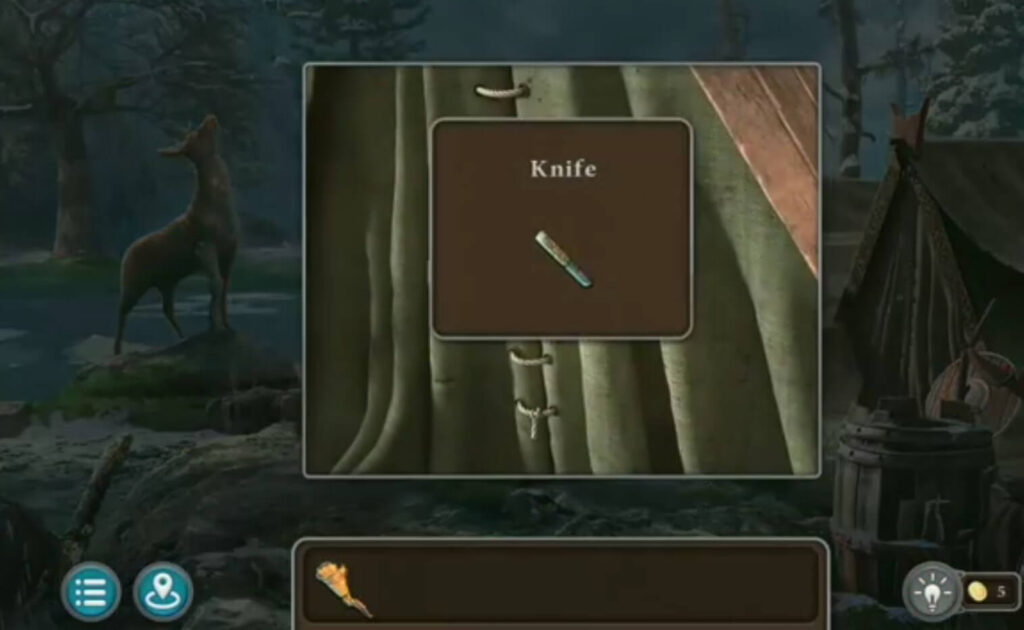
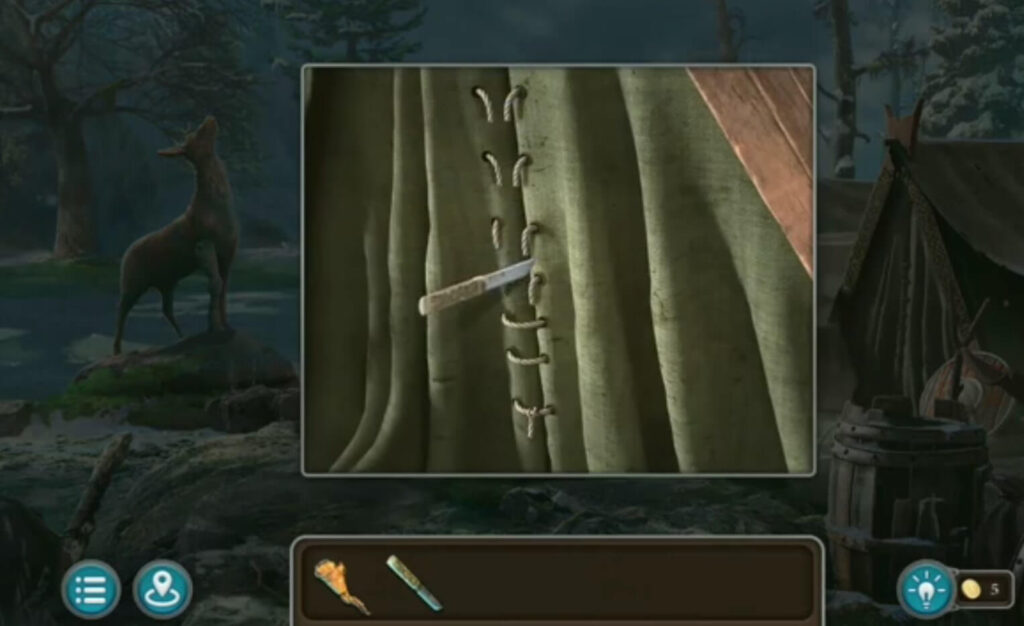
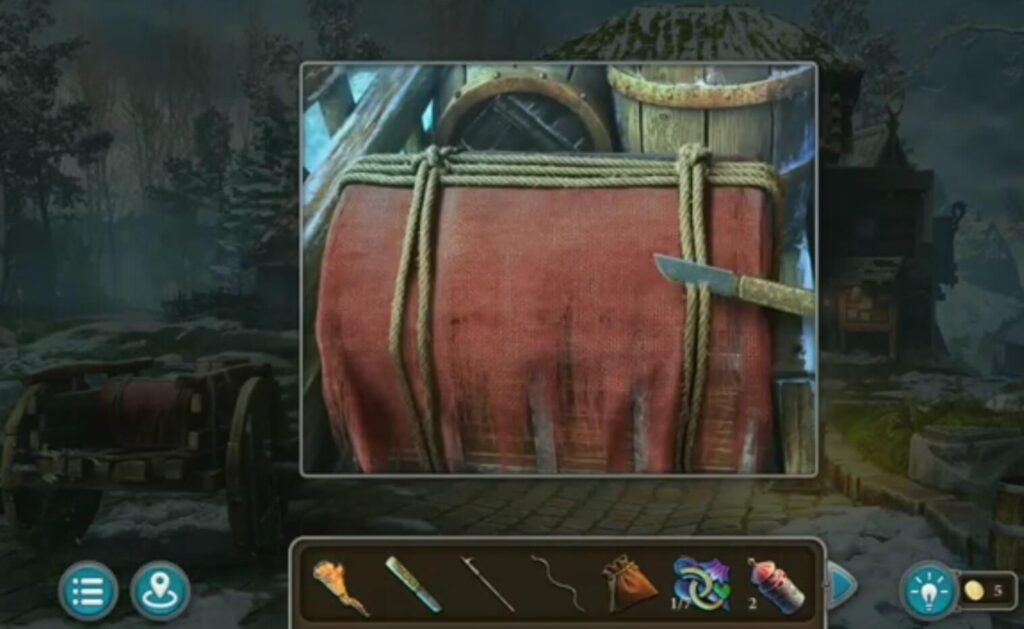
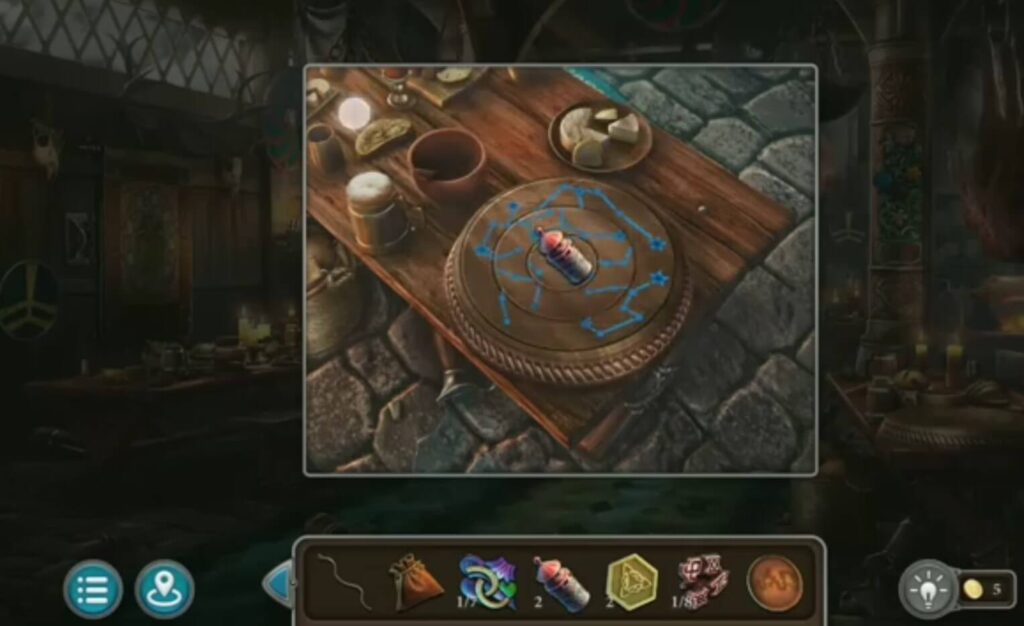
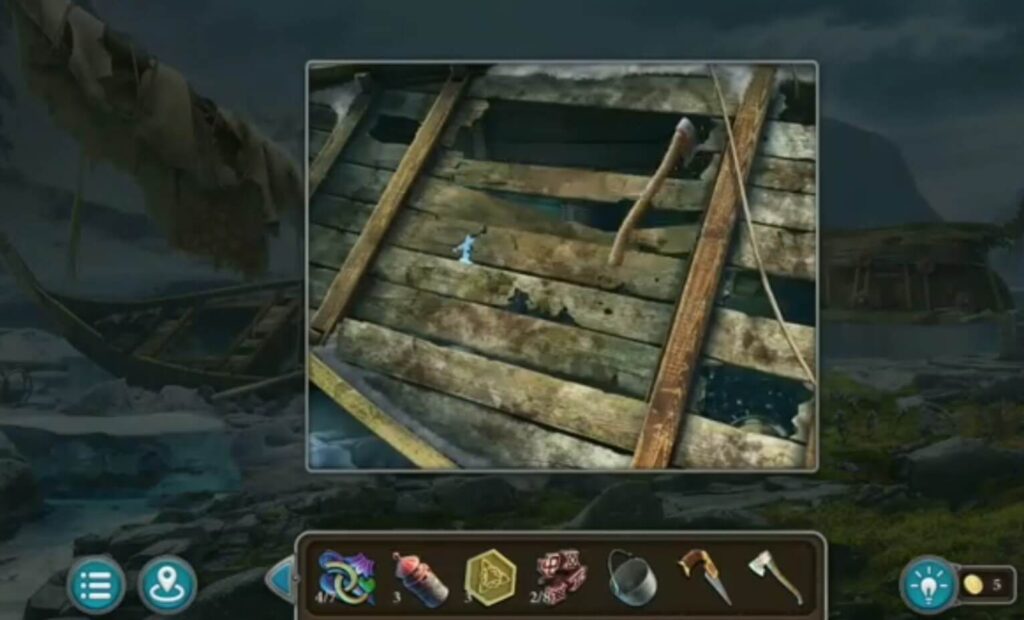
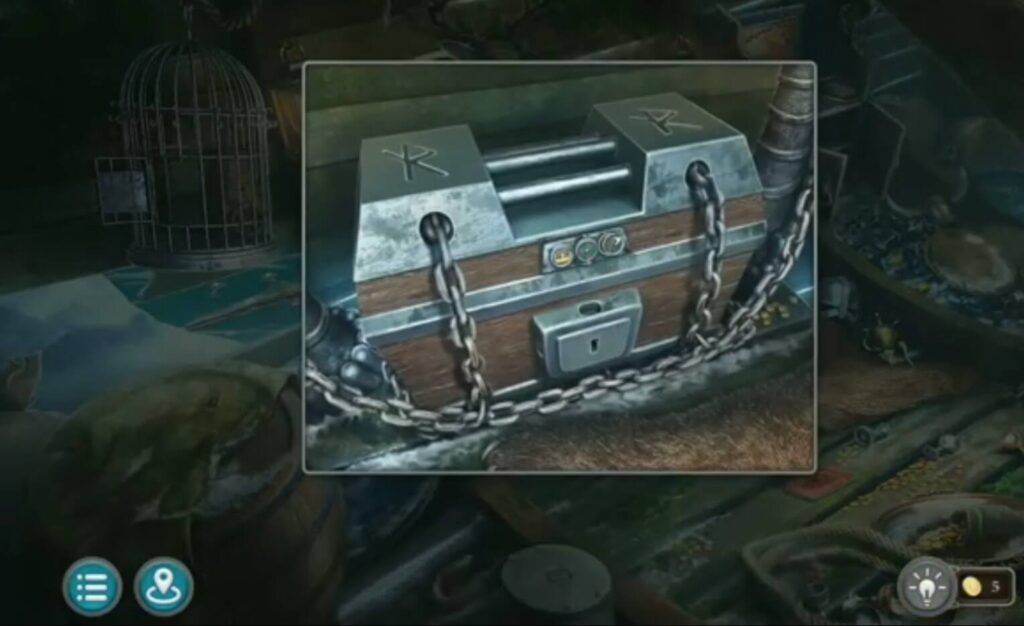
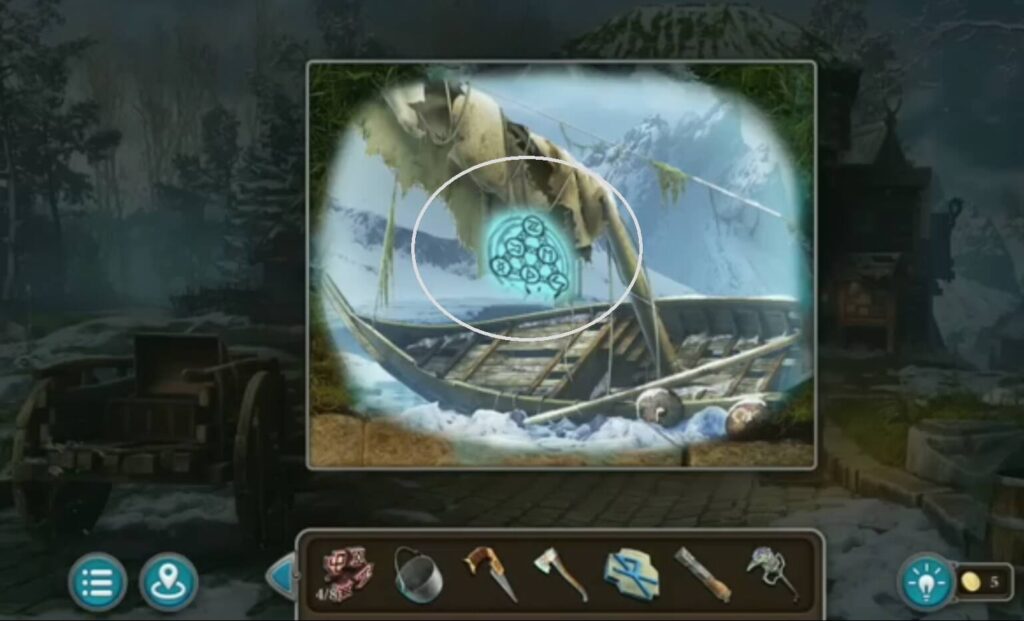
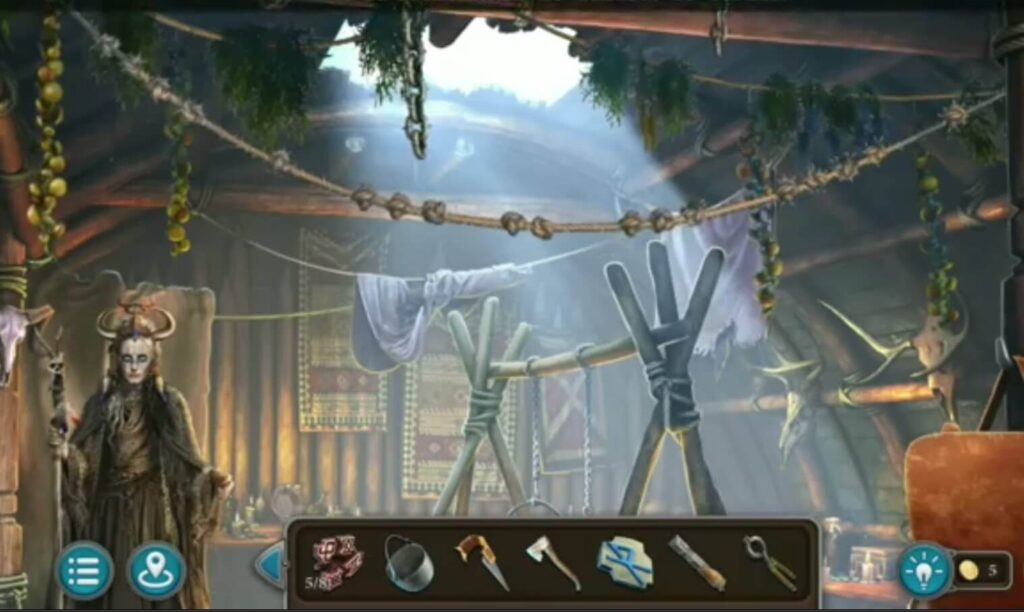
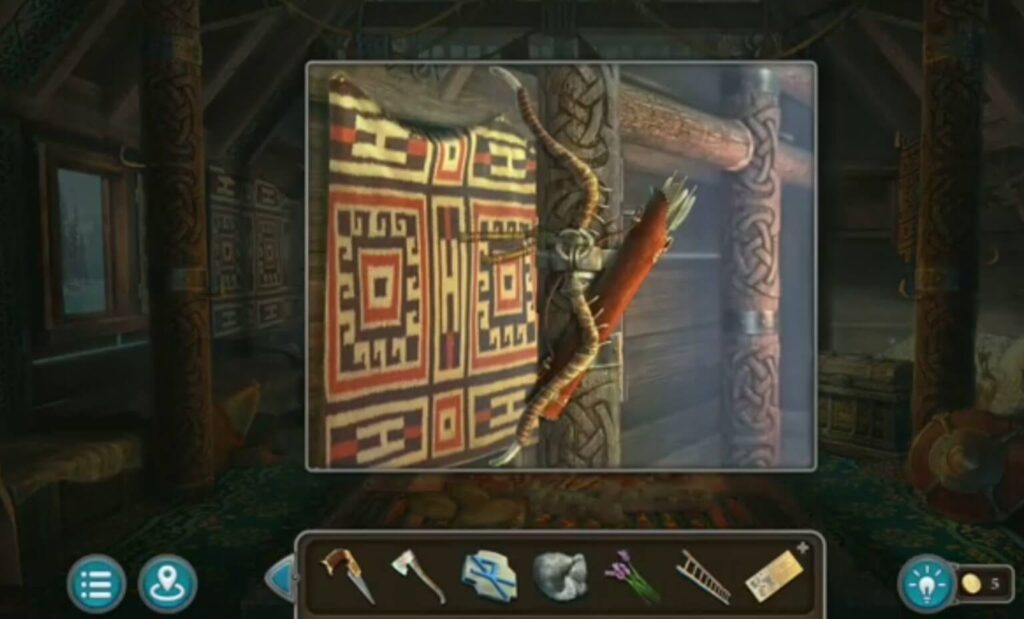
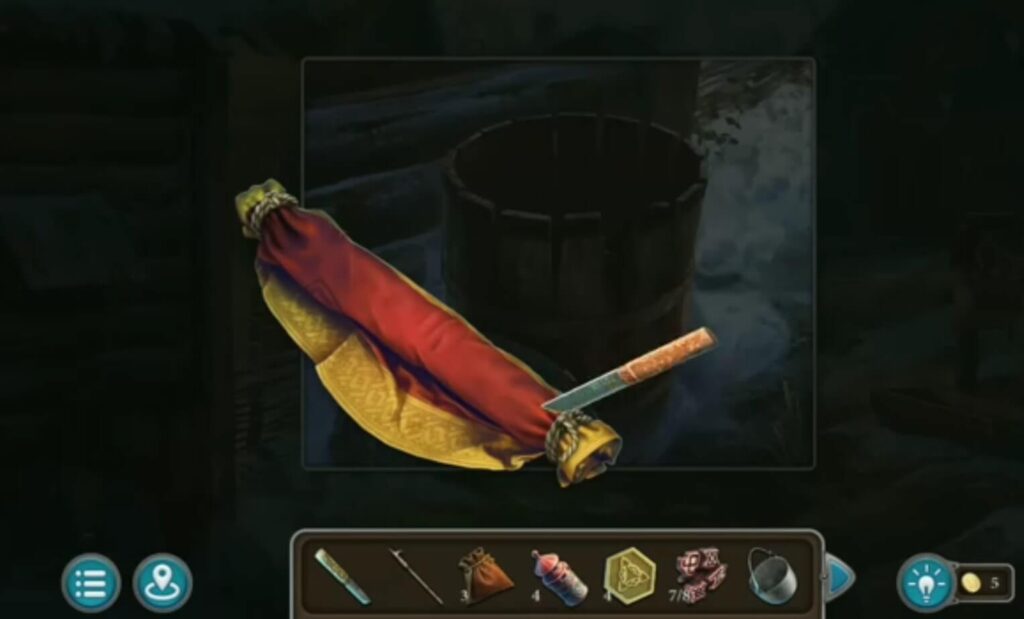
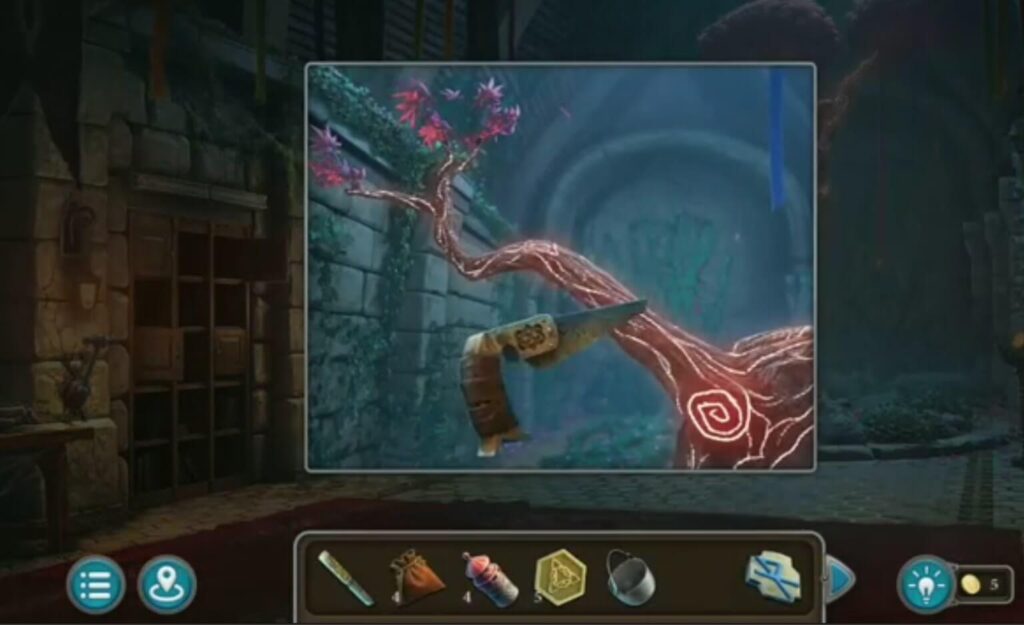
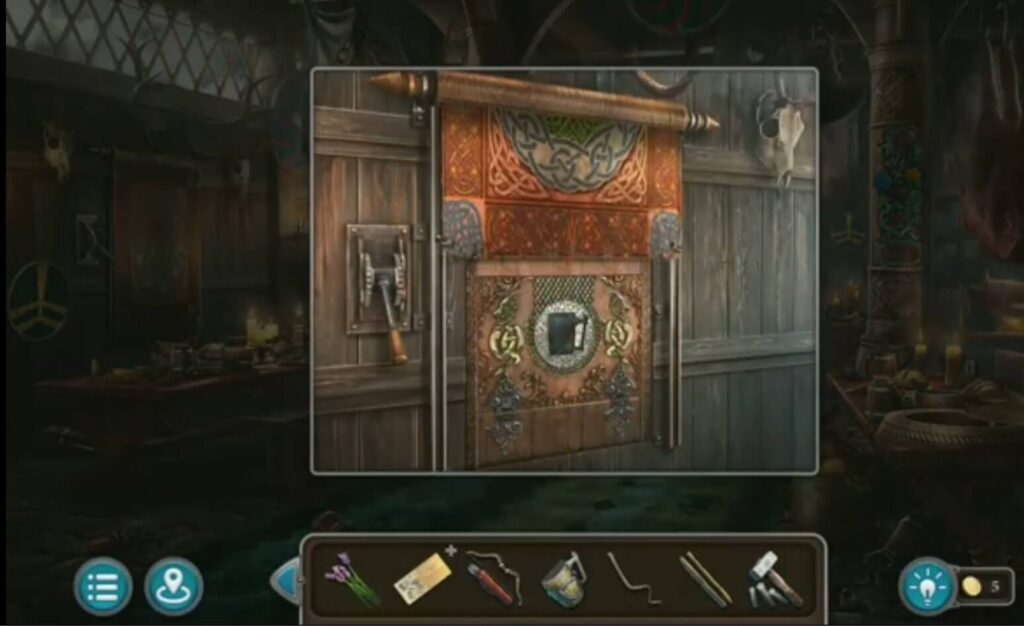
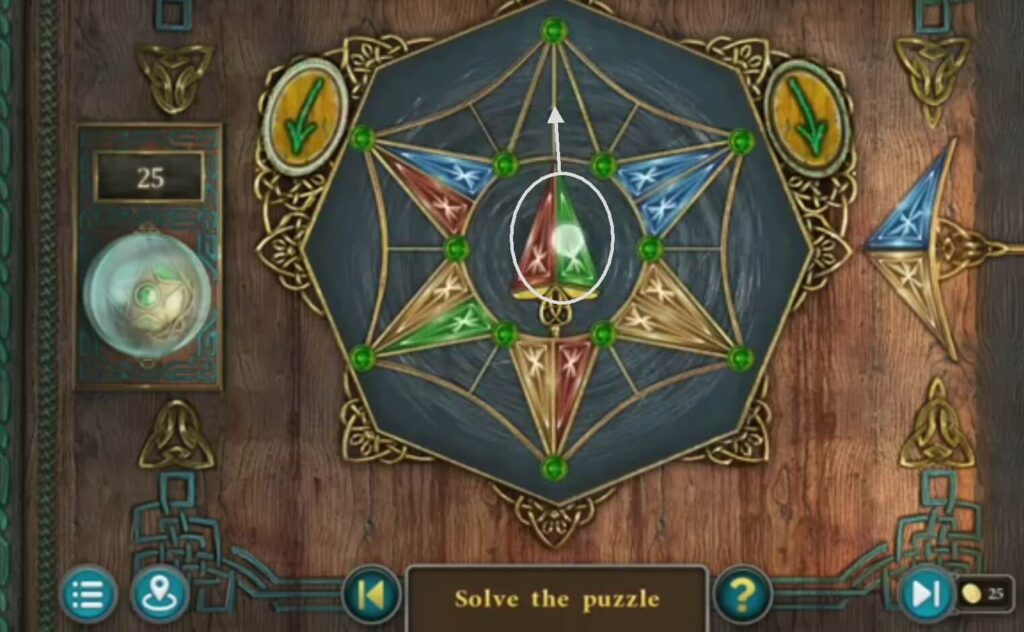
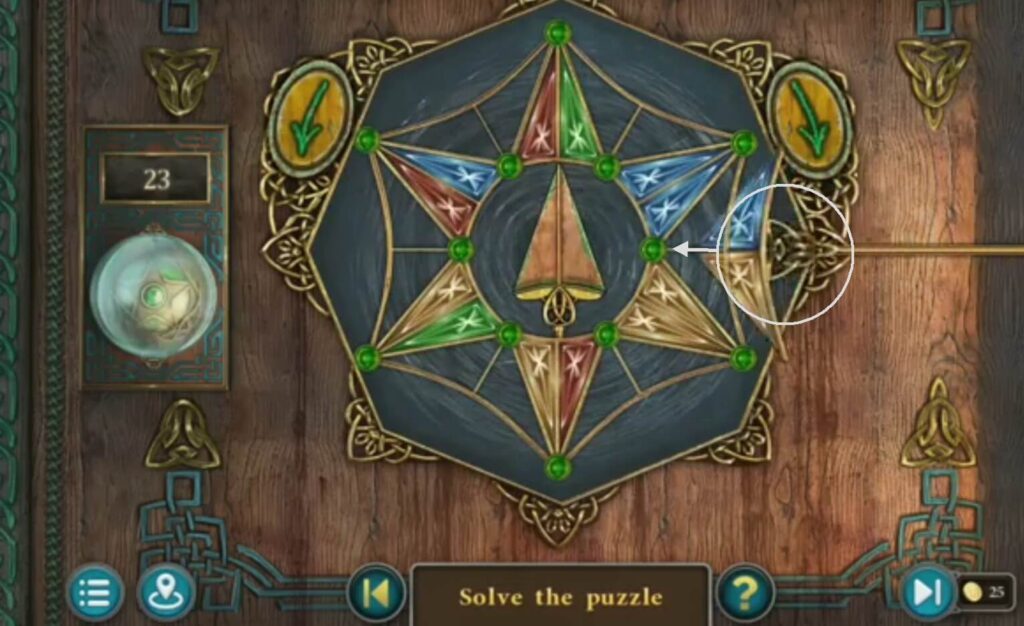
Take a knife and cut the rope. Inside is a puzzle.
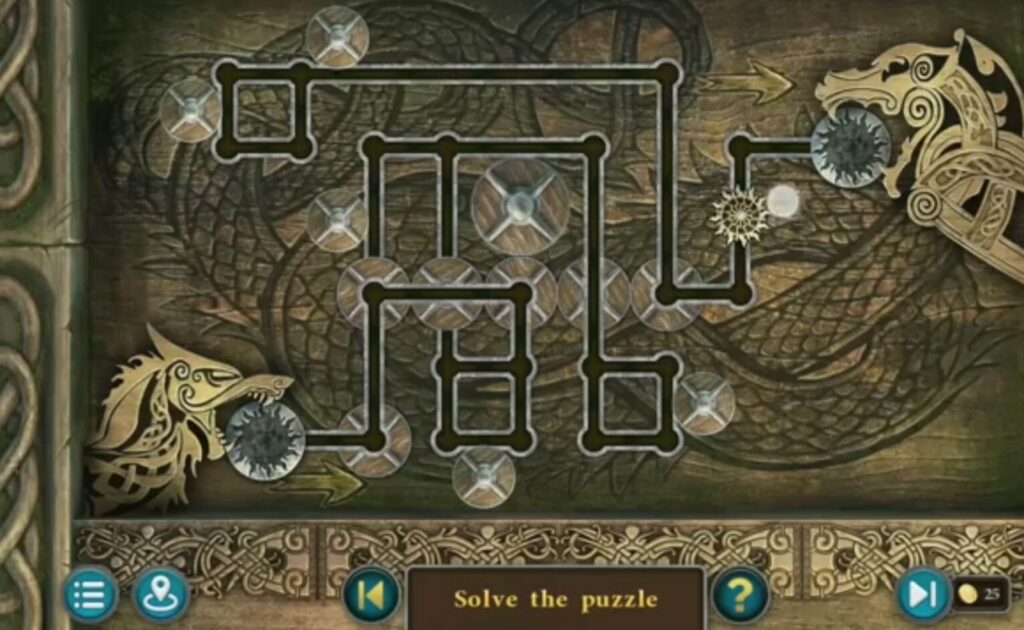
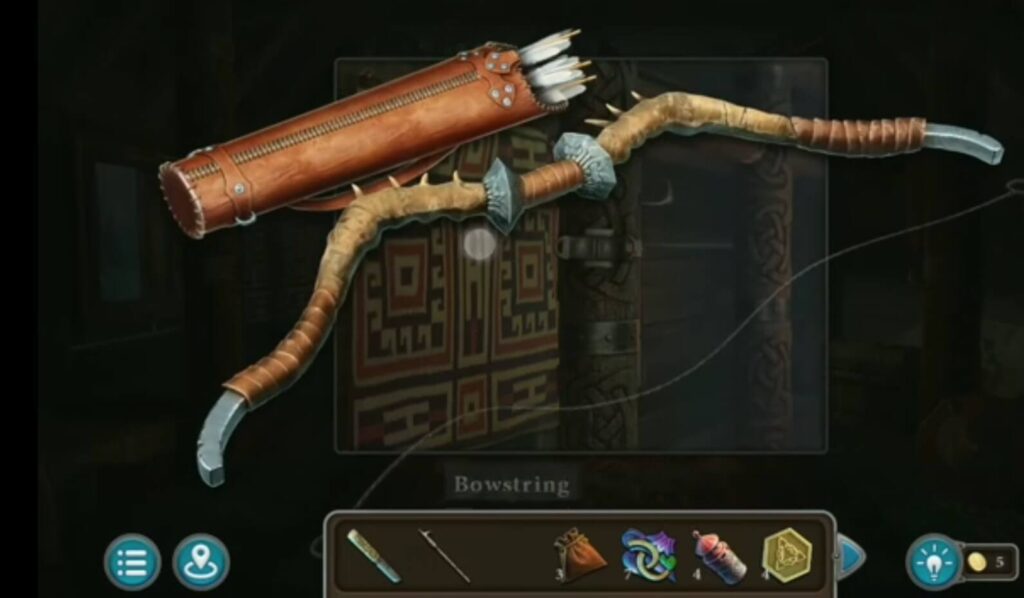
Solve it by moving the round element until you reach the target on the right. You will get a pike pole, and bowstring.
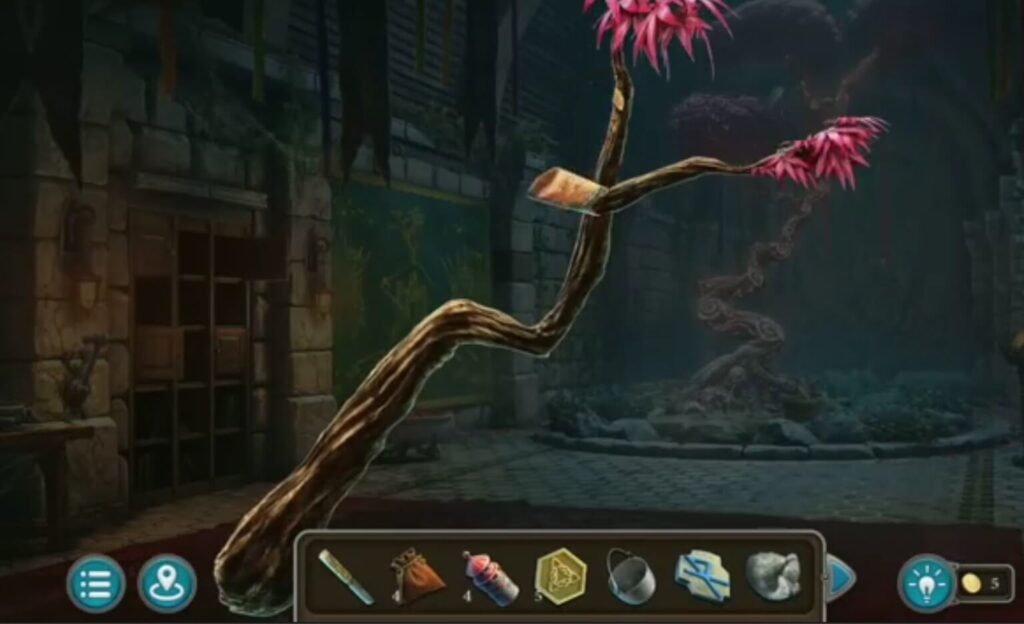
Take a stick.
Take a powder.
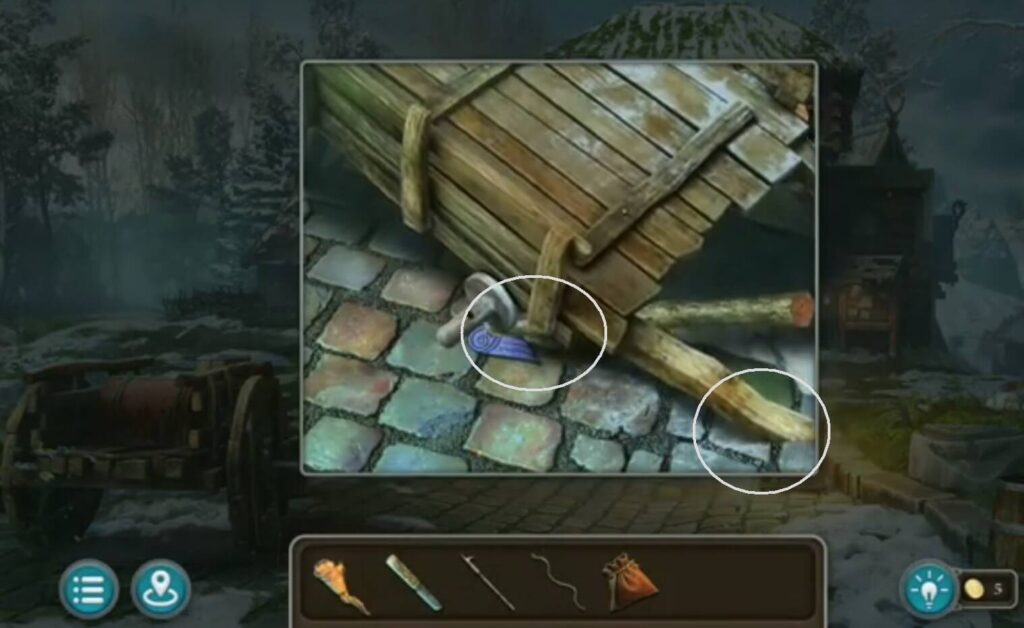
Take a stick (found in the tent) and put it under. You got a mosaic picture. And under the road is a lighthouse.
- A collection item
- A morphing object
- A fish
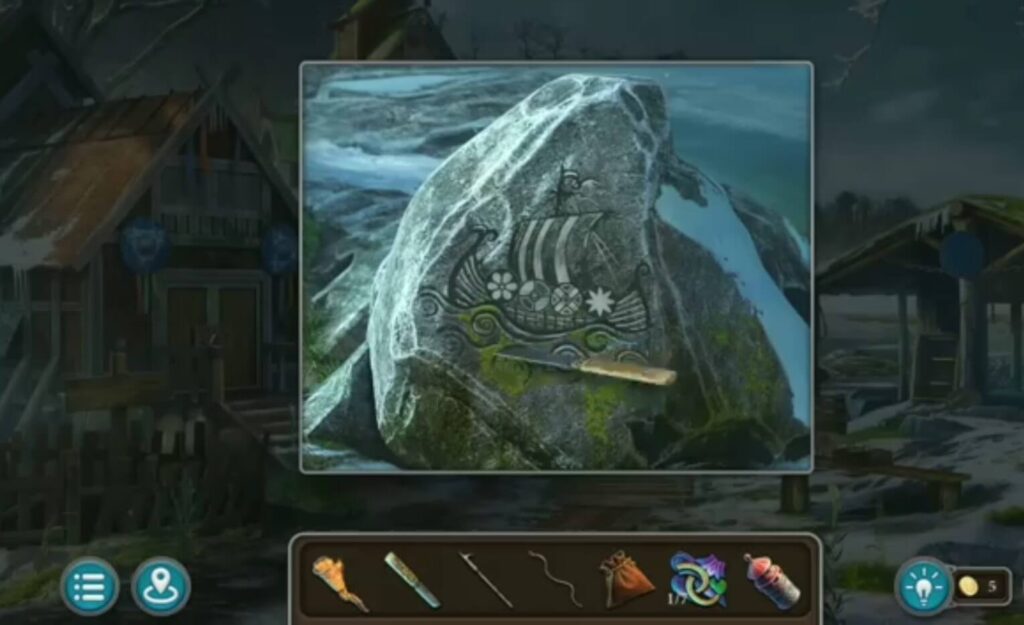
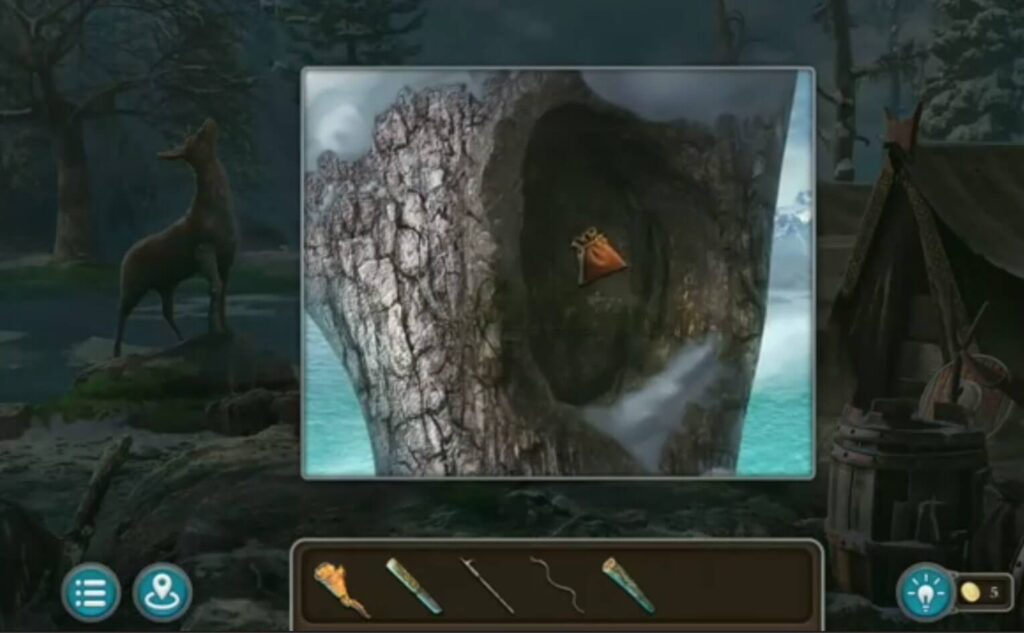
Scrape the moss off the rock with a knife (found in the tent).

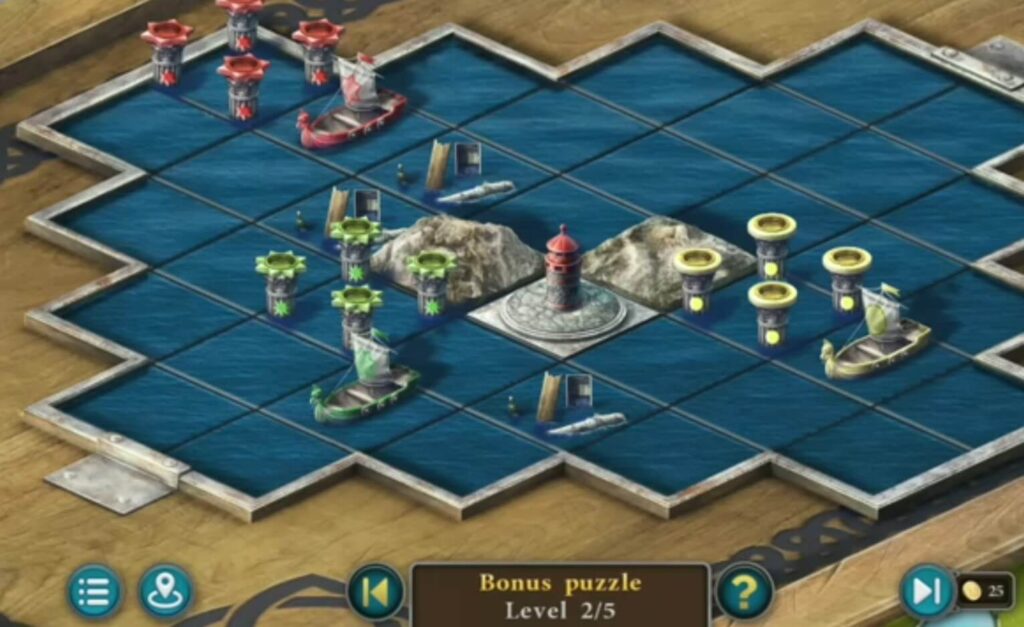
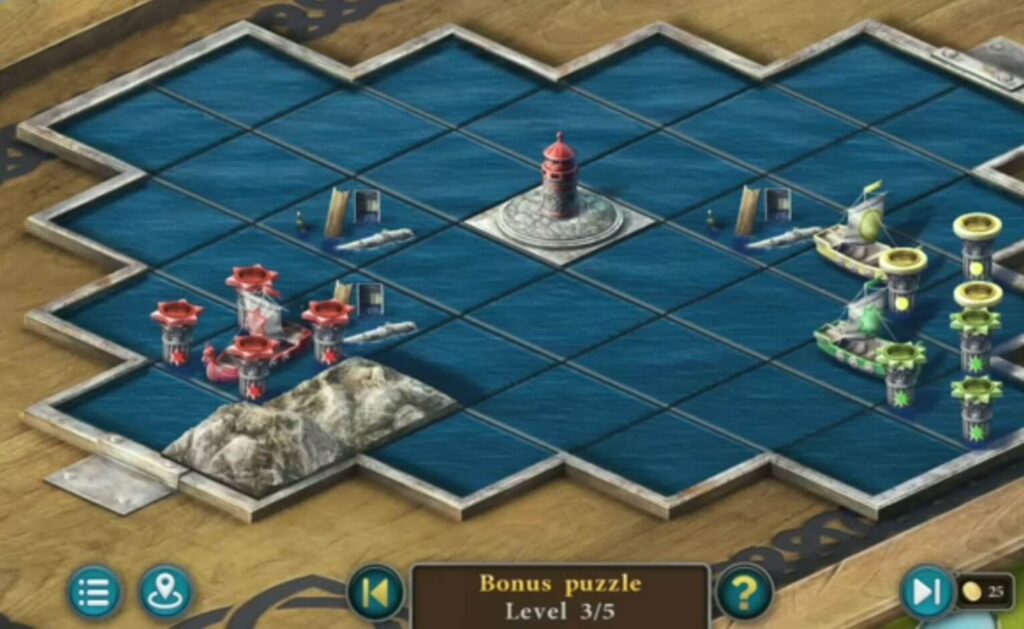

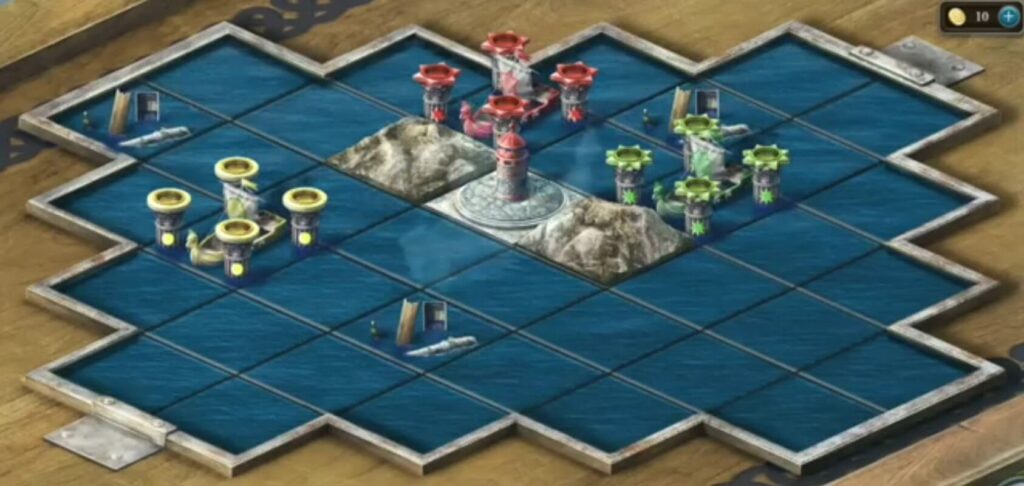
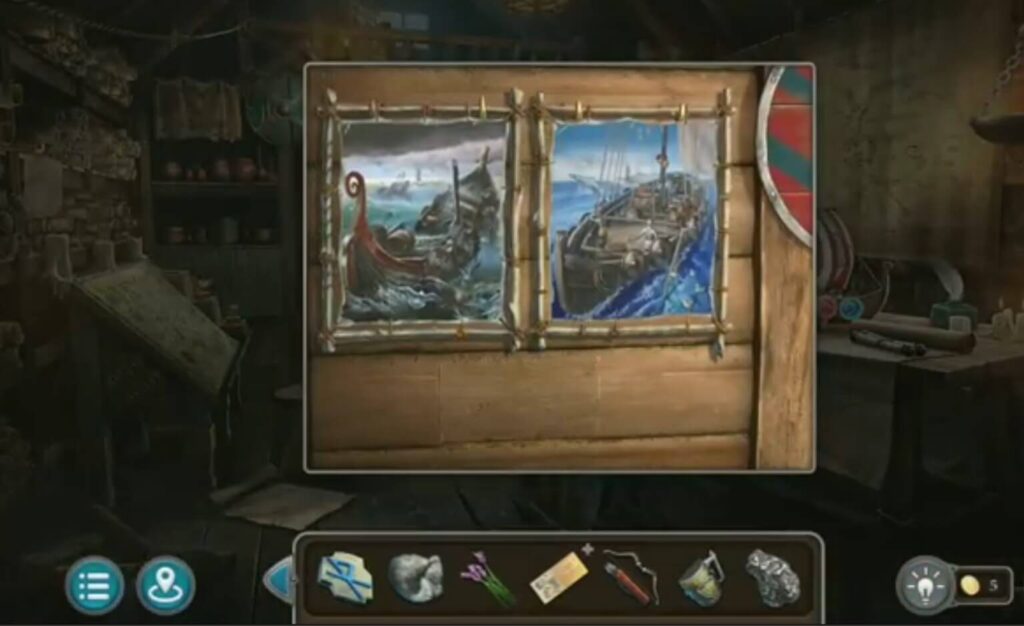
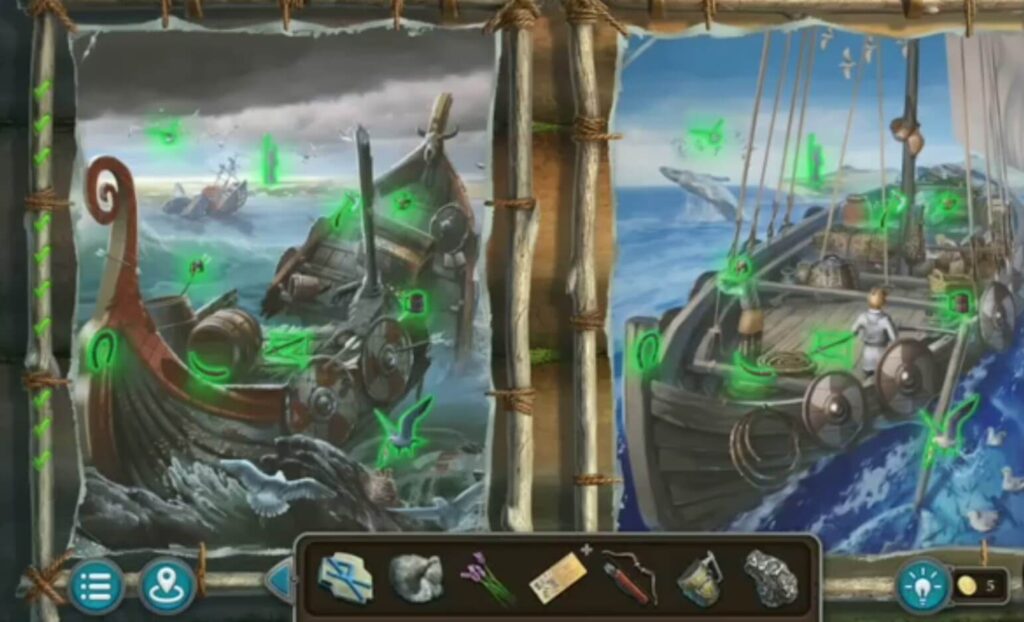
The pictures above are the solutions to all five levels of the bonus puzzle. Put the lighthouse (collected during the game) to start this puzzle. It is solved by having the ships anchor in the place where their ship’s color is. The boats can be moved in all 4 directions, forward, backward, left, and right until the appropriate position is reached.
- A collection item
- A token
- A morphing object
- A collection item
- A token
- A morphing object
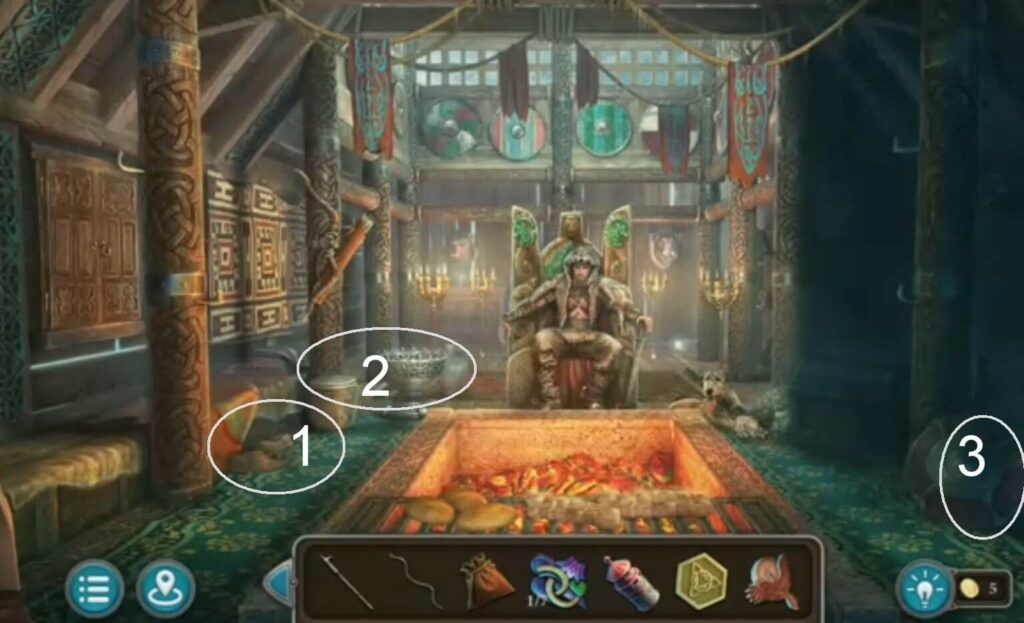
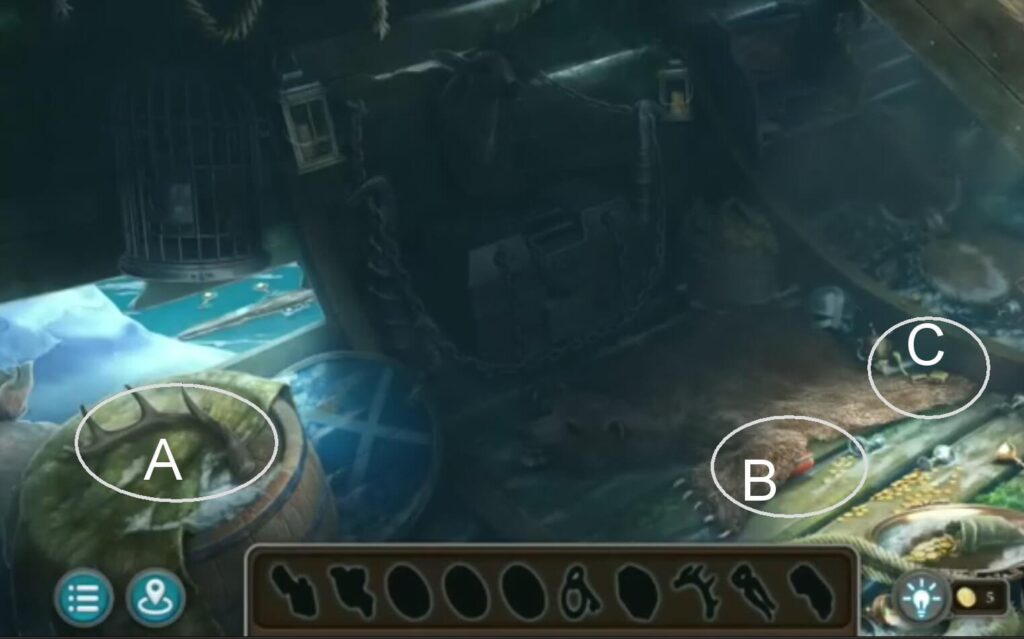
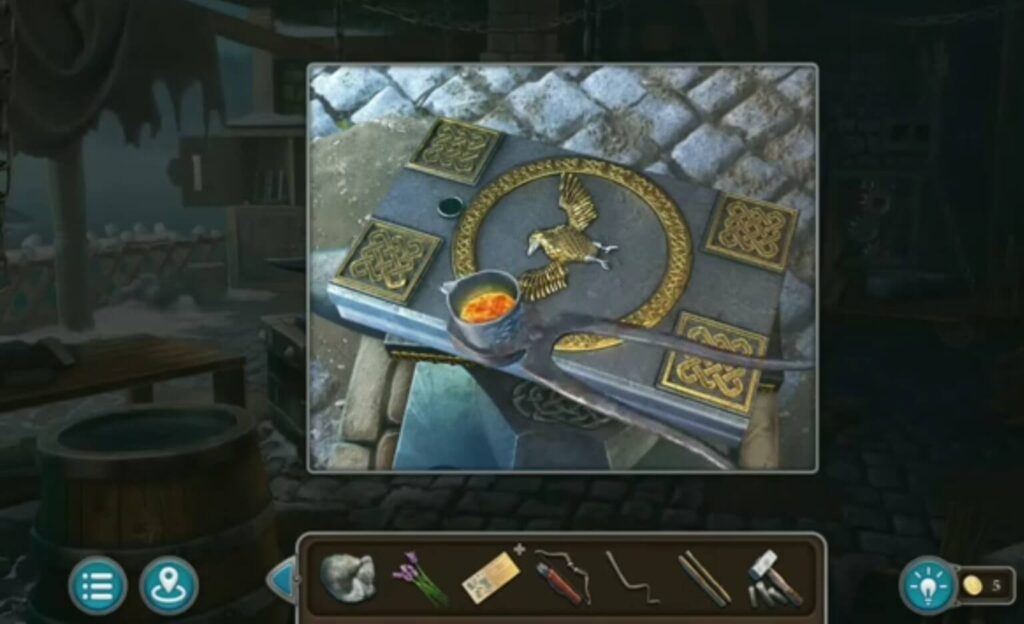
Take a knife and cut the rope. It’s a coffin under.
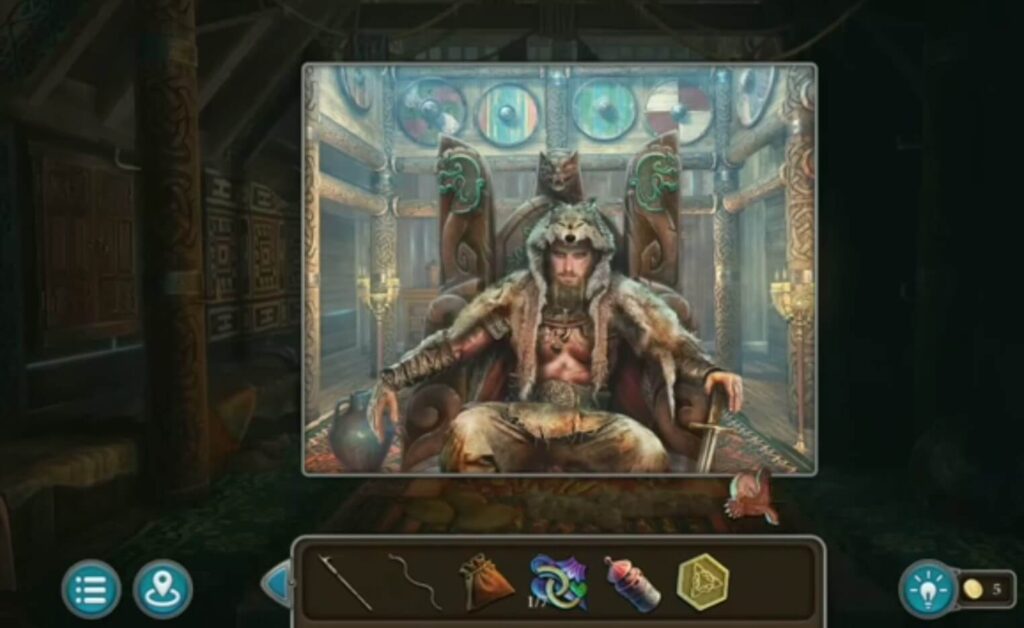
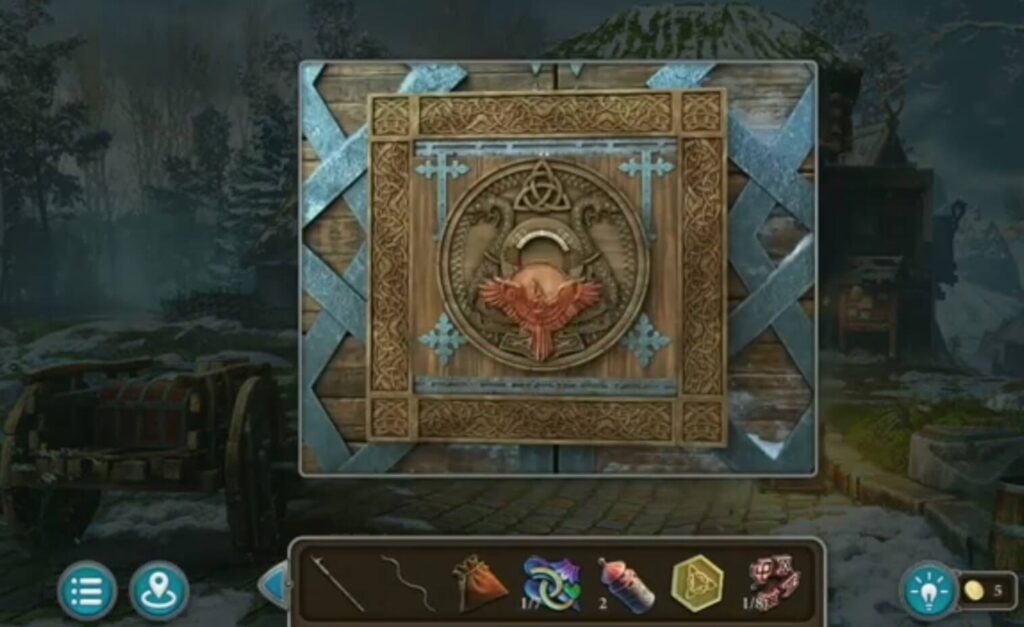
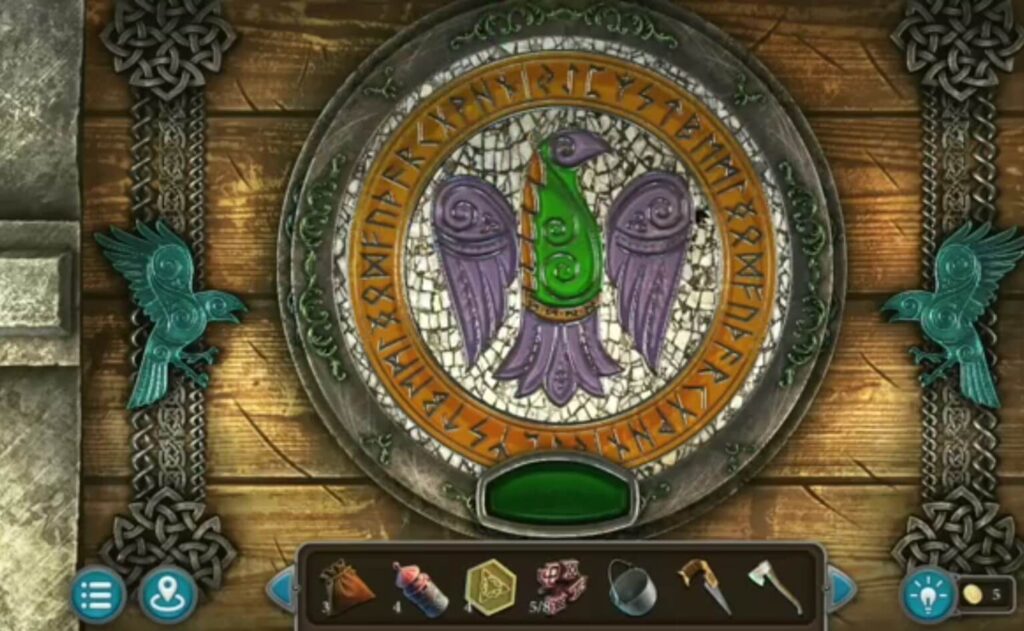
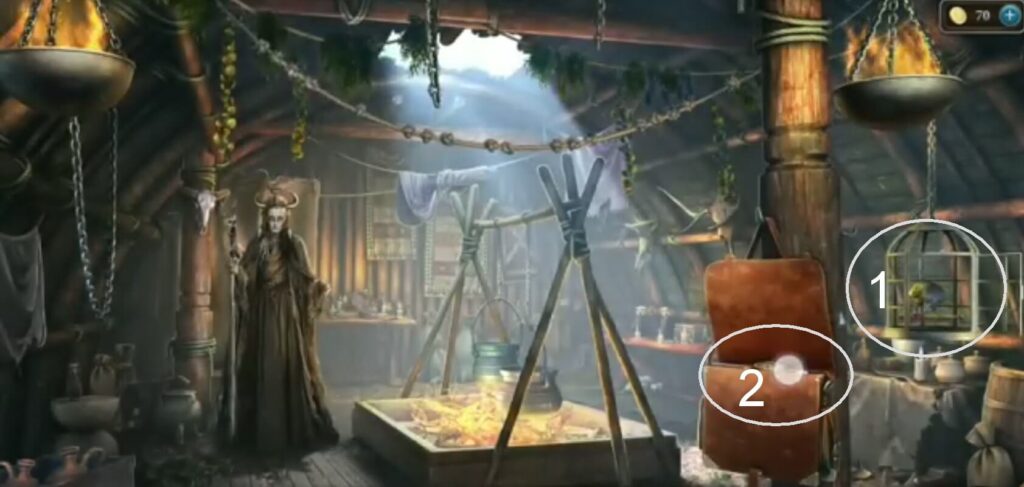
Put the bird (from a man sitting on an armchair with an animal on his head).
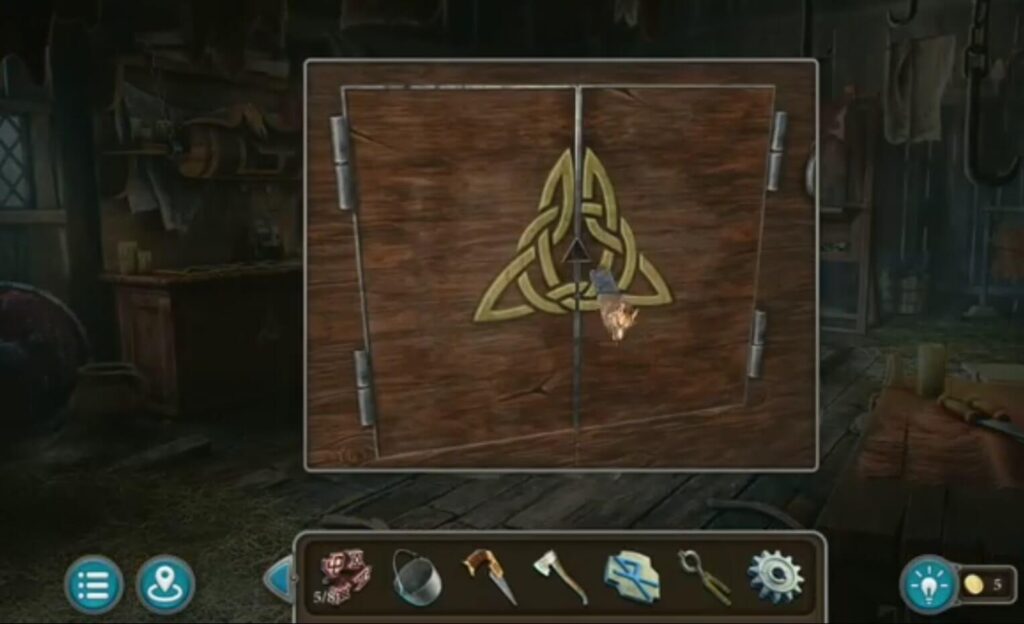
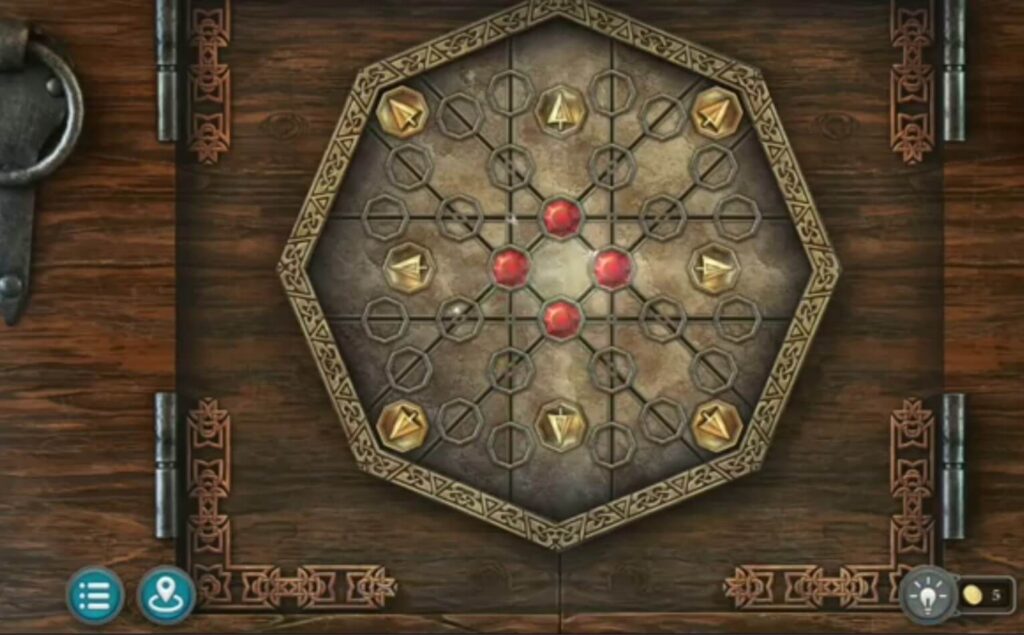
Solve the puzzle by dropping each of the gems in the designated place for its shape. The door will open.
- A token
- A morphing object
- A collection item
- Take a knife to cut the wax from honeycombs
- A collection item
- A morphing object
- Take a plate.
- Take berries (for the ritual).
Take a lighthouse.
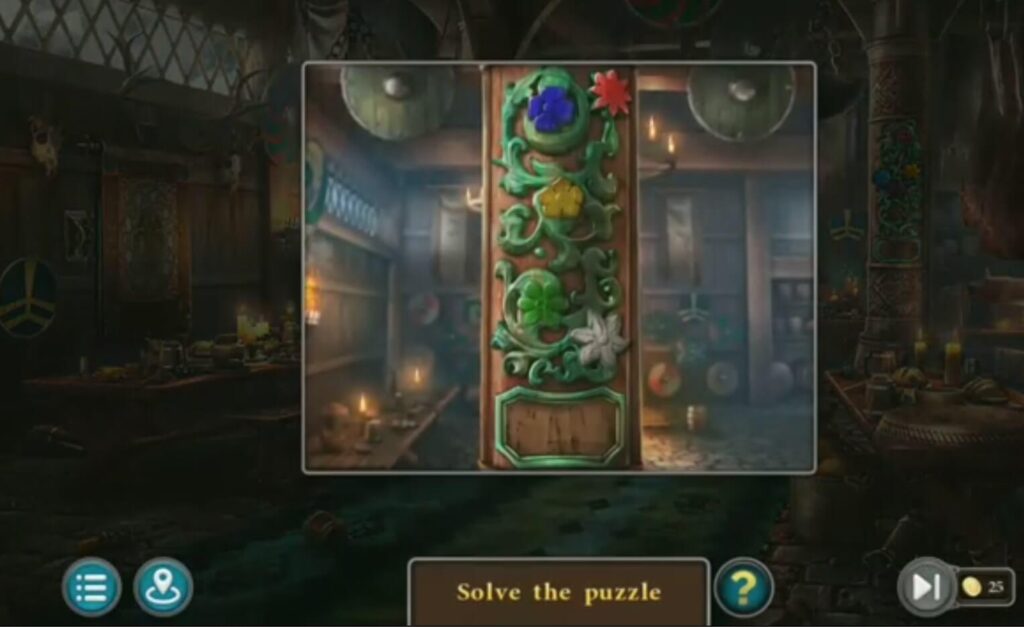
Solve the puzzle with the help of the drawing on the rock and the flower on the wooden board. You got a key.
Put a key (got it when you solved a flower puzzle) to open a coffin. You got a cauldron and a mosaic pieces.
- A token
- Take a pike pole (from solving a puzzle) to grab a barrel. You got a handle.
Put a handle (found in the barrel). A window will open.
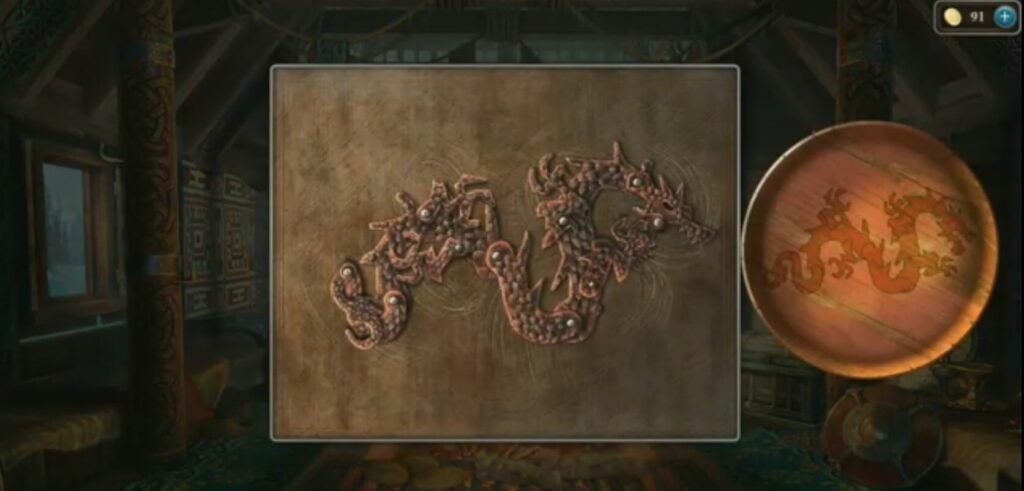
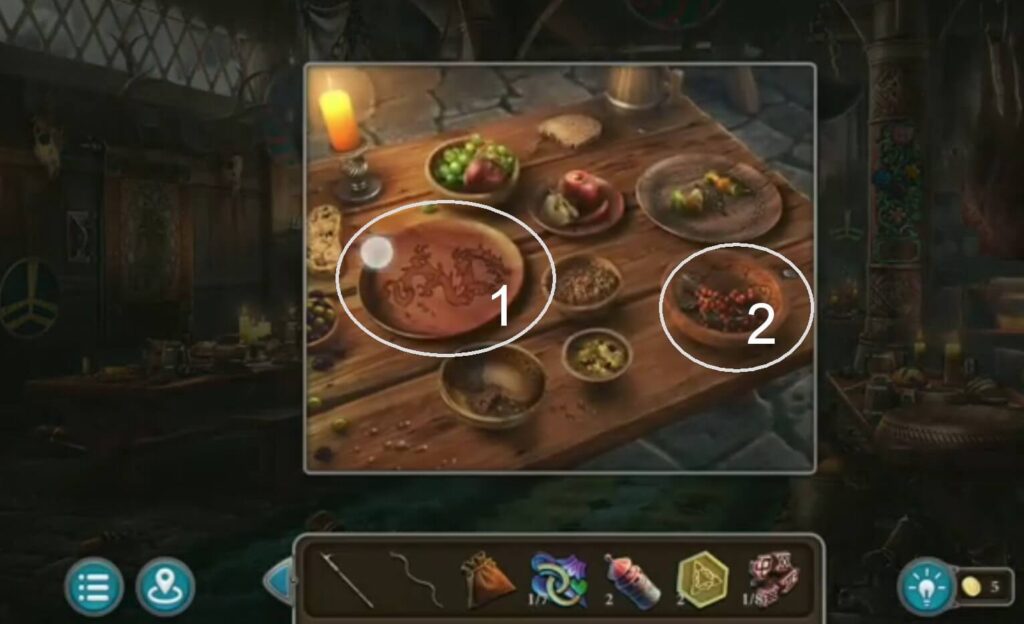
Solve the puzzle by looking at the plate with the dragon drawn on it. Arrange the elements from the puzzle as it is on the plate. You got a handsaw, a runes.
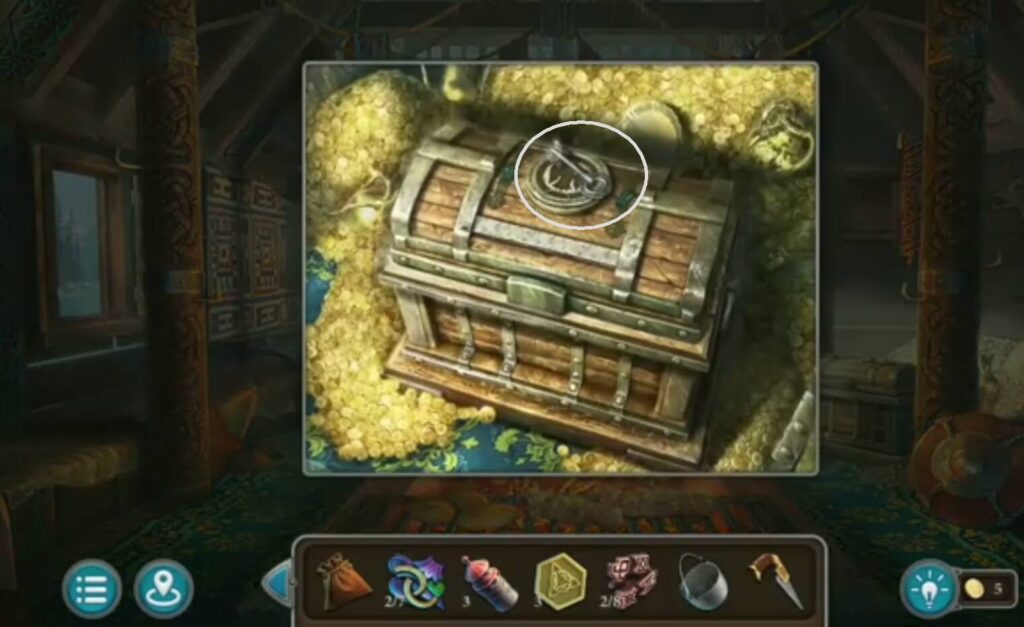
Take a key from a coffin.
Open the coffin with a key you found on the other coffin (in the room).
You got an ax, and mosaic pieces.
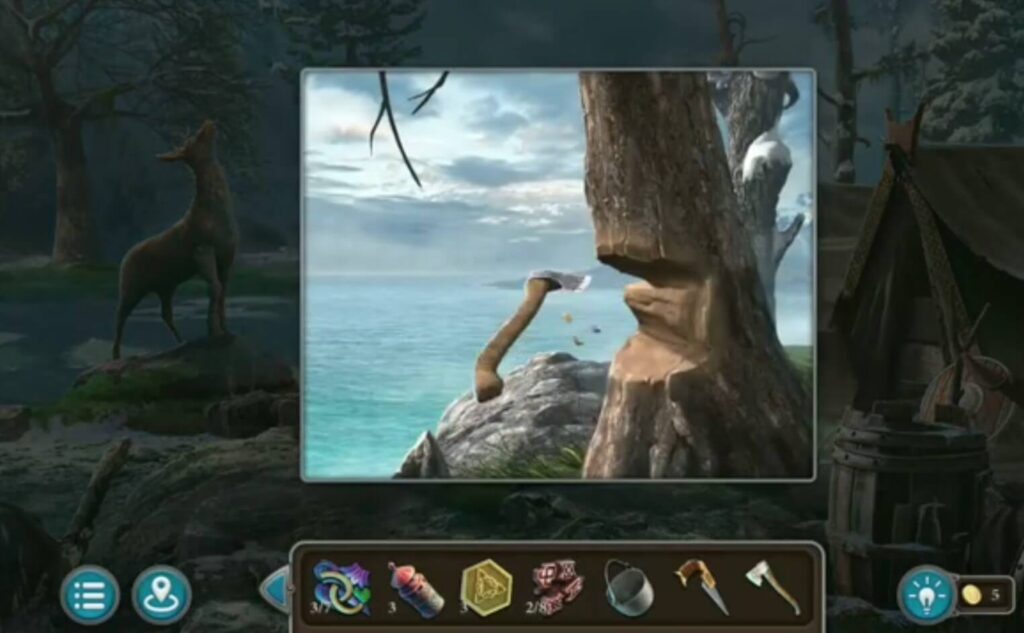
Take an ax (found it in the coffin) to cut a tree.
- A morphing object.
- Take the torch to melt the ice and take the mosaic piece.
- A collection item.
- A skull.
Take an ax (found it in the coffin) to cut the boards.
- A horn
- A pincers
- A lighter
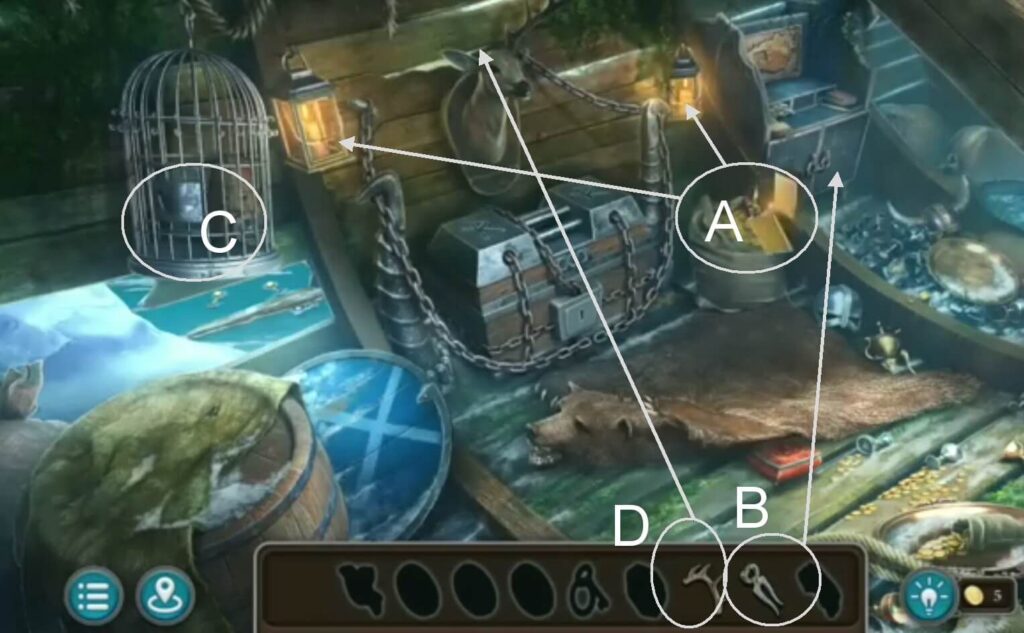
A) Take the lighter to light the lanterns.
B) Use pincers to cut a wire. You got a ruby and a bird.
C) Put a bird (found it when you cut a wire) on the cage. You have a colorful wheel.
D) Put the horn on the deer. You got a detail and a chip.
- Put the detail (from the deer)on the map. You got a key.
- Put a key (from the map) into the coffin. You got a chip.
- Put a ruby on the box. You got a chip.
Put 3 chips on the coffin. You got a rune stone.

Put the skull (found on the grass) and a puzzle will appear. Solve it by rotating the elements.
- A collection item
- A lighthouse
- A morphing object
- A token, a star
- A runes
- A powder
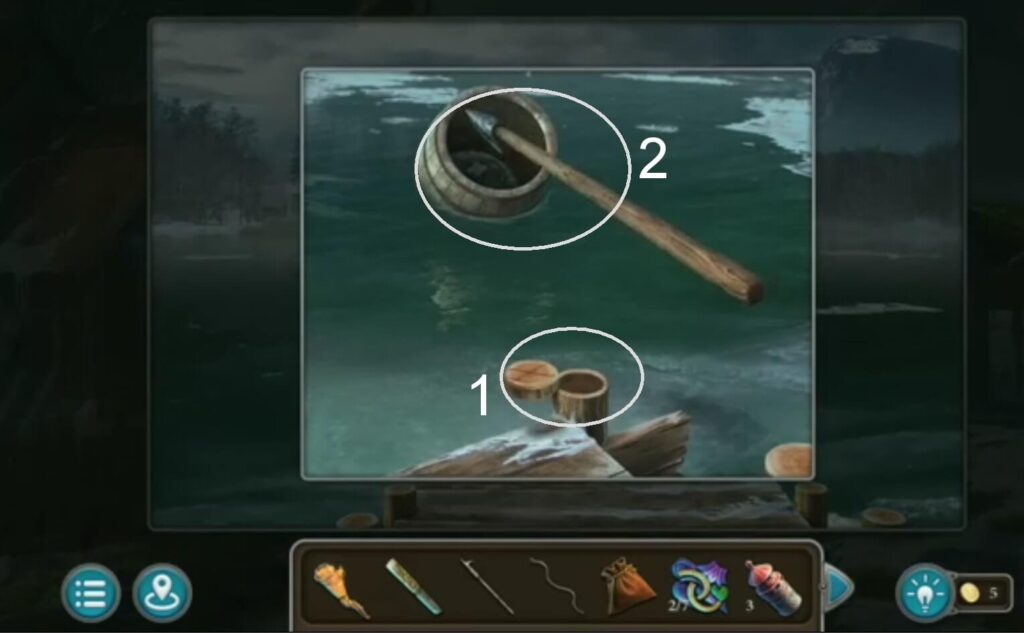
- Take fat with spoon from barrel.

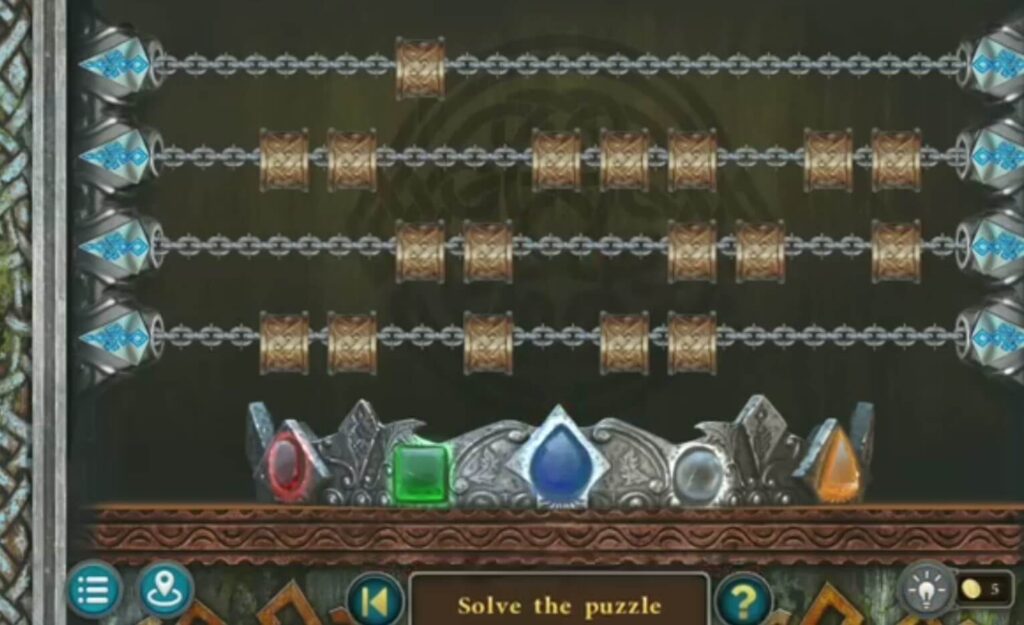
Make all the ends of the chains at the same level. You got a chip.
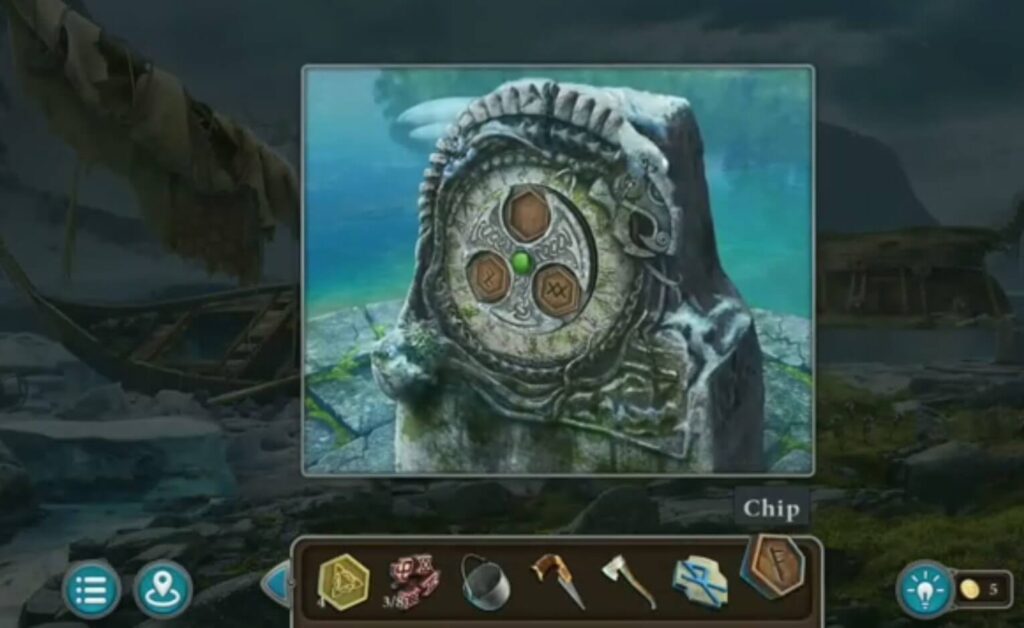
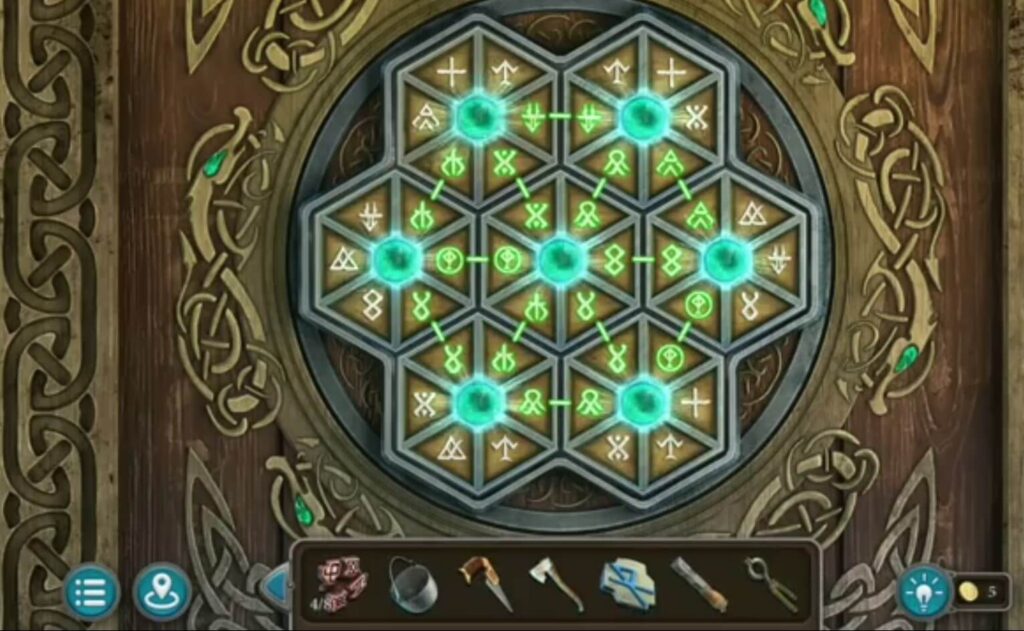
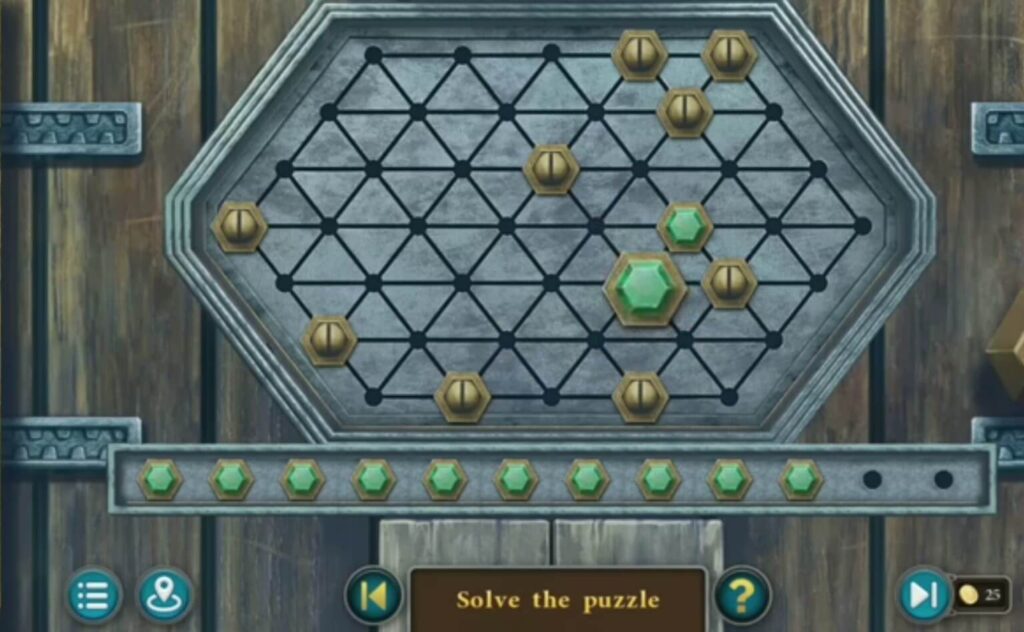
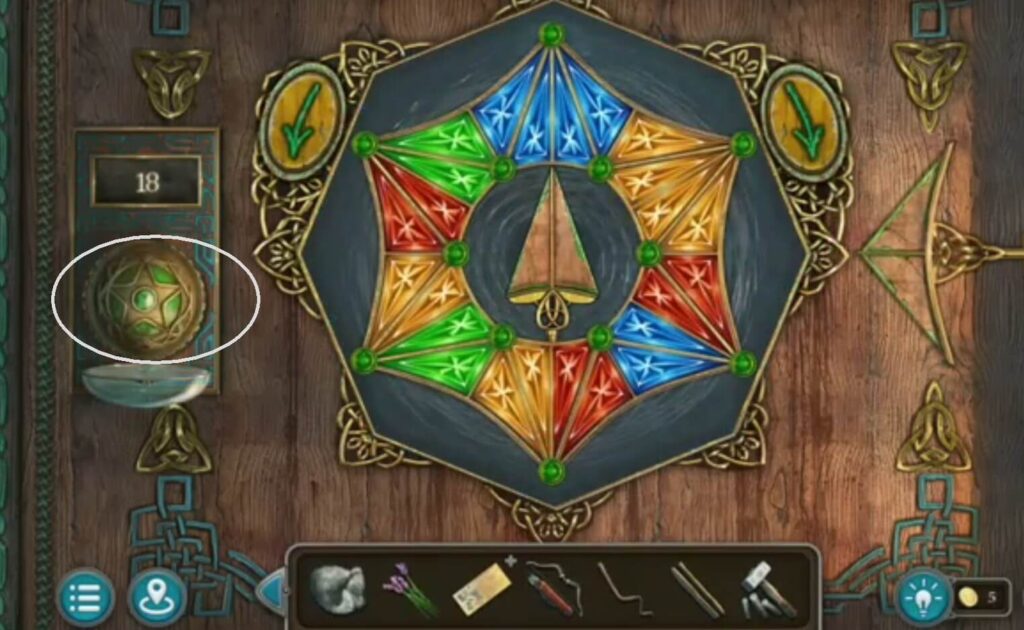
Put the chip (found it when you solved the chains puzzle) into the statue. A puzzle will appear. Arrange the hexagons to form a picture.
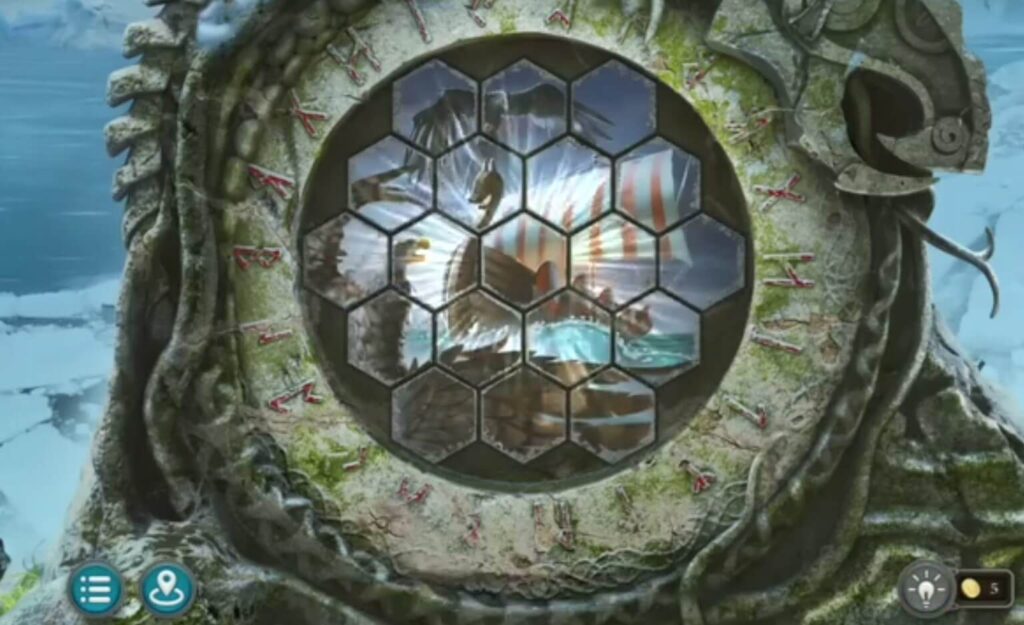
Arrange the hexagons to form a picture. A path will appear.
- A collection item
- A morphing object
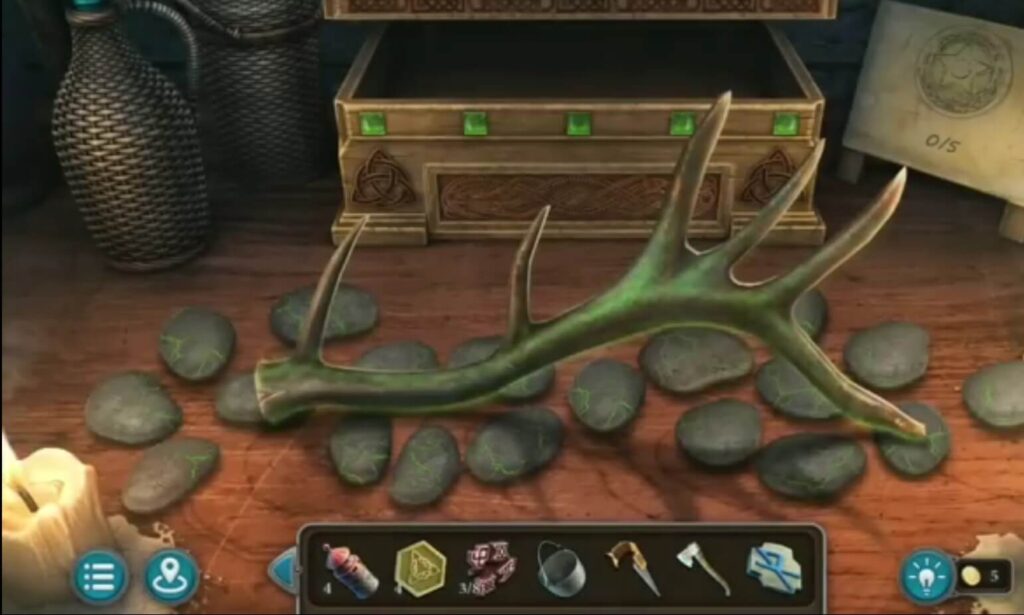
Take a horn.
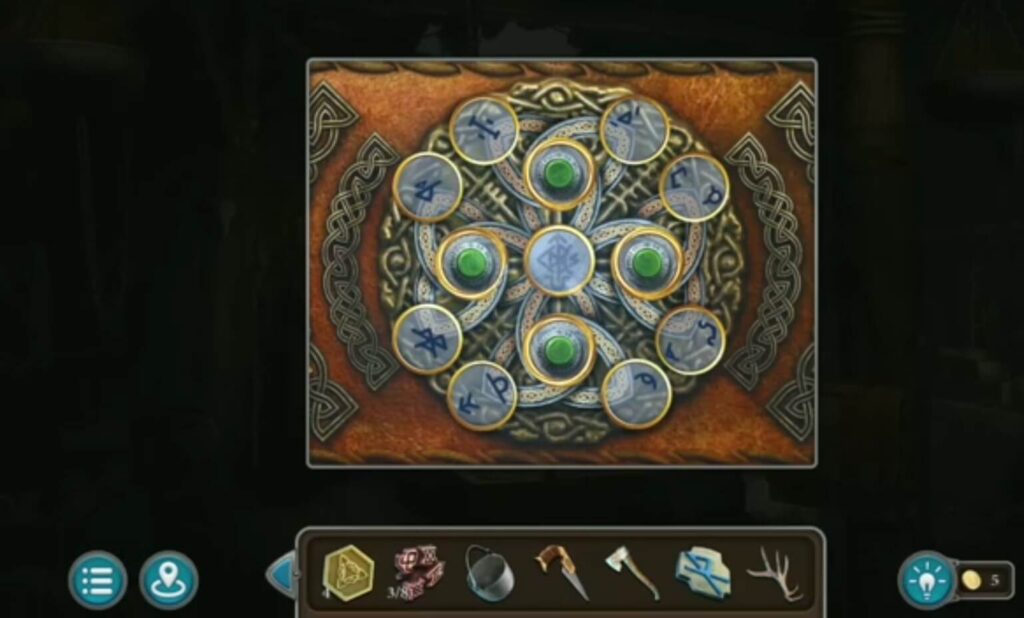
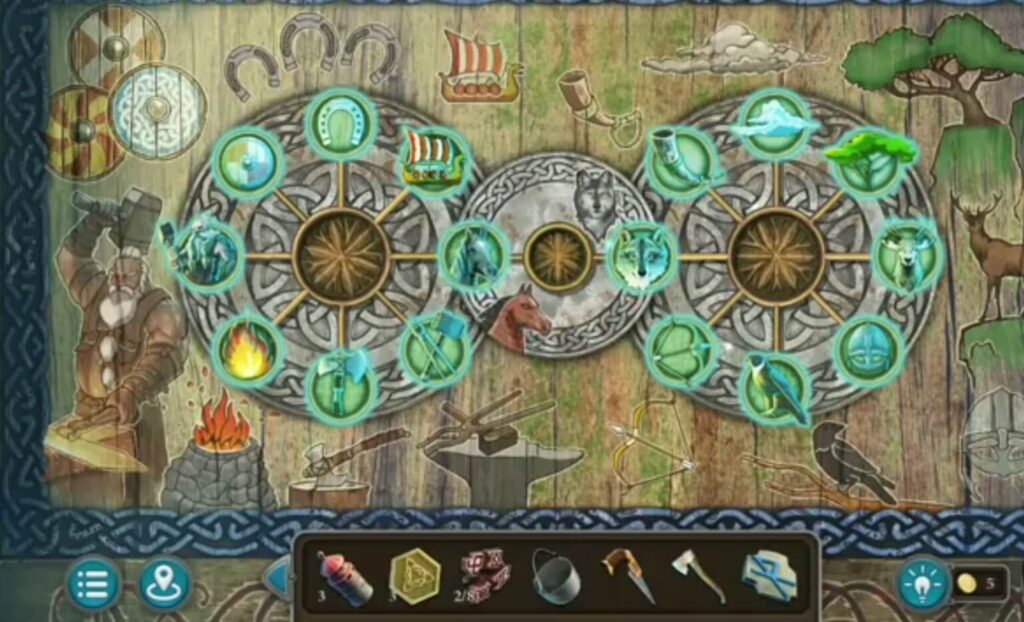
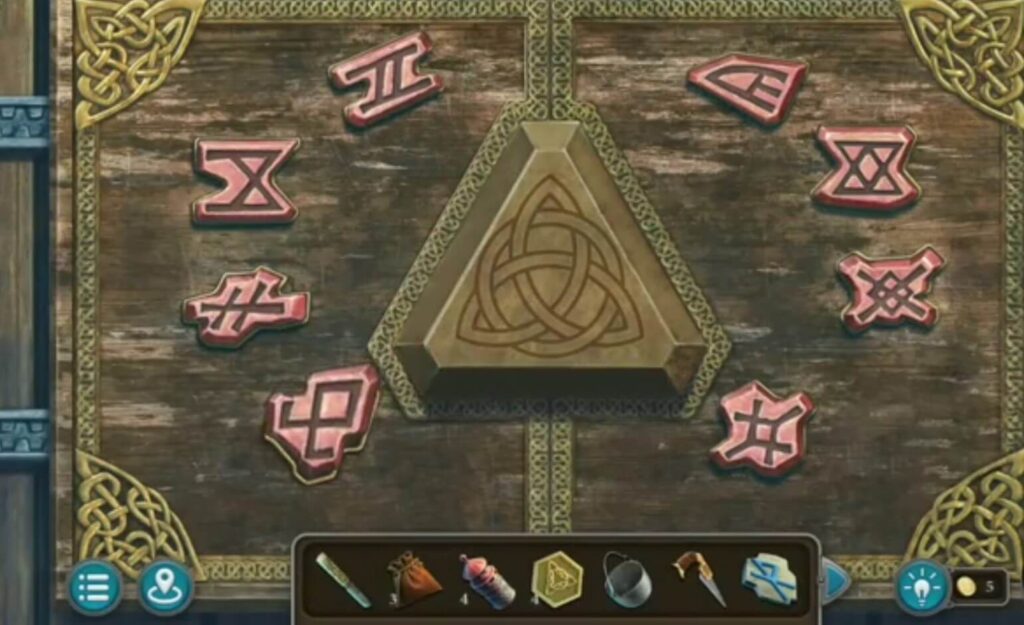
Solve the puzzle by moving the elements with the symbols on them until they form a symbol like in this picture. A bag will open, and inside are a rod and mosaic pieces.
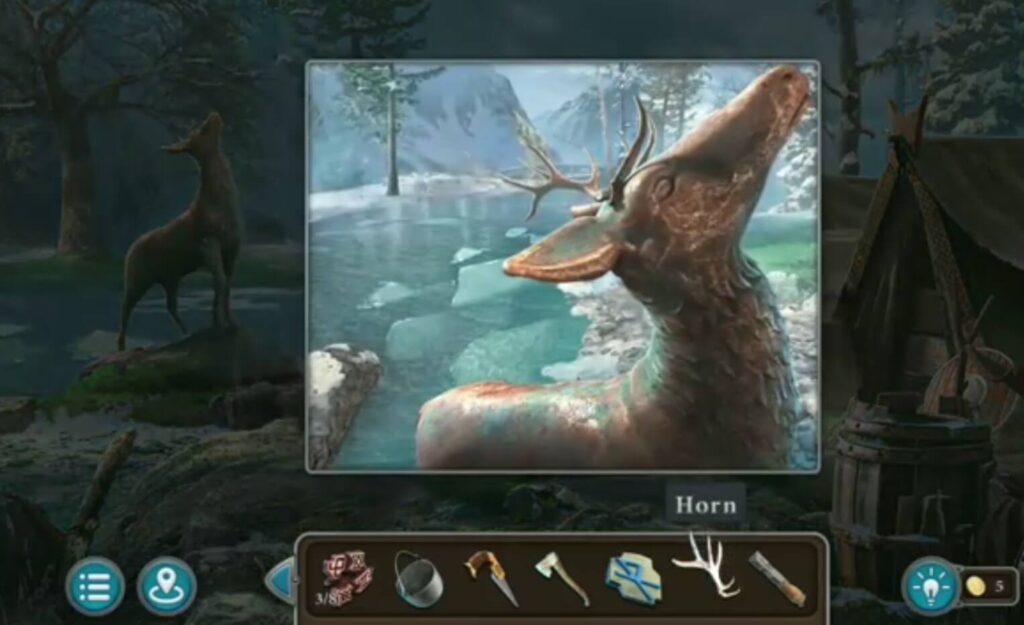
Put the horn (took it from the table) on the deer. You have a puzzle to solve.
Solve a puzzle by moving a pieces like on the picture. You got a star and a gem.
- Take a lighthouse.
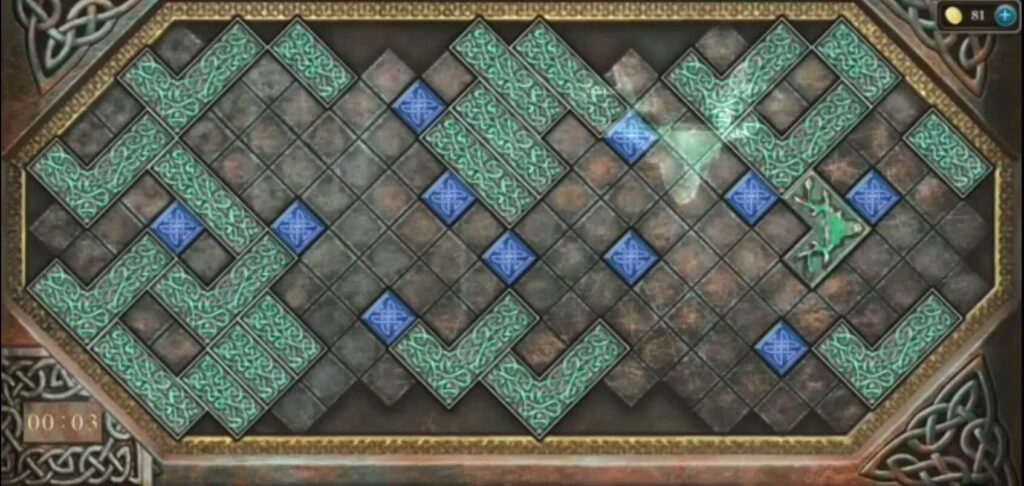
- Put the gem (found it near the deer) in the skull. A puzzle will appear. Solve it by moving the hexagon pieces so they fill all empty fields.

Solve the skull puzzle by moving the hexagon pieces so they fill all empty fields. You got a key and a runes.
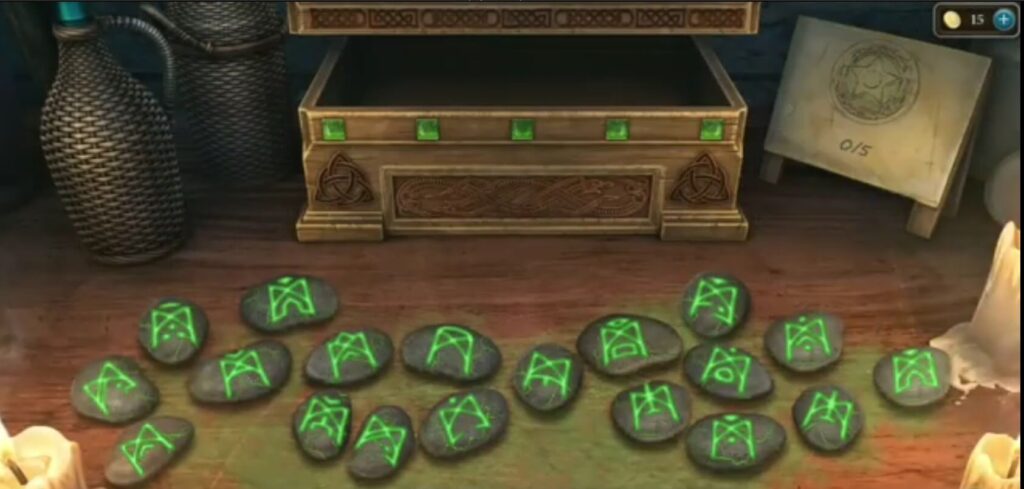
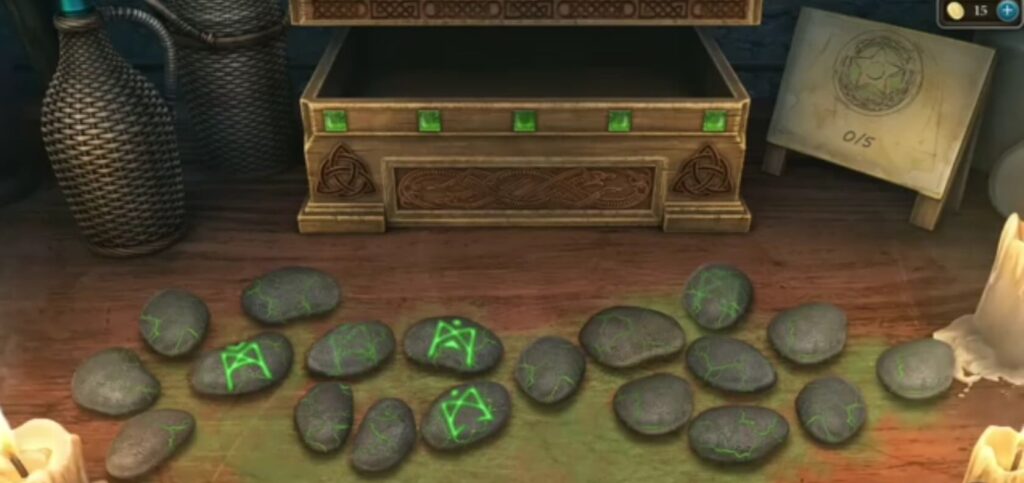
This is a bonus puzzle. Put the powder you collected during the game, and put over the rocks. A puzzle will start. Solve it by matching two same rocks, until they are all matched. You get a star when you solve it.
Solve the puzzle by moving the elements so they look like in the picture. You got a pliers.
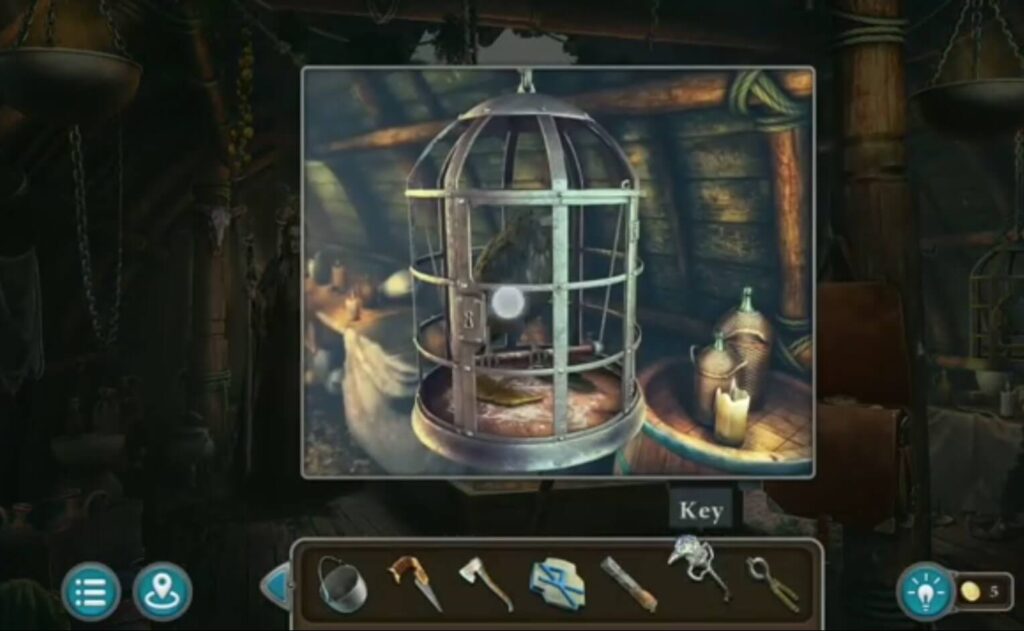
Take a key (found it in the skull puzzle ) to open the cage.
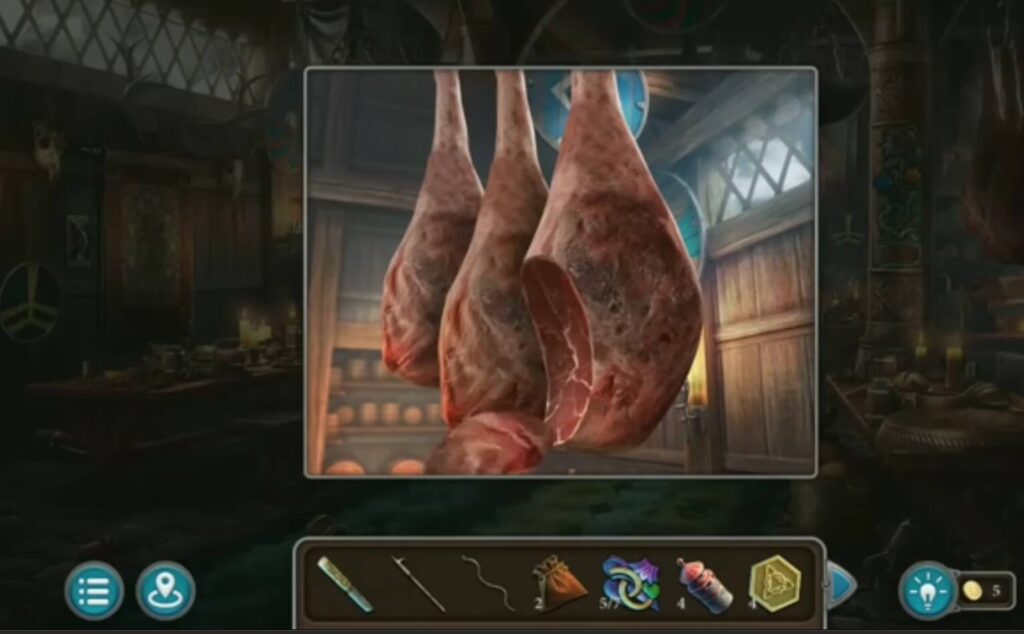
Take a knife to cut a meat.
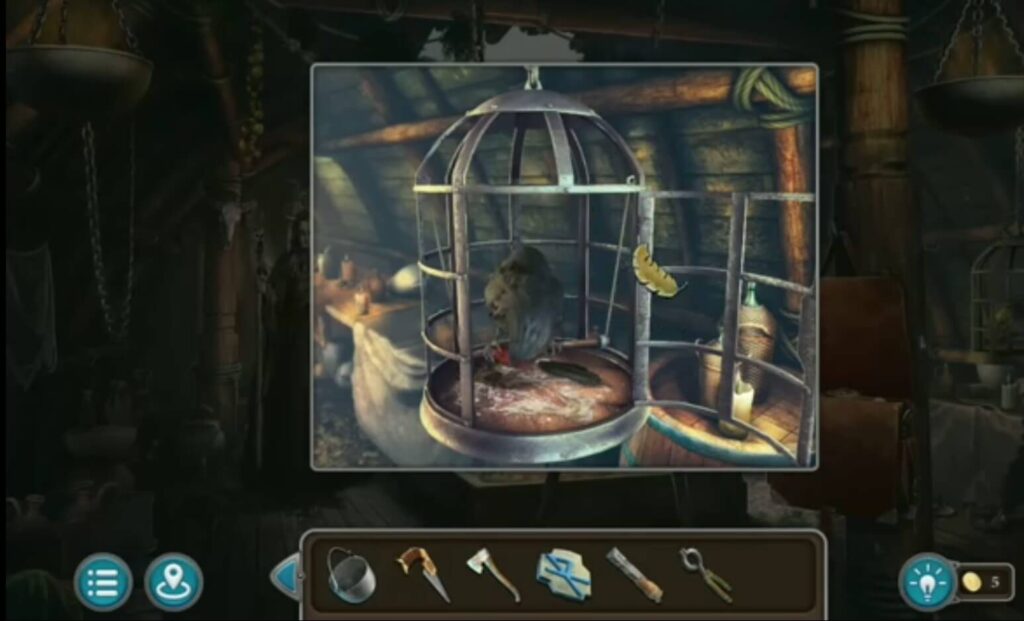
Give the meat (got it when you cut a piece with a knife) to the raven. You got a feather.
Put the feather (got it from raven) and the new puzzle will appear. Solve it by arranging the elements to be like in the picture.

Solve the puzzle by arranging the elements just like in the picture. You got mosaic pieces.
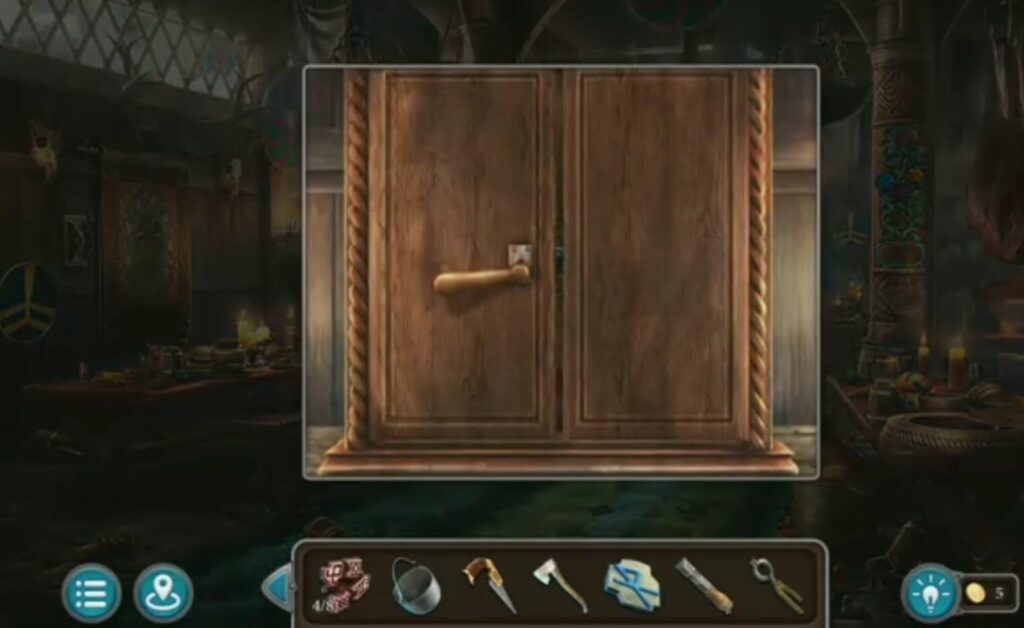
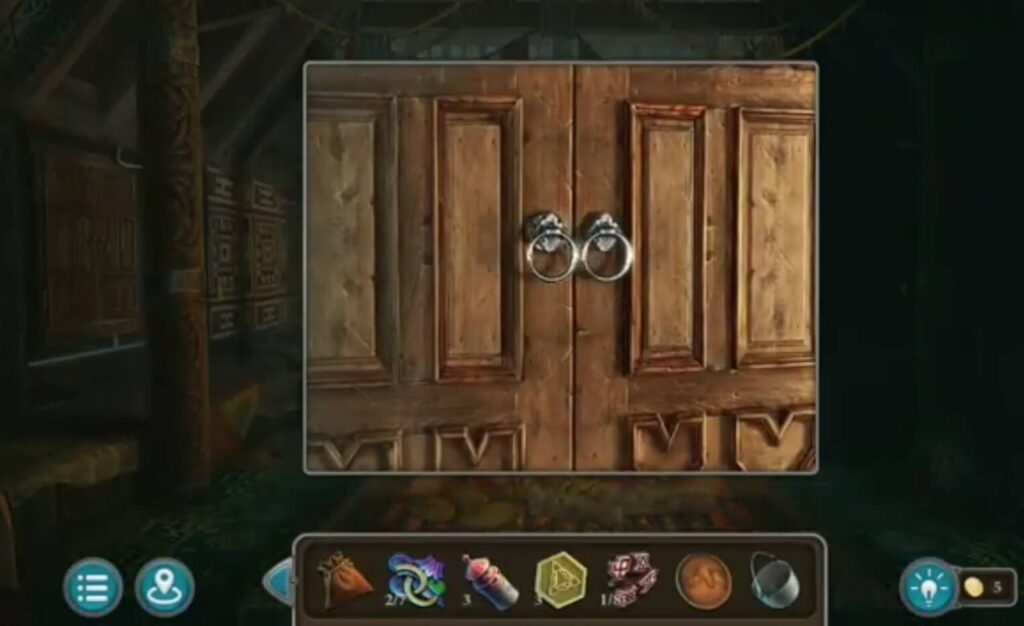
Take a knife to open the doors. A puzzle will appear. Solve it by putting the elements on the place so the figure look like in the picture.

Solve it by putting the elements on the place so the figure look like in the picture. You got a runes.
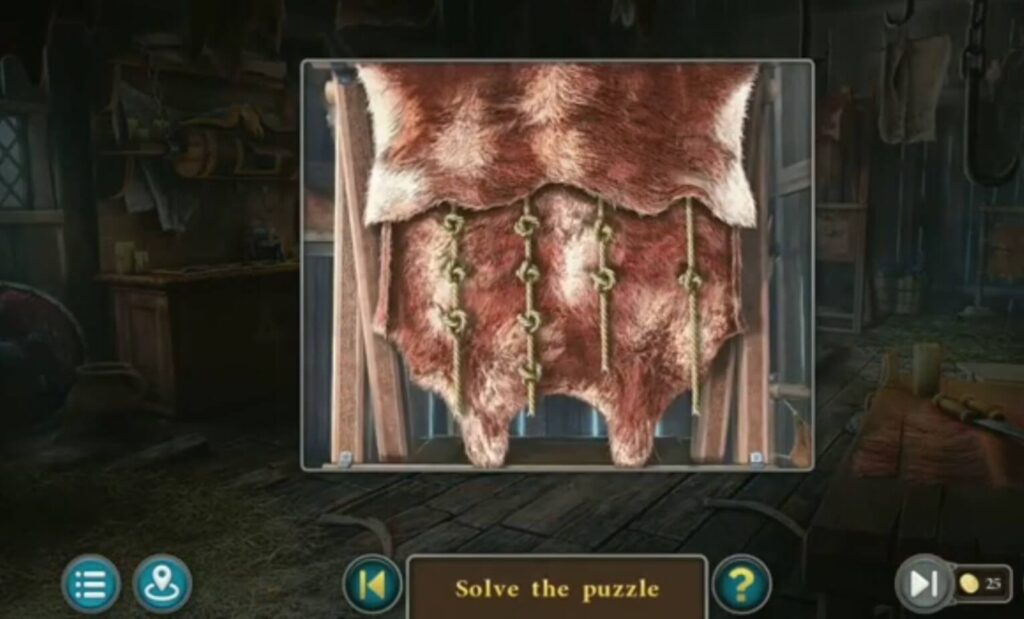
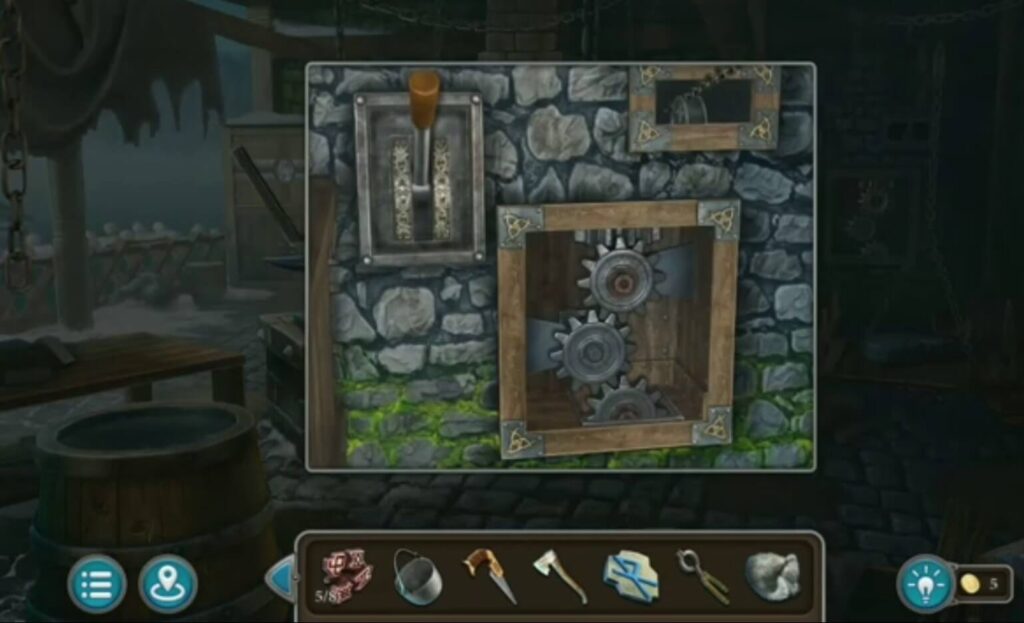
Pull the strings with the nodes in order 4-1-3-2-3-4-1. You got a gear.
Put the rod (found it when you solved a puzzle in the bag) and a new puzzle will appear. Solve the puzzle by putting the elements in the position just like in the picture. You got a cape.
Solve the puzzle by putting the elements in the position just like in the picture. You got a cape.
Put the gear (got it when you solved the node puzzle) and pull down the handle. You got a lavender.
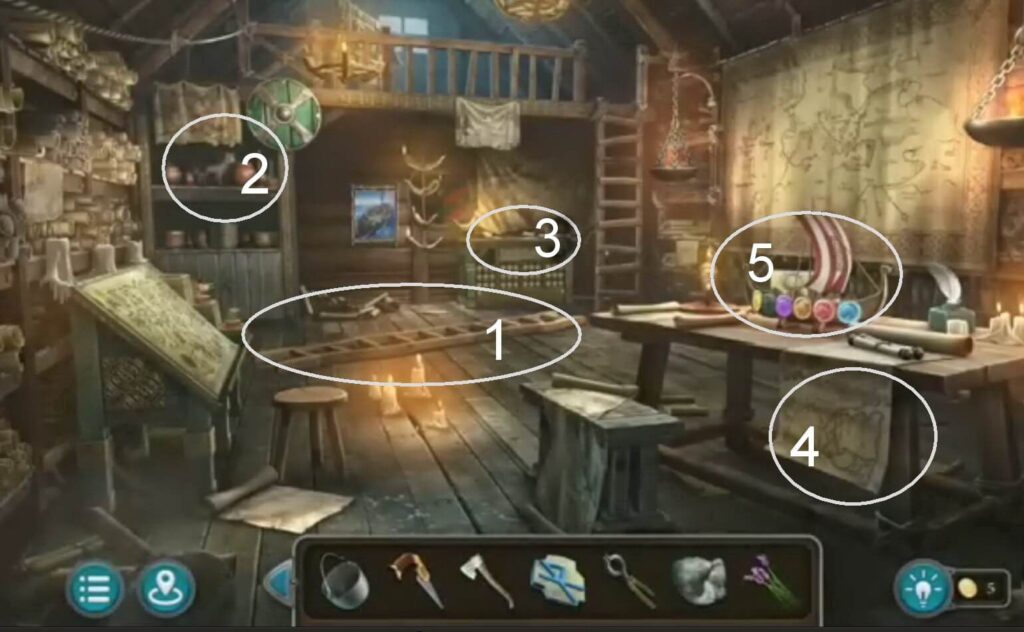
- Take a ladder.
- A collection item.
- Take a powder.
- A morphing object.
- A star in the ship model, and feathers (for the ritual).
Remove the screws with a knife. There is a puzzle inside.
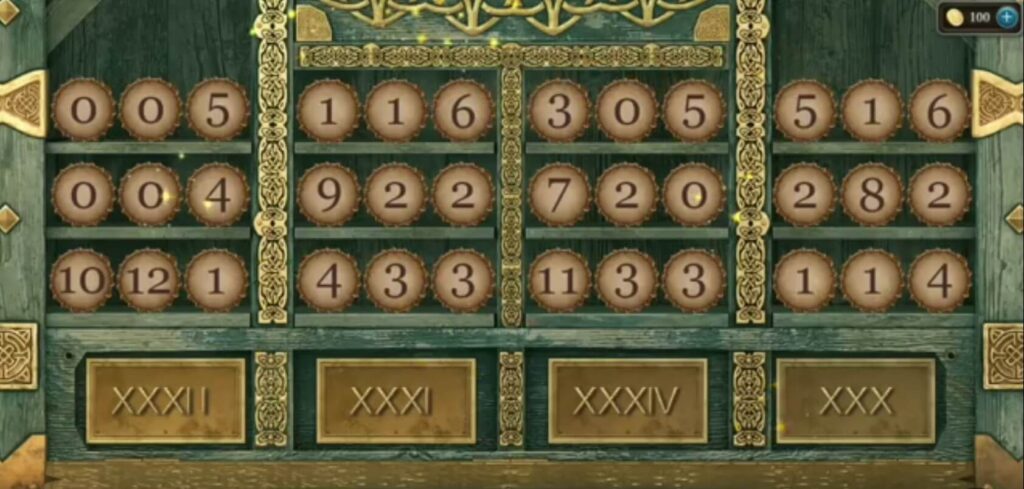
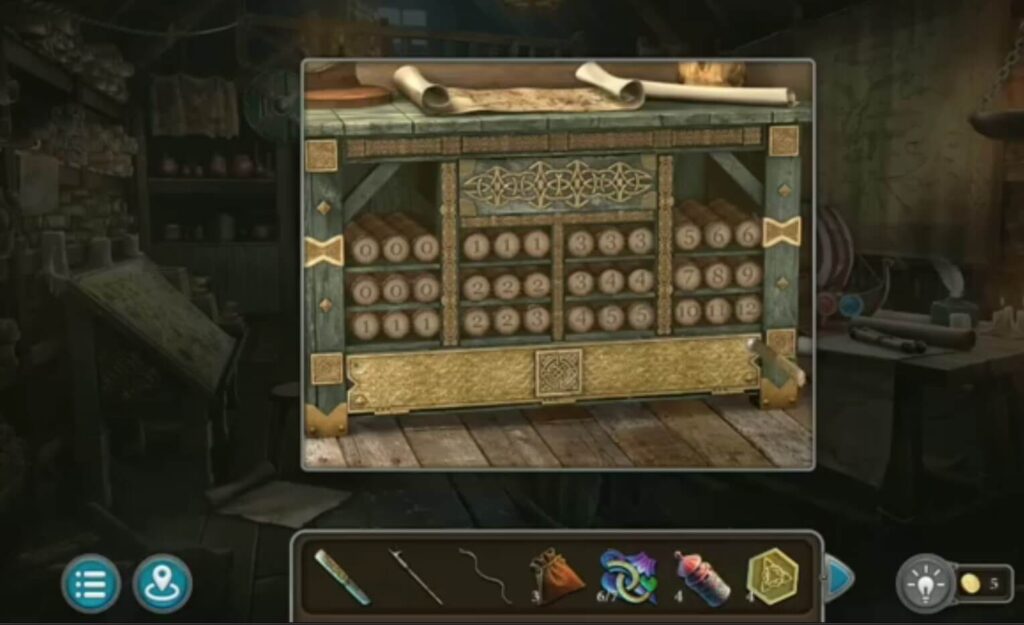
Arrange the numbers so that the sum in the first column is 32, in the second 31, in the third 34, and in the last 30. You got a book, and forging an ax, mosaic pieces.
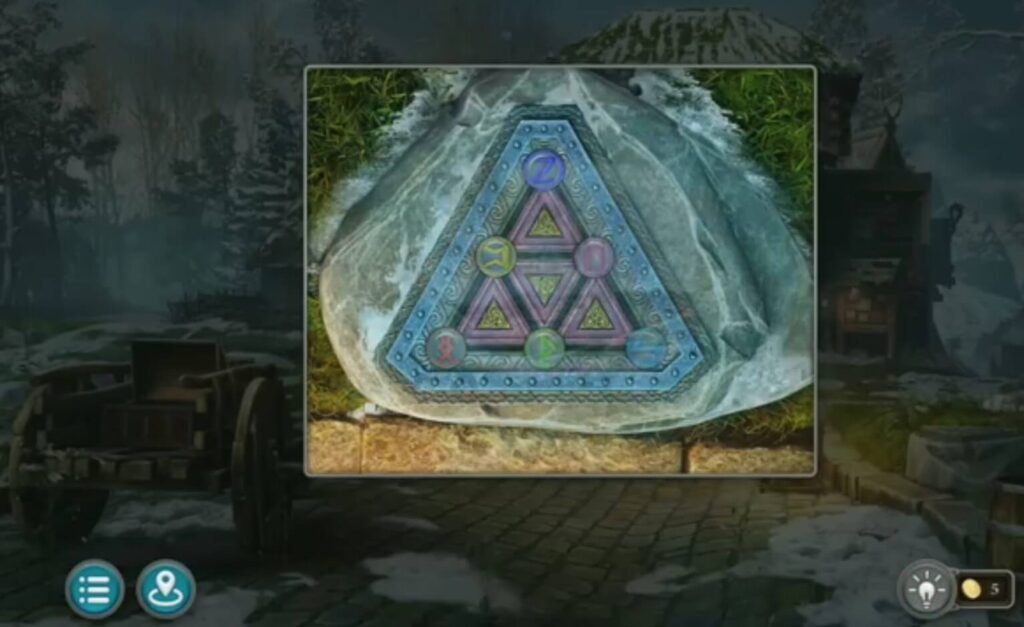
Put the tokens (collected during the game) to start a five-level bonus puzzle.
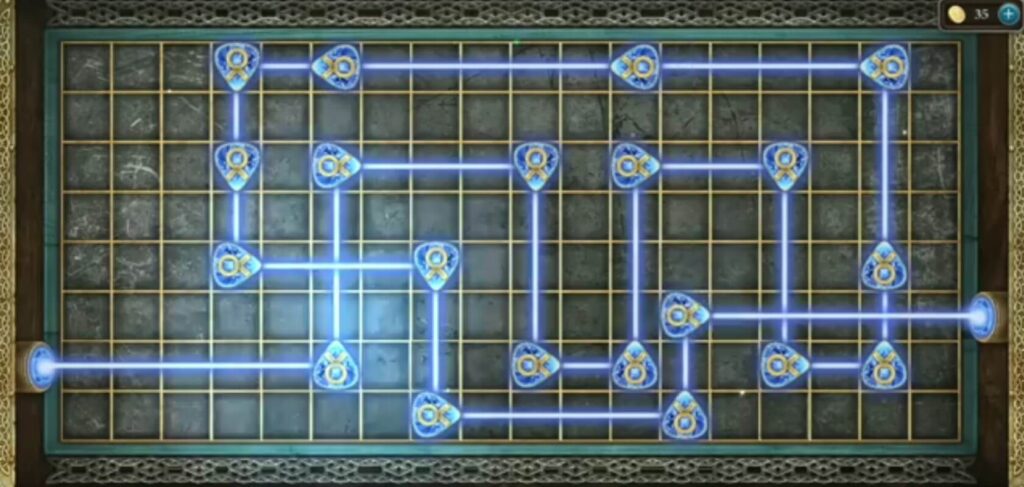
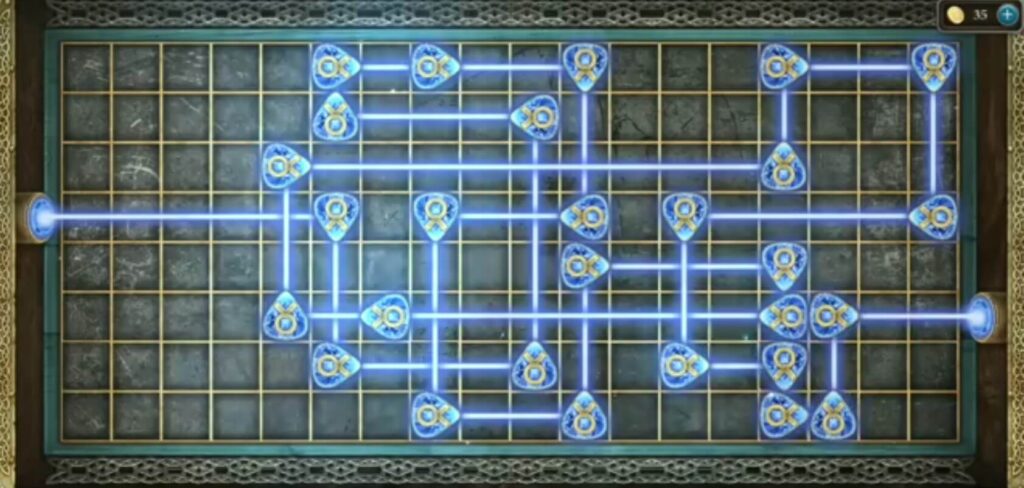
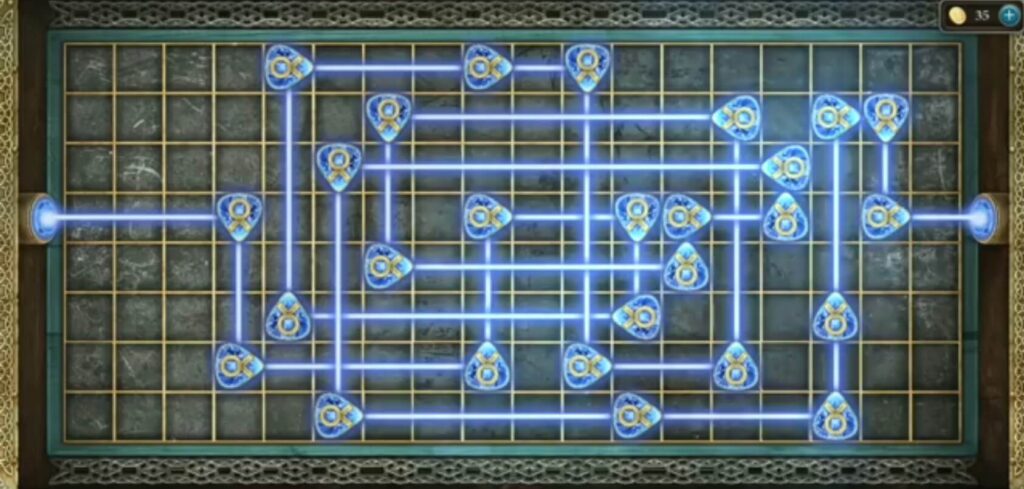
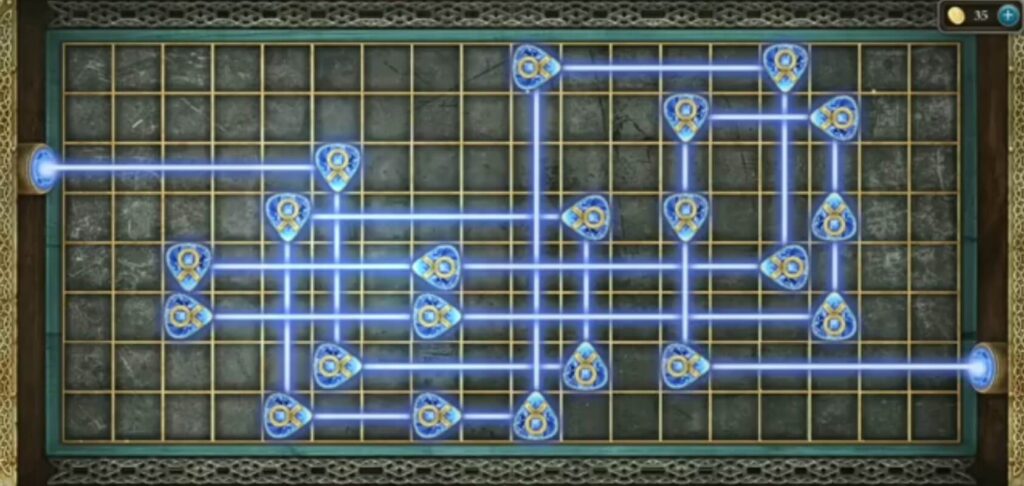
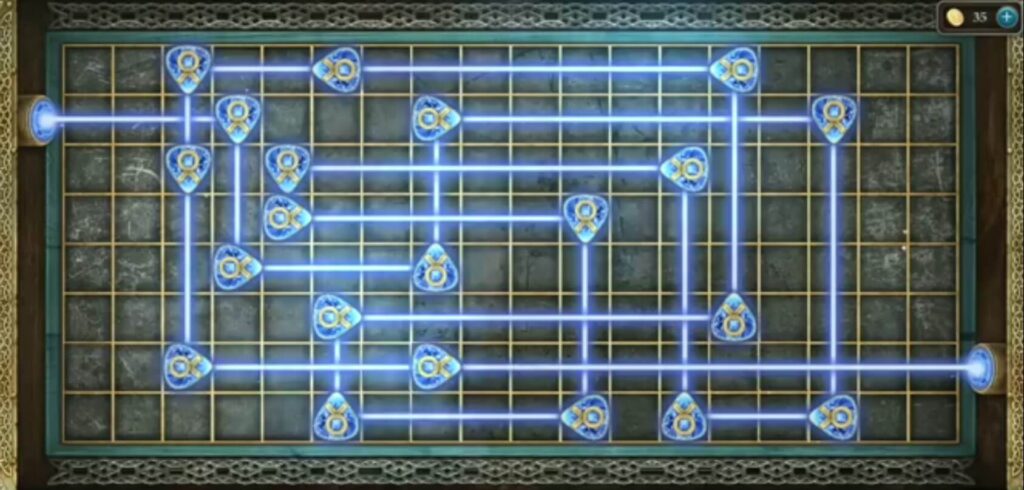
Solve the puzzle by rotating the elements so that they are connected by a neon laser, like in the picture. When you solve all 5 puzzles, you get a star.
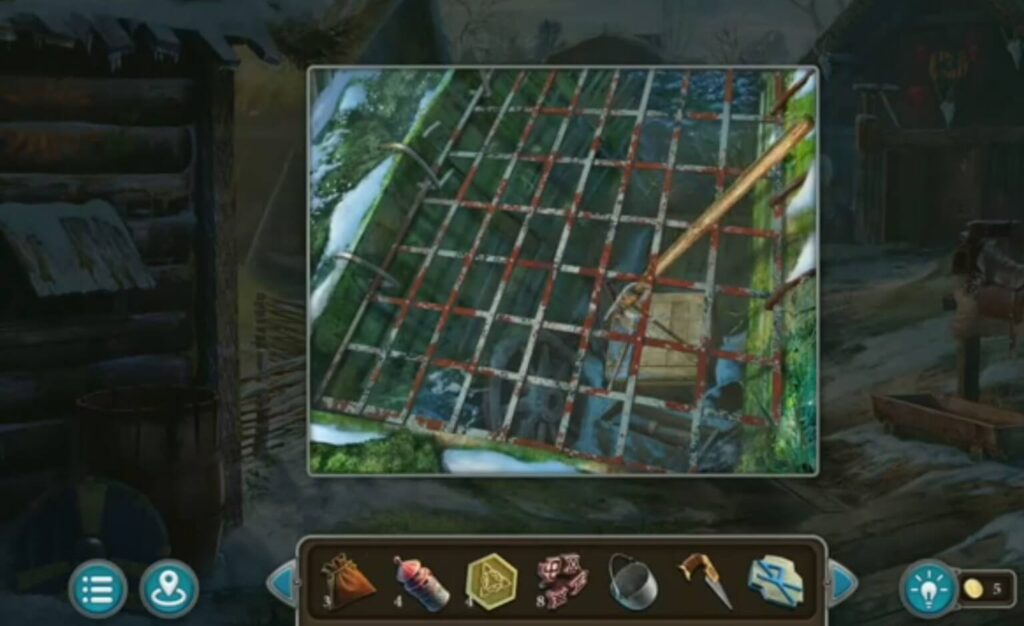
Take pliers (got them when you solved a skull puzzle) to cut the chain. You got a bow and arrows. Add a bowstring (got it when you got a pike pole) and you got a bow and arrows.
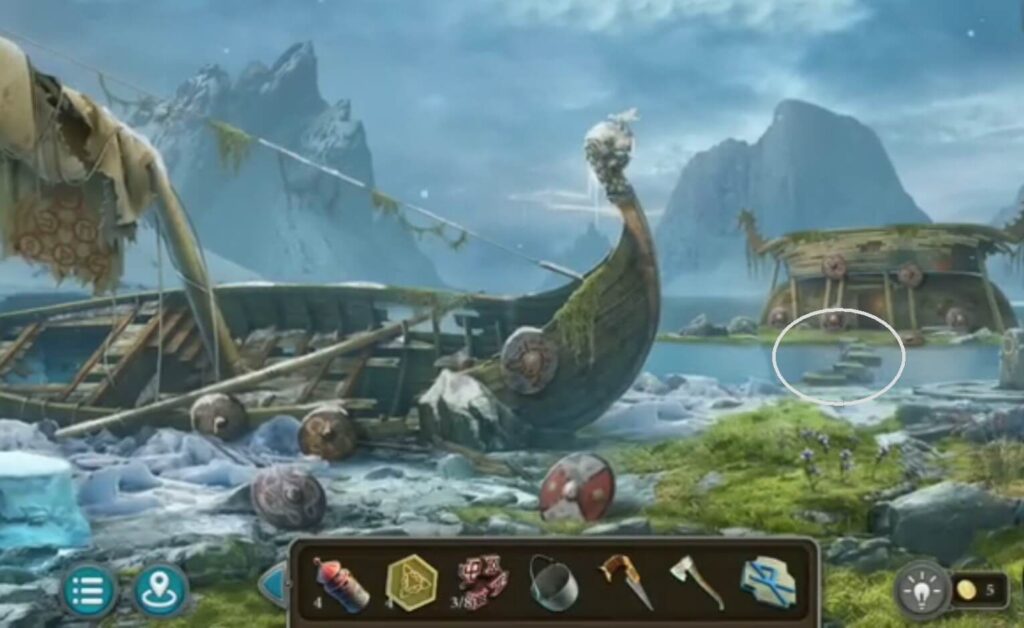
Put the ladder (took it from the room floor) near the ship.
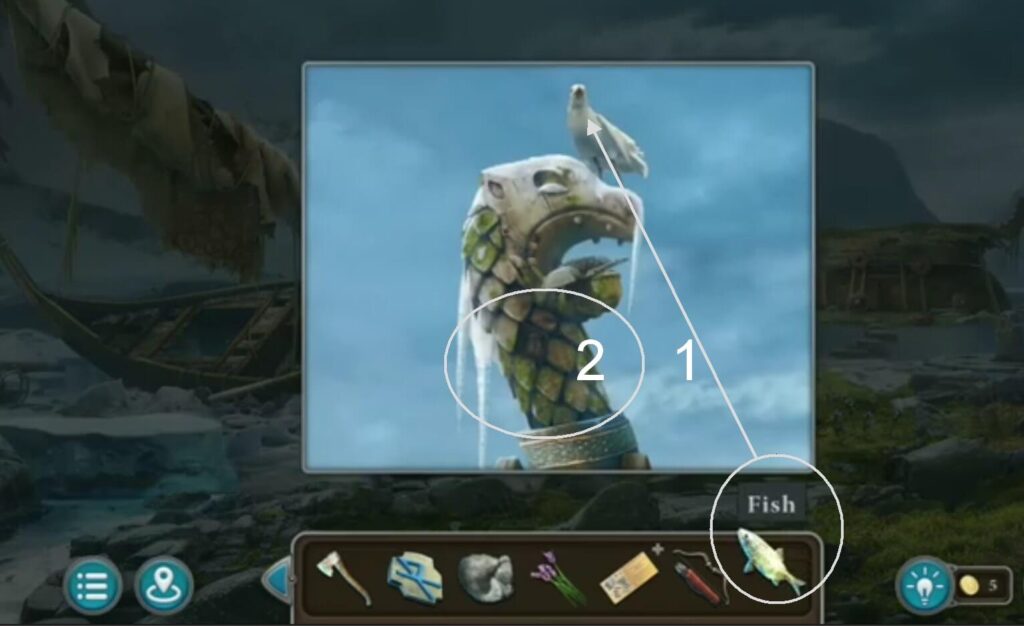
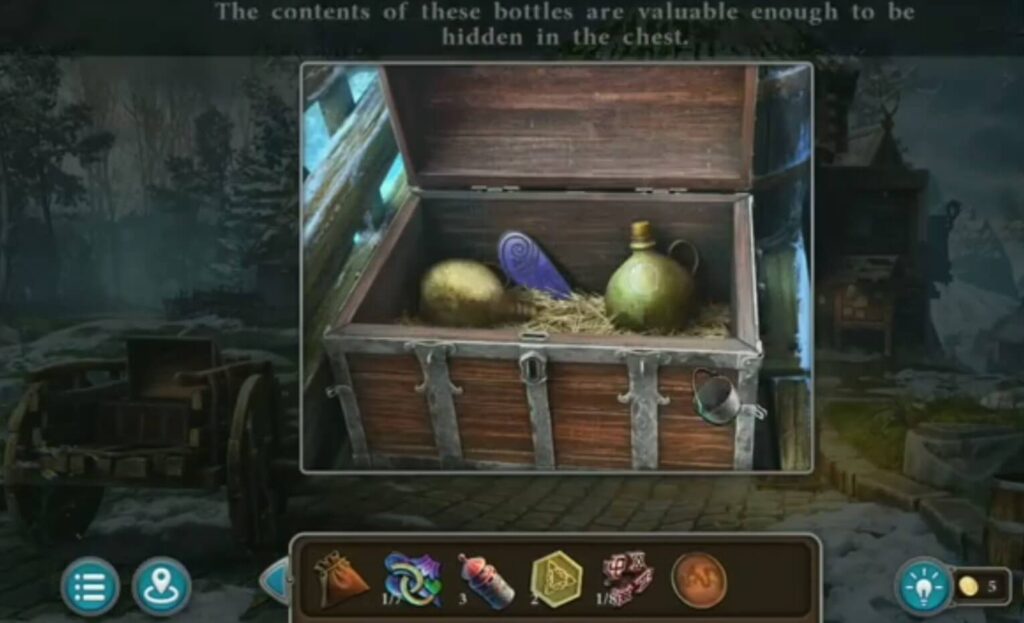
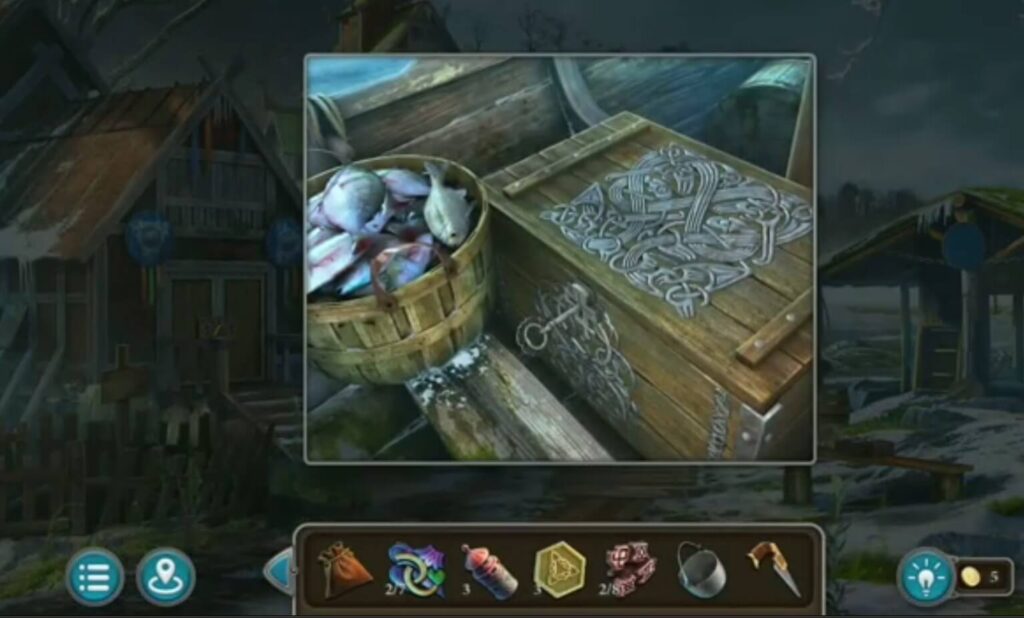
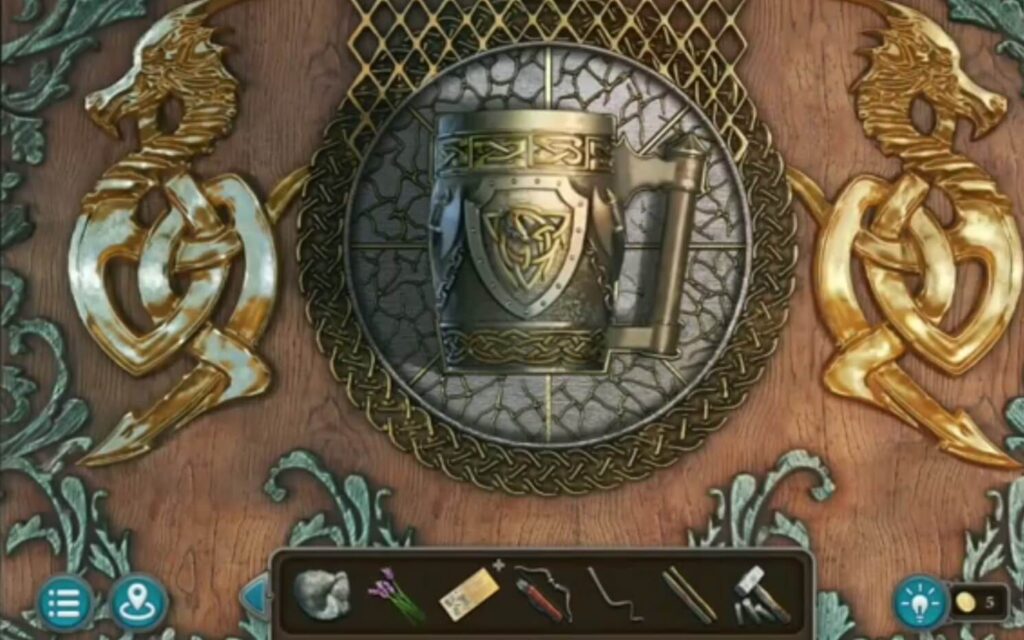
- Feed the bird with the fish (took it from the coffin in the boat). You got a mug.
- Take a powder
Put all 7 mosaic pieces (got it from solving puzzles before) and a new puzzle is under.

Solve the puzzle by moving the elements just like in the picture. You got a meteorite metal, a painting, a runes.
Put the painting (got it when you solved a puzzle from the coffin, with a meteorite metal) on the wall. Another puzzle will appear. Solve it by finding the same 10 elements.
Solve it by finding the same 10 elements. You got a runes, and a wick.
Take an ax to open a barrel. You got a bundle, take a knife to open it. You got crayons and runes.
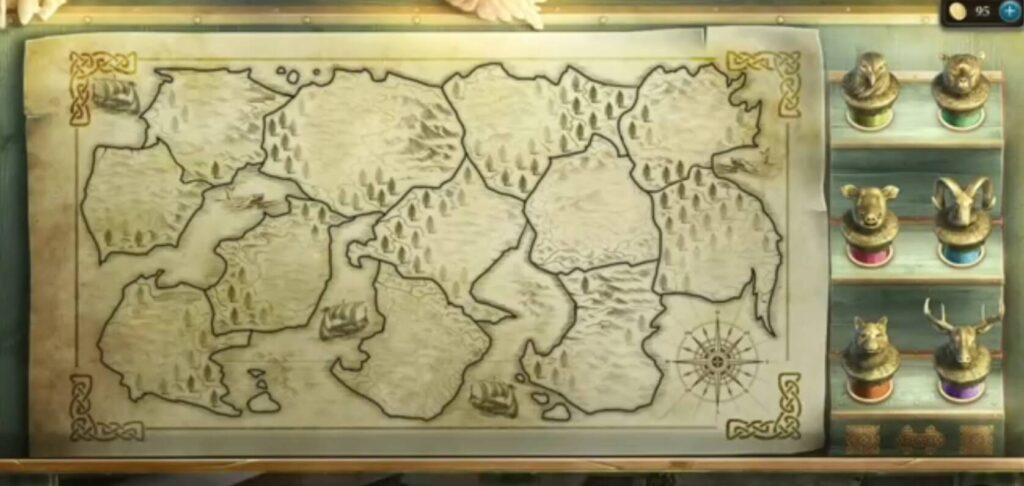
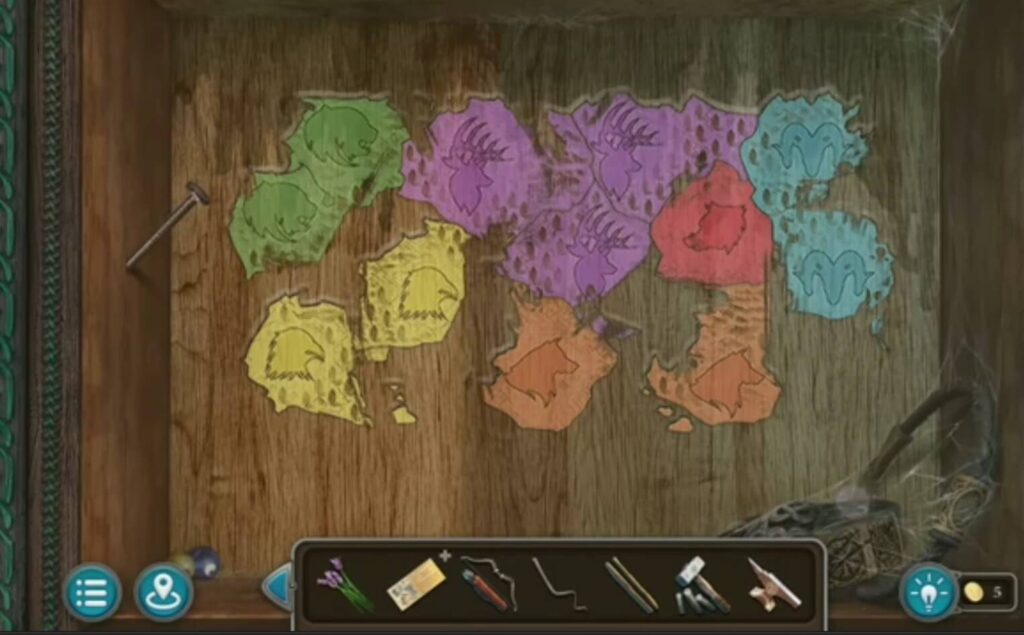
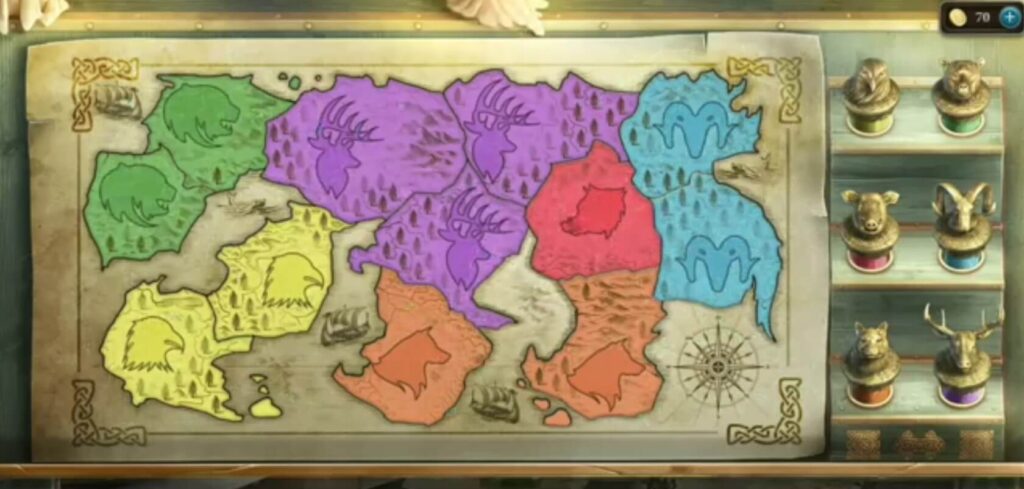
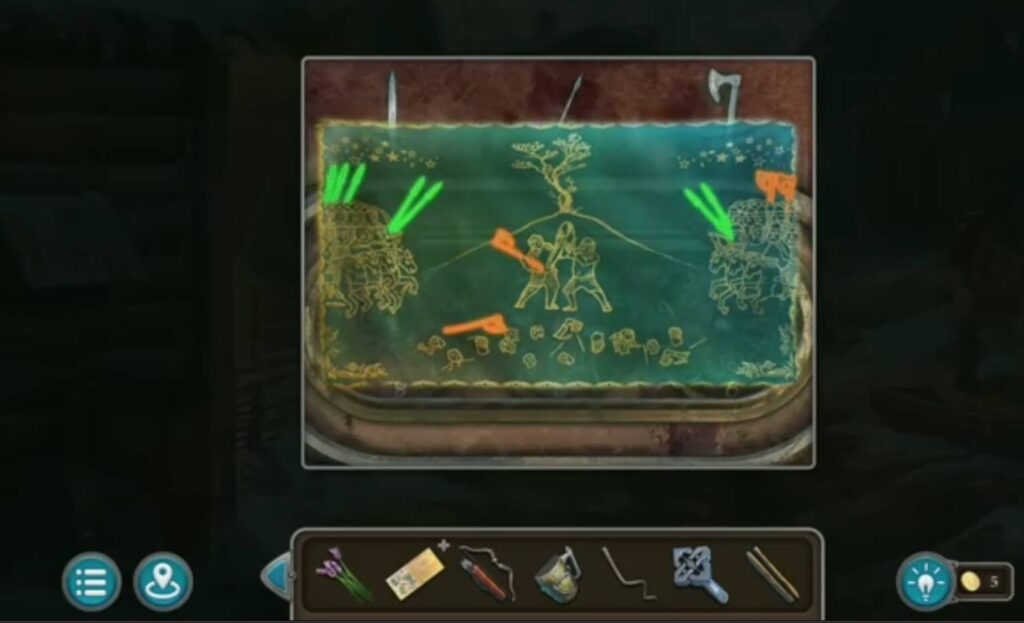
Put crayons (got it when you opened a bundle) in their place. Solve the puzzle using crayons and coloring the fields on the map like in the picture.
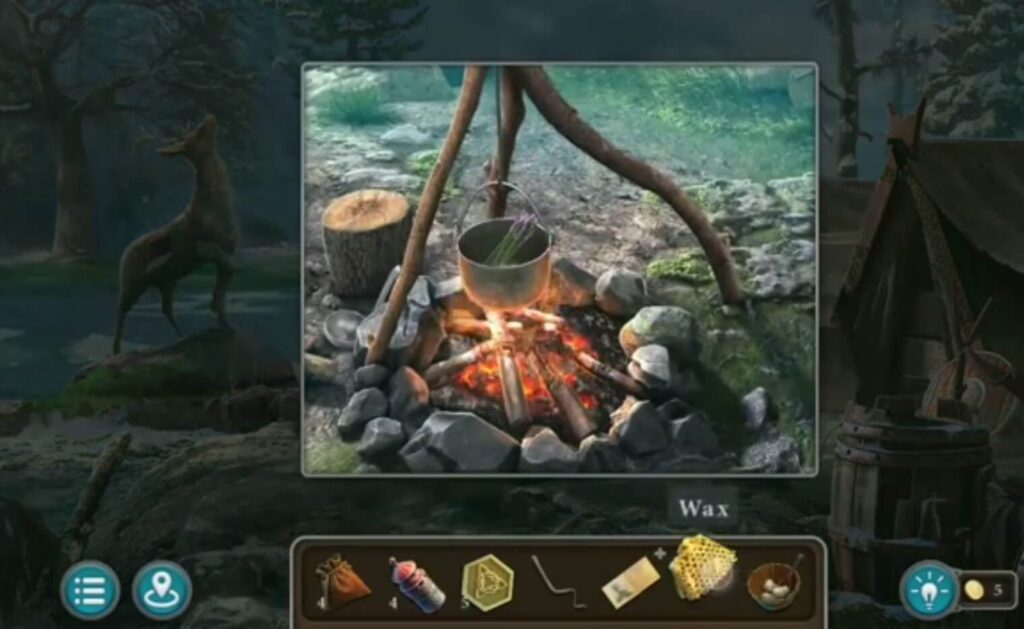
Put wax, lavender, and fat into the bowl. You got a purple wax.
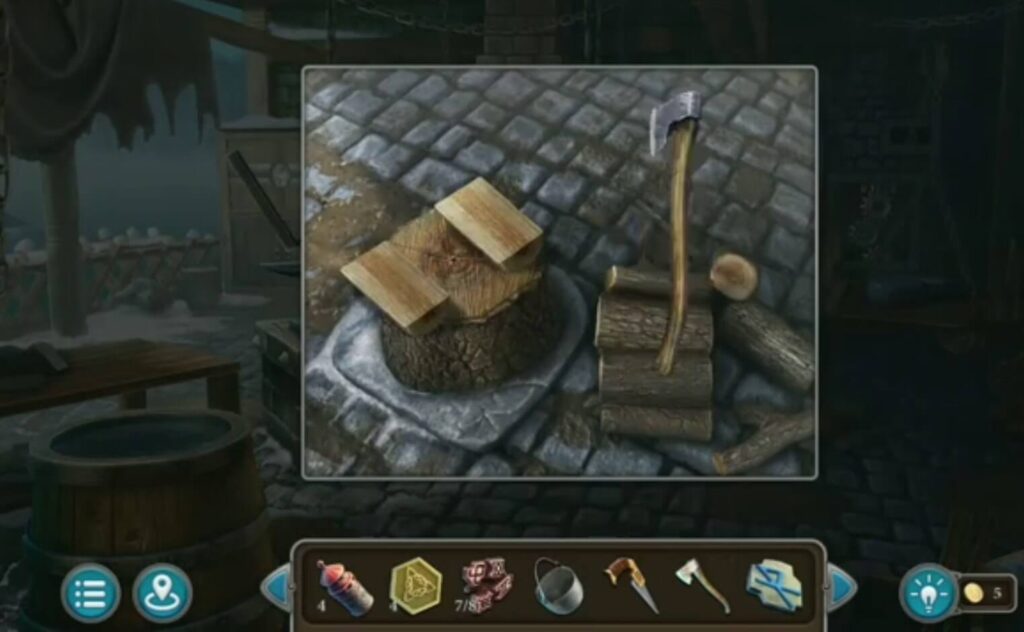
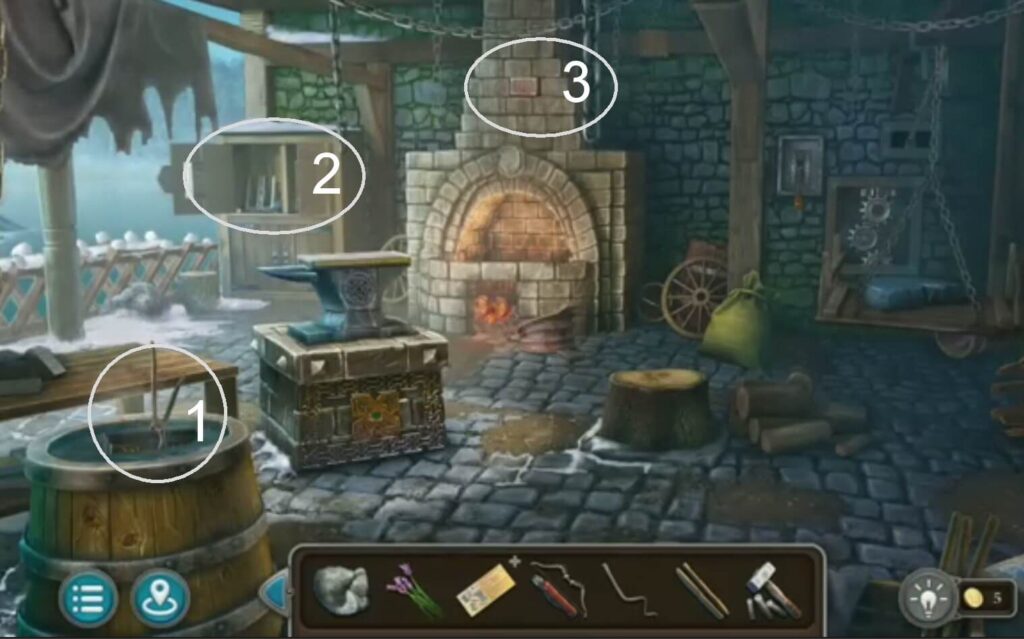
Take an ax (found it in a coffin) and cut a wood. You got a firewood.

Put the firewood (got it when you cut wood with an ax) into the stove. The blow below starts a fire.
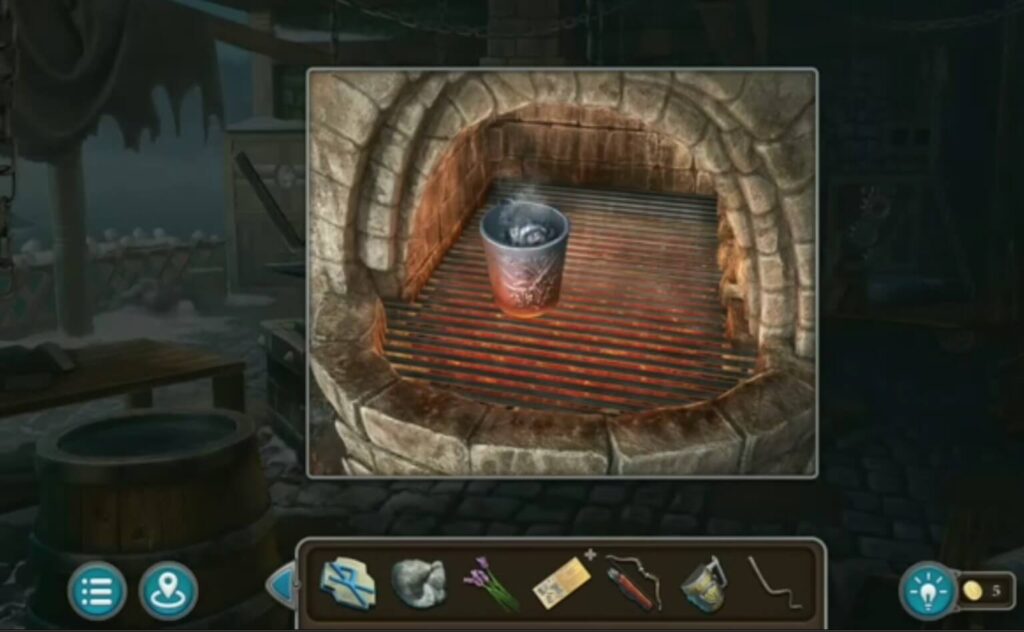
Put the meteorite metal (found it when you solve the coffin puzzle) into the cup, and then on the grill. When it melts, you have a liquid metal.
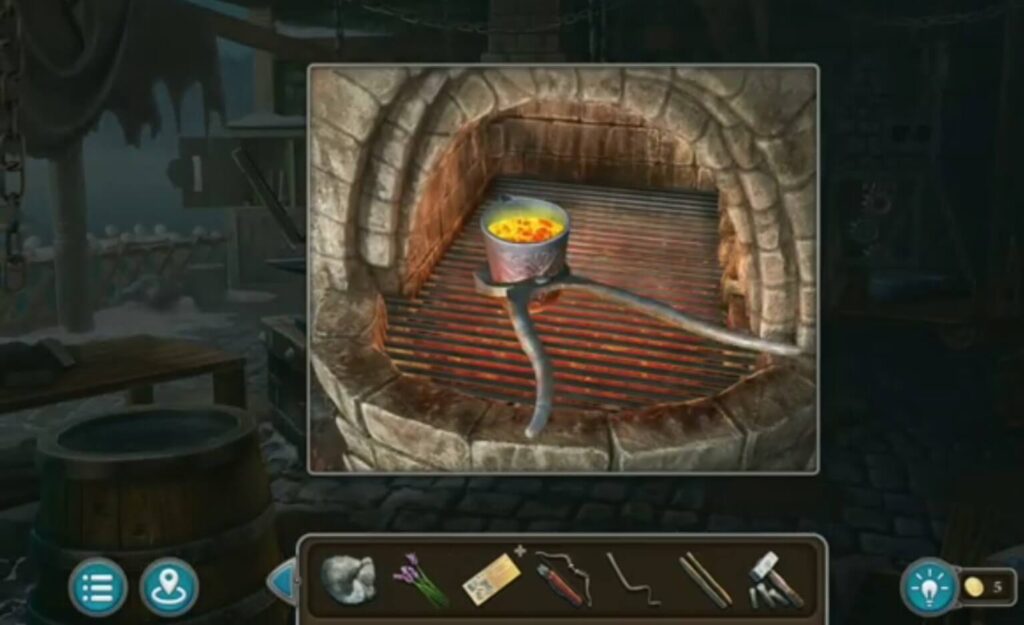
Use pincers (got it when you solved an anvil puzzle) to grab a metal. You got a liquid metal.
Put the liquid metal (got it when you melted a meteorite metal) into the hole.
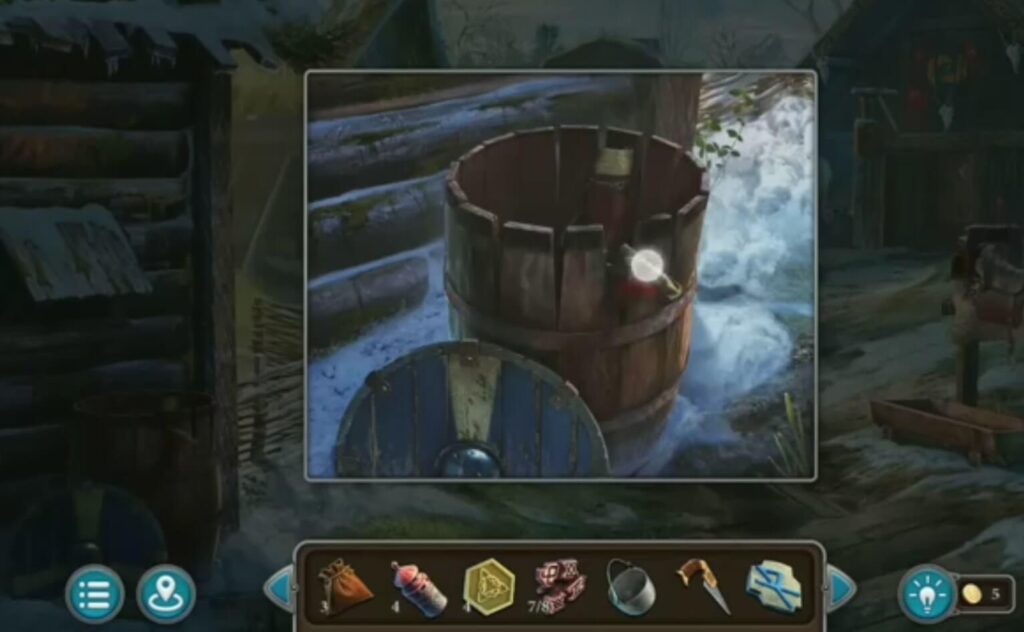
- Cool the liquid metal by putting it in the barrel with water. Use pincers to move it. You got a blank.
- Take a mold.
- Press the brick in the wall (when you solve the puzzle near the tree with branches where there was a feather that you shot with a bow and arrow).

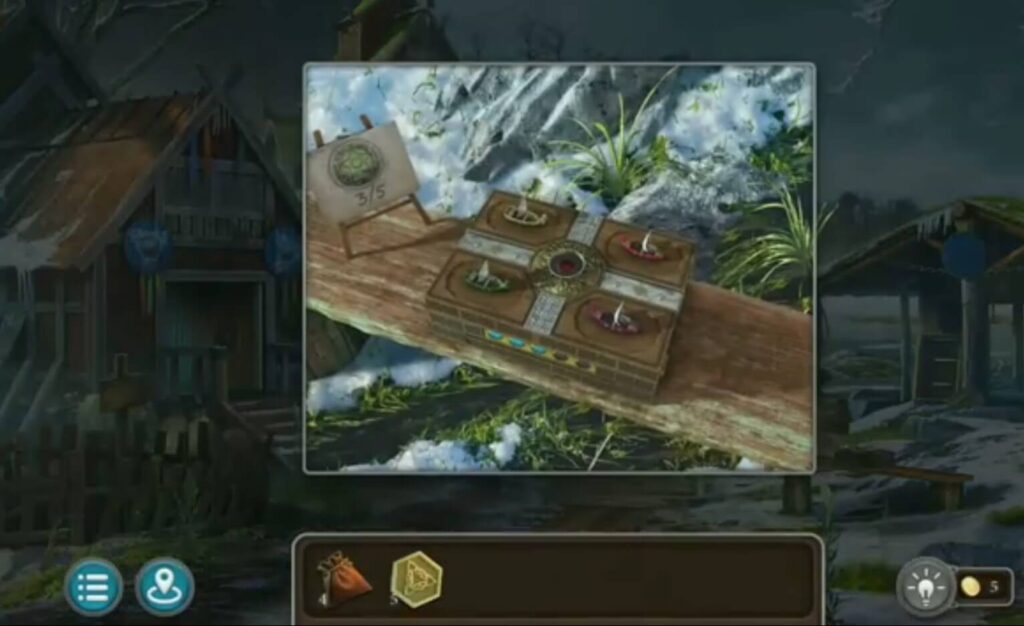
Put wick and lavender wax (made it from lavender and wax) into the mold to make a lavender candle.
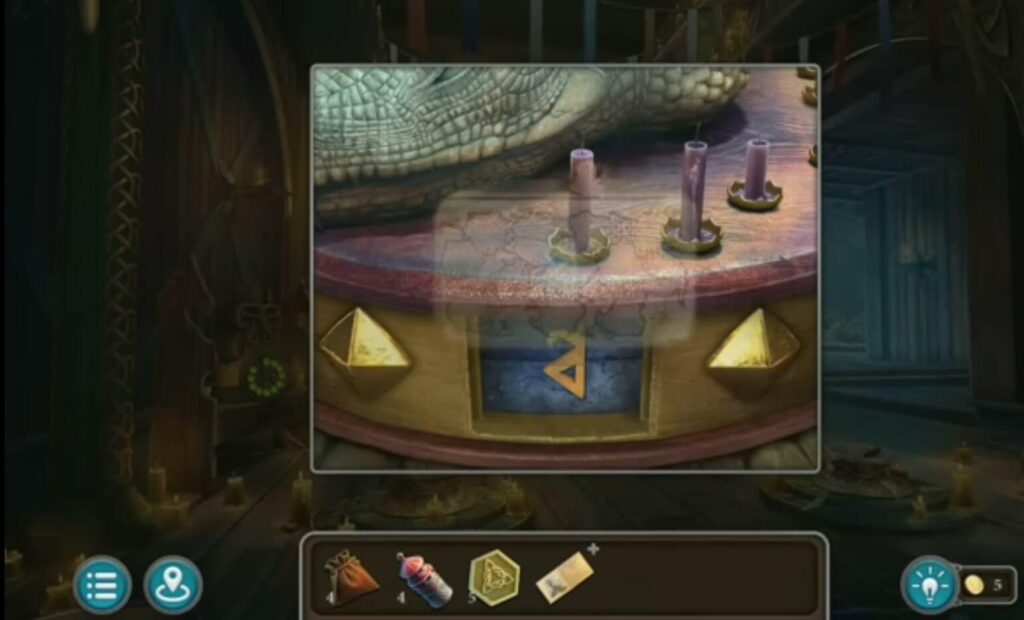
Put wick and wax into the mold to make a lavender candle. Put the lavender candle next to the other candles. A puzzle will appear. Solve it by rotating the top and bottom stones to make the right rune. It’s the symbol that appeared when you solved the crayon puzzle.
Take pike pool to get the pincers.
Use pincers (you grabbed the pincers with a pike pole) to take a decoration.
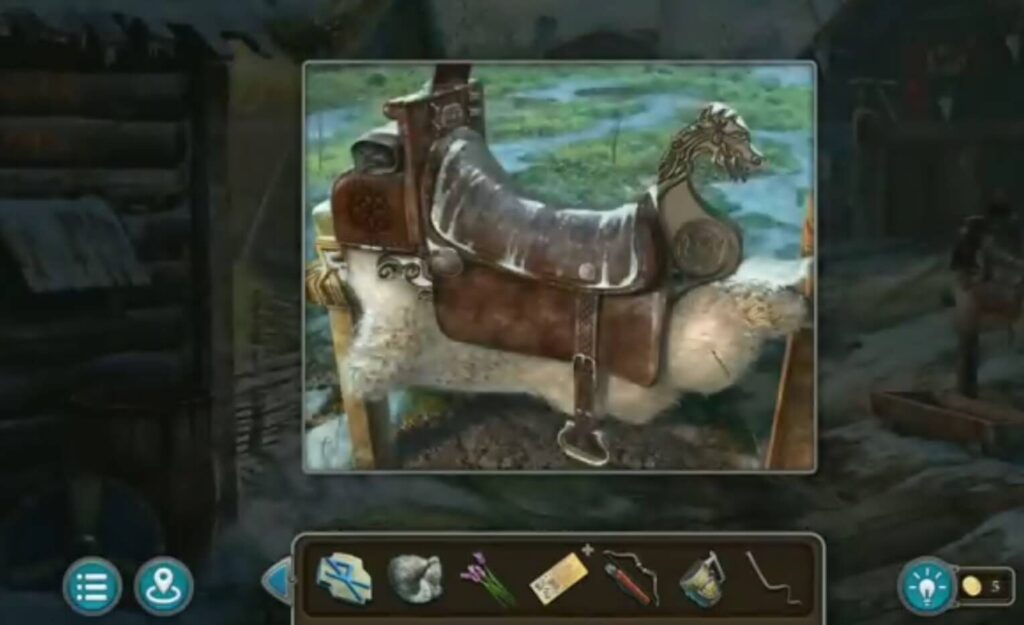
Put the decoration (got it using the pincers) on the saddle.
Put crayons (got it when you opened a bundle) in their place. Put all the runes you collected. A puzzle will appear. Solve it by collecting all the emeralds by rearranging them.
Solve the puzzle by collecting all the emeralds by rearranging them. A door from another room will open.
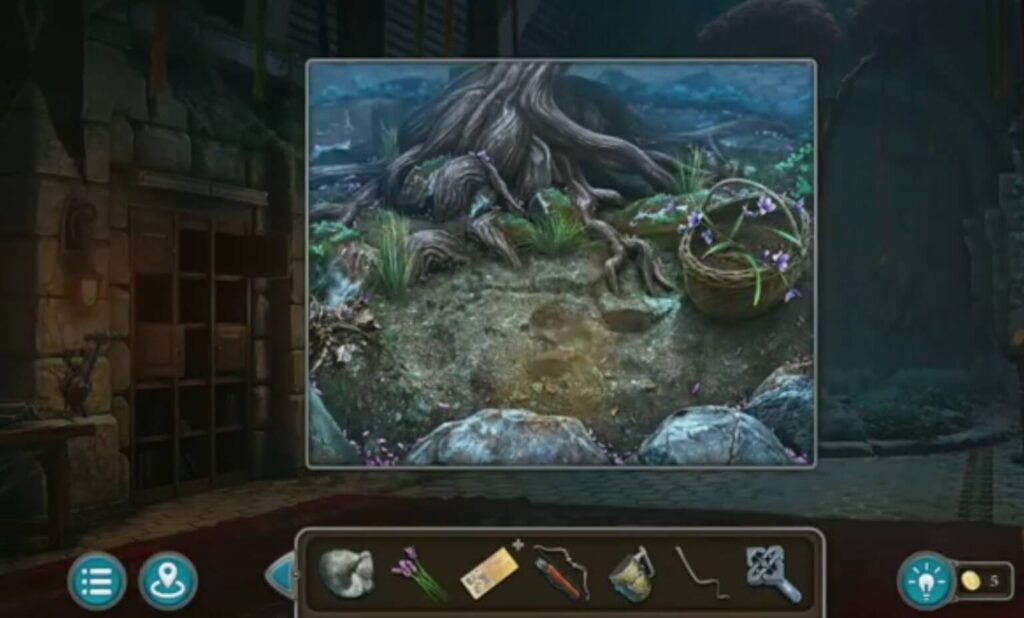
- A collection item.
- A token.
- A ring.
- A collection item.
- A morphing object.
- A basket and a powder.
- Take bow and arrows to get a feather (for the ritual).
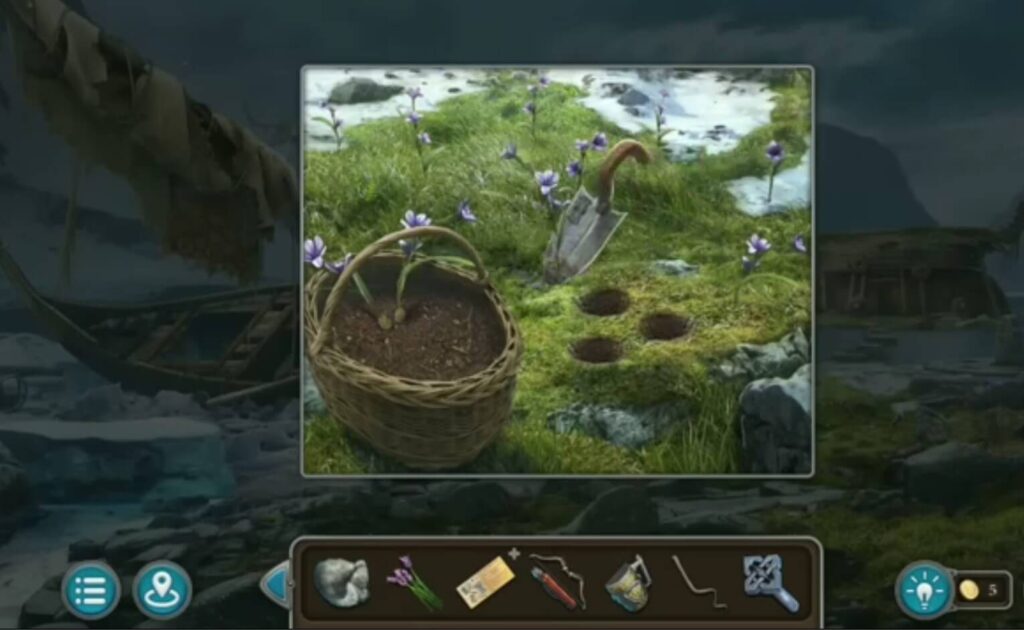
Put the flowers into the basket (got it from the ground with powder)
You got a scillas.
Plant the scillas (got it when you put in the basket from other ground) in the ground.
Take a handsaw (you got it when you solved the dragon puzzle) to cut a tree. You got a brunch. Take a knife to cut a brunch even more and make a handle.
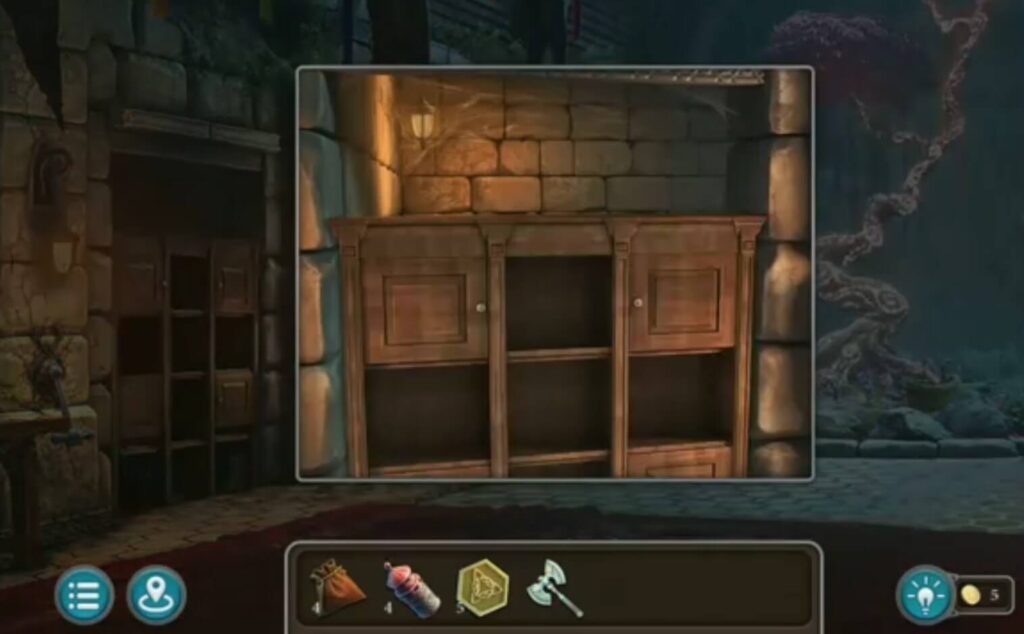
A bonus level/a secret place is hidden behind this closet. The cupboard is moved by pressing the brick on the wall above the fireplace (where you melted the metal).
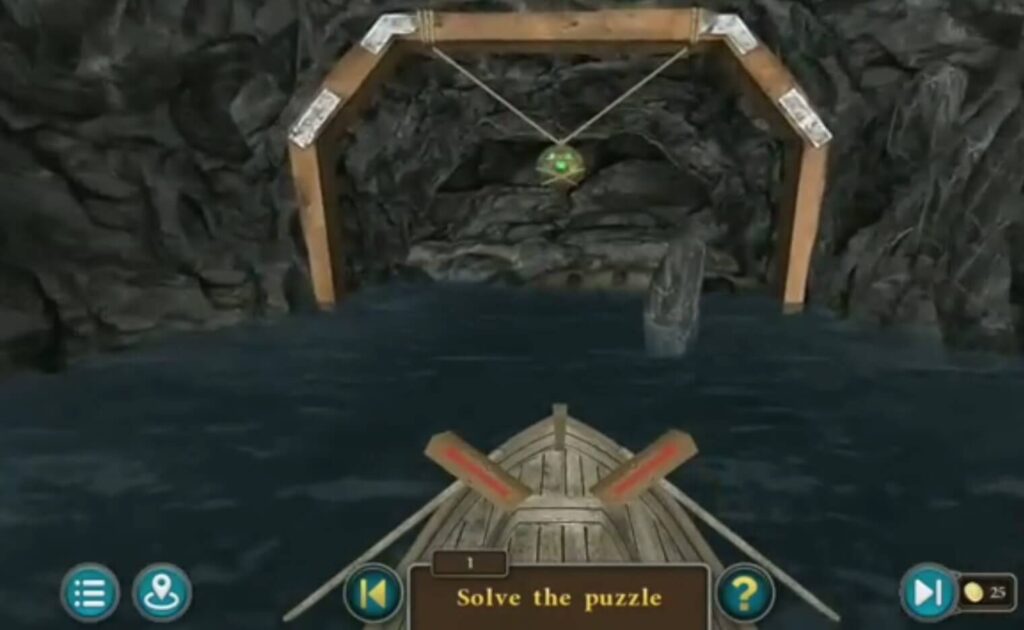
Avoid obstacles while riding the boat. When you reach the end, you will get a star.
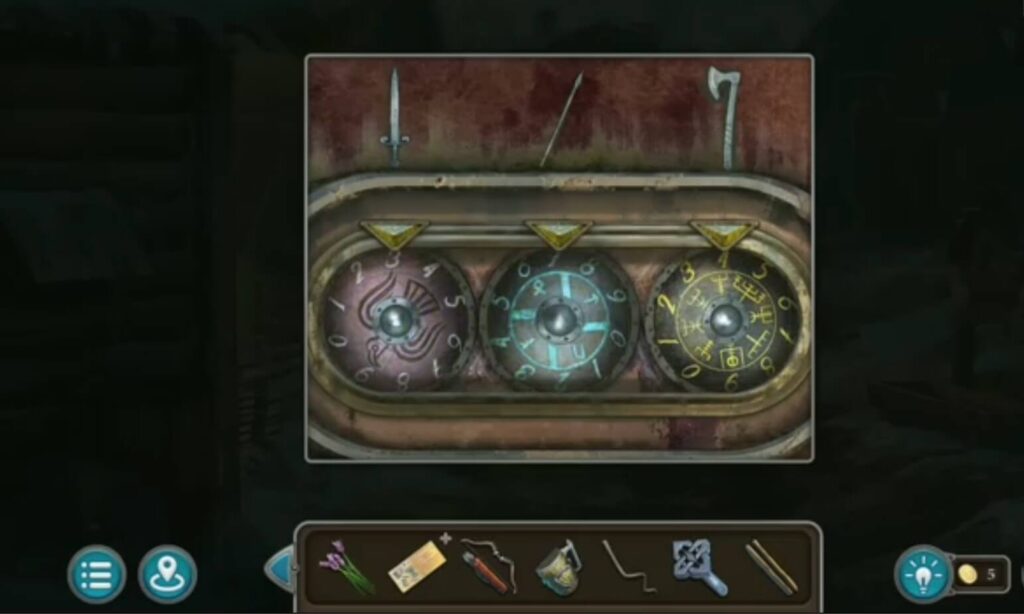
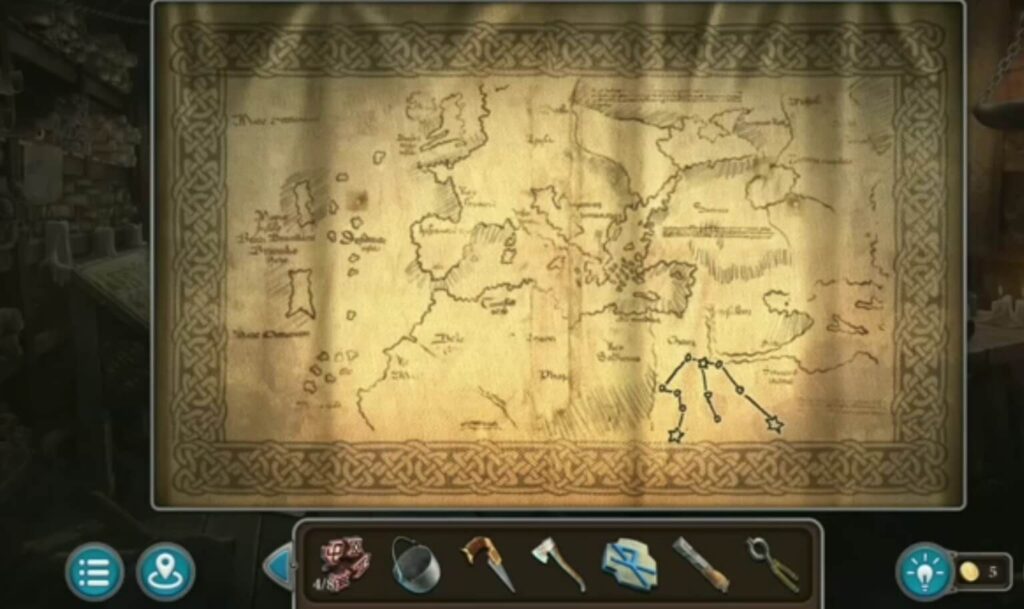
Rotate so the numbers are 3-7-4, just like on the map. You got a hammer.
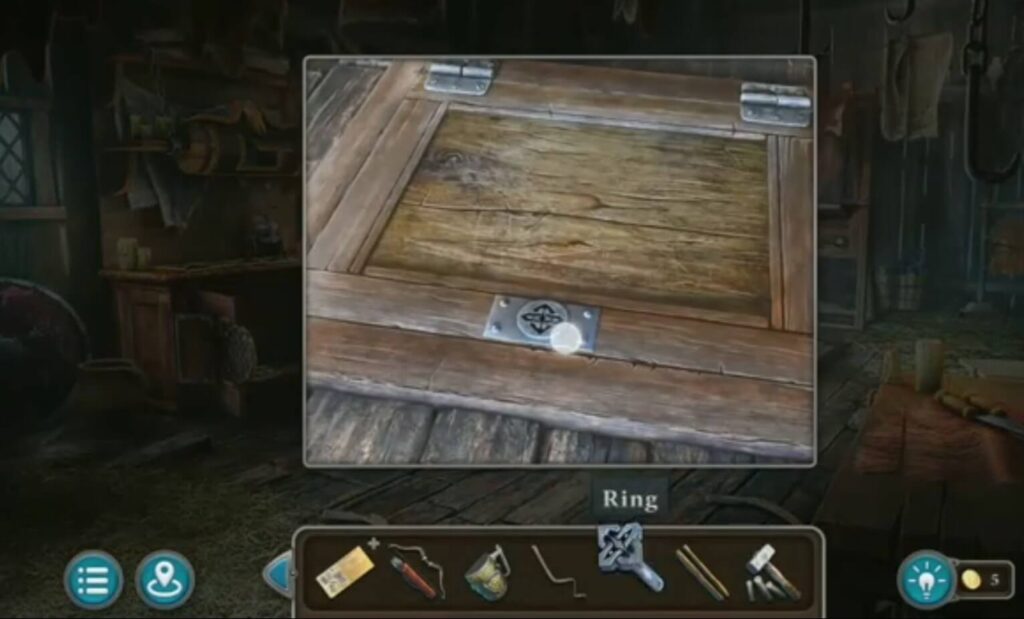
Put the ring (got it from the bowl) on the coffin. You got a lever and a wine.
Put the lever (got it when you put the ring on the coffin) and pull down. A new puzzle will appear.
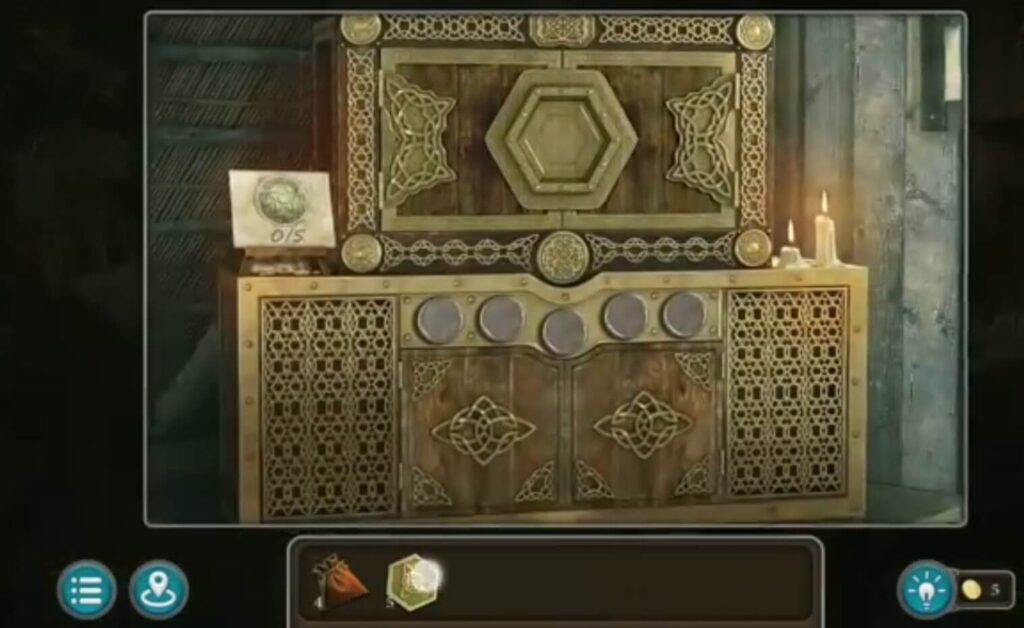
Put the mug (got it when you fed the bird). A new puzzle will appear.
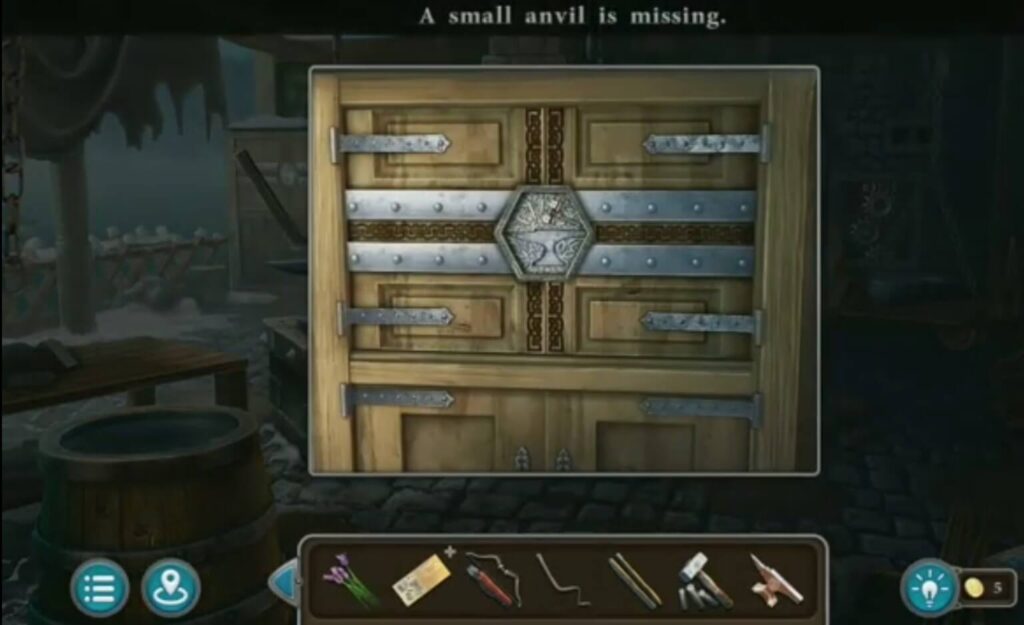
First, you need to fill the fields from the inside by moving the elements to the left and right. Then, using another launcher, you fill the empty fields from the outside. When you solve it you get a star, an anvil, and a map appear.
Put an anvil (found it when you solved a puzzle and got a star and a map appear) to solve another puzzle that is behind. Solve it by springs left and right so that the elements on the springs are in line with the elements that are static at the bottom.
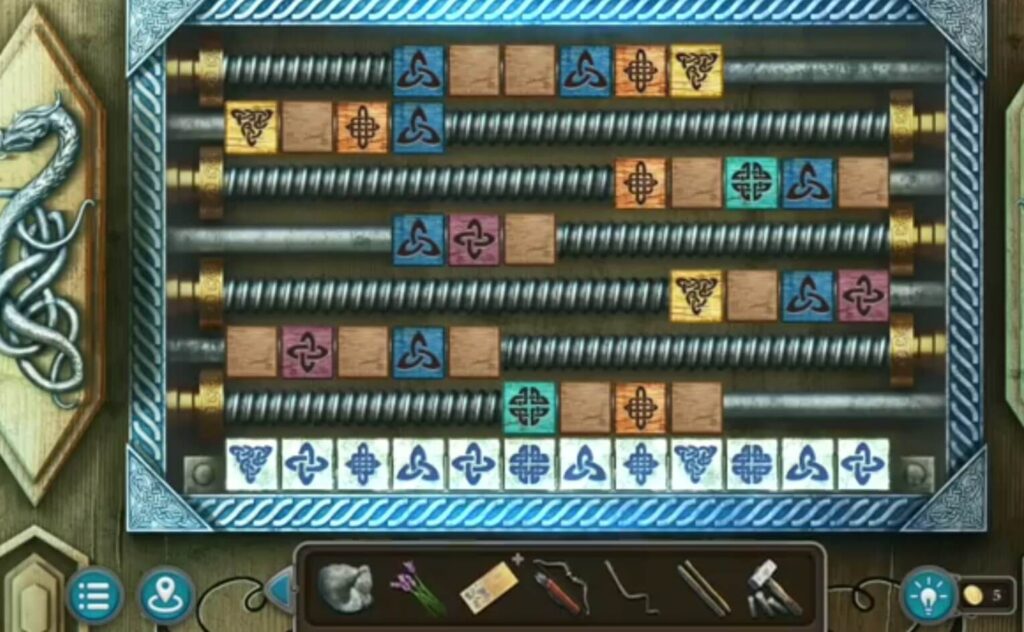
Move the springs left and right so that the elements on the springs are in line with the elements that are static at the bottom. You got a pincers.

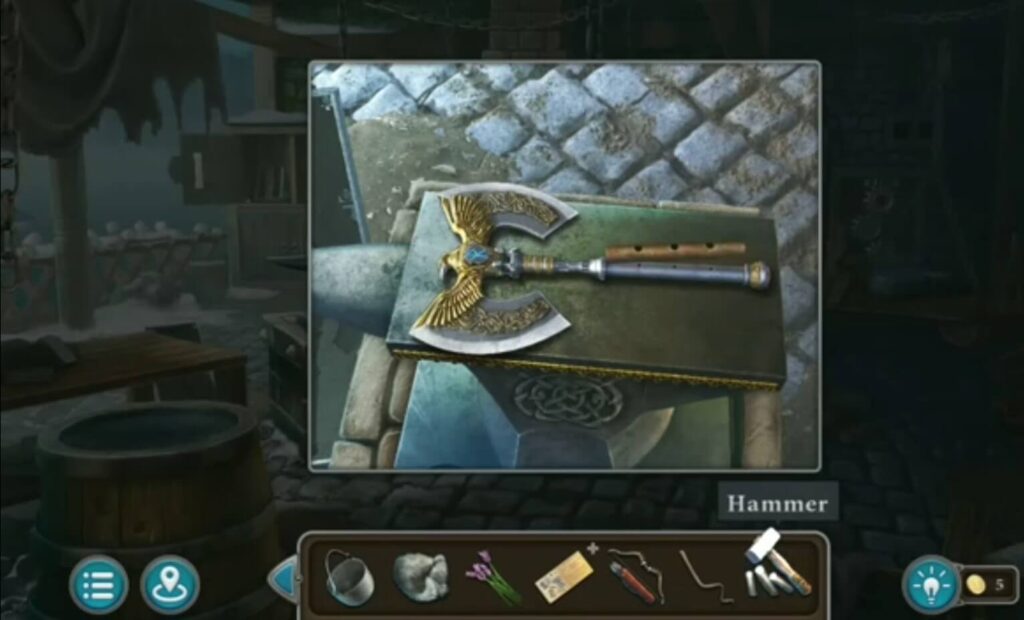
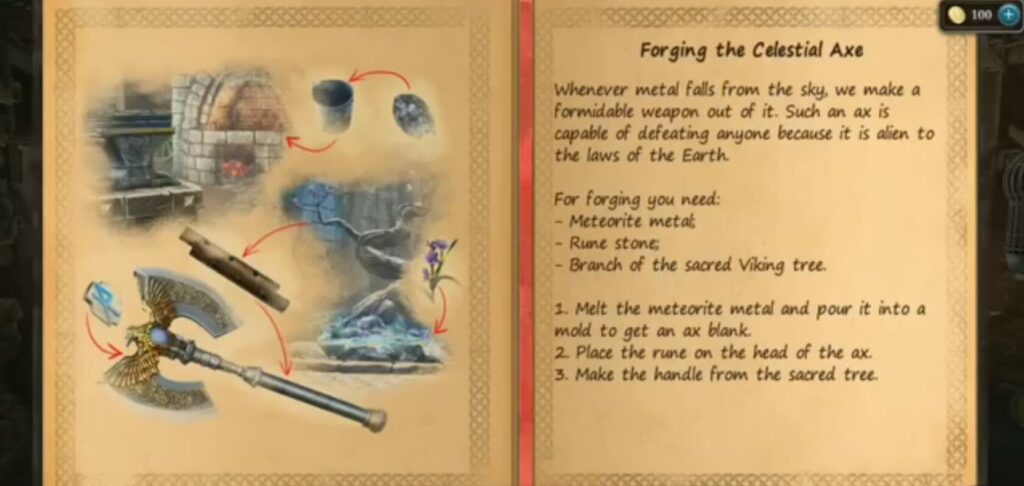
Put blank (got it when you cool the liquid metal), then add rune stone (got it when you put 3 chips on the coffin), a handle (made it from the brunch). Use a hammer (got it when you solved a puzzle with numbers) to finish making the ax. You got a celestial ax.
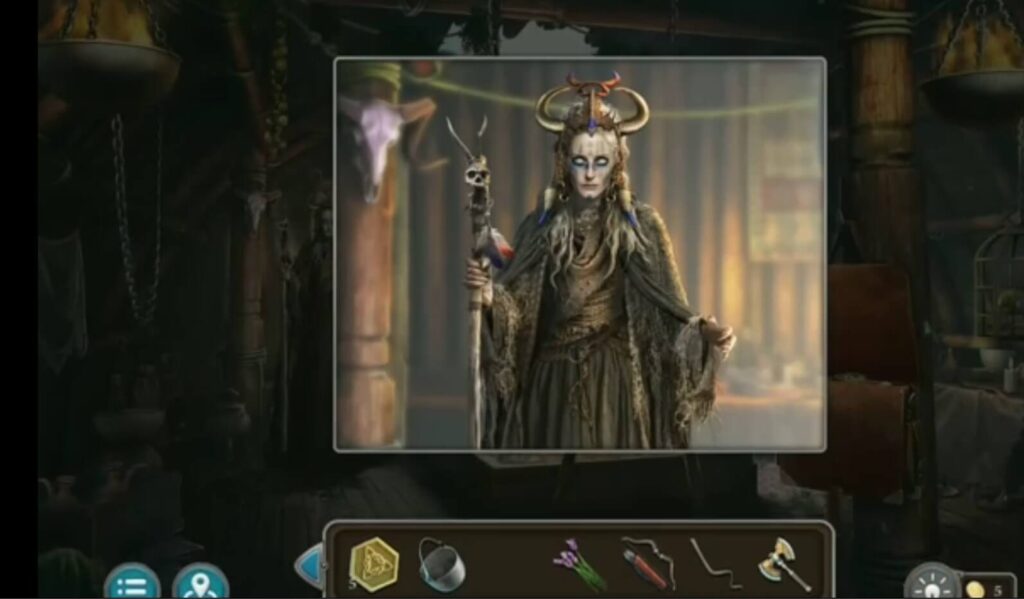
Give her the cape (got it when you solved a red jewel puzzle), and you get a description of a ritual.
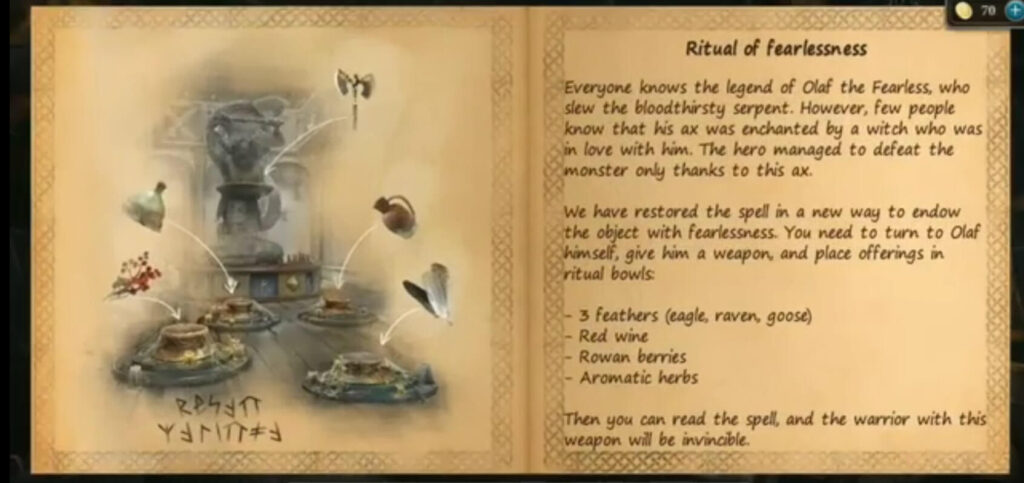
A ritual recipe.
- Take feather from the open cage (for the ritual).
- The aromatic herbs.
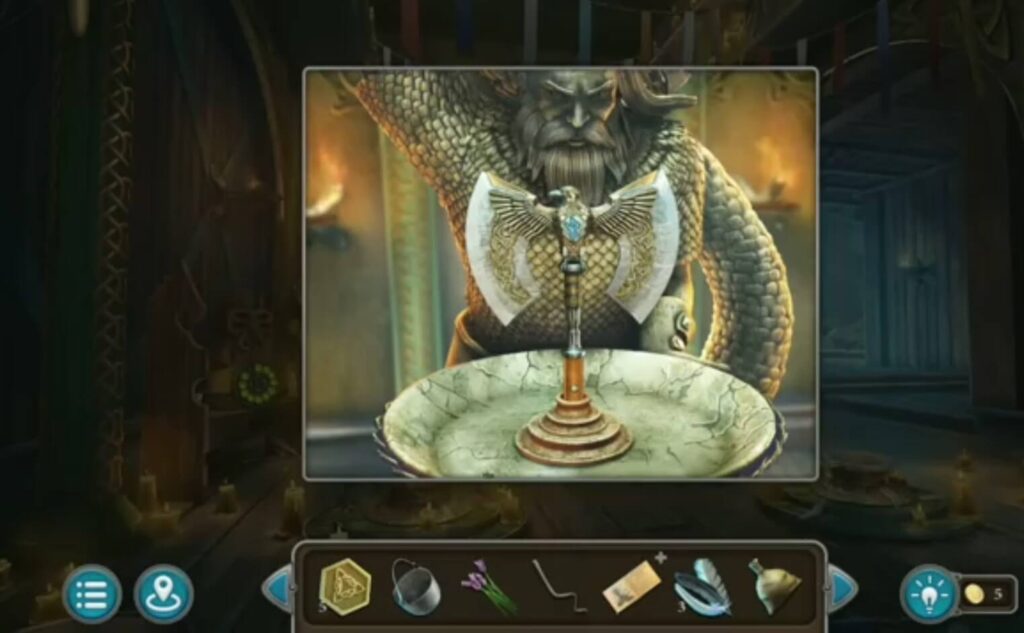
Put the celectial ax (made it from a blank, a rune stone and a handle).
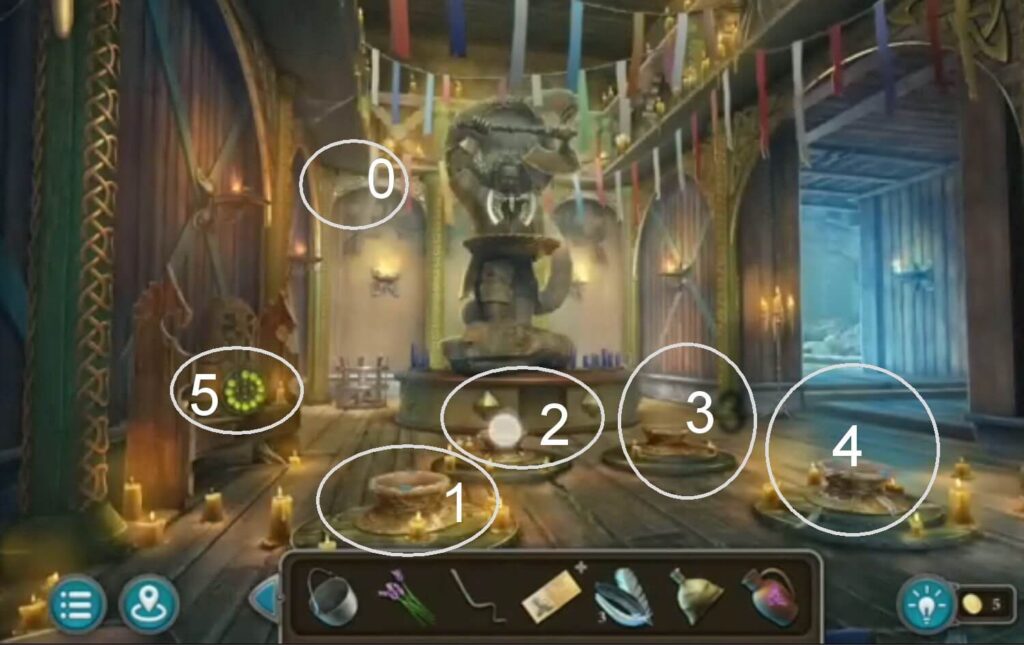
0 A morphing object.
1.Put berries there.
2. Put aromatic herbs.
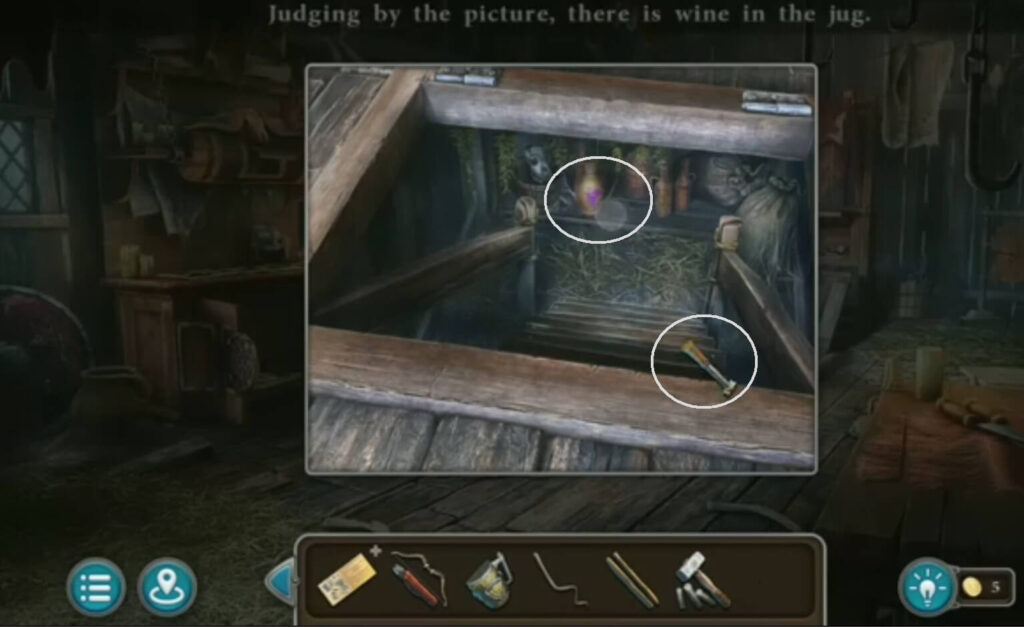
3. Put wine.
4. Put feathers.
5. A star
You got an ax of fearlessness.
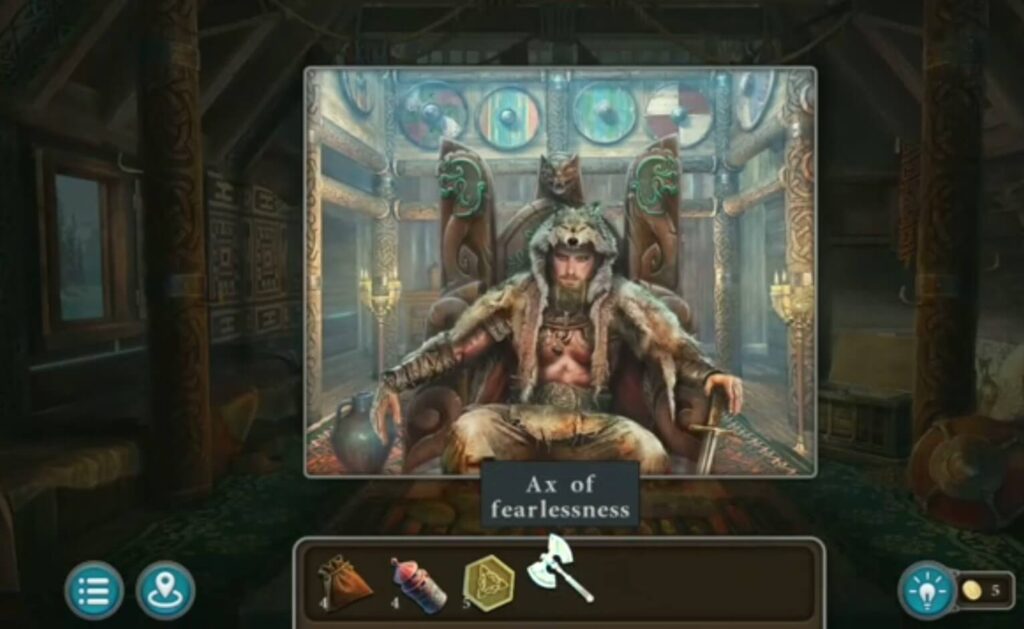
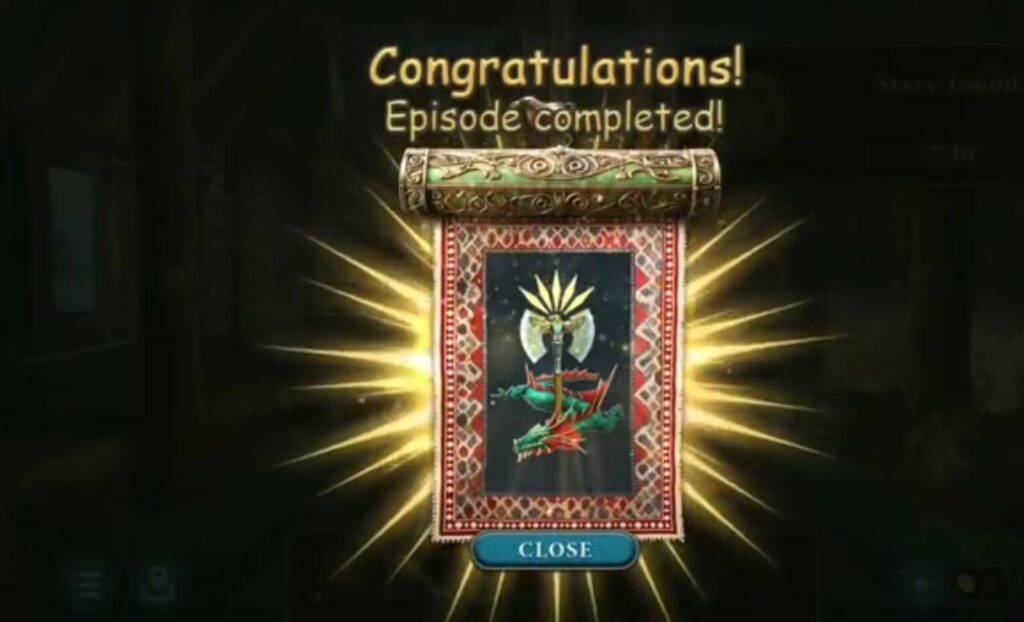
Give him the ax of fearleness, and you got a star. This is the end of this chapter.