Another Shadow | Part III
Hello everyone and welcome to Part 3 of our walkthrough for “Another Shadow” an escape room game created by the Dark Dome. Another Shadow is the sixth game in the series, and like the other games, the story is set in Hidden Town, which is filled with all kinds of mysteries. In this walkthrough, we will show you how to solve all the puzzles and finish the game.
NOTE: Some puzzles will CHANGE with each playthrough, but the logic behind solving the puzzles will always remain the SAME. For example, in one playthrough a code to open a safe could be 1234, and in another playthrough, the code could be 4321. However, you will always discover the numbers for the code at the same location and by using the same hints.
NOTE: At the end of the second part, Bastian told Carissa that he found an old hut, while he was playing in the forest. Naturally, he was curious, and he decided to go in and explore. At this point, our story continues. We will be playing as a young Bastian, and exploring a not-so-abandoned hut.
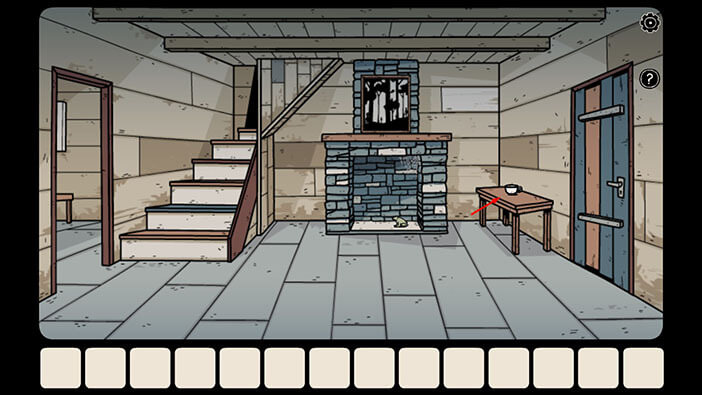
Ok, let’s explore. Tap on the table on the right to take a closer look at it.
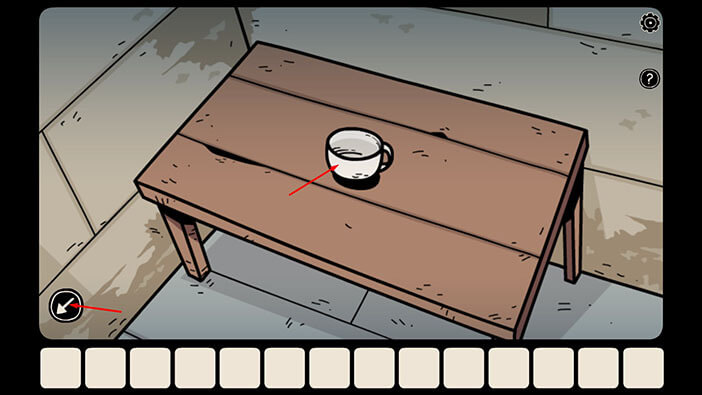
Tap on the “Cup” to pick it up. After that, tap on the arrow in the lower left corner to go back.
Next, tap on the fireplace to take a closer look at it.

Tap on the fireplace again to look through the chimney and you will see one of the shadows. You will also see a skull caught up in the spider web, at the top of the chimney.
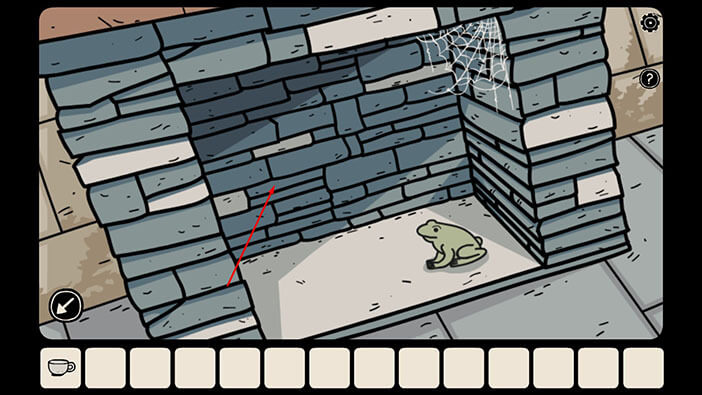
Ok, let’s go back. Tap on the arrow in the lower left corner.

Ok, that’s it for this room. Tap on the stairs to go to the second floor.

Tap on the table on the right to take a closer look at it.

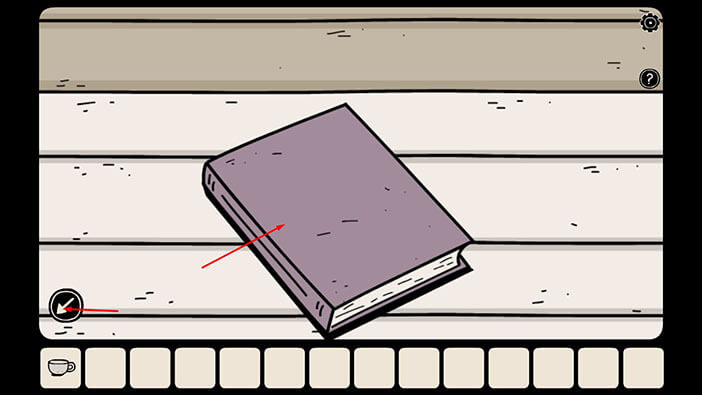
Tap on the “Book with hints” to pick it up.
After that, tap on the arrow in the lower left corner to go back.
Next, tap on the board at the end of the hallway to take a closer look at it.
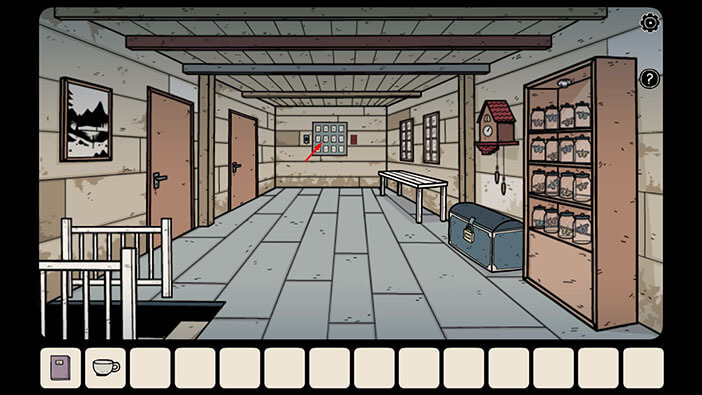
Tap on the lever on the left to start the interaction.
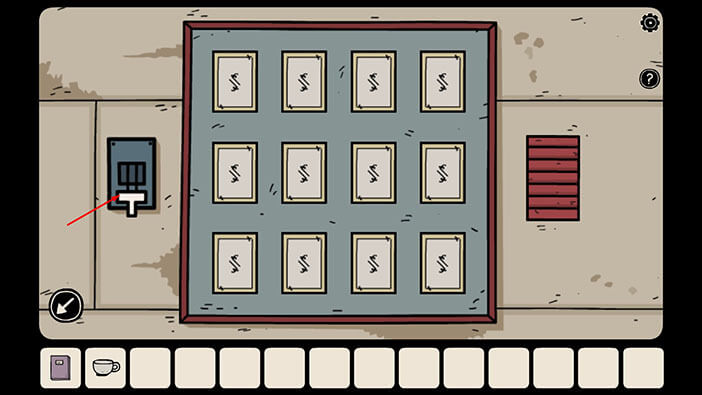
As soon as you pull the lever, the cards will turn, and you will see keys and skulls, arranged in a 4 by 3 grid. Our task is to memorize/write down the positions of the keys. Let’s do that.
In the top row, we have two keys, one in the first slot (left to right) and one in the third slot.
In the middle row, we have two keys, one in the first slot, and one in the second slot.
In the third row, we also have two keys, one in the first slot, and one in the third slot.
Memorize/write down the positions of the six keys.
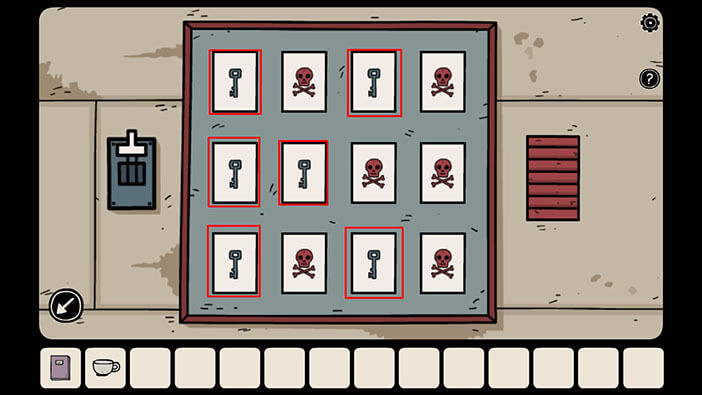
Ok, we should now tap on the cards with keys, so let’s do that.

As soon as you tap on all six cards with keys, the small door on the right will open and you will see a key. Tap on it to pick it up and a “Blue key” will be added to your inventory.
After that tap on the arrow in the lower left corner to go back.
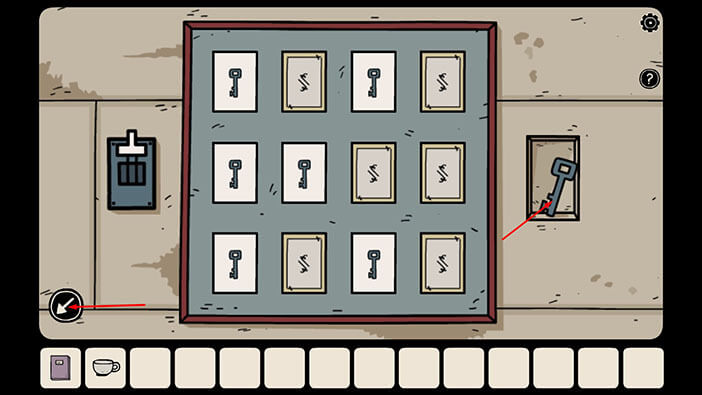
Ok, let’s go back. Tap on the stairs to go back to the first floor.
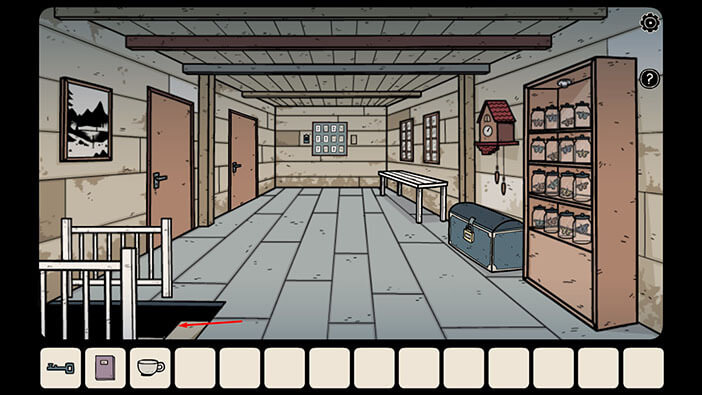
Tap on the doorway on the left to proceed into the next room.

Tap on the dress on the right to approach it.
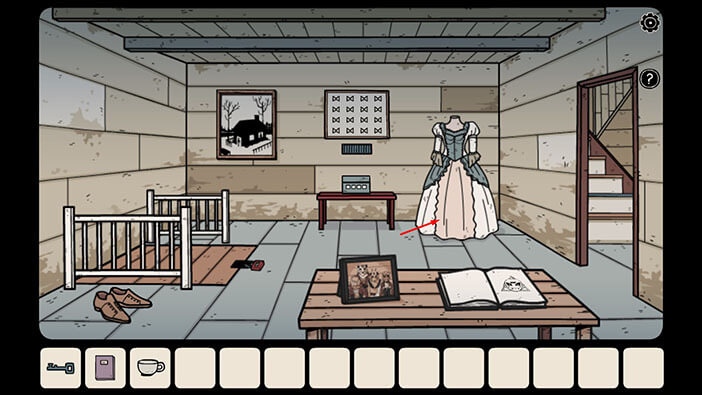
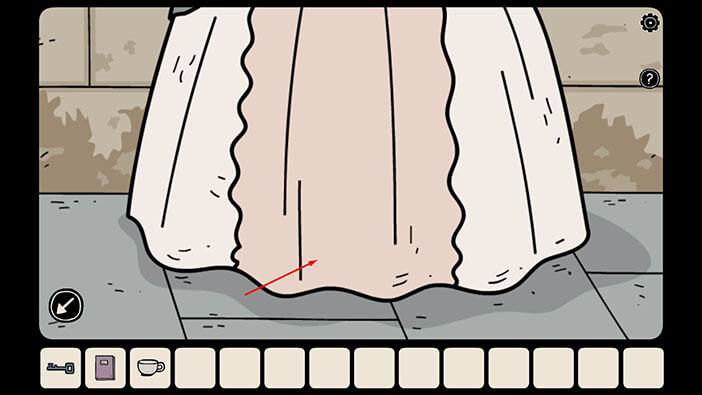
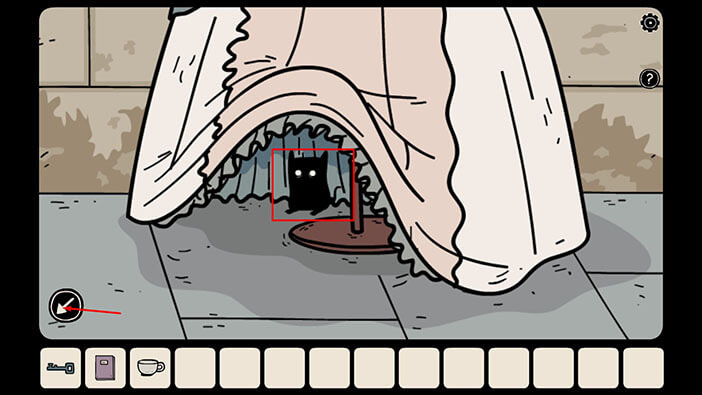
Tap on the dress again to look under it, and you will find another “dark hamster”.
After that, tap on the arrow in the lower left corner to go back.
Next, let’s take a closer look at the picture on the left side of the table.

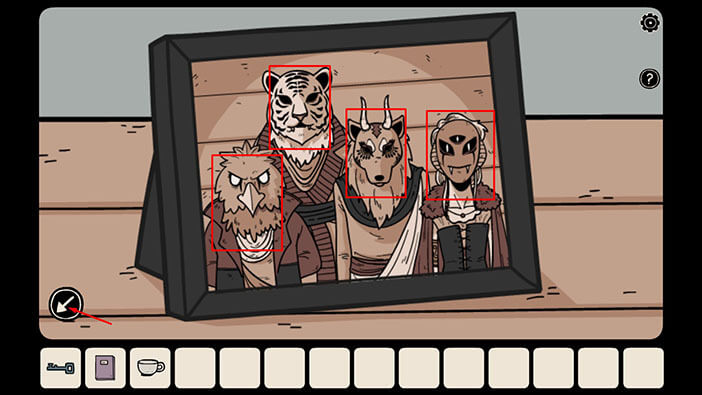
Here we have four humanoid monsters. Let’s memorize/write down the order of the monsters starting from left to right because we will need this information for the following puzzle. So,
First = Eagle
Second = Tiger
Third = Horned Wolf
Fourth = Alien
Once you’re done, tap on the arrow in the lower left corner to go back.
NOTE: The order of the monsters will change with each playthrough because this is one of the randomized puzzles.
Next, let’s examine the book on the right side of the table.

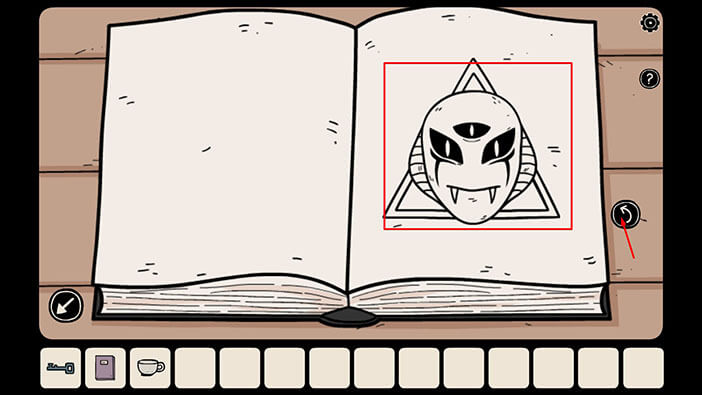
Here, we can see an alien head and a triangle in the background. The order of the monsters in the picture and the symbols associated with their heads represent the solution for the next puzzle. Looking from left to right, the alien was fourth. So,
Fourth symbol = Triangle
Memorize/write down this information. Once you’re done, tap on the arrow on the right side of the book to take a look at the next page.
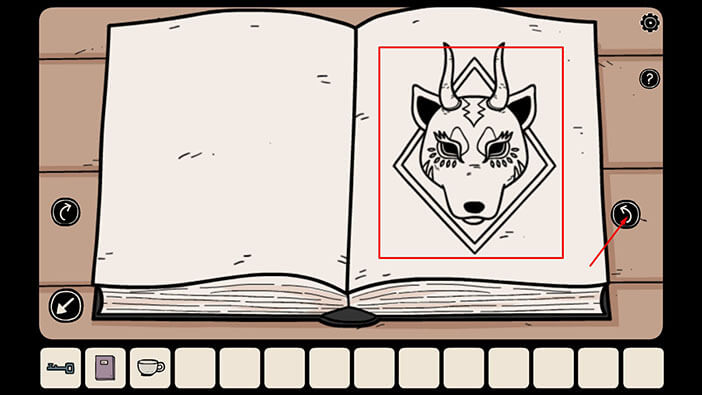
On the next page, we can see a horned wolf and a rhomb in the background. The horned wolf was in the third position in the picture. So,
Third symbol = Rhomb
Memorize/write down this information. Once you’re done, tap on the arrow on the right side of the book to take a look at the next page.
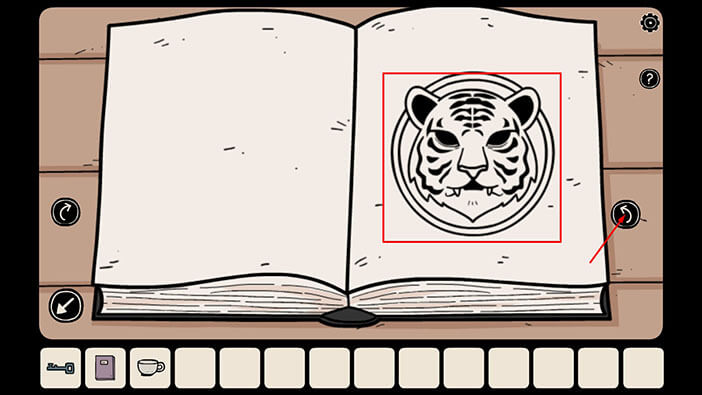
On the next page, we can see a tiger and a circle in the background. The tiger was in the second position in the picture. So,
Second symbol = Circle
Memorize/write down this information. Once you’re done, tap on the arrow on the right side of the book to take a look at the next page.
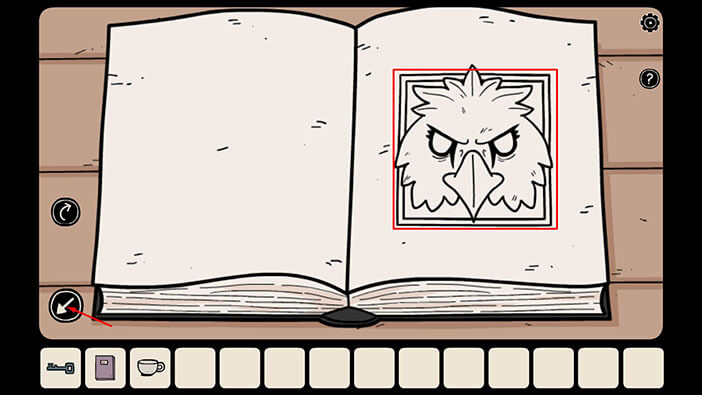
On the last page, we can see an eagle and a square in the background. The eagle was in the first position in the picture. So,
First symbol = Square
When we put it all together, we have
First symbol = Square
Second symbol = Circle
Third symbol = Rhomb
Fourth symbol = Triangle
Memorize/write down this information because it represents the solution for the next puzzle. Once you’re done, tap on the arrow in the lower left corner to go back.
NOTE: This is one of the randomized puzzles and the solution changes with each playthrough. However, you can find the correct solution by following the steps in this walkthrough.
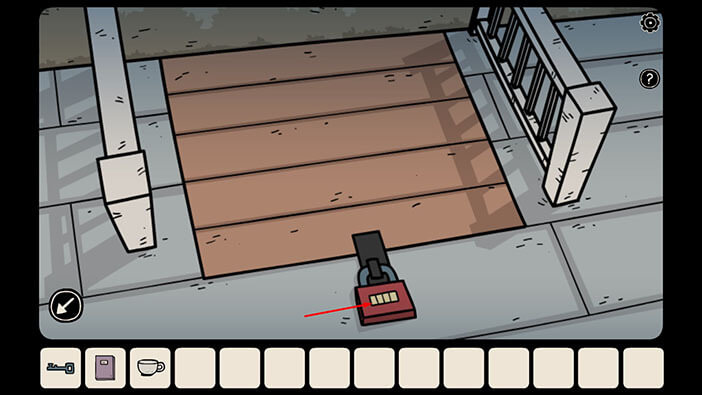
Next, tap on the trapdoor to take a closer look at it.

Tap on the padlock to start the interaction.
Ok, let’s insert the symbols that we discovered by examining the picture and the book which we found on the table in this room. So, we had
First symbol = Square
Second symbol = Circle
Third symbol = Rhomb
Fourth symbol = Triangle
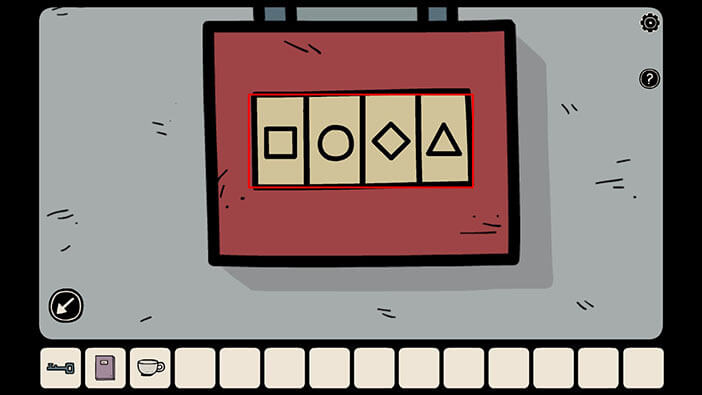
As soon as you enter the correct combination of symbols, you will hear a clicking sound, and a trapdoor will open. Tap on the trapdoor to proceed into the basement.
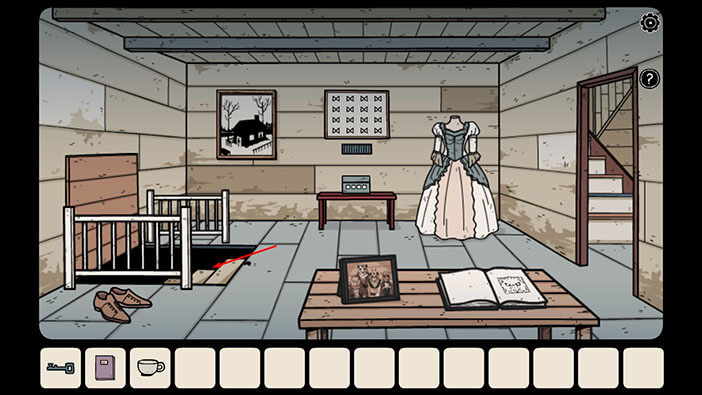
On the left, we can see three headless skeletons. For now, just take note of them, they will become important further down the line.
Select the blue key from the inventory and use it to unlock the closet.
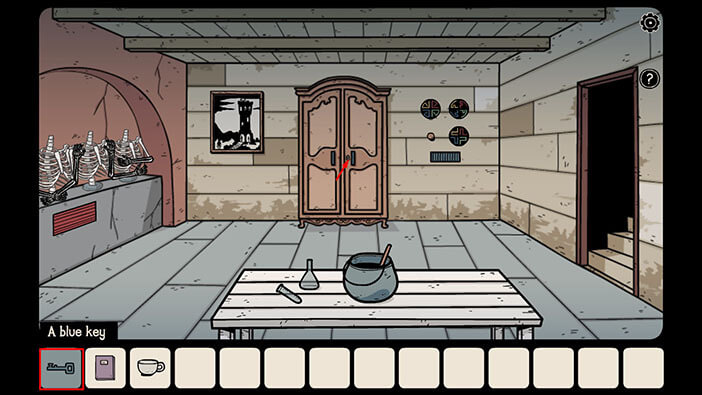
Tap on the closet to take a closer look at the items inside.
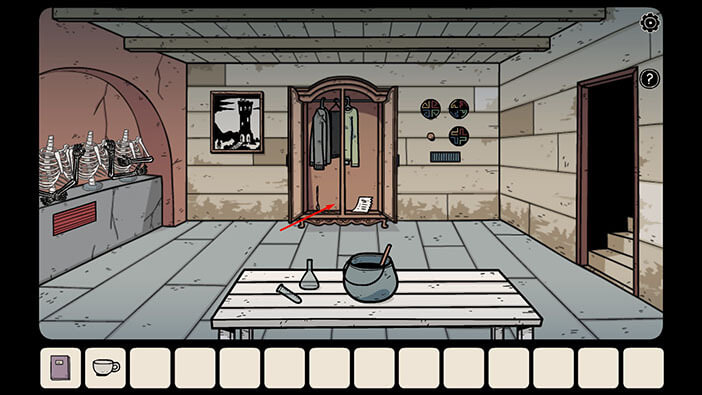
Tap on the “Note” and the “Pair of shoelaces” to pick them up. After that, tap on the arrow in the lower left corner to go back.
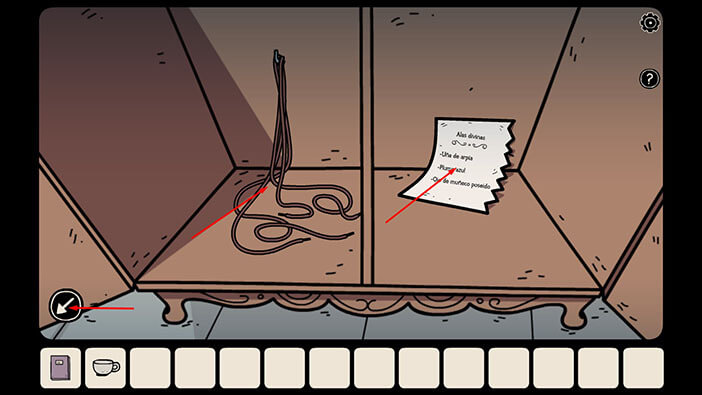
Ok, let’s go back to the previous room. Tap on the stairs.
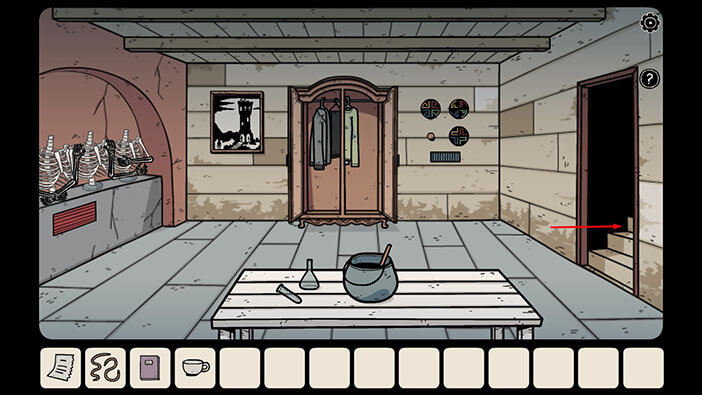
Tap on the shoes on the left to take a closer look at them.

We can see that the shoes are missing the shoelaces, so select the “Pair of shoelaces” from the inventory and tap on the shoes.
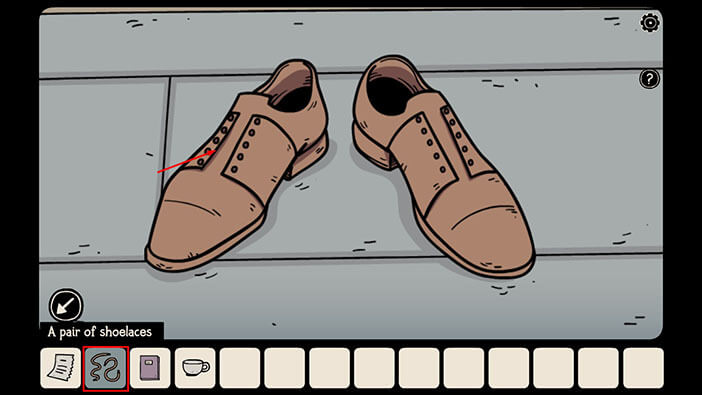
As soon as you tie the shoelaces, the shoes will walk through the door on the right. Let’s go after them.
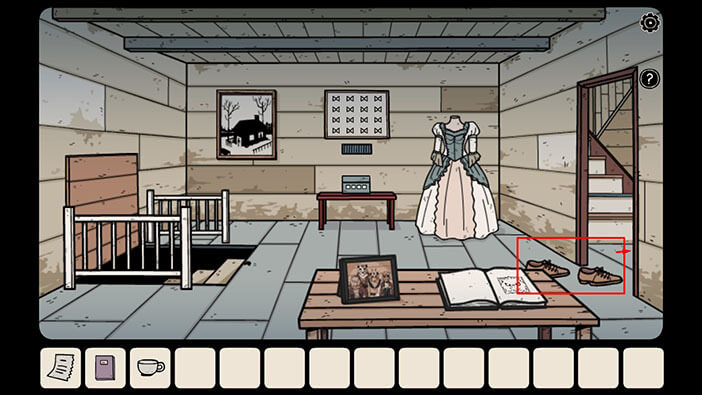
Tap on the shoes to get them to move.
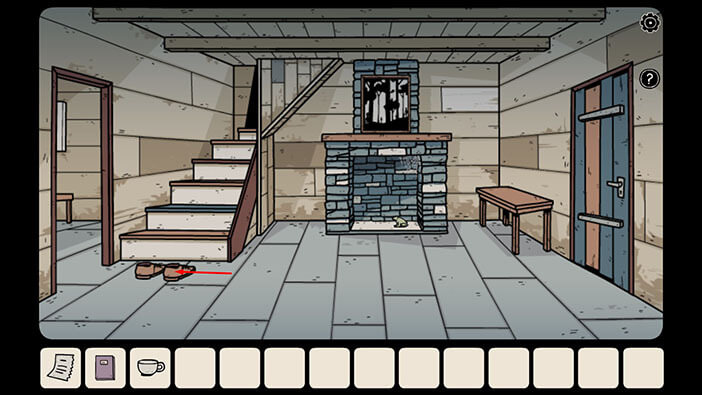
The shoes will go upstairs, so let’s keep following them.
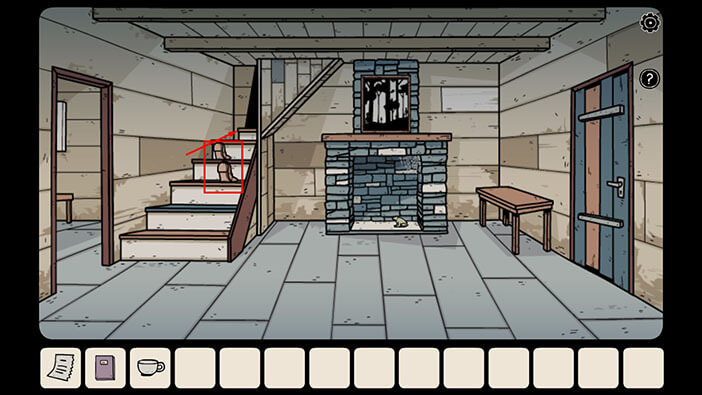
The shoes are now in front of the first door on the left. Tap on them to start the interaction.

When you tap on the shoes, you will summon a shadow, and it will go through the door.
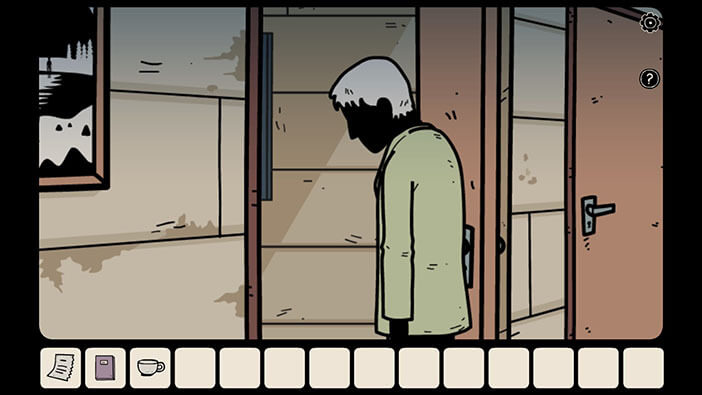
Let’s follow the shadow into the new room.

The shadowy figure is now standing in front of a window. Tap on the shadow to start the next interaction.

As soon as you tap on it, the shadow will start banging its head against the window, but it will do so in some kind of pattern. Let’s count how many times the shadow bangs its head against the window, and look for patterns.
One headbutt, a pause. Four headbutts, second pause. Two headbutts, third pause. Three headbutts, the end of the sequence.
When we put it all together, we will get the number “1423”. Memorize/write down this number because it represents the solution for the next puzzle.
NOTE: The pattern will be different with each playthrough but there will always be four sequences (four numbers).
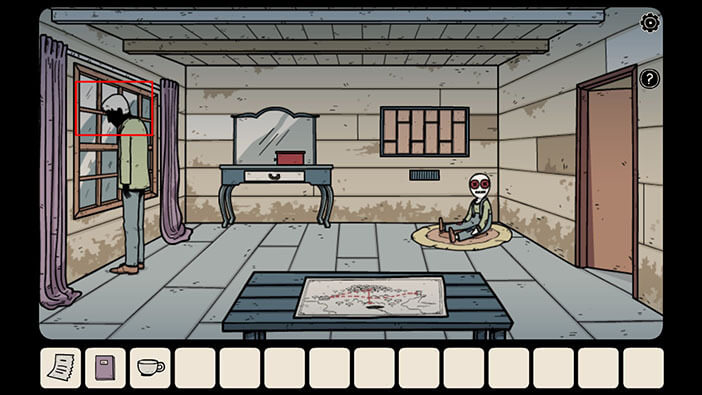
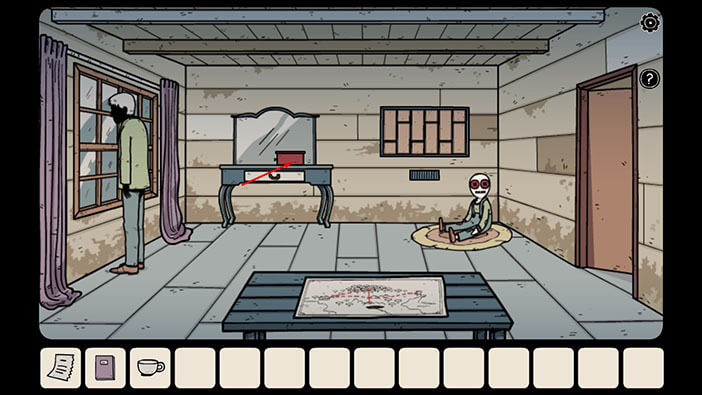
Next, tap on the table to take a closer look at it, then tap on the red box to start the interaction.
Enter the code that we discovered by observing the pattern in which the shadow bangs its head against the window.
In this playthrough, the number was “1423”.
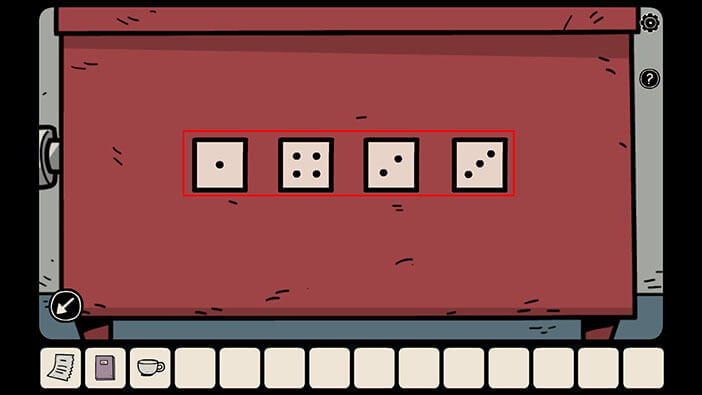
As soon as you enter the correct combination, you will hear the clicking sound, and the box will open. Additionally, the shadow will disintegrate.
Ok, there’s nothing important inside the box, but, with the shadow gone, we can now interact with the window. But, before we do that, tap on the “animated doll” to take a closer look at it.
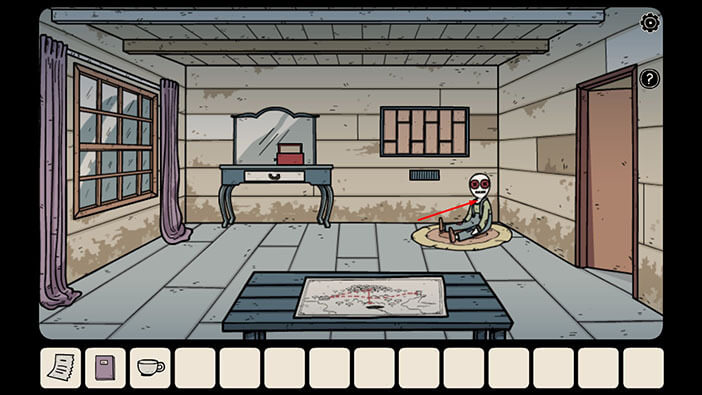
Tap on the doll’s right eye and a “Large button” will be added to your inventory. After that, tap on the arrow in the lower left corner to go back.
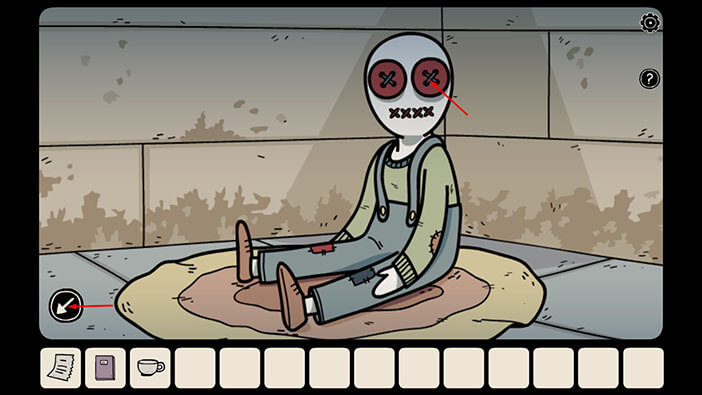
One more thing before we proceed further. Tap on the curtain on the left to take a closer look at it.
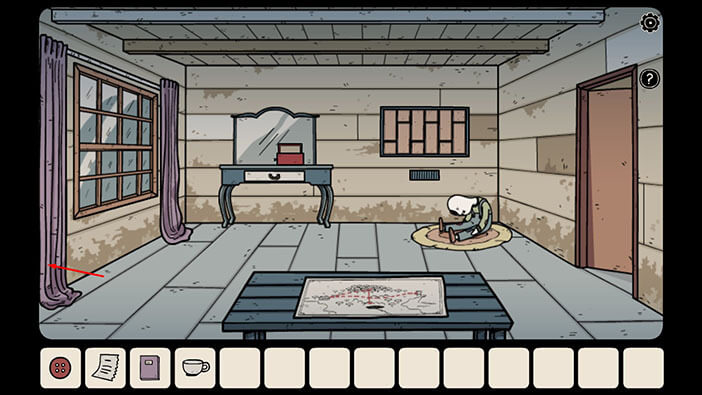
Tap again to look behind the curtain and you will discover another “dark hamster”. So, far we found six out of nine hamsters that are hidden throughout the levels.
Tap on the button in the lower left corner to go back.
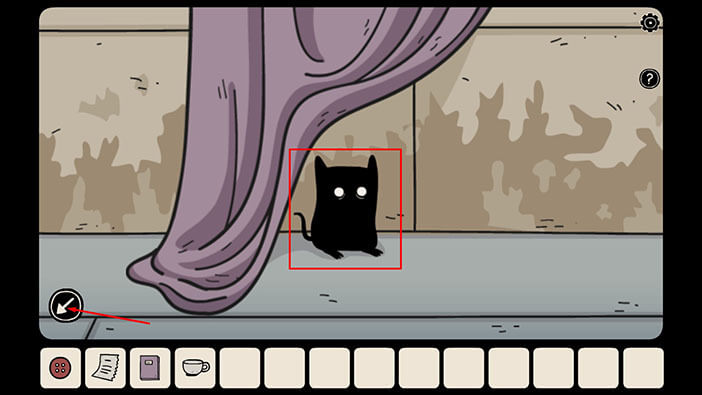
Finally, let’s tap on the window to take a closer look.

Tap on the window again to open it, and tap again to look outside.
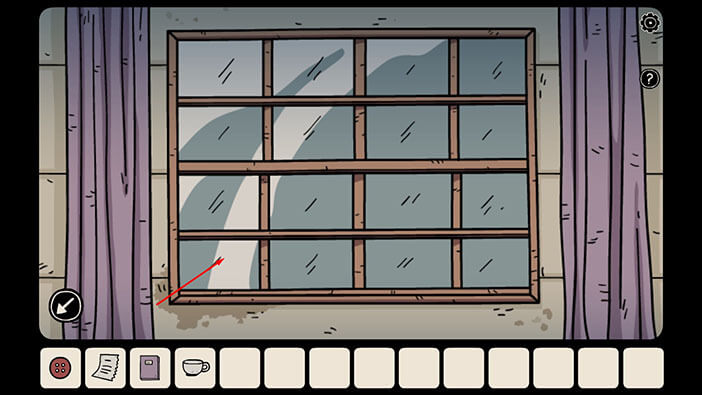
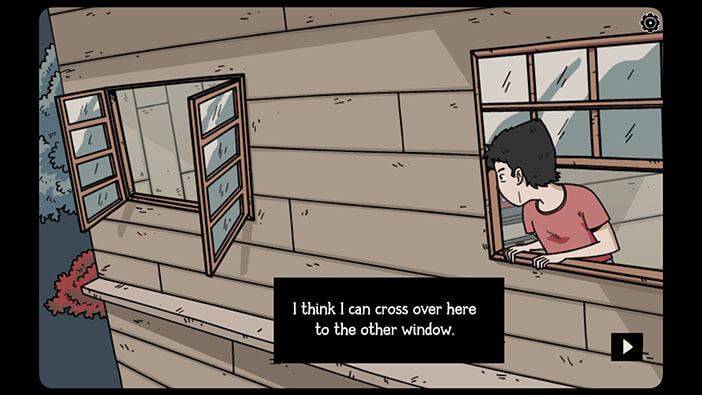
Well, the young Bastian thinks that he can climb through the window and reach the other room.
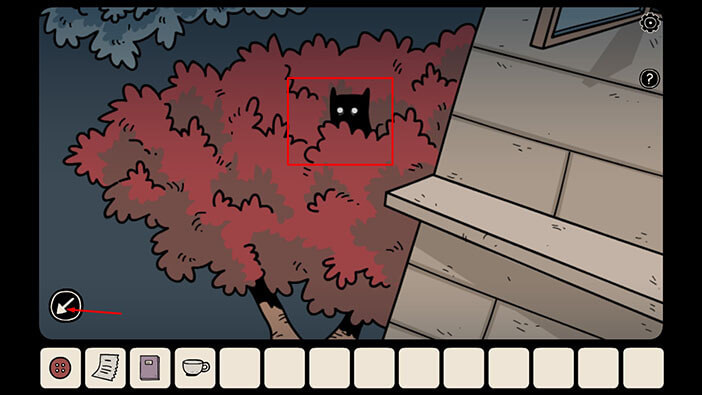
Before we go to the next room, tap on the red tree top in the lower left corner.

Here, you will find another “dark hamster”. With this one, we have found seven out of nine hamsters, so we’re getting very close to discovering all of them.
Tap on the arrow in the lower left corner to go back.
Ok, now, tap on the window on the left to proceed into the next room.
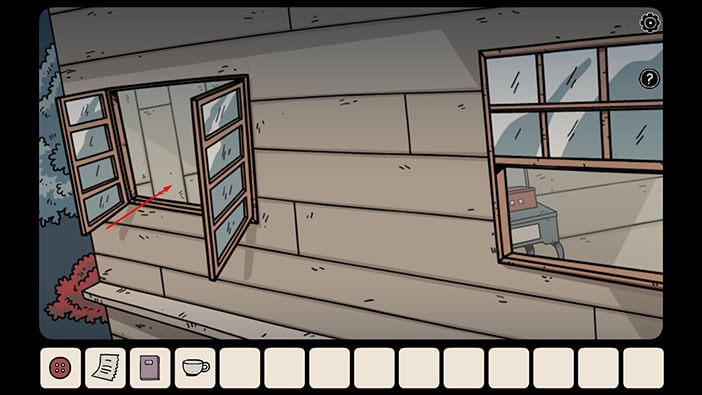
Let’s explore this room. First, select the “Cup” from the inventory and place it on the table, next to the teapot.
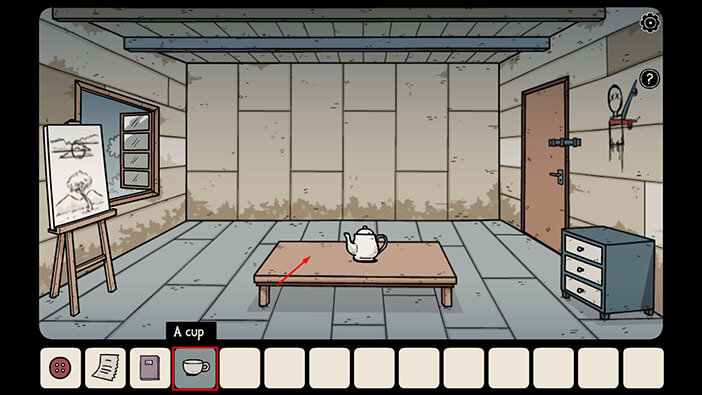
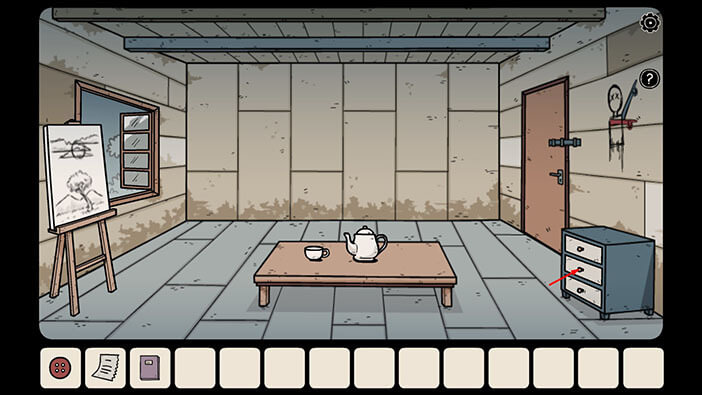
Next, tap on the cabinet on the right to take a closer look at it. After that, tap on the middle drawer to open it.
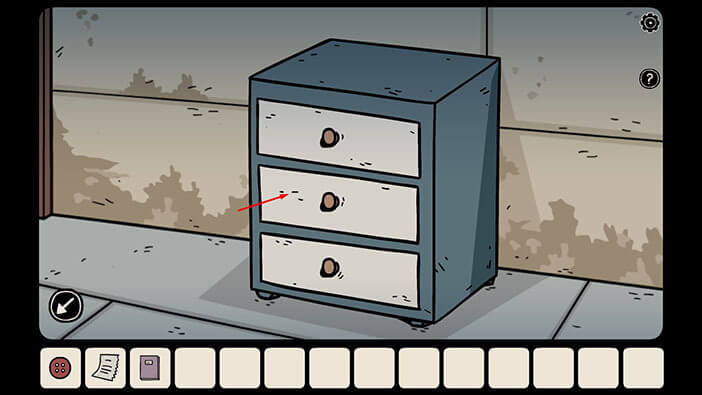
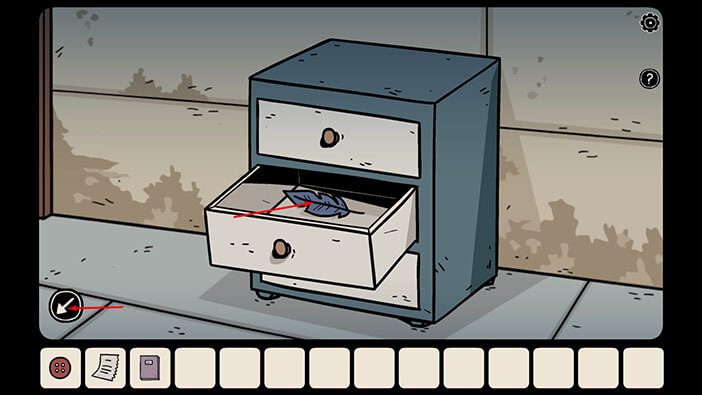
Tap on the item in the drawer to pick it up and a “Blue feather” will be added to your inventory.
After that, tap on the arrow in the lower left corner to go back.
Next, tap on the door to take a closer look at it.
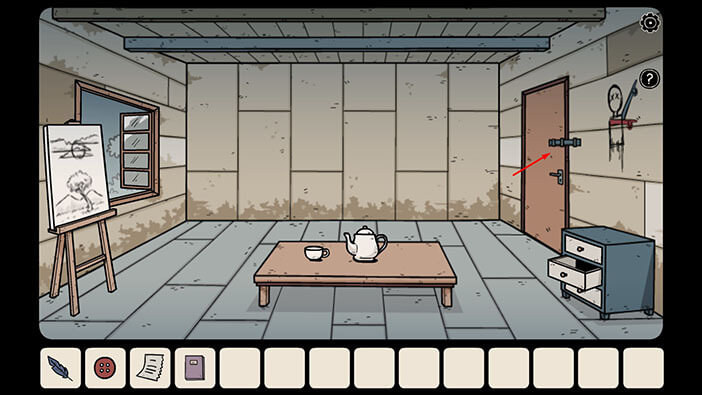
Tap on the bar to unlock the door.
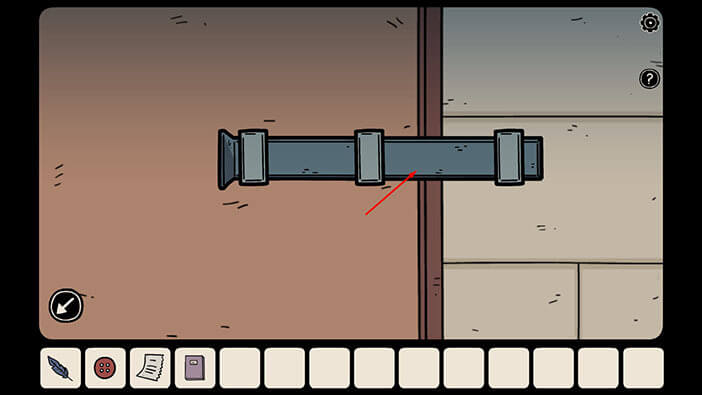
As soon as you unlock the door, the white ghost will appear behind the young Bastian. It will wait for a few seconds and then it will move into the wall. After that, the ghost will leave handprints all over the wall.
Additionally, the door will open.
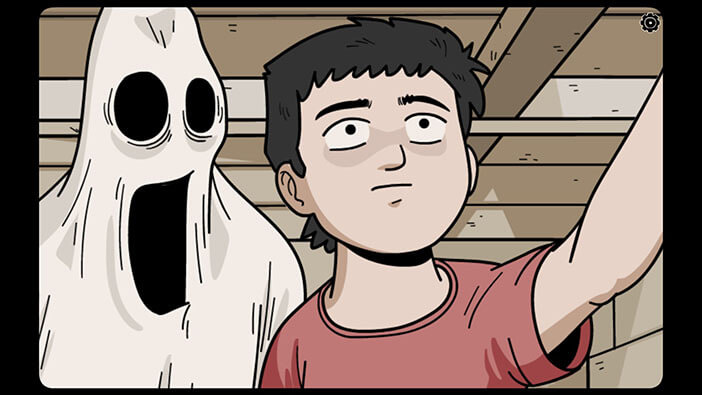
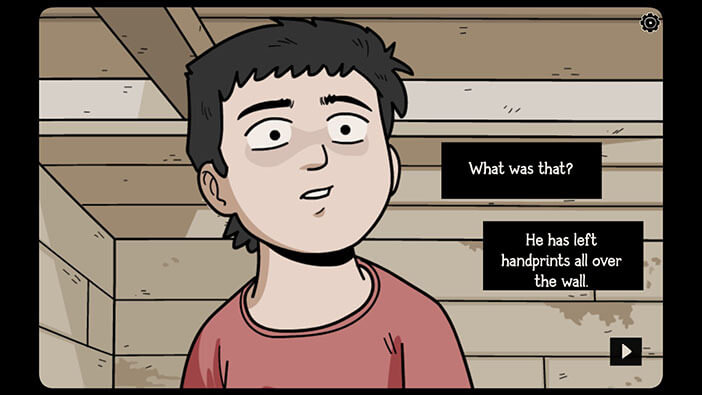
Before we go out, let’s take a closer look at the drawing above the cabinet.
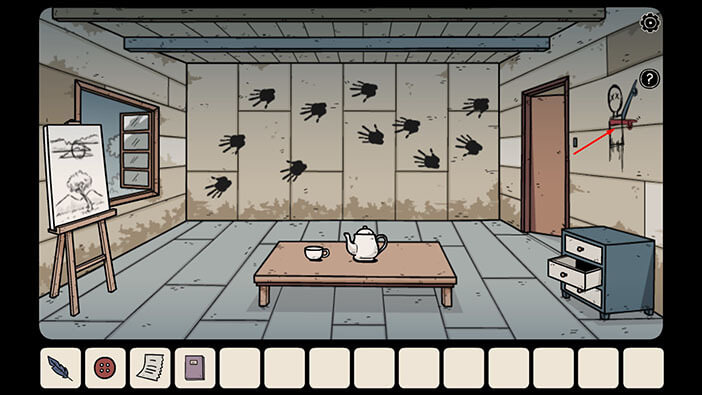
The red hand is pointing straight to the right – at the 3 o’clock position.
The blue hand is pointing up and to the right – at the 1 o’clock position.
Memorize/write down this information because we will need it in order to solve the next puzzle.
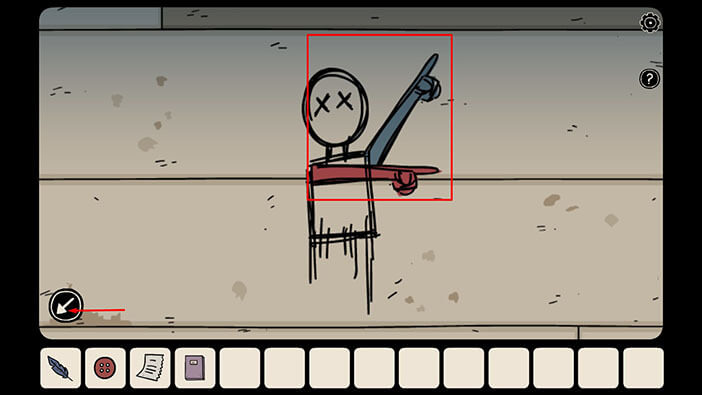
For now, we are done with this room. Tap on the door to proceed to the hallway.

Tap on the clock on the right to take a closer look at it.

Here, we can see the blue minute hand and the red hour hand. Their position should match the drawing that we saw on the wall in the previous room. The minute hand is already pointing at 1 o’clock, so just move the hour hand (red) to a 3 o’clock position.
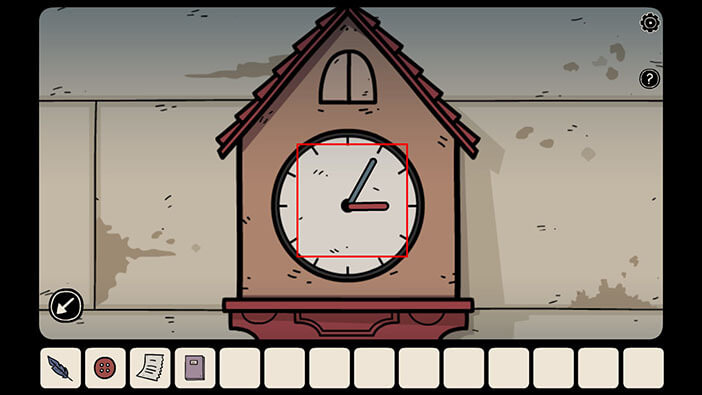
As soon as you correctly set the minute and hour hands, the secret compartment in the clock will open. Tap on the “Light bulb” to pick it up. After that, tap on the arrow in the lower left corner to go back.
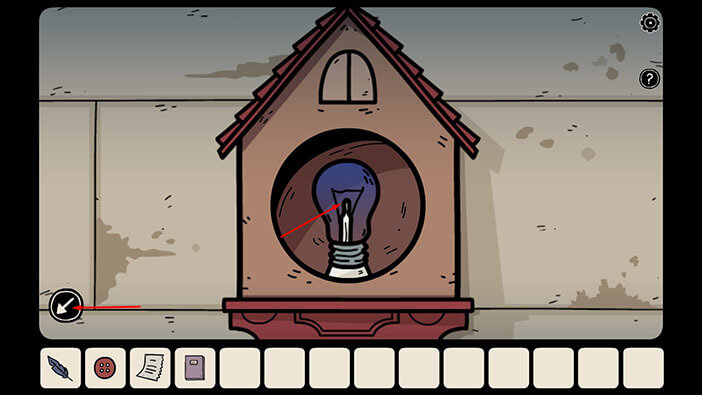
Next, tap on the shelf with butterfly jars on the right to take a closer look at it.
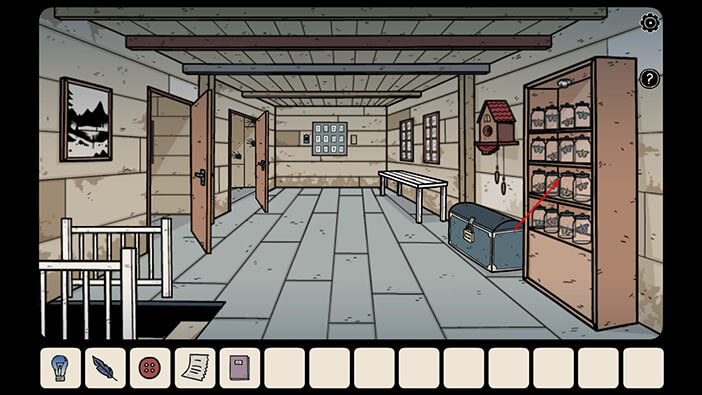
Select the “Light Bulb” from the inventory and install it.
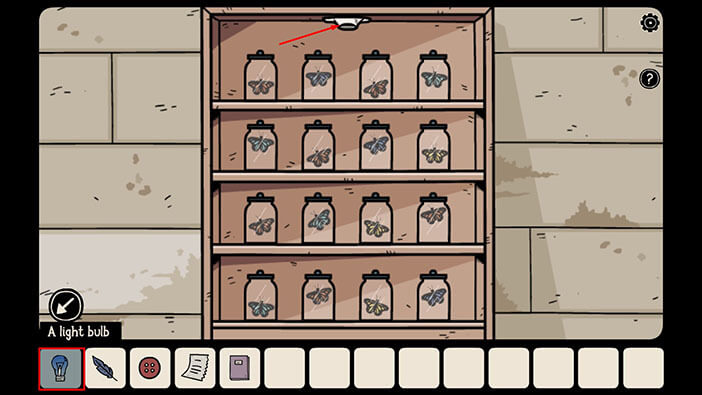
As soon as you install the light bulb, some of the butterflies in the jars will come to life and they will flap their wings. There are 16 jars on the shelf, and they are arranged in 4 rows, with 4 jars in each row. Our next task is to memorize/write down the position of the jars which contain moving butterflies. Let’s begin.
In the first row (top to bottom) we have only one moving butterfly and it is located in the third jar (left to right).
Second row = second jar
Third row = first, third, and fourth jars
Fourth row = second jar
Once you’re done, tap on the arrow in the lower left corner to go back.
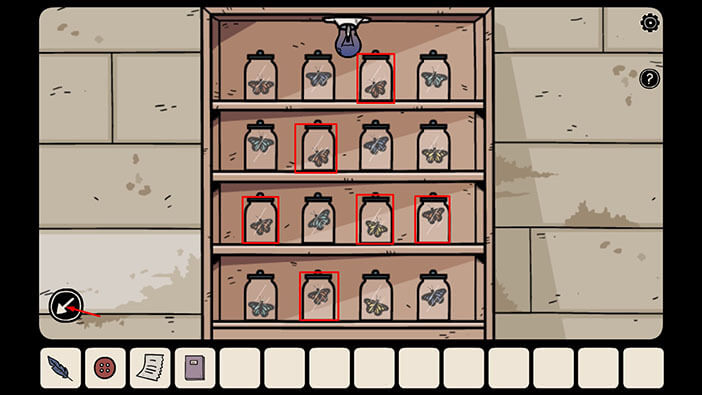
We should now pay attention to the pictures on the walls of this house. So, tap on the picture on the left to take a closer look at it.

Whenever we look at one of these pictures, there are two things that we should memorize/write down.
The location = Lake
The number of shadows = 3
Once you’re done, tap on the arrow in the lower left corner to go back.
Tap on the stairs to go back to the first floor.

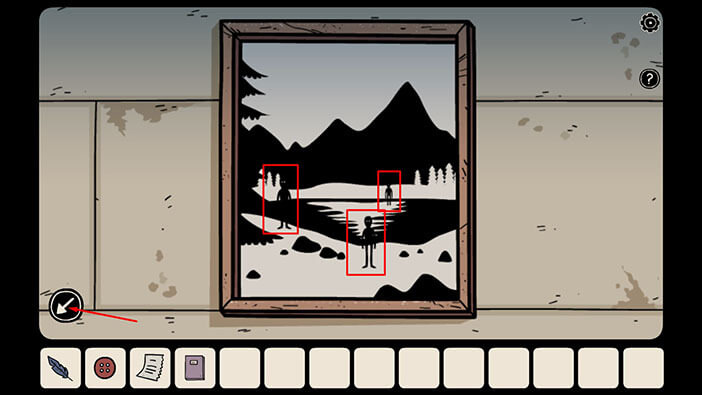
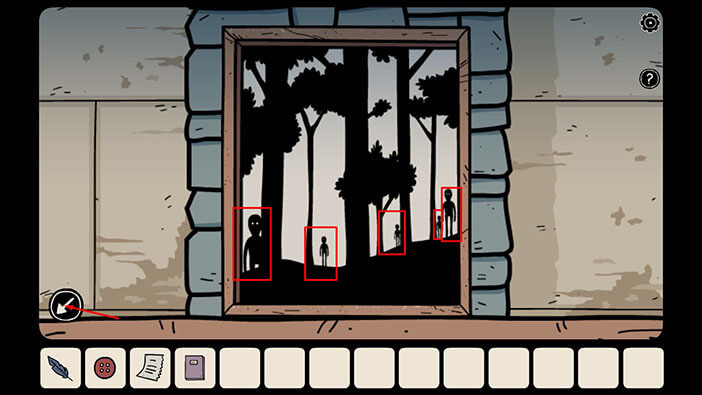
Tap on the picture above the fireplace to take a closer look at it.

Let’s memorize/write down the important information.
The location = Forest
The number of shadows = 5
Once you’re done, tap on the arrow in the lower left corner to go back.
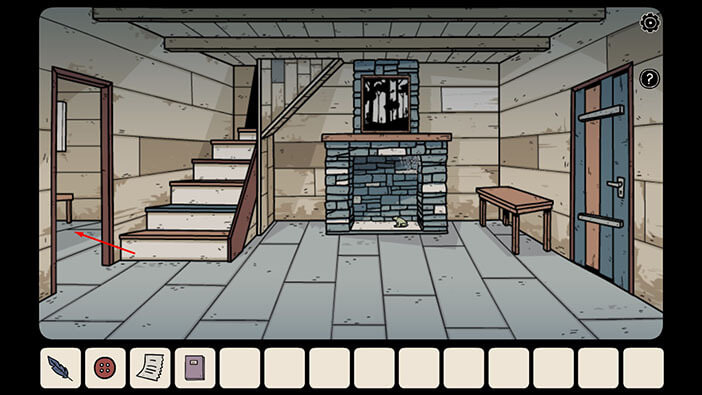
Tap on the doorway on the left to proceed into the next room.
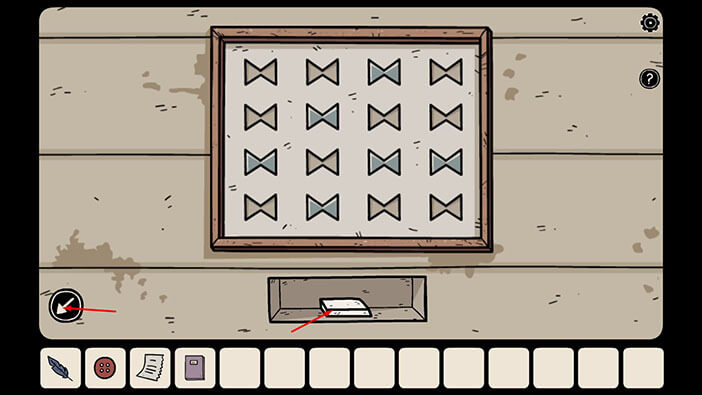
Tap on the board to take a closer look at it.
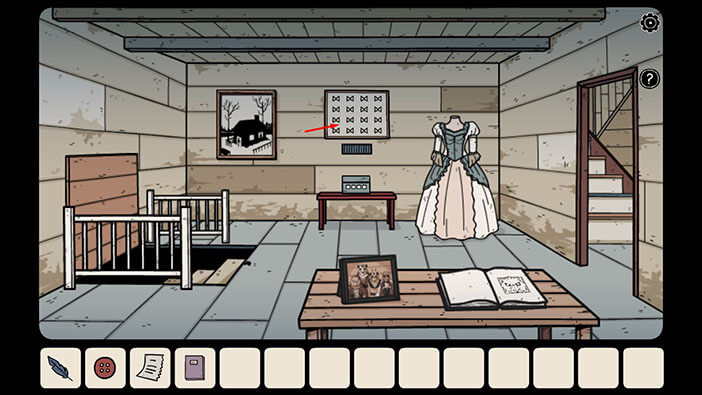
The symbols on the board are arranged on a 4×4 grid, in the same manner as the butterfly jars that we saw on the second floor. Each symbol represents one butterfly. To solve this puzzle, we should tap on the symbols whose position matches the position of the jars with the moving butterflies. So, we had
First row = third jar
Second row = second jar
Third row = first, third, and fourth jars
Fourth row = second jar
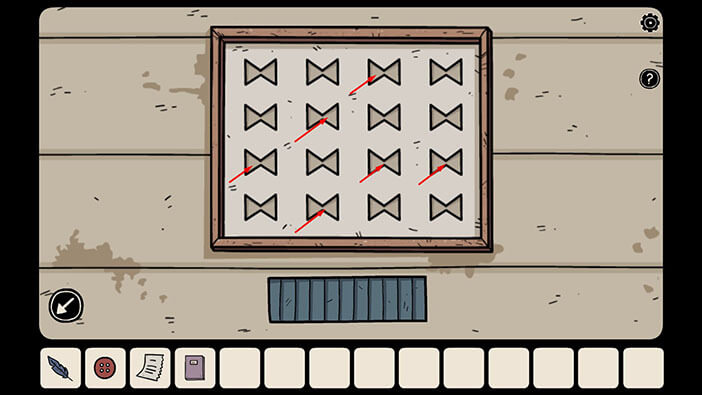
As soon as you tap on the correct symbols, the compartment below the board will open. Tap on the item inside the compartment to pick it up and “Eraser” will be added to your inventory.
Once you’re done, tap on the arrow in the lower left corner to go back.
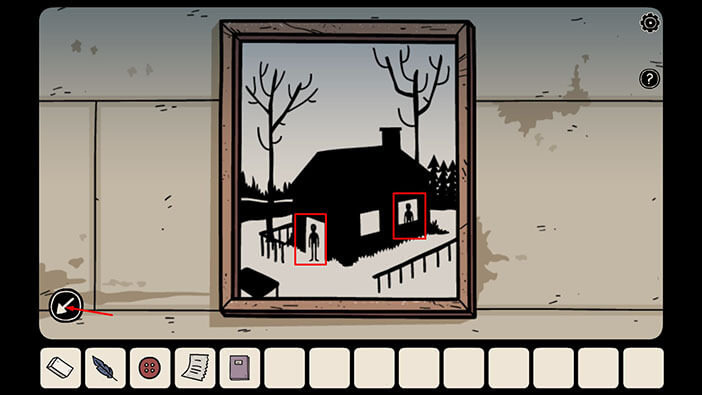
Ok, that’s done, so let’s go back to the puzzle that involves the pictures on the walls. Tap on the picture on the left to take a closer look at it.
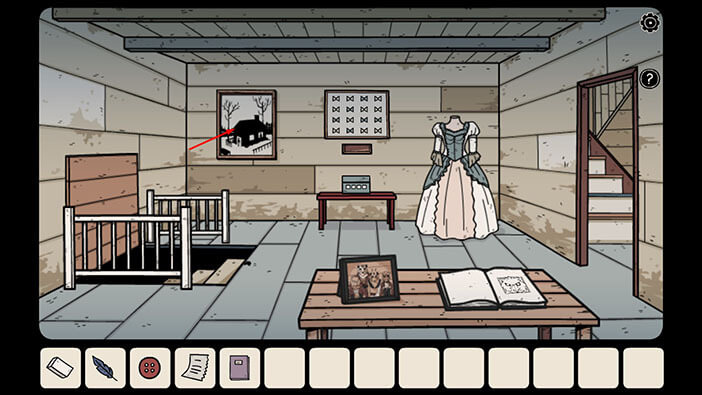
Let’s memorize/write down the important information.
The location = Cabin
The number of shadows = 2
Once you’re done, tap on the arrow in the lower left corner to go back.
Next, tap on the stairs to go down into the basement.
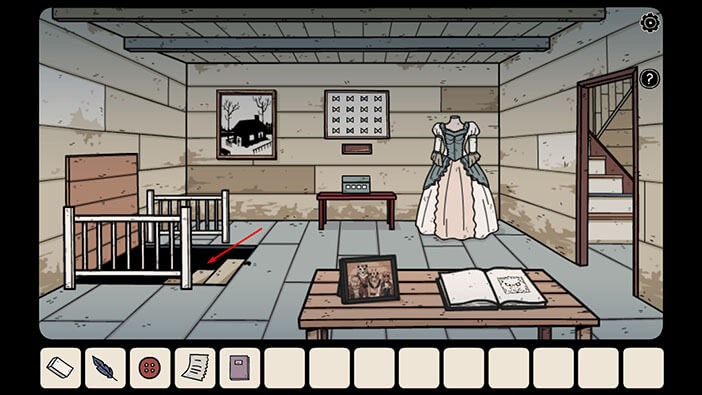
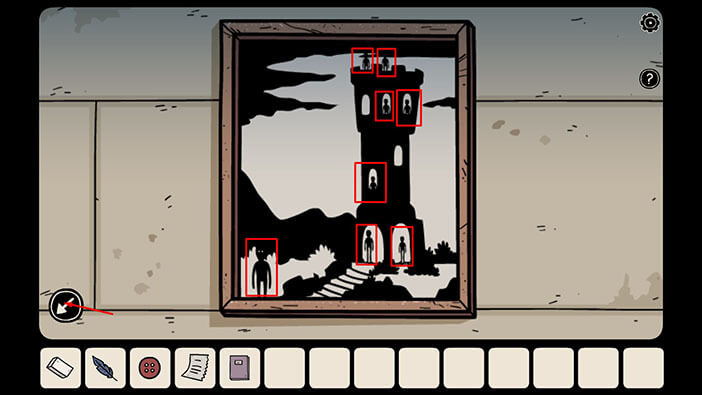
Let’s take a closer look at the last picture.

Let’s memorize/write down the important information.
The location = Tower
The number of shadows = 8
Once you’re done, tap on the arrow in the lower left corner to go back.
Ok, let’s go back to the first floor.
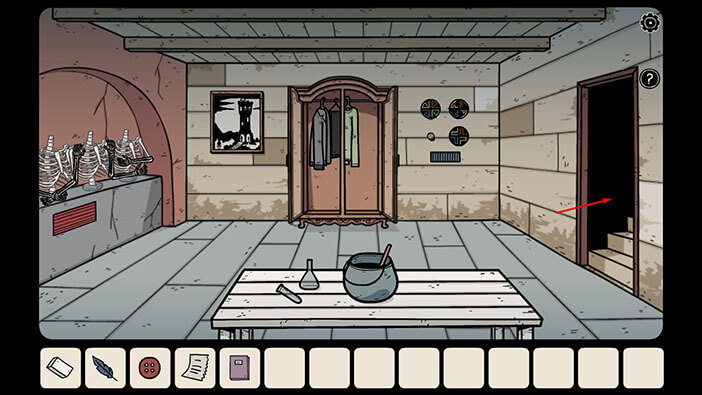
Once we crack the puzzle which involves the pictures, we will discover a combination of four symbols, and we will use this combination to open the box which is located on the table in this room. However, in order to crack that puzzle, we still have to discover the chronological order of pictures, and we can obtain this information on the second floor. So, let’s go there. Tap on the door on the right to proceed into the next room.

Tap on the stairs to go to the second floor.
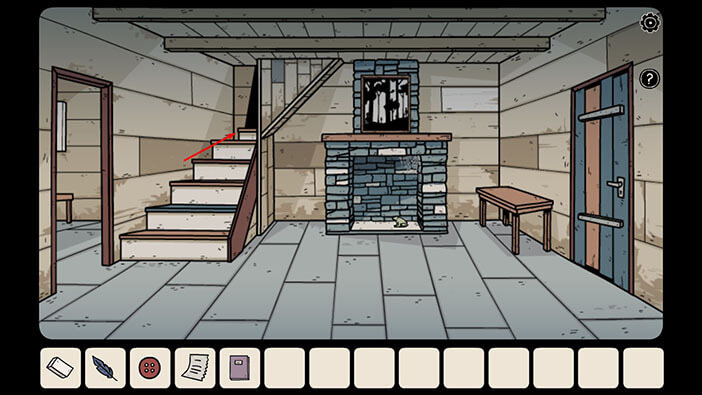
Tap on the first door on the left to proceed into the next room.

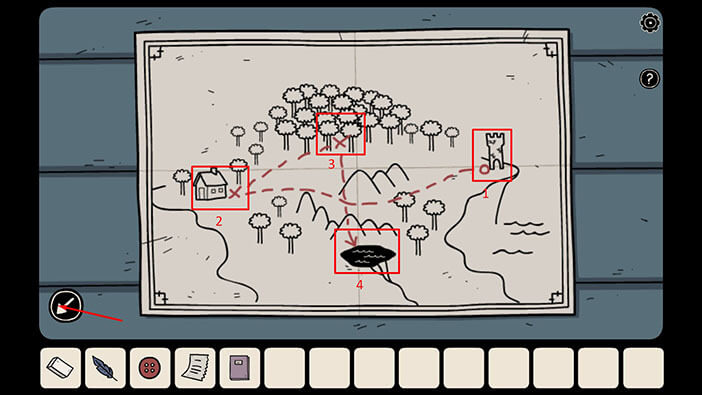
Tap on the map to take a closer look at it.
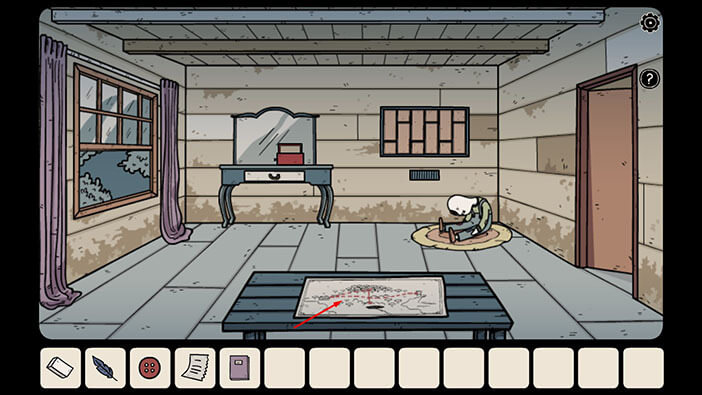
Ok, on this map we can see four locations that we also saw in the pictures, a cabin, a forest, a lake, and a tower. However, we will have to examine the path which connects these locations, to determine their chronological order. The “O” symbol represents the starting location and we can see this symbol next to the tower. So,
First location = Tower, 8 shadows
The trail from the tower leads to the cabin. So,
Second location = Cabin, 2 shadows
The trail continues from the cabin and leads into the forest. So,
Third location = Forest, 5 shadows
The trail continues from the forest and ends in a lake. So,
Fourth location = Lake, 3 shadows
Memorize/write down this information because we will need it to solve the next puzzle. This is definitely the most complex puzzle, so far.
Once you’re done tap on the arrow in the lower left corner to go back.
NOTE: The trail will change with each playthrough, and with it, the chronological order of the locations will also change.
Ok, let’s go back to the first floor. Tap on the door on the right to go back to the hallway.
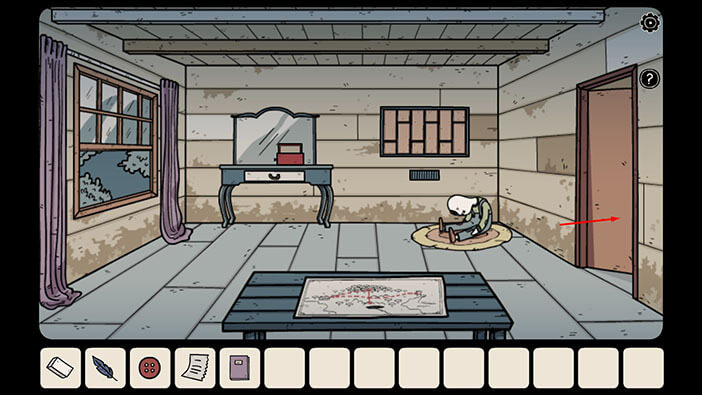
Tap on the stairs to go back to the first floor.

Tap on the door on the left to proceed into the next room.

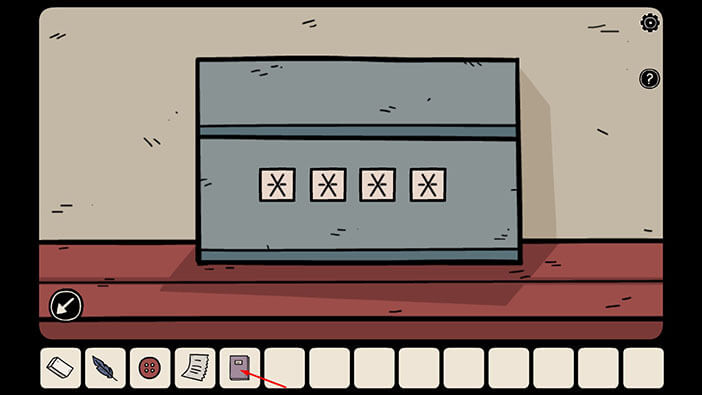
Tap on the box on the table to start the interaction.

Ok, we will need a combination of four symbols in order to open this box, and we will find these symbols by solving the mystery behind the pictures.
Tap on the “Book with hints” in your inventory to examine it.
Tap on the arrow in the lower-left corner of the book to open it, then flip the pages until you reach the last page.
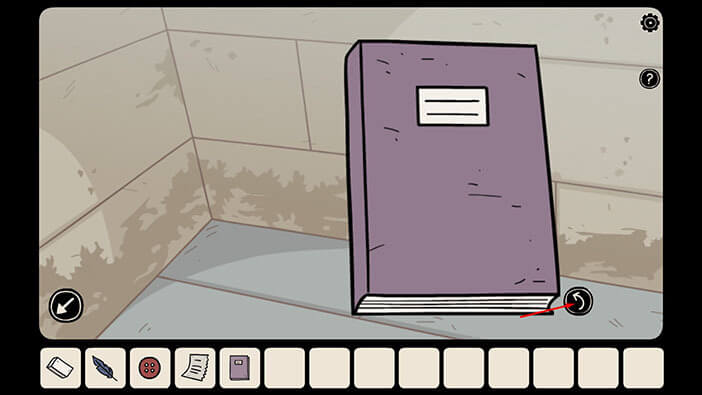
Here, we can see a shadow at the top. Below it we can see numbers 1-9, and each number has a symbol that is associated with it. If we know the number of shadows on a picture, we can find a symbol that is associated with that number by looking at this book. We already discovered the chronological order of the pictures, so let’s finally solve this puzzle. Memorize/write down the symbols that are associated with the pictures.
First location = Tower, 8 shadows
So, the first symbol = number 8
Second location = Cabin, 2 shadows
So, the second symbol = number 2
Third location = Forest, 5 shadows
So, the third symbol = number 5
Fourth location = Lake, 3 shadows
So, the fourth symbol = number 3
Once you’re done, tap on the arrow in the lower left corner to put down the “Book with hints”.
NOTE: This is one of the randomized puzzles and the solution will change with each playthrough. If you are stuck, follow the steps which we described in this walkthrough and you will be able to solve this puzzle.
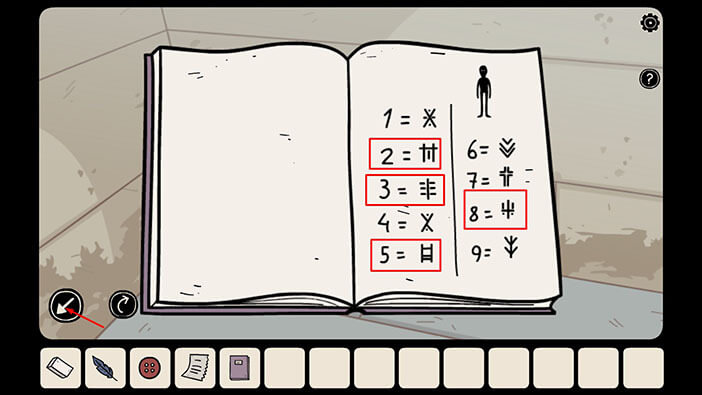
Enter the correct symbols which we just discovered, and you will open the box.
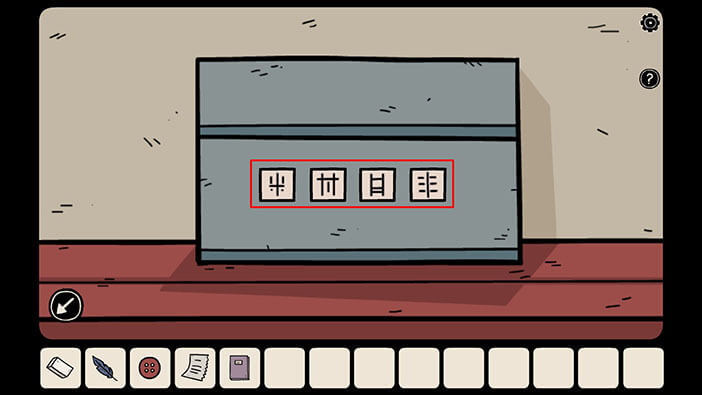
Tap on the item in the box to pick it up and the “Porcelain ballerina” will be added to your inventory.
After that, tap on the arrow in the lower left corner to go back.
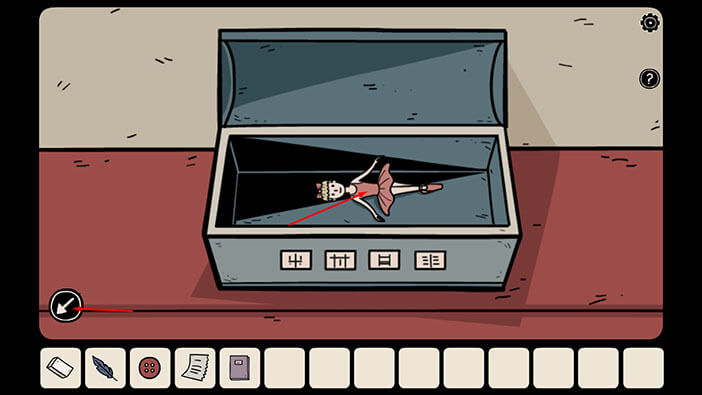
Ok, we should now head back, upstairs, to the second room on the left. So, tap on the door on the right to go to the first room.
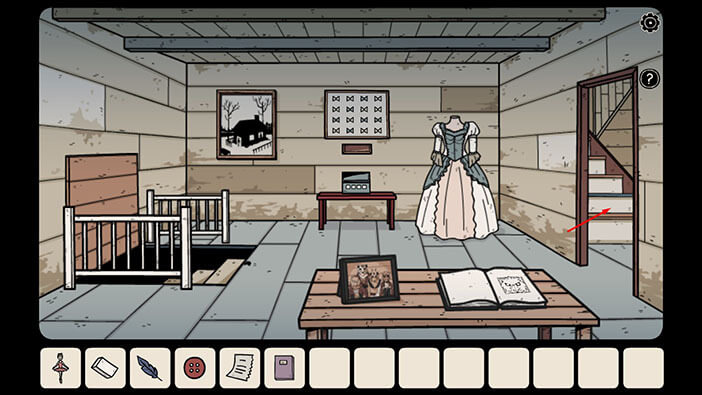
Next, tap on the stairs to go to the second floor.
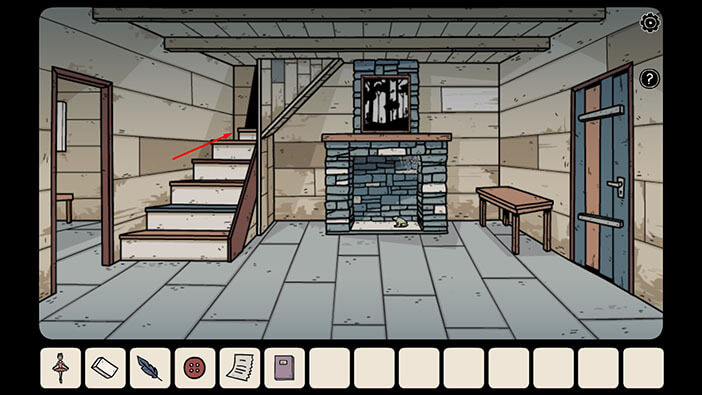
Tap on the second door on the left to proceed into the next room.
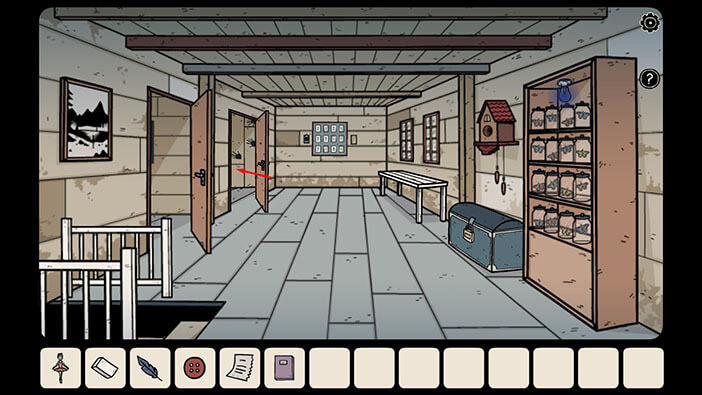
Tap on the drawing on the left to take a closer look at it.
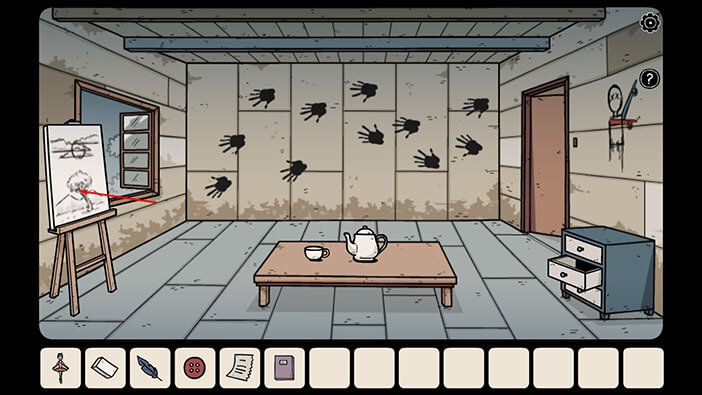
Select the “Eraser” from the inventory and tap on the cloud on the upper left side.
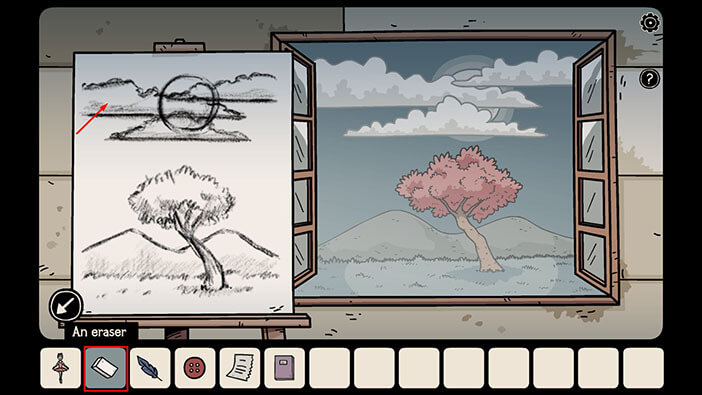
As we erased the cloud from the drawing, the cloud outside also disappeared.
Select the “Eraser” from the inventory and tap on the cloud on the upper right side.
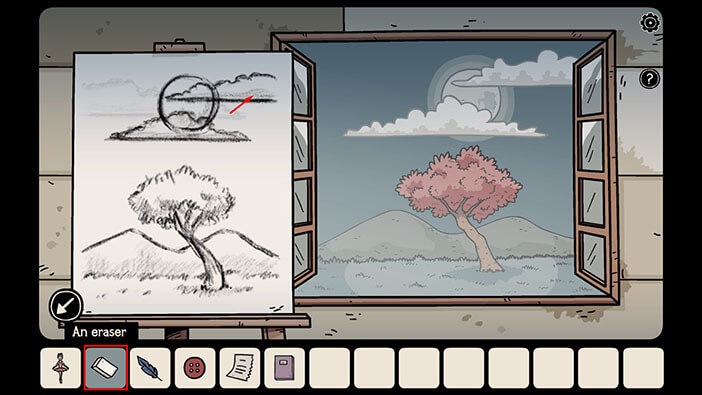
This cloud also disappeared. Lastly, with the “Eraser” selected, tap on the third cloud to delete it.
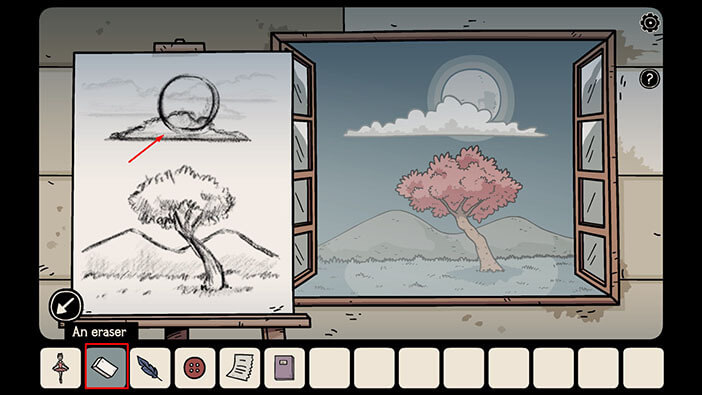
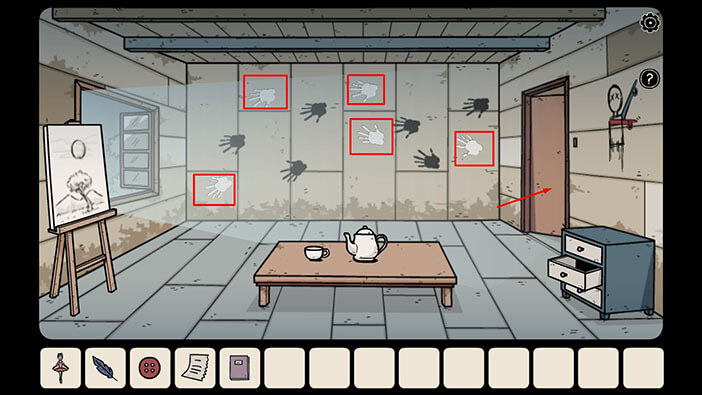
When you delete the last cloud, the sun will shine through the window and some of the handprints will turn white.
Ok, if you take a closer look at the wall, you will notice that it is divided into 6 columns. Each column contains a rectangle and a square – this layout matches the layout of the board which is located in the first room on the left. Our next task is to memorize/write down the positions of the white handprints. So, let’s do that. We will look at the columns from right to left.
First column = white handprint on the rectangle
Second column = no white handprints
Third column = white handprints on both the rectangle and the square
Fourth column = no white handprints
Fifth column = white handprint on the square
Sixth column = white handprint on the square
Once you’re done, tap on the door on the right to go back to the hallway.
Tap on the door on the left to proceed into the next room.

Tap on the board on the right to take a closer look at it.
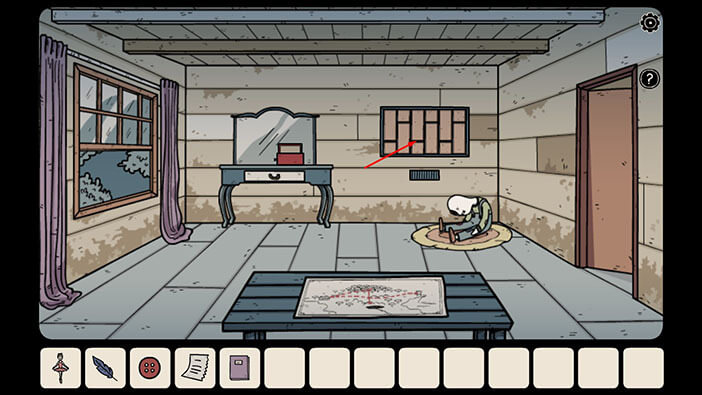
You will notice that the layout of the elements on the board matches the layout of the wall in the previous room. So, let’s tap on the elements with a white handprint. Looking from right to left we had,
First column = white handprint on the rectangle
Second column = no white handprints
Third column = white handprints on both the rectangle and the square
Fourth column = no white handprints
Fifth column = white handprint on the square
Sixth column = white handprint on the square
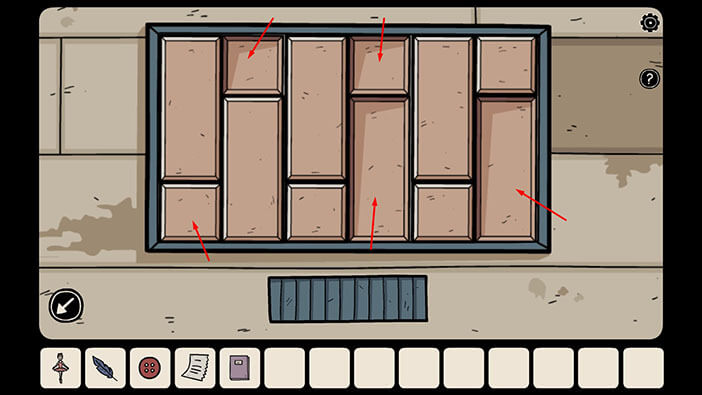
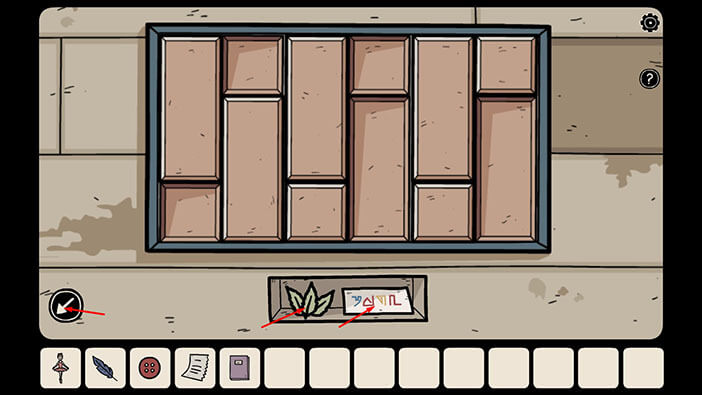
As soon as you press on the correct elements, the door on the small compartment will open. Tap on the items inside to pick them up. “Tea leaves” and the “Note with symbols” will be added to your inventory.
After that, tap on the arrow in the lower left corner to go back.
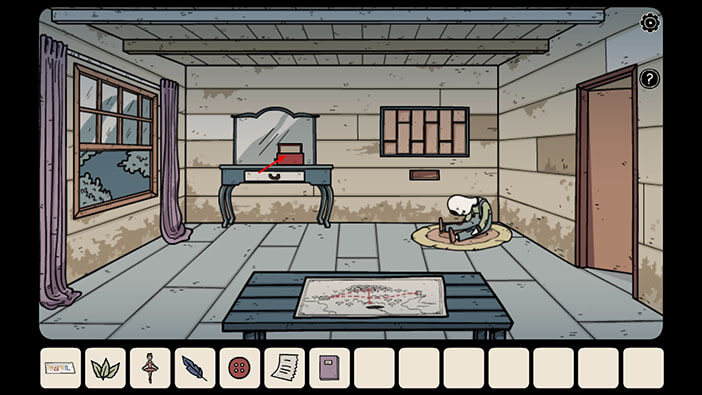
Next, tap on the red box, below the mirror, to take a closer look at it.
We previously opened this box but had no use for it, because one of the parts was missing. Select the “Porcelain ballerina” from the inventory and insert it into the empty slot.
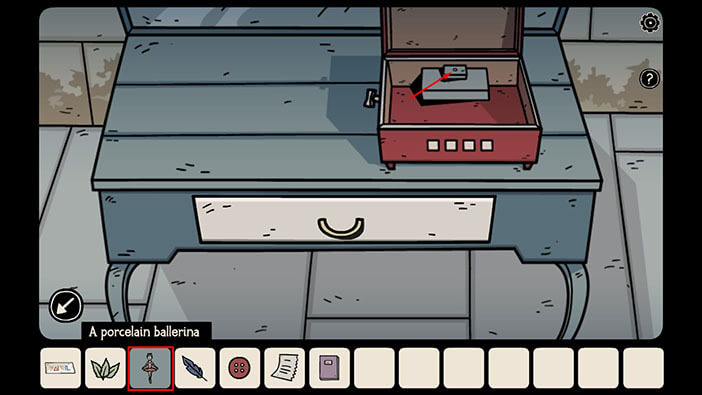
After that, tap twice on the small key on the left side of the box to take a closer look, and wind it up. The music box will start playing.
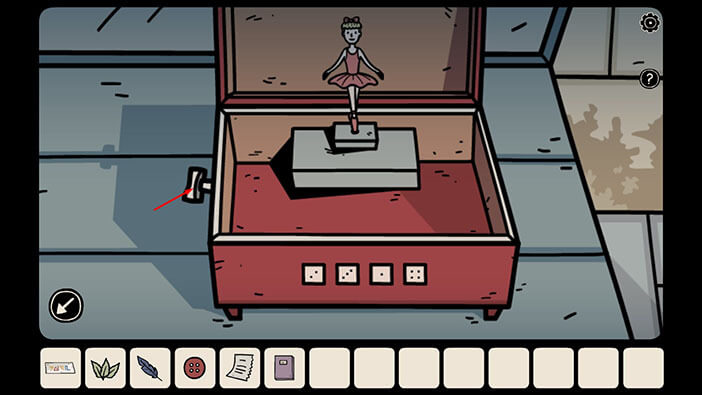
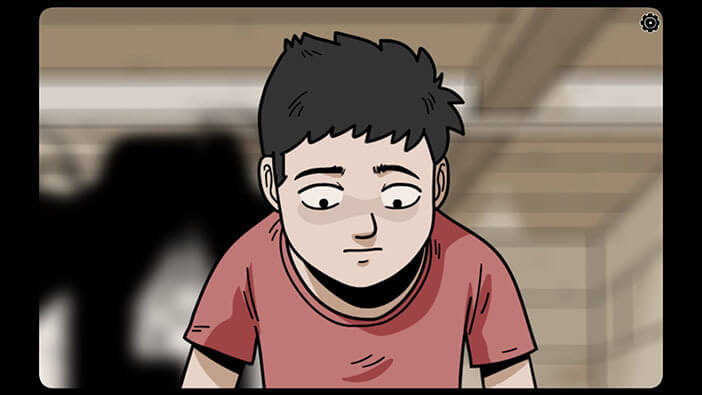
A creepy girl will rise up from the floor, and it will stand behind the young Bastian. However, as the song came to an end, the creepy girl sank back into the floor and left her necklace behind.
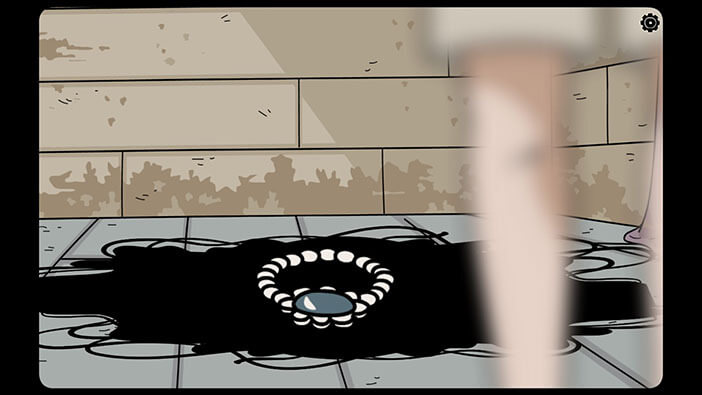
Tap on the “Necklace” to pick it up. After that, tap on the door on the right to go back to the hallway.
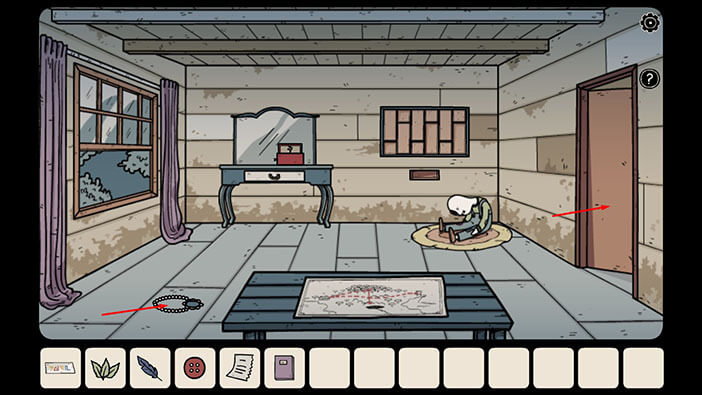
Tap on the second door on the left to proceed into the next room.

Select the “Tea leaves” from the inventory and put them in the teapot.
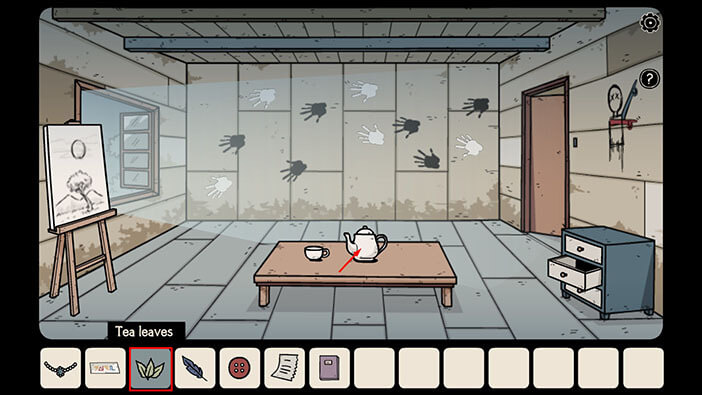
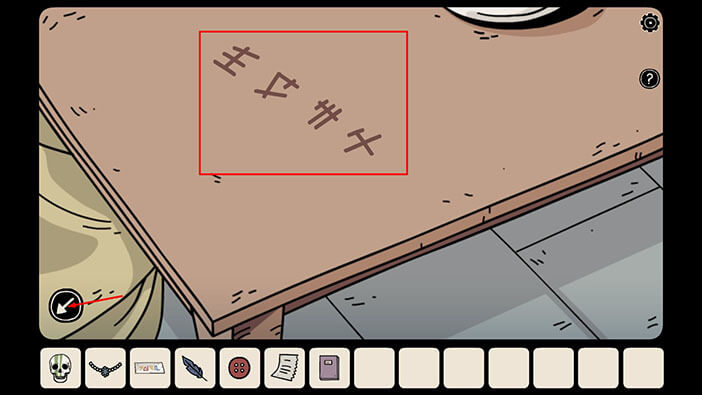
As soon as you make the tea, the skeleton will appear and it will pour itself a cup of tea. After that, it will soak one of its fingers into the tea and use it to write something on the table.
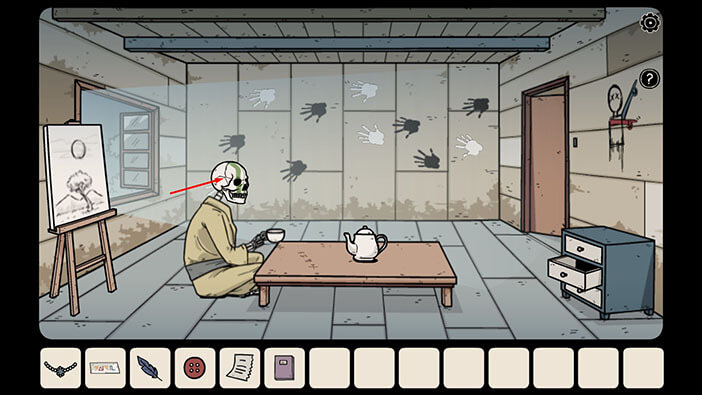
Tap on the skeleton’s skull to pick it up and the “Skull with green markings” will be added to your inventory.
Next, let’s take a closer look at the table.
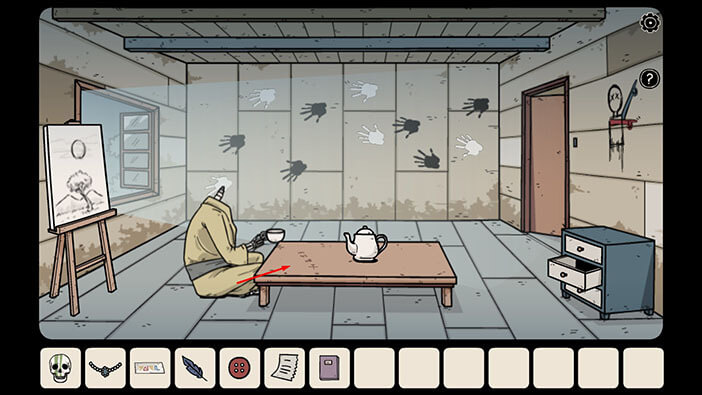
We can see that the skeleton wrote down four symbols. Memorize/write down these symbols because they represent the solution for the next puzzle.
After that, tap on the arrow in the lower left corner to go back.
Next, tap on the door on the right to go back to the hallway.

Tap on the chest on the right to take a closer look at it.
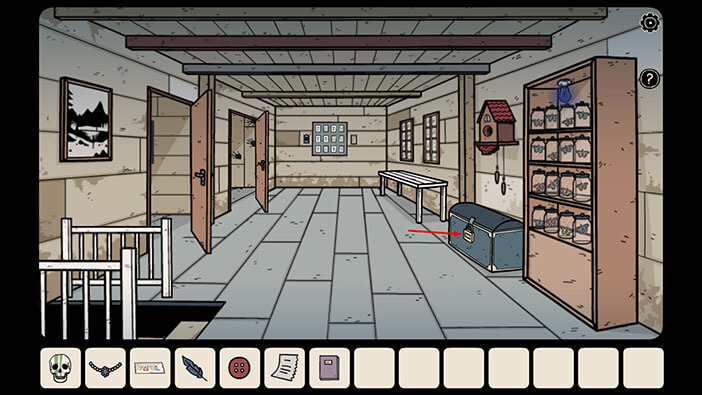
Enter the symbols which the skeleton drew on the table. As soon as you enter the correct combination of symbols, the chest will open. Tap on it to take a look inside.
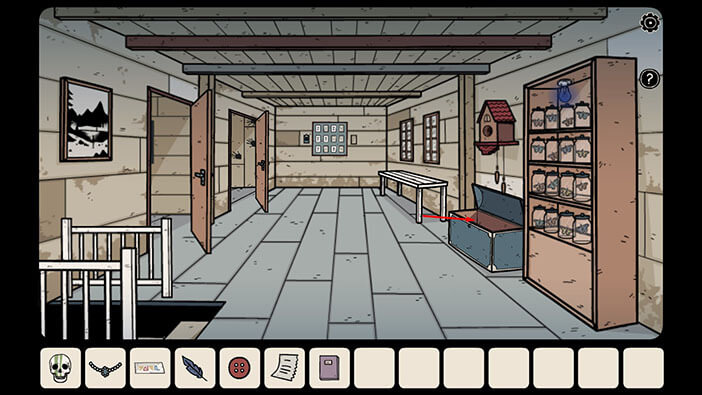
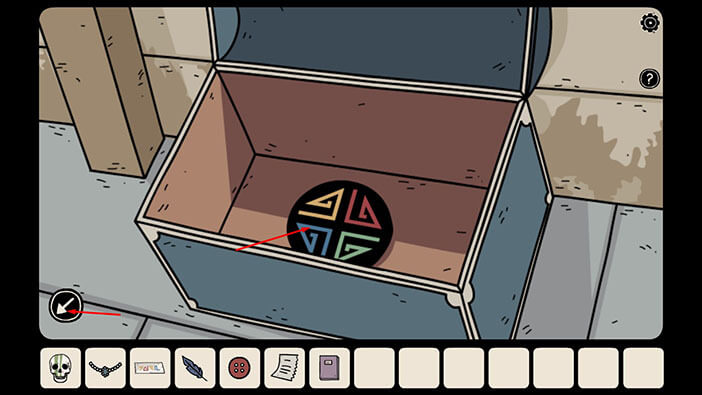
Tap on the disk to pick it up and a “Wheel with colorful symbols” will be added to your inventory.
After that tap on the arrow in the lower left corner to go back.
Ok, we are done with the second floor. Tap on the stairs to go back to the first floor.
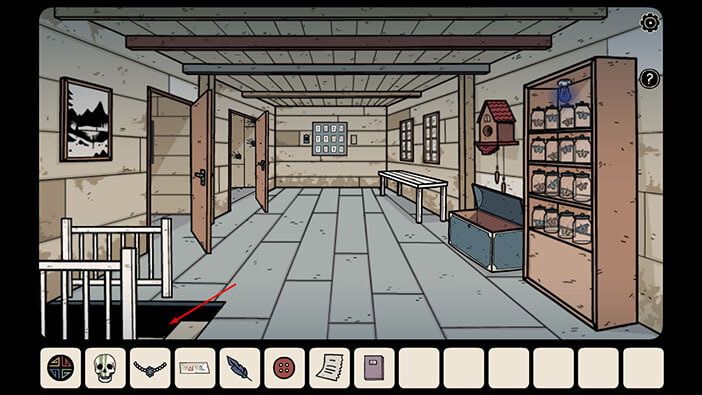
Tap on the door on the left to proceed into the next room.
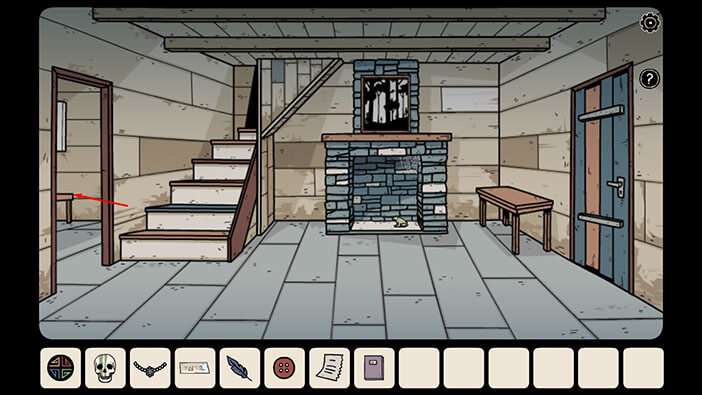
Tap on the mannequin to take a closer look at it.

Select the “Necklace” from the inventory and put it around the mannequin’s neck.
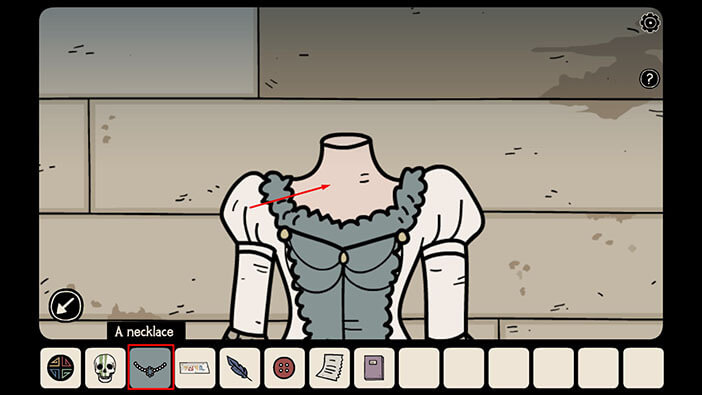
When you put the necklace around the mannequin’s neck, another skull will materialize. Tap on the skull to pick it up and “Skull with red markings” will be added to your inventory.
After that, tap on the arrow in the lower left corner to go back.
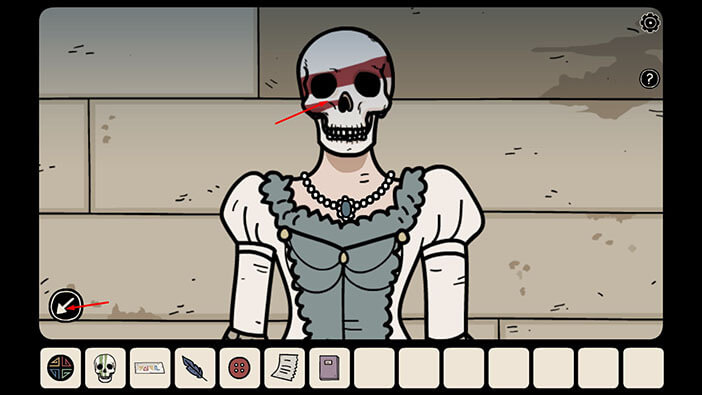
Tap on the stairs on the left to go to the basement.
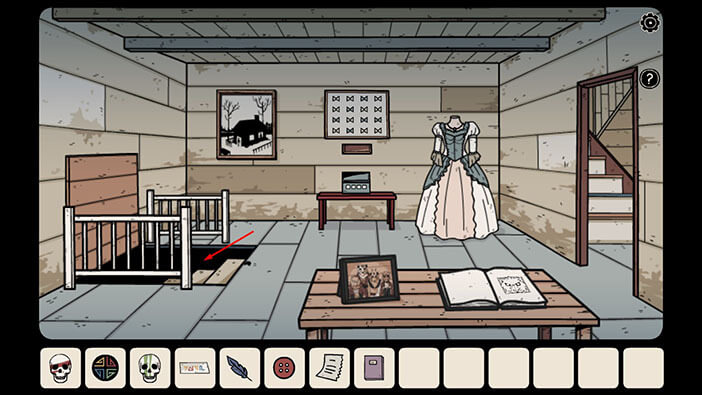
Tap on the three disks on the right to take a closer look at them.
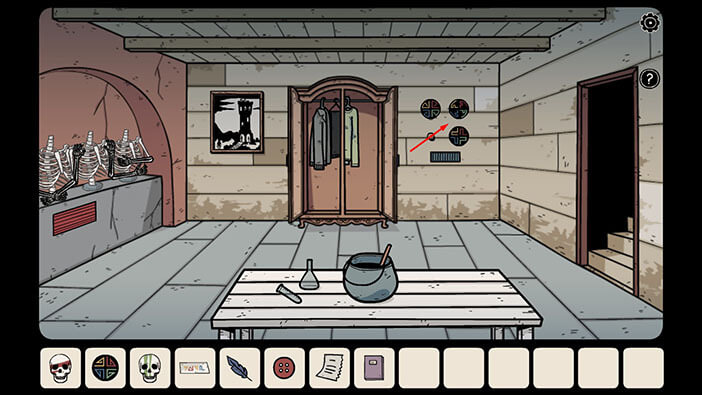
You will notice that one of the disks is missing. So, select the “Wheel with colorful symbols” and attach it to the empty slot.
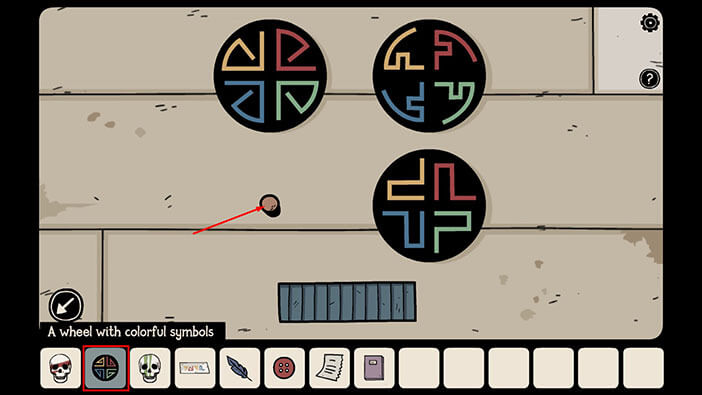
Next, let’s take a look at the “Note with a hint” in our inventory.
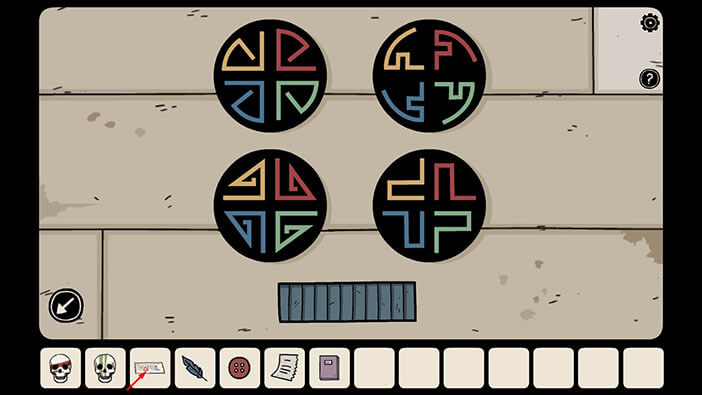
Here, we can see four symbols. Memorize/write down the color of each symbol, because we will need this information to solve this puzzle.
Once you’re done, tap on the arrow in the lower left corner to go back.
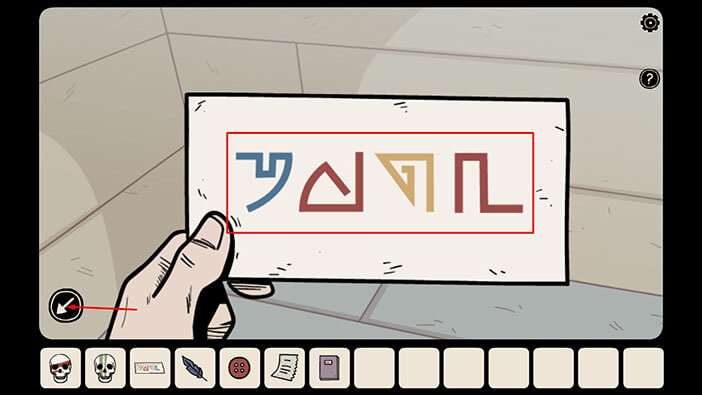
Ok, next, tap on the wheels to rotate them. The goal is to rotate the symbols on the wheels until they match the symbols on the note. The red symbol in the lower right corner is already set, so we just have to rotate the other three wheels.
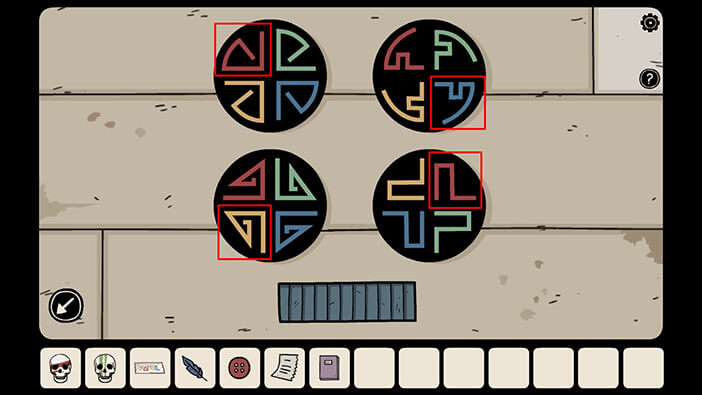
As soon as you correctly set the disks, the small compartment will open. Tap on the item inside the compartment to pick it up and “Harpy’s talon” will be added to your inventory.
After that, tap on the arrow in the lower left corner to go back.
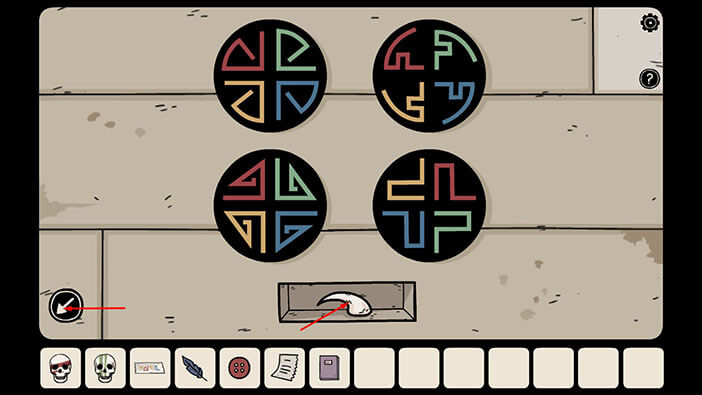
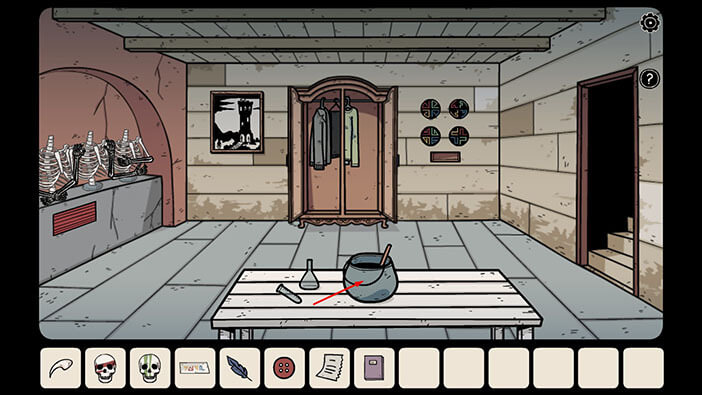
Tap on the cauldron which is located on the table, to take a closer look.
Ok, now let’s examine the other “Note with the hint” which we picked up some time ago.
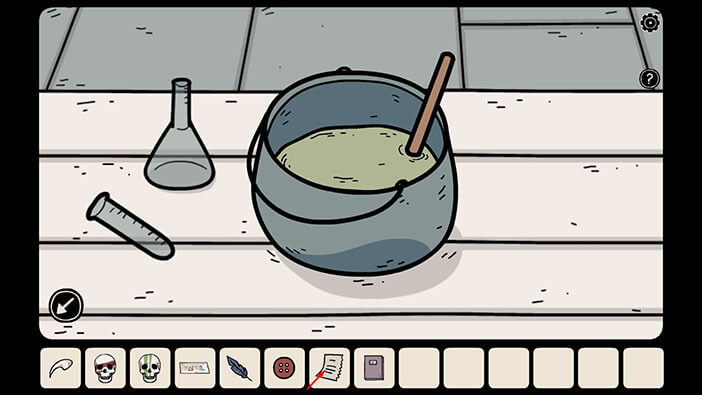
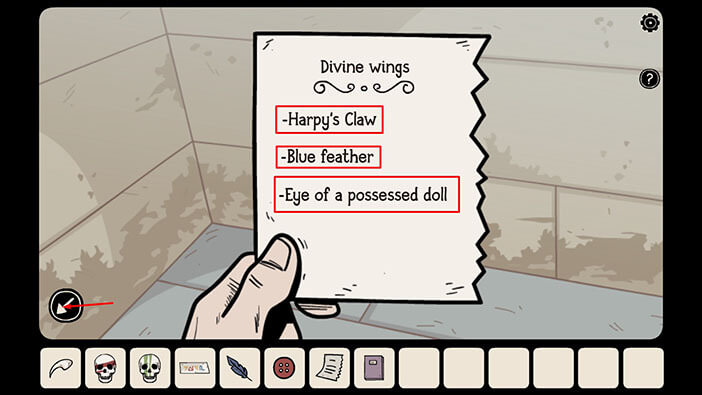
Here, we can see a recipe for the “Divine wings” and it requires,
Harpy’s claw,
Blue feathers,
Eye of a possessed doll
We already have these items, so let’s follow the recipe.
Tap on the arrow in the lower left corner to put down the note.
Select the “Harpy’s talon”, “Blue feather”, and “Large button” from the inventory and put these items into the cauldron.
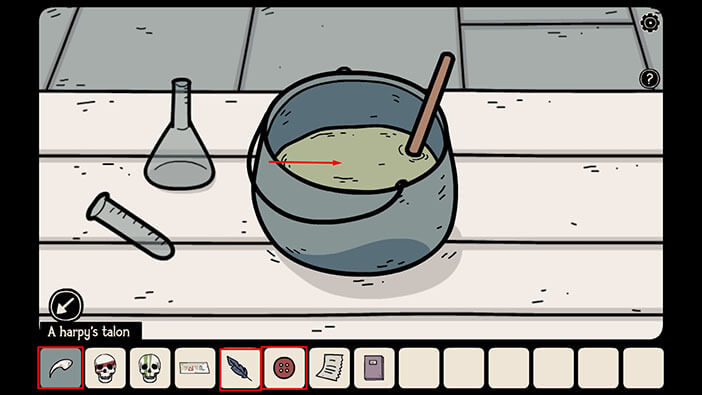
Next, tap on the flask on the left to pick it up and the “Empty chemistry flask” will be added to your inventory.
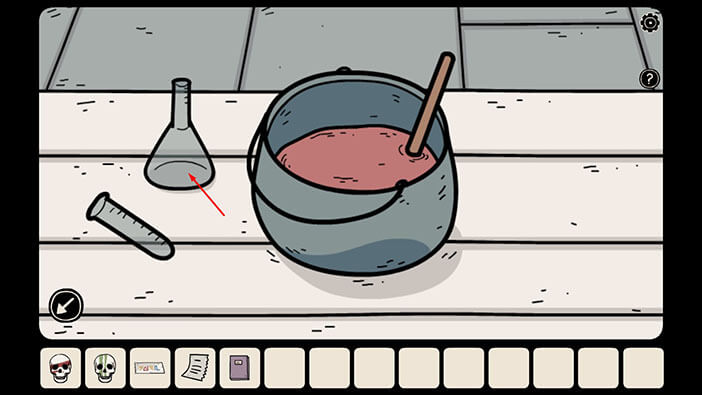
Ok, let’s fill the flask with the “Divine wings” potion. Select the “Empty chemistry flask” from the inventory and tap on the potion in the cauldron. The “Flask with the magic potion” will be added to your inventory.
After that, tap on the arrow in the lower left corner to go back.
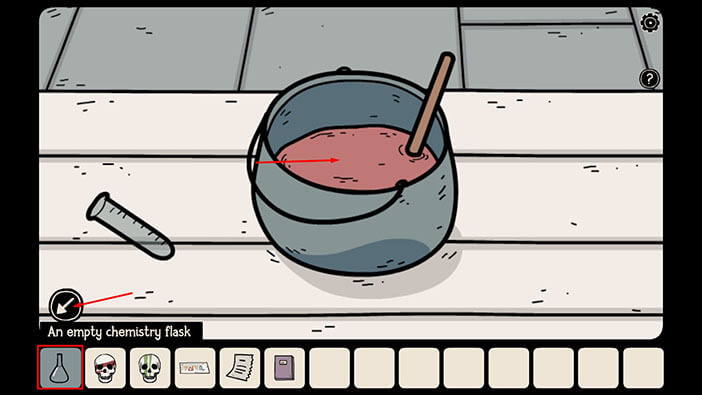
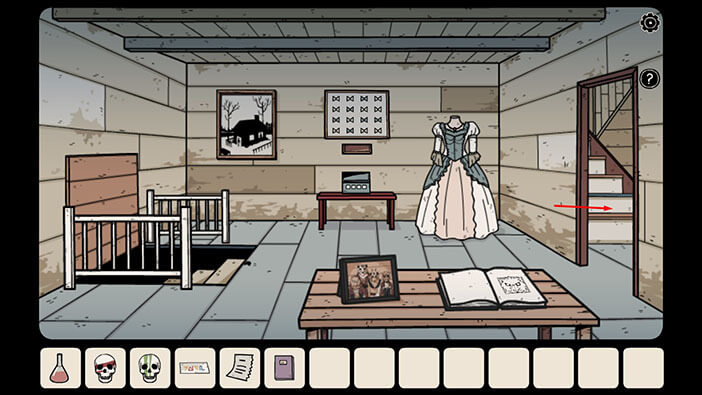
Next, we are going to use the magic potion. Tap on the stairs to go back to the first floor.
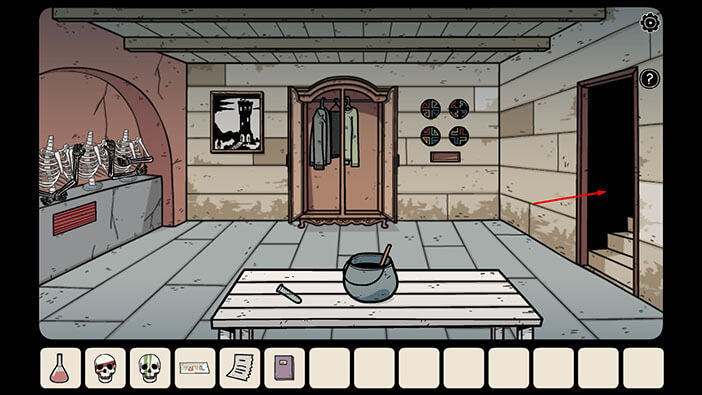
Tap on the door on the right to go back to the first room.
Tap on the fireplace to take a closer look at it.
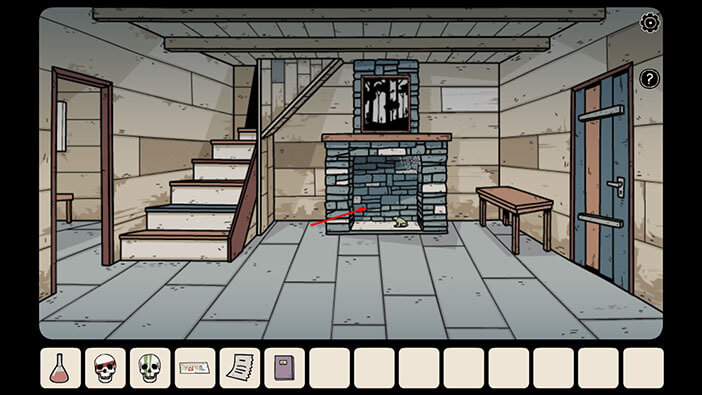
Select the “Flask with the magic potion” from the inventory and pour it onto the frog.
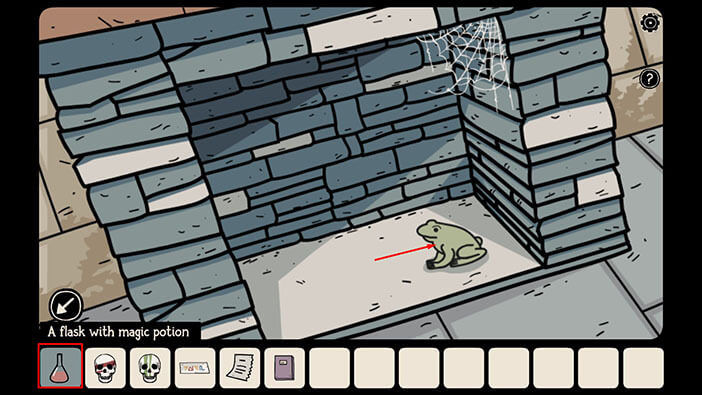
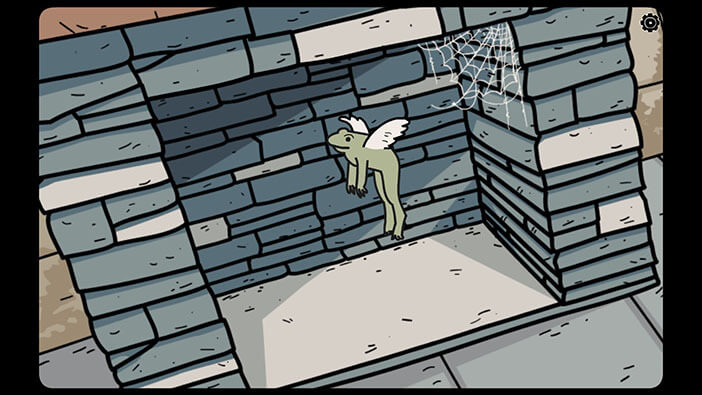
The frog will grow wings, and it will fly out through the chimney. However, on its way up, it will break the spider web which held the skull in place (previously we saw a skull at the top of the chimney) and the skull will fall down.
Tap on the skull to pick it up and “Skull with blue markings” will be added to your inventory.
After that, tap on the arrow in the lower left corner to go back.
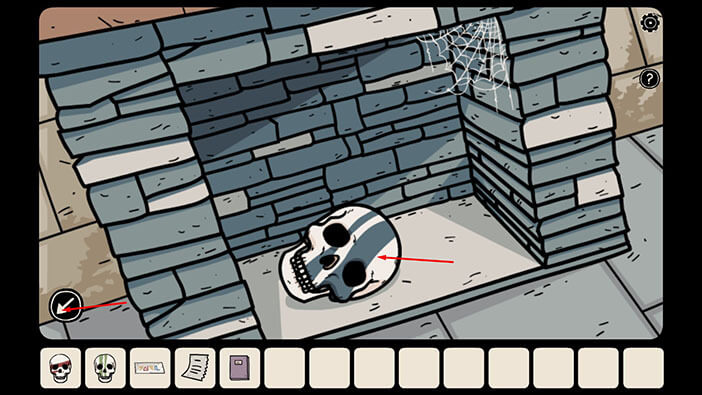
Ok, we have now collected all the skulls which are required for the next puzzle, so let’s head down to the basement.
Tap on the door on the left to go back to the previous room.
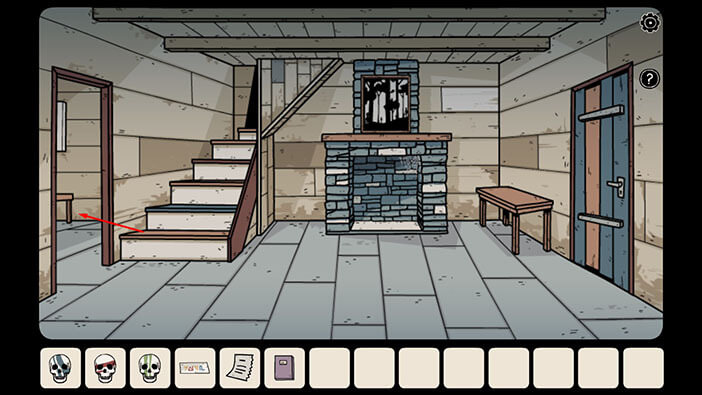
Tap on the stairs to go down to the basement.
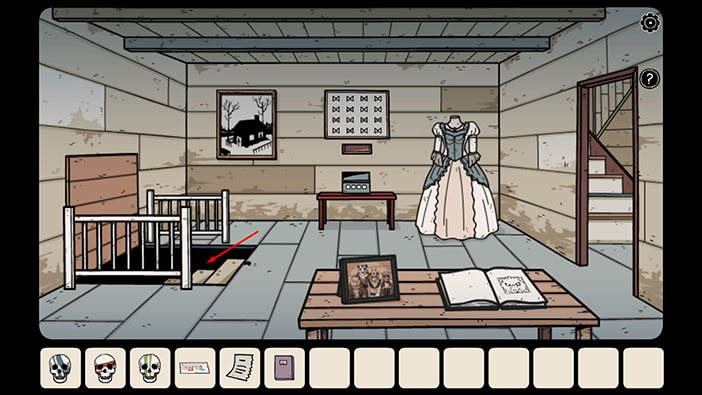
Earlier I mentioned that the skeletons on the left will become important in the later stage of the walkthrough. Well, we have now reached that point, because we now have 3 skulls in our inventory and these skulls are required for the next puzzle. So, let’s tap on the skeletons on the left to take a closer look at them.
Ok, let’s take a look at the “Notebook with hints” in our inventory.
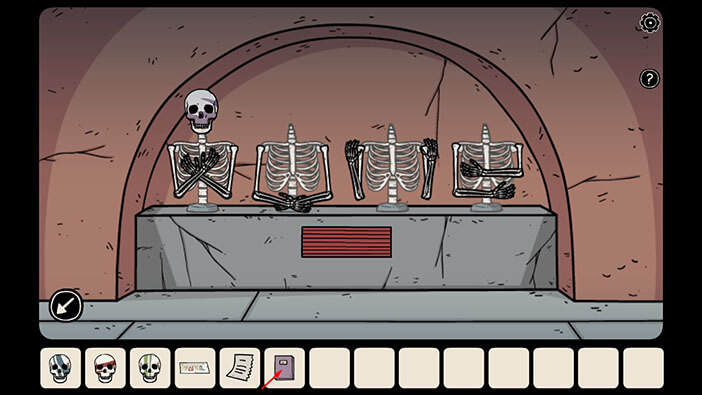
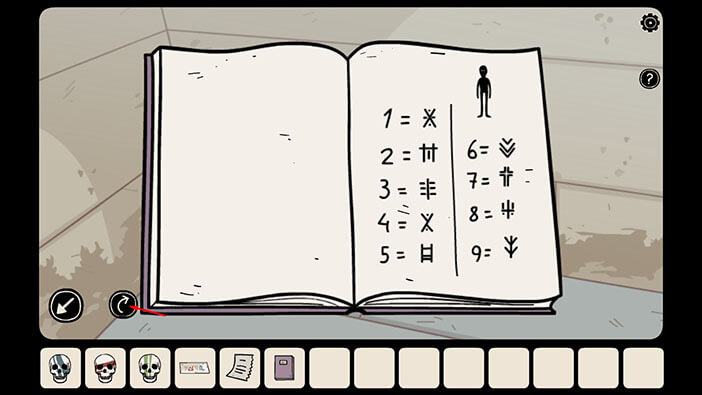
We are now at the page that shows the hint for the “shadow puzzle”, so tap once on the arrow in the lower-left corner of the book to look at the previous page.
Here, we can see four pairs of arms in different positions. Beside each pair is one of the four colors, blue, red, purple, and green. Let’s memorize/write down the color that is associated with each position.
Arms crossed at the chest level = blue
Arms crossed over the belly = red
Raised up arms (surrender pose) = purple
One arm at the belly height, the other one slightly higher = green
Once you’re done, tap on the arrow in the lower left corner to put down the notebook.
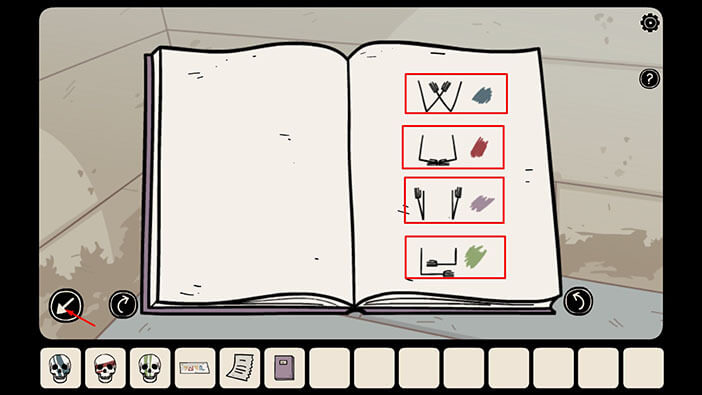
Ok, we should now arrange the skulls by color, and they should match the pattern that we saw on the hint. Let’s start.
First, tap on the “Skull with purple markings” on the skeleton on the left to select it, then tap on the skeleton with the raised arms to attach it.
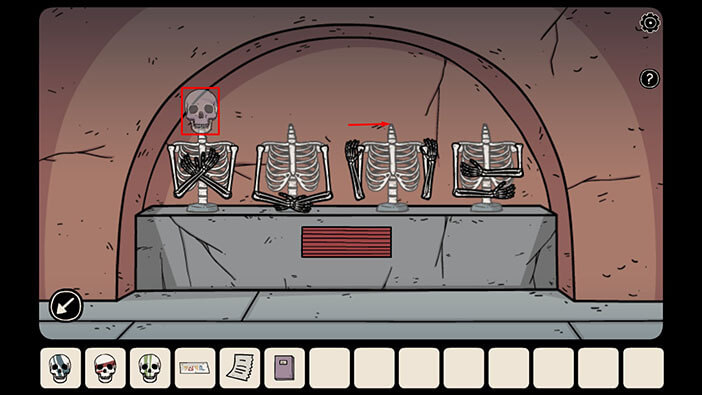
Next, select the “Skull with the blue markings” from the inventory and attach it to the skeleton with the arms crossed at the chest level.
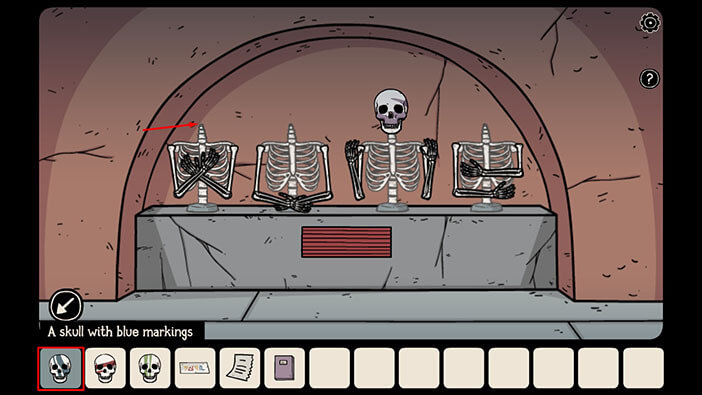
Next, select the “Skull with the red markings” from the inventory and attach it to the skeleton with the arms crossed over the belly.
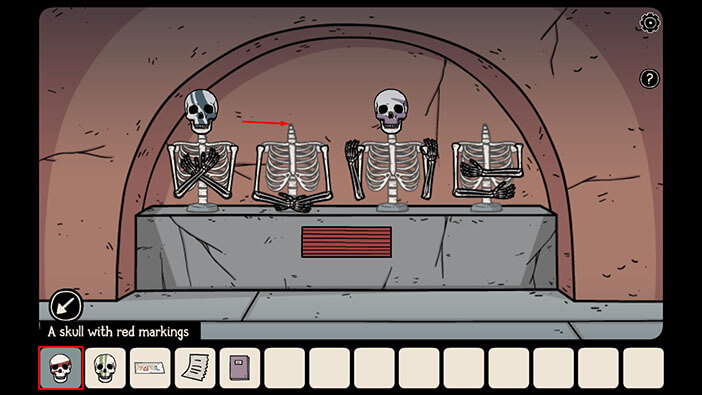
Lastly, select the “Skull with green markings” from the inventory, and attach it to the last skeleton.
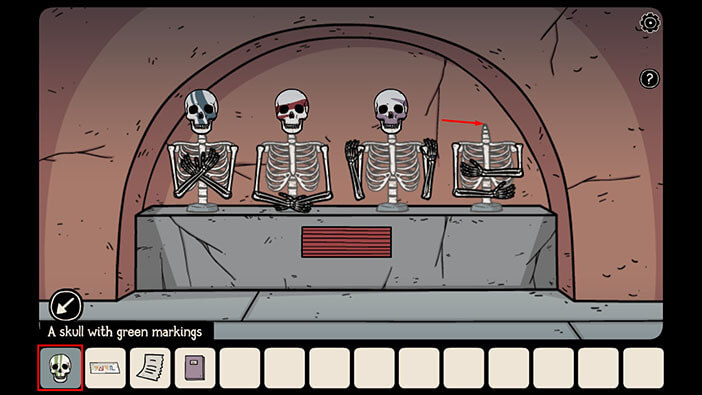
As soon as you correctly attach the skulls, the small door below the skeletons will open, revealing another puzzle. Additionally, each skeleton will point in a different direction. Let’s memorize/write down the direction in which each skeleton is pointing because that is a hint for the next puzzle. Looking from left to right, we have,
First skeleton = Up and to the right
Second skeleton = Left
Third skeleton = Down and to the right
Fourth skeleton = Up
Once you’re done, tap on the black and white squares to examine the next puzzle.
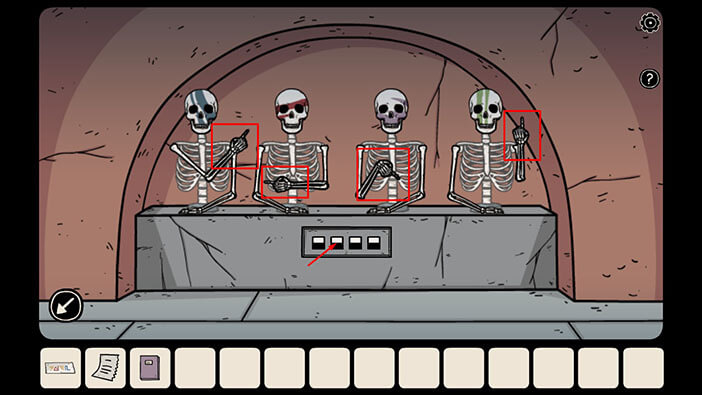
Ok, the next part of this puzzle is very simple. You can shuffle through the different black-and-white shapes by tapping on the square. The black part of the square should match the direction in which the skeleton (at that position) is pointing.
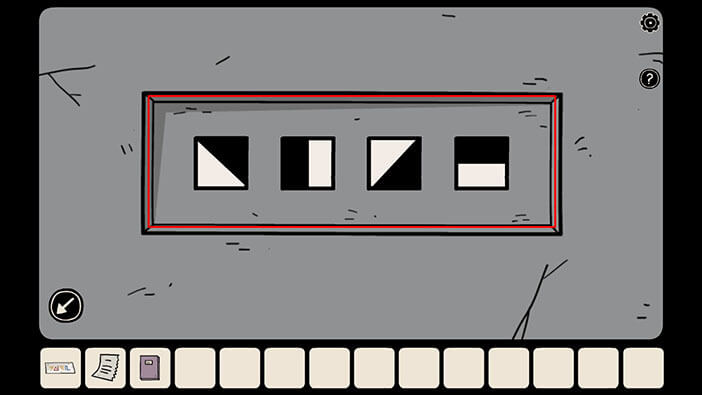
As soon as you enter the correct combination, the entire wall with skeletons will slide into the floor, revealing a hidden room.
Let’s check out this secret room.
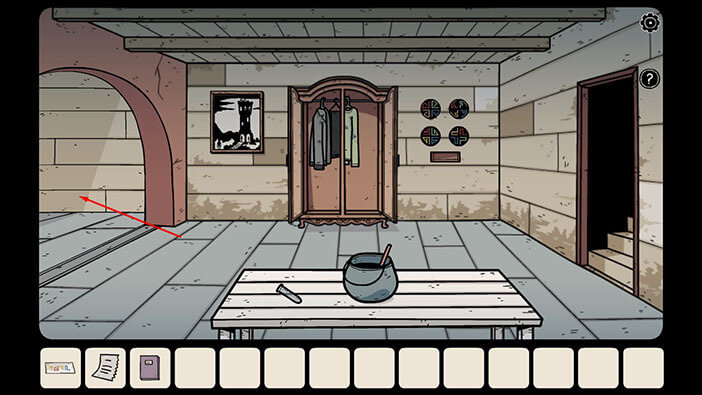
Young Bastian will peak into the room and there, he will see some kind of a demonic creature. However, the creature will immediately sense his presence, and it doesn’t seem happy about someone breaking into its secret chamber. The demon will cast a paralyzing spell, and the dark energy will drag the young Bastian toward the creature.
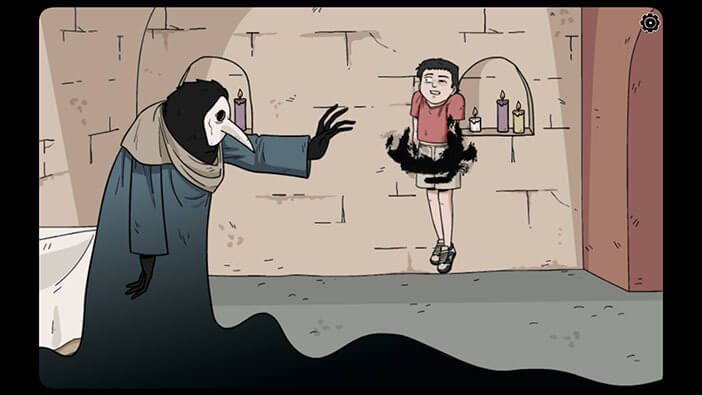
The demon cursed Bastian, but it will only activate this curse in the future. When Bastian turns 33, the demon will come from him, and from that moment on, Bastian will become his slave in the “Penumbra”, for eternity (well, that’s a very long sentence for breaking and entering).
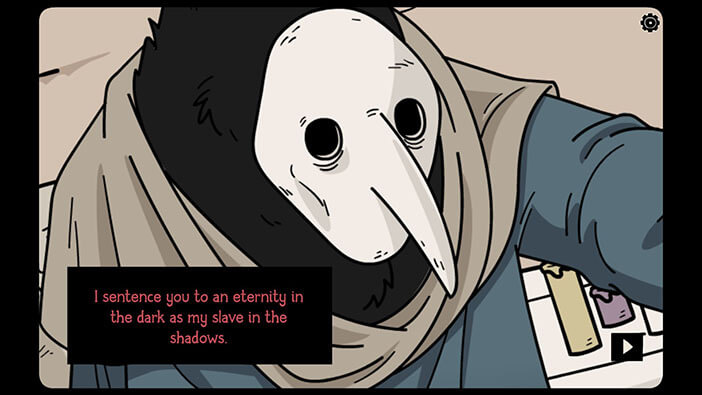
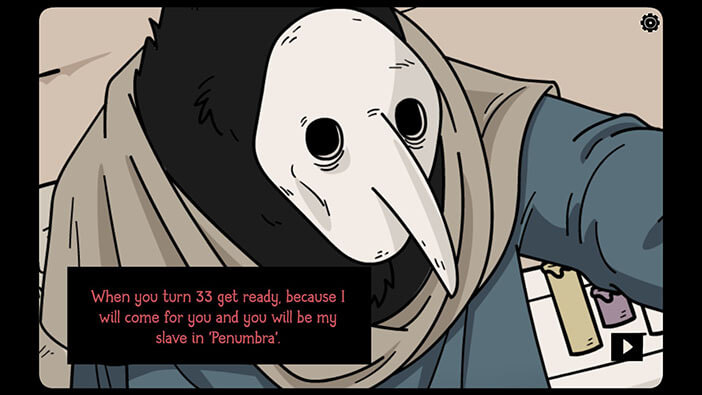
With that words, the demon released the young Bastian.
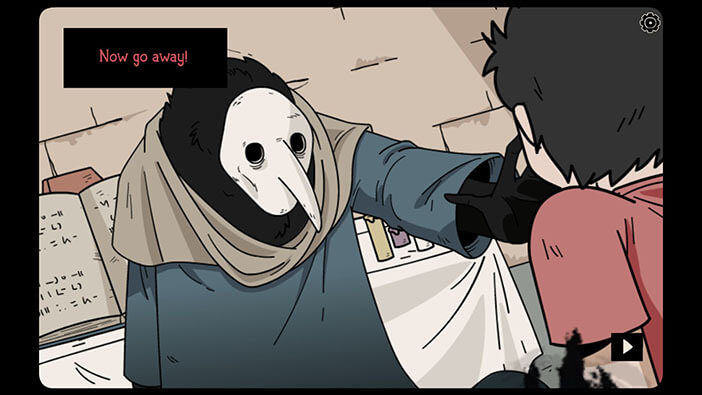
Well, with that, Carissa finished retelling the story from Bastian’s past. Bastian recently turned 33, and that’s when they started seeing shadows and experiencing other unnatural phenomena.
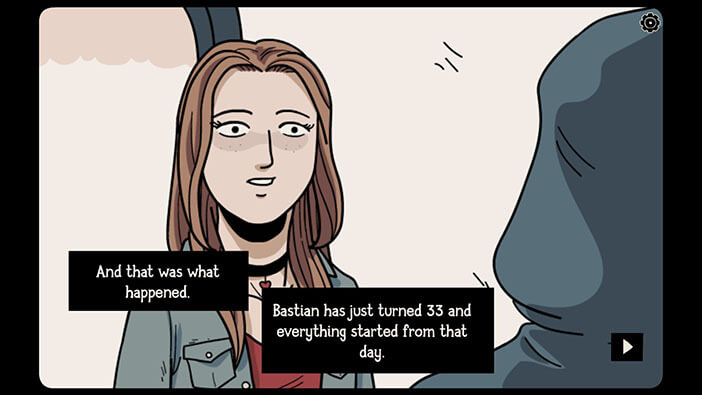
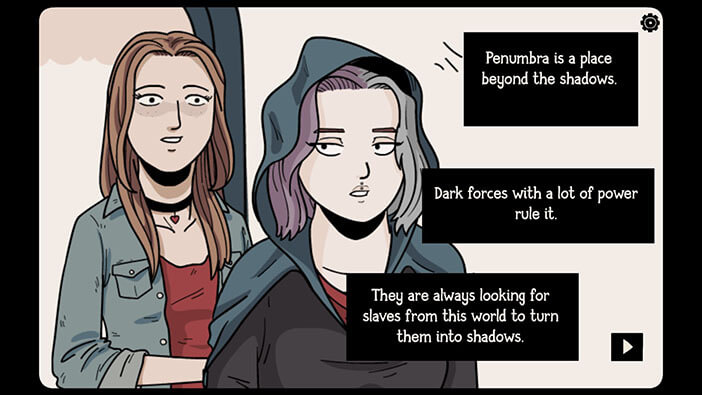
The Seer explained that Penumbra represents another dimension, ruled by the dark powers, and these powers are always looking for slaves from our dimension. When they kidnap the human being, they take it to Penumbra and turn it into one of the shadows (We saw this process in action in the fifth game of the series, “Haunted Laia”).
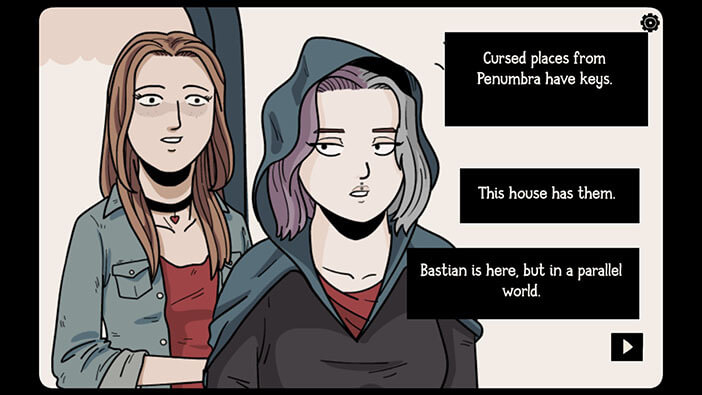
Fortunately, the Seer informed Carissa that there is still hope. The Penumbra exists in a parallel dimension and it can be accessed if they find the keys. The Seer sense that the key is present inside this house. However, both of them, Carissa and Bastian, will have to find a version of this in their dimensions, in order to open the portal and bring Bastian home.
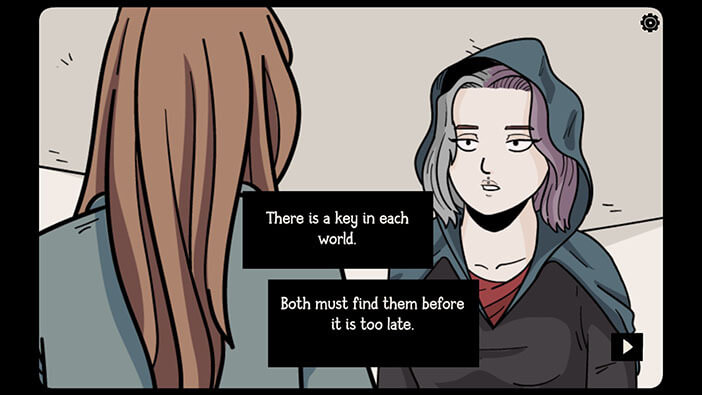
However, the time is limited. If both Carissa and Bastian do not find the keys soon, Bastian will be trapped in Penumbra forever.
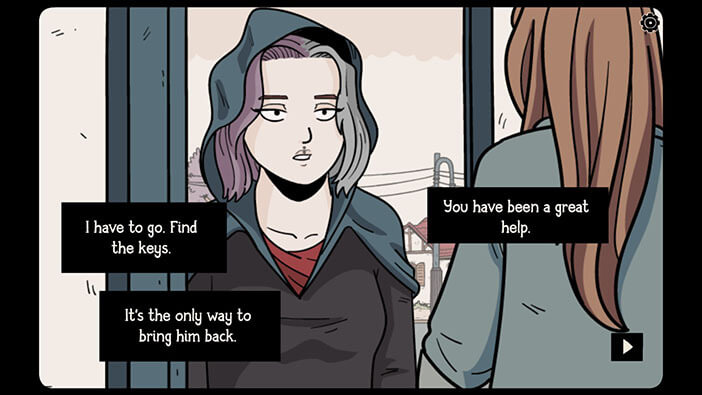
We will have to end the third part of our walkthrough here. Join us in the fourth and final part, in which we will try to find the keys to Penumbra, and bring Bastian home.
Thank you for reading.