Another Shadow | Part II
Hello everyone and welcome to Part 2 of our walkthrough for “Another Shadow” an escape room game created by the Dark Dome. Another Shadow is the sixth game in the series, and like the other games, the story is set in Hidden Town, which is filled with all kinds of mysteries. In this walkthrough, we will show you how to solve all the puzzles and finish the game.
NOTE: Some puzzles will CHANGE with each playthrough, but the logic behind solving the puzzles will always remain the SAME. For example, in one playthrough a code to open a safe could be 1234, and in another playthrough, the code could be 4321. However, you will always discover the numbers for the code at the same location and by using the same hints.
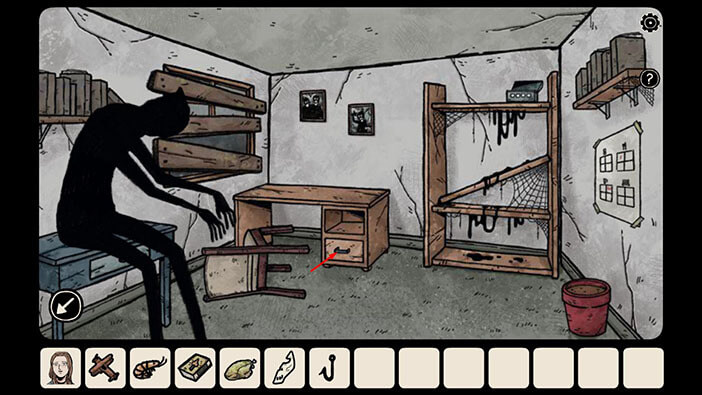
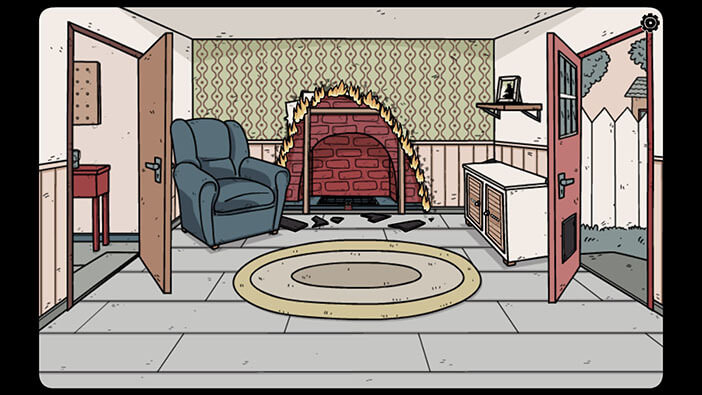
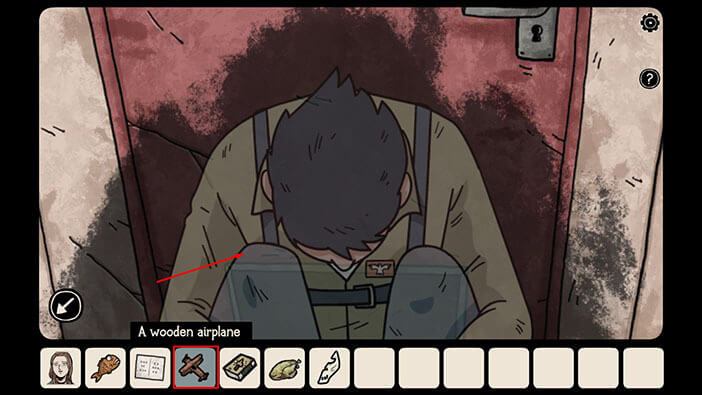
NOTE: At the end of the first part, we unlocked the mysterious box in Bastian’s dimension by discovering the four symbols on the window which formed the correct combination. Inside the box, we found a “Wooden airplane”. We will begin the second part of the walkthrough by examining the mystery of the shadowy figure which is sitting on the left side of the office.
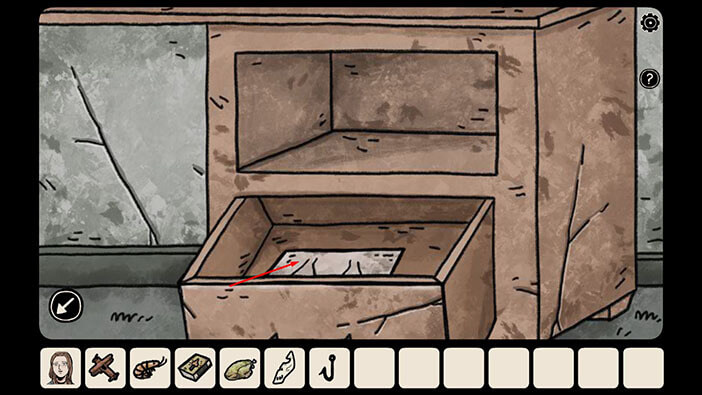
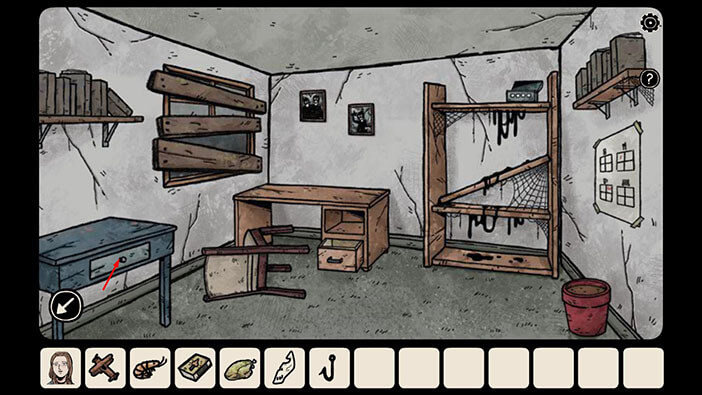
On the left, we can see a shadowy figure with outstretched arms and fingers. We will come back to it in a moment. For now, tap on the bottom right drawer on the table on the left to take a closer look at it. Tap on the drawer again to open it.
In the drawer, you will find a note. Tap on the note to examine it.
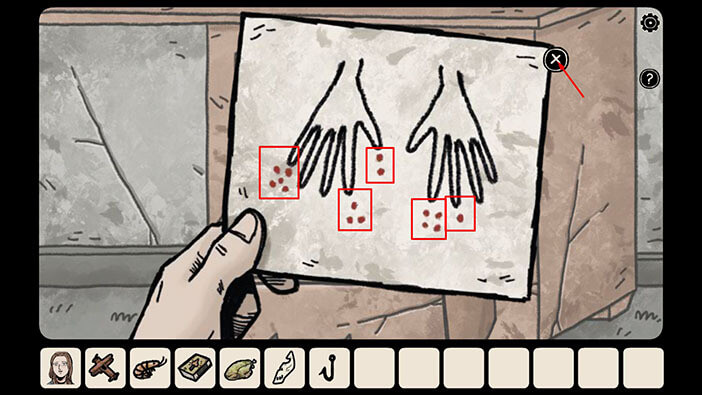
Ok, the hands and fingers on the note represent the hands and fingers of the shadowy figure. The red dots next to the fingers represent the order in which we should tap on them. Let’s memorize/write down this information.
First, we have the middle finger on the left hand (our right side), because here we have only a single red dot.
Second = a thumb on the right hand (two dots)
Third = Index finger on the right hand (three dots)
Fourth = Index finger on the left hand (four dots)
Fifth = pinky on the right hand (five dots)
Once you’re done, tap twice on the “X” sign in the upper right corner to put down the note. After that, tap on the arrow in the lower left corner to go back.
NOTE: The red dots above the fingers will change with each playthrough because this is one of the randomized puzzles.
Tap on the shadowy figure to take a closer look at it.
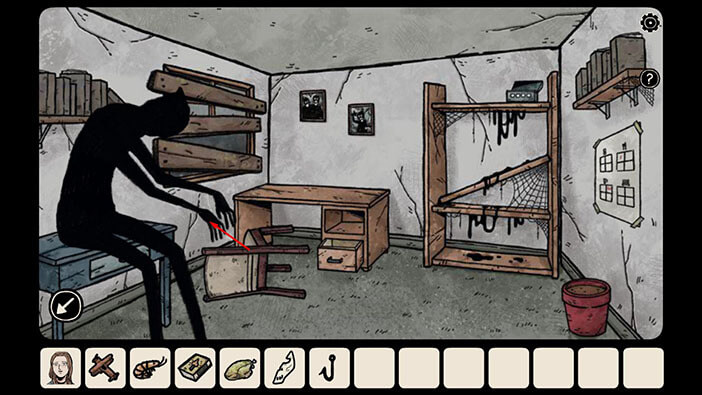
Tap on the fingers in the correct order and you will solve this puzzle.
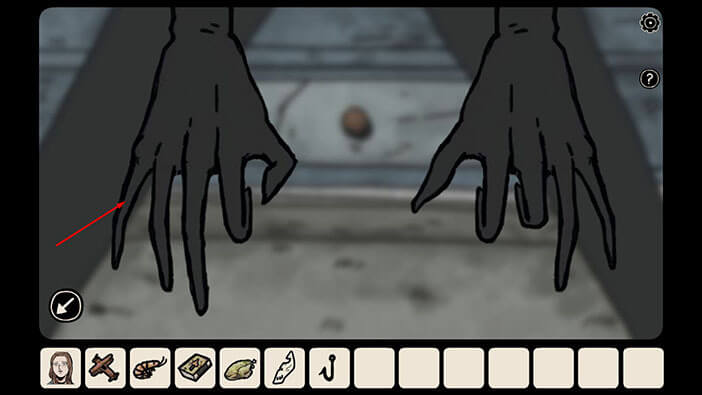
As soon as you tap on the correct combination of fingers, the shadowy figure will disintegrate, and this allows us to access the blue table. Tap on the blue table on the left to take a closer look at it. After that, tap on the drawer to open it.
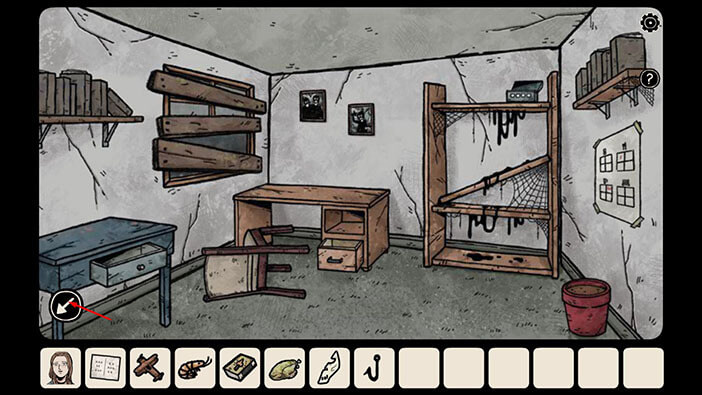
In the drawer, you will find another note. Tap on the note to pick it up.
After that, tap on the arrow in the lower left corner to go back.

Let’s examine the note. Tap on the note in your inventory to take a closer look at it.

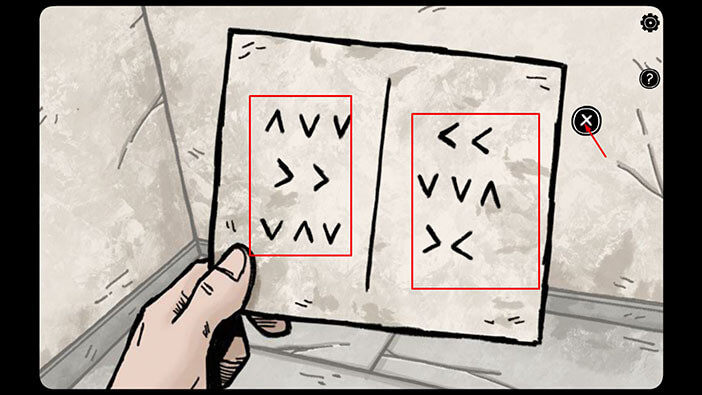
Here, we can see several arrowheads pointing in four directions (up, down, left, and right). This note represents a hint for a puzzle that we will encounter a bit further down the line. For now, tap on the “X” sign to put down the note.
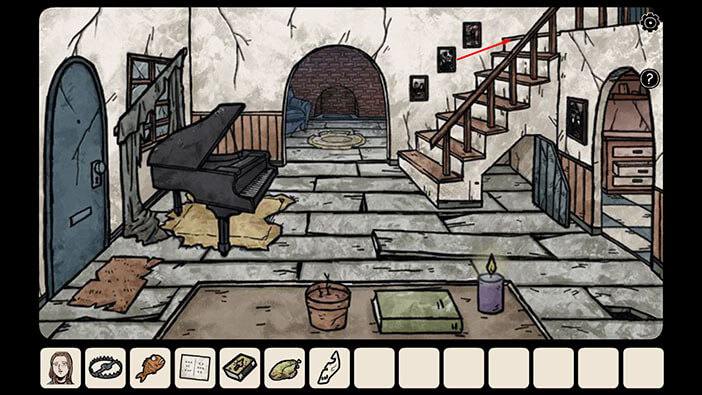
Ok, we should now head to the living room, which is located downstairs. So, tap on the arrow in the lower left corner to go back to the hallway.
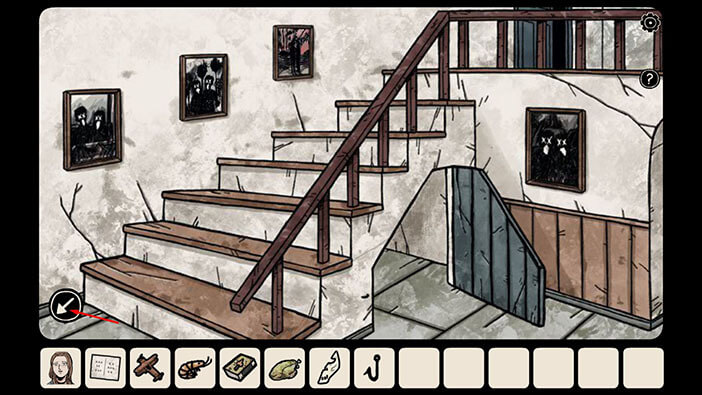
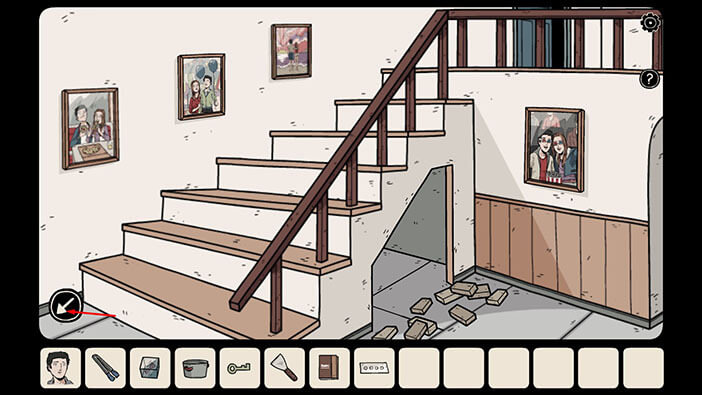
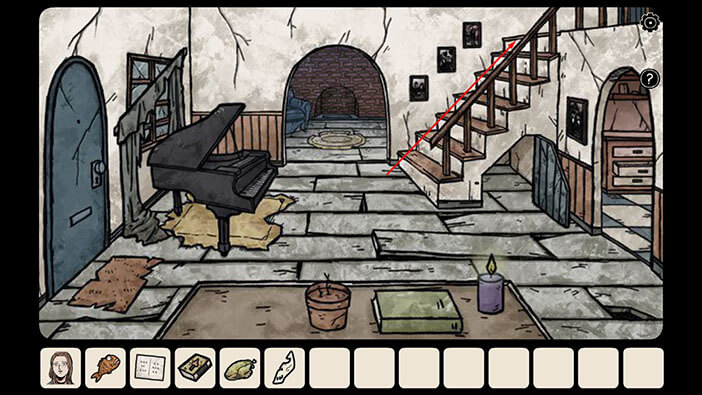
Tap on the stairs to go to the first floor.

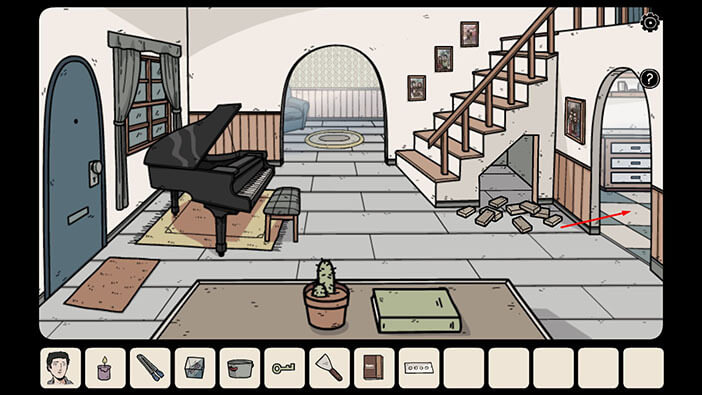
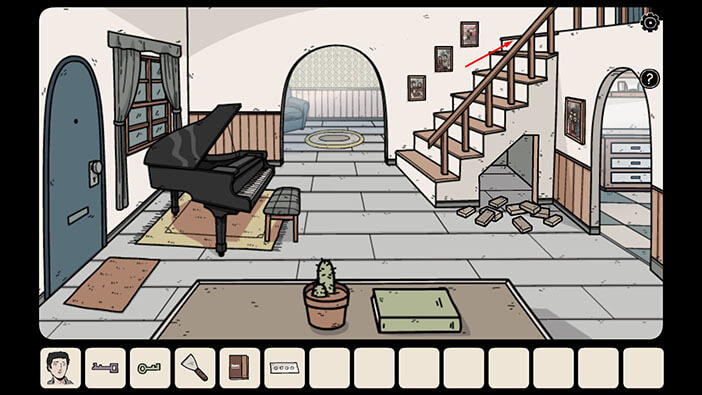
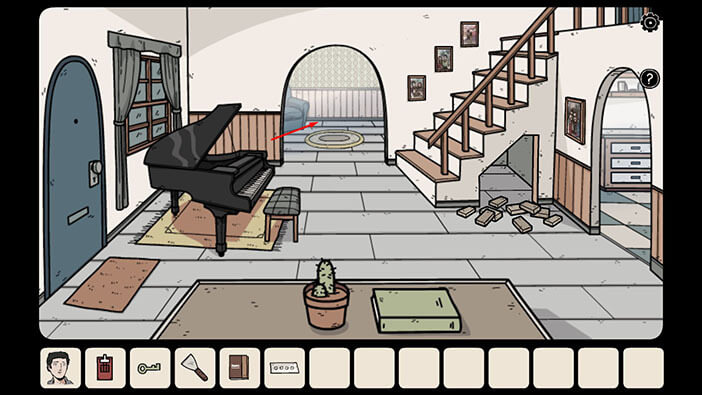
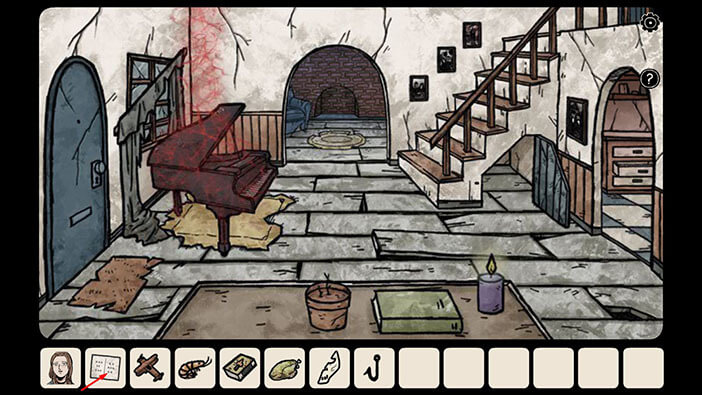
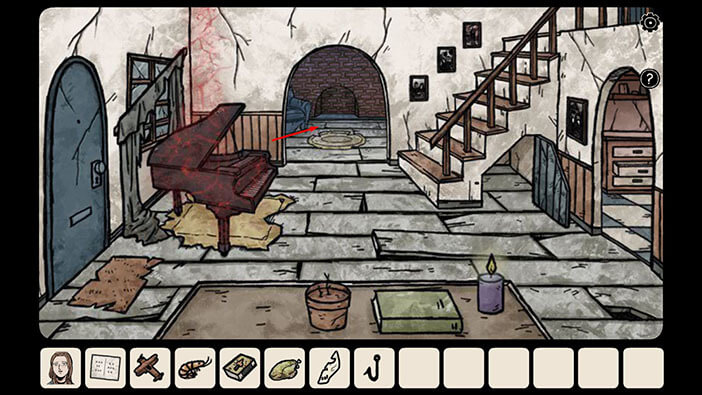
Tap on the arrow in the lower left corner to go to the living room.
Select the “Box of matches” from the inventory and tap on the purple candle to light it up.
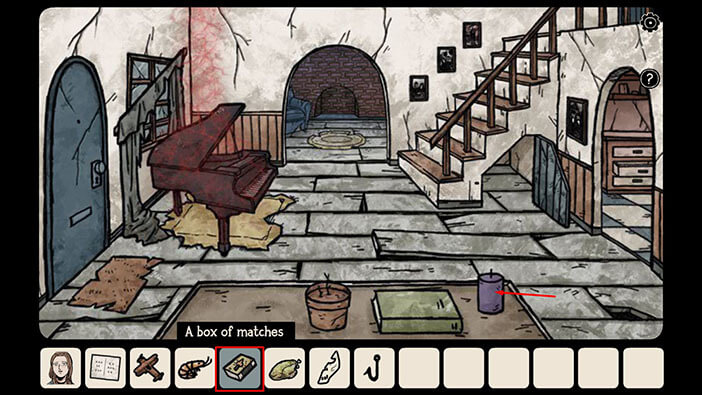
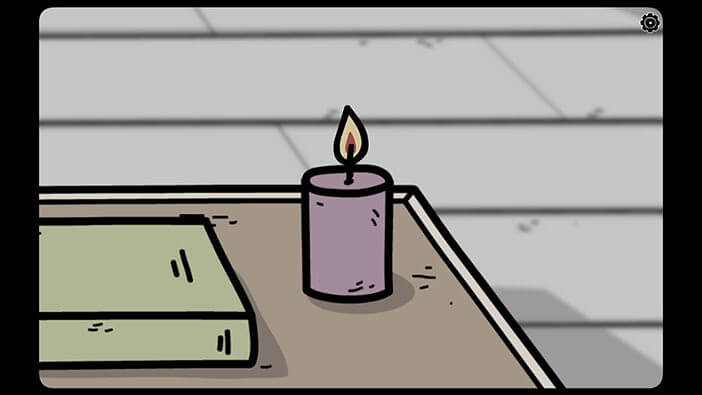
In the cutscene, we can see that the candle has also been lit up in Carissa’s dimension.
Ok, we should now change our character, so tap on Carissa’s icon in the lower left corner.
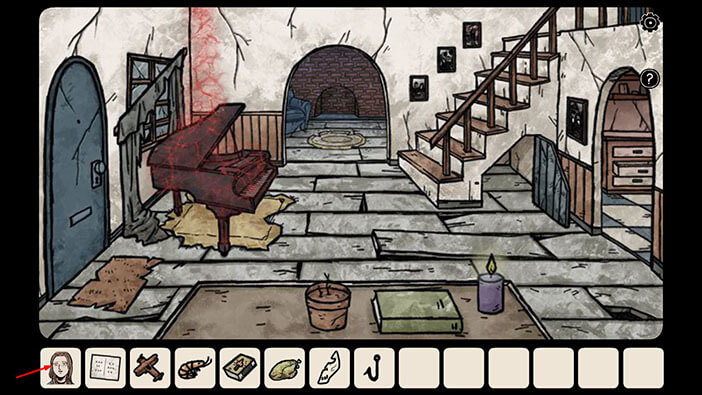
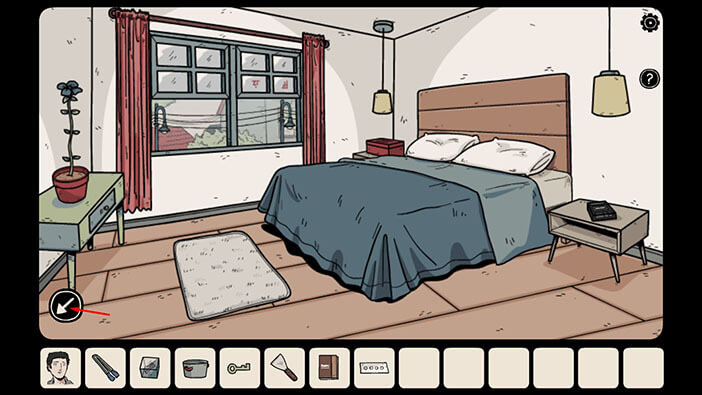
We are now playing as Carissa, and our next task is to go downstairs and pick up the candle. So, let’s do that. Right now, Carissa is in the bedroom, so tap on the arrow in the lower left corner to go back.
Tap on the stairs to go to the first floor.
Tap on the arrow in the lower left corner to go to the living room.
Tap on the lit candle to pick it up, and a “Purple candle” will be added to your inventory.
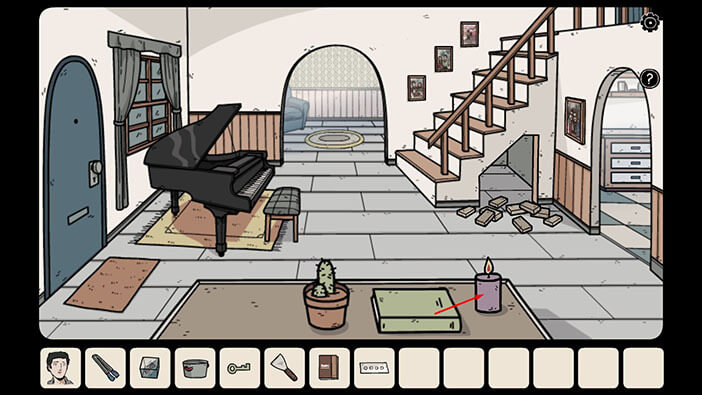
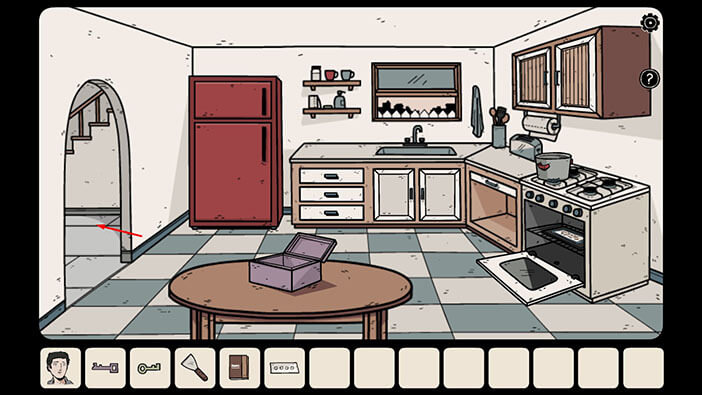
Tap on the doorway on the right to go into the kitchen.
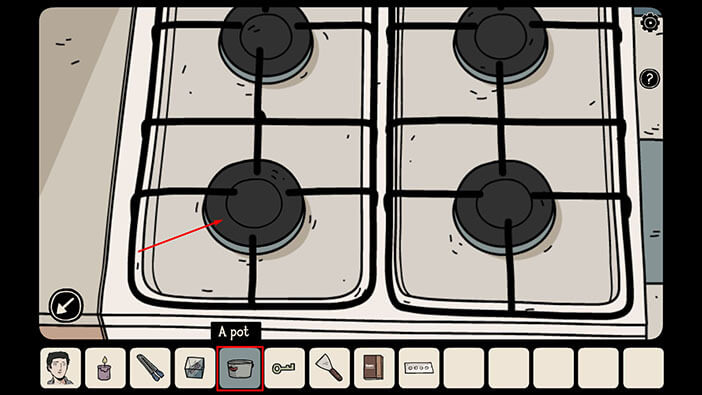
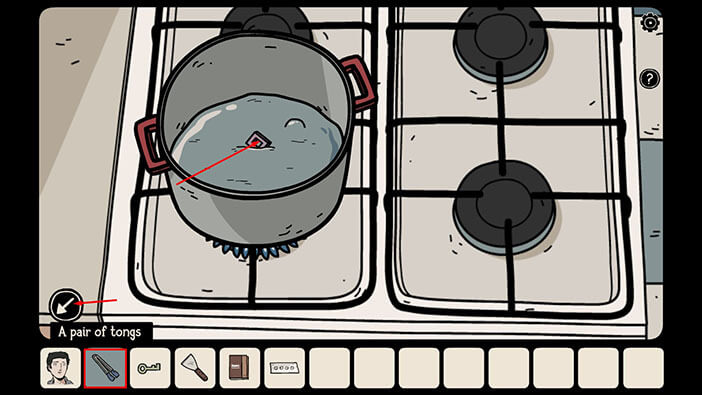
Next, tap on the stove to take a closer look at it.

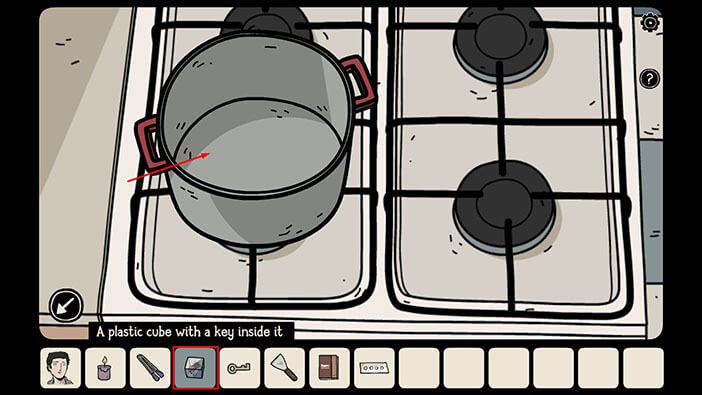
Ok, now, select the pot from the inventory and place it on the stove.
Next, select the “Plastic cube with the key inside it” and put it into the pot.
Lastly, select the “Purple candle” from the inventory and use it to light up the fire.
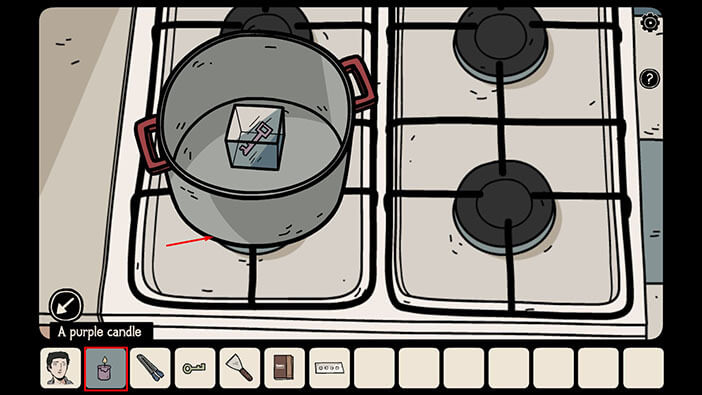
The heat will melt the plastic cube. However, the key is now partially submerged in the molten plastic, so Carissa can’t just grab it with her bare hands. Let’s solve this issue. Select the “Pair of tongs” from the inventory and use them to safely pick up the key. A “Blue key” will be added to your inventory (well, to me it looks like a purple key, but all right).
After that, tap on the arrow in the lower left corner to go back.
We should now head upstairs, to the bedroom. So, tap on the doorway on the left to go back to the living room.
Tap on the stairs to approach them, then tap on the second floor to go upstairs.
Tap on the blue door to go into the bedroom.
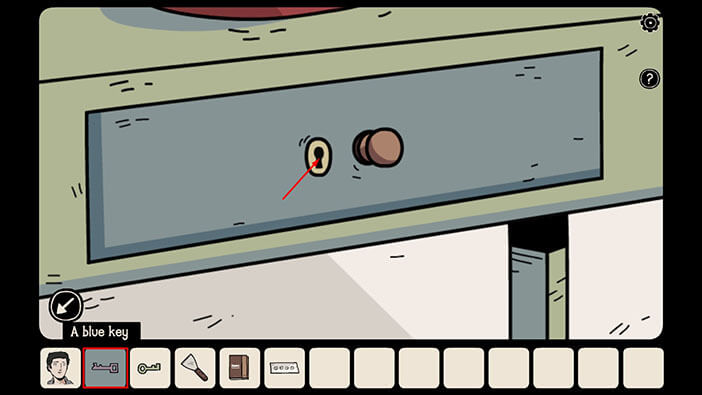
Next, tap on the table on the left to take a closer look at it.
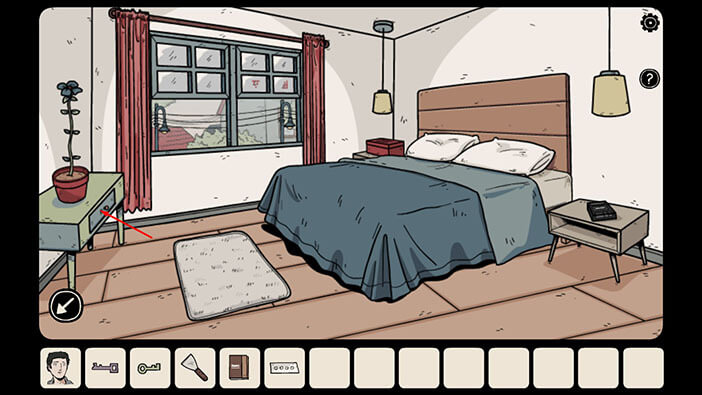
Select the “Blue key” from the inventory and use it to unlock the drawer. After that, tap on the drawer to open it.
Tap on the red item inside the drawer to pick it up and a “Red switch” will be added to your inventory.
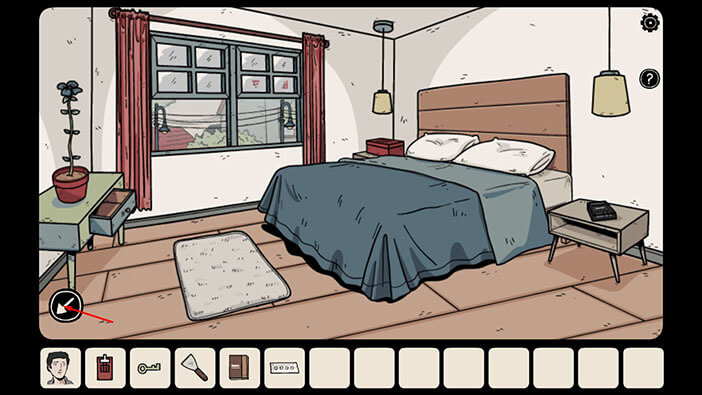
After that, tap on the arrow in the lower left corner to go back.

Ok, we should now head outside and use this switch. So, tap on the arrow in the lower left corner to go back to the hallway.
Tap on the stairs to go back to the first floor.

Tap on the arrow in the lower left corner to go to the living room.

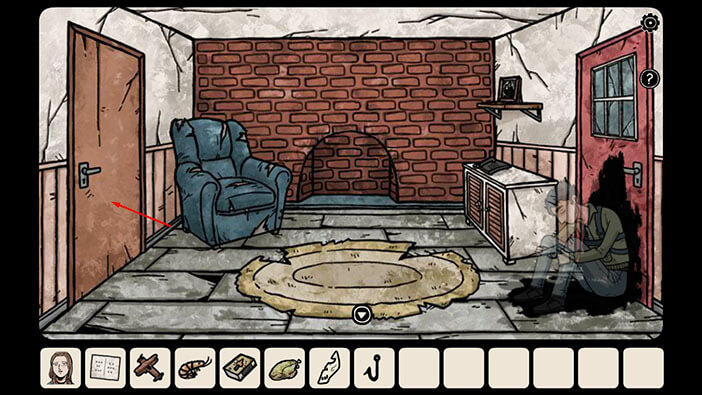
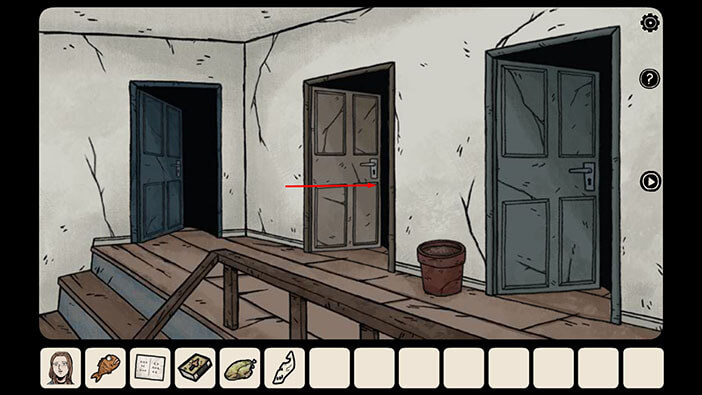
Tap on the doorway in front of you to go to the next room.
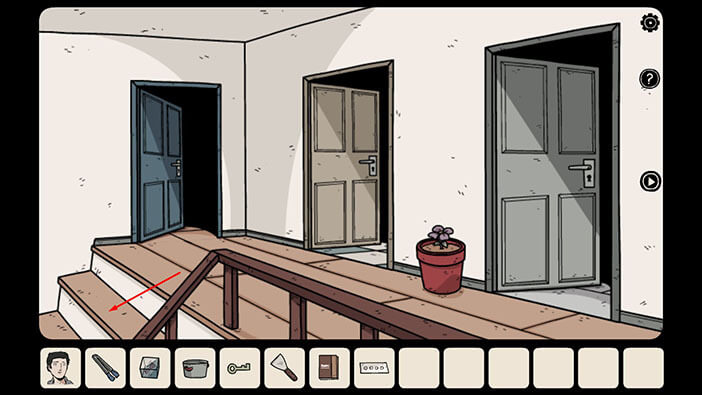
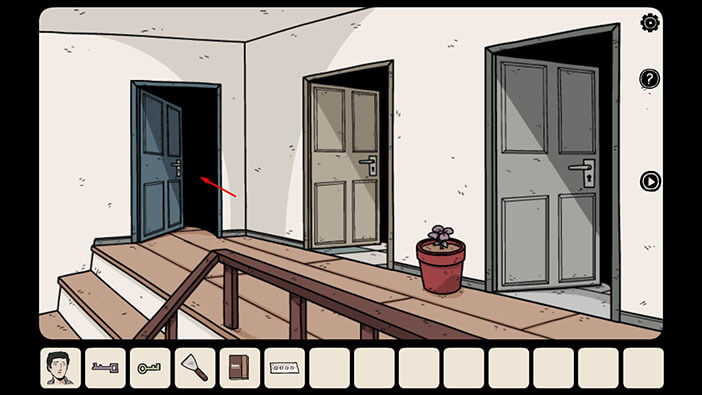
Tap on the door on the right to go outside.

Next, tap on the box on the right side of the door to take a closer look at it.
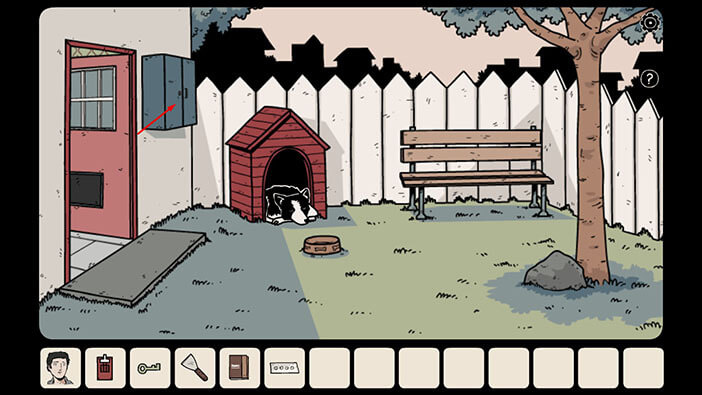
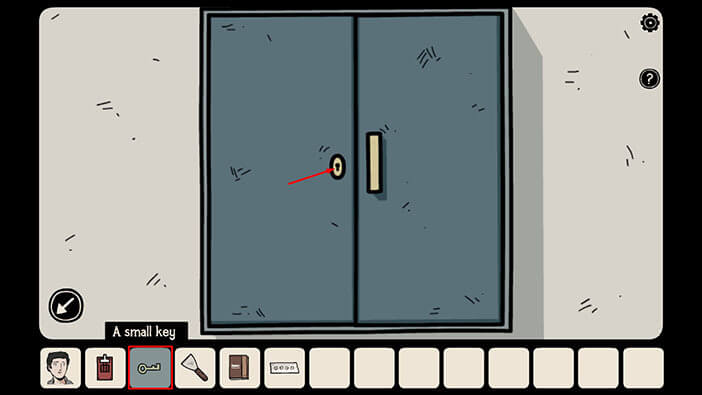
Select the “Small key” from the inventory and use it to unlock the box.
We can see that one switch is missing, so select the “Red switch” from the inventory and insert it into the empty slot.
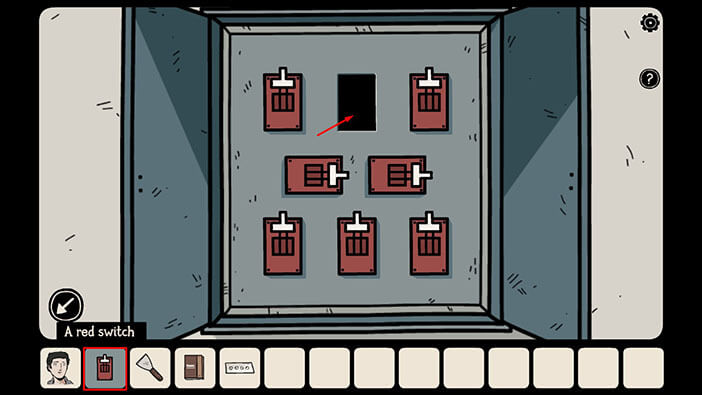
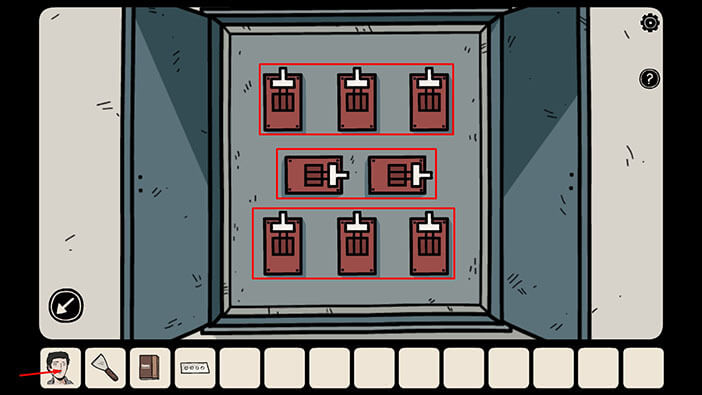
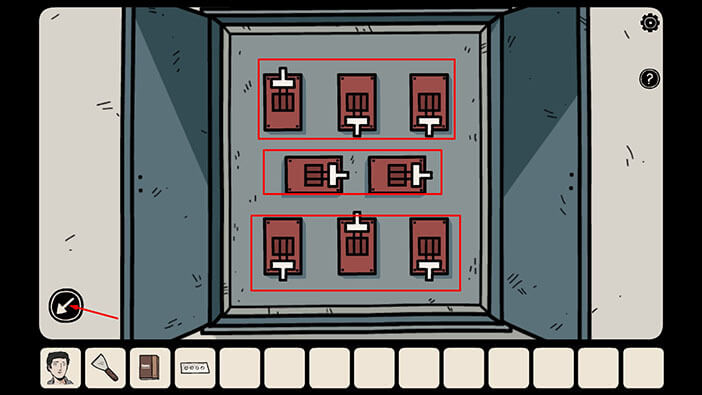
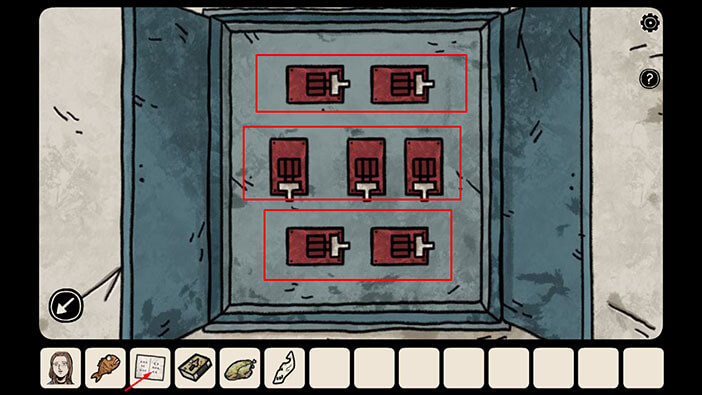
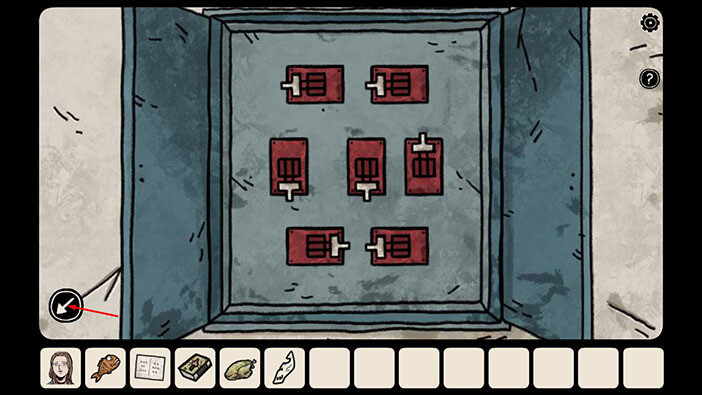
Ok, now, if you examine them more closely, you will notice that the switches are arranged in the three rows.
In the first (top) row we have three switches, and they can be turned up or down.
In the second row, we have two switches, and they can be turned left or right.
In the third row, we have three switches, and they can be turned up or down.
Memorize this information, because it will help us in figuring out the solution to this puzzle.
Once you’re done, tap on Bastian’s portrait in the lower left corner of the screen to switch characters.
NOTE: This is one of the randomized puzzles, and the direction of the arrows will change with each playthrough.
Ok, it is now time to take another look at the note that we found previously. So, tap on the note in your inventory to examine it.
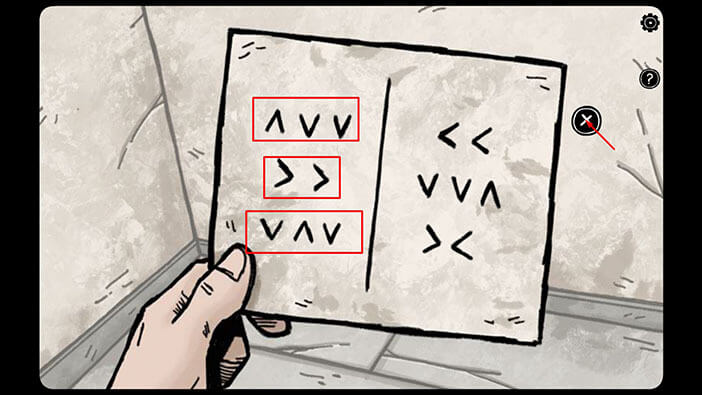
If you examine the note, you will notice that the arrows on the left side and the arrows on the right side are arranged differently.
However, the pattern of the arrows on the left (3-2-3) and their possible direction (horizontal or vertical) matches the pattern of the switches that we saw in Carissa’s world. So, let’s memorize/write down this pattern.
In the first row (top) we have: the up arrow, down arrow, down arrow
In the second row, we have: the right arrow, right arrow
In the third row, we have: down arrow, up arrow, down arrow
Ok, we now have the solution to the puzzle in Carissa’s world. So, once you’re done, tap on the “X” sign to put down the note.
Next, tap on Carissa’s icon to switch characters.

Tap on the switches, until their direction matches the direction of the arrows on the note. So, we had
First row: the up arrow, down arrow, and down arrow
Second row: the right arrow, right arrow
Third row: down arrow, up arrow, down arrow
Setting the switches in the correct order won’t have an immediate impact (nothing will happen), so don’t get confused by this. In order for this action to have an effect, we will also have to set the switches in Bastian’s world.
So, once you’re done, tap on the arrow in the lower left corner to go back.
NOTE: As already mentioned, this is one of the randomized puzzles, so the correct order of switches might be different in your playthrough. However, you can see the correct solution by checking out the note in Bastian’s dimension.
Ok, now let’s switch back to Bastian.
Tap on the doorway in front of you to go to the next room.
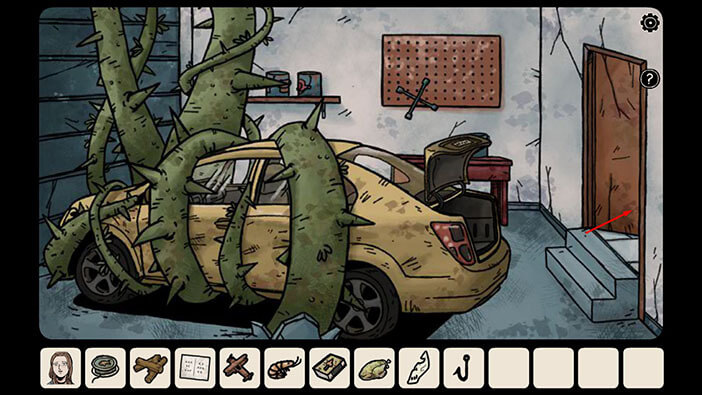
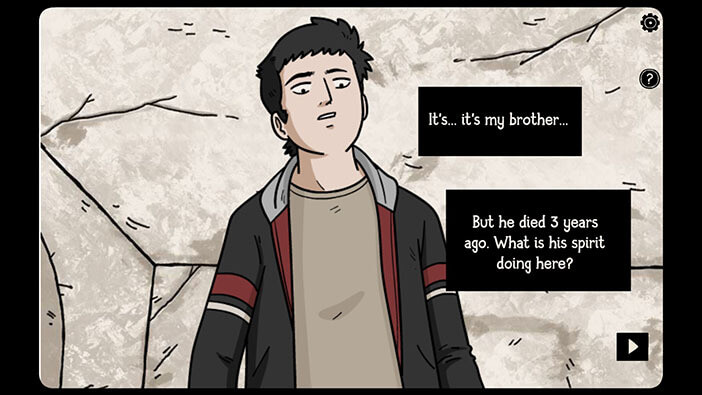
Well, the door that leads outside (the switches are outside) is on the right, but our way is blocked by the ghostly figure. This ghostly figure is actually Bastian’s late brother, who passed away three years ago. So, before we head outside, let’s go to the garage because when Carissa opened the trunk in her dimension, she also opened the trunk in Bastian’s dimension.
So, tap on the door on the left to open it, and tap again to proceed into the garage.
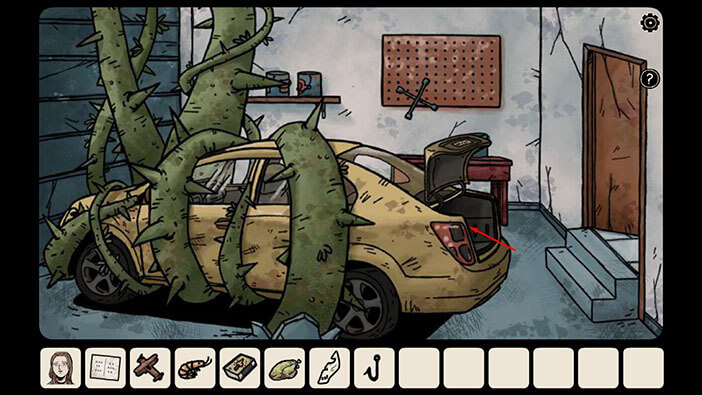
In Bastian’s dimension, the car is entangled by a huge vine. However, the trunk is open, so let’s take a look inside.
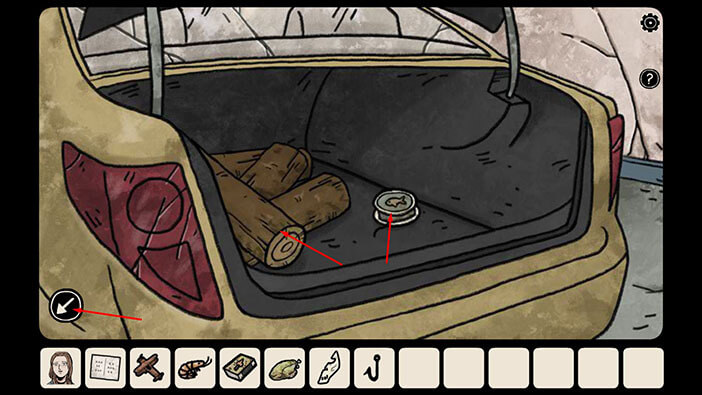
In the trunk, you will find two items, “Firewood” and a “Fishing line”. Tap on them to pick them up. After that, tap on the arrow in the lower left corner to go back.
Tap on the door on the left to go back to the previous room.
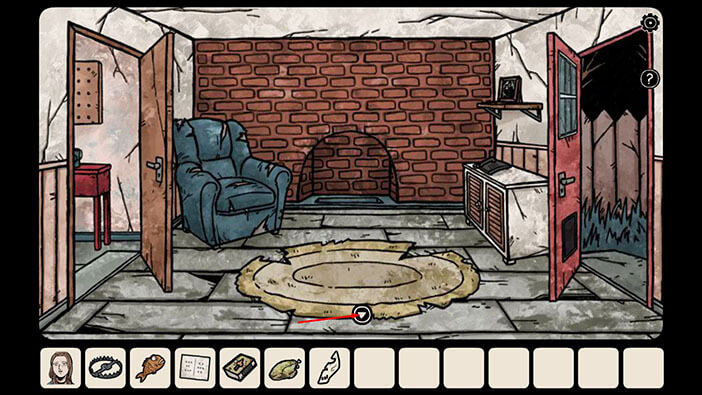
Next, tap on the fireplace to take a closer look at it.
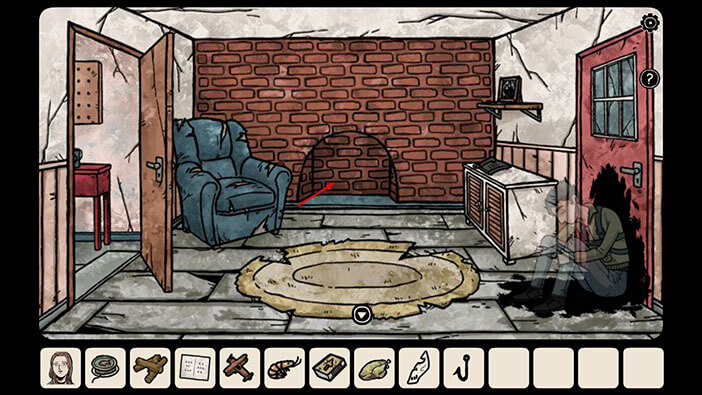
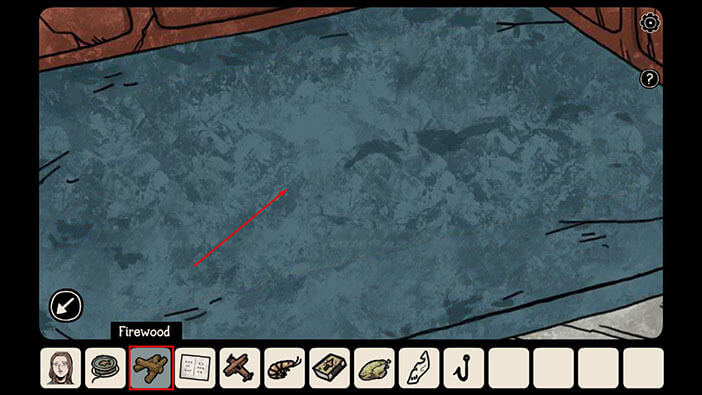
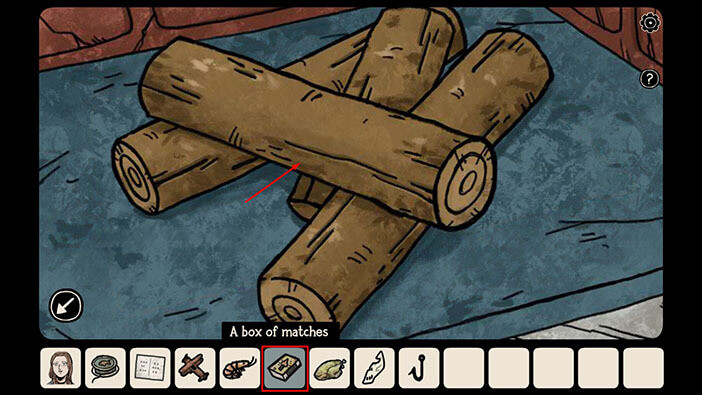
Let’s start a fire. Select “Firewood” from the inventory and place it inside the fireplace.
Ok, now, select the “Box of matches” from the inventory and tap on the firewood to start a fire.
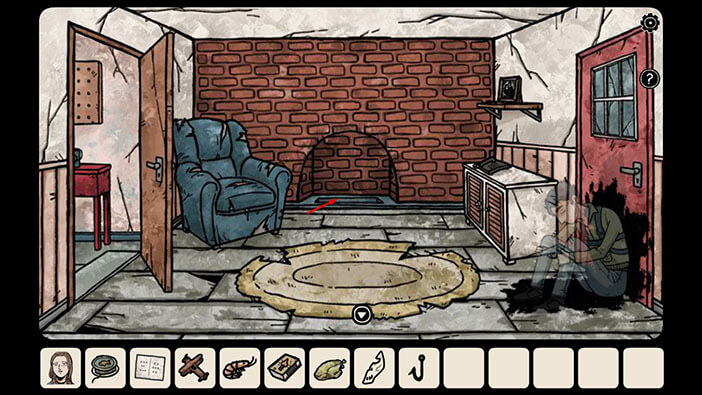
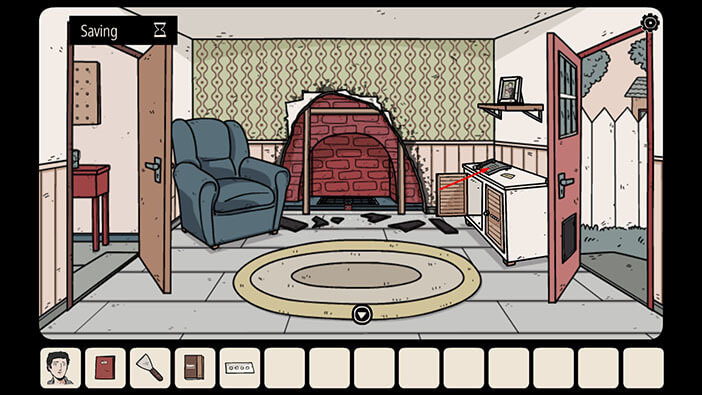
As the fire starts to burn in Bastian’s dimension, it will also burn through the wallpapers in Carissa’s dimension, revealing a hidden fireplace.
Also, in Bastian’s dimension, the fire will burn a hole inside the fireplace. Oddly enough, it seems that this hole is filled with water.
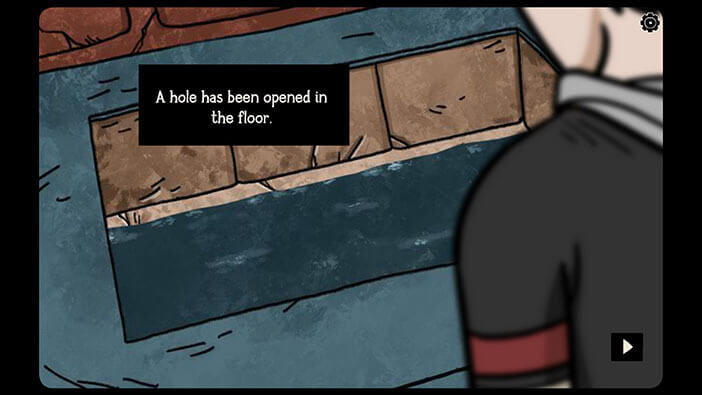
Let’s take a closer look at the hole in the fireplace.
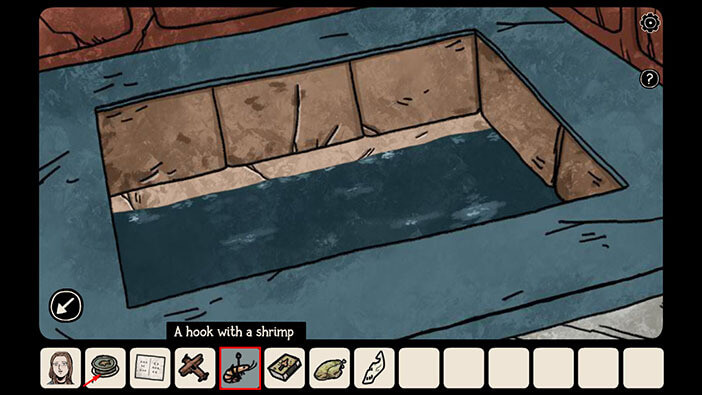
Now, we are going to do some fishing. First, we will set the bait, so select the “Shrimp” from the inventory and tap on the “Fishing hook” to combine these two items. A “Hook with a shrimp” will be added to your inventory.
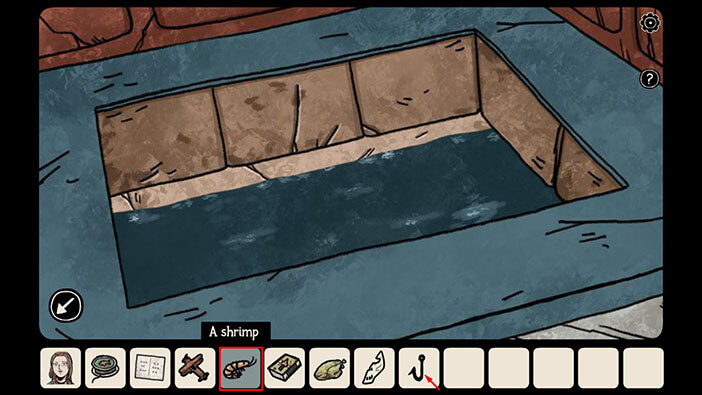
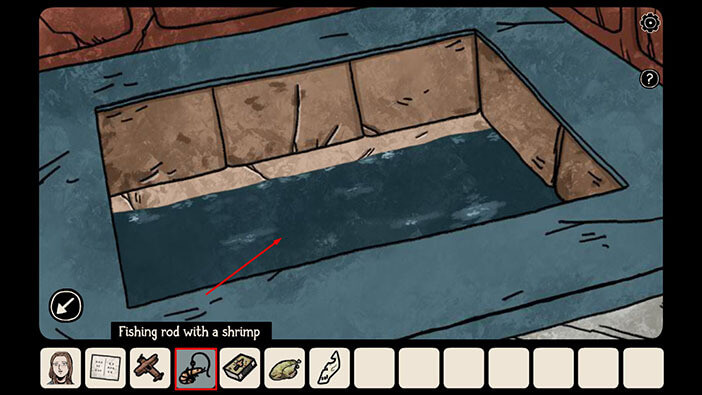
Next, select the “Hook with a shrimp” from the inventory and combine it with the “Fishing line”. The “Fishing rod with a shrimp” will be added to your inventory.
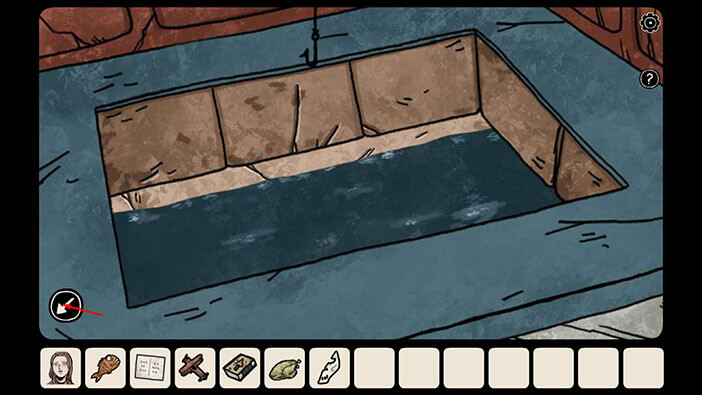
Ok, we are now ready to start fishing, so select the “Fishing rod with a shrimp” from the inventory and tap on the water.
A few moments later, Bastian will catch a “Fish” and it will be added to your inventory. Tap on the arrow in the lower left corner to go back.
Ok, we completed this side quest, so let’s go back to the puzzle with switches. We first have to go through the door on the right in order to reach the box with switches, so tap on the ghost in front of the door to start the interaction.
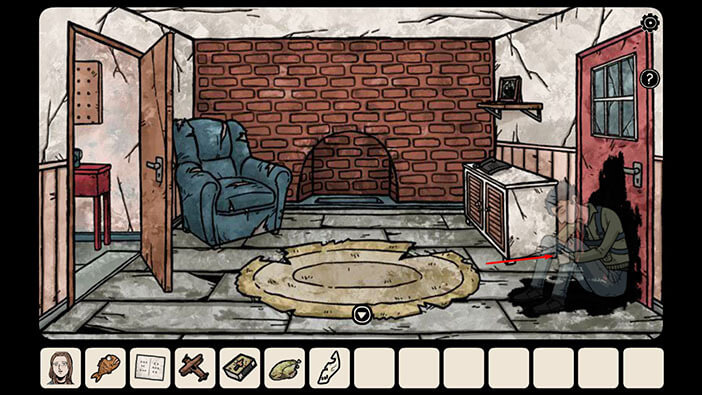
As I already mentioned, this is the ghost of Bastian’s brother who past away three years ago.
Select the “Wooden airplane” from the inventory and give it to the ghost.
The ghost will disappear, and the way outside is now clear. So, tap on the red door on the right to open them, and tap again to go outside.
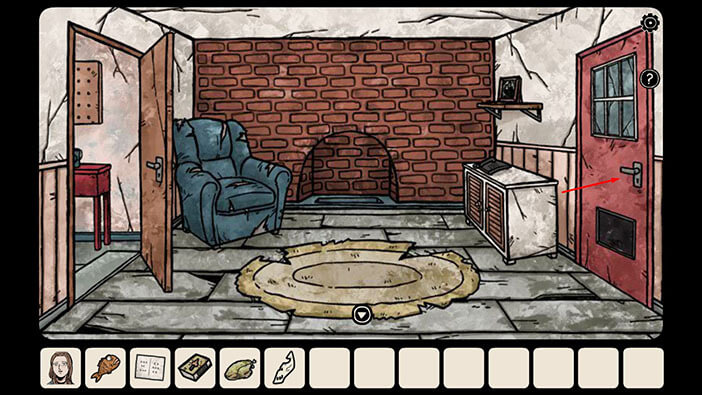
Tap on the blue box to take a closer look at it, and tap again to open it.
Here, we can see that switches are arranged a bit differently compared to Carissa’s dimension. You will notice that the switches are also arranged in three rows, but here we have:
Two switches in the first (top) row, and they can be turned left or right.
In the second row, we have three switches, and they can be turned up or down.
In the third row, we have two switches, and they can be turned left or right.
Memorize this information, because it will help us in figuring out the solution to this puzzle.
Once you’re done, tap on the note in the inventory to examine it.
The pattern of the arrows on the right (2-3-2) and their possible direction (horizontal or vertical) matches the pattern of the switches in Bastian’s world. So, let’s memorize/write down this pattern.
In the first row (top) we have: the left arrow, left arrow
In the second row, we have: the down arrow, down arrow, up arrow
In the third row, we have: the right arrow left arrow
Ok, we now have the solution for the second switch puzzle. So, once you’re done, tap on the “X” sign to put down the note.

Tap on the switches, until their direction matches the direction of the arrows on the note. So, we had
First row: the left arrow, left arrow
Second row: the down arrow, down arrow, up arrow
Third row: the right arrow, left arrow
NOTE: As a previous puzzle with switches, this is also one of the randomized puzzles, so the correct order of switches might be different in your playthrough. However, you can see the correct solution by checking out the note.

As soon as you enter the correct combination of switches in both worlds, you will hear a clicking sound, and the red force field around the piano will disappear.
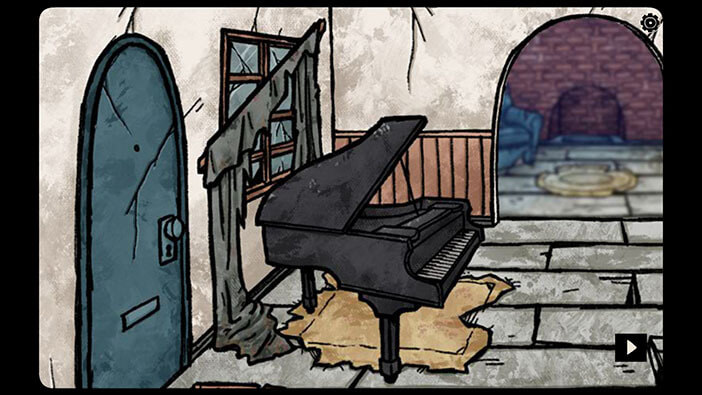
Ok, let’s take a look at the piano. Tap on the arrow in the lower left corner to go back.
Tap on the door to go inside.
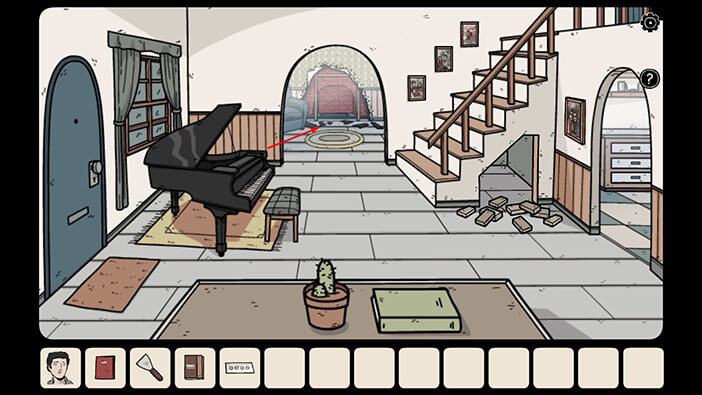
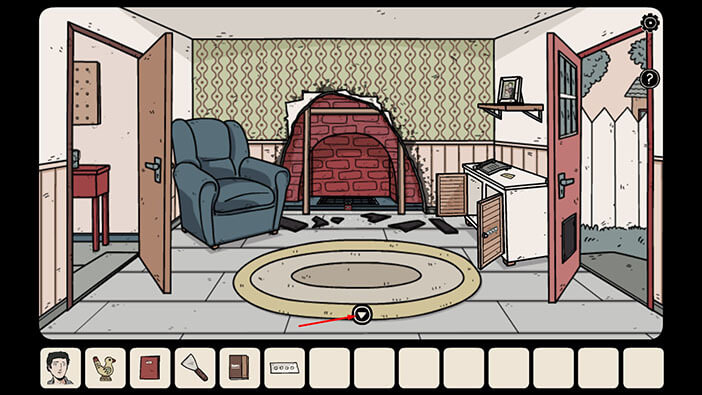
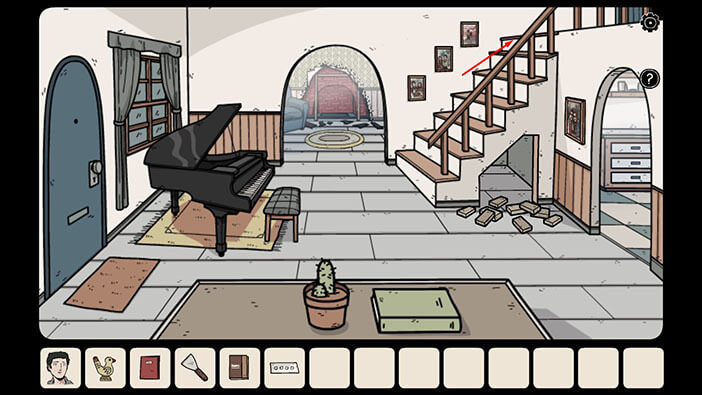
Next, tap on the arrow at the bottom of the screen to go into the living room.
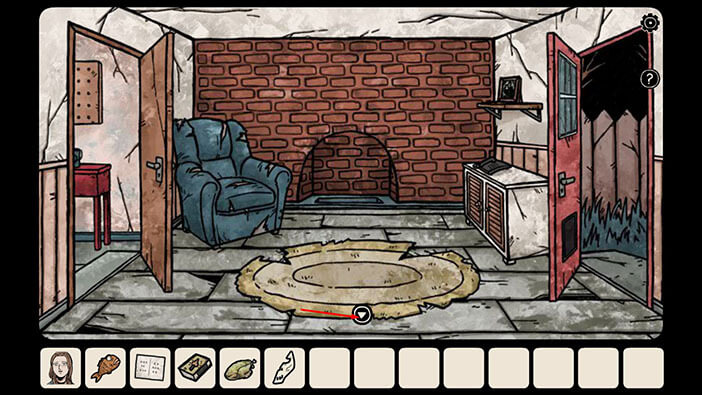
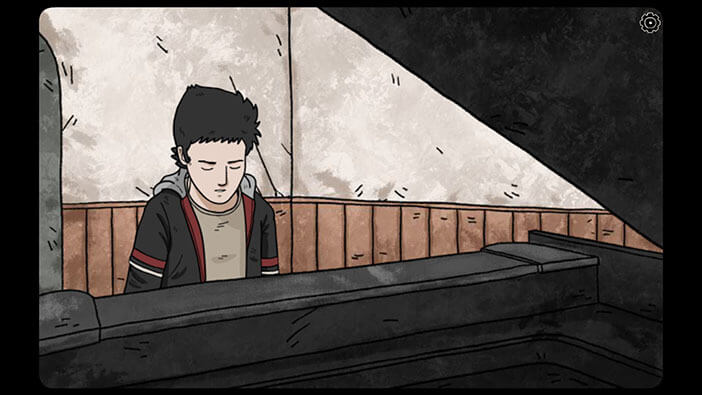
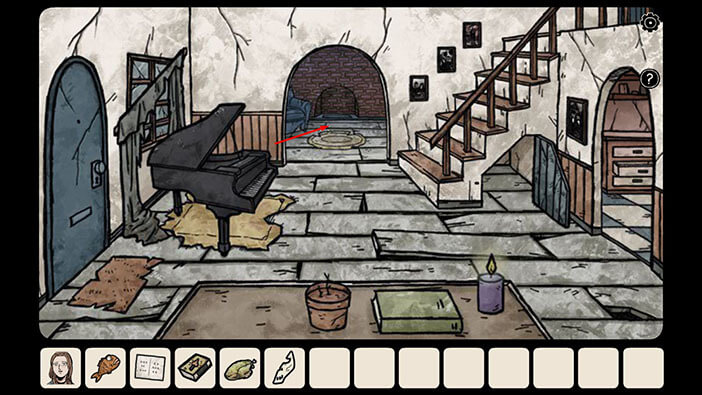
The red force field that was blocking our access to the piano is now gone, so tap on the piano to start the interaction.

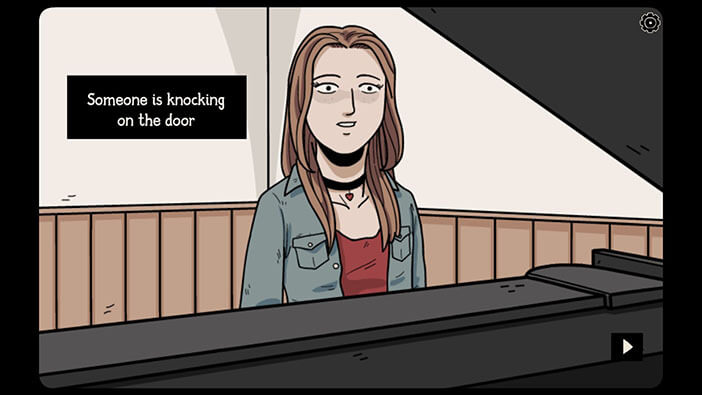
Bastian will sit down and play the piano, but Carissa can also hear the music in her world. She will immediately recognize their song.
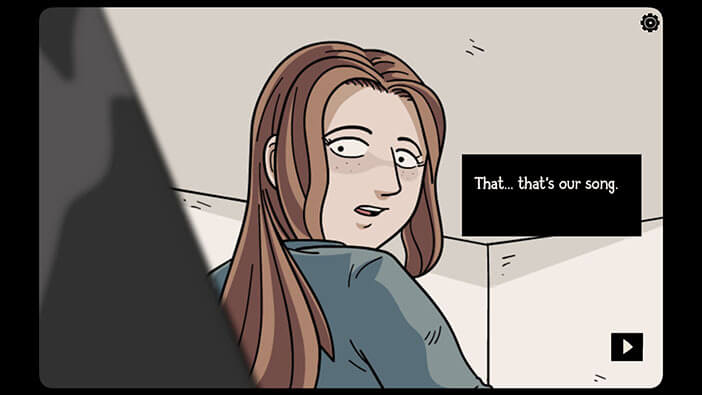
So, she decided to sit down, and she and Bastian together played their favorite song, although they were in different dimensions.
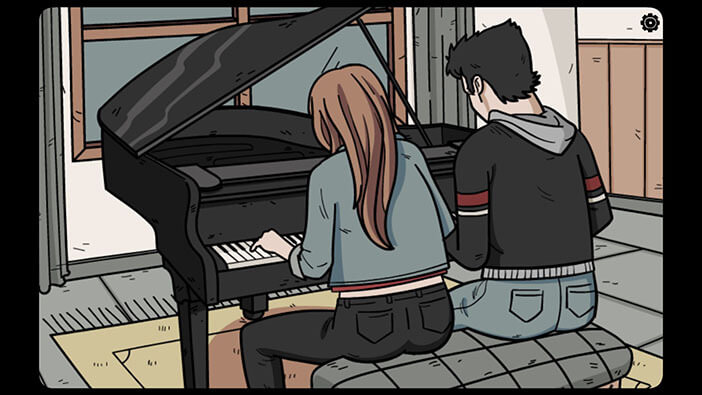
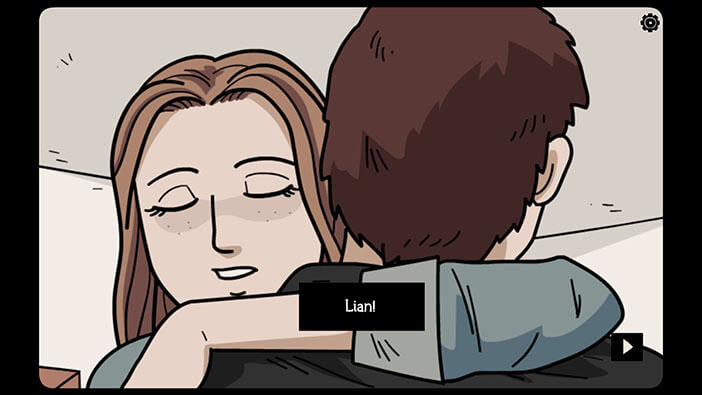
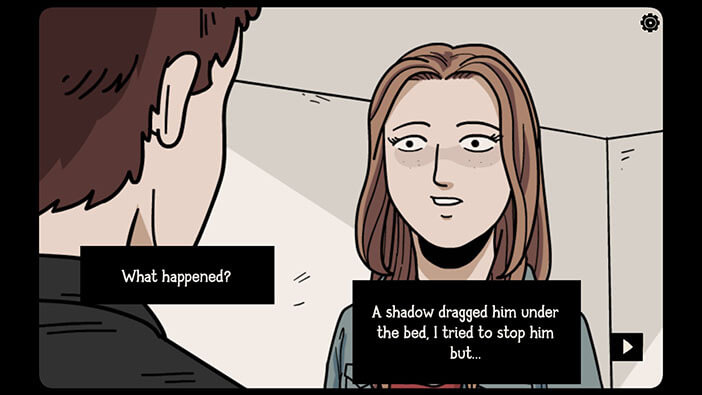
Their connection was abruptly severed when Carissa heard someone knocking on the door. It was her brother, Lian.
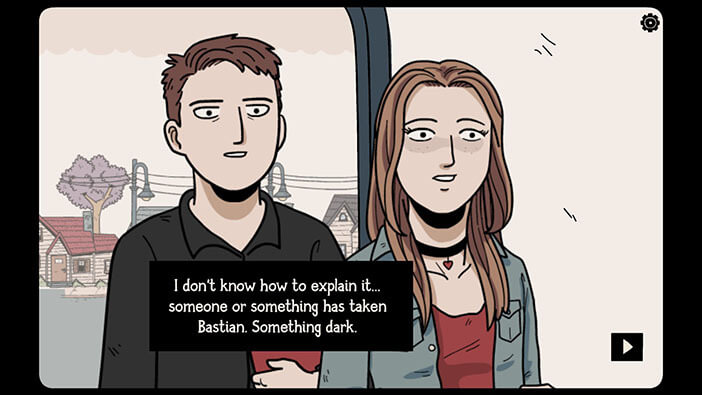
Carissa quickly explains that something unnatural and dark has taken Bastian (quick joke: If Carissa’s brother was Liam (Neeson) they could easily solve this problem).
Carissa further explains that she can still feel Bastian’s presence in the house, but he isn’t actually there. It looks like he has been trapped in some kind of dark dimension.
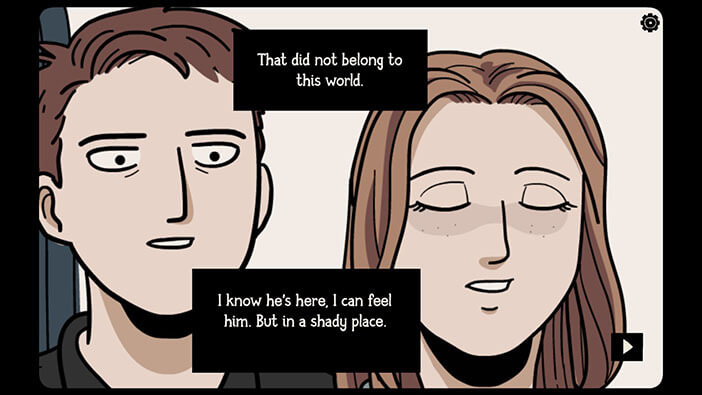
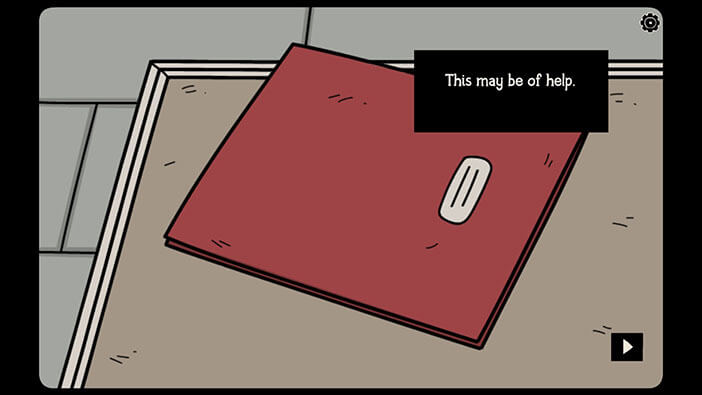
Carrisa quickly explained that a dark shadow dragged Bastian under the bed, and she haven’t seen him since. Fortunately, Lian has something that could be of help, and he presents a red notebook, which probably has some clues that could help us in solving this mystery and possibly even break Bastian back into our world.
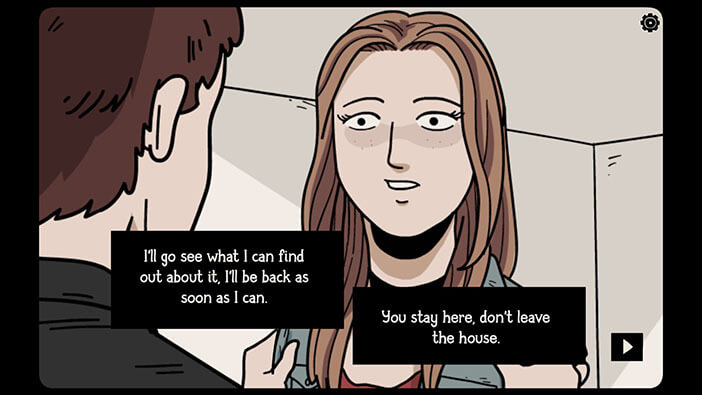
With that, Lian leaves the house, promising that he will ask around and find out if there’s anyone that could help them with this problem.
Tap on the red notebook to pick it up.
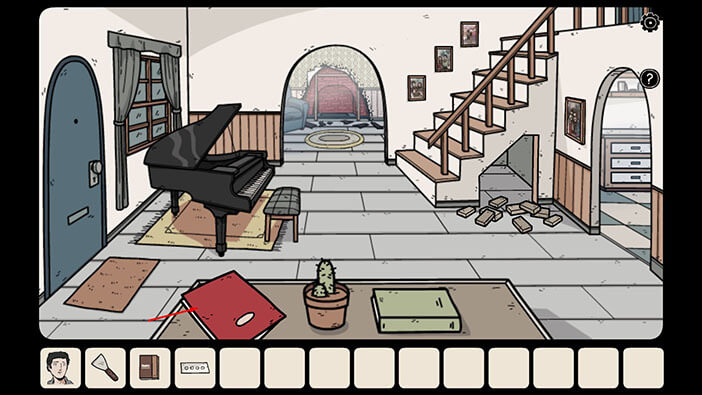
Next, tap on the doorway in front of you to proceed into the next room.
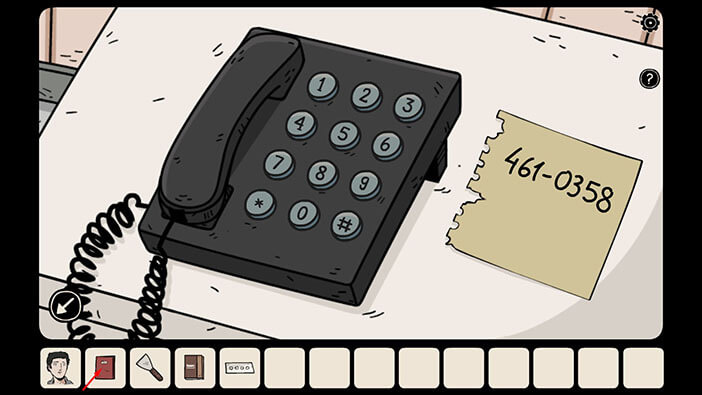
Tap on the phone on the right to take a closer look at it.
Ok, now let’s examine the notebook that Lian left. Tap on the red notebook in your inventory to bring it up.
Tap on the arrow in the lower right corner to open the notebook.

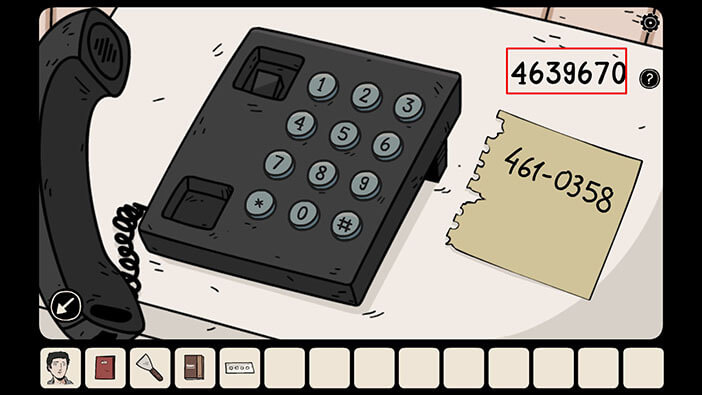
Here, we can see a picture of “Lou the Seer” and her phone number, “463-9670” is written below it. Memorize/write down this phone number, because we should now call the Seer and see if she can provide some useful information.
Once you’re done, tap on the arrow in the lower left corner to go back

Next, tap on the phone, and then dial the number “463-9670”.
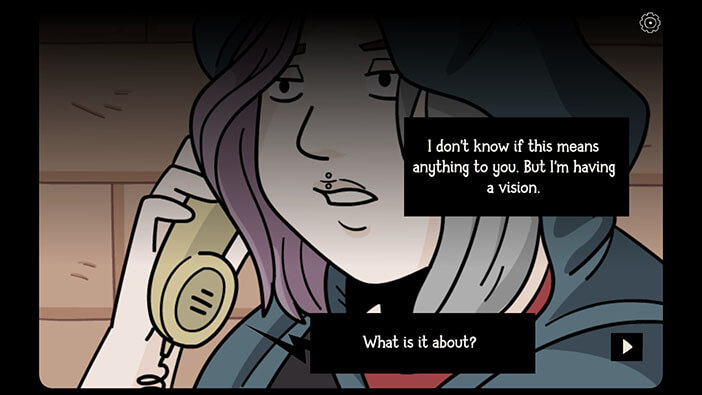
Lou the Seer will say that she was expecting a call from Carissa, and immediately offers to come over and help. But, it will take her some time to get to Carissa’s home. However, she can offer some immediate assistance, because she had a vision, and she thinks that the stuff she saw in her vision might help Carrisa.
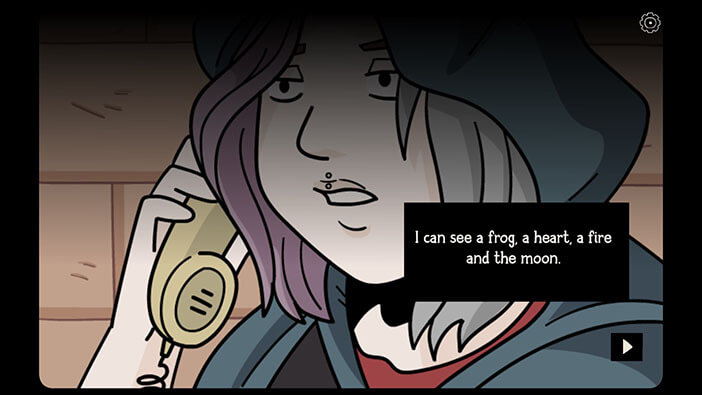
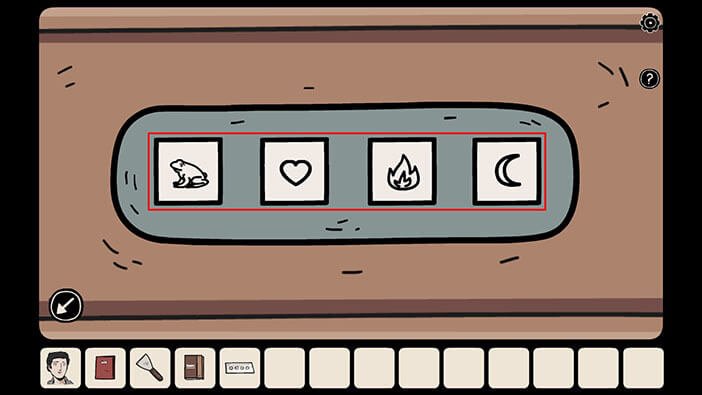
In her vision, Lou the Seer saw four symbols. In my playthrough, she saw a frog, a heart, a fire, and the moon.
NOTE: This is one of the randomized puzzles, so the symbols that Lou the Seer saw in her vision will change with each playthrough.
Carrisa will write down these symbols, even though she doesn’t know how she could use this information, at the moment.
With that said, Carissa will hang up, hoping that the Seer will quickly come to her aid.
As you can see, Carissa wrote down the symbols on the note, so memorize/write down these symbols because we will need them for the next puzzle. So, here we have
A frog, a heart, a fire, and the moon.
NOTE: As already mentioned, these symbols will change with each playthrough, because this is one of the randomized puzzles.
When you’re done, tap on the arrow in the lower left corner to go back.

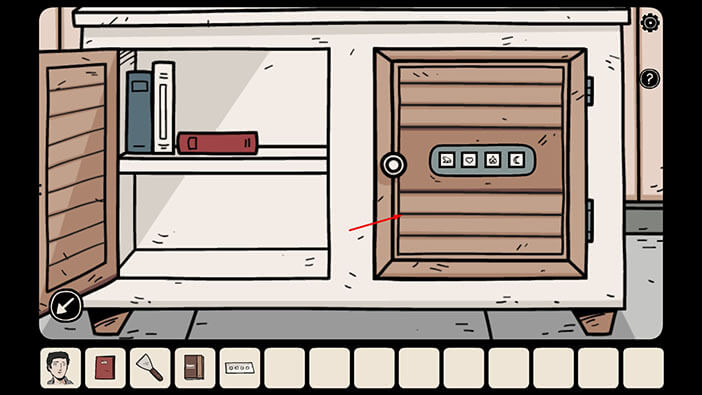
Let’s take a closer look at the cabinet on the right.
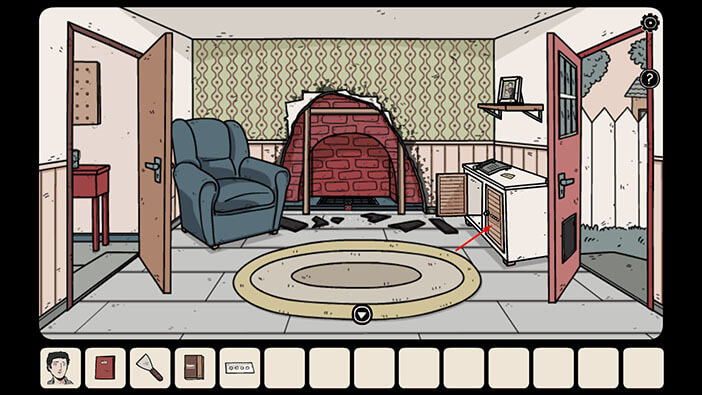
Tap on the right cabinet door to start the interaction.
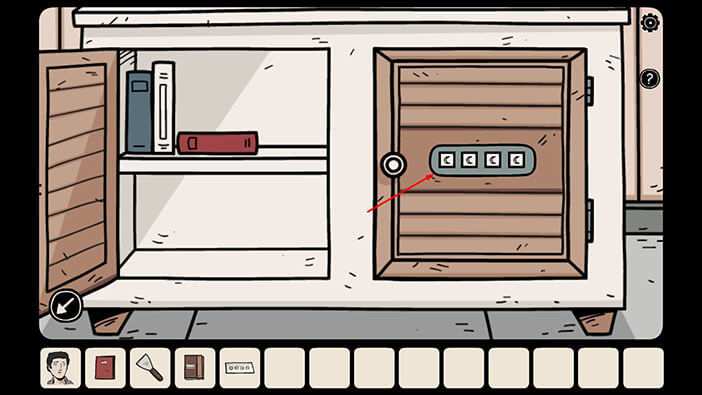
Enter the symbols which you saw on the note. On the note in my game, there was a frog, a heart, a fire, and the moon.
As soon as you enter the correct combination of symbols, you will hear a clicking sound indicating that the door is now unlocked. Tap on the door to open it.
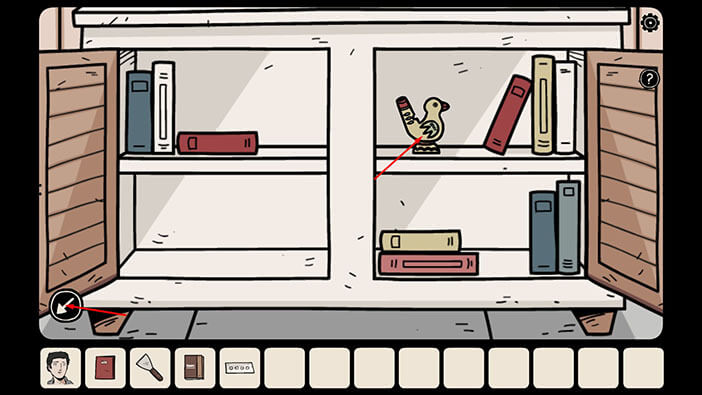
Tap on the duck to pick it up, and a “Bird-shaped whistle” will be added to your inventory.
After that, tap on the arrow in the lower left corner to go back.
We should now head upstairs, to the bedroom, and use the “Bird-shaped whistle”. So, tap on the arrow at the bottom of the screen to go back to the living room.
Tap on the stairs to approach them, then tap on the second floor to go upstairs.
Tap on the blue door in front of you to proceed into the bedroom.

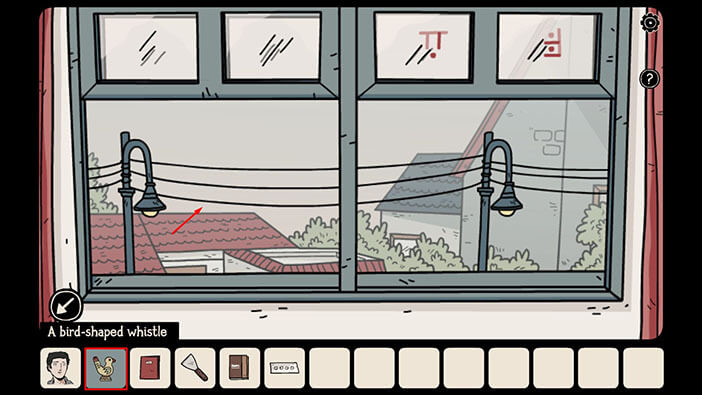
Tap on the window to look outside.

Now, select the “Bird-shaped whistle” from the inventory and use it to lure the birds.
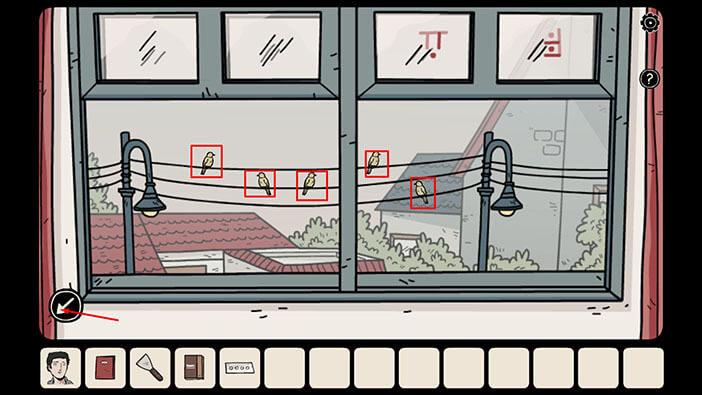
Five birds will land on the cables outside. We can see that there are three cables, so let’s assume that each cable represents one row. Next, we should memorize/write down the position of each bird, starting from left to right. So, we have
First bird = top row (cable)
Second bird = middle row
Third bird = middle row
Fourth bird = top row
Fifth bird = bottom row
NOTE: The position of the birds will change with each playthrough because this is one of the randomized puzzles.
Once you’re done, tap on the arrow in the lower left corner to go back.
Next, tap on the red box, next to the bed, to take a closer look at it.

Here, we can see a 3 by 5 grid, and previously we had five birds that landed on 3 cables. So, let’s tap on the grid slots, which would match the positions of the birds. We had,
First bird = top row
Second bird = middle row
Third bird = middle row
Fourth bird = top row
Fifth bird = bottom row
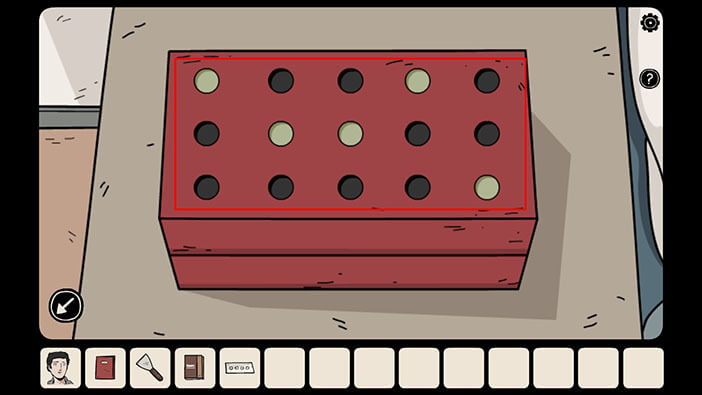
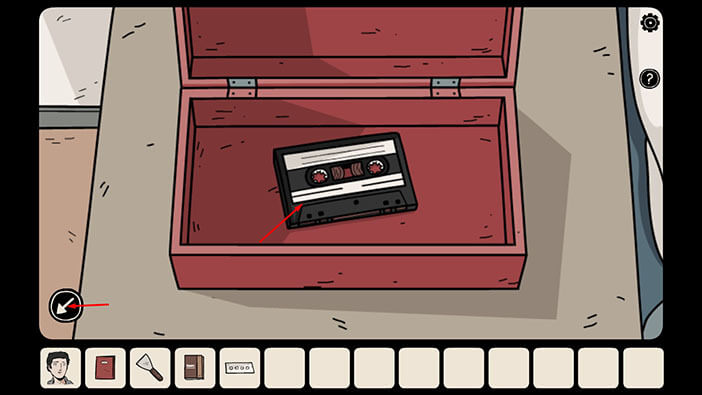
As soon as you enter the correct combination, the box will open, and inside you will find an “Audio cassette”, so tap on it to pick it up.
After that, tap on the arrow in the lower left corner to go back.
Next, tap on the nightstand on the right side of the bed to take a closer look at it.
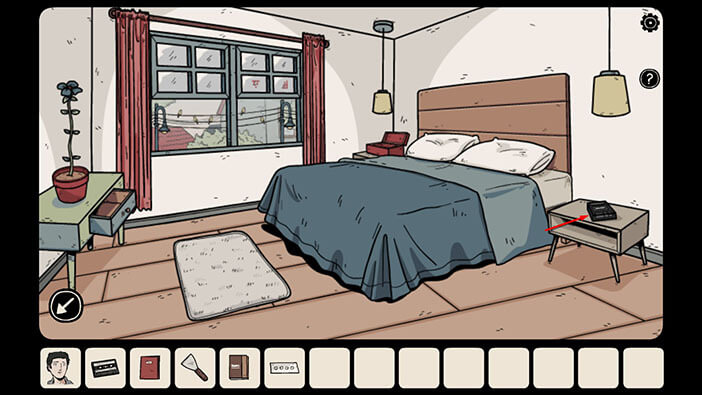
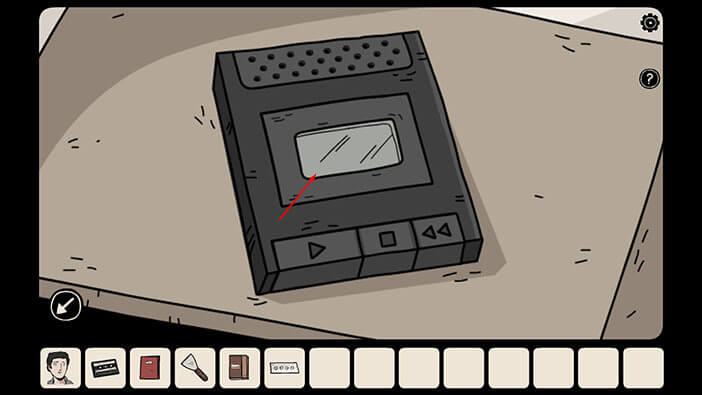
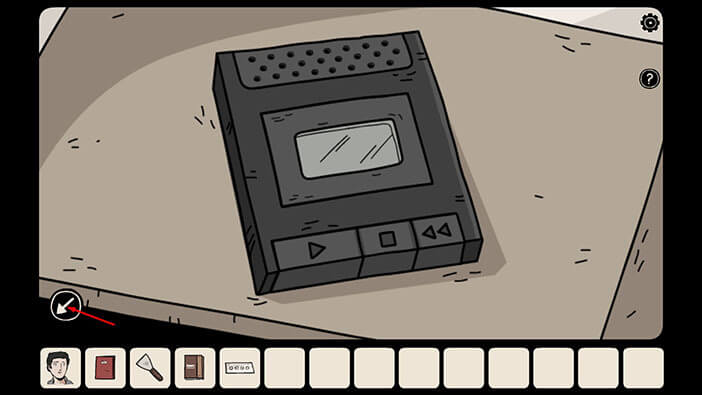
Here, we can see an audio cassette player, so tap on it to open it.
Select the “Audio Cassette” from the inventory and insert it into the player.
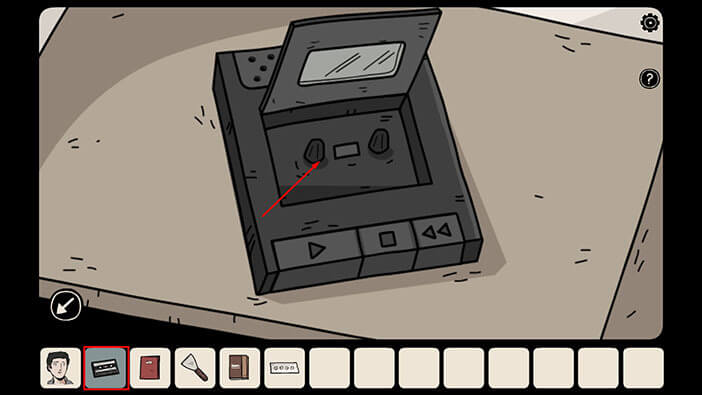
Lastly, tap on the “Play” button to play the tape.

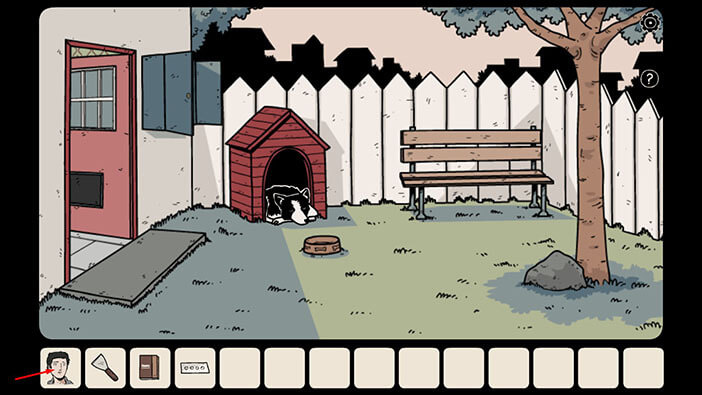
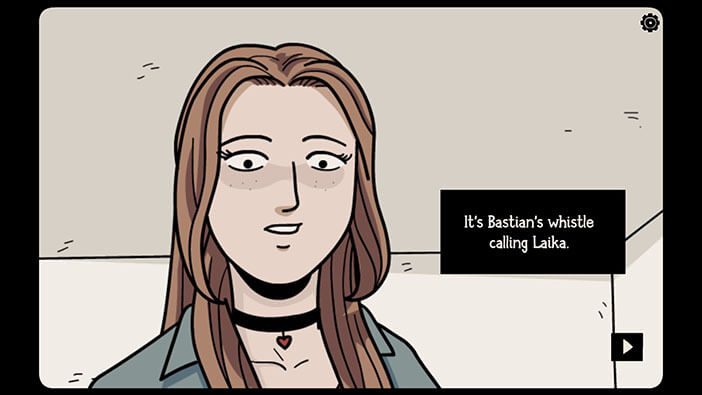
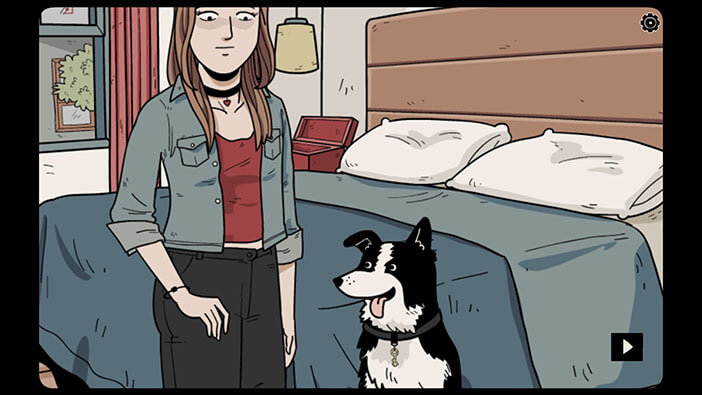
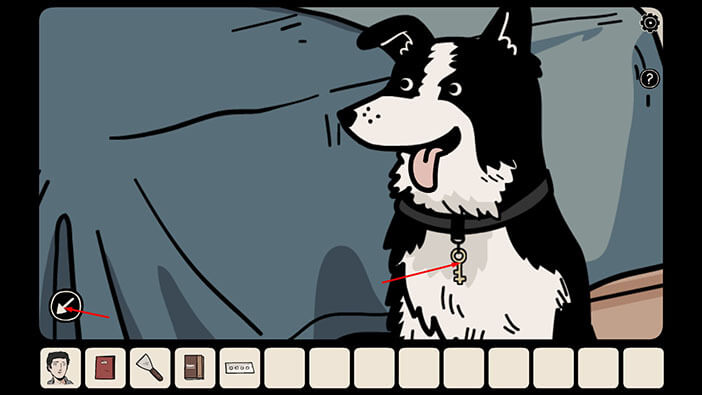
The sound that you will hear is Bastian whistling and calling their dog, Laika. The dog will hear familiar whistling and it will come over to the bedroom.
Tap on the arrow in the lower left corner to go back.
You will probably notice a key, hanging from Laika’s collar. Tap on it to take a closer look.
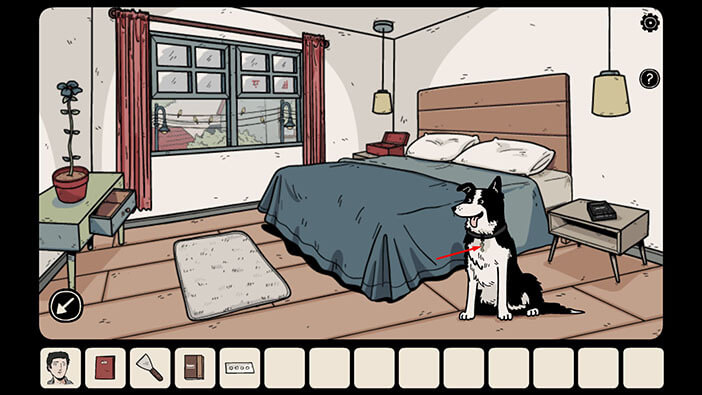
Tap on the key on Laika’s collar to pick it up, and a “Yellow key” will be added to your inventory.
After that, tap on the arrow in the lower left corner to go back.
Tap on the arrow in the lower left corner to go back to the hallway.

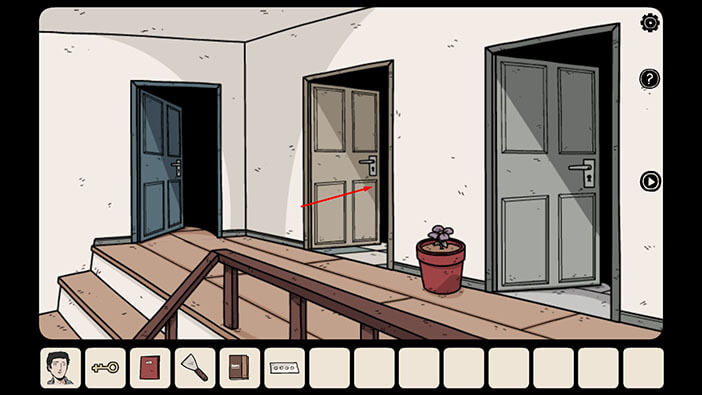
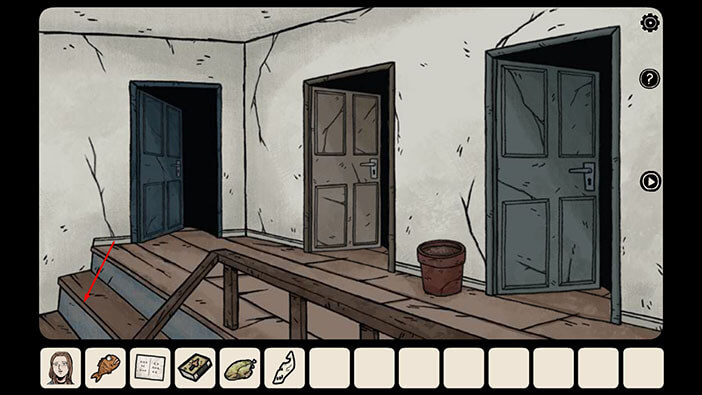
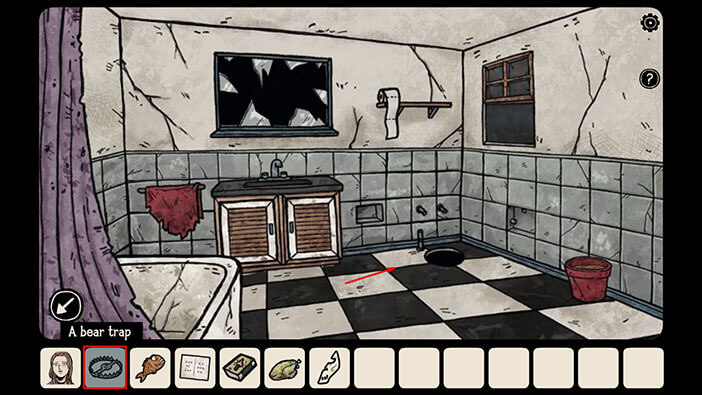
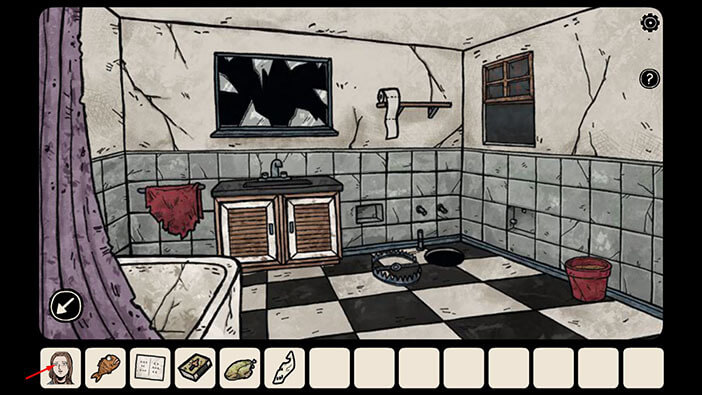
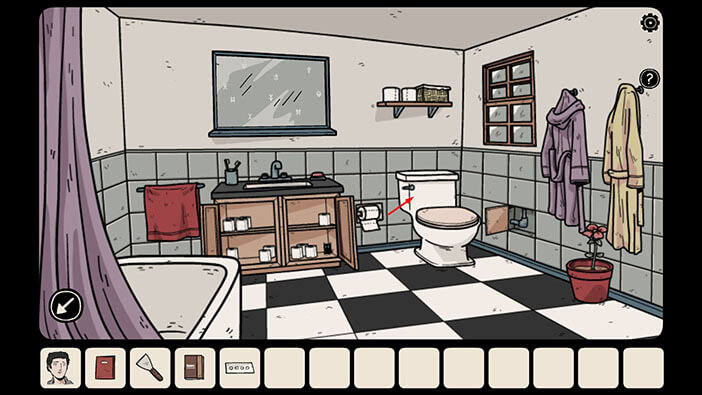
Let’s see if we can use this key to unlock something. Tap on the first door on the right to go into the bathroom.
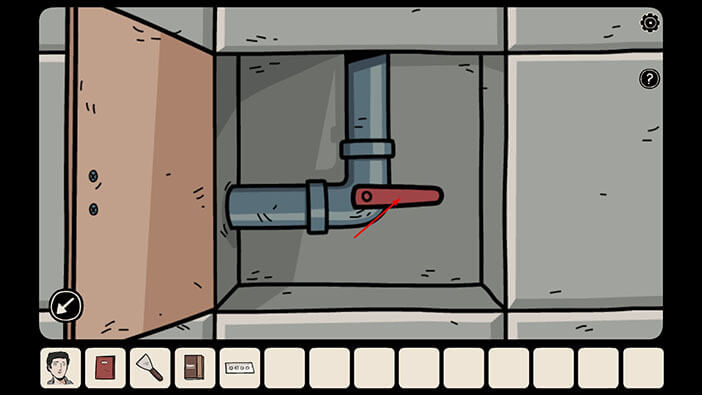
Tap on the yellow tile, next to the toilette, to take a closer look at it.
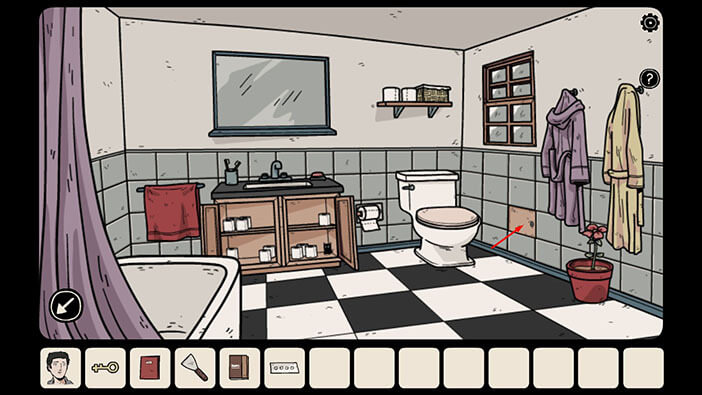
Select the “Yellow key” from the inventory and use it to unlock the small door.
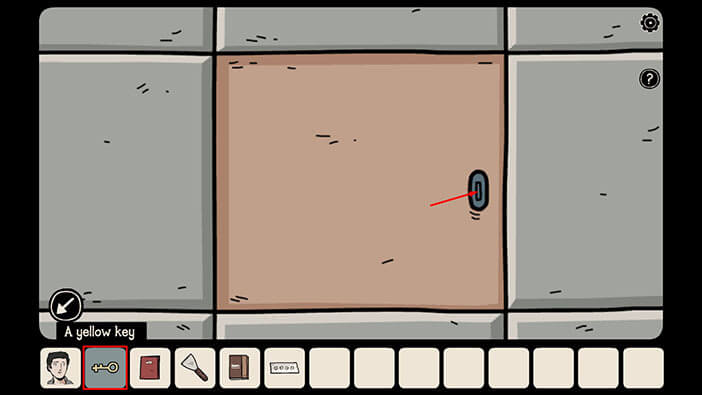
Ok, the red lever regulates the flow of the water, so tap on it to turn on the water in the bathroom.
After that, tap on the arrow in the lower left corner to go back.
Let’s take a closer look at the sink.

Tap on the red handle on the left to turn on the hot water.
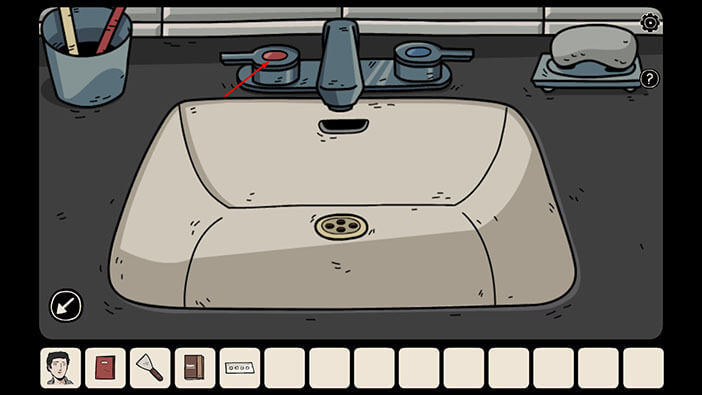
The hot water will create a lot of steam, and some markings will appear on the mirror above the sink.
Let’s switch characters. Tap on Bastian’s portrait in the lower left corner.

Ok, let’s head towards the bathroom. Tap on the stairs to approach them, then tap again to go upstairs.
Tap on the first door on the right to go into the bathroom.
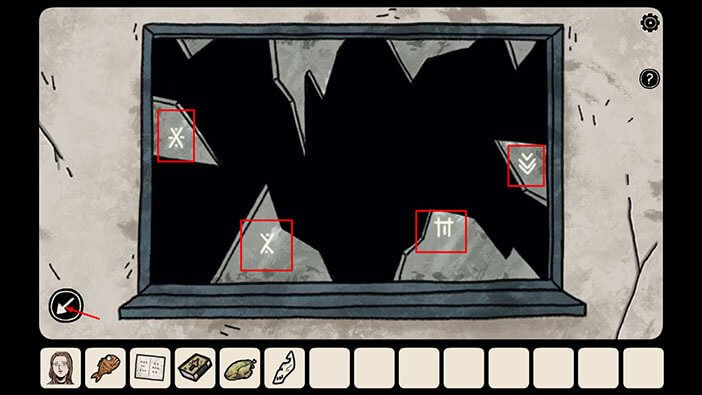
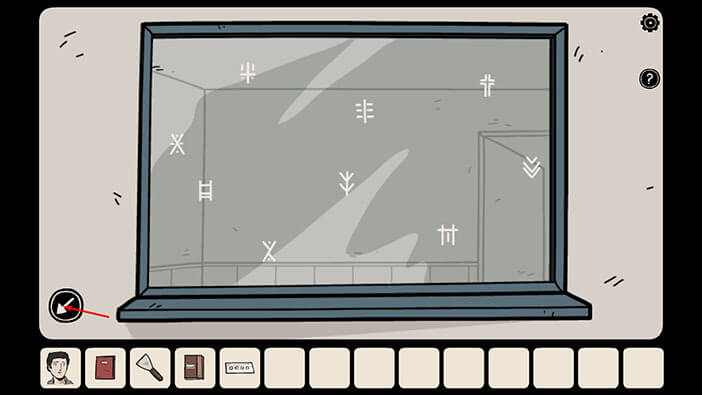
You will notice that the mirror above the sink is broken in the Bastian’s dimension, but there are still a few shards of the mirror left. Let’s examine the broken mirror.

Ok, we can see that four symbols also appeared on the mirror in Bastian’s dimension. Memorize/write down these symbols, starting from left to right, because we will need this information for the next puzzle.
Once you’re done, tap on the arrow in the lower left corner to go back.
NOTE: This is one of the randomized puzzles, and the symbols on the mirror will change with each playthrough.
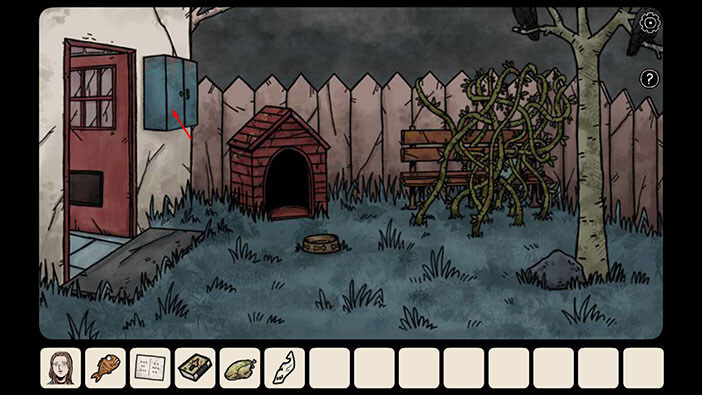
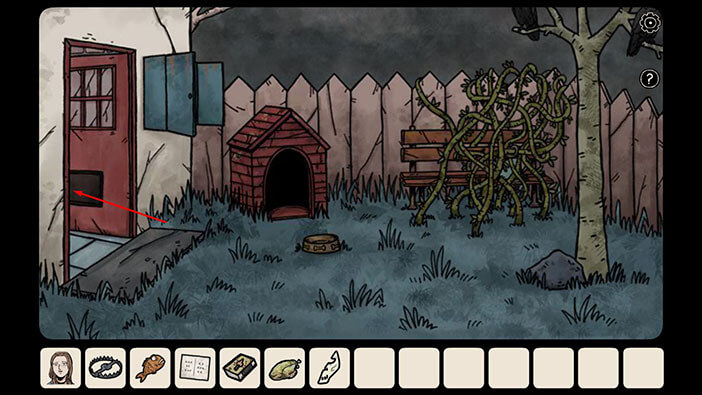
Ok, we can use the combination of symbols that we discovered to unlock the padlock in the dog house. So, let’s head outside. Tap on the arrow in the lower left corner to go back.

Tap on the stairs to go back to the first floor.
Tap on the arrow in the lower left corner to go into the living room.

Tap on the doorway in front of you to go into the next room.
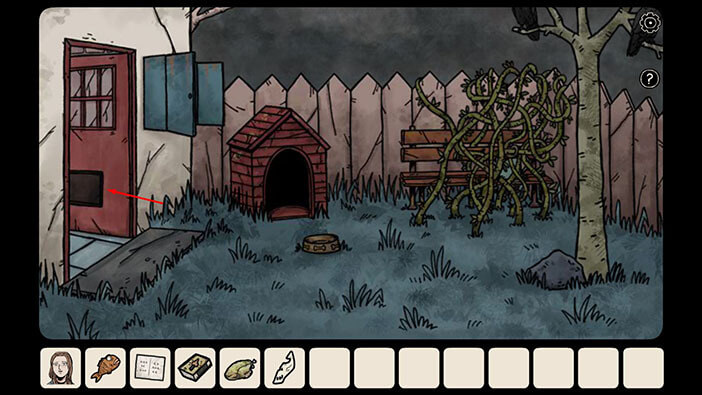
Tap on the door on the right to go outside.

Tap on the dog house to take a closer look at it.
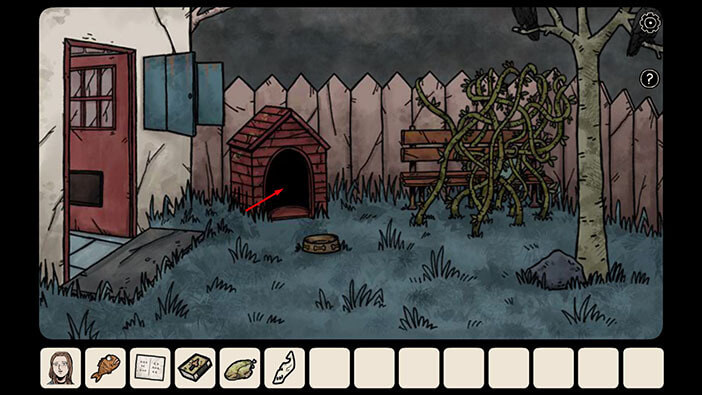
Next, tap on the padlock to start the interaction.
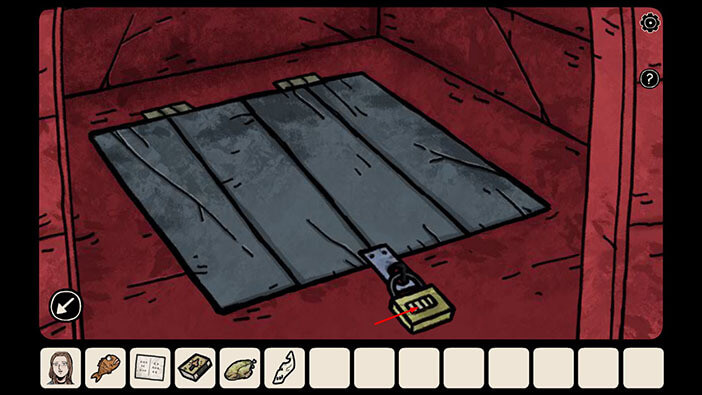
Enter the combination of symbols that we discovered on the broken mirror in the bathroom.
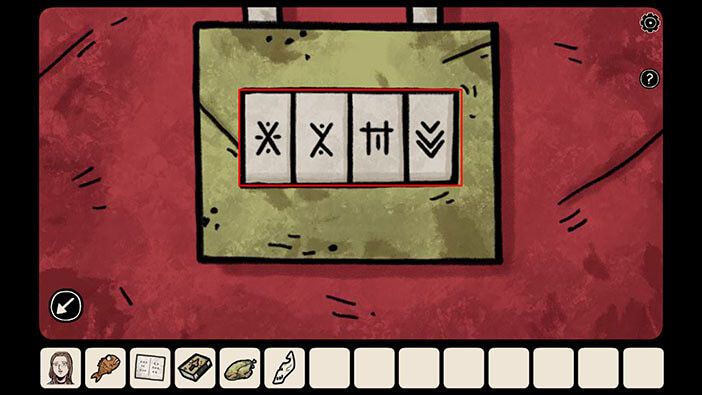
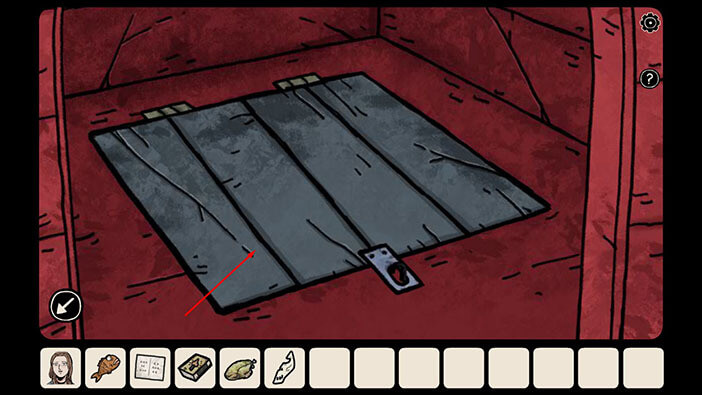
As soon as you enter the correct combination, you will unlock the padlock. Tap on the trapdoor to open it.
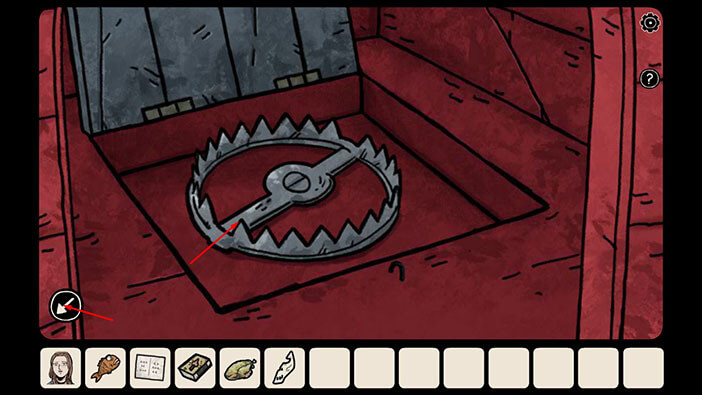
Inside the secret compartment, you will find a “Bear trap”. Tap on it to pick it up.
After that, tap on the arrow in the lower left corner to go back.
Ok, here’s the plan. There’s some kind of an octopus monster below the toilet in the bathroom. So, we will set a trap for it. Let’s head into the bathroom. Tap on the front door to go inside.
Tap on the arrow at the bottom of the screen to go into the living room.
Tap on the stairs to approach them, and tap again to go to the second floor.
Tap on the first door on the right to go into the bathroom.

Select the “Bear trap” from the inventory and set it next to the hole on the right (where the toilette should be).
Ok, in order to force the monster out of the hole, we will have to switch characters. So, tap on Carissa’s icon in the lower left corner.
We are still standing in front of the mirror, so tap on the arrow in the lower left corner to go back.
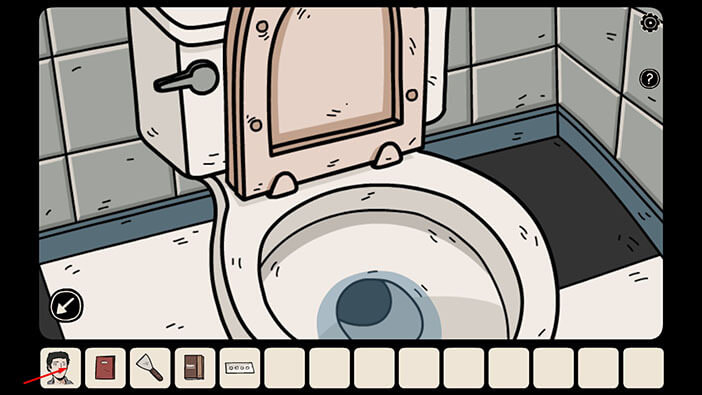
Tap on the toilet to take a closer look at it.
Tap on the lever to flush the water.
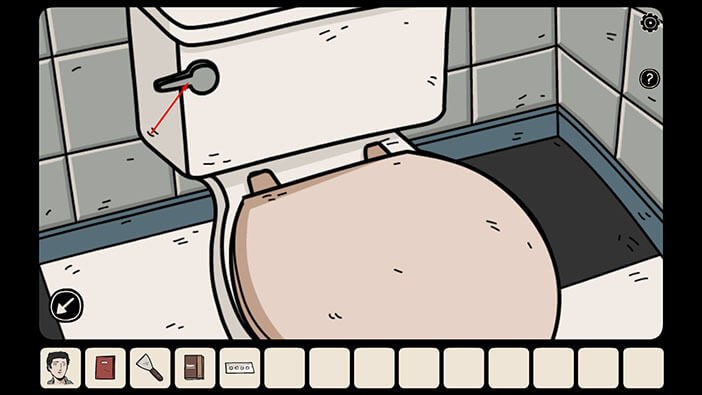
The water will force out one of the tentacles in Bastian’s dimension, and it will fall into a bear trap, which will cut it in half.
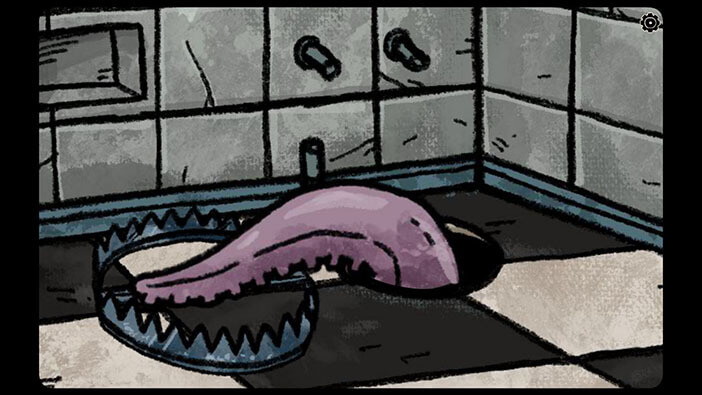
Ok, now let’s switch back to Bastian’s dimension. Tap on his icon in the lower left corner.
Tap on the “Part of the tentacle” to pick it up, and it will be added to your inventory.
After that, tap on the arrow in the lower left corner to go to the hallway.

Let’s see what we can find further down the hallway. Tap on the arrow on the right to proceed.

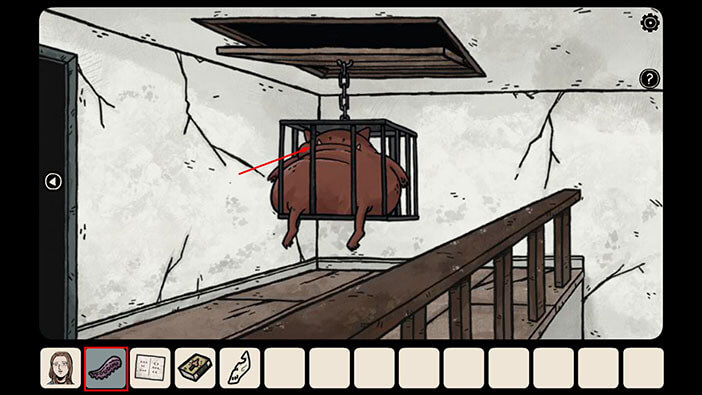
Well, here we see some fat monster in the cage. If you recall, we previously saw a hint about feeding the monster.
So, select the “Rotten chicken” from the inventory and use it to feed the monster.
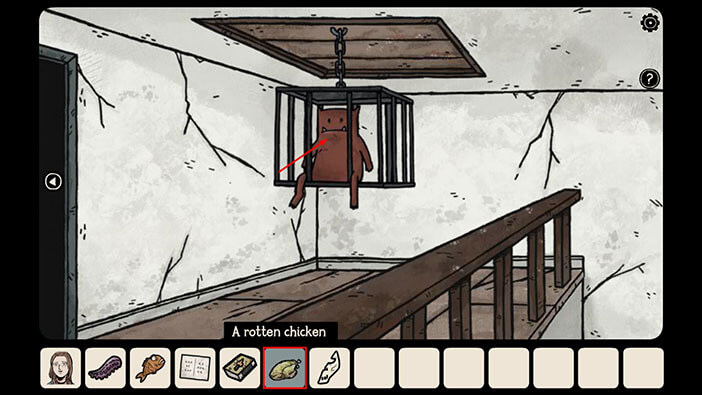
The monster will gain some weight and the attic hatch will slightly open under the increased weight.
Next, select the “Fish” from the inventory and use it to feed the monster.
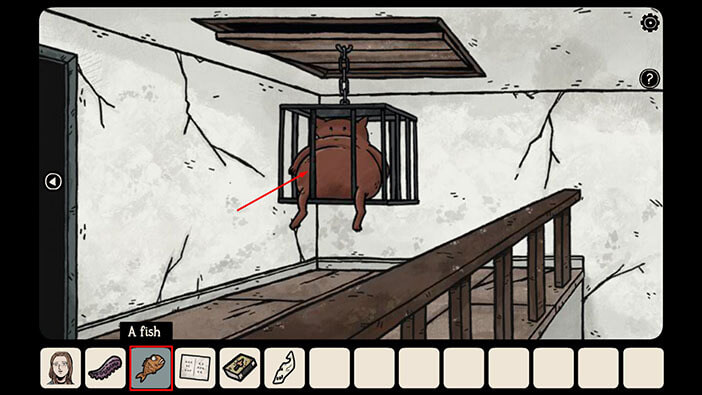
The monster gain a bit more weight, and the attic door opened up a bit more.
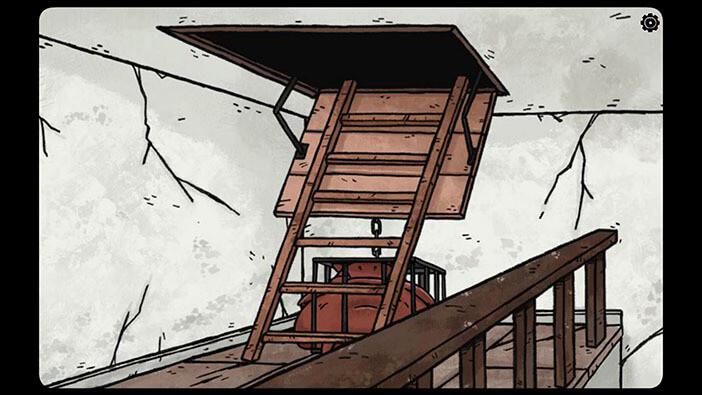
Lastly, select the “Tentacle” from the inventory and use it to feed the monster.
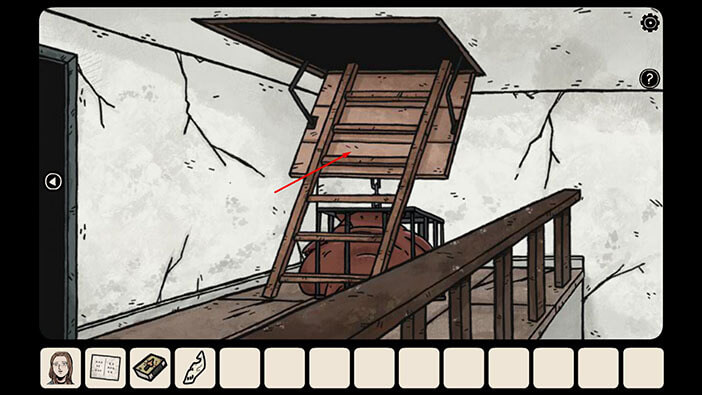
The attic hatch is now completely open because the monster gained even more weight and pulled it down. Also, the ladders are now down, so we have easy access to the attic. Besides that, opening the attic hatch in Bastian’s dimension, also opened the attic in Carissa’s dimension.
Tap on the ladder to proceed to the attic.
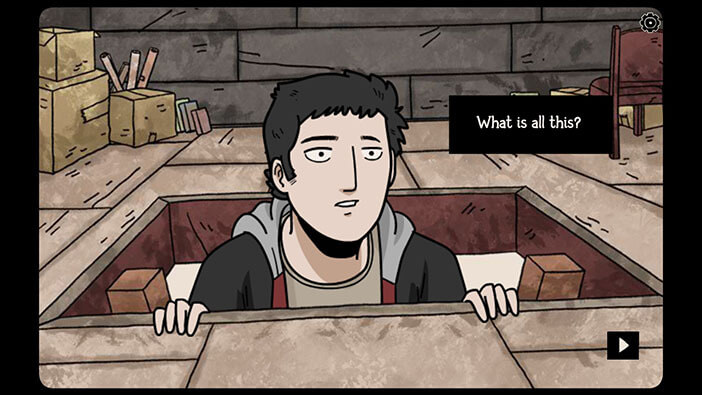
Both Bastian and Carissa decided to climb up and explore the attic.
However, at this moment, Carissa heard a doorbell, and she presumed that the Seer has finally arrived to help her.
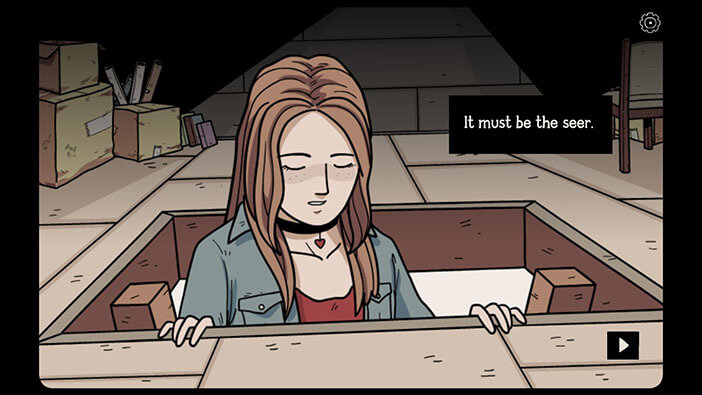
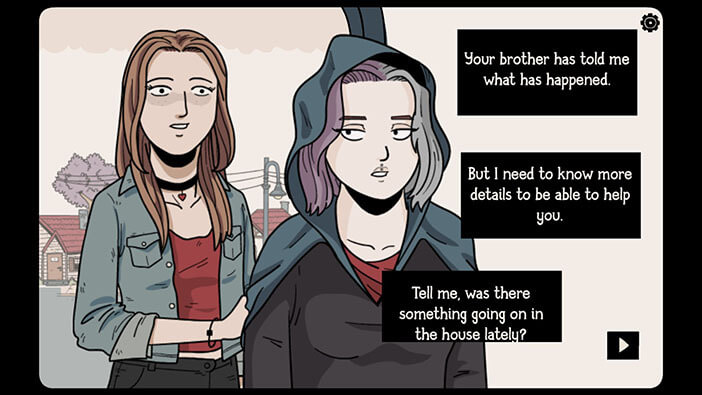
Lou the Seer explained that Liam, Carissa’s brother, has already told her everything that he knew, and she suspects that the house or someone in the house is probably cursed. However, before she can make a final conclusion she needs a bit more information. She’s particularly interested in the strange events that occurred during the last few days.
Carissa explains that they always felt like somebody was watching them, and they started seeing unnatural shadows in the house. Additionally, Bastian was constantly anxious and he had nightmares every night.
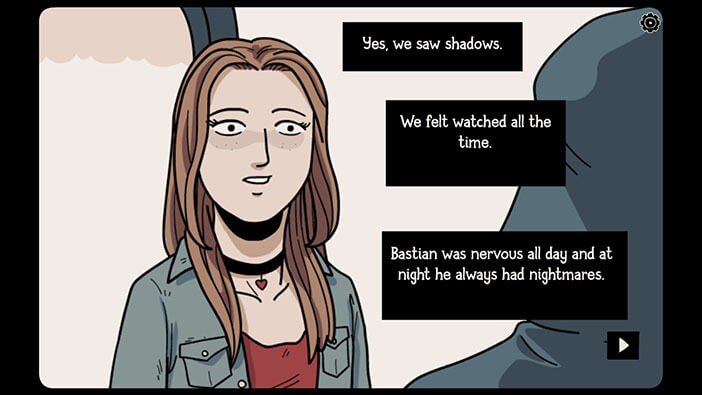
Lou believes that Bastian was cursed. Carissa confirmed this, and she told Lou about the confession that Bastian made several nights ago.
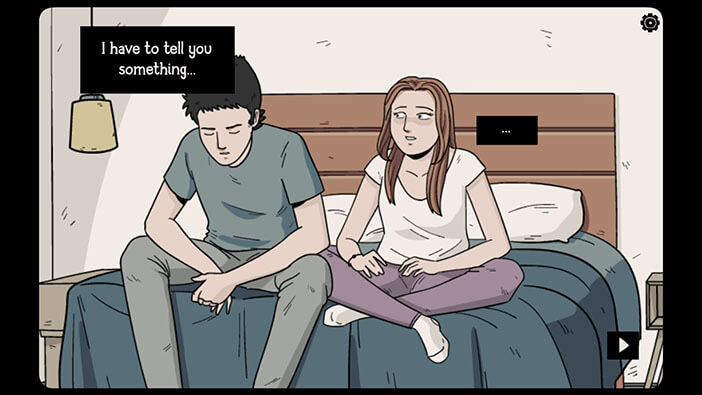
Bastian confessed that everything was his fault. Carissa was confused, but Bastian figured out that he was cursed, and decided to tell Carissa about the strange events that occurred one day when he was a kid.

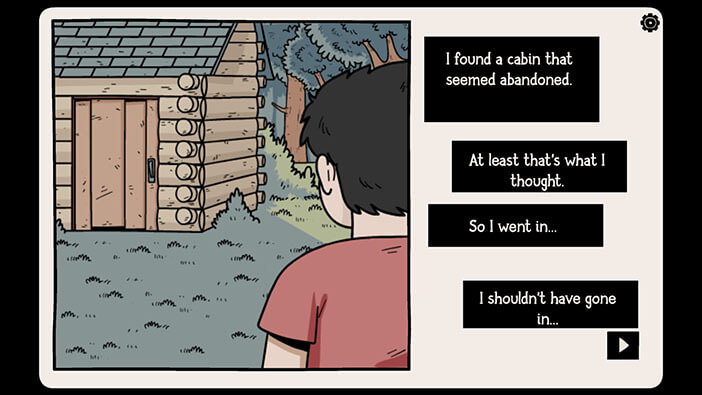
So, when he was just a kid, one day, Bastian was playing in the forest, and he discovered an abandoned hut. Well, at least he thought so…
We will have to end the second part of our walkthrough here. Join us in the third part of the walkthrough, in which we will explore the events that happened in Bastian’s childhood, and possibly uncover the root of this curse.
Thank you for reading.