Another Shadow | Part IV
Hello everyone and welcome to Part 4 of our walkthrough for “Another Shadow” an escape room game created by the Dark Dome. Another Shadow is the sixth game in the series, and like the other games, the story is set in Hidden Town, which is filled with all kinds of mysteries. In this walkthrough, we will show you how to solve all the puzzles and finish the game.
NOTE: Some puzzles will CHANGE with each playthrough, but the logic behind solving the puzzles will always remain the SAME. For example, in one playthrough a code to open a safe could be 1234, and in another playthrough, the code could be 4321. However, you will always discover the numbers for the code at the same location and by using the same hints.
NOTE: At the end of the third part, we discovered the root of the curse, by revisiting the events that occurred when Bastian was a young boy. In short, he found an abandoned house in the middle of the forest. However, the house was cursed, and after solving multiple puzzles, Bastian discovered a secret room, which was home to some otherworldly being. The demon cursed Bastian, and “reserved” him as a slave in a dark dimension, once he turns 33. The Seer came back and informed Carissa that there is a way to save Bastian, but it requires two keys, one from our world and the other from the parallel dimension of Penumbra. So, both Carissa and Bastian will have to find a version of this key in their respective dimensions.
Ok, let’s continue. Before the Seer came and we went back into the past to play as young Bastian, we were about to explore the attic, in both dimensions. Yeah, it was a while back. Anyway, let’s head to the attic.
Tap on the stairs to approach them, and tap again to go to the second floor.

Tap on the arrow on the right to go to the other side of the hallway.
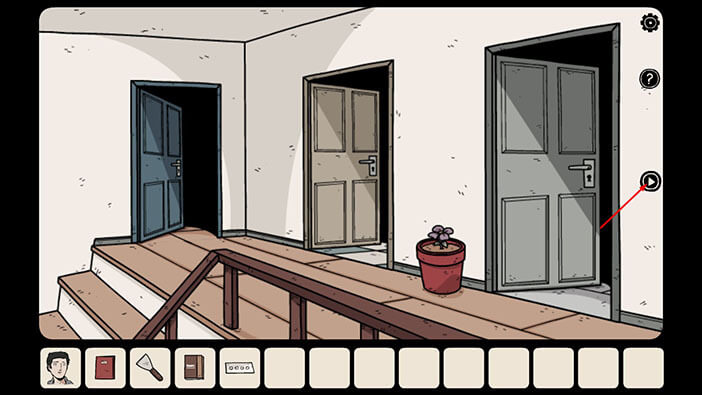
Tap on the ladder to go to the attic.
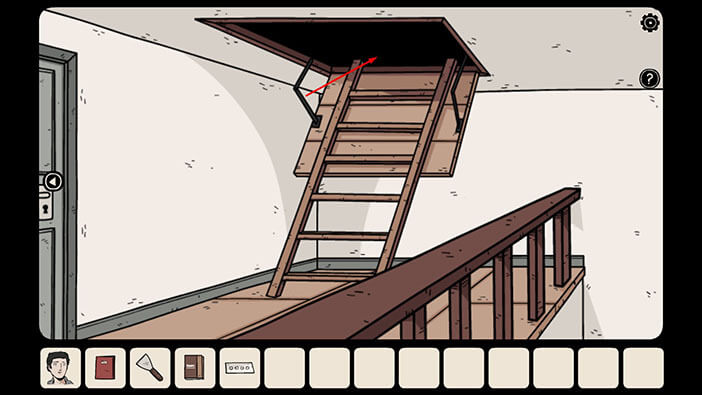
Ok, here we have a new room, so let’s explore it. Tap on the cabinet on the left to take a closer look at it.
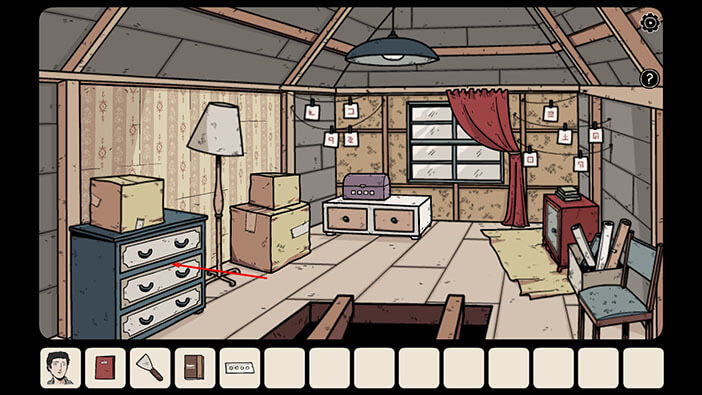
Tap on the top drawer to open it, and tap again to look inside.
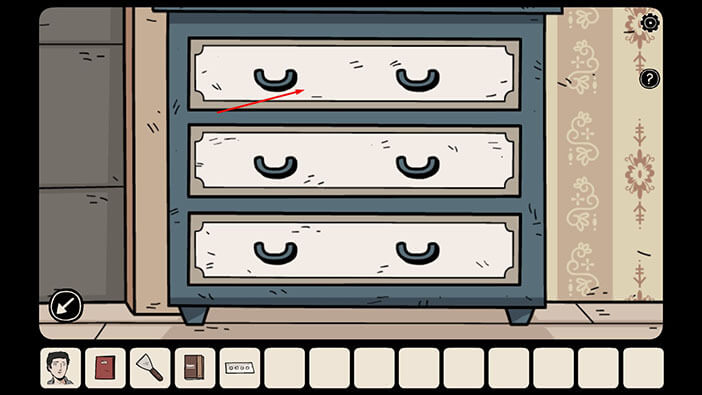
Tap on the notebooks to move them aside.
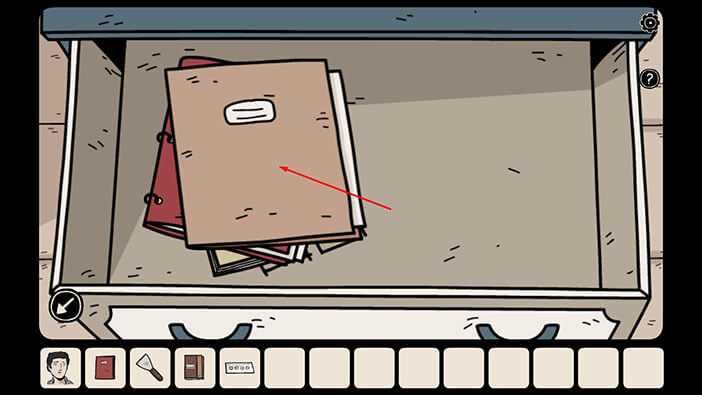
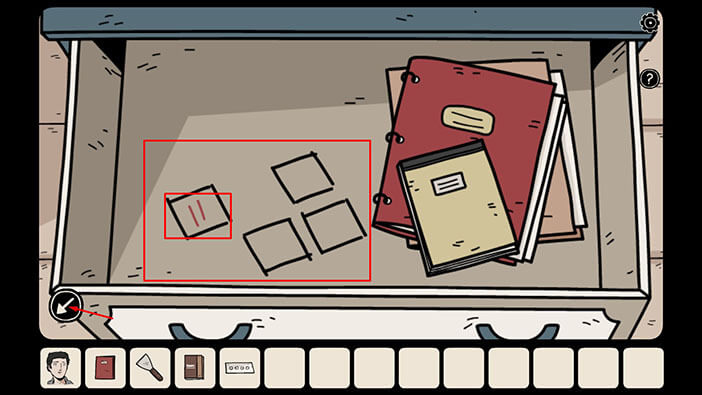
Below the notebooks, you will see a pattern of four squares. In the square in the upper left corner, we can see two red lines. Memorize/write down the pattern/number of the squares, and the square which has red lines inside it because we will need this information for the following puzzle. So,
The square in the top left = two red lines.
Once you’re done, tap on the arrow in the lower left corner to go back.
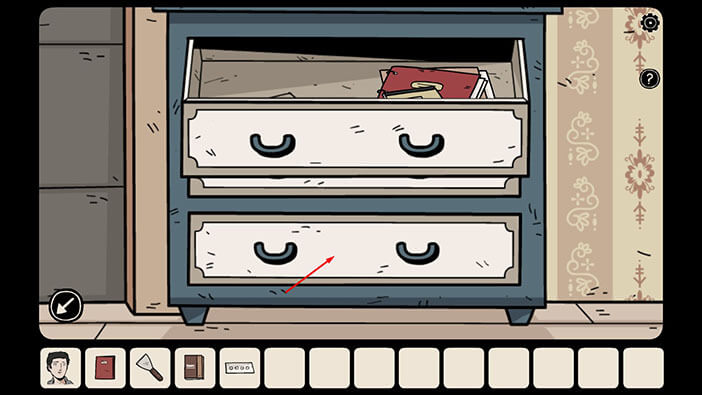
Next, tap on the bottom drawer to open it and tap again to look inside.
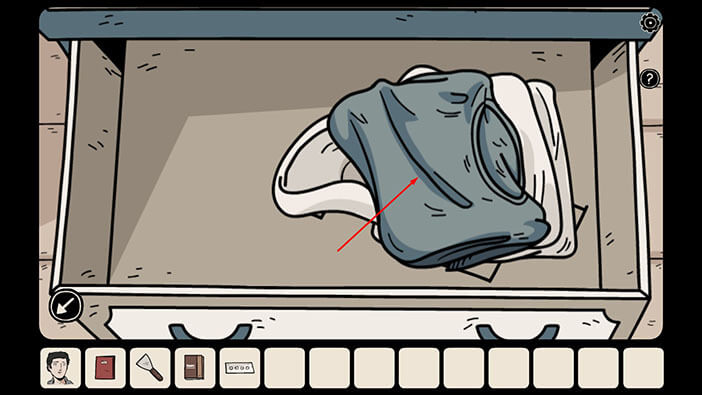
Tap on the clothing on the left to move it aside.
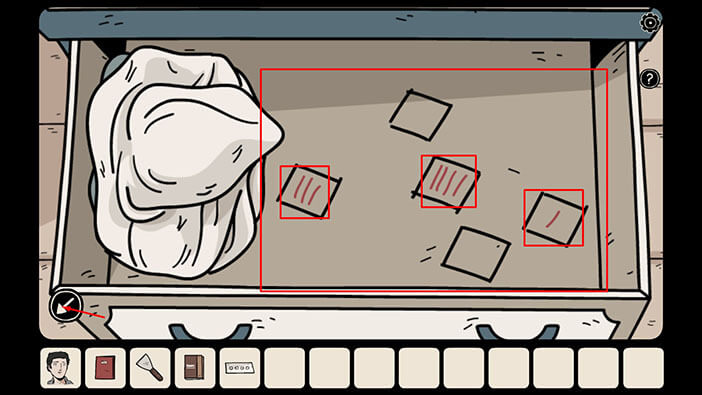
Below the clothing, you will see a pattern of five squares. This time, we can see that three squares have red lines inside. Just like before, memorize/write down the pattern/number of the squares, and the squares which have red lines inside them because we will need this information for the following puzzle. So,
The square on the right = one red line
The square in the bottom left = three red lines
The square in the middle = four red lines
Once you’re done, tap twice on the arrow in the lower left corner to go back.
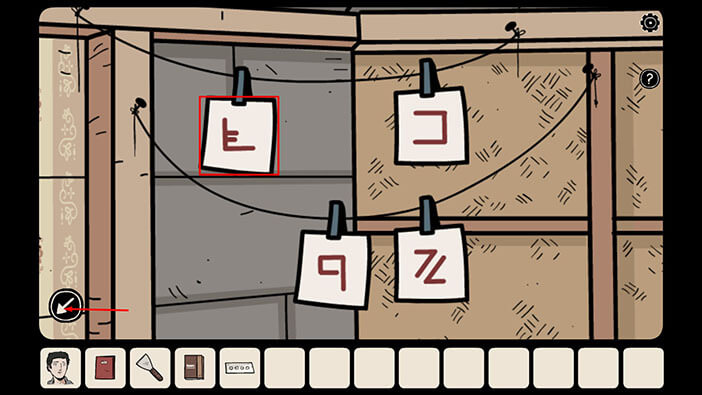
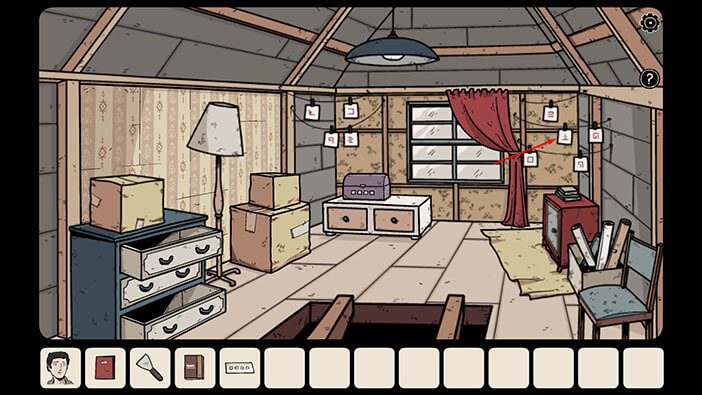
Ok, in this room, we can also see two groups of squares with some symbols. On the left, we have a group of four squares, and on the right, a group of five squares. First, let’s tap on the group on the left.

So, here we have four squares, so the number and the pattern matches the pattern which we saw in the top drawer. When we were looking at the drawing in the drawer, the square in the top left had two red lines inside. The number of lines represents the order of the symbol in the square.
Now, we just have to memorize/write down the symbol inside this square, because it represents a part of the solution for the next puzzle (the second out of four symbols).
Once you’re done, tap on the arrow in the lower left corner to go back.
Next, tap on the squares on the right to take a closer look at them.
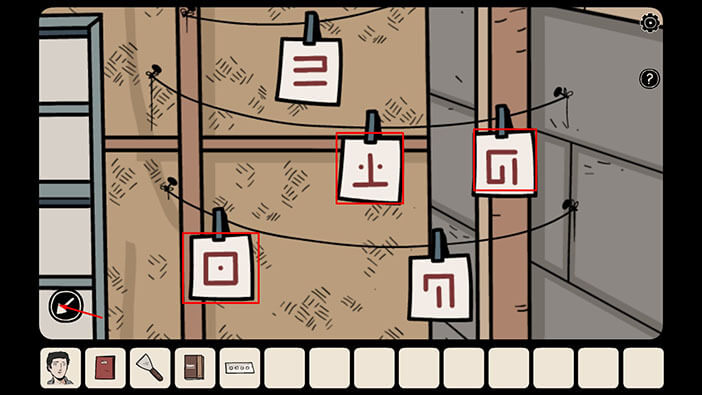
Here, we have 5 squares and the pattern matches the drawing which we saw in the bottom drawer. But, there we had three squares, so let’s memorize/write down the symbols inside the squares at this position. So, we had
The square on the right = one red line (first symbol)
The square in the bottom left = three red lines (third symbol)
The square in the middle = four red lines (four symbols)
Once you’re done, tap on the arrow in the lower left corner to go back.
Ok, now, tap on the purple chest on the left to take a closer look at it, and tap again to start the interaction.

Enter the combination of symbols that we discovered inside the squares.
NOTE: This is one of the randomized puzzles, so the solution will change with each playthrough. If you are struggling, follow the steps we took in this walkthrough to solve this puzzle.
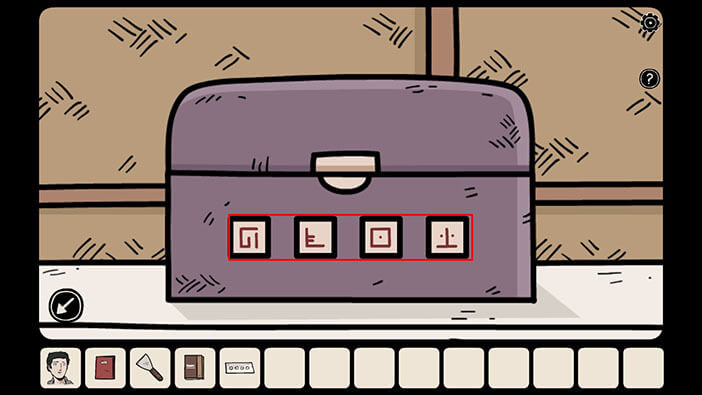
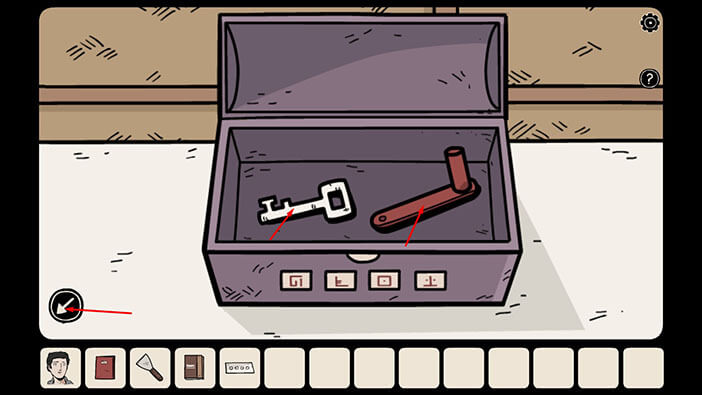
As soon as you enter the correct combination of symbols the box will open. Tap on the items inside to pick them up and a “Crank” and a “White key” will be added to your inventory.
After that, tap twice on the arrow in the lower left corner to go back.
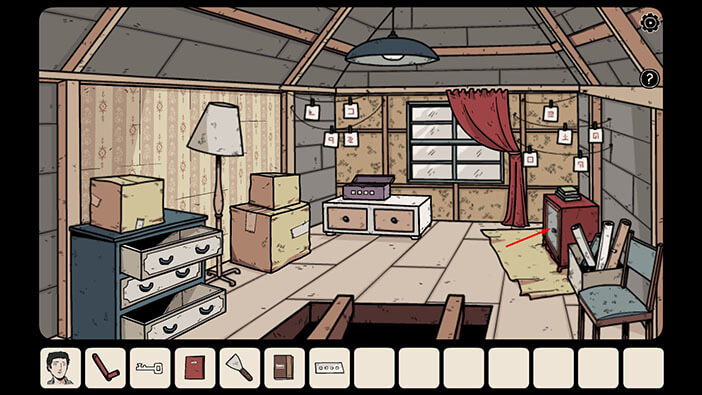
Next, tap on the safe on the right to take a closer look at it.
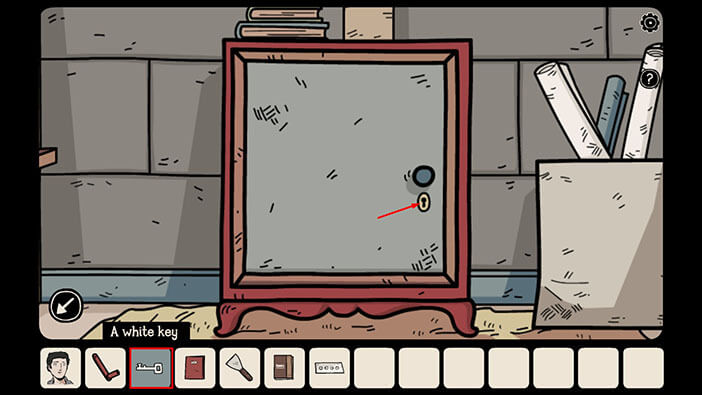
Select the “White key” from the inventory and use it to unlock the safe.
Tap on the box inside the safe to take a closer look at it.
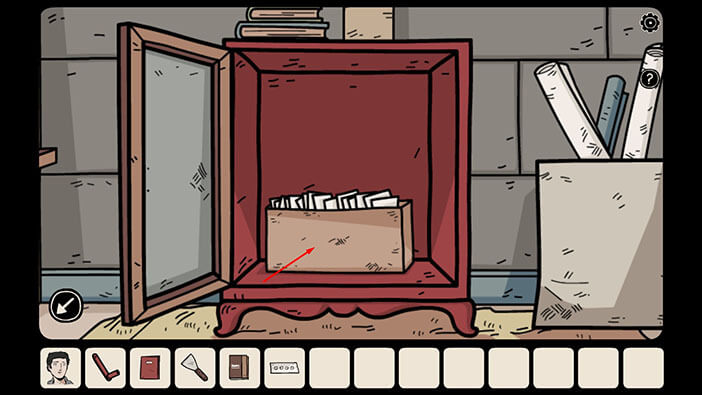
Carissa will find a photo of the woman, standing in this attic. By looking at the background, Carissa immediately noticed that the wallpaper isn’t present in the photo, and she suspects that something might be hidden behind it.
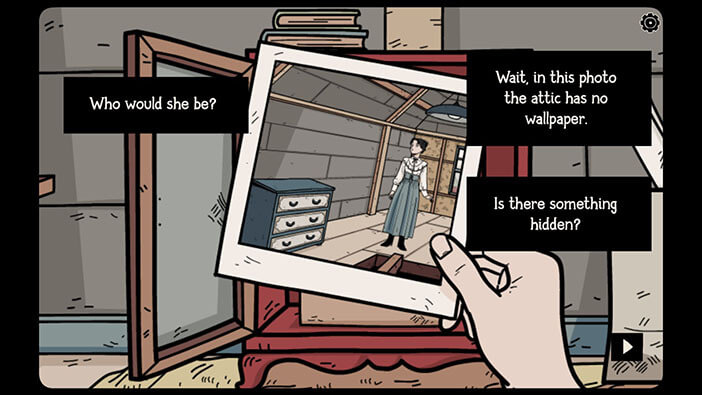
So, Carissa decided to move aside the furniture and the boxes that were directly in front of the wallpapers.
Select the “Metal spatula” from the inventory and use it to remove the wallpapers.
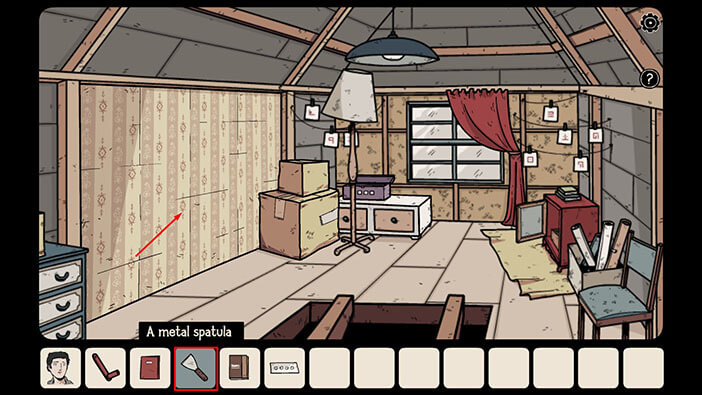
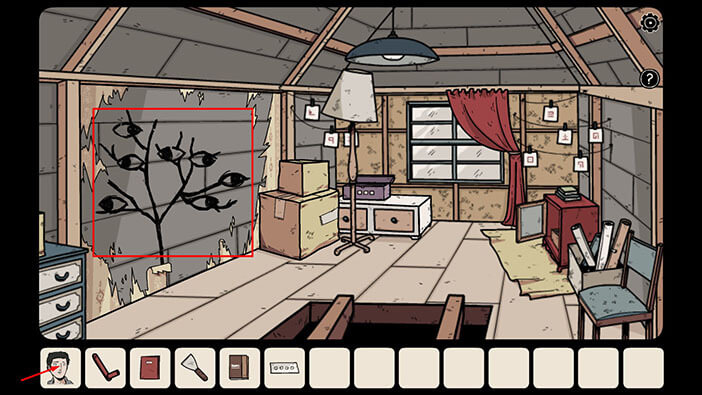
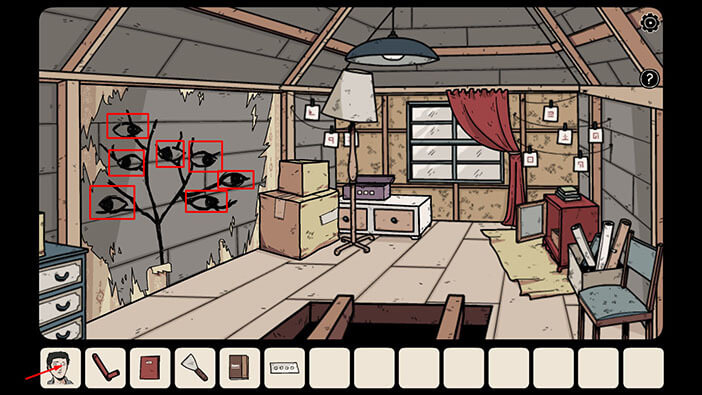
Well, the drawing of the tree with seven eyes was hidden below the wallpaper. This information isn’t important at the moment, but we will take another look at this drawing a bit further down the line because it represents a hint for one of the puzzles. For now, just take note of it.
Ok, it’s now time to switch characters. Tap on Bastian’s icon in the lower left corner.
Well, we also didn’t have the chance to explore the attic in Bastian’s dimension, so let’s do that now. Tap on the ladders to go to the attic.

Ok, let’s explore the attic in Bastian’s dimension. Tap on the boxes on the left to take a closer look at them. After that, tap on the top box to open it.
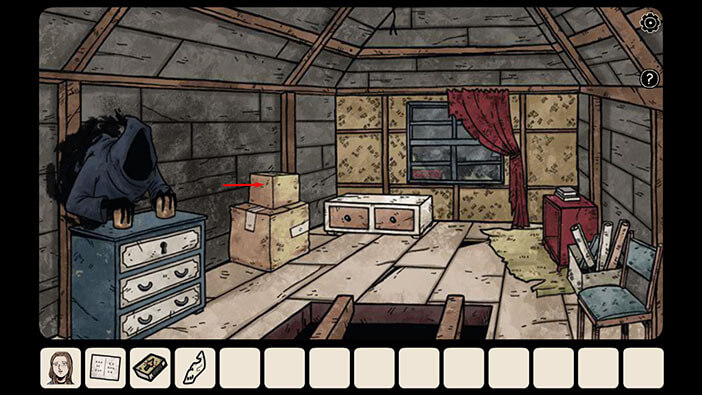
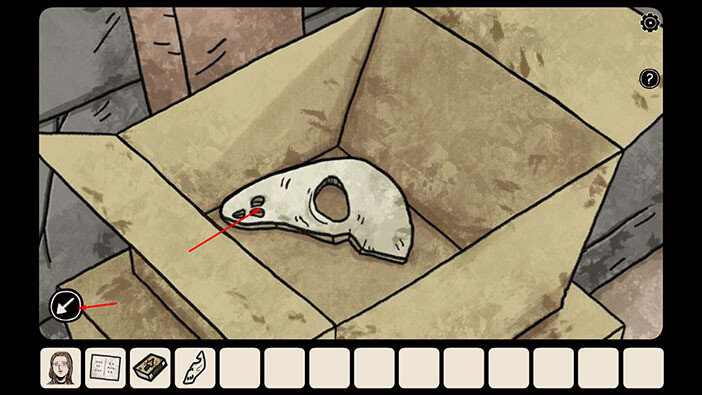
Tap on the item in the box to pick it up, and a “Half of a strange mask” will be added to your inventory.
After that, tap on the arrow in the lower left corner to go back.
Next, tap on the shadow on the left to examine it.
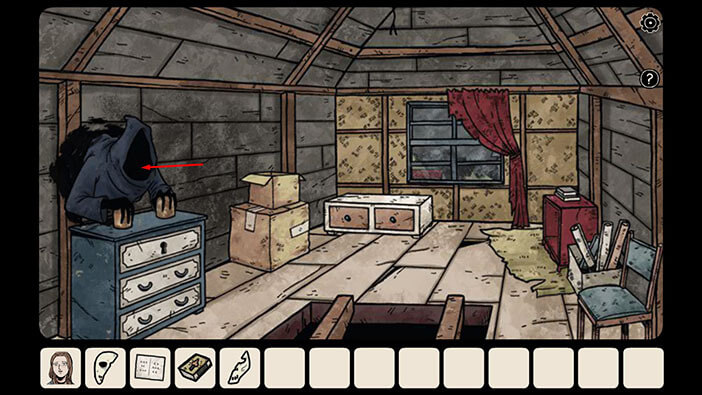
Select a “Half of a strange mask” from the inventory and put it on the shadow’s face.
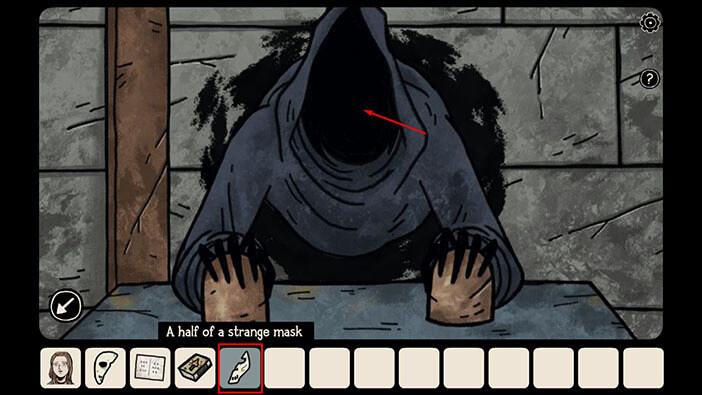
The shadow will lift one cup. Select the other “Half of a strange mask” from the inventory and put it on the shadow’s face.
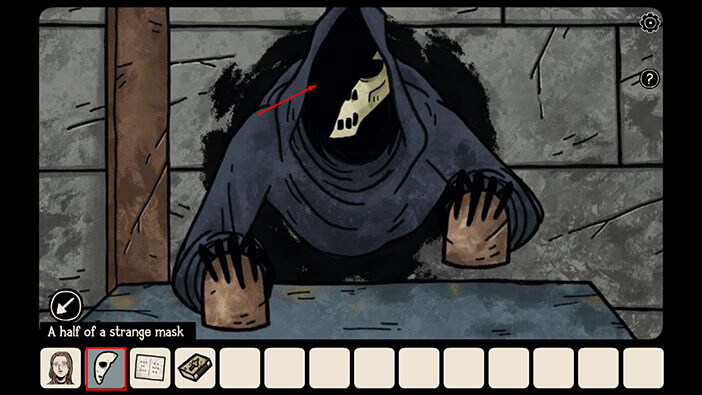
The shadow will lift the other cup and below it, you will see a key. Tap on it to pick it up and a “Yellow key” will be added to your inventory.
After that, tap on the arrow in the lower left corner to go back.
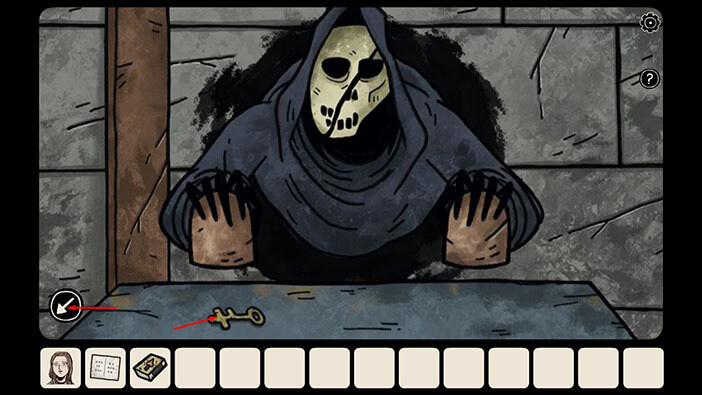
Next, tap on the cabinet below the shadow, to take a closer look at it.

Select the “Yellow key” from the inventory and use it to unlock the top drawer. After that, tap on the top drawer to open it.
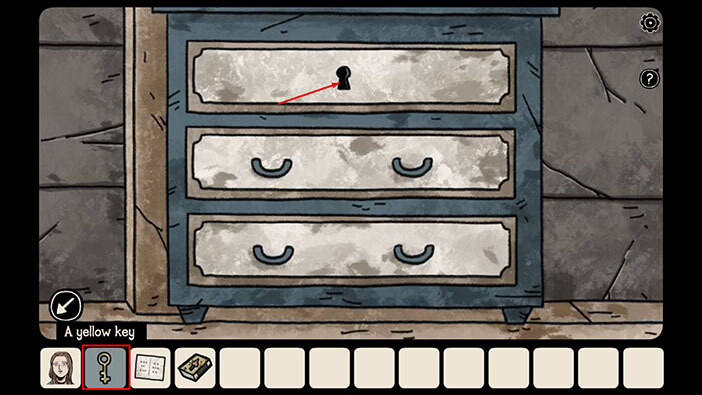
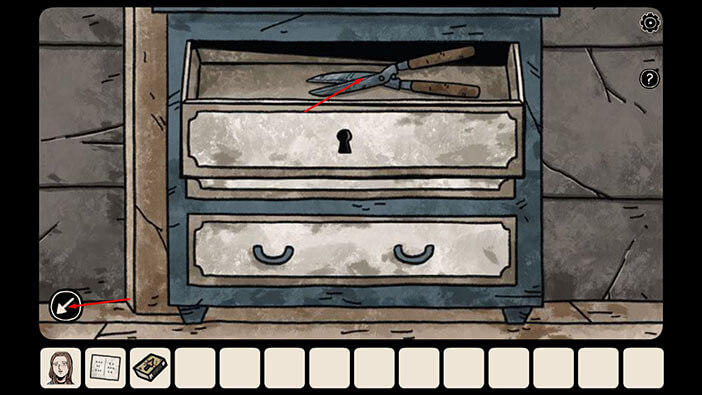
Inside the drawer, you will find a “Pair of gardening sheers”. Tap on them to pick them up.
After that, tap on the arrow in the lower left corner to go back.
Next, tap on the window to approach it, and tap again to open it.

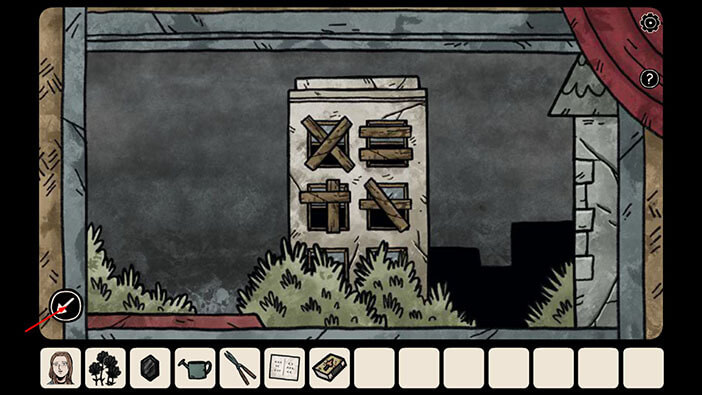
On the building outside we can see four boarded windows. For now, just take note of these windows because they will be important for one of the puzzles later down the road.
Tap on the arrow in the lower left corner to go back.
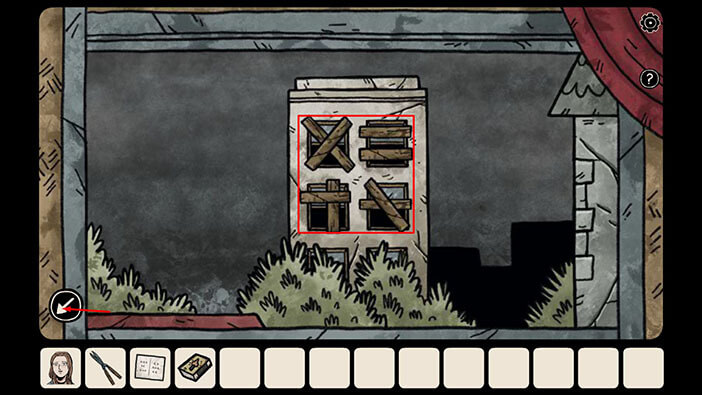
Ok, that’s it for the attic. We should now head to the backyard, and use the sheers to cut down some vines. So, tap on the trapdoor to go back to the second floor.
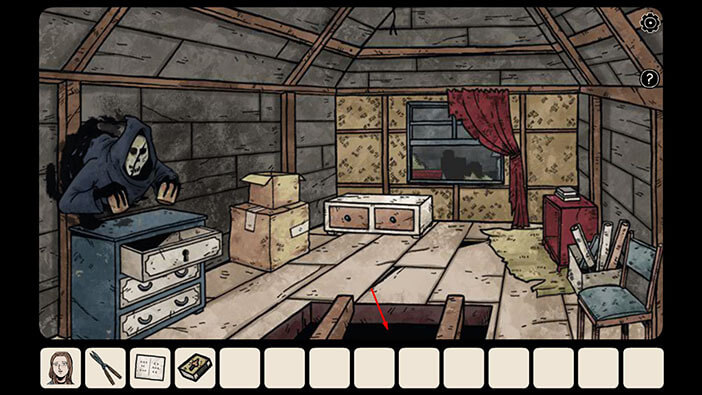
Tap on the arrow on the left to go to the other side of the hallway.
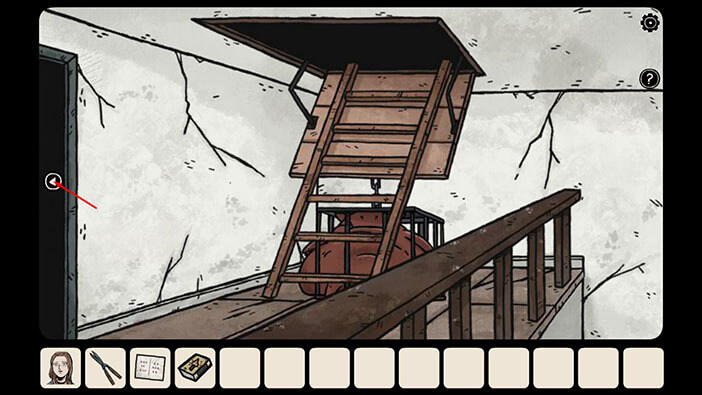
Tap on the stairs to go to the first floor.
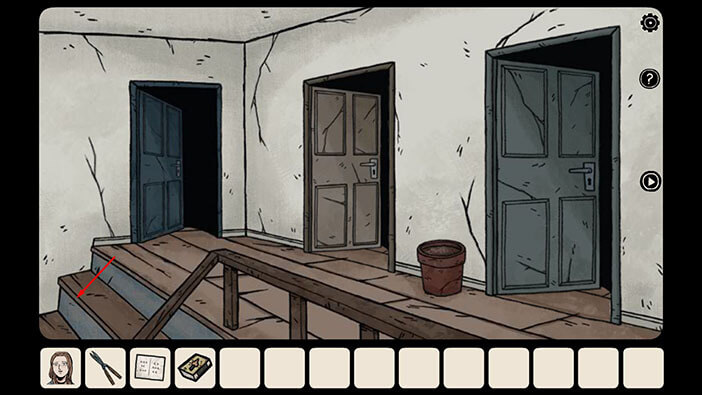
Tap on the arrow in the lower left corner to go to the living room.
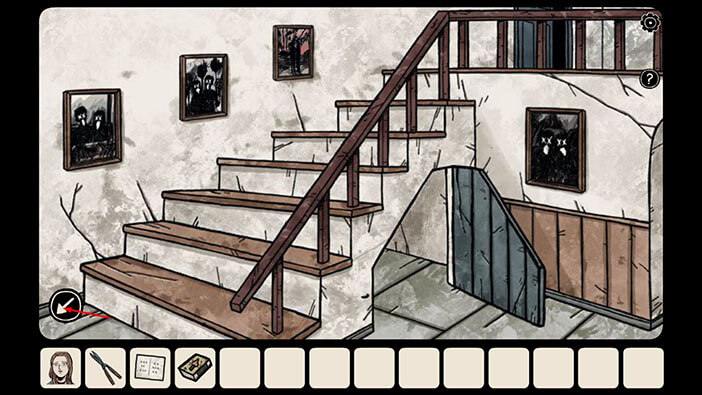
Tap on the doorway to proceed to the next room.
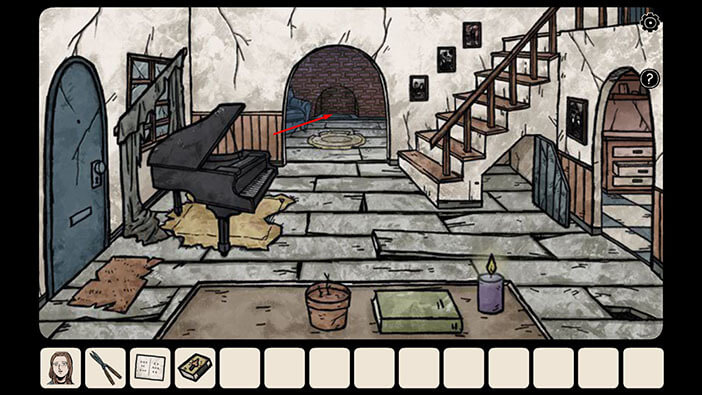
Lastly, tap on the door on the right, to go outside.
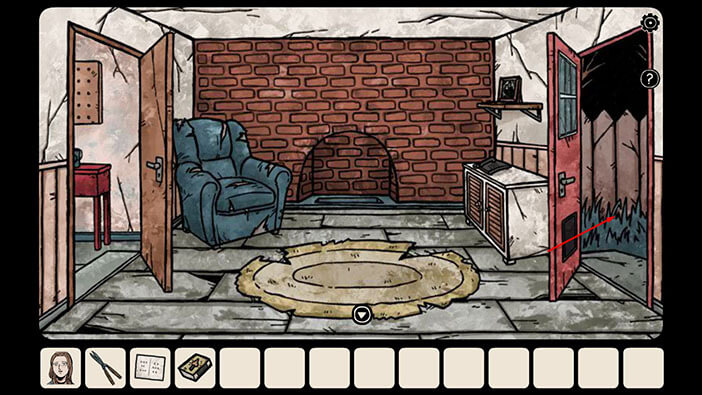
Select the “Pair of gardening sheers” from the inventory and use them to cut down the vines around the bench.
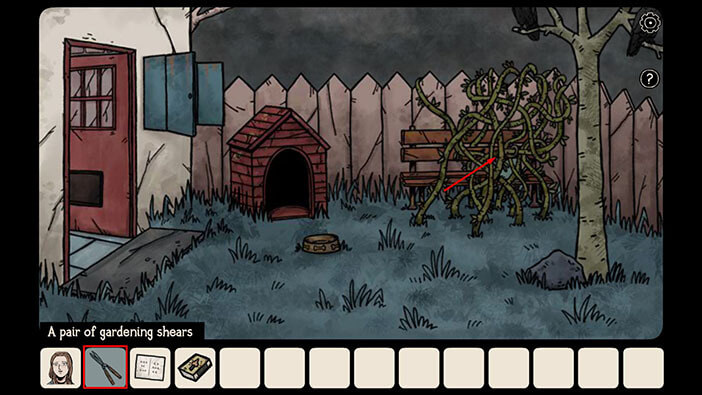
After cutting down the vines, we can see a “Watering can” which was previously unreachable. So, tap on it to pick it up.
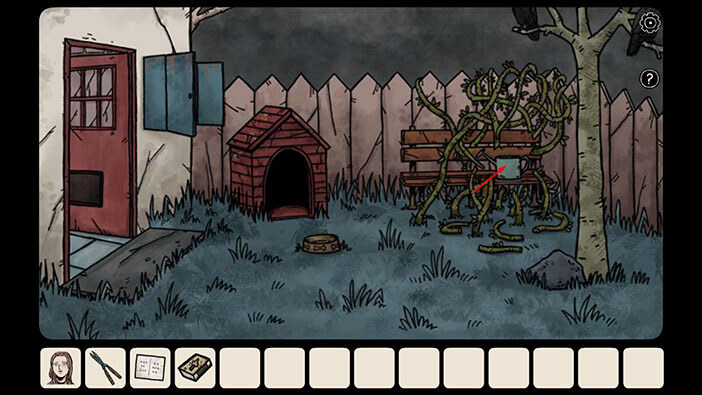
Next, tap on the tree top to take a closer look at it.
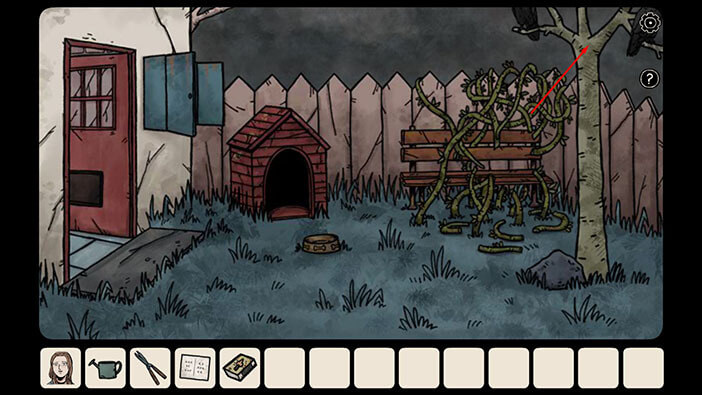
Here, we can see seven crows, and they are arranged in a similar pattern as the eyes which we discovered in Carissa’s world after removing the wallpapers. So, let’s switch characters and examine the drawing with the seven eyes, one more time.
Tap on Carissa’s icon in the lower left corner to switch characters.
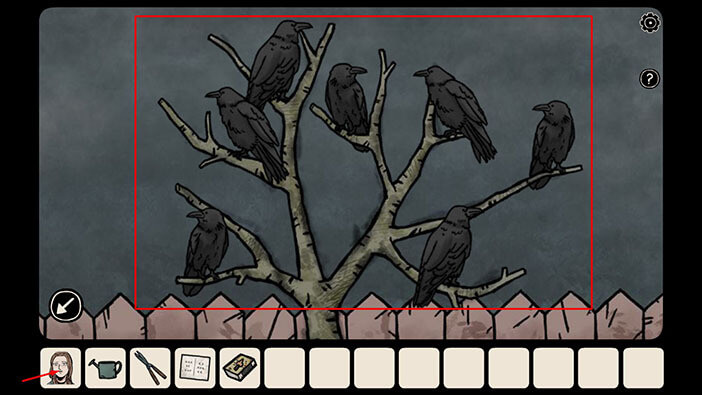
Ok, if you look at the portrait you will notice 3 eyes on the left branch, 1 eye in the middle (or left side of the right branch), and 3 more eyes on the right branch. We should memorize/write down the direction in which each eye is facing because the direction of the crows in Bastian’s dimension should match the direction of the eyes in Carissa’s dimension. So, let’s do that
Eye on top of the left branch = right
Eye in the middle of the left branch = left
Eye at the bottom of the left branch = left
Eye in the middle = left
Eye on top of the right branch = right
Eye in the middle of the right branch = right
Eye at the bottom of the right branch = right
Once you’re done, tap on Bastian’s icon to go back to his dimension.
Tap on the crows to change their facing. The crow’s facing should match the direction in which the eyes on the wallpaper are looking.
NOTE: This is one of the randomized puzzles, so the eyes on the wallpaper might be looking in different directions in your game.
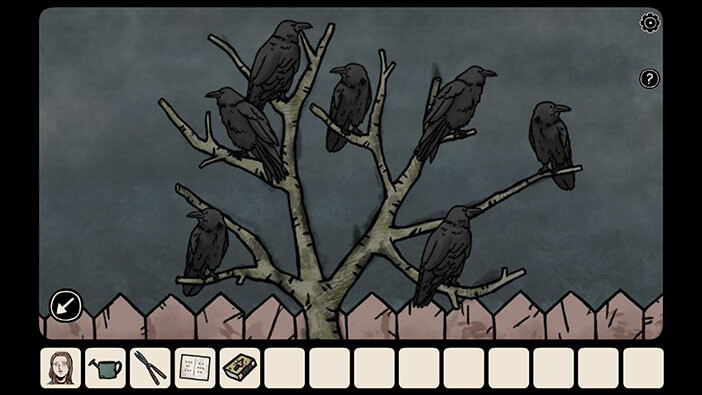
As soon as you correctly set the facing of the crows, the tree trunk will split in half, and an item will appear. Tap on the item to pick it up and a “Black diamond” will be added to your inventory.
After that, tap on the door to go back inside the house.
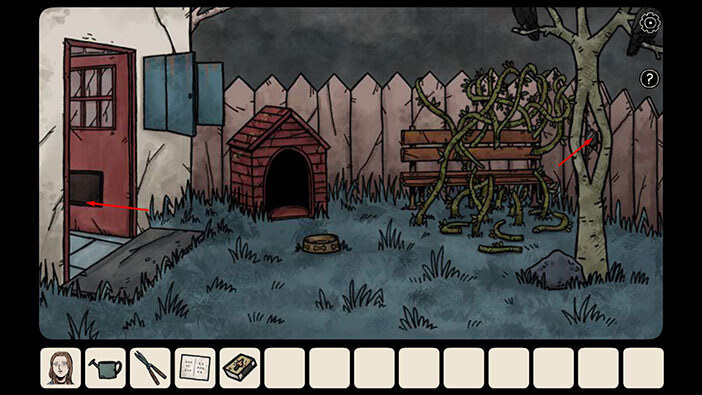
Let’s head upstairs and grow some plants since we now have a “Watering can”. Tap on the arrow at the bottom of the screen to go to the living room.
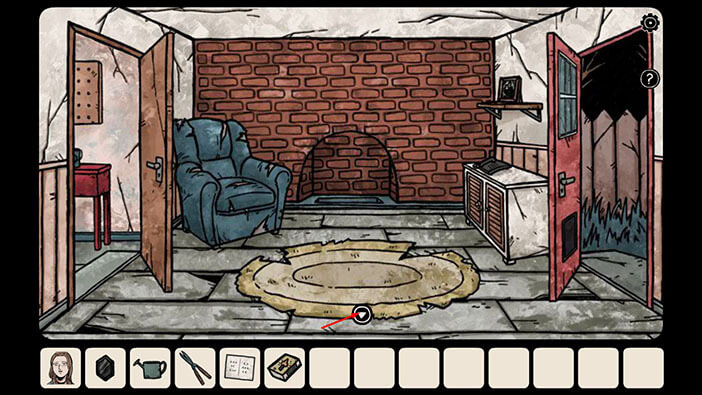
Tap on the stairs to approach them, and tap again to go upstairs.
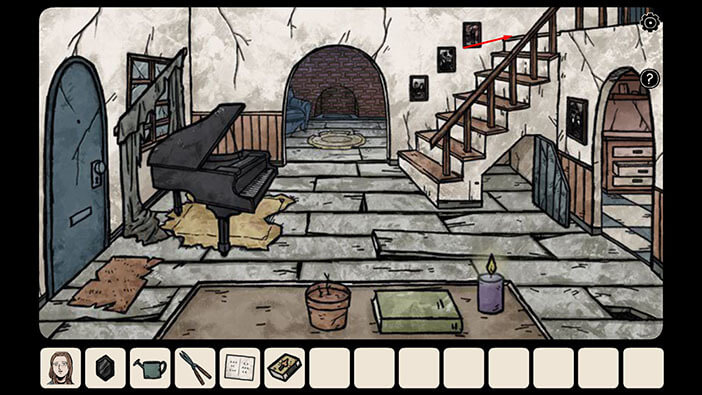
Ok, we should now check the size of the flowers in the pots in Carissa’s dimension, before watering them in Bastian’s dimension. So, let’s do that.
Tap on Carissa’s icon in the lower left corner to switch characters.
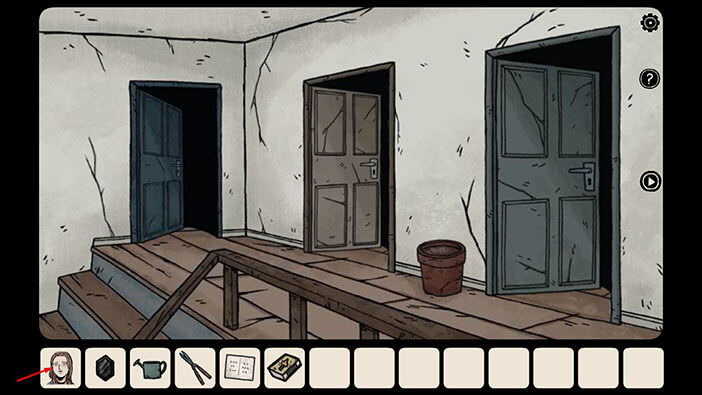
Tap on the trapdoor to go downstairs.
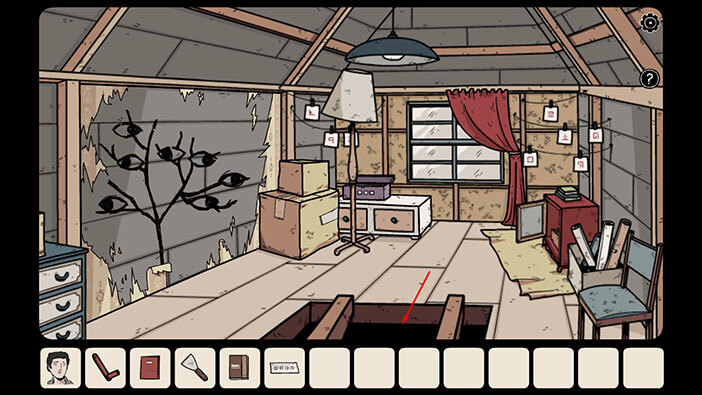
Tap on the arrow on the left to go to the other side of the hallway.
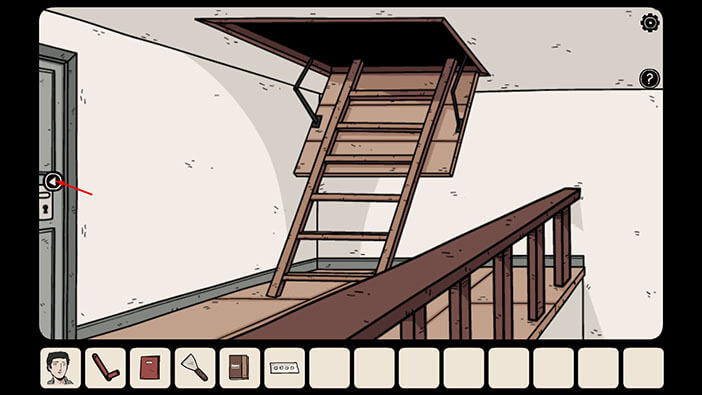
We can see that the flower in this pot is really small, so one watering should do the trick.
Tap on Bastian’s portrait to go back to his dimension.
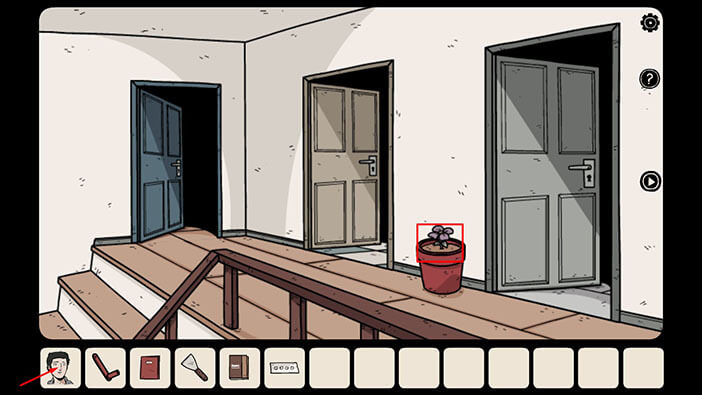
Select the “Watering can” from the inventory and tap once on the pot.
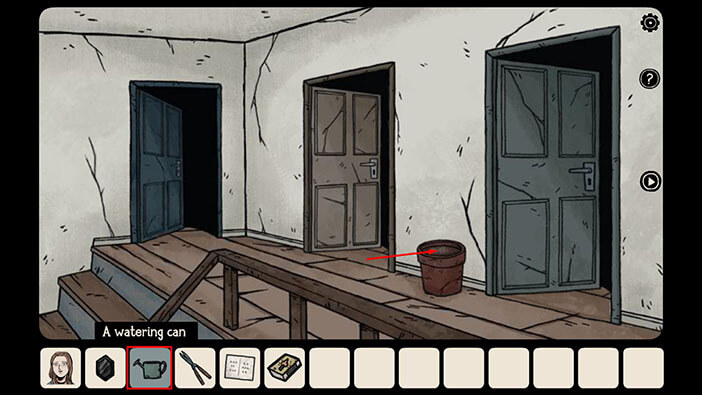
After one watering, the small flower has grown, approximately the same size as the flower in Carissa’s dimension. Let’s continue. Tap on the second door on the right to go to the office.

Again, let’s switch to Carissa’s dimension and check the size of the flower in this pot in her dimension.
Tap on Carissa’s icon in the lower left corner to switch characters.
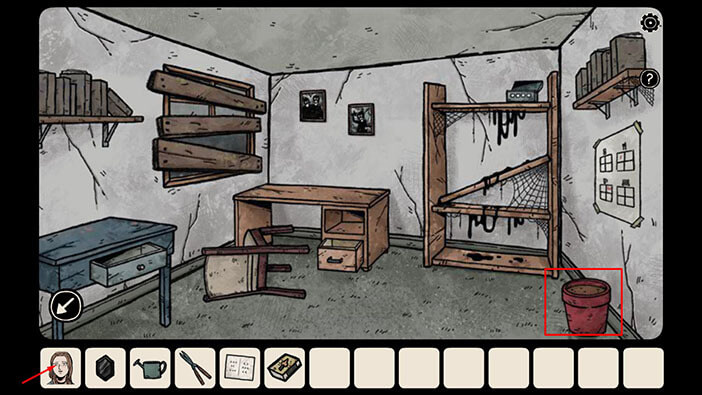
Tap on the second door on the right to go to the office.
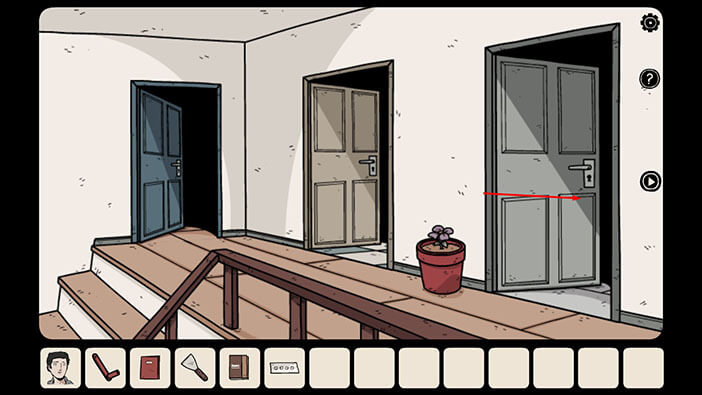
This flower has 3 pairs of leaves, so we will probably need to water the pot three times.
Ok, tap on Bastian’s icon to go back to his dimension.
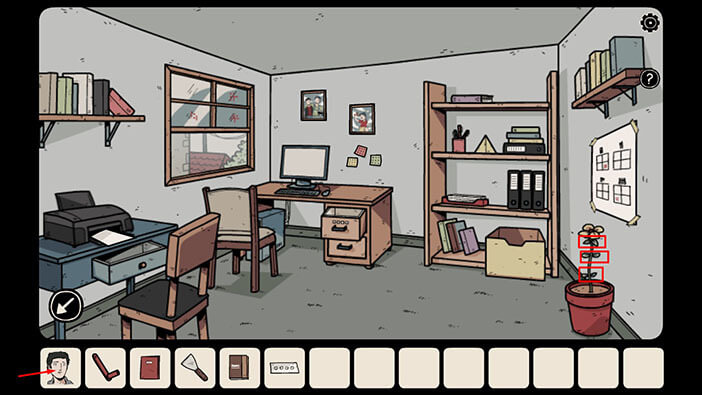
Select the “Watering can” from the inventory and use it to water the pot/flower three times.
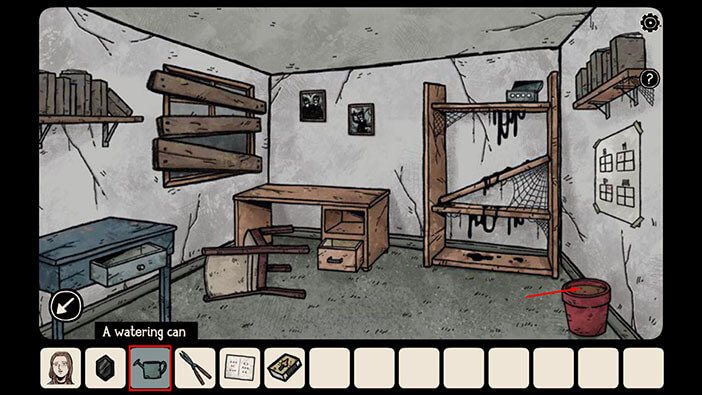
Ok, after watering it three times, we now have a flower with 3 pairs of leaves. Great. Let’s continue. Tap on the arrow in the lower left corner to go back.
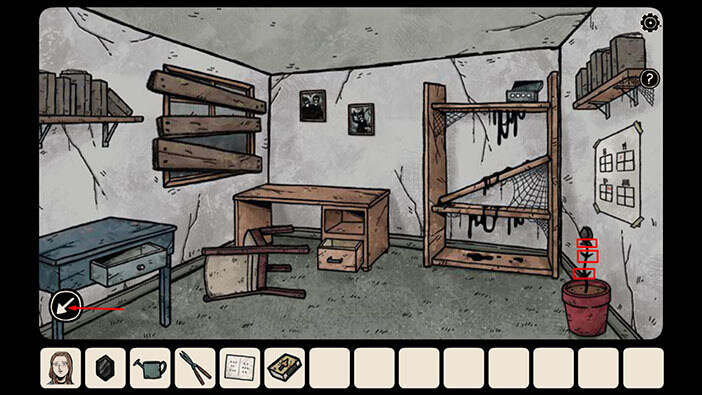
Tap on the first door on the right to go to the bathroom.

As before, let’s go to Carissa’s dimension and check the size of the flower in the bathroom.
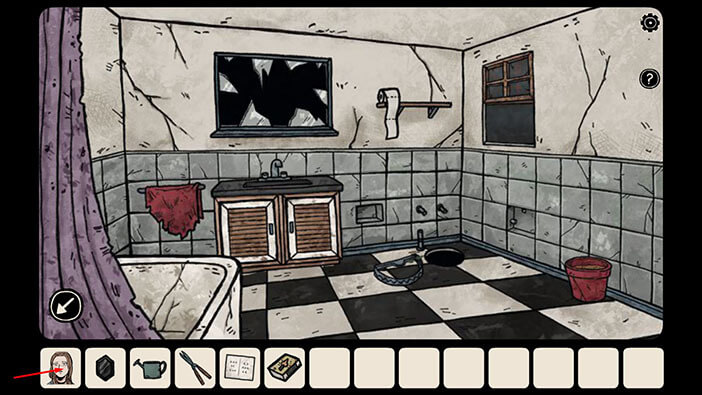
Tap on the arrow in the lower left corner to go back.
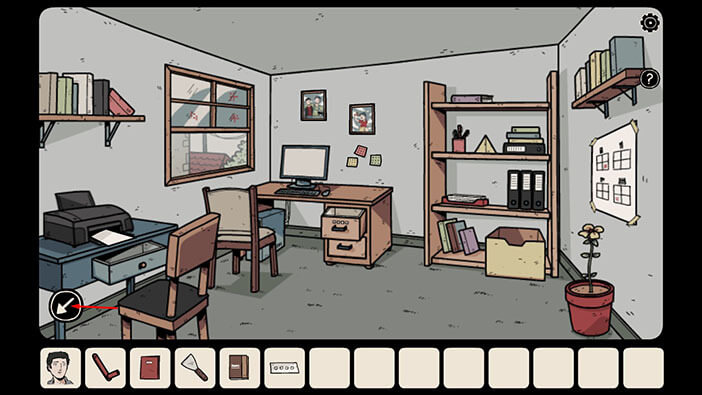
Tap on the first door on the right to go to the bathroom.
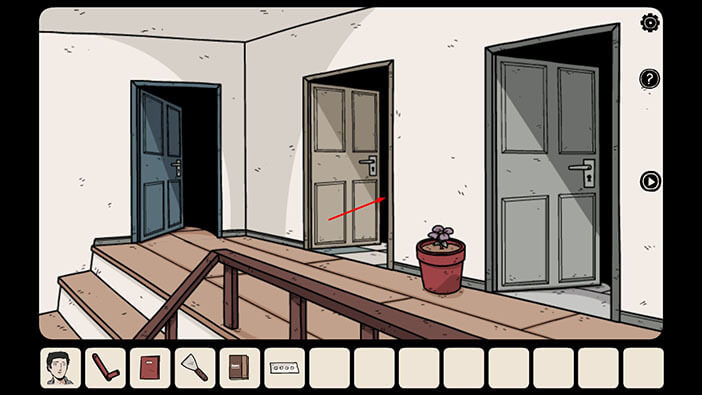
This flower has 2 pairs of leaves, so we need to water the pot two times.
Ok, tap on Bastian’s icon to go back to his dimension.

Select the “Watering can” from the inventory and use it to water the pot/flower two times.
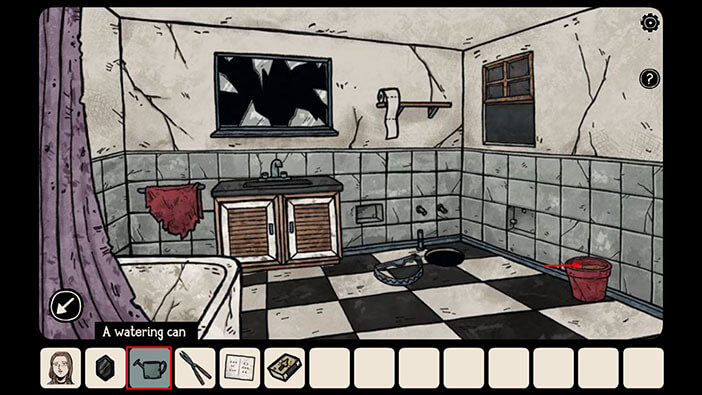
After watering it two times, we now have a flower with 2 pairs of leaves. Let’s continue. Tap on the arrow in the lower left corner to go back.

Tap on the door in front of you to go to the bedroom.

As before, let’s go to Carissa’s dimension and check the size of the flower in the bedroom.
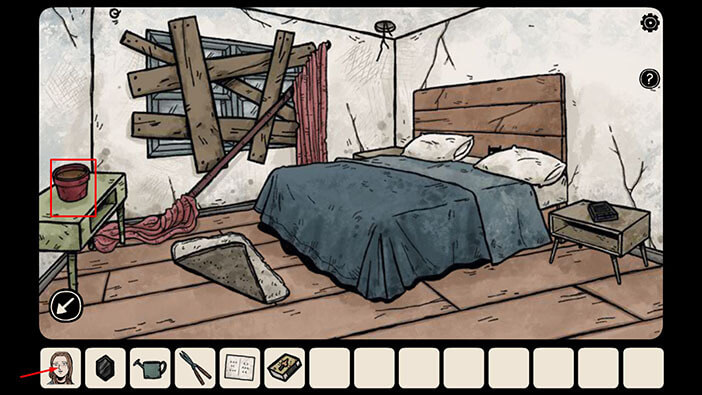
Tap on the arrow in the lower left corner to go back.
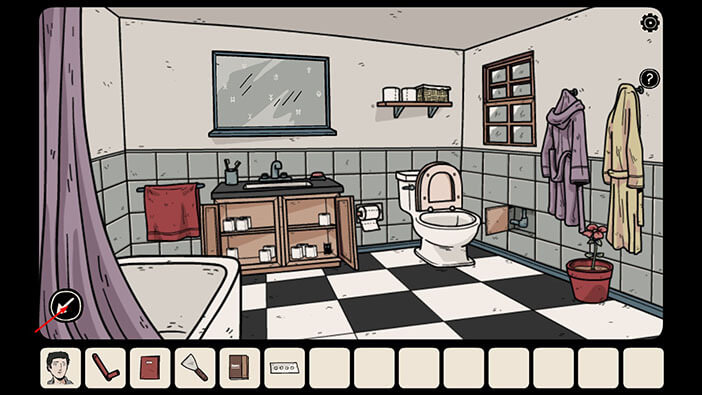
Tap on the door in front of you to go to the bedroom.
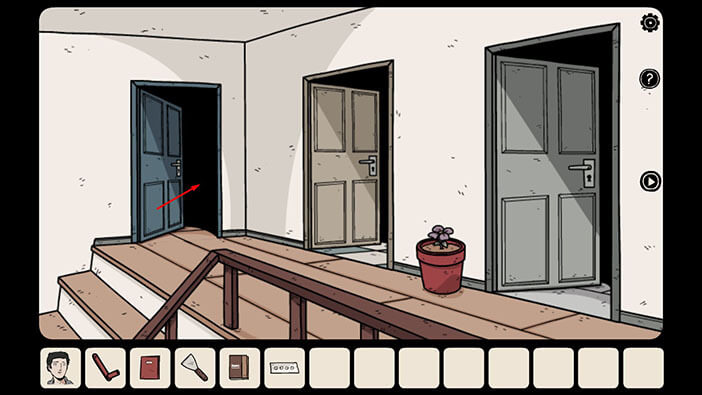
This flower has 4 pairs of leaves, so we need to water the pot four times.
Tap on Bastian’s icon to go back to his dimension.
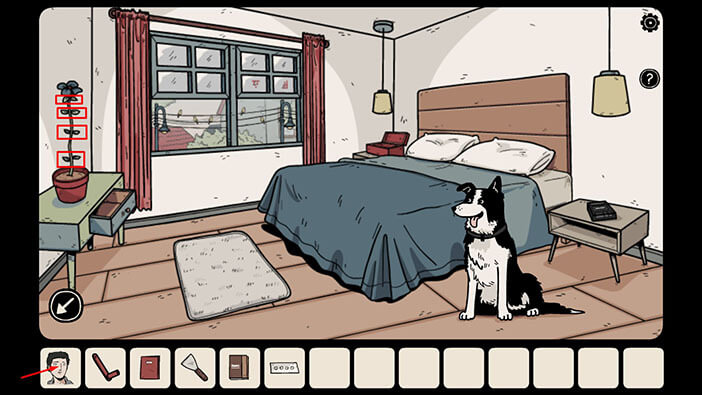
Select the “Watering can” from the inventory and use it to water the pot/flower four times.
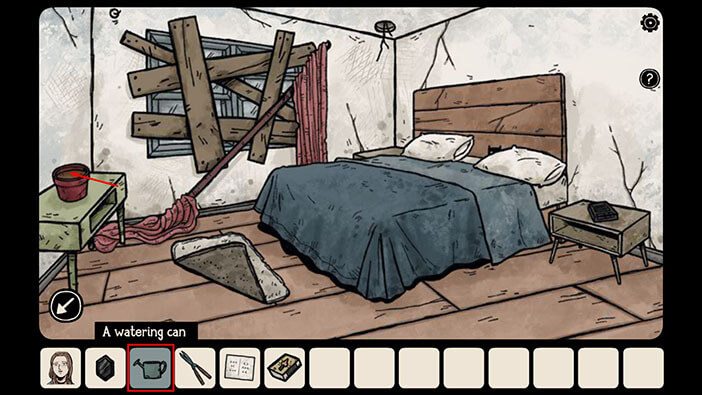
As soon as you complete these steps, all the flowers will bloom.
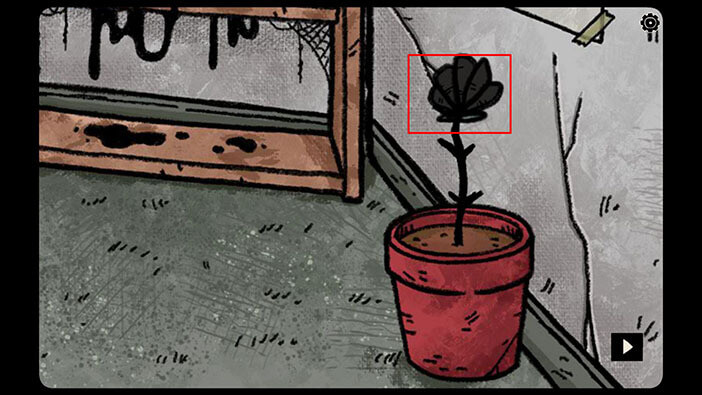
Ok, next task, we should pick up all the flowers, so tap on the flower in this room. After that, tap on the arrow in the lower left corner to go back.
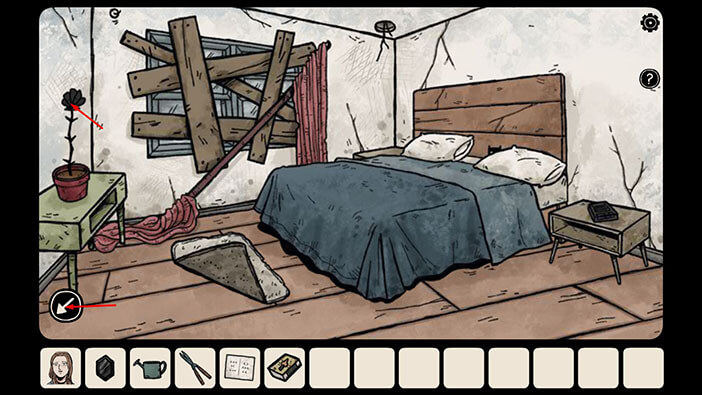
Tap on the flower in the hallway to pick it up. After that, tap on the first door on the right to go to the bathroom.
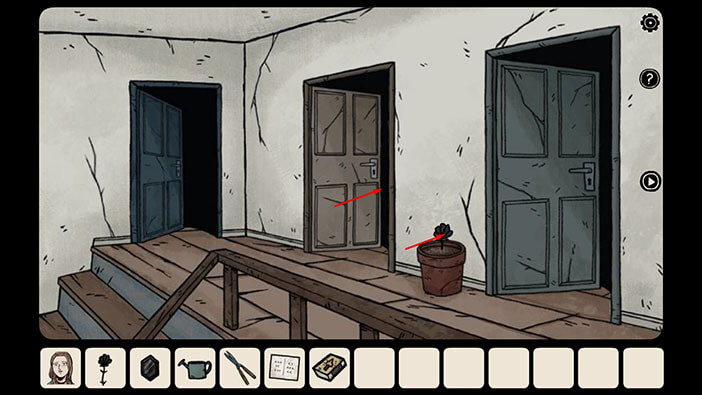
Tap on the flower in the bathroom to pick it up. After that, tap on the arrow in the lower left corner to go back.
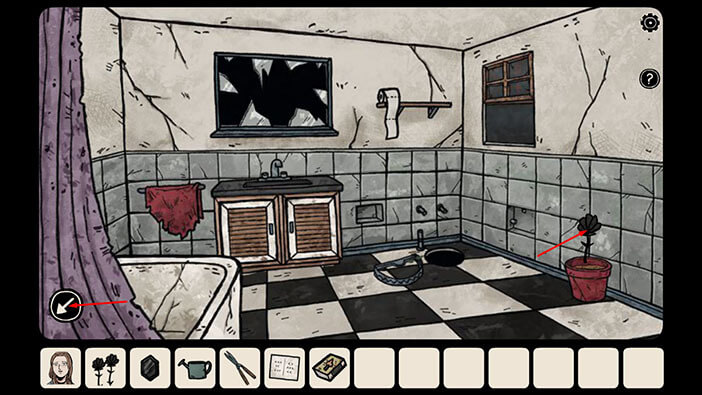
Lastly, tap on the second on the right to go to the office.
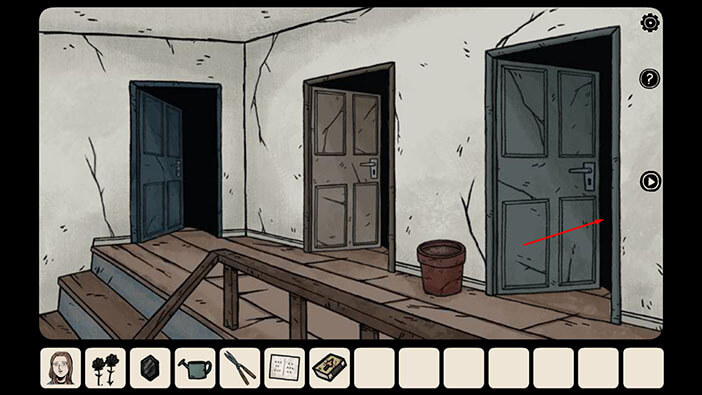
Tap on the last flower to pick it up. After that, tap on the arrow in the lower left corner to go back.
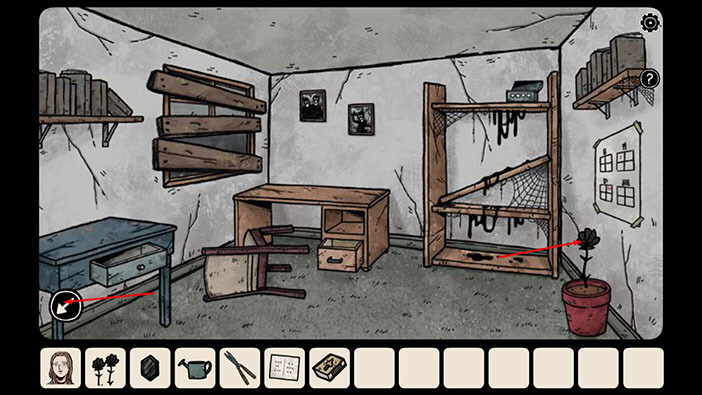
Ok, once again, it’s time to switch characters. So, tap on Carissa’s icon in the lower left corner.

Let’s head outside because there is something that I forgot to do earlier. Tap on the arrow in the lower left corner to go back.
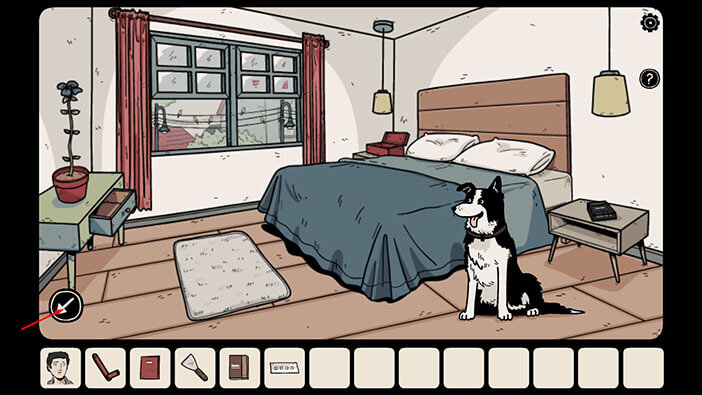
Tap on the stairs to go to the first floor.

Tap on the arrow in the lower right corner to go to the living room.
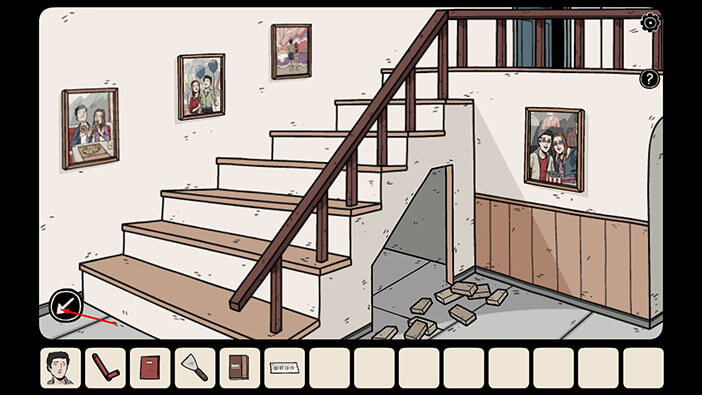
Tap on the doorway in front of you to proceed to the next room.
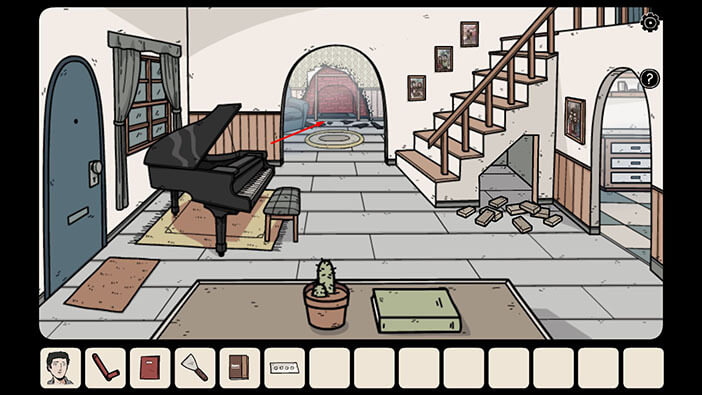
Tap on the door on the right to go outside.

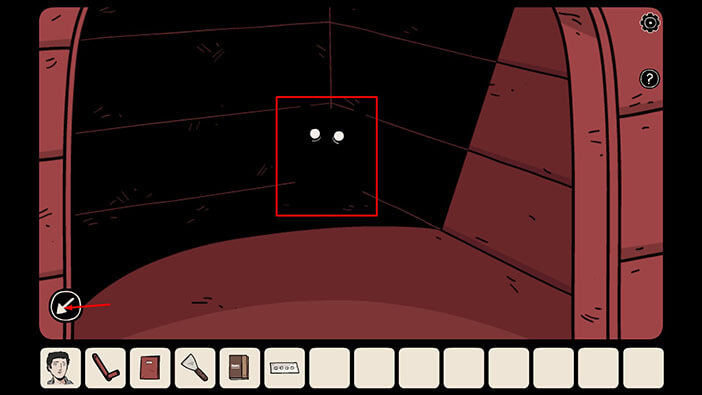
Tap twice on the dog house to look inside.
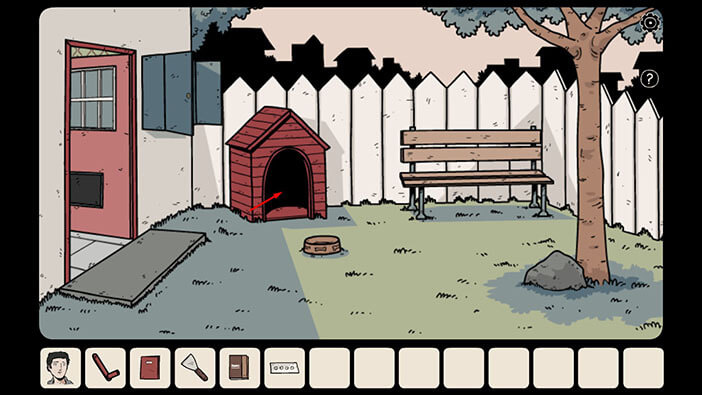
Here you will find another “dark hamster”. So far we found 8 out of 9, so only one more left and we found them all.
Tap twice on the arrow in the lower left corner to go back.
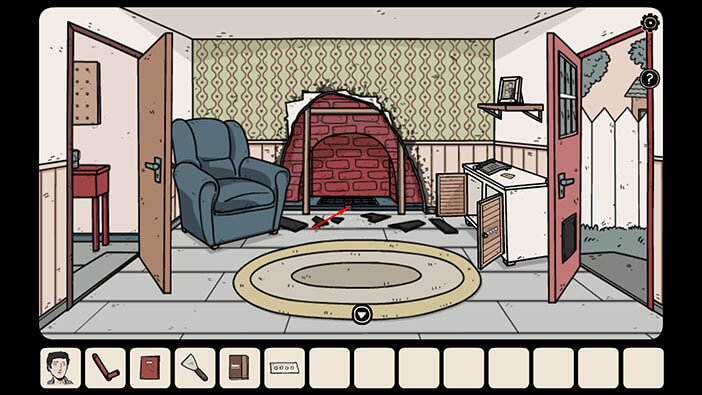
Ok, let’s go back inside. Tap on the door.

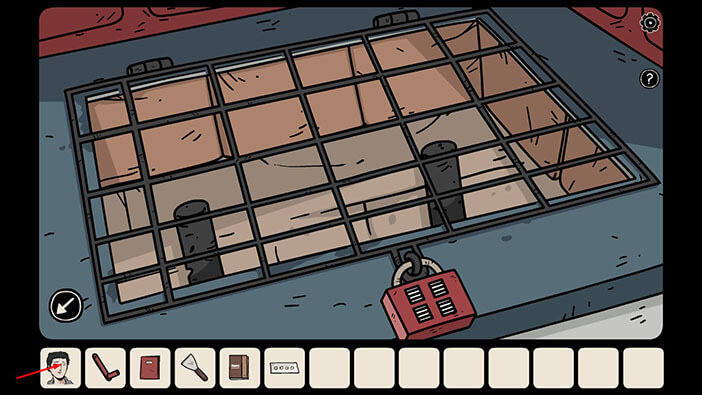
Tap on the padlock in the fireplace to take a closer look at it.
If you examine the padlock, you will notice four white squares with several black lines on each square. This pattern is very similar to the boarded windows which we saw in Bastian’s dimension. So, let’s switch to Bastian, and take a look outside the window in the attic, one more time.
Ok, let’s go to the attic. Tap on the arrow on the right to go to the other side of the hallway.
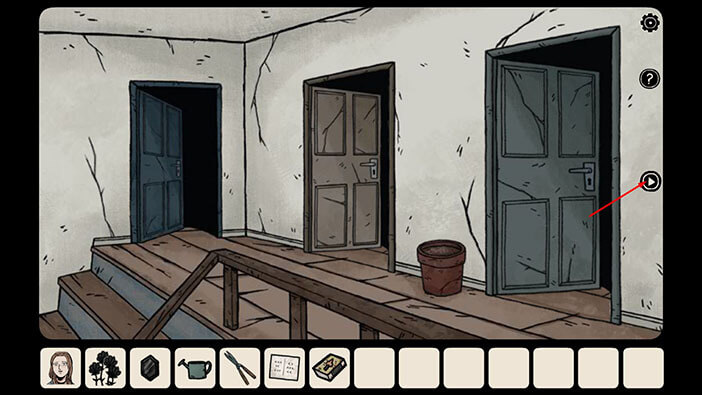
Tap on the ladders to go to the attic.

Tap on the window to approach it and look outside.
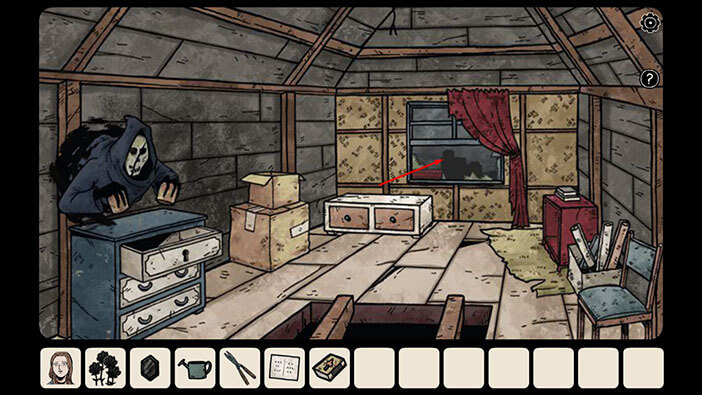
Ok, let’s memorize/write down the pattern of the boards on the windows.
Top left window = crossed boards
Top right window = two horizontal boards
Bottom left window = top horizontal, right vertical boards
Bottom right window = one diagonal, one horizontal board
Once you’re done, tap on Carissa’s icon to switch characters.
NOTE: The pattern of the boards on the windows will change with each playthrough because this is one of the randomized puzzles.
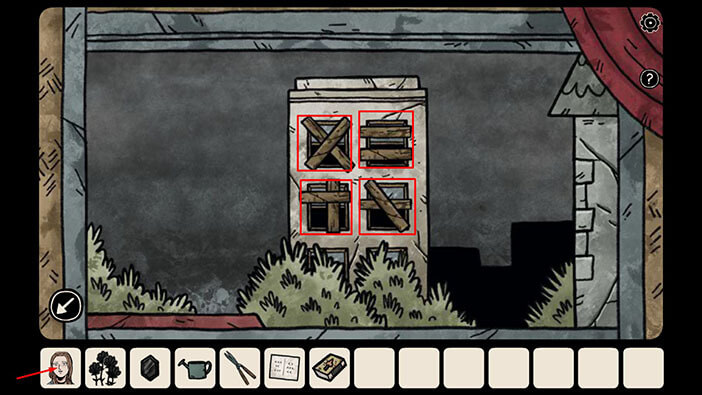
Tap on the padlock to start the interaction.

Enter the pattern which we saw by looking at the boarded windows.
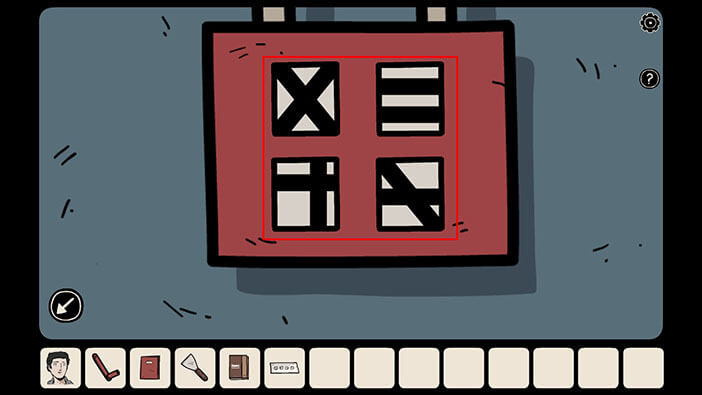
As soon as you enter the correct code you will unlock the padlock. Tap on the bar lift it up and tap again to proceed to the next area.
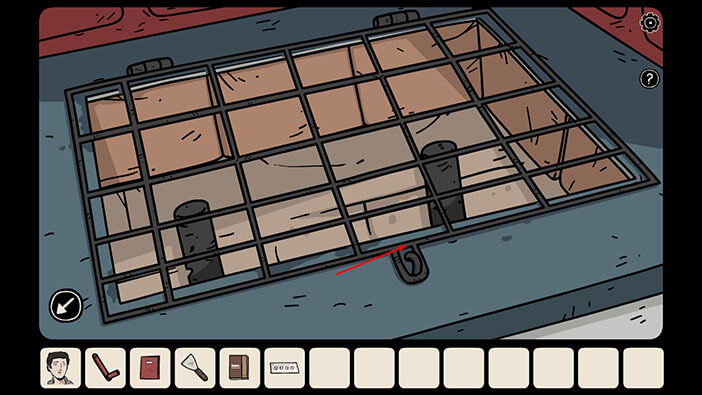
Select the “Crank” from the inventory and tap on the lower left wheel to attach it.
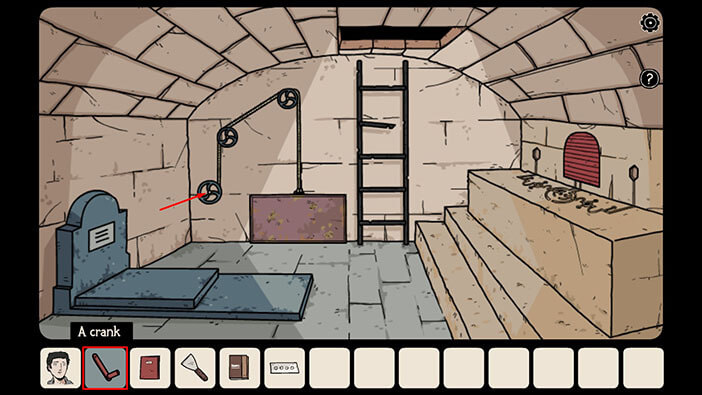
Tap on the crank to turn the wheel.
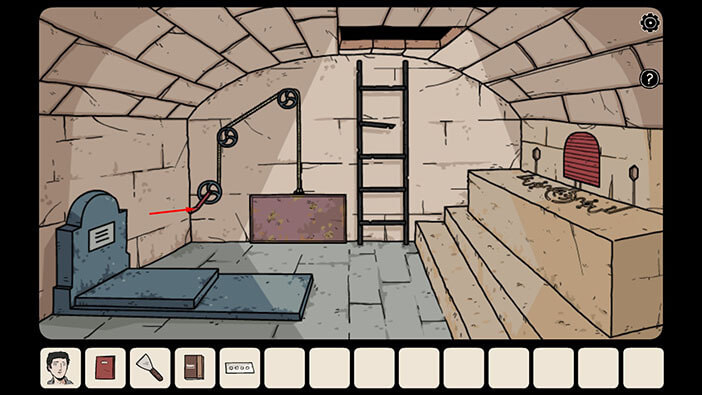
You will lift the bar in Carissa’s dimension, and this will in turn drain the water from the hole in the fireplace in Bastian’s world.
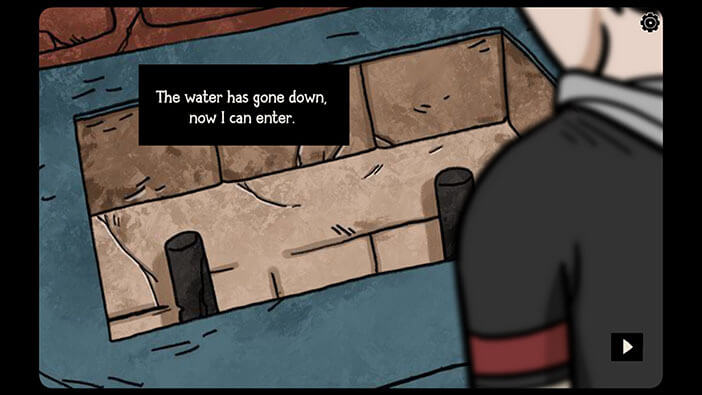
It’s time to switch characters again. Tap on Bastian’s icon in the lower left corner.
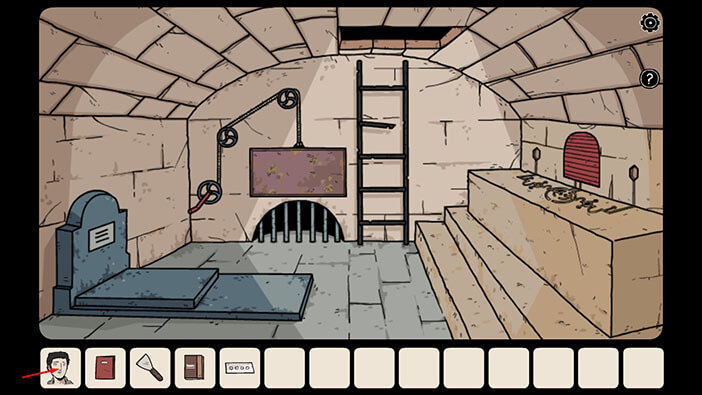
Well, when we switched characters the last time, Bastian was looking through the window in the attic. Let’s head downstairs, and go down the hole in the fireplace. Tap on the arrow in the lower left corner to go back.
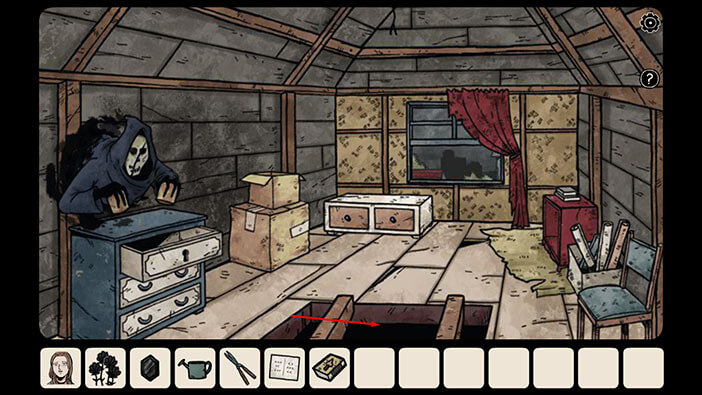
Tap on the trapdoor to go back to the second floor.
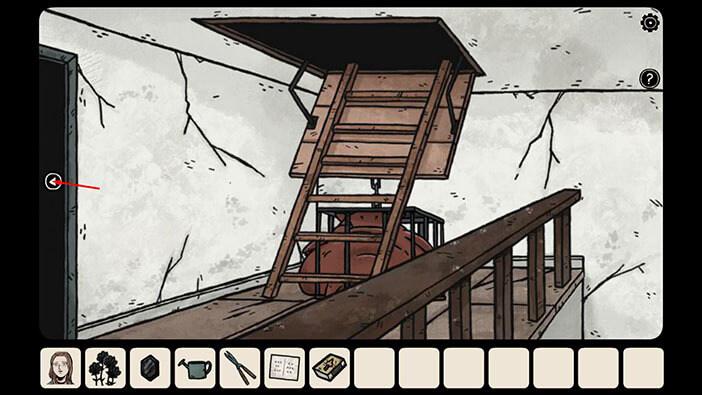
Tap on the arrow on the left to go to the other side of the hallway.
Tap on the stairs to go to the first floor.

Tap on the arrow in the lower left corner to go to the living room.
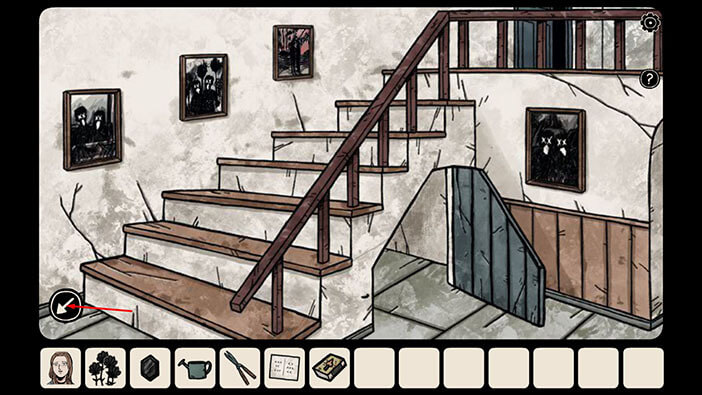
Tap on the doorway in front of you to proceed to the next room.
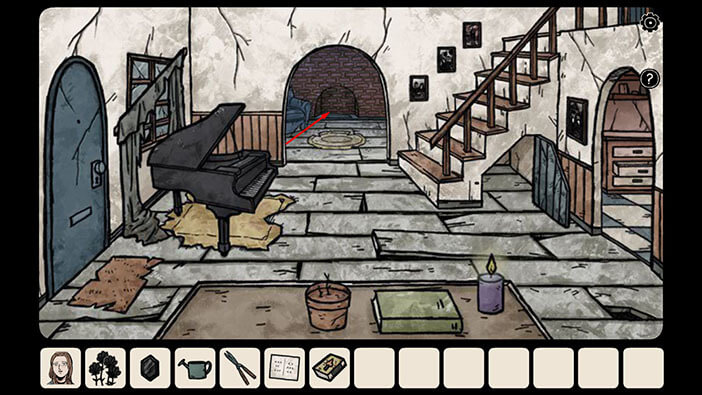
Tap on the fireplace to approach it.
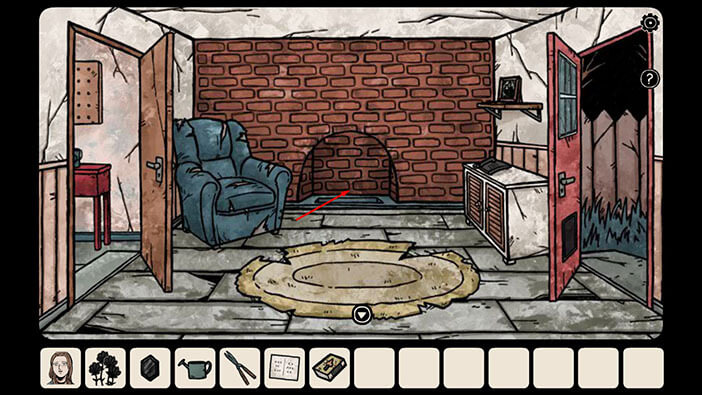
Tap on the hole to go to the secret underground tomb.
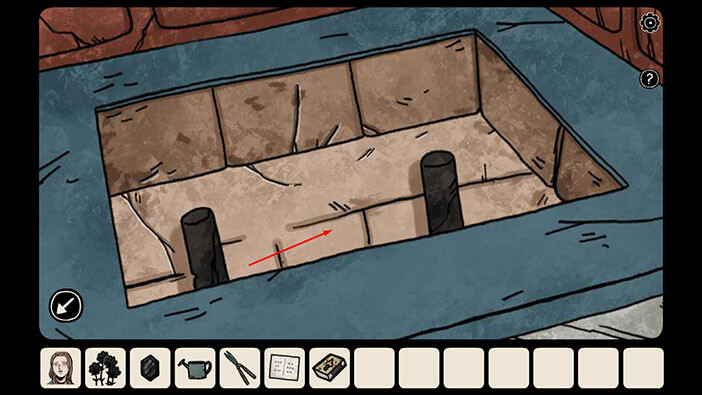
Tap on the bars to look through them.
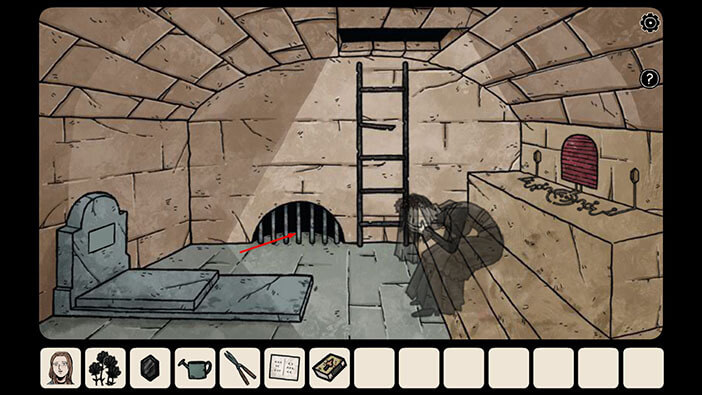
Here, you will find the last “dark hamster”. So, we have now found 9/9. Tap on the arrow in the lower left corner to go back.
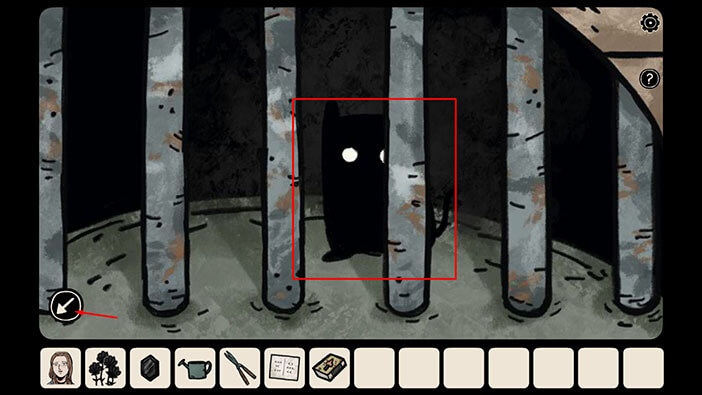
Select the “Four flowers” from the inventory and give them to the ghost of the grieving widow.
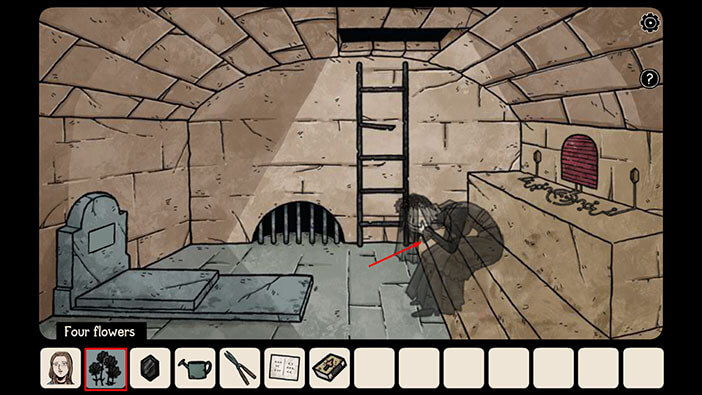
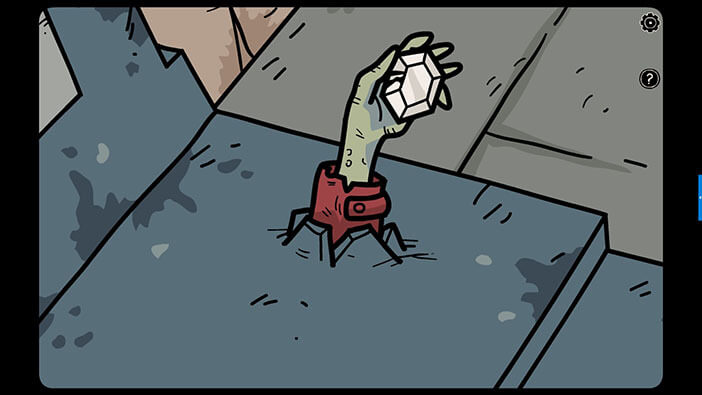
The widow will throw flowers onto the grave, and in Carissa’s world, the corpse’s hand holding a diamond will burst through the grave.
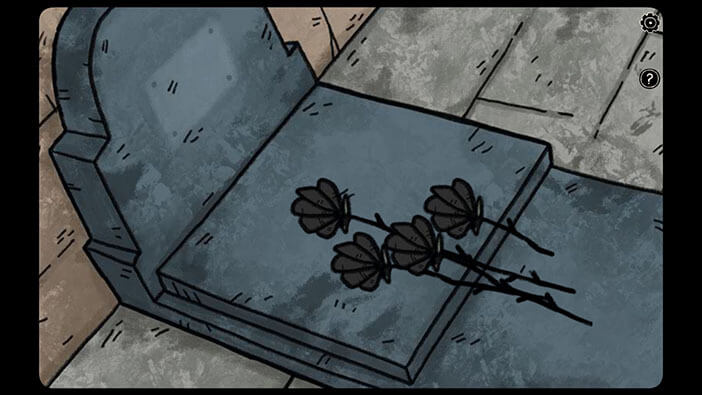
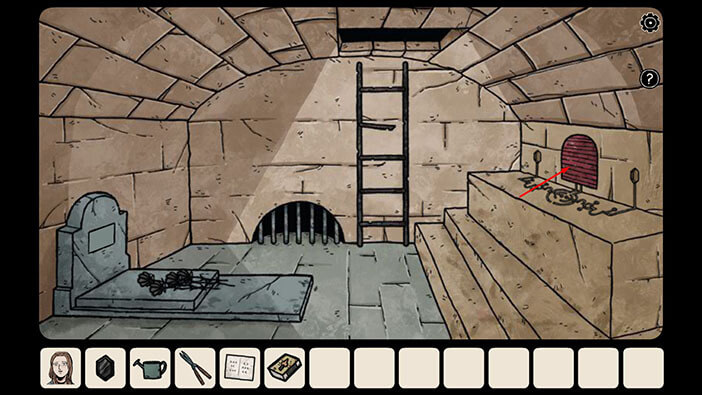
Tap on the small red door on the right to take a closer look at them.
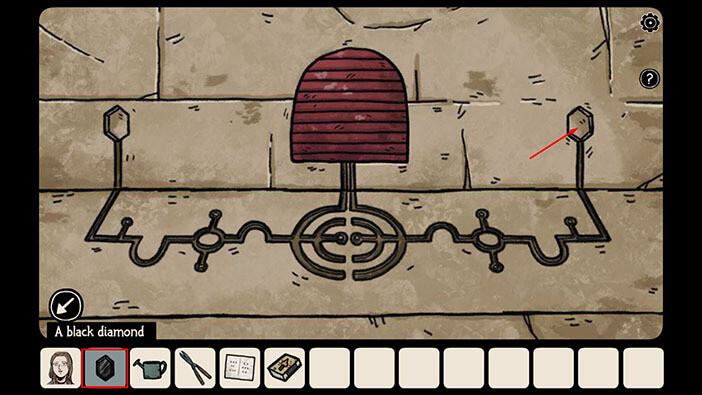
Select the “Black diamond” from the inventory and put it into the empty slot on the right.
Blood will fill the right side of the small maze. It’s time to switch characters again. Tap on Carissa’s icon in the lower left corner.
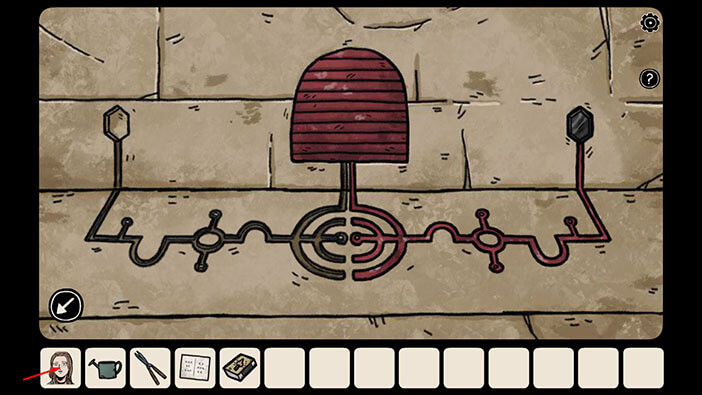
Tap on the grave to take a closer look at it.
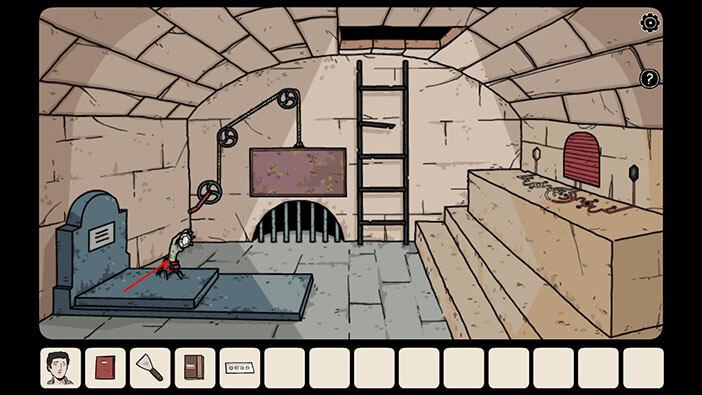
Tap on the diamond to take it from the reanimated corpse. The “White diamond” will be added to your inventory.
After that, tap on the arrow in the lower left corner to go back.
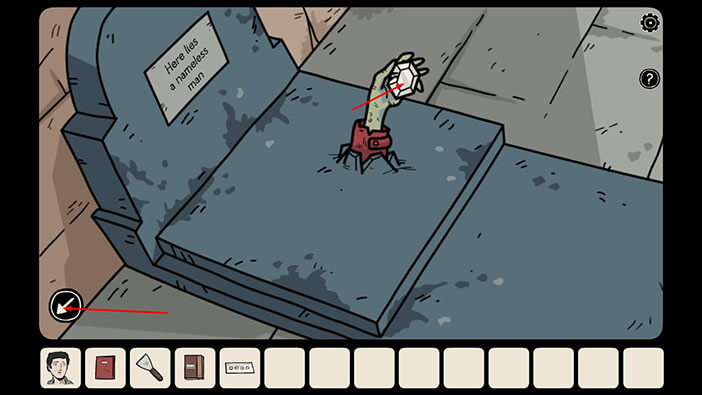
Let’s insert the second diamond. Tap on the small red door on the left to examine it.
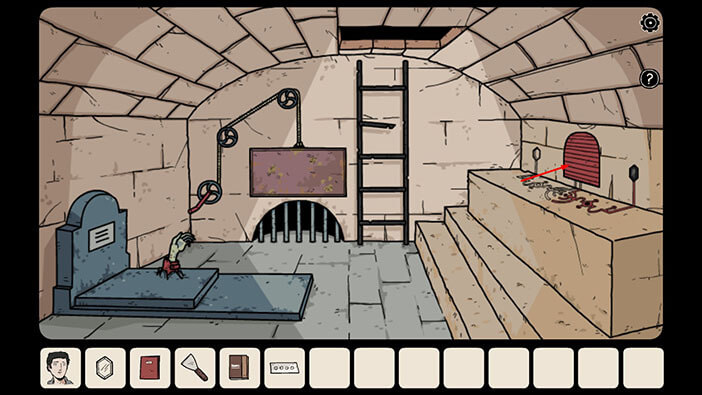
Select the “White diamond” from the inventory and insert it into the empty slot on the left.
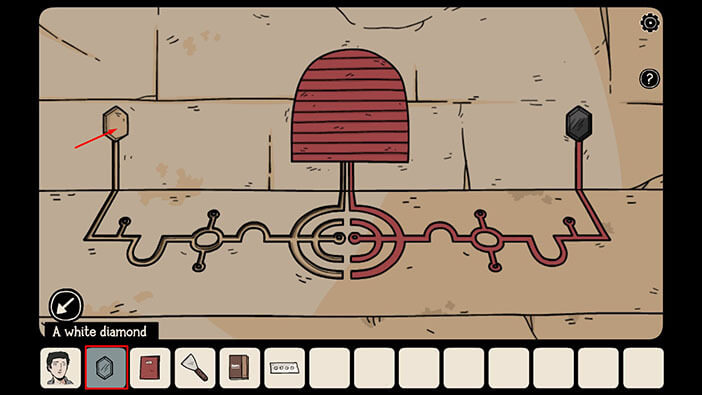
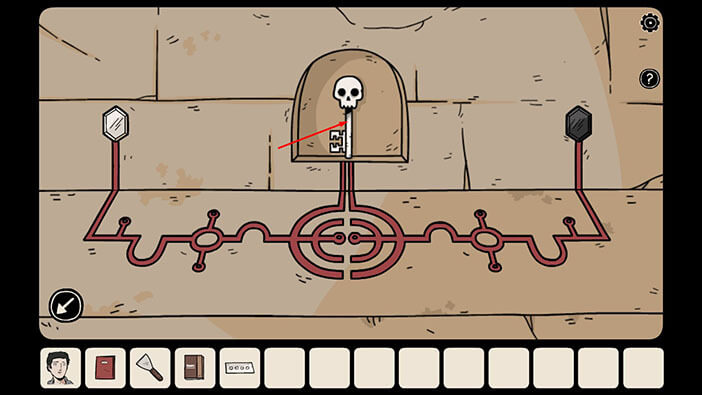
The blood will fill the other side of the small maze, and the door will open. Inside, we can see two keys, one exists in each dimension. So, looks like we found the keys that were required to save Bastian.
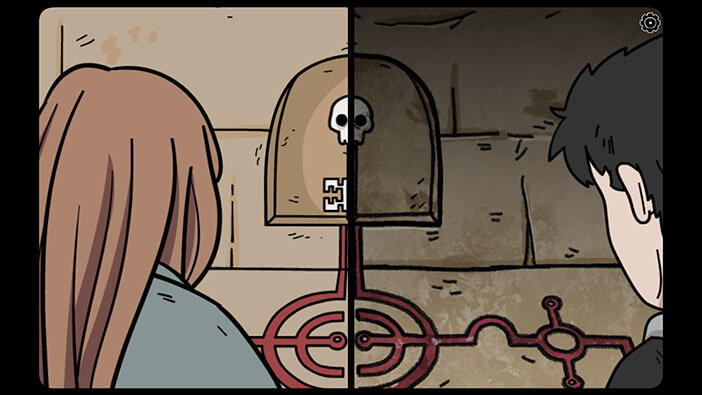
Tap on the skull-shaped key to pick it up and both Carissa and Bastian will pick up the keys in their dimensions.
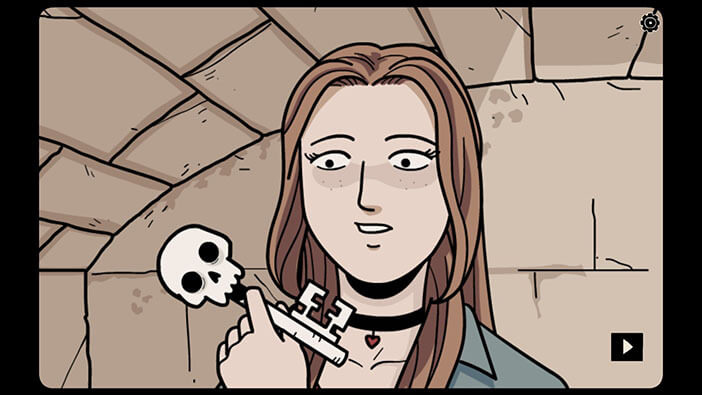
Ok, we should now go back to the first floor, and use this key on the front door. Tap on the arrow in the lower left corner to go back.
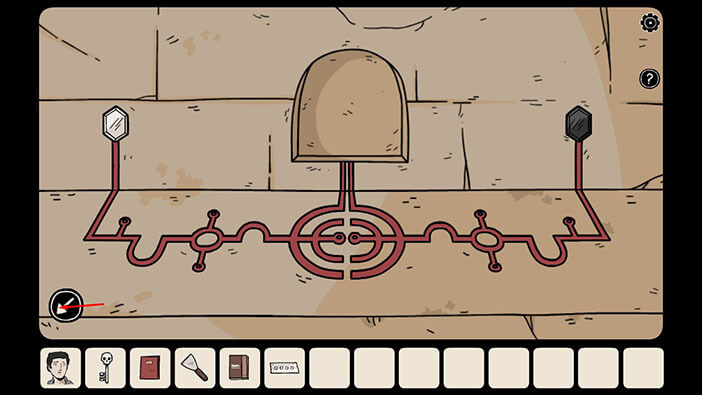
Tap on the ladders to go back to the first floor.
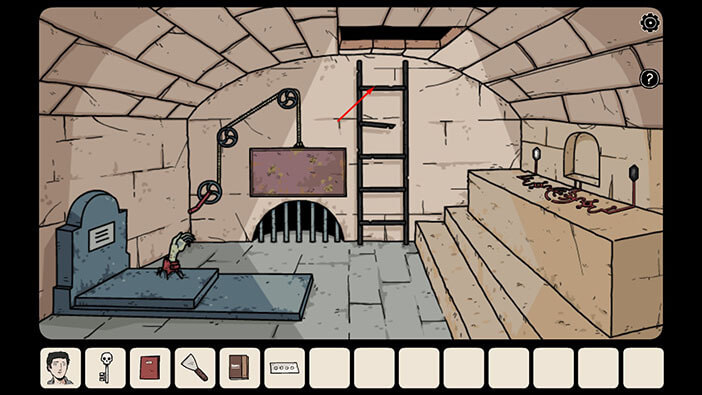
Tap on the arrow at the bottom of the screen to go to the living room.
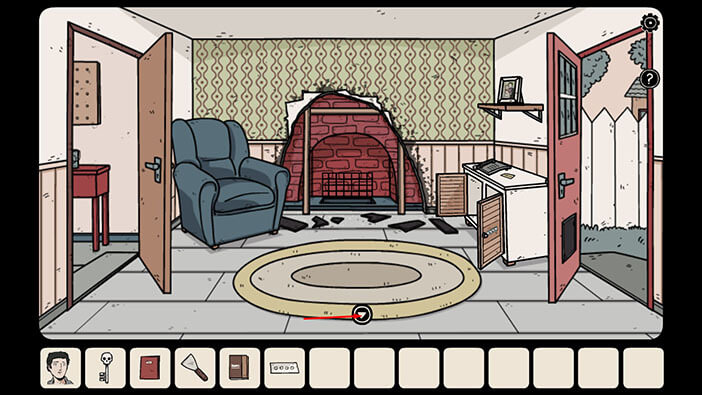
Select the “Skull-shaped key” from the inventory and tap on the front door.
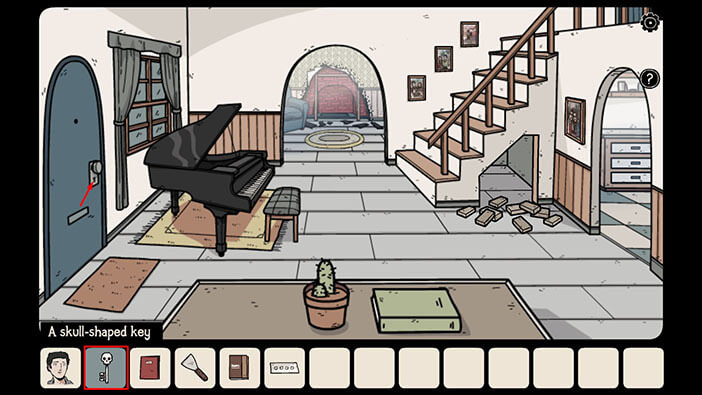
Both Bastian and Carissa will unlock the door at the same time, and in the next scene, we can see Bastian walking toward the door. However, he didn’t actually go through the door, because he didn’t appear in Carissa’s world.
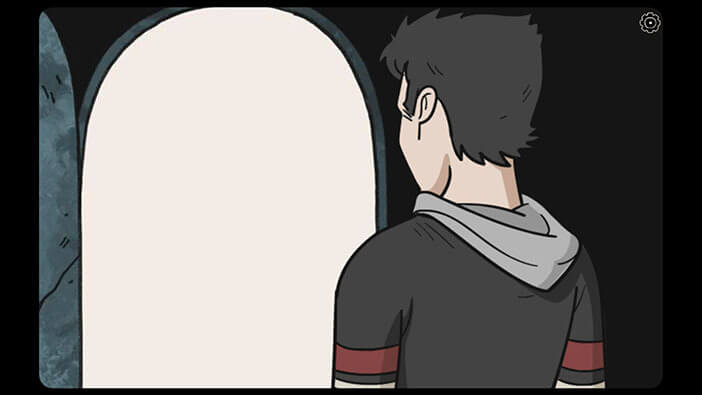
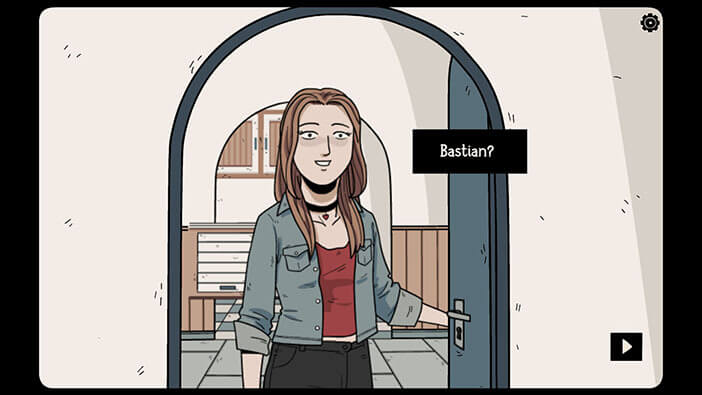
In the next scene, we can see what happened to Bastian. He was stopped by the demonic creature that he met longed time ago when he was a kid. The demon didn’t try to stop him, but he did give him a very serious warning. If Bastian walks through the door, the demon promised that he will go after his wife, Carissa.
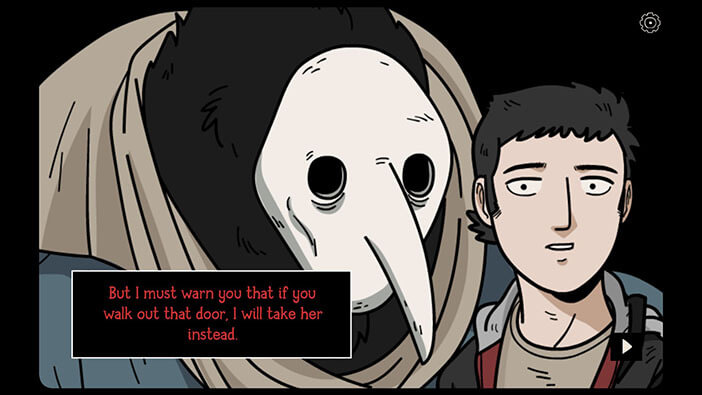
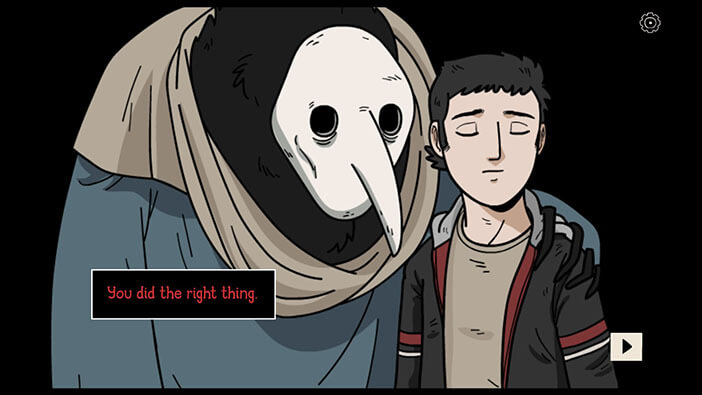
Bastian was faced with a very difficult choice, but he didn’t want to put his beloved wife in danger… So, he shut the door and decided to stay in Penumbra and serve the demon for all eternity.
In the meantime, Carissa’s brother Lian came back. Confused, Carissa tried to quickly explain what happened, but the dark, shadowy force was already taking over the house and spreading its corruption.
Carissa didn’t want to leave at first, knowing that Sebastian was still trapped in Penumbra, but her brother managed to convince her to run away. Rationalizing, that If they escape now, they might find a way to save Bastian later.
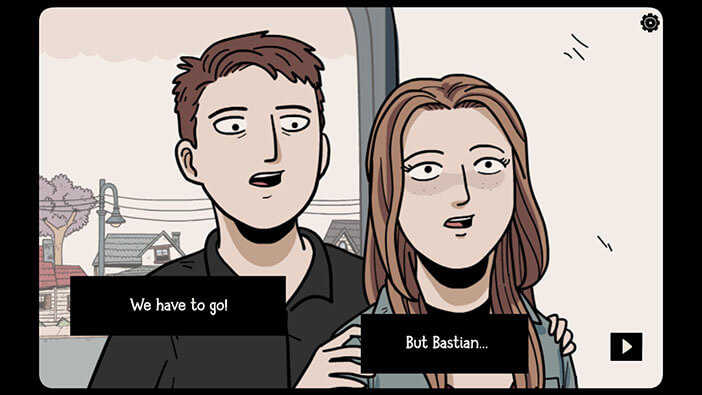
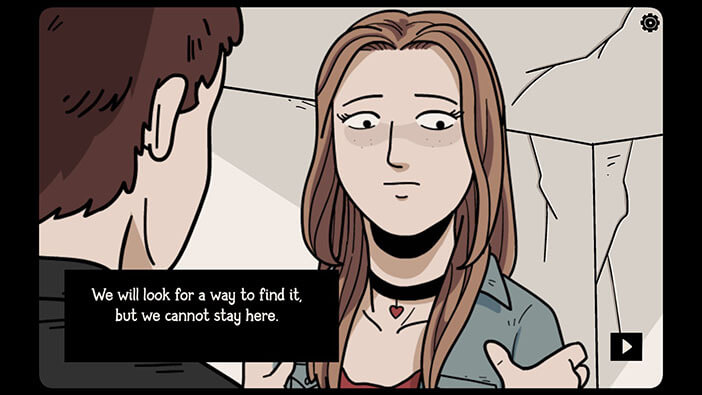
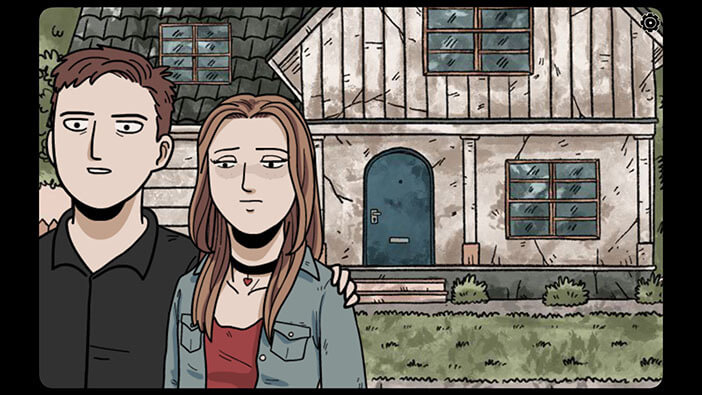
When Lian and Carissa ran away to a safe distance, they turned around and looked at the house. It was now completely consumed by the dark forces and the Hidden Town can add another cursed house to the list.
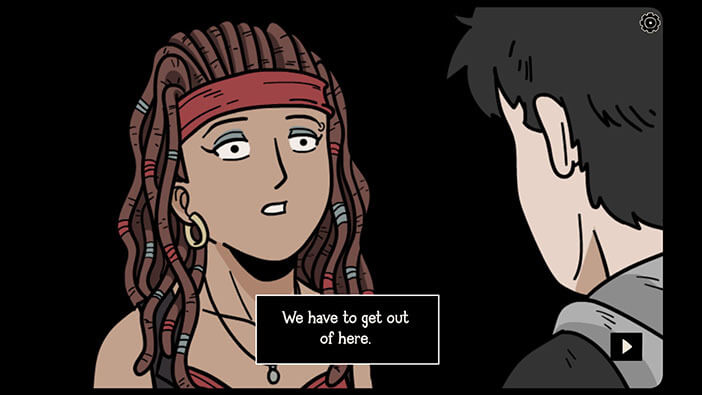
In the final scene, we can see that Bastian met Laia from the previous game. Laia was trapped in Penumbra by an evil witch, who used mirrors to trap her victims and take over their bodies (we explored these events in the previous game “Haunted Laia”). But, all is not lost, because Laia and Bastian plan to find a way to escape. Well, that’s probably the theme for the next game…
On the plus side, we found all 9 shadows, or the “dark hamsters” as I like to call them.
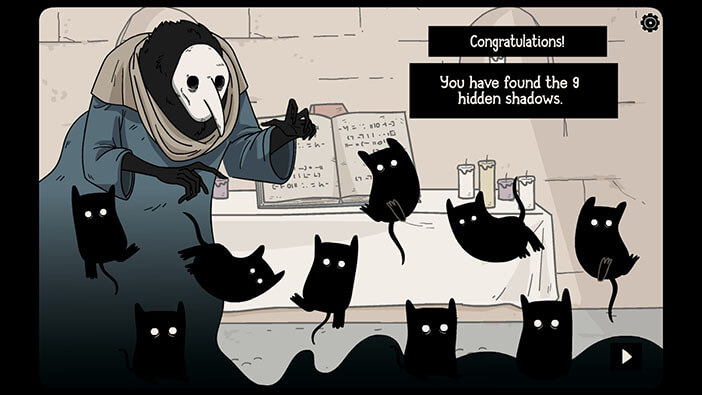
Well, that brings us to the end of this adventure. If you’re interested in Escape Room games, check out our guides for the other games of this genre.
Thank you for reading.