Underground Blossom – Chapter 2 | Child Lane
Intro
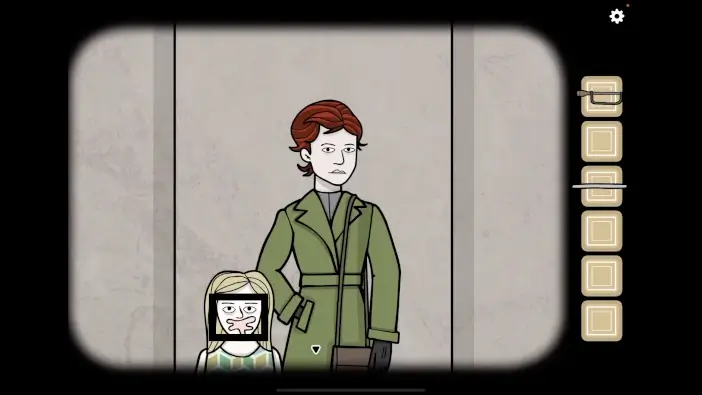
Welcome to our walkthrough for Chapter 2 of the Underground Blossom from Rusty Lake. In this chapter, you will visit the Child Lane, Laura’s memory of her childhood.
Walkthrough
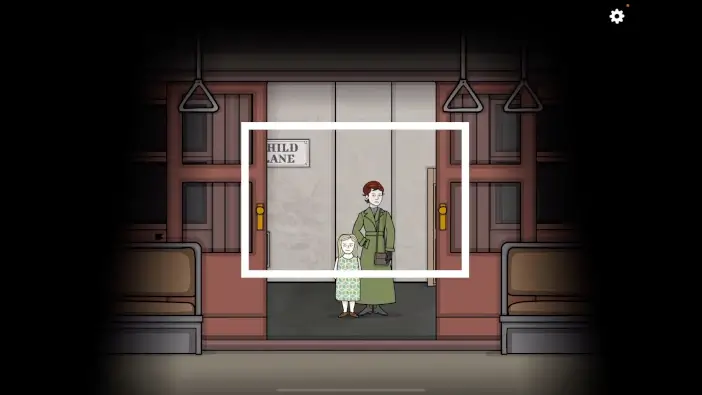
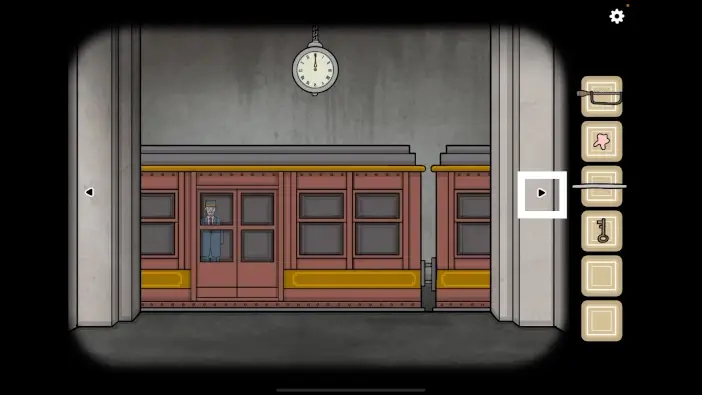
Once you arrive at the Child Lane, exit the train.
- Speak with Rose and Laura. Click on them multiple times to get the entire dialogue. Laura will ask for a candy.
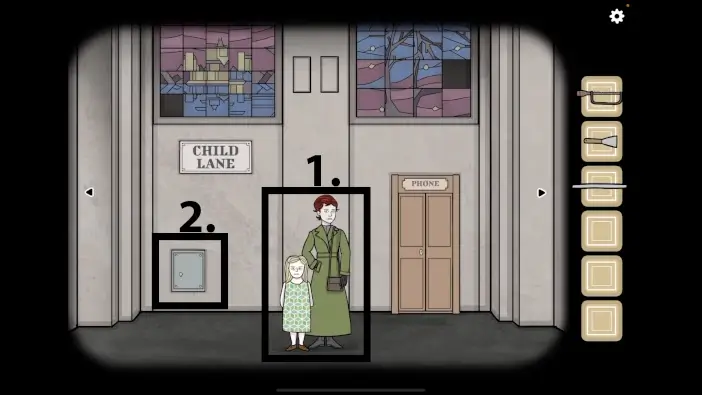
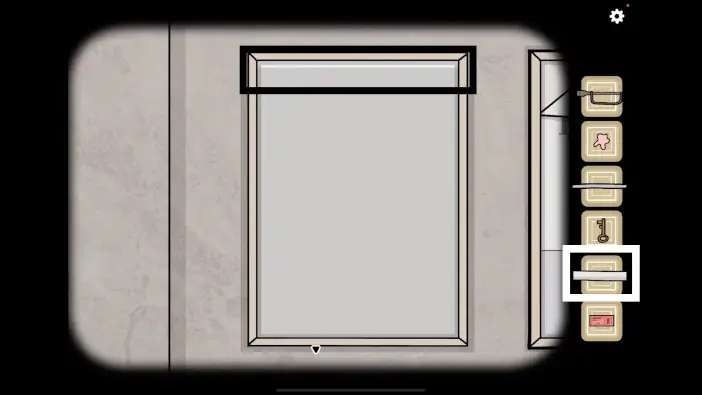
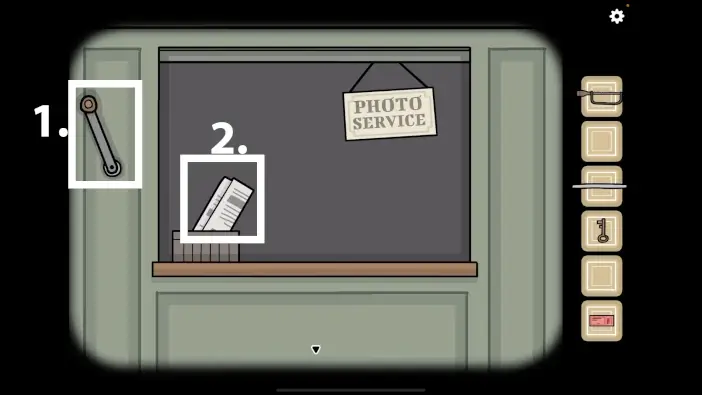
- Approach the lid on the left wall.
Use the scraper to remove the old gum from the lid.
Give the old gum to Laura.
Take the chewed gum from Laura.
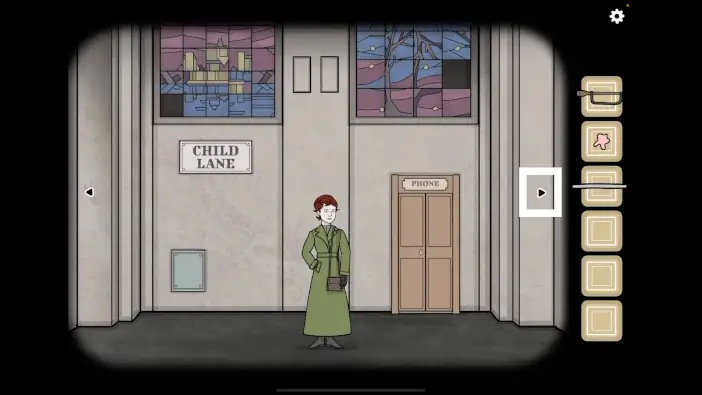
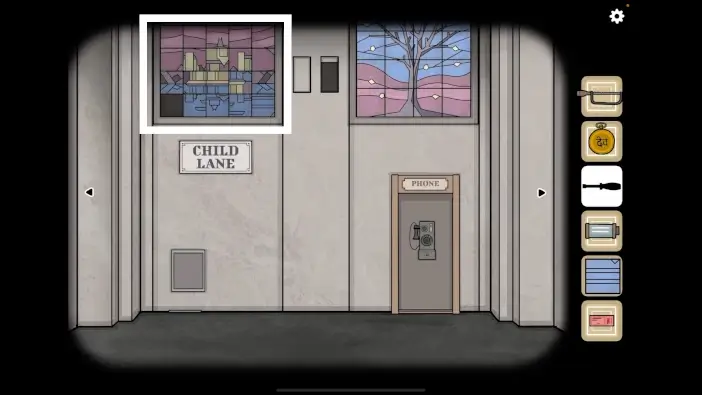
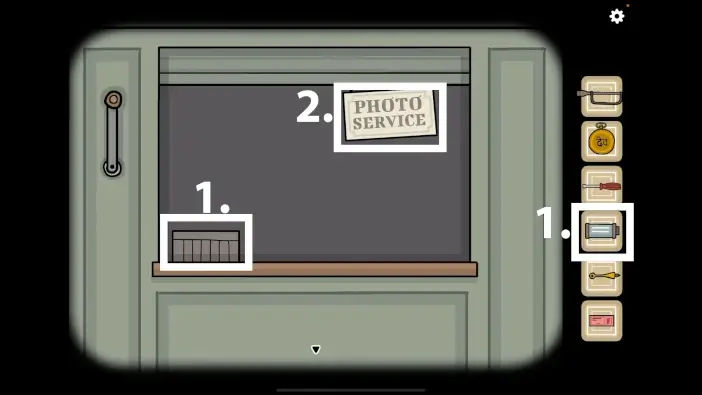
From the starting phone area, go right.
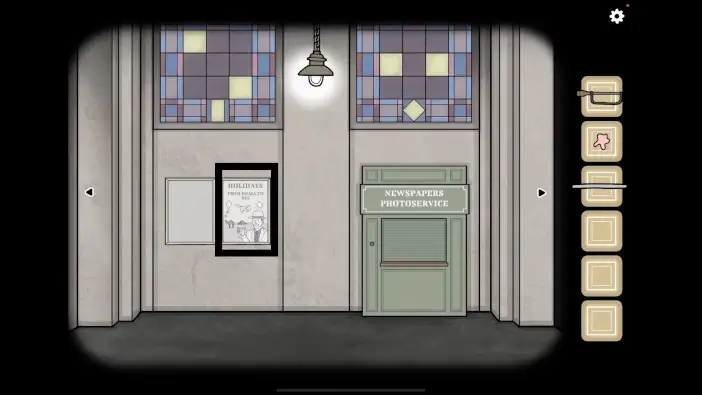
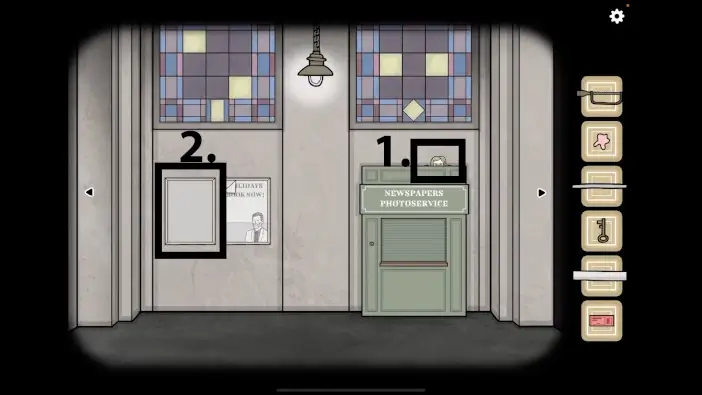
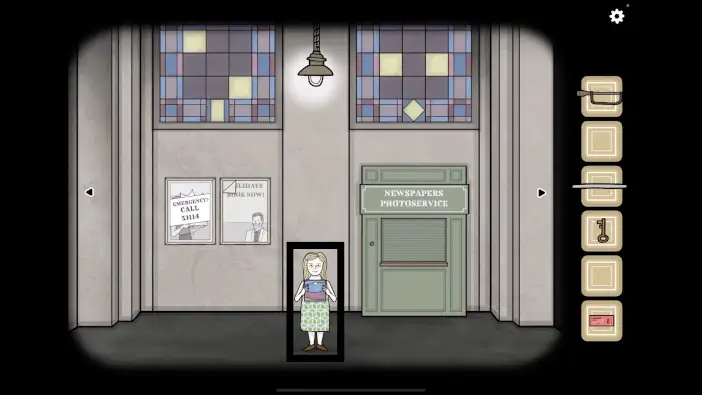
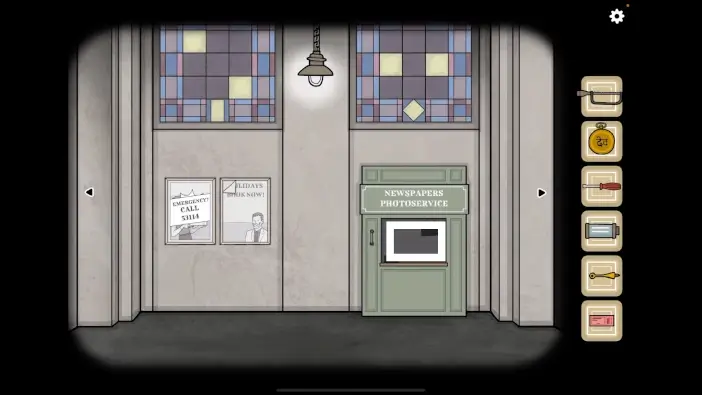
In the photo service area, approach the poster on the wall.
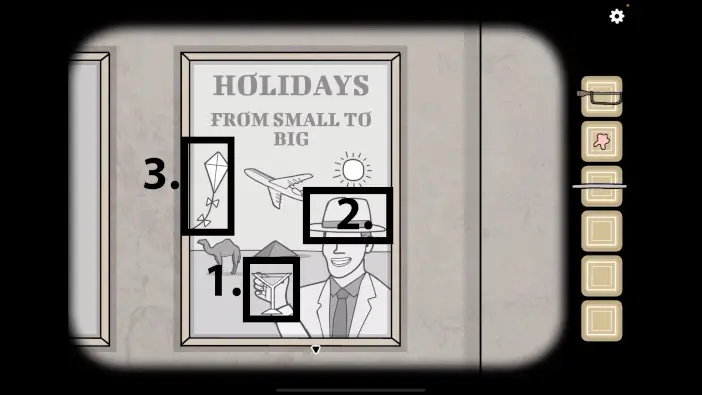
On the poster, there is a message: “From small to big.” You’ll need to click on the items on the poster from smallest to largest. The order is:
- The cocktail glass
- The hat
- The paper kite
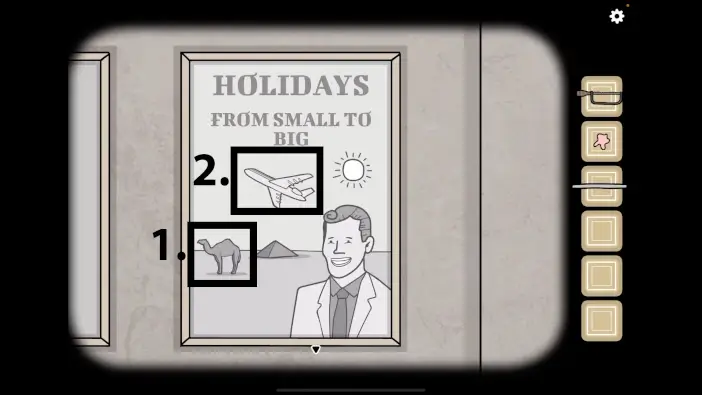
- The camel
- The plane
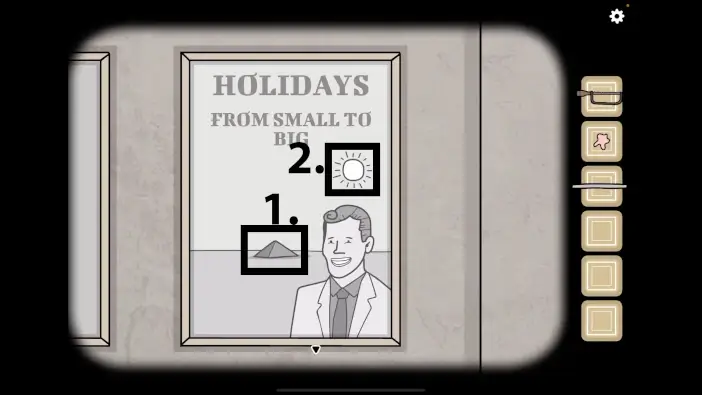
- The pyramid
- The Sun.
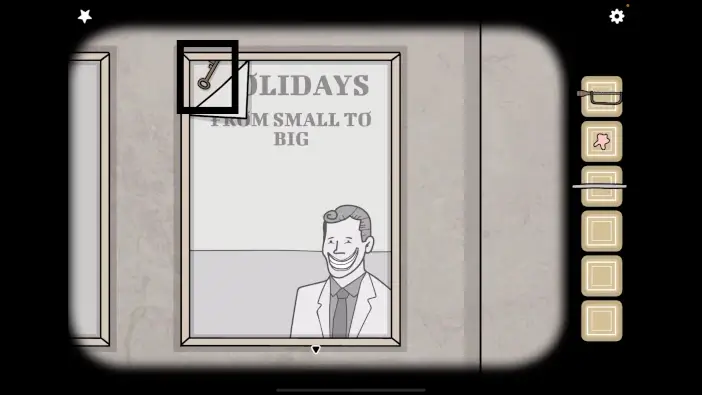
Once you click on all the objects in the correct order, a key will appear in the upper left corner of the poster, and you will get the “A place of relaxation” achievement. Grab the phone booth key.
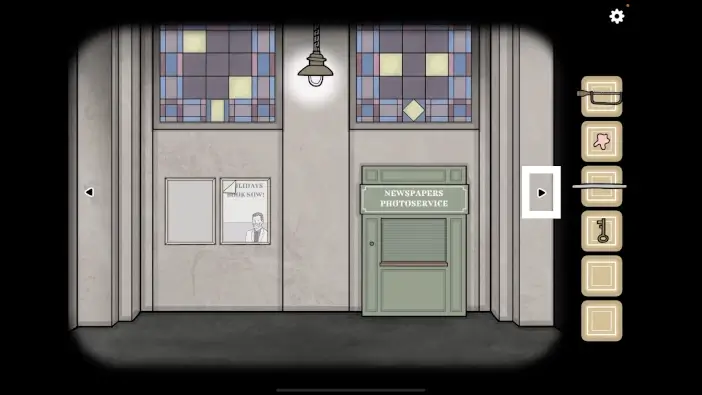
From the photo service area, go right.
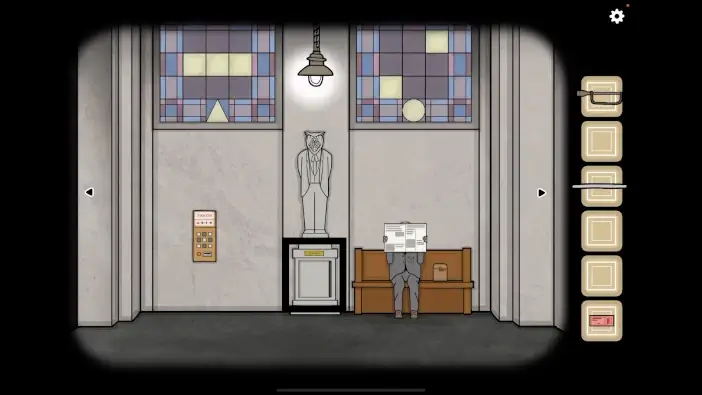
From the railway platform, go further right.
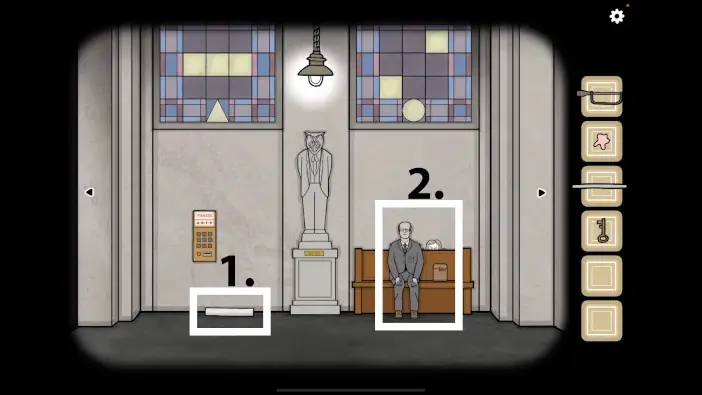
- In the statue area, take the poster from the floor. You’ll need it to place it on the wall, next to the previous poster you’ve seen.
- Approach the bench and click on Laura. She will change her location because you’ve found her.
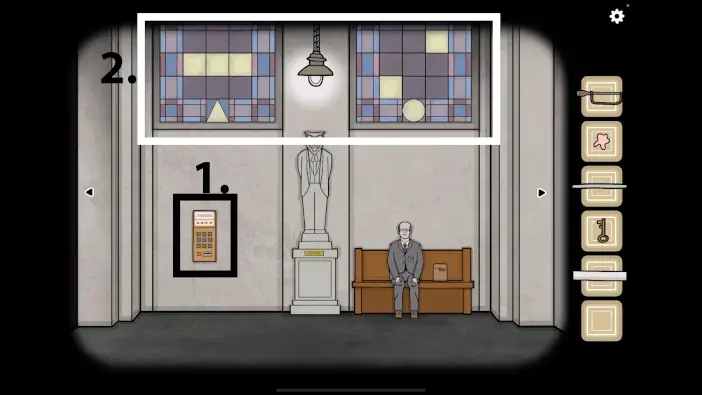
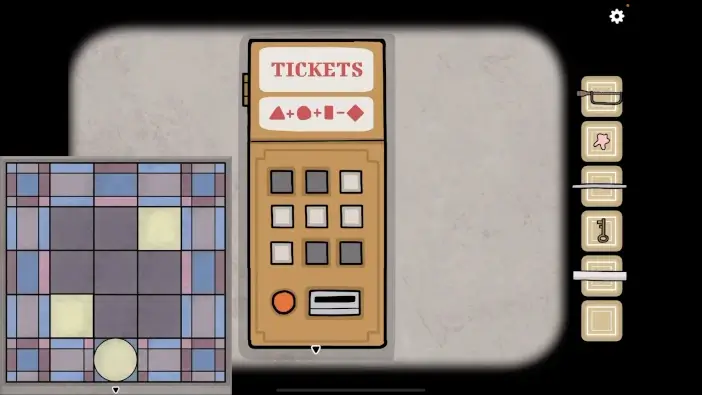
- Approach the ticket machine. You will see the symbols and a formula: triangle + circle + rectangle – rhombus.
- Approach the left stained glass. It has a triangle symbol on the button, which represents that this is the clue for the first step of the ticket machine. On the central fields, you can see which buttons on the ticket machine’s keyboard you need to press first. After this, approach the right stained glass. It contains the circle, which means it shows the second step for the ticket machine’s keyboard puzzle. Remember the position of fields on the glass because they represent the buttons on the keyboard you’ll need to press next.
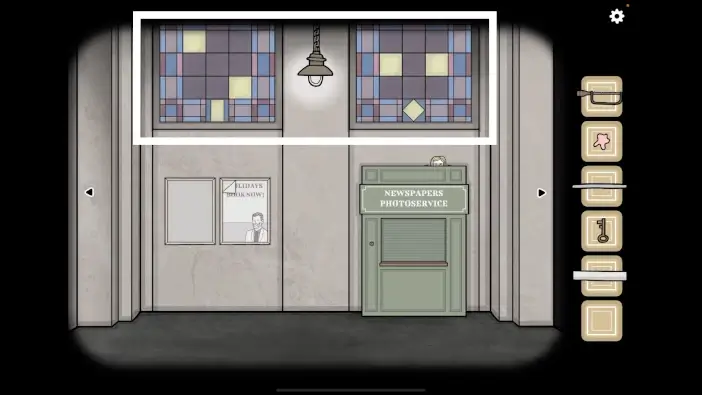
Go to the photo service area and examine the other stained glass. The left stained glass represents which buttons to press for the third step. The right glass represents which already activated buttons you’ll need to press to deactivate them (because the rhombus has the minus sign in the formula).

Return to the ticket machine and press the three buttons on the middle row. The hint was on the stained glass with the triangle.
For the second step, press the lower-left and upper-right buttons. The hint was on the stained glass with the circle.
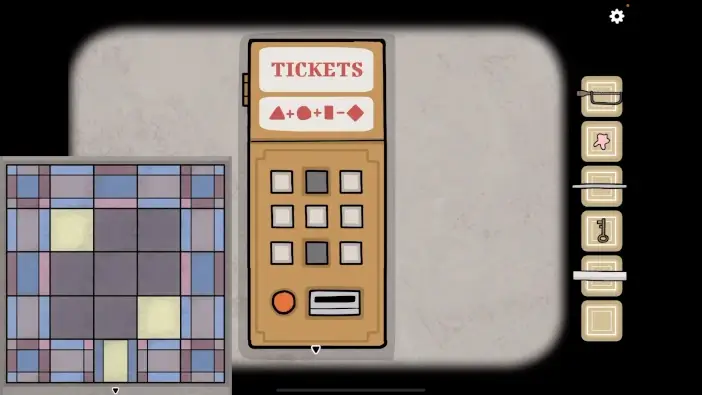
For the third step, press the upper-left and the lower-right buttons. The hint was on the stained glass with the rectangle.
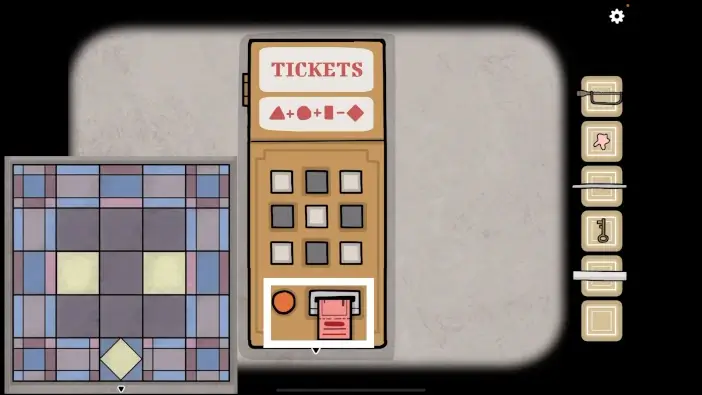
For the final step, press the left and right buttons on the center row to deactivate the buttons. The hint was on the stained glass with the rhombus. After this step, press the button below the keyboard and take the ticket for the next station, but you will not be over yet. You’ll need to find out at what time the train for the next station will arrive, to move the clock hands.
- Go to the photo service area and click on Laura. She will go somewhere else again.
- Approach the empty frame.
Place the poster you’ve found earlier.
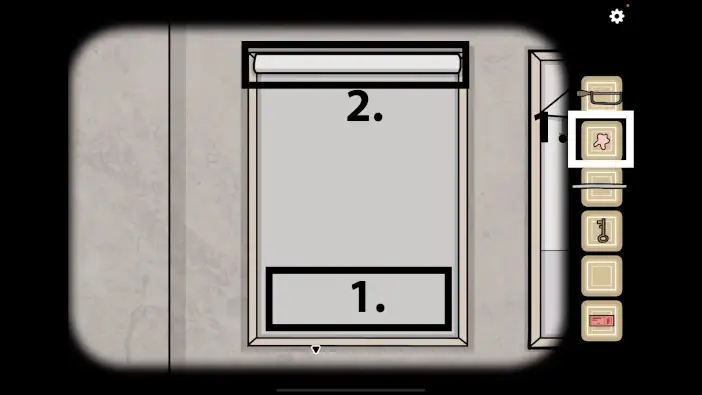
- Place the chewed gum on the frame to act as a glue for the poster.
- Roll down the poster, and it will stay in place because of the gum.
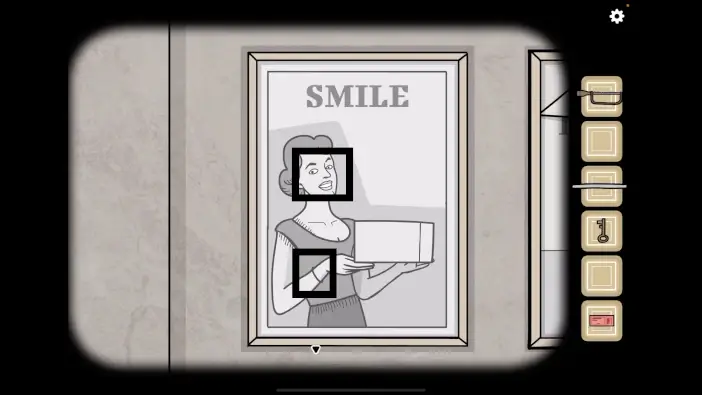
The words on the poster will imply what you need to click on the poster. First, click on the mouth, then on the eyes. Afterwards, click on the bracelet.

Click on the hair, then on the eyes, the mouth again, and lastly, on the box.
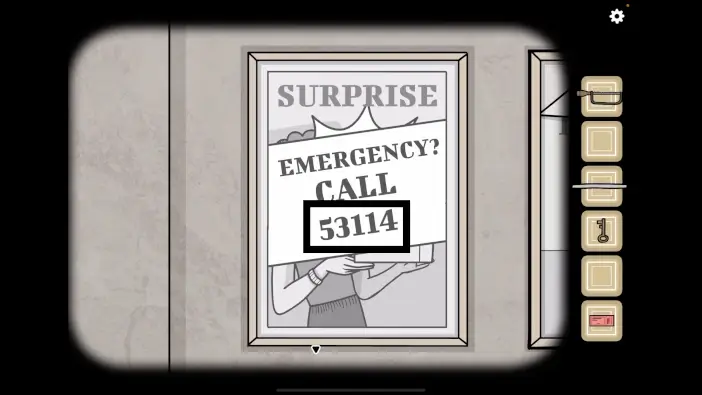
The number will appear. You will call it later from the phone booth.
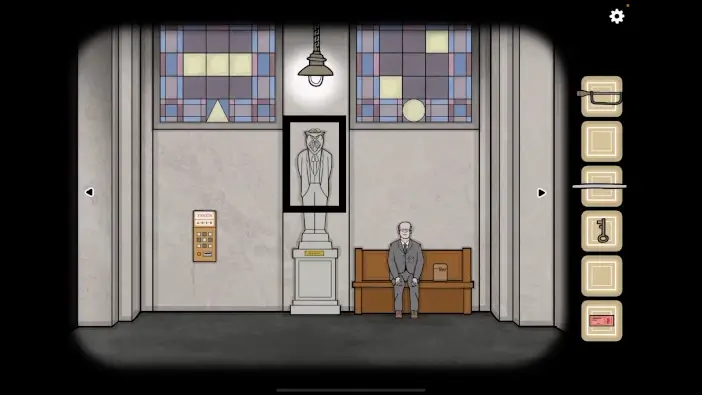
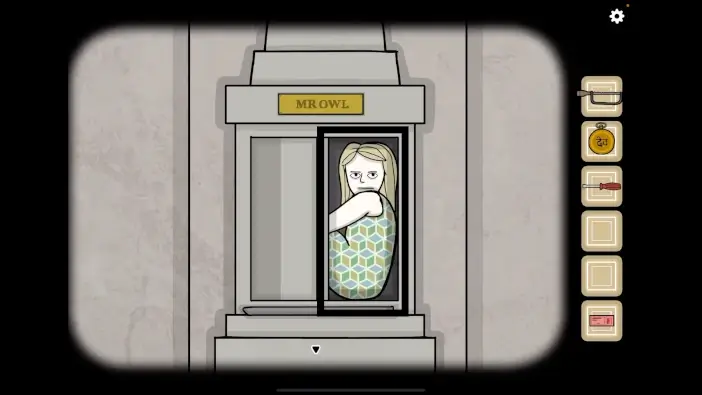
Go to the statue area and approach the statue of Mr. Owl.
Click on Laura, and she will go somewhere else.
Go to the photo service area and take the glass panel from Laura.
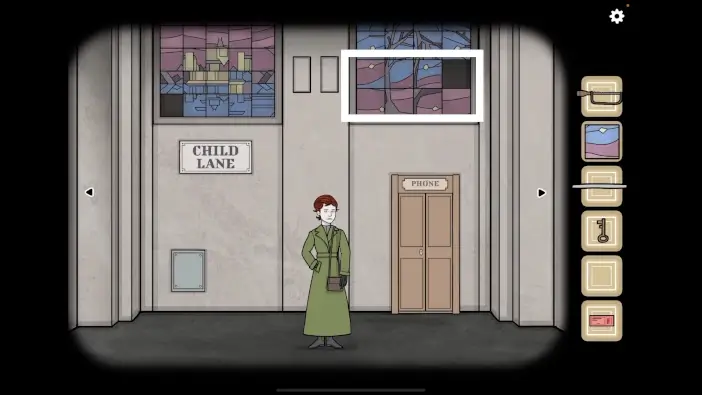
Go to the phone booth area and approach the stained glass on the right.
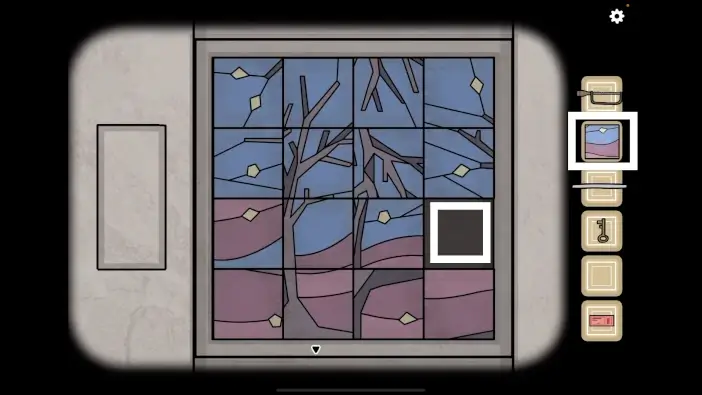
Place the glass panel that Laura gave you in the empty place.
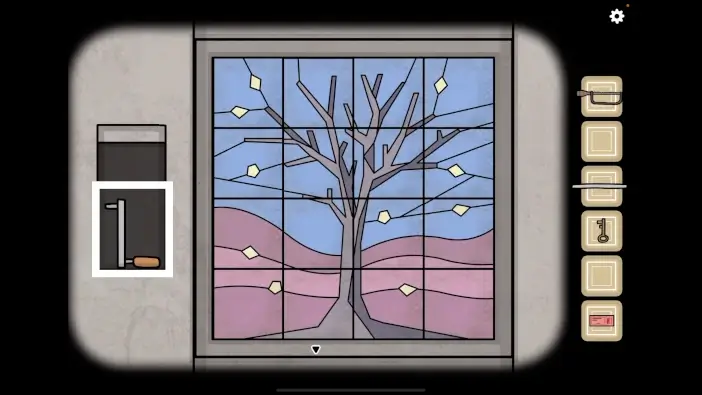
Each glass panel can be flipped. Flip the glass panels correctly to form an image of the tree, just like in the picture above. Once you accomplish this, a compartment will open on the left. Take the crank from the compartment.
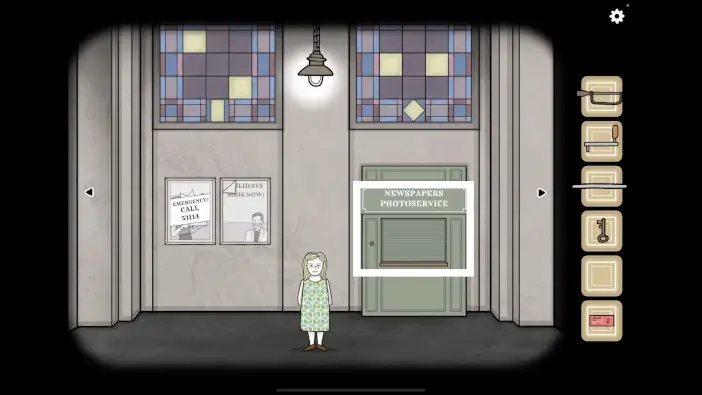
Approach the newspaper’s photo service where Laura is.
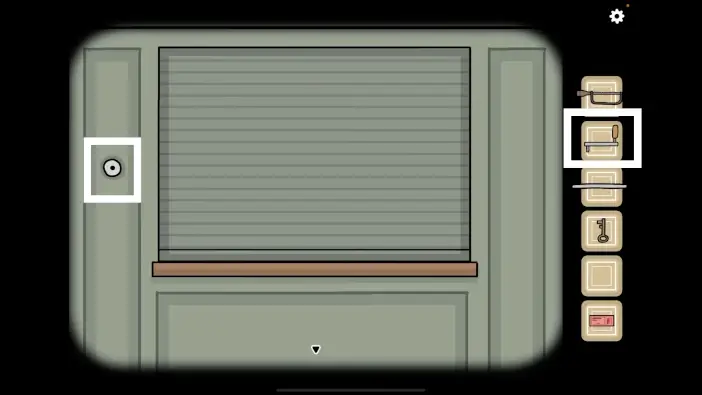
Attach the crank you just found.
- Use the crank to raise the roller shutters.
- Take the newspaper.
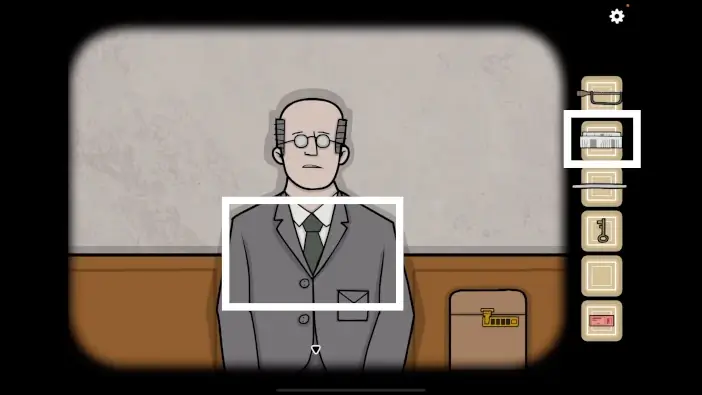
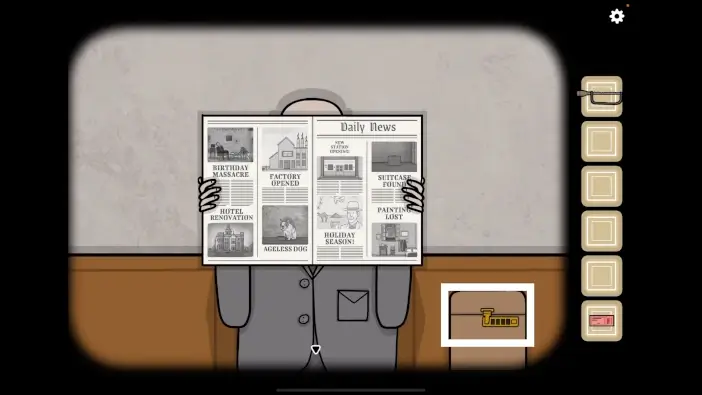
Go to the statue area and give the newspaper to the man with glasses.
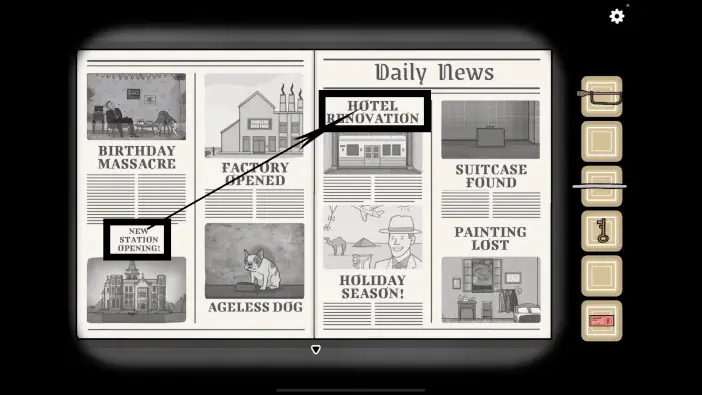
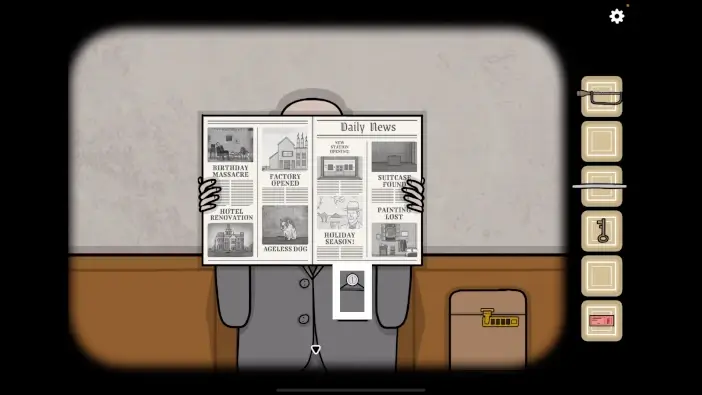
Click on the newspaper to start a new puzzle challenge. Rearrange the titles so that the correct titles are near their corresponding photographs.
After you solve the previous puzzle challenge, the man will raise the newspaper, and you will see his pocket. Open the pocket and take the coin.
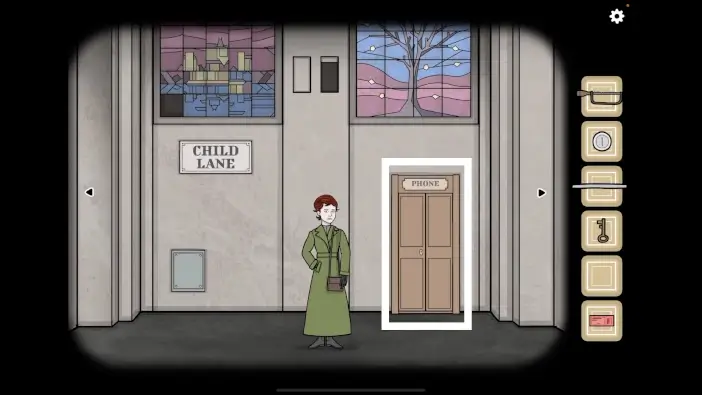
Go to the phone booth.
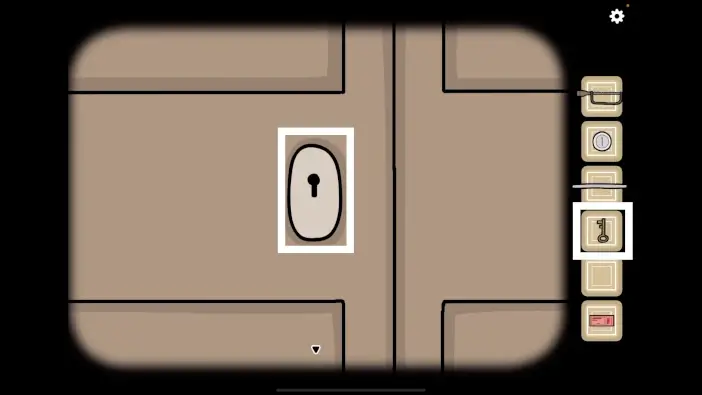
Use the key to unlock the phone booth.

Insert coin into the phone. Click on the rotary dial to get closer.
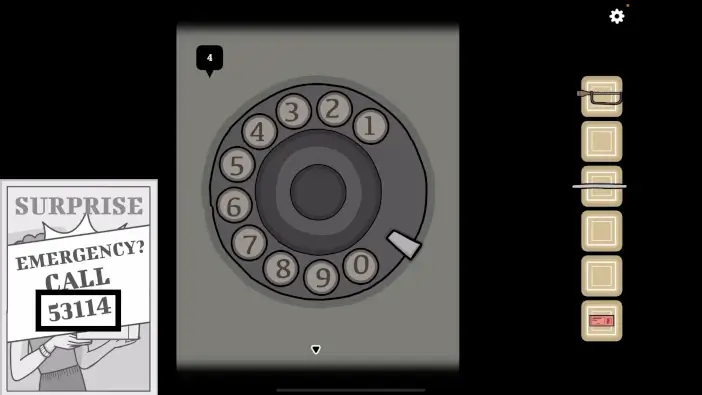
Remember the number from the poster, which is 53114. Call that number using the rotary dial.
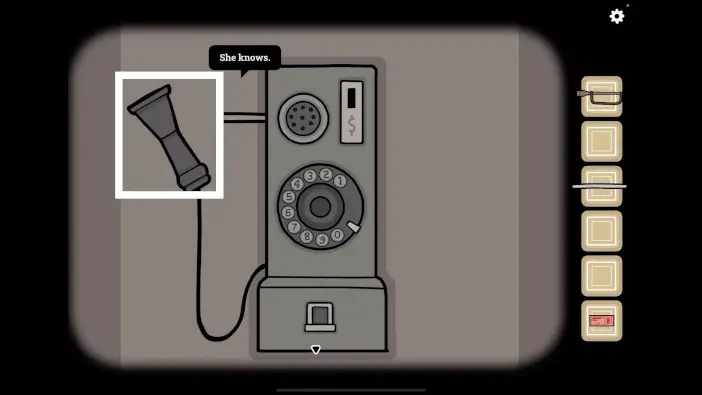
Click on the phone handset multiple times to get a hint at what to do next.
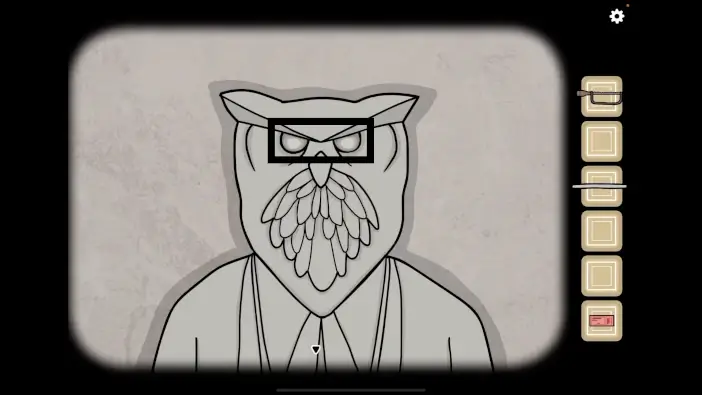
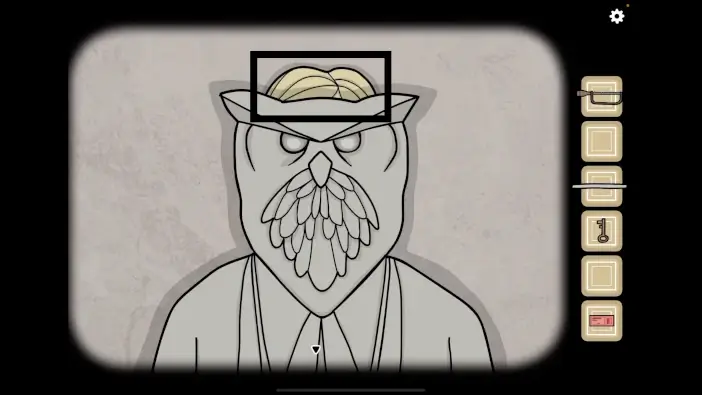
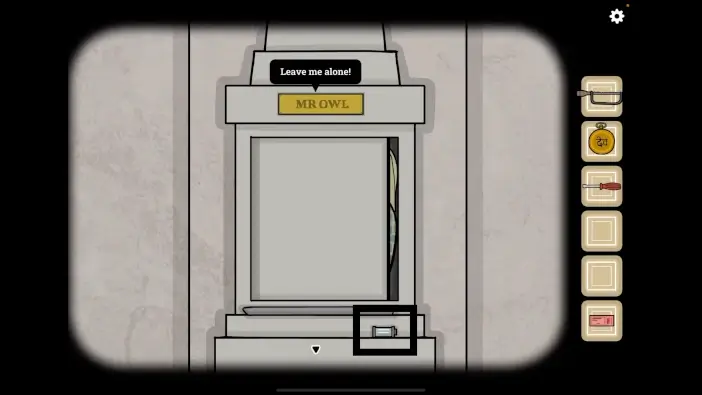
Approach the head of Mr. Owl’s statue and click on both eyes.
Approach the bottom of the statue.
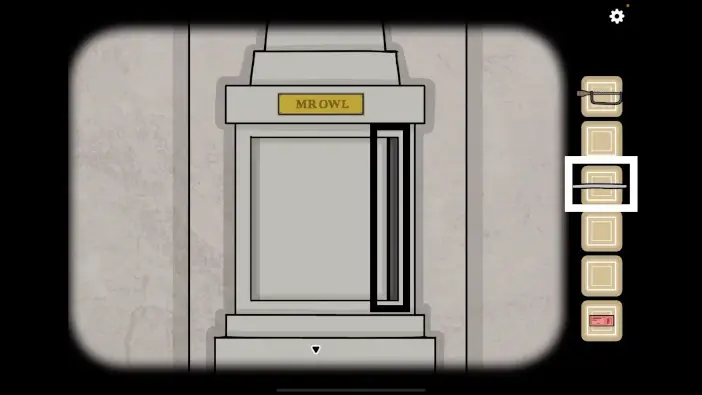
Place the rod/bar you cut earlier in the opening in the compartment.
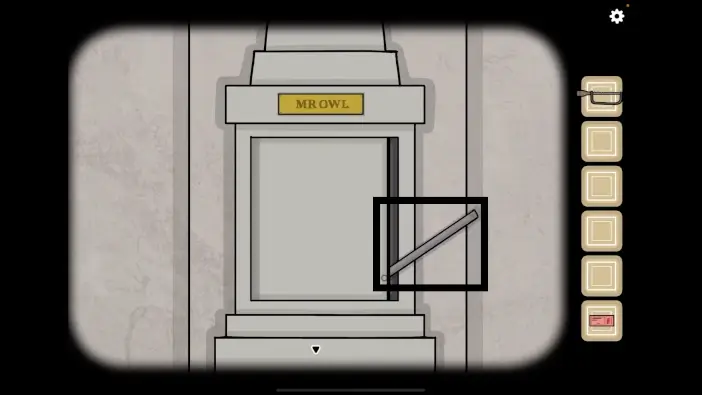
Click on the rod several times to open the compartment.
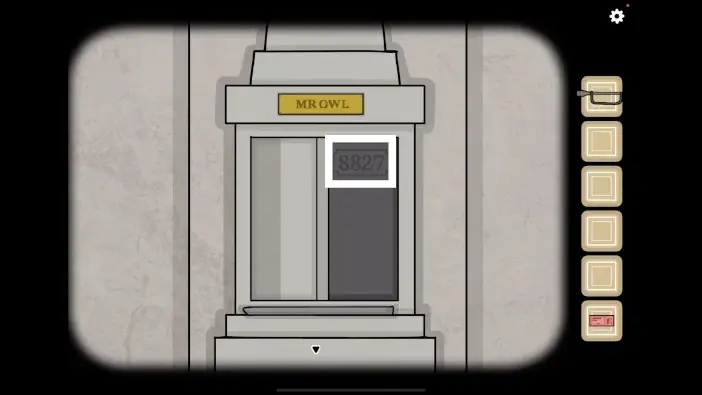
Remember the code “8827.”
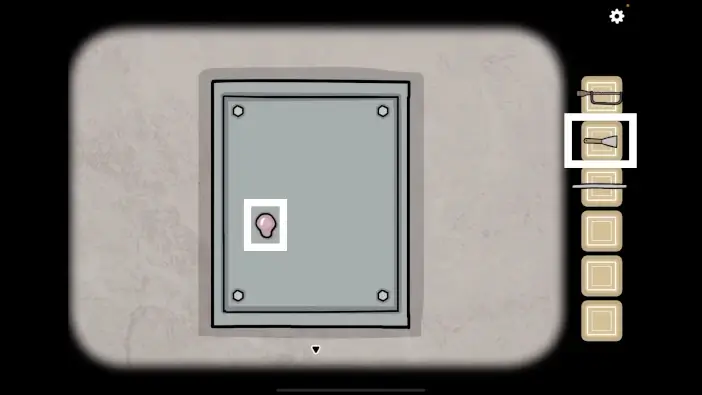
Go to the bench and approach the box.
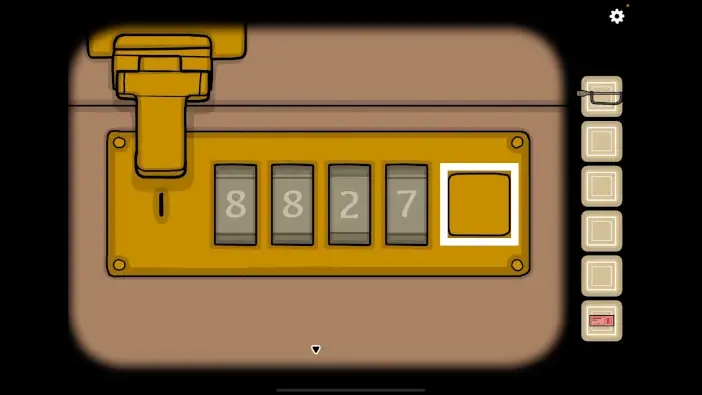
Change the code to “8827” and then press the button on the right to unlock the box.
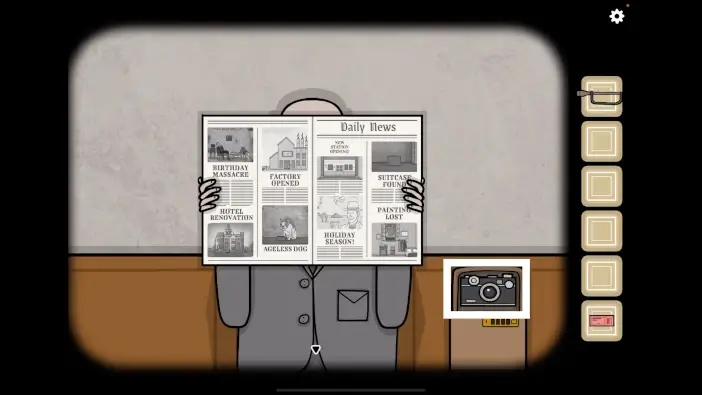
Take the camera out of the box.
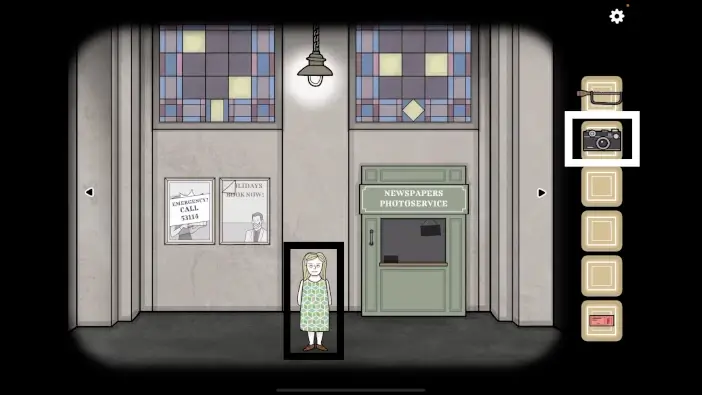
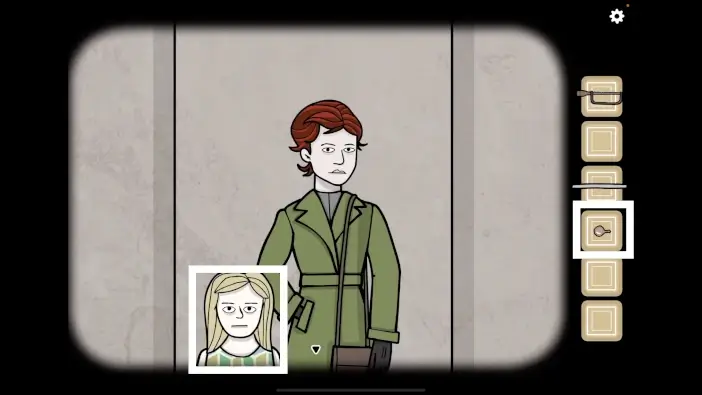
Give the camera to Laura.
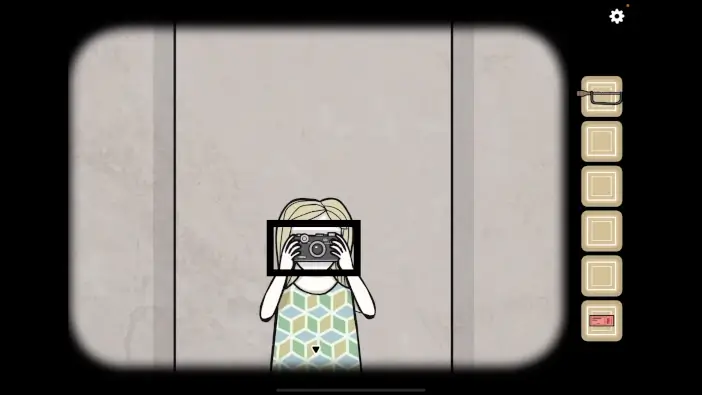
Click on the camera several times. Each time, Laura will take new photos until something scares her, and the room will grow dark.
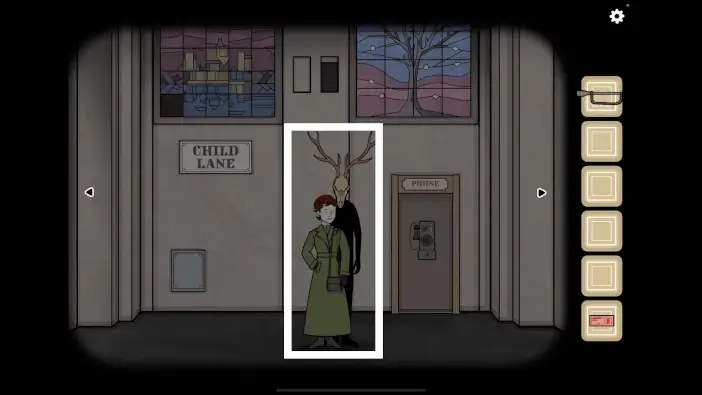
Speak with the corrupted soul near Rose. Click on him multiple times to see all the dialogue and progress the game.
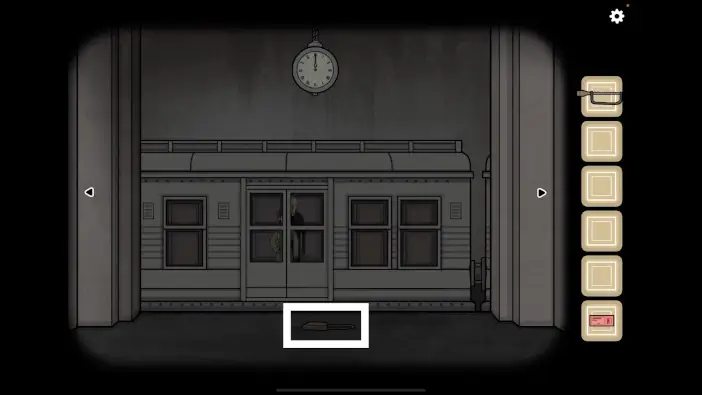
Go to the railway platform and you will see that the corrupted soul and Rose are in the train, leaving the station. Approach the Rose’s handbag on the floor.
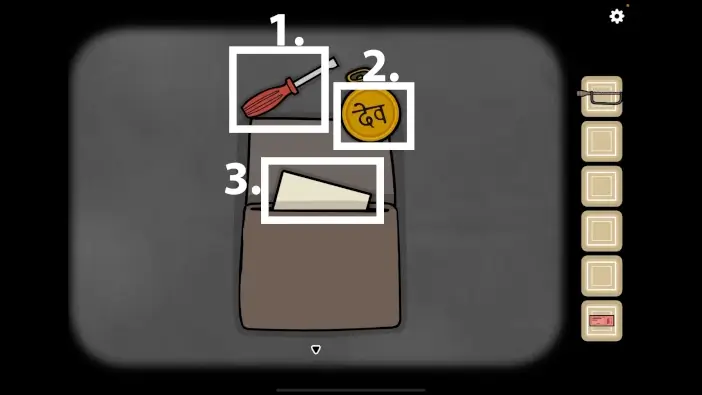
- Open the handbag. Take the screwdriver. You will use it to open the lid near the phone booth.
- Pick up the golden timepiece. You will use it much later in the sixth chapter, the Soul Street.
- Read the letter from Rose.
Go to the bottom compartment of Mr. Owl’s statue, and there you will find Laura. Talk with her.
Laura will drop the film roll. Pick it up. You will use it in the photo service.
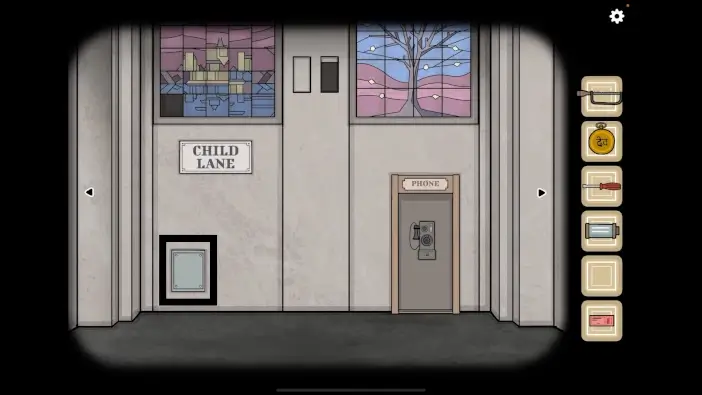
Go to the phone booth area and approach the lid on the left.
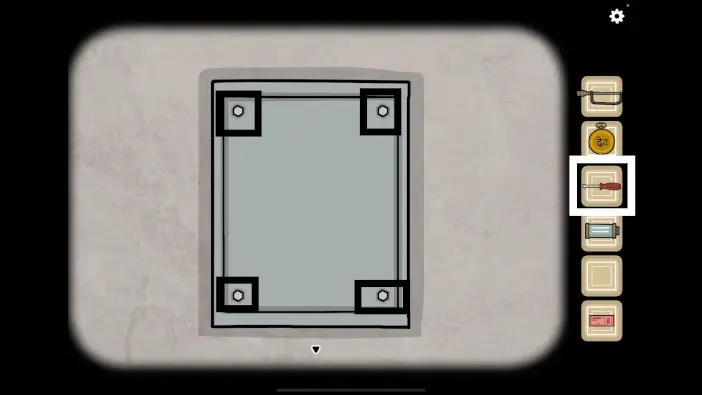
Use the screwdriver to remove all the screws and the lid.
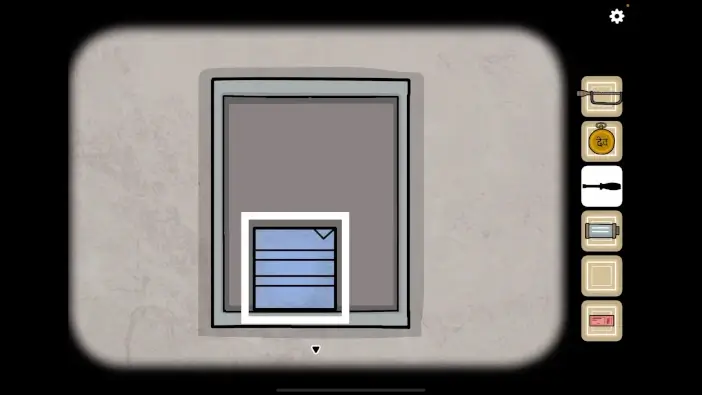
Once you remove the lid, take the second glass panel.
Above the lid you opened, there is a stained glass window representing the Rusty Lake Hotel. Approach it.

Place the glass panel in the empty field.

Just like with the previous stained glass, flip the fields to get the correct image of a Rusty Lake Hotel building, just like the picture above. Once you complete this challenge, a compartment will open on the right. Take the clock hand from the compartment.
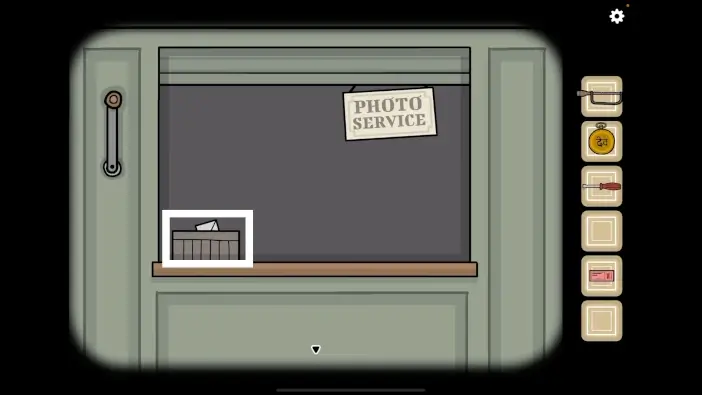
Approach the photo service stand.
- Place Laura’s film record into the box.
- Click on the sign, and the worker will tell you to come back in 20 minutes.
You can get the achievement here. Click on the “Photo Service” sign many times, and the worker will say ‘I am not here.” You will get the “Bothersome” achievement.
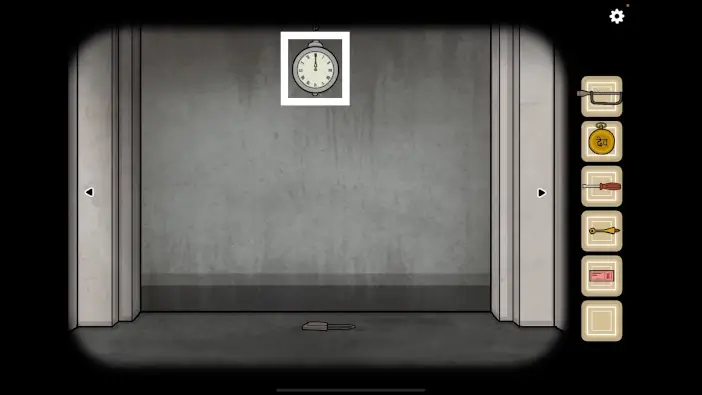
Go to the railway platform and approach the clock.
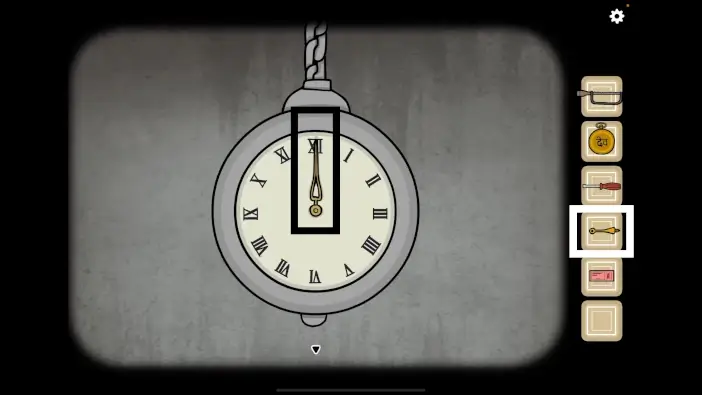
Attach the clock hand to the clock.
Move the clock hand for the minutes to 20 minutes. This will advance time.
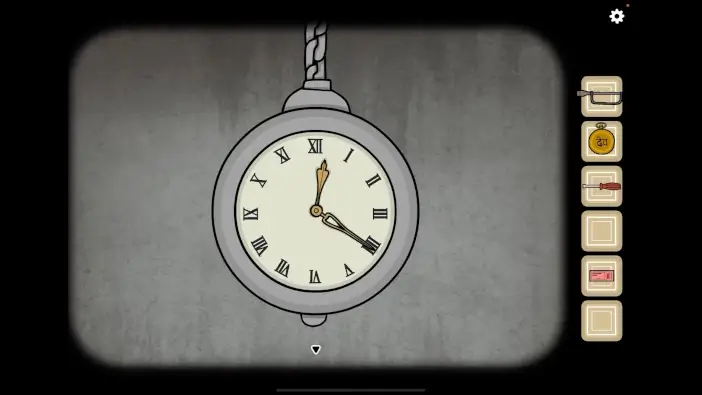
Return to the photo service and open the envelope from the box.
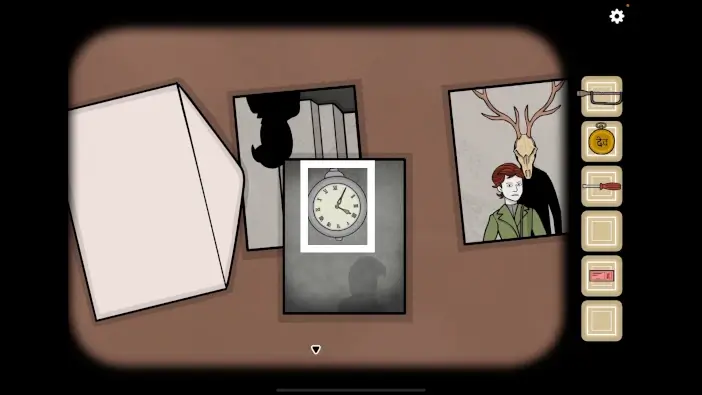
Pay attention to one of the pictures that has a clock in it. The clock shows 16:05.
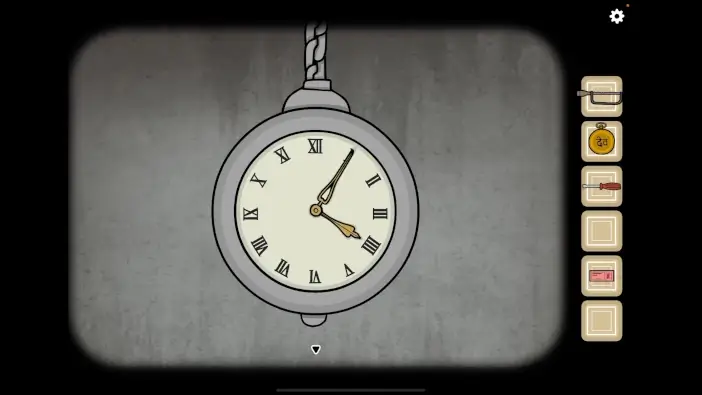
Return to the railway platform and change the clock to show 16:05. The train to the next station will arrive.
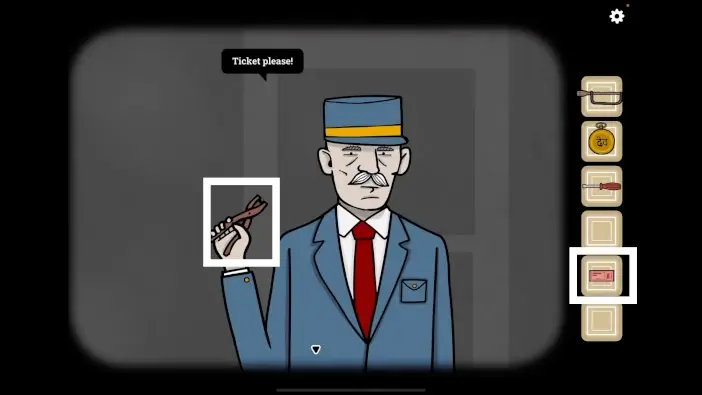
Open the door and give the ticket to the train conductor. Click on the ticket punch multiple times and enter the train. You will get the “Departing Child Lane” achievement.
This will mark the end of our guide for Chapter 2 of the Underground Blossom.
Thank you for reading!