100 Doors Escape from Prison Level 21-30
Hello everyone and welcome to the walkthrough for 100 Doors: Escape from Prison. On this page, you can find the solution for levels 21-30.
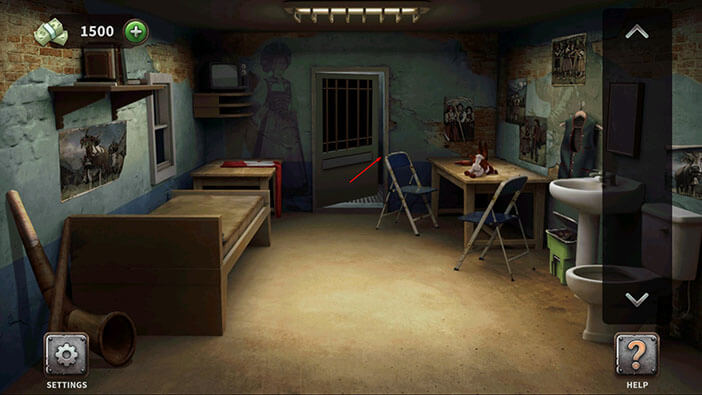
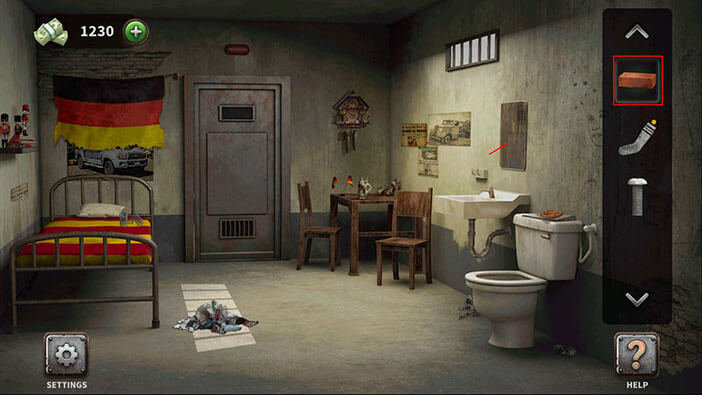
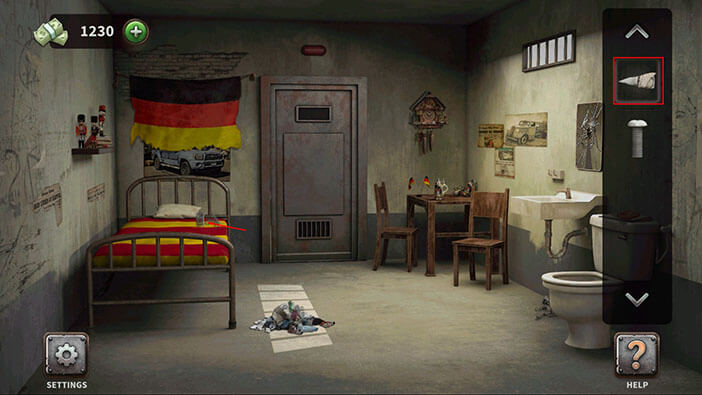
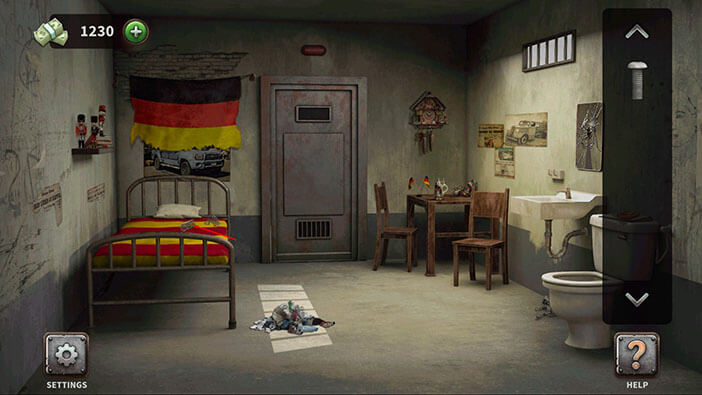
Level 21: German cell
Let’s start by picking up two items.
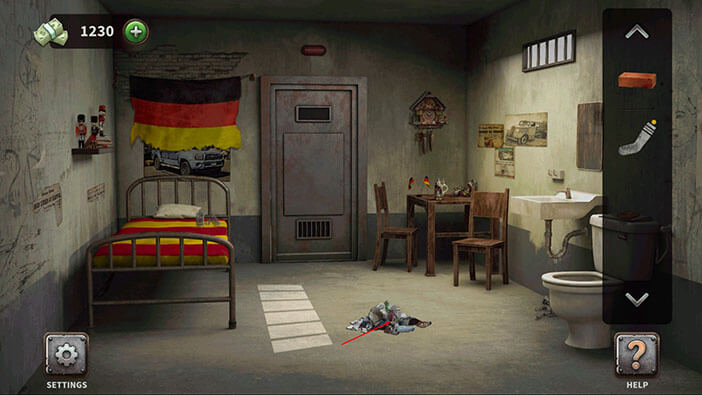
First, tap on the brick, near the cell door, to pick it up.
Second, tap on the sock, located below the bed, to pick it up.
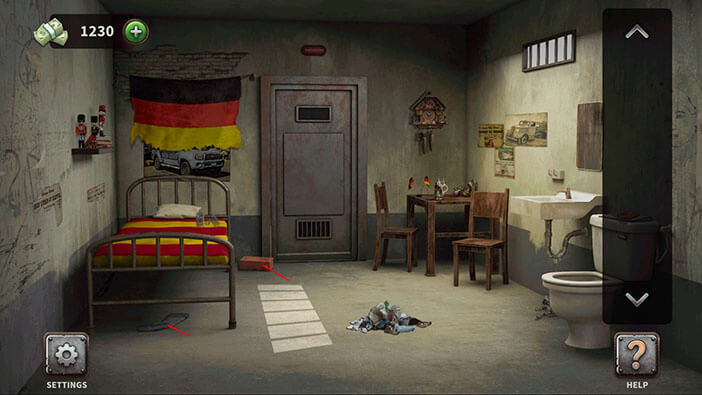
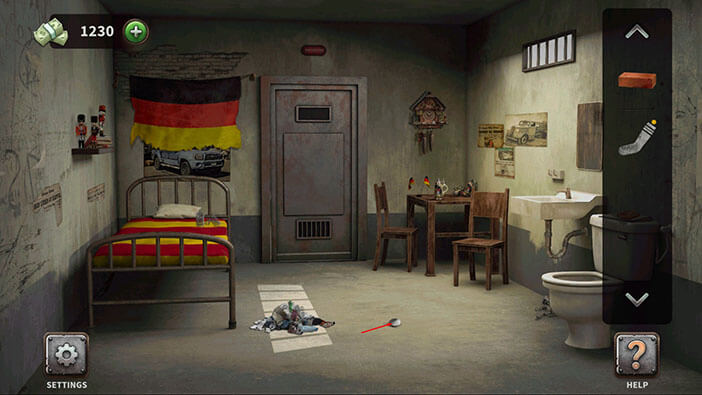
Next, tap on the trash, in the middle of the room, to move it aside.
Below the trash, you will find a coin. Tap on it to pick it up.
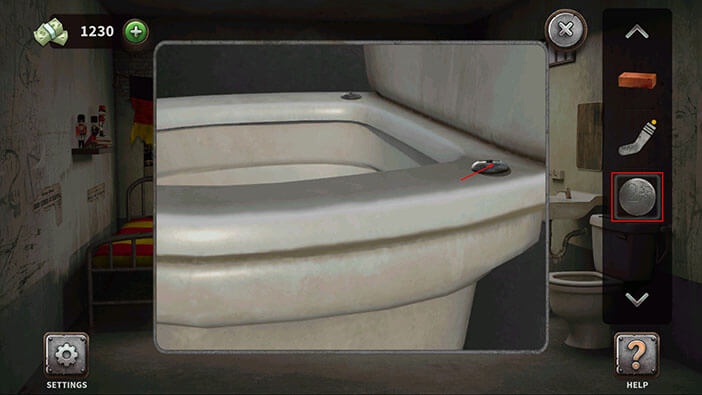
Next, tap on the toilet to take a closer look at it.

Select the coin from the inventory and use it to remove and pick up the screw.
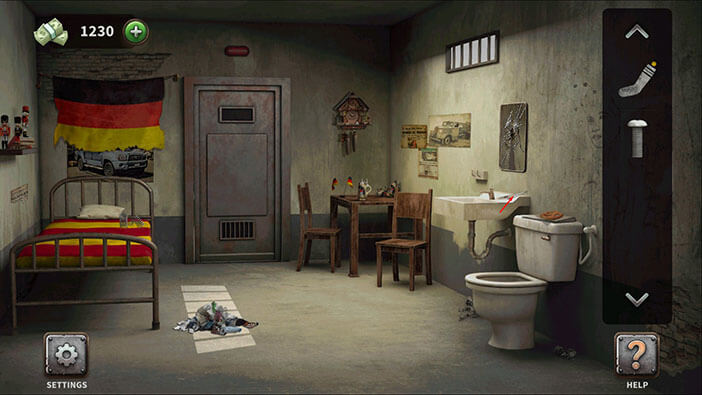
Next, select the brick from the inventory and use it to smash the mirror, above the sink.
A piece of glass will fall on the sink. Tap on it to pick it up.
Ok, now tap on the sock in your inventory to select it.

Tap on the piece glass in the inventory to select it, then tap on the sock to combine the two items. Our character will wrap the sock around the piece of glass, so he can’t use the glass as an improvised knife, without cutting his hand.
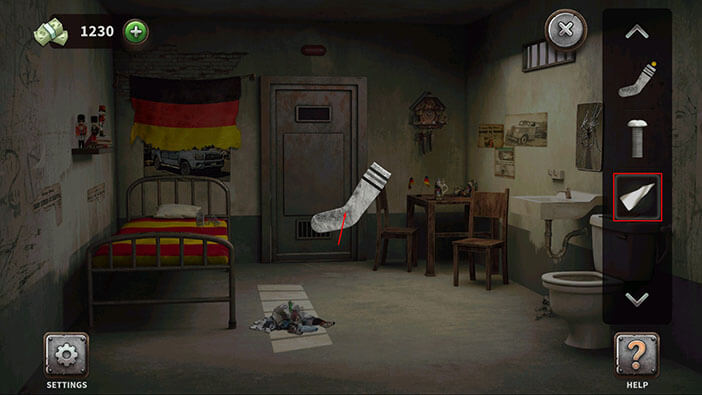
If you take a look at the bed, you will notice a spring. Select the wrapped piece of glass from the inventory and use it to cut the spring.
After that, tap on the spring to pick it up.
Tap on the spring in your inventory to select it.

Select the screw from the inventory, then tap on the spring to combine these two items.
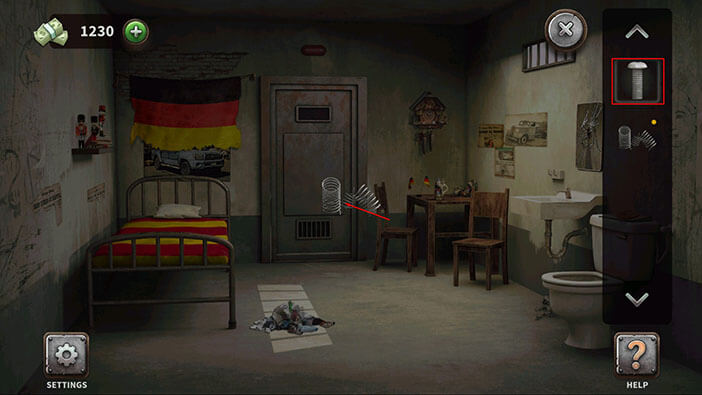
Select the spring and screw from the inventory, then tap on the metal bar on the window on the right, and our character will rip out one of the bars.

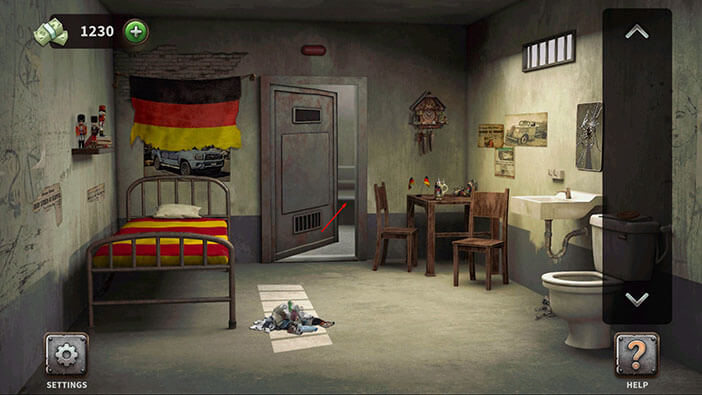
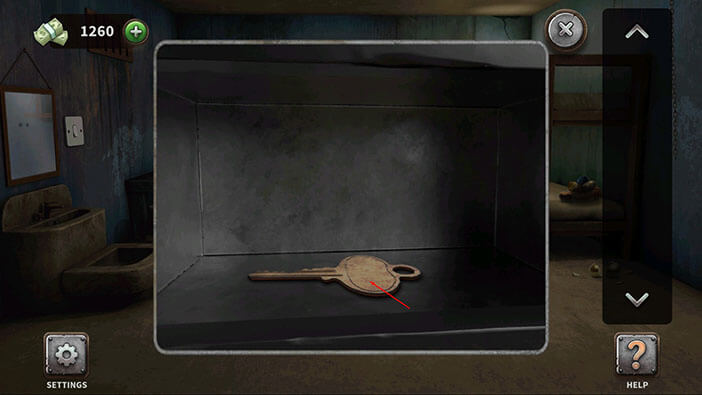
Next, tap on the bars at the bottom of the cell door to take a closer look.

We can see a key behind the bars, but our character can’t reach it. So, select the bar from the inventory and use it to reach the key.

Select the key from the inventory and tap on the cell door to unlock it.

Finally, tap on the cell door to escape and you will complete the twenty-first level.
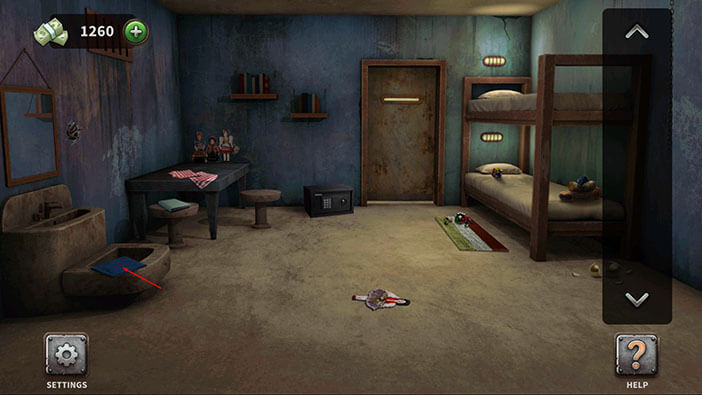
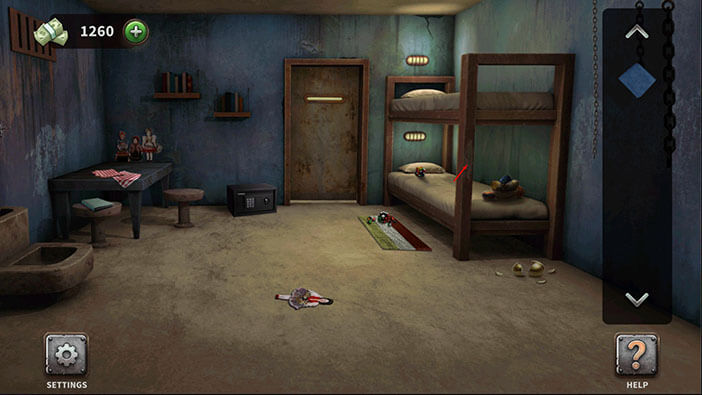
Level 22: Hungarian Cell
On the left, just below the sink, you will see a blue rag. Tap on it to pick it up.
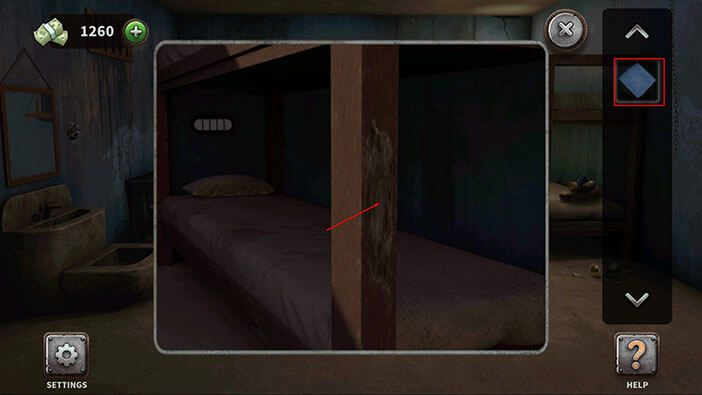
Tap on the left leg of the bunk bed to take a closer look at it.
Select the blue rag from the inventory and use it to clean the wood.
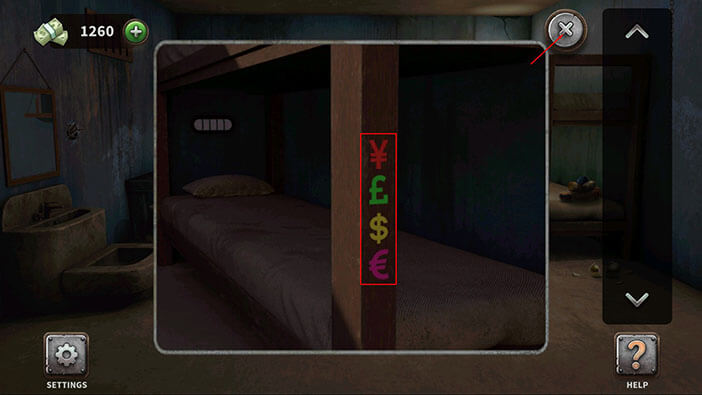
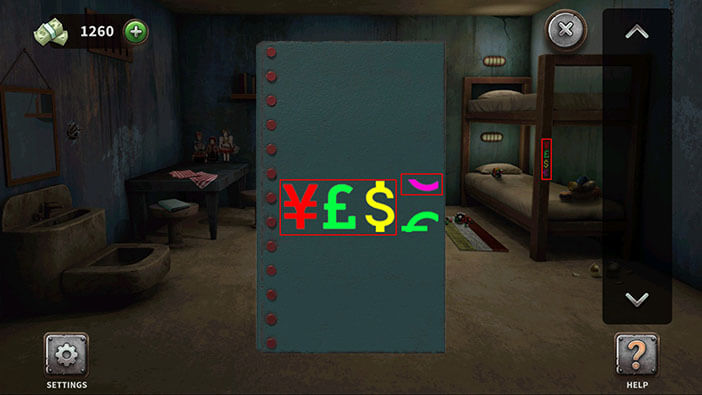
After we cleaned the wood, four symbols appeared. Memorize/ write down the color of the symbols, because we will need it for the next puzzle. So, looking from top to bottom, we have red, green, yellow, and purple symbols.
Once you’re done, tap on the “X” button in the upper right corner to go back.
Next, tap on the blue book on the chair on the left to take a closer look at it.

Here, we can see the same symbols like the one that we saw on the bed frame. However, all symbols on the folder are blue. So, tap on the letters and change them to match the color of the symbols on the bed frame (red, green, yellow, and purple).
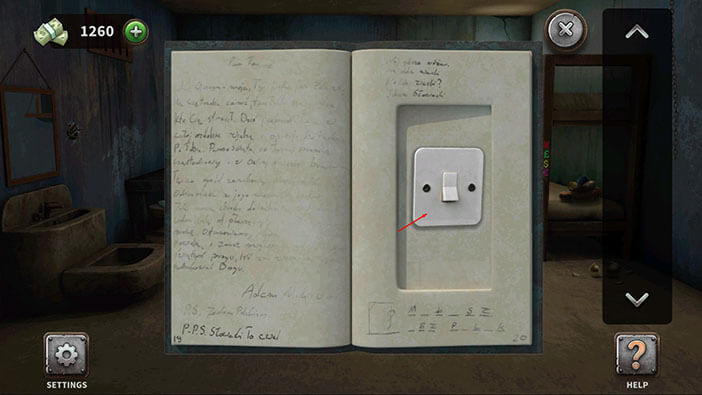
Inside the book, you will find a light switch. Tap on it to pick it up.
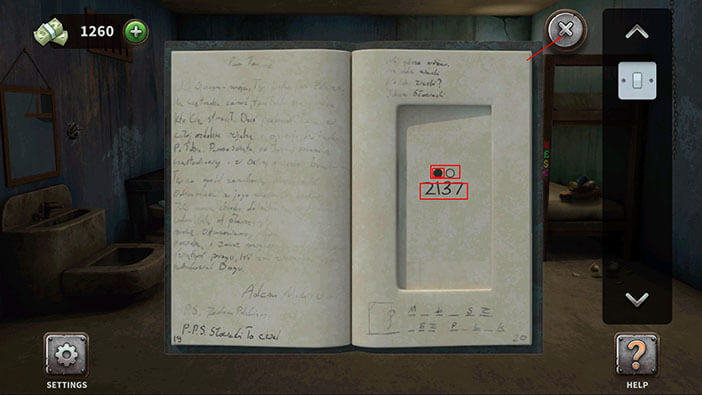
Below the switch, you will see four numbers “2137”. Also, above the numbers, we can see two circles, and the first one is shaded, indicating that these are the first four numbers of the code. Memorize/ write down the number “2137” because we will need it later.
Once you’re done, tap on the “X” button in the upper right corner to go back.
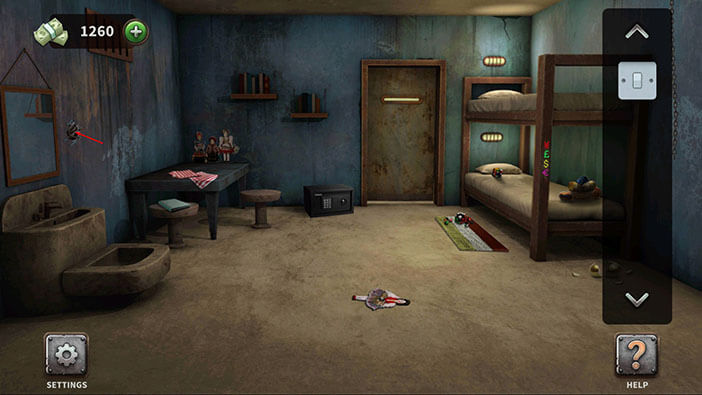
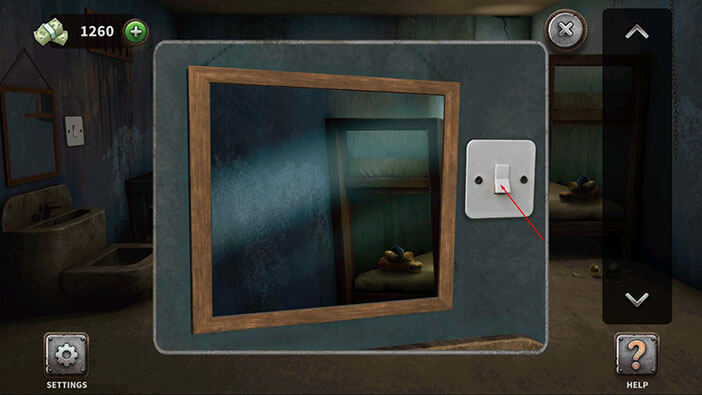
If you pay attention to the wall on the left, you will notice that there are some wires sticking out from the wall, right next to the mirror. Tap on the wires to take a closer look.
Select the light switch from the inventory and tap on the hole in the wall to install it.

Tap on the switch to turn on the light.
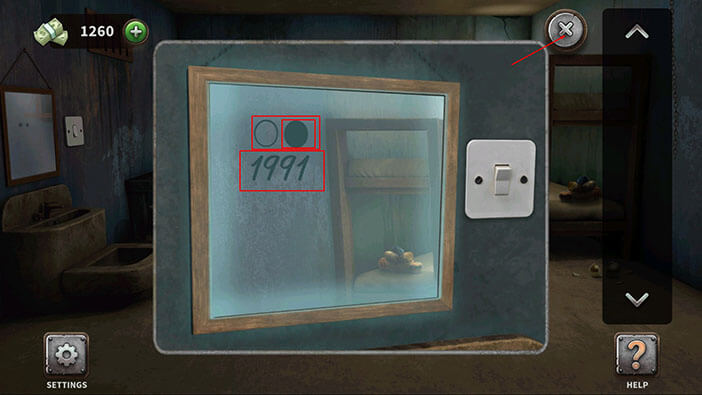
As we turned on the light, the number “1991” appeared in the mirror. Also, above the numbers, we can see two circles, and the second one is shaded, indicating that these numbers are the continuation of the code that we saw previously. So, when we add this number to the one that we found before, we will get the full code “21371991”. Memorize or write down this number because we will need it in order to solve the next puzzle.
Once you’re done, tap on the “X” button in the upper right corner to go back.
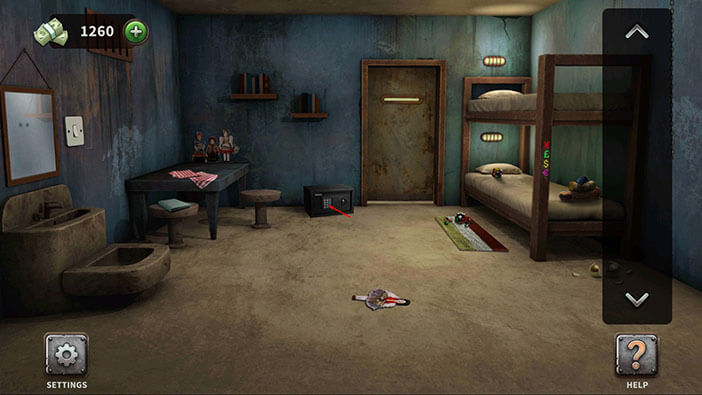
Ok, now we should tap on the safe to take a closer look at it.
Enter the code “21371991” to open the safe.
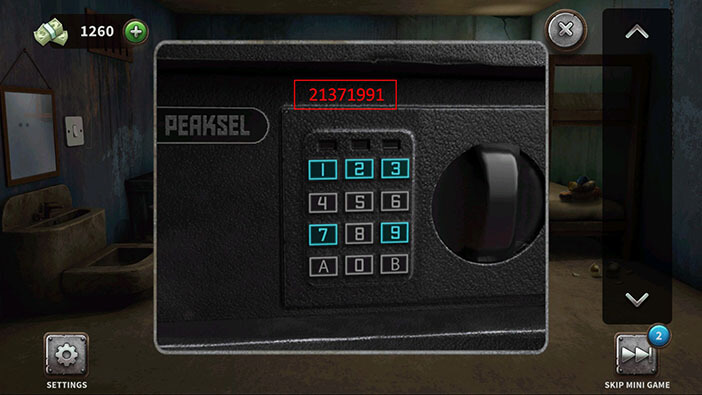
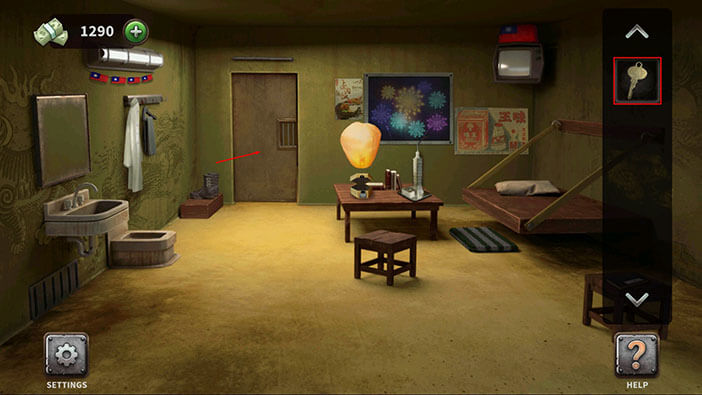
Inside the safe, you find a key. Tap on it to pick it up.
Select the key from the inventory and tap on the cell door to unlock it.
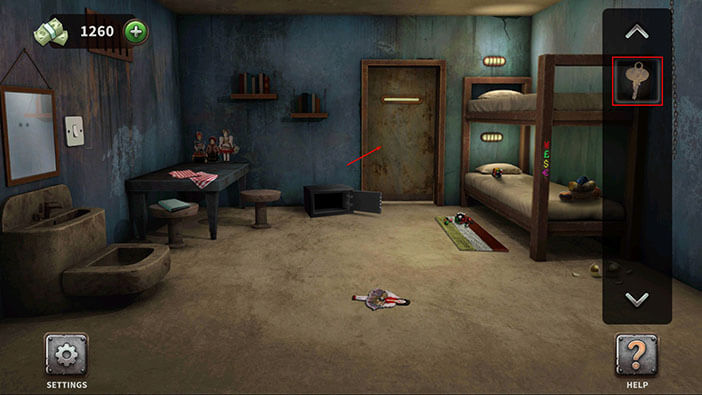
Finally, tap on the cell door to escape and you will complete the twenty-second level.

Level 23: Taiwanese Cell
Tap on the plastic bottle in the left corner of the room to pick it up.
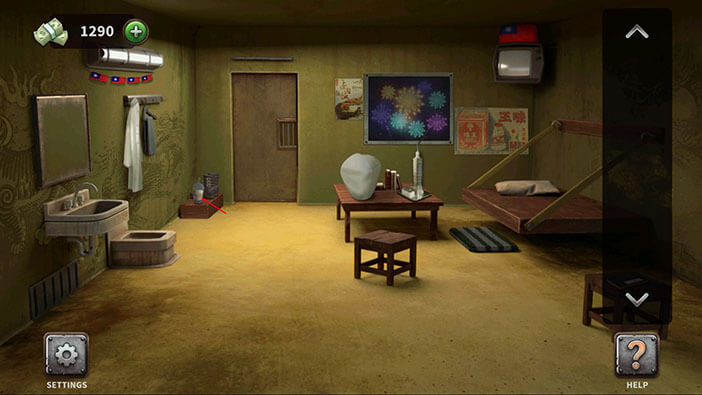
Select the bottle from the inventory and smash it against the sink.

After smashing the bottle, you will discover that there is a lighter inside.
Tap on the bottle in your inventory to select it.
After that, tap on the bottle again to open it, and our character will pick up the lighter.

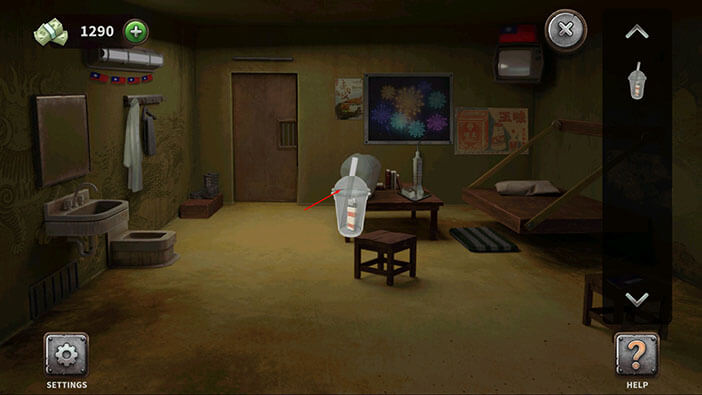
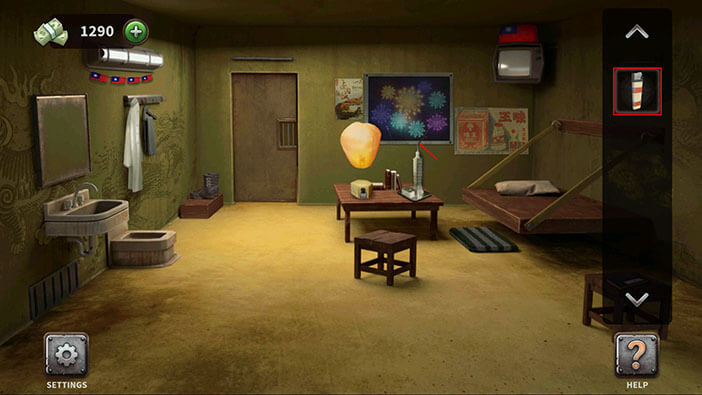
Select the lighter from the inventory and use it to light the balloon on the table.
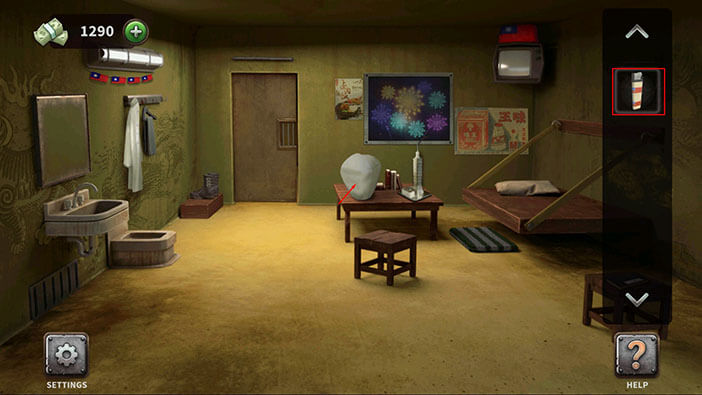
Ok, now let’s select the lighter from the inventory and use it to light the fuse on the table. This will start the firework, and we should pay attention to the colors of the exploding lights.
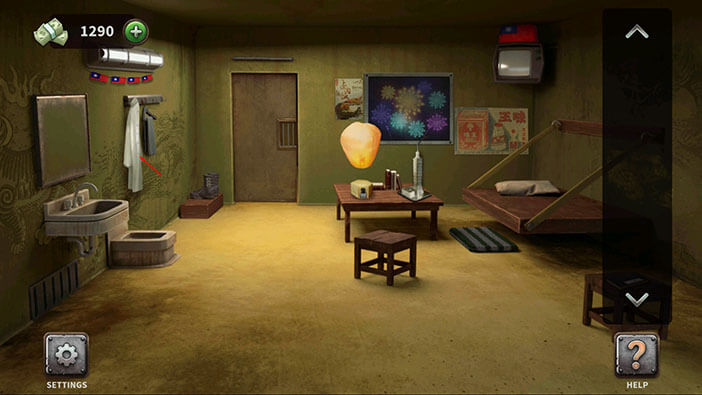
Ok, we saw yellow and pink lights. Let’s tap on the white coat on the left to take a closer look at it.
Here, we can see another pink light. Tap on the “X” button in the upper right corner to go back.
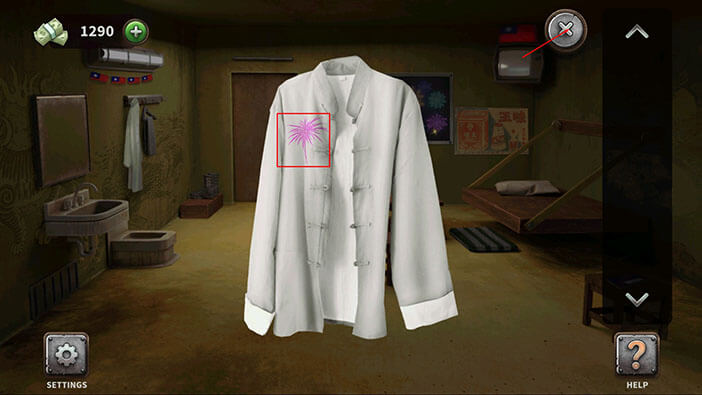
Ok, now pay attention to the picture of the fireworks on the wall in the back of the room, and let’s count the lights. We have 2 blue, 1 purple, 2 yellow, and 3 teal lights.
When we add the lights that we saw we lit up the fireworks, and the one on the white coat, we will get.
2x Blue
1x Purple
2x Pink
3x Yellow
3x Teal
Memorize/ write down this information, because we will need it for the next puzzle.
Once you’re done, tap on the box on the table to take a closer look at it.

Here, we have to enter the correct number below each color in order to open the box. We already discovered the correct solution, so enter “21233” (blue, purple, pink, yellow, and teal).
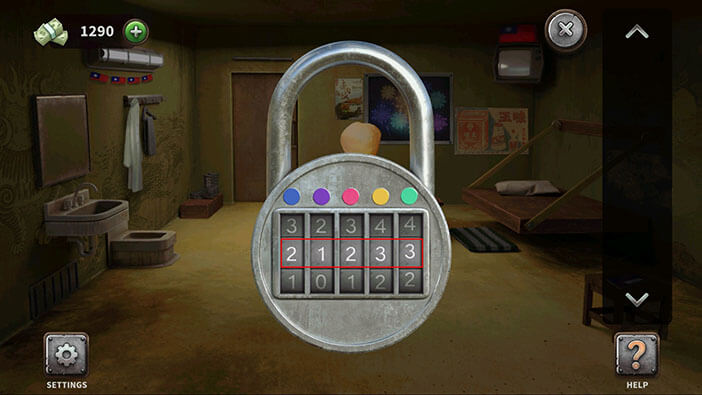
As soon as you enter the correct code, the box will open and you will see a key inside of it. Tap on the key to pick it up.

Select the key from the inventory and tap on the cell door to unlock it.
Finally, tap on the cell door to escape and you will complete the twenty-third level.
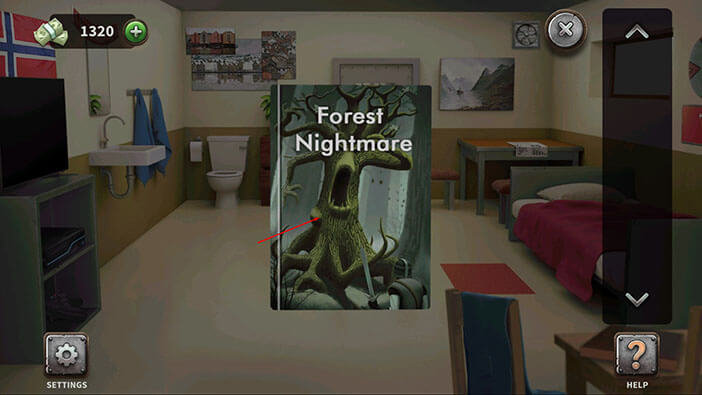
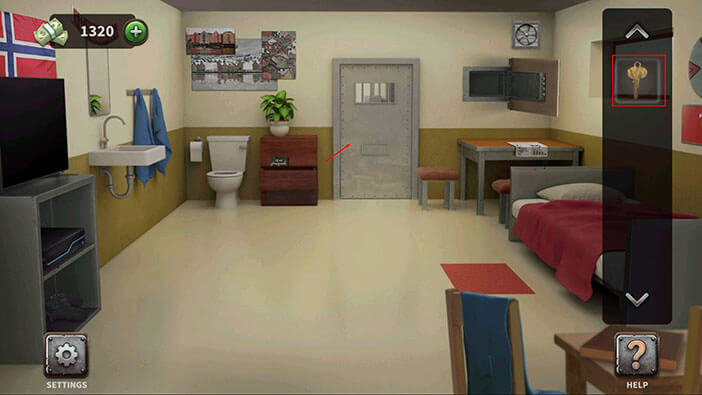
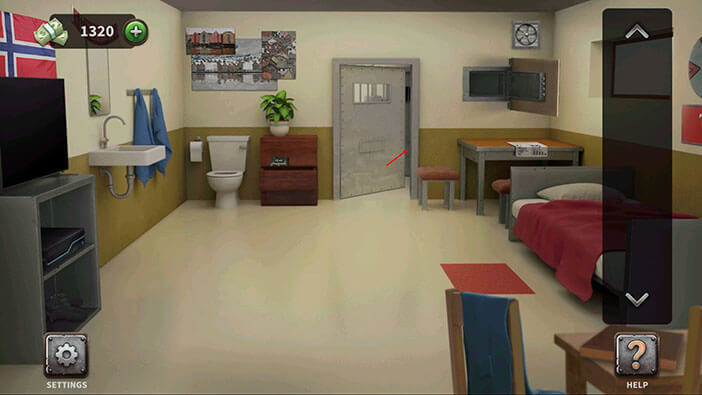
Level 24: Norwegian Cell
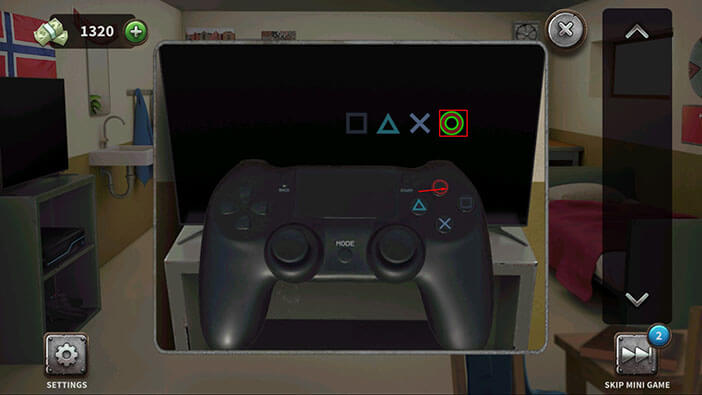
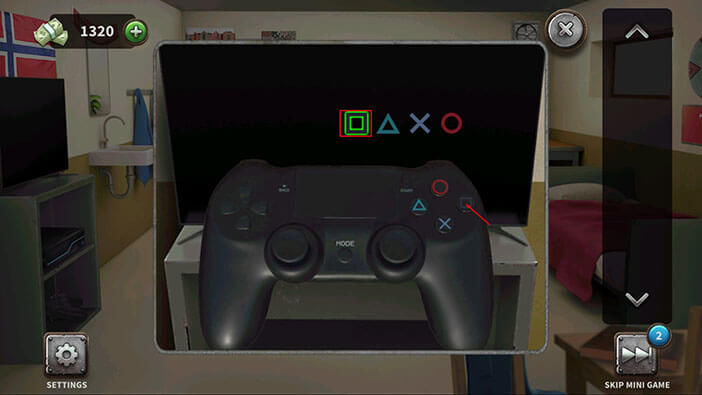
Tap on the gamepad in the cabinet on the left to take a closer look at it.

Above the gamepad, we can see the four buttons. Once you press the correct button, the button above will light green, and if you hit the wrong button the light will go red (getting the correct order of button is guesswork – trial and error.
We will do this puzzle in several steps. Let’s begin.
Step 1
First, tap on the “O” button, and you will see the green light on the symbol above, indicating that the “O” is the first button.
Step 2
Second, tap on the “Square” button, and you will see the green light on the symbols above.
Step 3
Third, tap on the “O” button, and you will see the green light on the symbols above.

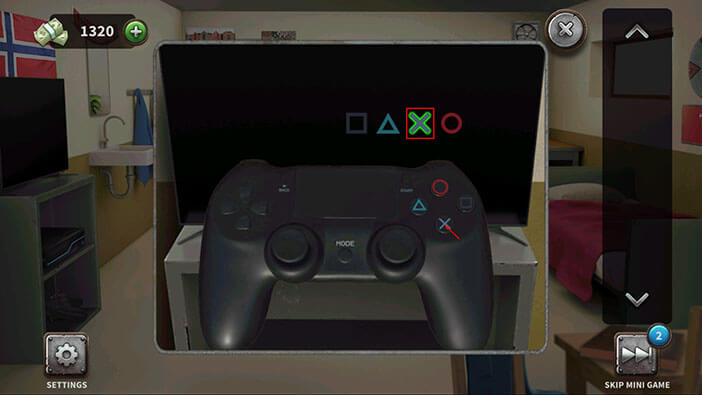
Step 4
Fourth, tap on the “X” button, and you will see the green light on the symbols above.
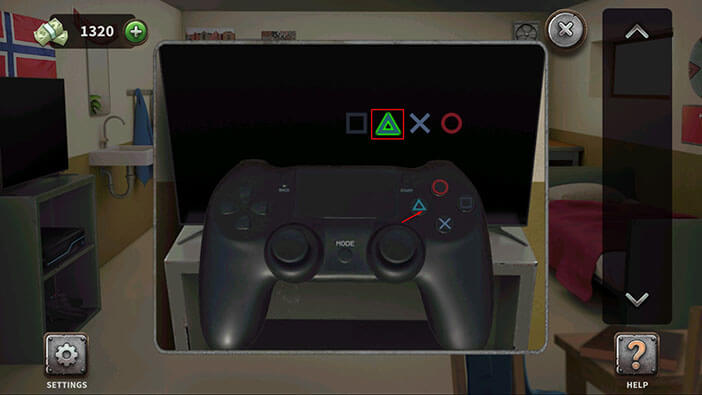
Finally, tap on the “Triangle” button, and you will solve this puzzle.
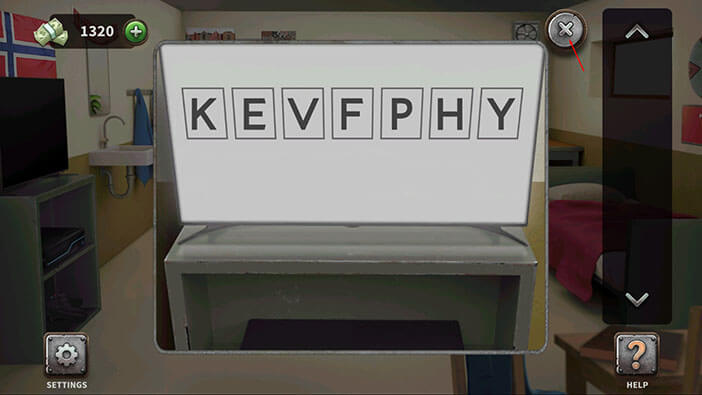
After you solve the gamepad puzzle, you will be faced with another puzzle, and this one requires a seven-letter password. We will get back to it, a bit later. For now, tap on the “X” button in the upper right corner to go back.
There’s a CD box sticking out from the drawer, just to the left of the cell door. Tap on it to take a closer look.
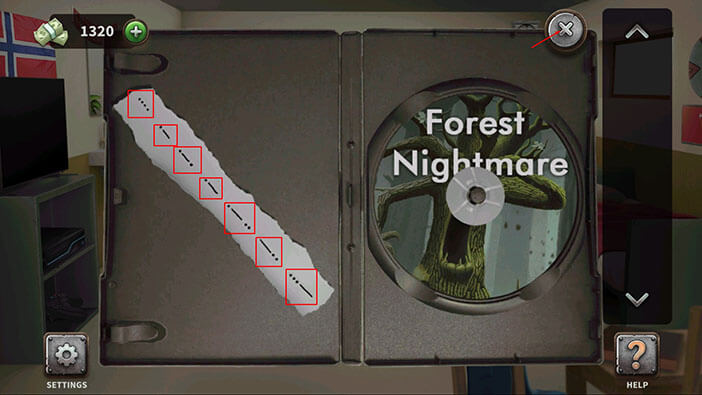
After that, tap on the CD box to open it.

On the left side of the box, we can see some lines and dots. We should memorize/write down these patterns because we will need them for the next puzzle. So, looking from top to bottom, we have
First – four dots
Second – dot, and a line
Third – Dot, line, dot
Fourth – dot, and a line
Fifth – dot, line, dot, dot
Sixth – line, dot, dot
Seventh – three dots and a line
Once you’re done, tap on the “X” button in the upper right corner to go back.
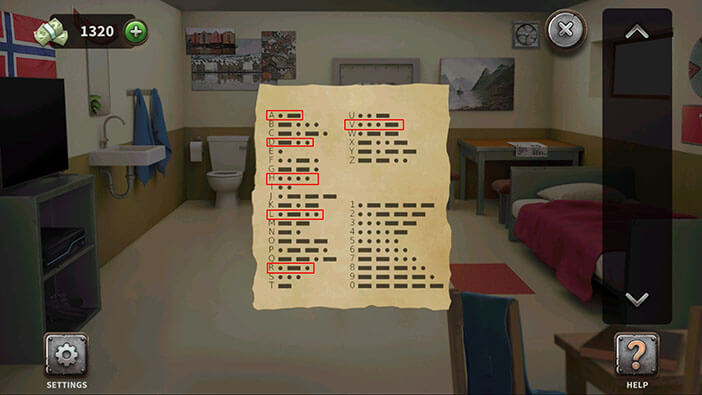
Ok, now tap on the note, located on the table in the right corner of the room, to take a closer look at it.
Here, we can see that each letter of the alphabet has a “secret code” which is a combination of dots and lines. Now, we just have to find the patterns that match the ones that we saw on the CD box, and we can replace dots and lines with letters that they represent. Let’s begin.
First, we had four dots, and we can see four dots next to the letter “H”. So, “H” is the first letter.
Second, we had a dot, and a line = “A” (second letter).
Third, we had dot, line, dot = “R” (third letter).
Fourth we had a dot, and a line (again) = “A” (fourth letter).
Fifth, we had dot, line, dot, dot = “L” (fifth letter)
Sixth, we had line, dot, dot = “D” (sixth letter)
Seventh, we had three dots and a line = “V” (seventh letter)
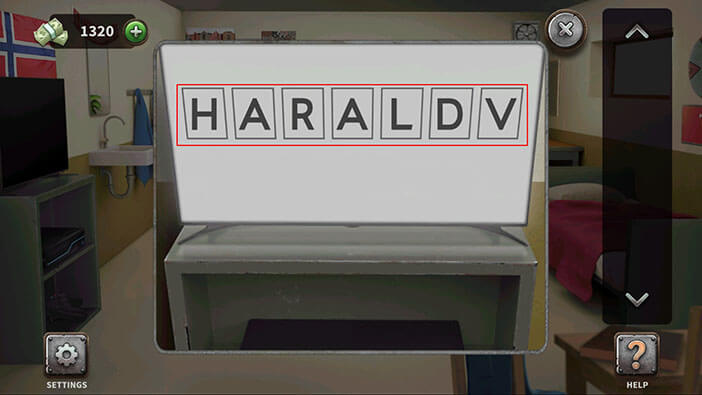
When we put it all together, we will get “HARALDV”. Memorize/ write down this password because we will need it to solve the next puzzle. Once you’re done, tap on the “X” button in the upper right corner to go back.
Tap on the gamepad again to go back to the seven-letter puzzle.

Well, to solve this puzzle we need a seven-letter password, and we just deciphered a password that contains seven letters.
So, enter the password “HARALDV”.
As soon as you enter the correct password, the wall safe will open. Tap on the key inside the safe to pick it up.

Select the key from the inventory and tap on the cell door to unlock it.
Finally, tap on the cell door to escape and you will complete the twenty-fourth level.
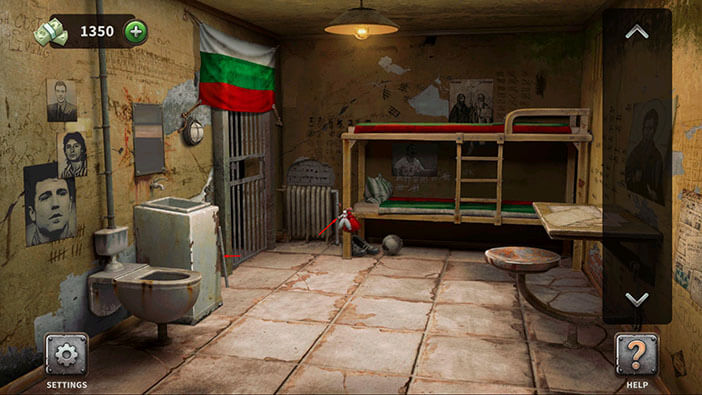
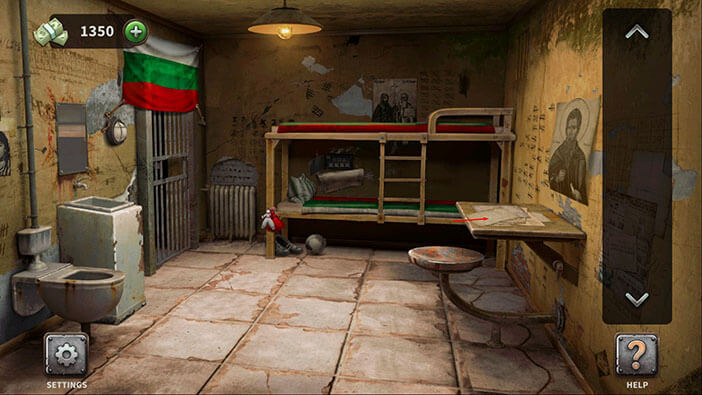
Level 25: Bulgarian Cell
At the start of this level, we can pick up two metal pipes.
The first one is located behind the sink.
The second one is located on the right side of the radiator.
Next, tap on the straight pipe in your inventory to select it.

Select the other pipe from the inventory and use it to bend the first pipe.
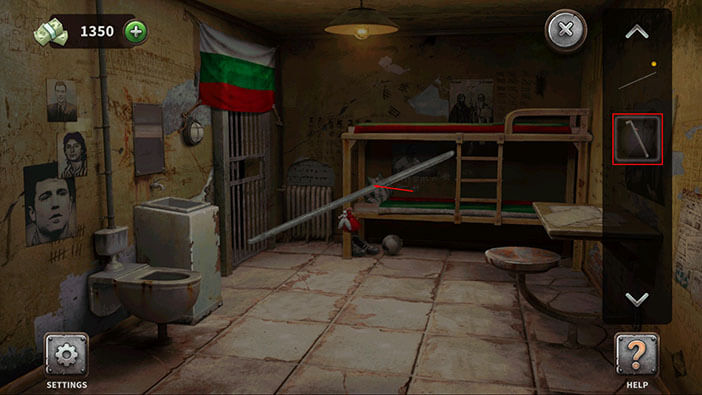
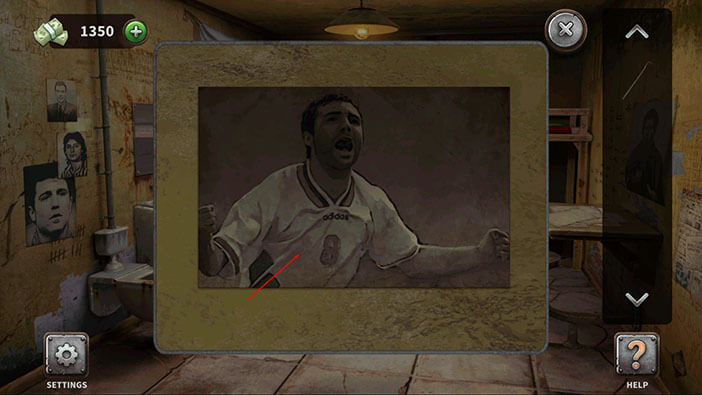
Tap on the poster on the wall, located between the top and the bottom beds, to take a closer look at it.

Tap on the poster to tear it down.
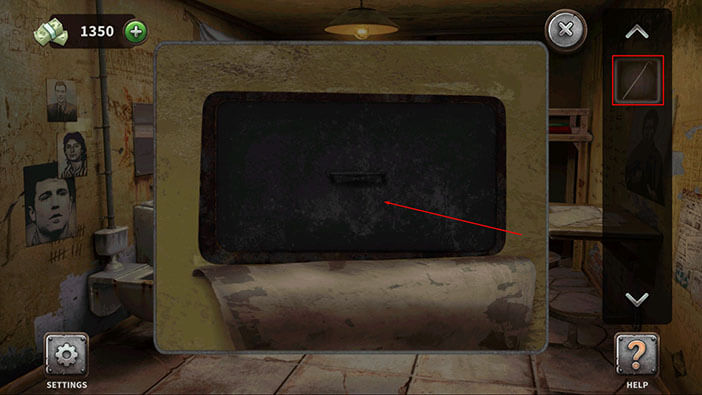
Behind the poster, you will find a metal lid. Select the bent pipe from the inventory, and tap on the lid to open it.
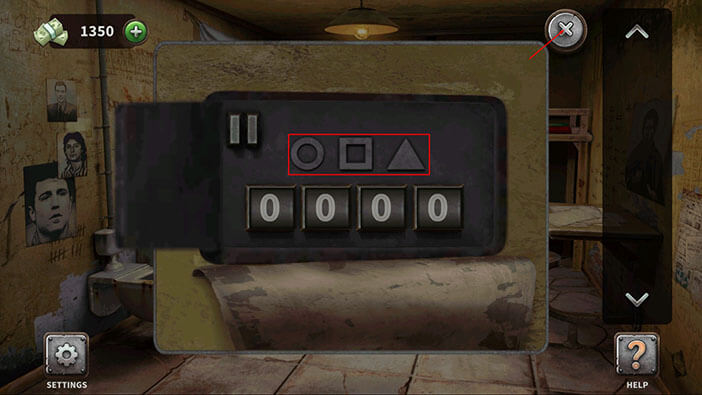
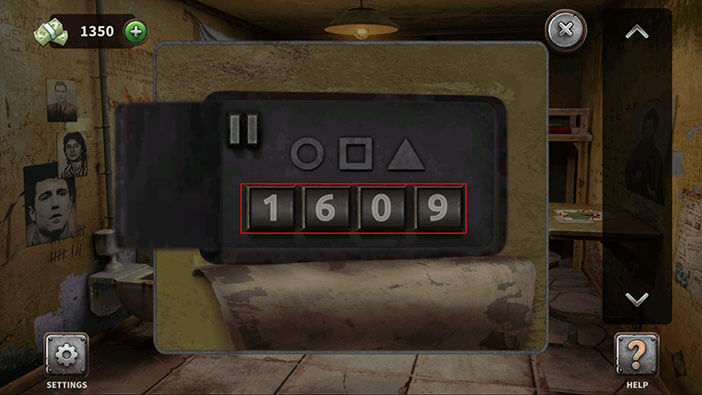
Well, the safe is locked by a four-digit code. However, we can also see three symbols, above the slots for numbers. These symbols are circle, square, and triangle. Memorize this information because we will need it for the next puzzle.
After that, tap on the “X” button in the upper right corner to go back.
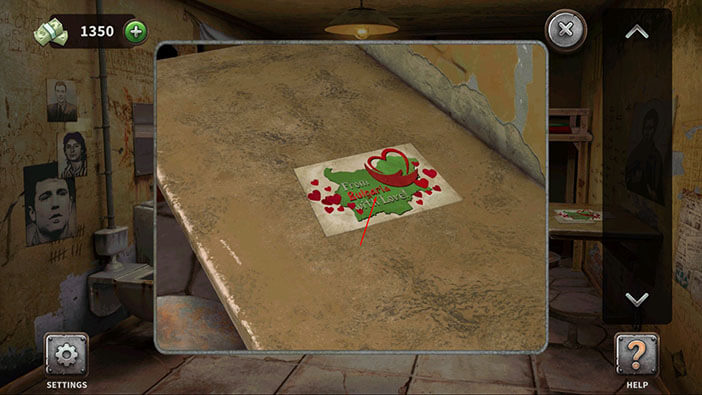
Next, tap on the papers on the table on the right to take a closer look.
Tap on the papers to move them aside.
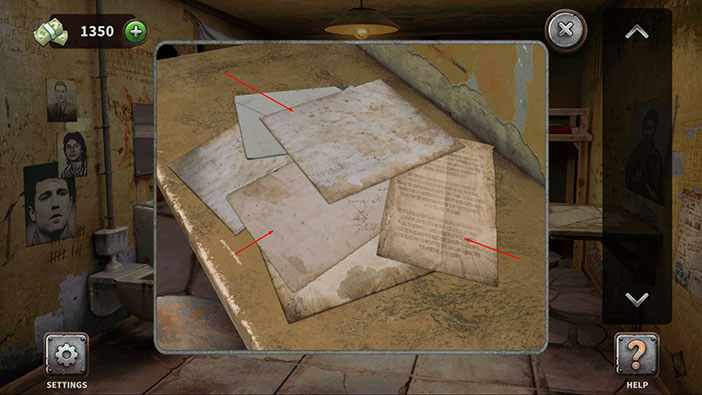
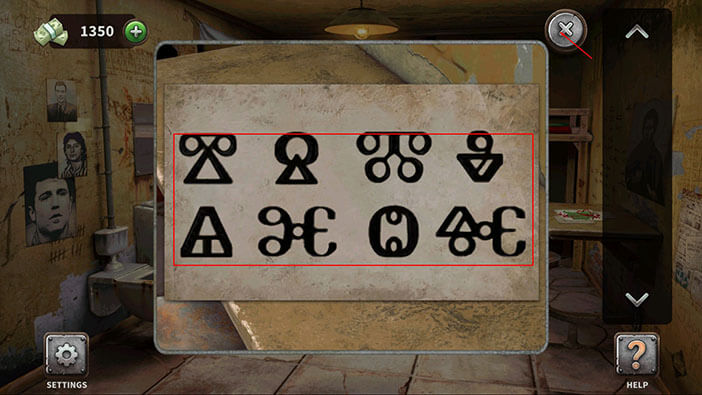
Tap on the letter to take a closer look at it, then tap again to open it.
Here, we can see eight strange symbols. If you recall, previously we saw a circle, a square, and a triangle. Now, our task is to count all the circles, squares, and triangles inside the strange symbols. So, when you count the symbols, you will find,
16 circles
0 Squares
9 triangles
The number of circles, squares, and triangles form the number “1609” and this is the code for the safe.
Tap on the “X” button in the upper right corner to go back.
Tap on the safe again to start the interaction.

Enter the code “1609” to open the safe.
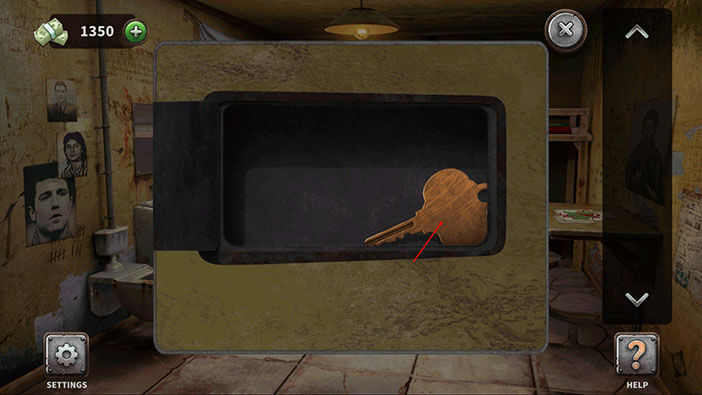
Inside the safe, you will find a key. Tap on it to pick it up.
Select the key from the inventory and tap on the cell door to unlock it.

Finally, tap on the cell door to escape and you will complete the twenty-fifth level.

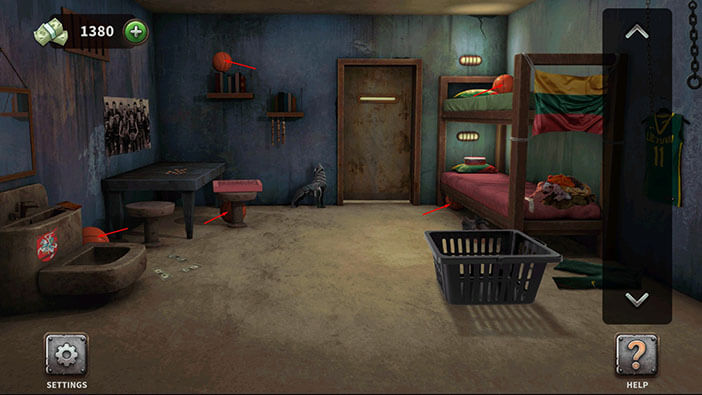
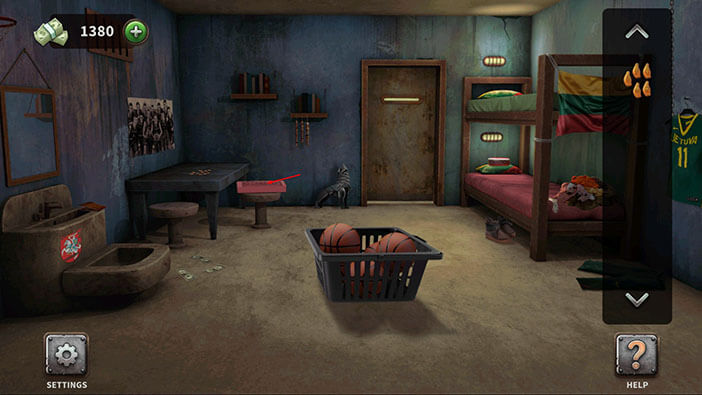
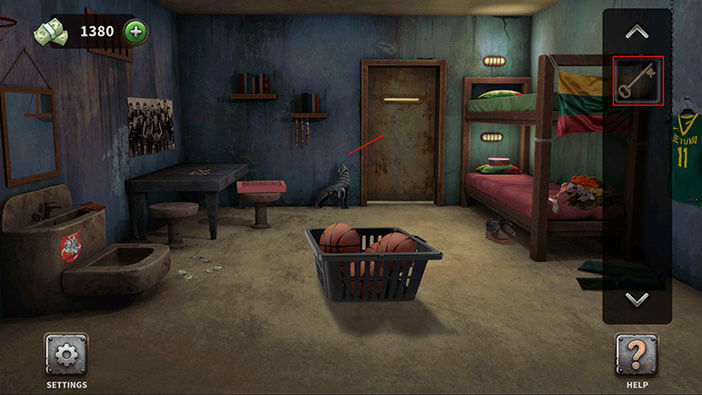
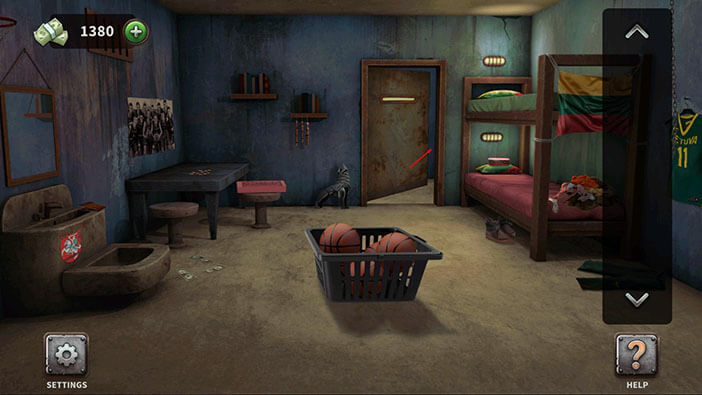
Level 26: Lithuanian Cell
At the start of this level, our task is to collect five basketballs.
The first one is under the bed.
The second one is on the top bed.
The third one is on the wall shelf on the left.
The fourth one is behind the chair.
And the fifth one is behind the sink.
Select the basketballs from the inventory and put them into the basket.
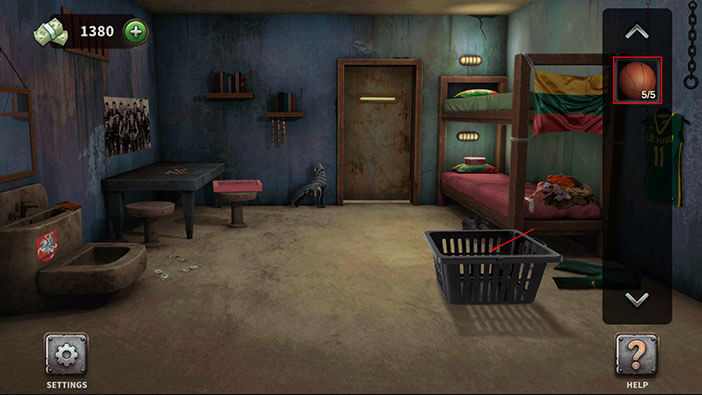
Our character will move the basket and below it, we will find some small tiles. Tap on them to pick them up.

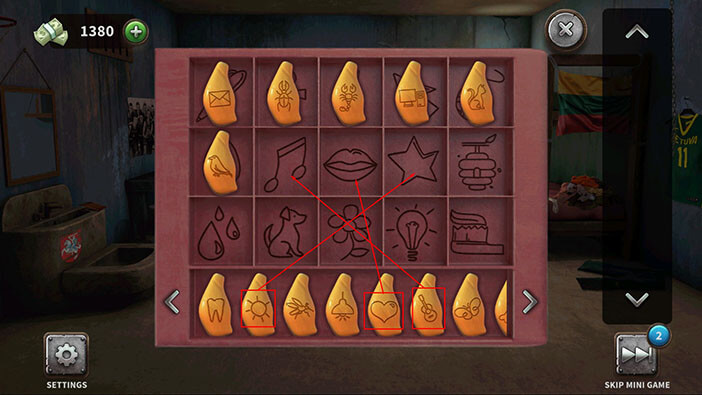
Next, tap on the box on the chair to take a closer look at it.
Here, we can see 15 pictures arranged in three rows. First, let’s select the tiles from the inventory and put them into the fourth row.
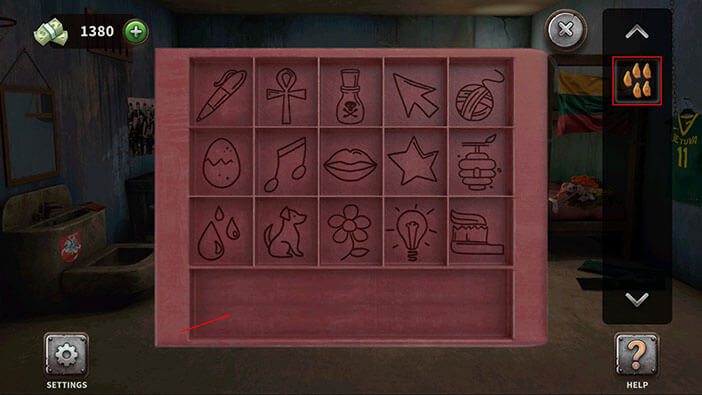
Ok, our next task is to match the tiles with the pictures above. We will do this in several steps. Let’s begin.
Step 1
The pencil should be matched with a letter
Ankh (Egyptian cross) should be matched with scarab beetle (often found in pyramids)
Poison bottle should be matched with scorpion
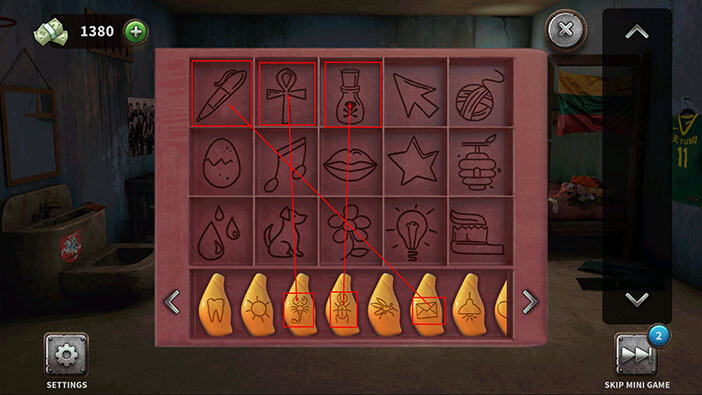
Step 2
The computer should be matched with the mouse pointer
The cat should be matched with yarn ball
The bird should be matched with the egg
Step 3
The violin should be matched with the note
The heart should be matched with a kiss (lips)
Sun should be matched with star
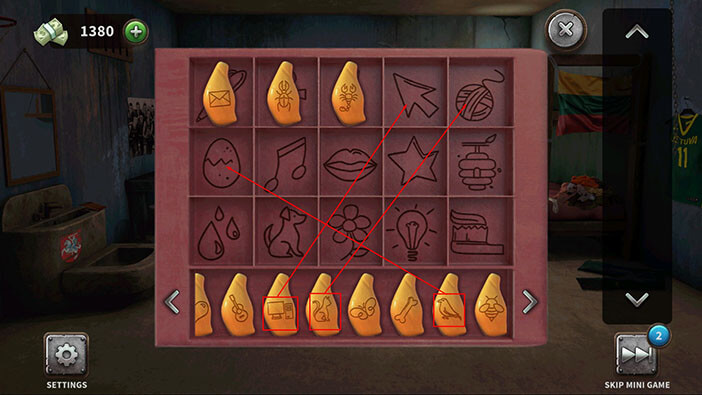
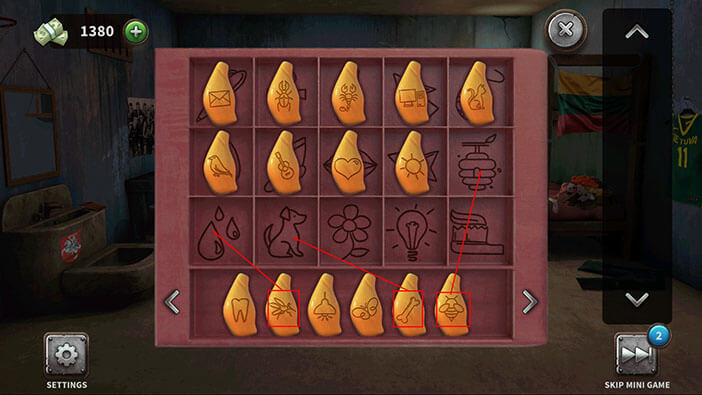
Step 4
Beehive should be matched with the bee
Blood drops should be matched with mosquito
The bone should be matched with the dog
Step 5
The butterfly should be matched with the flower
The lamp should be matched with light bulb
The tooth should be matched with the toothbrush
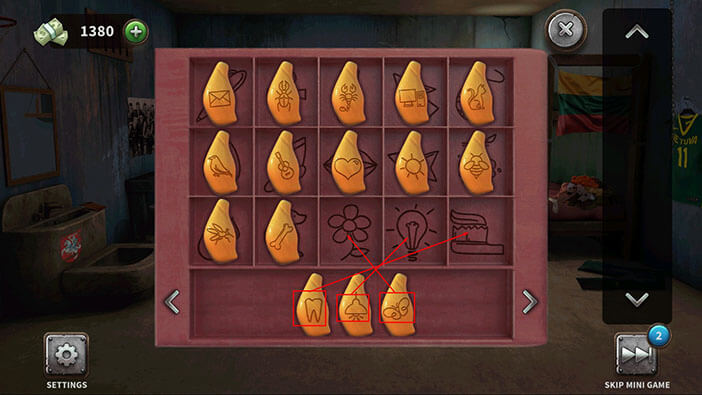
As soon as you correctly match the tiles with the pictures, a box will open and you’ll find a key inside. Tap on the key to pick it up.
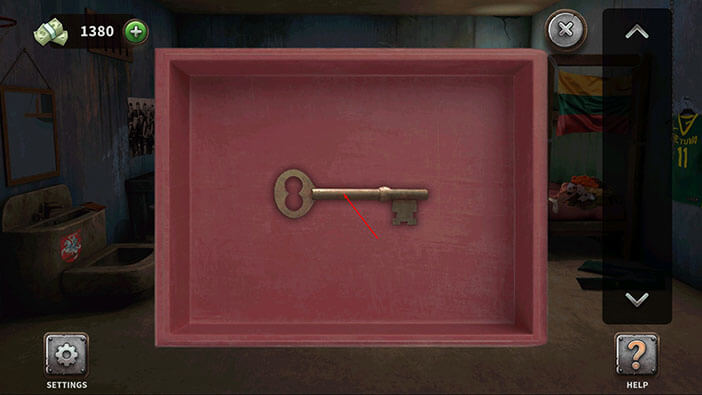
Select the key from the inventory and tap on the cell door to unlock it.
Finally, tap on the cell door to escape and you will complete the twenty-sixth level.
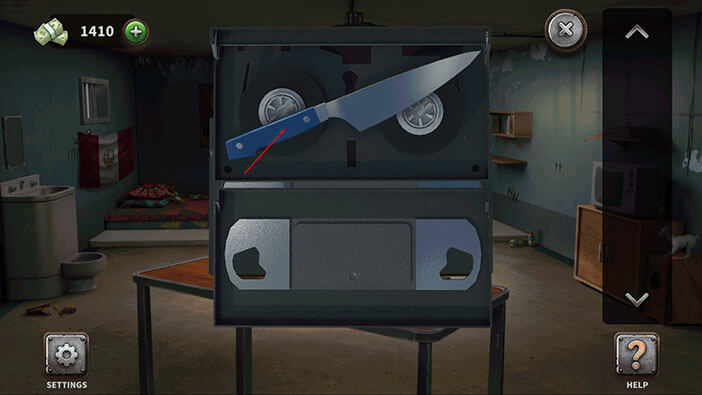
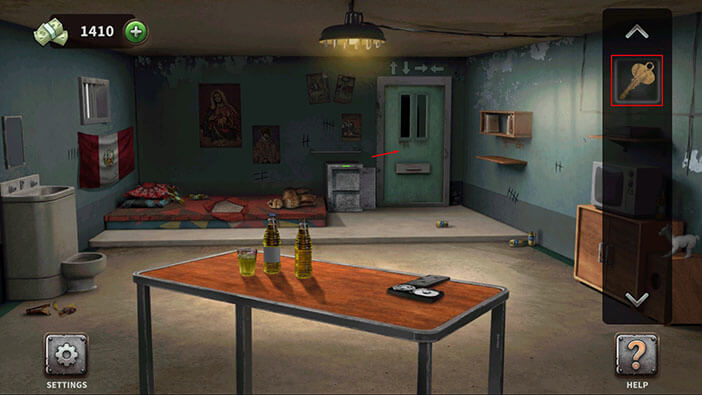
Level 27: Peruvian Cell
Tap on the box on the table to take a closer look at it, then tap again to open it.


Inside the box, you will find a knife. Tap on it to pick it up.
Select the knife from the inventory and use it to cut the mattress in the left corner of the room.
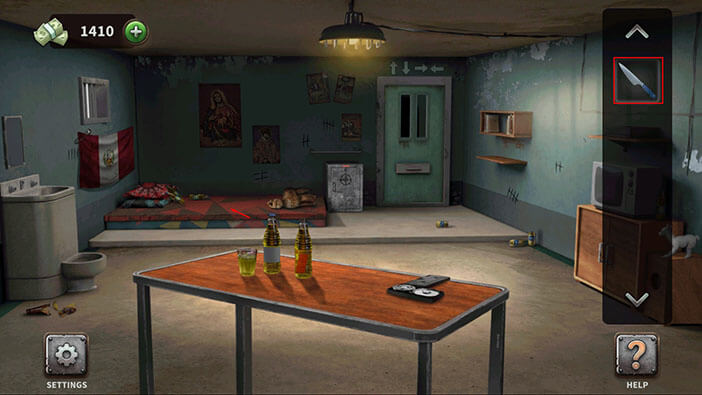
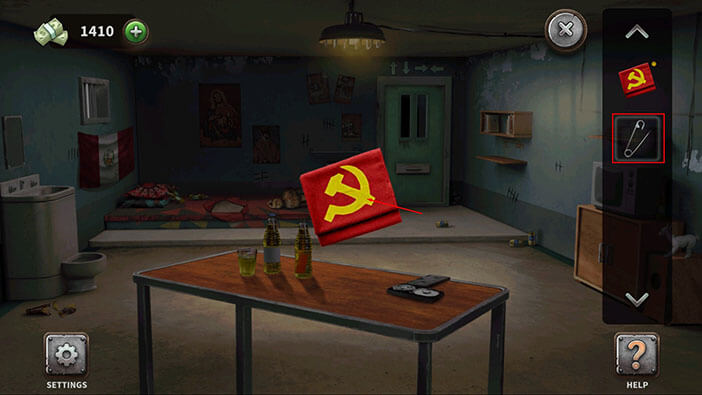
Inside the mattress, you will find a flag of the USSR. Tap on it to pick it up.

Next, tap on the Peruvian flag, located on the wall on the left, to take a closer look at it.
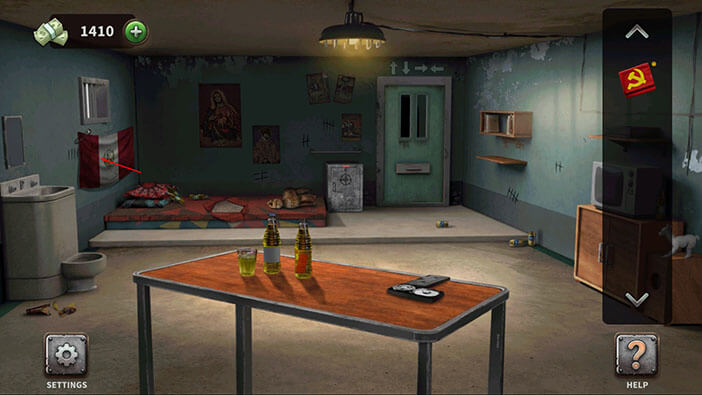
Tap on the metal object in the upper left corner of the flag to pick it up.

Tap on the USSR flag in the inventory to select it.
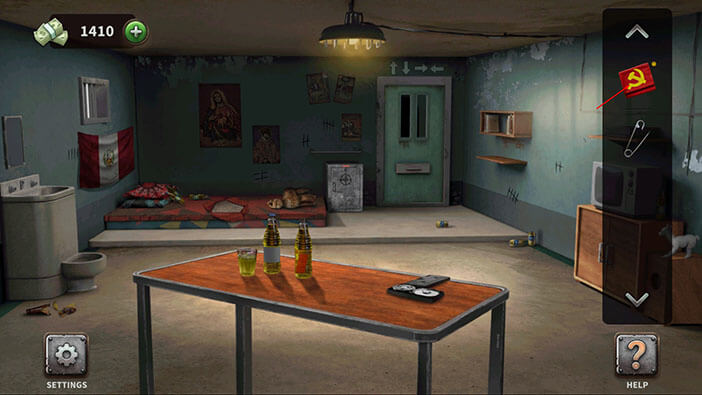
Select the metal object from the inventory and combine it with the USSR flag.
Next, tap on the bottles with the yellow liquid to take a closer look.

Select the thread and needle from the inventory and use them to reach the piece of paper in the bottle on the right.
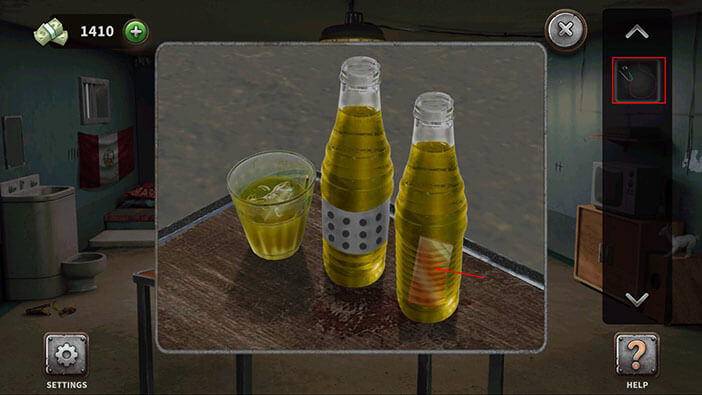
Next, select the piece of paper from the inventory and tape it over the label on the bottle on the left.
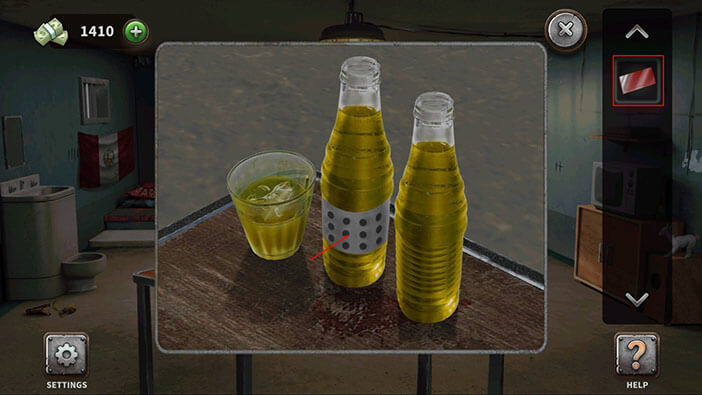
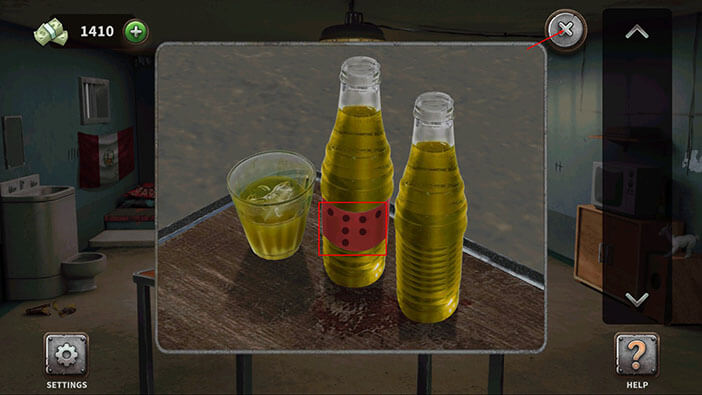
The bottle on the left now has a red label with dots. If you pay attention to the dots, you will notice that they are arranged in four columns. Let’s count the dots in each column. So, we have
One dot in the first column,
Three dots in the second column,
Two dots in the third column,
One dot in the fourth column,
Memorize/write down this information because we will need it for the next puzzle.
Once you’re done, tap on the “X” button in the upper right corner to go back.
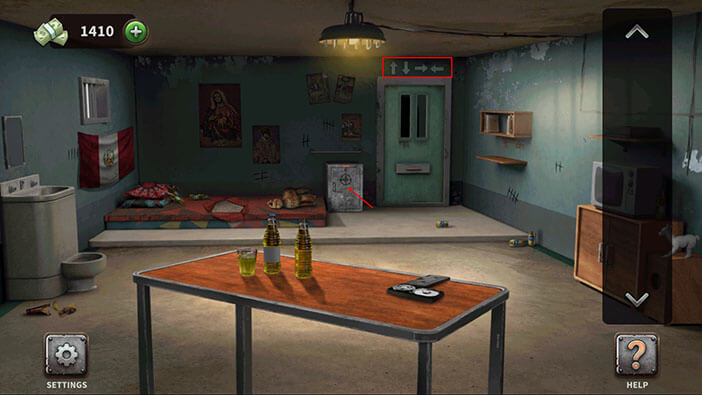
Before we proceed, let’s take a look at the arrows above the cell door. Here, we have
The first (left to right) arrow pointing up,
The second arrow pointing down,
The third arrow pointing right,
The fourth arrow pointing left.
Memorize/write down this information because we will need it for the next puzzle.
Once you’re done, tap on the safe, located next to the cell door, to take a closer look at it.
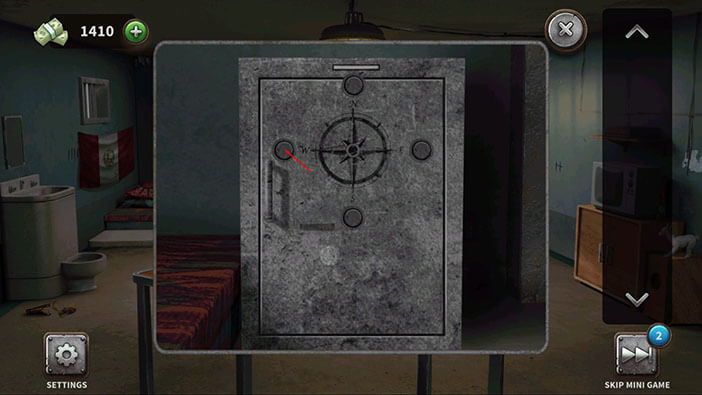
Here, we can see arrows pointing in four cardinal directions (North, West, South, and East). Next to each arrow, we can see a button. We will have to press the buttons in the correct order to open the safe.
Ok, on the label, we saw four columns of dots. Each dot in a column represents how many times we should press the button.
The arrows that we saw above the cell door, can help us determine the order of buttons.
Everything will be much clearer, once we start to solve this puzzle, so let’s begin.
Step 1
Above the cell door, we saw that the first arrow is pointing up, so the button above North is the first button.
Also, on the label, we saw only one dot in the first column, meaning that we should press once the first button.
So, tap once on the button above the letter “N”.

Step 2
Above the cell door, we saw that the second arrow is pointing down, so the button below South is the second button.
Also, on the label, we saw three dots in the second column, meaning that we should press three times the second button.
So, tap three times on the button below the letter “S”.

Step 3
Above the cell door, we saw that the third arrow is pointing right, so the button next to East is the third button.
Also, on the label, we saw two dots in the third column, meaning that we should press twice the third button.
So, tap twice on the button next to the letter “E”.

Step 4
Above the cell door, we saw that the third arrow is pointing left, so the button next to West is the fourth button.
Also, on the label, we saw one dot in the fourth column, meaning that we should press once the fourth button.
So, tap once on the button next to the letter “W”.
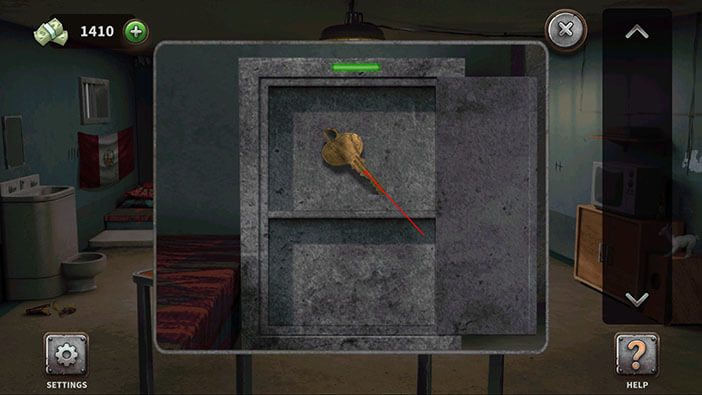
When you press the button in the correct order, the safe will open, and inside you’ll find a key. Tap on it to pick it up.
Select the key from the inventory and tap on the cell door to unlock it.
Finally, tap on the cell door to escape and you will complete the twenty-seventh level.

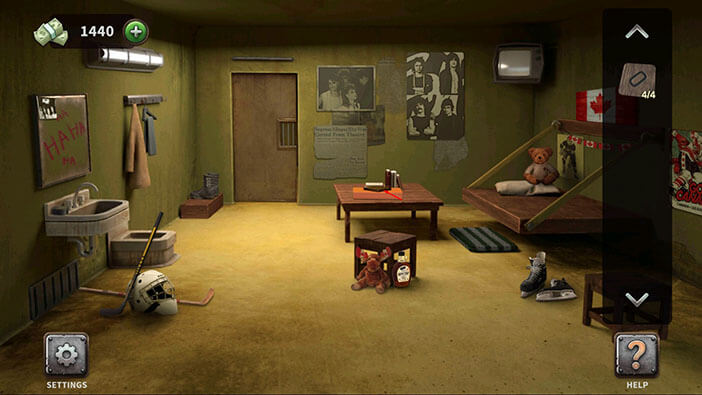
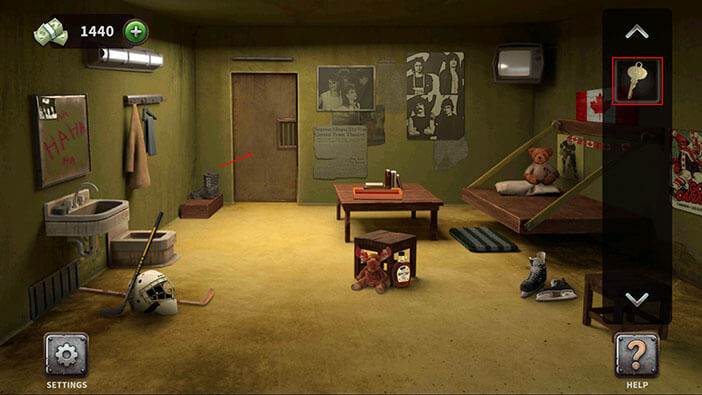
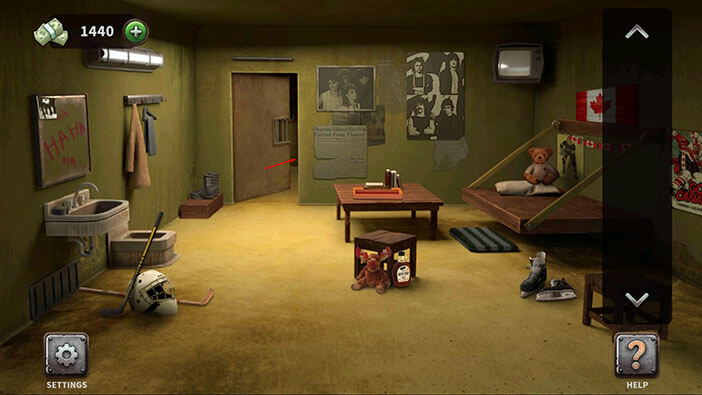
Level 28: Canadian Cell
At the start of this level, we should collect four tiles.
You will find the first tile on the chair on the right.
You will find the second tile on the pillow in the right corner of the room.
You will find the third tile on the sink on the left.
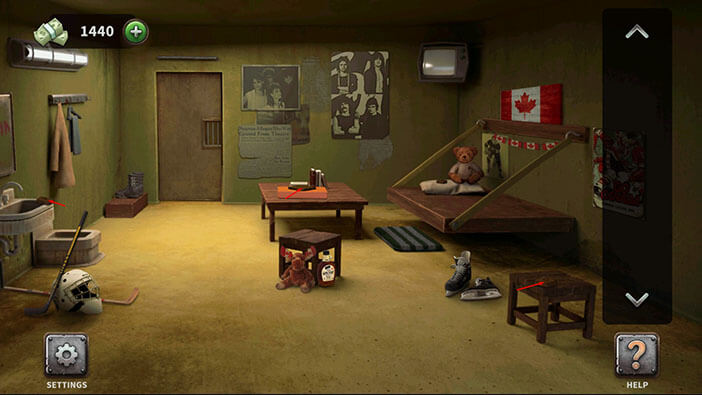
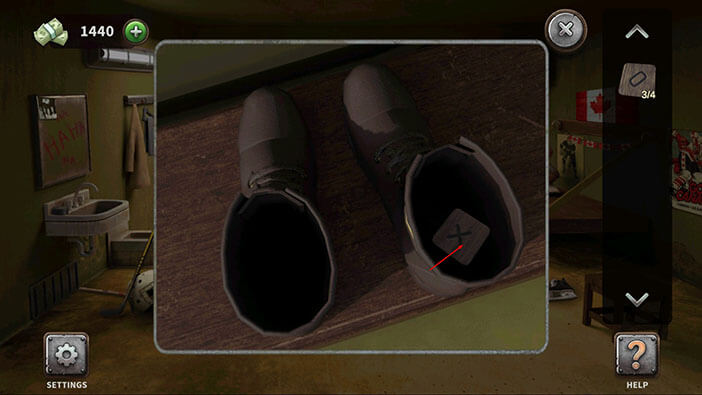
Ok, let’s look for the fourth tile. Tap on the boots in the left corner of the room to take a look inside.
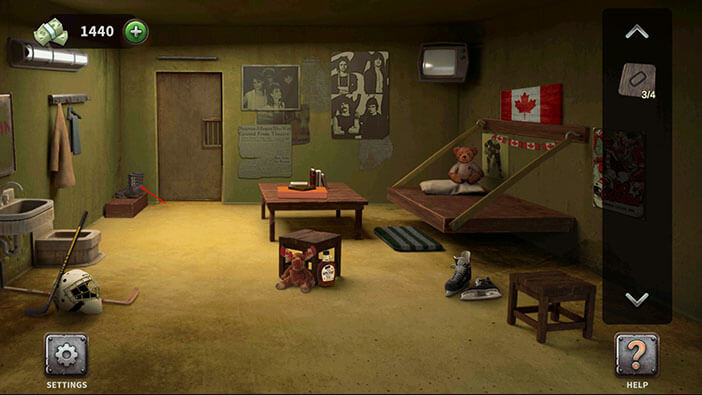
Inside the right boot you will find the last tile. Tap on it to pick it up.
Next, tap on the board on the table to take a closer look at it.
We can see that four tiles are missing. So, select the tiles from the inventory and insert them into the empty slots.
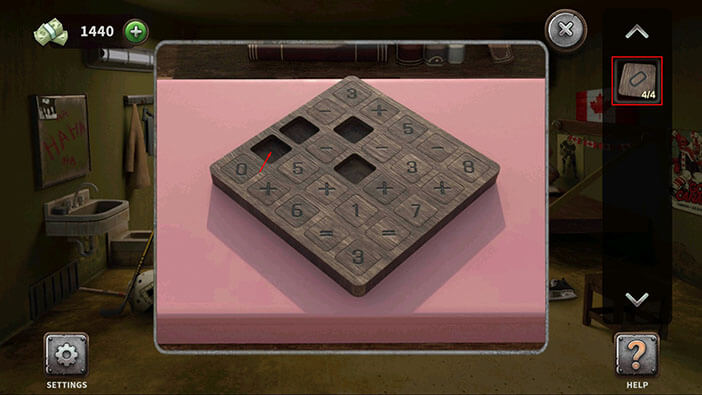
Select the tile marked with number 3, located in the lower right corner of the grid.

Next, tap on the “equal” sign on the tile on the right, and you will solve this puzzle.
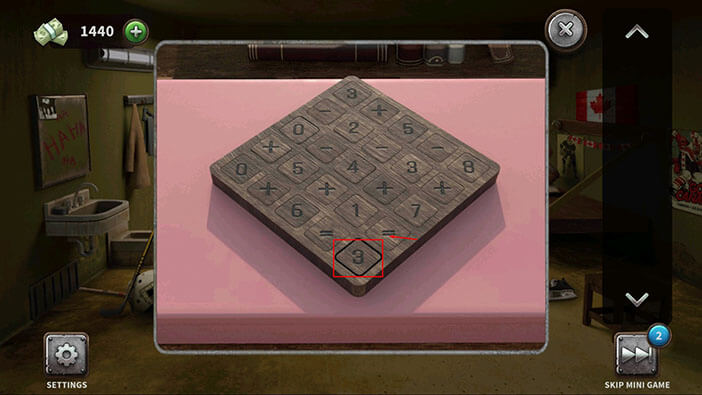
By solving the previous puzzle, you will open the box. Tap on the key inside the box to pick it up.
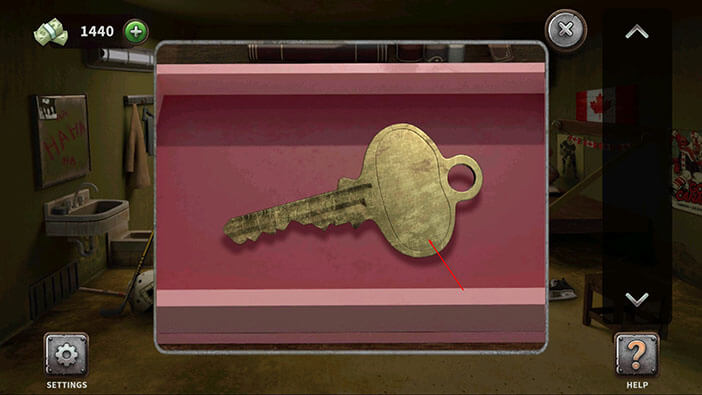
Select the key from the inventory and tap on the cell door to unlock it.
Finally, tap on the cell door to escape and you will complete the twenty-eighth level.
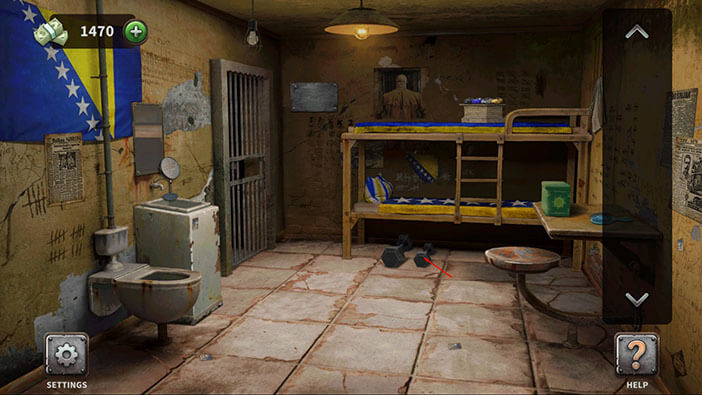
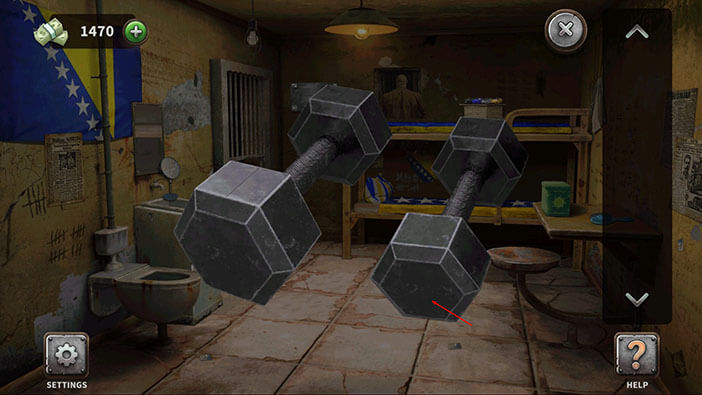
Level 29: Bosnian Cell
Tap on the dumbbells, below the bed, to take a closer look.
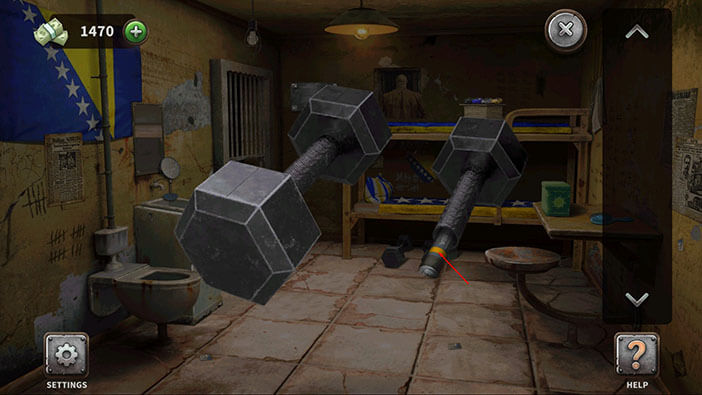
Tap on the bottom part of the right dumbbell, and our character will remove it.
You will find a yellow fuse, hidden inside the dumbbell. Tap on the fuse to pick it up.
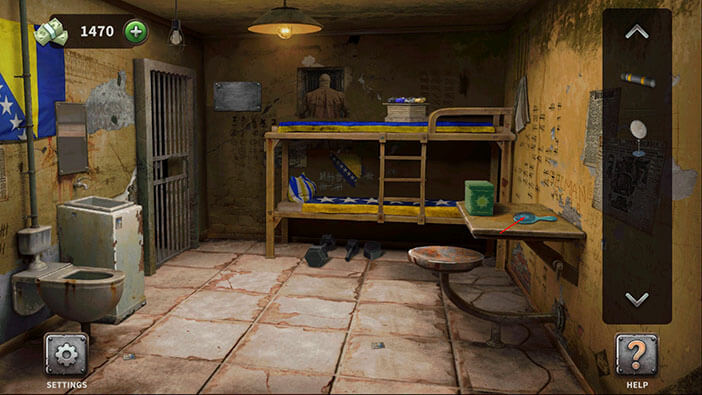
Next, tap on the hand mirror on the left (below the wall mirror) to pick it up.

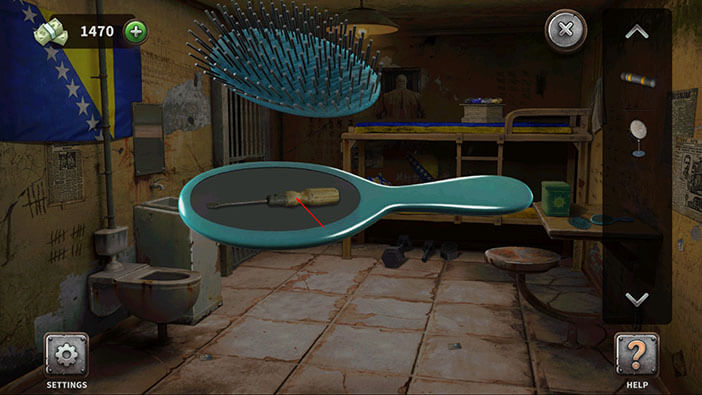
Next, tap on the blue brush on the right to take a closer look at it. Tap on the brush again to open it.
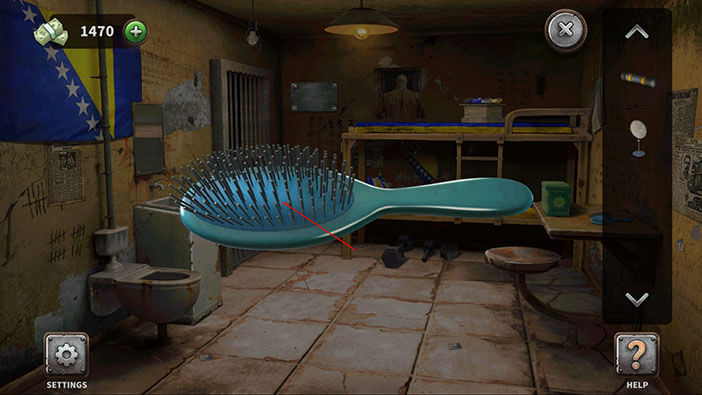
You will find a screwdriver hidden inside the brush. Tap on the screwdriver to pick it up.
Next, tap on the shirt on the wall on the right to pick it up.

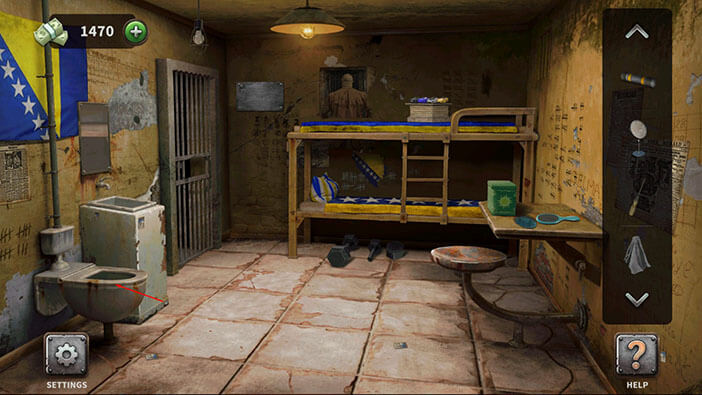
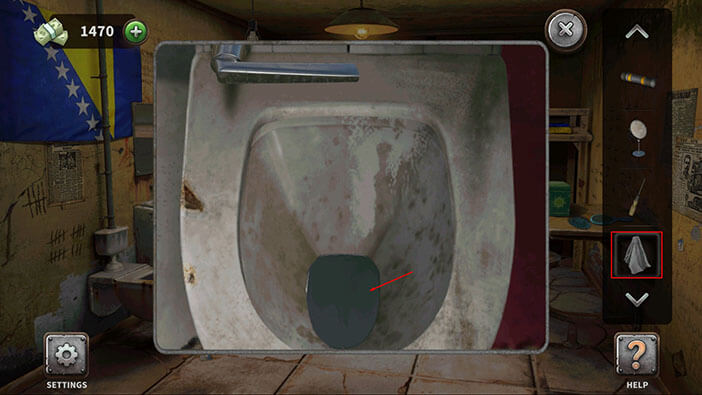
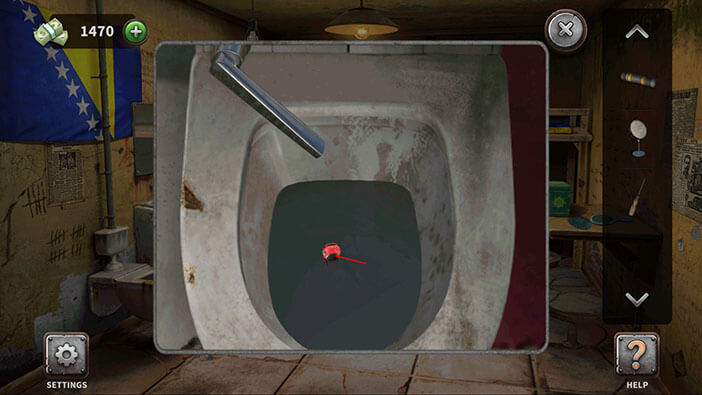
Ok, now let’s tap on the toilet to take a closer look at it.
Select the shirt from the inventory and use it to jam the toilet.
After that, tap on the lever to flush.
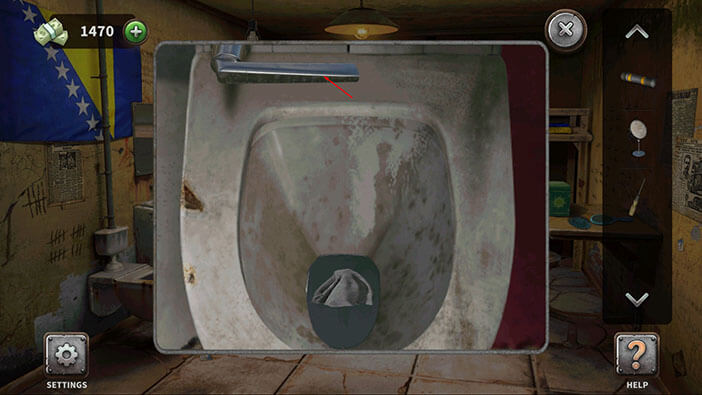
Inside the toilet, you will find a red toy car. Tap on it to pick it up.
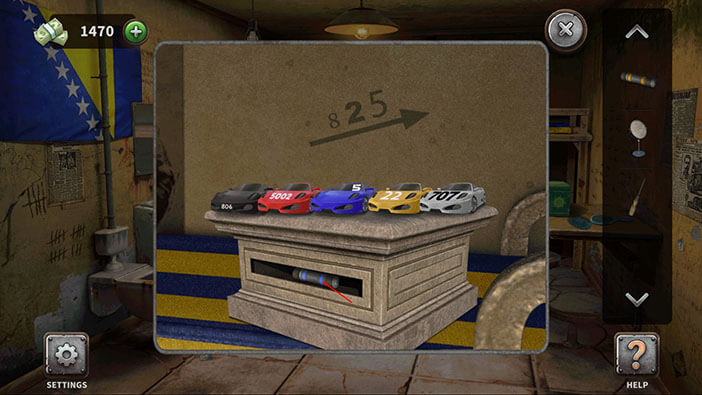
Next, let’s tap on the toy cars on the top bed to take a closer look at them.

Select the red toy car from the inventory and place it into the empty space (between the third and fourth card).
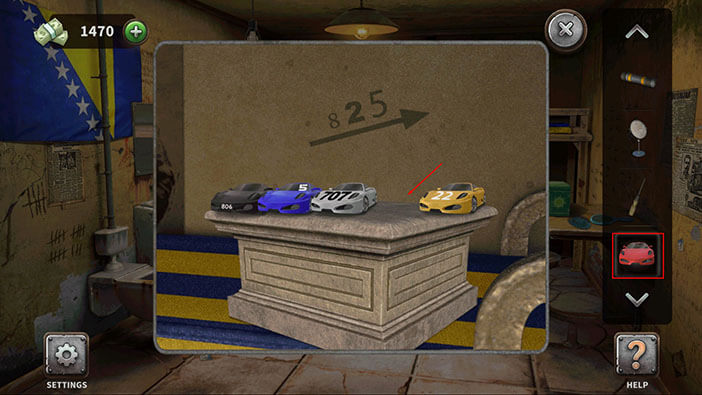
Above the toy cars, you will see an arrow pointing left to right (and up) and three numbers “825”. This is the hint that will help us to properly rearrange the cars.
The black car (first) has a license plate that starts with the number 8, so he is in the correct position.
On the red car, we can see the number “5002”, so it ends with 2. Let’s select the red car and place it in the second position.
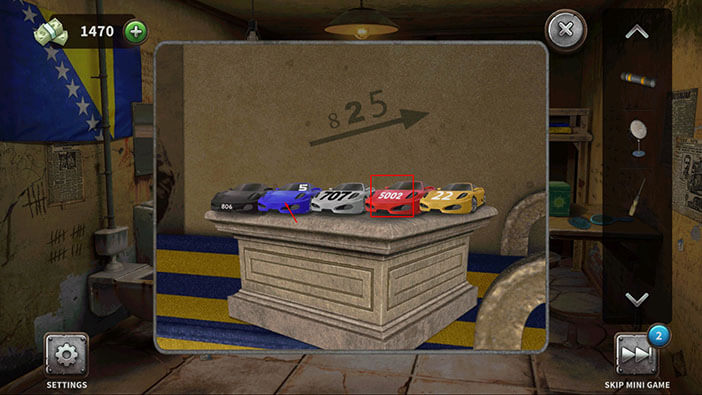
Ok, the last number is five, so select the blue car and place it in the third position.
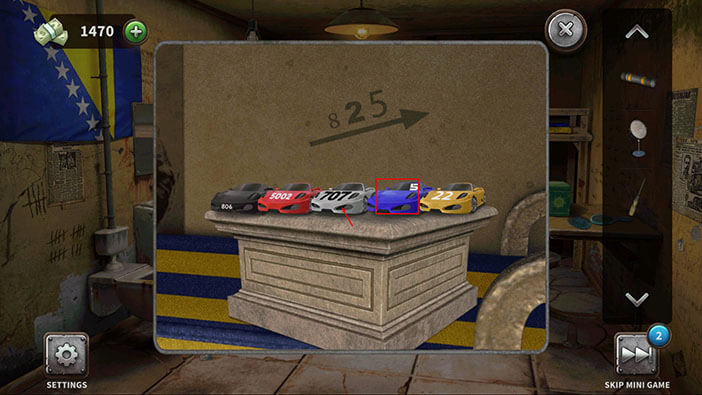
If we look at the first three cars, we can see that the numbers are going up (higher on the chassis), just like the arrow above.
So, since the number on the yellow car is lower on the chassis, select the yellow car and switch its position with the white car.

As soon as you arrange the toy cars in the correct order, the secret compartment will open, and inside you will find a blue fuse. Tap on it to pick it up.
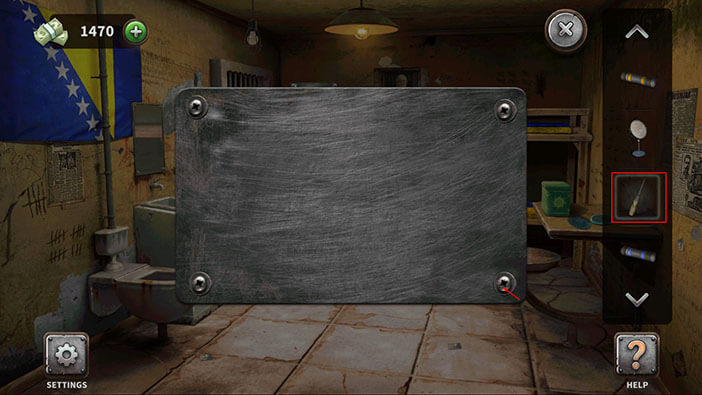
Ok, now let’s take a closer look at the metal panel next to the cell door.

Select the screwdriver from the inventory and use it to remove the screws and open the panel.
Ok, here we can three slots, but only a single fuse. Also, you will probably notice that each slot is marked with a color.
So, let’s select the blue fuse and place it into the right slot (marked with a blue circle).
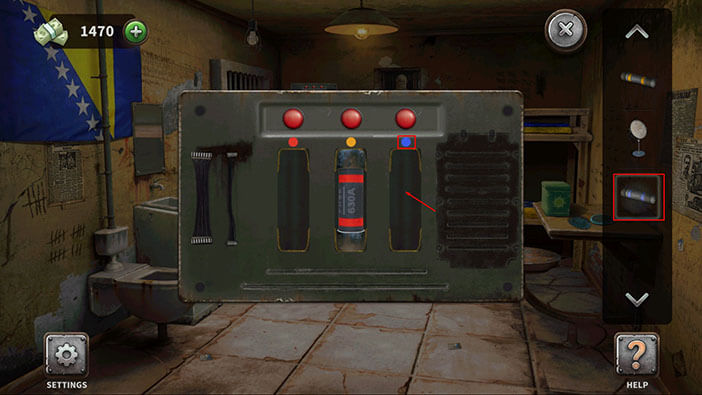
Next, select the yellow fuse from the inventory and place it into the left slot.
The light above the blue fuse is green because it is in the correct position, but the light above the other two fuses is red.
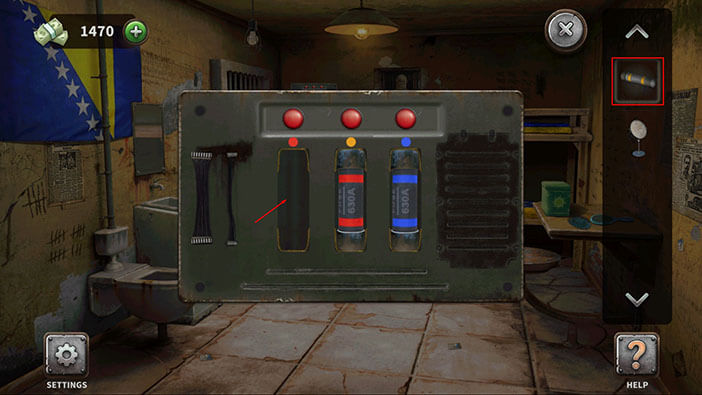
So, select the yellow fuse and move it into the middle slot (marked with yellow circle), and the red fuse will go into the left slot marked (marked with the red circle).
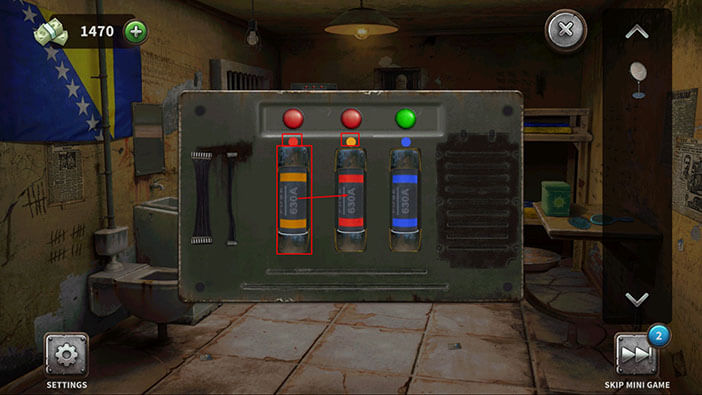
By placing the fuses into the correct slots, we turned on the light.
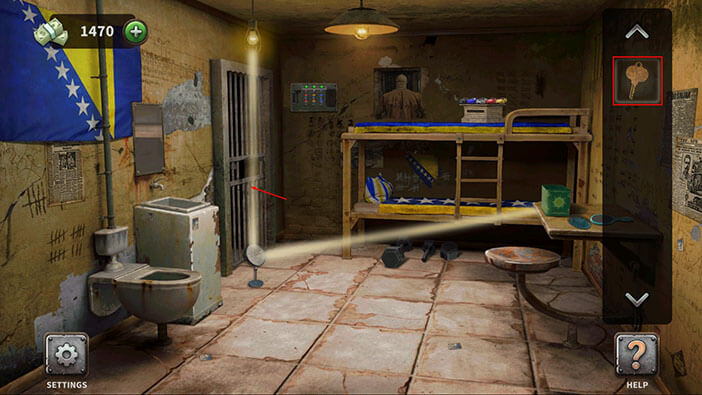
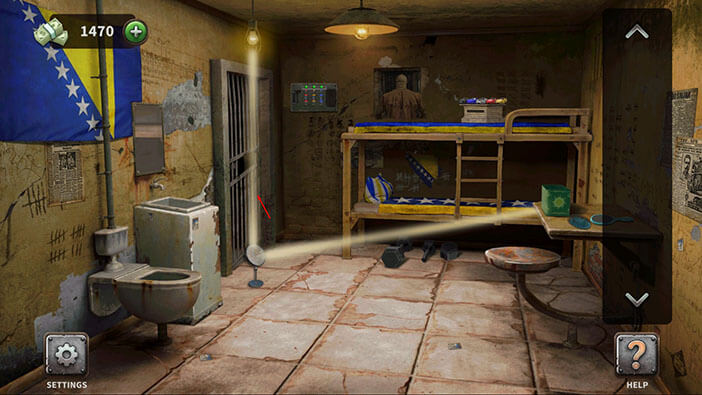
Tap on the mirror in your inventory to select it, then tap on the ground below the stream of light to put down the mirror.
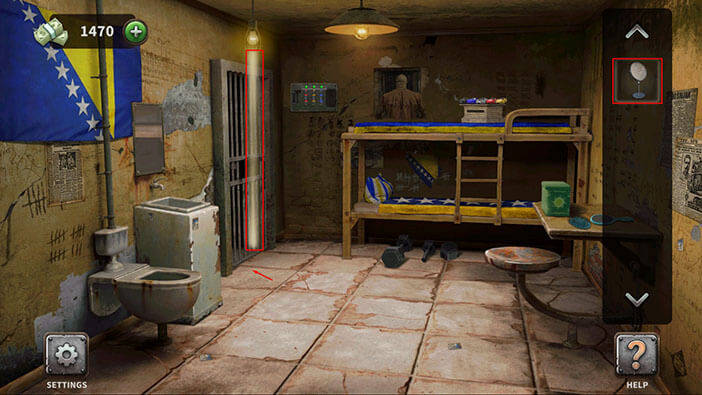
The mirror reflected the light to the green box on the right. As soon as the light touched the box it opened, and we can see that there is a key inside. Tap on the key to pick it up.

Select the key from the inventory and tap on the cell door to unlock it.
Finally, tap on the cell door to escape and you will complete the twenty-ninth level.
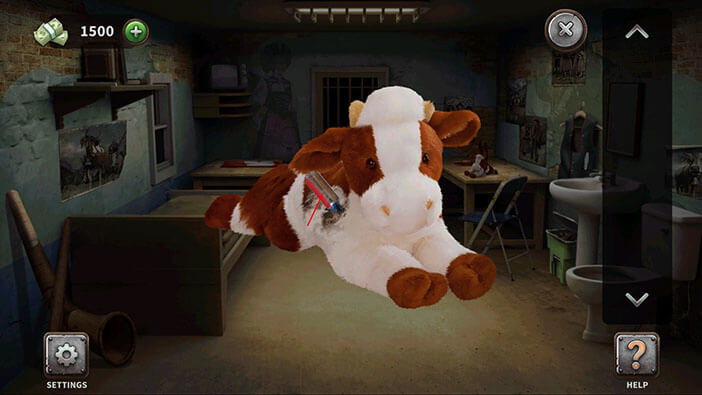
Level 30: Swiss Cell
Tap on the cow doll on the table in the right corner of the room to take a closer look.

On the right side of the cow, you will see a red handle. Tap on it to pick it up.
Next, tap on the duct tape on the bed on the left to pick it up.
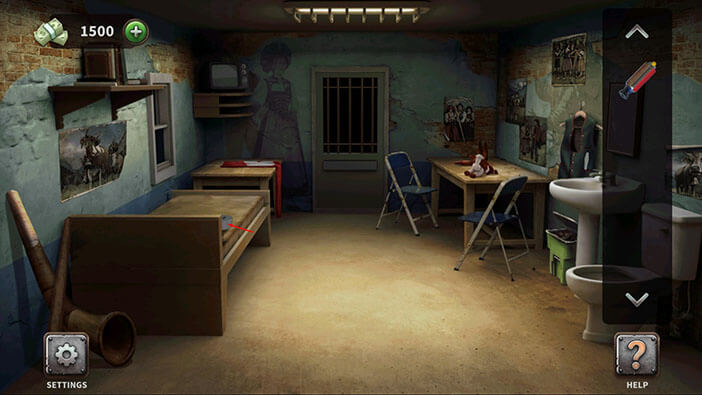
If you look at the right you will notice that a metal bar is sticking out from the pocket on the green jacket. Tap on this item to pick it up.
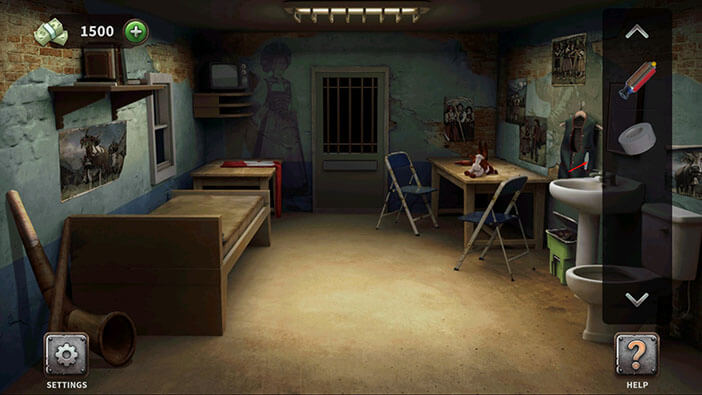
Tap on the red handle in your inventory to select it.

Select the metal bar from the inventory and combine it with the red handle. Our character will merge the two pieces, creating a screwdriver.
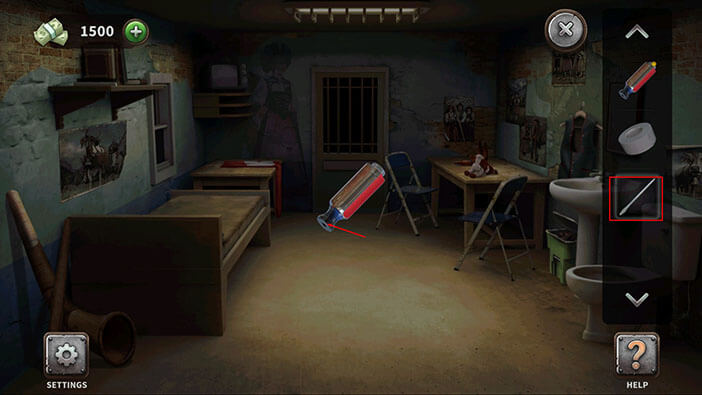
Next, select the duct tape from the inventory and use it to strengthen the screwdriver.
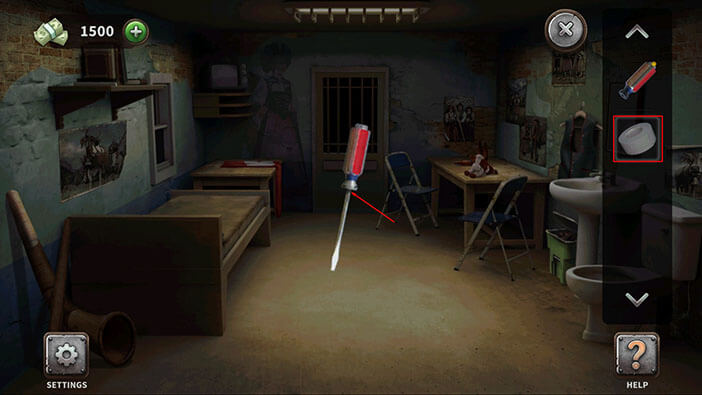
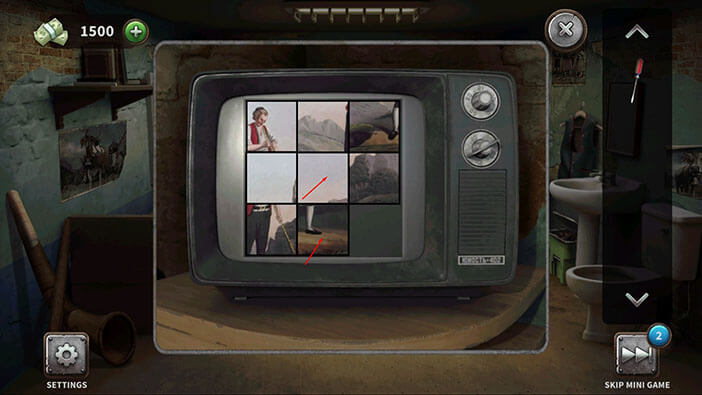
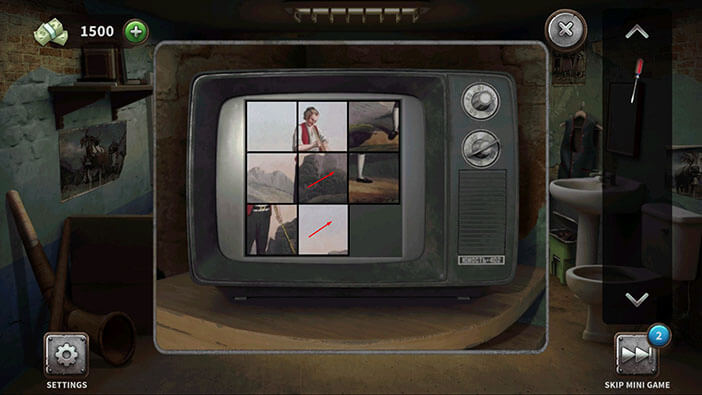
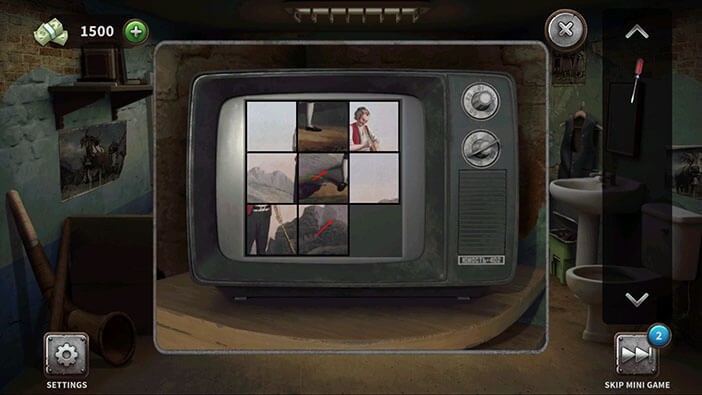
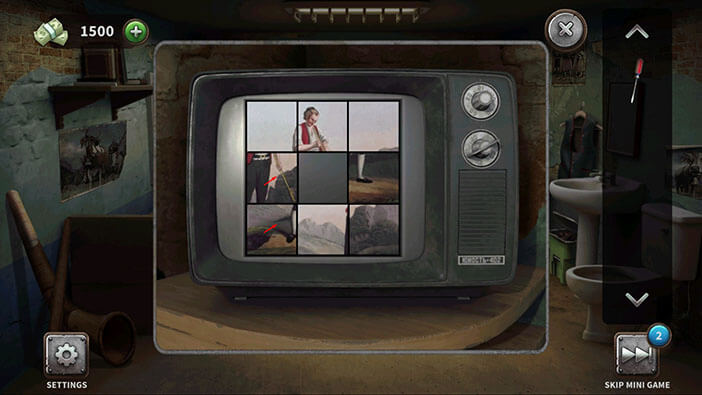
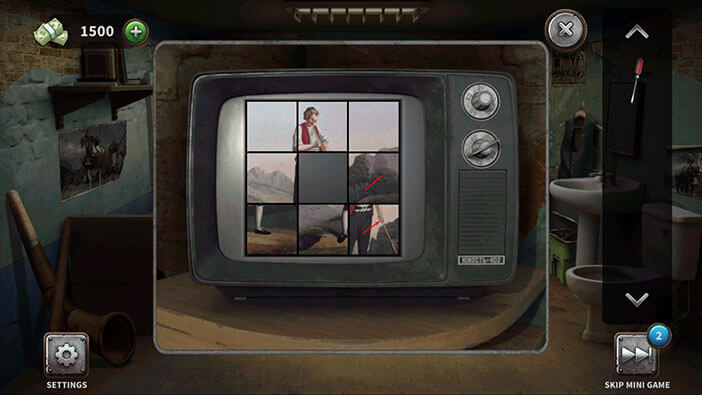
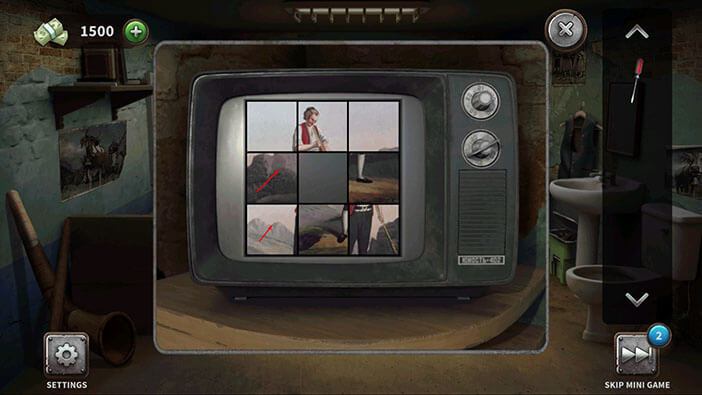
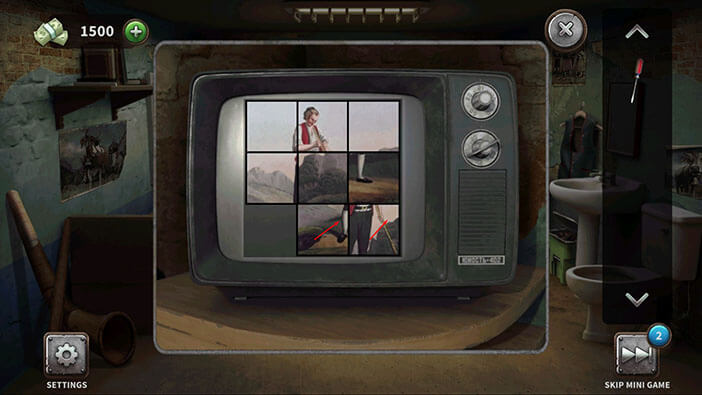
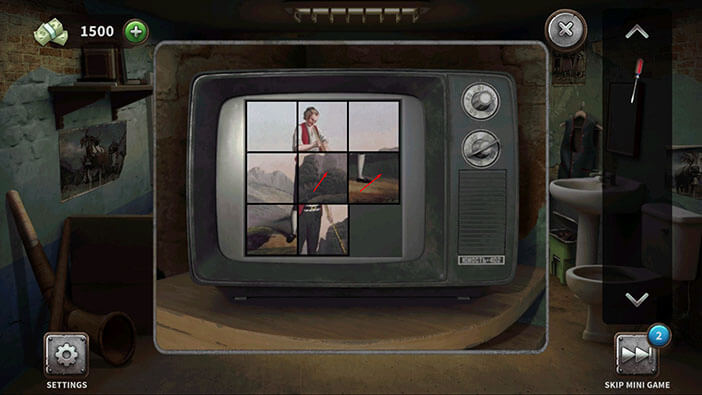
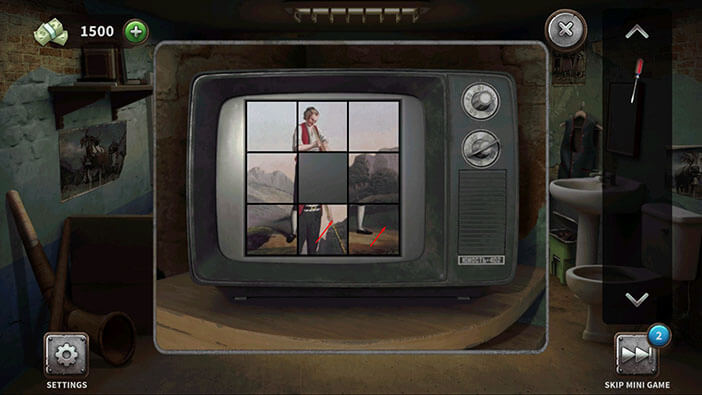
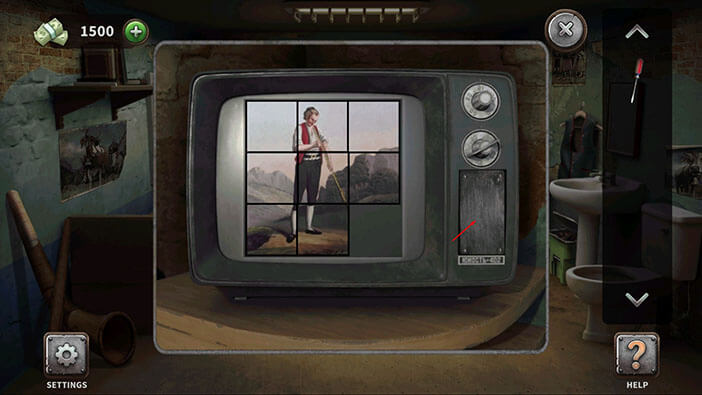
Next, tap on the TV in the left corner of the room to take a closer look at it.

Here, we have to move the pieces of the puzzle and assemble the image.
We will do this puzzle in multiple steps. Let’s begin.
Step 1
Tap on the second field (left to right) in the third (top to bottom) row.
After that, tap on the second field in the second row.
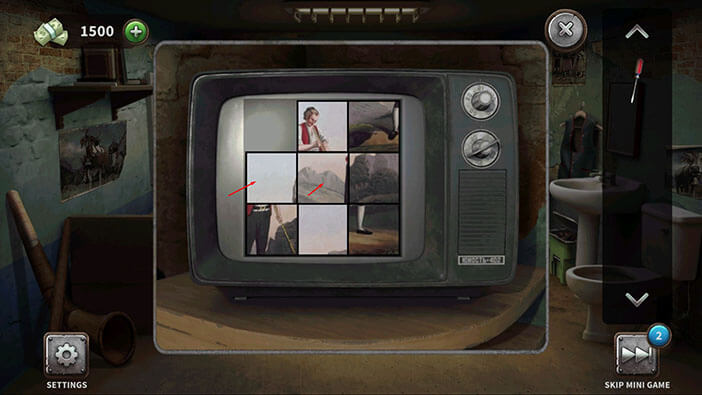
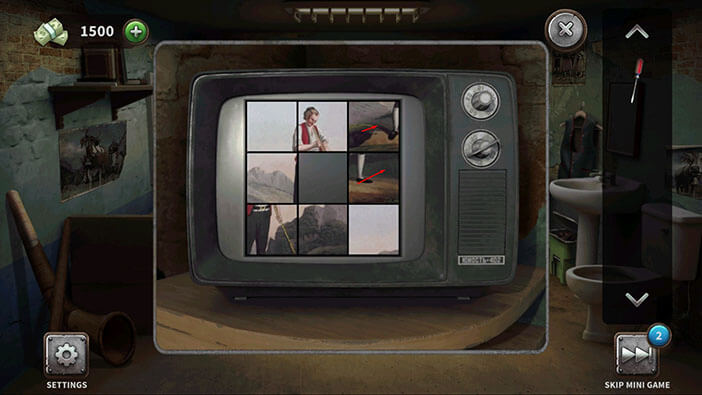
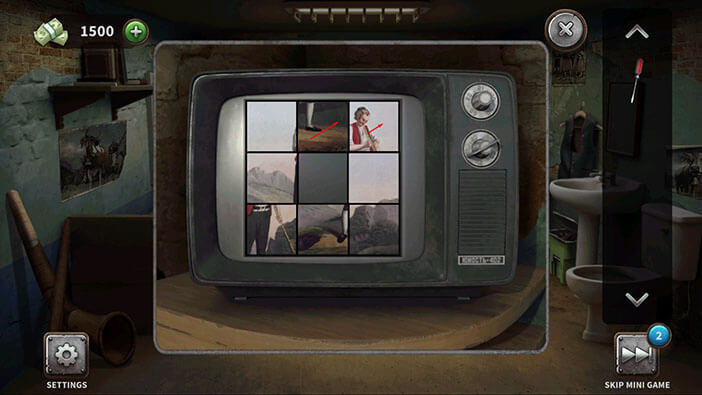
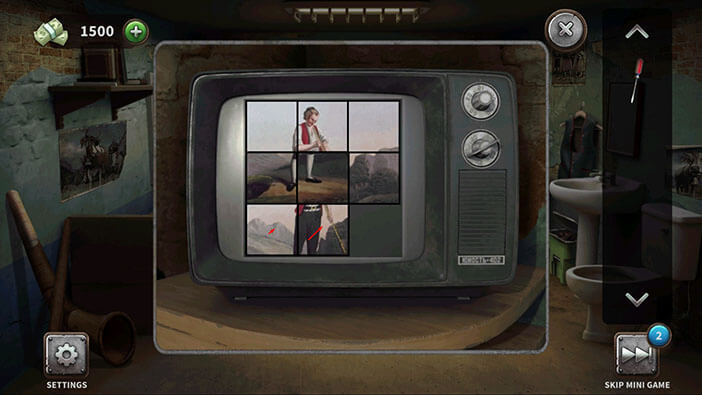
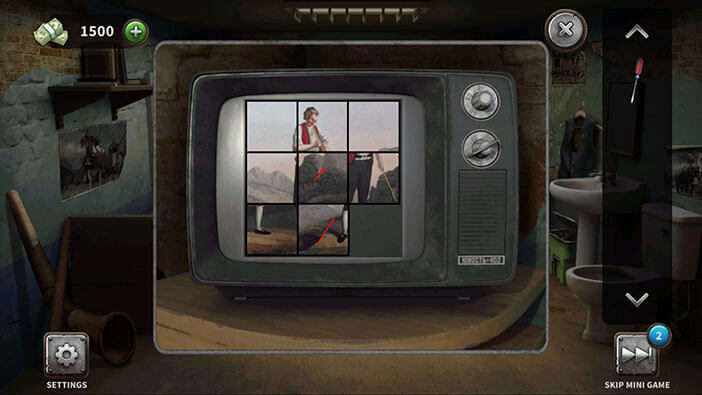
Step 2
Tap on the second field in the first row.
After that, tap on the first field in the first row.

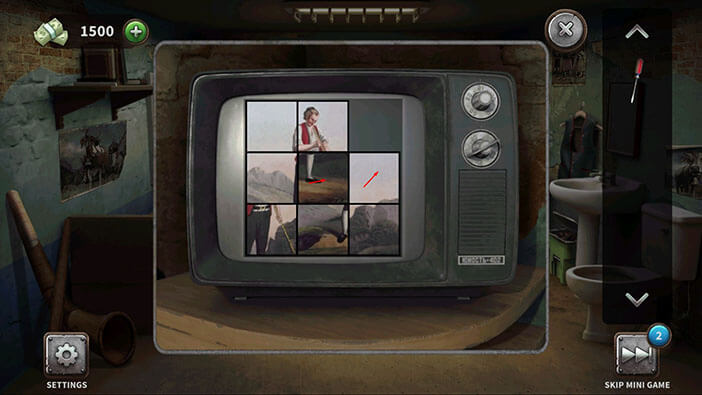
Step 3
Tap on the first field in the second row.
After that, tap on the second field in the second row.
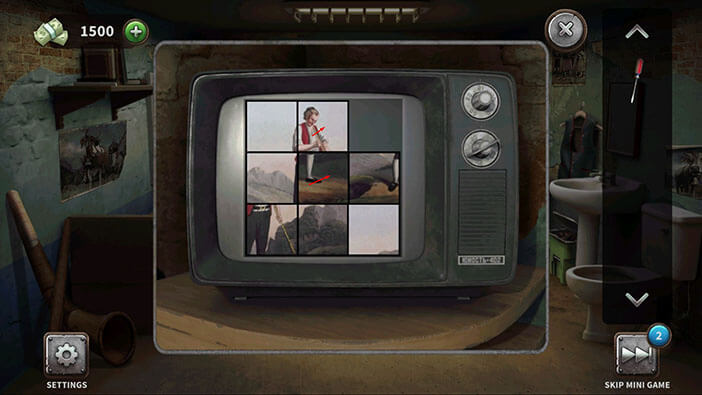
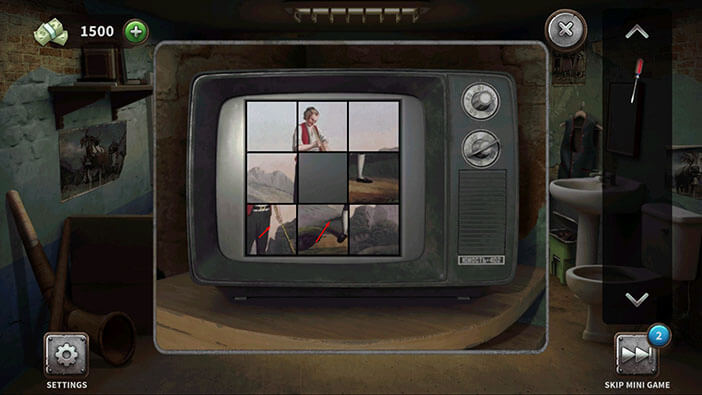
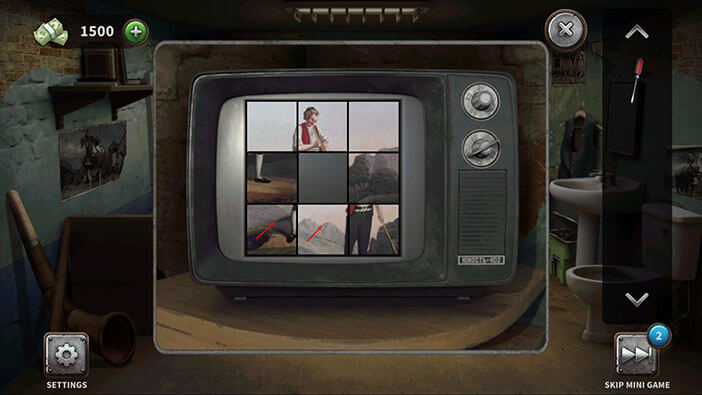
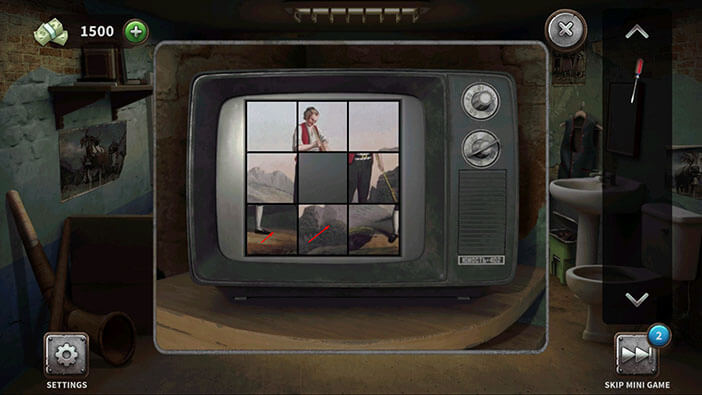
Step 4
Tap on the third field in the second row.
After that, tap on the third field in the third row.
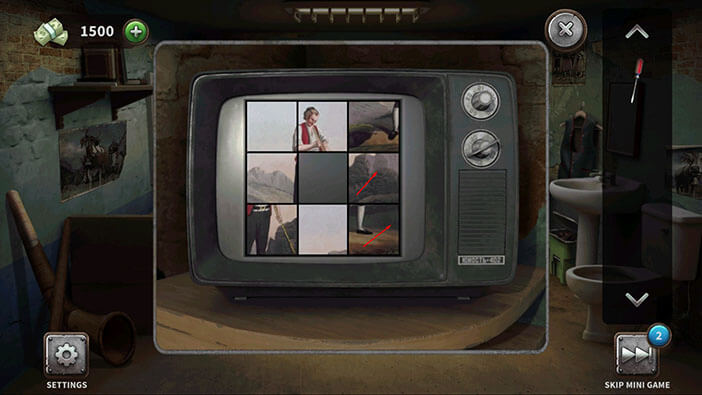
Step 5
Tap on the second field in the third row.
After that, tap on the second field in the second row.
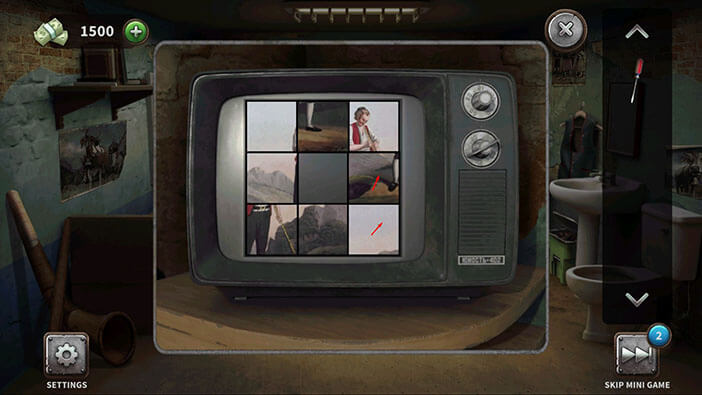
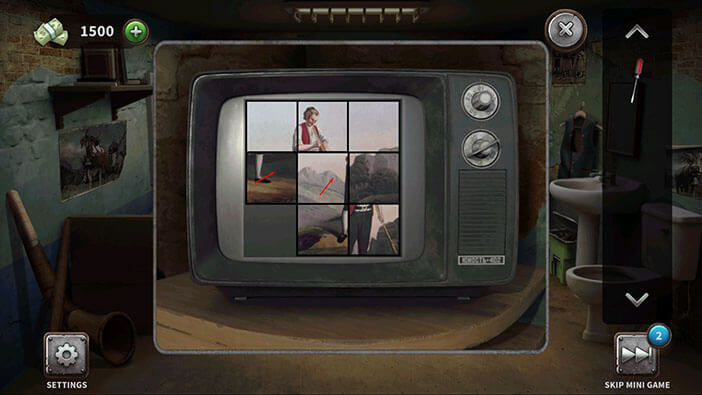
Step 6
Tap on the third field in the second row.
After that, tap on the third field in the first row.
Step 7
Tap on the second field in the first row.
After that, tap on the second field in the second row.
Step 8
Tap on the third field in the second row.
After that, tap on the third field in the third row.
Step 9
Tap on the second field in the third row.
After that, tap on the second field in the second row.
Step 10
Tap on the second field in the first row.
After that, tap on the third field in the first row.
Step 11
Tap on the third field in the second row.
After that, tap on the second field in the second row.
Step 12
Tap on the second field in the third row.
After that, tap on the first field in the third row.
Step 13
Tap on the first field in the second row.
After that, tap on the second field in the second row.

Step 14
Tap on the second field in the third row.
After that, tap on the first field in the third row.

Step 15
Tap on the first field in the second row.
After that, tap on the second field in the second row.

Step 16
Tap on the first field in the second row.
After that, tap on the first field in the third row.
Step 17
Tap on the second field in the second row.
After that, tap on the second field in the third row.

Step 18
Tap on the third field in the second row.
After that, tap on the third field in the third row.

Step 19
Tap on the second field in the third row.
After that, tap on the first field in the third row.
Step 20
Tap on the first field in the second row.
After that, tap on the second field in the second row.

Step 21
Tap on the second field in the third row.
After that, tap on the first field in the third row.
Step 22
Tap on the first field in the second row.
After that, tap on the second field in the second row.
Step 23
Tap on the third field in the second row.
After that, tap on the third field in the third row.
Step 24
Tap on the second field in the third row.
After that, tap on the second field in the second row.
Step 25
Tap on the second field in the third row.
After that, tap on the first field in the third row.
Step 26
Tap on the first field in the second row.
After that, tap on the second field in the second row.

Step 27
Tap on the second field in the third row.
After that, tap on the third field in the third row.
Step 28
Tap on the third field in the second row.
After that, tap on the second field in the second row.

Step 29
Tap on the first field in the second row.
After that, tap on the first field in the third row.
Step 30
Tap on the second field in the third row.
After that, tap on the third field in the third row.
Step 31
Tap on the third field in the second row.
After that, tap on the second field in the second row.
Step 32
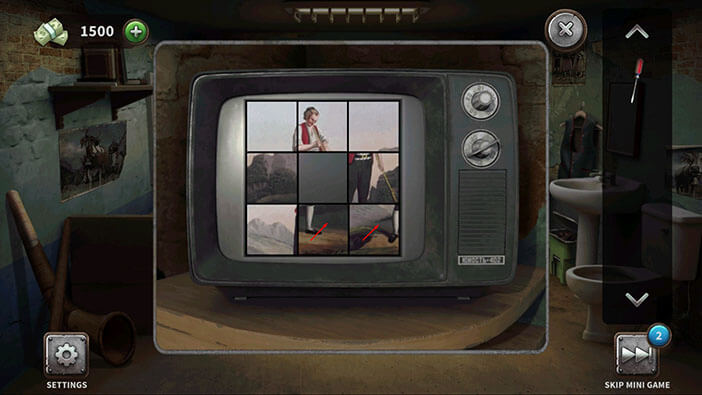
Finally, tap on the second field in the third row.
After that, tap on the third field in the third row.
With this last step, you will solve the puzzle.
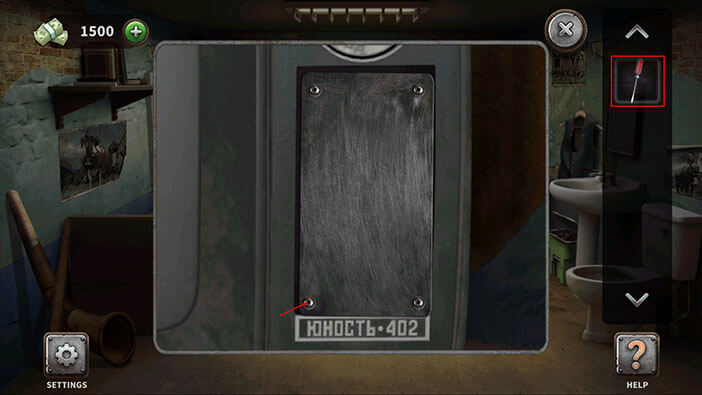
As soon as you solve the puzzle, the panel on the right side of the TV will lift. Tap on it to take a closer look.
Select the screwdriver from the inventory and use it to remove the screws and open the panel.
Inside the compartment, you will find a key. Tap on it to pick it up.
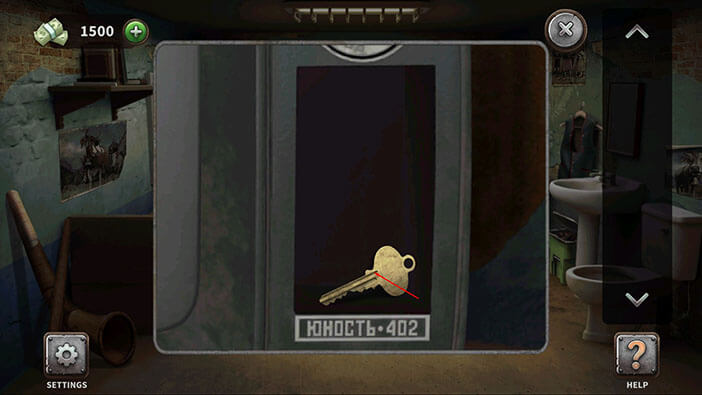
Select the key from the inventory and tap on the cell door to unlock it.

Finally, tap on the cell door to escape and you will complete the thirtieth level.