100 Doors Escape from Prison Level 31-35
Hello everyone and welcome to the walkthrough for 100 Doors: Escape from Prison. On this page, you can find the solution for levels 31-35.
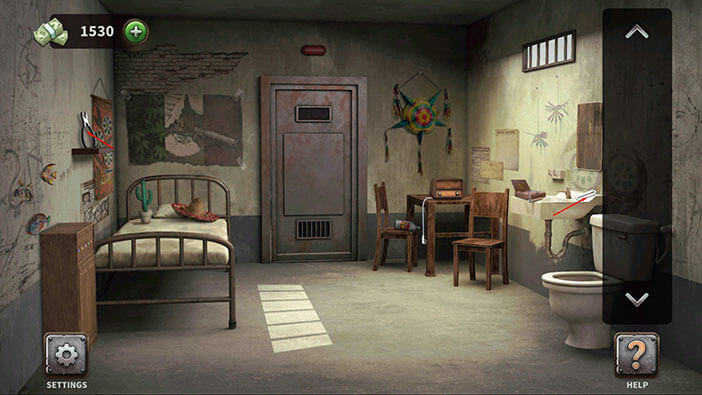
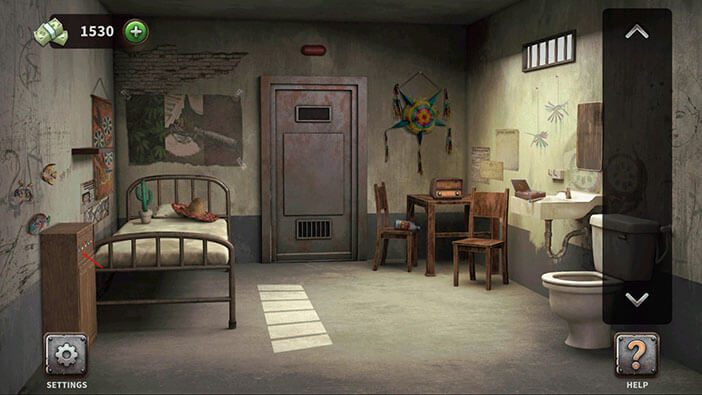
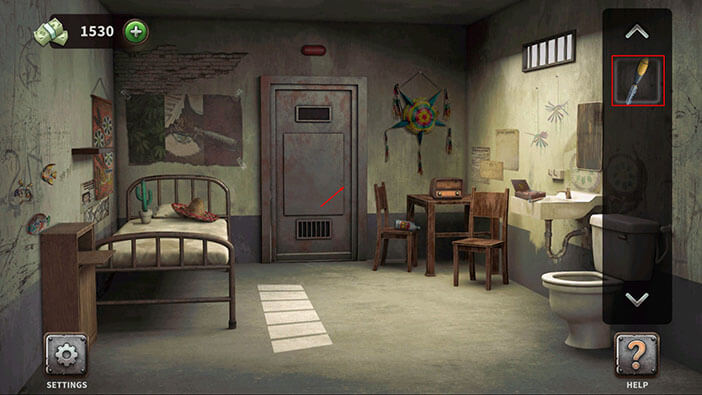
Level 31: Mexican Cell
Let’s start by picking up two items.
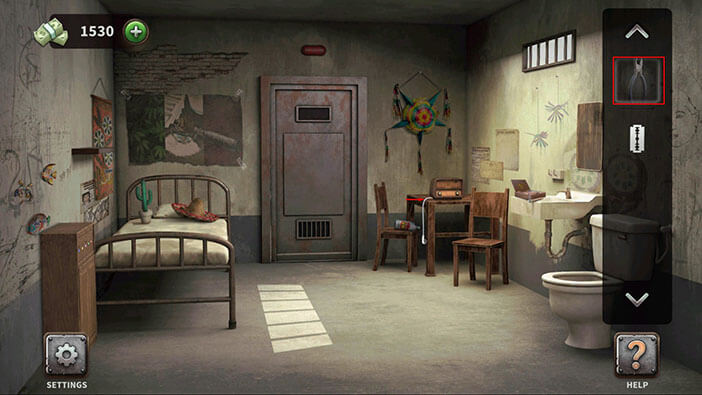
First, tap on the pliers on the shelf on the left to pick them up.
After that, tap on the razor blade on the sink on the right to pick it up.
If you take a look at the right corner of the room, you will notice that there’s a cable, hanging from the radio. Select the pliers from the inventory and use them to cut the cable.
Next, tap on the cable in your inventory to select it.
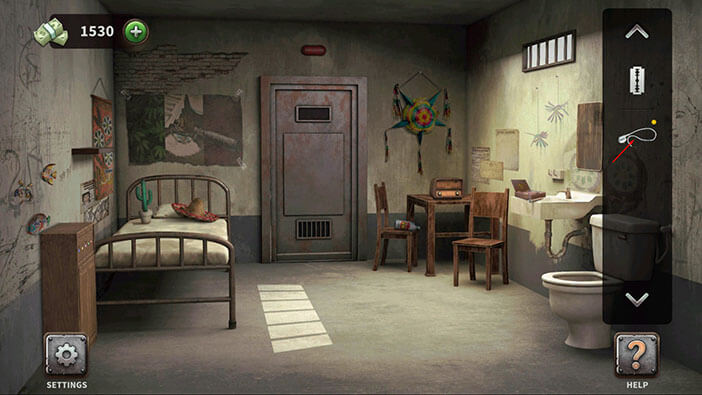
After that, select the razor blade from the inventory and attach it to the cable.

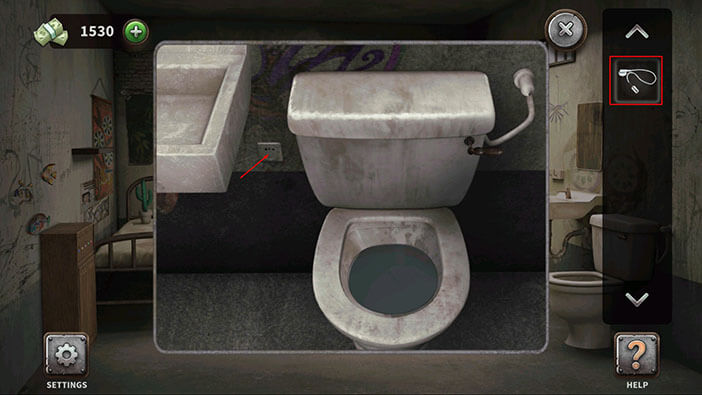
Tap on the toilet to take a closer look at it.
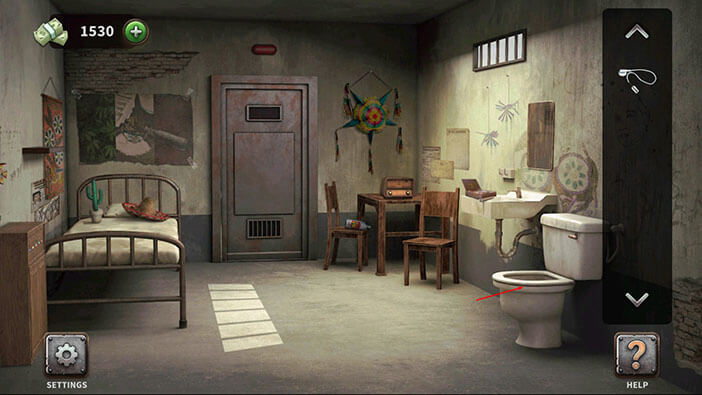
Select the cable from the inventory, then tap on the outlet to plug it in.
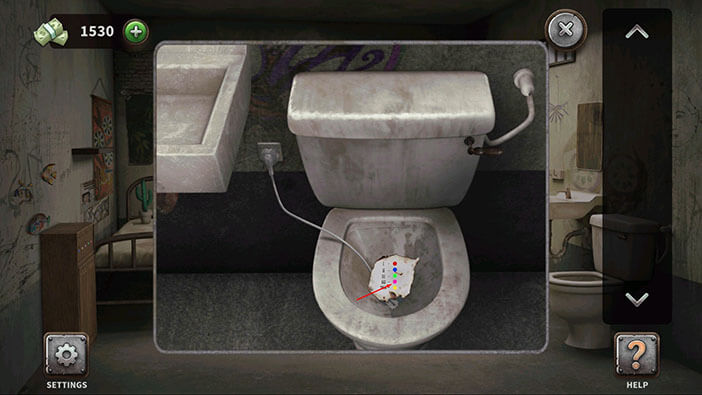
Our character will use the electricity to vaporize the water, revealing a small note inside the toilet. Tap on the note to take a closer look at it.
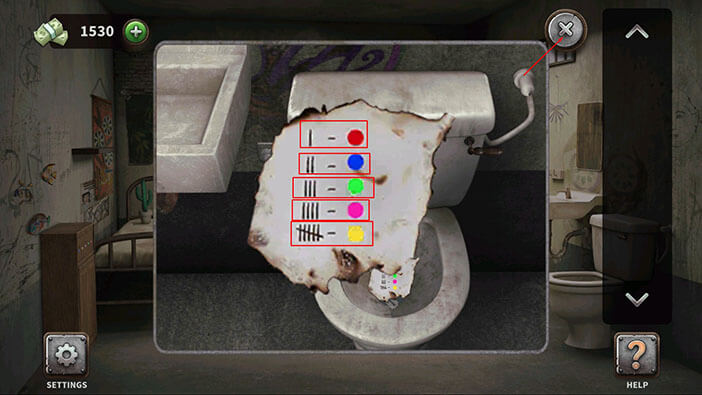
Here, we can see circles of five different colors (red, blue, green, pink, and yellow). Each color is marked by a certain number of lines. Let’s memorize/ write down this information because we will need it for the next puzzle. So, we have
Red = one line
Blue = two lines
Green = three lines
Pink = four lines
Yellow = six lines
Once you’re done, tap twice on the “X” button in the upper right corner of the screen to go back.
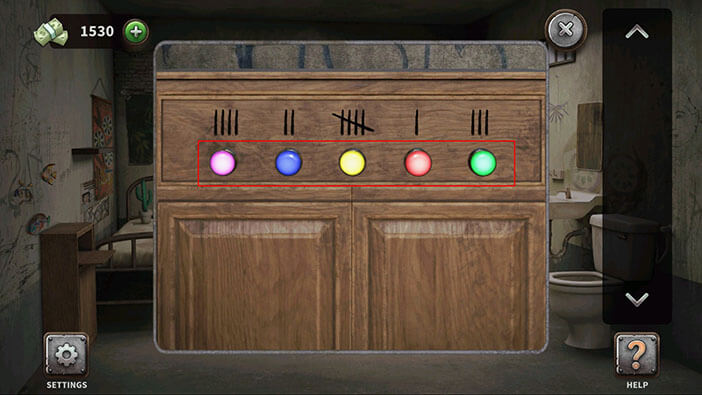
On the cabinet on the left, you will several lights of various colors. Tap on the cabinet to start the interaction.
Ok, here we can also see that each light has a certain number of lines above it. Our task is to change the color of the lights by tapping on them and setting the color to match the number of lines on the note.
Let’s begin.
First, tap on the light below the single line and change its color to red.
Second, tap on the light below the two lines and change its color to blue.
Third, tap on the light below the three lines and change its color to green.
Fourth, tap on the light below the four lines and change its color to pink.
Finally, tap on the light below the five lines and change its color to yellow (on the note, there were six lines for yellow color – probably a bug).
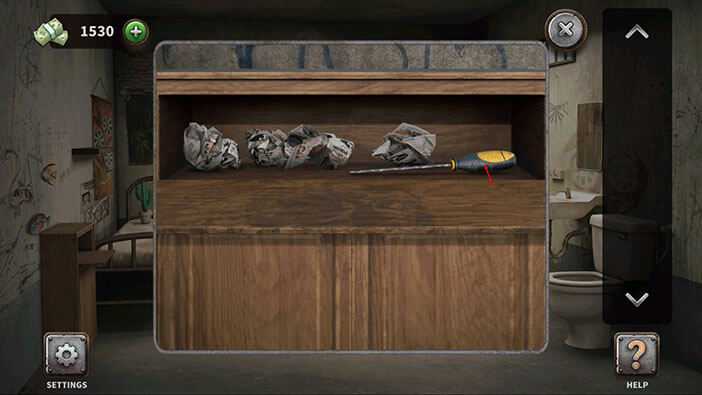
As soon as you set the correct colors below the lines, a secret compartment will open, and inside you will find a screwdriver. Tap on it to pick it up.
Next, let’s tap on the mirror, above the sink, to take a closer look at it.

Here, we have a mathematical puzzle. Let’s start.
First row.
If three pairs of shoes = 300, then
One pair of shoes = 100
Second Row
Policeman + Policeman + Pair of Shoes = 200
200 – 100 (pair of shoes) = 100
One policeman = 100 / 2 = 50
Third Row
Pairs of batons + Pair of batons + Policeman = 130
130 – 50 (Policeman) = 80
Pair of batons = 80 / 2 = 40
FOURTH ROW
Here we have
A single shoe = 50 (100 / 2)
+
The policeman is carrying two batons and a pair of shoes, so
50 (policeman) + 40 (pair of batons) + 100 (pair of shoes) = 190
X
20 (one baton = 40 / 2)
So, in the FOURTH ROW, we have
50 + 190 x 20 = 3850
Enter the number 3850 on the right and you will solve this puzzle.

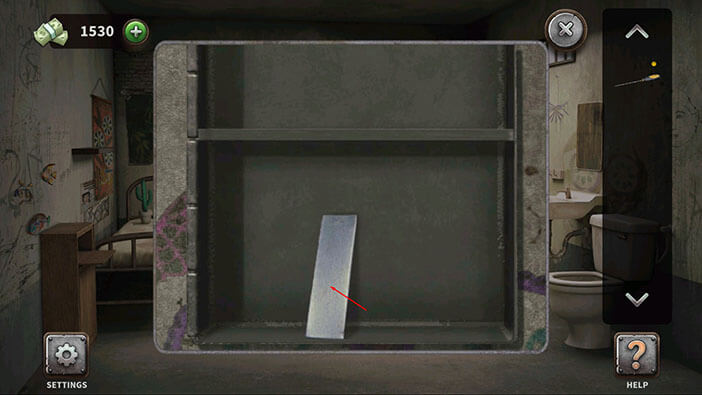
Solving the previous puzzle will open the secret compartment, and inside you will find a metal object. Tap on it to pick it up.
Tap on the screwdriver in your inventory to select it.

Next, select the metal object from the inventory and combine it with the screwdriver.
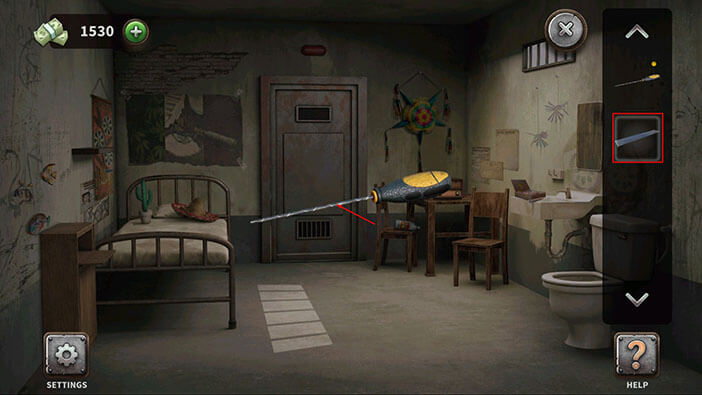
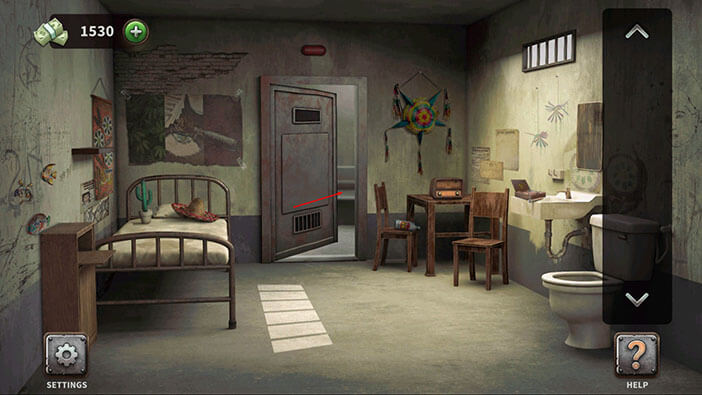
Our character will create an improvised saw. Select the saw from the inventory and use it to open the cell door.
Finally, tap on the cell door to escape and you will complete the thirty-first level.
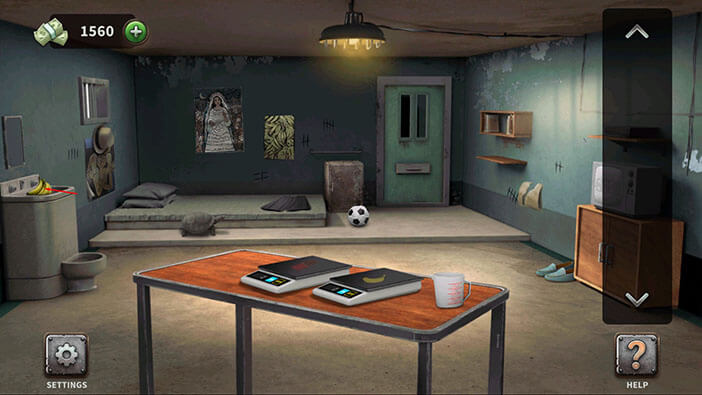
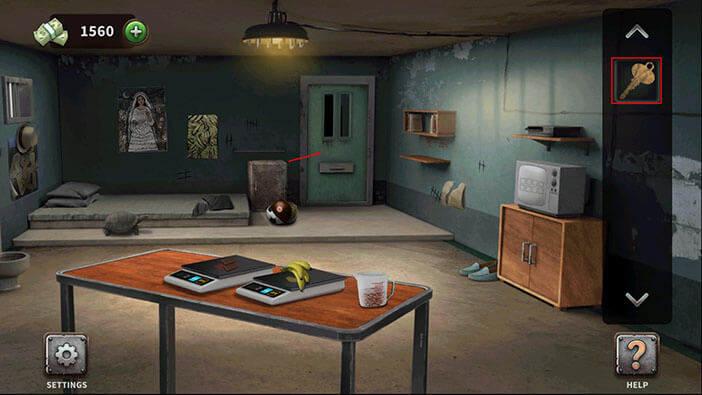
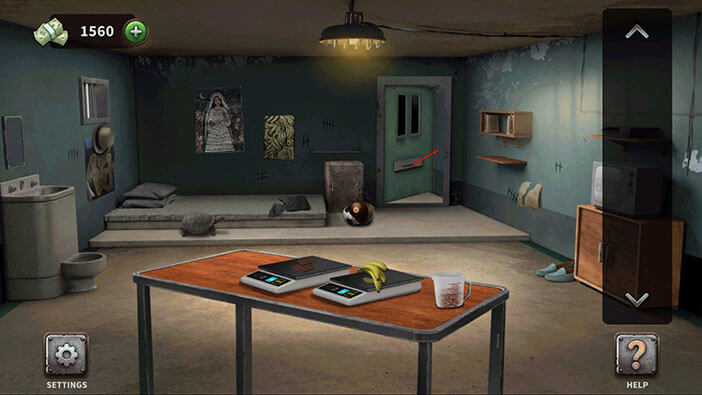
Level 32: Ecuadorian Cell
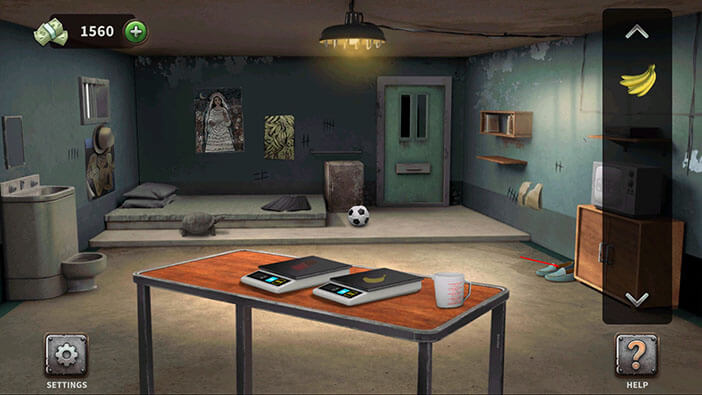
In the sink on the left, you will see a hand of bananas.
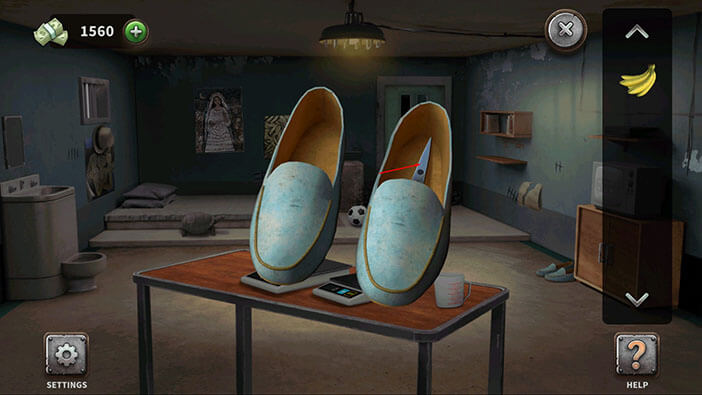
Next, tap on the pair of shoes on the right to take a look inside.
Inside the shoe, you will find scissors. Tap on them to pick them up.
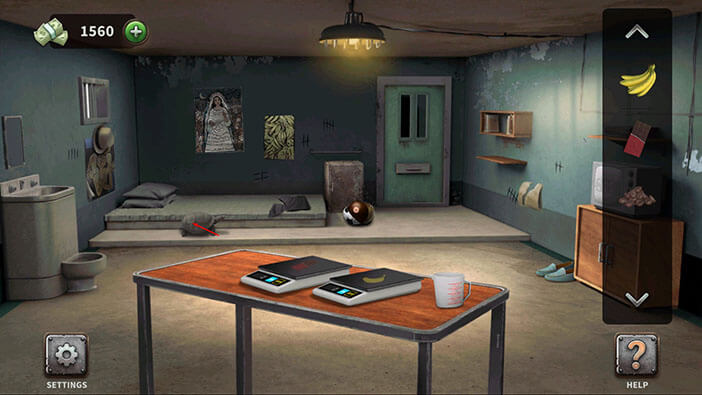
Next, tap on the football to take a closer look at it.

Select the scissors from the inventory and use them to cut the football.
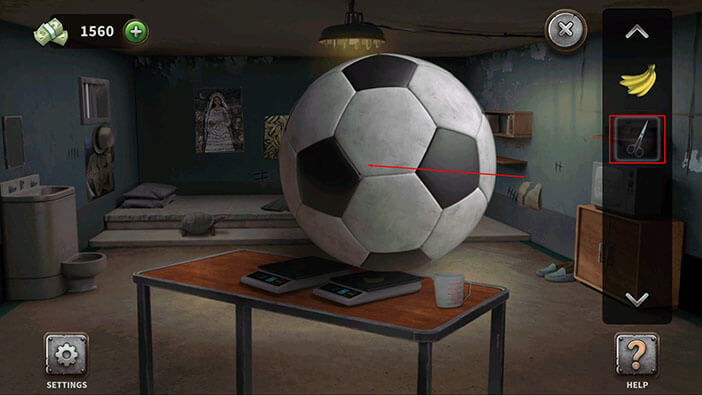
Inside the football, you will find chocolate. Tap on it to pick it up.
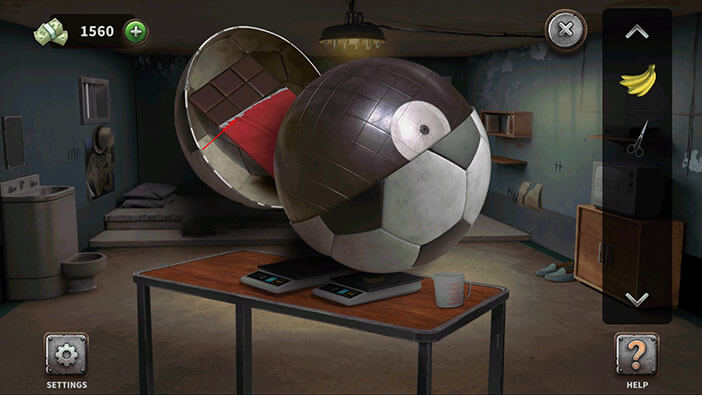
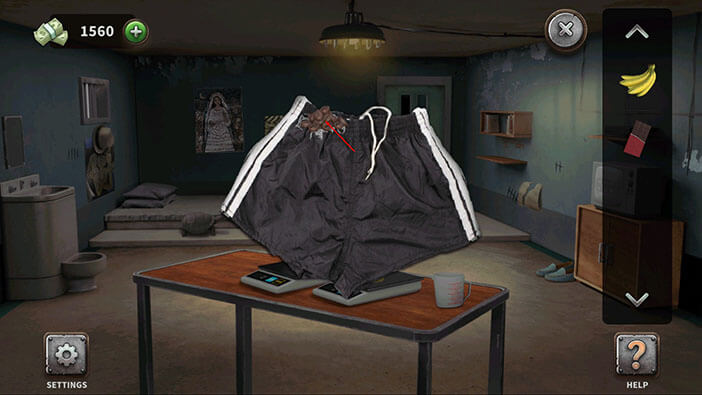
Next, tap on the shorts, located on the right side of the mattress to take a closer look at it.

Select the scissors from the inventory and use them to cut the shorts.
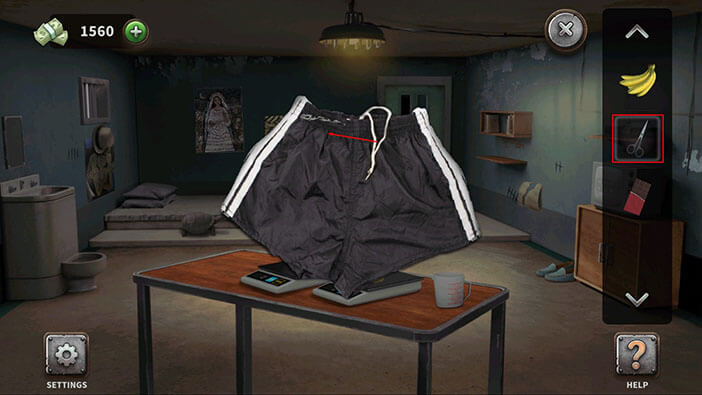
Inside the shorts, you will find some coffee beans. Tap on them to pick them up.
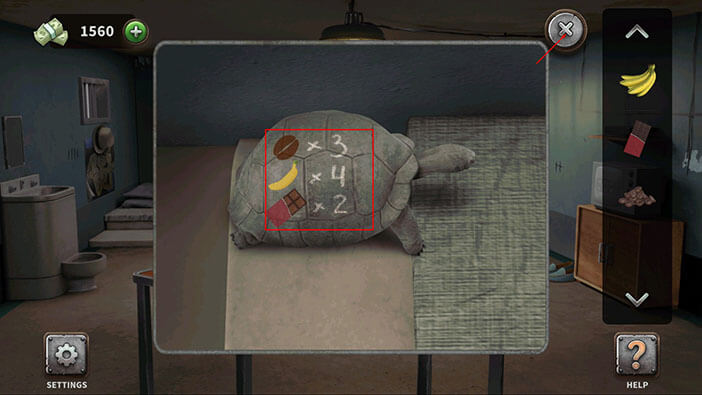
Next, tap on the statue of a turtle to take a closer look at it.
On the turtle shell, we will see a very important hint. Let’s memorize/ write it down. So, we have,
3x Coffee
4x Bananas
2x Chocolate
Once you’re done, tap on the “X” button in the upper right corner to go back.
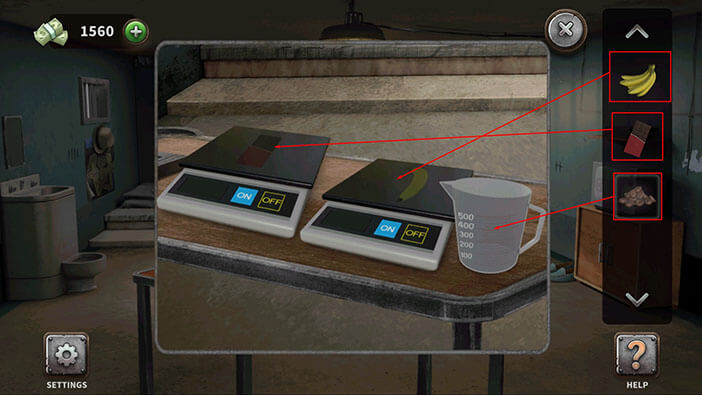
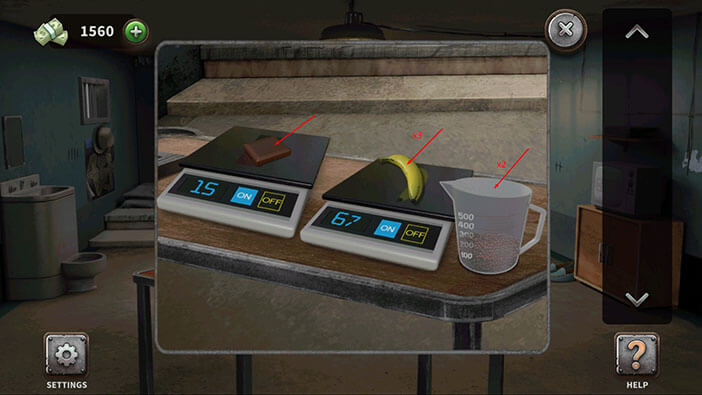
Ok, now let’s tap on the digital scales on the table to take a closer look.

Ok, we can conclude that the scale on the left should be used to measure the chocolate, while the scale on the right should be used to measure bananas. That leaves the measuring cup on the right, and we will use it to measure the coffee.
So,
Select the coffee from the inventory and put it into the measuring cup.
After that, select the bananas and place them on the scale on the right.
Lastly, select the chocolate and place it on the scale on the left.
Ok, previously we saw a hint on a turtle shell, and it tells us how many units of each article we should measure.
So, tap on the measuring cup two times add the two more units of coffee (on the turtle shell we saw coffee x3)
After that, tap on the banana on the right scale three times to add 3 more bananas (on the turtle shell we saw banana x4)
Lastly, tap once on the chocolate on the left scale to add one more unit of chocolate (on the turtle shell we saw chocolate x2)
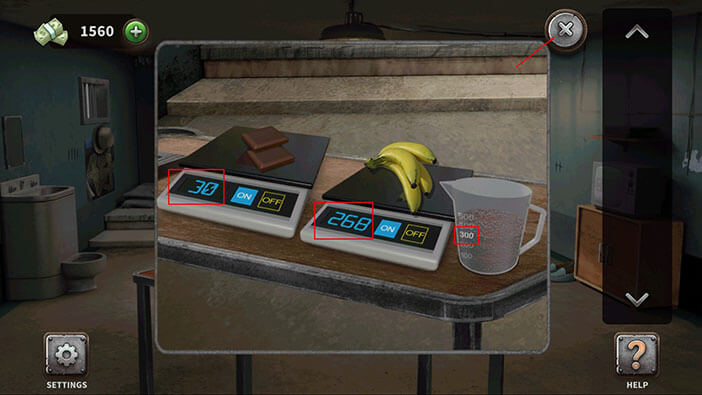
Ok, now let’s take a look at the numbers on the scale and the measuring cup.
On the turtle shell, the coffee was first (top to bottom) so we will first take a look at the measuring cup.
Coffee = 300
Next, we will take a look at the right scale
Bananas = 268
Finally, we will take a look at the left scale
Chocolate = 30
So, we have, 300, 268, and 30. Memorize/ write down these three numbers because we will need them for the next puzzle.
Once you’re done, tap on the “X” button in the upper right corner to go back.
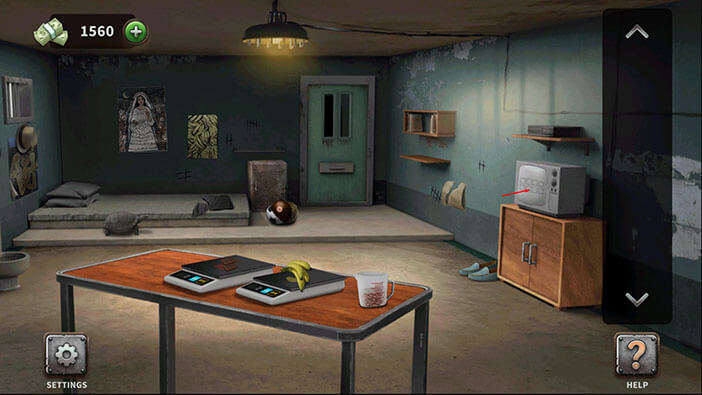
Next, tap on the TV on the right to take a closer look at it.
Here, we can see 8 fields in two rows. Let’s enter the numbers that we discovered by measuring the coffee, bananas, and chocolate.
So, enter 300, 268, 30.
3002
6830
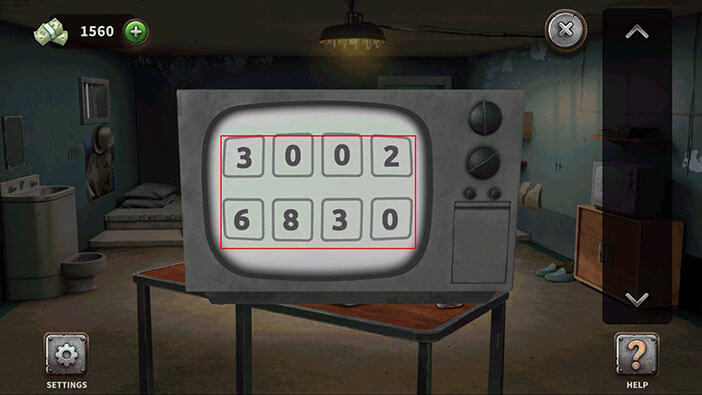
As soon as you enter the correct numbers, a key will drop out of the VCR (above the TV). Tap on the key to pick it up.

Select the key from the inventory and tap on the cell door to unlock it.
Finally, tap on the cell door to escape and you will complete the thirty-second level.
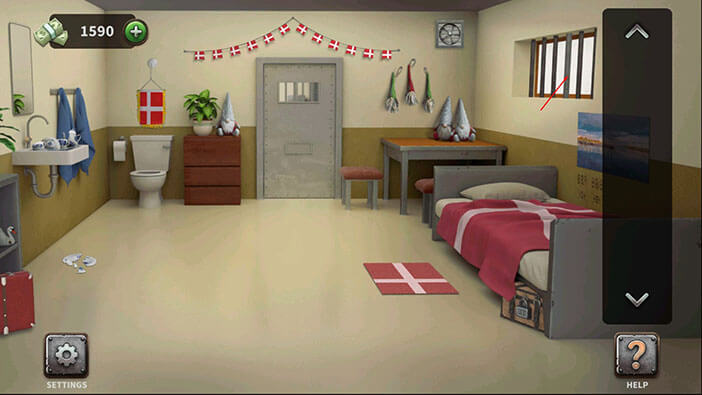
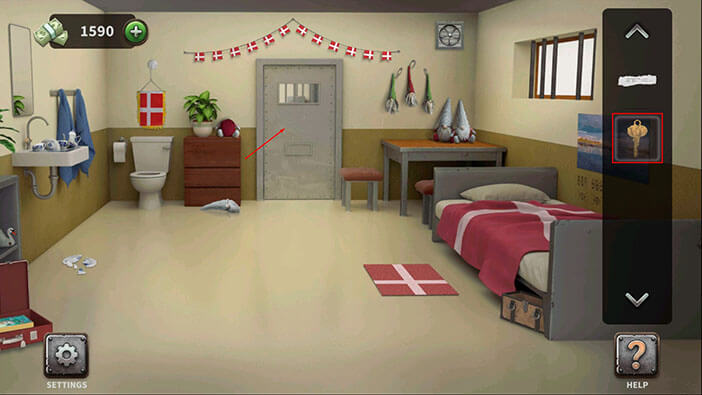
Level 33: Danish Cell
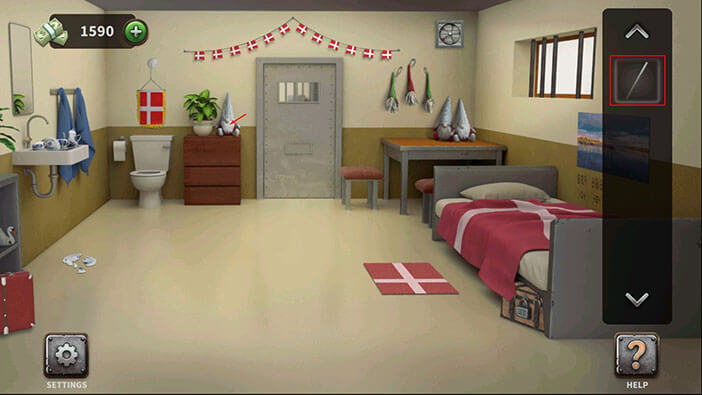
Let’s take a look at the barred window on the right side of the room. You will notice that one of the bars is a bit different than the other ones. Tap on this bar to pick it up.
Next, select the iron bar from the inventory and use it to smash the dwarf on the left side of the cell door.
Some kind of a note will fall out of a dwarf. Tap on the note to pick it up.

Next, tap on the toilet to take a closer look at it.
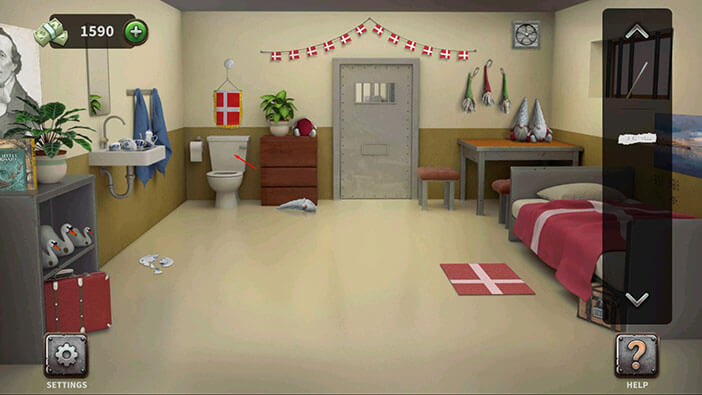
Select the iron bar from the inventory and use it to smash the lid on the water container.
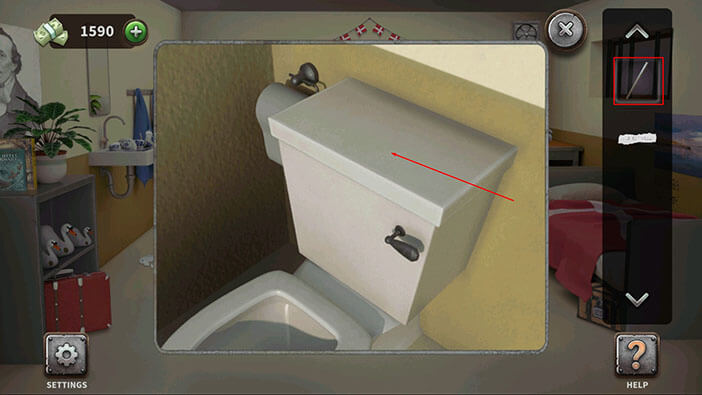
After breaking the lid, we can see that there’s a UV flashlight inside the water container. Tap on the UV flashlight to pick it up.
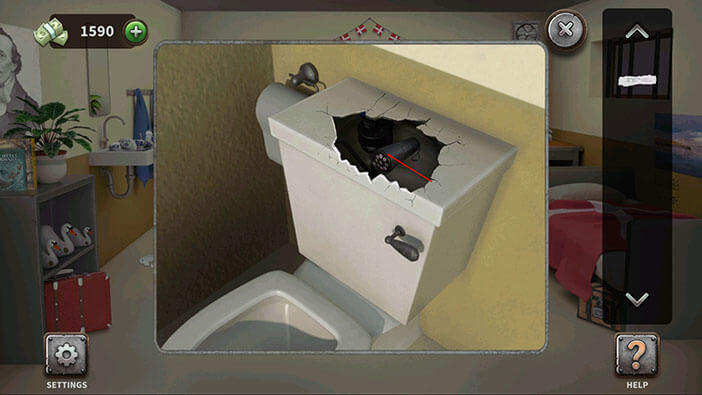
If you take a look at the right wall, you will notice that there’s something written on the wall, below the picture. Tap on these symbols to take a closer look.

Ok, now let’s tap on the note in our inventory to bring it up.
Our next task is to decipher the note by looking at the shapes on the note and matching them with the same shapes on the wall. This way we will discover the letter associated with the shape. Let’s begin.
First, we have a line on the right and a line at the bottom. If we take a look at the wall, we will notice that the letter “A” is inside the same shape. So, the first letter is the letter “A”.
Second, we have a square and a dot at the bottom. If we take a look at the wall, we will notice that the letter “N” is inside the same shape. So, the second letter is the letter “N”.
Third, we have top, bottom, and right lines. If we take a look at the wall, we will notice that the letter “D” is inside the same shape. So, the third letter is the letter “D”.
Fourth, we have a square. If we take a look at the wall, we will notice that the letter “E” is inside the same shape. So, the fourth letter is the letter “E”.
Fifth, we have a line on the left, a line at the top, and a dot in the upper-left corner. If we take a look at the wall, we will notice that the letter “R” is inside the same shape. So, the fifth letter is the letter “R”.
Sixth, we have a “V” shape. We would have to bring down the note in order to see this symbol, so we will skip it, for now.
Seventh, we have a square, again, so the seventh letter is the letter “E”.
Eighth, we have a square and a dot at the bottom, again, so the eighth letter is the letter “N”.
If we put it all together we will get “ANDER(missing sixth letter)EN”
Ok, memorize/write down this information, and remember that for the sixth letter we are looking for a “V” shape. Once you’re done, tap on the “X” button in the upper right corner to bring down the note.

After we put down the note, we can see the symbols on the lower half of the wall. Letter “S” is inside the “V” shaped symbol, so the sixth letter is the letter “S”.
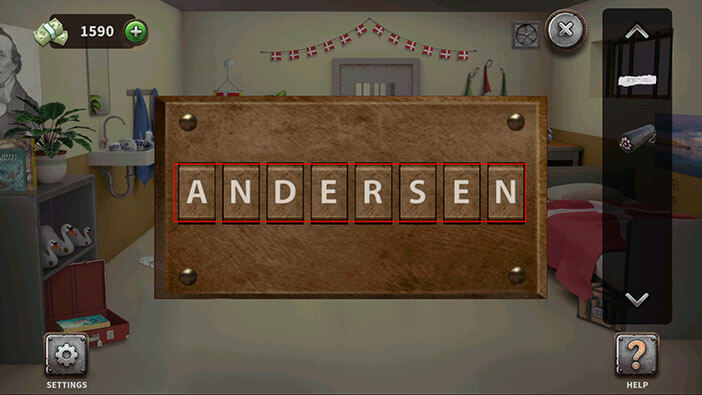
When we add it to the sixth spot, we will get the password “ANDERSEN”. Memorize/write down this password because we will need it for the next puzzle.
Once you’re done, tap on the “X” button in the upper right corner to go back.

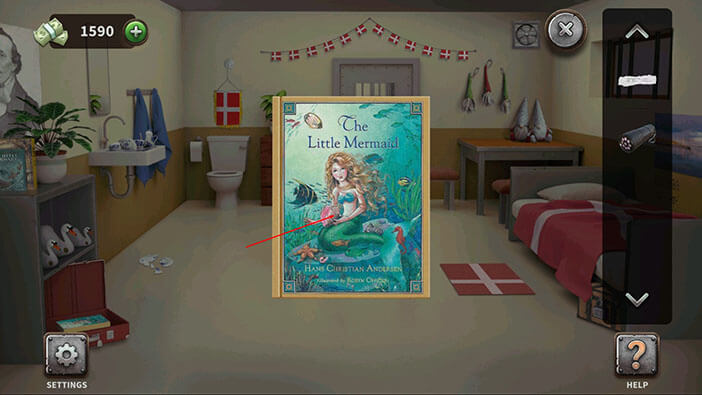
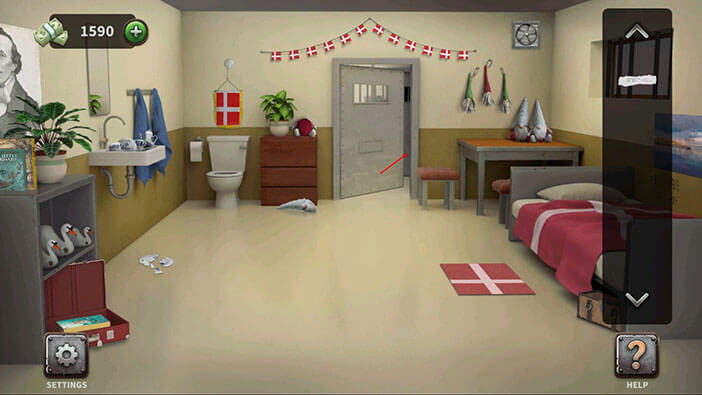
Ok, now tap on the red suitcase on the left side of the room to take a closer look at it.

The suitcase is locked with an eight-letter password. So, enter the password “ANDERSEN” that we just deciphered, and you will unlock the suitcase.
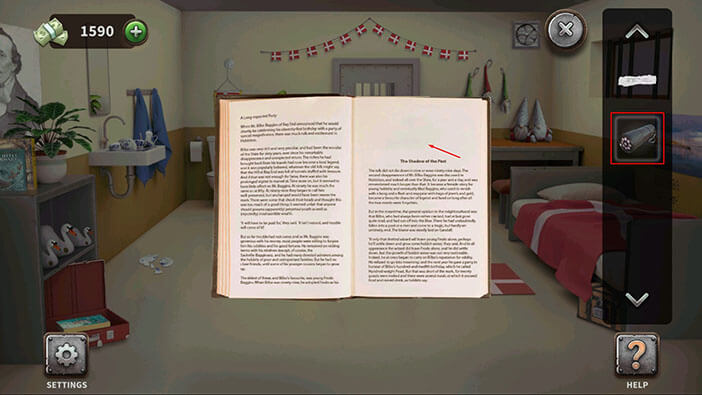
Tap on the book inside the suitcase to take a closer look at it. After that, tap on the book again to open it.

Select the UV flashlight from the inventory and tap on the right page.
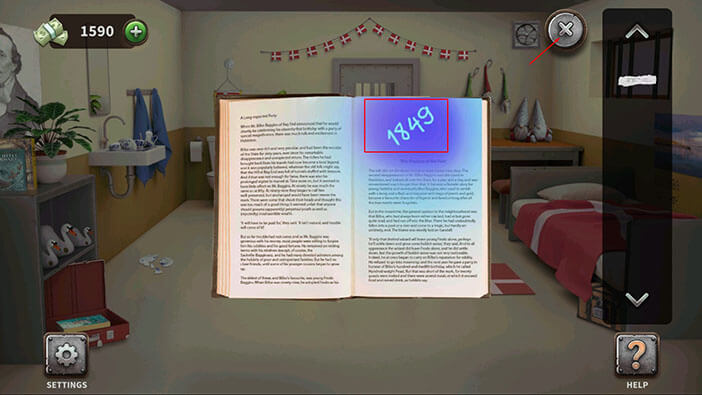
After we used the UV flashlight, the number “1849” appeared. Memorize/ write down this number, because we will need it for the next puzzle.
Once you’re done, tap on the “X” button in the upper right corner to go back.
Tap on the box, located below the bed on the right, to take a closer look at it.

Enter the code “1849” that we just discovered, and you will unlock the box.

Inside the box, you will find a key. Tap on the key to pick it up.

Select the key from the inventory and tap on the cell door to unlock it.
Finally, tap on the cell door to escape and you will complete the thirty-third level.
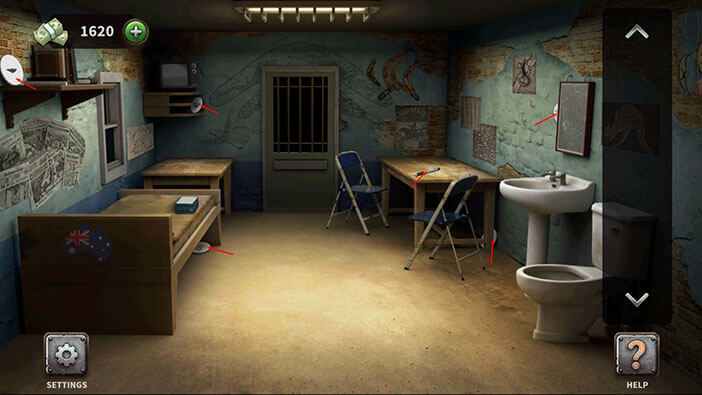
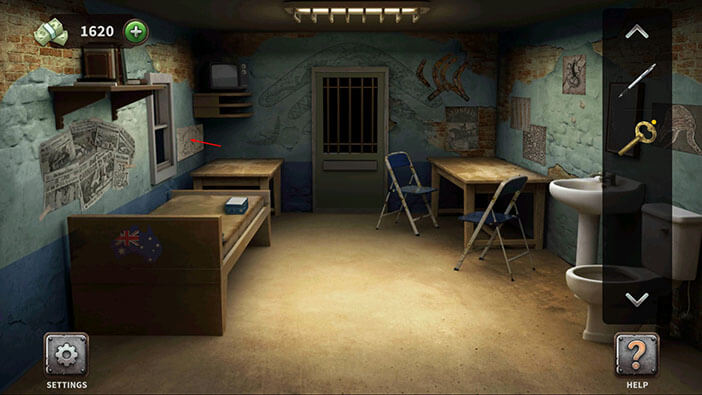
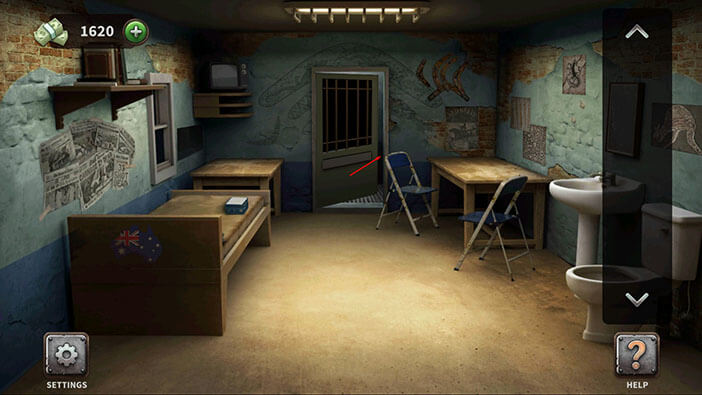
Level 34: Australian Cell
We will start this level by picking up five items – four plates and one pencil.
The pencil is located on the table in the right corner of the room.
The first plate is located below the table.
The second plate is partially hidden behind the wall mirror.
The third plate is located in the right corner of the room, just below the TV.
The fourth plate is located below the bed on the left.
The fifth plate is located above the bed, on the wall shelf.
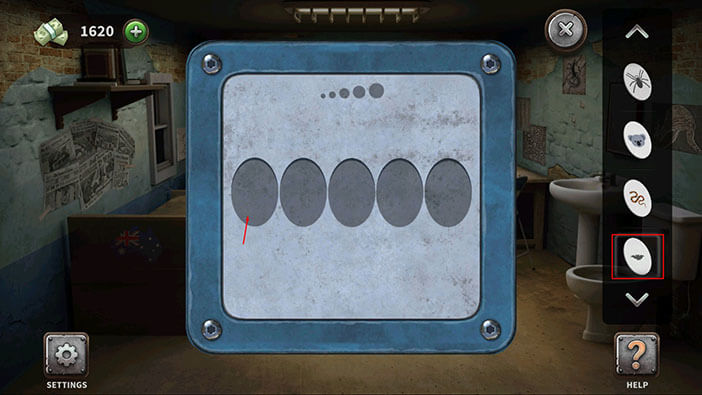
Next, tap on the small, blue box on the bed, to take a closer look at it.
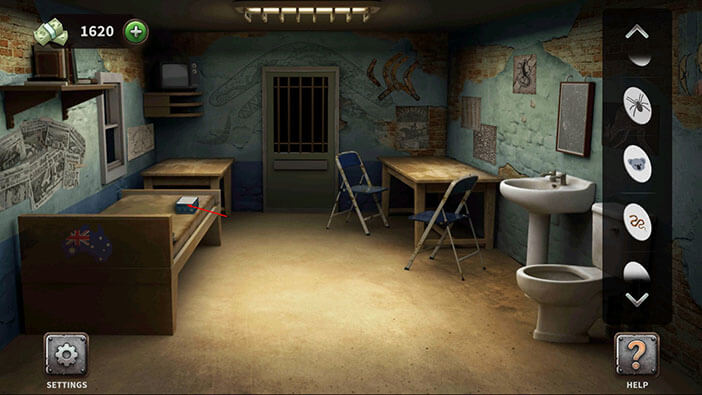
If you pay attention to the circles above the five empty slots, you will notice that they are arranged from the smallest one on the left to the largest one on the right. So, we should arrange the plates by placing the plate with the smallest shape (animal) on the left and the largest shape on the right. Let’s begin.
NOTE: The size of the animal/shape on the plate is important for this puzzle. The actual size of the animal is irrelevant (for example, the kangaroo is much larger than a spider, but the spider symbol on the plate is much larger than the kangaroo).
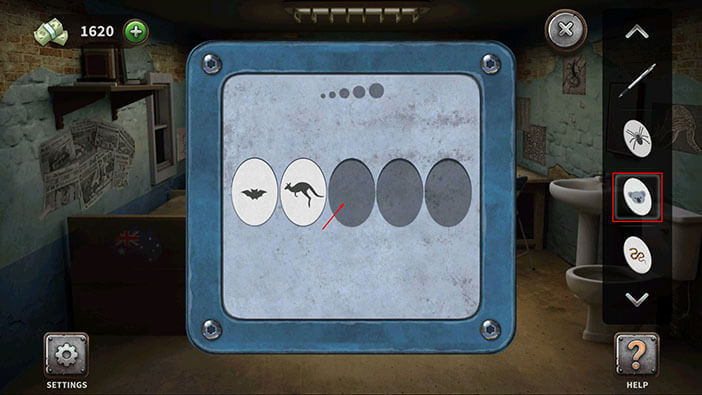
First, select the plate with a bat from the inventory and insert it into the first slot.
Second, select the plate with a kangaroo from the inventory and insert it into the second slot.

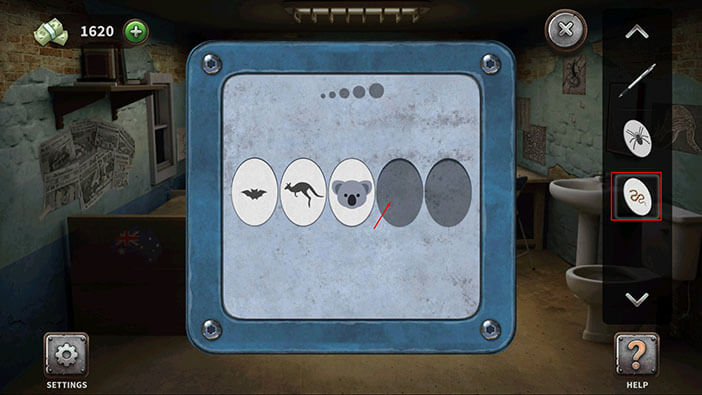
Third, select the plate with a koala from the inventory and insert it into the third slot.
Fourth, select the plate with a snake from the inventory and insert it into the fourth slot.
Fifth, select the plate with a spider from the inventory and insert it into the fifth slot.
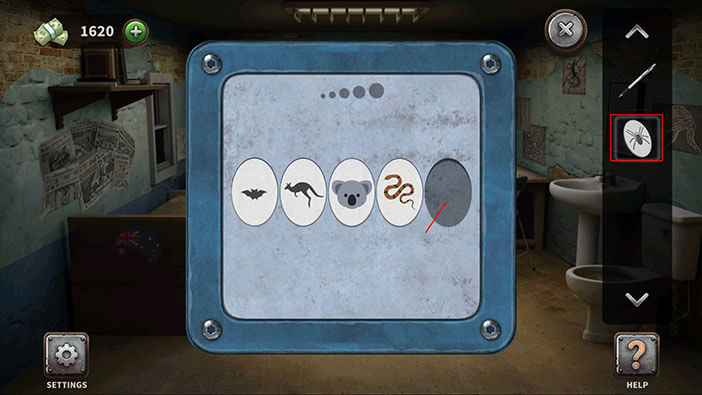
After arranging the plates, you will open the box. In the box, you will find the top half of the key. Tap on it to pick it up.
Next, tap on the poster on the wall, in the left corner of the room, to take a closer look at it.
Select the pen from the inventory and tap on the paper. Our character will add a few more pieces of paper.
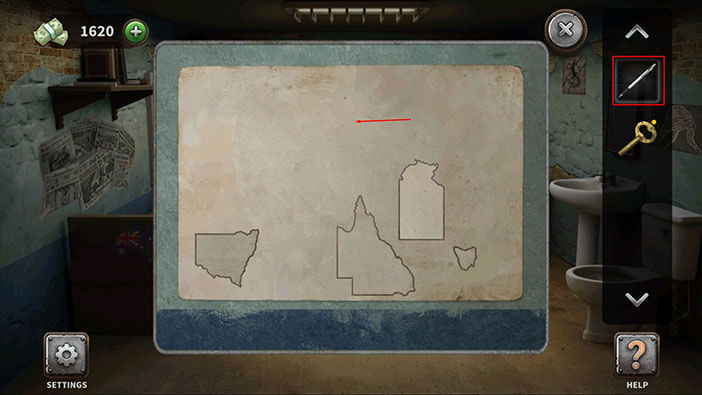
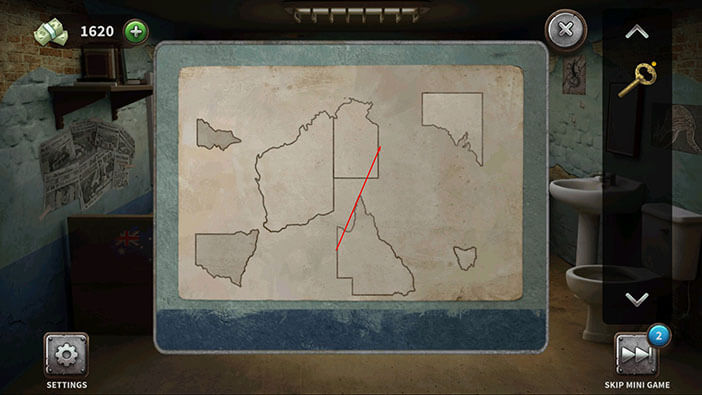
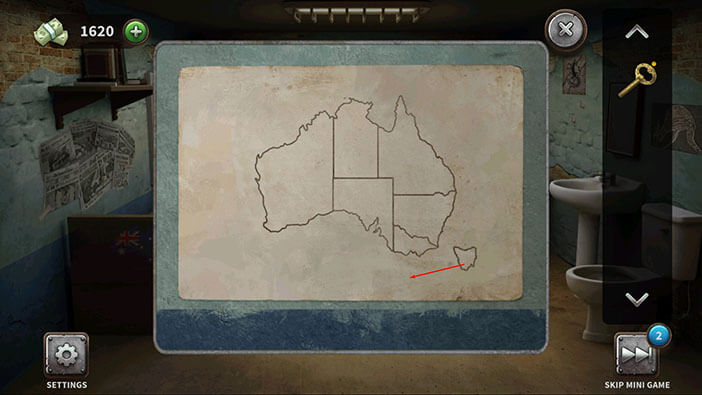
Ok, in this task, we should use pieces of paper to assemble the shape of Australia. Let’s begin.
On the left, we have a very large piece, with a straight vertical line (on the left). This will be our starting point.
Step 1
Drag the “rectangular” (kind of) piece from the right, and attach it to the upper right corner of our centerpiece.
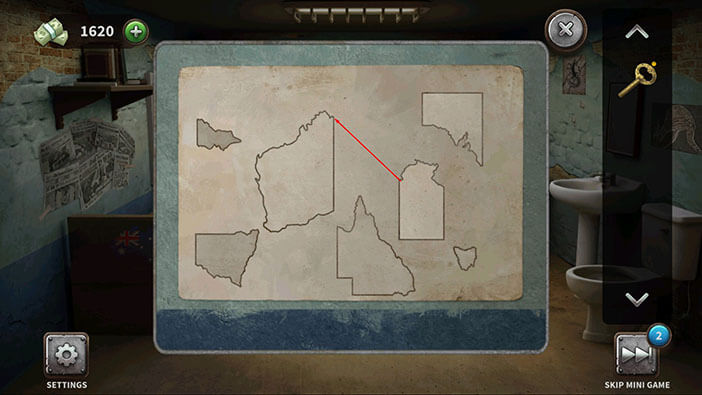
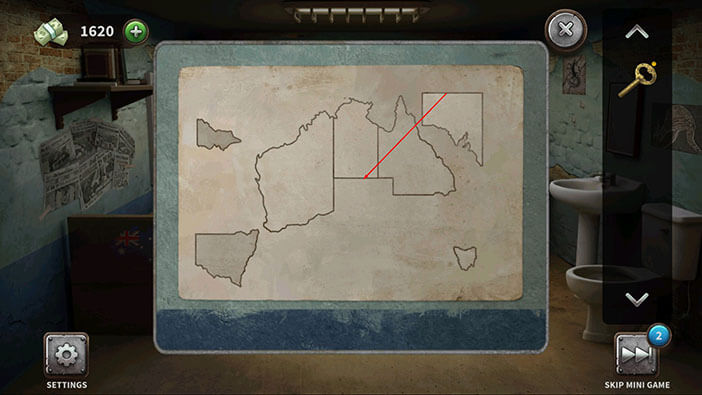
Step 2
Next, drag the large piece with a straight line on the left side from the bottom, and attach it to the right side of the previous piece (by aligning the straight lines)
Step 3
Well, we can clearly see that the piece in the upper right corner has a rectangular-like upper half, and it would perfectly fit between the previous three pieces, so let’s put it there.
Step 4
The piece in the lower-left corner fits perfectly in the lower-right corner of Australia.
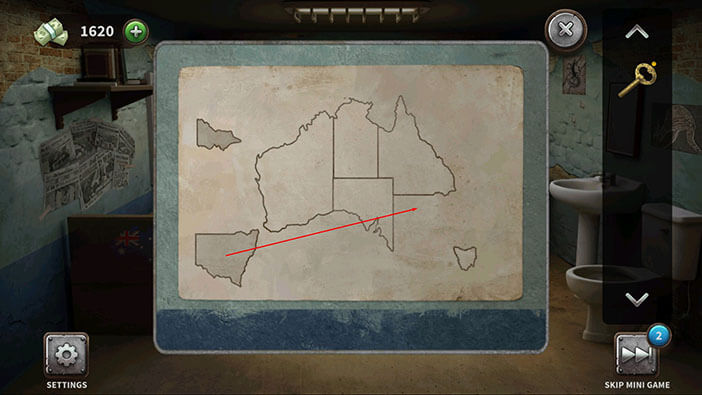
Step 5
The last piece on the left fits perfectly in the lower-right corner.
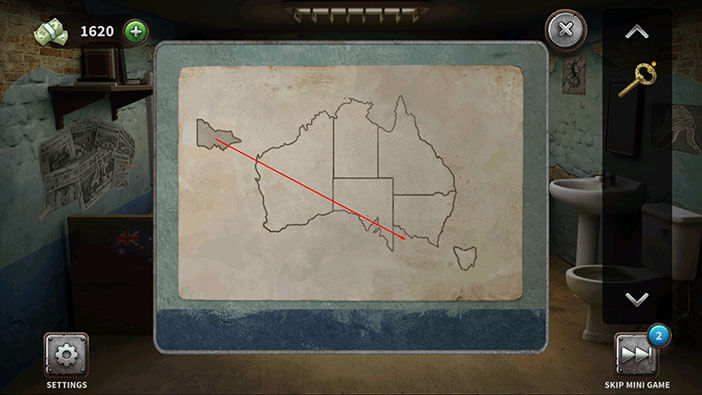
The last piece is an island. So, drag the last piece slightly to the south/south-east of Australia, and you will complete this puzzle.
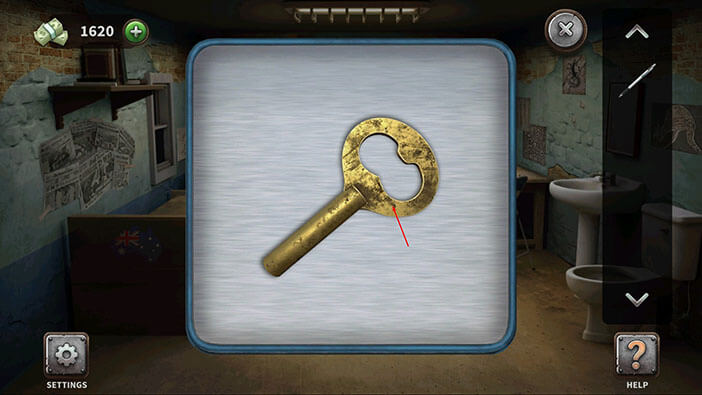
When you solve the “Australia puzzle” the lower half of the key will be added to your inventory. Let’s assemble the key. First, tap on the upper half of the key to select it.
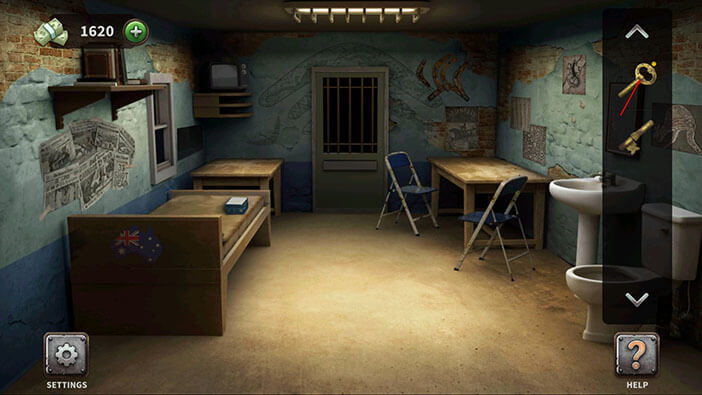
Next, select the lower half of the key from the inventory and merge it with the upper half.
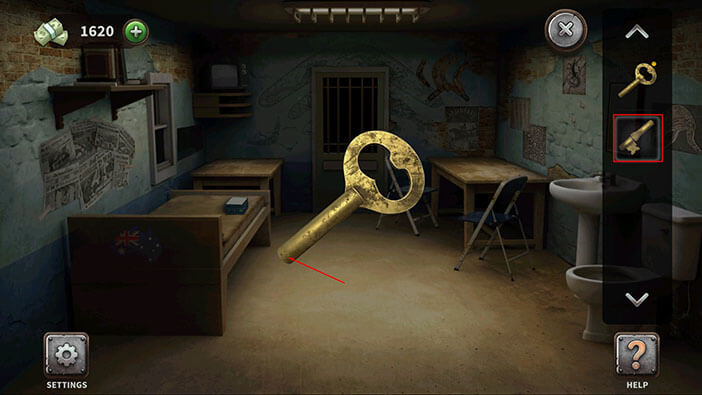
Select the key from the inventory and tap on the cell door to unlock it.
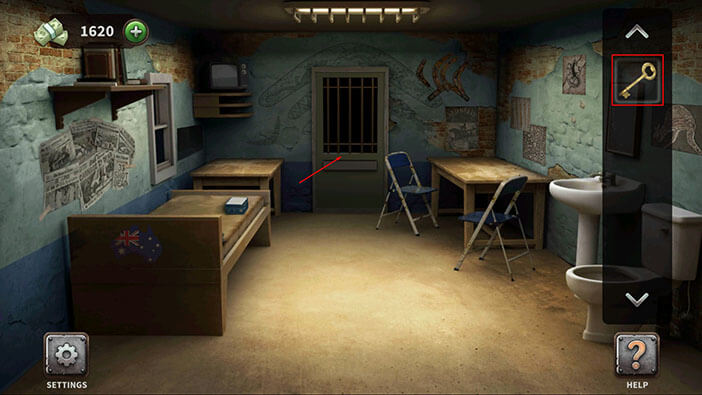
Finally, tap on the cell door to escape and you will complete the thirty-fourth level.
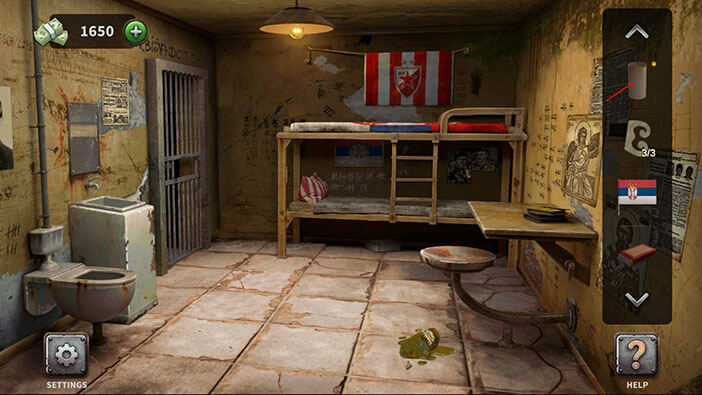
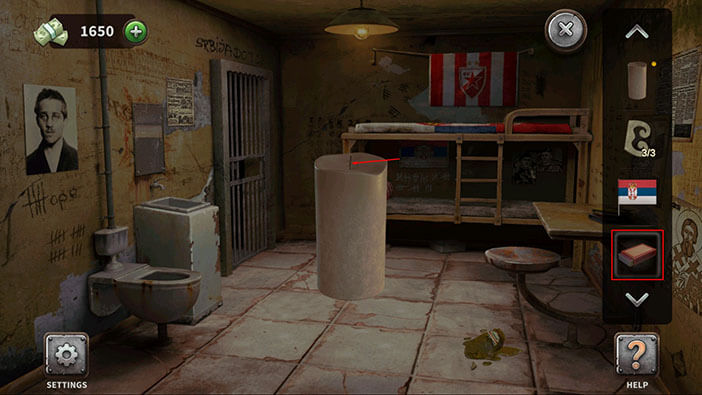
Level 35: Serbian Cell
Tap on the candle, located on the toilet on the left, to pick it up.
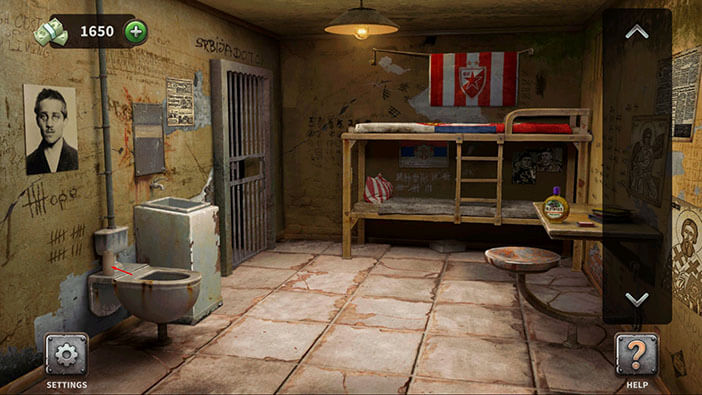
Next, tap on the bottle on the table on the right, and our character will throw it down and break it.
Inside the broken bottle, you will find the first of the three symbols. Tap on it to pick it up.
Also, tap on the upper half of the bottle to pick it up.
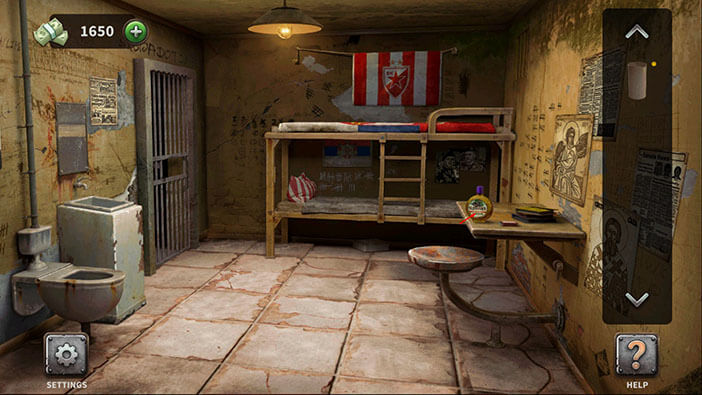
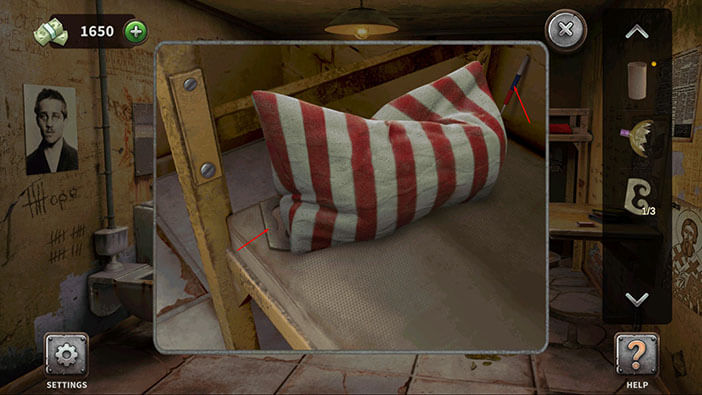
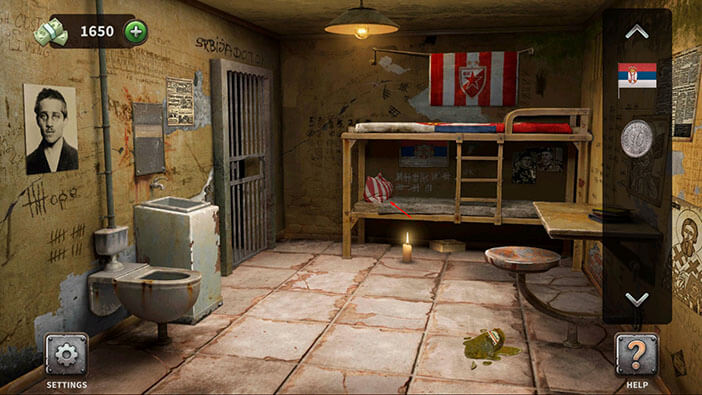
Next, tap on the pillow to take a closer look at it.

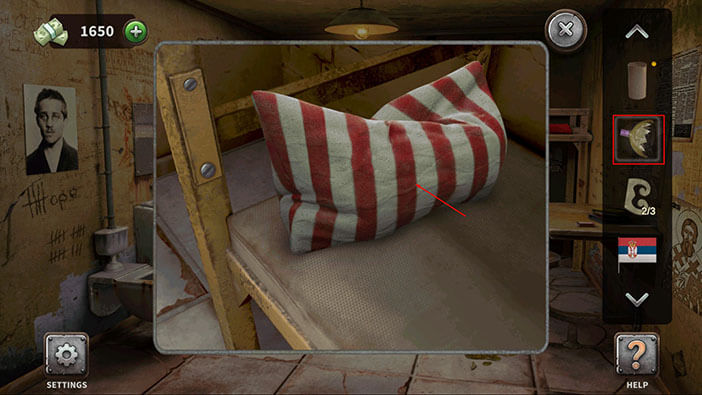
On the left side of the pillow, we can see the second symbol, while on the right side, we can see the Serbian flag. Tap on both items to pick them up.
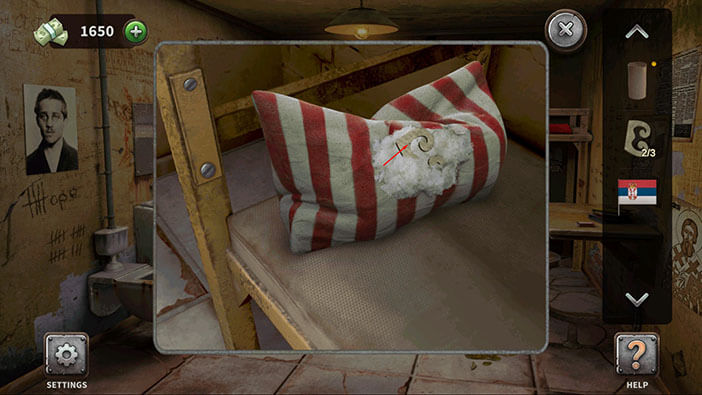
Next, select the upper half of the broken bottle and use it to cut open the pillow.
Inside the pillow, you will find the third symbol. Tap on it to pick it up.
After that, tap on the “X” button in the upper right corner to go back.
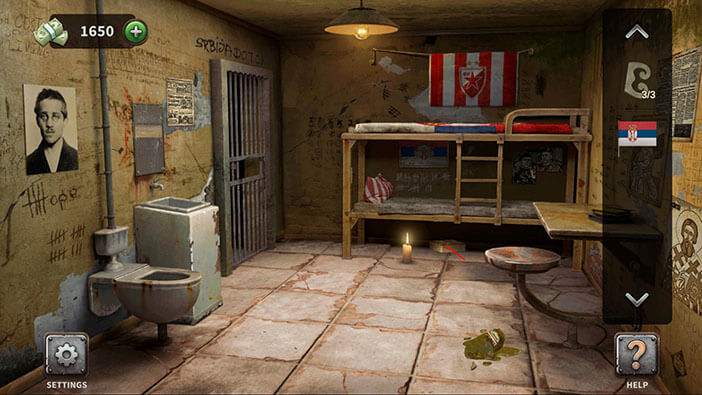
Next, tap on the matchbox on the table on the left to pick it up.

Tap on the candle in your inventory to select it.
Select the matchbox from the inventory and use a match to light the candle.
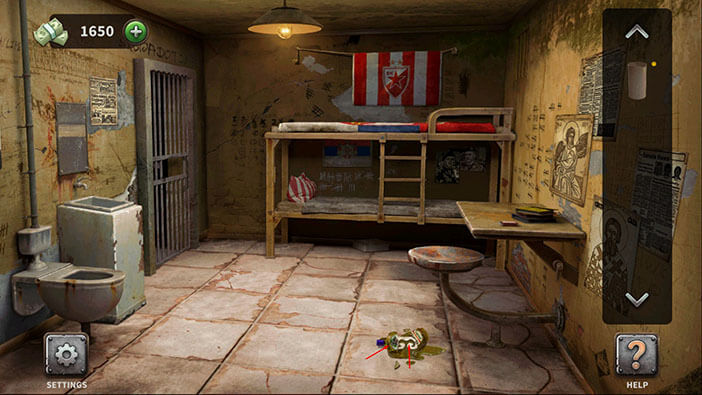
Now, select the lit candle from the inventory and tap on the box, located under the bed, to illuminate the space under the bed.
After that, tap on the box to take a closer look at it.

Select the symbols from the inventory, and place them into the empty slots.
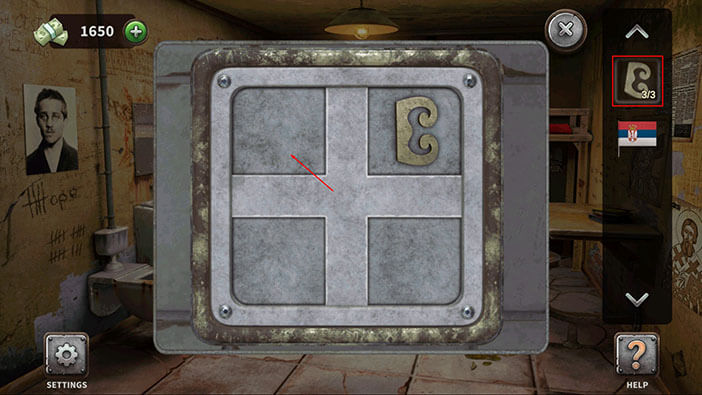
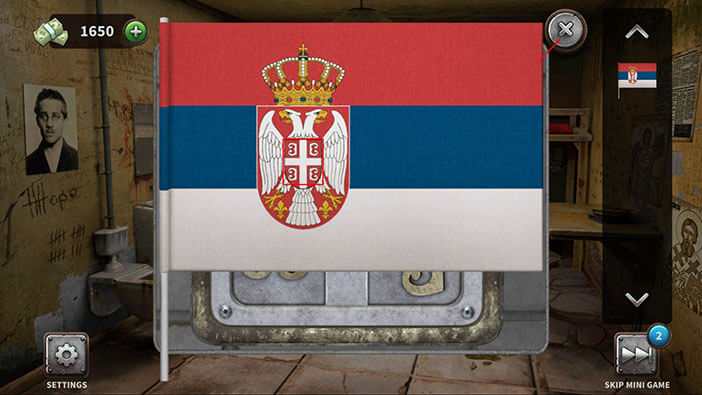
Ok, now tap on the Serbian flag in your inventory to take a closer look at it.
If you look at the heraldic symbol, you will notice that the symbols on the left are facing left, while the symbols on the right are facing right. Memorize the facing, then tap on the “X” button in the upper right corner to go back.
Ok, let’s rotate the symbols.
Step 1
Tap three times on the symbols in the upper-left corner.
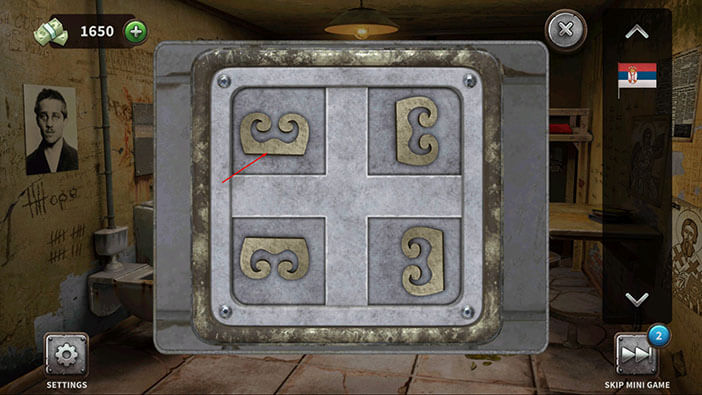
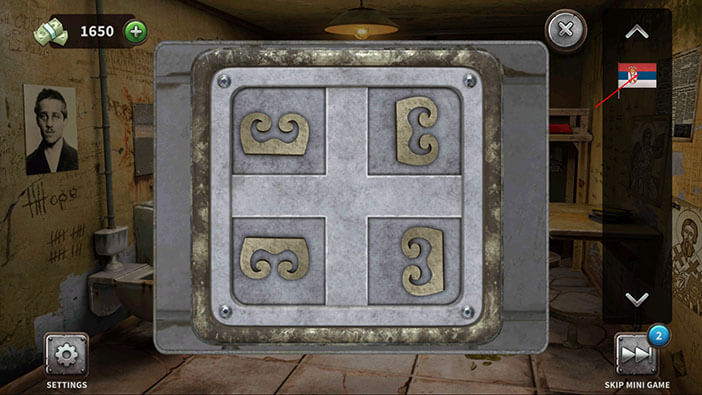
Step 2
Tap once on the symbol in the lower-left corner.

Step 3
Tap once on the symbol in the lower-right corner and you will solve this puzzle.
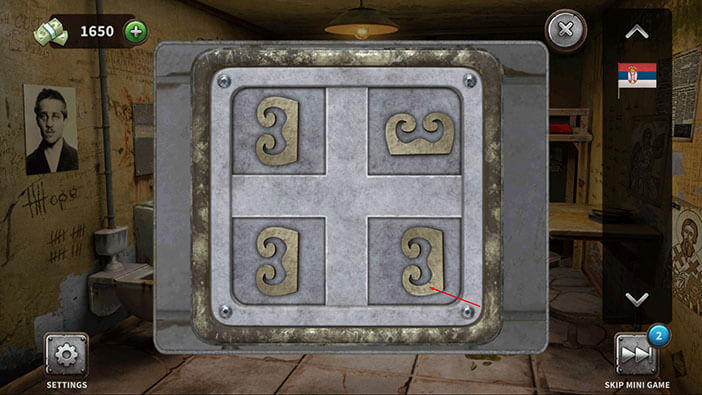
After correctly setting the facing of the symbols, the box will open. Tap on the coin in the box to pick it up.
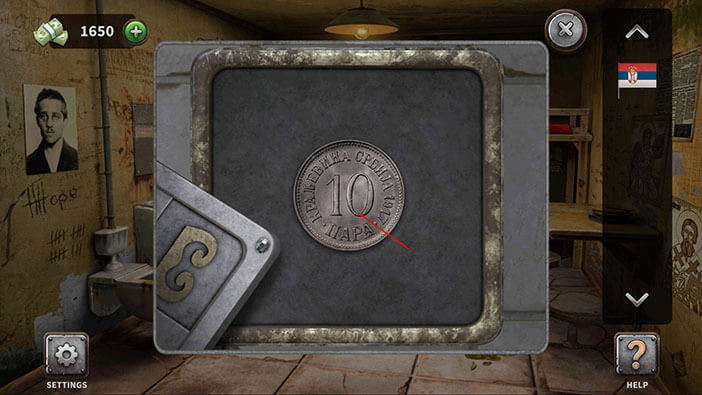
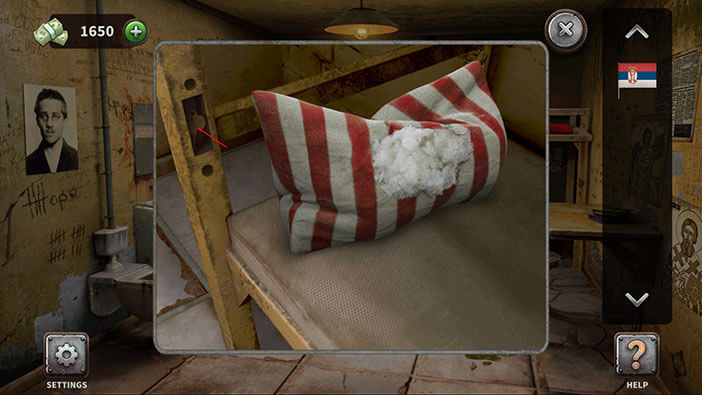
Ok, now let’s take another look at the bed.
Select the coin from the inventory and use it to remove both screws on the left.
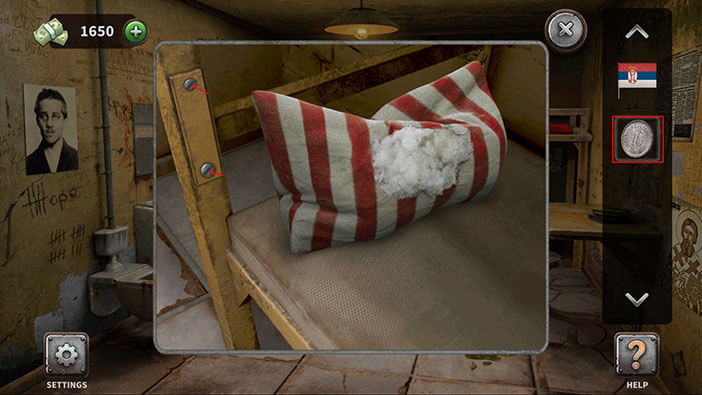
Inside the secret compartment, you’ll find a key. Tap on it to pick it up.
Select the key from the inventory and tap on the cell door to unlock it.

Finally, tap on the cell door to escape and you will complete the thirty-fifth level.
