Scary Horror Escape Room Games | Part 1
Intro
Welcome to our walkthrough for the “Scary Horror Escape Room Games” from Escape Adventure Games. This guide will be divided into 2 parts. This is the 1st part that will cover solutions for rooms 1, 2, 3, 4, and 5.
Room 1
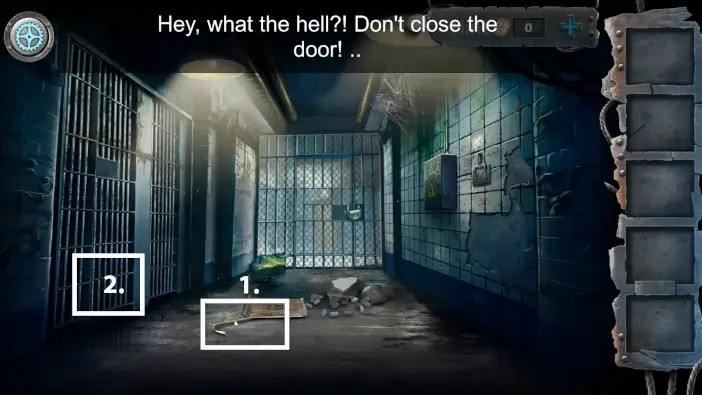
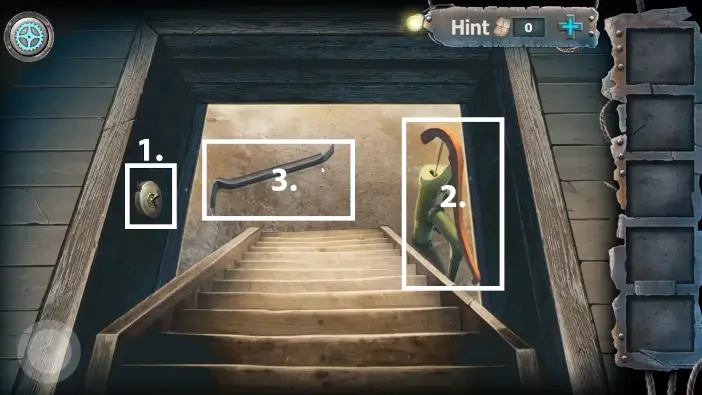
- Pick the crowbar.
- Approach the prison cell on the left.
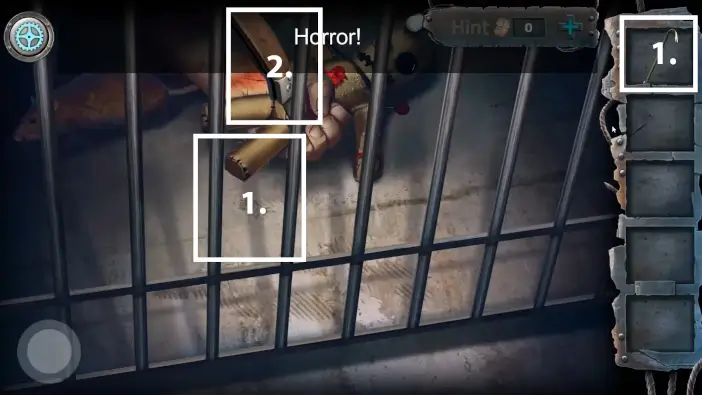
- Use the crowbar to expand the space between the bars.
- Take the knife.
Use the knife to open the bag. There is the lighter in the bag but it’s stuck. You will take it later.
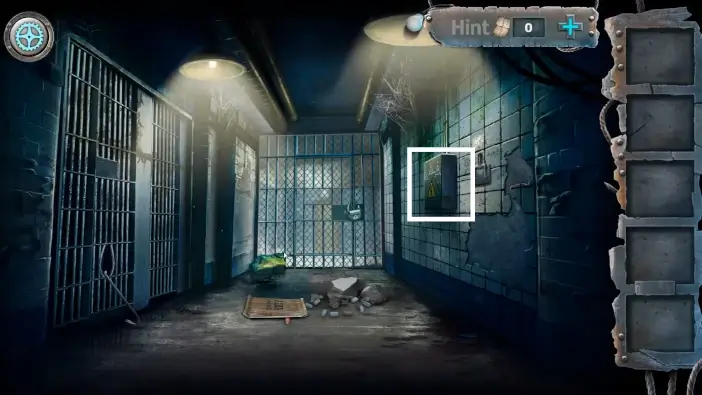
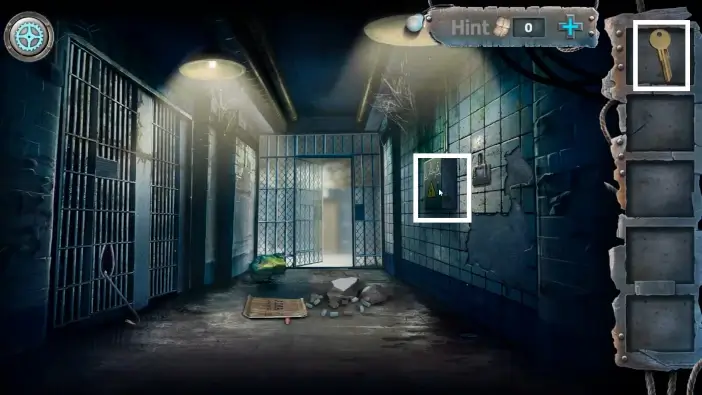
Approach the fuse box.
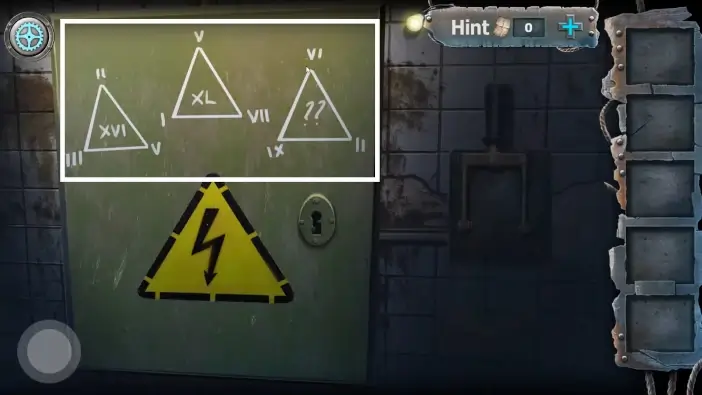
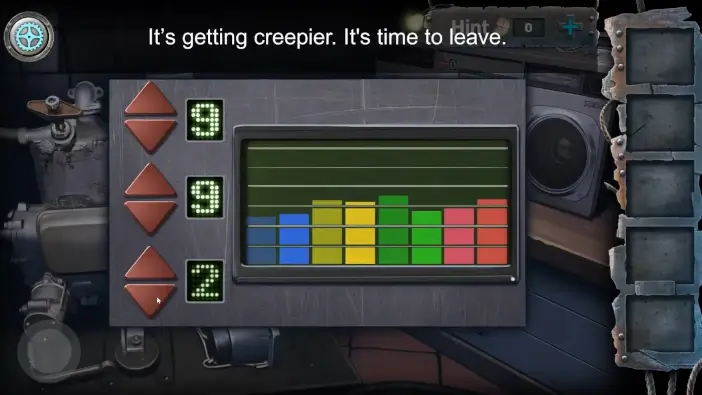
On the fuse box, you have a clue for the code of the lockpick of your cell. Each triangle has a number in Roman numerals representing two digits for the code. The first is 16, the second is 40. To calculate the third 2-digit number, sum 9 (IX) with 2 (II), then this sum is multiplied by 6 (VI). The formula will be: (9 + 2) * 6 = 66, so the last two digits of the lockpick code are 66.
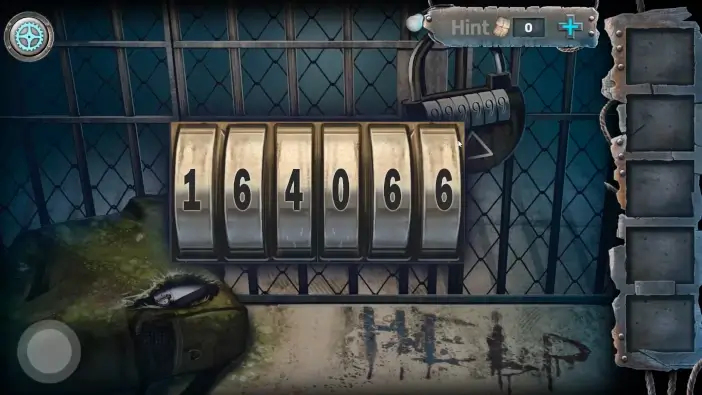
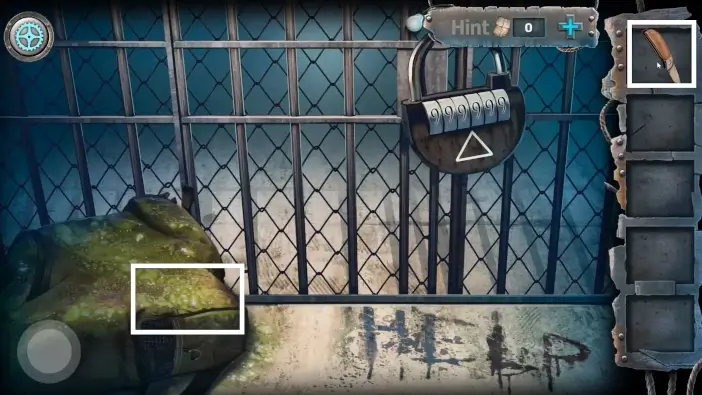
Approach the lock of your cell and input the code from the triangles: 164066.
Exit your cell and approach the spider on the wall.
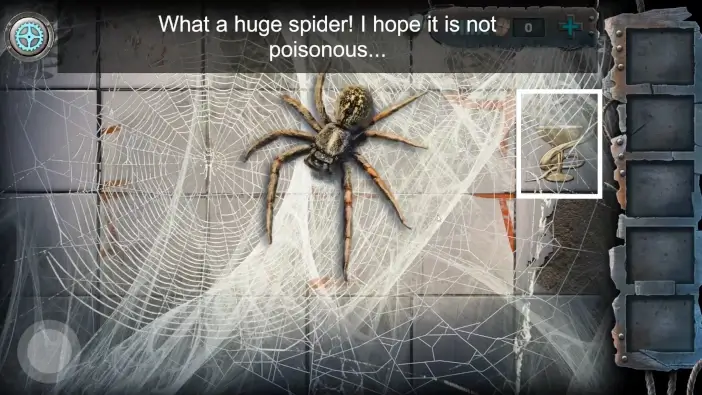
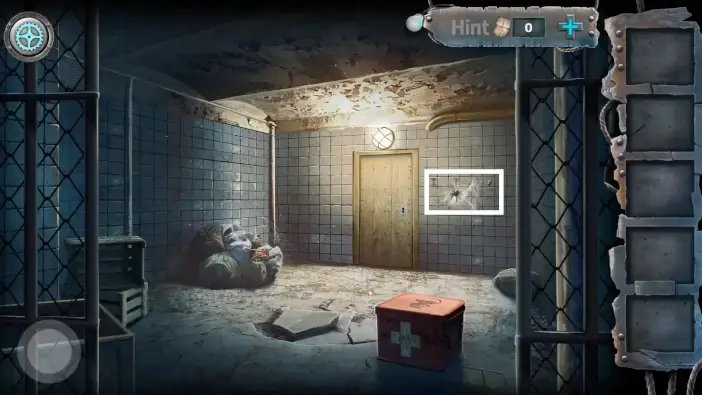
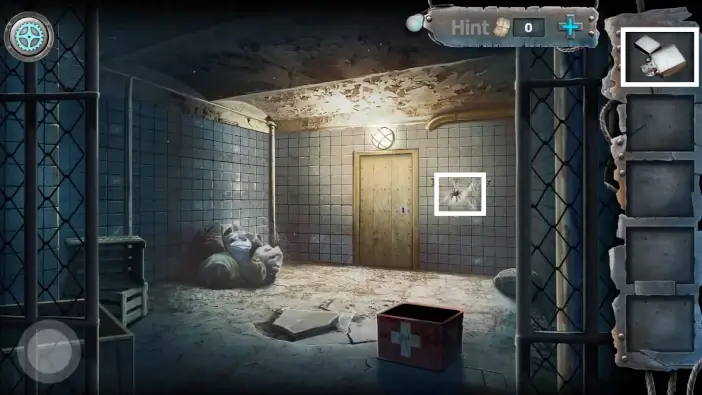
You would need that lighter from the bag to get rid of the spider, but you can’t take it yet. Pick the first aid kit detail (detail that looks like a snake around the cup). It is next to the spider, on the right.
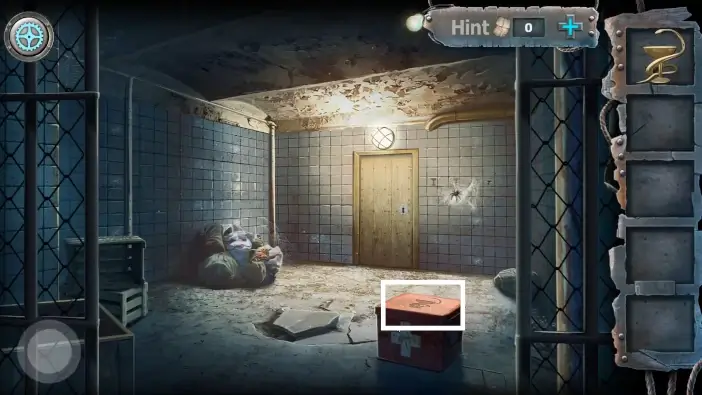
Open the first aid kit with the detail you just got. Pick the acid from the kit.
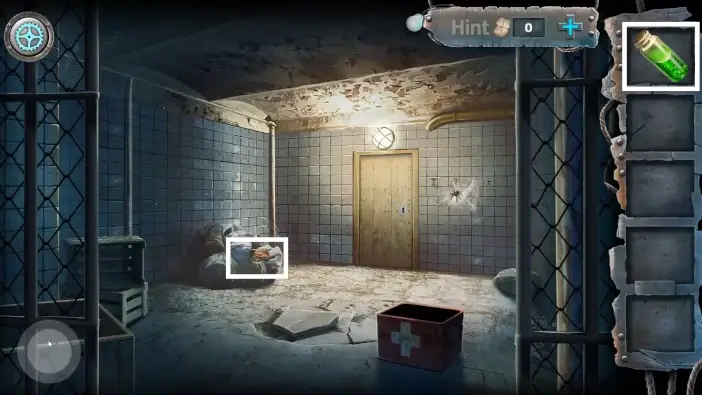
Approach the trash and use the acid to kill the maggots. Move the trash away until you find the Chinese chopsticks. Pick it up and return to your cell room (click on the grey circle on the bottom left whenever you want to return to the previous location).
Use the Chinese chopsticks to get the lighter from the bag.
Return to the spider and scare it away with the lighter.

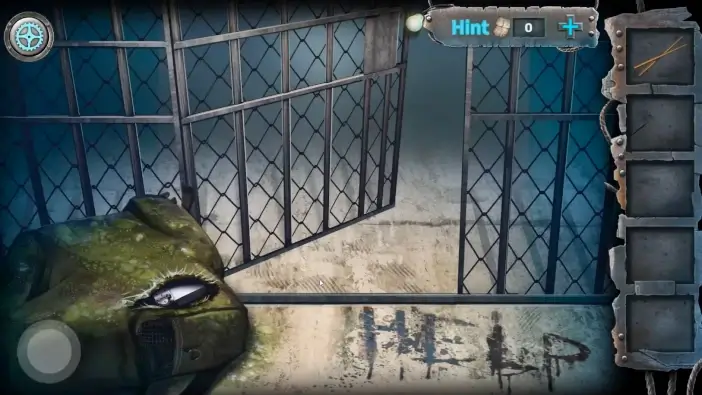
After the spider is gone, you will have a new puzzle. You need to rotate several tiles to get the word “HELP“. Once you complete the puzzle, a hole will appear containing a key to the fuse box. Take it and go back to your cell room.
Approach the fuse box and unlock it with the key. Use the switch next to the fuse box to turn off the power and pick another key from the fuse box.
Return to the spider area and unlock the door with the new key. Proceed through the door to enter the Room 2.
Room 2
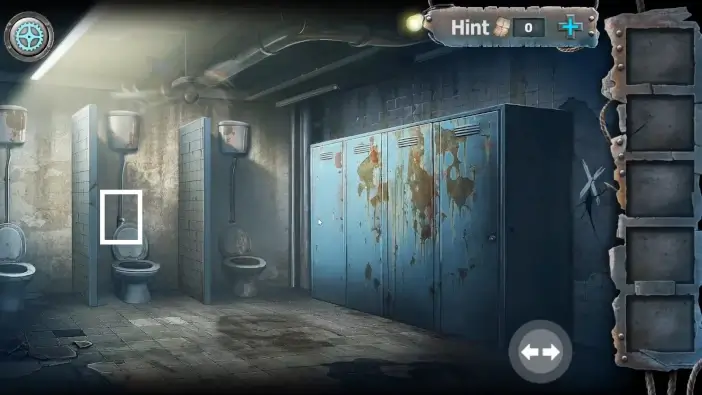
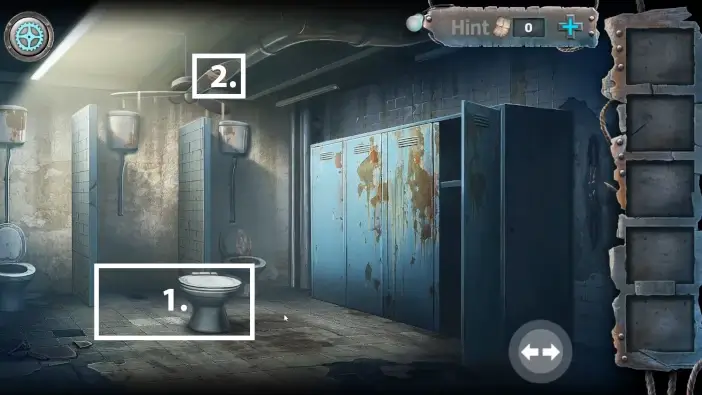
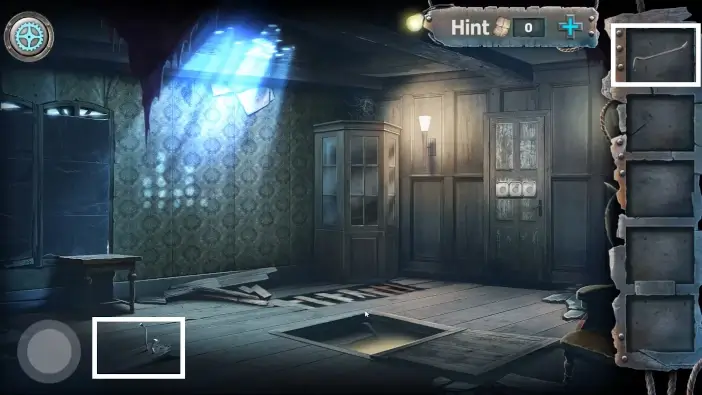
Break the pipe above the toilet. You will need it later. For now, go to the right (click on the right arrow).
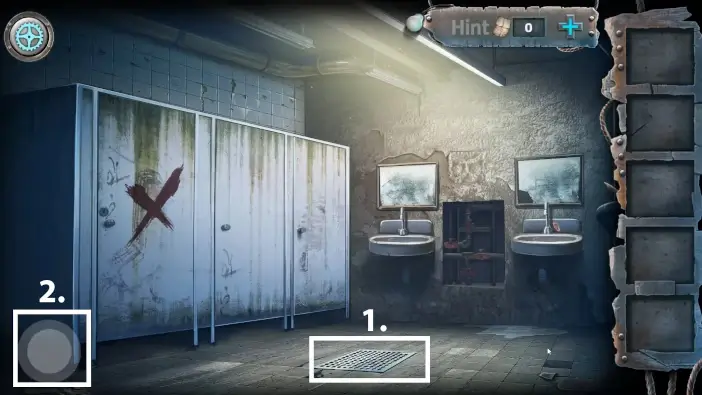
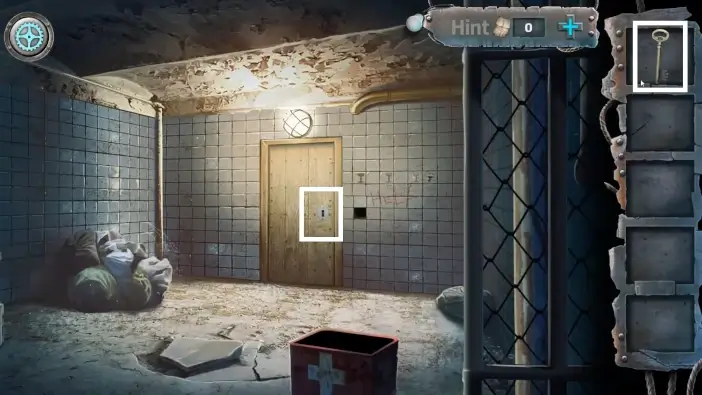
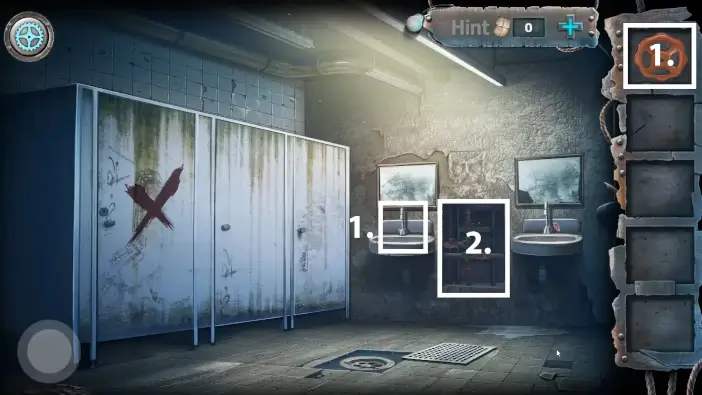
Open the drain cover and pick up the key. Return to the previous location.
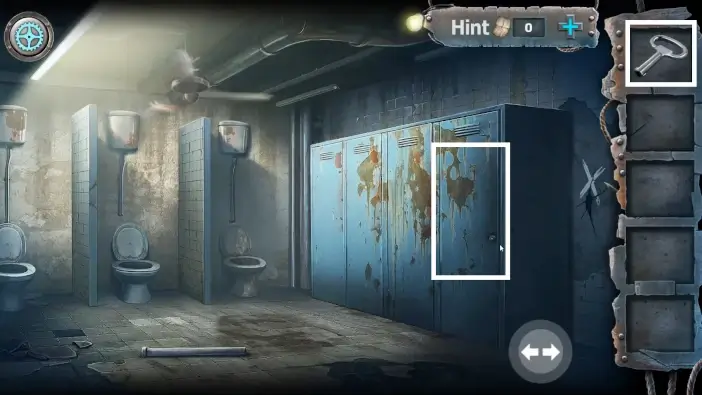
Unlock the locker with the key you just got.
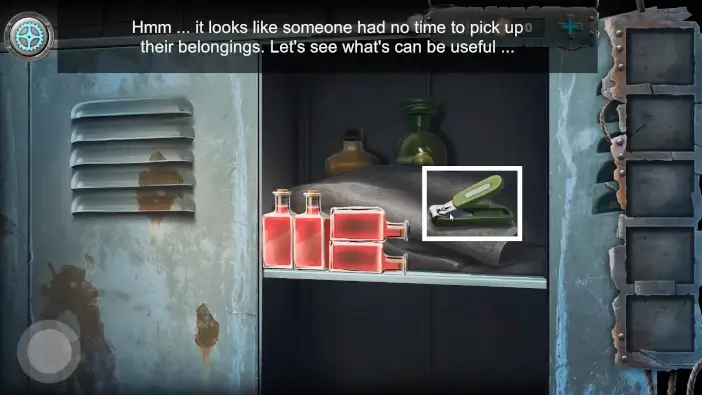
From the locker, pick up the manicure tweezers. Remember the positions of the bottles with red liquid. It is a clue to the next puzzle.
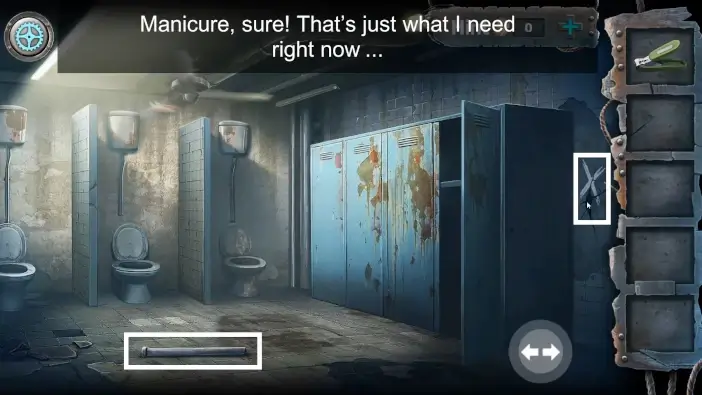
Pick up the pipe you broke earlier. From your inventory, use the same pipe to break the wall, where the X sign is.
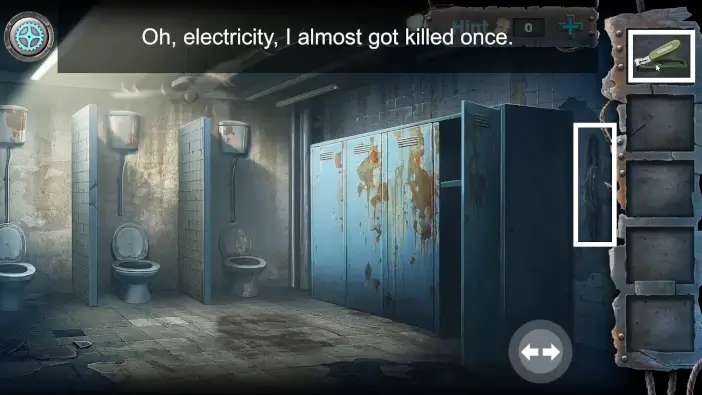
Use the manicure tweezers to cut the cables. The ceiling fan will stop working.
- Pull the middle toilet seat and place it below the ceiling fan.
- Pick the strapped valve from the ceiling fan.
- Go right and attach the valve to the faucet.
- Approach the pipes.
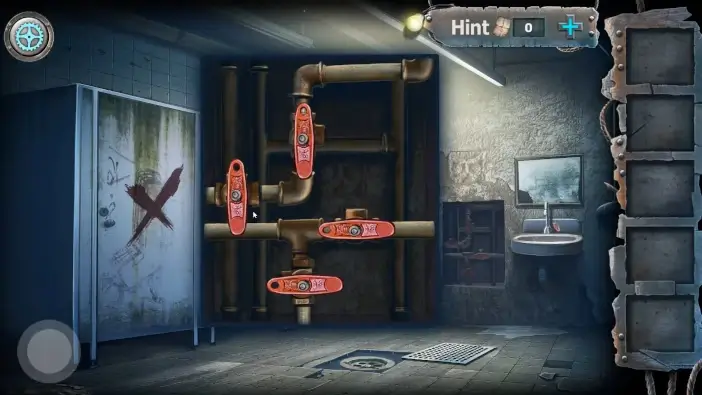
Rotate the valves like in the picture above. The clue to this puzzle is the position of bottles with red liquid, in the locker where you found the manicure tweezers.
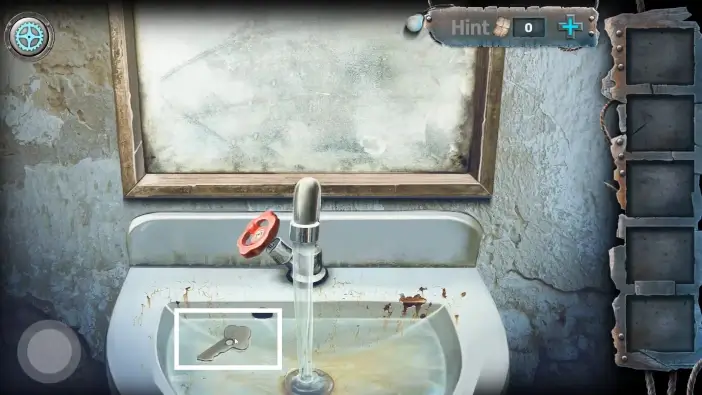
Turn the valve. The key will surface from the incoming water. Pick it up and turn off the valve.
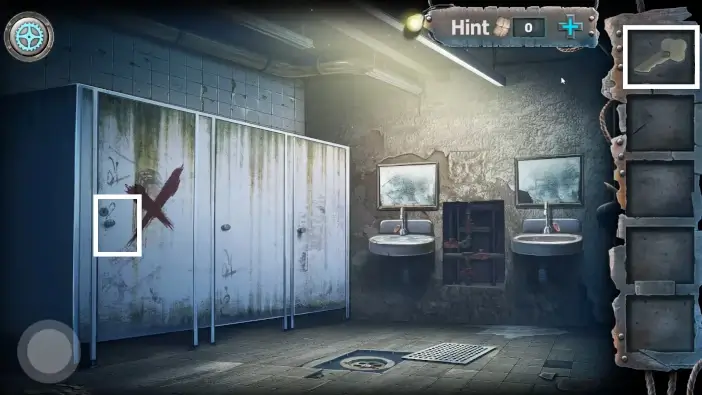
Unlock the bathroom stall, that has an X written on it, with the key you just got. You will see there is a giant hole in the wall. Go through it and you will enter the Room 3.
Room 3
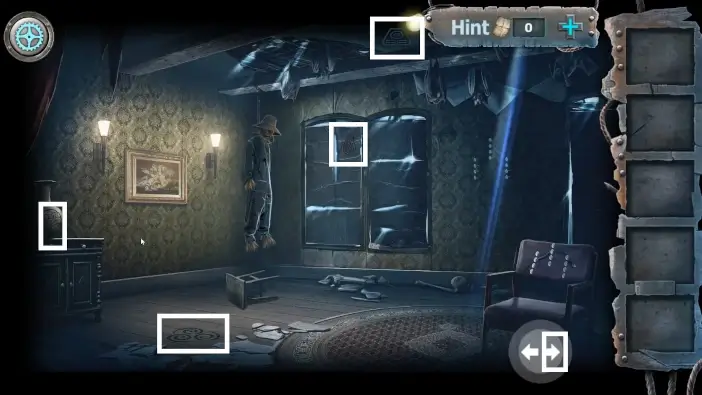
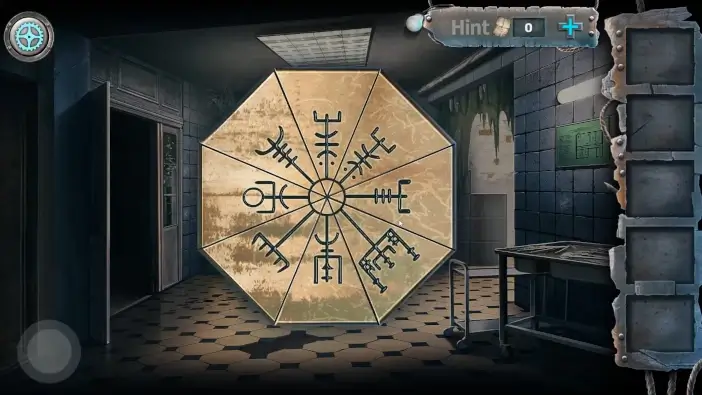
Memorize the symbols in the room. One is on the vase, one on the floor, another one on the window, and there is one on the ceiling. Once you remember it, go to the right.
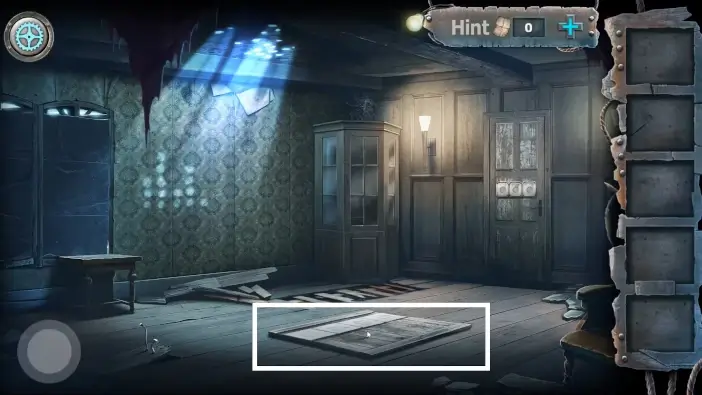
Approach the trapdoor.
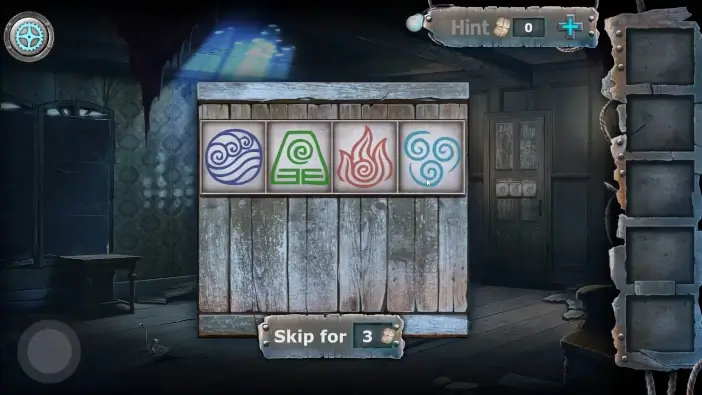
Change the symbols to be exactly like you saw in the previous location. Once you do this, the trapdoor will be unlocked. Approach it.
- Press the switch to turn on the lights.
- Use the pump several times to remove the water.
- Grab the crowbar.
Use the crowbar to get one of the rusty nails.

Pay attention to the light rays on the wall. This is the clue for the lockpicking puzzle that is coming.
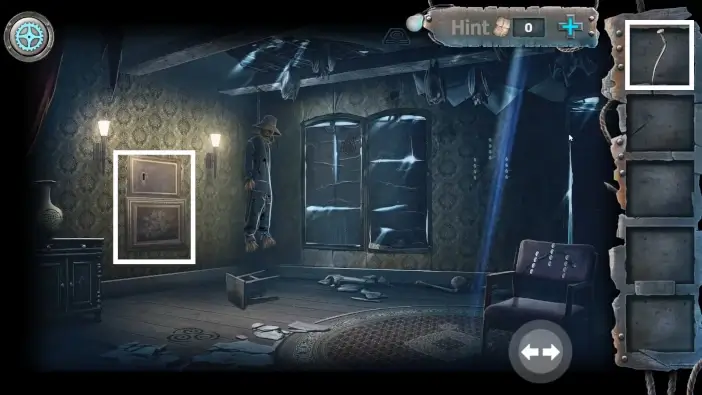
Go back to the previous location and move the picture to reveal a hidden safe. Use the rusty nail to start lockpicking it.
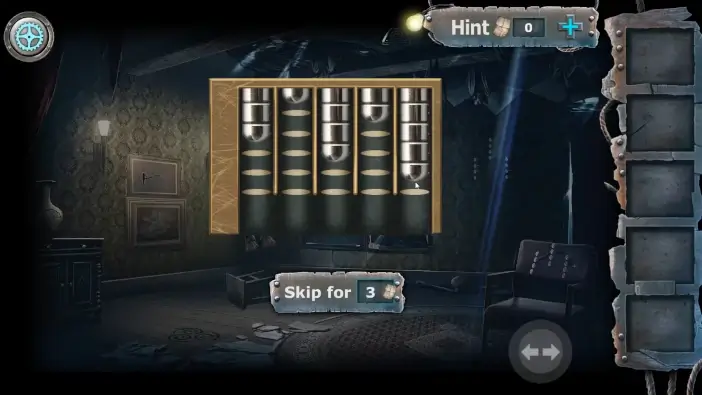
Move the locks like in the picture above. Locks should be in the same positions as the light rays on the wall in the other room. Once you unlock the safe, pick up the necklace.
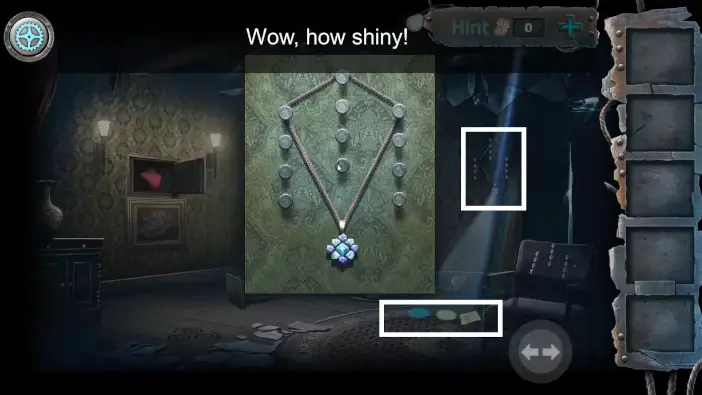
Place the necklace on the nails on the wall. The light from the hole in the roof will pass through the gems of the necklace and will reveal the clue on the ground. At first, the clue will be incorrect.
Pay attention to the trace on the chair. This is the clue that you should hang the necklace slightly lower. Go and do that, and you will get different and correct shapes on the ground.
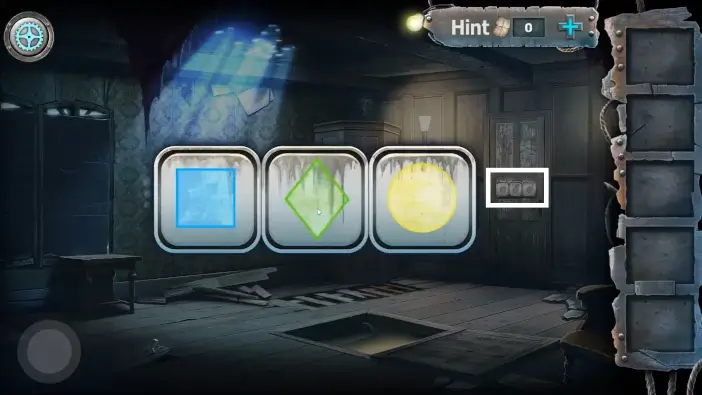
Return to the trapdoor area and approach the exit door. Rotate the symbols until you get the one from the previous clue. Exit through the door and enter the Room 4.
Room 4
Go right from the starting area.
- Pick the scissors from the hand.
- Move the pile until you find the papers with new clues.
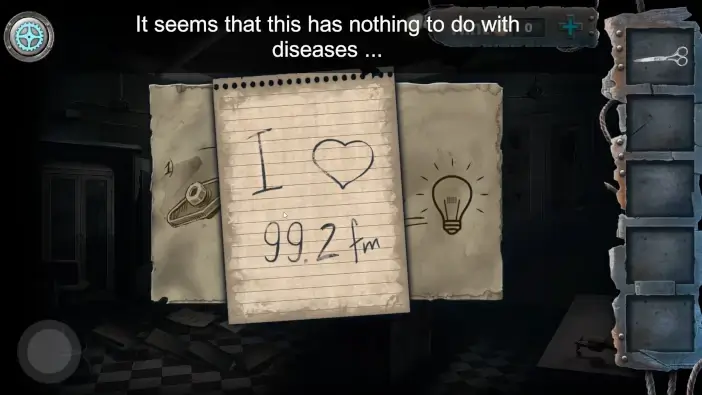
One of the clues will be the radio frequency. Remember the number 99.2.
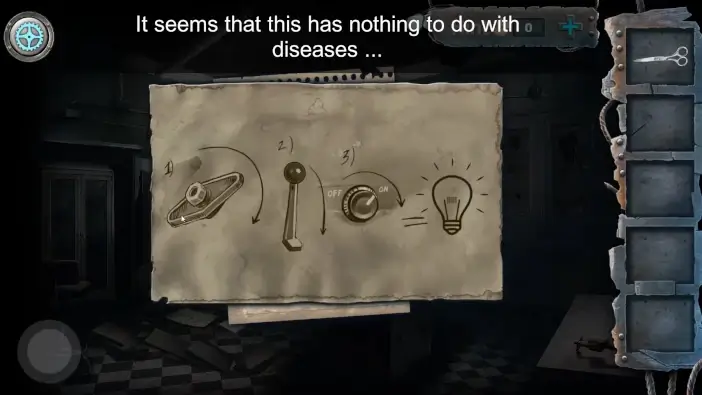
On another paper is the clue about what you need to do and in which order, before you go to the radio to change the frequency.
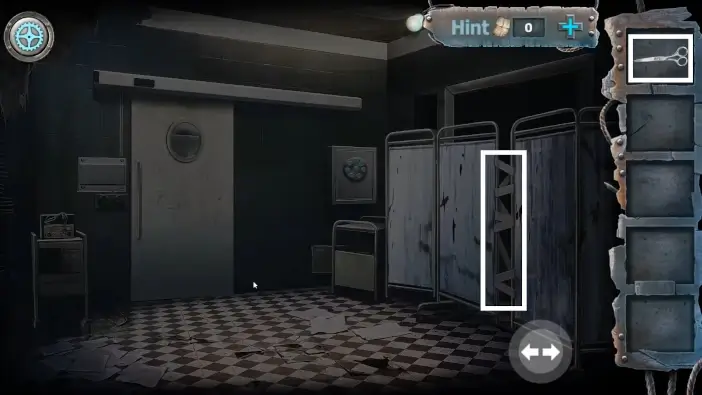
Return to the previous area and use scissors to remove the obstacle, then proceed there.
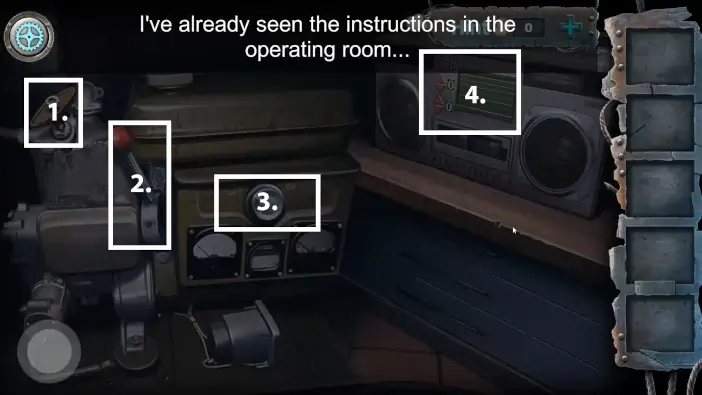
- Before you approach the radio, do the steps that were explained on the paper. First, turn the valve.
- Pull the lever.
- Turn on the device in the center.
- Lastly, approach the radio.
On the radio set the frequency to 99.2, as it was suggested in the paper. Pay attention to the colors and lengths of the frequency bars. It is a clue to the puzzle where you need to pour liquids of different colors.
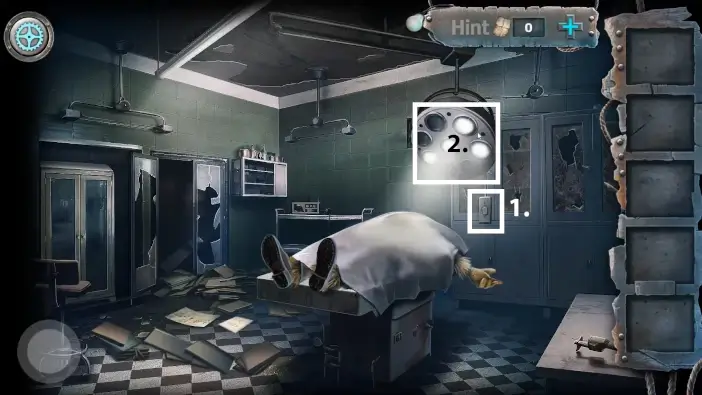
- Go to the operating room and turn on the lights.
- Remember which bulbs are turned on and remember their positions.
Return to the starting area of Room 4 and approach the cupboard on the wall.
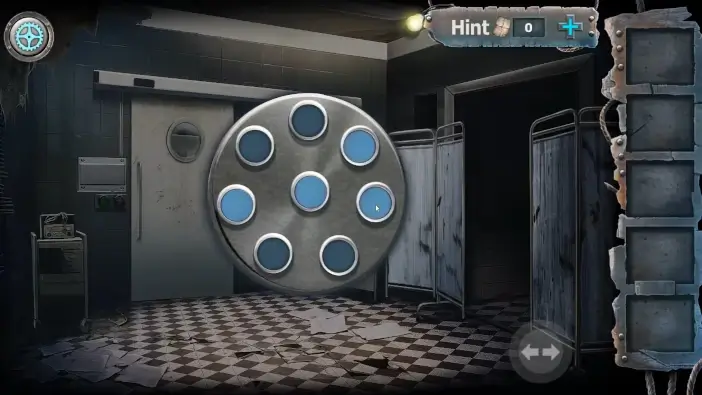
Click on the circles that correspond to the positions of the light bulbs in the operating room. Once you solve this puzzle, you will unlock the cupboard. Pick all the glasses from it.

Open the box on the left.
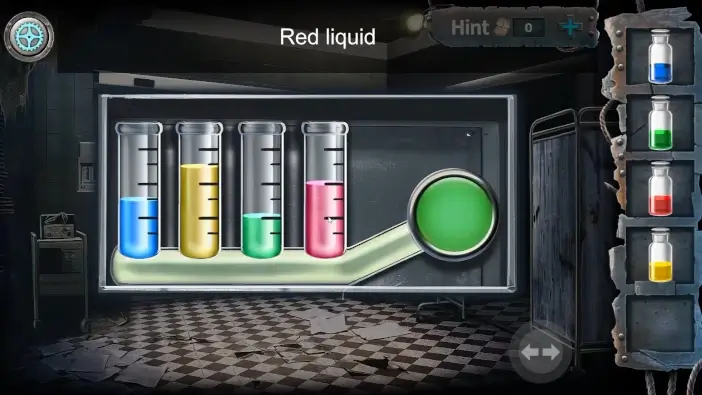
Pour the liquids of different colors. Each color has its test tube. To solve this puzzle, the colors of the liquids in test tubes should resemble the frequency bars from the radio. The solution is in the picture above. After you finish pouring liquids, you can press the green button and the exit door will open. You can enter the Room 5.
Room 5
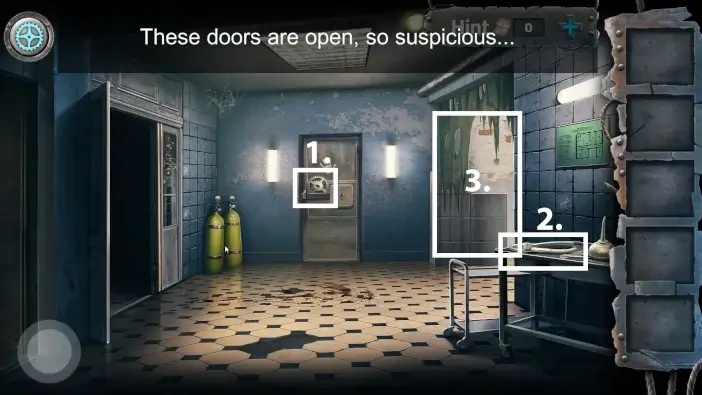
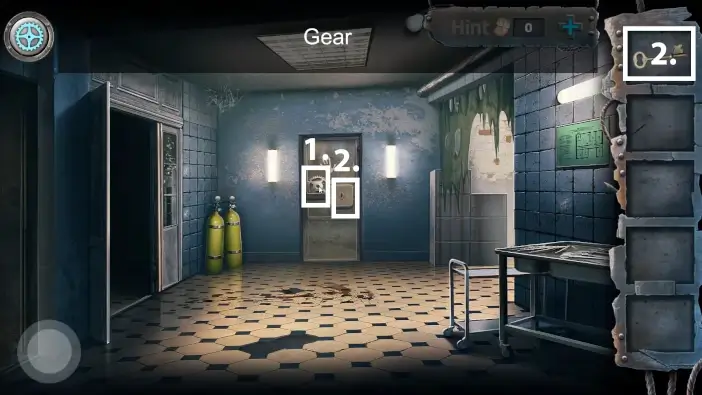
- Pick the gear from the door.
- Pick the pliers from the table.
- Go to the operating room.
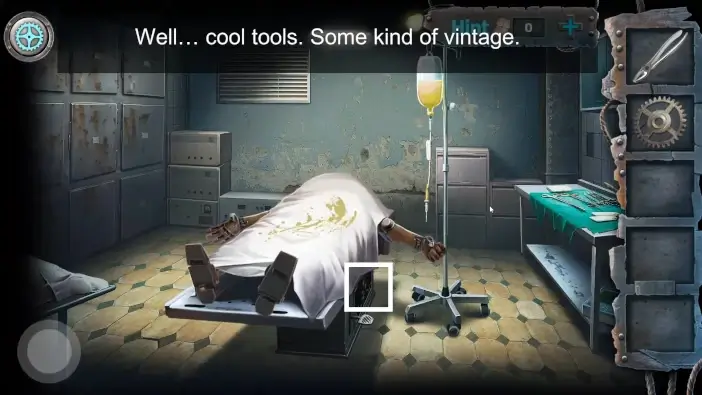
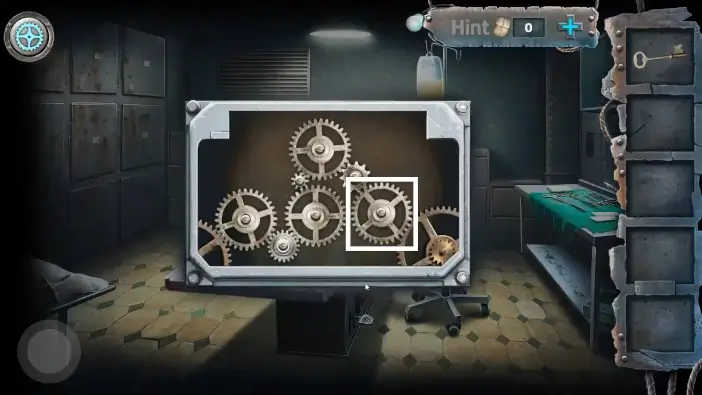
Approach the side of the operating table.
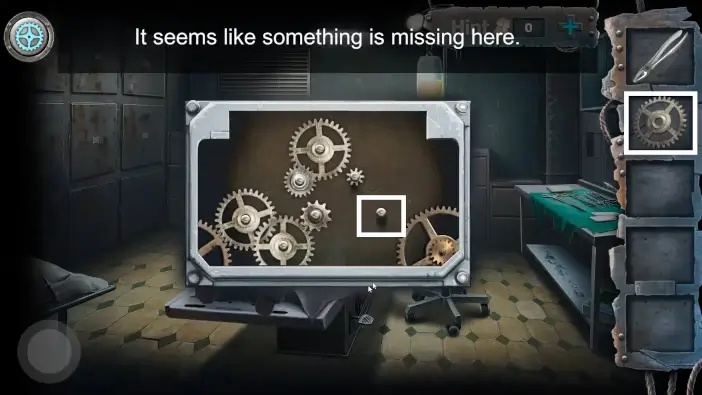
Place the missing gear.
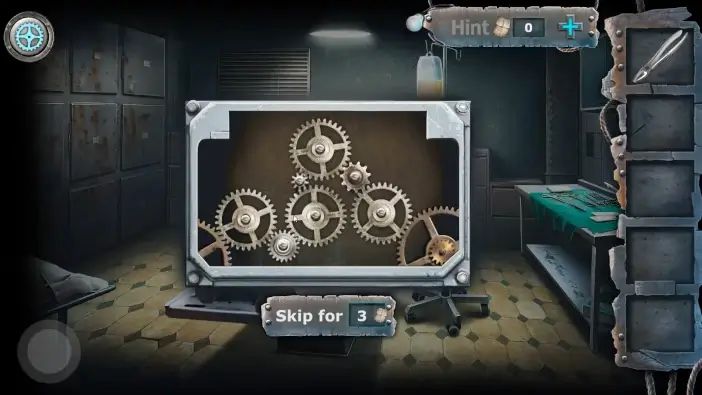
Rearrange gears so that all the gears are connected.
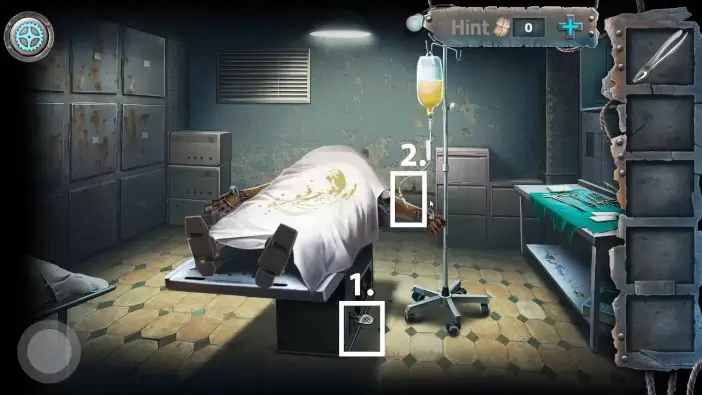
- Press the pedal to raise the operating table.
- Remove the needle from the hand.
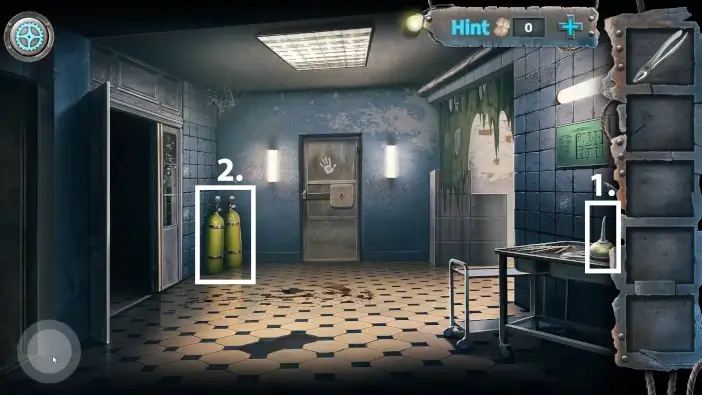
- Pick the oiler from the table.
- Approach the gas tanks.
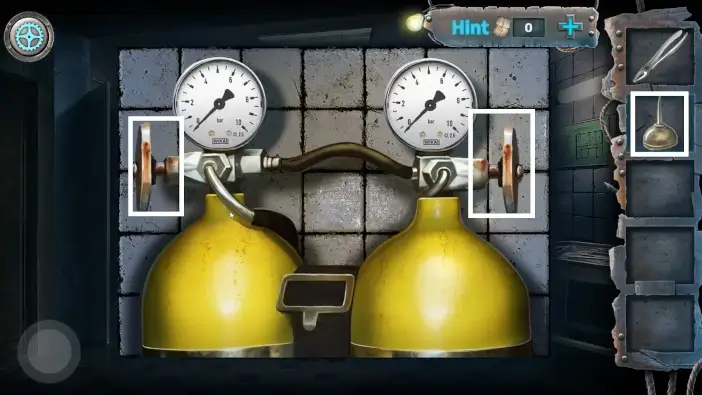
Remove the rust from gas tanks with the oiler you just picked.
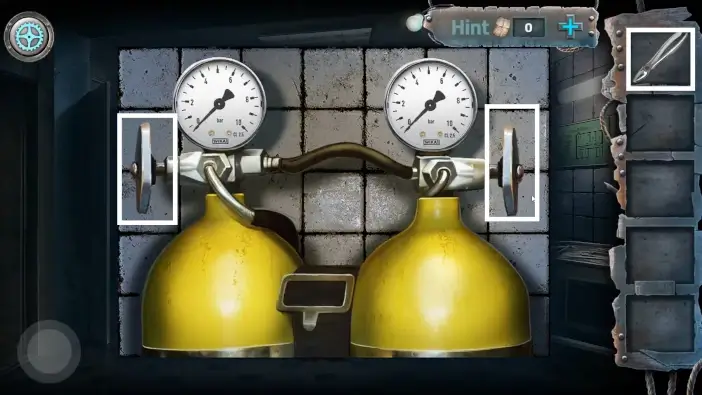
Use the pliers to turn the valves on the gas tanks. Pay attention to the pressures. It will show 4 and 6. This is the clue for the next step.
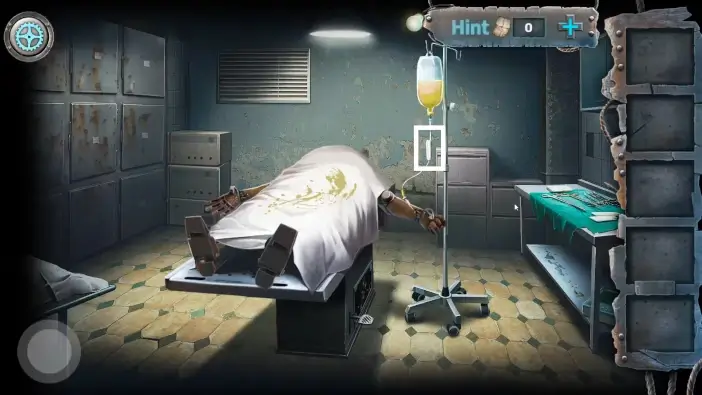
Return to the operating room and approach the infusion.
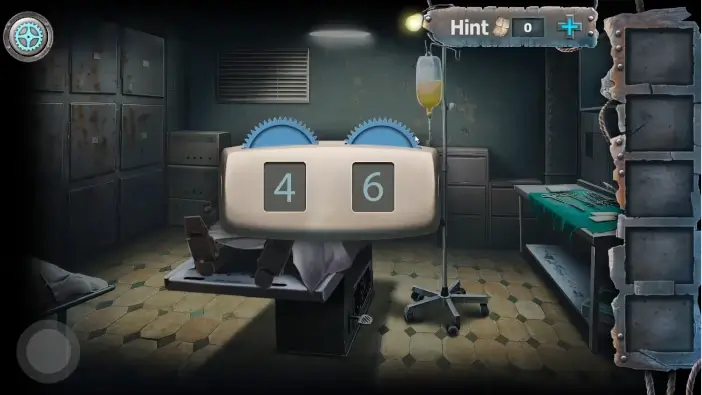
Rotate the buttons until you set them to 4 and 6, like in the clue from the gas tanks. This will cause the hand to open. Pick the key from the hand.
Get back the gear you placed before.
- Place the gear on the door where it originally was.
- Unlock the keylock.
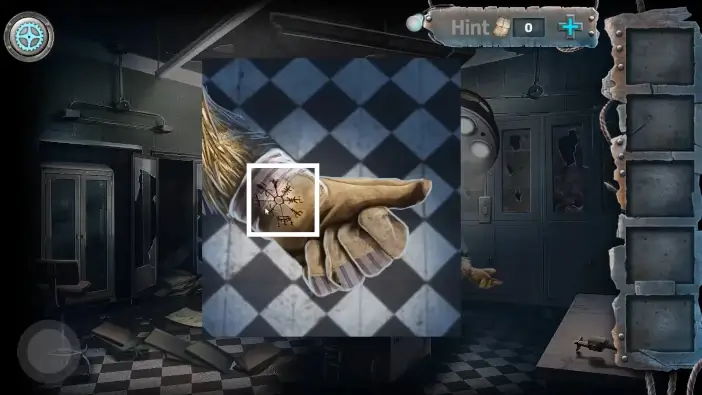
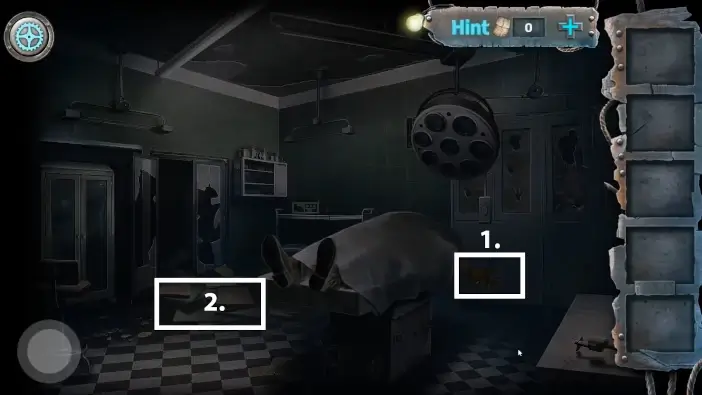
To unlock the exit door, you’ll need a clue. You can find it in the operating room on the body’s hand. Pay attention to the symbol on the glove.
Return to the door and rotate the fields until you get the same symbol as on the hand you saw earlier. Exit through the door and enter the Room 6.
This will mark the end of part 1 of our guide. For solutions for rooms 6, 7, 8, and 9, check the next part of our guide!
Thank you for reading!