Room Escape: Detective Phantom | Level 25
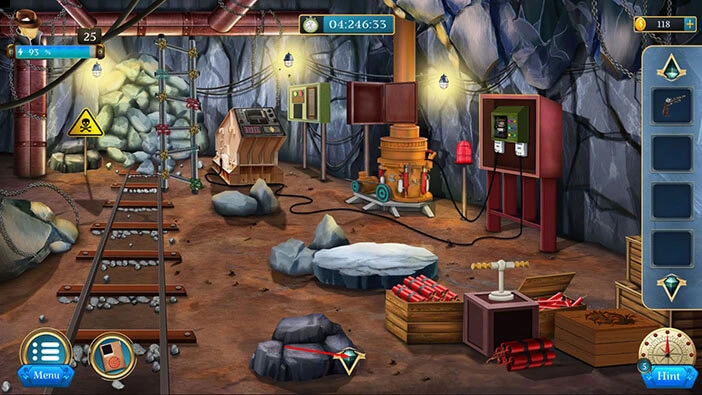
Hello everyone and welcome to the walkthrough for the final, twenty-fifth level of “Room Escape: Detective Phantom”. In the twenty-fifth level, our task is to save our friend, and partner, Maze, who has been kidnapped by our archenemy “Black Spider”.
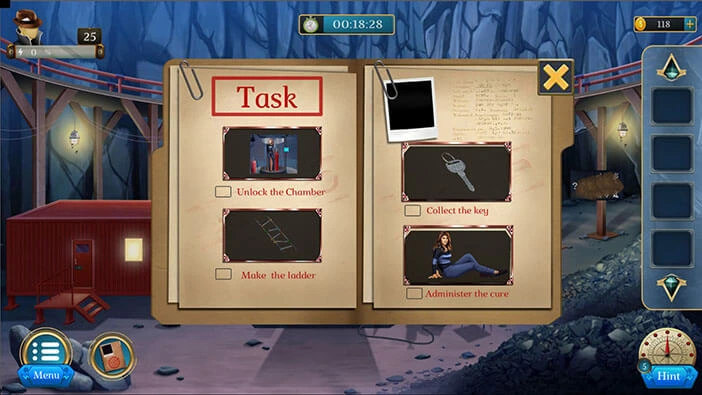
Our objectives are to “Unlock the chamber” “Make the ladder” “Collect the ladder” and “Administer the cure”. Tap on the “X” button to go back.
Let’s tap on the Maze’s cage to take a closer look at it. You will discover that we can’t use brute force to break the glass, because that might release the poisonous gas. So, we will have to find a way to open the cage.

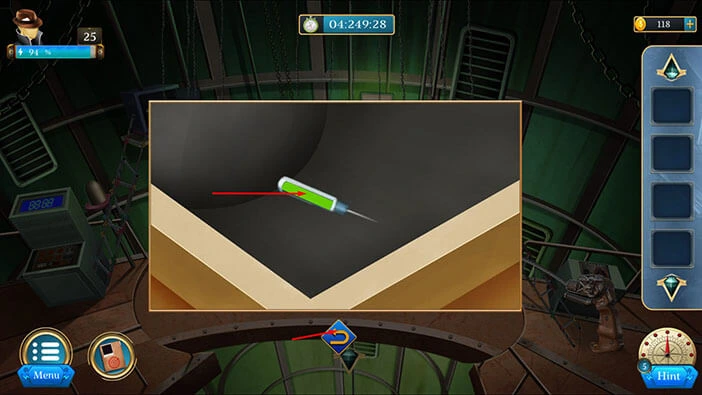
Let’s tap on the vial on the right to take a closer look at it.
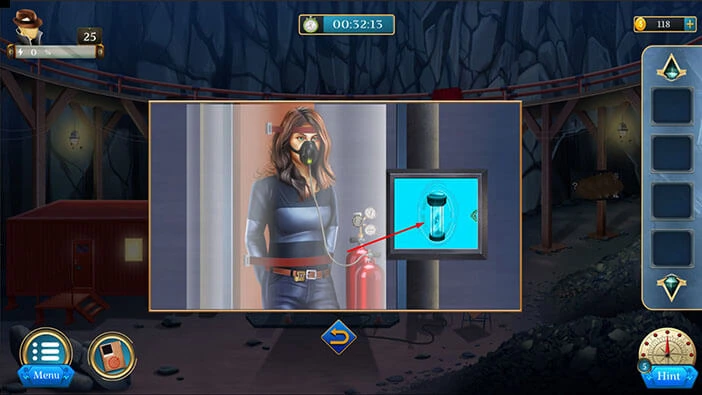
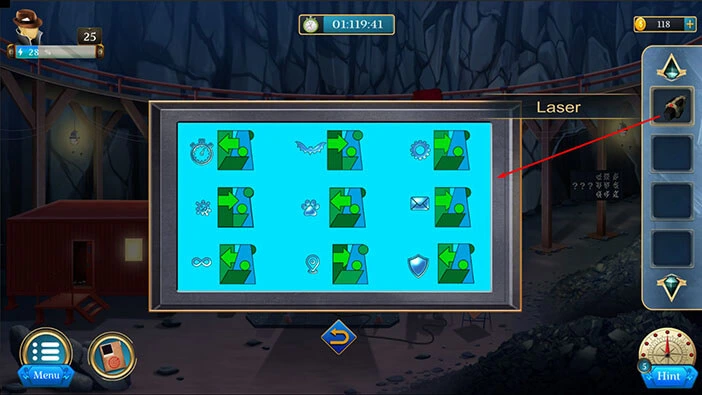
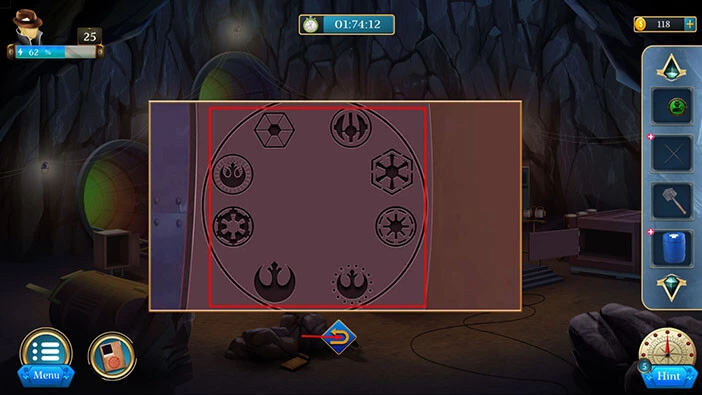
Here, you will discover a hint for the next puzzle. If you pay attention to the symbols, you will notice an arrow next to each symbol pointing in a certain direction. Also, there are several types of background for each arrow. So, our task is to find pairs of symbols, with the same arrows. For example, a bat and a cog are one pair.
Let’s find all pairs, and memorize/write them down because we will need this information for the next puzzle.
Once you’re done, tap on the arrow at the bottom to go back.

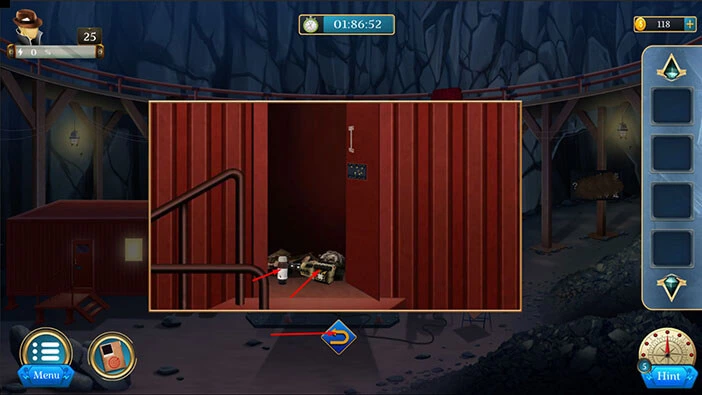
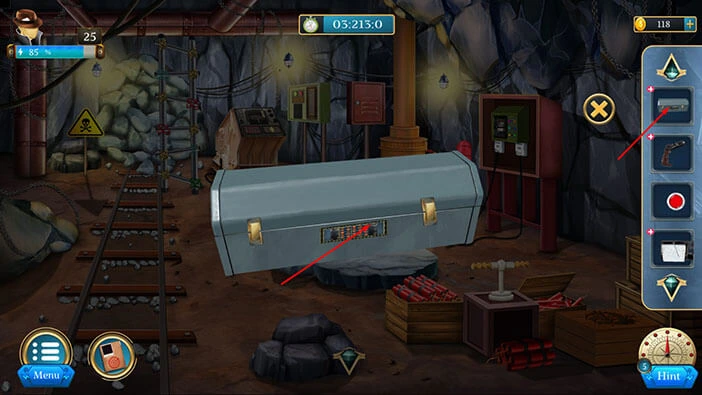
Let’s tap on the door on the left to take a closer look at it, and tap again to start the interaction.

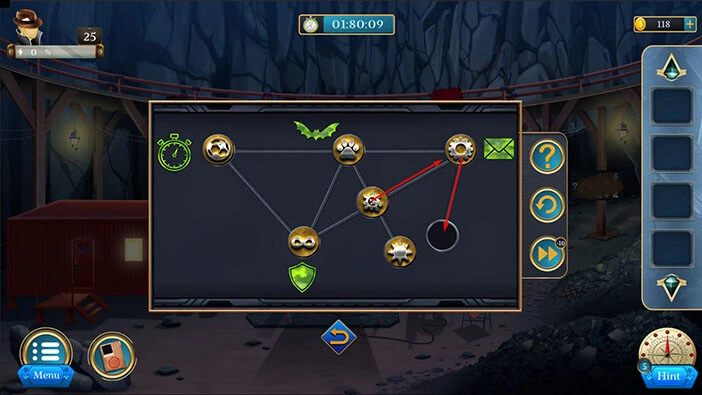
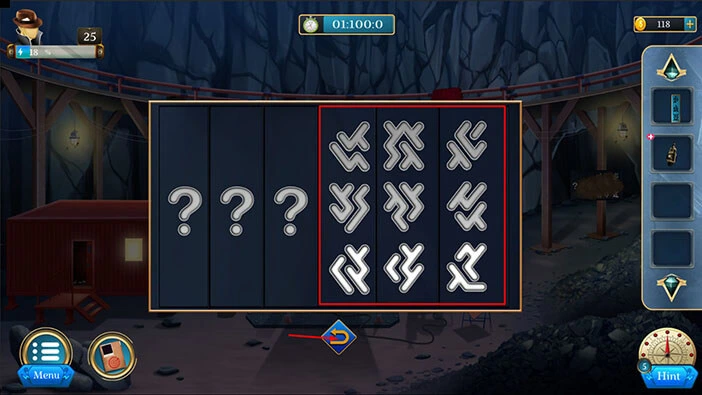
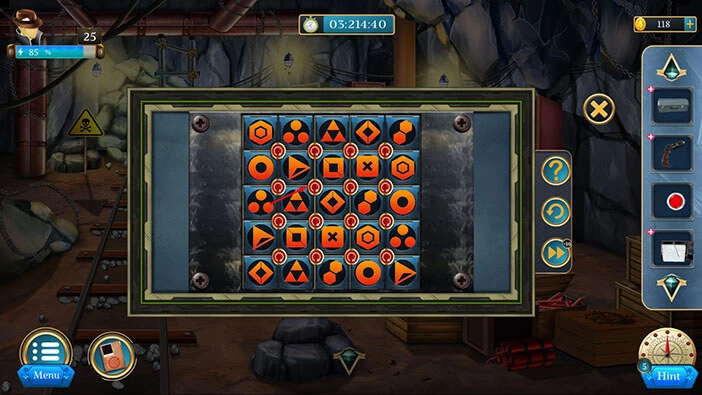
Here, we have another puzzle. You will notice that the symbols in this puzzle are the same as the symbols that we saw in the cage. So, our task is to arrange symbols in pairs (we discovered the pairs when we examined the cage).
We will do this puzzle in several steps. Let’s begin.
Step 1
Let’s tap on the symbol in the top right slot, and you will move it one slot down. After that, tap on the symbol in the middle slot and you will move it to the top right slot.
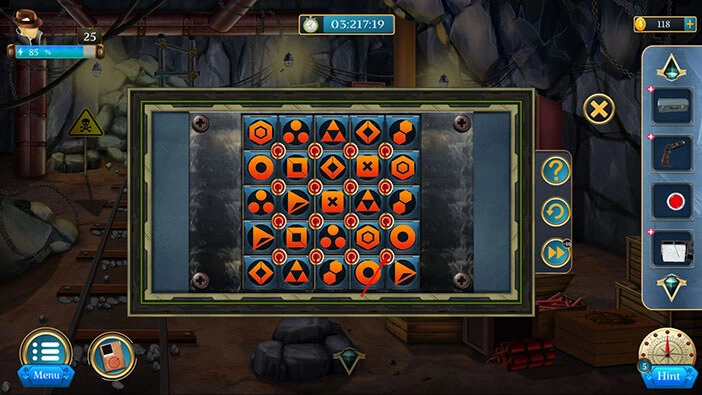
Step 2
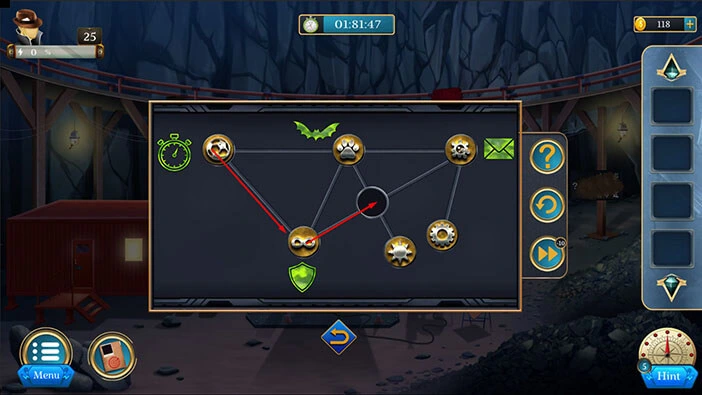
Let’s tap on the symbol in the bottom left slot, and you will move it to the middle slot. After that, tap on the symbol in the top left slot and you will move it to the bottom left slot.
Step 3
Let’s tap on the symbol in the top slot, and you will move it to the top left slot. After that, tap on the symbol in the bottom left slot and you will move it to the top slot.

Step 4
Let’s tap on the symbol in the middle slot, and you will move it to the bottom left slot. After that, tap on the symbol in the top slot and you will move it to the middle slot.
Step 5
Let’s tap on the symbol in the top right slot, and you will move it to the top slot. After that, tap on the symbol in the bottom right slot and you will move it to the top right slot. With that, you will solve this puzzle, and you will open the door.

Inside, you will find a “Chemical” and a “Laser tool”. Let’s tap on these two items to pick them up.
After that, tap on the arrow at the bottom to go back.
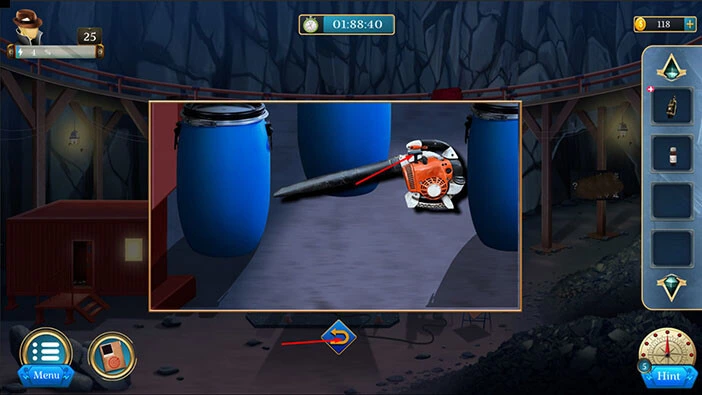
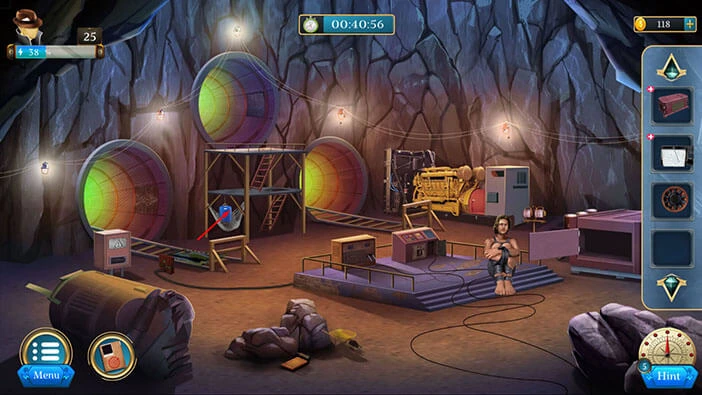
Let’s tap on the blue barrels on the left to take a closer look at it, and tap again to move them aside.

Behind the barrels you will find an “Air blower”. Let’s tap on it to pick it up.
After that, tap on the arrow at the bottom to go back.
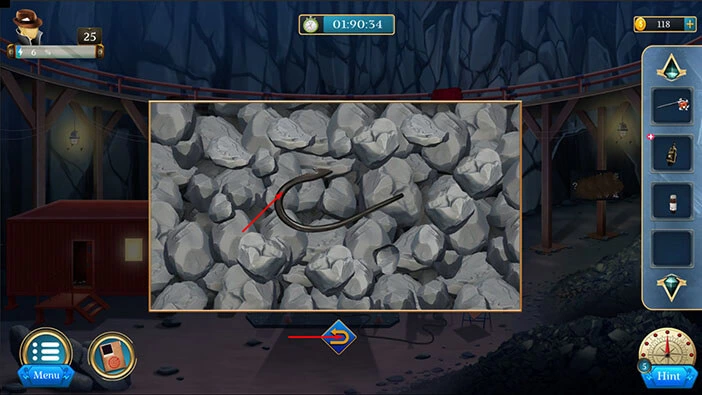
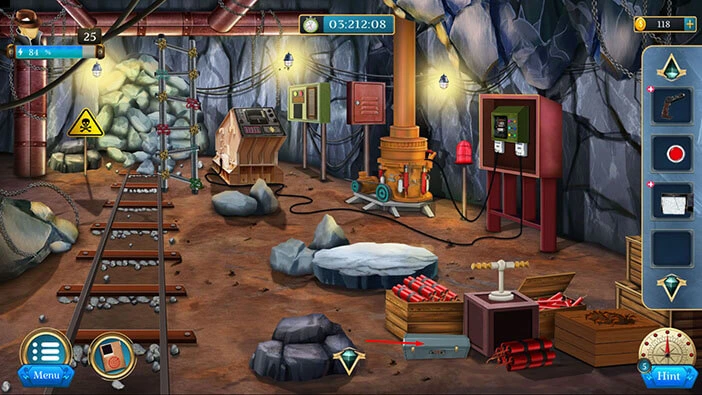
Let’s tap on the pile of stones on the right to take a closer look at it, and tap again to move them aside.

Under the stones, you will find a “Hook”. Let’s tap on it to pick it up.
After that, tap on the arrow at the bottom to go back.
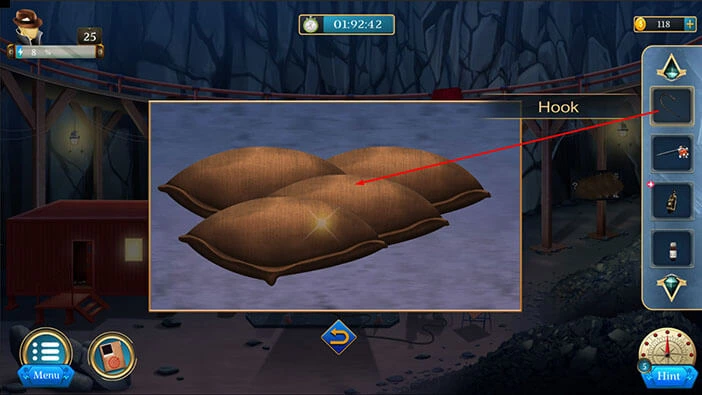
Next, let’s tap on sandbags on the right to take a closer look at them.

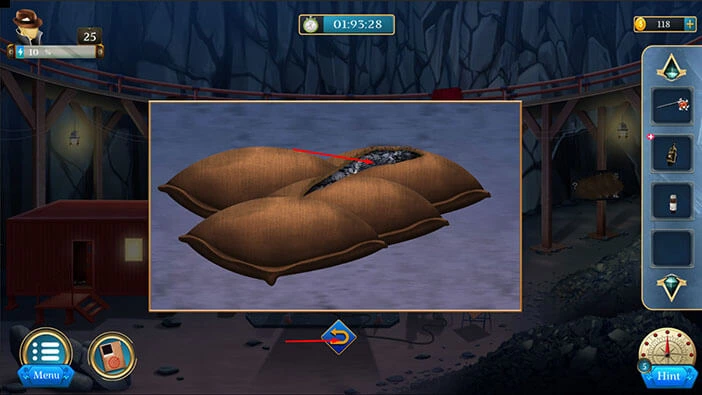
Select the “Hook” from the inventory and use it to cut open the bags.
Inside, you will find a “Mud ball”. Let’s tap on it to pick it up.
After that, tap on the arrow at the bottom to go back.
Select the “Mud ball” from the inventory and it will appear in the middle of the screen. After that, select the “Chemical” from the inventory and use it on the mud ball.
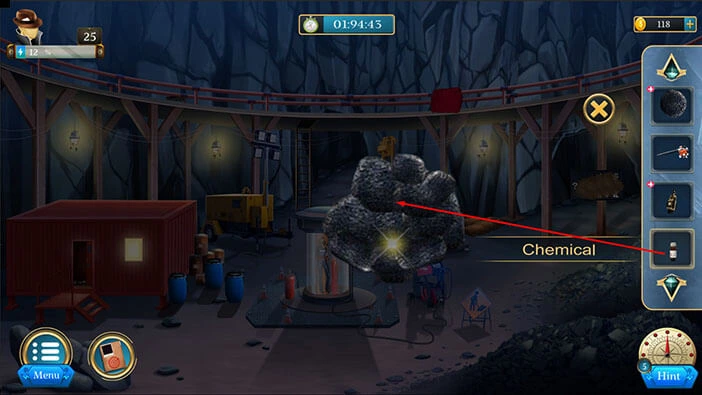
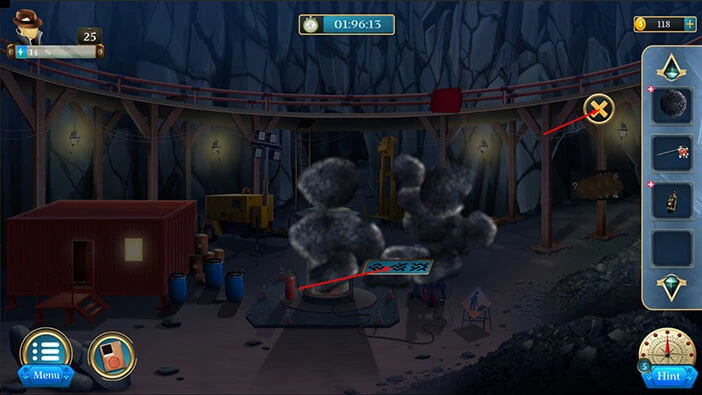
You will break the ball, and inside you will find a “Solving piece”. Let’s tap on it to pick it up.
After that, tap on the “X” button to close this window.
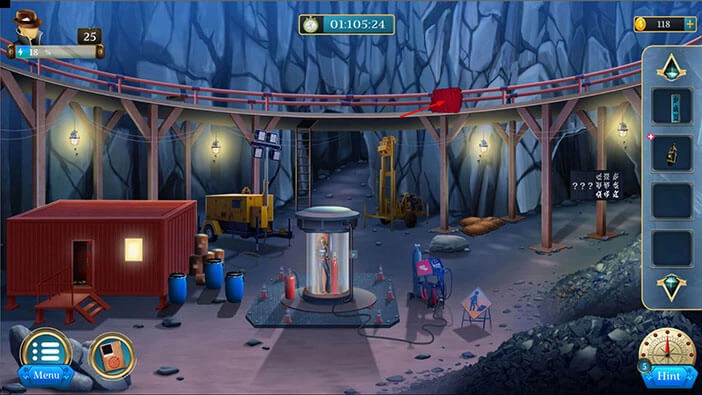
Next, let’s tap on the muddy sign on the right to take a closer look at it.

Select the “Air blower” from the inventory and use it to clean the sign.

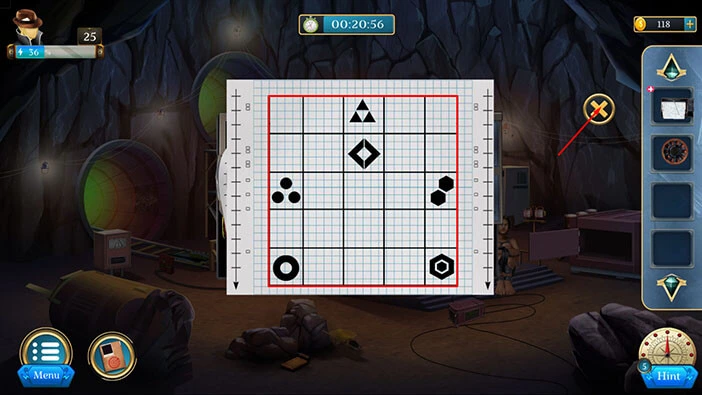
Here, we can see the second part of the hint for the next puzzle. Let’s memorize/write down the symbol in the three columns on the right. Next, we should look for symbols in the first three columns.
Once you’re done, tap on the arrow at the bottom to go back.
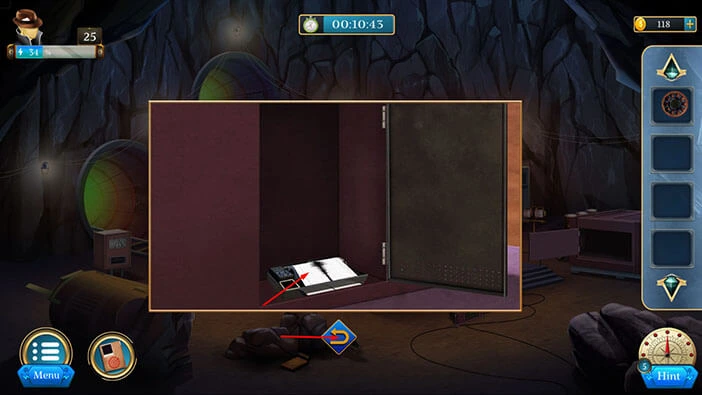
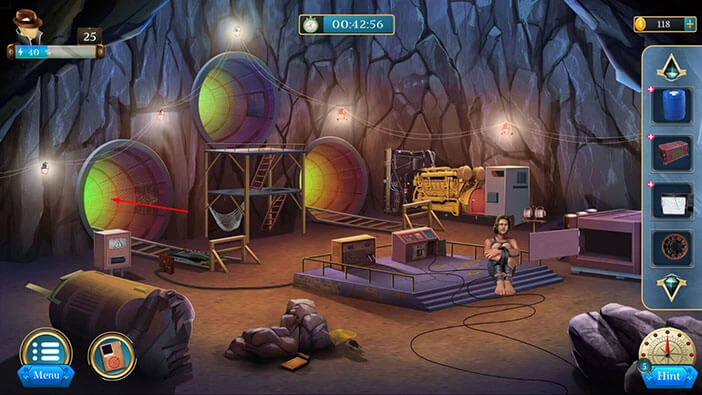
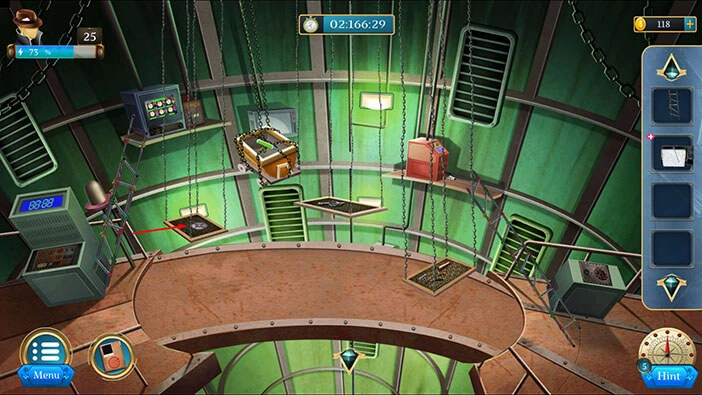
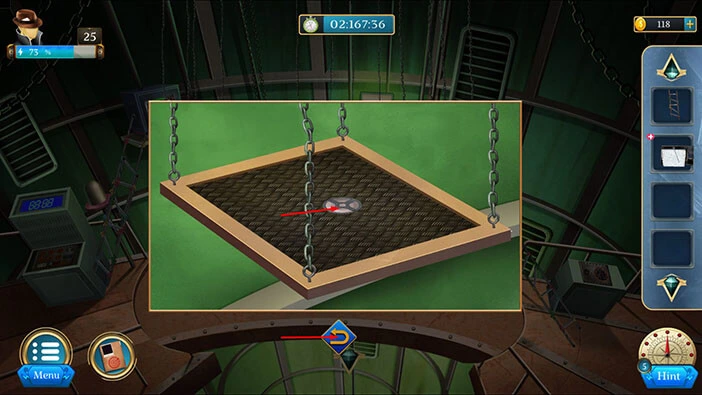
Next, let’s tap on the right sheet on the second floor to take a closer look at it, and tap again to move it aside.
Here, you will discover the first part of the hint. Let’s memorize/write down the symbol in the three columns on the left.
Once you’re done, tap on the arrow at the bottom to go back.
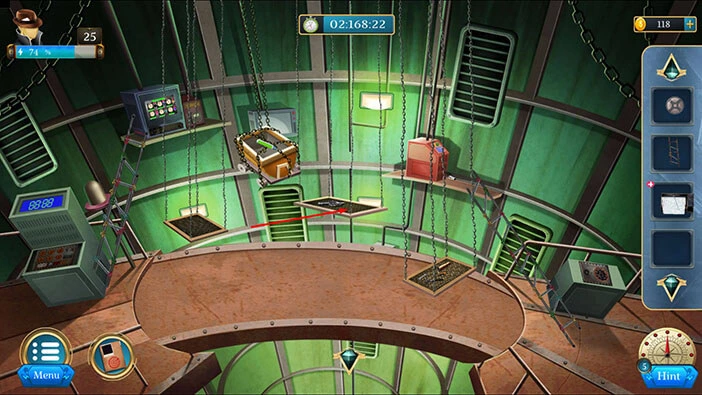
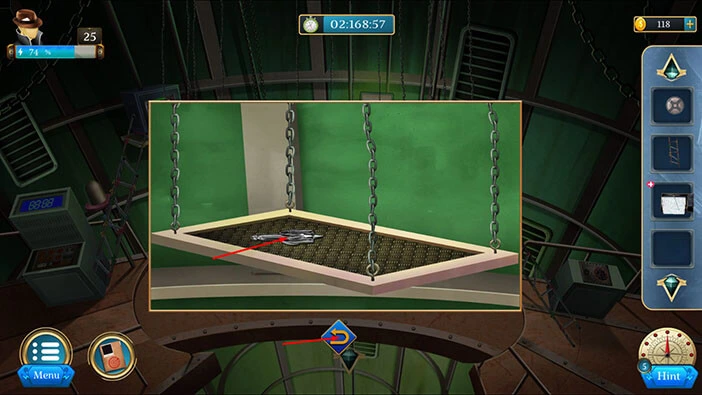
On the second, on the left side, you will notice a “Box”. Let’s tap on it to pick it up. After that, tap on the arrow at the bottom to go back.

Select the “Box” from the inventory and it will appear in the middle of the screen. After that, select the “Solving piece” from the inventory and insert it into the empty slot.
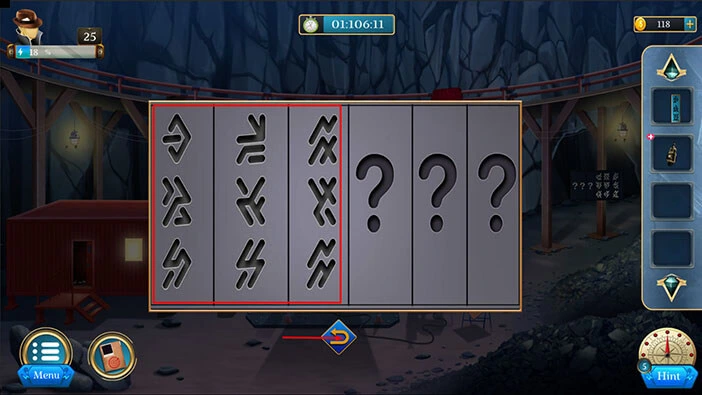
Here, we can see symbols arranged in six columns. So, let’s rearrange the symbols according to the two hints that we saw previously.
We will do this puzzle in several steps. Let’s begin.
Step 1
Let’s tap twice on the first puzzle piece to shuffle their positions.

Step 2
Let’s tap once on the third puzzle piece to shuffle their positions.
Step 3
Let’s tap once on the fifth puzzle piece to shuffle their positions. With that, you will solve this puzzle and you will open the box.

Inside you will find a “Battery”. Let’s tap on it to pick it up. After that, tap on the “X” button to close this window.
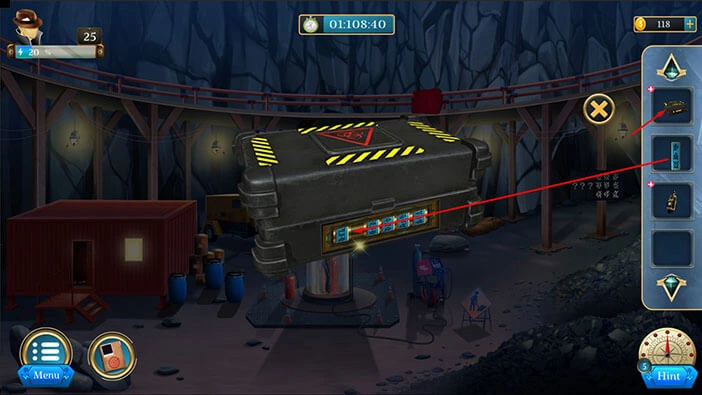
Select the “Laser tool” from the inventory and it will appear in the middle of the screen. After that, select the “Battery” from the inventory and insert it into the tool.
Let’s tap on the “Laser” to pick it up. After that, tap on the “X” button to close this window.
Let’s go back to the cage to take a closer look at it, and tap again to look at the previous hint.

Select the “Laser” from the inventory and use it to remove the panel.
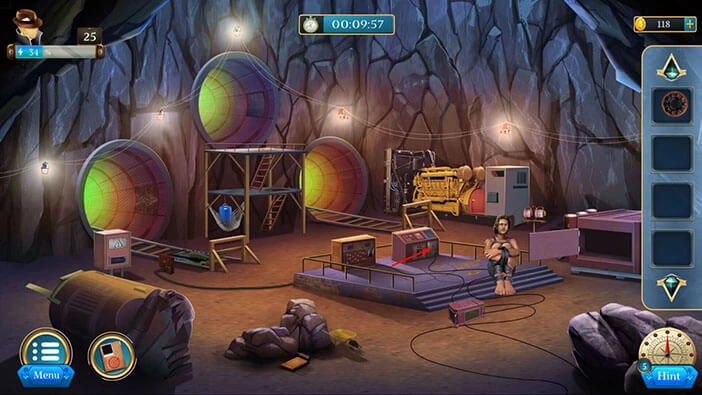
We opened the cage, but Maze inhaled the poisonous gas. However, “Black Spider” threw away the antidote, so we will have to find a way to get to it, and quickly.
On the plus side, our character managed to beat up the “Black Spider” and he is now tied up.

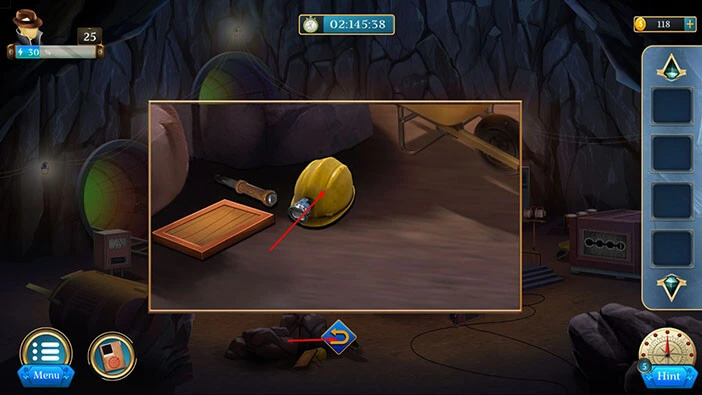
Next to the pile of rocks on the left, you will see several items. Let’s tap on these items to take a closer look at them, and tap again to move them aside.

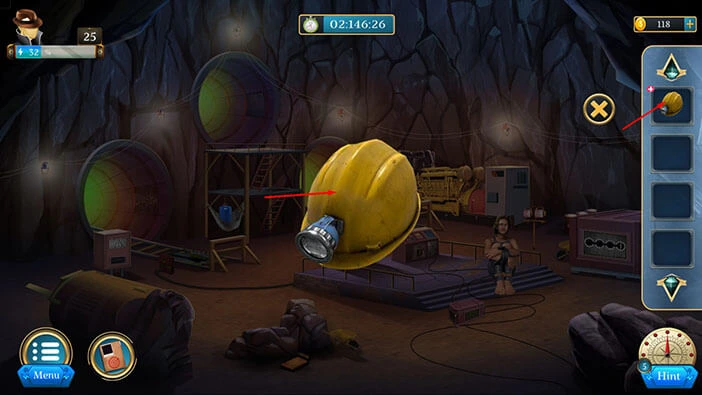
Here, you will find a “Safety hat”. Let’s tap on it to pick it up. After that, tap on the arrow at the bottom to go back.
Select the “Safety hat” from the inventory and it will appear in the middle of the screen. After that, tap on the “Safety hat” to examine it.
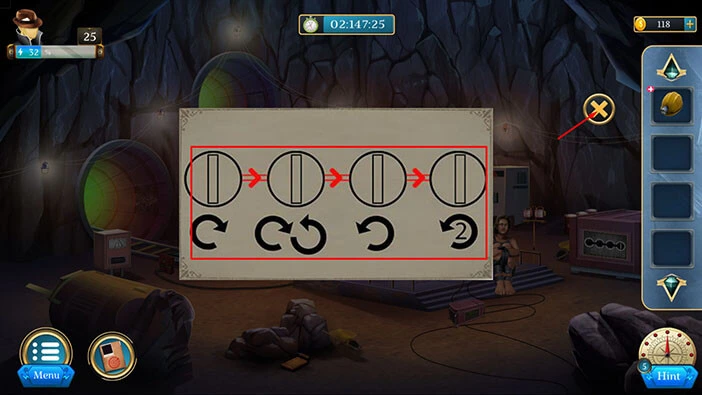
Here, we can see the hint for the next puzzle. Let’s memorize/write down this information. Once you’re done, tap on the “X” button to close this window.
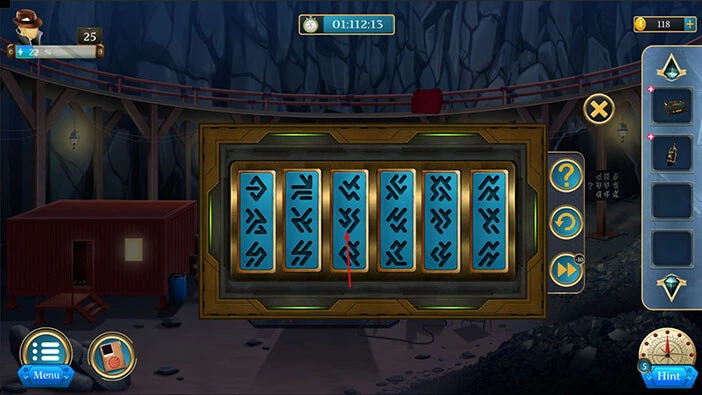
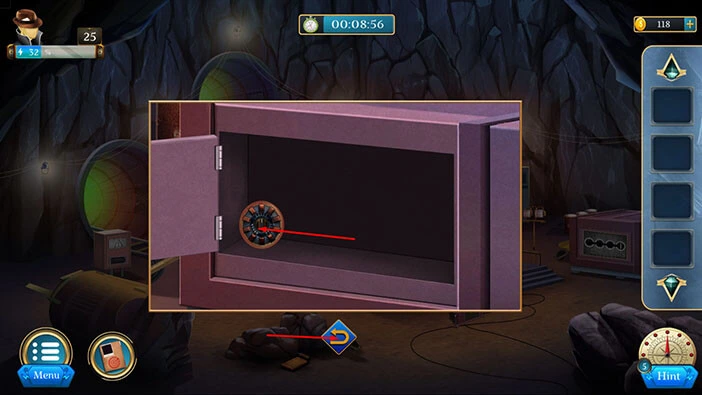
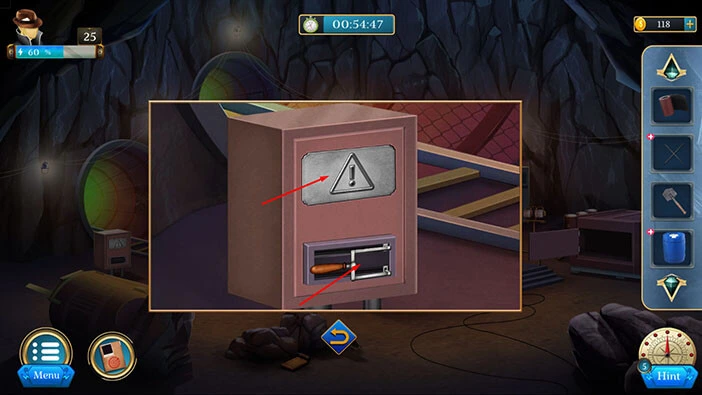
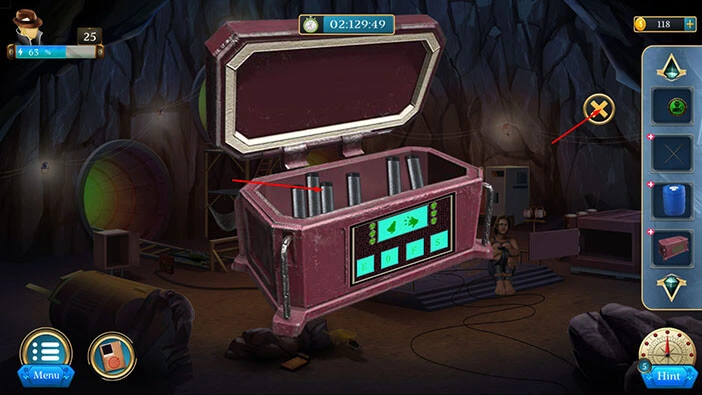
Let’s tap on the machine on the right to take a closer look at it and tap again to star the interaction.

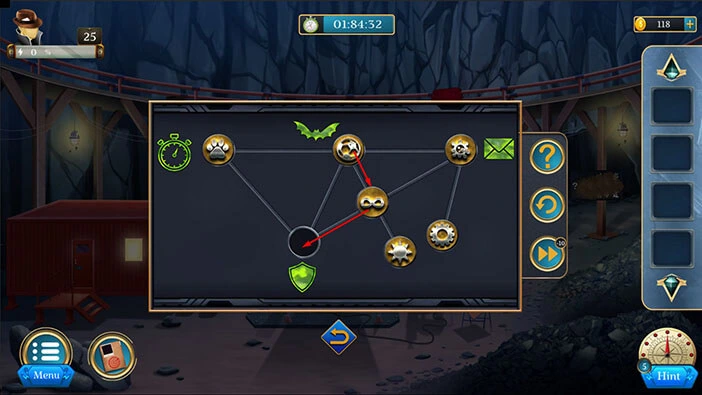
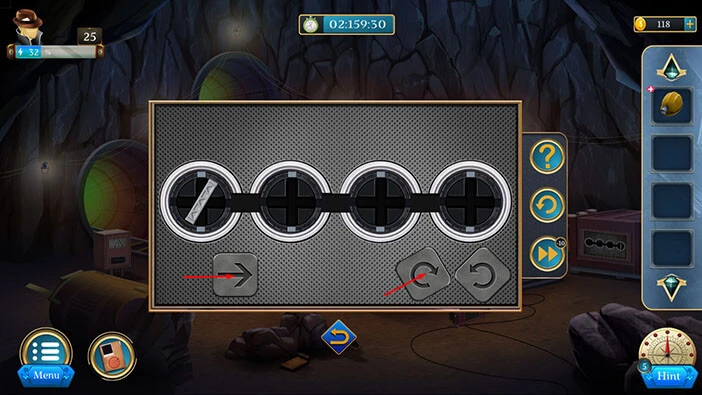
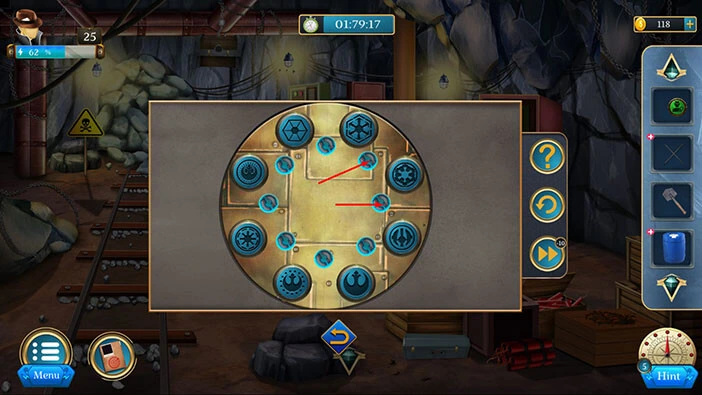
Here, we have another puzzle. Let’s follow the hint that we discovered in the safety hat. We will solve this puzzle in several steps. Let’s begin.
Step 1
Tap once on the right arrow to rotate the symbols. After that, tap on the first arrow to move the symbol to the next slot.
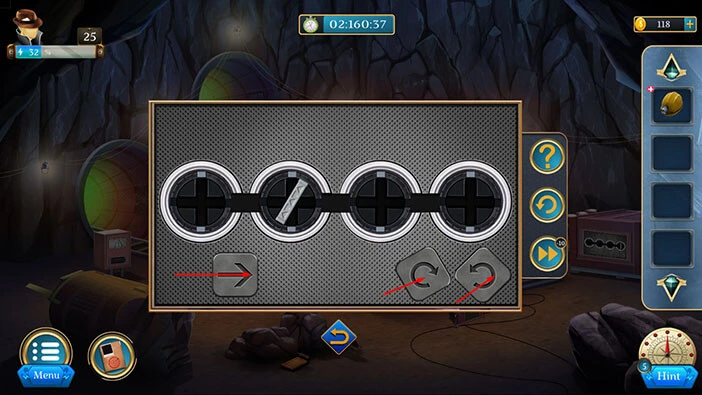
Step 2
Tap once on the right arrow to rotate the symbols then tap on the left arrow to rotate the symbol. After that, tap on the first arrow to move the symbol to the next slot.
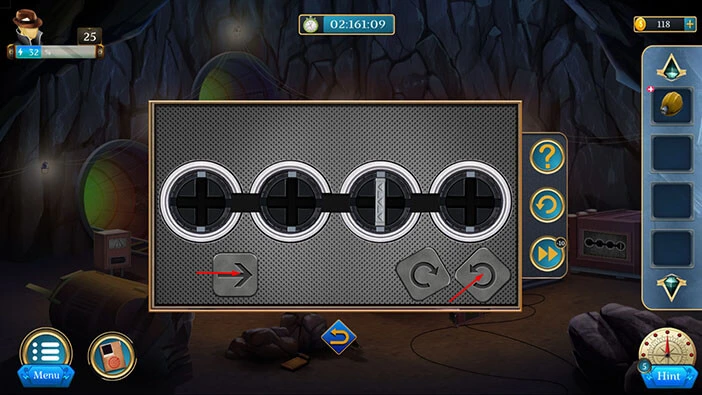
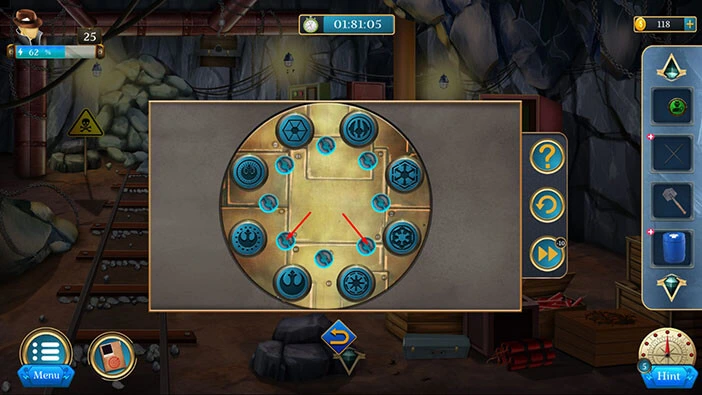
Step 3
Tap once on the left arrow to rotate the symbols. After that, tap on the first arrow to move the symbol to the next slot.
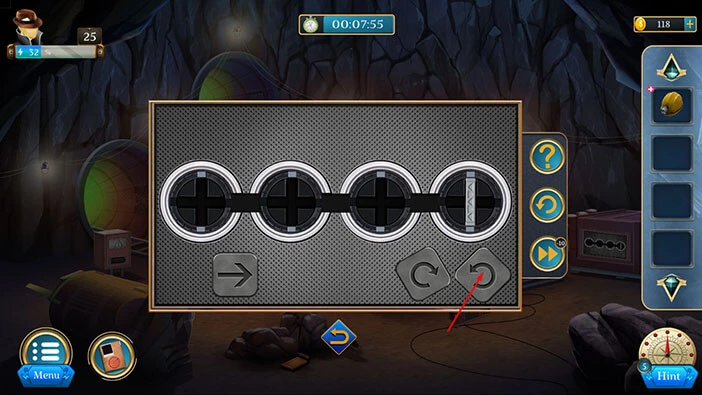
Step 4
Tap twice on the left arrow to rotate the symbols. With that, you will solve this puzzle, and you will open the door.
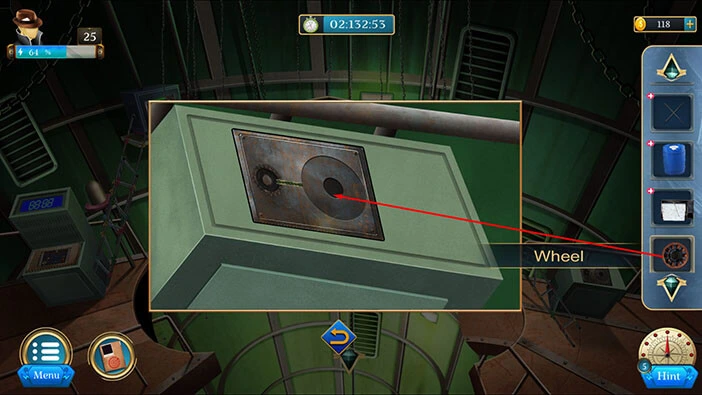
Inside you will find a “Wheel”. Let’s tap on it to pick it up.
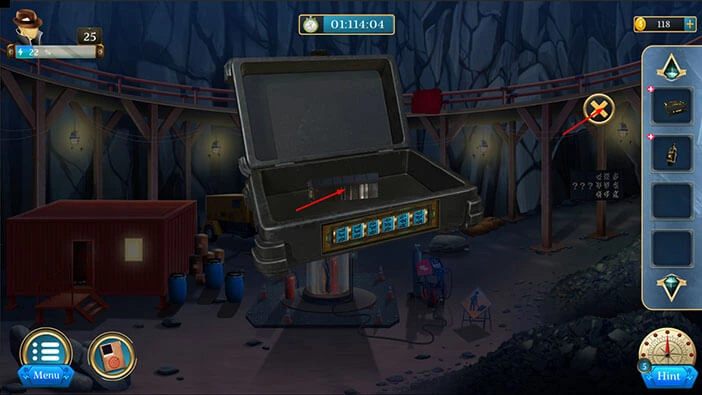
Next, tap on the small door on the machine in front of you to take a closer look, and tap again to open the door.
Inside you will find a “Seismometer”. Let’s tap on it to pick it up.
After that, tap on the arrow at the bottom to go back.
Select the “Seismometer” from the inventory and it will appear in the middle of the screen. After that, tap on it to start the interaction.
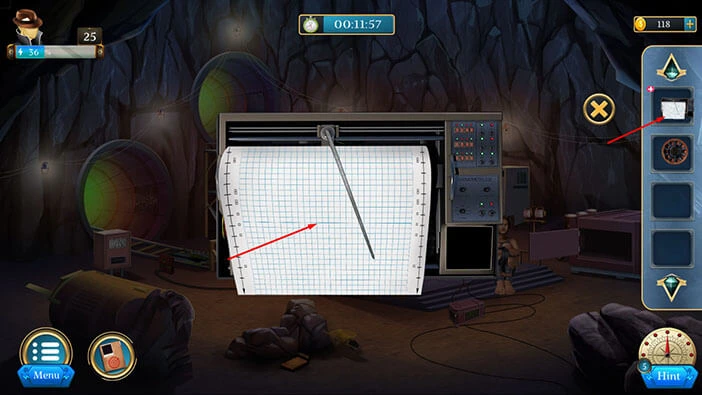
Here, you will discover the hint for one of the puzzles that we will encounter much later in the walkthrough. Regardless, let’s memorize/write down the symbols and their positions.
Once you’re done, tap on the “X” button to close this window.
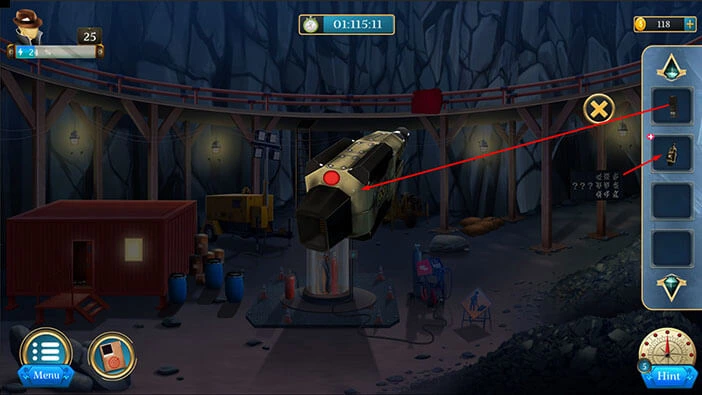
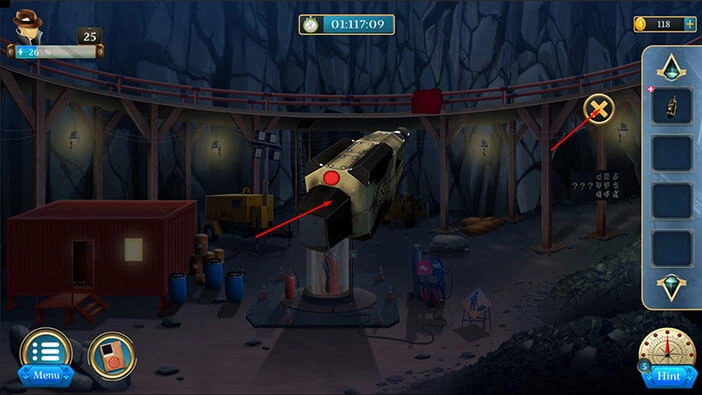
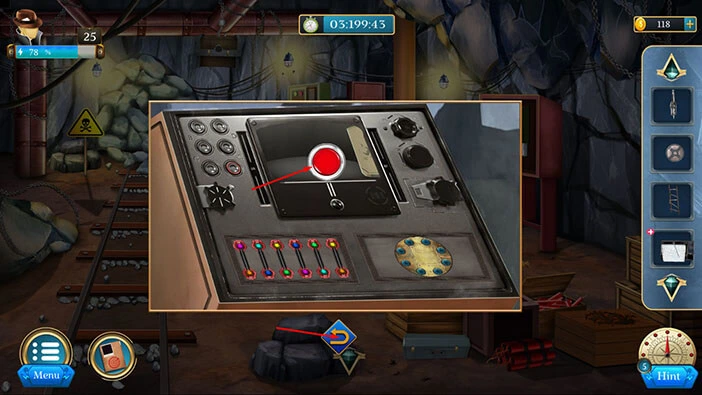
Let’s tap on the machine on the left to take a closer look at it and tap again to start the interaction.

Next, let’s tap on all red buttons to reveal the hint.
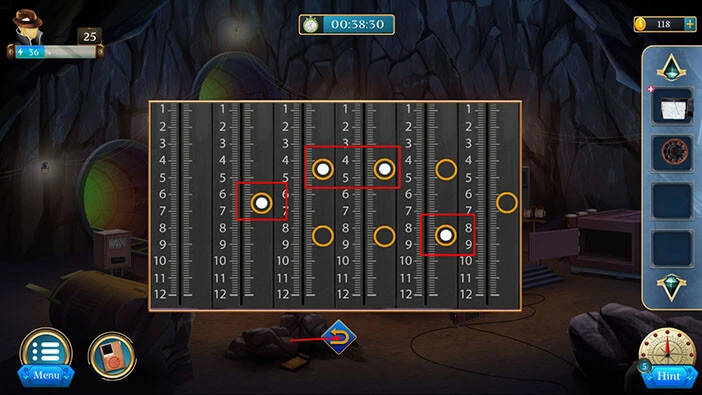
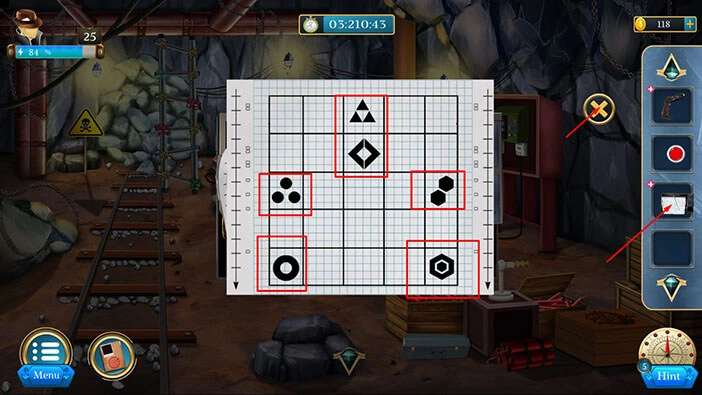
Here, we can see the hint for the next puzzle. Let’s memorize/write down the position of the white dots.
Once you’re done, tap on the arrow at the bottom to go back.
On the floor, you will notice a “Box”. Let’s tap on it to take a closer look, and tap again to pick it up.
After that, tap on the arrow at the bottom to go back.
Let’s tap on the blue can on the left to take a closer look at it, then tap on the rope to untie it.
Let’s tap on the “Can” to pick it up. After that, tap on the arrow at the bottom to go back.

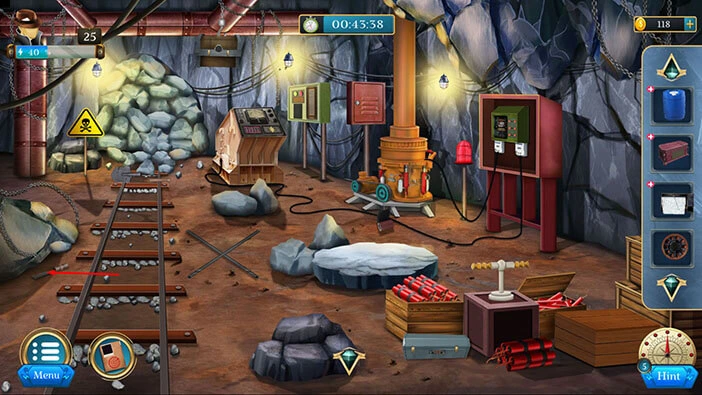
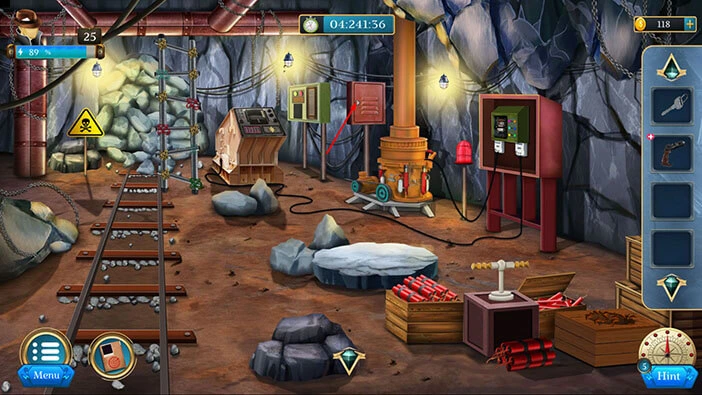
Let’s tap on the tunnel on the left to proceed to the next area.
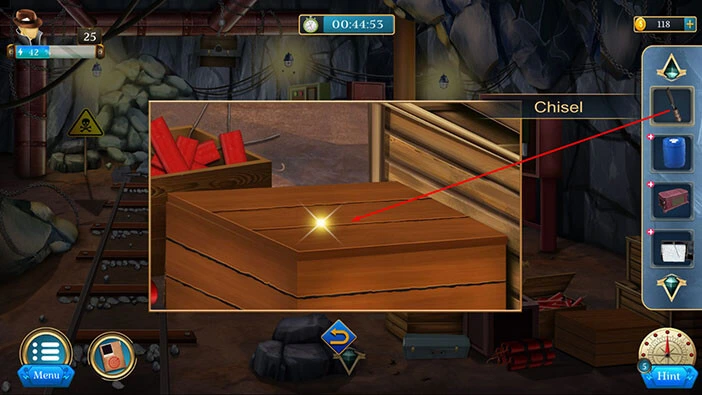
On the left, you will notice a “Chisel”. Let’s tap on it to pick it up. After that, tap on the arrow at the bottom to go back.
Next, let’s tap on the box on the right to take a closer look at it.
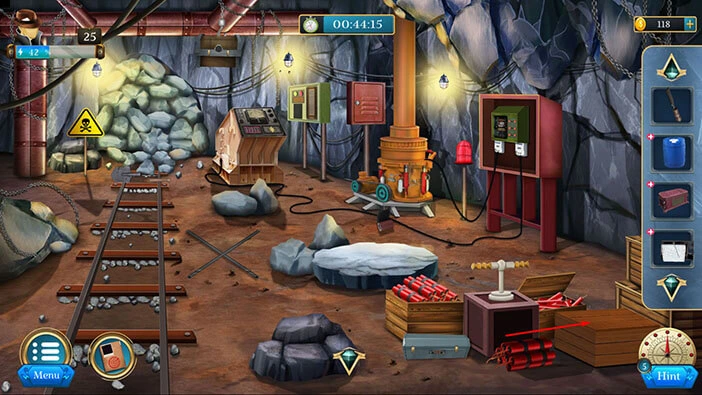
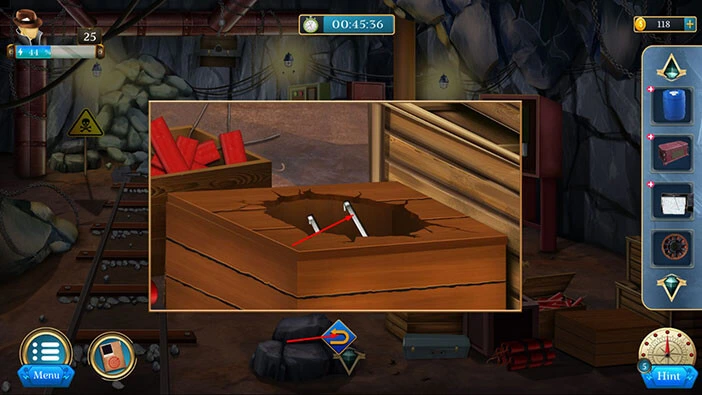
Select the “Chisel” from the inventory and use it to break the box.
In the box, you will find a “Lever”. Let’s tap on it to pick it up. After that, tap on the arrow at the bottom to go back.
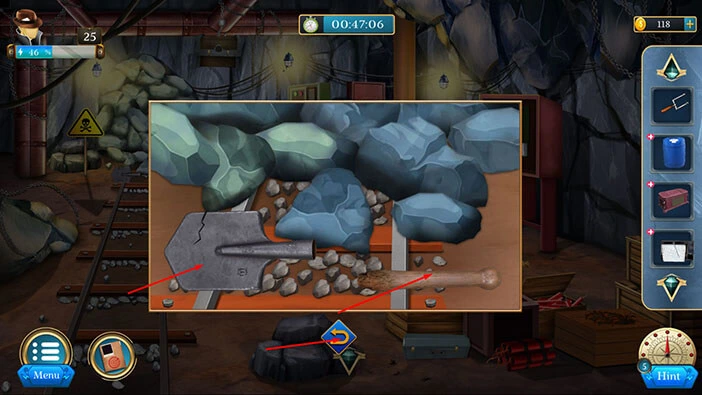
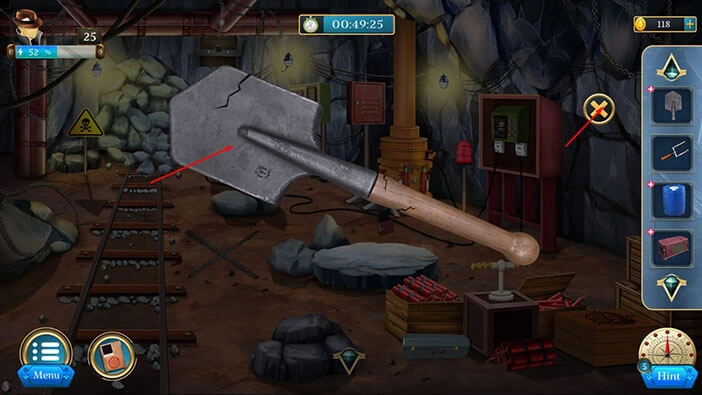
Next to the pile of rocks, you will notice some items. Let’s tap on them to take a closer look.

Here, you will find a “Shovel head” and a “Shovel stick”. Let’s tap on these two items to pick them up.
After that, tap on the arrow at the bottom to go back.
Select the “Shovel head” from the inventory and it will appear in the middle of the screen. After that, select the “Shovel stick” from the inventory and use it to craft the shovel.
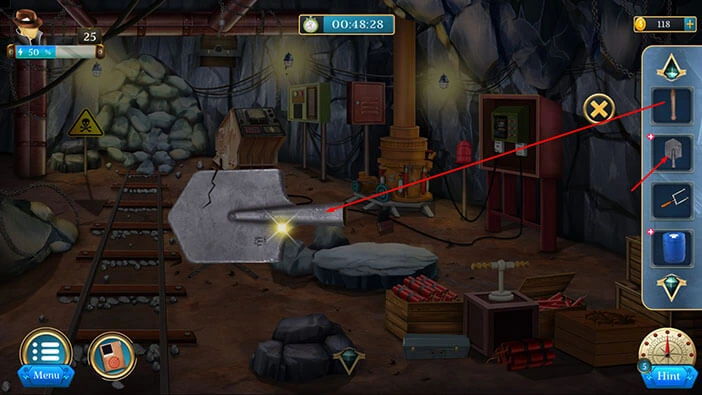
Let’s tap on the “Shovel” to pick it up. After that, tap on the “X” button to close this window.
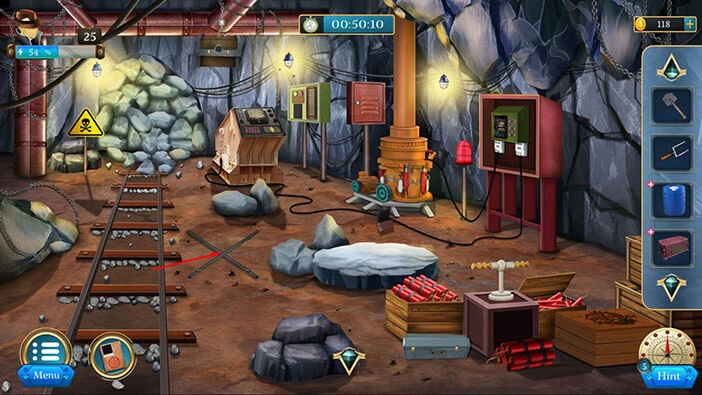
Next, you will notice a “Rod” on the floor in front of you. Let’s tap on it to pick it up. After that, tap on the arrow at the bottom to go back.
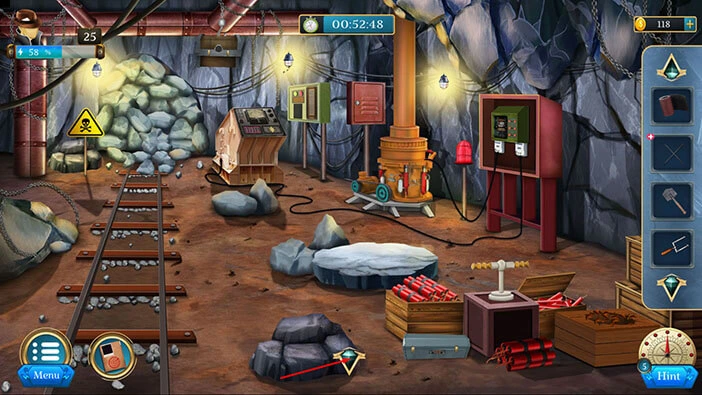
Next, on the ground on the right, you will see a “Salt paper”. Let’s tap on it to pick it up. After that, tap on the arrow at the bottom to go back.

Let’s go back to the previous room. Tap on the arrow at the bottom of the screen.
Next, let’s tap on the machine on the left to take a closer look at it.

Select the “Lever” from the inventory and insert it into the empty slot.
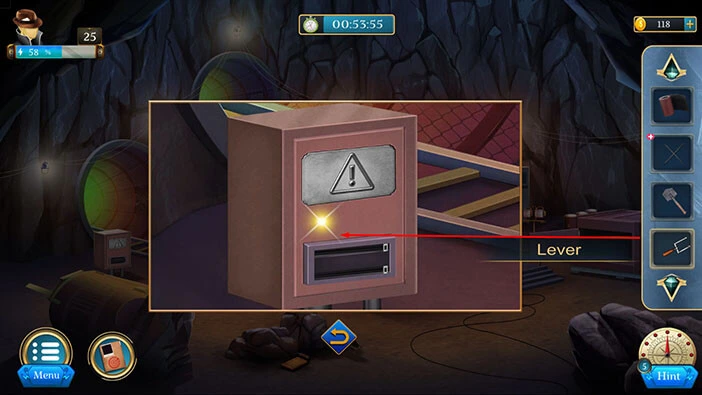
Tap on the lever to activate it, and you will uncover a display screen. After that, tap on the display screen to start the interaction.
Let’s tap on the buttons that we saw in the hint. So, let’s tap on the button on the left, then tap on the button in the top left, then tap on the button at the top, and lastly, tap twice on the button on the right. With that, you will unlock the machine.
Inside you will find a “Puzzle piece”. Let’s tap on it to pick it up. After that, tap on the arrow at the bottom to go back.
Next, let’s tap on the rough part of the wall of the tunnel on the left to take a closer look at it.

Select the “Salt paper” from the inventory and use it to remove the rust.
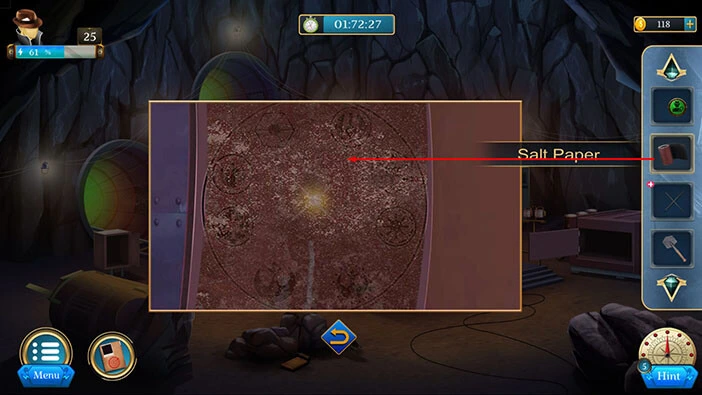
Once you remove the rust, you will discover the hint for the next puzzle. Let’s memorize/write down the symbols and their position because we will need this information for the next puzzle.
Let’s go back to the previous room. Tap on the tunnel on the left.

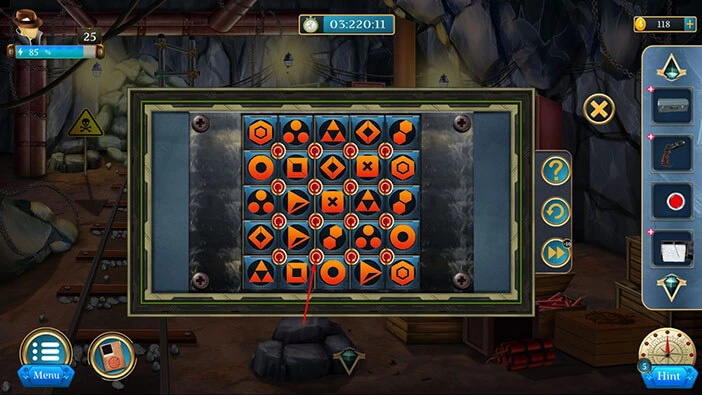
Next, let’s tap on the large machine to take a closer look at it, and tap again to start the interaction.

Here, we have another puzzle. Our task is to rearrange the symbols and place them according to the hint that we saw previously.
We will do this puzzle in several steps. Let’s begin.
Step 1
Tap once at the button at the top to shuffle the symbols. After that, tap on the button in the top left.

Step 2
Tap once at the button in the top right to shuffle the symbols. After that, tap on the button at the top.

Step 3
Tap once at the button on the right to shuffle the symbols. After that, tap on the button in the top right.
Step 4
Tap once at the button in the bottom left to shuffle the symbols. After that, tap on the button at the bottom.

Step 5
Tap once at the button in the bottom right to shuffle the symbols. After that, tap on the button in the bottom left.
Step 6
Tap once at the button at the bottom to shuffle the symbols. After that, tap on the button in the bottom left. With that, you will solve this puzzle.

Let’s tap on the arrow at the bottom to go back.
Let’s go back to the previous room. Tap on the arrow at the bottom of the screen.

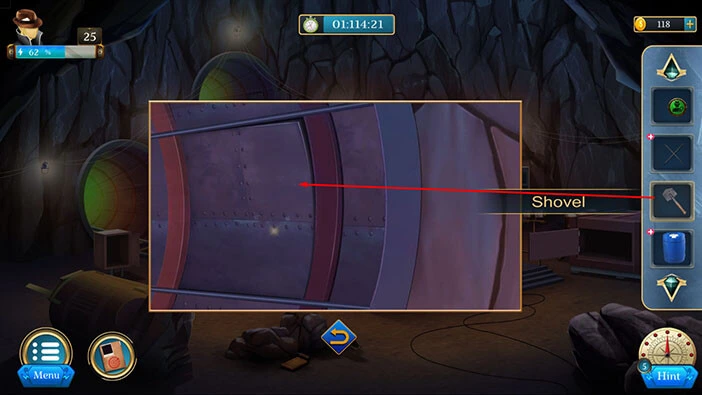
Next, let’s tap on the top tunnel to take a closer look at it.

Select the “Shovel” from the inventory and use it to remove the part of the wall.
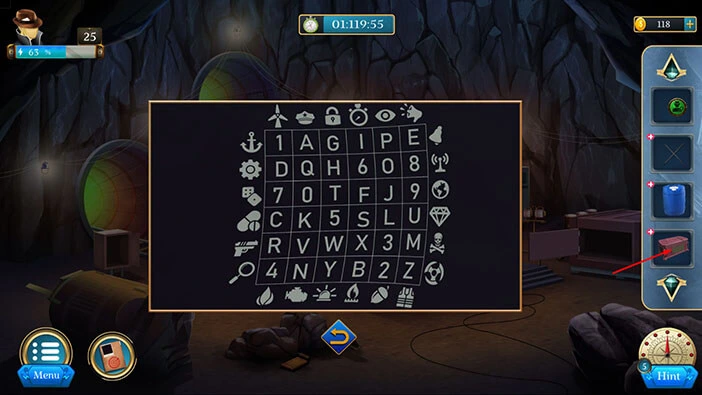
Here, we have another puzzle, but in order to solve it we have to take a look at the hint.
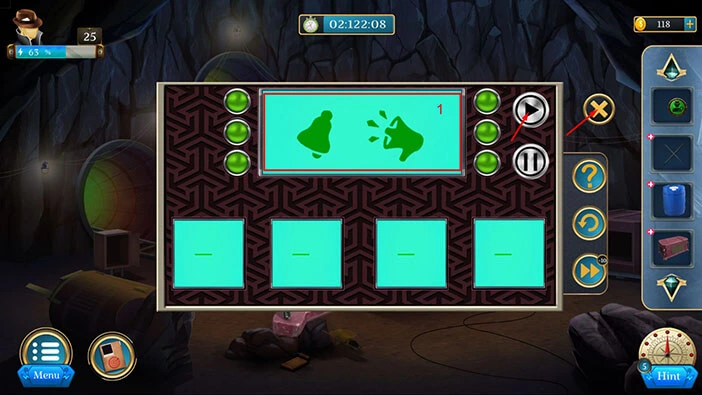
So, let’s tap on the box in our inventory to take a closer look at it and tap again to examine it.
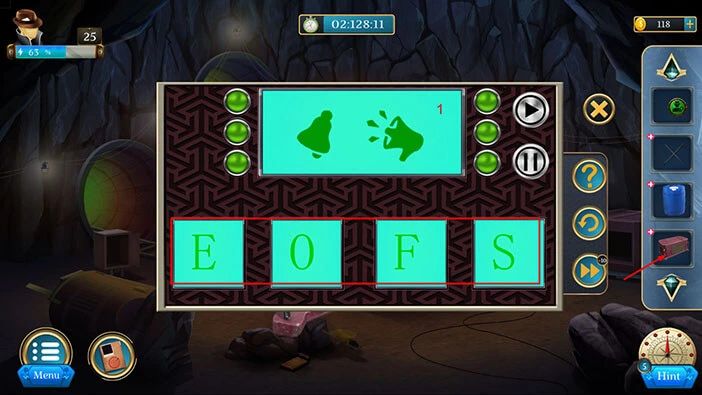
Here, you will see two symbols, and in the top right corner, you will also see the number 1. So, let’s tap on the play button to see the rest of these symbols.
We should memorize/write down the pairs of symbols. Once you’re done, tap on the “X” button to close this window.
Let’s go back to the puzzle in the top tunnel.

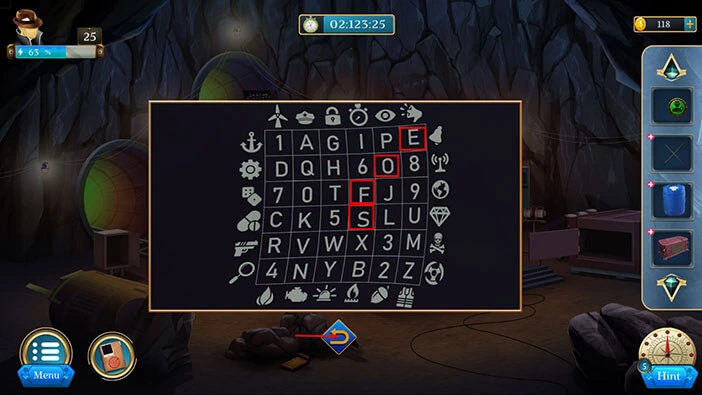
We can decipher this puzzle by following the intersection of the pairs of symbols (we previously saw pairs of symbols on the box). So, once we decipher it, we will get the password “EOFS”. Let’s memorize/write down this puzzle because it represents the hint for the next puzzle.
Once you’re done, tap on the arrow at the bottom to go back.
Let’s select the “Box” in our inventory and it will appear in the middle of the screen.
After that, enter the password that we discovered. The password is “EOFS”.
With that, you will open the box, and inside you will find “Steel steps”. Let’s tap on them to pick them up.
After that, tap on the “X” button to close this window.
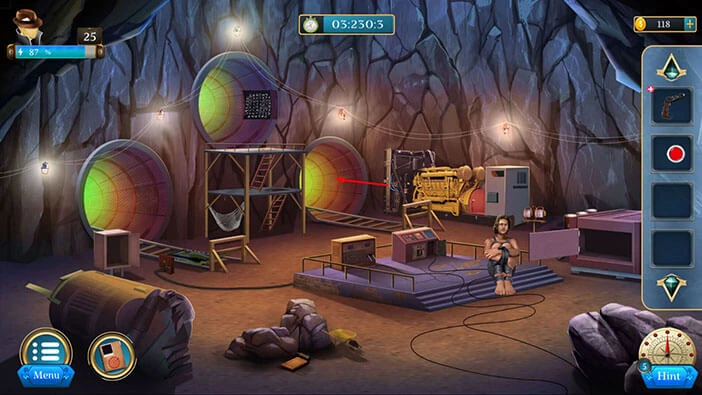
Next, let’s tap on the tunnel on the right to proceed to the next room.

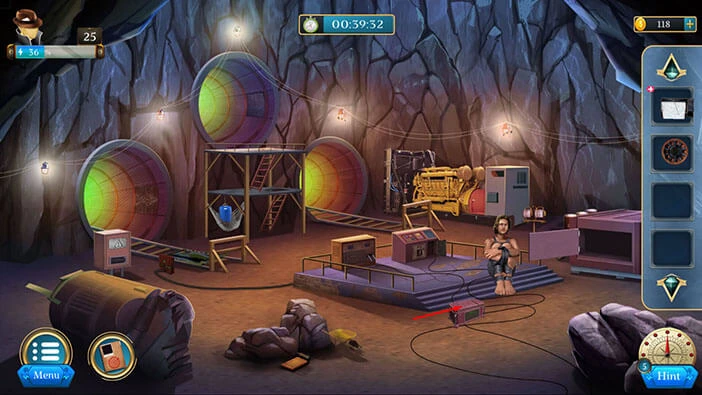
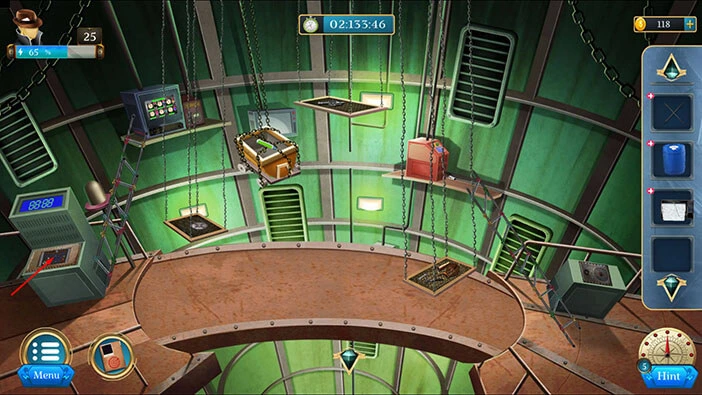
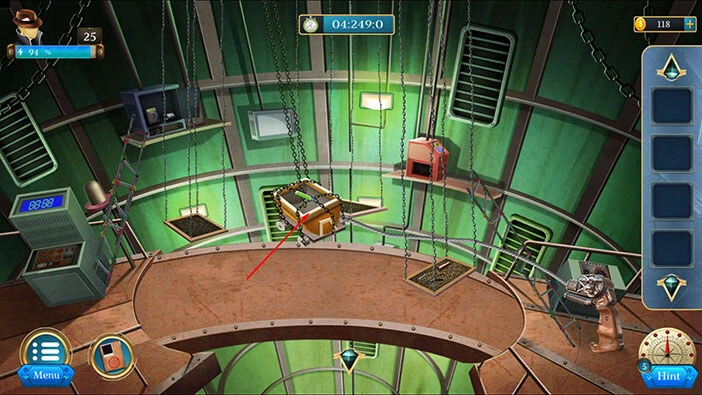
Our main task it to get to the cart with the antidote, and this cart is located at the bottom of the pit.
Let’s tap on the machine on the right to take a closer look at it.
Select the “Wheel” from the inventory and insert it into the empty slot. With that, you will extend the bridge.
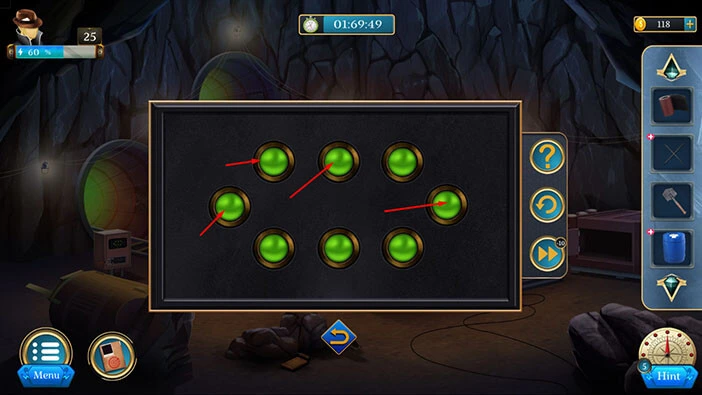
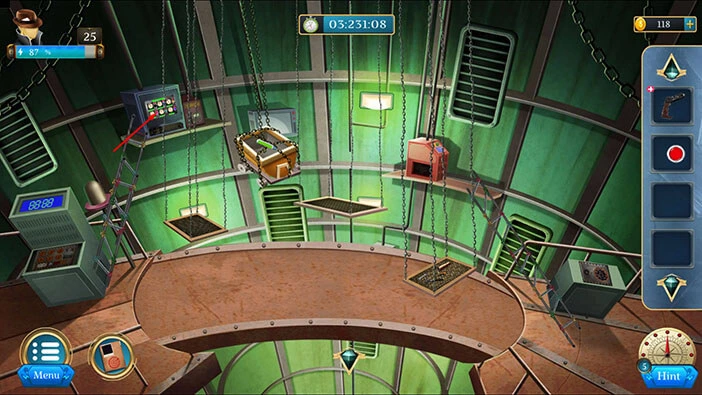
Let’s tap on the machine on the left to take a closer look at it and tap again to start the interaction.
Select the “Puzzle piece” from the inventory and place it on the left side of the grid. After that, tap on the puzzle to start the interaction.
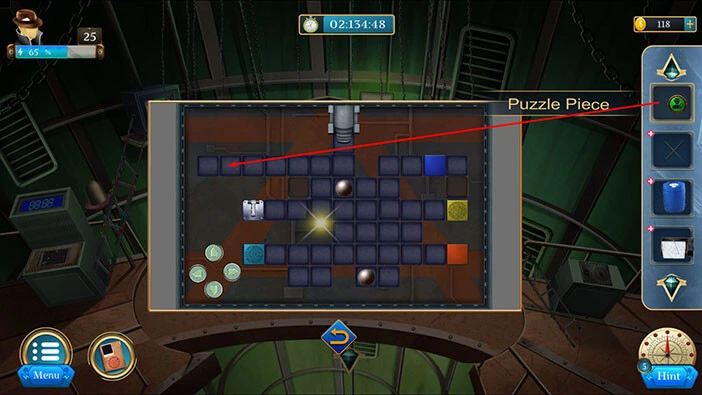
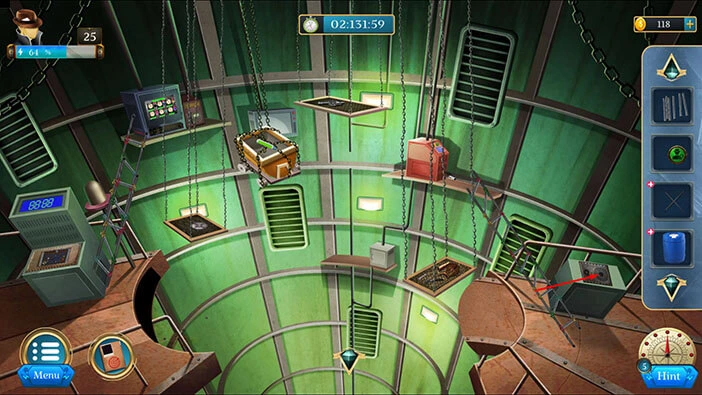
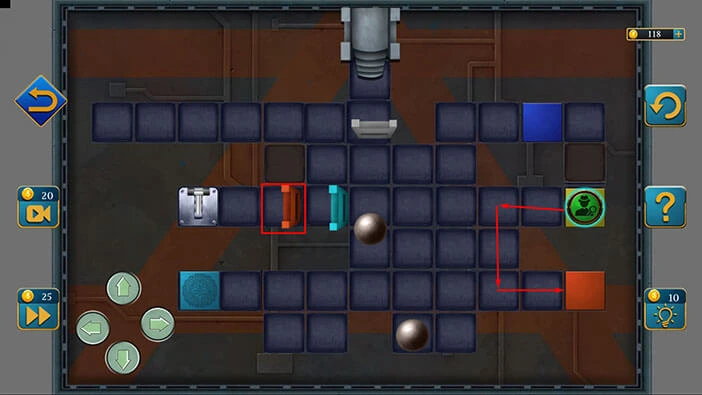
Here, we have a minigame. We are controlling the button on the left (man on the green background). We can use the arrows in the bottom left corner to move our character. The goal is to get our character to the stairs, located at the top of the maze.
We will complete this minigame in several steps. Let’s begin.
Step 1
Lead your character to the blue slot on the right. Once you get to this point, you will lower the blue ladder in the bottom left corner of the puzzle. Naturally, you should avoid the two metal balls that are moving up and down.
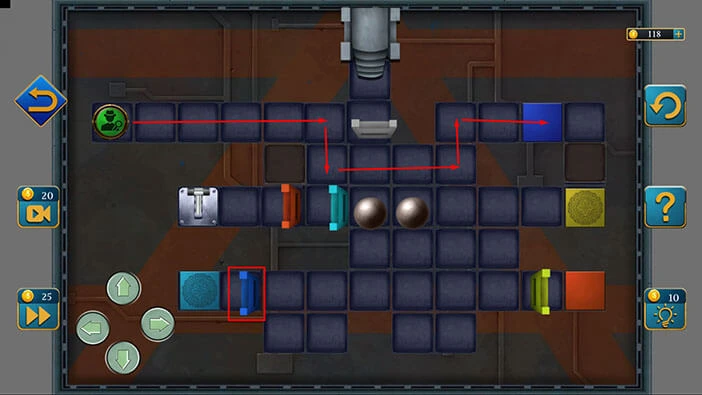
Step 2
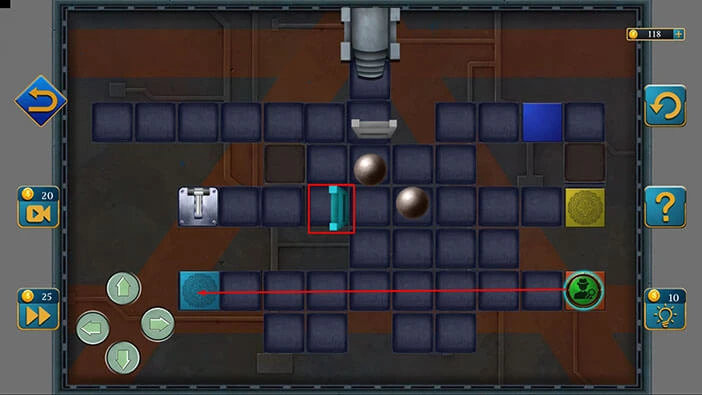
Lead your character to the yellow slot on the right. Once you get to this point, you will lower the yellow ladder in the bottom right corner of the puzzle.
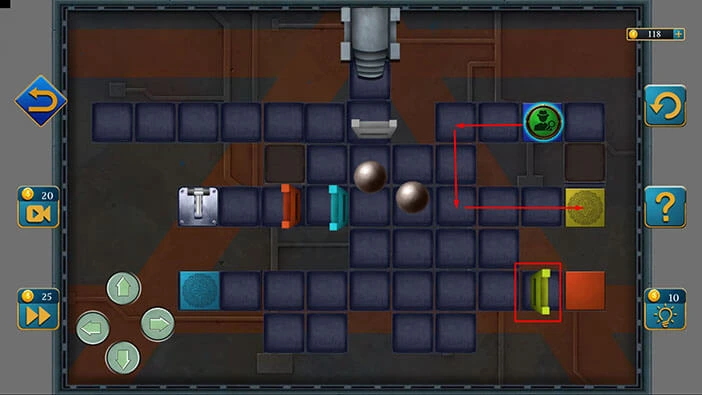
Step 3
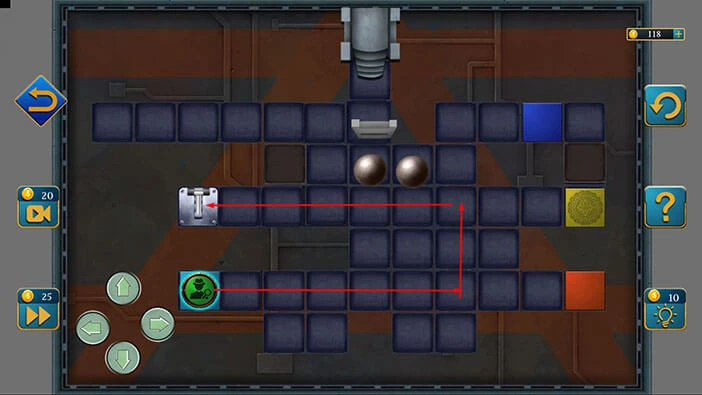
Lead your character to the orange slot in the bottom right. Once you get to this point, you will lower the orange ladder on the left.
Step 4
Lead your character to the light blue slot on the left. Once you get to this point, you will lower the light blue ladder on the left side of the puzzle.
Step 5
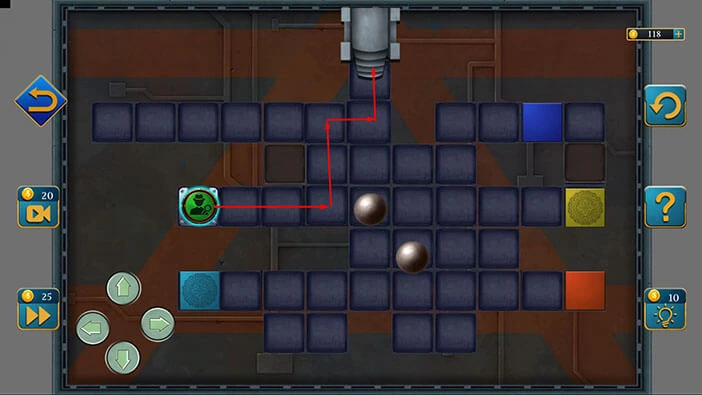
Lead your character to the white lever on the left. Once you get to this point, you will lower the white ladder at the top of the puzzle.
Step 6
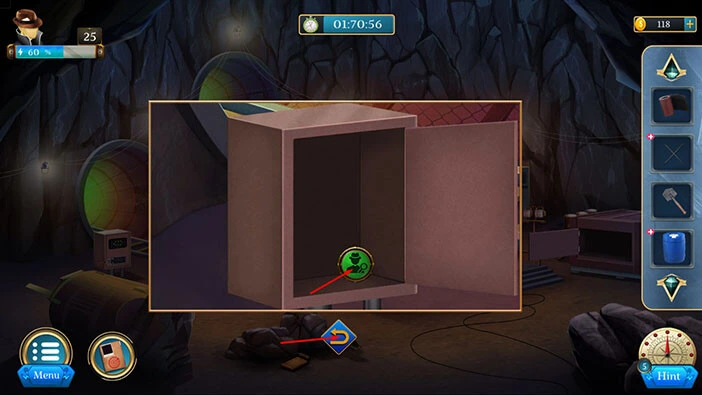
Lastly, lead your character to the exit at the top of the puzzle. With that, you will solve this puzzle, and you will gain access to the control panel.
Let’s tap on the “Lever” to lower the elevator.

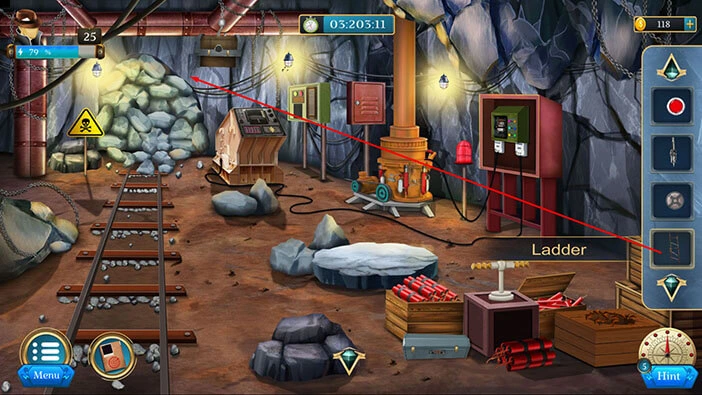
Tap on the elevator on the right to take a closer look at it.

Here, you will find a “Bag”. Let’s tap on it to pick it up. After that, tap on the arrow at the bottom to go back.
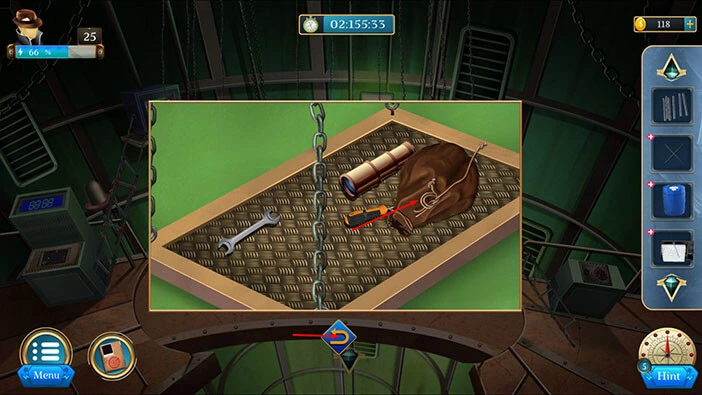
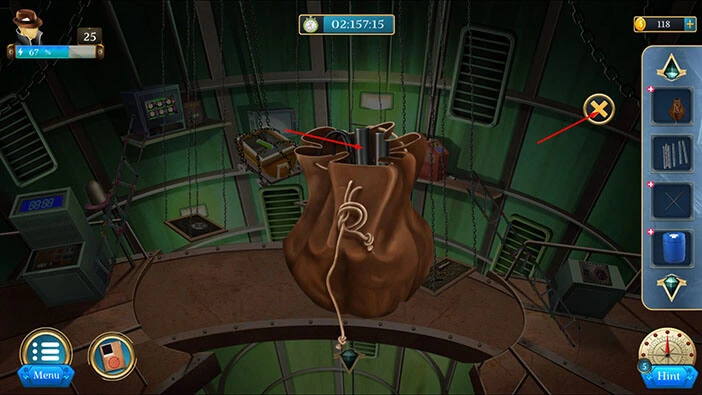
Select the “Bag” from the inventory and it will appear in the middle of the screen. After that, tap on the bag to open it.
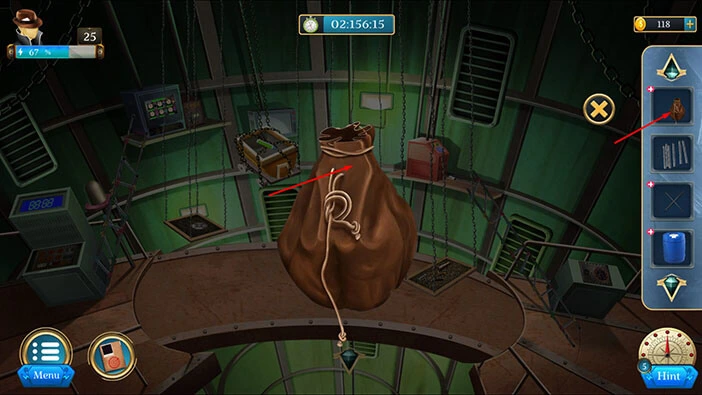
Inside, you will find a “Strapped stick”. Let’s tap on it to pick it up. After that, tap on the “X” button to close this window.
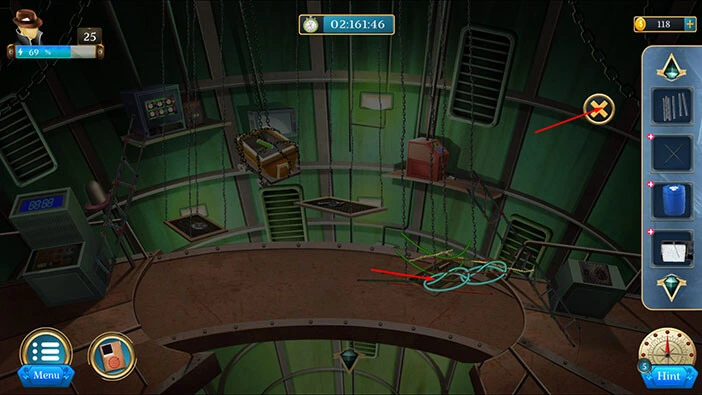
Select the “Can” from the inventory and it will appear in the middle of the screen. After that, select the “Strapped stick” from the inventory and use it to cut the can in half.
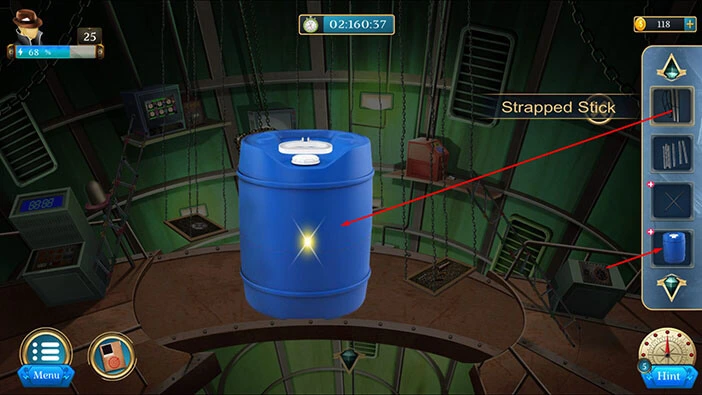
Once you cut the can, you will discover “Ropes”. Let’s tap on them to pick them up. After that, tap on the “X” button to close this window.
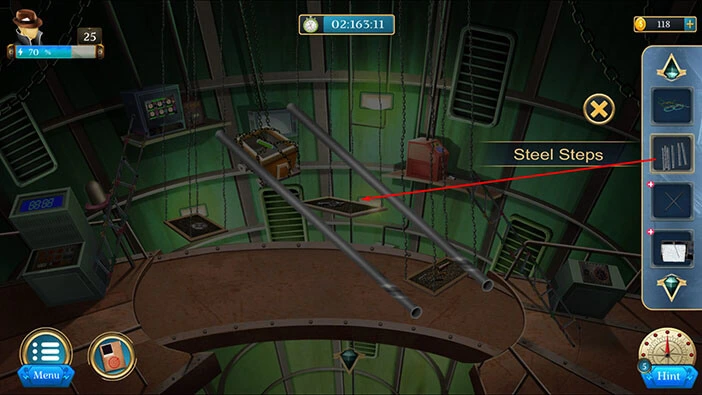
Select the “Rod” from the inventory and it will appear in the middle of the screen. After that, select the “Steel steps” from the inventory and attach them to the lever.
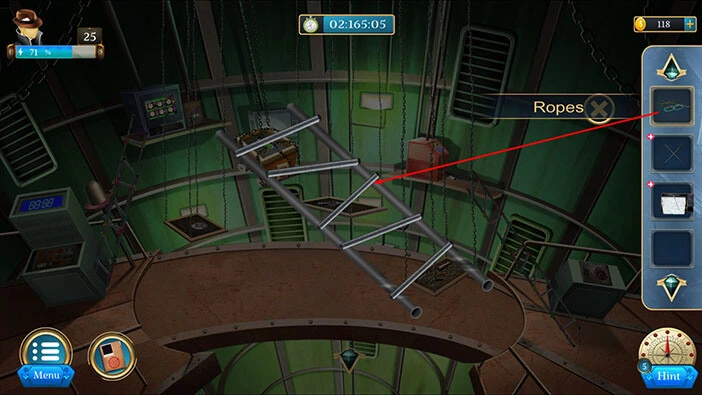
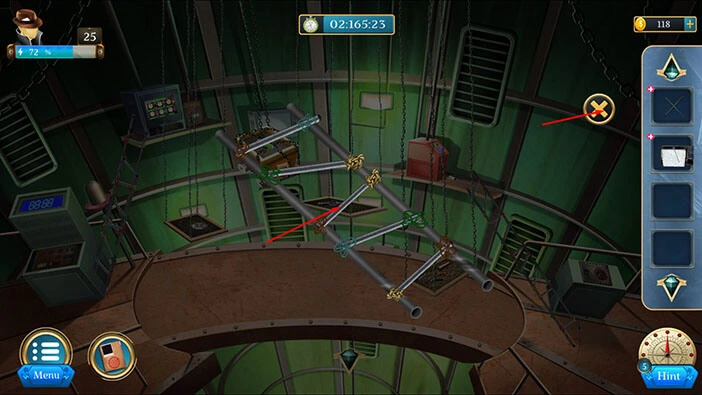
Next, select the “Ropes” from the inventory and use them to tighten the steps.
Let’s tap on the “Ladder” to pick it up. After that, tap on the “X” button to close this window.
Next, let’s tap on the elevator on the left to take a closer look at it.
Here, you will find a “Solving piece”. Let’s tap on it to pick it up.
After that, tap on the arrow at the bottom to go back.
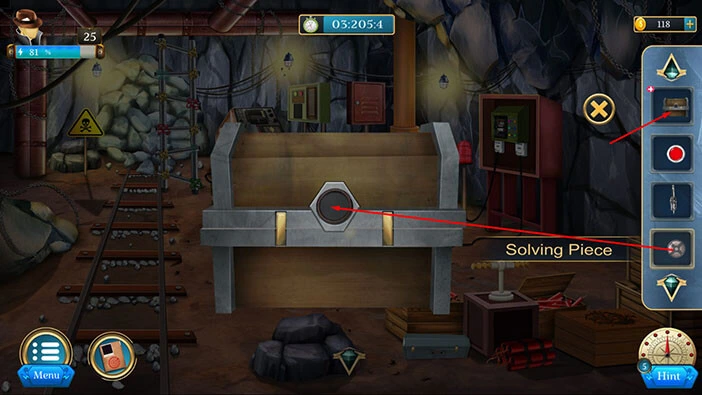
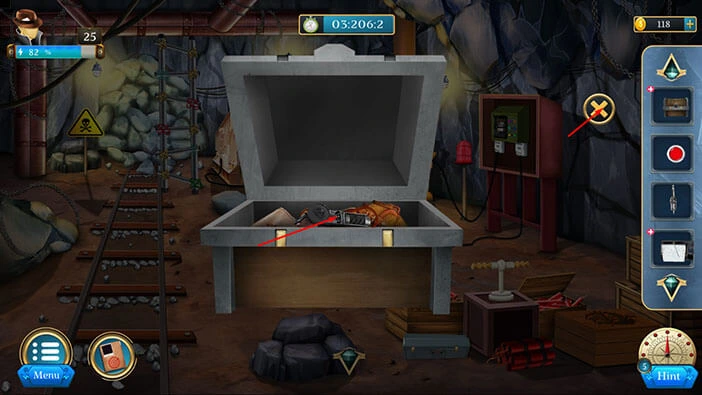
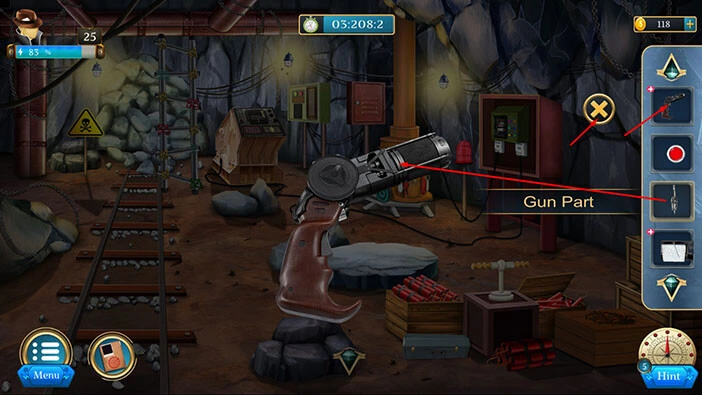
Next, let’s tap on the elevator in front of us to take a closer look.
Here, you will find “Gun Part”. Let’s tap on it to pick it up.
After that, tap on the arrow at the bottom to go back.
Next, let’s tap on the red machine on the right to take a closer look at it.
Here, you will find a “Fuse”. Let’s tap on it to pick it up.
Before we proceed, tap on the “Clue plate” on the left to pick it up. After that, tap on the arrow at the bottom to go back.
Let’s go back to the previous room. Tap on the arrow at the bottom of the screen.
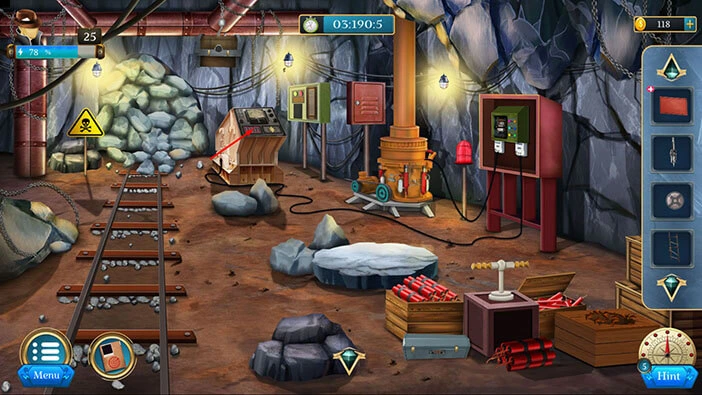
Let’s tap on the tunnel on the left to proceed to the next area.

Let’s tap on the power box on the right to take a closer look at it.

Select the “Fuse” from the inventory and insert it into the empty slot.
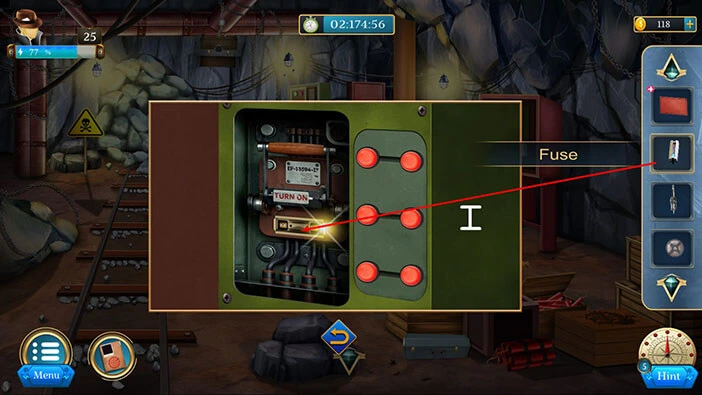
Here, we can see the first part of the hint for the next puzzle. Let’s memorize/write down the position of the colors.
Once you’re done, tap on the arrow at the bottom to go back.
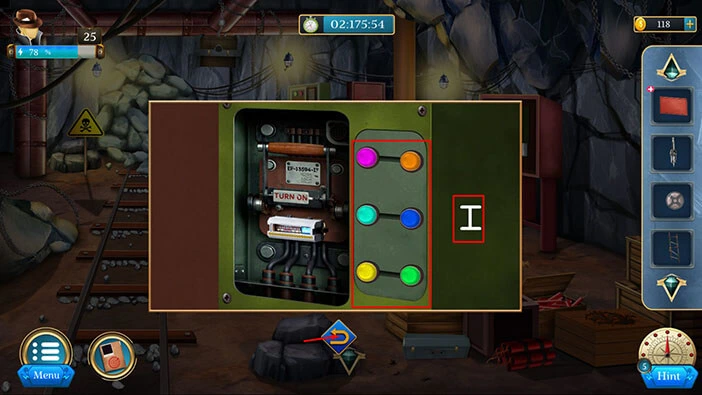
Next, select the “Clue plate” from the inventory and it will appear in the middle of the screen.
Here, you will discover the second part of the puzzle. Let’s memorize/write down the position of the colors.
Once you’re done, tap on the “X” button to close this window.
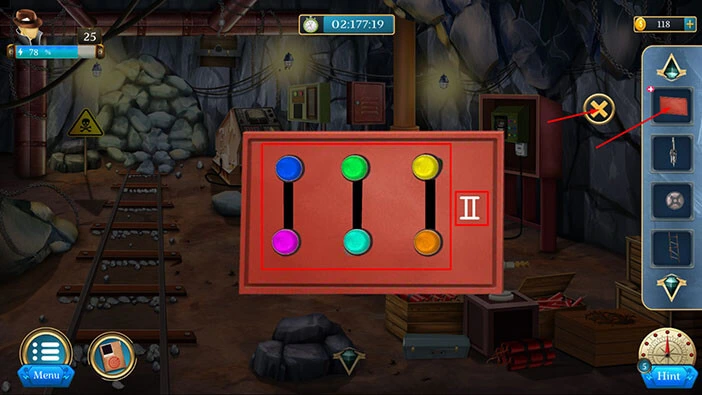
Let’s tap on the large machine in the middle of the room to take a closer look at it, and tap again to start interaction.
Here, our task is to set the correct colors. We already saw the two parts of the hint for this puzzle, so let’s set the correct colors. You can see the solution in the image below (tap once on the button in the top right corner).
With that, you will solve this puzzle and you will find a “Button”. Let’s tap on it to pick it up.
After that, tap on the arrow at the bottom to go back.
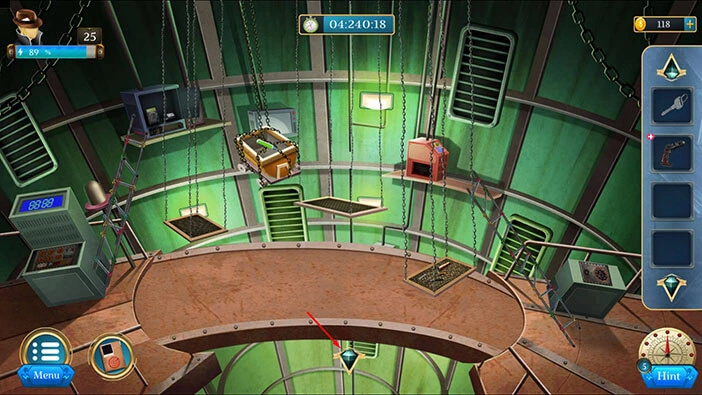
Select the “Ladder” from the inventory and place it under the chest.
We can now reach the “Box” so let’s tap on it to take a closer look, and tap again to pick it up.
After that, tap on the arrow at the bottom to go back.
Select the “Box” from the inventory and it will appear in the middle of the screen. After that, select the “Solving piece” from the inventory and insert it into the empty slot.
With that, you will open the chest, and inside you will find a “Gun Part”. Let’s tap on it to pick it up.
After that, tap on the “X” button to close this window.
Select the “Gun part” from the inventory (the one with the plus sign). After that, select the other “Gun Part” and attach it to the first one.
After that, tap on the “X” button to close this window.
Next, let’s select the “Seismometer” from the inventory and it will appear in the middle of the screen. Here, we can see the hint for the next puzzle. Let’s memorize/write down these symbols and their positions.
After that, tap on the “X” button to close this window.
On the floor in front of you, you will notice a grey “Box”. Let’s tap on it to take a closer look, and tap again to pick it up.
After that, tap on the arrow at the bottom to go back.
Select the “Box” in your inventory and it will appear in the middle of the screen. After that, tap on the box to start the interaction.
Here, we have another puzzle. Our task is to place the symbols into the positions that we saw on the hint.
We will do this puzzle in several steps. Let’s begin.
Step 1
Tap three times on the second button in the second row to rotate the symbols.
Step 2
Tap once on the fourth button in the third row to rotate the symbols.

Step 3
Tap once on the third button in the third row to rotate the symbols.

Step 4
Tap twice on the fourth button in the fourth row to rotate the symbols.
Step 5
Tap once on the first button in the fourth row to rotate the symbols.

Step 6
Tap once on the third button in the fourth row to rotate the symbols.

Step 7
Tap once on the second button in the fourth row to rotate the symbols.
Step 8
Tap once on the first button in the fourth row to rotate the symbols. With that, you will solve this puzzle and you will open the box.

In the box, you will find another “Gun Part”. Let’s tap on it to pick it up.
After that, tap on the “X” button to close this window.

Select the “Gun Part” (the one with the plus sign) from the inventory and it will appear in the middle of the screen. After that, select the other “Gun Part” and attach it to the first one.
Once you’re done, tap on the “X” button to close this window.

Let’s go back to the previous room. Tap on the arrow at the bottom of the screen.

Let’s tap on the tunnel on the right to proceed to the next area.
Let’s tap on the machine on the left to take a closer look and tap again to start the interaction.
Select the “Button” from the inventory and insert it into the empty slot. After that, tap on the machine to activate the next puzzle.
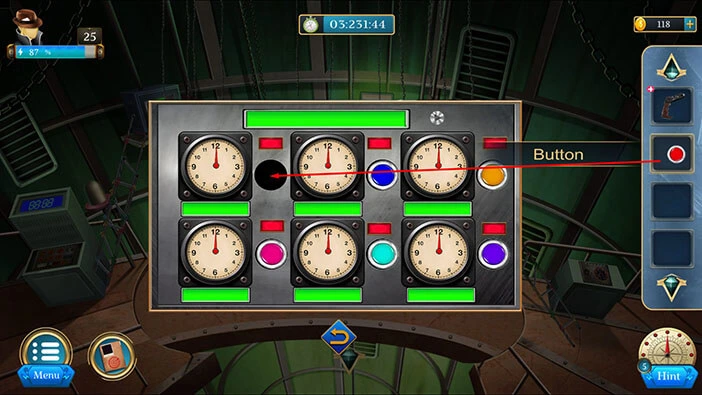
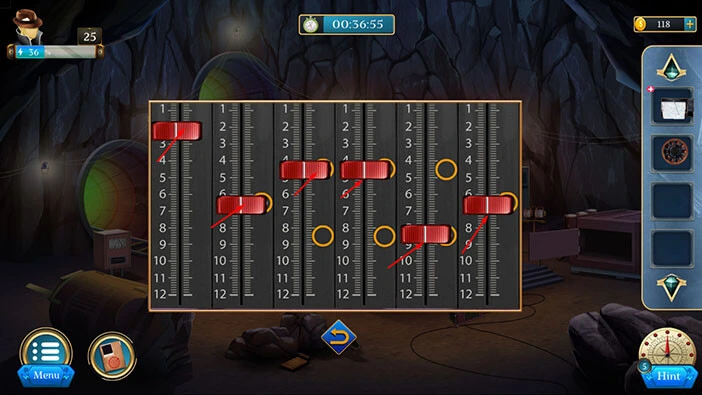
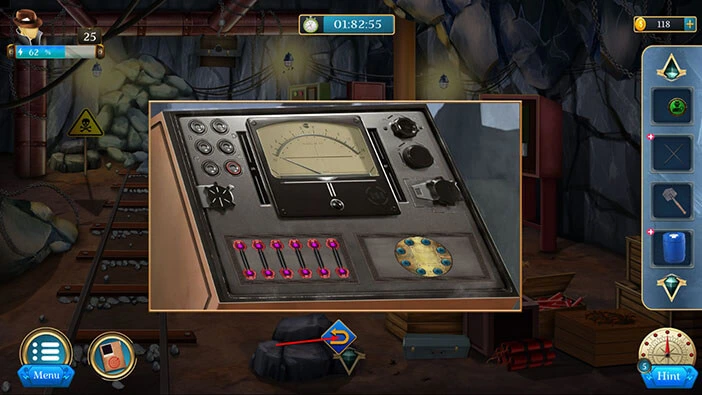
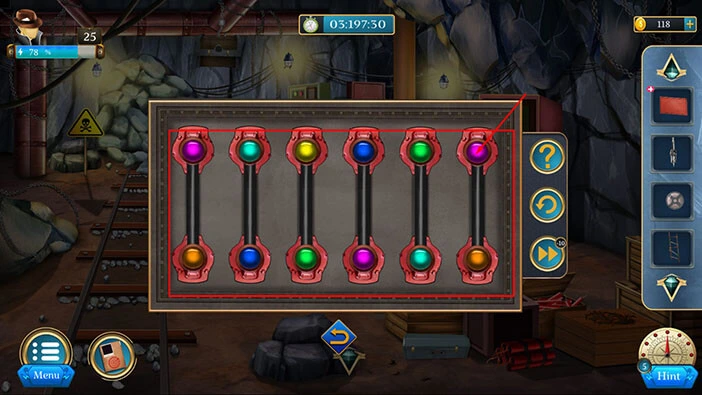
Here, we have another puzzle. If you tap on the play button, a certain number of dots of each color will appear on the display at the top. Our task is to set the arrow at the value that matches the number of dots of that color. For example, on the display screen at the top, you will see seven red dots. So, the first arrow (next to the red button) should point to the number 7.
So, to solve this puzzle the arrows should point to the following values,
The arrow next to the red button = 7
The arrow next to the blue button = 4
The arrow next to the orange button = 5
The arrow next to the pink button = 6
The arrow next to the light blue button = 2
The arrow next to the purple button = 3
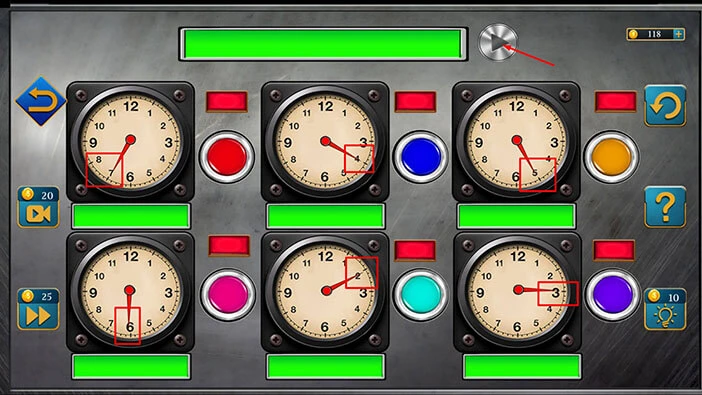
Once you set the arrows to the correct values, you will solve this puzzle and you will open the machine.
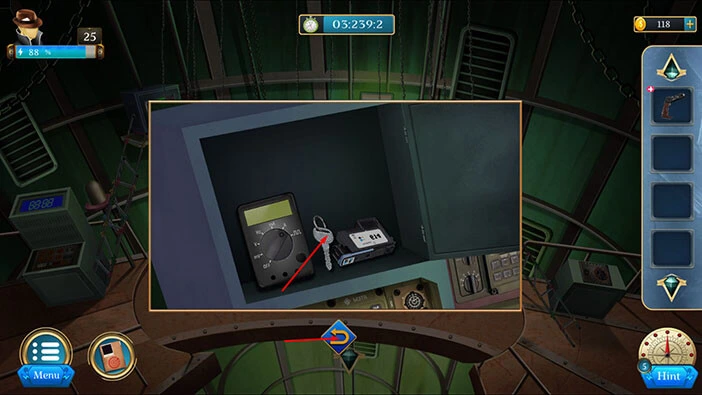
Inside you will find a “Key”. Let’s tap on it to pick it up. After that, tap on the arrow at the bottom to go back.
Let’s go back to the previous room. Tap on the arrow at the bottom of the screen.
Let’s tap on the tunnel on the left to proceed to the next area.

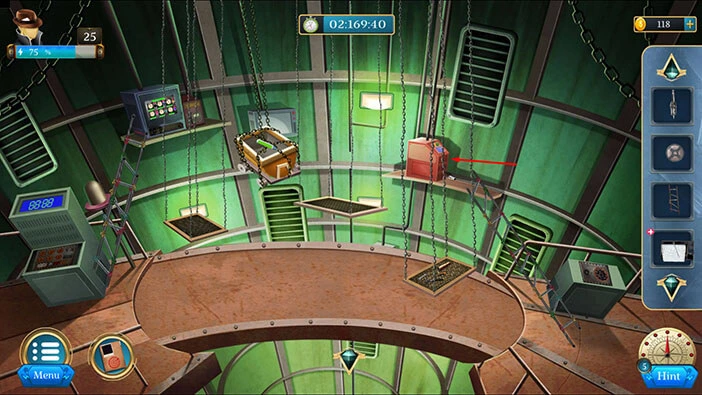
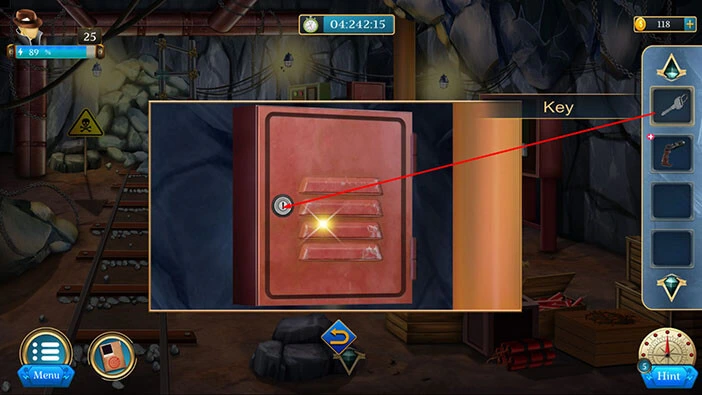
Let’s tap on the red box on the right to take a closer look at it.
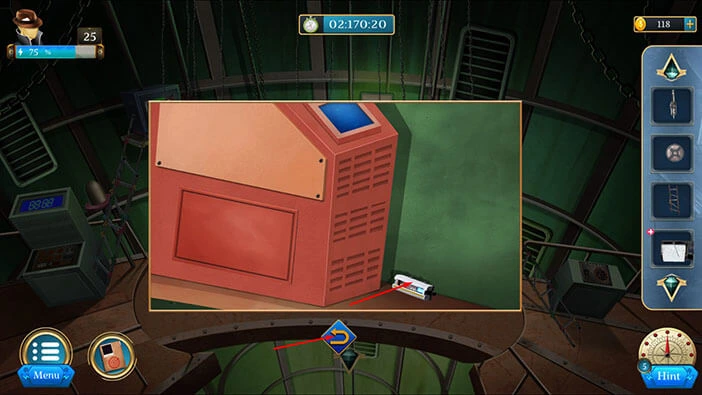
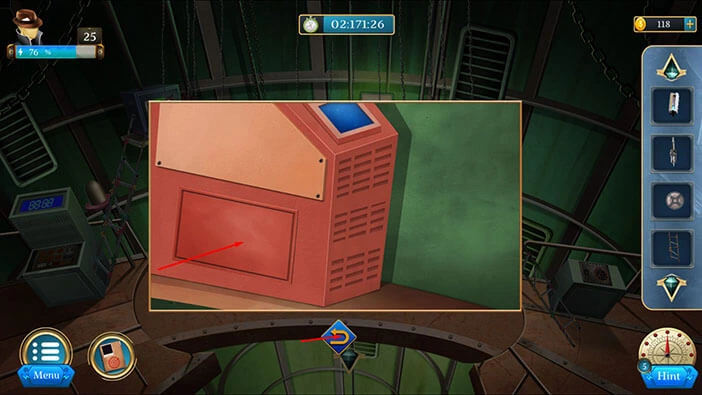
Select the “Key” from the inventory and use it to unlock the box.
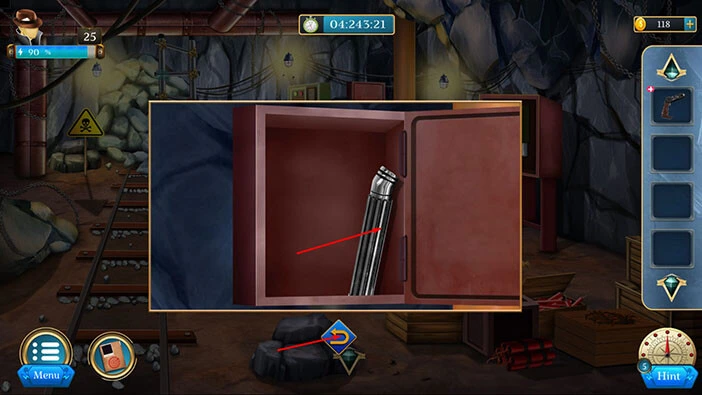
Inside, you will find another “Gun Part”. Let’s tap on it to pick it up.
After that, tap on the arrow at the bottom to go back.
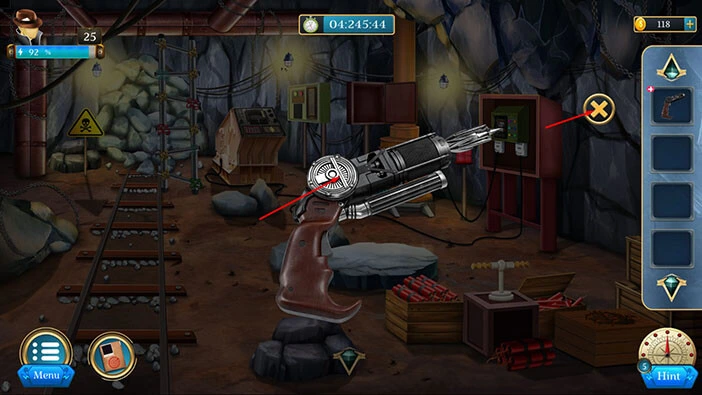
Select the “Gun Part” (the one with the plus sign) from the inventory and it will appear in the middle of the screen. After that, select the “Gun Part” from the inventory and use it to assemble the gun.
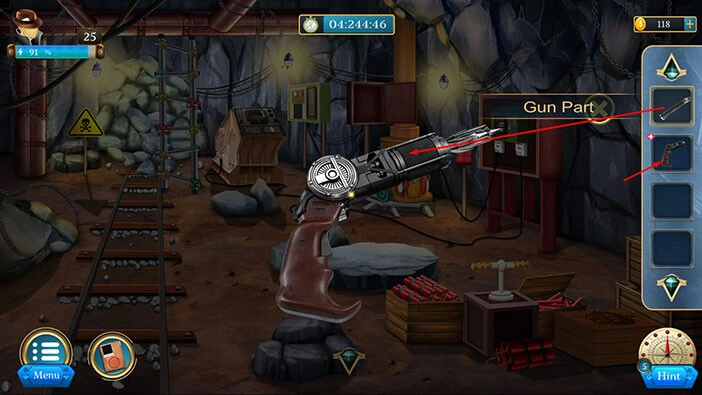
We have assembled the “Gun” so let’s tap on it to pick it up. After that, tap on the “X” button to close this window.
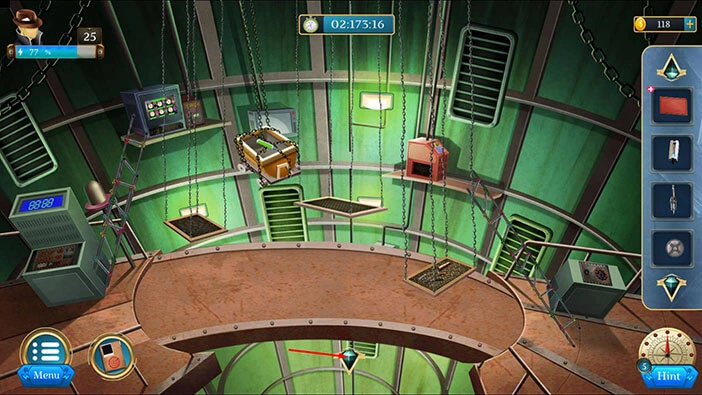
Let’s go back to the previous room. Tap on the arrow at the bottom of the screen to go back.
Let’s tap on the tunnel on the right to proceed to the next area.

Select the “Gun” from the inventory and use it on the cart with the antidote. Our character will use the gun to hook and drag closer the cart.

We can now reach the cart, so let’s tap on it to take a closer look.
Let’s tap on the “Antidote” to pick it up. After that, tap on the arrow at the bottom to go back.
Our character will automatically use the “Antidote” to cure his friend, Maze. So, we have a happy ending. Our character managed to save Maze, and he also managed to arrest his nemesis, the “Black Spider”.

Well, that brings us to the end of this adventure. If you’re interested in Escape Room games, check out our guides for the other games of this genre.
Thank you for reading.